Cocoa spelt cake
/As promised in my recent season greetings post, I’m delving more deeply into this cake that comes from Aleksandra Crapanzano’s book “Gâteau”. Made with spelt and almond flours, Dutch process cocoa, Greek yogurt and brewed espresso along with the usual sugar, butter, egg, baking soda, salt, its intriguing blend of flavors got my attention. Plus, this was the chance to use up some ingredients on hand after all the autumn and holiday baking projects.
Let’s pause a moment. You’re probably wondering “How many chocolate cake recipes does one really need?” (particularly when there are literally TONS of them out there). I already have a number of delicious versions in my repertoire, but it’s also about the discovery and trying something a little bit new, isn’t it.
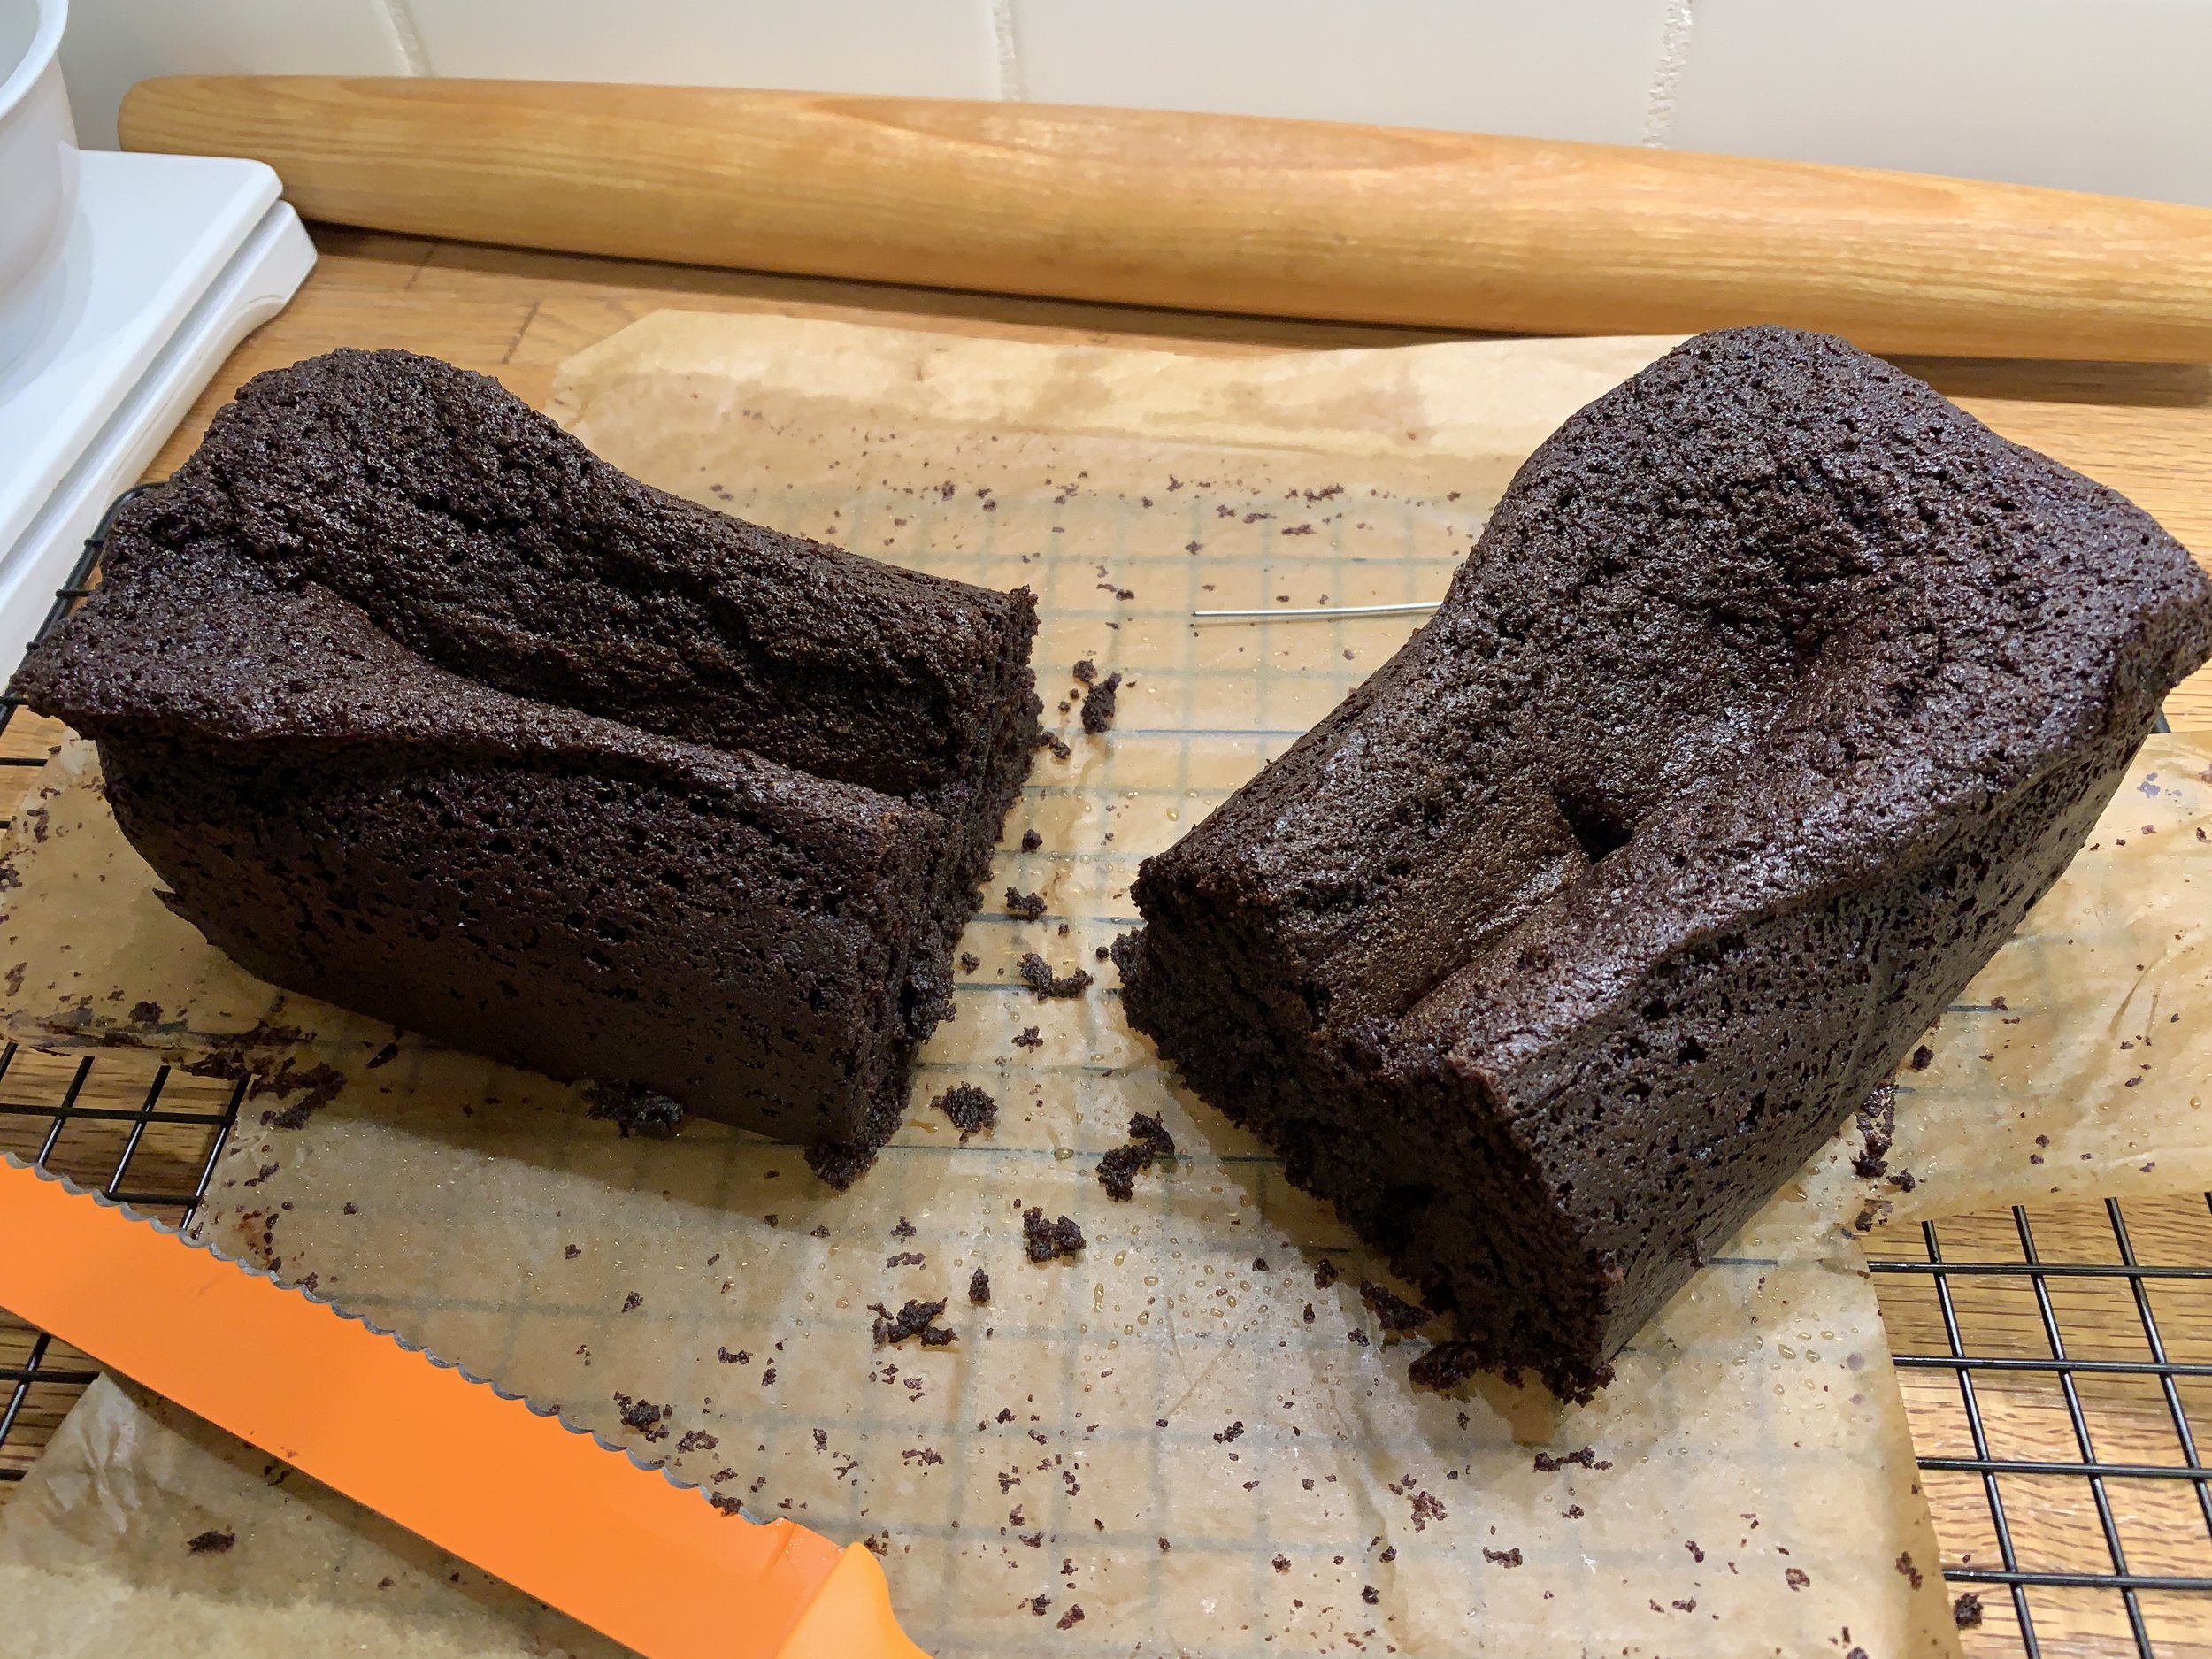
My first attempt, all puckered up and sunken. Ouch!
My first attempt was NOT a resounding success although it tasted pretty darn good. I even served it for a Christmas dessert with an orange mascarpone custard (which I ultimately thought too heavy for the cake), topped with hazelnut crumble and ganache drizzle. Just a little whipped cream next time perhaps?
Hmmmmm . . . . lets call this one rustic
After that first attempt this project ended up as more of a tutorial on pan sizes and capacities than on the actual recipe! Bear with me - numbers and math coming up - I understand if your eyes glaze over! Just scroll on down to the ingredients image for more on actually making/baking the batter.
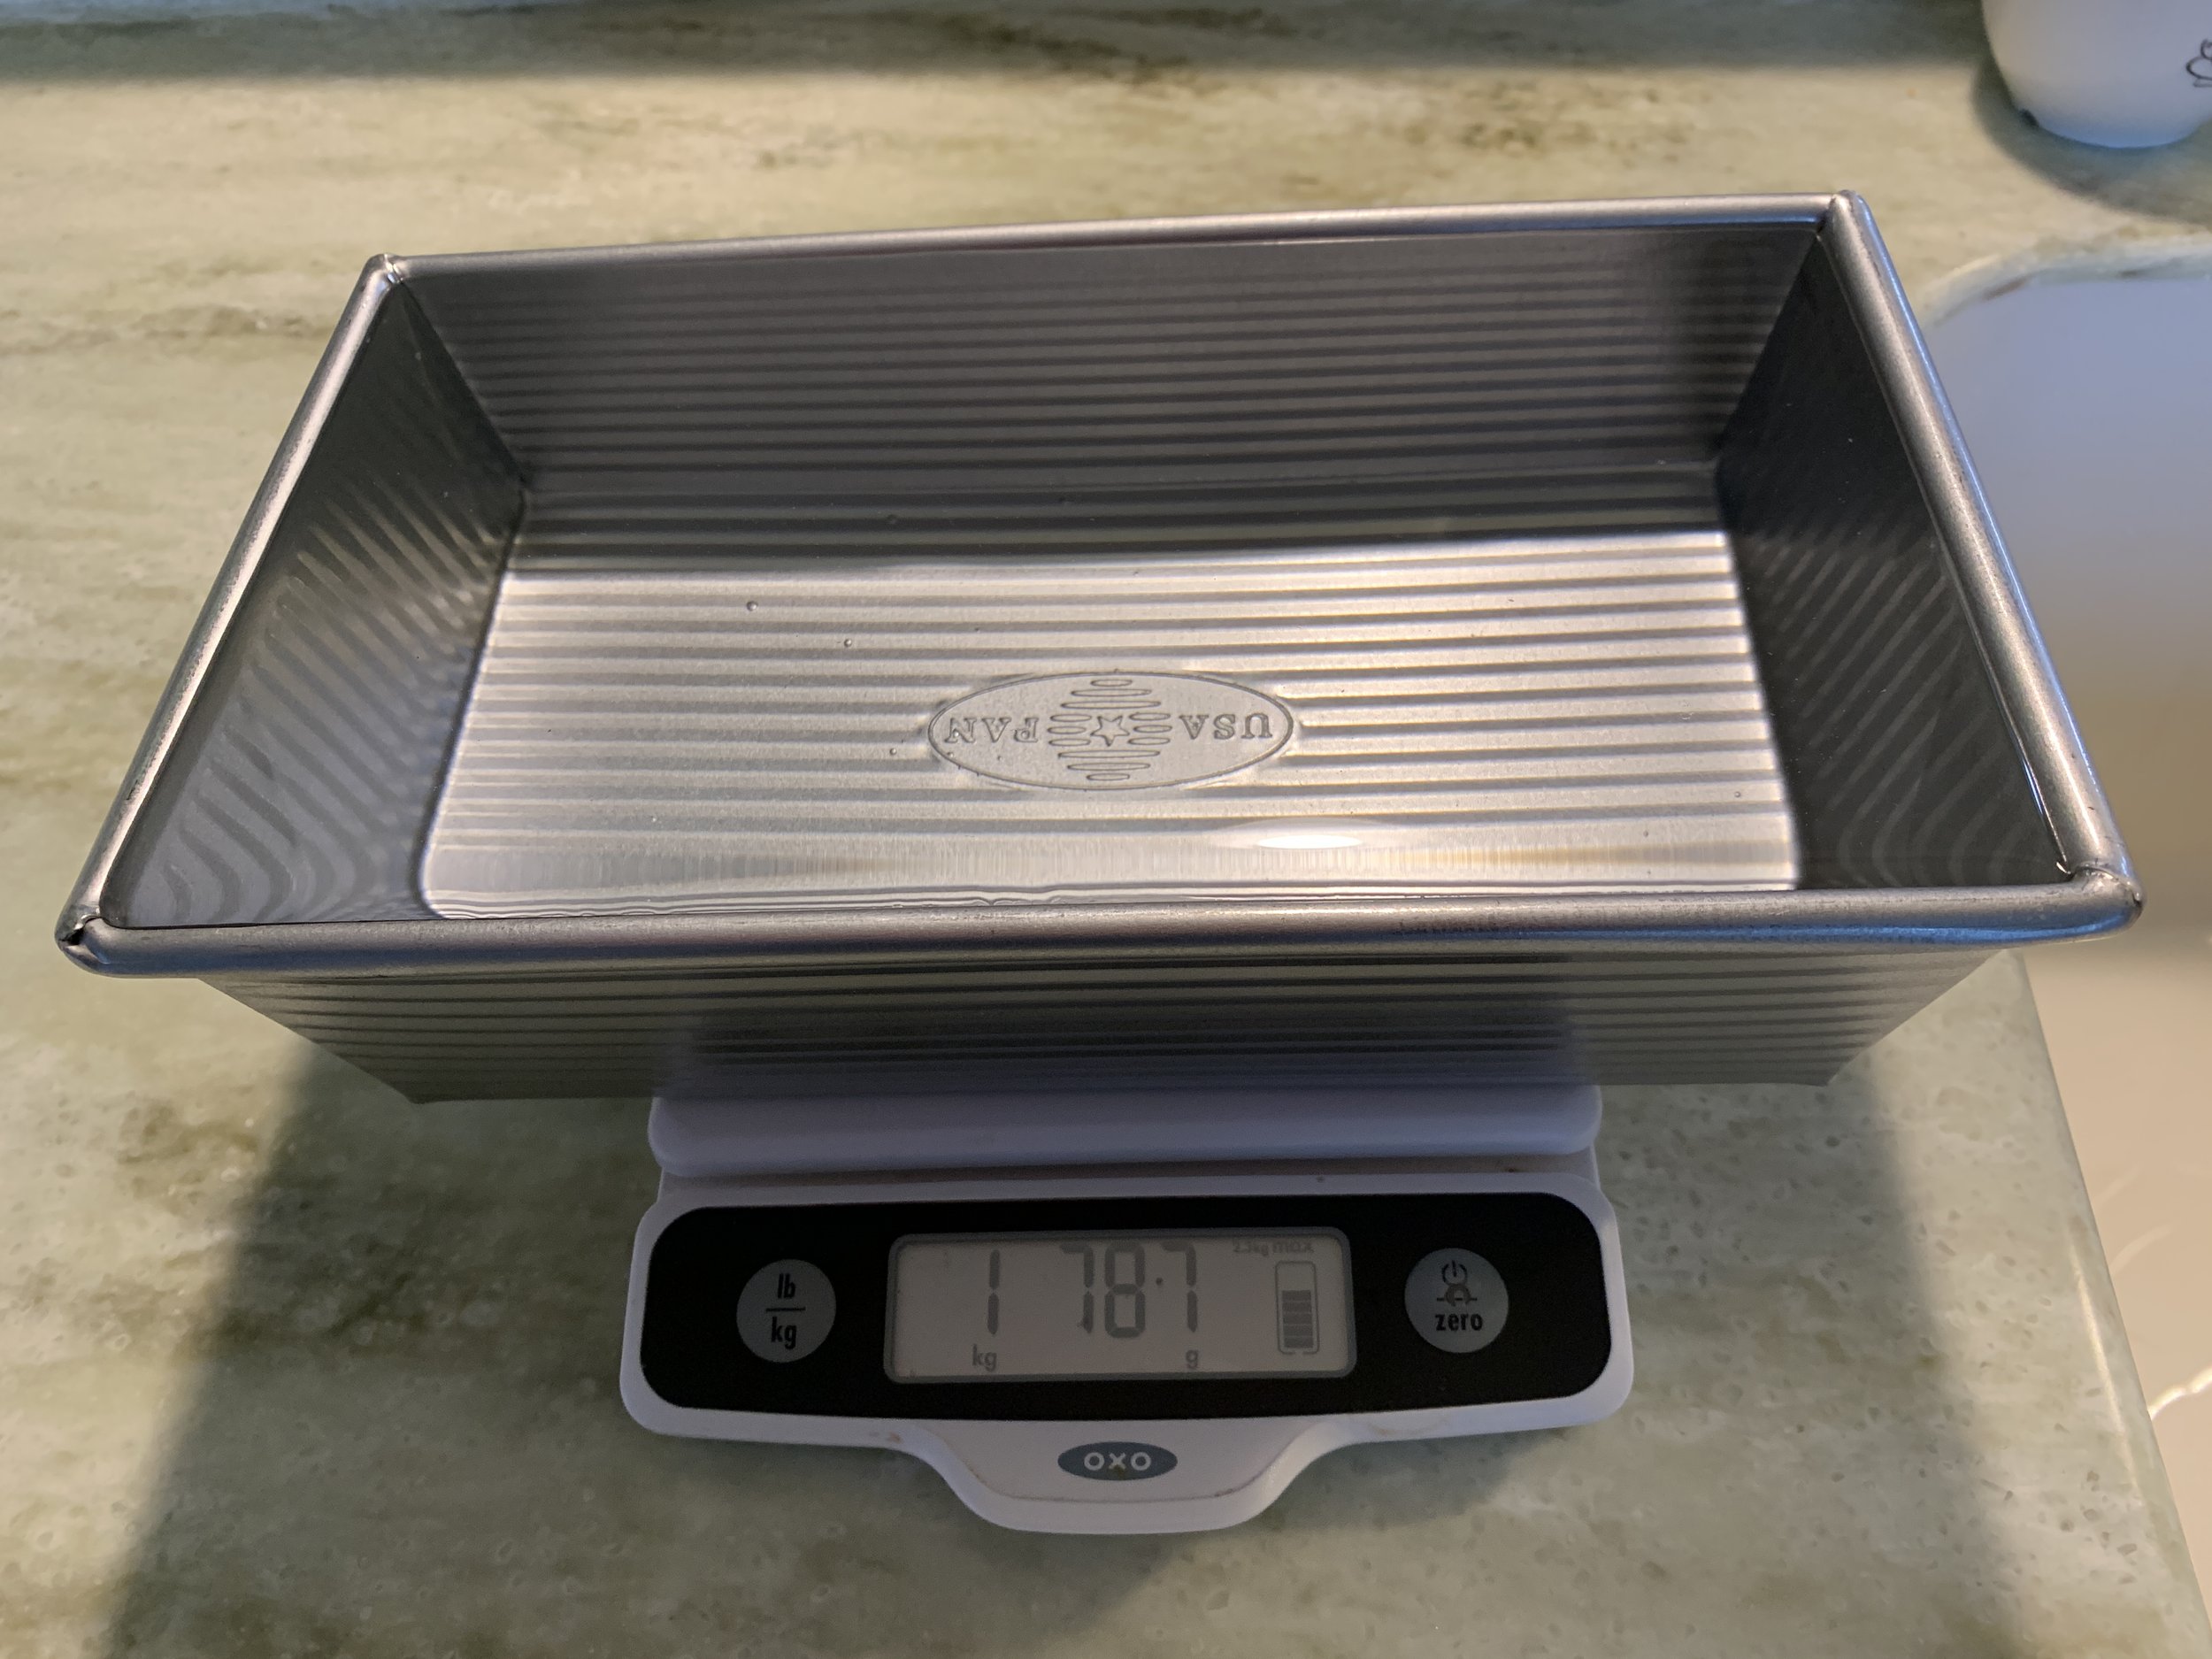
For frequent cake bakers (or even not so frequent), the general rule as to how much batter goes into different size pans or molds is typically 2/3 to 3/4 full. To determine your pan’s capacity, place it on a zeroed scale, fill it with water and record the gram weight completely FULL. Then add up the weight of your recipe ingredients, divide that by the full pan weight and you’ll figure out pretty quickly if the batter will work in your chosen pan.
Aleksandra’s recipe calls for a 9 x 5 loaf pan which is typically touted as having a capacity of 1900 g or 8 cups. Over the years I’ve used the slightly smaller 8 1/2 x 4 1/2 pan (holds about 1400 g / 6 cups) or my longer, narrower tea loaf pan (about 5.5 cups) for things like basic recipes for quick breads, pound cakes etc with good results. BUT what I hadn’t done this time was to figure it out FIRST!
In this case the total ingredient weight for the batter comes to about 1310 g (5.5 cups); divided by 1575 g capacity of my tea loaf pan = 0.83 (~7/8!). WAY over the fill-to-2/3-to-3/4 rule for that particular pan.
What I did do the first go around was blithely plunge ahead, make the batter, fill the pan and realize it was WAY too full! So much so that I had to scoop some batter out early in the bake to reduce overflow. I should know better.
The First BAtch
Life is full of lessons, eh?
Anyhoo - always determined, I went through two more rounds of baking this batter, one with a larger loaf pan and one with my favorite muffin size silicone molds.
I got my hands on a pan that was billed as 9 x 5 x 2 1/2” deep but was barely 2 1/4”. I did my water fill/weighing test and found the capacity to be 1600 g, very close to my tea loaf pan - far too small for this batter.
Shallow 9 x 5 pan
Next up - a 9 x 5 x 2.75 USA brand loaf pan which weighed in (water filled) at about 1787 g. Hmmm . . . . this might work after all. That comes to about 0.72 filled, just in between that 2/3 to 3/4 fill guideline.
I went for it! While a 5 quart mixer works, I had learned from the first attempt that the amount of batter was a bit much for mine, so I switched to my 6 quart for further batches. Much easier to work with.
Let’s make this! Here’s the printable recipe PDF for you. You’ll note some ingredient variation options.
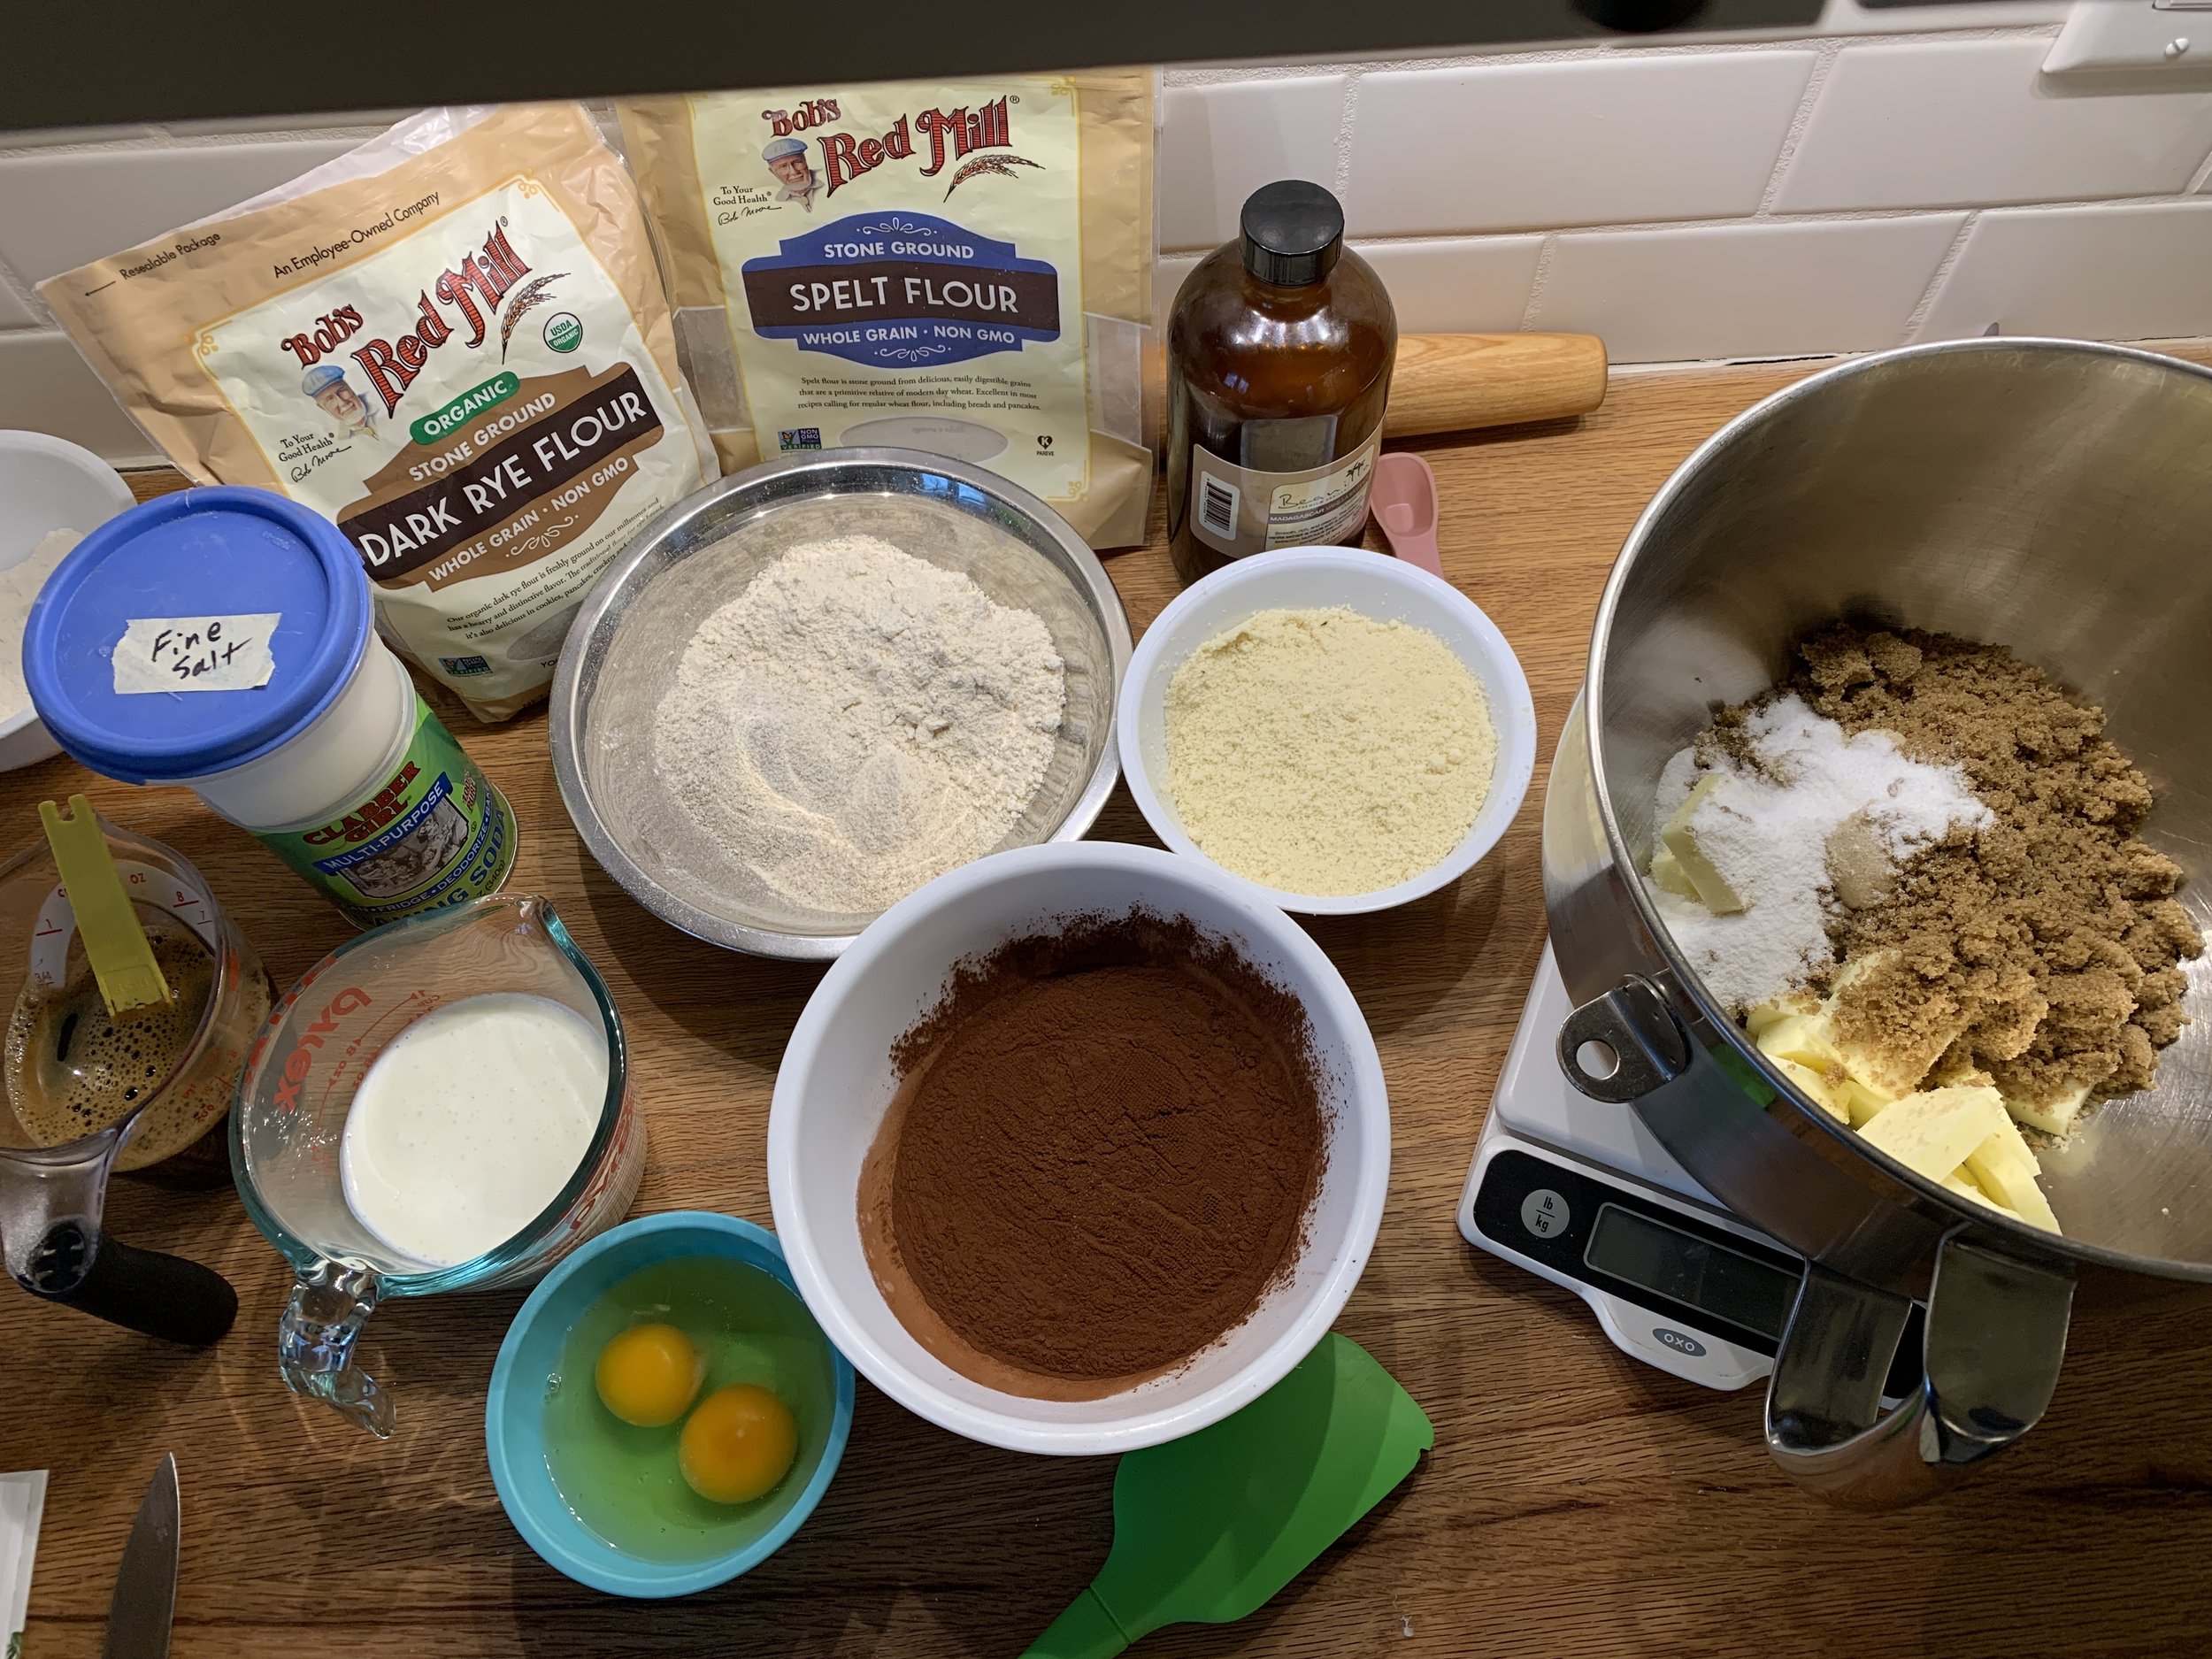
As always, read the recipe and do your mise en place with particular attention to ingredients that should be at room temperature (butter and eggs in this case).
A.C.’s recipe calls for Greek yogurt although for my first, not so great batch, I used crème frâiche; then Greek yogurt for the second loaf and full fat buttermilk for the tea cakes. It doesn’t seem to matter which you use - all good!
You can also alter the amount of spelt flour by creating a blend of spelt, medium rye and whole wheat pastry flour. Or replace the almond flour with a different nut flour like hazelnut or pistachio - they go so well with chocolate and coffee flavors.
The process is much like many cakes - cream butter and sugar, add eggs and vanilla, alternate dry and wet ingredients and, in this case, warm espresso is blended in at the very end.
Following are images of the steps.
Creamed butter and sugar
Even when eggs are at room temperature, it’s not unusual for the mixture to have a bit of a curdled look once the eggs are added. You should be able to appreciate that below. Don’t worry - it’s not an issue.
Eggs and Vanilla added
Dry and wet all blended in
Warm espresso goes in last - I will say it made me a bit nervous to add 3/4 cup of warm liquid but, with blending, it turned into a smooth and creamy mixture. Ahhhh. . . .
Final batter
Heat oven to 350ºF. I’m using the 9 x 5 USA pan below. Butter the bottom and sides of the pan (helps the parchment stay in place), line with parchment, lightly butter again and dust with cocoa powder (eliminates the chance of a white flour-y residue on the outside of the finished cake). You could also dust with raw sugar for a lovely hint of exterior crunch :-)).
You might think this buttering/lining thing is over kill, but I’ve had a few frustrating experiences with cakes not releasing from pans, so I tend to err on the side of caution. Having the parchment allows you to grab it and lift the cake out easily when the time comes.
I filled the pan, weighing the batter as I went. The final amount was a bit less than my calculated 1310 g based on ingredient weights, but let’s remember that egg weights will vary a bit and not every little scrap of batter ends up in the pan. Not enough to fuss about.
This should work!
Bake time is recommended as 50 minutes, rotating the pan about half way through. At my half point rotation things were looking OK with a still pretty jiggly center, and it looked like some edge overflow was about to happen. In another 10-15 minutes, this is what I found. Oh NO! Foiled again.
I scraped away the ooze and cleaned the edge up a bit. It took a good 20 minutes longer before I was happy that the cake had set and my tester came out clean. I even popped my digital probe into the oven and found my oven temps were pretty much on track.
Lesson learned (again) - recipe bake times are guidelines, every oven is different and always check sooner than later!!
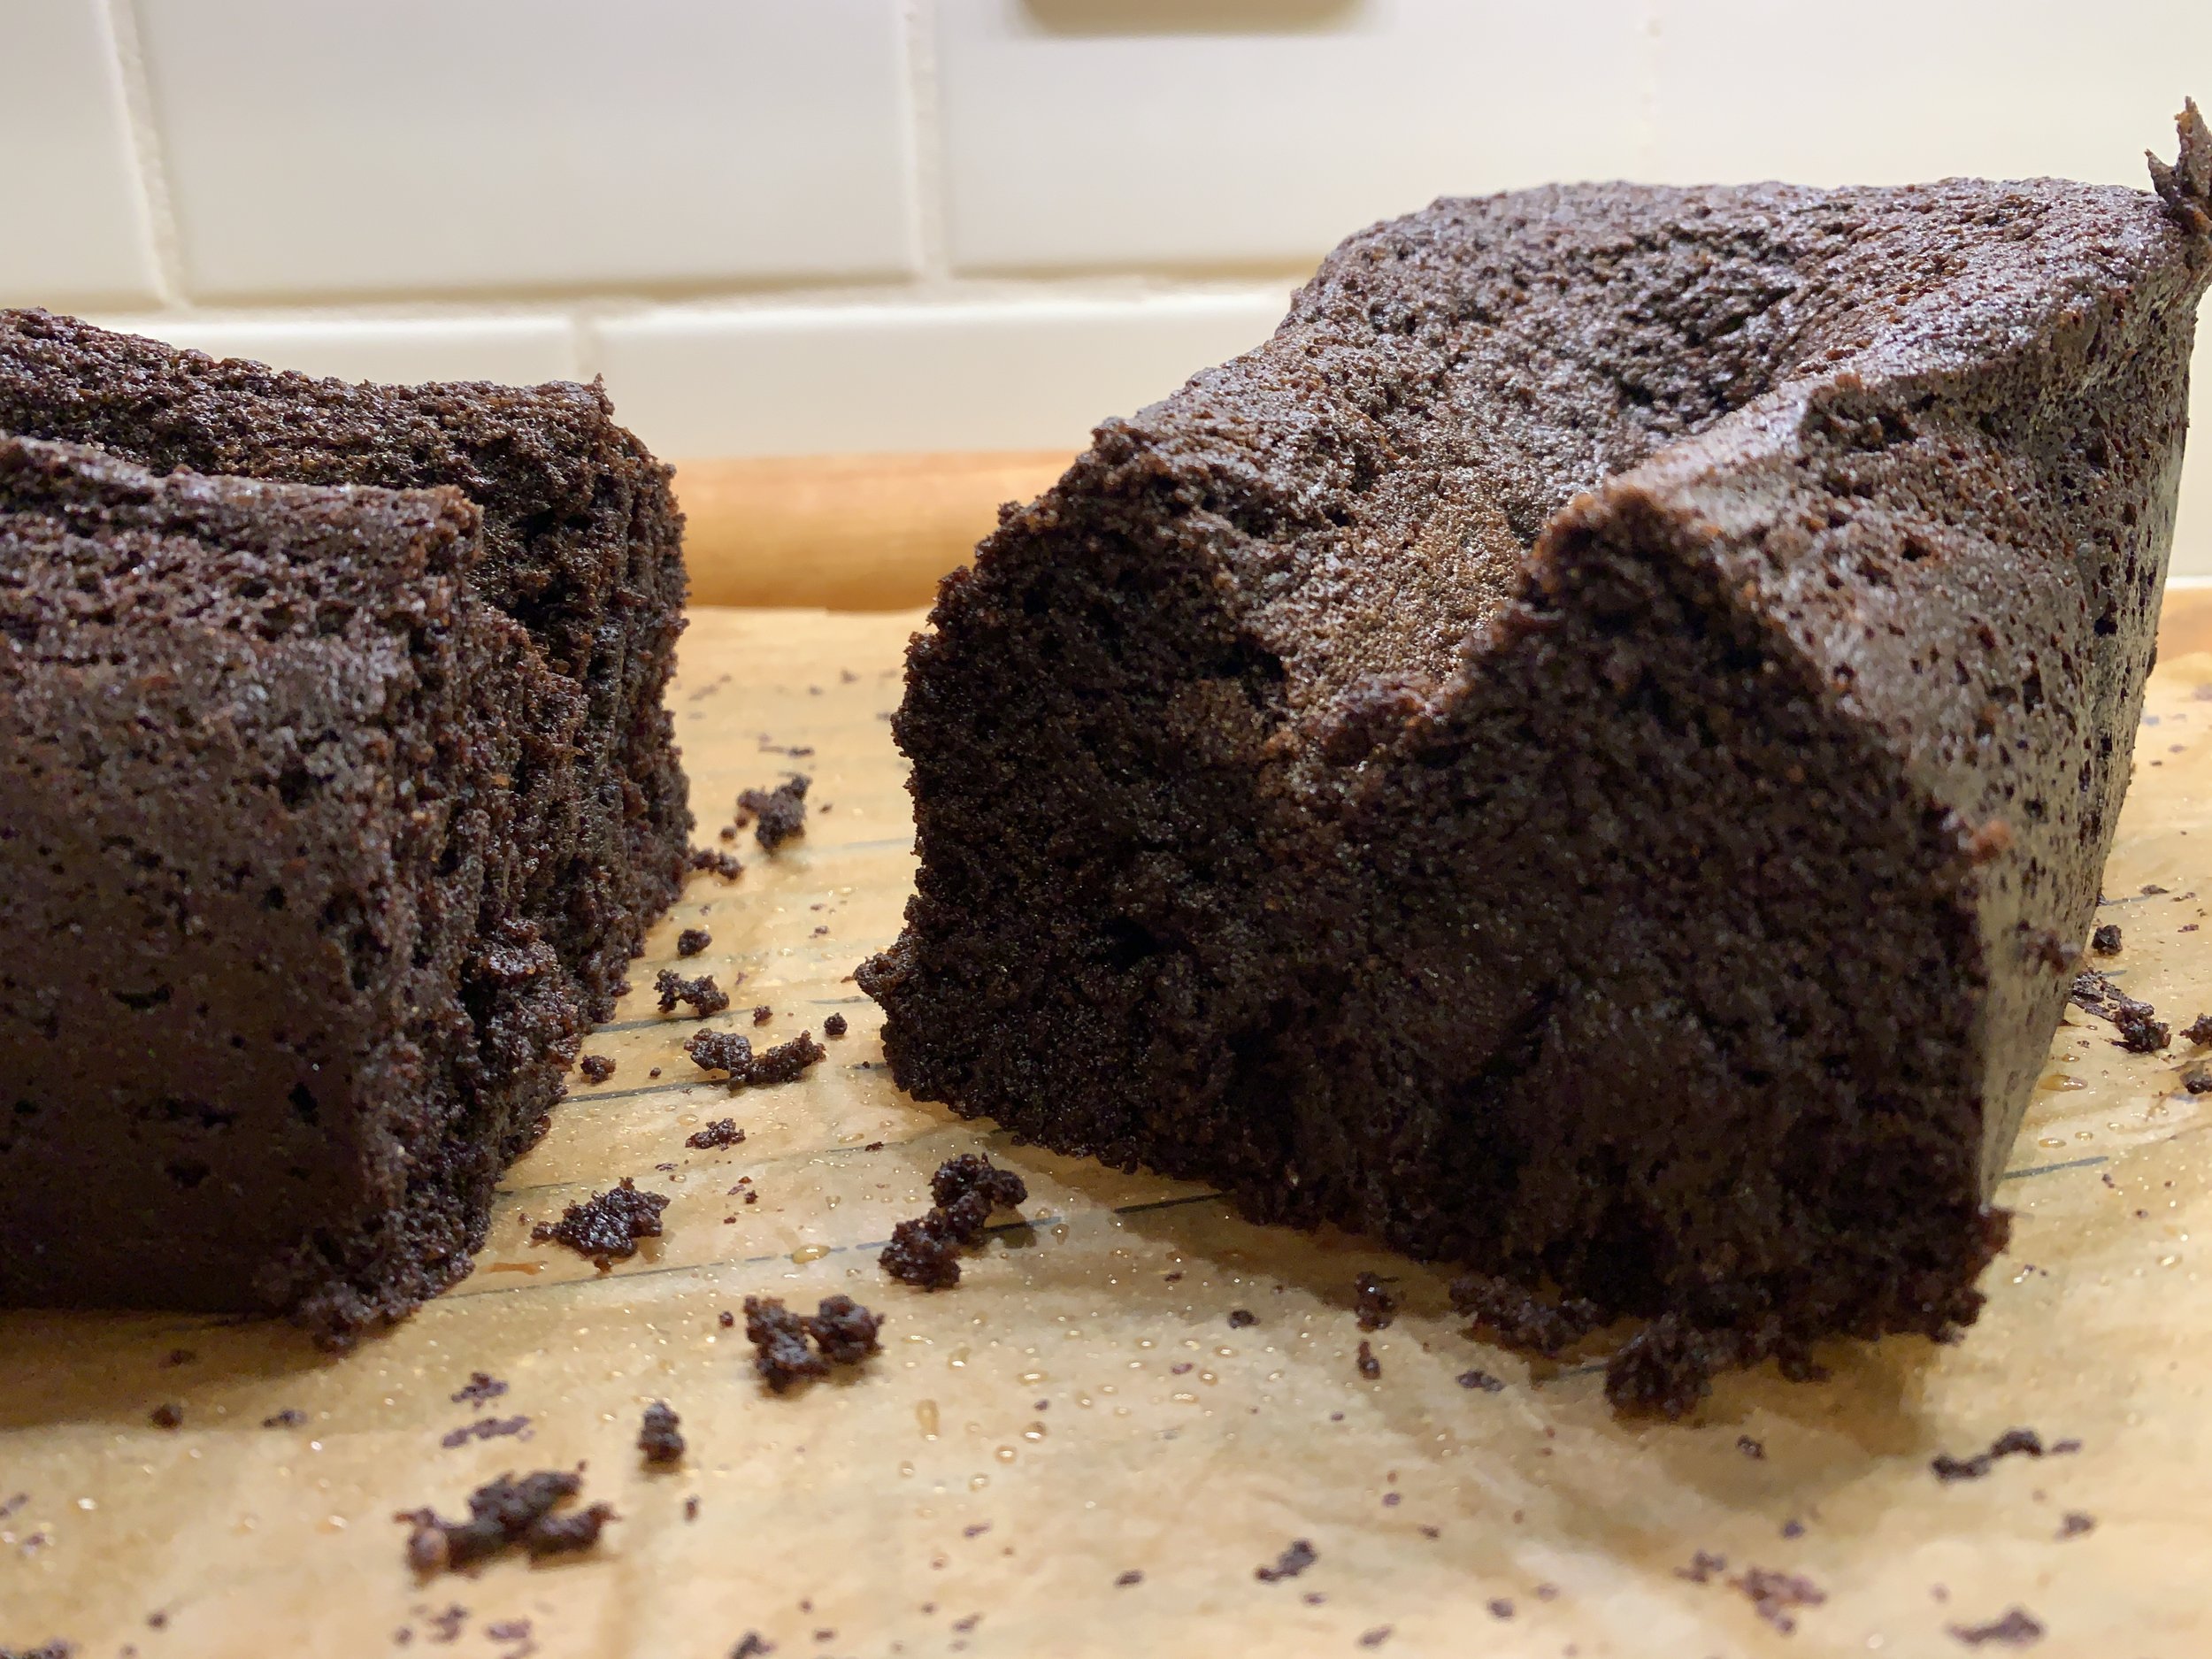
Here it is! Sunken but not quite as much as the first loaf.
All baked up
It lifted neatly out of the pan and, once cooled, sliced easily to reveal a dense crumb and moist center.
In spite of these trials and tribulations, this cake is absolutely delicious! For my third attempt I went for small cakes, my avowed favorites when it comes to cakes of almost any kind.
Here I’m using an 8 well muffin style Silikomart mold SF028. Full capacity is 85 g / 3 ounces; if filling 2/3 to 3/4 full, you can figure 56 to 64 g per well (average it at 60 g - it’s easier). Take ~1300 g batch weight, divide by 60 g and you should have a yield of about 21 cakes.
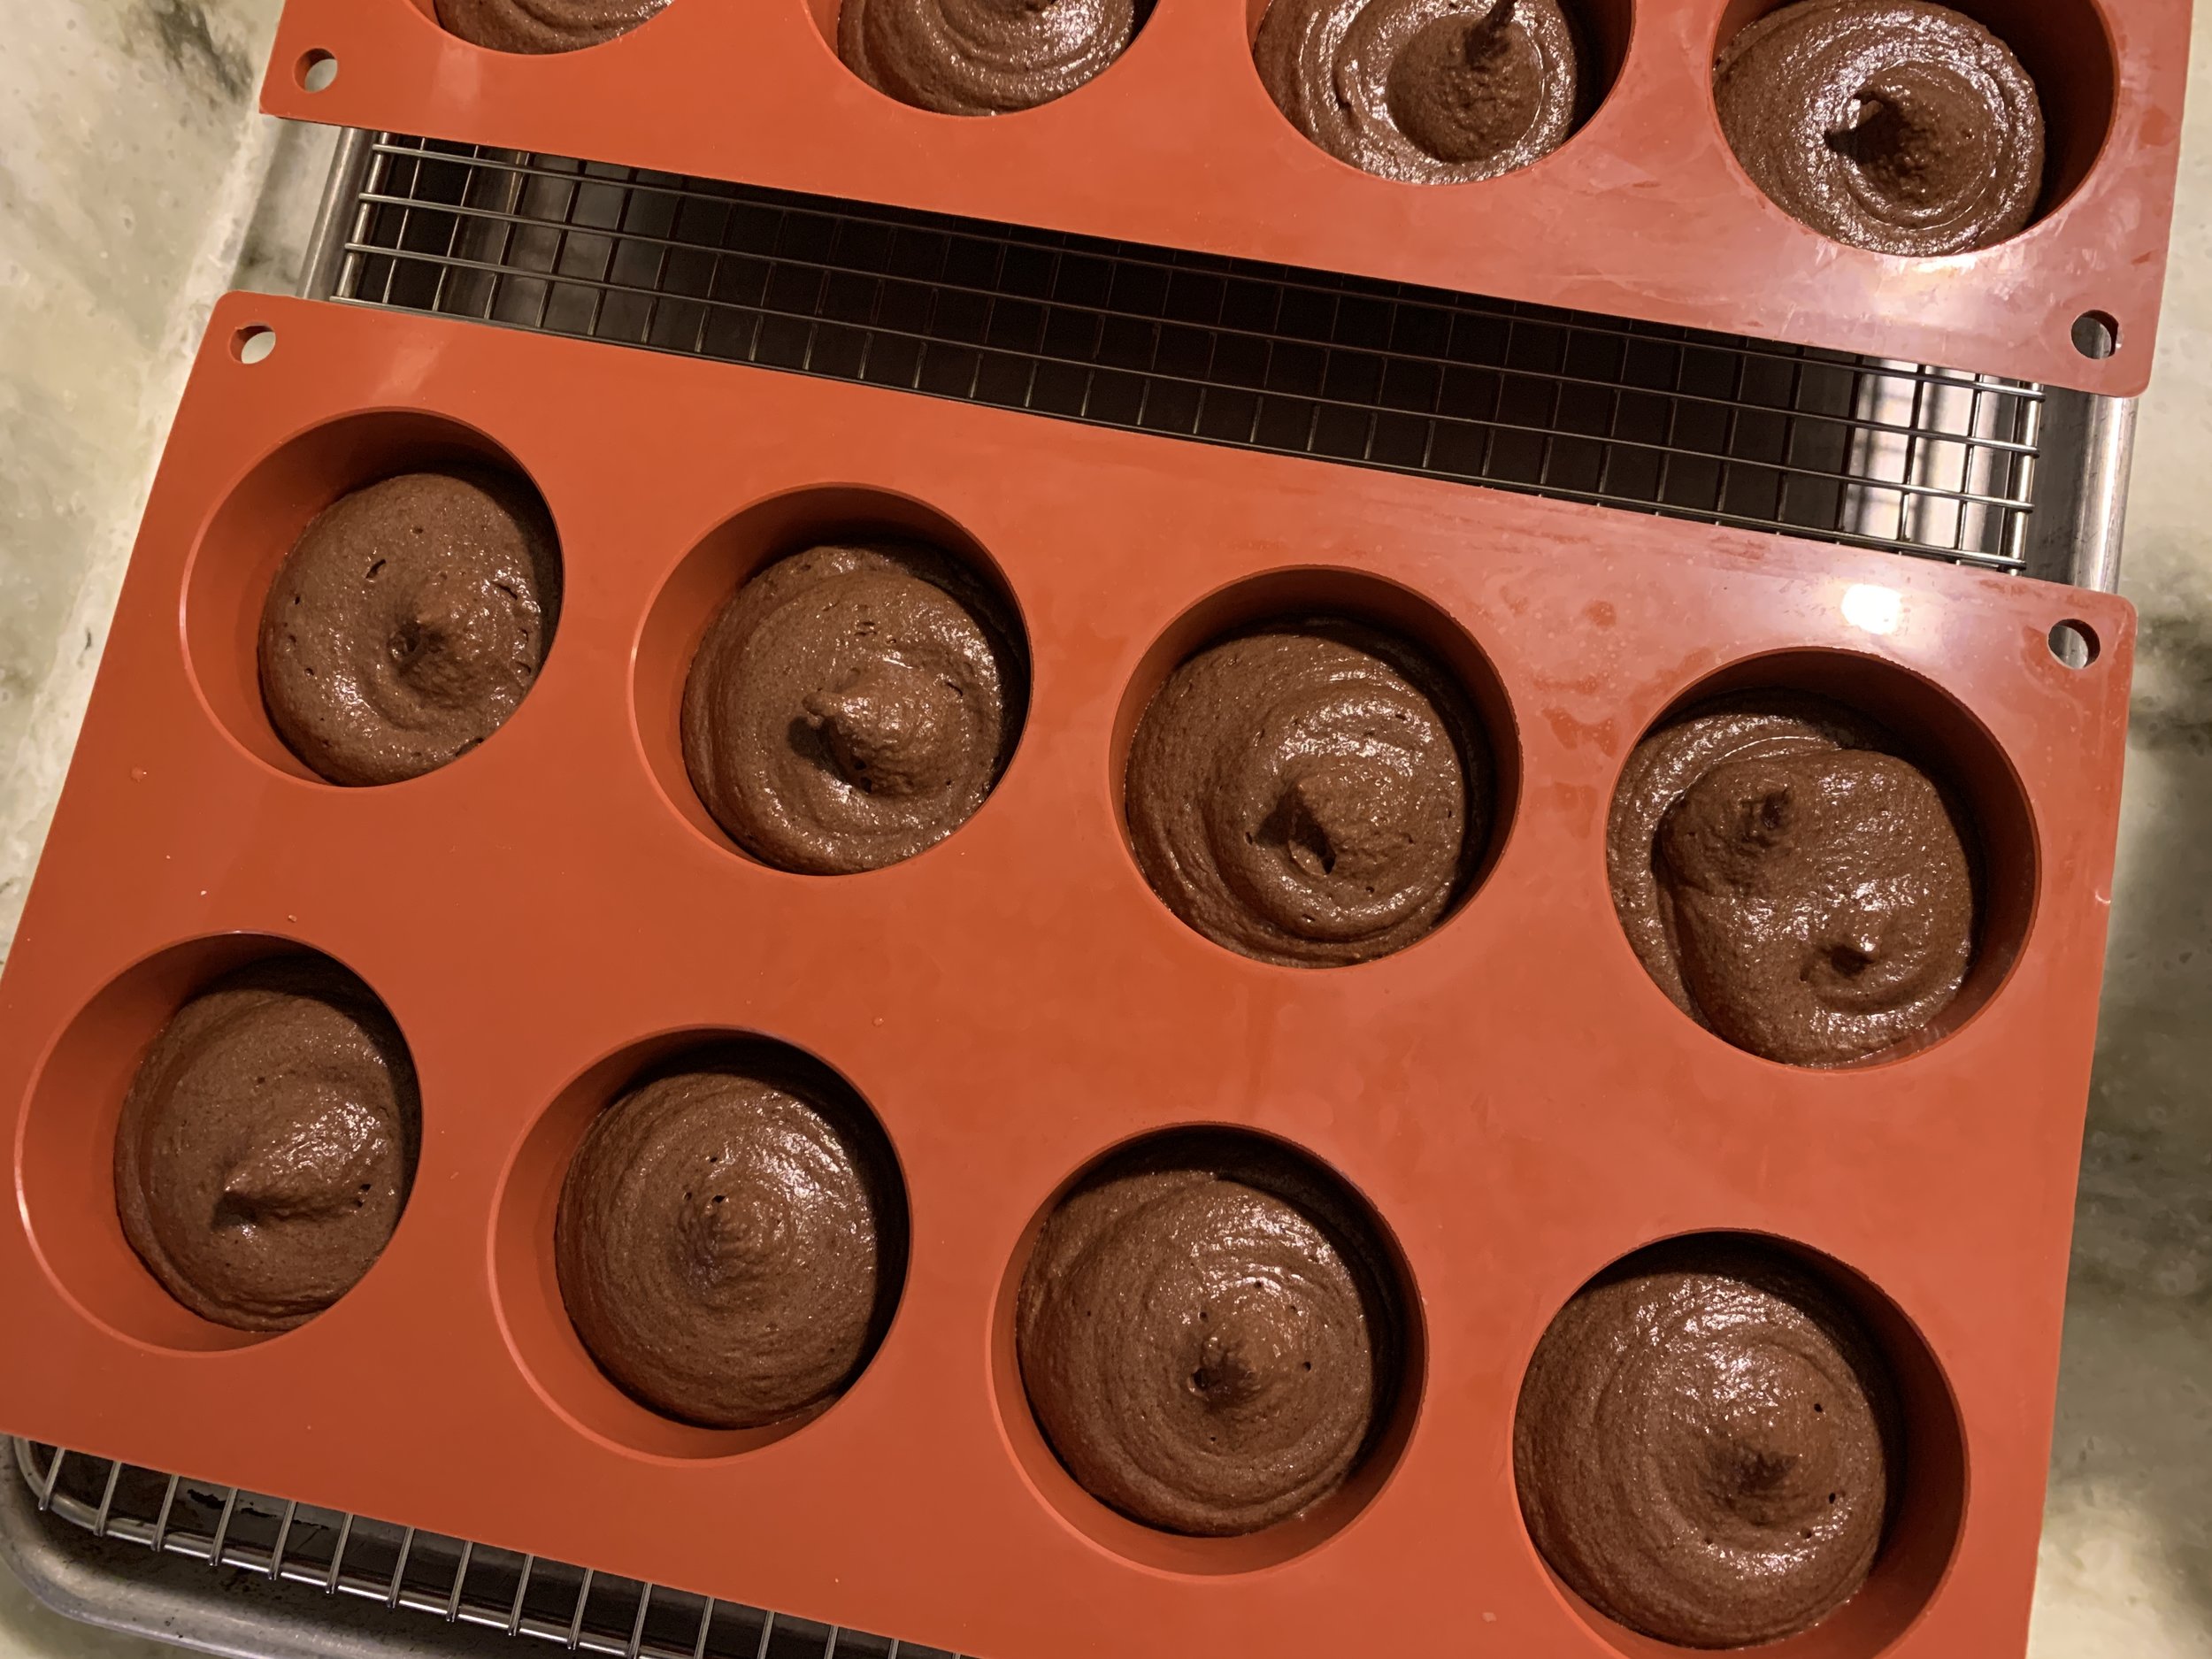
Place silicone molds on a wire grid set into a half sheet pan. Pipe batter into wells, about 2/3 full. As opposed to scooping and spooning, piping is a much neater and easier way to dispense similar quantities of batter into the wells.
Here are some of the tea cakes, going in and coming out.
Ready for the oven
These bake around 20-25 minutes. You’re looking for tops to be dry with some cracking and a tester coming out clean.
All baked up
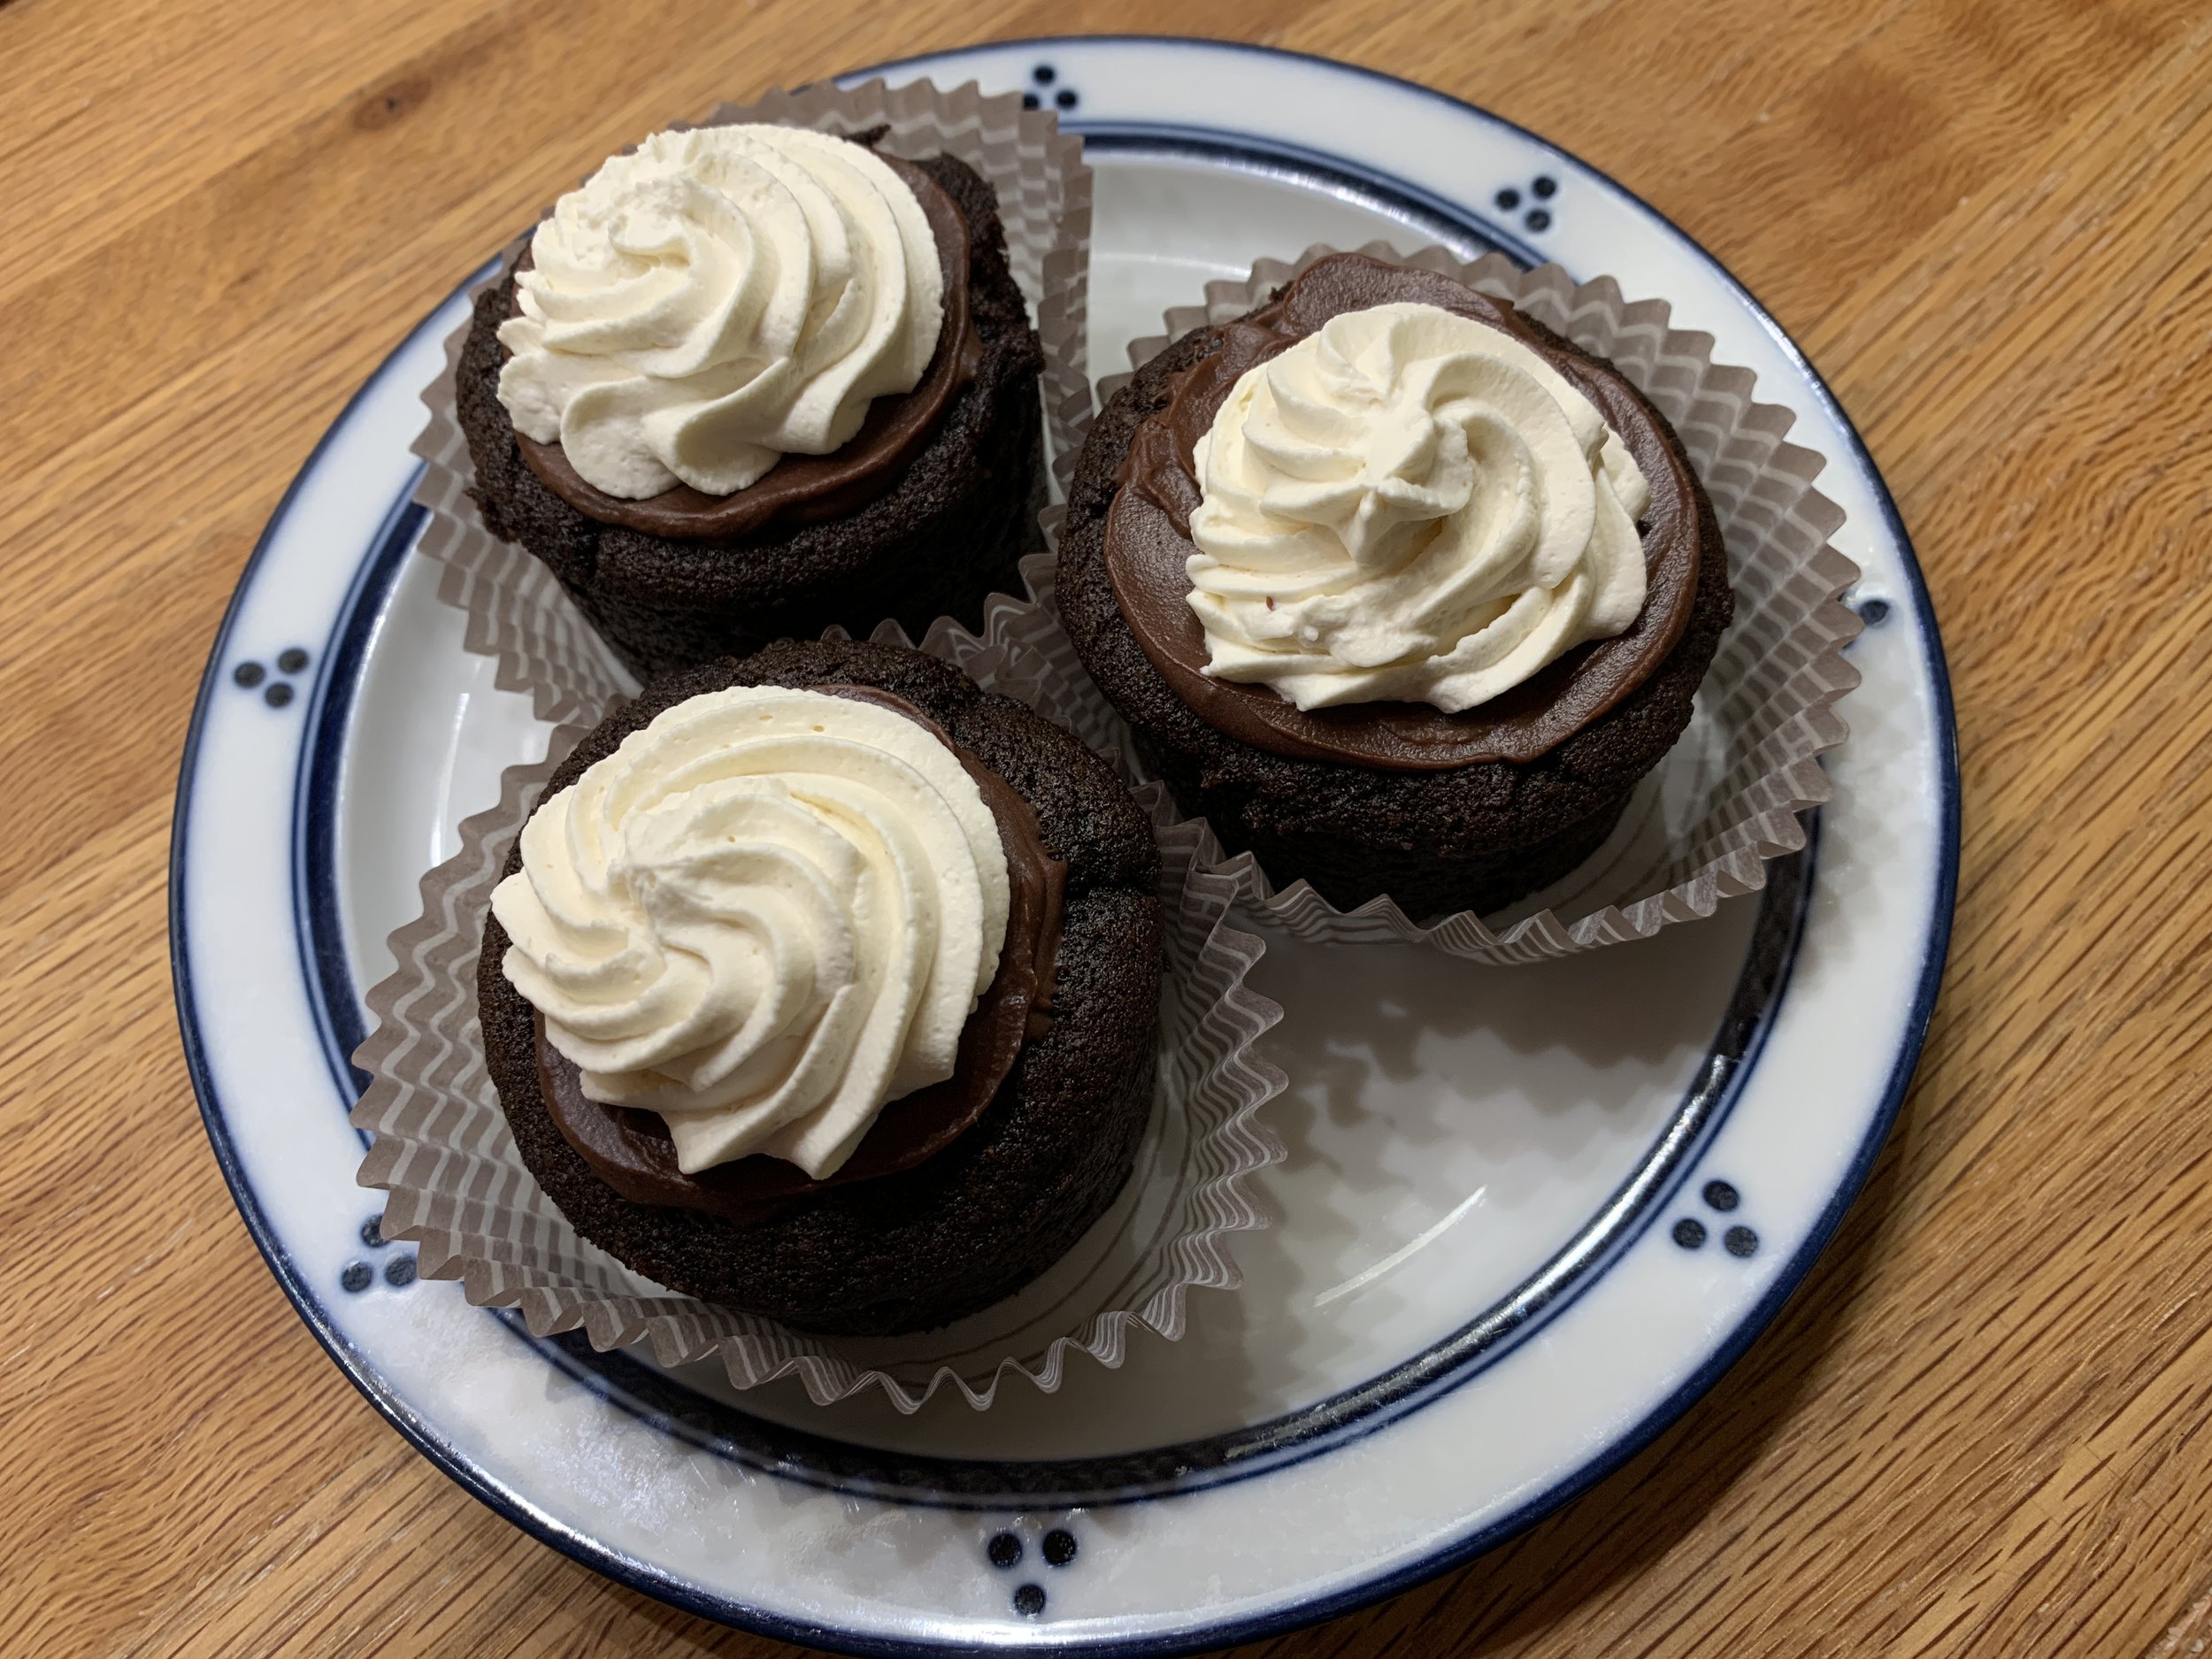
Let them cool in the molds about 10-15 minutes then gently turn out onto a wire rack. I decided to put some up and some down for you - different looks. If you’re going to dip them in ganache, I like the flatter bottom side up for a smoother finish, but either way works if you’re covering with a nice swirl of Swiss meringue buttercream or whipped mascarpone.
REady for dressing up!
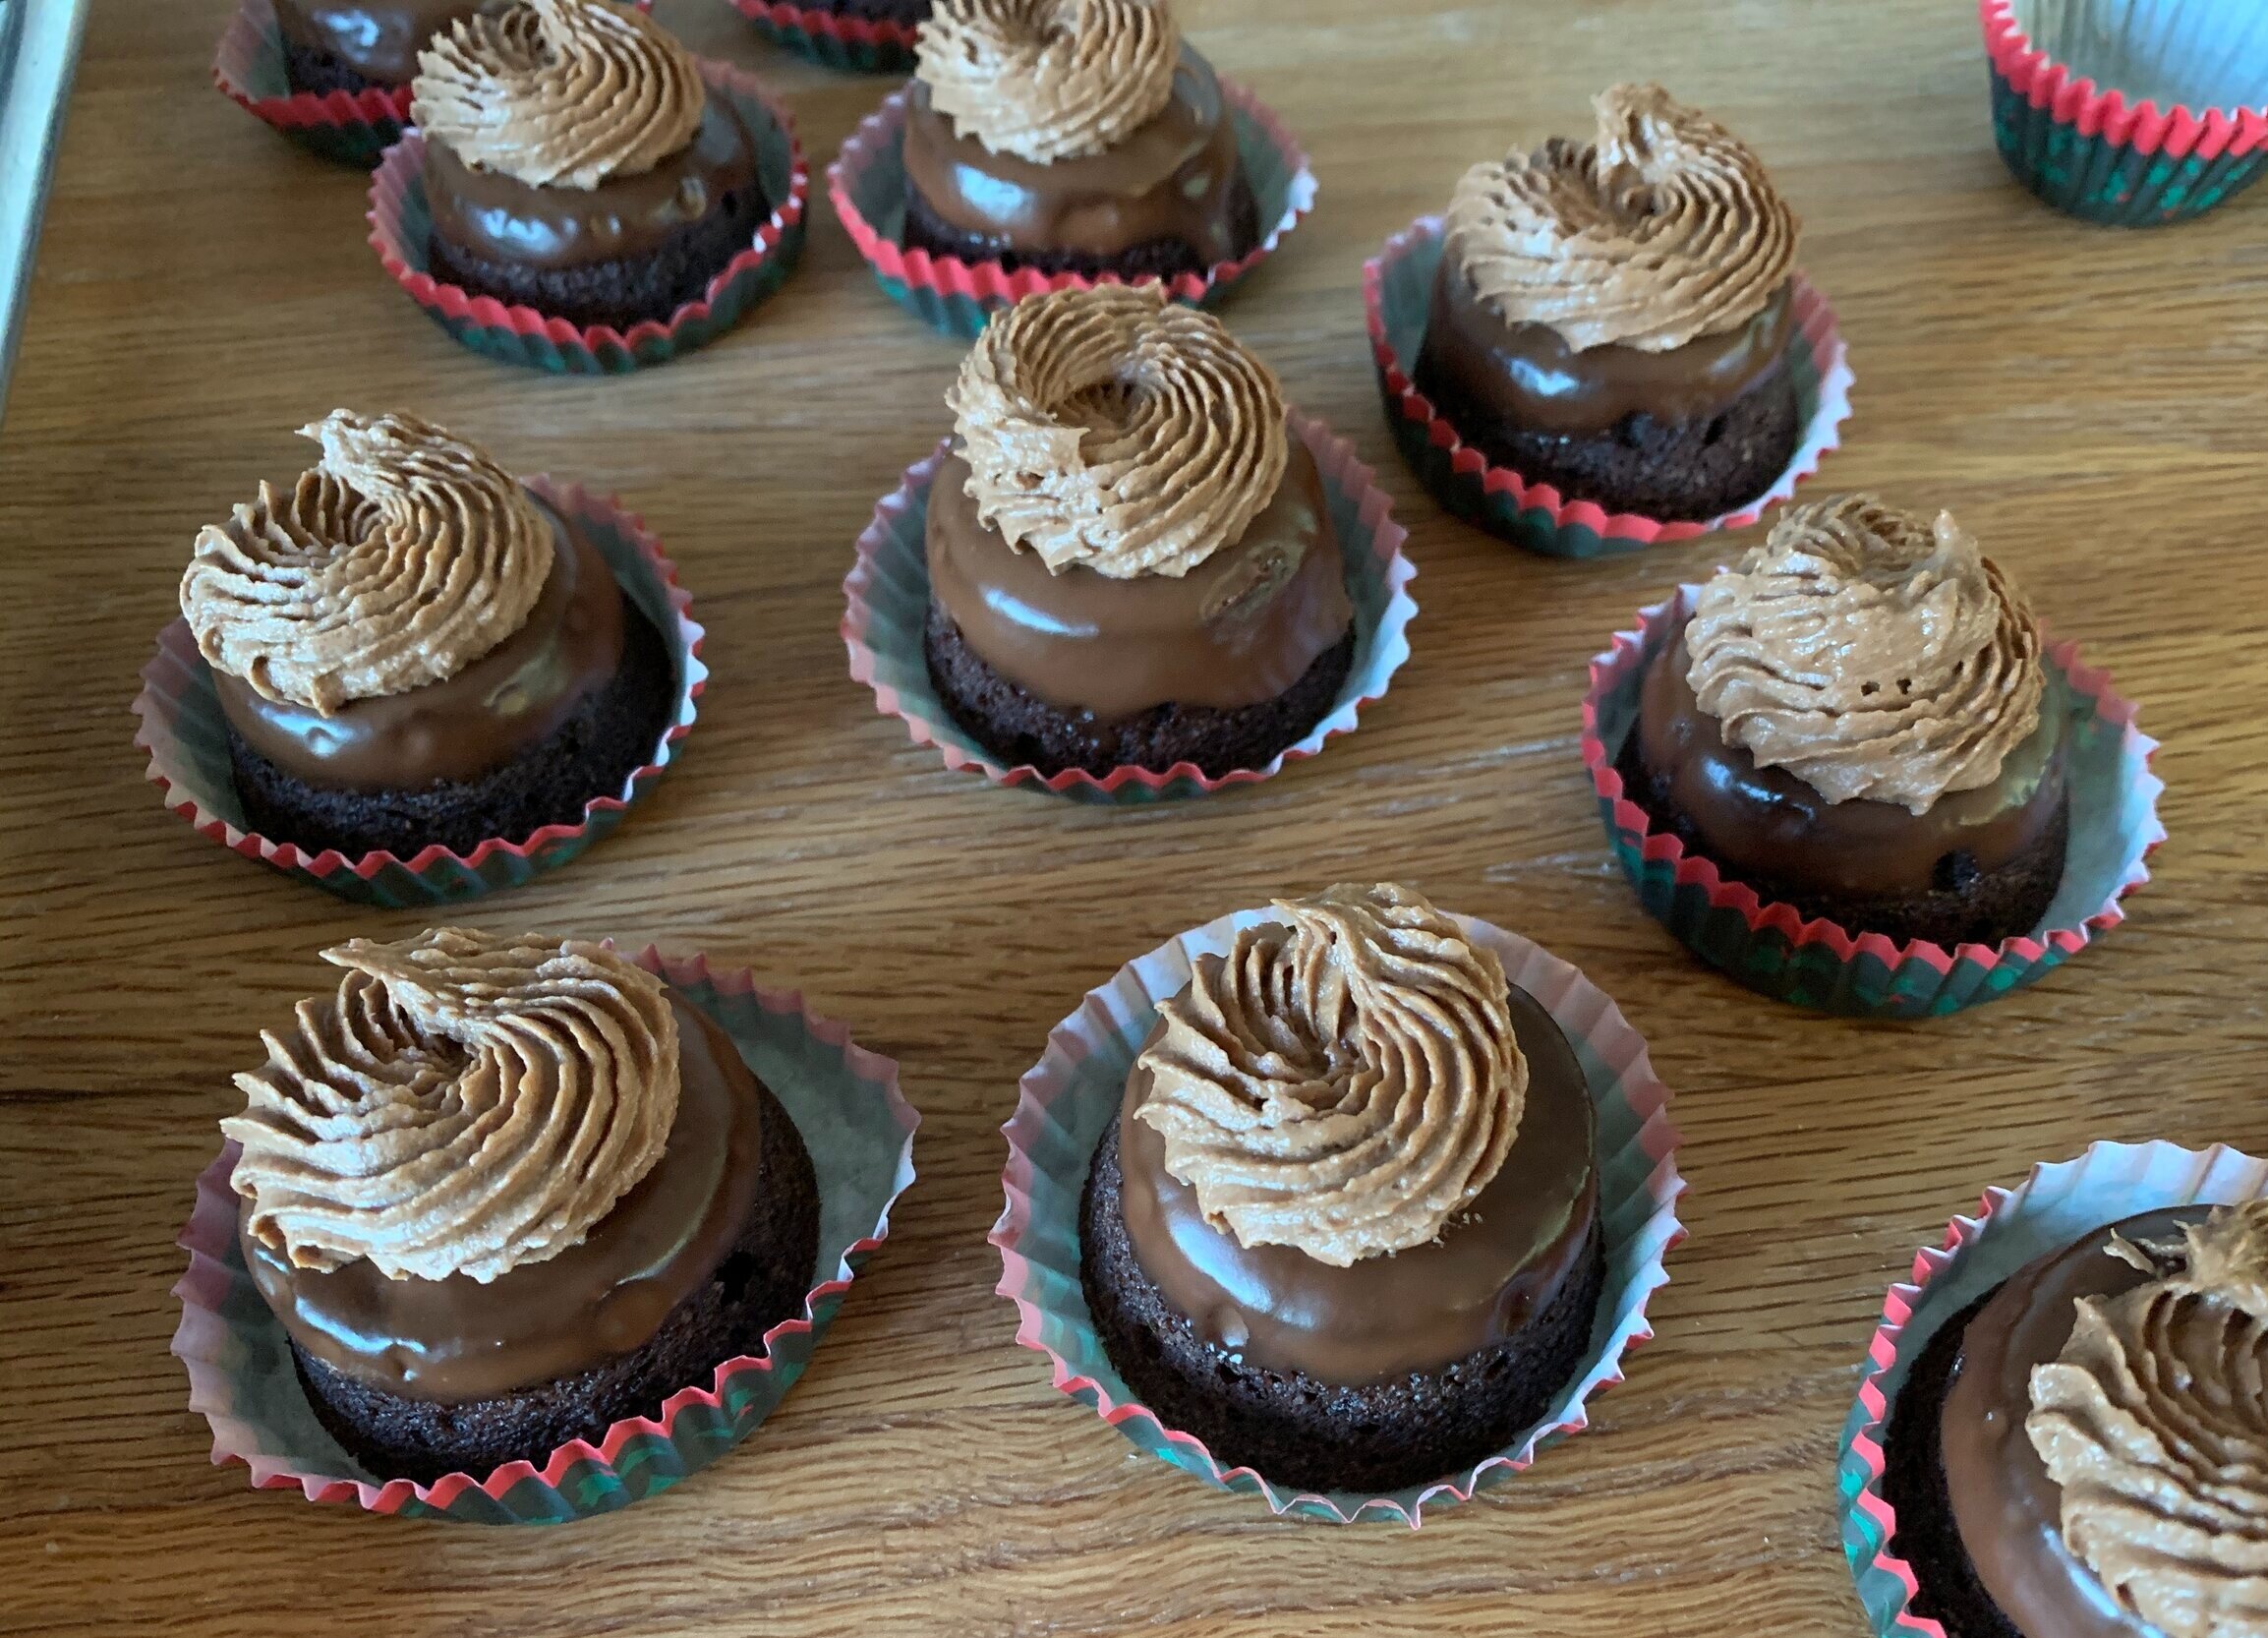
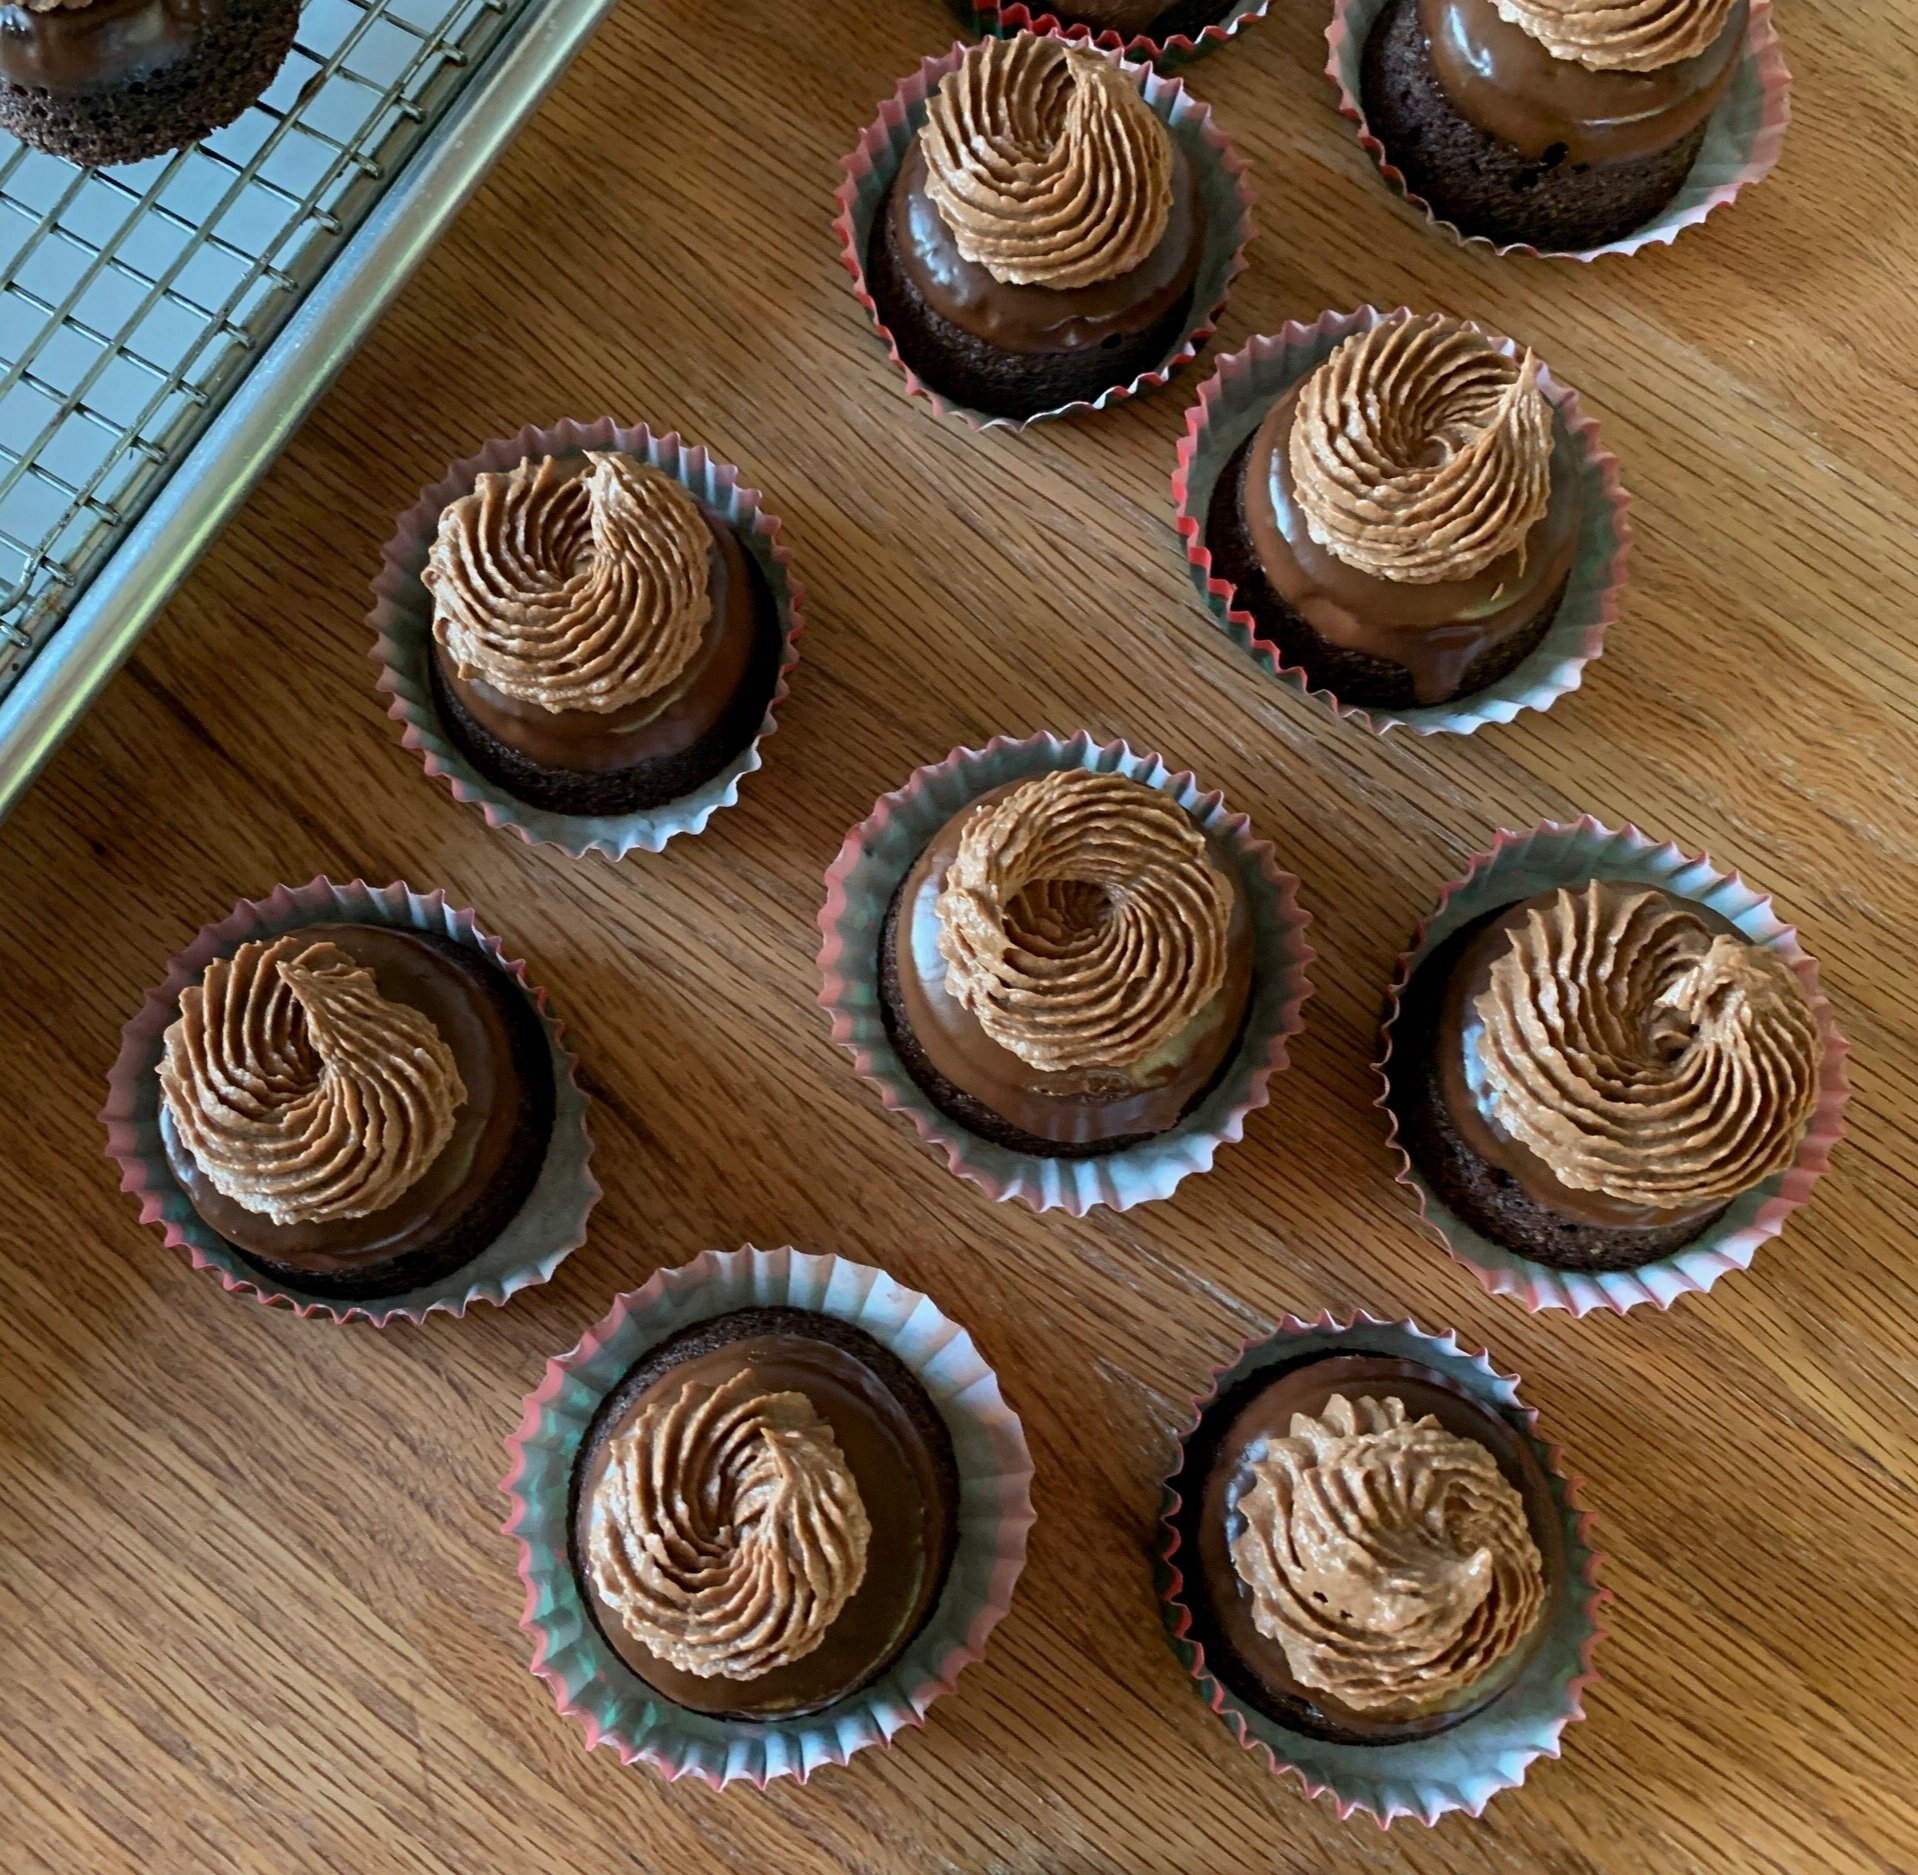
For some I went with a spread of ganache on top followed by a swirl of caramel mascarpone cream and shared them with the neighbors for the New Year.
For New Year’s Eve Steve and I enjoyed a comparison bowl, each with a small piece of the second sunken loaf and half of a small ungarnished tea cake topped with vanilla ice cream, caramel drizzle and a favorite crumble. Both delicious but the small cakes edged out the slices with a slightly less dense texture and a lighter crumb.
What have I learned from all this?? I still love baking. Recipes/baking times are guidelines, ovens are not the same and everyone’s experience will be a little different. Even when you pay attention, things may not turn out as you think. Perhaps half the batter in a 8 x 4 pan would be perfect - maybe I’ll try it some day.
If I could be a fly on the wall in Ms. Crapanzano’s kitchen, maybe I’d learn a trick or two. Perhaps a 10” x 5” loaf pan is the solution? Or just bake small.
But the BEST thing is that this cake is delicious no matter how you cut it! Going forward I’ll stick with my individual tea cake versions since I can divide the batter into as many molds as it will give me. The cakes freeze well. They’re great with ice cream or whipped cream, a drizzle of caramel and/or ganache and a crunchy topping like crumble or toasted chopped nuts.
You can’t beat that. Happy baking!
Oh - and winter has finally arrived in west Michigan!

