Ficelle (a.k.a. skinny baguette)
/I thought I'd take a few moments on this cloudy, off again-on again rainy afternoon and share my latest bread baking adventure, compliments of Weekend Bakery. I discovered the website some months ago while reviewing croissant methods (and theirs is right on par with mine - yes!!). Written by a couple in the Netherlands who bake at home during the weekends, it is a plethora of bread baking tips, techniques, recipes, videos and overall great information for all of you avid bread bakers out there. You can choose English or Dutch and you should definitely check it out!
Since I was preparing to teach my own bread baking class to Lisa and Jerry (AVID bread bakers for sure), I was perusing various posts and recipes and decided I needed a little test project to get me in the mood. Ficelle here we come.
The word is literally translated as string, and the bread is basically a thinner version of a baguette. This one happens to be made with a combo of bread flour and semolina, an ingredient I enjoy immensely in my pizza dough. Must be good, right?
The WB version is a sourdough ficelle using the so called hybrid method with a sourdough poolish which is then incorporated into the final dough which contains added instant yeast. They are thoughtful in giving one the option to use all instant yeast, which is especially helpful for those of us who have yet to jump on the natural starter band wagon - maybe one of these days folks.
A poolish is a starter dough made with equal weights flour and water plus a small amount of yeast (or sourdough starter if you're going that route). For this recipe mix 200 g bread flour with 200 g water plus 1/4 teaspoon instant yeast OR 30 g active sourdough culture.
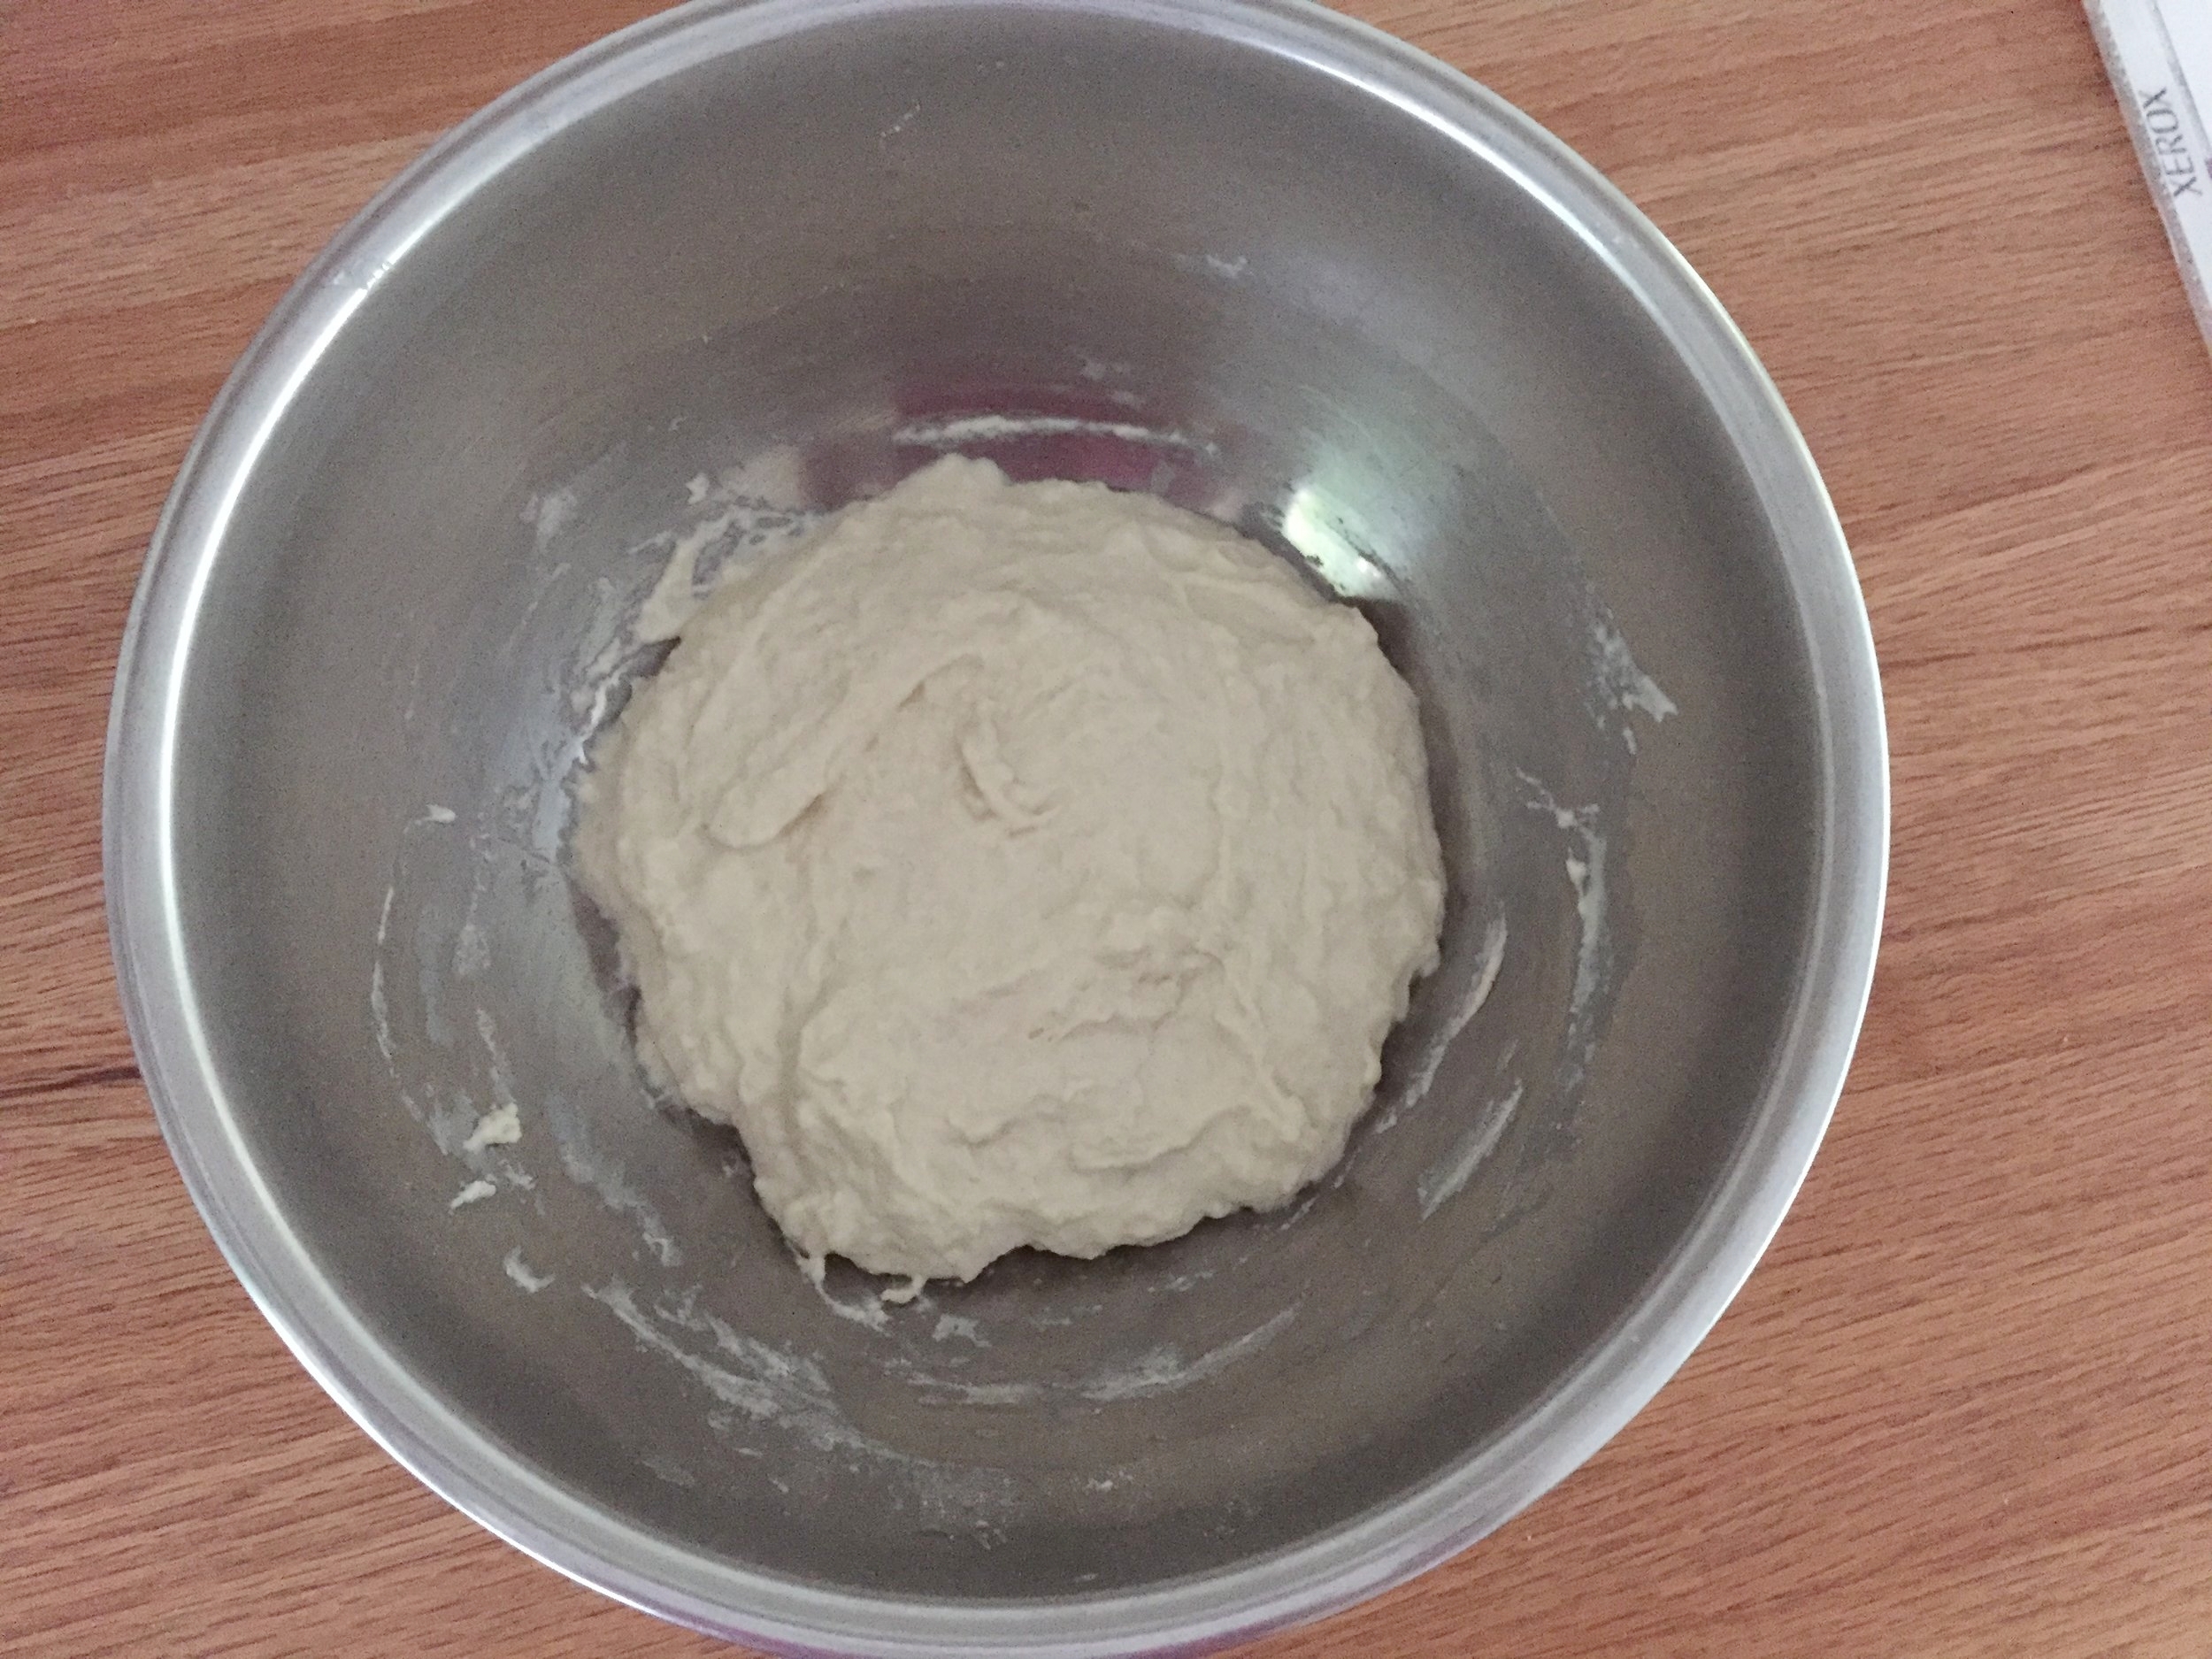
Below is the starter just after it's mixed. Generally the poolish is allowed to sit, covered, for some hours, either at room temperature or in the fridge depending on the time frame of your recipe. This one is a six hour, room temp wait, so it's easy to plan to accomplish it in one day.
Here it is after a six hour preferment. Nice and light and bubbly. And you know what? It smells good too!
For the final dough, in the bowl of your stand mixture fitted with the dough hook, combine the above poolish with 200 g bread flour, 100 g semolina, 110 g water, 8 g sea salt and 5 g instant yeast. Knead on low speed (2 on a Kitchenaid) for 7 minutes then cover it and let it rest for 30 minutes.
Turn the dough out onto a lightly floured work surface, do a full stretch and fold (top down, bottom up, right side over, left side over and ball it up) and let the dough rest another 30 minutes.
Rested and ready to divide
Heat your oven to 465ºF with a baking stone in place, or, if you're like me, place a half sheet pan in the oven during the pre-heat (that will serve as the hot surface on which I place my sheet pan containing my risen ficelle).
Divide the dough in four pieces, shape each one into a rough rectangle then cover and let 'em rest for about 10 minutes.
Now shape each piece into a log as seen below. Please accept my apologies for the somewhat fuzzy images, but at least you can visualize the steps (I hope!). I attempted a short video of the shaping, but, not being quite up to snuff, that will have to wait for another time. It's all about learning, even the techno side!
Elongate the rectangle, fold over the top third, pressing along the edge of the dough with the heel of the palm. Turn the dough 180º.
Fold over the top third toward the middle, again pressing along the edge of dough with the heel of the palm.
Now fold the dough over itself to form a rough log, pinching the seam with the heel of the palm.
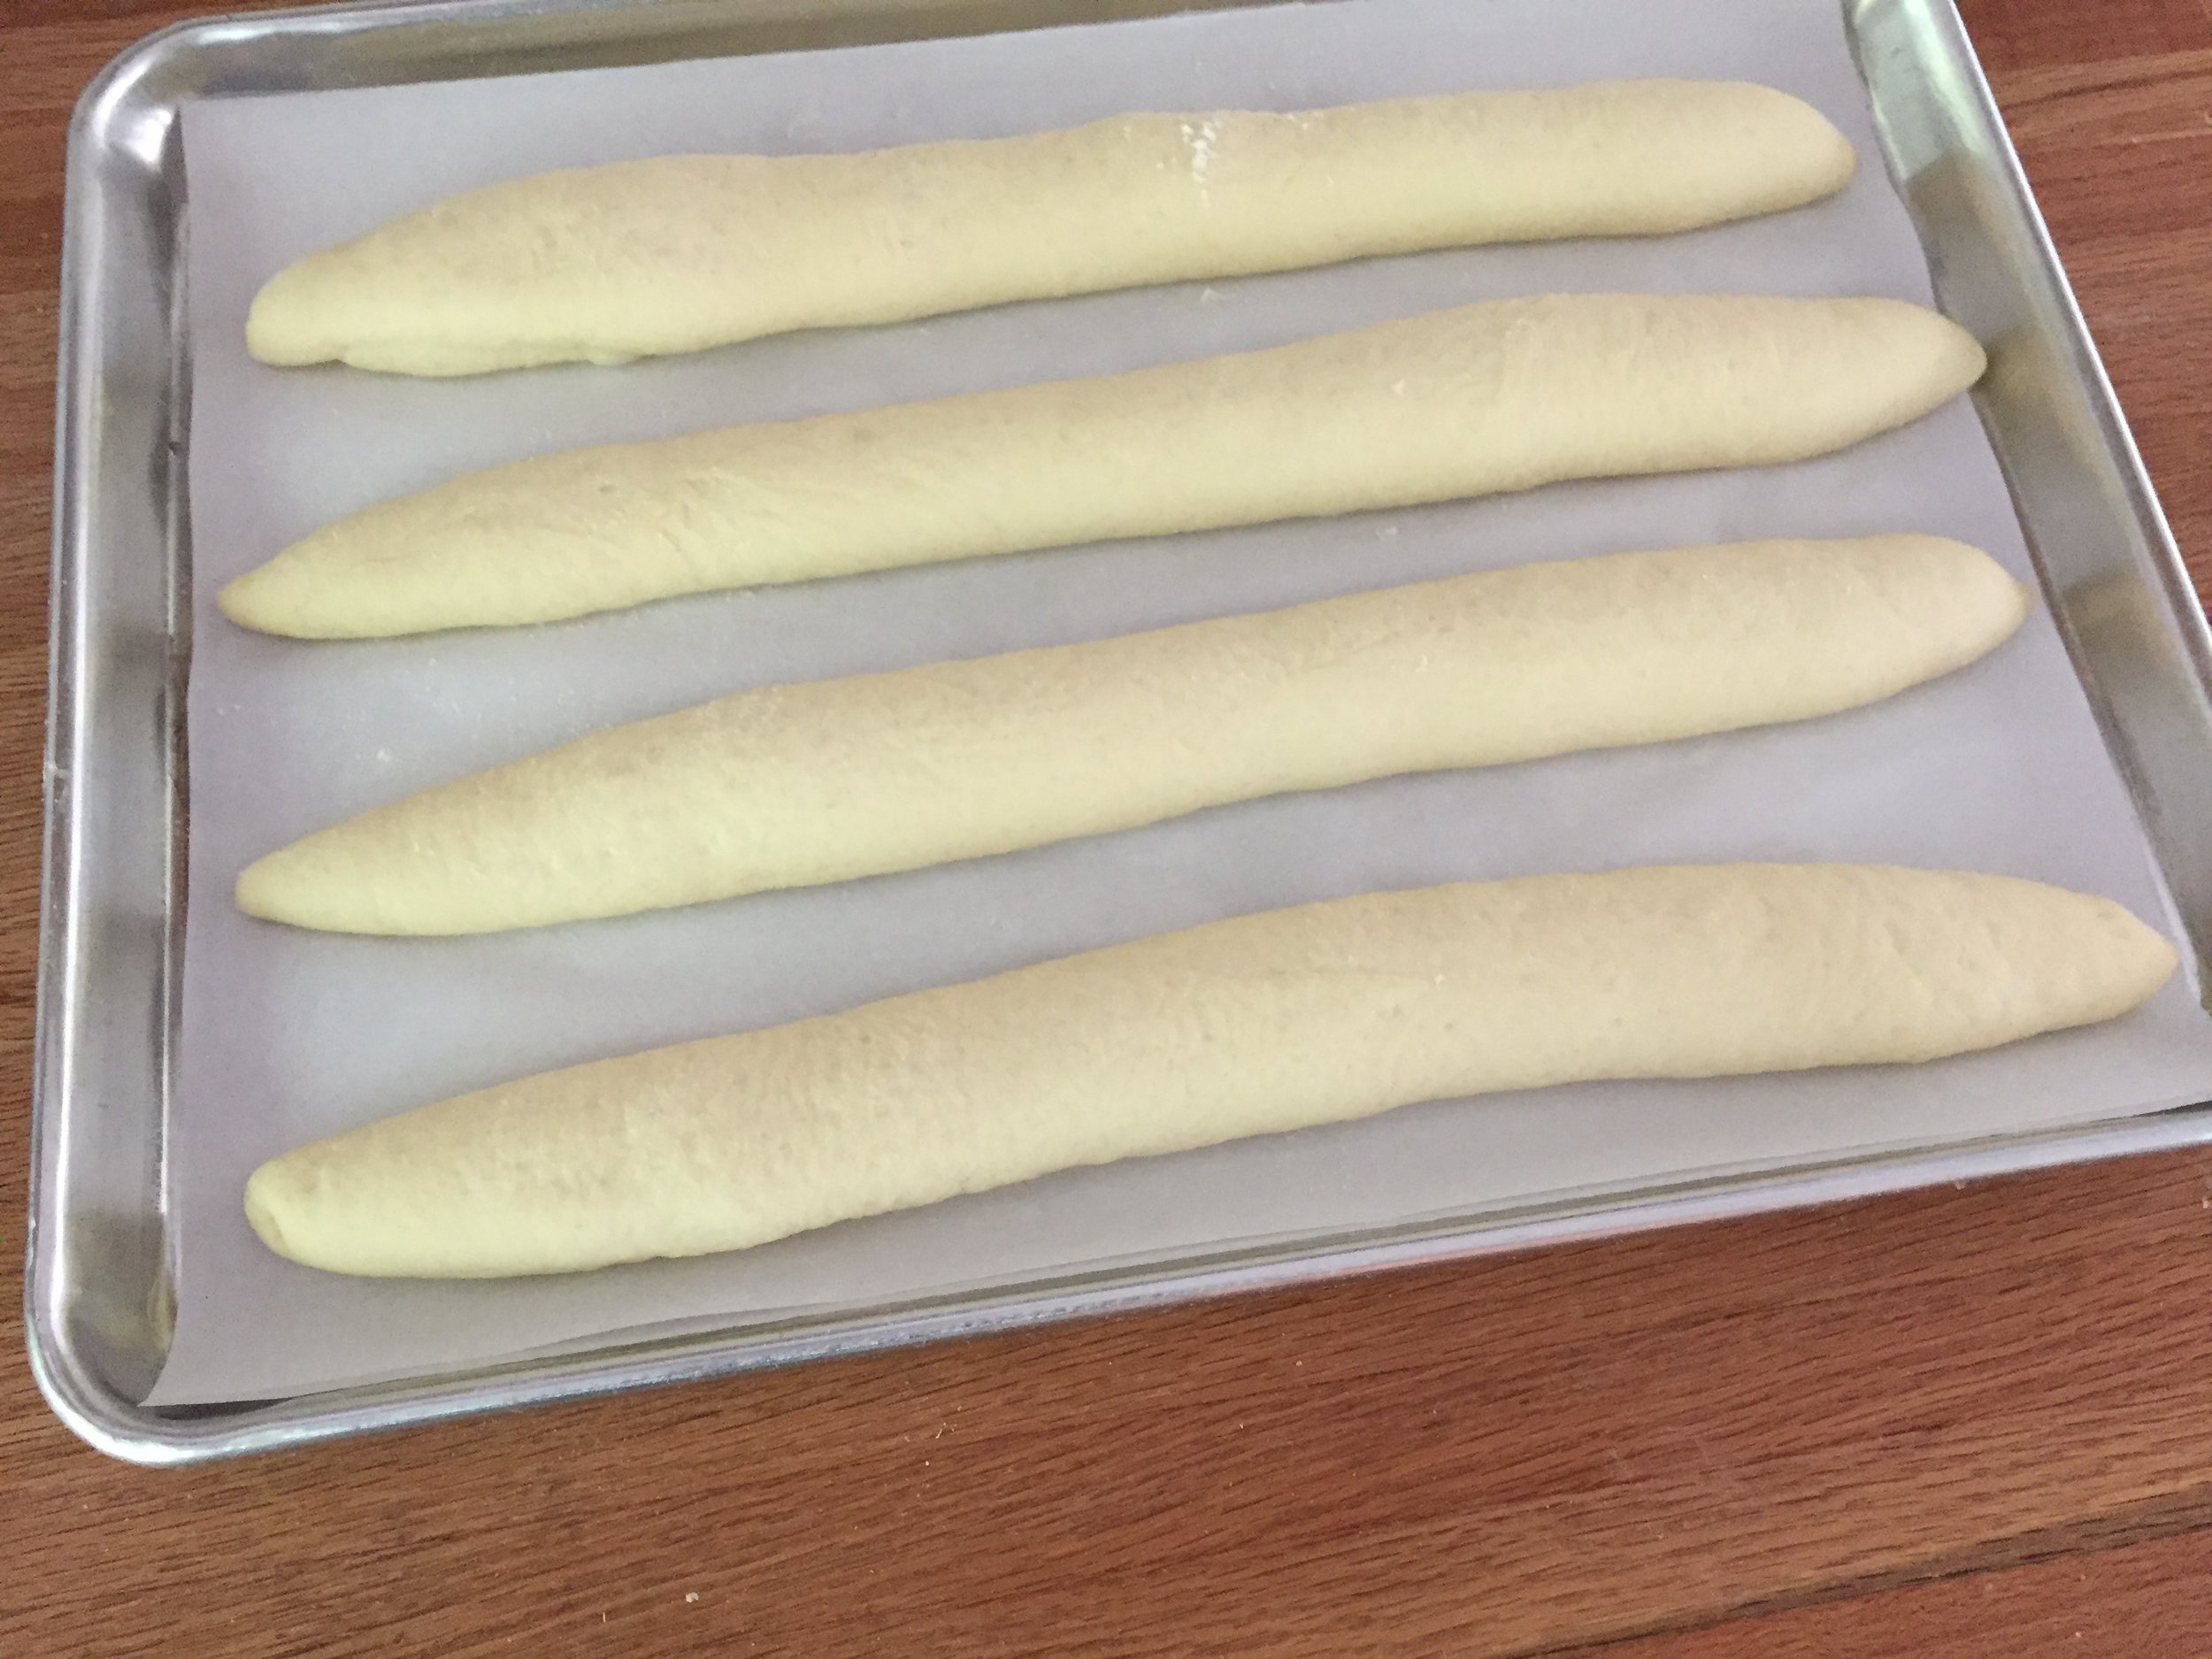
Place your overlapping hands in the middle of the log and start rolling with gentle pressure, gradually elongating the dough as you move your hands outward toward each end. You should have a nice thin log with pointy ends.
Once all four logs are shaped, arrange them on a sheet pan lined with parchment paper, cover with plastic wrap and let rest for 20 minutes.
I scored these right down the center along the length of the bread then popped them into the heated oven onto my already heated sheet pan. I gave them a burst of steam by pouring hot water into the steam tray in my Kitchenaid oven.
These baked about 20 minutes and developed a nice golden brown crust. Yeah.
Once cooled it was time for a taste. A lovely dense crumb and creamy interior with a nice crunch to the crust. Time well spent I'd say. This one is literally all in a day's work. You can do it too, especially with the help of Weekend Bakery.com!


