Danish pastry class in Copenhagen
/Update note 3/06/23: please note that I am NOT the owner/operator of the Terrible French Pastry School. I’ve had several people who plan to travel to Copenhagen email me requesting class sign ups. You must contact the school (link below) to set up any classes with Chef Fred. You’ll be happy you did!!
Always up for another baking adventure, particularly one involving one of my favorites, laminated dough, I checked out various pastry/baking classes that might be available in the cities on our travel itinerary. What better subject to tackle than Danish pastries (aka wienerbrød) in Copenhagen, the capital of Denmark! Yes please.
The site of said class was at the Terrible French Pastry School (hmmm . . . . the name gives one pause) located in the Frederiksberg section of Copenhagen. The school is owned and operated by Frédéric Terrible, a Frenchman by birth, Dane by assimilation, who has been running the school for about 10 years now, following a long career in the pastry world. Classes are generally available in Danish and English (“for the tourists” says Fred) and can also be arranged with French as an option. His “open” classes are available for general sign up, and he also accepts requests for private events.
Turns out it was an easy Metro ride + short walk from our digs on a coolish, sunny beautiful morning, perfect for working with the layered, buttery dough. The building is set back off the street situated on a small cul de sac and the entrance very unassuming with a small gold “Terrible” plaque to the left of the door (Steve snapped this photo of me working on taking my own photo).
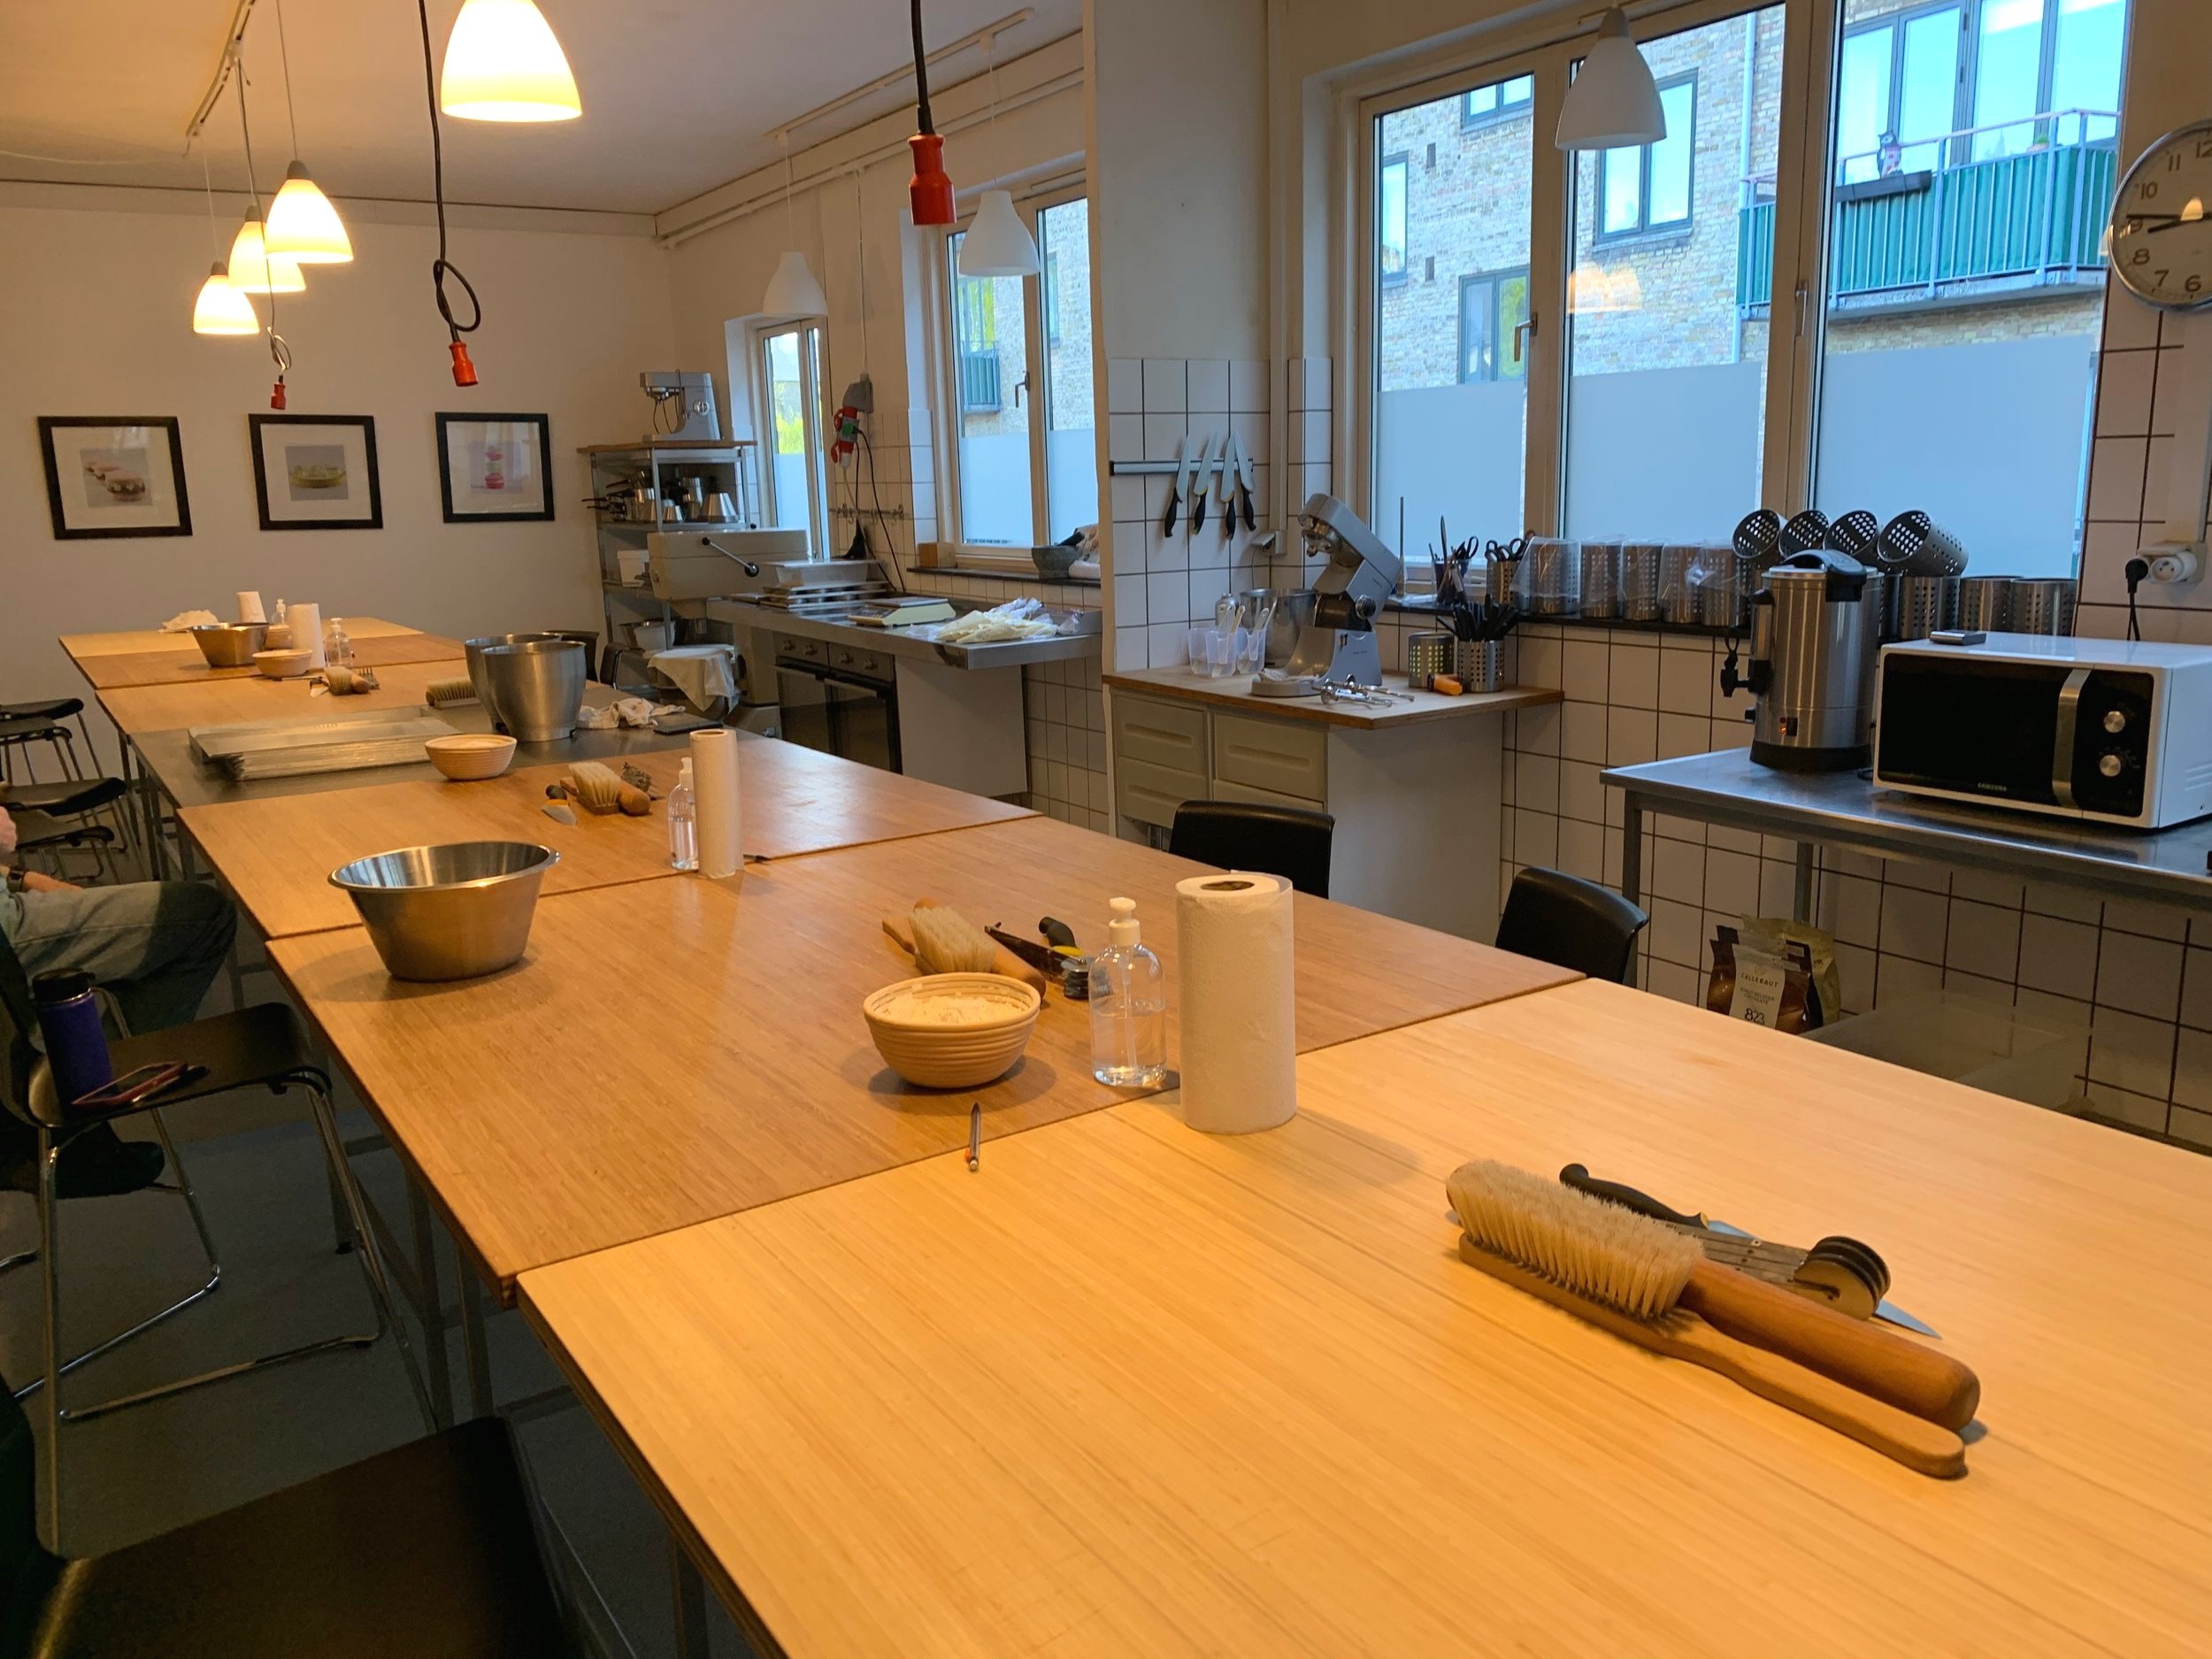
The kitchen/teaching space is perfect for groups of 10-12 people with a line up of working stations topped with dusting flour and necessary tools in the center. Ovens, mixers and assorted supplies are appropriately placed along the windows and periphery of the space.
Recalling fondly my own commercial kitchen during our Rhode Island years, I appreciated its spaciousness and organization.
Chef Fred had his base dough recipe hanging up for all to see and would review the steps of dough making later in the class. I appreciated his insight into some of the differences in the dough when one uses water (crispy) or milk (less crispy), egg (softer) or no egg (less soft), different types of flour - all details that I’ve reviewed, compared and tried a number of times when deciding on a base recipe. So much to take in and everyone has their own favorite way of doing things.
While we didn’t actually perform all of the dough laminating steps in class, he reviewed the different approaches to doing the folds (noted on the right side of his chart). He makes a lot of dough for his Danish and croissant classes ahead of time using a professional sheeter which yields more precise layers than when rolling by hand as we homebodies do. So cool!
We worked in pairs (my mate was Naomi from the UK), each pair having an oven available to bake the various pastries we created. We sat comfortably while Chef Fred made some introductory remarks about the class flow and then it was time to push our chairs back and get rolling!
Any laminated dough class I’ve attended or have taught myself typically starts with completed dough that the chef makes ahead - otherwise one could not accomplish all that one hopes to in the allotted time frame. We proceeded to roll out four different dough portions (6 pastries from each), cutting and shaping them in various ways.
Demo to get us started
First up - 12x12 cm squares cut with a pastry bicycle cutter, a useful tool for even portioning. I’ve never owned one but certainly realize how helpful they can be. Please note: I have NO affiliate links with Amazon or anyone else; the link simply shows you what this tool looks like.
Also known as spandauer (traditionally remonce filling and a topping of custard or jam), we piped a just right dollop of remonce (equal weights almond flour, sugar, butter) - not too much and not too little - in the center.
Bring 2 opposite corners to the center and push down very firmly with your fingertip, all the way down through the dough and the cream to the paper. Whoa! This was one of those ah-hah moments. Typically I push/press but this is much more dramatic with very firm pressure. It’s all about being in charge of the dough.
Repeat with the other 2 corners. Yes!
Quick note - even with the firm pressure, once proofed some corners might unfurl - just press them back into the center before topping with custard and baking.
We rolled out the next dough portion and cut 6 rectangles about 10x15 cm each. Fold in half and make 5 cuts along the open edge . . . . .
Open each piece up and pipe a strip of remonce (not too much, not too little, not too close to the edges) down the center; top with chocolate chips.
Proceed with the braid (of sorts) by crisscrossing alternating strips from top to bottom, kind of like this Danish braid.
Chef Fred gave us a demo - here’s the start of his.
Once all wrapped up, press the side of your little finger across the open top to seal it and tuck the bottom ends underneath. Voilá
As we completed each tray of pastries, they went into the oven for proofing. Chef had given the ovens a whiff of warmth and kept an eye on the temps so they hung between 25ºC (77ºF) and 28ºC (82ºF). Too warm and the butter will start to melt, resulting in pools of butter and less than stellar texture after baking.
Note that European style butter with higher butterfat content can stand up to warmer proofing temps than run-of-the-mill butters so be forewarned! When in doubt I plan for a lower temp (70 - 75ºF) and longer rise (instead of 1 to 1.5 hours, go 2 to 2.5 hours) to avoid the butter leak issue.
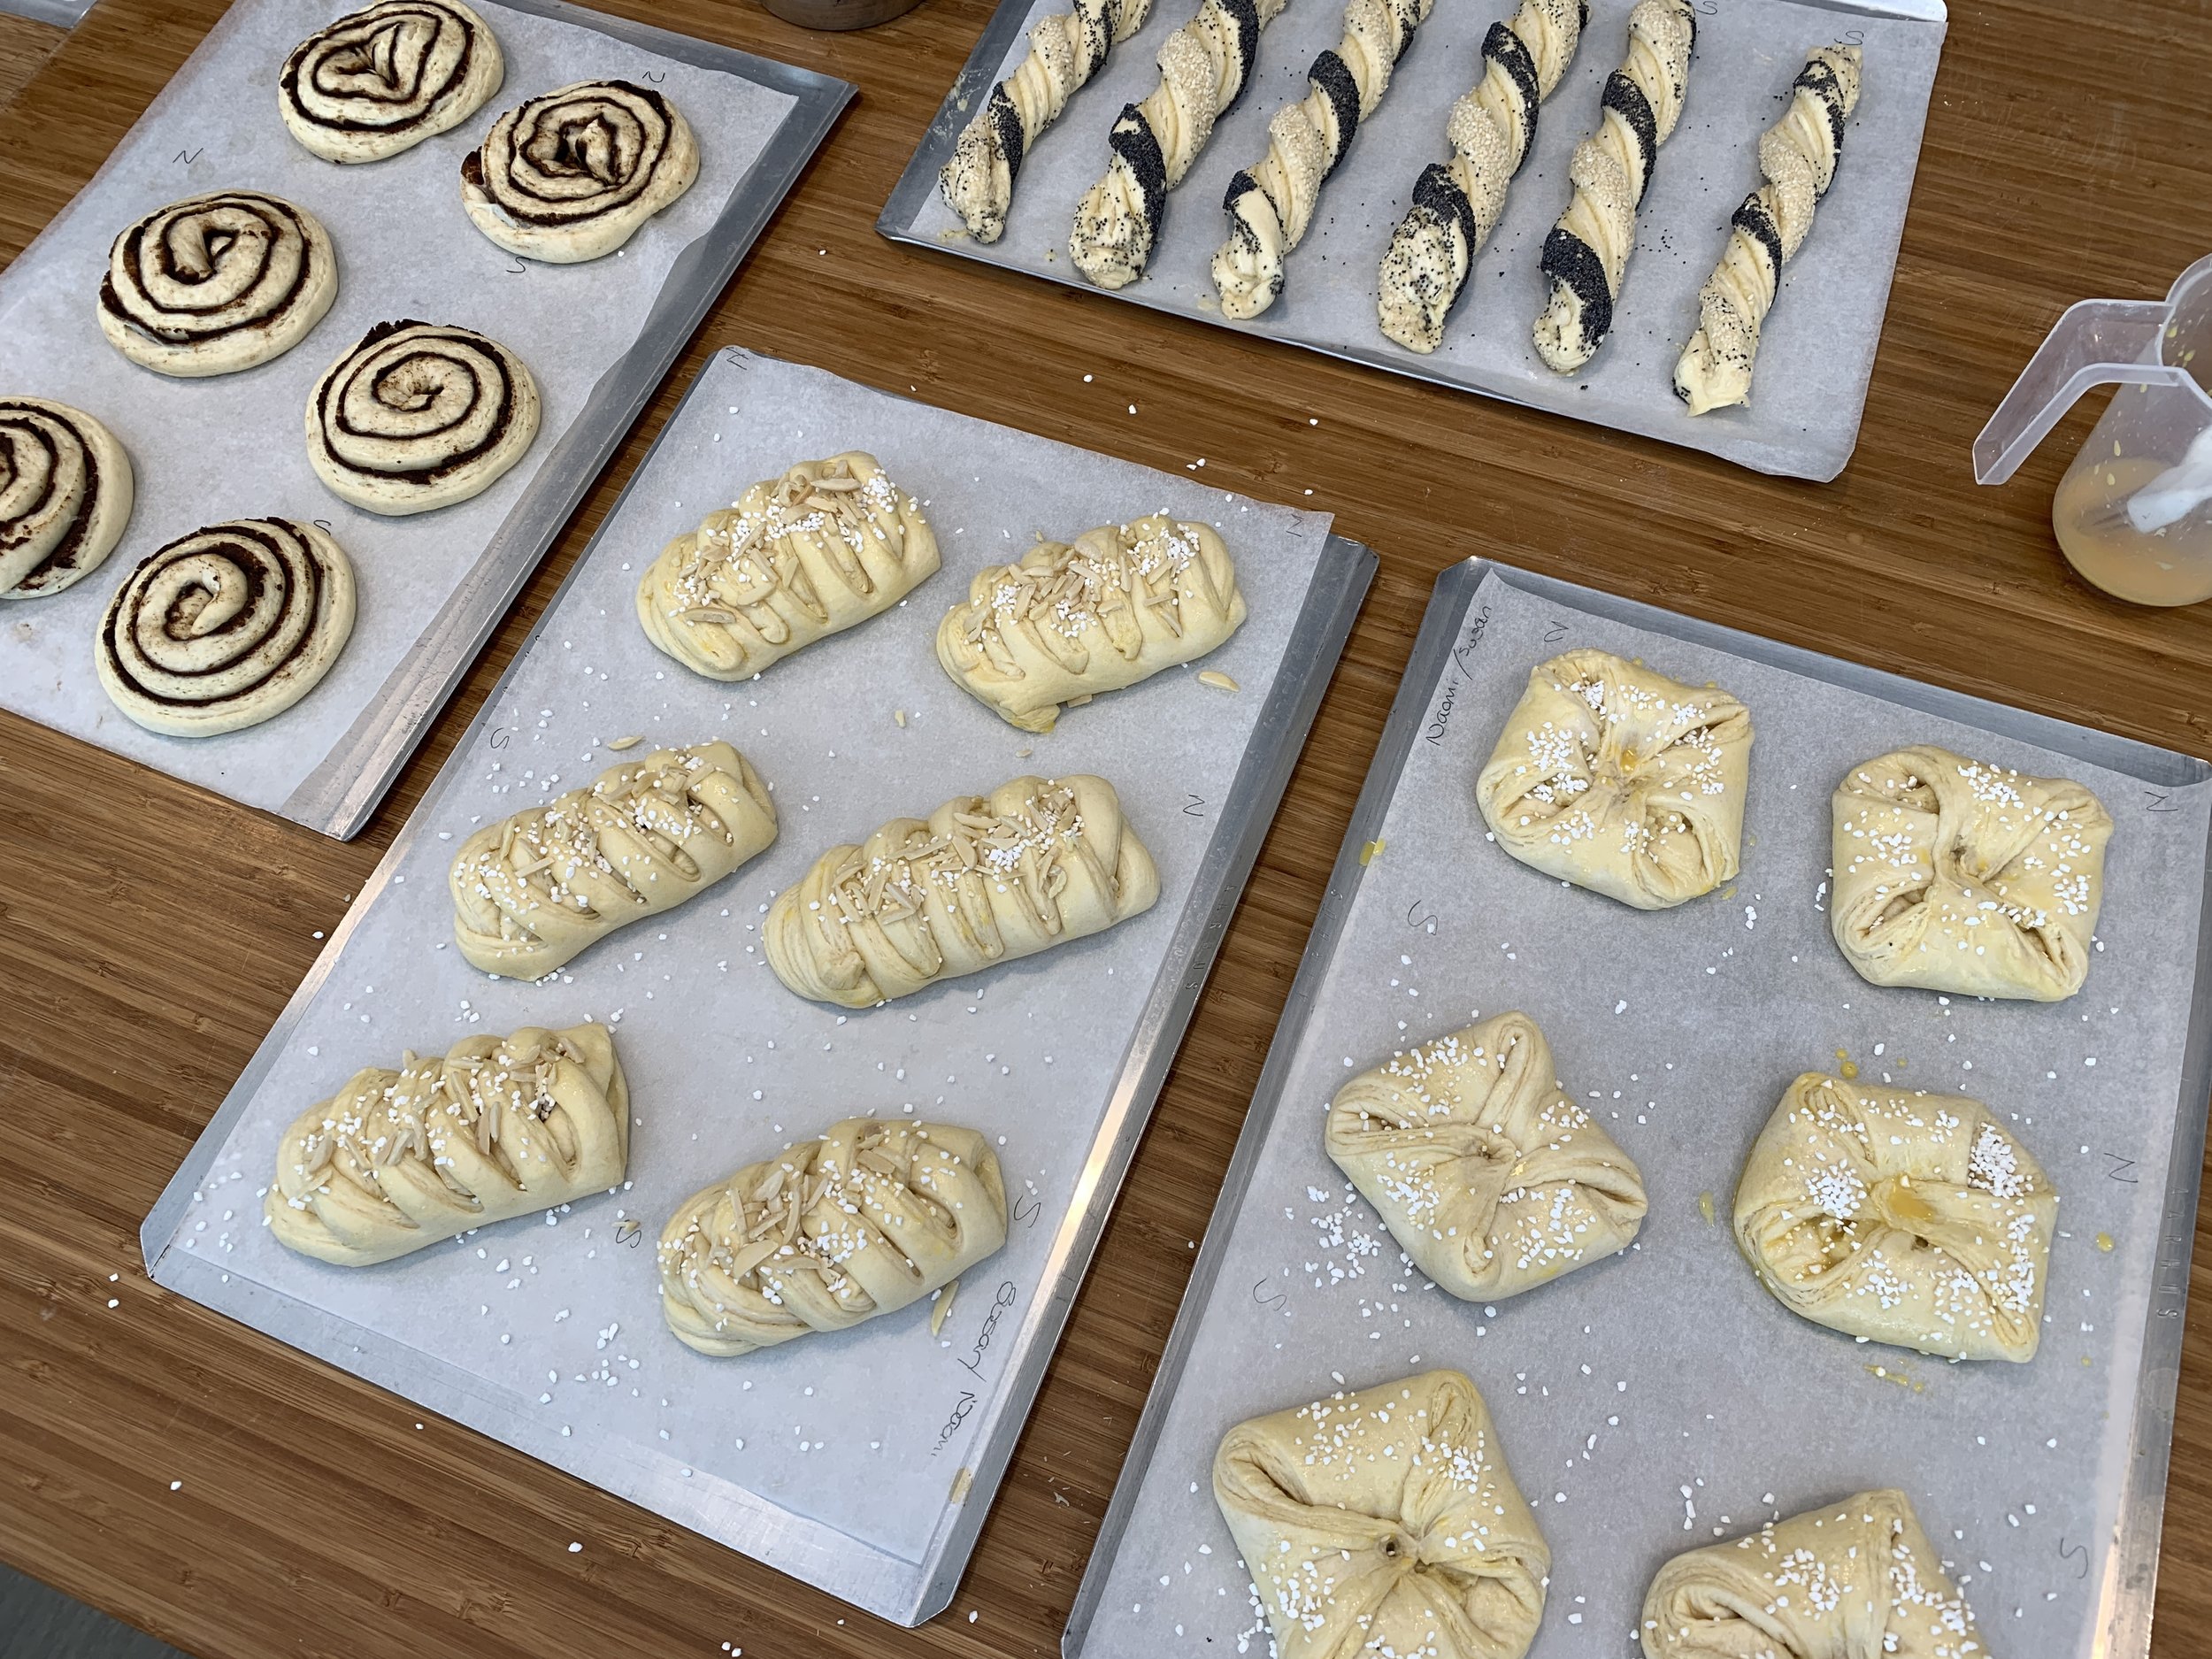
We continued on with cinnamon spirals and sesame/poppy seed twists to complete the morning’s foursome of pastry treats.
Another ah-hah moment - to keep the cinnamon spirals from unfurling during proofing/baking, simply lift the end away from the coil a bit and fold/tuck it underneath the center. It’s now trapped on the bottom. Then press two fingertips in the center of each spiral and stretch it out, also flattening the whole thing (lower center below). This essentially tells the dough to bake outward not upward for a nicely shaped end result.
Amazing what one never read about or witnessed anyone do before. Cool.
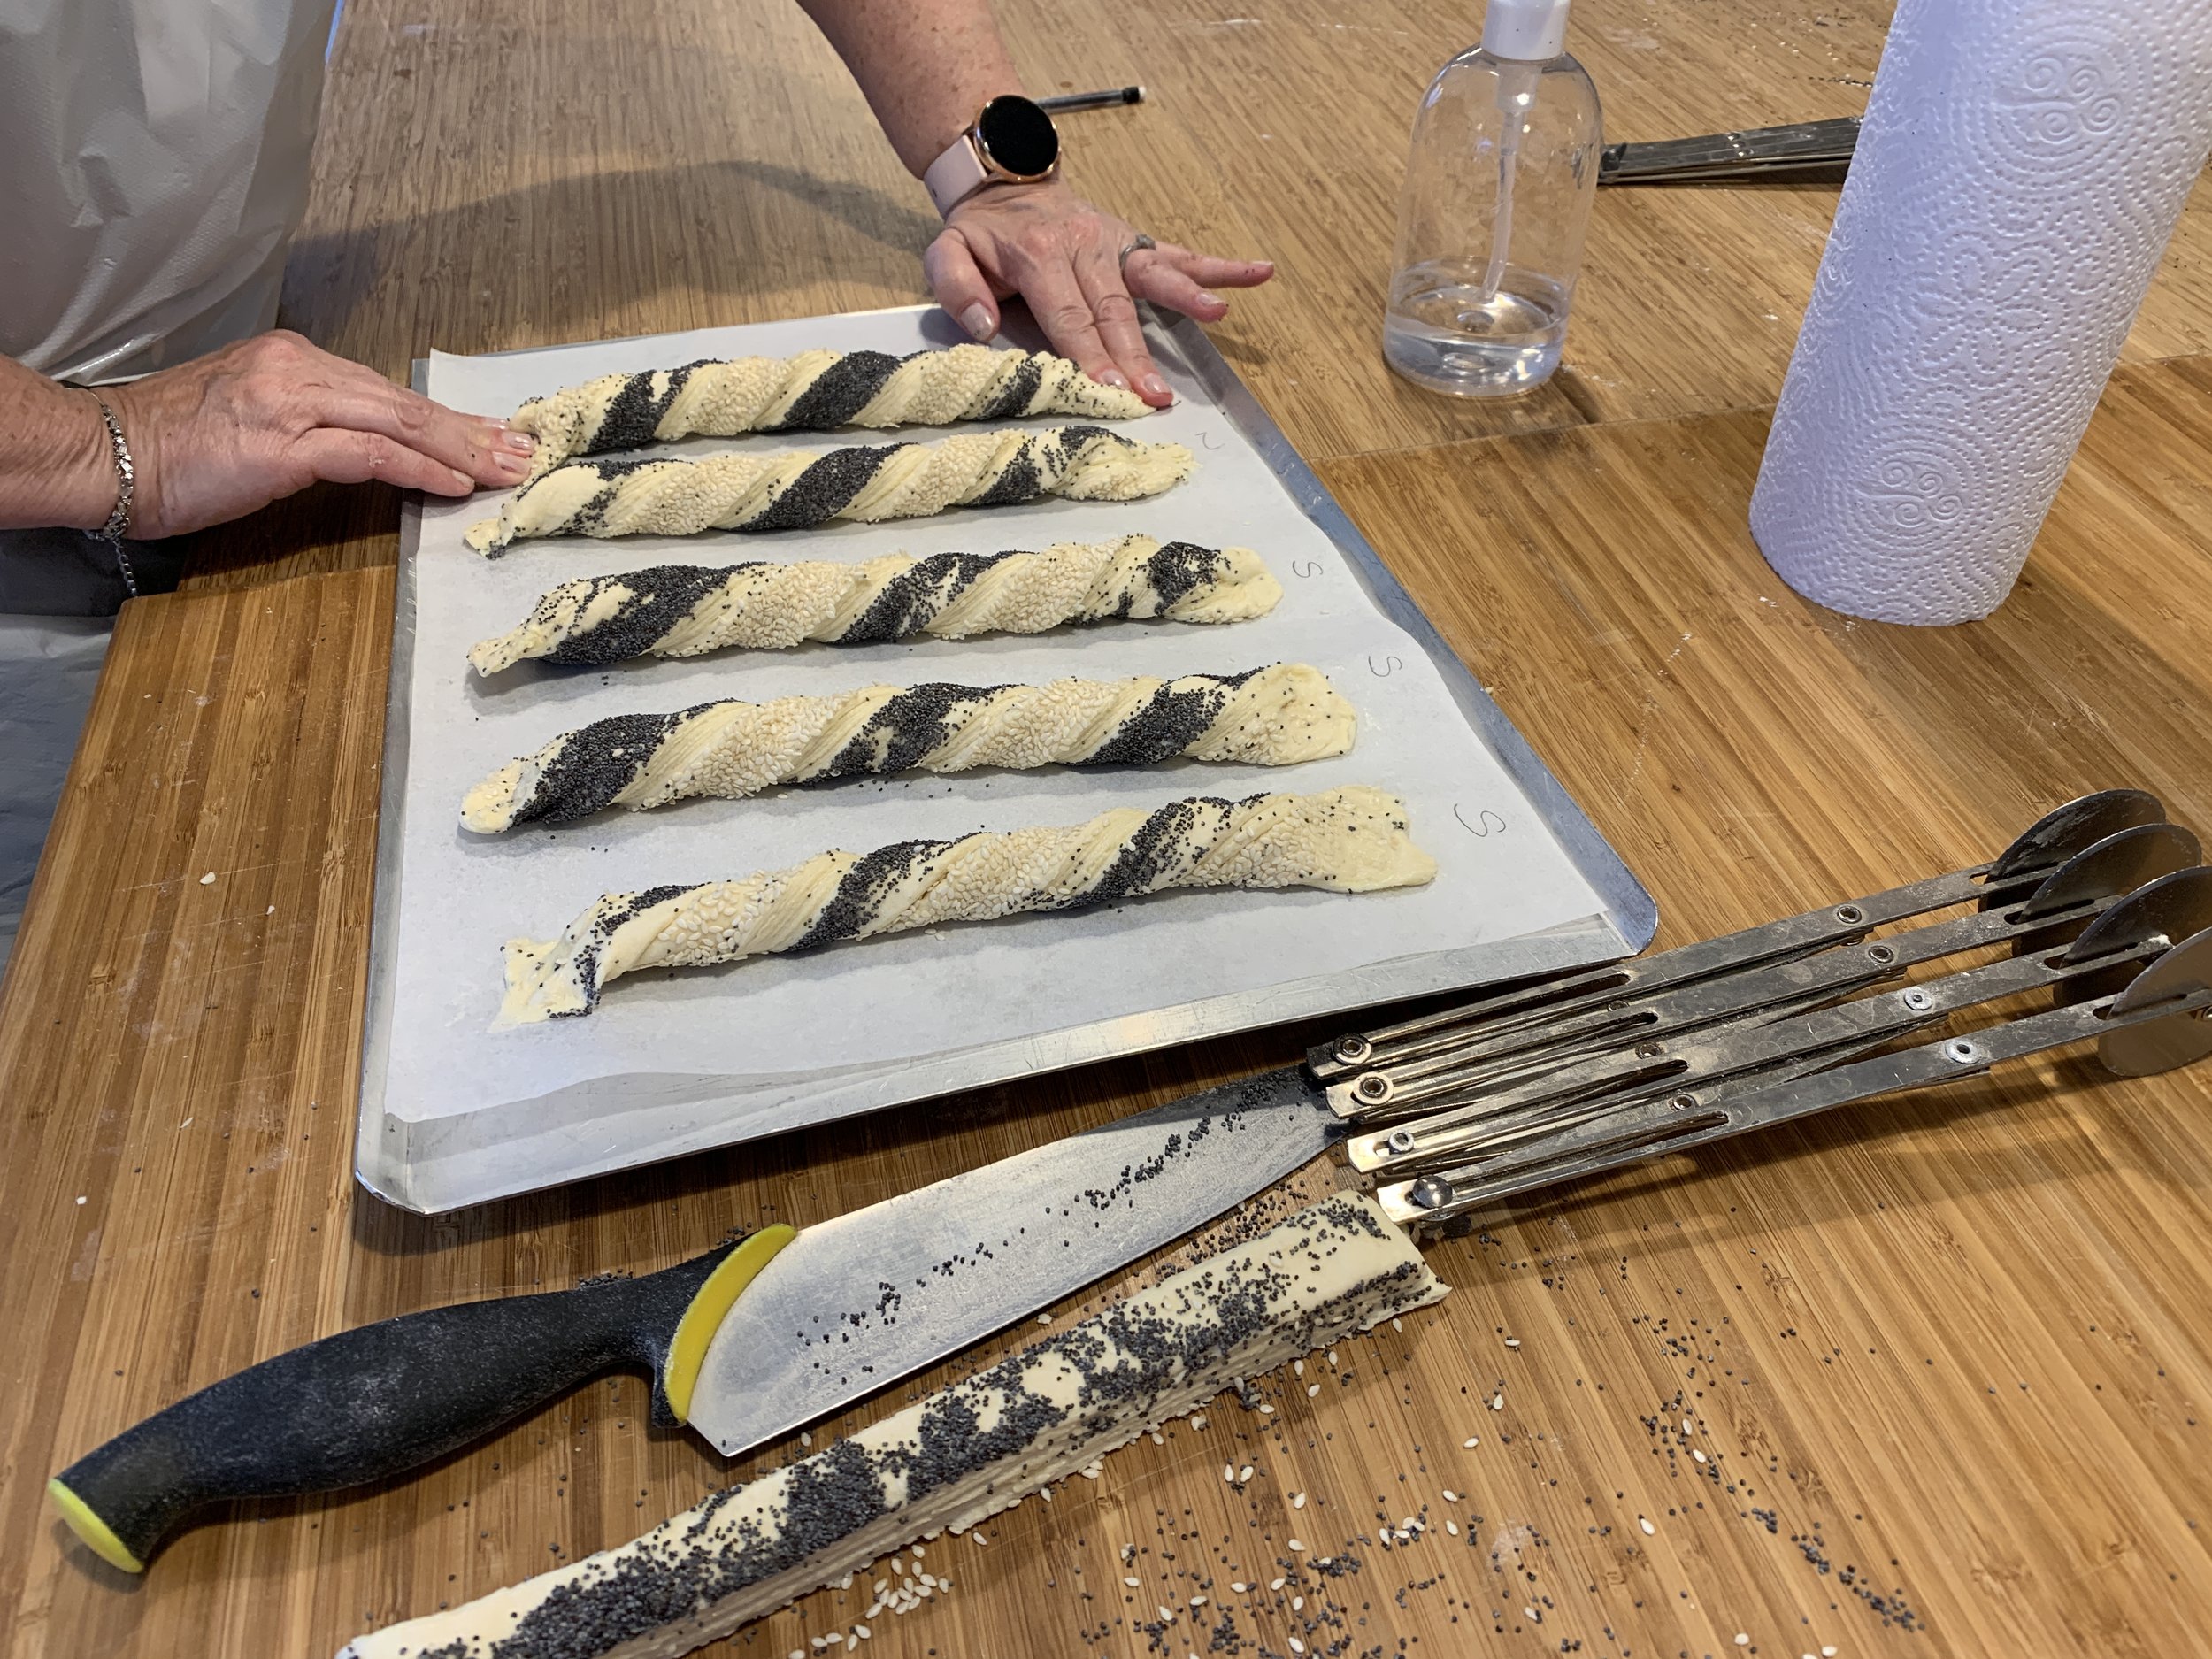
The sesame poppy twists came about after rolling a rectangle of dough, spreading a thin layer of remonce over it then folding it in half. We coated one side with sesame seeds and the other with poppy then cut and snugly twisted the strips.
Press the ends of the twists firmly onto the parchment to hold them in place (and don’t be afraid to really smoosh them down!). Notice the bicycle cutter below.
Once the proofing was underway Chef Fred gave a quick demo on making crème pâtissiére, one of the essentials of French pastry.
When we were ready to bake, we piped pastry cream on the center of the spandauer (not yet accomplished in the image below), egg washed them and added a sprinkle of pearl sugar. The almond/chocolate chip braids were adorned with the pearl sugar and slivered almonds.
All proofed
Let the baking begin! We rotated trays in and out of the oven until all were baked to golden perfection.
We sampled our wares and also boxed some up to take home. Steve was a happy camper indeed!
After the class Chef emailed all of us a detailed recipe pack with great diagrams of various Danish shapes - can’t wait to try a few others!
All in all a great morning and lots of fun. If you’re planning to be in Copenhagen and feel the baking bug coming on, I highly recommend Terrible French Pastry School. Thanks so much Chef Frédéric (who BTW is cool with me writing and sharing this).
Later that day Steve and I strolled through popular Tivoli Gardens where we found the flowers simply divine. Enjoy!


