Maple blueberry almond butter teacakes

These craggy, chunky, fruity, crumbly teacakes are delicious! I mentioned them back in a “puttering in the kitchen” update back in August, 2020 when I first gave the recipe a try. I discovered it on the foil lid of a Siggi’s yogurt container and did a couple of different versions then. It calls for almond butter, an ingredient I’d like to use more often. Since I purchased a fresh jar of said butter a few weeks back, I thought it was time to give it another go.

Here’s the recipe and my mise below. Lots going on here but once you have all your ingredients laid out, the prep is very straight forward. Think calm, organized, methodical and you’ll be just fine.

My flour mix is all purpose, almond, spelt and dark rye (or whole wheat pastry) - play around with your own mix. The sweetener is a blend of maple syrup, dark brown sugar and honey in amounts that play down the sweetness. When I first made these, they seemed a bit flat on the taste buds, but once one gets used to the reduced sugar content, the other ingredients offer new found cake enjoyment.

Mise

In a medium bowl blend dry ingredients - flours, baking powder, baking soda and salt.

In a separate larger bowl whisk together milk, almond butter, maple syrup, brown sugar, honey, egg, vanilla and yogurt. Whew!

Dry and wet ready to blend

Fold dry ingredients into wet in three additions.

All blended up

Fill your chosen molds about 3/4 full. As many of you know I’m a sucker for Silikomart silicone molds in various shapes and sizes (set them on a wire grid placed in a half sheet pan - better air circulation for even baking). This time I went with one of my newer shapes - a pleasing rounded rectangle of sorts. Press a few blueberries into the tops and cover with streusel.

My streusel topping is made by blending 50 g / 1/4 cup sugar, 100g / 3/4 cup all purpose flour (or whole wheat pastry) and a large pinch of salt in a medium bowl. Then sand in 70 g / 5 tablespoons cool, diced unsalted butter to coarse crumbs and stir in 30 g toasted sliced almonds. Give the cakes a generous coverage even though it looks messy. And remember - if you’re making streusel, double or triple or quadruple your batch and stash the extra in the freezer for next time. Nothing like planning ahead.

Bake at 400ºF for 20-25 minutes. Look for a tester to come out clean.

All craggy and crunchy

Let cool in the molds about 10 minutes then release the cakes onto a cooling rack. When baking plain cakes in silicone molds, I simply lift up an edge, tilt and let each cake fall out onto a rack, but when streusel/crumble is involved, it can be a little tricky to get them out of the molds. I pick up a corner, tilt it and gradually push each cake up from the bottom as you ease it out. You’ll lose some streusel in the process but just be gentle and go for it. Finish cooling on racks or sneak one while it’s still a bit warm.

The cake is nicely moist and the blueberries and streusel add just the right combo of flavors and textures. These keep for 2-3 days in a covered container at room temp and also freeze well for several weeks.

Have fun with it!


It’s still summer by the calendar, but we’ve already had a few crisp chilly nights in the 40s. I’m looking forward to the official start of autumn - anyone wish to predict the first frost?

Cheery late summer blooms

Honeyed pear/Cashel blue/walnut puffs

IMG_3195.JPG

Here’s a wonderful way to use puff pastry. Make vol au vent (puff pastry cases) in desired shapes and create your own sweet and/or savory fillings for your supper buffet or dessert table. While making your own puff pastry is a rewarding experience, the good news is you don’t have to! All butter puff pastry (Dufour is a well known brand) is available in the frozen food sections at many local supermarkets, allowing you to take one task off your holiday prep to-do list.

Before you know it, Thanksgiving and Christmas will be upon us, so start planning now.

This version of vol au vent (also referred to as feuilletée) marries sweet and savory tastes and, since I’m still on the trail of baking with cheese projects, I chose Irish Cashel blue cheese from The Cheese Lady as a lovely accompaniment to pears, walnuts and honey.

IMG_3308.JPG

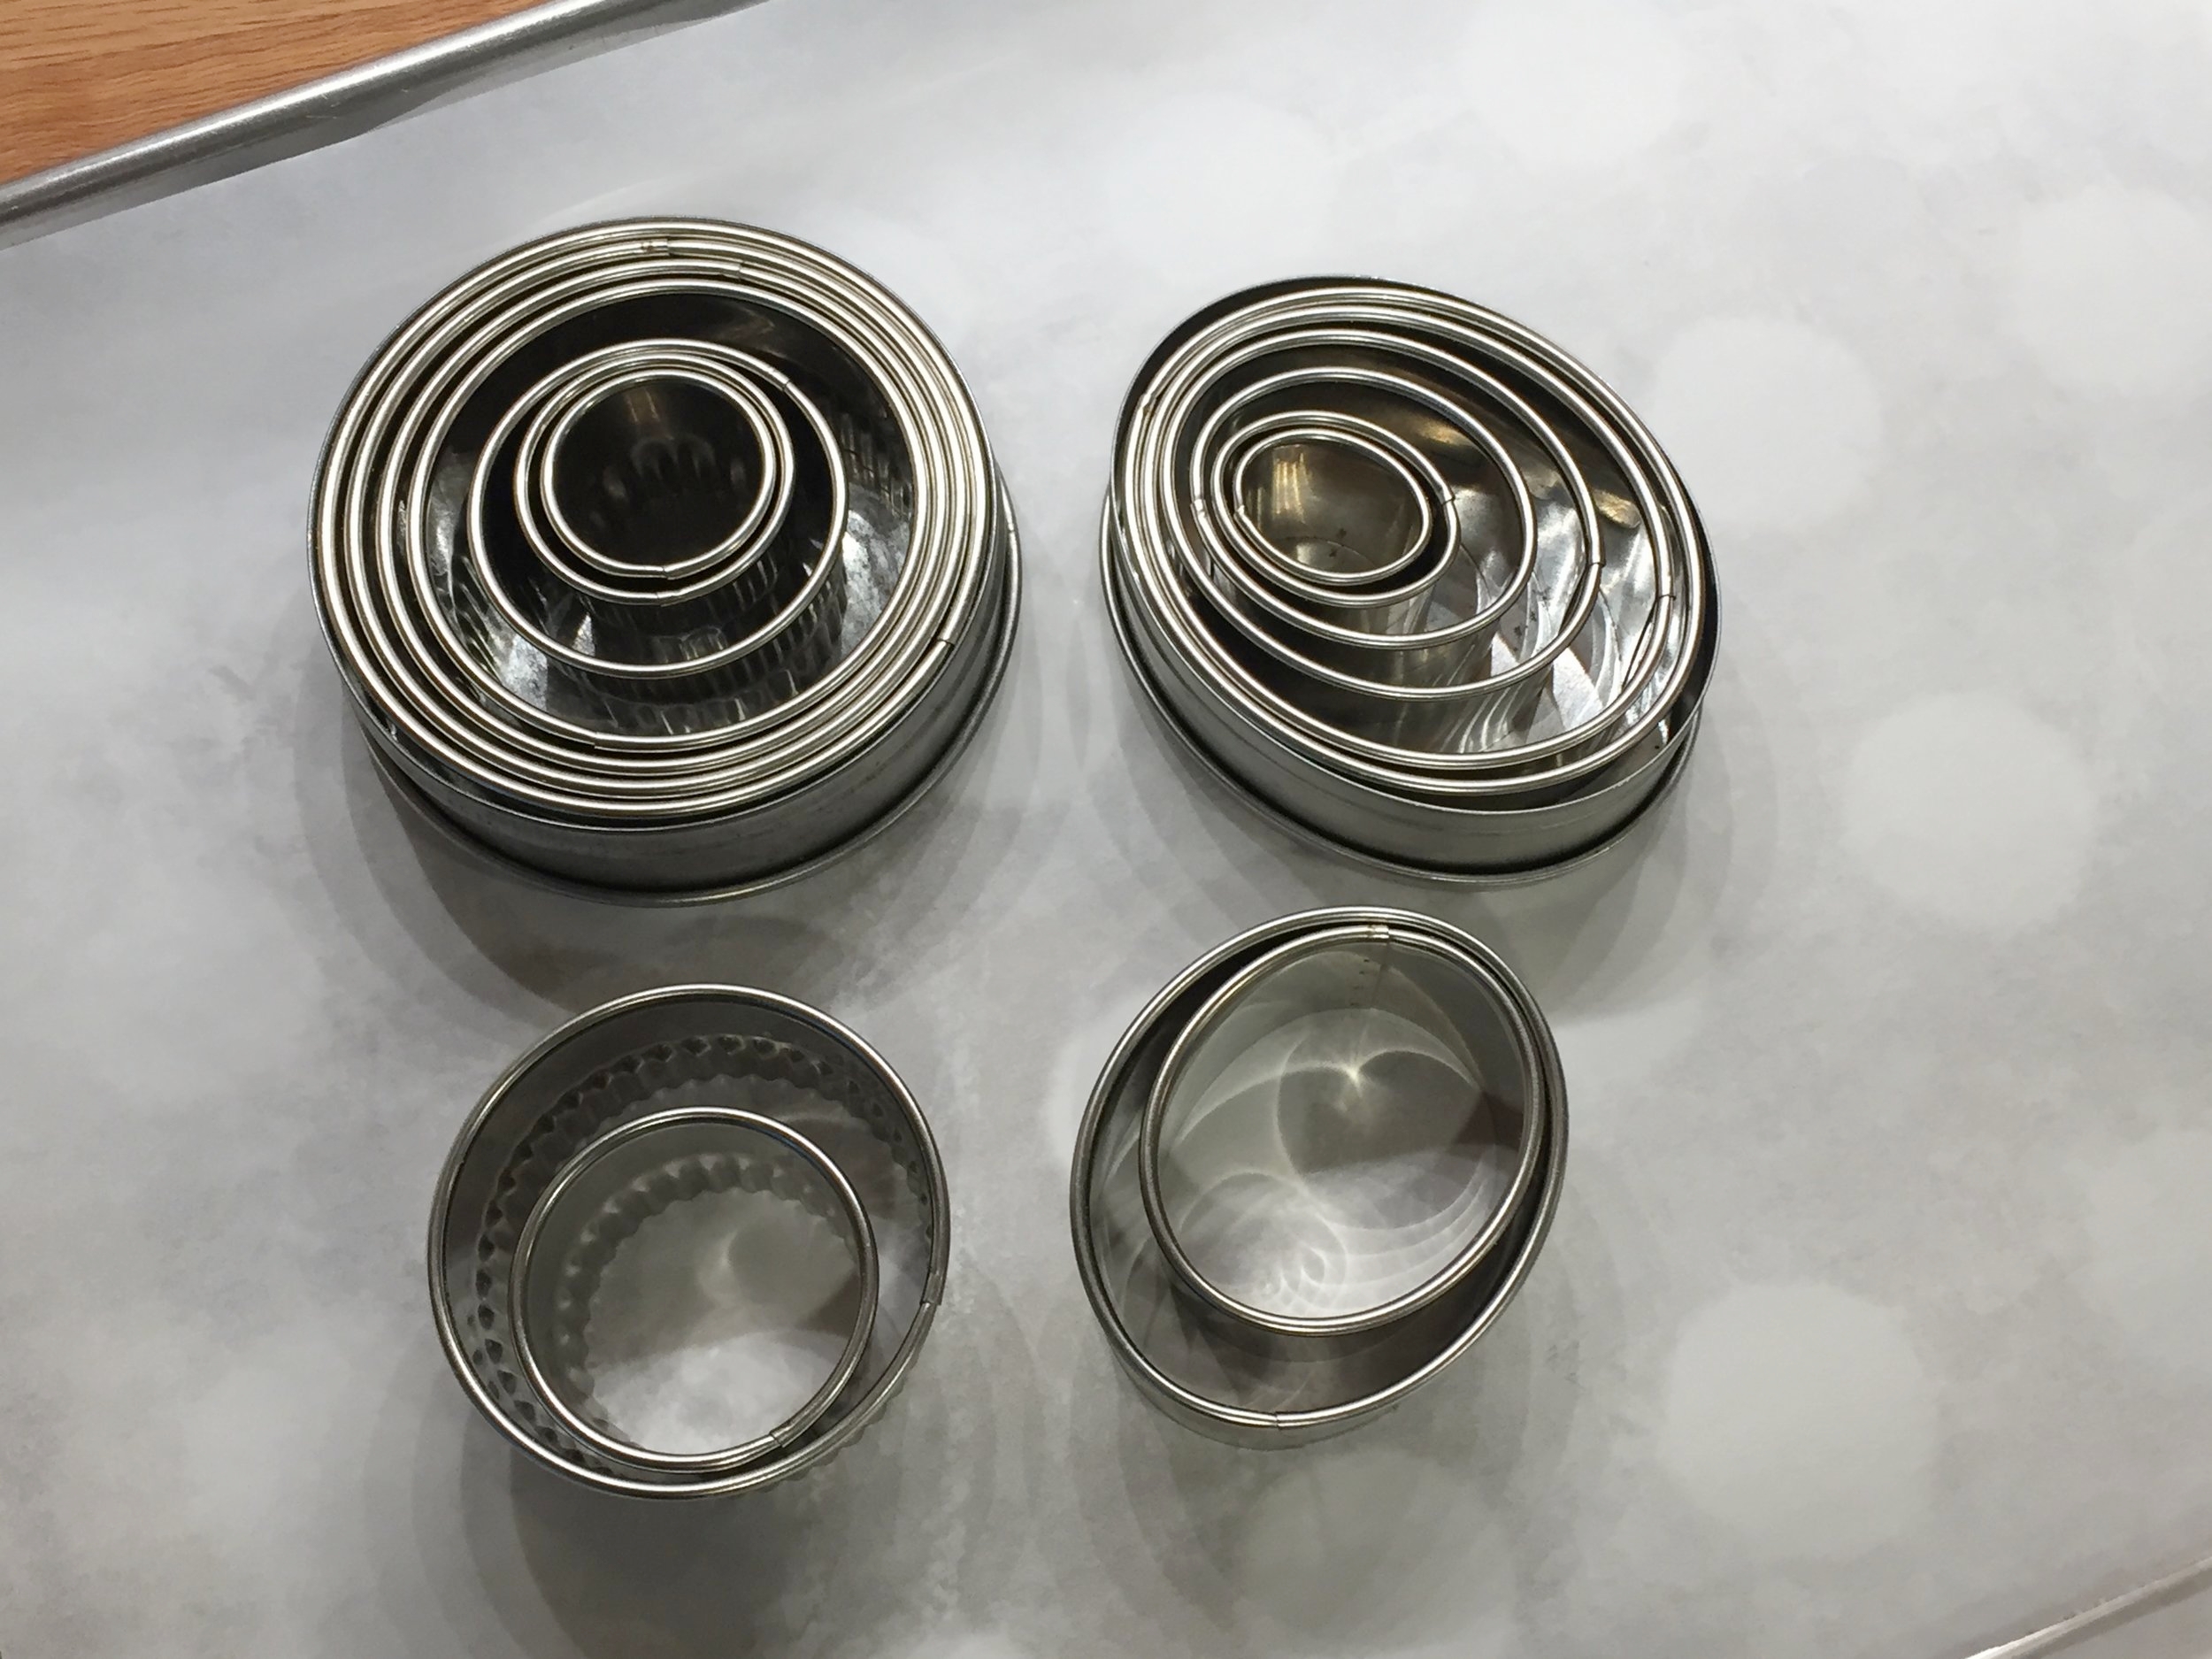
If you happen to have a stash of different shaped cutters, choose your favorite shapes (I like ovals, squares, hearts and fluted rounds) and use cutters that are two sizes apart. For each puff you’ll cut two shapes with the larger of the two and then cut the center out of one of them with the smaller. Once you do it, you’ll know what I’m talking about.

IMG_3335.JPG

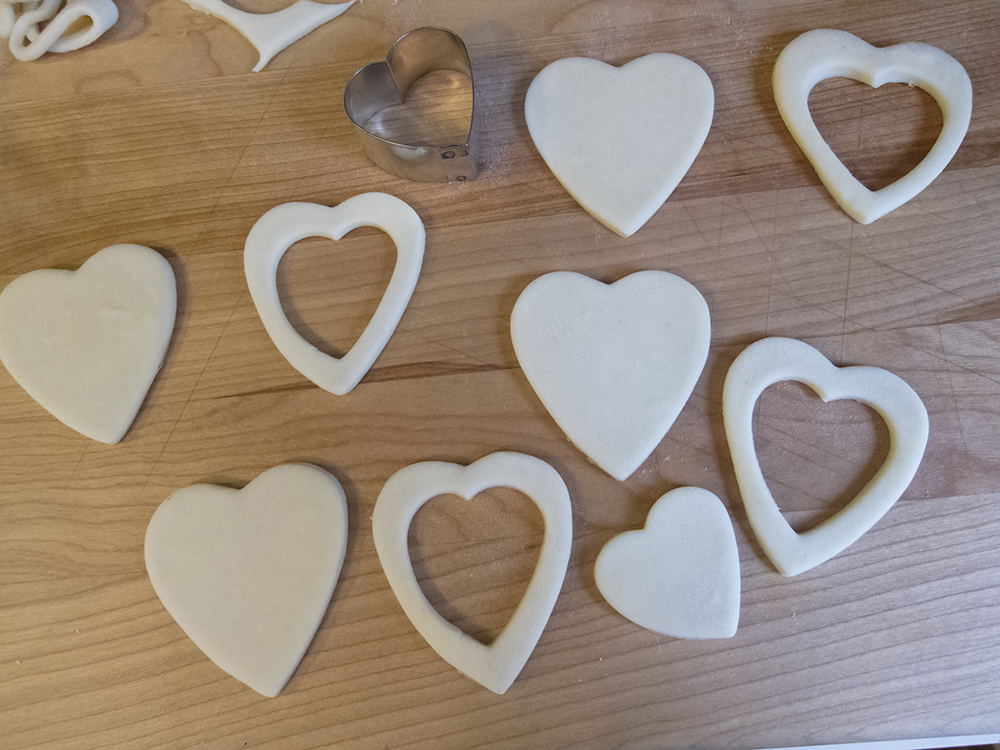
Here’s a heart version which should help you visualize the process. Brush a little water along the edge of the solid shape then lay the cut out on top of it. Just press gently to stick them together.

IMG_9210.jpg
IMG_9212.jpg

The top layer serves as a border for the puffs. You can save the cut out shapes and bake them along side - they make cute “hats” on your finished creation or you can just eat them plain.

These bake at 400ºF for 15-20 minutes until golden brown. Let them cool a bit, push down the center layers that have puffed up to give yourself room for the chosen filling.

IMG_9225.jpg

NOTE: Another plan-ahead perk is you can bake your puffs a week or so ahead and freeze them. When you’re ready to start your filling project, take them out of the freezer, place them on a parchment lined sheet pan and heat the oven to 325ºF. Pop them into the heated oven for 5-10 minutes to crisp them up then set on a cooling rack while you prepare your fillings.

I’ve created these delights with poached Bosc pears on hand in the fridge, but another approach is to roast pear slices drizzled with honey for the pear portion of the program.

IMG_3332.JPG

Peel, core and slice the pears, drizzle them with honey and roast them in a 375ºF convection oven for 10-20 minutes. Stir them up a bit half way through. You want them turning golden but still holding their shape. Once the pears have cooled you can store them in a covered container in the fridge for several days.

When you’re ready to fill your puffs, cube the pears to allow them to fit in nicely. Have some toasted walnuts, crumbled up Cashel blue and honey at the ready. First put a bit of crumbled cheese in the bottom. (Note the twisted corner diamond shapes below - they’re great although difficult to explain on paper - maybe some day I’ll have a video to post to show how they’re done!)

IMG_3193.JPG

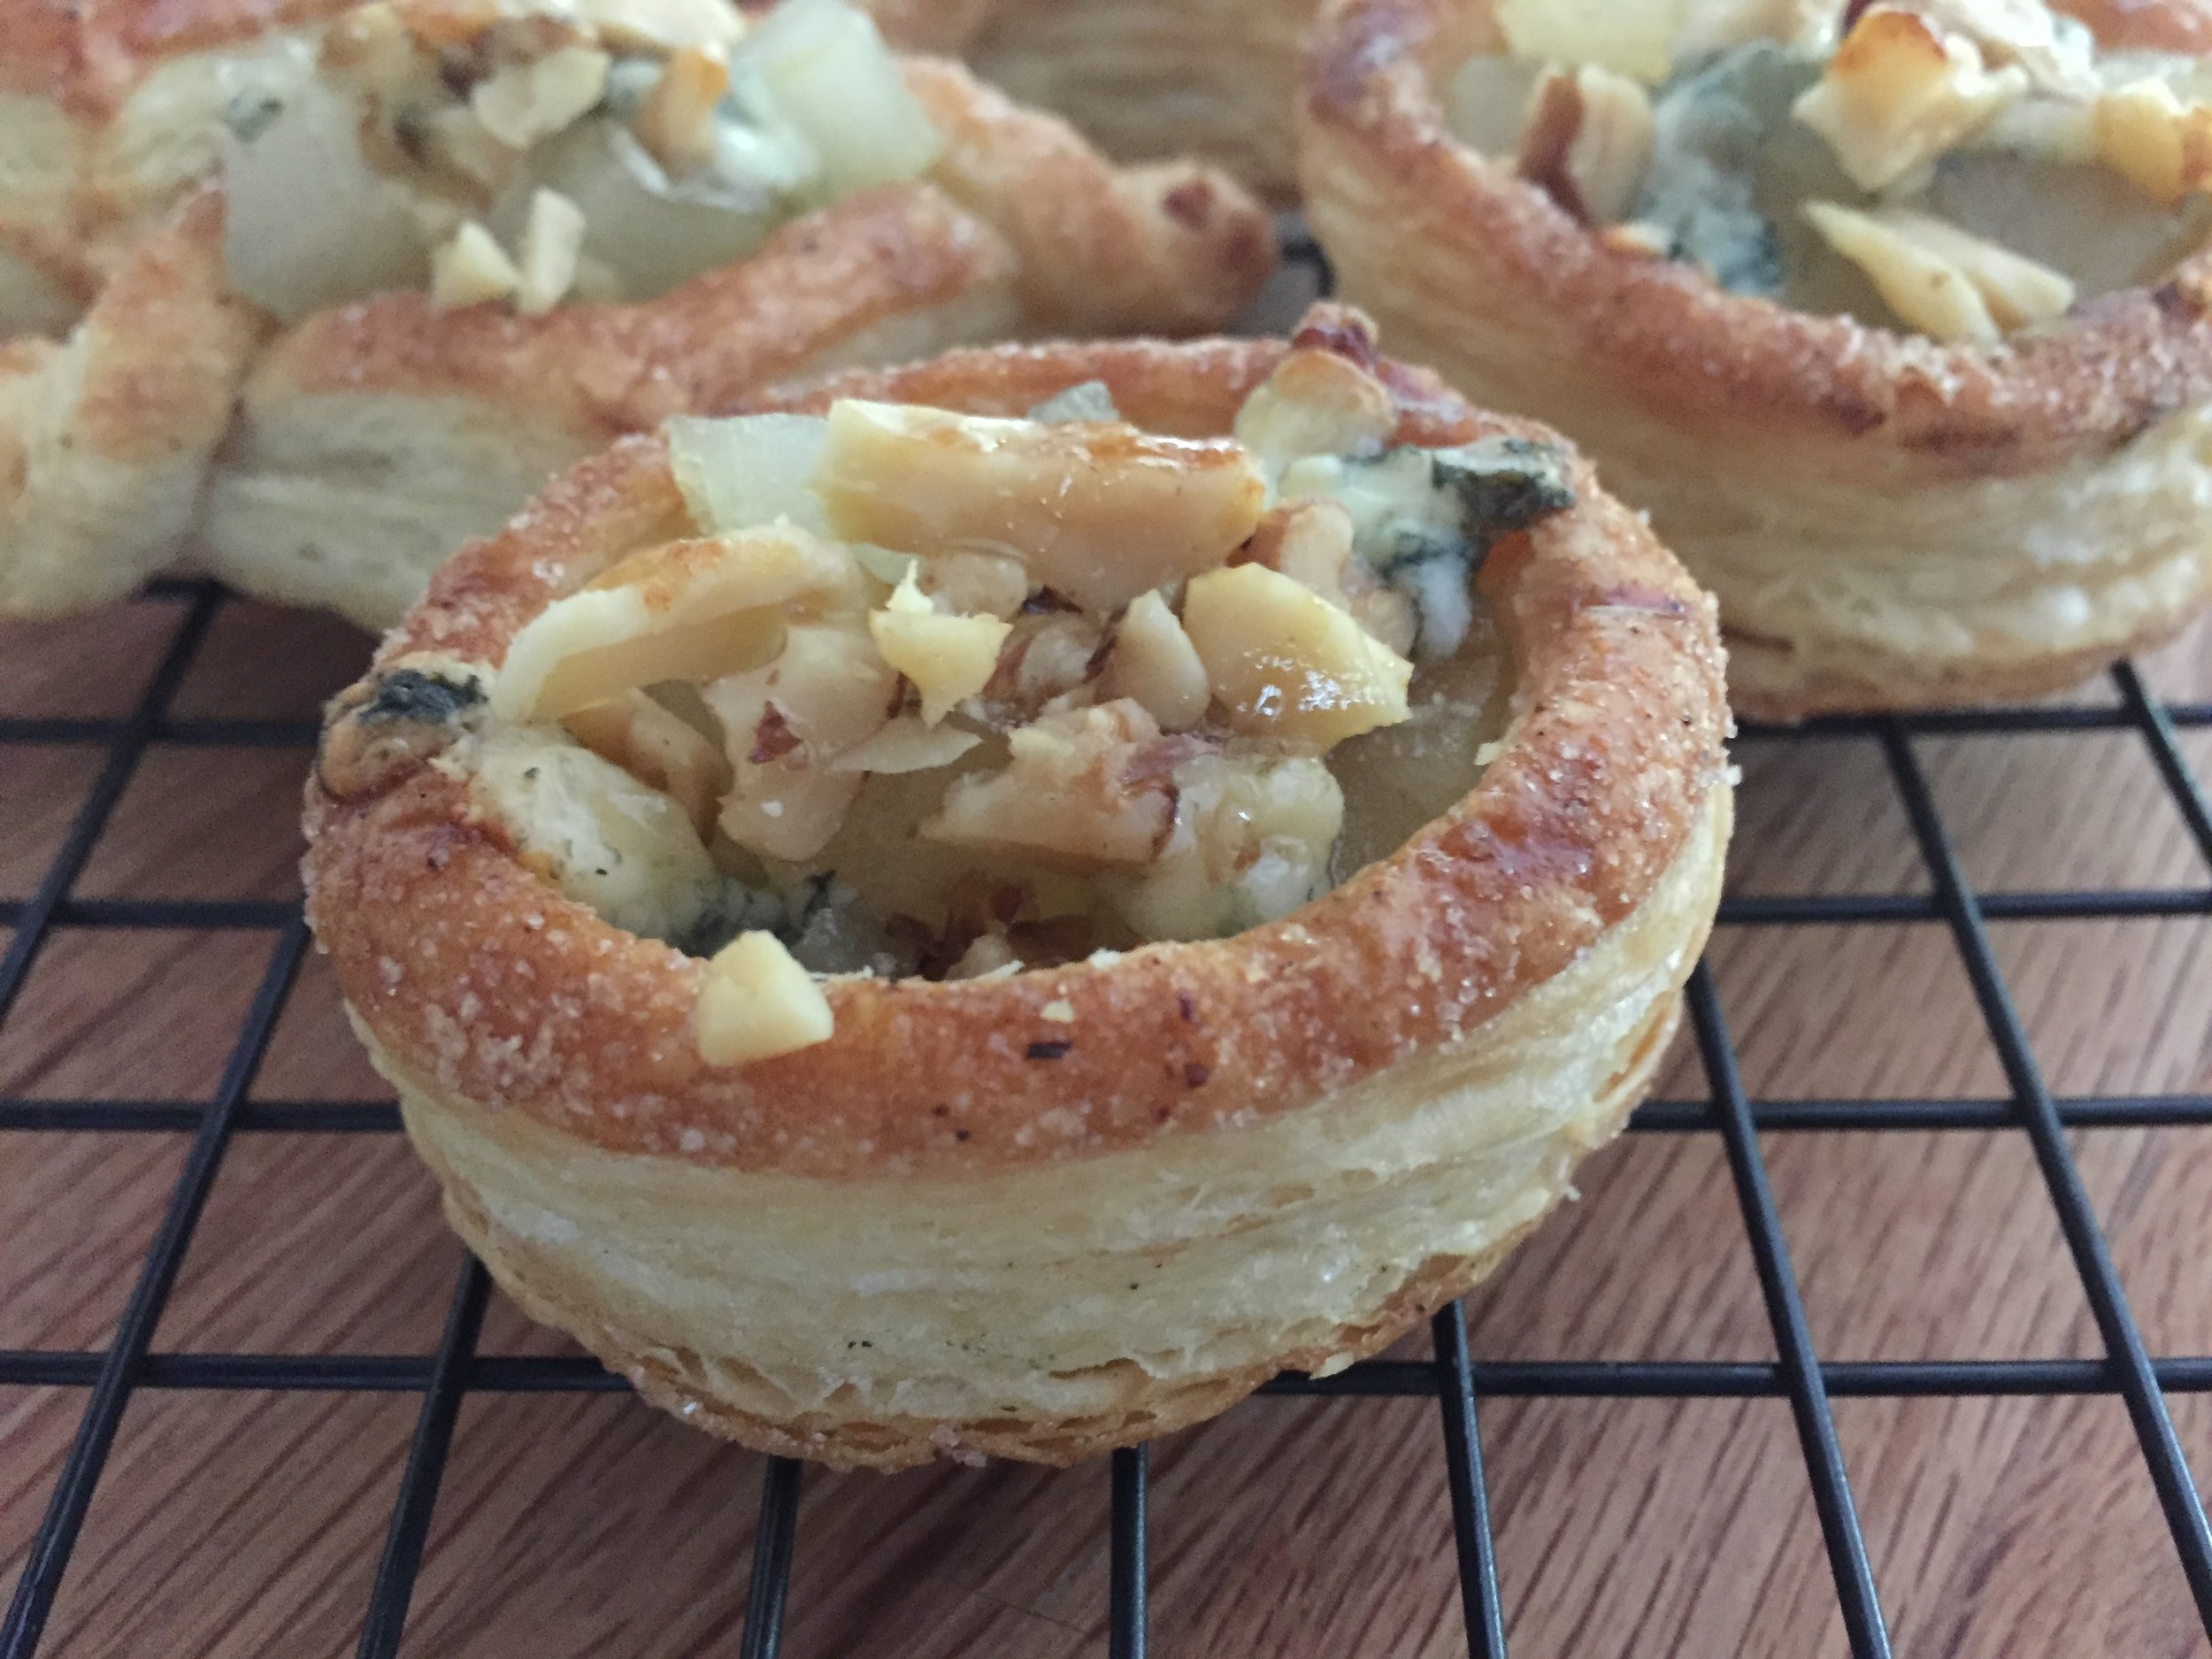
Then tuck in the pears (don’t be afraid to mound them up!) and top with a sprinkle of walnuts, more cheese and a drizzle of honey.

IMG_3194.JPG

Then pop them back into the oven to melt the cheese a bit and warm things up. They can be served warm or at room temp and are delicious as an appetizer or a dessert, particularly if you’re doing a broader cheese board for the end of your meal.

Use your imagination and fill your puffs with anything savory or sweet. Crab or chicken salad, roasted root veggies with caramelized onion, lemon curd and fresh berries, whipped chocolate ganache and candied nuts. The sky’s the limit.

Only you can decide!

Happy baking and here’s to the holidays!! More on that coming your way.

IMG_3196.JPG