Brioche feuilletée
/
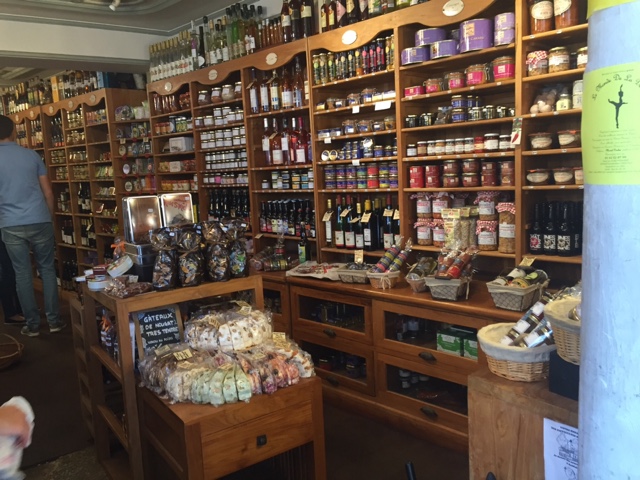
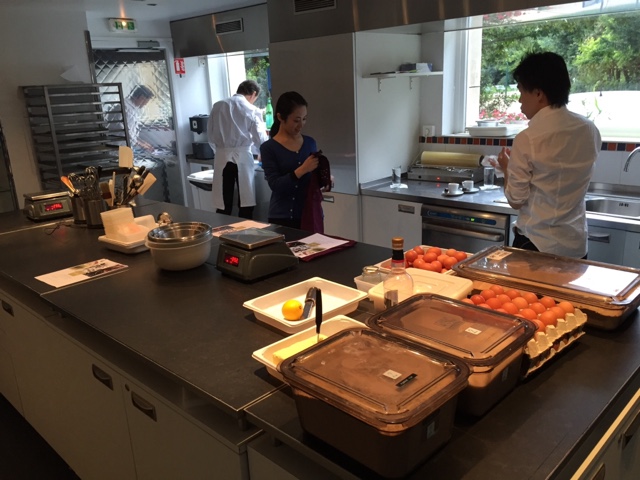
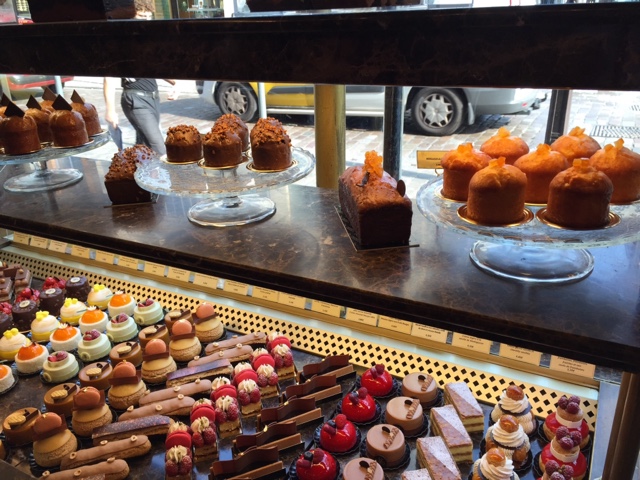
I've been wanting to make this delectable version of brioche for some time now, and so it was that a recent online reference to Guy Savoy's new venture in Paris, Gout de Brioche, finally got me going. The shop offers individual as well as "grand" brioche feuilletée in a variety of flavors both savory and sweet.
This particular dough is another in the family of laminated dough - puff pastry, croissant and Danish being the standards. Here we have an egg enriched brioche dough which is put through similar laminating steps to create buttery, flaky layers of goodness.

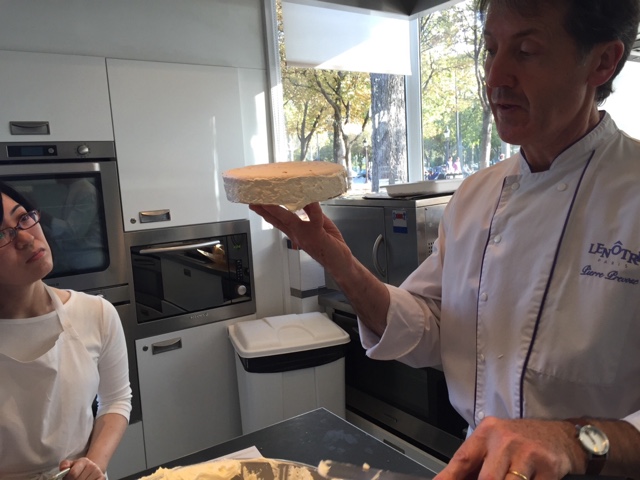
It seems that every time I make brioche I look back at various recipes and compare ingredient amounts and ratios. This time I reviewed the recipe from the Le Nôtre class that I attended in Paris during our recent September trip. Using it, as well as an online recipe attributed to Philippe Conticini of Pâtisserie des Rêves fame, I came up with my own version to launch my attempt at brioche feuilletée.
Brioche dough can be lean to rich and may contain amounts of butter that are anywhere from 20-80% of the quantity of flour in the recipe. With the laminated approach one reduces the amount of butter in the basic dough but then uses a larger amount of butter for the butter block that becomes incorporated into the dough.
Here's the dough: 500 g flour (450 g all purpose and 50 g bread); 10 g salt; 50 g sugar; 8 g instant yeast; 90 ml whole milk; 250 g egg (about 5 large); 50 g unsalted butter, cut into small cubes.
Place the flour, salt, sugar, yeast and milk in the bowl of a stand mixer fitted with the dough hook and mix on low for a couple of minutes. Add the eggs 1-2 at a time until each addition is incorporated.
Increase speed to medium and mix for 12-15 minutes until the dough is coming away from the sides of the bowl.
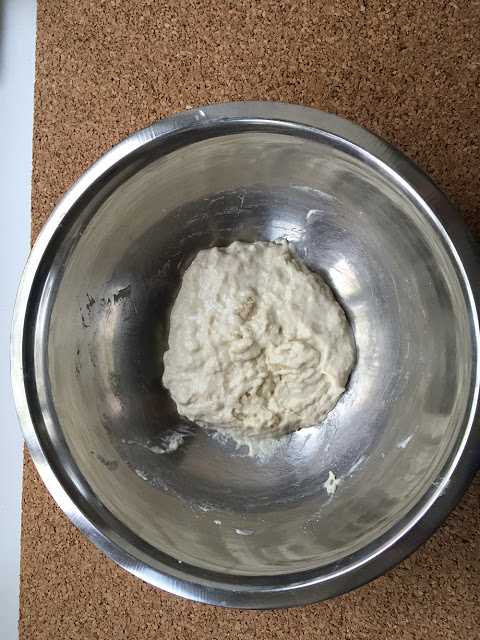
Add the butter piece by piece until incorporated. The dough should be shiny, smooth and silky.
Turn the dough out into a lightly greased bowl, cover and let it rise for an hour.


Deflate the dough gently then cover snugly and put into the fridge for 4-5 hours or overnight.
Form a butter block with 340 g unsalted butter and hold it in the fridge overnight as well.
The following morning take the butter out to take the firm chill off and allow it to become more malleable for the beurrage et tourage.
At this point the process is the same as for croissant - envelope the butter and then put it through three single, or business letter, folds with 30 minute rests in between. Here's the first fold.

After the three folds give it a good hour rest in the fridge before rolling it out for its final use.
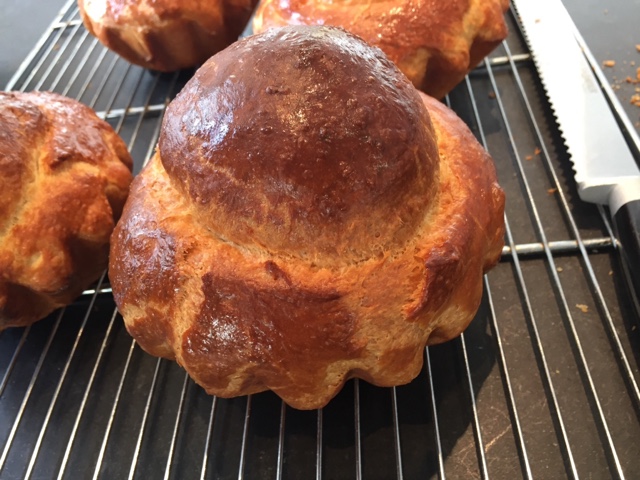
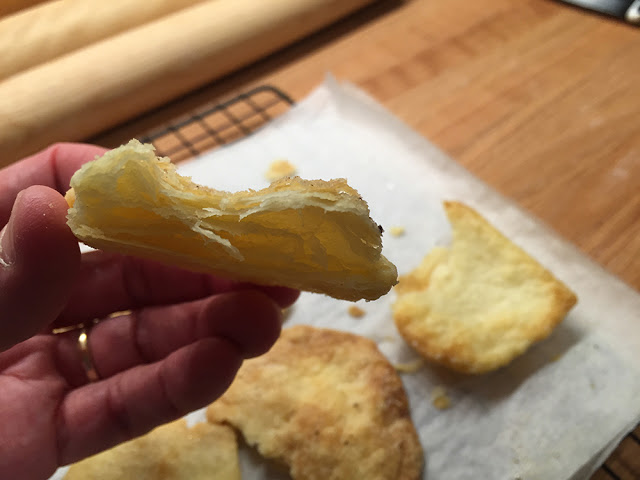
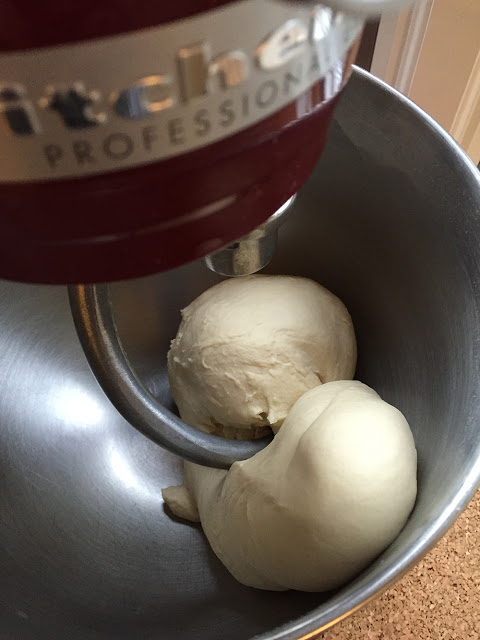
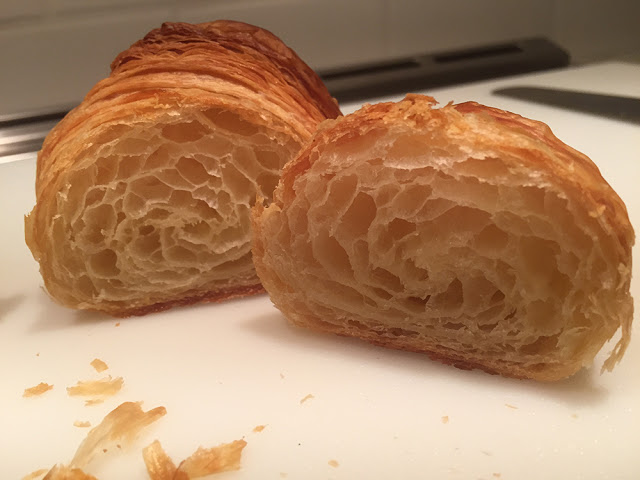
Take a look at my finished dough below - it felt great even though the butter isn't uniformly distributed in the dough. I pushed on nonetheless!

Roll the dough out into an approximately 16"x13' rectangle. At this point you can do any filling your little heart desires. I opted for a simple mix of crushed raw sugar cubes with lemon zest which I sprinkled over the dough, leaving the upper edge clear.

Brush the upper edge with a little water, milk or egg wash to help seal the seam once you've rolled it up.

Now slice into twelve 1 1/4" slices.

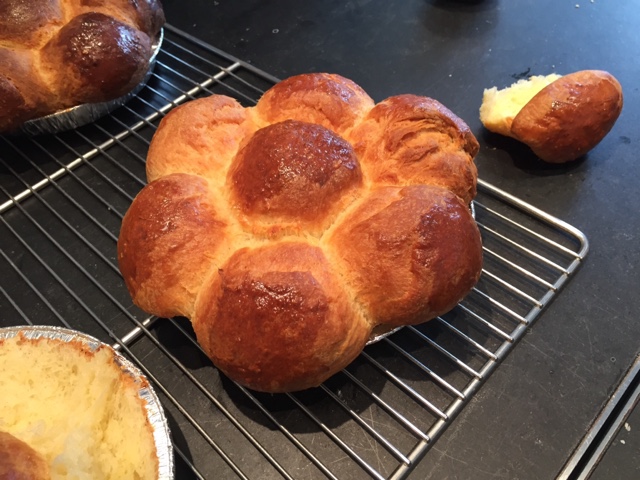
You can tuck these, cut side up, into buttered standard muffin tins, but I decided to use lightly buttered panettone papers.

Let these rise in a warm place for 1-2 hours, depending on your ambient temperature. They should look poufy with increased prominence of the laminations.


Heat the oven to 400ºF.
Brush the tops with a bit of egg wash or milk and sprinkle with pearl sugar.


Bake for 10 minutes then decrease the temp to 350 for another 10-15 minutes until nicely browned.

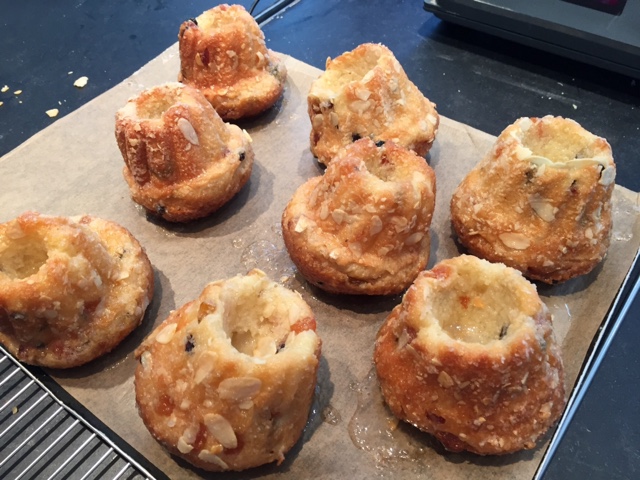
Once cooled a bit I pulled them out of the baking papers and brushed the surface with lemon syrup. I find that brioche often look a bit dry coming out of the oven and the syrup gives them a nice sheen.
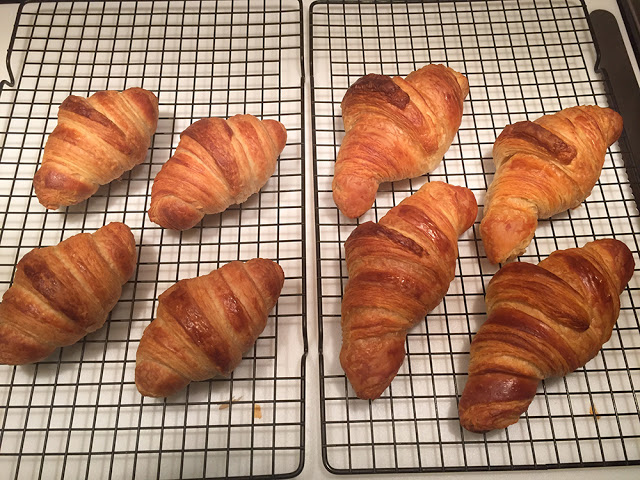
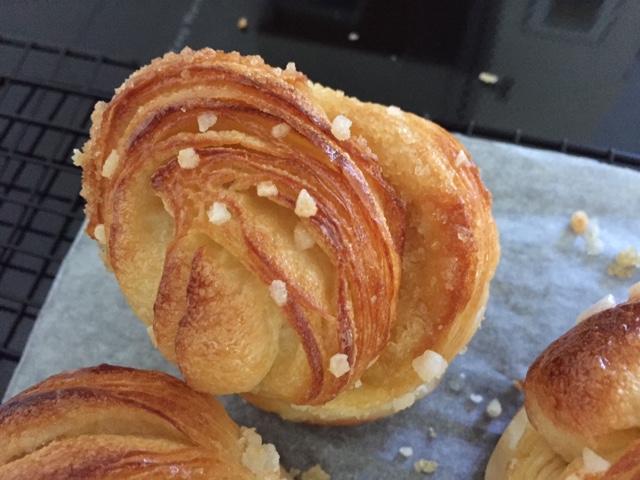
They look a bit like a conch shell! Or some kind of snail. Some of them tried to rise up and escape from their houses, looking like a slinky going down the stairs.

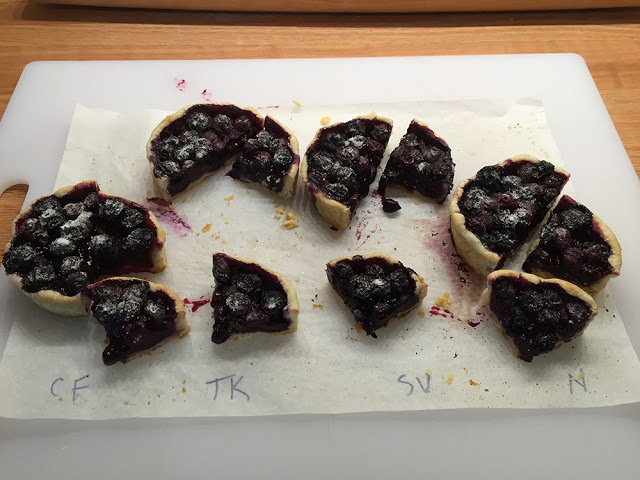
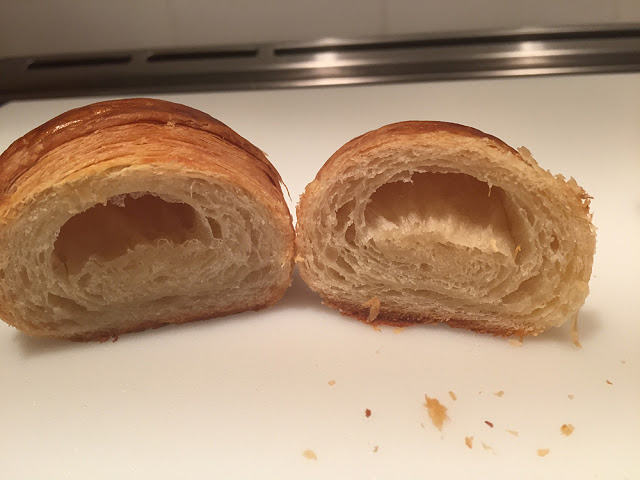
Once a bit cooled it was definitely time for a taste test. In the photo below the smaller pieces in the background are a couple of end scraps that I baked separately, and the sliced brioche in the front is one that slink-ied out of its paper.


The flavor and texture were just right and the lemon syrup gave these a nice little zing. But next time I'd punch the lemon zest up even more.
I can't wait to try some other versions! Yessiree!!
It's all about the journey.