Reine de Saba

IMG_3998.JPG

Reine de Saba (Queen of Sheba) is essentially a chocolate almond torte and reportedly one of Julia Child’s first French gateau experiences - one that helped launch her into what would become a fantastic culinary adventure for life.

There are a bevy of different recipes out there for this one - most involve melting dark chocolate with butter, separating the egg whites and yolks, whipping the whites with a portion of the sugar to create a meringue, adding almond flour along with your choice of a small amount of all purpose flour or alternate flour like teff and folding everything together.

After my review of a half dozen or so recipes I ultimately landed on two of Alice Medrich’s - one from “Seriously Bittersweet” and one an alternate grain version from “Flavor Flours” which uses teff flour (gluten free!) in place of all purpose. Dense, dreamy, creamy yet light and chocolate-y all at the same time. That woman KNOWS her chocolate boy oh boy! Thanks A.M.

IMG_3990.jpg

In “Seriously Bittersweet” A.M. dedicates a page to the “versatility and the role of ingredients” in creating these chocolate gateaux. She says “This type of torte is essentially an extremely buttery chocolate egg custard given texture with ground nuts and maybe a little flour. The basic ingredients are standard, but the quantity of each is almost infinitely flexible”.

She goes on to explain how the eggs (whether separated or not) help bind the rest of the ingredients whether you use 3, 4 or 5 eggs; how even a small amount of flour adds a smoothness to nutty tortes by affecting the way the eggs cook; how nuts can be used un-blanched , blanched, toasted or raw as well as in different quantities - a lower measure of nuts will give you a less cake-y and more mousse-y custard like torte, while whole ground nuts will provide a coarser texture than more finely milled nut flours.

Butter adds flavor, contributes to texture and provides moisture as well. Brewed coffee or different liqueurs or spirits like rum, bourbon, kirsch, Frangelico or Amaretto add flavor too. So many possibilities.

While each of these two recipes uses practically identical ingredients, the teff version (below) keeps the eggs whole and everything is blended together in one bowl - easy-peasy. You can even use a hand held mixer. Ms. Medrich points out that the secret to a fluffy batter for this one is chocolate not too warm, butter not too soft and eggs cold!

IMG_3961.JPG

Here goes!
Heat the oven to 375ºF. Butter the bottom of an 8” springform pan then line the bottom with parchment.
Mix 70 g almond flour with 35 g teff flour and set aside.
Melt 170 g dark chocolate (70% recommended) over a barely simmering water bath, set aside and let cool to lukewarm.
Have 150 g sugar, 140 g unsalted cubed butter softened (not too!), 1/8 teaspoon salt and 4 cold large eggs at the ready.
Add almond-teff flours, sugar, butter chunks and salt to the chocolate and beat on medium with the hand held mixer until well blended and the batter thickens and lightens in color.
Beat in the eggs one by one then beat on high speed for a minute or so until fluffy and lighter in color, like chocolate frosting.
Scrape batter into the prepared pan and spread evenly.

Looks like chocolate frosting to me!

Looks like chocolate frosting to me!

Bake 30-35 minutes until a tester inserted in the center comes out with a few moist crumbs.

IMG_3964.jpg

Slide a thin knife or small offset spatula around the sides to allow the cake to sink slightly as it cools. Cool completely.

IMG_3967.JPG

For the more traditional version using all purpose flour, the process involves separating the eggs and whipping them separately with portions of the sugar. Rather than almond flour, whole natural almonds are processed with the flour to a coarse texture, giving the end result a toothy, nutty-textured chew.

IMG_3968.JPG

For the second version heat the oven to 375ºF, butter the bottom of an 8” springform pan and line it with a round of parchment paper.

Place 170 g coarsely chopped chocolate (66-70%) and 140 g unsalted butter in a medium heatproof bowl set into a wide skillet with barely simmering water. Stir periodically until melted then, off the heat, stir in 3 tablespoons brandy (optional - I added some vanilla extract instead), 1/8 teaspoon almond extract and 1/8 teaspoon salt. Set it aside.

Pulse 70 g unblanched whole almonds and 15 g all purpose flour in a food processor to a cornmeal-like texture. Set aside.

Separate 4 large eggs: in a large bowl whisk the yolks with 100 g sugar until well blended then stir in the chocolate mixture.

In a clean, dry bowl whisk the whites and 1/8 teaspoon cream of tartar on medium to soft peaks then sprinkle in 50 g sugar and beat at high speed to stiff but not dry peaks.

Now place 1/4 of the egg whites and all of the nut/flour mixture on top of the chocolate batter and fold them in with a large rubber spatula. Fold in the remaining egg whites.

Combining everything

Combining everything

Spread the batter into the prepared springform pan. Can you see the nut particles?

Ready for the oven

Ready for the oven

Bake 25-30 minutes until a tester inserted into the center is still moist but one inserted ~1.5 inches from the edge is almost clean (whoa - talk about nuance!)

All baked up

All baked up

A light dusting of confectioner’s sugar sets off the dark chocolate nicely.

IMG_3993.jpg

As usual, Steve and I did our mandatory taste test. We first tried the teff version which had a great chocolate flavor and smooth, creamy texture. But we gave the nod to the second version, enjoying the melt-in-your-mouth custard like center and the mouth feel of the coarser nuttier texture. Deelish!

Served with a honey-tinged Scandinavian yogurt and some fresh strawberries it was, in my estimation, superb (even though Mr. Steve is not a big yogurt fan).

IMG_3996.JPG
IMG_3998.JPG

The longer you bake, the more you begin to realize how much variation and play can happen from recipe to recipe. Even though we accept the fact that not everything always turns out as we had hoped, it’s a beautiful thing to try your own version and make it fun!

Happy summer!!

Mocha custard tart

mocha.JPG

Fall is definitely in full swing here in west Michigan, even though we've had some unseasonably warm days of late. But we'll take it! Winter will be here soon enough.

This weekend's dinner for the Galloway household consisted of Steve's layered onion/carrot/garlic/chicken/potato dish oven-cooked low and slow in our Staub enameled cast iron cocotte. Mom contributed a spinach strawberry salad, and I opted for a tart recipe I've had my eye on for awhile. I mean really, it's all about tarts for The Tarte!

I believe I've previously mentioned Alice Medrich's book Flavor Flours which I discovered in our local library some months ago. I've since purchased my own copy and am so satisfied with the recipes I've made so far. The book focuses on a number of alternate flours like teff, sorghum, chestnut, rice, oat and corn as well as nut flours (which I am totally on board with!).

The tart recipe calls for a GF teff chocolate crust, but I opted to use my stand-by chocolate short dough from the CIA's Baking and Pastry book. It was the first book I purchased after completing my Diplôme de Pâtisserie and mon stage in Paris in early 2007. Even though it's an older 2004 edition I still turn to it time and time again for all sorts of tips, techniques and recipes.

And I've been using this chocolate short dough ever since. 

Tart ring lined and ready to bake

Tart ring lined and ready to bake

After fork-pricking the dough all over, chill the lined ring in the freezer for 15 minutes or so while heating the oven to 325ºF. The chill stabilizes the butter and helps the dough keep its shape during blind baking. Line the firm dough with a round of parchment, fill it with dried beans and bake for 12-15 minutes with weights, then another 5-8 minutes without weights. The crust should be set and look dry. Remember - it's your job to watch what's going on in that oven!

All baked and ready to fill

All baked and ready to fill

Lower the oven temp to 300ºF for the next phase of the project.

Just a note here. If you'd like to change things up a bit, you can use any pie or tart dough your little heart desires - choose your favorite pâte brisée or pâte sucrée (and it doesn't even have to be chocolate) or even a chocolate wafer or graham cracker or toasted coconut crumb crust. Add some chopped nuts if you want - you decide. Just remember to blind bake it first.

The KEY part to this tart is THE FILLING, and, once you make it, you'll know what I mean. So easy and so deliciously smooth it involves heating 1.5 cups heavy cream, 130 g sugar, 35 g cocoa powder (Dutch process or natural) and 55 g unsalted butter in a saucepan on the medium heat, stirring until everything is blended and it starts to simmer around the edges.

Remove from the heat and whisk in 1 teaspoon instant espresso powder and 3/4 teaspoon pure vanilla extract. Set aside.

Once the blind baked shell is out of the oven, whisk 1 large egg plus 1 yolk into the cream mixture and pour the filling into the hot crust. It's pretty loose so steady yourself for gentle placement into the oven without sloshing. You can do it.

Filled and ready for the oven

Filled and ready for the oven

Bake for 10-15 minutes or even longer. I baked mine around 18-20 minutes before I was content with a nice wiggly/jiggly custard without waves rippling across the surface.

Cool on a rack and serve slightly warm or at room temperature. Here's my cooled tart - kinda reminiscent of a moonscape don't ya think? 

mochatart.JPG

While Alice dusts her tart with cocoa powder I was going for a bit more pizazz. I usually have some baked cookie or streusel crumbs in my freezer to use at a moment's notice whether it's to top ice cream, add a crunchy layer to a cakey-creamy type of concoction or to garnish a tart. Yup.

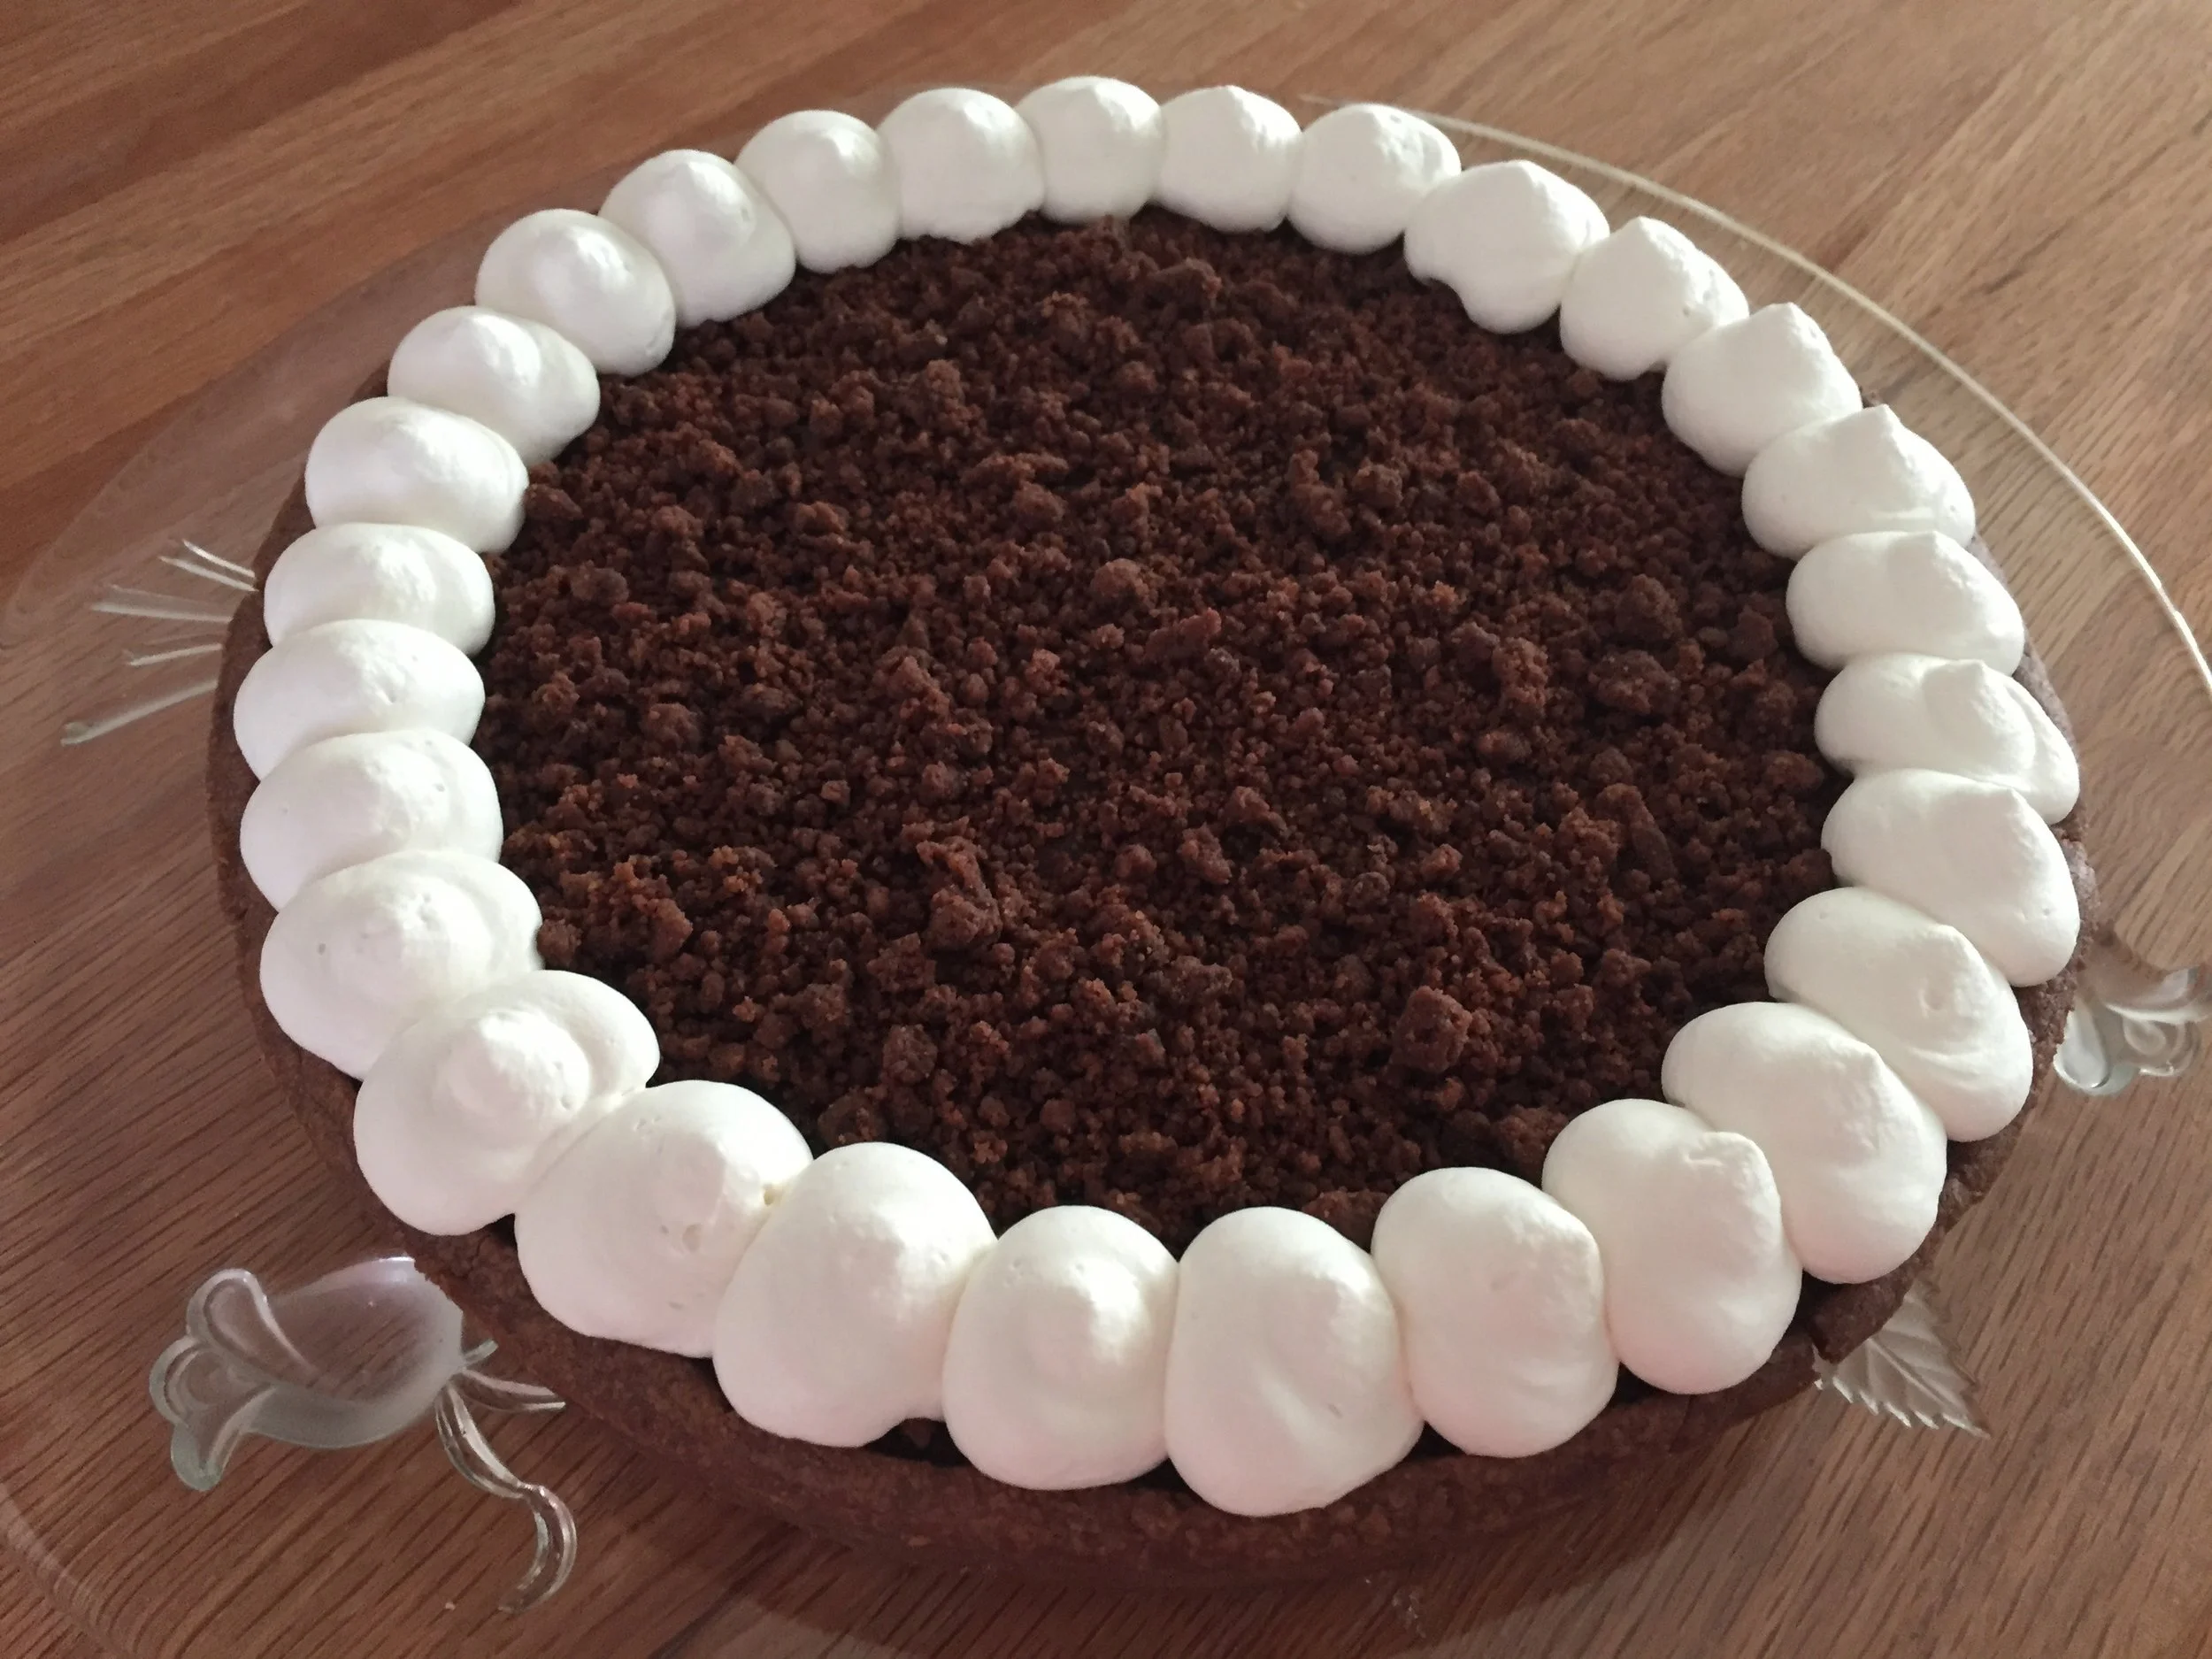
Out came the chocolate shortbread cookie crumbs which I sprinkled over the top of the tart, leaving a clear edge around the periphery.

mochatart.JPG

Next up -crème Chantilly! But of course. Steve claims that anything is better with whipped cream on it, and, in this case, he was absolutely right. But then I pretty much knew that already.

For one cup of heavy cream I add 1-2 tablespoons powdered sugar and a splash of pure vanilla extract. Whip to medium soft peaks, enough so it will hold its shape, and spread or pipe as you wish.

mochatart.JPG

Soft, pillowy mounds of cream like a string of rustic pearls entice us to dig in. And dig in we did.

mochatarat.JPG
mochatart.JPG

This is one of the BEST fillings I have had in a long time. Smooth, luscious, creamy yet light with just the right intensity of chocolate and a hint of espresso - aaaaahhhhh. And the chocolate short crust, chocolate crumbs and whipped cream provided just the right marriage of textures and flavors. Oh boy.

mochatart.JPG

Yes there were leftovers but the good news is this will keep covered in the fridge for a couple of days. Don't waste a bite of this one folks.

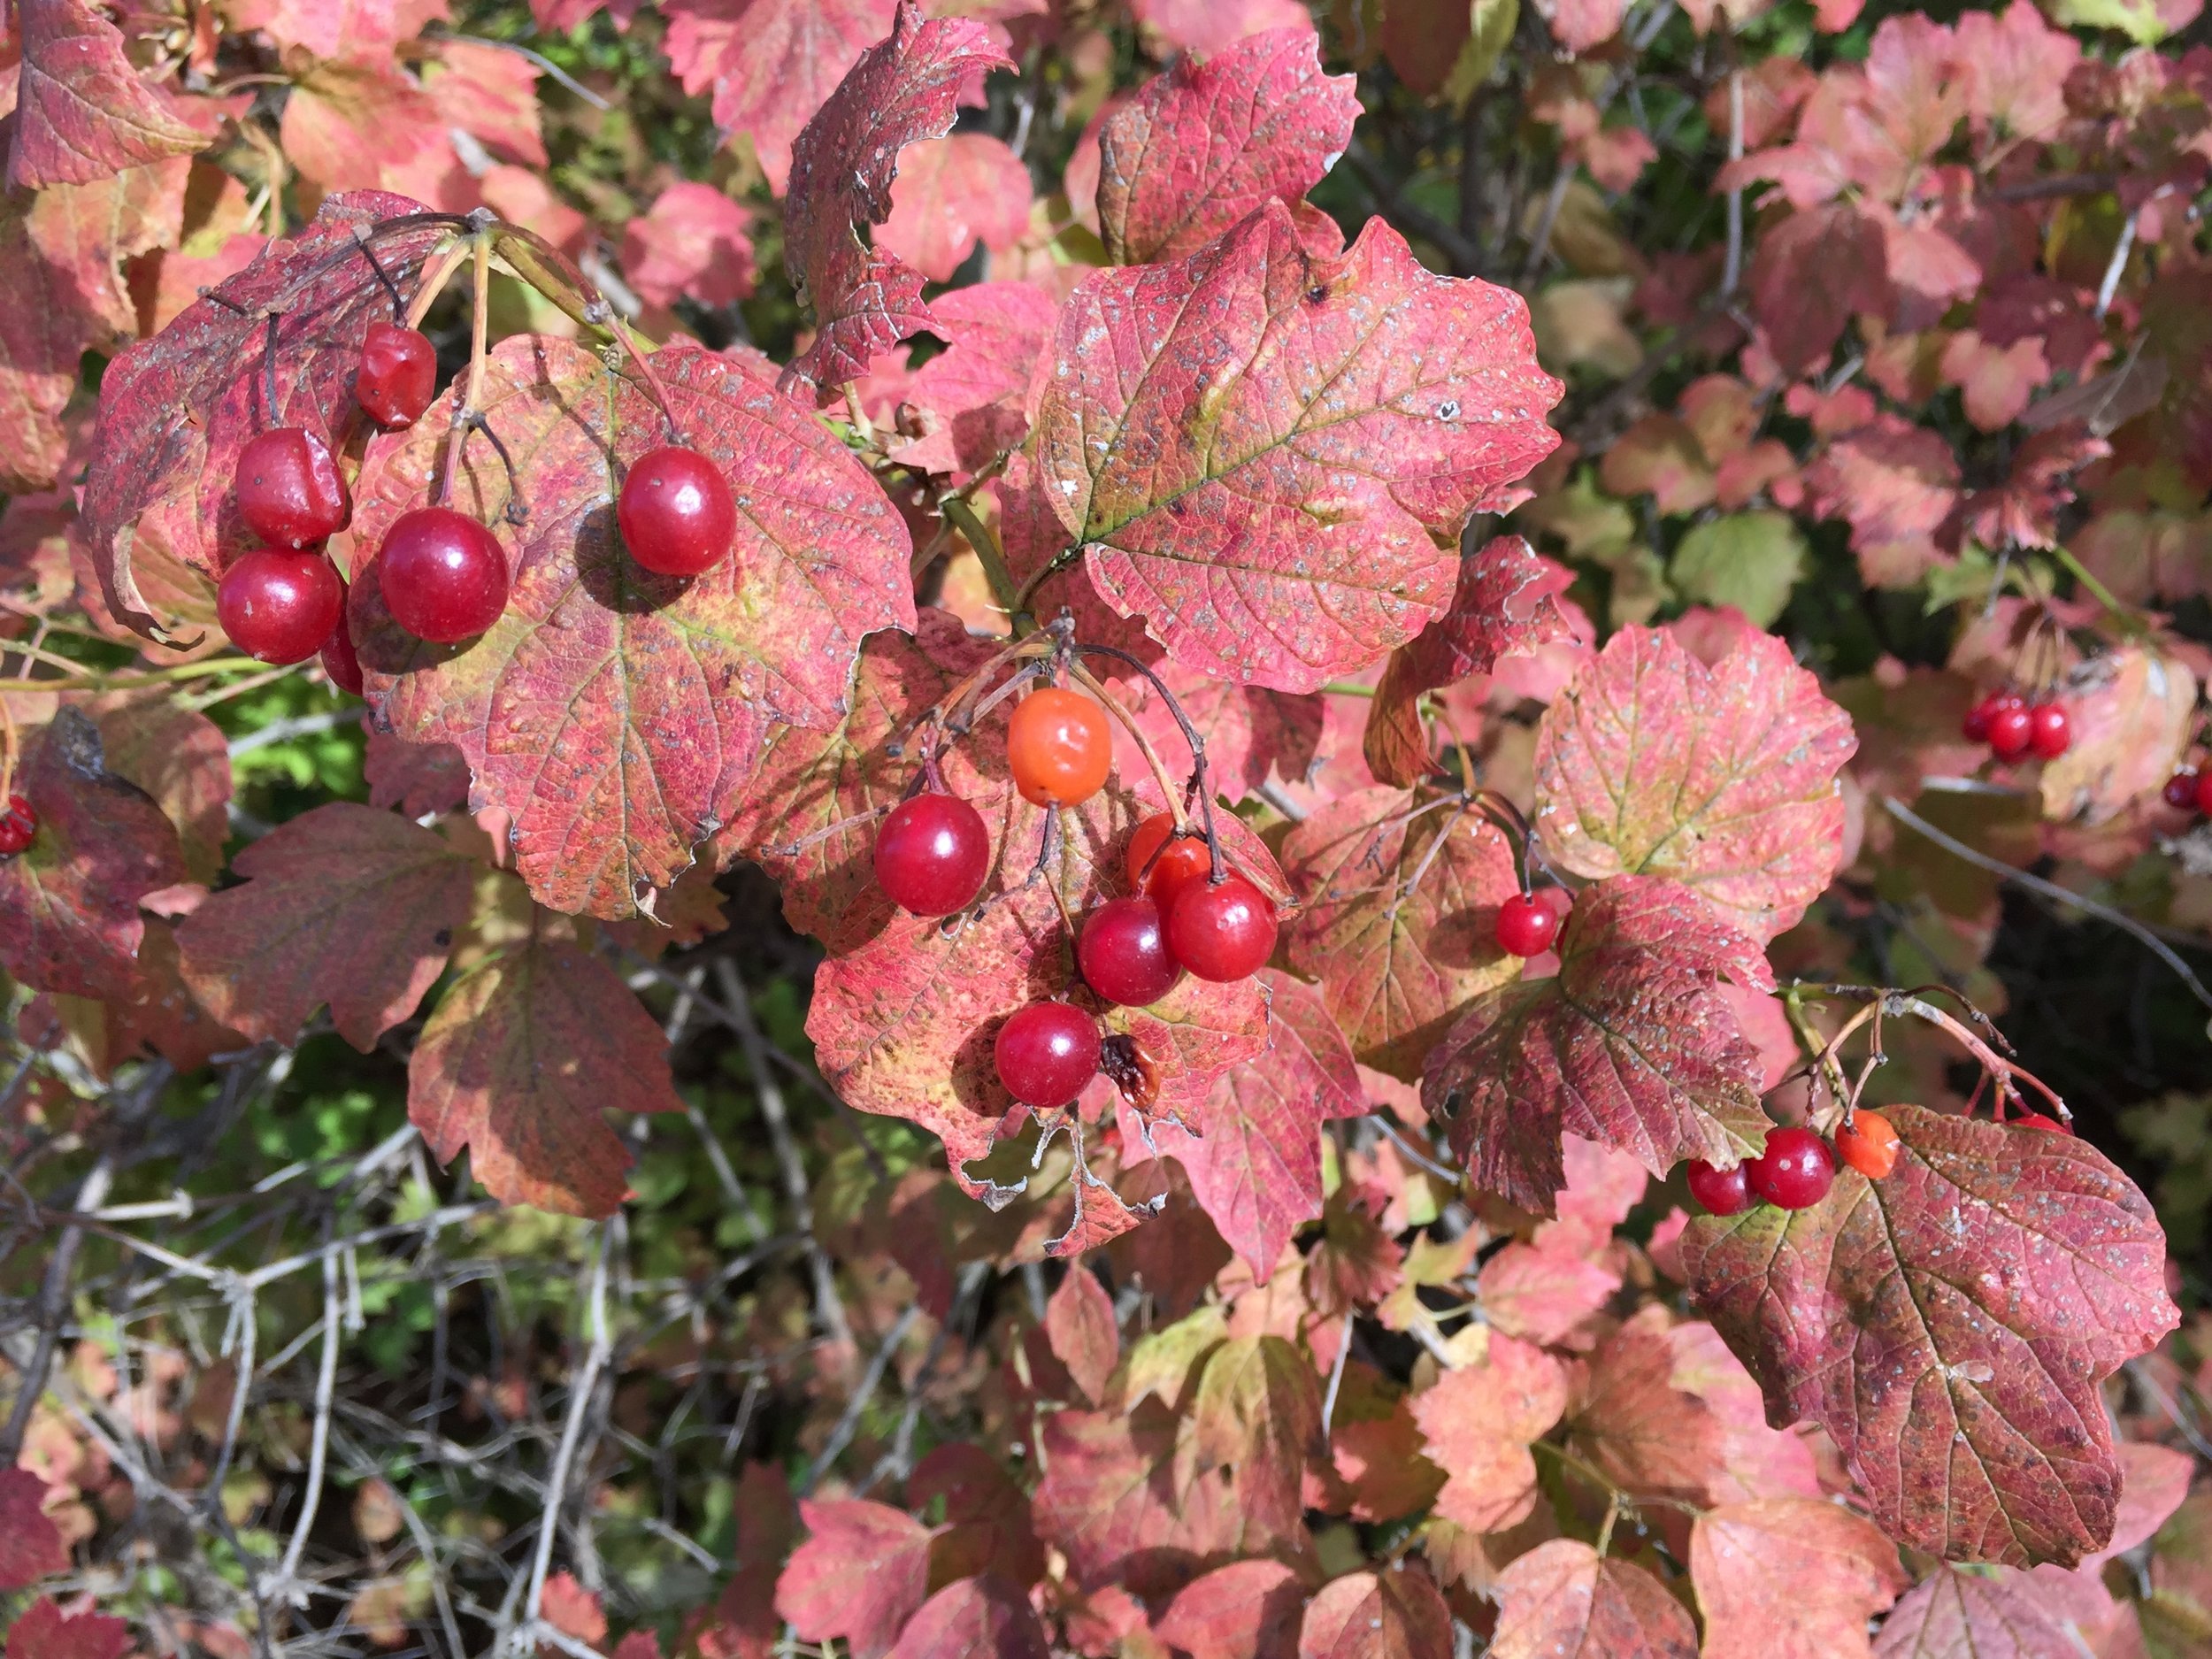
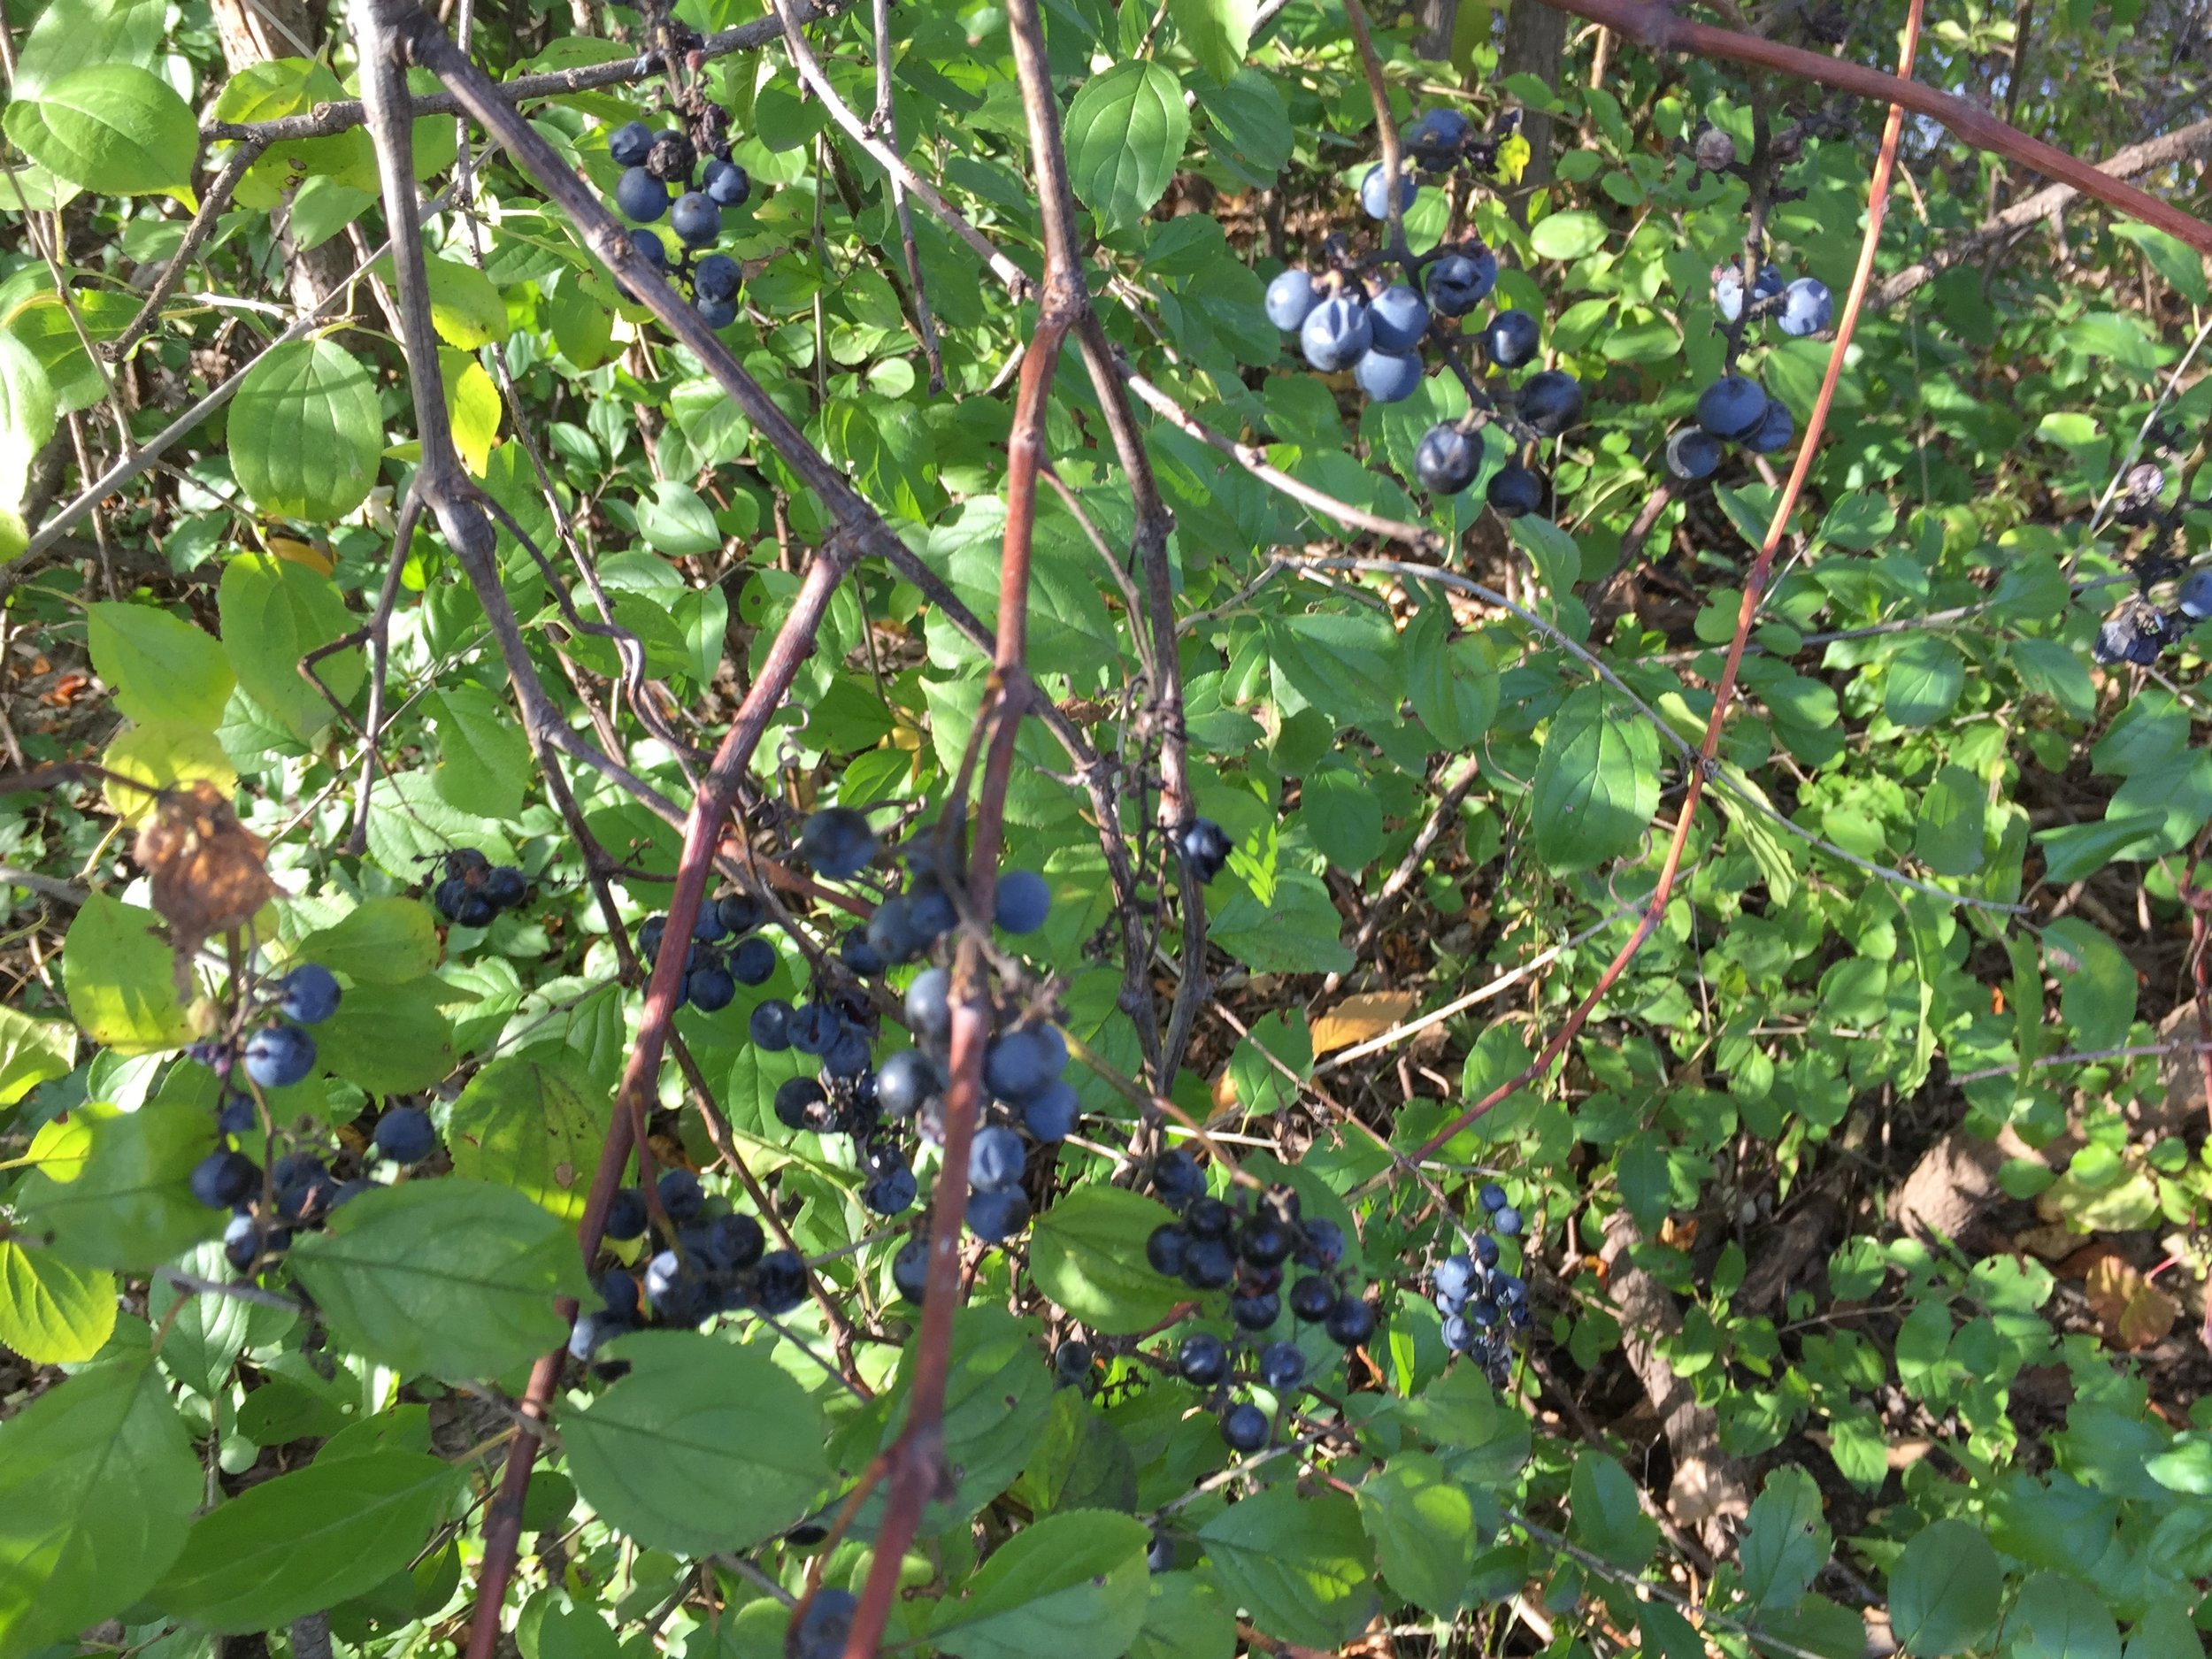
Before I leave you I'd like to share a few autumn images from our corner of the planet. Enjoy the season wherever you are and take care.

Easter desserts, happy spring and one more chocolate babka


Happy Easter everyone.  Steve and I are in our second spring since our move back to Grand Rapids, and this has been the first burst of color in our little garden two years in a row.  The lovely primrose - ahhhhhhh.  

Our day began misty, windy and overcast and is winding down with glorious sunshine, lovely breezes and no humidity.  We'll take it, thank you very much.

We spent the afternoon with the Galloway and TenHave clan for a delicious Easter dinner and good conversation and companionship.  Thanks Scott and Jen - you're the best!

Of course I simply had to make dessert for the gathering, and what better flavor to choose than something lusciously LEMON.  


I turned to that tried and true (and now my favorite tarte au citron) recipe from Jacques Genin, topping it with a thin layer of crème Chantilly and some fresh raspberries.


A good lemon tart is one of THE best things in the pastry world à mon avis, but I wanted to throw something else into the mix for the holiday meal.  I'd been thinking about coconut and chocolate and ended up following Alice Medrich's coconut chocolate meringue recipe in her book "Flavor Flours" (a recent and exciting discovery for me). What better way to use up some of those egg whites I had sitting in the fridge.


Make a basic meringue, taking it to stiff peaks.


Fold in a delightful mixture of chopped dark and white chocolate, coarsely chopped roasted, lightly salted almonds and coconut chips (the smaller bowl below is for sprinkling on the top of the scooped meringues).


Portion out generous tablespoons of meringue mixture onto parchment lined sheets, then sprinkle additional chocolate/nut/coconut mix on top.


Bake at 200ºF for 1.5 hours, then turn oven off and let cool completely.


Crispy, crunchy, nutty with almonds and coconut, chocolate chunks - what more does one need in a bite size treat? These are downright tasty.

I declare this a winning dessert day - yay!

But before I go, here's one final note. 

Just when you thought you'd heard the end of the whole babka thing, I'll finish up with one more experience with that oh-so-intriguing subject.  I baked one more babka the other day as part of a trial for an Easter class I was preparing to teach at the Breton Sur La Table here in Grand Rapids.  The process went well, the dough felt great, the plaits looked pretty good (in spite of a bit of messiness with the chocolate filling), and it went into the pan without much of a hitch.


It baked a bit longer than I expected but came out a deep golden brown and smelling heavenly.


The swirls were okey-dokey when sliced too.


And you know what? Delicious.


I promise that's it for this year's babka session. Enough.

Happy spring everyone and thanks for reading "Baking with The French Tarte". I appreciate it more than you'll ever know.


Babka trial Part 3 - another chocolate pecan


Well, I have another babka trial under my belt, and I have to say I'm excited about moving on to other baking adventures. I've learned a lot but feel there are still more practice sessions in my distant future before getting this down to a tried and true comfortable process.  If at first you don't succeed, try, try again - so true!

Granted, I used several different dough recipes in my various trials, so I can't say this is a purely scientific study with all variables constant. What I did accomplish was gaining a general understanding of how the process should go.

Here are just a few tidbits that I gleaned from my experience.

I found that the dough for babka can be a standard sweet dough (as one might use for cinnamon rolls), a laminated dough or a brioche-like dough. As they say, there's more than one way to skin a cat!

I discovered that the chocolate filling (if that's the version you're making) should be made ahead so there is time for the melted chocolate/butter with added cocoa powder and sugar mixture to cool to a room temperature spreadable paste.


I learned that there are many ways to shape babka - the length-wise sliced log plaited and tucked into a loaf pan or baked free form, a fat snake-like coiled log that sits in the pan perpendicular to the counter rather than lying flat or a log placed circularly around a tube or Bundt pan.

What I'm still working on grasping is how loosely or snugly to twist the plaits, the best way to fit them into the loaf pan, how long to let the loaf rise and how long to bake (it's very difficult to determine when the center is fully baked).

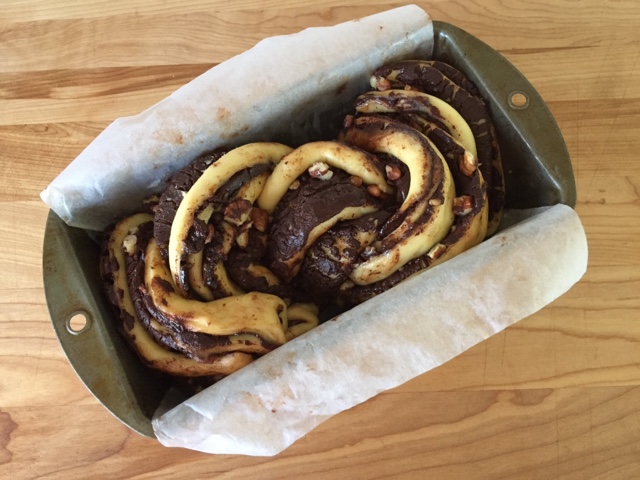
For this my third and last trial I used Yotam Ottolenghi's brioche like dough. I baked two loaves, one the classic plait which I placed into the pan like an "S" to try and give the dough enough room to rise and not be too squished in.


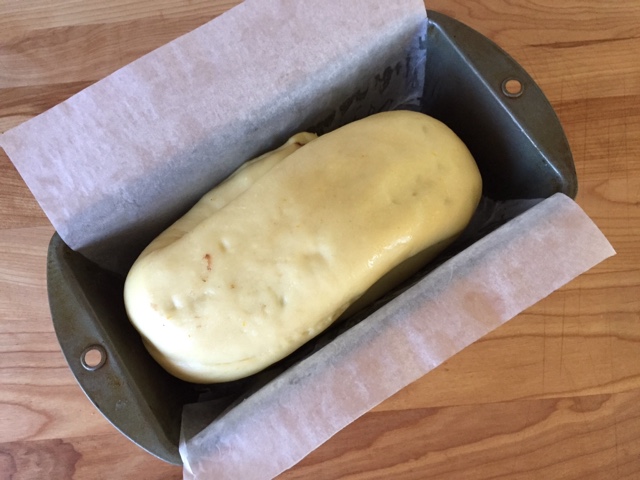
For the second loaf I went with Peter Reinhart's option of twisting the log a bit, then coiling it up like a snail.


Then the snail goes into the pan straight up, not with the coil flat.


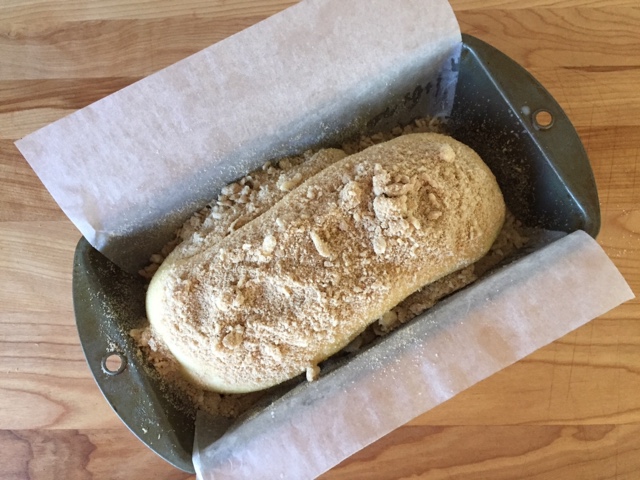
Kind of looks like a big old cow's tongue! This version gets egg wash and a streusel topping before going into the oven.

Reinhart's instructions have you press the coil down to compress it into a loaf, but I didn't want to press down too hard, thinking the rise of the dough layers would be impaired.

I gave both of these loaves a three hour warmish rise since I wasn't certain my previous rises were long enough. Perhaps it makes a difference which type of dough one is using too.

Interestingly, of the many recipes I reviewed the recommended rising times (in a "warm" place) varied from 1-1.5 hours up to 3 hours. Some stated the dough wouldn't rise more than 10-20% and some wanted the dough to puff up and fill the pan.

I thought my plaited loaf became appropriately puffy, at least according to the 10-20% rise benchmark.


I had my doubts about the snail coil, but it seemed to have reached that 10-20% goal too, even though it was not filling the pan.  I suspect the rise I saw this time around had to do with the brioche type dough I used.


The snail coil received its wash and streusel.


I baked the plait for 45-50 minutes at 350º convection.  I attempted to check an internal dough temperature which reached over 185º but couldn't be sure if my temperature probe was in dough or chocolate.  When tapping the dough on the surface, it had a nice thump, and my inserted skewer came out clean. Out of the oven it came.


I baked the snail for the same amount of time and took it out after a resounding thump was heard when tapping the top and a 185º internal temperature was reached.


Let's hope for the best.

After a good cooling it was time for slicing.

First the plaited loaf.


Not bad! In spite of some chocolate gaps and a bit of doughy-ness in the bottom layers, this was delicious!!  Funny that even when the bake wasn't all that great, all of my attempts were tasty, tasty, tasty.

The streusel snail loaf had a big hollow pocket under the surface and the bottom thinner layers were under baked.  But again, joy of all joys - DELICIOUS!


While Steve enjoyed the fruits of my labor, he wondered why I spent so much time on this project. I say "why not?!".  It's a challenge and fun to boot.

What's next? I just started reading Alice Medrich's book "Flavor Flours" and am intrigued with learning and experimenting with the different non-wheat flours out there.  So much to do.  

But before that I have to decide what to bake for Easter dessert. Oh boy!