Roasted garlic cheese bread

IMG_3223.JPG

Ooooh I loved this baking adventure! Not only did I use Fontinella, a delicious bread-worthy cheese from The Cheese Lady, but added in some roasted garlic that the Steve-man has recently been providing in spades.

IMG_3208.JPG


I’ve been wanting to experiment more with different ways of filling and shaping bread dough and am often inspired by ideas I absorb from King Arthur Flour’s “Sift” magazine and/or their website which is chock full of wonderful tips, tricks and ideas.

In addition, I’m learning more about the ways to tweak one’s bread recipe from a straight or direct dough to a pre-ferment approach to build more flavor into the final result. Not only is it fun but appeals to my scientific bent.

In addition to KAF’s website, my go-to resources for bread baking include Rose Levy Beranbaum’s “The Bread Bible”, Peter Reinhart’s “artisan breads every day” and Jeffrey Hamelman’s “Bread”. So much to learn.

For this project I married ideas from a provolone bread recipe from CIA’s “Baking and Pastry” that I’ve been making for some years now with a KAF recipe for a cool looking twisty cheese/sundried tomato/herb number. I wanted to do a poolish this time and found some great tips on the “Weekend Bakery” blog, written by a Dutch couple who bake at their home. Lots of good stuff there too.

I’m not here to slog through the calculations but, in a nutshell, a poolish is equal weights of flour and water taken as a percentage of the whole from the base bread recipe you’re using. Based on my understanding of how one goes about this, I created my poolish with 200 g bread flour, 200 g water and 1/8 + 1/16 teaspoon of instant yeast, looking for a 6 hour room temperature fermentation. NOTE: the amount of yeast you add will vary depending on how long you wish your poolish to ferment.

Here’s my poolish after about 5.5 hours - nice and active and bubbly!

IMG_3210.JPG

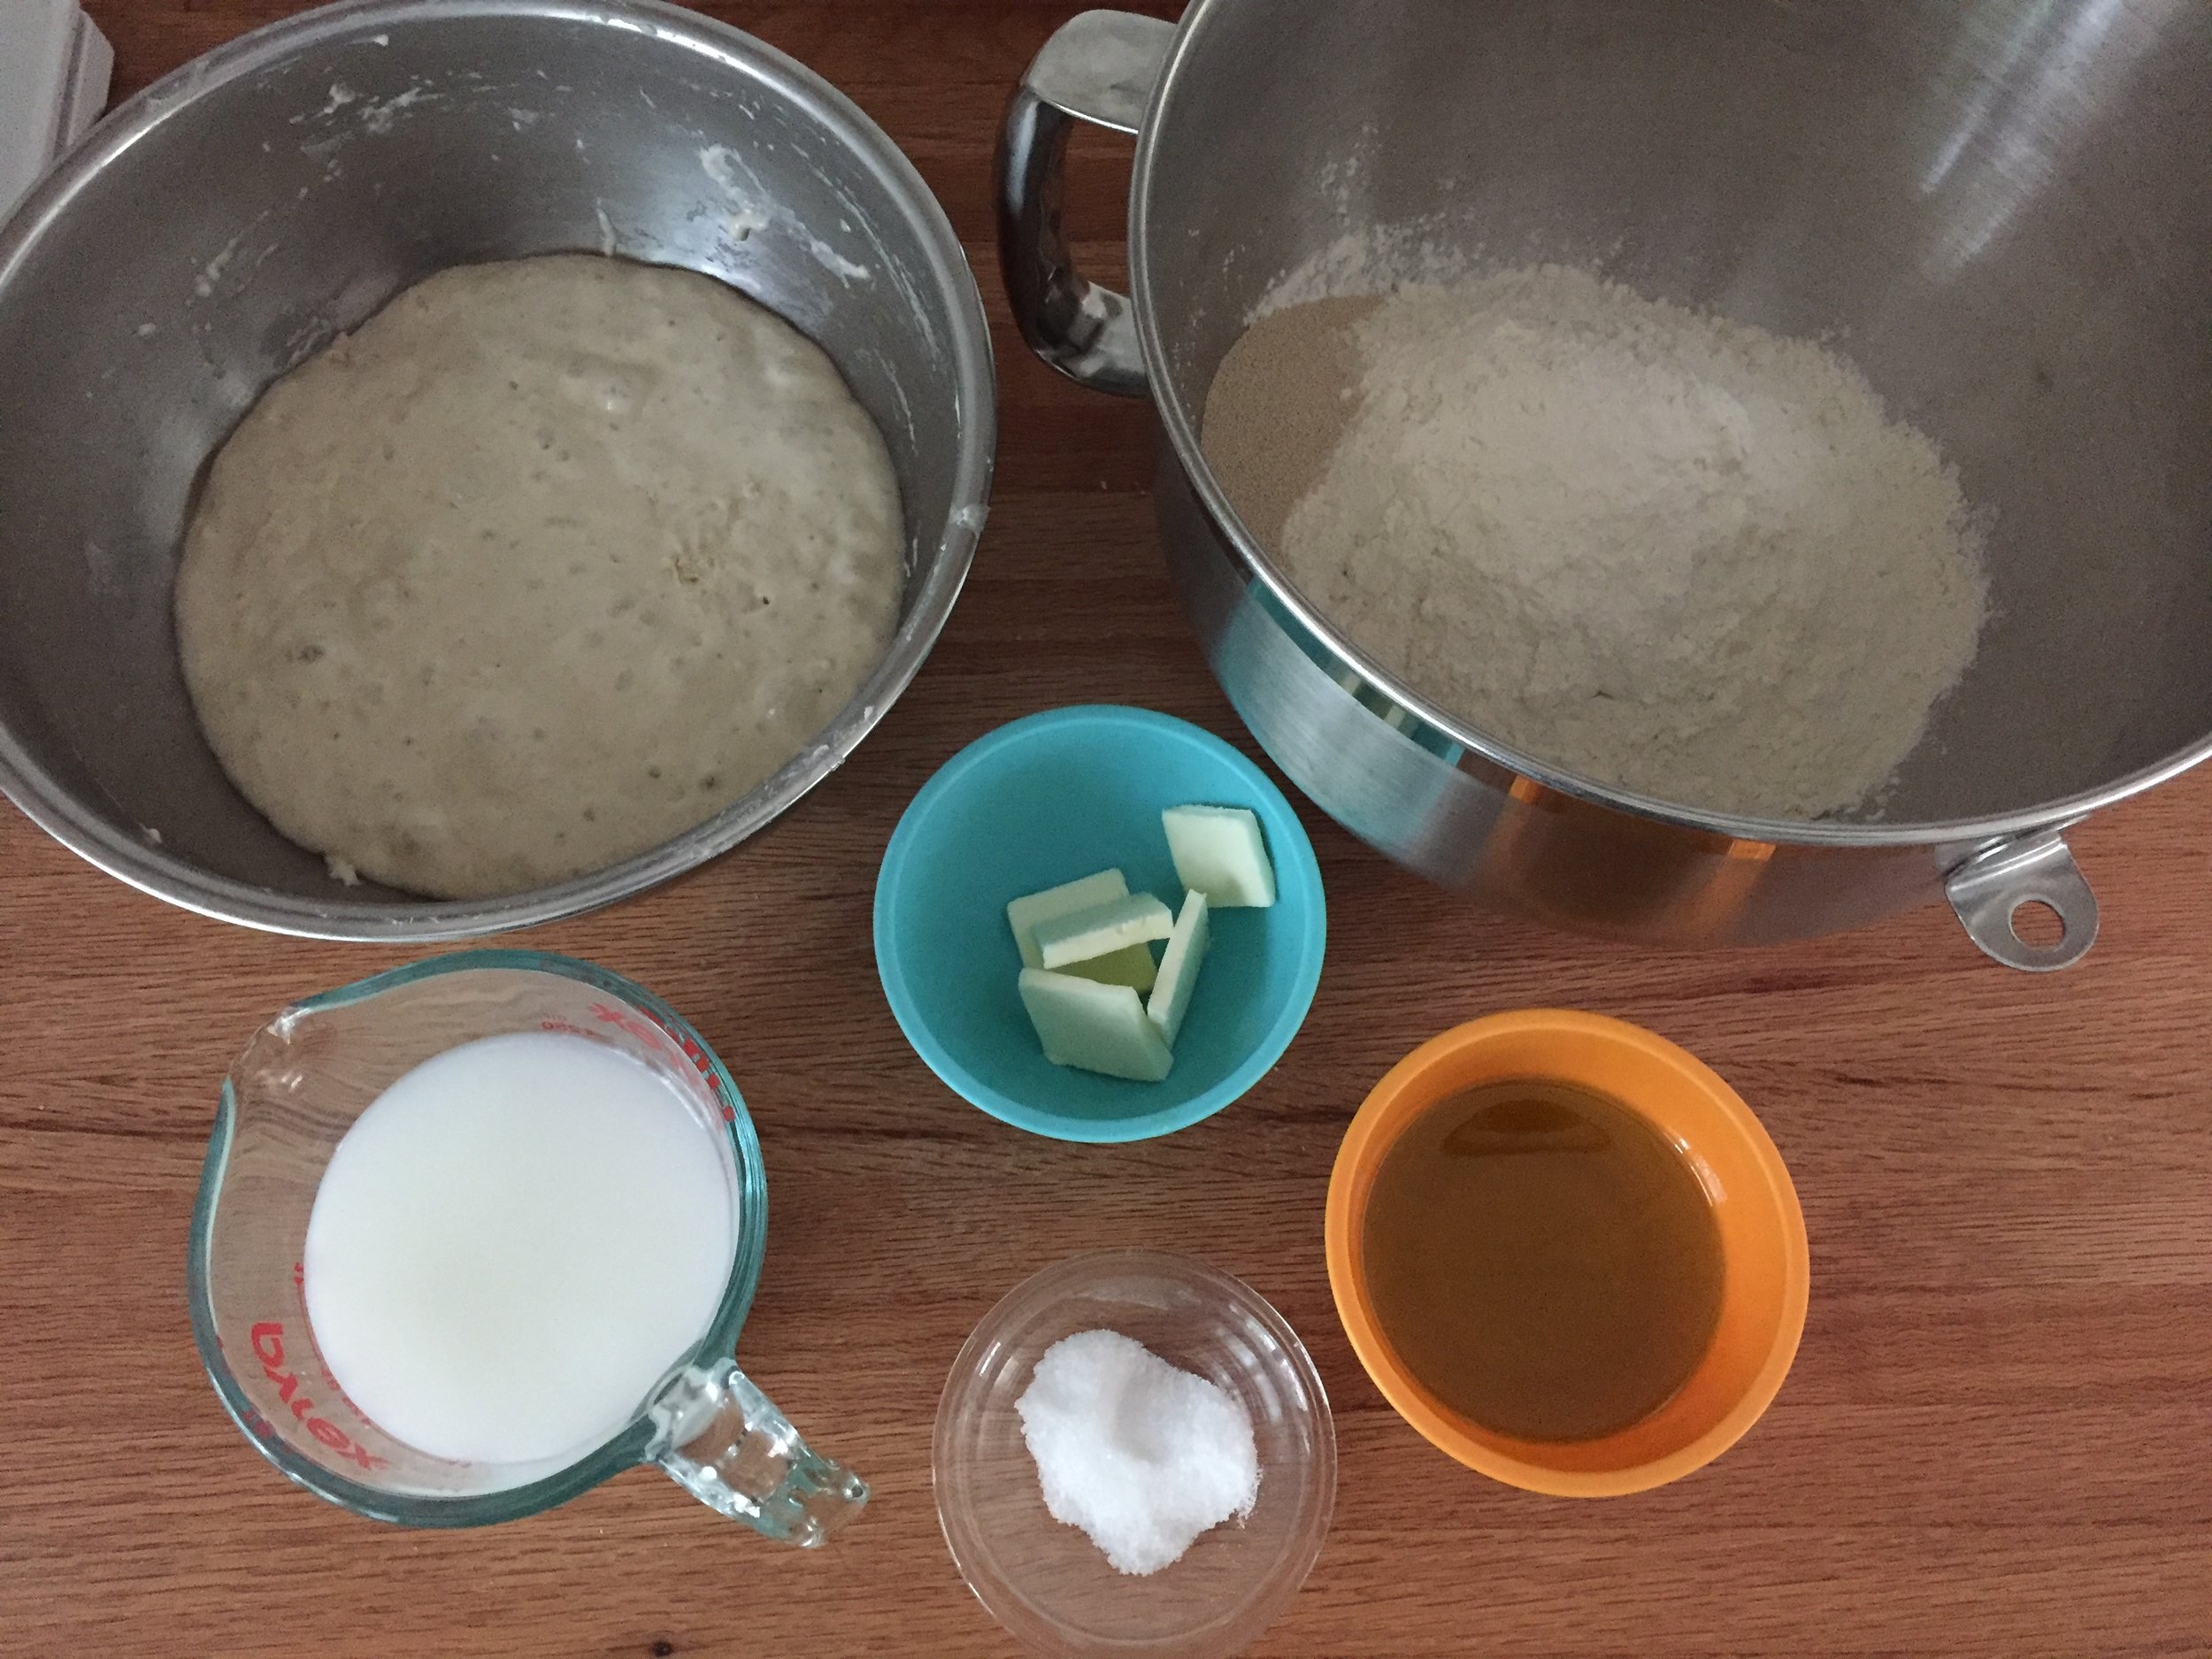
To make the final dough I combined the poolish with 510 g bread flour, 7 g instant yeast, 235 ml tepid water/milk mix, 71 g olive oil, 20 g butter and 16 g salt.

IMG_3209.JPG

Using the dough hook I mixed everything for 4 minutes on low speed and then 2 minutes on medium speed. Then a 30 minute bulk fermentation followed by a fold-over then another 30 minutes before dividing.

After the bulk fermentation

After the bulk fermentation

I divided my dough into two 740 g portions with a plan for two different shaping approaches.

IMG_3212.JPG

The first shape involves rolling the dough into a rectangle and sprinkling it with 227g grated cheese (fontinella in my case). Then I took 6-7 cloves of roasted garlic and smooshed and pieced them up, scattering the pieces over the rectangle. A light sprinkle of Penzey’s salt free pizza seasoning mix, then roll up a snug log.

Starting the log roll

Starting the log roll

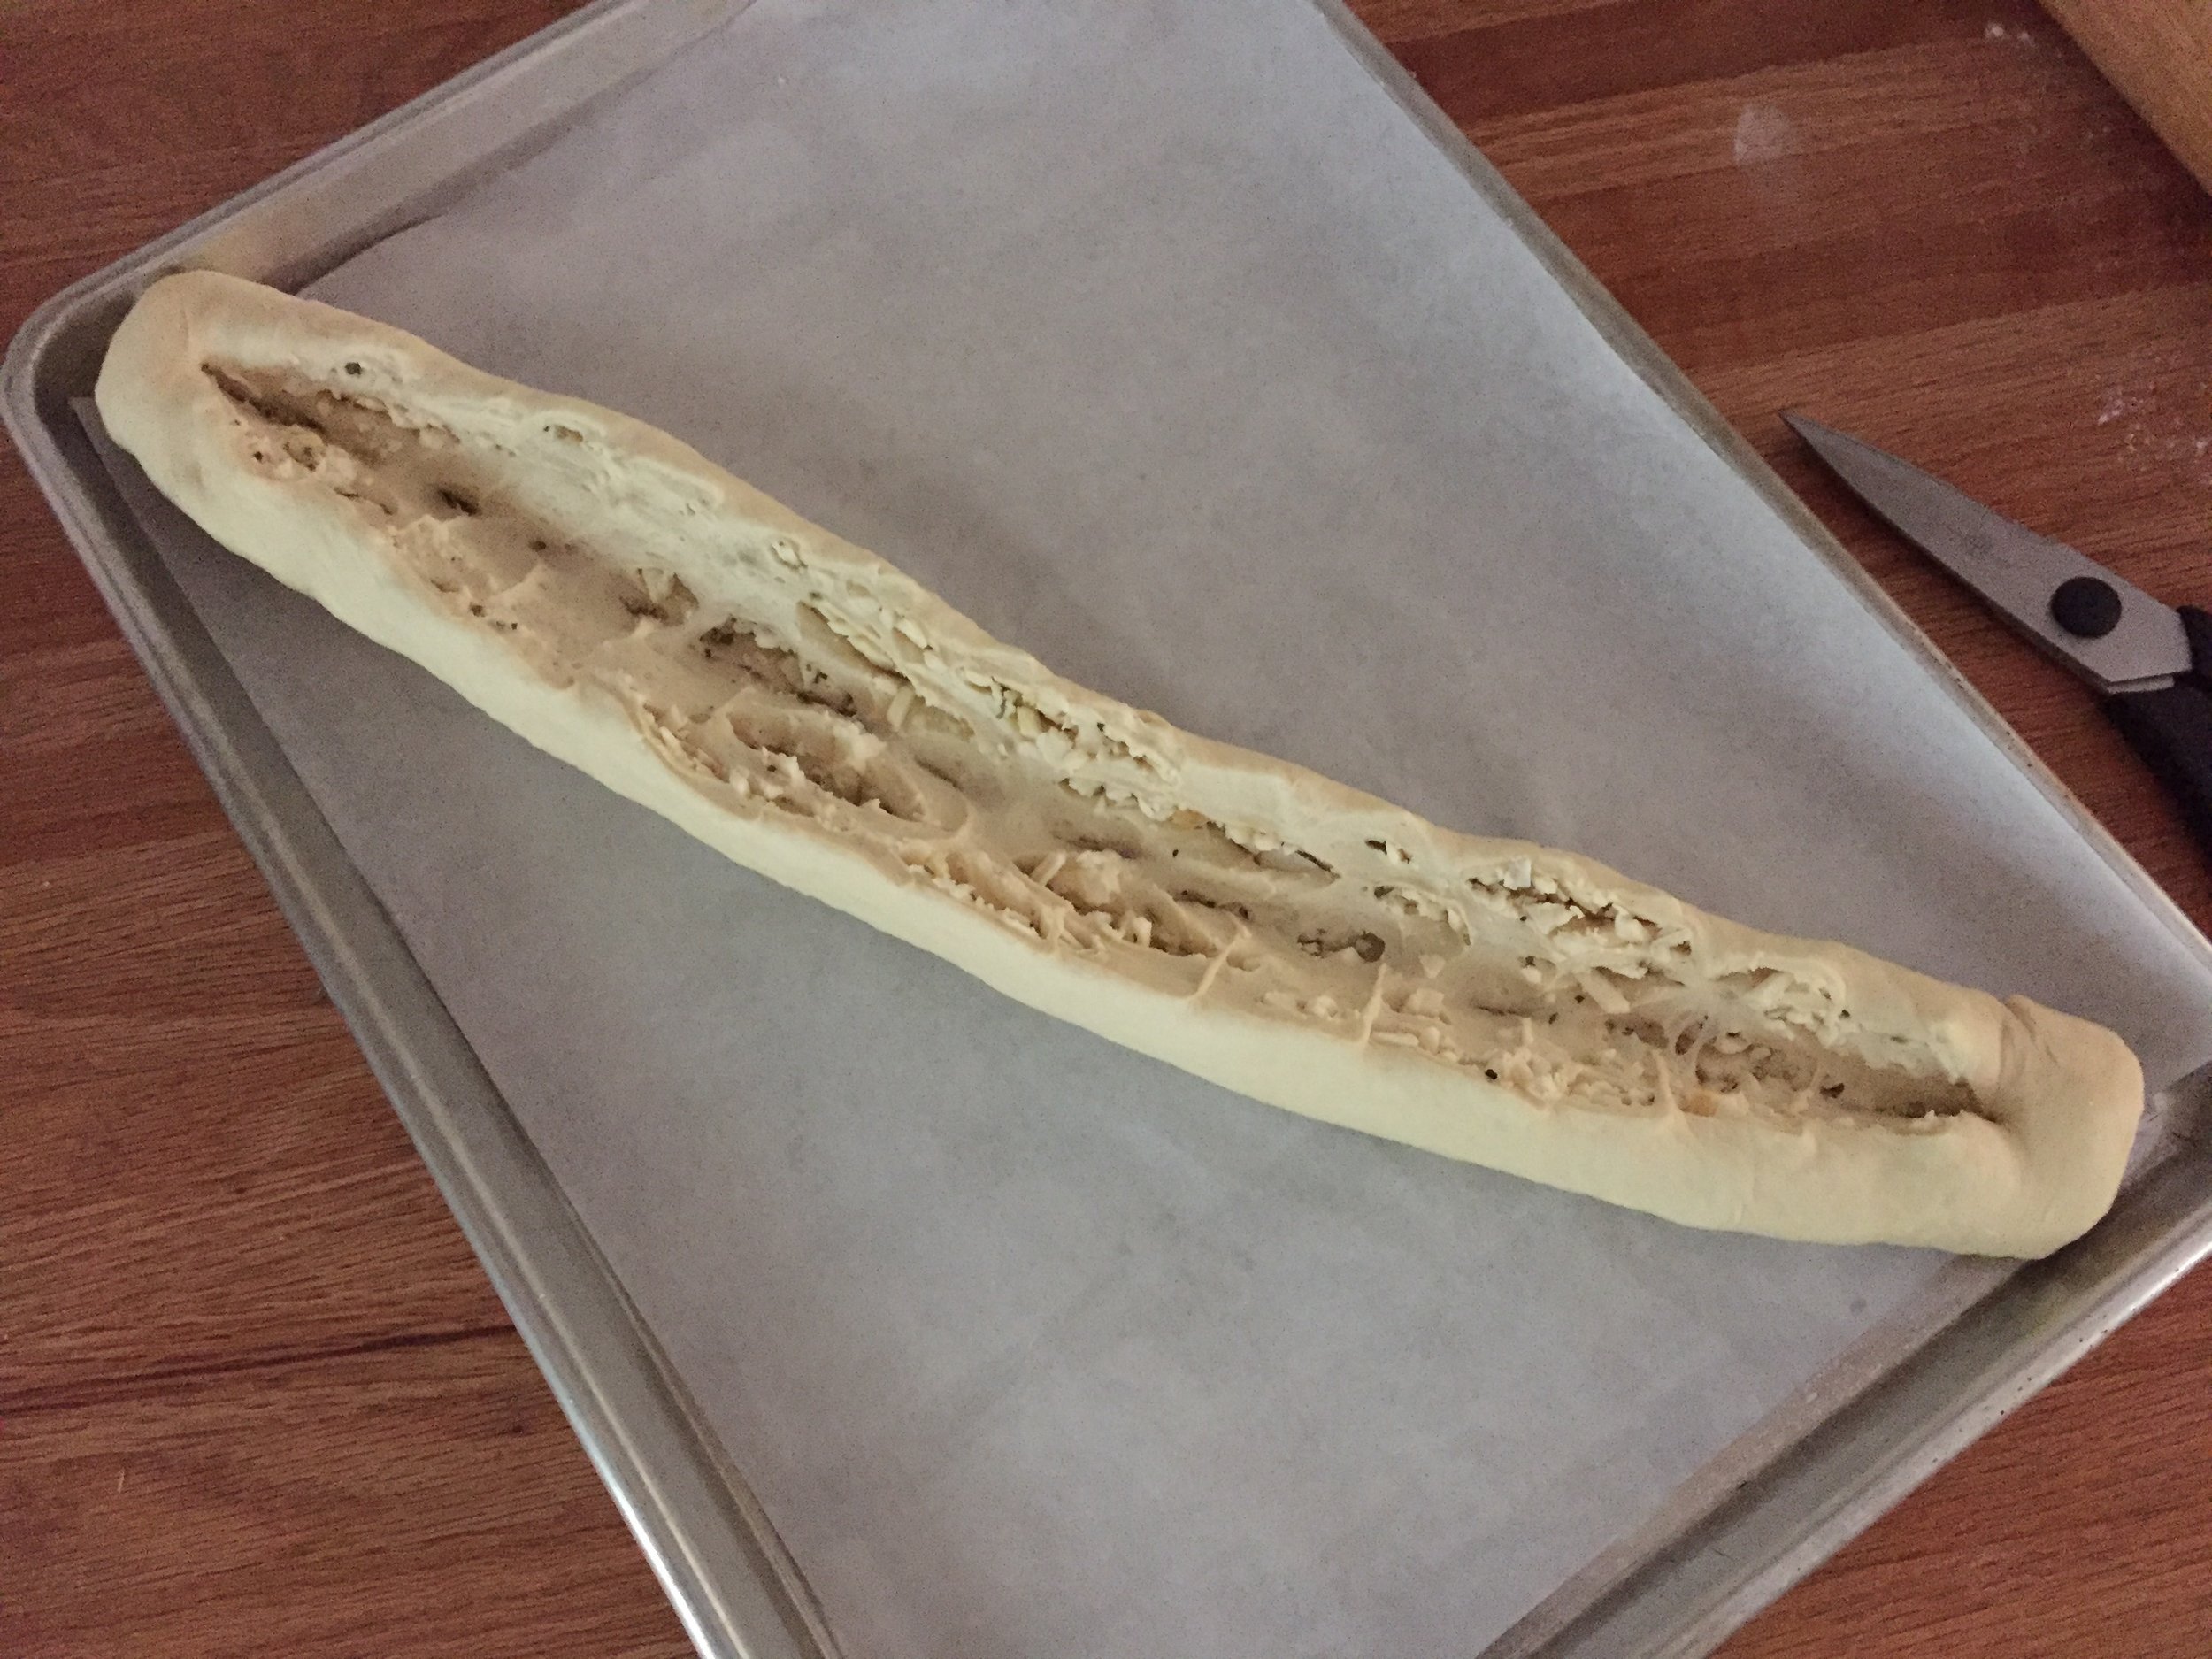
Once the log is complete, pinch the seams, place it seam side down on a parchment lined sheet, slit it down the middle to a depth of about an inch, leaving the ends intact. The log will open up to expose the filling.

IMG_3215.JPG

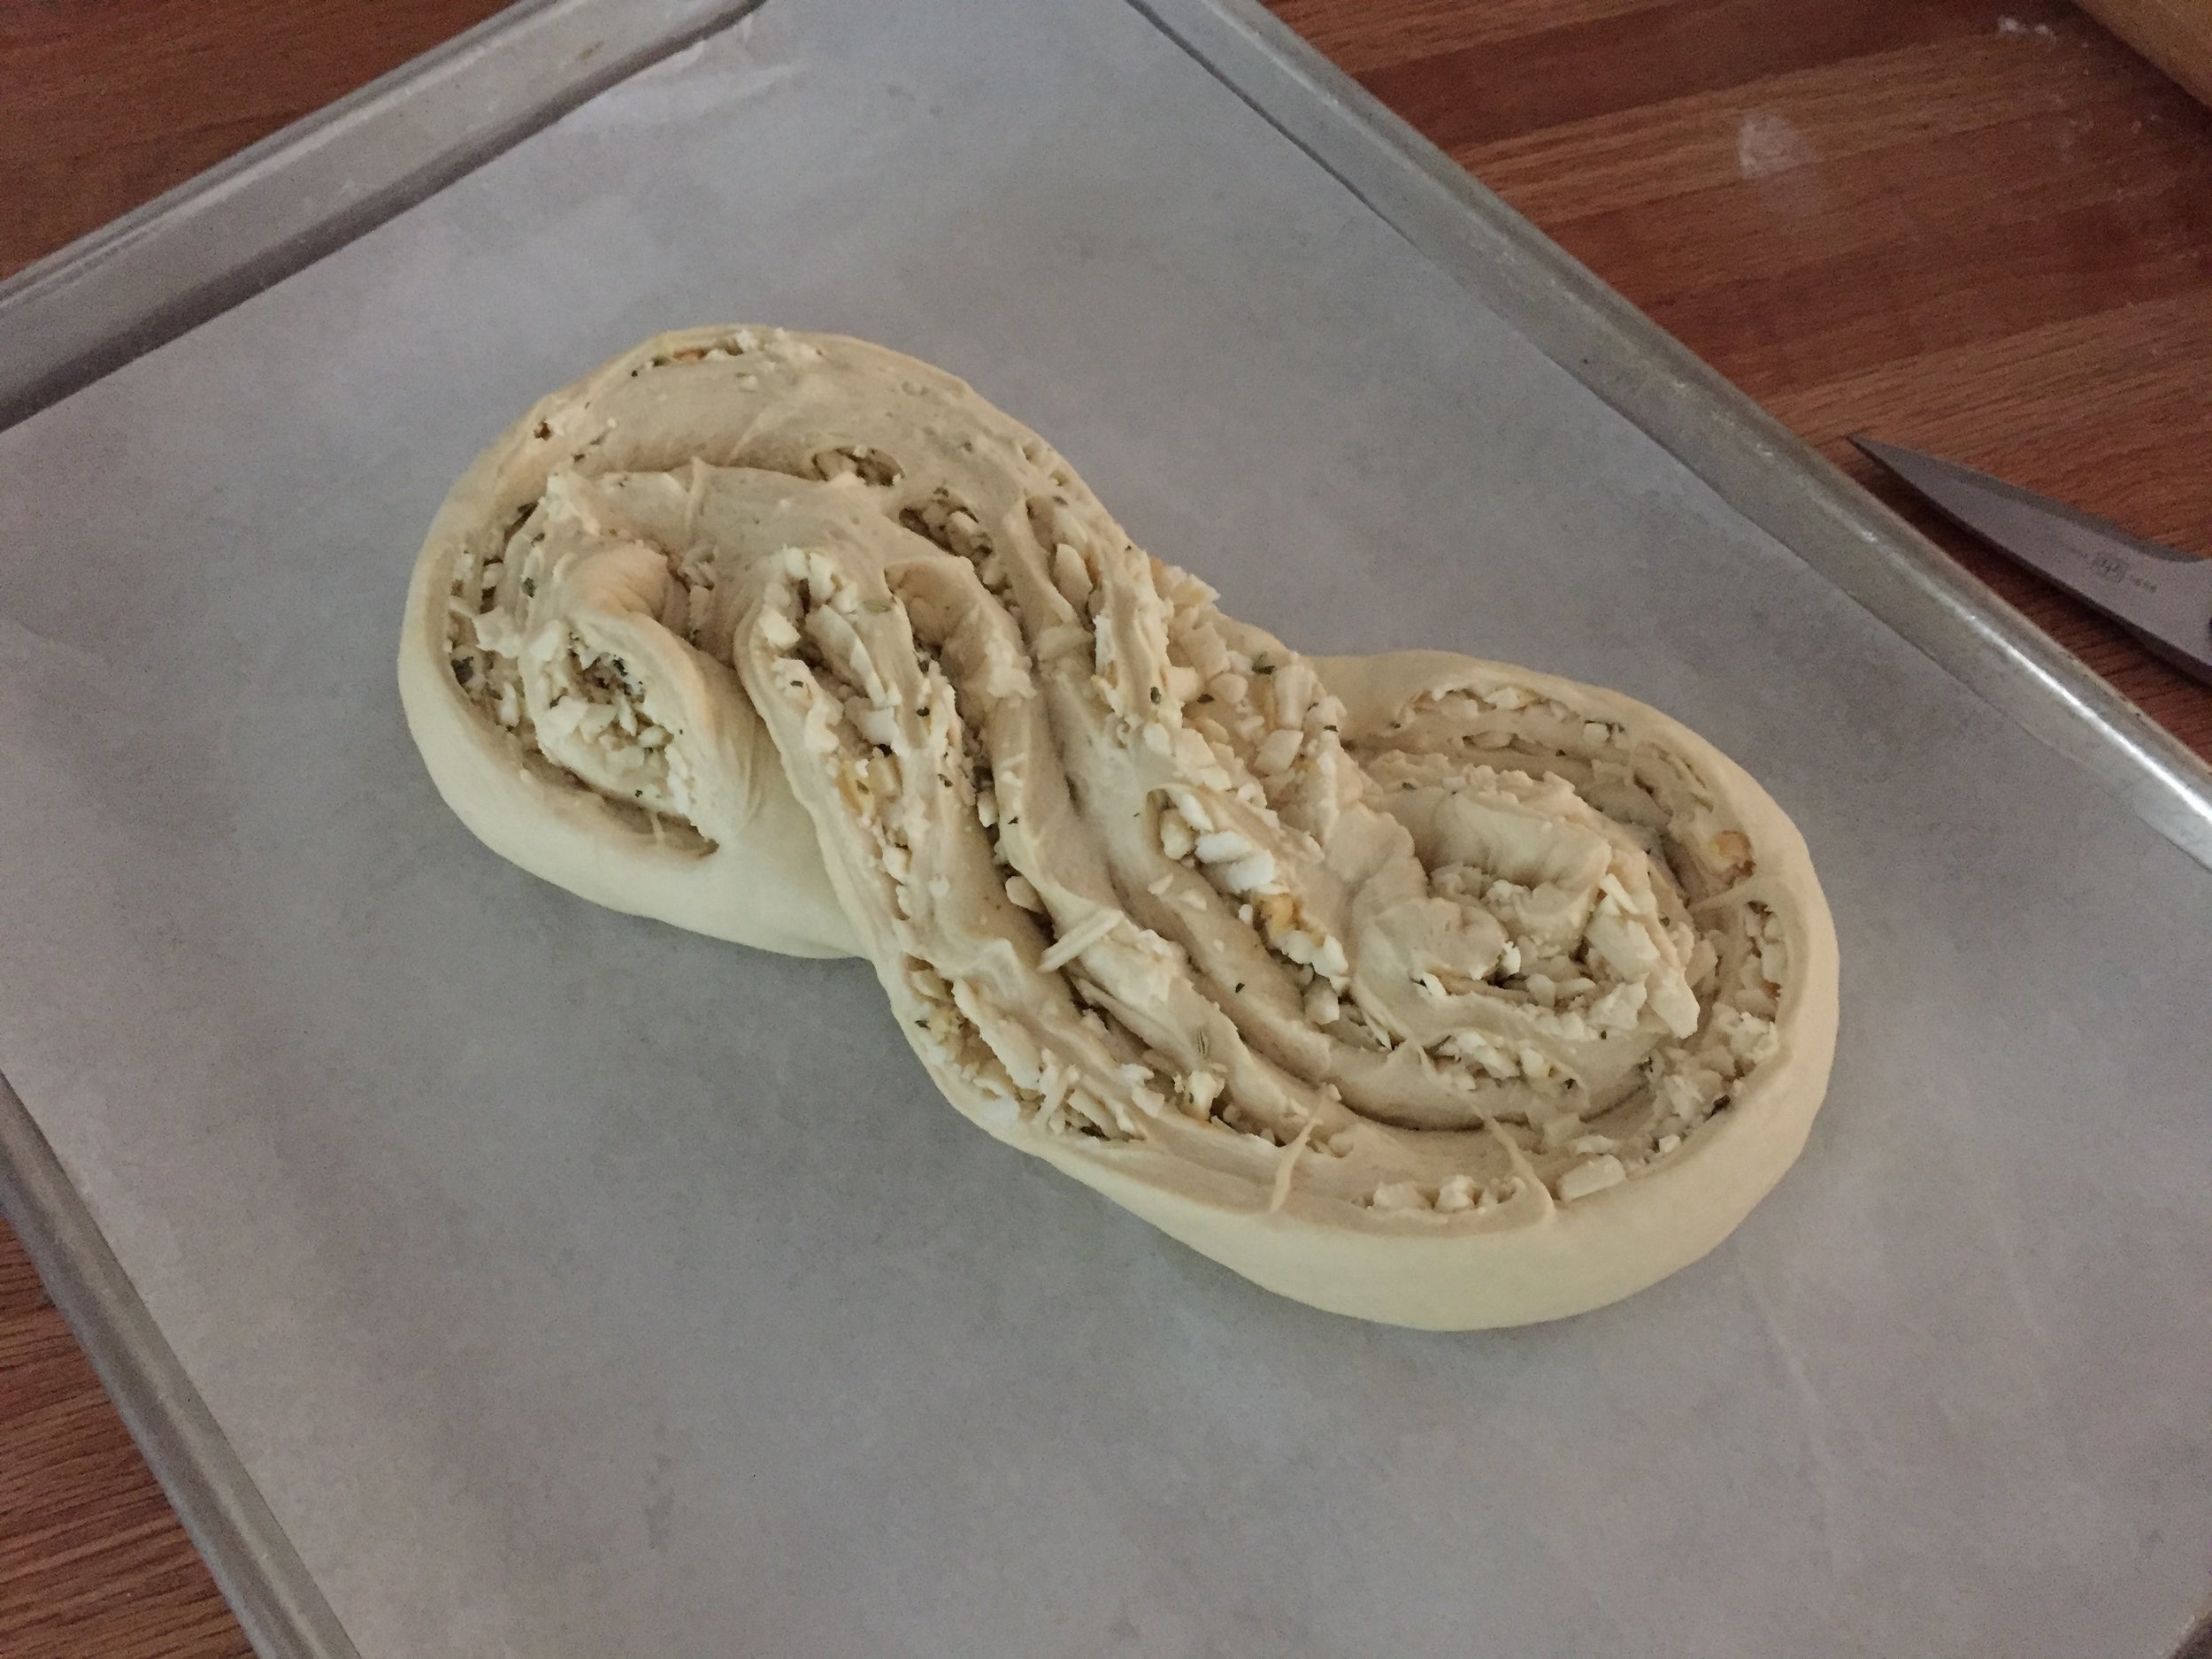
Then shape it into an “S” and tuck the ends under. Pretty cool.

IMG_3216.JPG

My second shape followed the method used for babka in which you roll up the log as already described, then slit the log entirely down the middle yielding two separate pieces filling side up.

IMG_3218.JPG

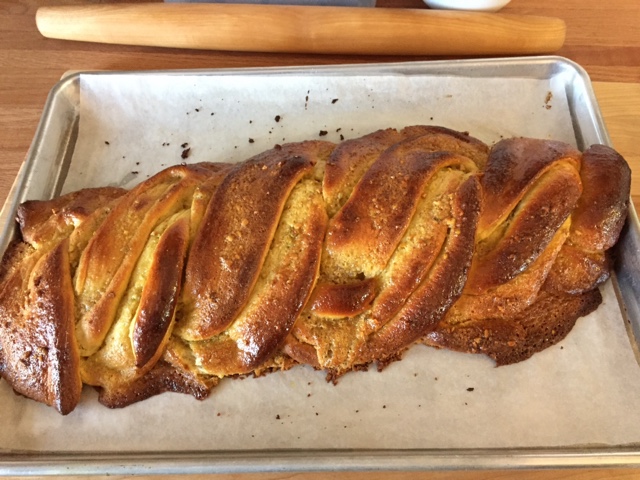
Begin at one end and twist the two pieces over and under each other, continuing to keep the filling side up as best you can (I could use some more practice on this one!). In this case I then went for a couronne or crown by forming it into a ring and tucking the ends under.

IMG_3219.JPG

Cover and let rise in a warm place for about 45-60 minutes, heating the oven to 350ºF during the last half of the rise.

Bake for 35-40 minutes until nicely browned.

IMG_3225.JPG
IMG_3226.JPG

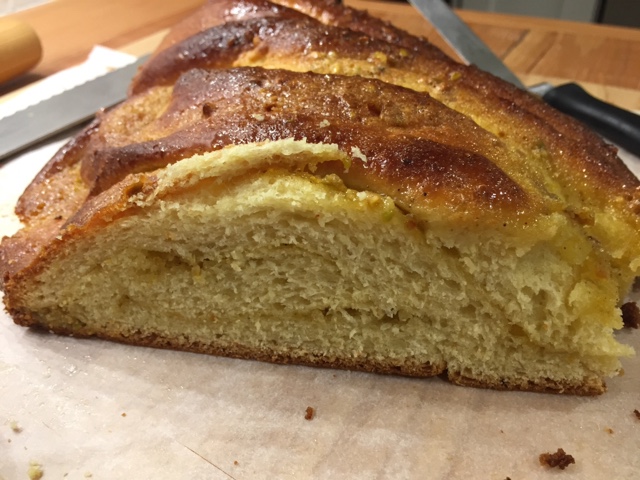
The fontinella and roasted garlic went a long way to making this one a truly delectable bread experience.

IMG_3232.JPG
IMG_3231.JPG

For a family supper we sliced it, drizzled some melted butter over it, loosely wrapped it in foil and warmed it for about 10 minutes in a 325ºF oven. Oh my.

Yup. I’d make this again.

Babka trial Part 3 - another chocolate pecan


Well, I have another babka trial under my belt, and I have to say I'm excited about moving on to other baking adventures. I've learned a lot but feel there are still more practice sessions in my distant future before getting this down to a tried and true comfortable process.  If at first you don't succeed, try, try again - so true!

Granted, I used several different dough recipes in my various trials, so I can't say this is a purely scientific study with all variables constant. What I did accomplish was gaining a general understanding of how the process should go.

Here are just a few tidbits that I gleaned from my experience.

I found that the dough for babka can be a standard sweet dough (as one might use for cinnamon rolls), a laminated dough or a brioche-like dough. As they say, there's more than one way to skin a cat!

I discovered that the chocolate filling (if that's the version you're making) should be made ahead so there is time for the melted chocolate/butter with added cocoa powder and sugar mixture to cool to a room temperature spreadable paste.


I learned that there are many ways to shape babka - the length-wise sliced log plaited and tucked into a loaf pan or baked free form, a fat snake-like coiled log that sits in the pan perpendicular to the counter rather than lying flat or a log placed circularly around a tube or Bundt pan.

What I'm still working on grasping is how loosely or snugly to twist the plaits, the best way to fit them into the loaf pan, how long to let the loaf rise and how long to bake (it's very difficult to determine when the center is fully baked).

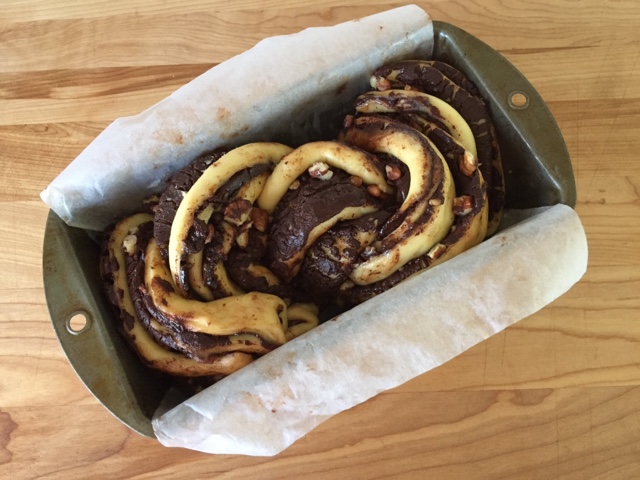
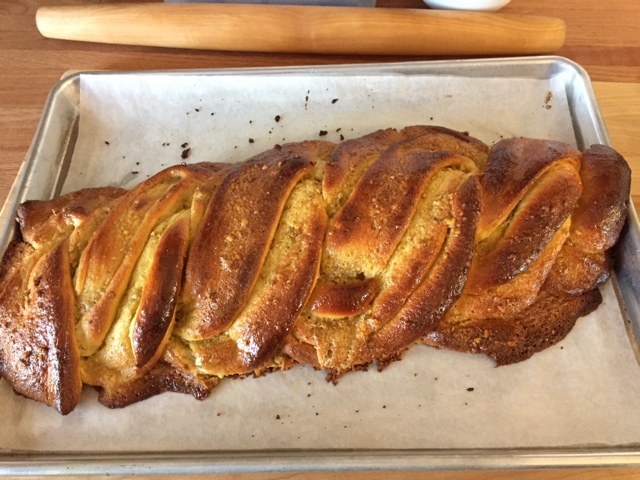
For this my third and last trial I used Yotam Ottolenghi's brioche like dough. I baked two loaves, one the classic plait which I placed into the pan like an "S" to try and give the dough enough room to rise and not be too squished in.


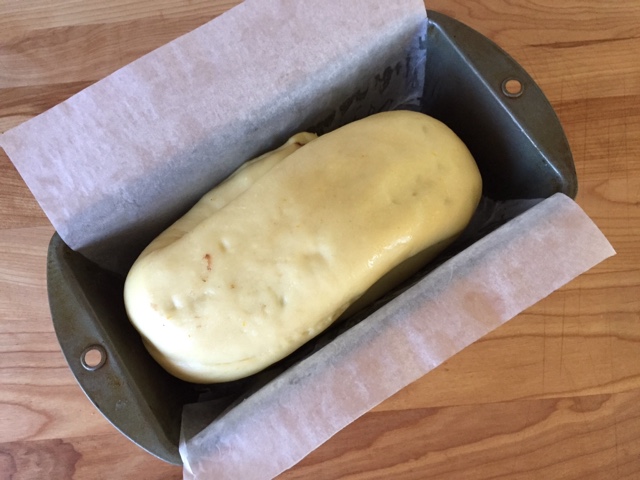
For the second loaf I went with Peter Reinhart's option of twisting the log a bit, then coiling it up like a snail.


Then the snail goes into the pan straight up, not with the coil flat.


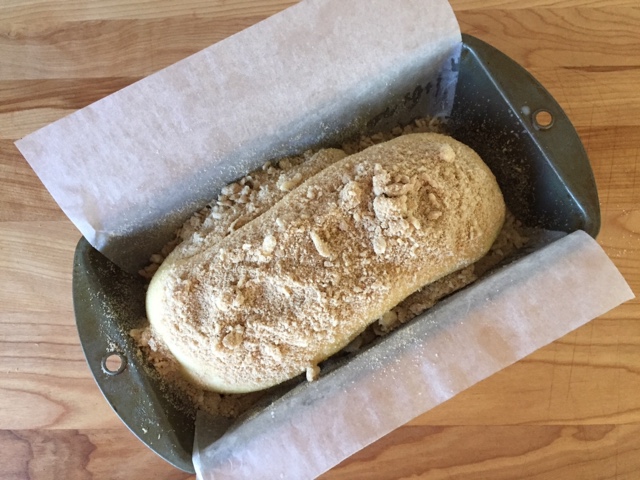
Kind of looks like a big old cow's tongue! This version gets egg wash and a streusel topping before going into the oven.

Reinhart's instructions have you press the coil down to compress it into a loaf, but I didn't want to press down too hard, thinking the rise of the dough layers would be impaired.

I gave both of these loaves a three hour warmish rise since I wasn't certain my previous rises were long enough. Perhaps it makes a difference which type of dough one is using too.

Interestingly, of the many recipes I reviewed the recommended rising times (in a "warm" place) varied from 1-1.5 hours up to 3 hours. Some stated the dough wouldn't rise more than 10-20% and some wanted the dough to puff up and fill the pan.

I thought my plaited loaf became appropriately puffy, at least according to the 10-20% rise benchmark.


I had my doubts about the snail coil, but it seemed to have reached that 10-20% goal too, even though it was not filling the pan.  I suspect the rise I saw this time around had to do with the brioche type dough I used.


The snail coil received its wash and streusel.


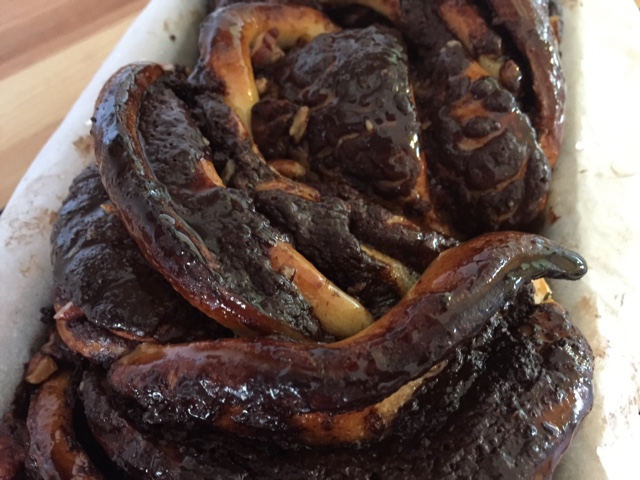
I baked the plait for 45-50 minutes at 350º convection.  I attempted to check an internal dough temperature which reached over 185º but couldn't be sure if my temperature probe was in dough or chocolate.  When tapping the dough on the surface, it had a nice thump, and my inserted skewer came out clean. Out of the oven it came.


I baked the snail for the same amount of time and took it out after a resounding thump was heard when tapping the top and a 185º internal temperature was reached.


Let's hope for the best.

After a good cooling it was time for slicing.

First the plaited loaf.


Not bad! In spite of some chocolate gaps and a bit of doughy-ness in the bottom layers, this was delicious!!  Funny that even when the bake wasn't all that great, all of my attempts were tasty, tasty, tasty.

The streusel snail loaf had a big hollow pocket under the surface and the bottom thinner layers were under baked.  But again, joy of all joys - DELICIOUS!


While Steve enjoyed the fruits of my labor, he wondered why I spent so much time on this project. I say "why not?!".  It's a challenge and fun to boot.

What's next? I just started reading Alice Medrich's book "Flavor Flours" and am intrigued with learning and experimenting with the different non-wheat flours out there.  So much to do.  

But before that I have to decide what to bake for Easter dessert. Oh boy!

Pistachio babka trial and a tasty bread pudding

It's been way too long since I've posted here, and I've been chomping at the bit to bake something different.


It's interesting how a certain thing tends to percolate to the surface, often by happenstance, and in recent months one of those things is babka, a yeasted bread-like coffee cake with origins in Russia and Poland. I've come across versions of it on line, both on Clotilde Dusoulier's "Chocolate and Zucchini" site as well as on the "Bake from Scratch" website.

Lately I've also been reviewing recipes from Peter Reinhart's "artisan breads every day", and, guess what?  There's a classic chocolate cinnamon babka just waiting to be tried. 

To top it off there's a chocolate babka recipe on April's Easter Baking class menu at Sur La Table where I've been teaching baking and pastry classes since last June.

Don't you think it's time to make babka!?

I wanted to make a pistachio filling version to use up some pistachio paste in my fridge.  I followed the recipe on the "Bake from Scratch" site and as I was making it, knew in my heart of hearts that it was probably too loose.  But use it I did.  Lesson learned.  After all, this was my first foray into the babka world so why not experiment, eh?

dough ingredients

Filling aside, Peter Reinhart's dough is a lovely soft, enriched sweet dough made as follows. Whisk 19 g instant yeast into 3/4 cup/180 ml lukewarm whole milk. Let sit for about 5 minutes. 

Cream 6 tablespoons/85 g unsalted butter (melted or soft room temp) with 6 tablespoons/85 g sugar on medium speed for 1-2 minutes. 

Add 1 teaspoon vanilla extract to 4 egg yolks, add to the sugar mixture in 4 additions and mix on medium-high for a couple of minutes. 

Stop the mixer, add 3 1/3 cups/425 g all purpose flour and one teaspoon salt then the milk/yeast mixture. Mix on low for 2-3 minutes to achieve a soft, supple, tacky dough.  


Transfer to a lightly floured surface and knead by hand for 2 more minutes. Form a ball.


Place the dough in a lightly oiled bowl, cover with plastic wrap and let rise at room temperature for about 2 1/2 hours.


Here's the dough after the rise.


Now you can either move on to the shaping step or place the dough in the fridge (covered) overnight to be rolled out the next day.

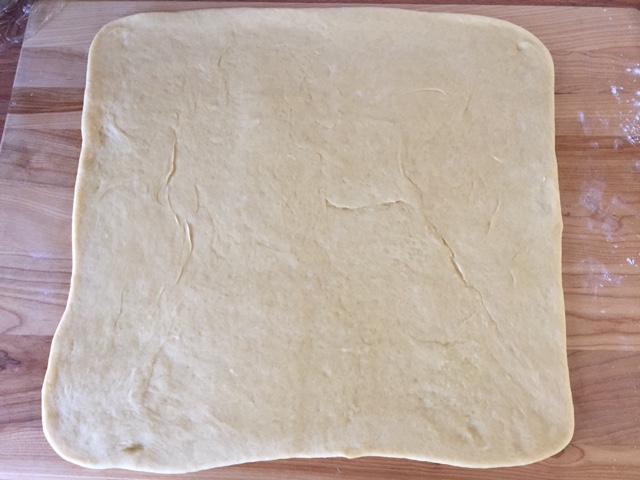
I decided to go forward with the project and rolled the dough into a 15" x15" square.


I spread my loose pistachio filling onto the dough and rolled it up into a log. I must admit I was so focused on spreading and rolling the dough up that I completely forgot to take a photo before the log formation! Rats! But you'll see the filling soon enough.


I placed it on a tray in the freezer for about 10 minutes, hoping that the filling would tighten up a bit.  I was already envisioning the pistachio goodness oozing out as soon as I sliced my log lengthwise.  I was going for a free form twisted loaf rather than putting the braid into a loaf pan as many babka recipes suggest.

I accomplished the lengthwise slice, but it was looking pretty messy.


I gently and gingerly twisted the two pieces around each other, attempting to keep the cut sides up.


Hmmmm . . . . This might work, but what's going to happen during the final rise? Yikes!

I covered the loaf loosely with plastic wrap and gave it another 2 1/2 hour rise at room temperature.  Here it is ready to go into my preheated 350º oven.  A filling mess looms ahead!


About 20 minutes into the bake I took it out and cleaned off some of the partially baked oozed filling from along the sides of the loaf. Otherwise it looked like it was browning nicely.  Maybe there's hope after all . . . . .


After about 40 minutes total baking time I thought it was ready. It certainly is well browned, that's for sure. The French call that bien cuit. I brushed it with vanilla simple syrup for a bit of sheen.


After some cooling I sliced into this interesting piece and found that my layers were pretty much non-existent.  As I suspected, a lot of the pistachio filling had oozed out during baking.


Yet . . . . . The flavor was delicious!  A nice dense yet soft and tender crumb along with a hint of pistachio. Not so bad after all. The next morning we warmed up a couple of slices and spread 'em with some raspberry jam - quite tasty indeed.

Now I'd really like to have another go at the whole babka thing.  I'm looking forward to creating one with a drier chocolate-y filling and a nice twisted spiral of dough. I've reviewed several more recipes, and I know it can be done.

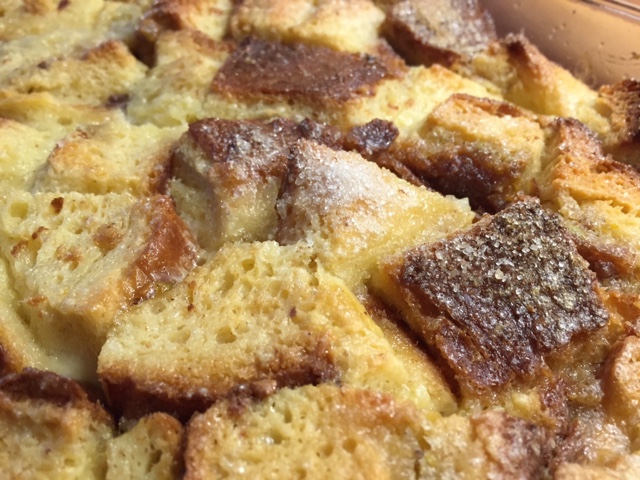
For this first attempt I ended up creating a bread pudding.  I cubed up the babka (about 6-7 cups) and made a custard with two cups whole milk, 1 cup heavy cream, 2 tablespoons melted butter, 1/2 cup sugar, 3 large eggs and some vanilla and almond extracts.

I placed the cubes in a buttered 9x13 Pyrex dish, poured the custard over and let it soak in the fridge for about 8 hours, pushing down the cubes a couple of times to keep them soaking. 


I sprinkled some coarse sugar and freshly grated a bit of nutmeg on the top, then baked the pudding in a 350º oven for about 45 minutes until set.


For a family supper at Mom's I served it warm with my homemade orange and vanilla scented ice cream and a sprinkle of chocolate-graham crumble.  So delicious!

So stay tuned for the next babka bake. It promises to be a good one. Can't wait.