Macaron musings
/True confessions - I’ve had a love-hate relationship with French macarons over the past 17 years. When I first tasted these popular delights in Paris in 2006, I found them way too sweet for my taste. No thanks.
However, as is often the case in life, things changed. Having finished my pastry schooling in 2007, I began working at Gracie’s in Providence RI and was asked to start making these little cookies that were, still are and will probably continue to be, all the rage. I generally had the best results with my chocolate version filled with a basic chocolate ganache, but there were times, boy oh boy, when they came out mottled or too sticky or cracked or whatever. Frustration!
After leaving Gracie’s I taught some well received macaron classes in my shop at Hope Artiste Village in Pawtucket RI. Yet once I turned that business over in anticipation of our move to Michigan, I put macarons aside to focus on my true loves - tarts, puff, croissants, brioche, shortbread, choux and financiers/teacakes just to name a few. My heart simply wasn’t pining to make les macarons.
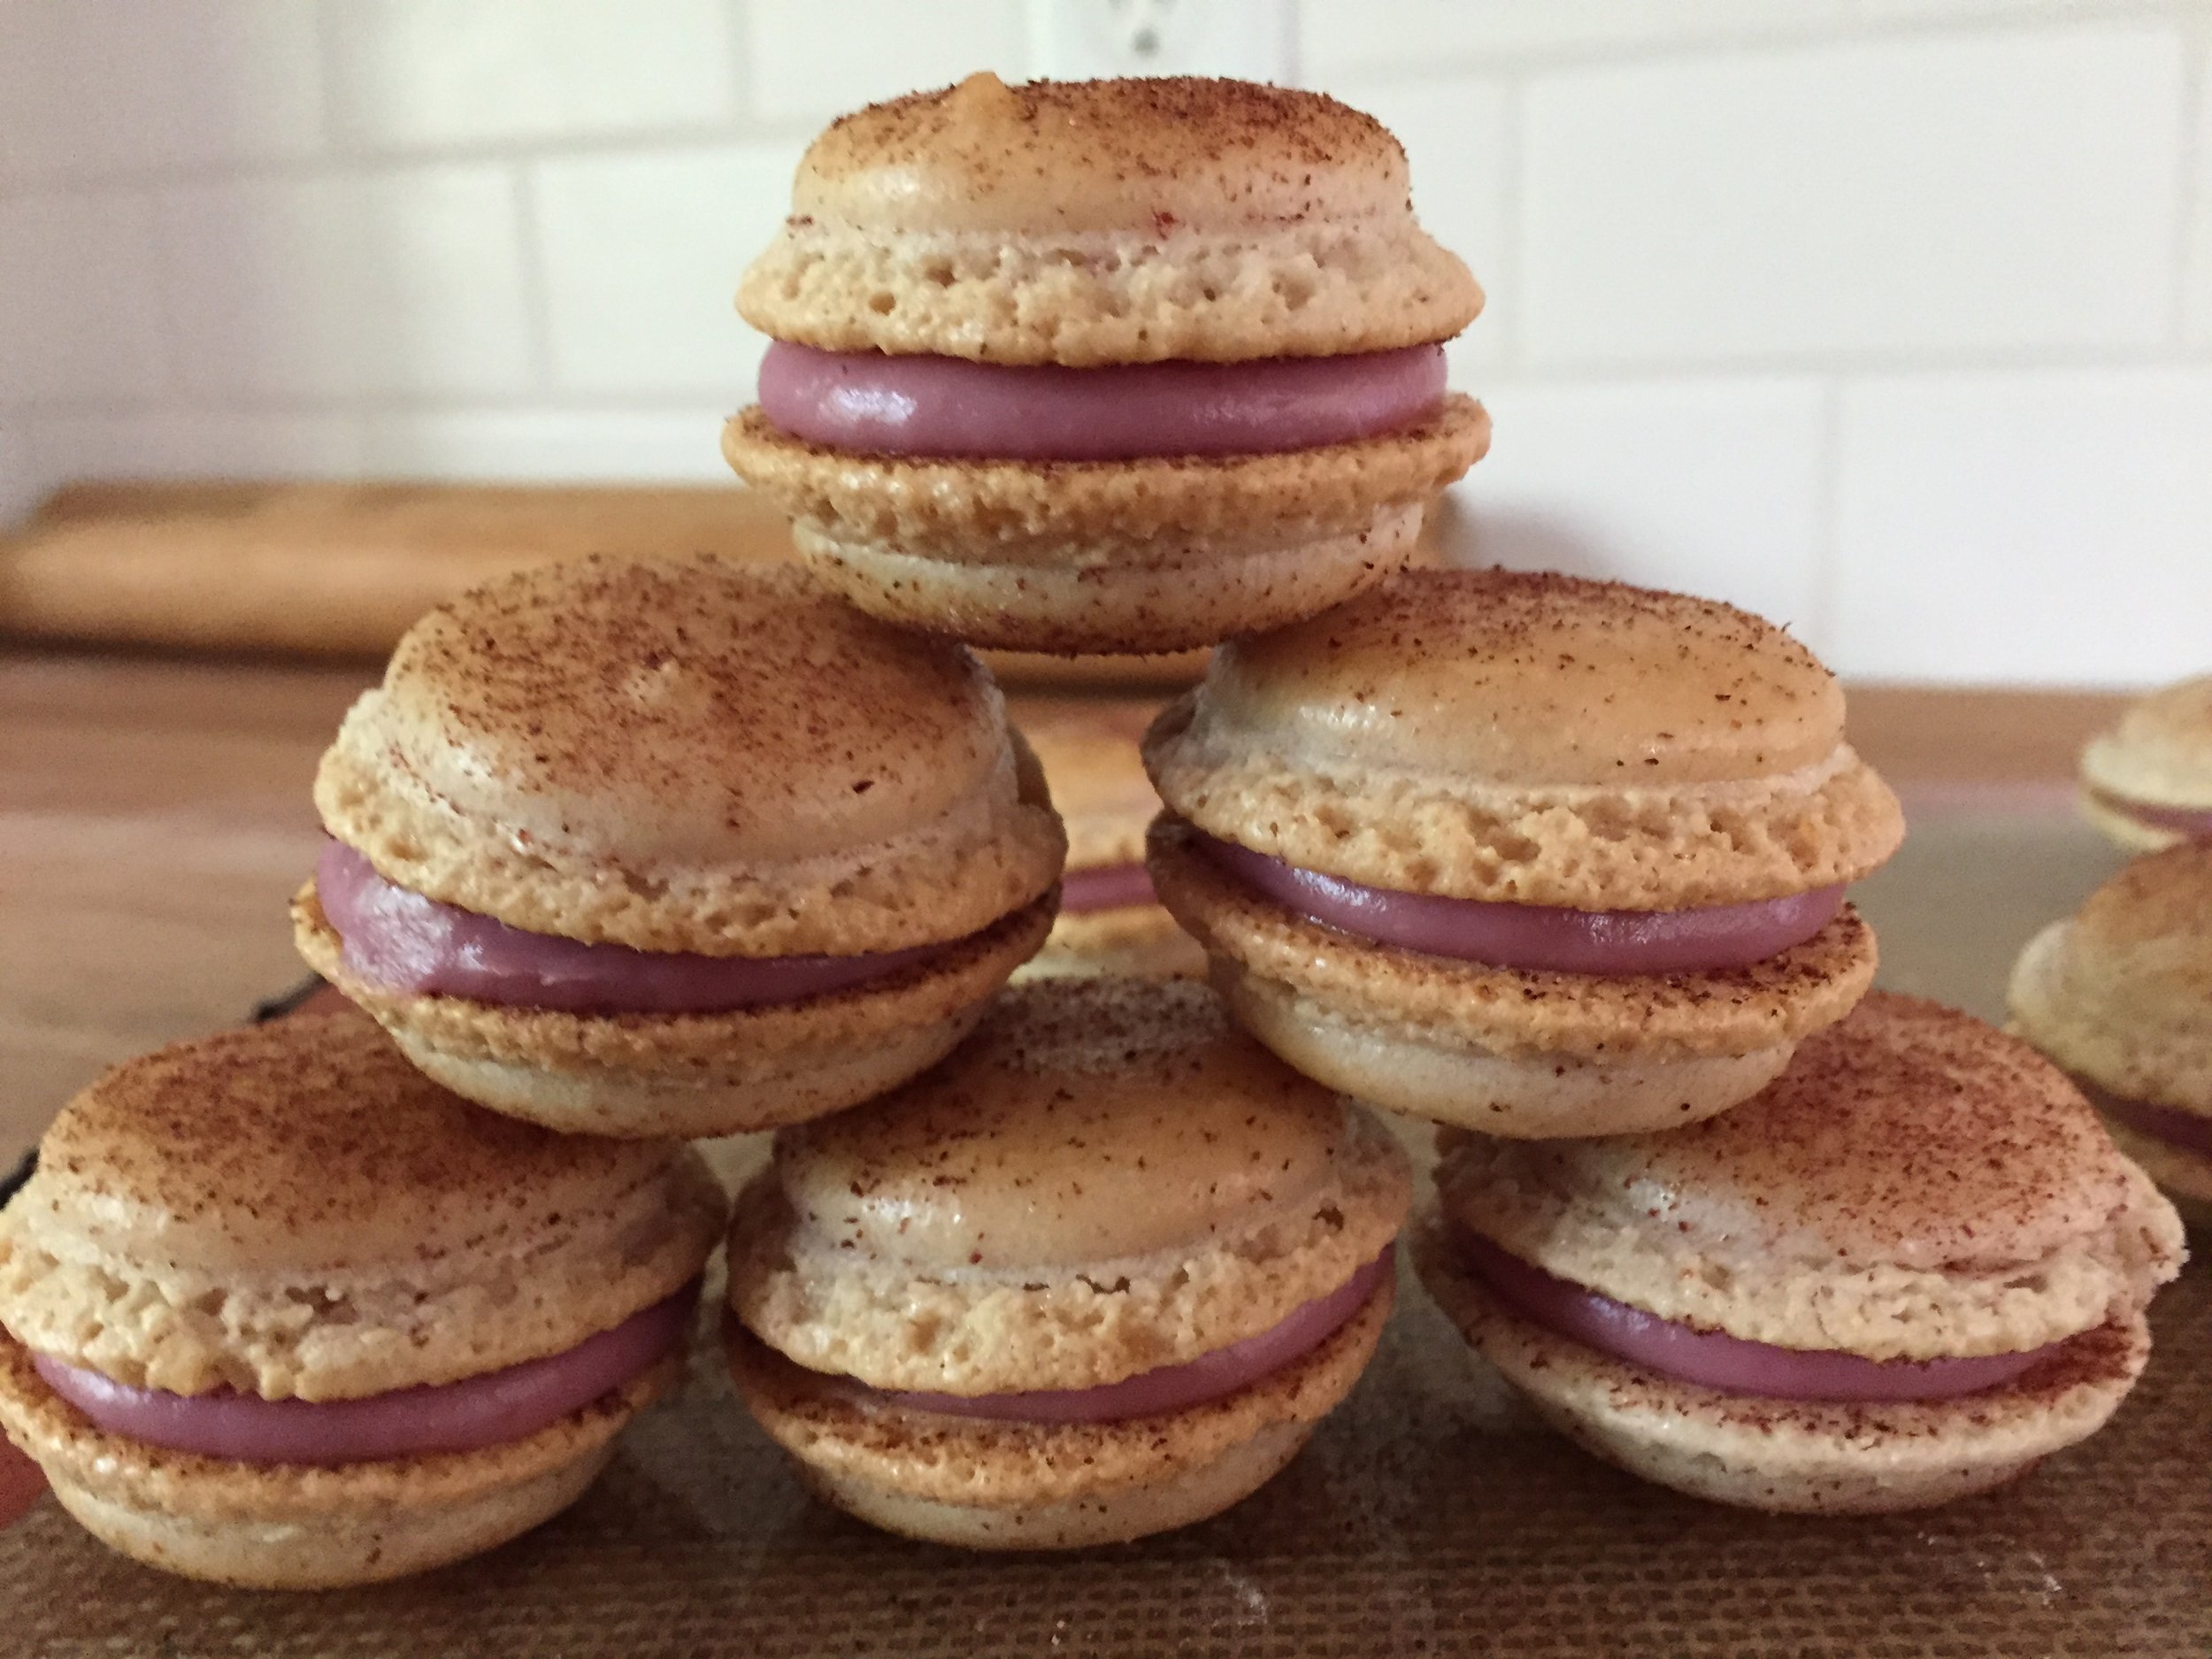
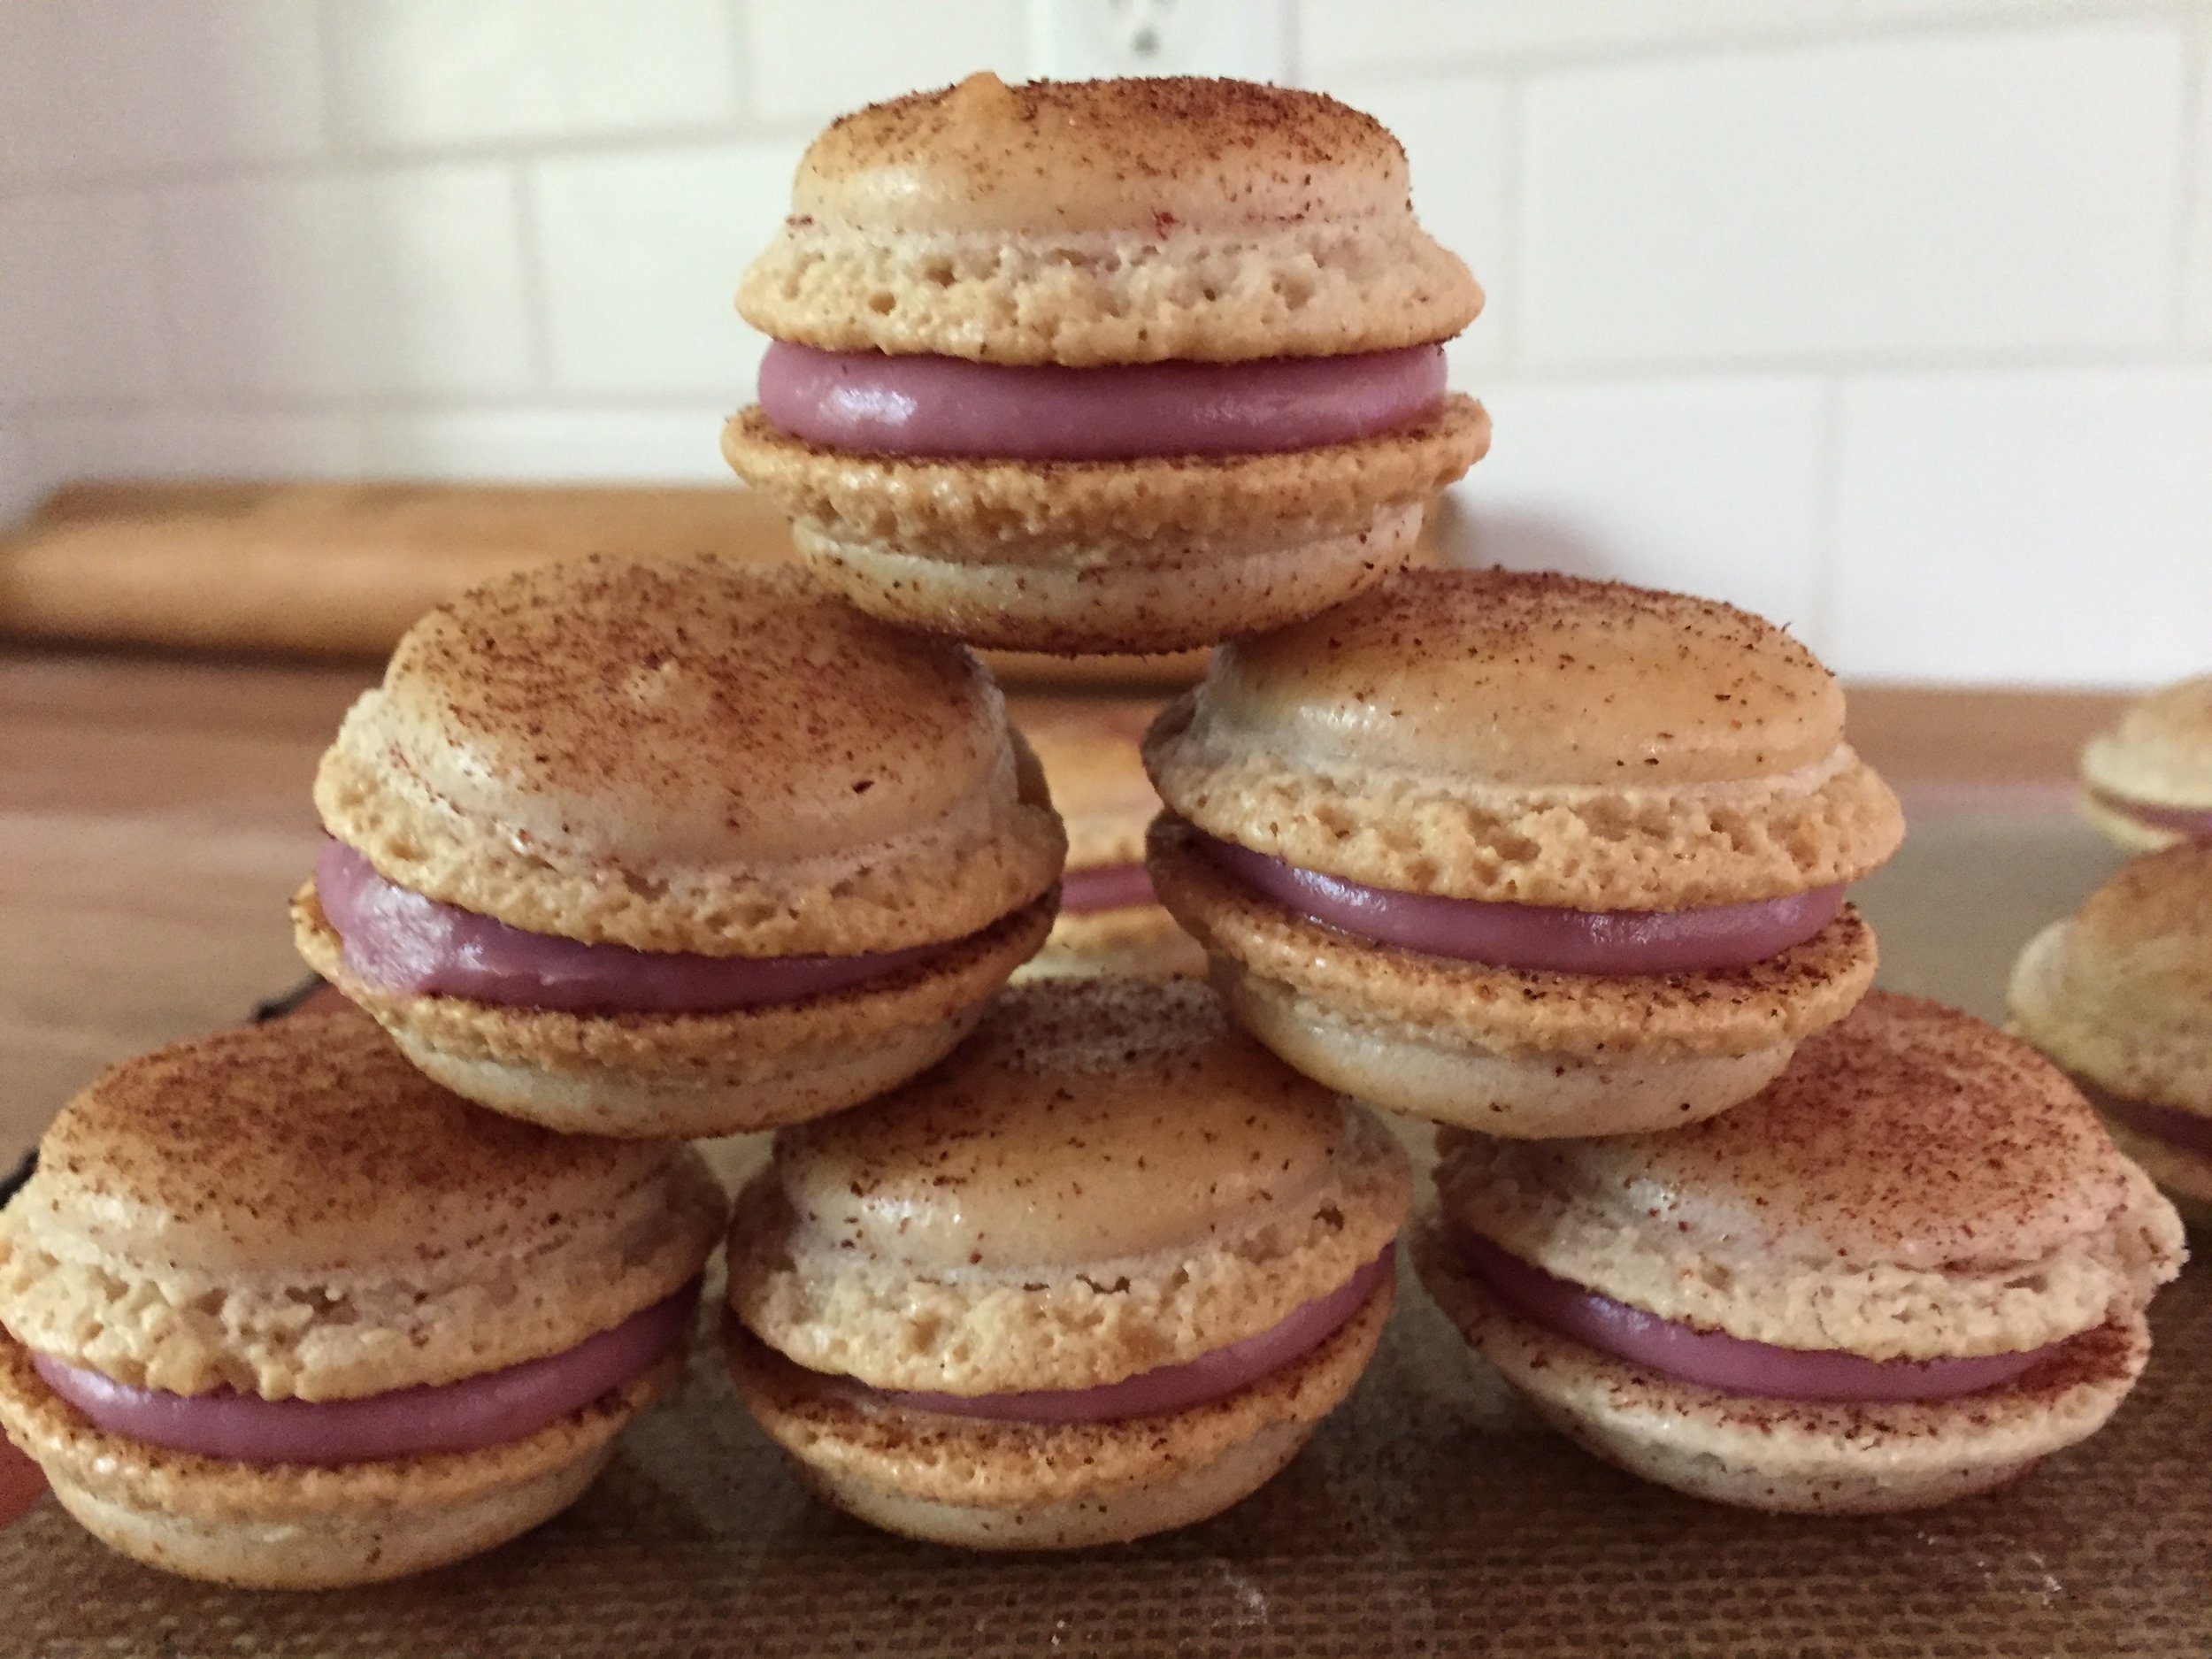
raspberrry white chocolate ganache filled
Fast forward a few years later - Steve and I had settled back in Grand Rapids and I started teaching pastry classes at the newly opened Sur La Table (sadly closed after the early months of the pandemic - bummer!). Wouldn’t you know one of the most popular class offerings was les macarons!! And so I taught many classes on these babies - sometimes they turned out beautifully and sometimes not so. The questions were always the same - what went wrong??
And so began another period of research, recipe comparisons, trials and macaron making. I even wrote a couple of blog posts about the different types of macarons out there, hoping to open peoples’ eyes to how easy some of the varieties are to make.
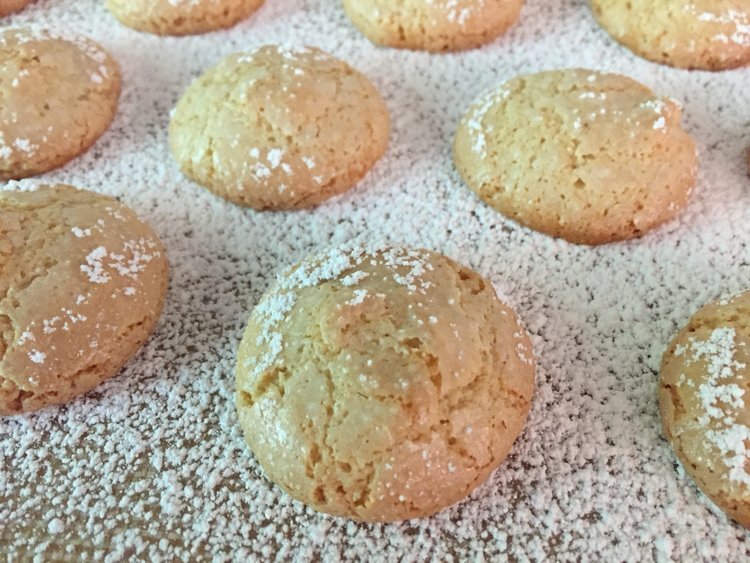
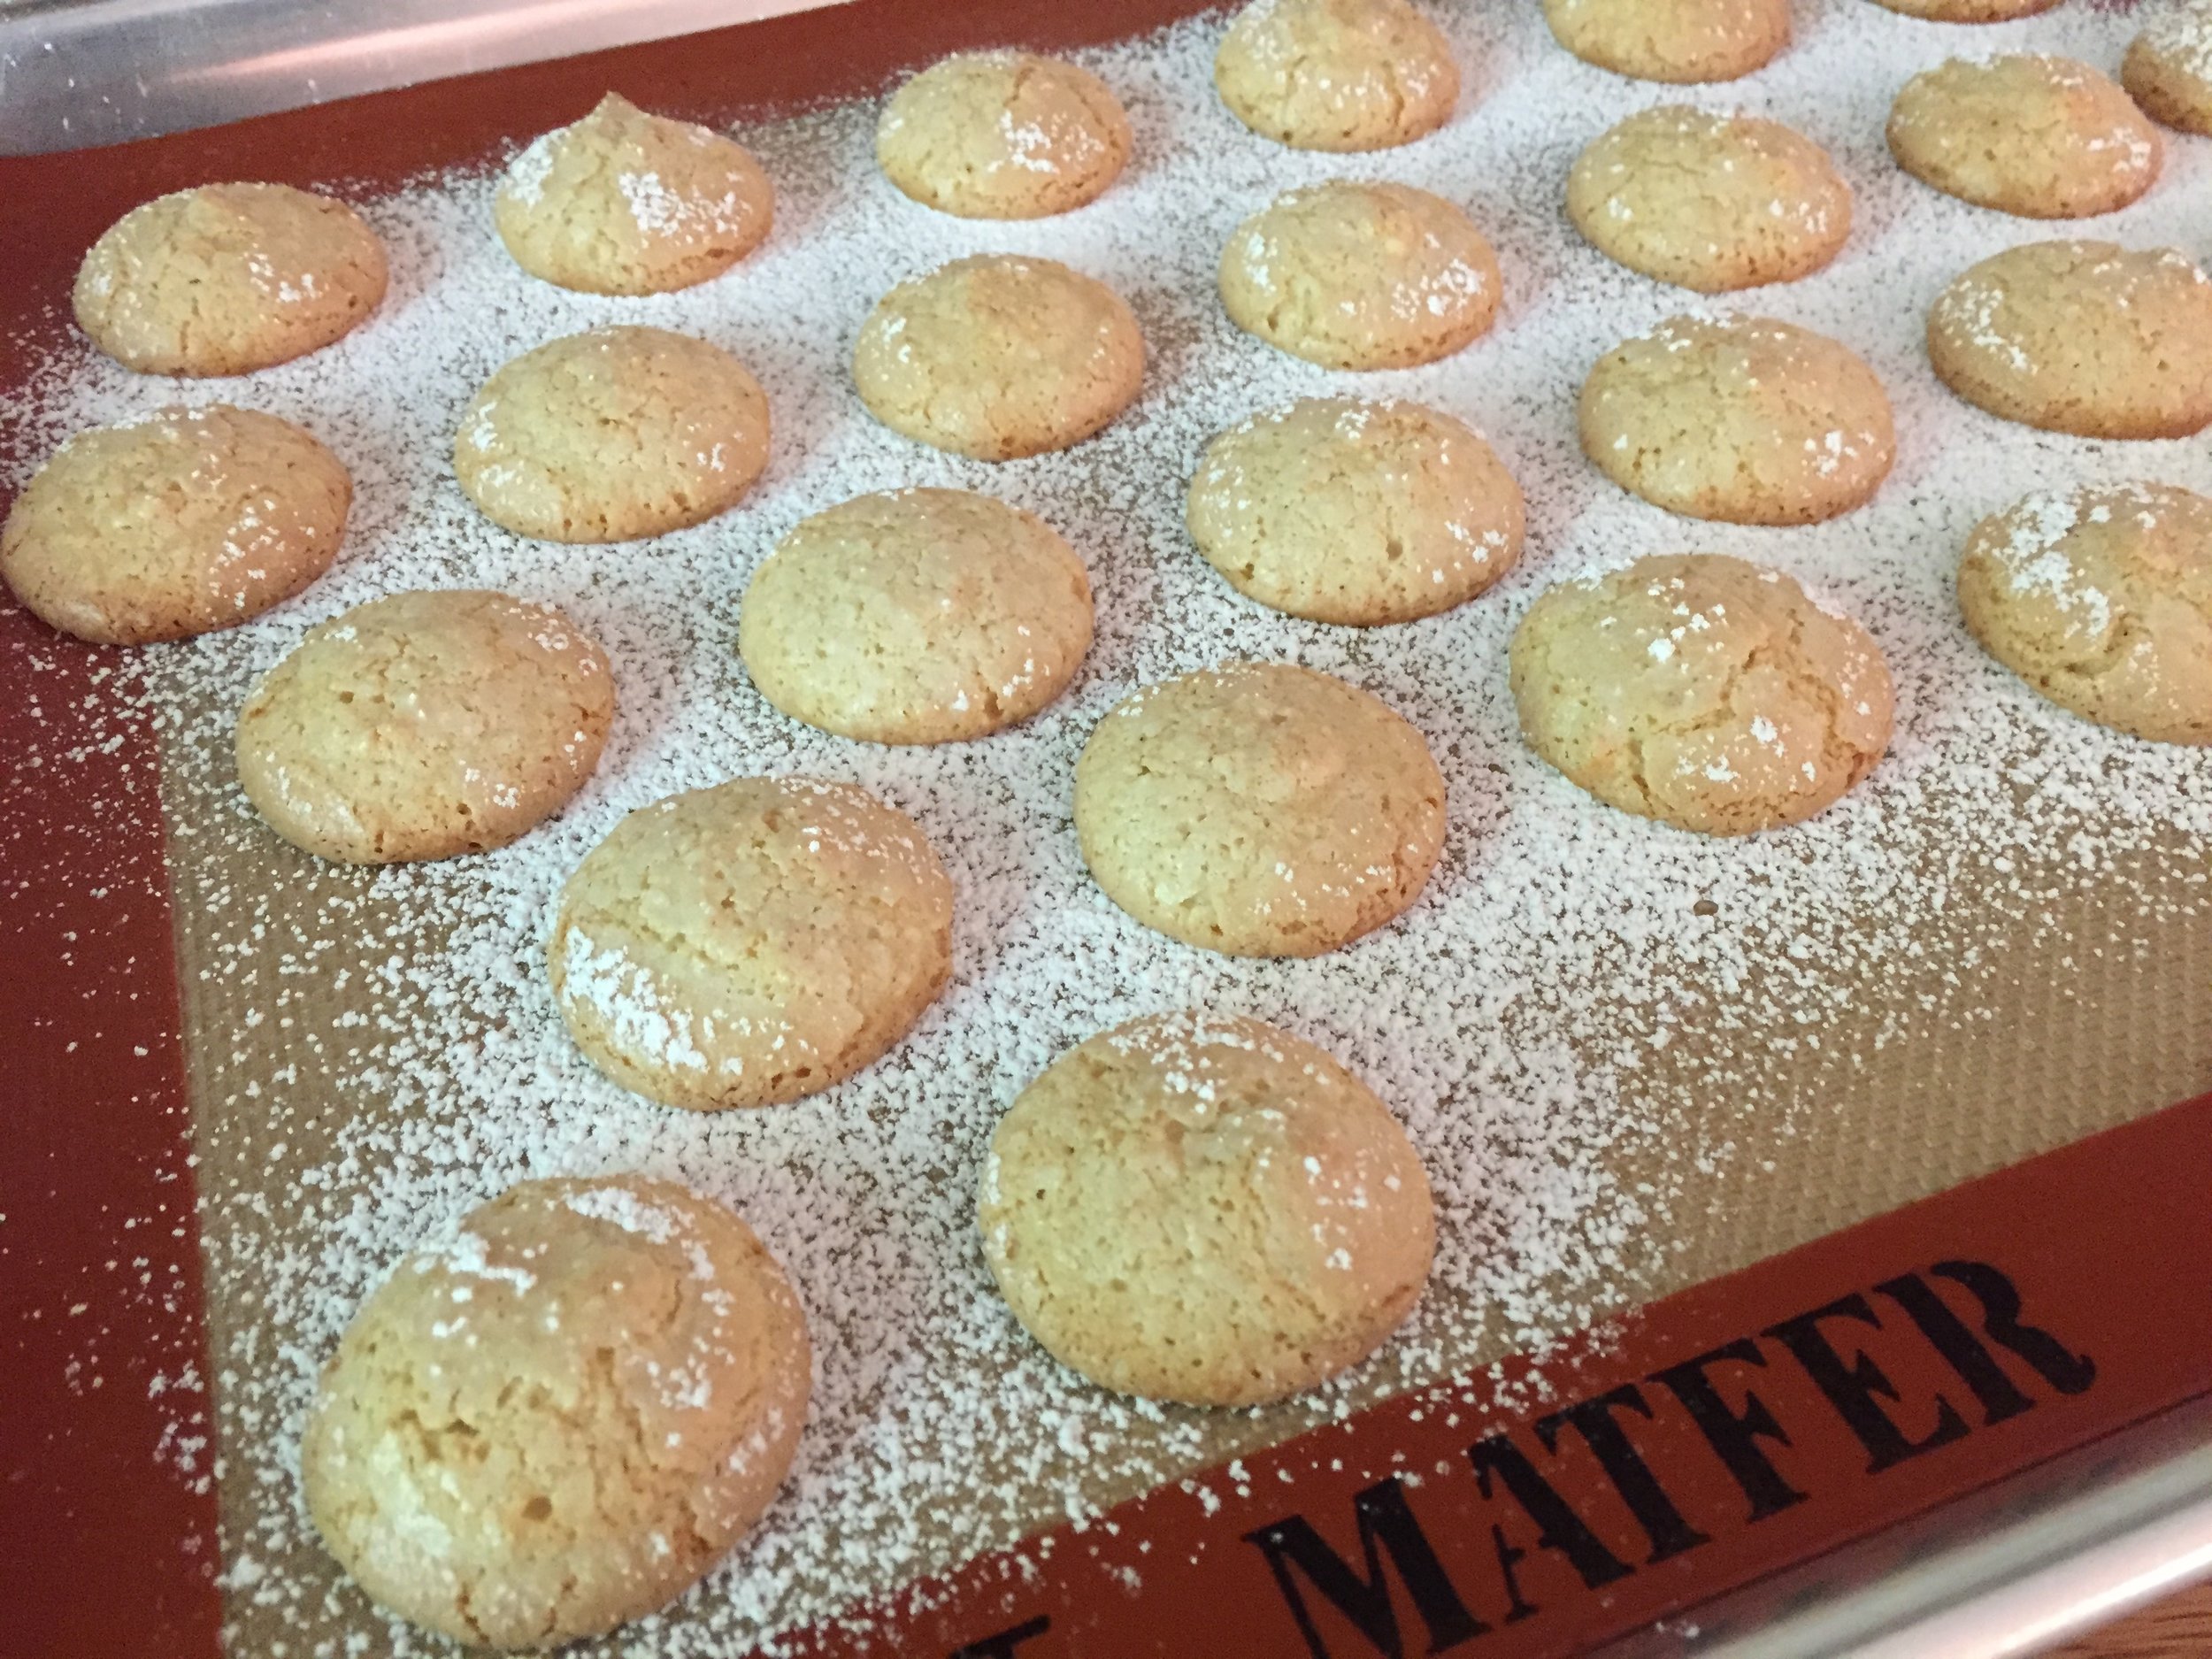
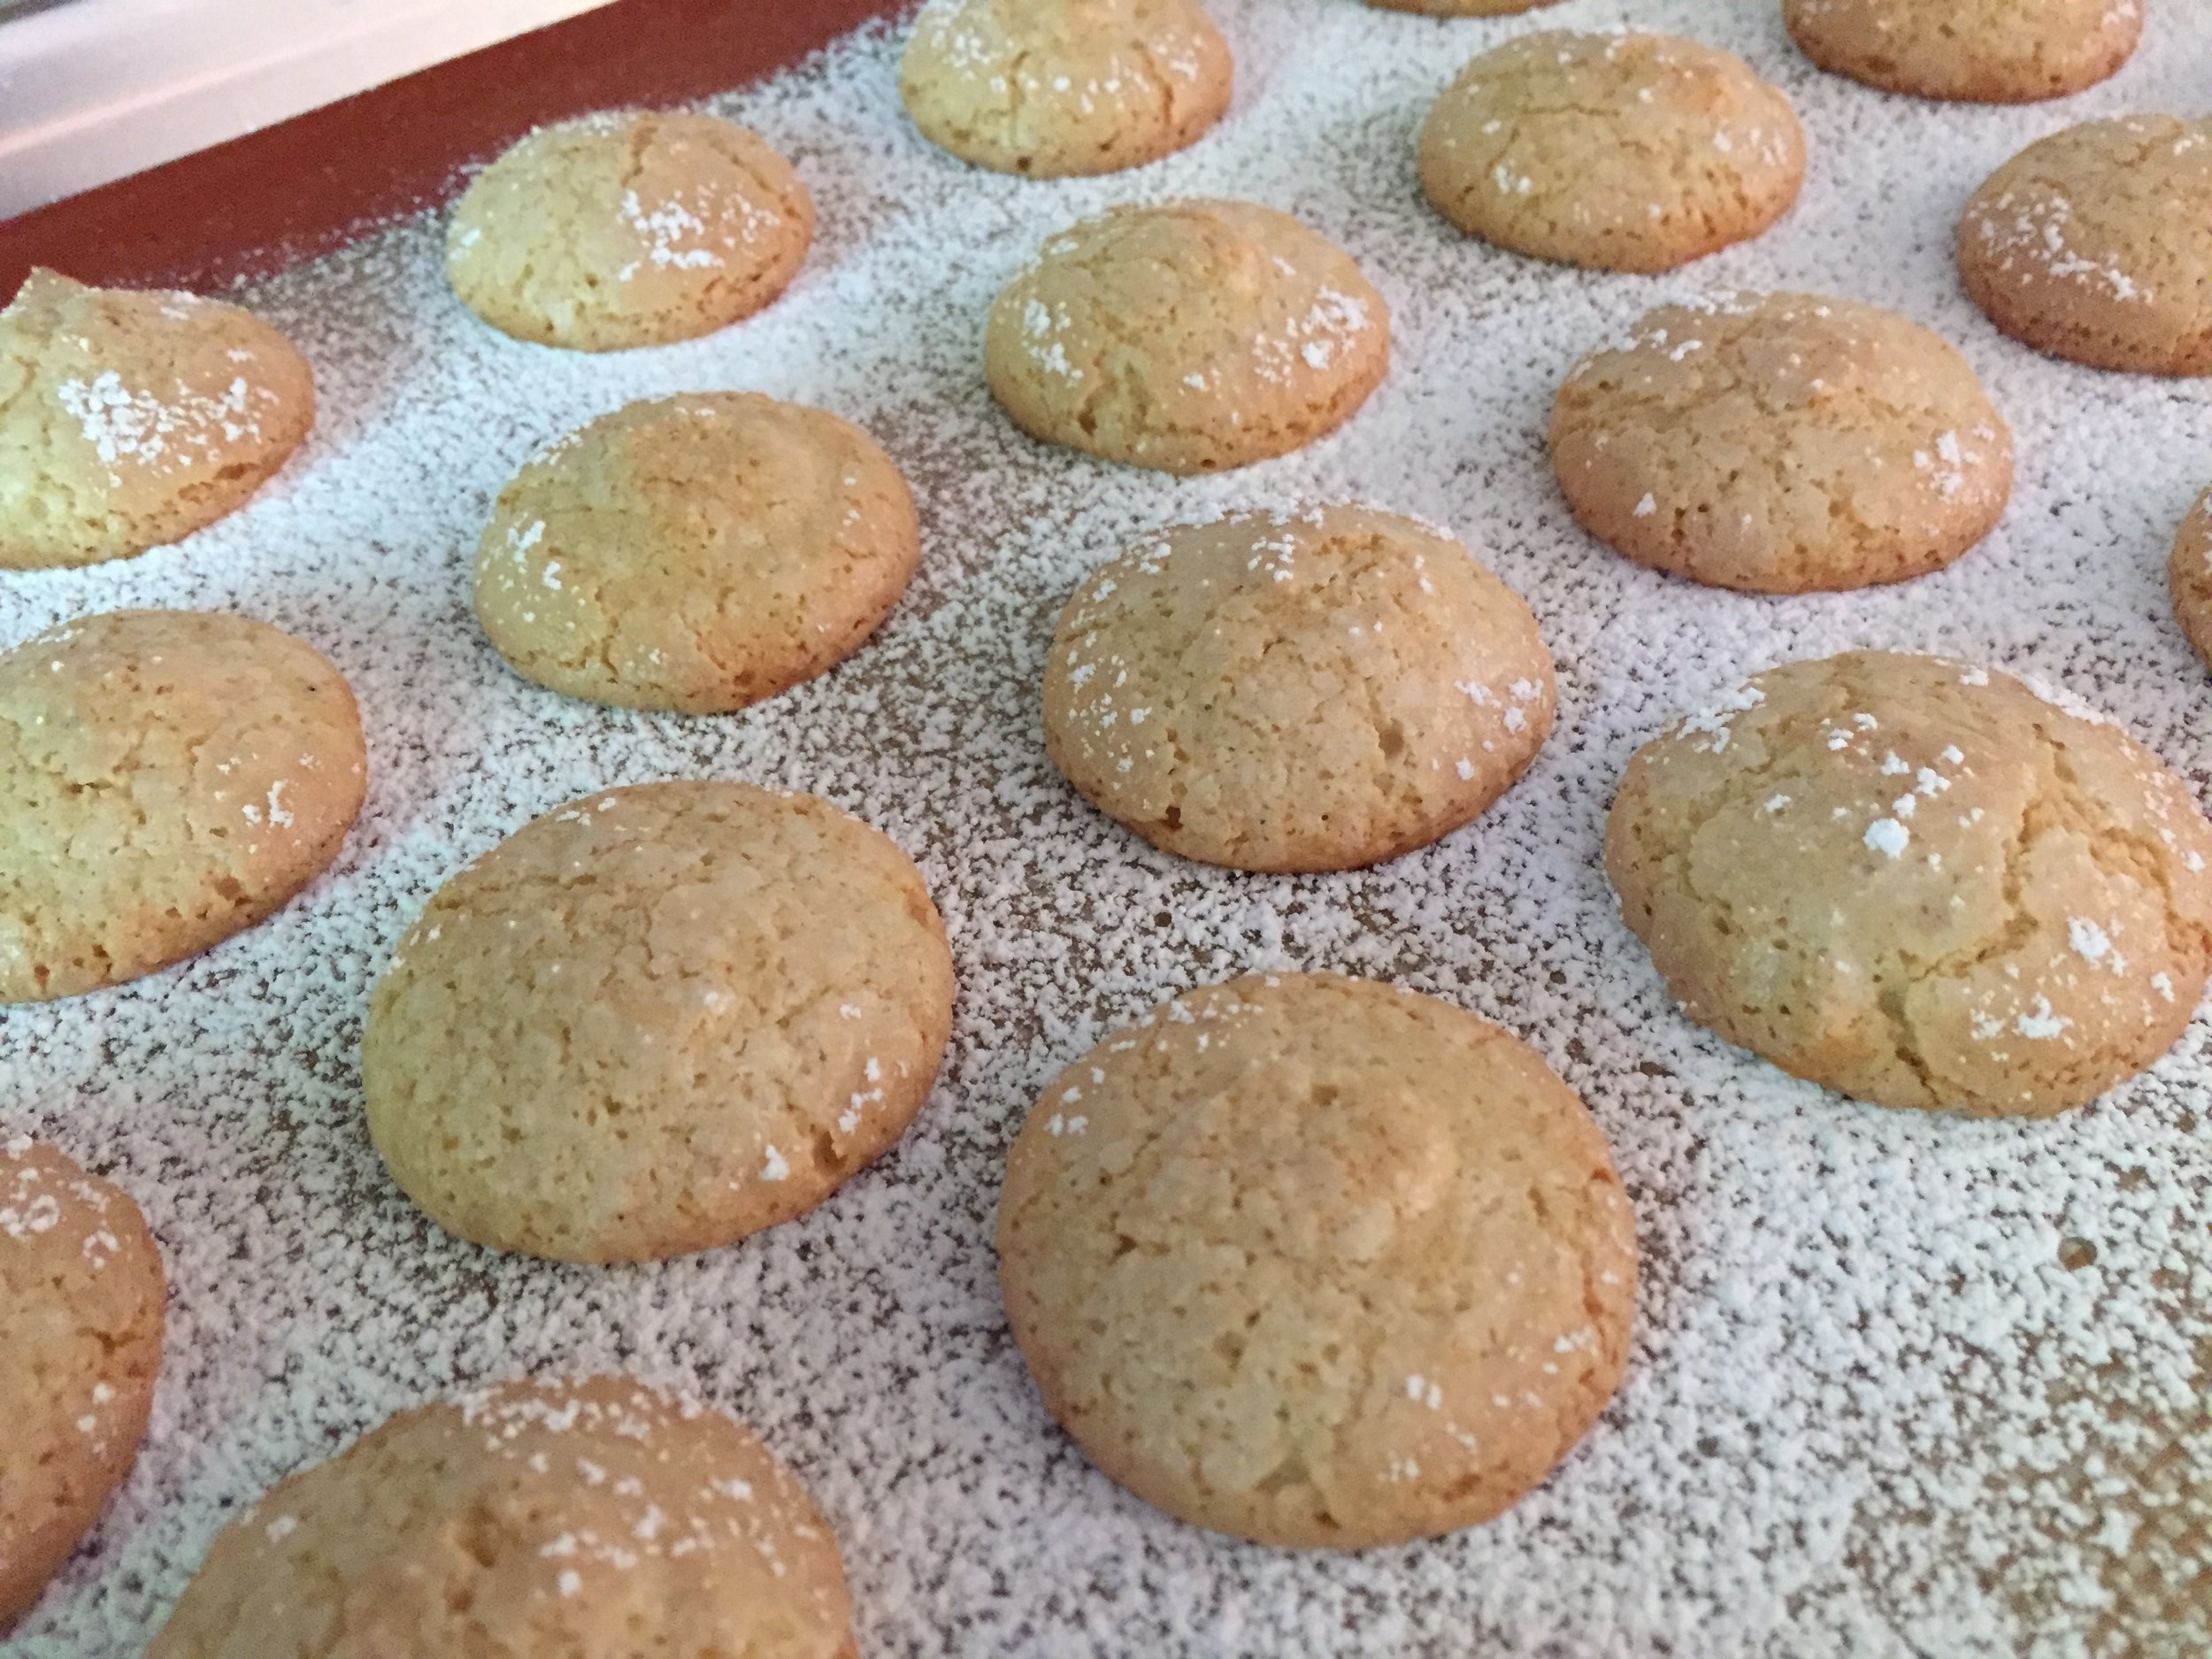
macarons de nancy
Yet the so called “jewels” of the pastry case remain on most budding and seasoned bakers’ minds.
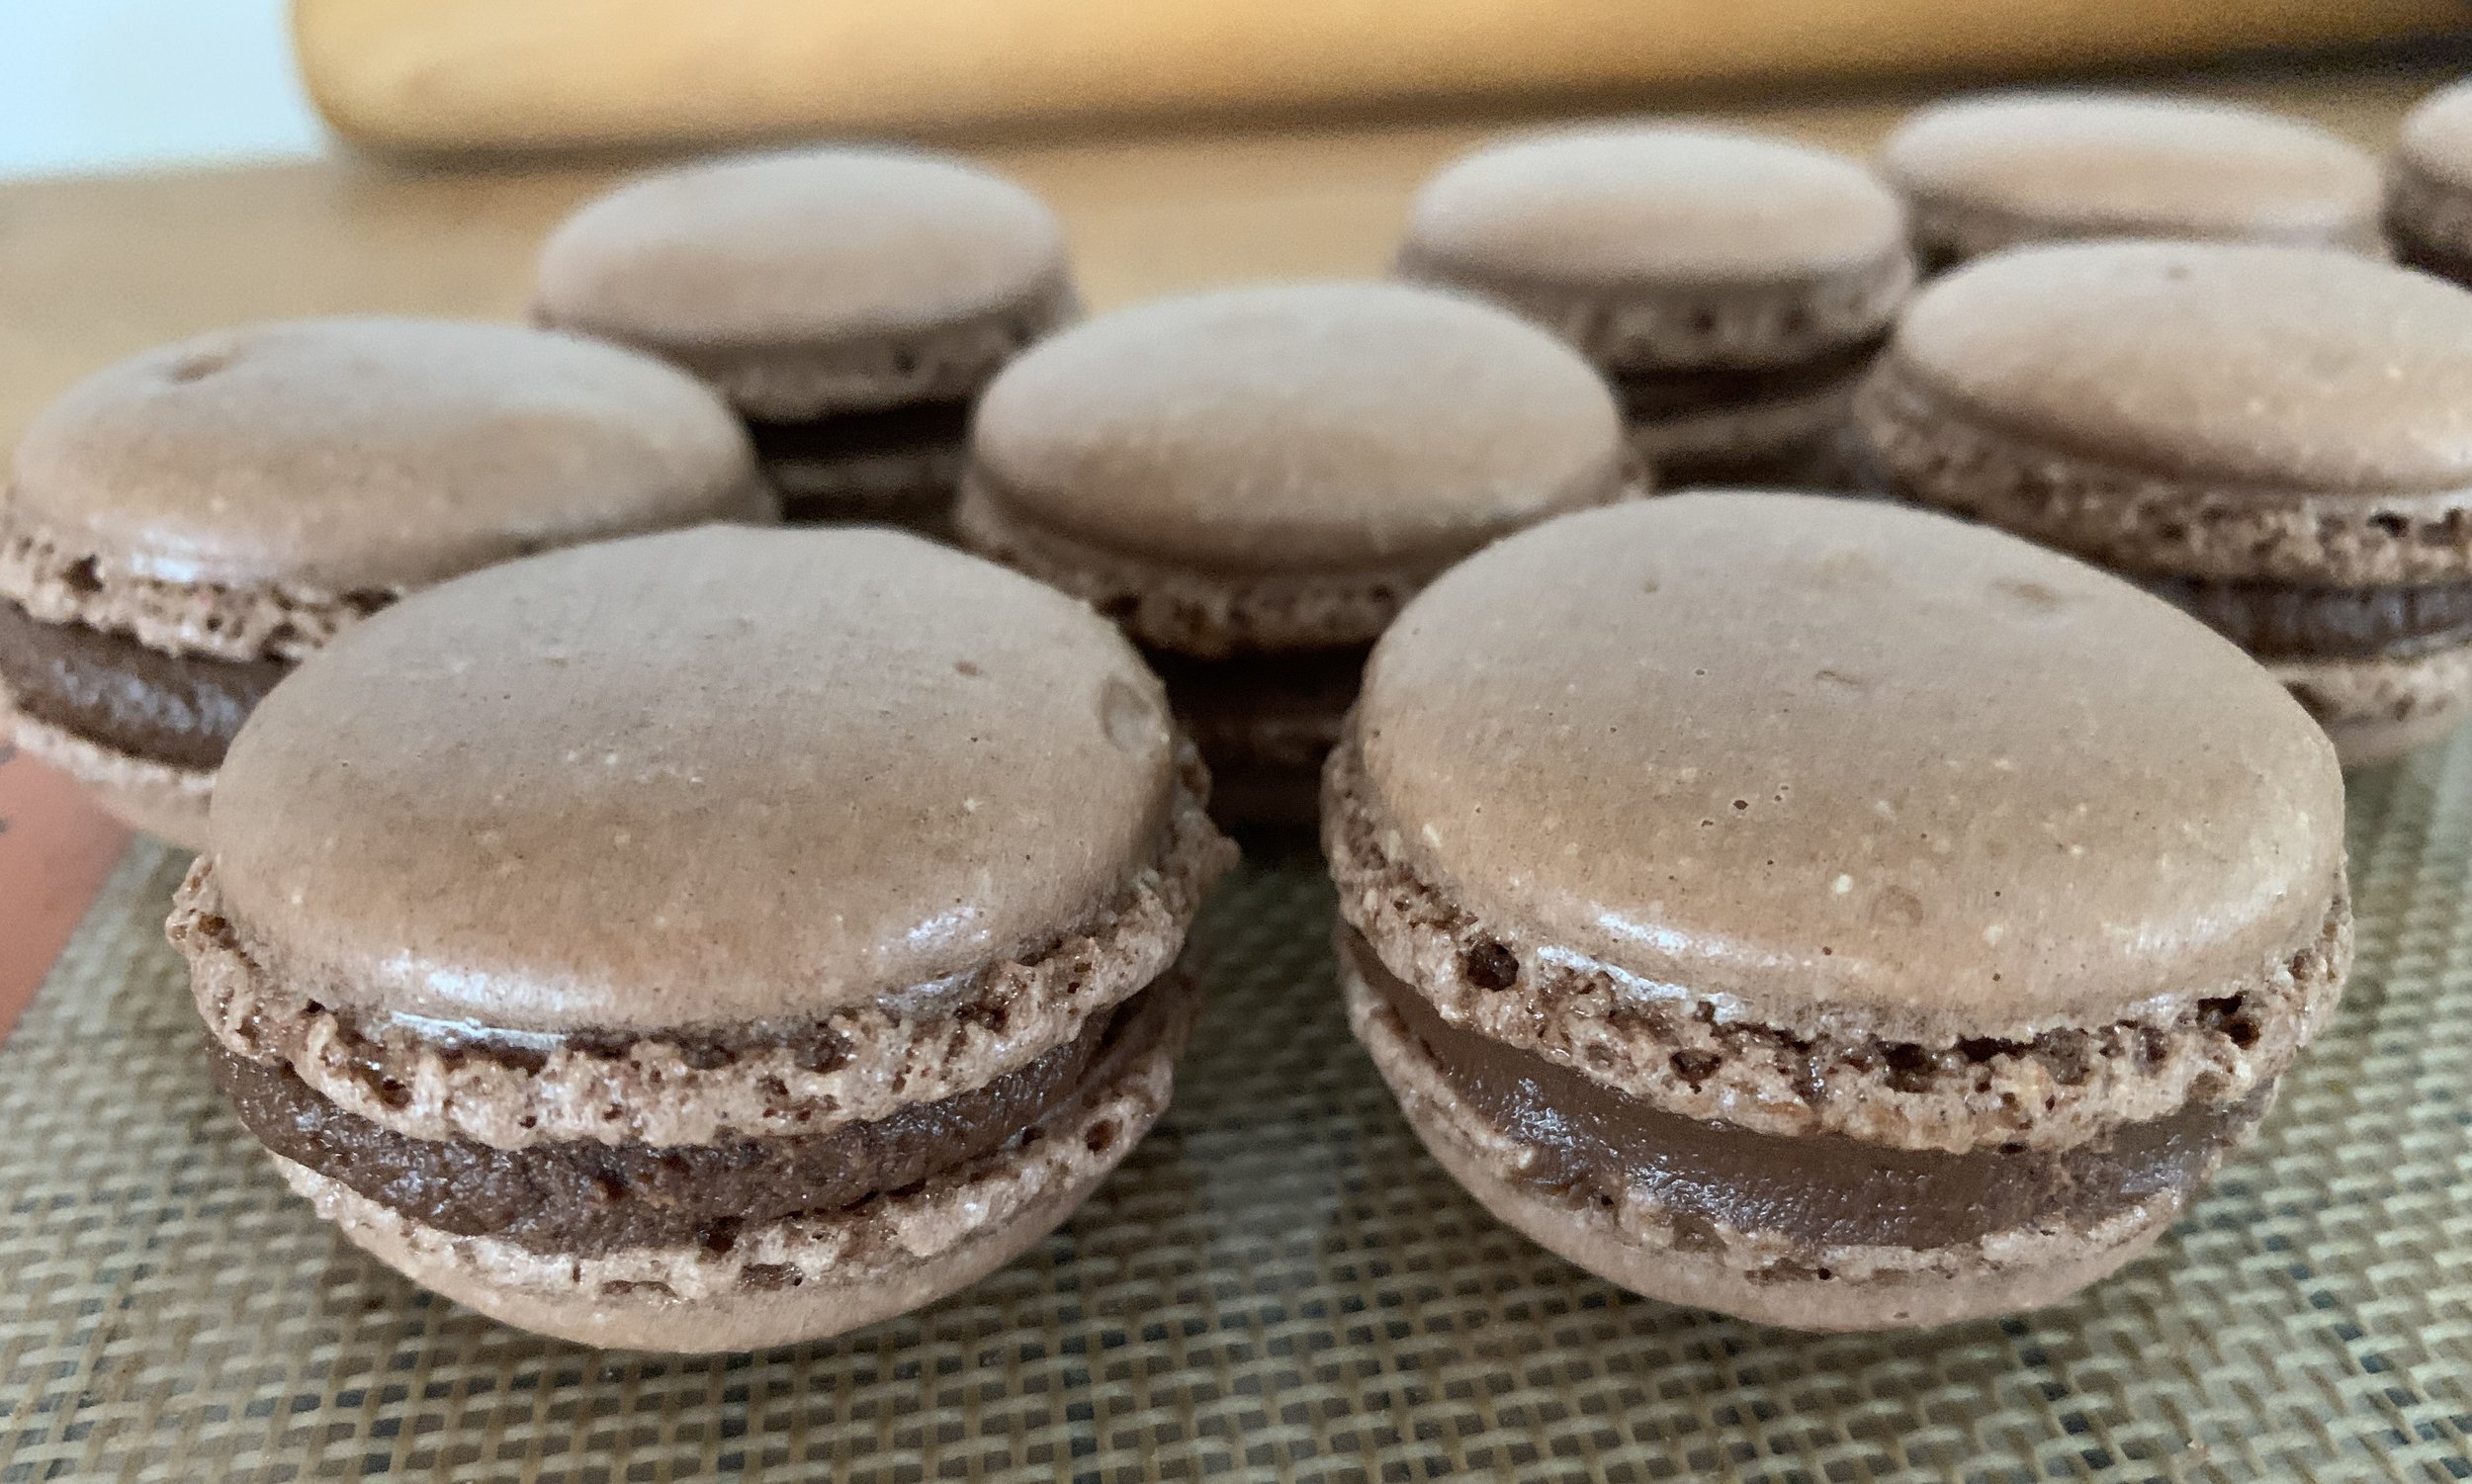
chocolate all the way around!
After a number of tests and tweaking the weights of the confectioner’s and granulated sugars, I’ve finally landed on a recipe that’s been working well for me. I’ve always made macarons using the French meringue method as opposed to what I view as the more fussy Italian version, and I continue to be most comfortable with that approach.
Multitudes have written about macaron making, citing factors like low humidity, aged/room temperature egg whites, freshly opened almond flour and blitzing/sifting the almond flour/confectioner’s sugar as all being important to success. I take all of that into consideration for sure, but for me what stands out is the actual process - making the meringue, then the macaronage and finally the macaroner.
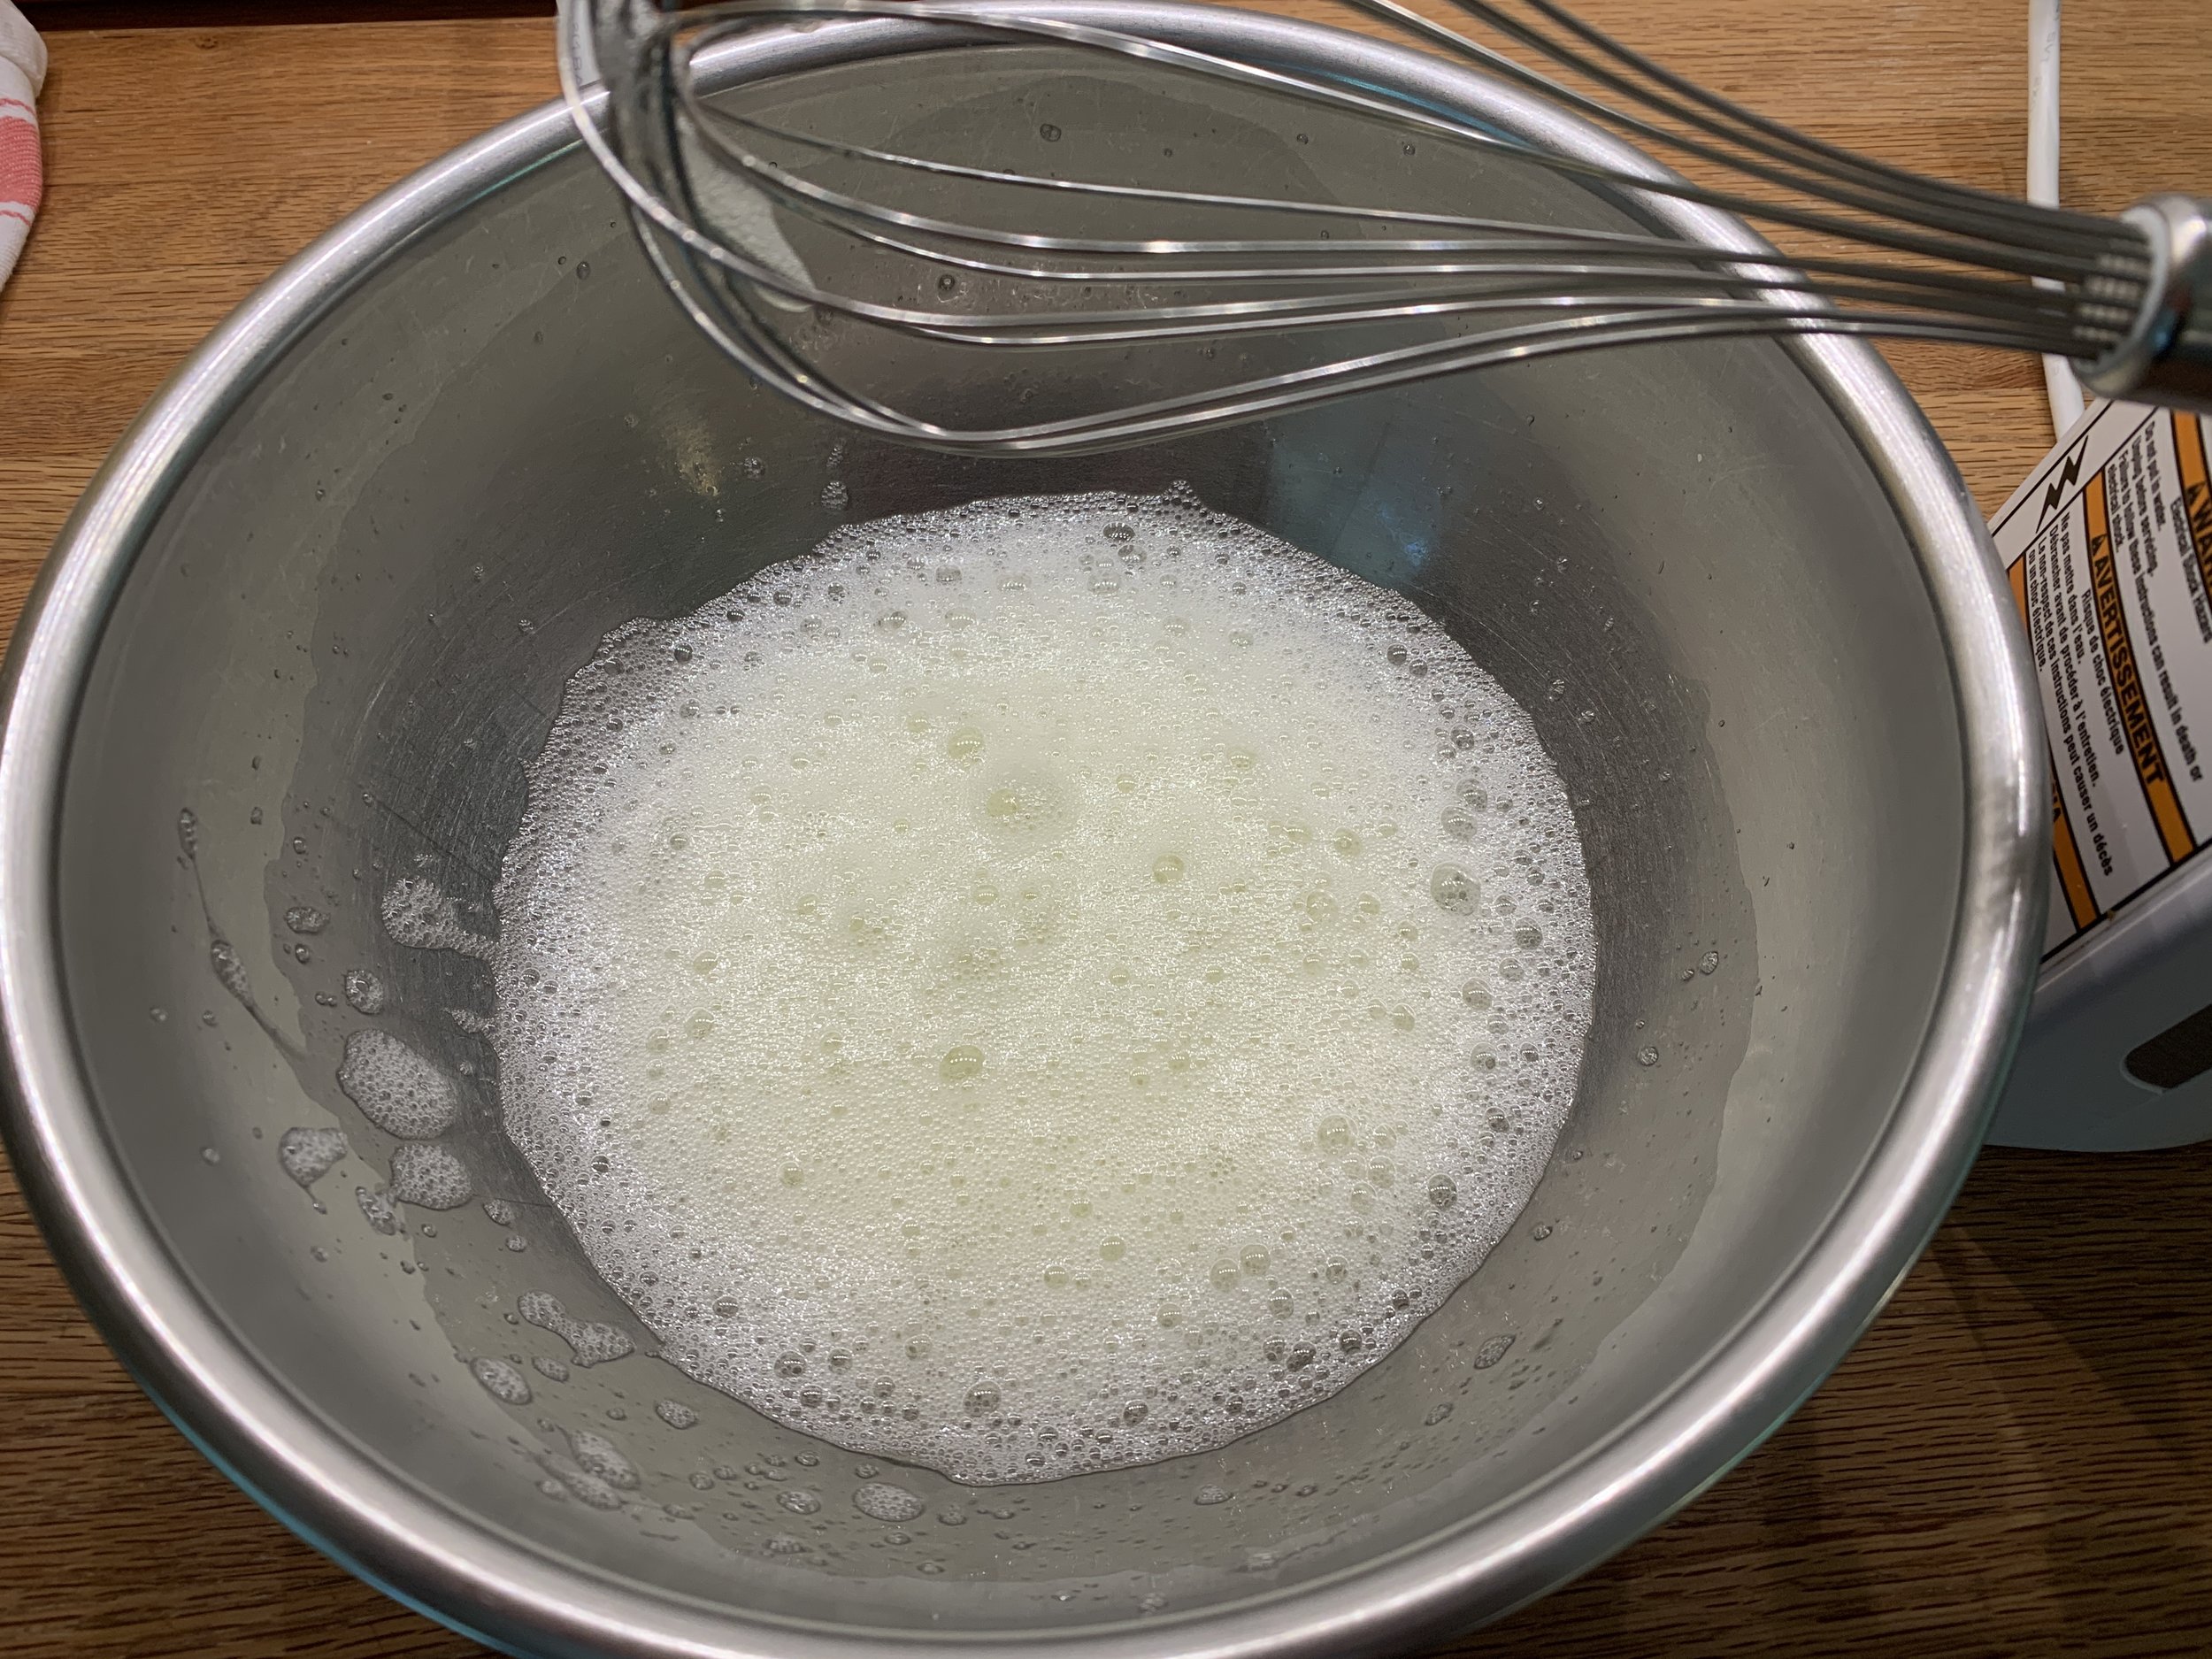
In a squeaky clean bowl (I give mine a quick wipe with vinegar or lemon juice) start whisking room temperature egg whites and a pinch of salt on low to medium-low speed until the mixture changes from a straw color to more white with foamy bubbles. Then gradually shower in the sugar over a couple of minutes - the egg whites accept the sugar more readily that way.
here’s where you start adding the sugar
The next important step is whisking the meringue to the proper stiffness (think bec d’oiseau or bird’s beak). Once the sugar is fully added to the whites, increase to medium speed, allowing some time to watch the lovely shiny, stiff meringue develop. It may be 3-4 minutes before you see some thickening and then a few minutes more to reach your goal. Remember always check sooner than later!
In days past I used to amp up the mixer to full speed right away, but I have since adopted this lower and slower approach - breath deeply.
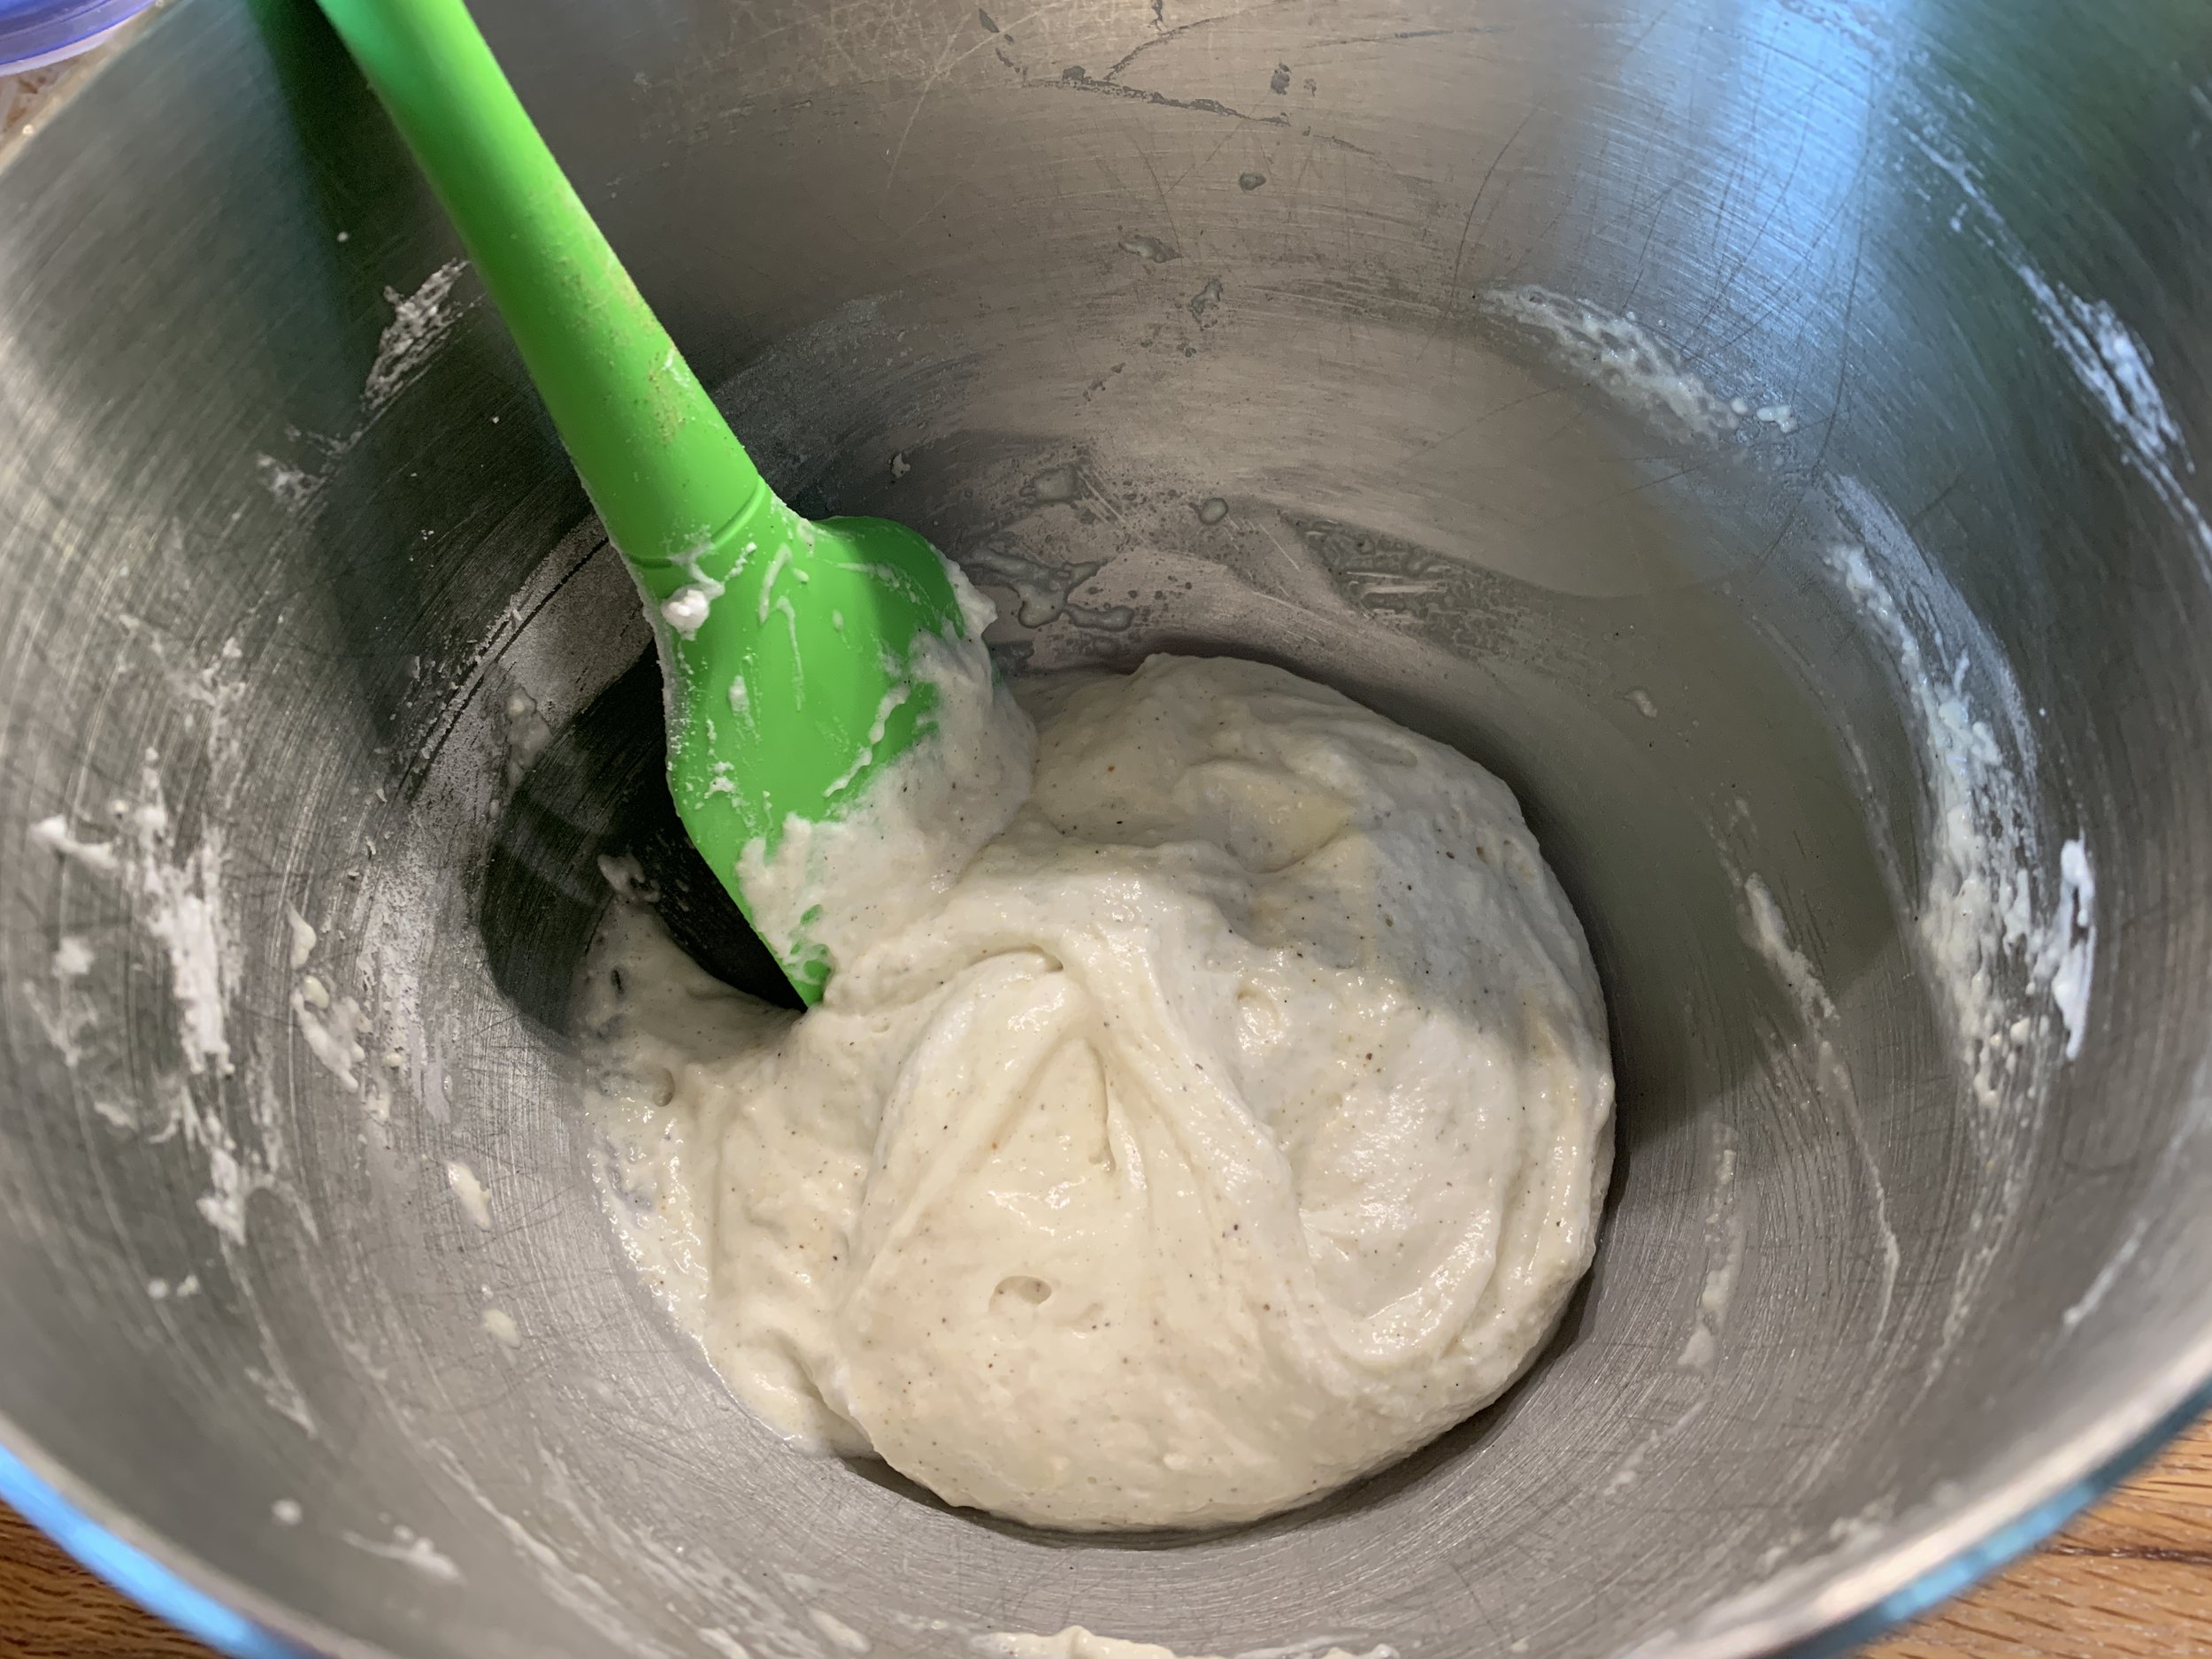
Now the macaronage - with a spatula blend the dry ingredients into the meringue in three additions - it should look thick and a bit rough . . .
then work the mixture to the lava like stage (macaroner) during which it becomes smooth and glossy, ribboning off the bowl scraper or spatula. Here it’s important not to take it too far. Too loose and things will spread in a way that will make you unhappy.
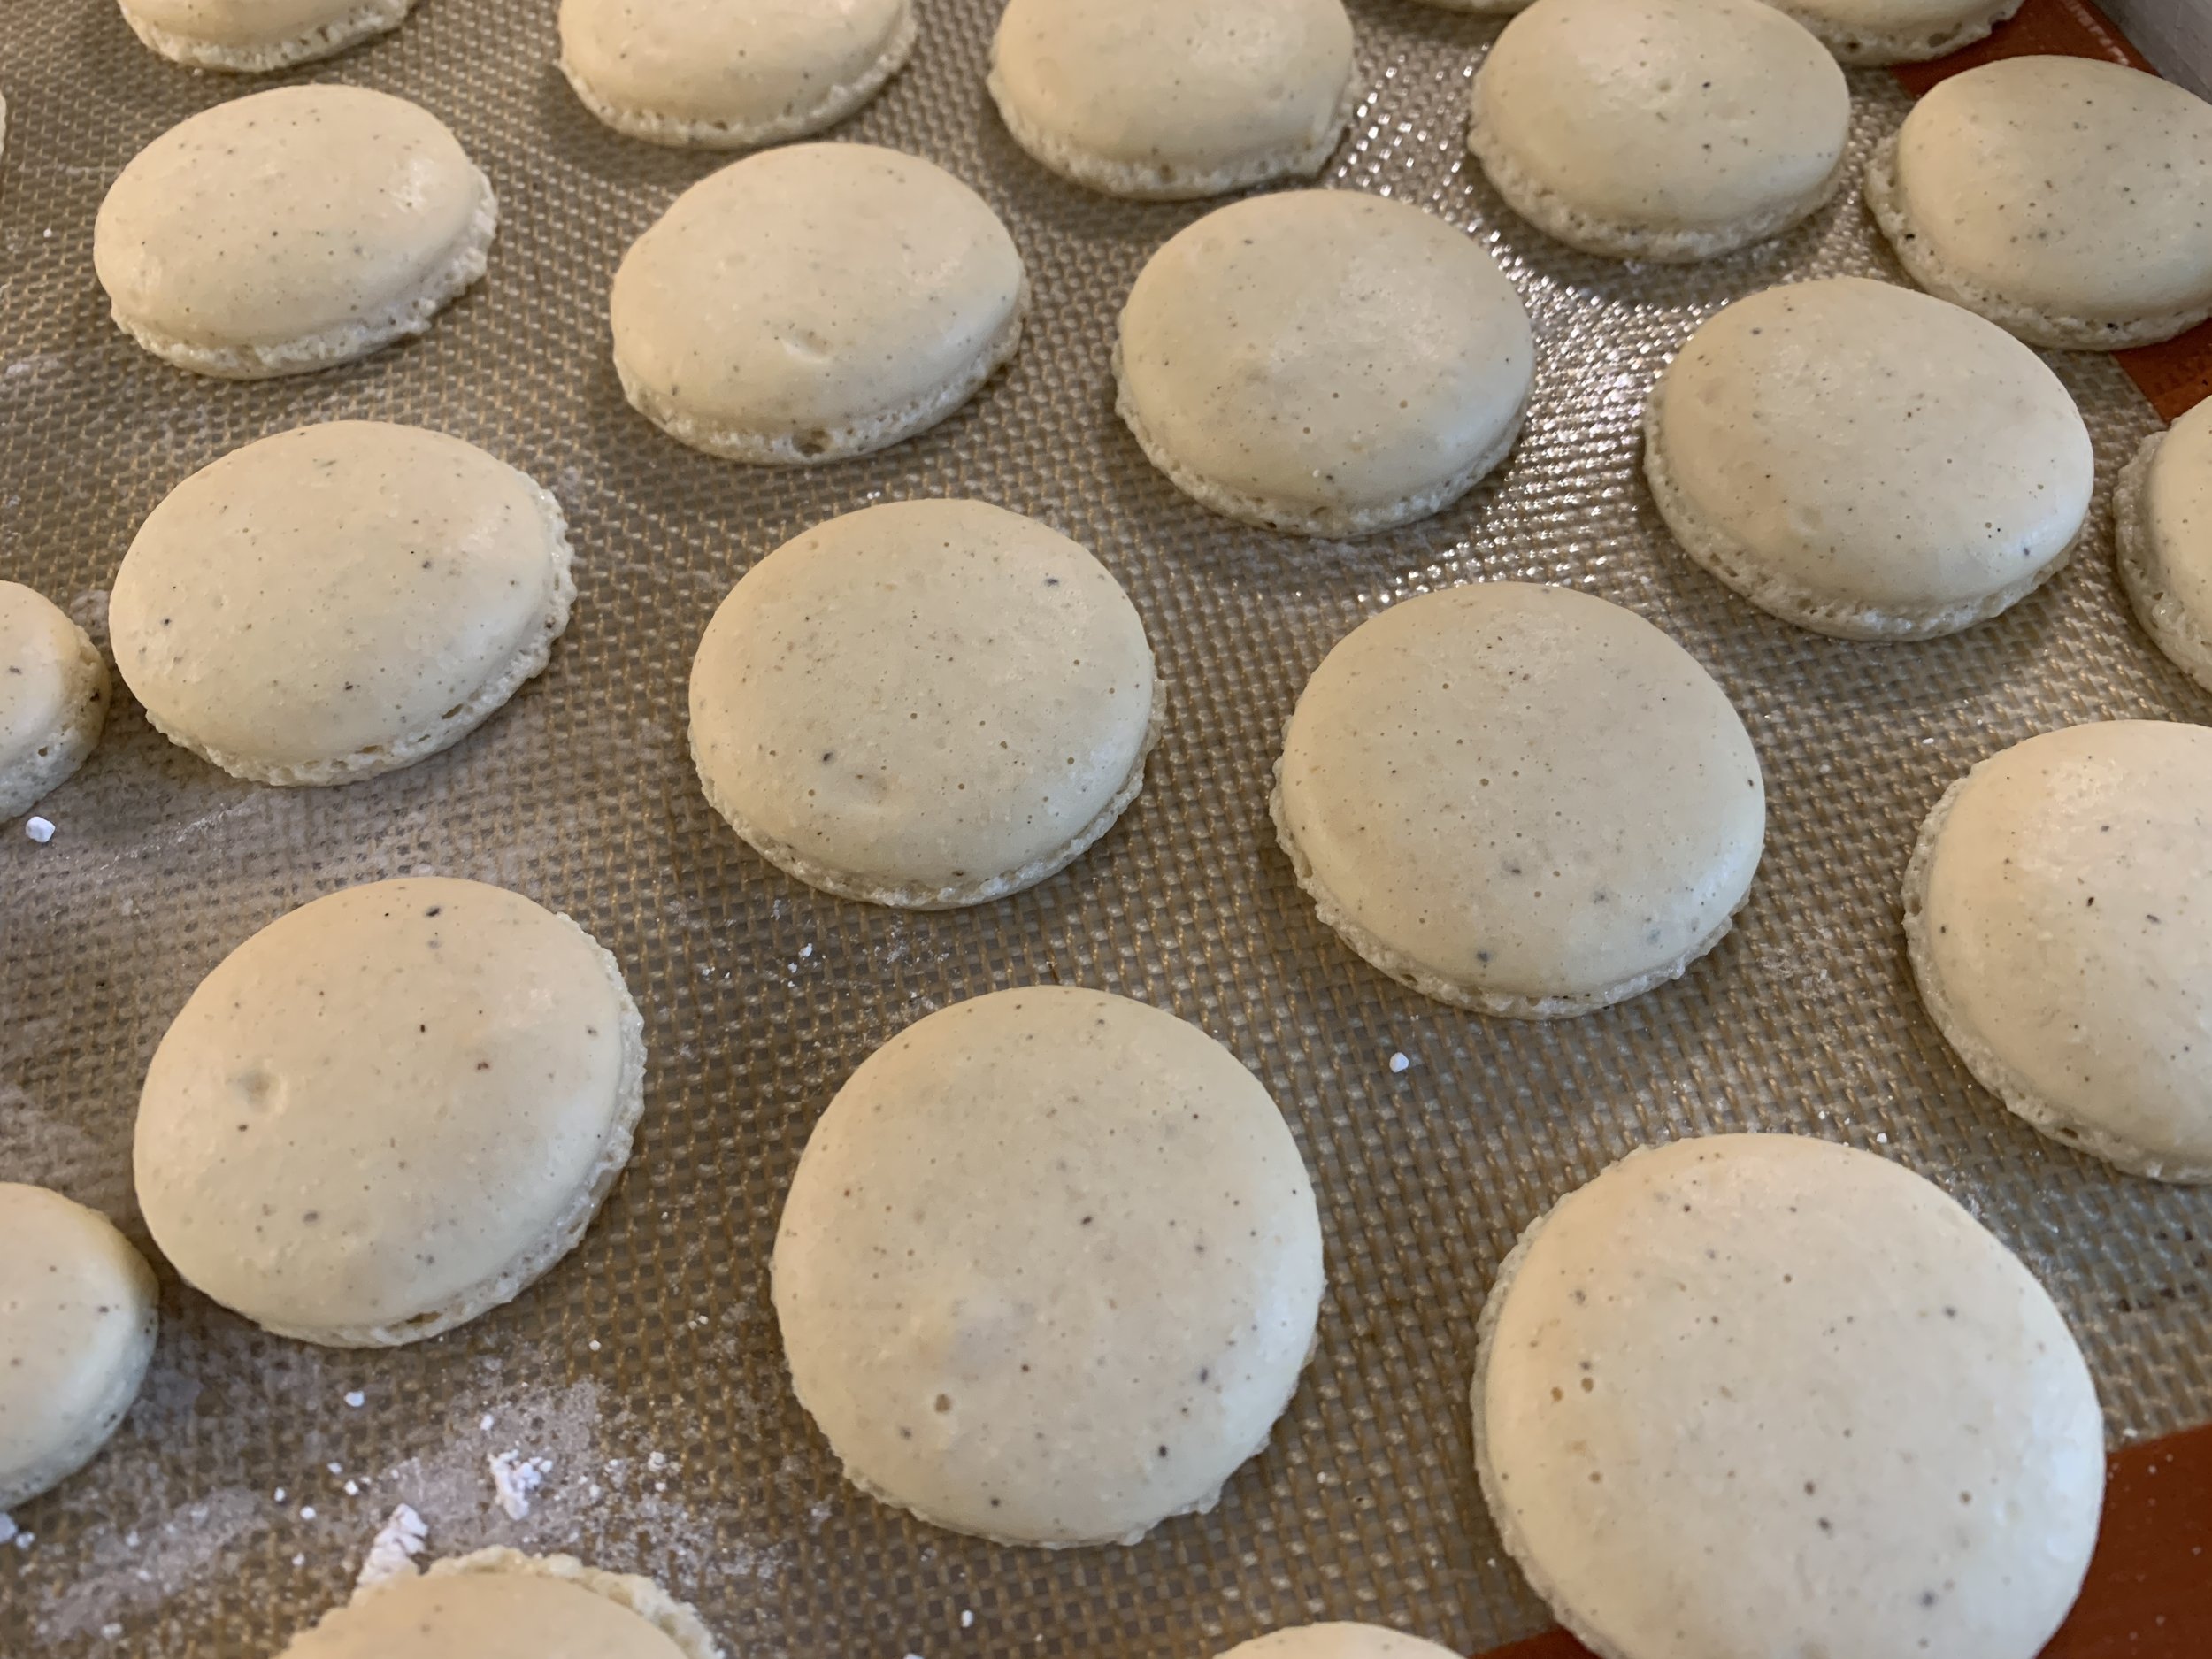
Pipe evenly in circles of about 1.25”, leaving room for the mixture to settle. If you pipe too much, the mixture will spread more than you’d like. In other words, smaller footprint, less spreading, better result.
vanilla speckled
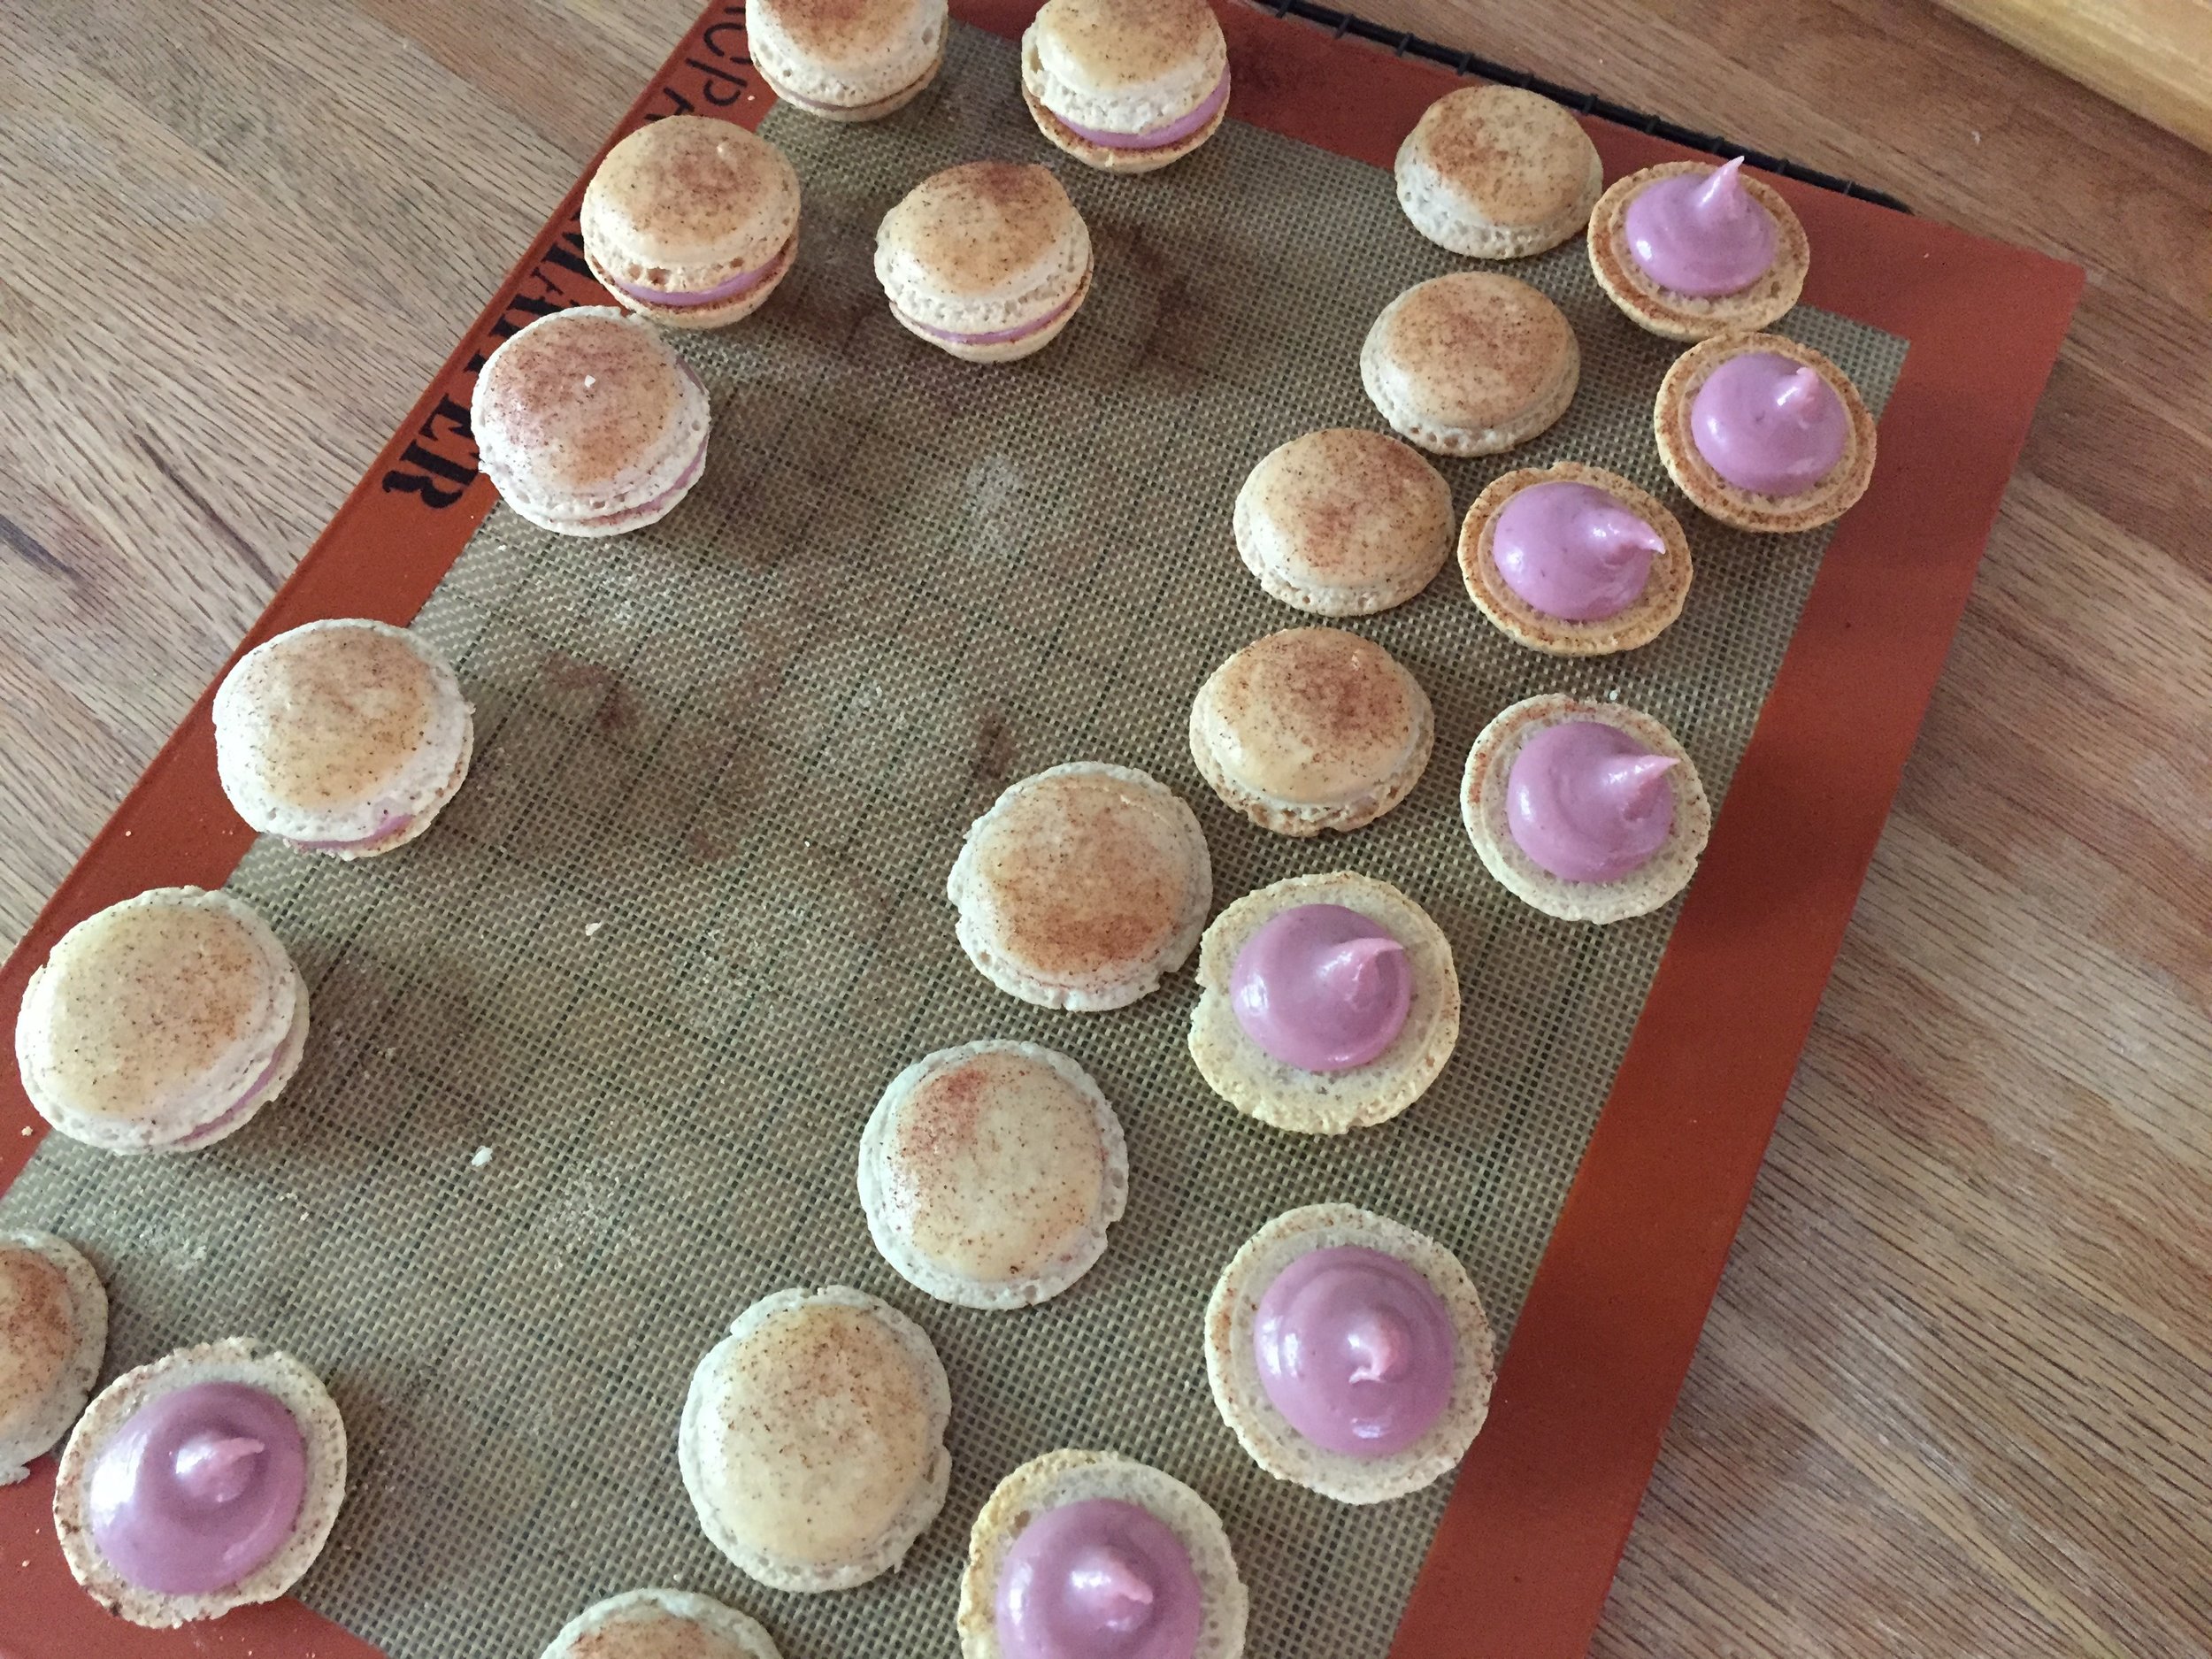
You’ll find fillings ranging from confitures (too sweet for me) to almond paste/butter/flavor mixtures to ganache but frankly, what I’ve really gotten into is Swiss meringue buttercreams paired with ganache to fill the macaron shells. So many choices. One of my faves is a chocolate ganache center ringed by roasted strawberry SMBC. Oh so good.
BTW - notice the plain shells below. I like my shells au naturel, preferring to avoid the use of artificial colorants. Not to worry - there are ways to work around that.
roasted strawberry SMBC/Ganache center
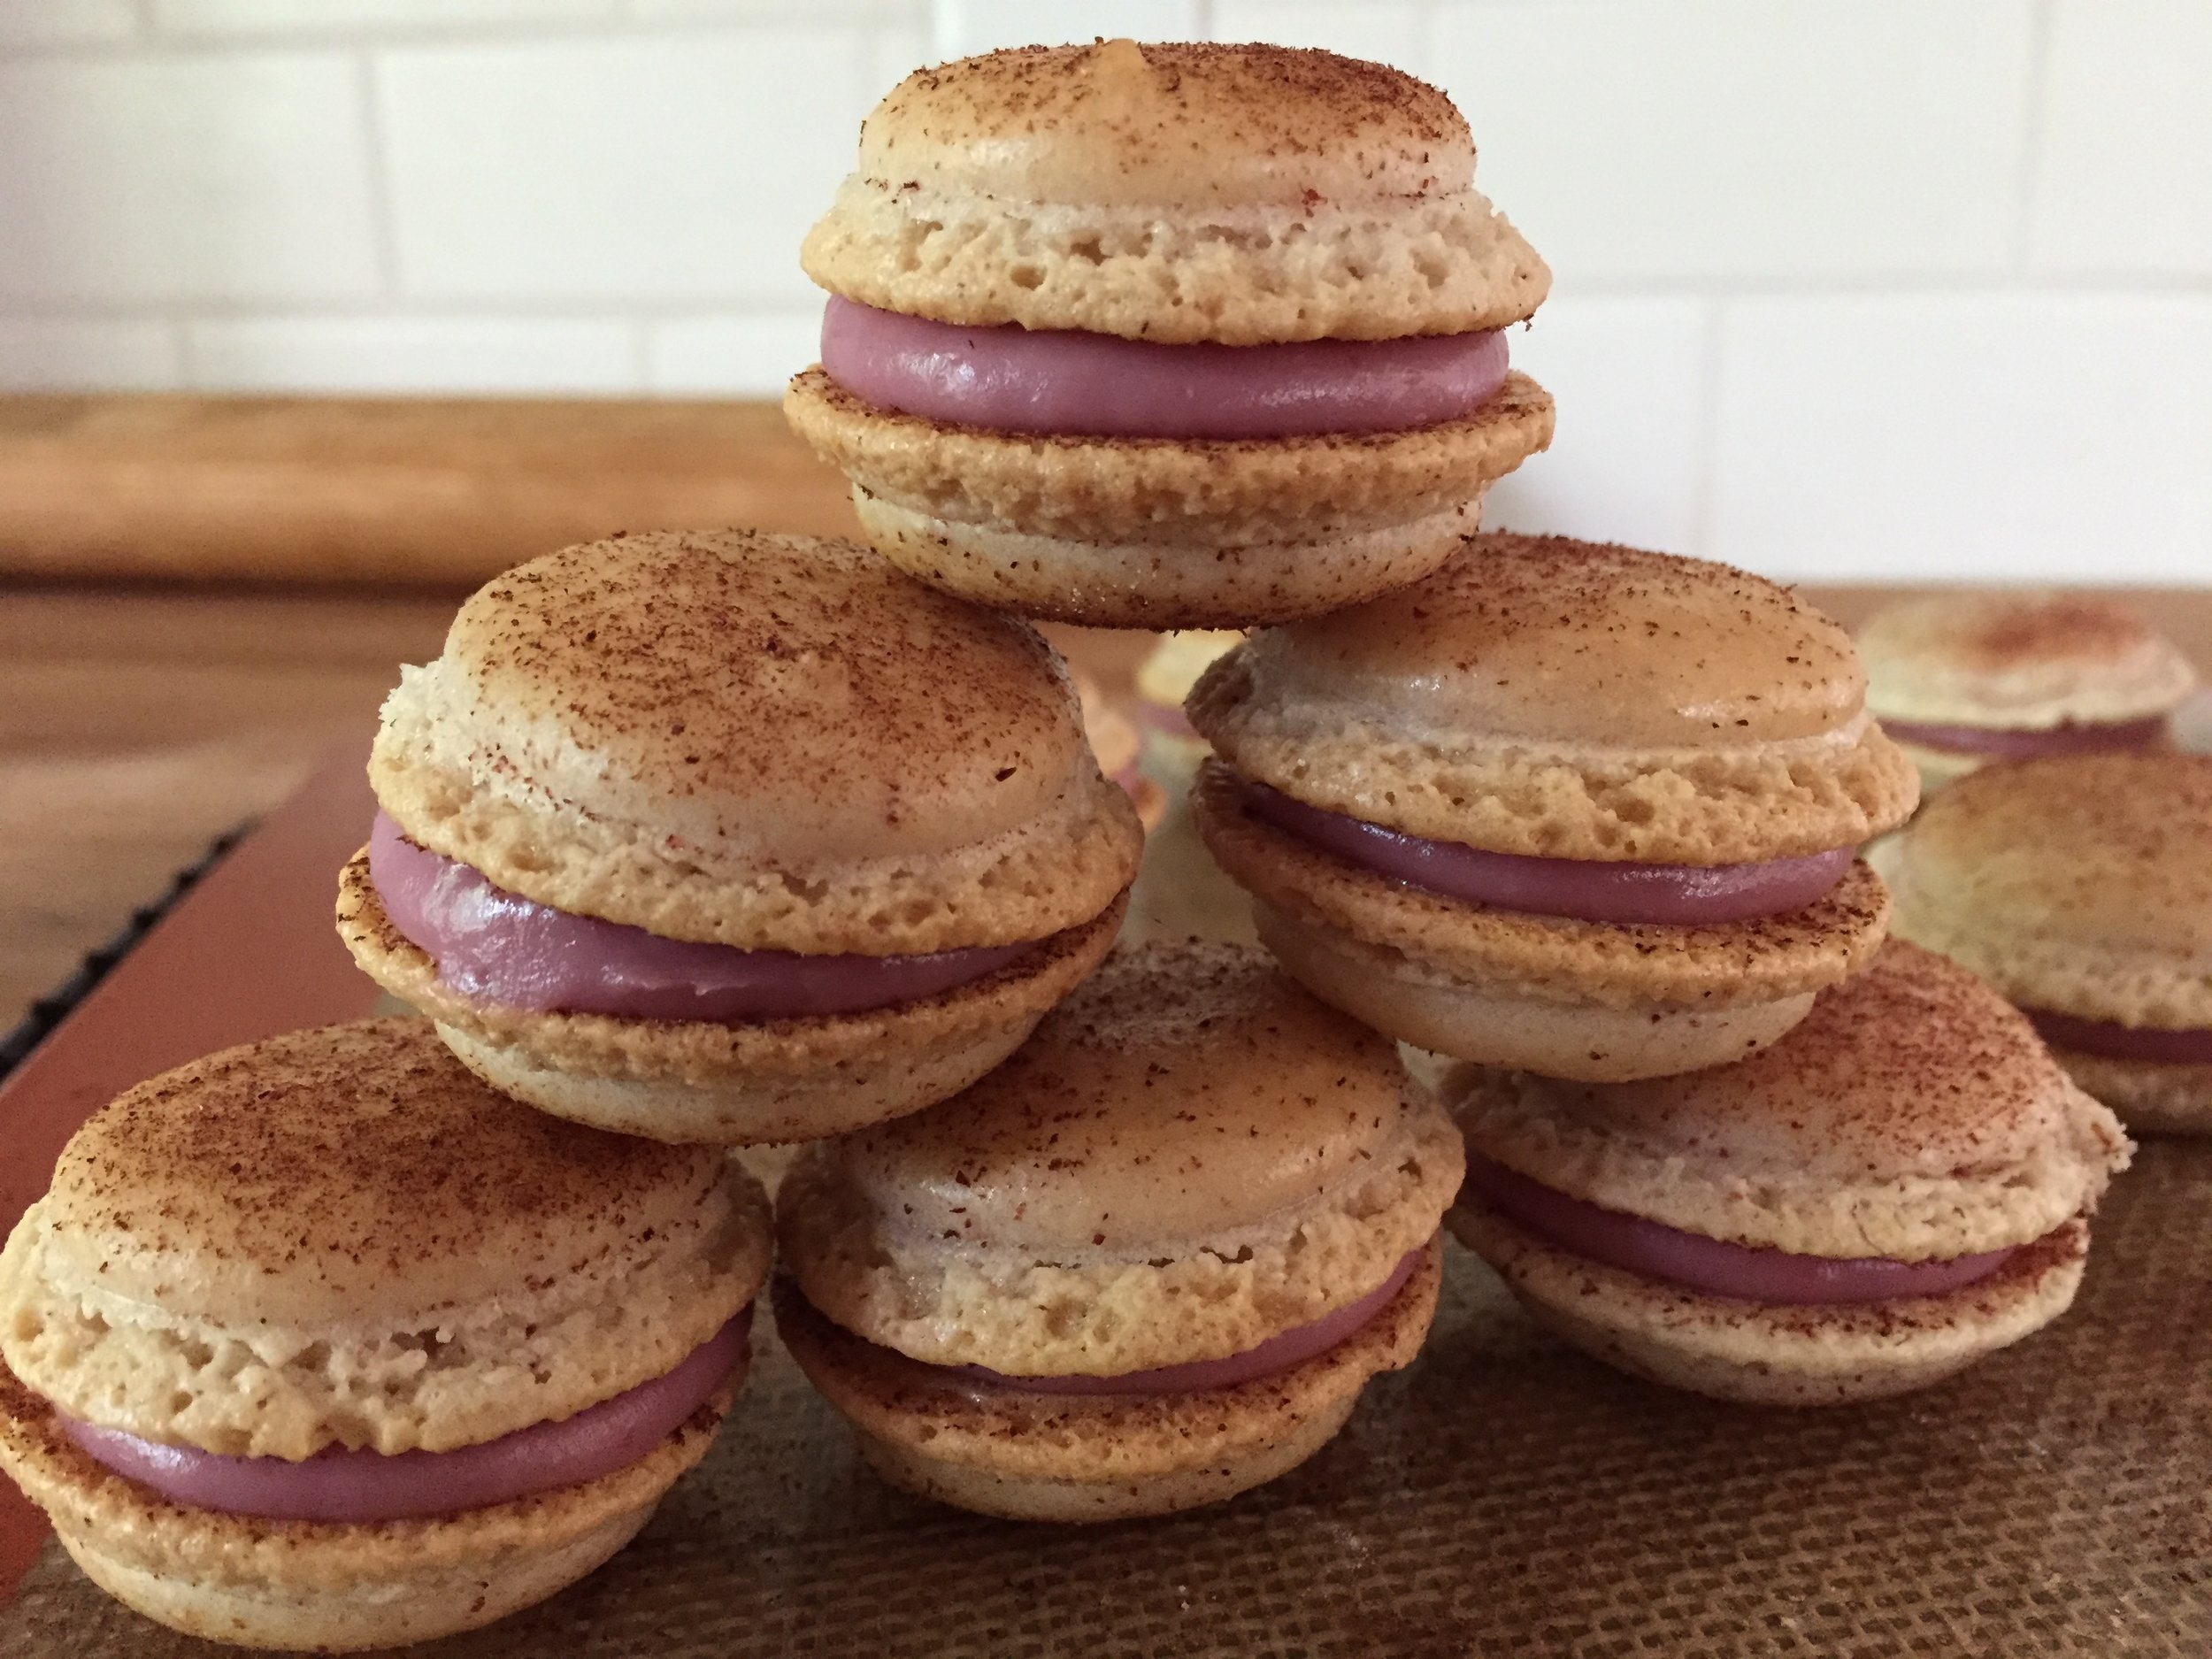
You can dress ‘em up with a dusting of strawberry powder for some color. Fruit powders are available from various online sources, but you can also find freeze dried strawberries and raspberries at Trader Joes. It works well to crush them through a fine strainer/sieve as you dust away.
A few other ways to add some color - use ground pistachios or hazelnuts in place of half of the almond flour for a a nice speckled look. Use espresso, cocoa or fruit powders like raspberry with the dry ingredients to add some color. Add in a bit of spice (cinnamon or coriander anyone?) or ground tea whisked in with the dry ingredients. Top the piped shells with finely chopped nuts, ground cocoa nibs, fine coconut or crushed gavotte crêpe crumbs before allowing the shells to dry before the bake.
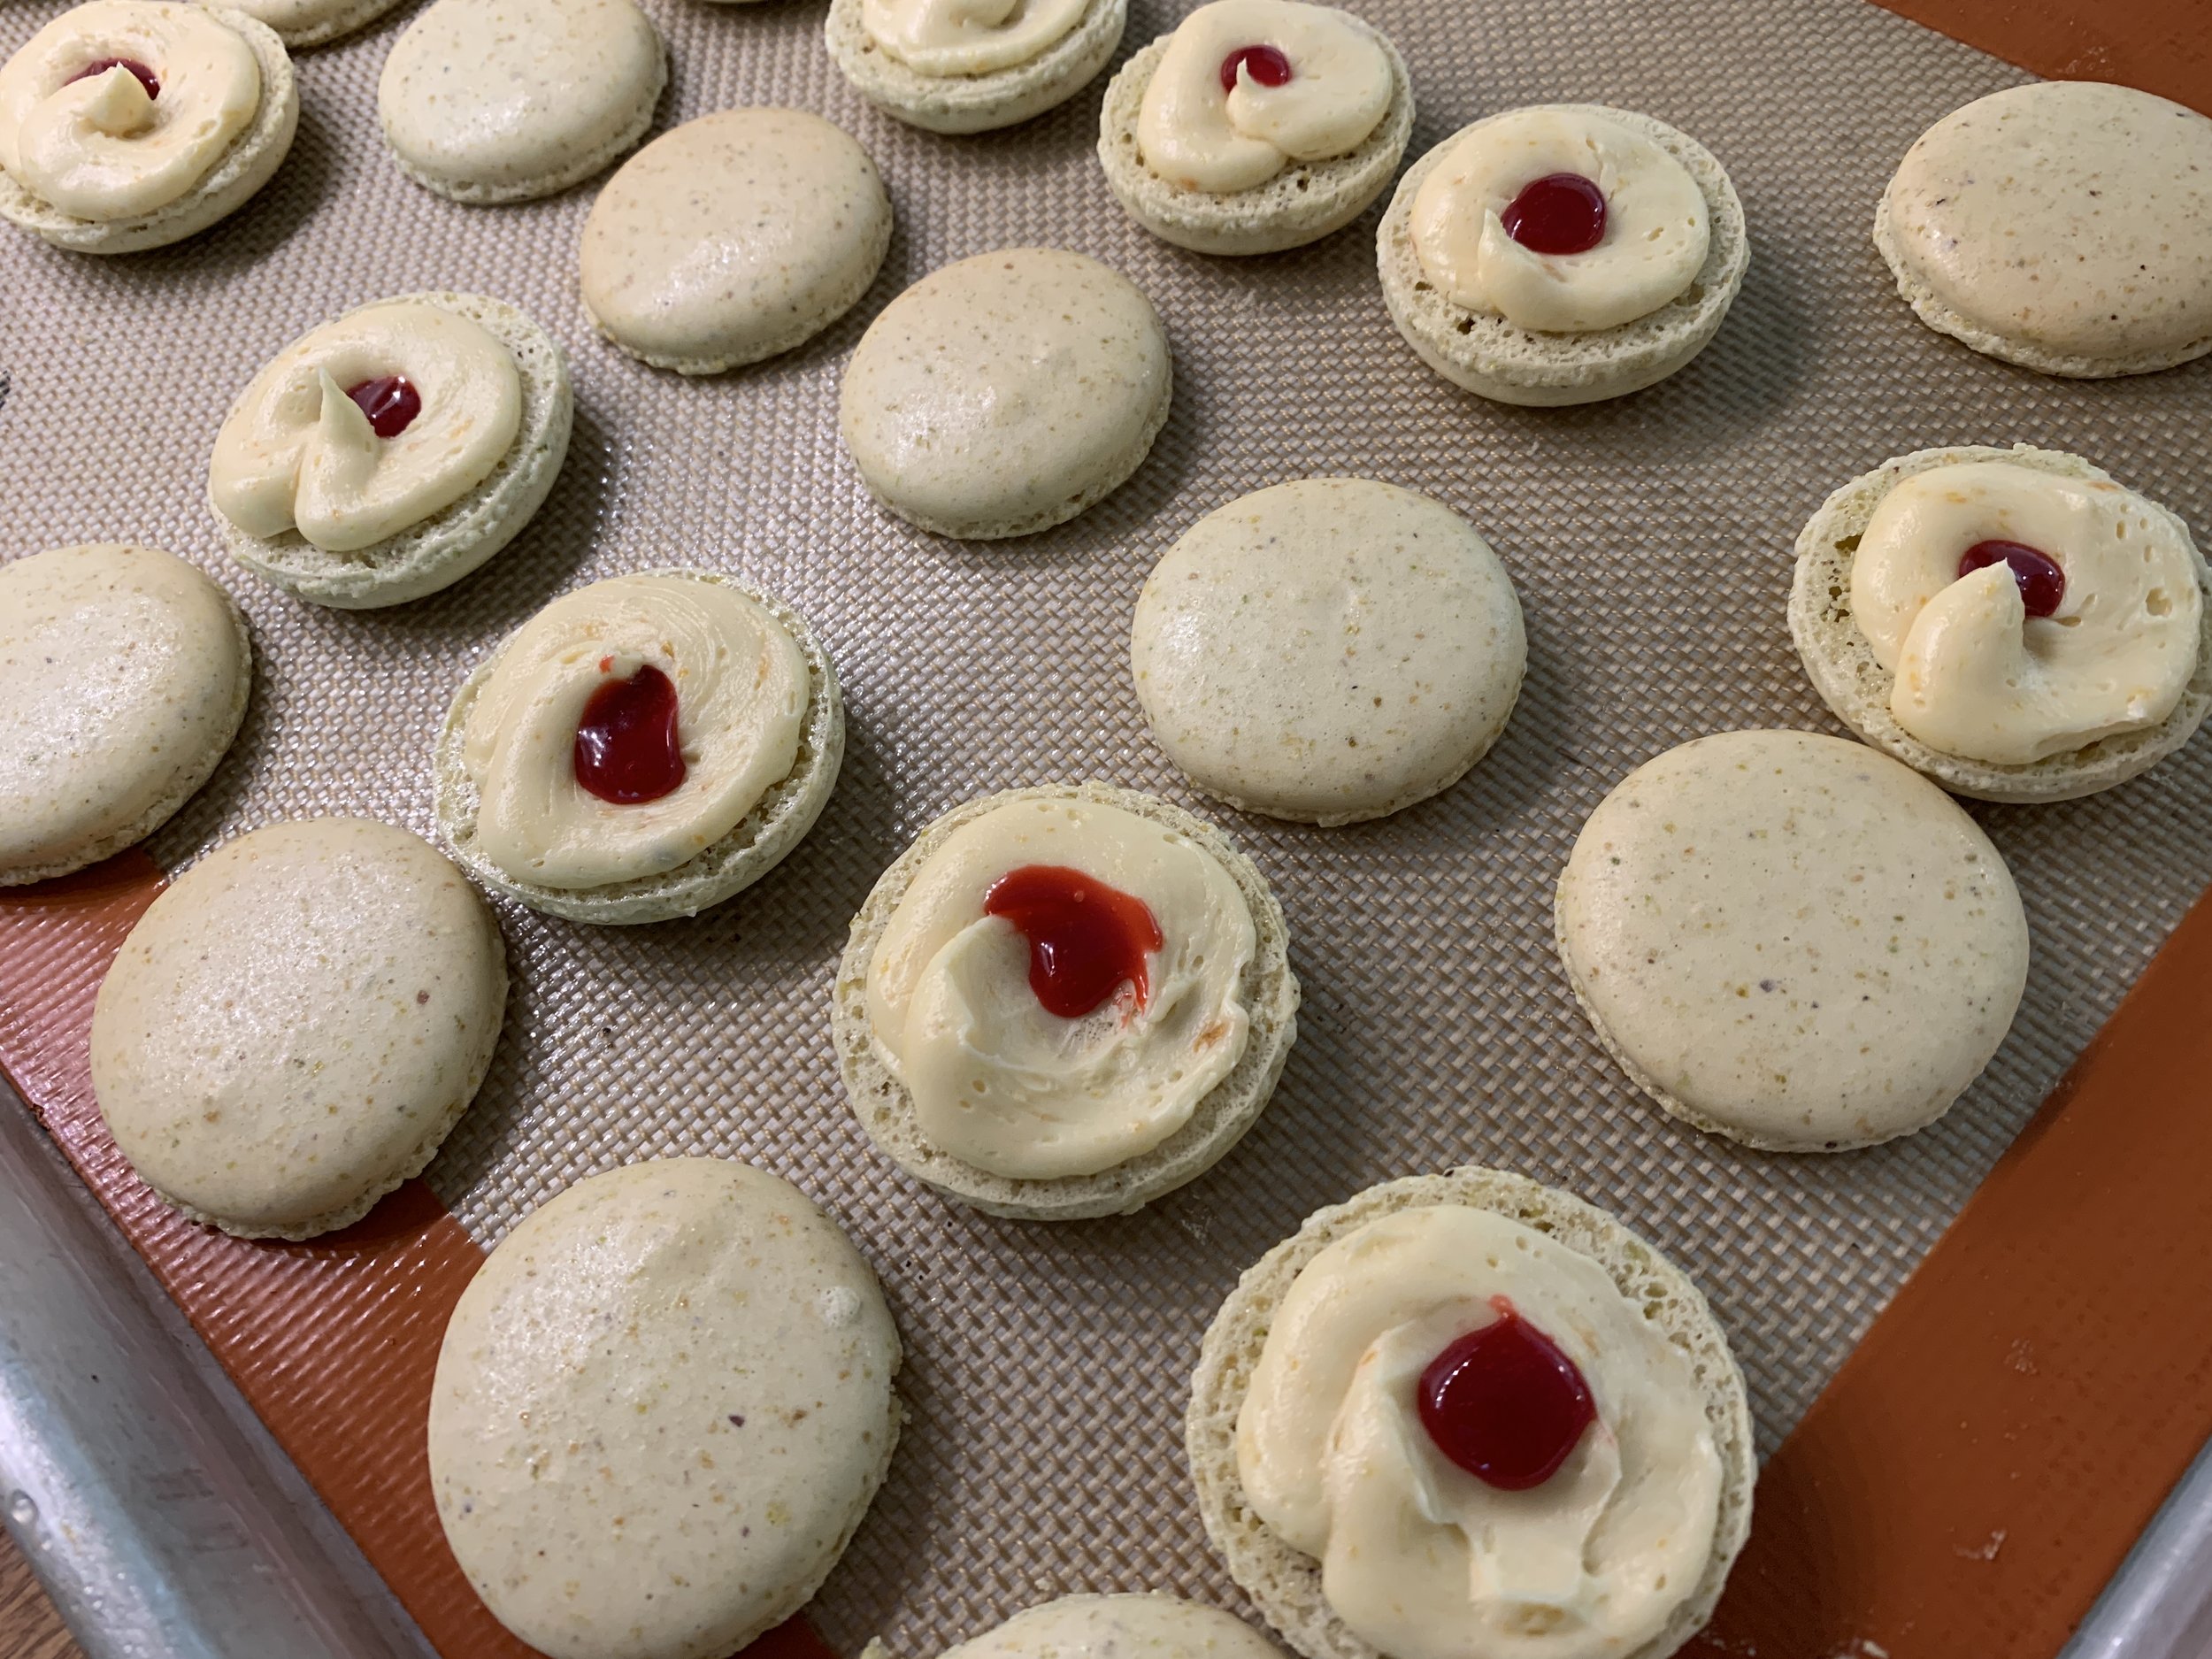
pistachio speckled with apricot honey SMBC/raspberry coulis center
chocolate shells/white chocolate sesame pistachio ganache
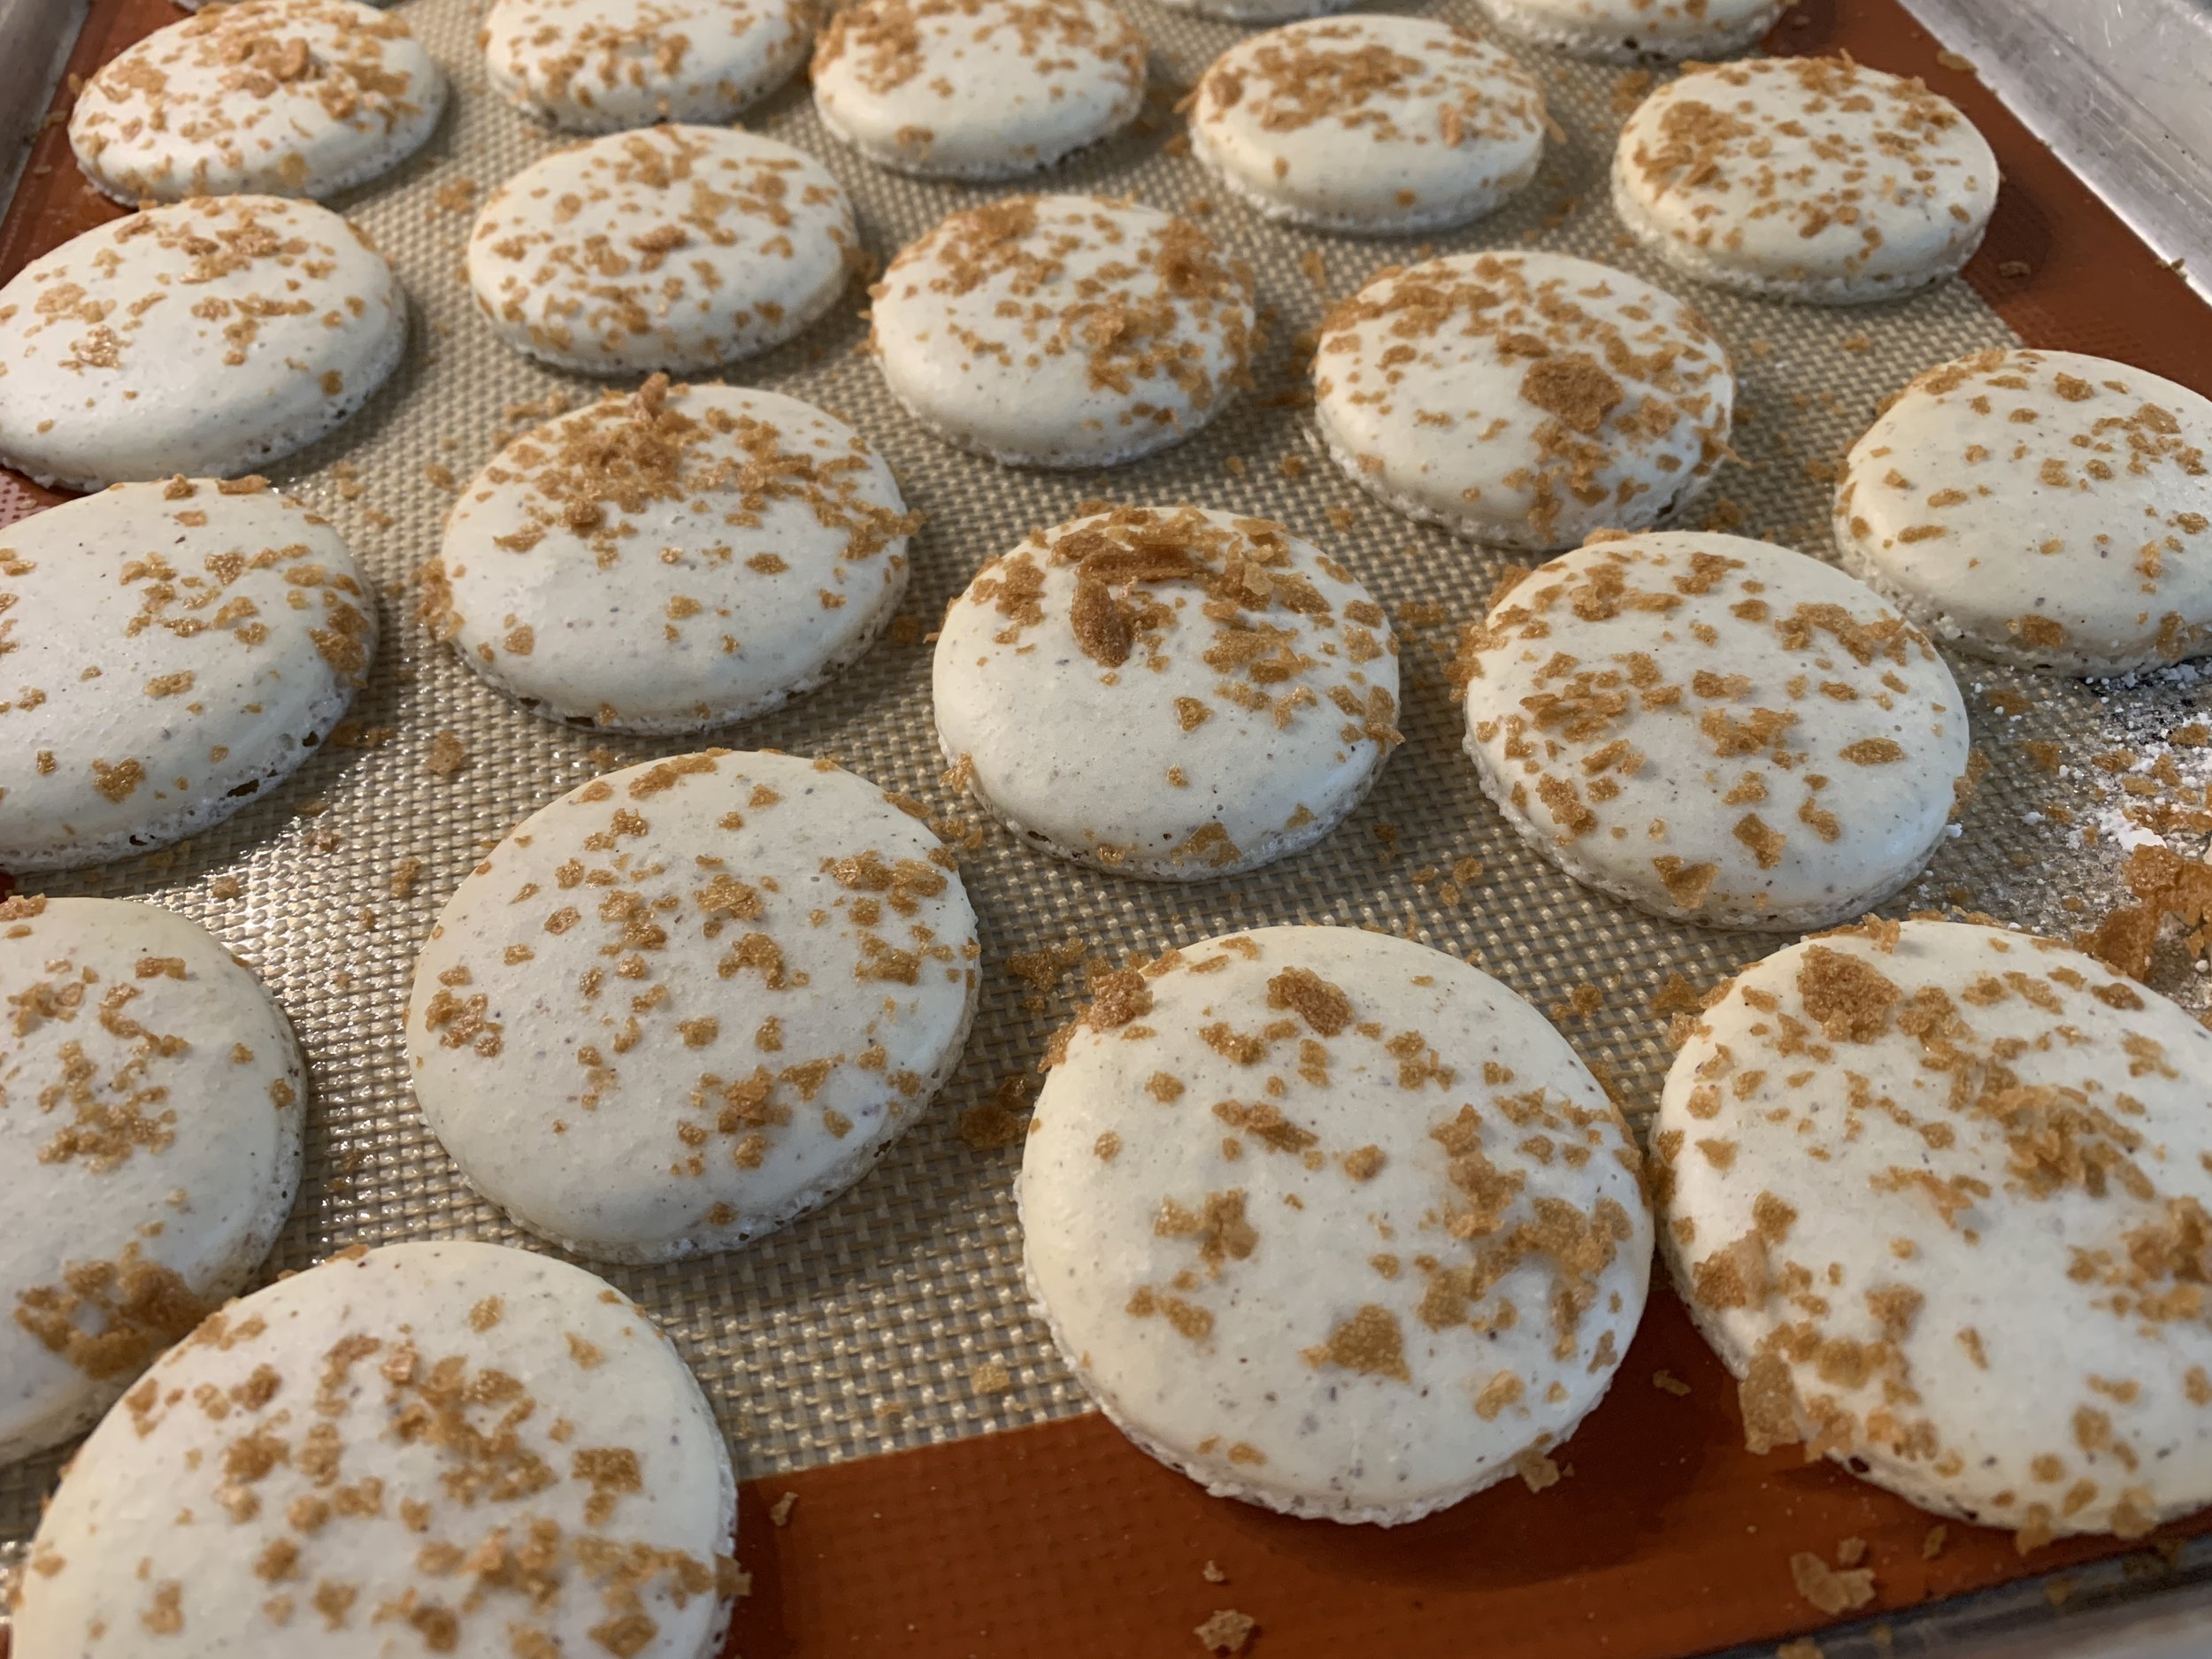
I admit these next shells are kind of messy - it was harder then I expected to sprinkle some crushed gavotte crêpes evenly but what the heck, eh? Hmmm . . . I wonder if crushed corn or rice chex would work? Great with something blueberry me thinks.
gavotte crêpe topping
I do keep a few concentrated gel colors on hand mainly for class purposes, and on occasion I’ll use a schmear to fit the project. I recently made a batch with lemon-lime SMBC/ toasted coconut and did tinge the shells with a bit of yellow. Looks pretty nice- and tastes good too!
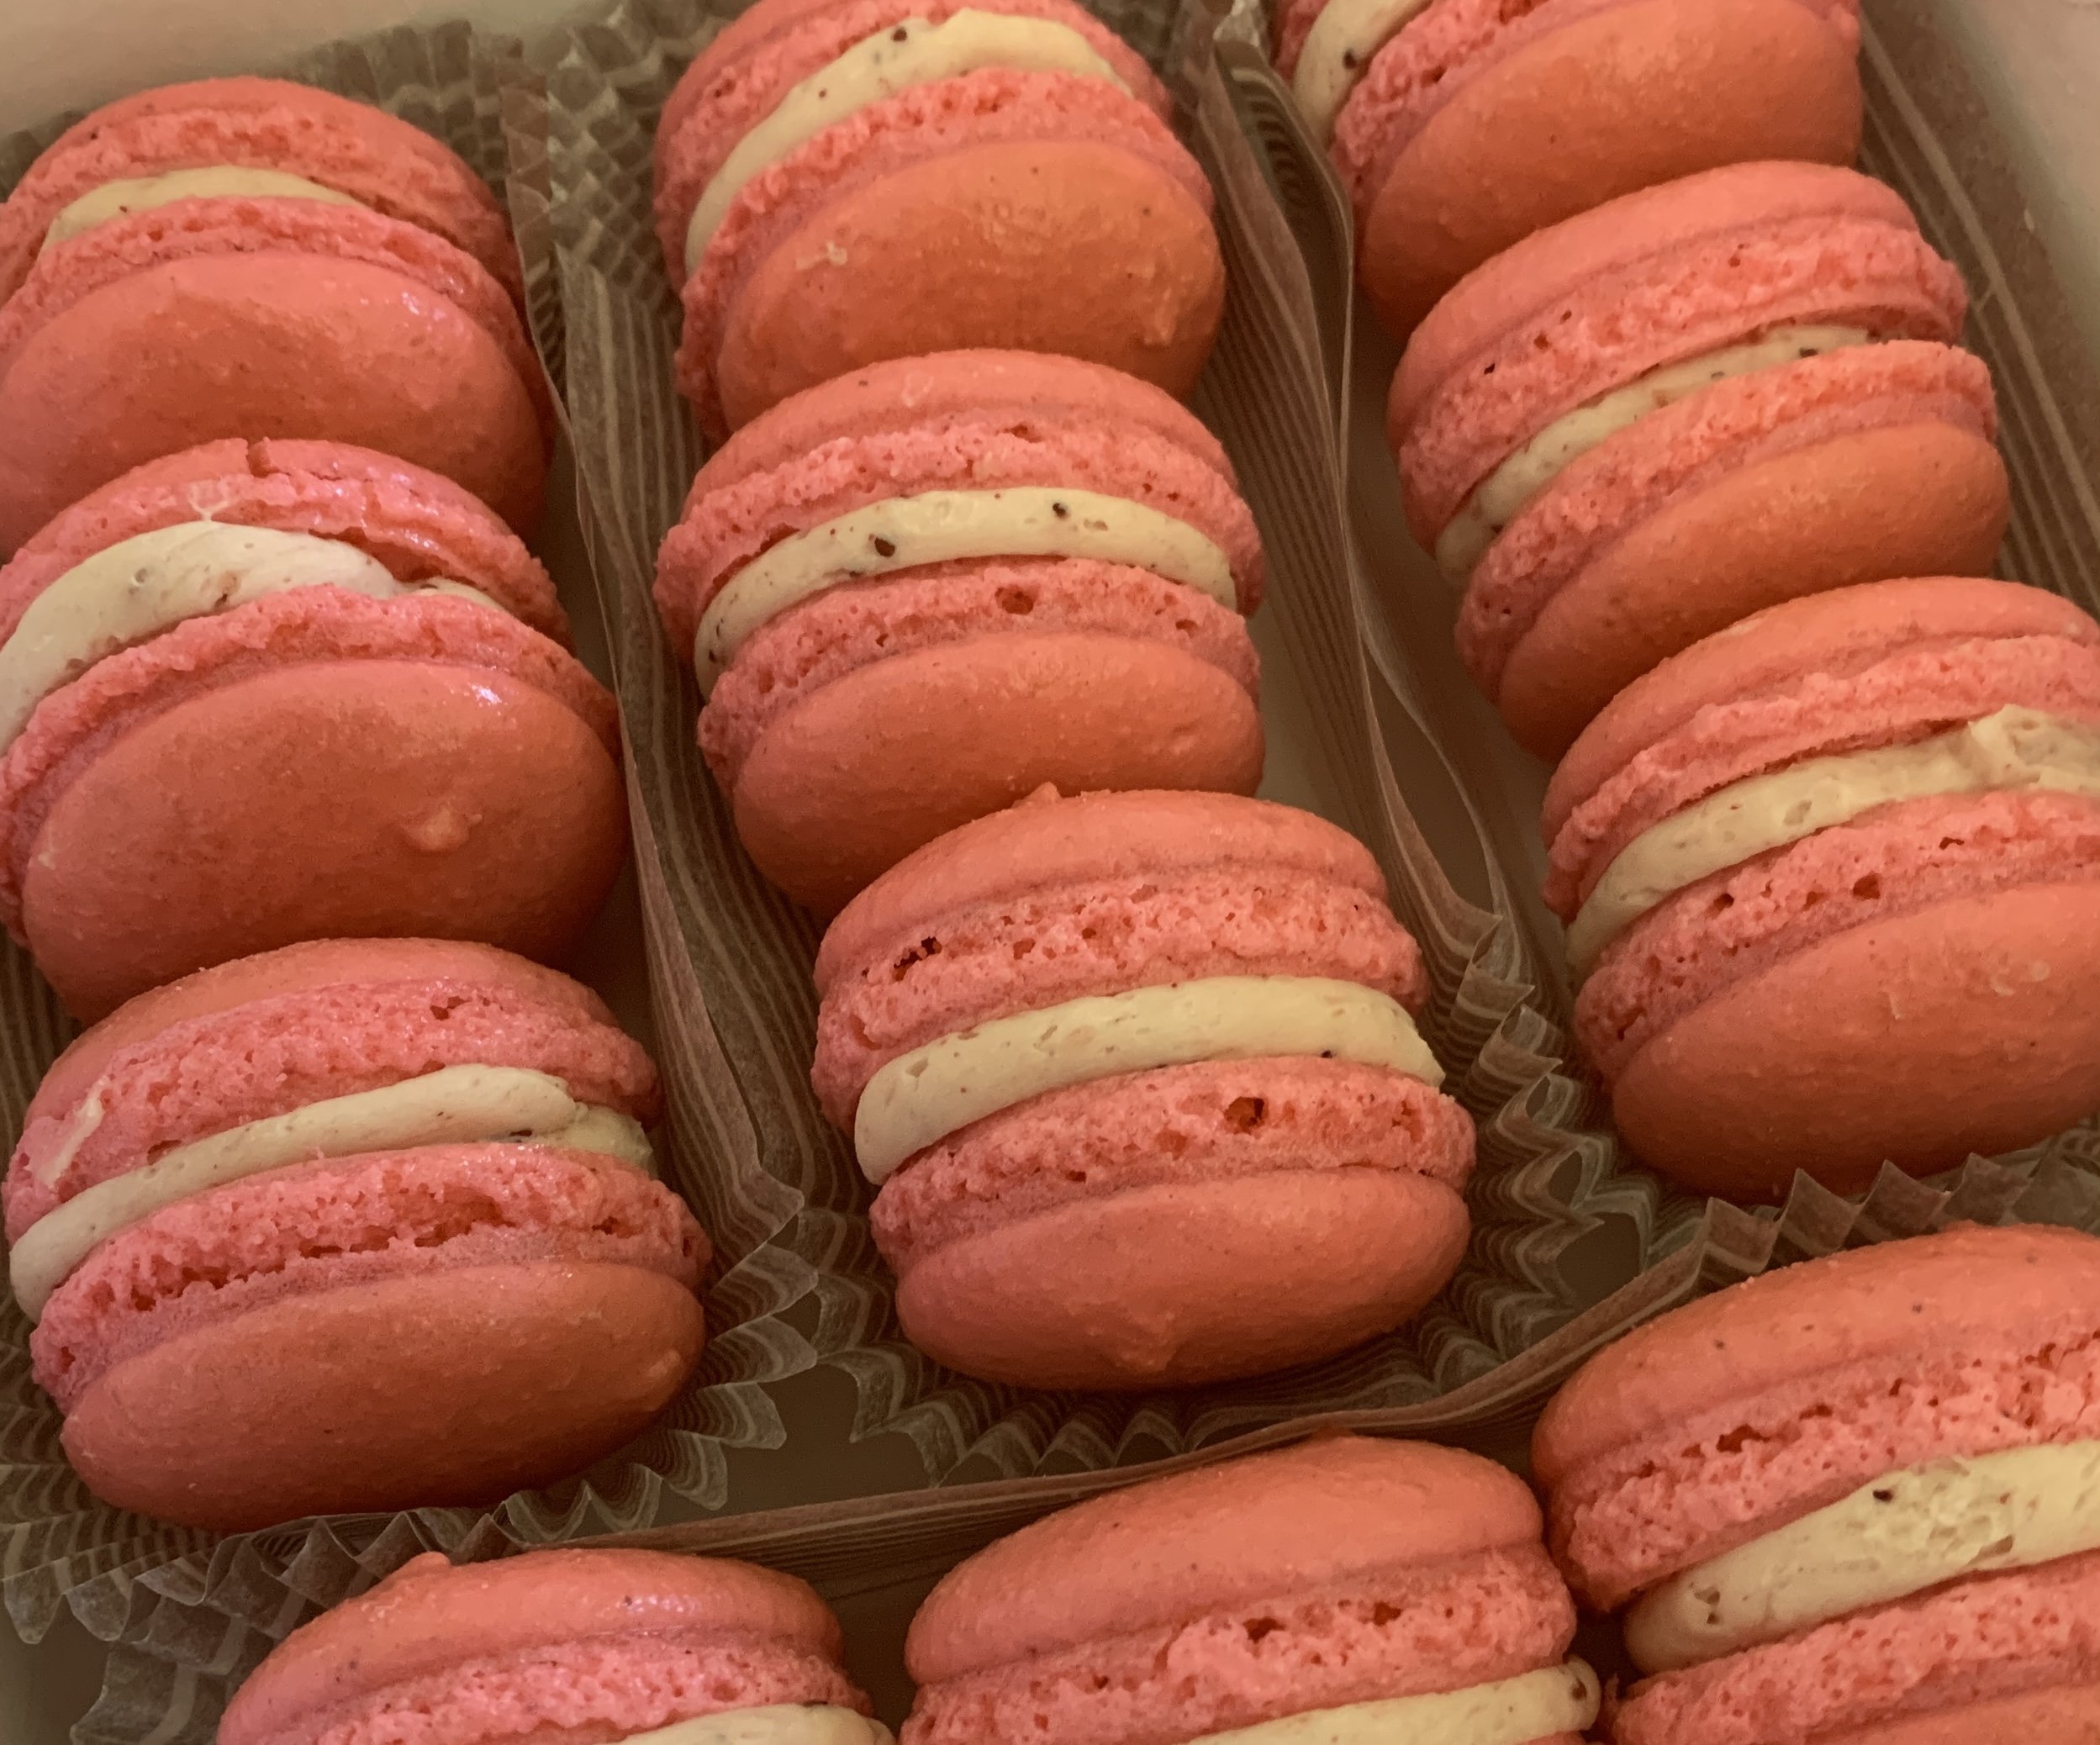
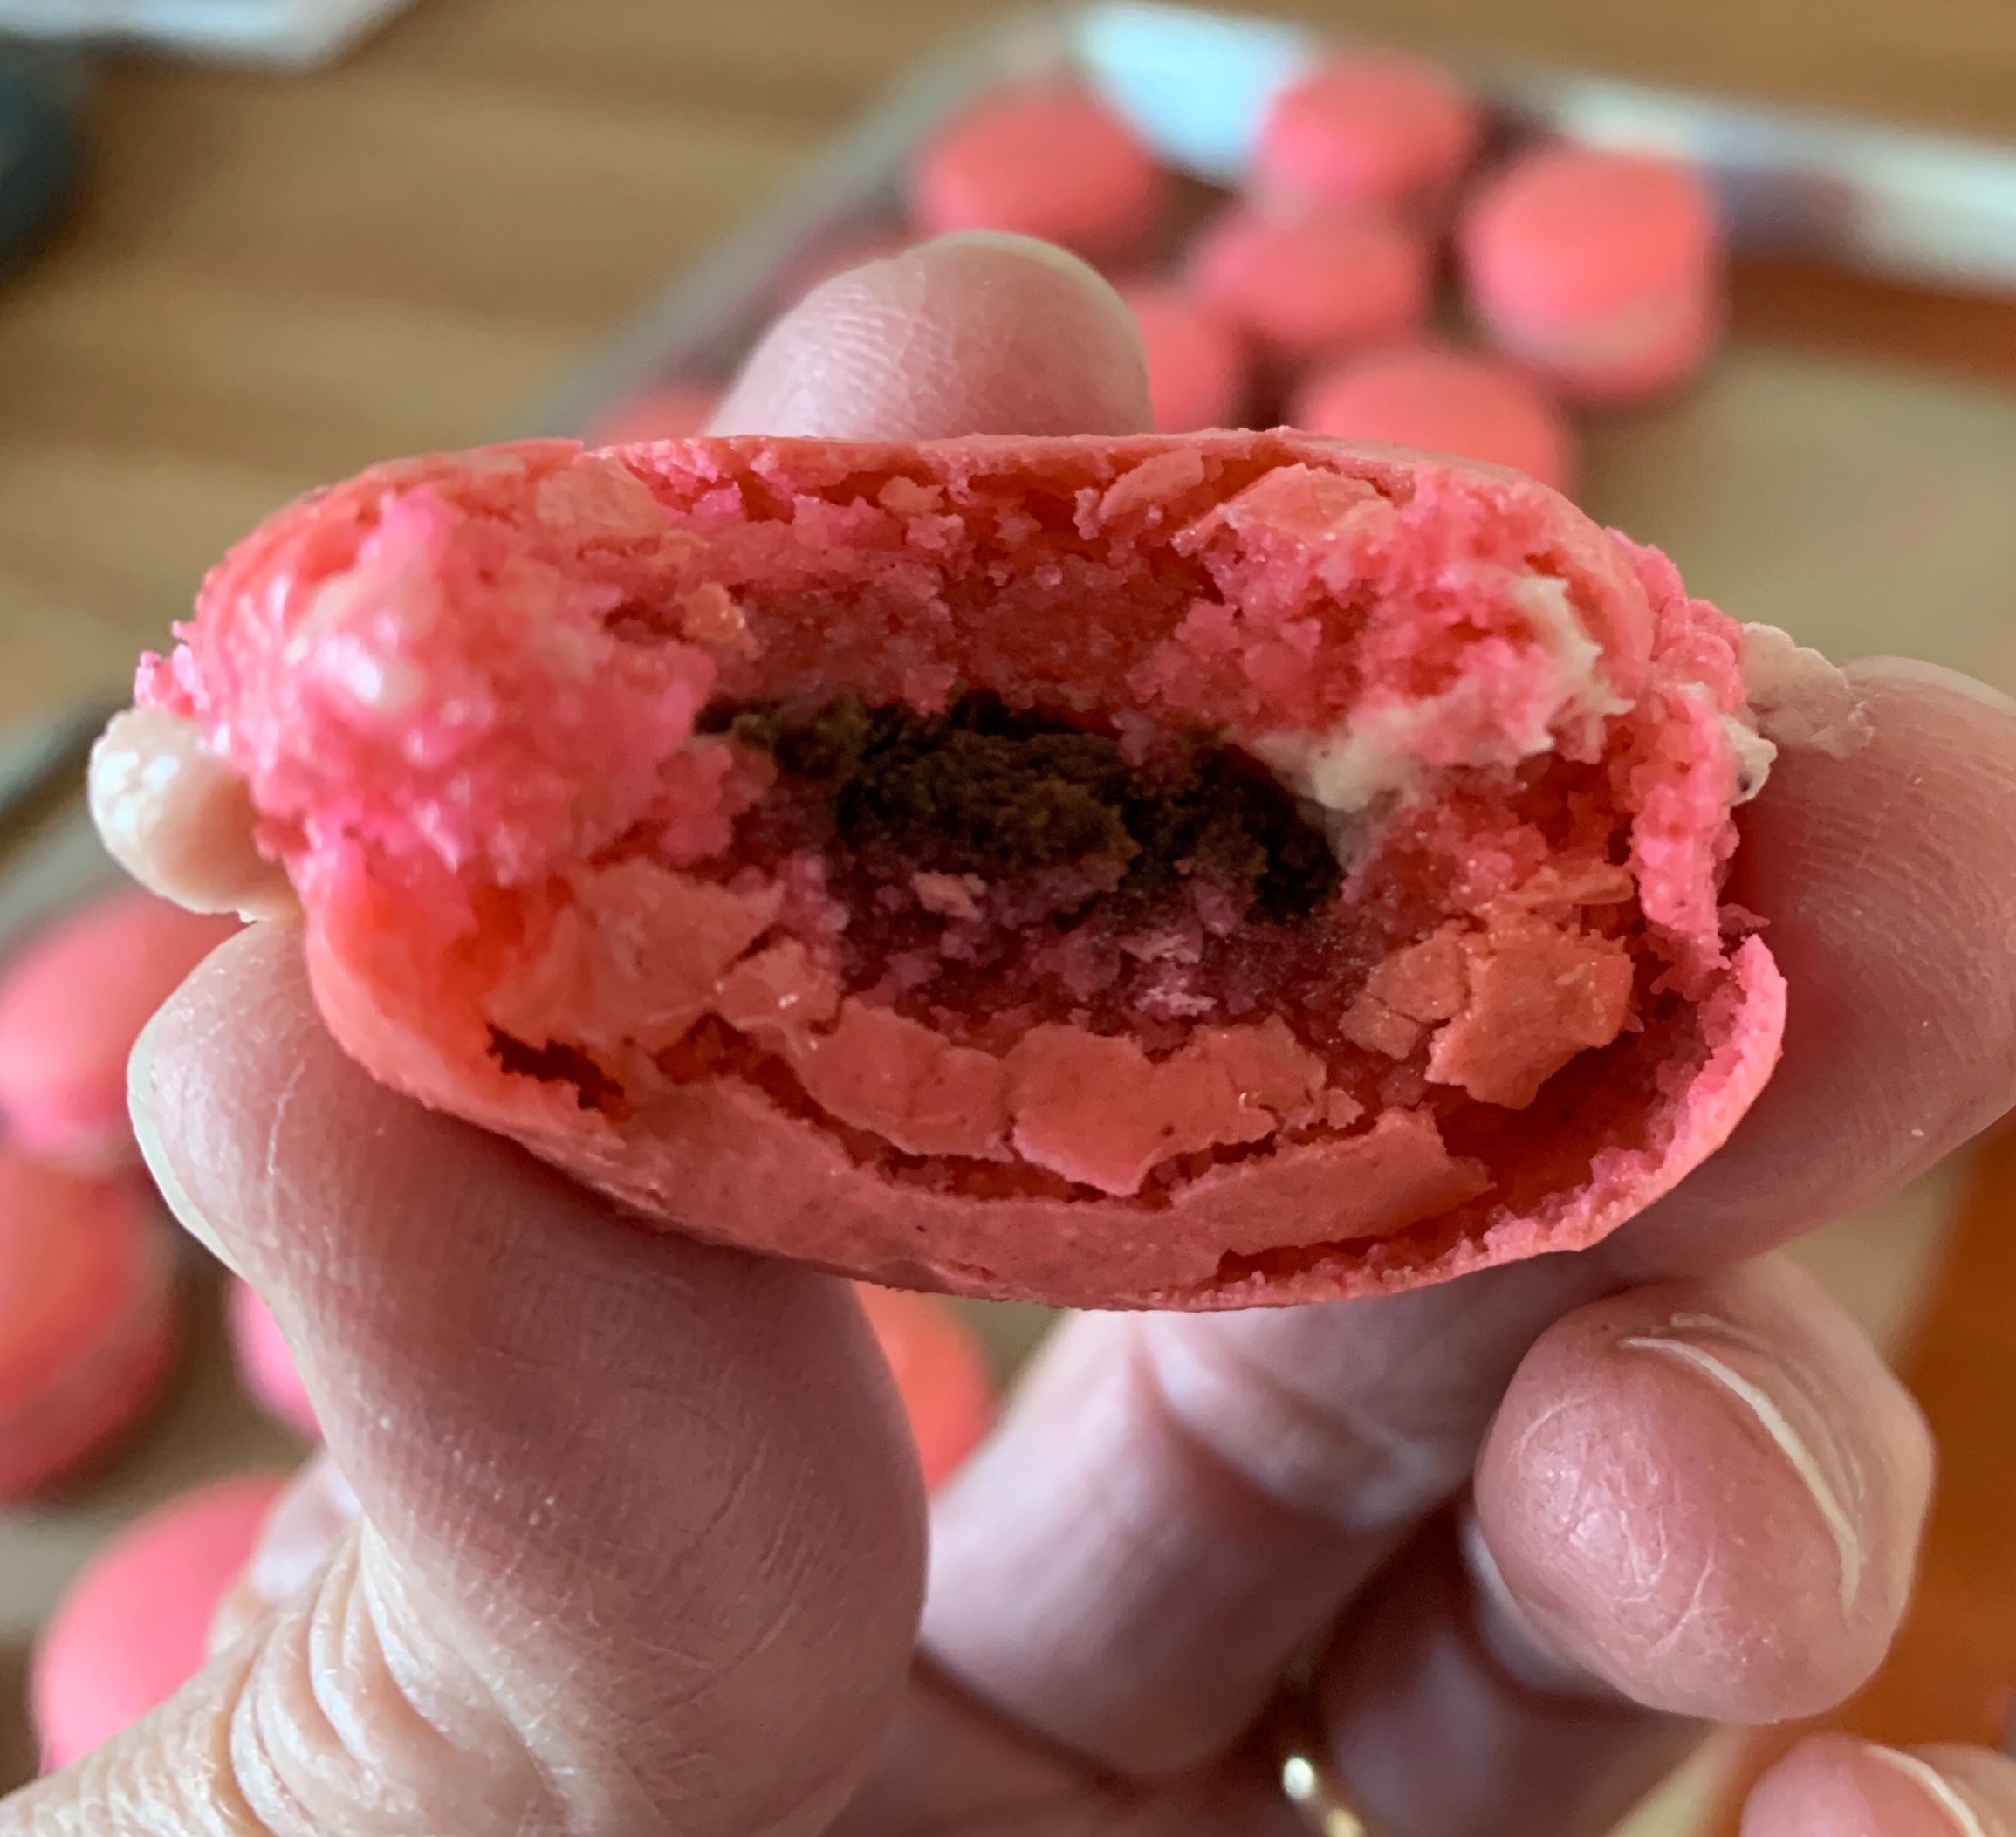
When using concentrated colors, go small - you can always add more. Here’s one instance where I got more heavy handed than I intended but the recipient of these strawberry macs reportedly said “These would make a dead man get up and speak French”.
more roasted strawberry smbc/ganache center
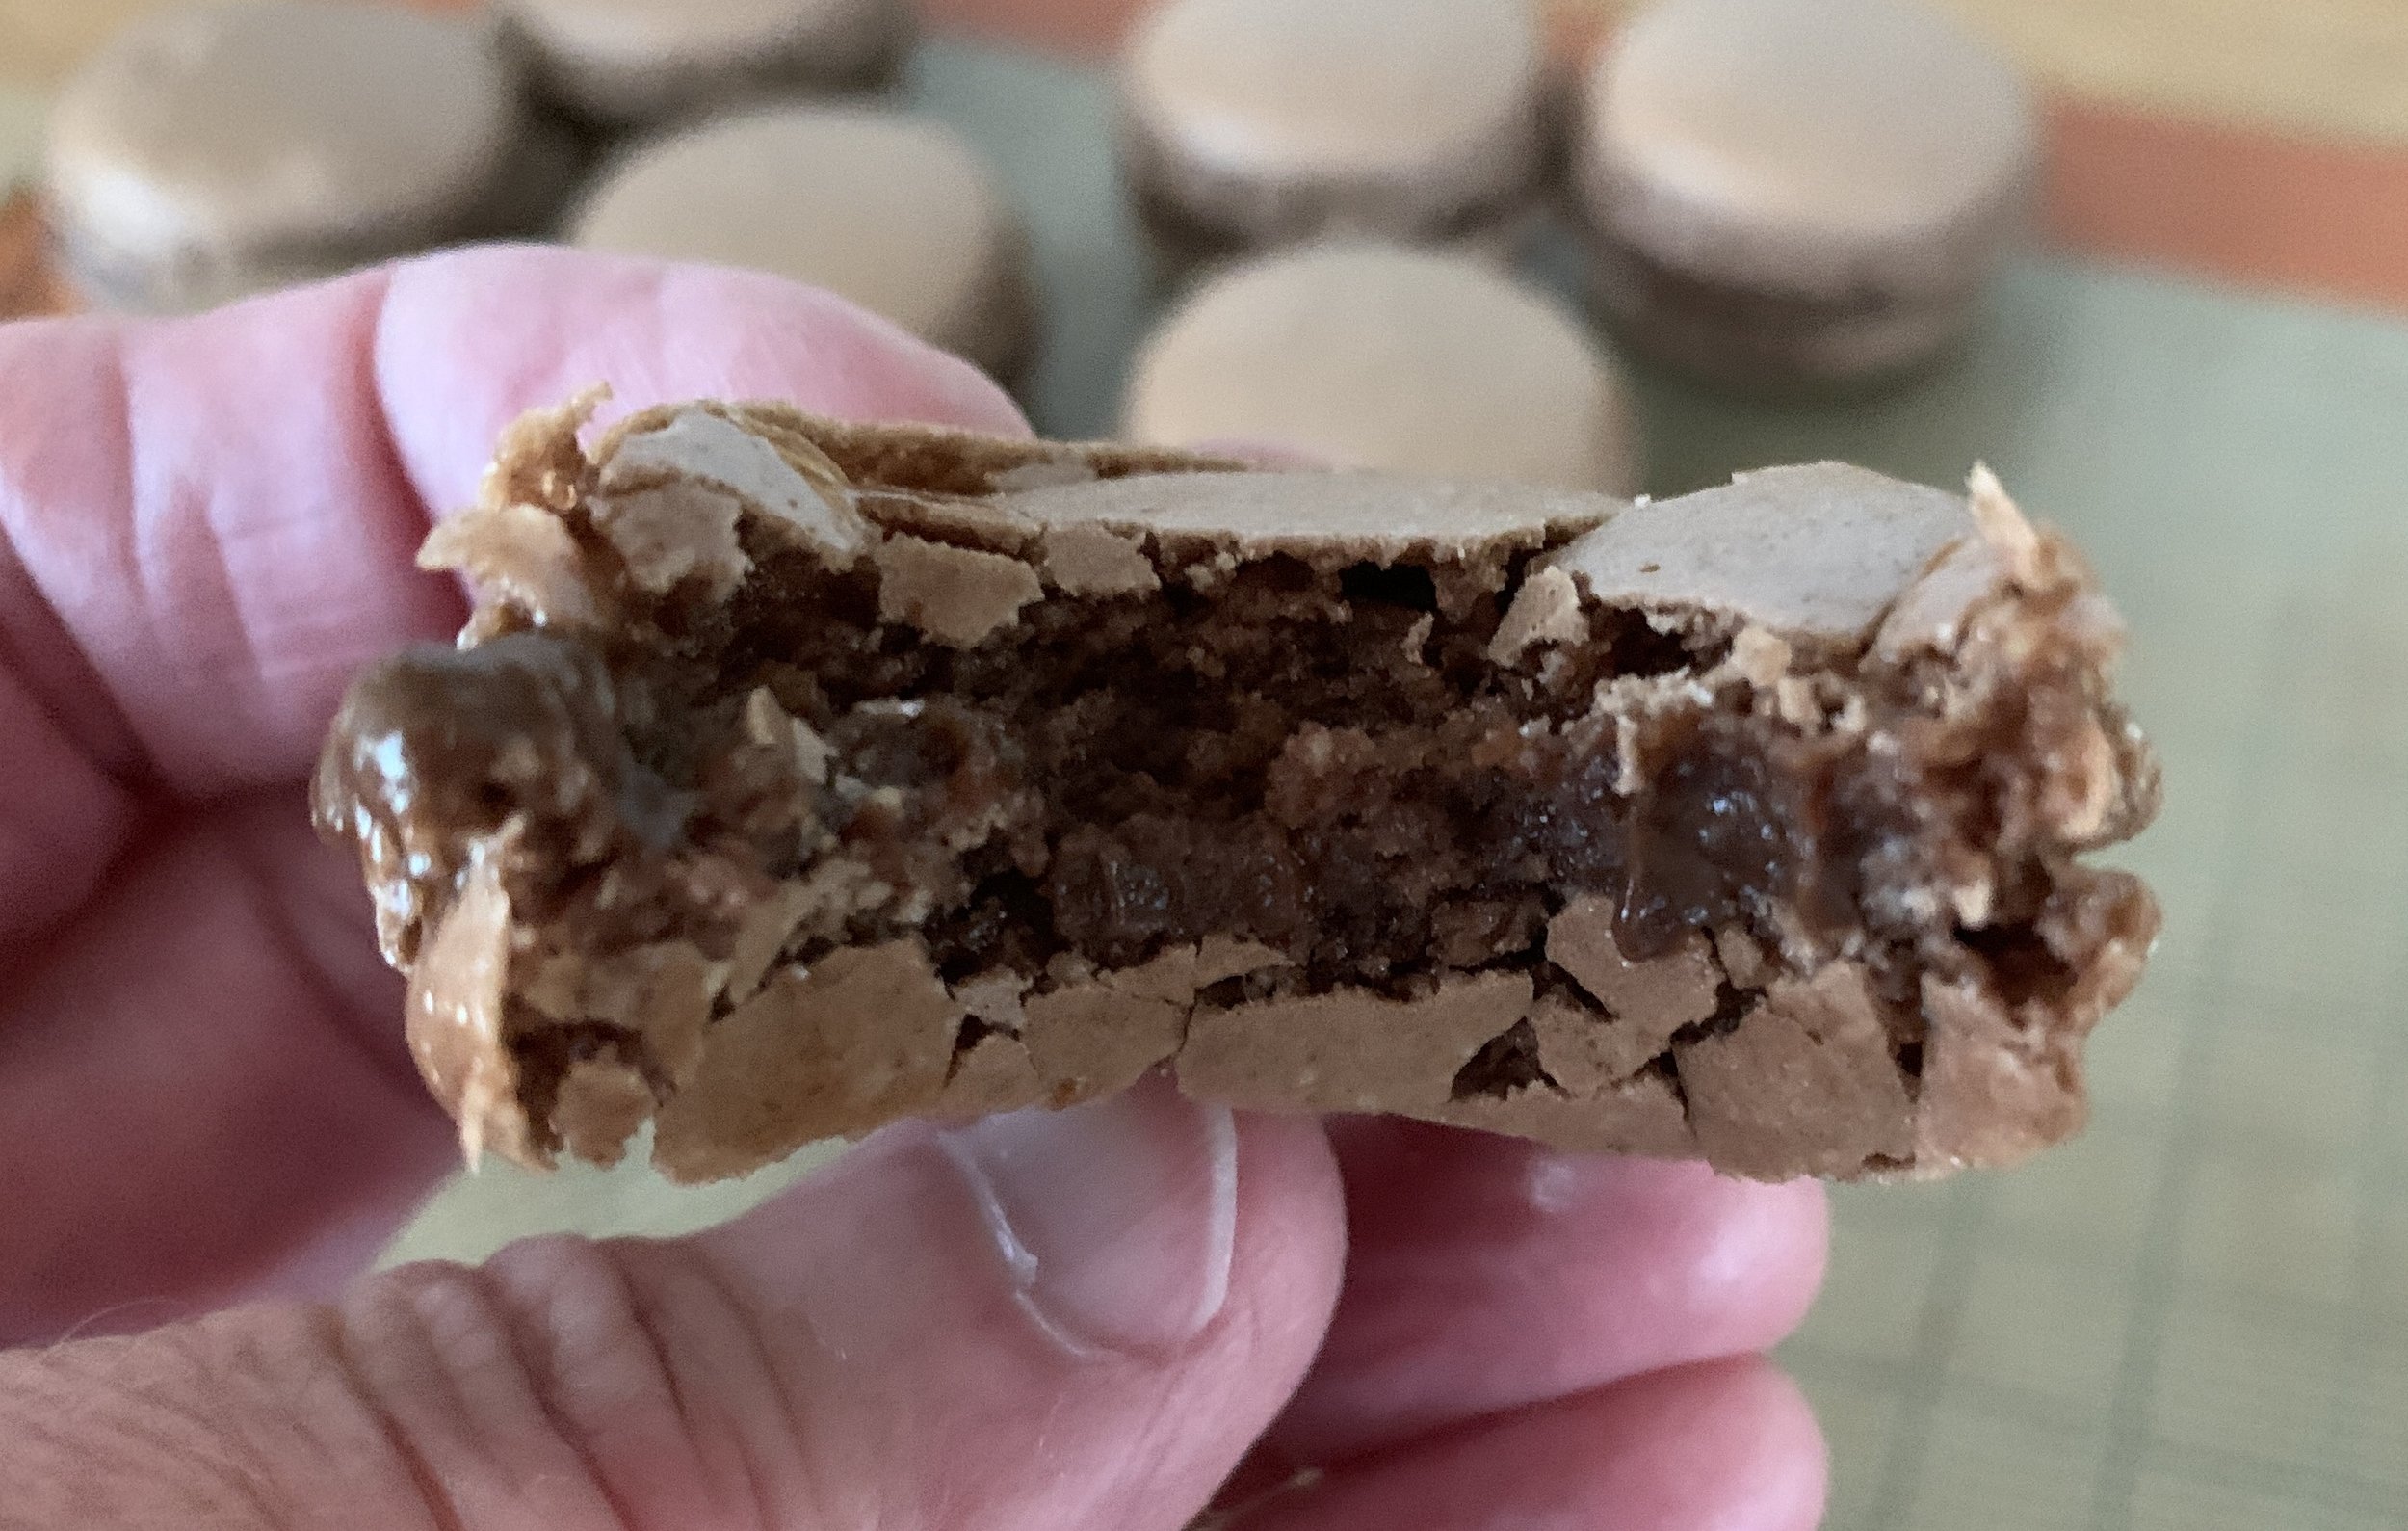
I’ve also taken to heart the importance of letting the filled macarons sit in the fridge for a day or two before enjoying (although many find that difficult!). It’s amazing what that cool rest can do for the texture of this little cookie.
I usually store the baked shells in the freezer, especially if they seem a bit sticky when attempting release from the Silpat. Once frozen they lift off nicely. Then I can fill them when I’m ready.
Even after filling, the freezer is my go to for storage where the texture continues to improve. You can move them into the fridge a day or two before enjoying or give them just a few minutes out of the freezer and enjoy right then and there. It works.
These days, as I look back, I’m a firm believer that attitude and being zen with it all makes a big difference. Ahhh . . . . the pastry gods can look favorably upon us.
It’s tulip time!

