Macaron musings

True confessions - I’ve had a love-hate relationship with French macarons over the past 17 years. When I first tasted these popular delights in Paris in 2006, I found them way too sweet for my taste. No thanks.

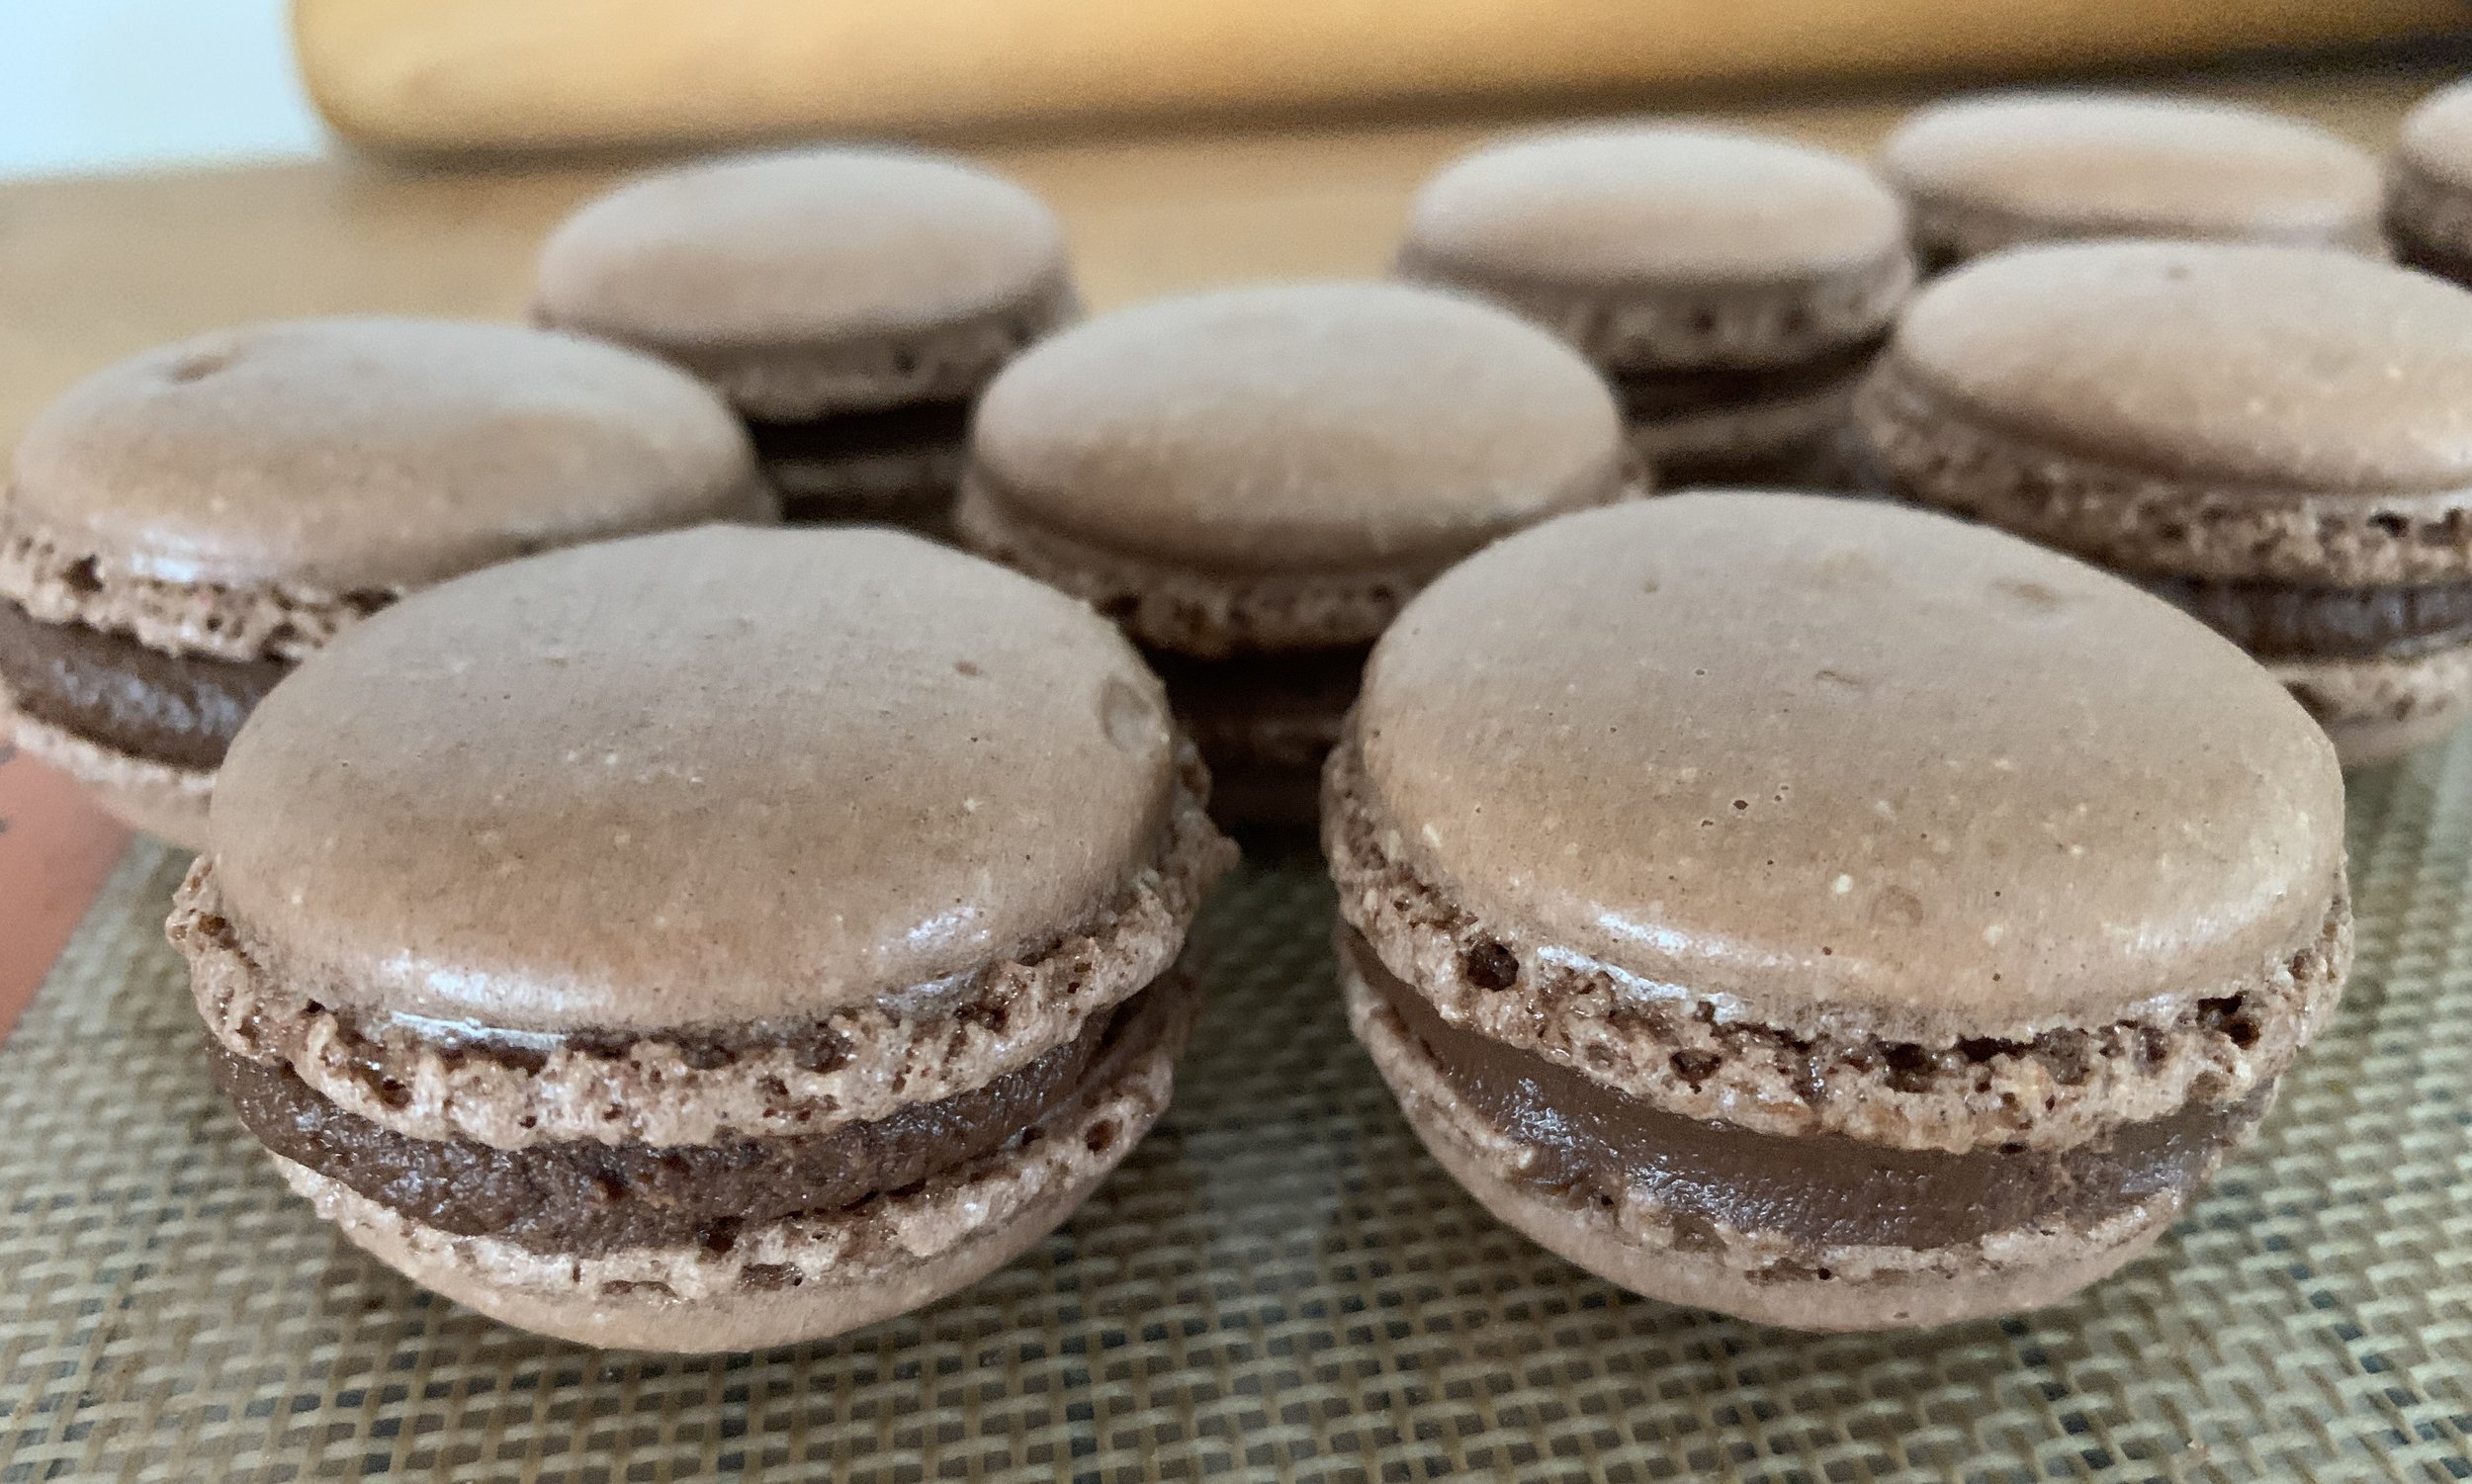
However, as is often the case in life, things changed. Having finished my pastry schooling in 2007, I began working at Gracie’s in Providence RI and was asked to start making these little cookies that were, still are and will probably continue to be, all the rage. I generally had the best results with my chocolate version filled with a basic chocolate ganache, but there were times, boy oh boy, when they came out mottled or too sticky or cracked or whatever. Frustration!

After leaving Gracie’s I taught some well received macaron classes in my shop at Hope Artiste Village in Pawtucket RI. Yet once I turned that business over in anticipation of our move to Michigan, I put macarons aside to focus on my true loves - tarts, puff, croissants, brioche, shortbread, choux and financiers/teacakes just to name a few. My heart simply wasn’t pining to make les macarons.

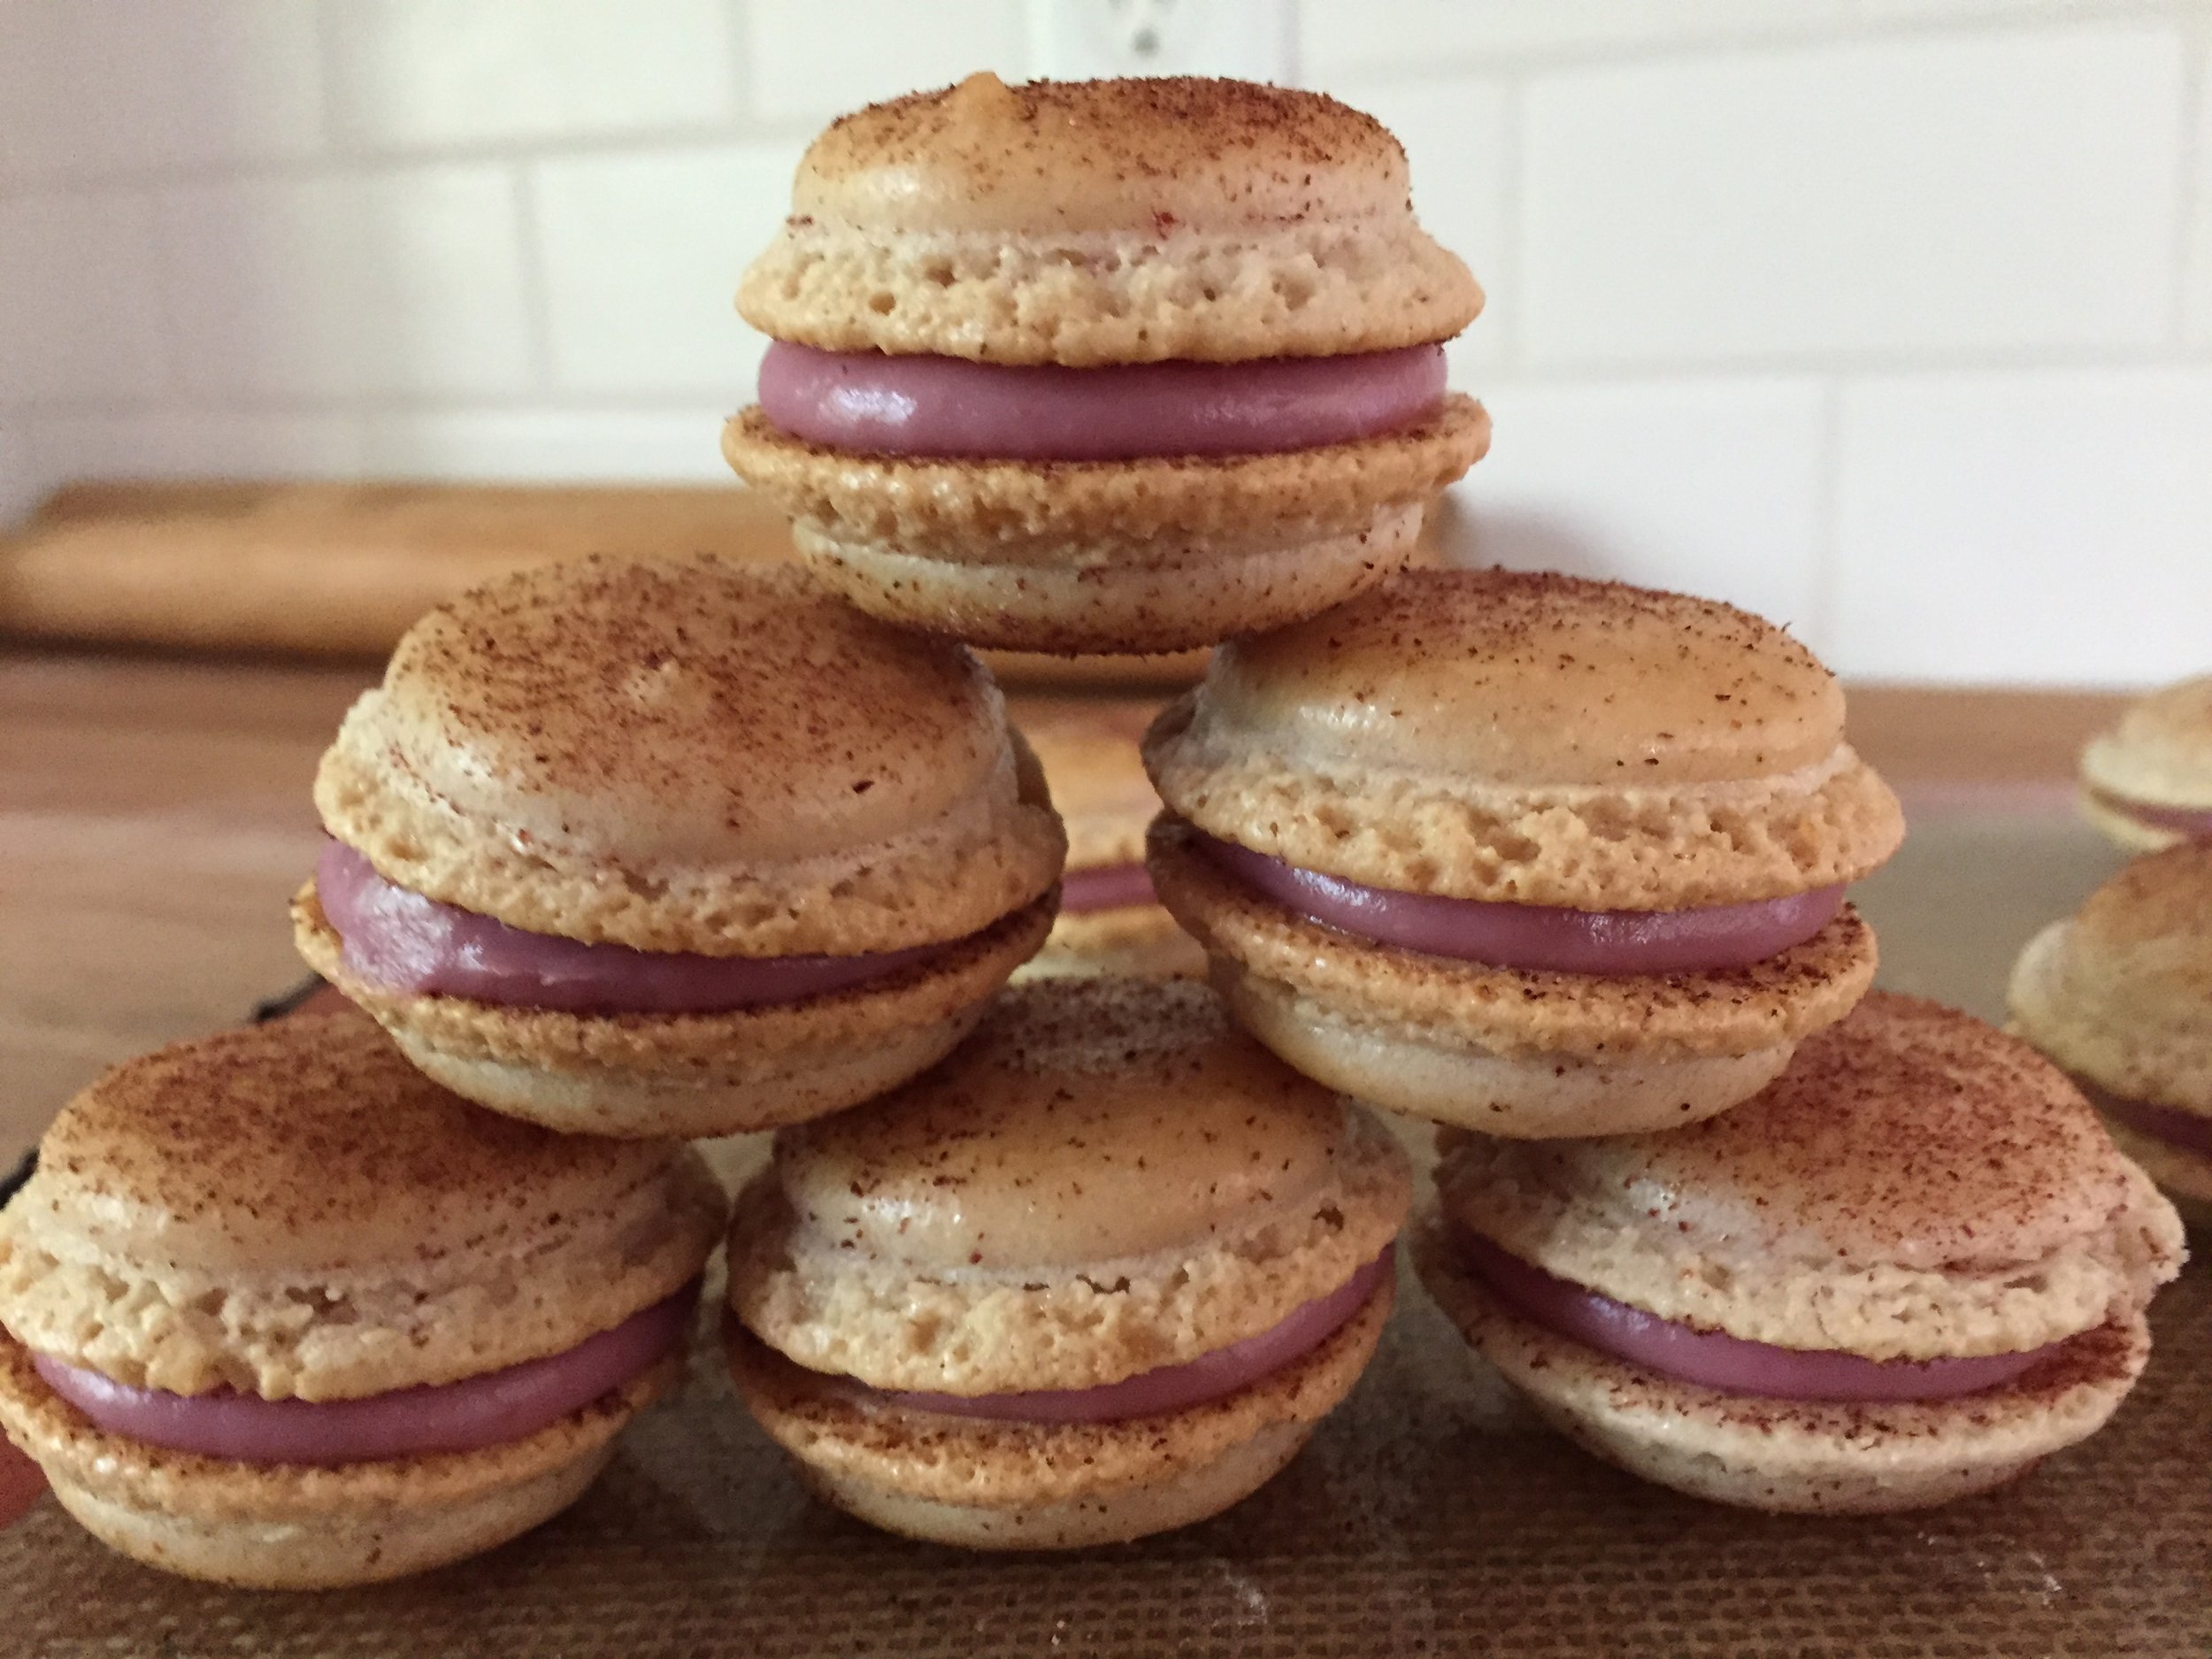
raspberrry white chocolate ganache filled

Fast forward a few years later - Steve and I had settled back in Grand Rapids and I started teaching pastry classes at the newly opened Sur La Table (sadly closed after the early months of the pandemic - bummer!). Wouldn’t you know one of the most popular class offerings was les macarons!! And so I taught many classes on these babies - sometimes they turned out beautifully and sometimes not so. The questions were always the same - what went wrong??

And so began another period of research, recipe comparisons, trials and macaron making. I even wrote a couple of blog posts about the different types of macarons out there, hoping to open peoples’ eyes to how easy some of the varieties are to make.

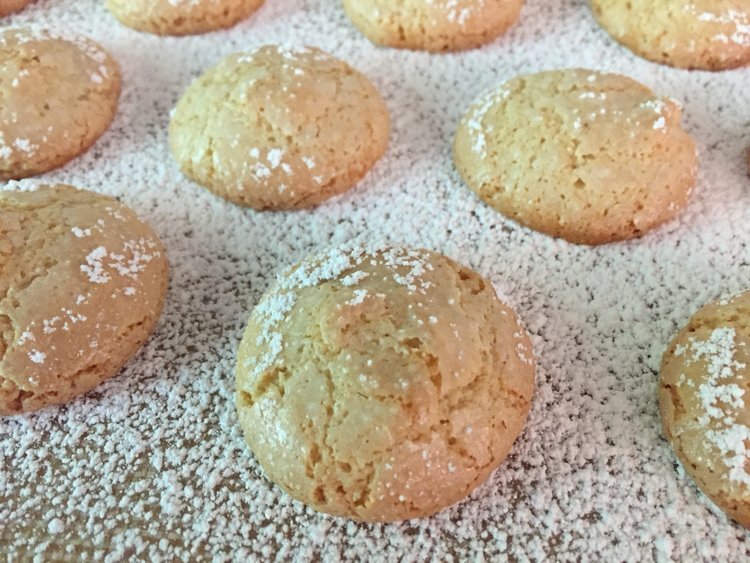
macarons de nancy

Yet the so called “jewels” of the pastry case remain on most budding and seasoned bakers’ minds.

chocolate all the way around!

After a number of tests and tweaking the weights of the confectioner’s and granulated sugars, I’ve finally landed on a recipe that’s been working well for me. I’ve always made macarons using the French meringue method as opposed to what I view as the more fussy Italian version, and I continue to be most comfortable with that approach.

Multitudes have written about macaron making, citing factors like low humidity, aged/room temperature egg whites, freshly opened almond flour and blitzing/sifting the almond flour/confectioner’s sugar as all being important to success. I take all of that into consideration for sure, but for me what stands out is the actual process - making the meringue, then the macaronage and finally the macaroner.

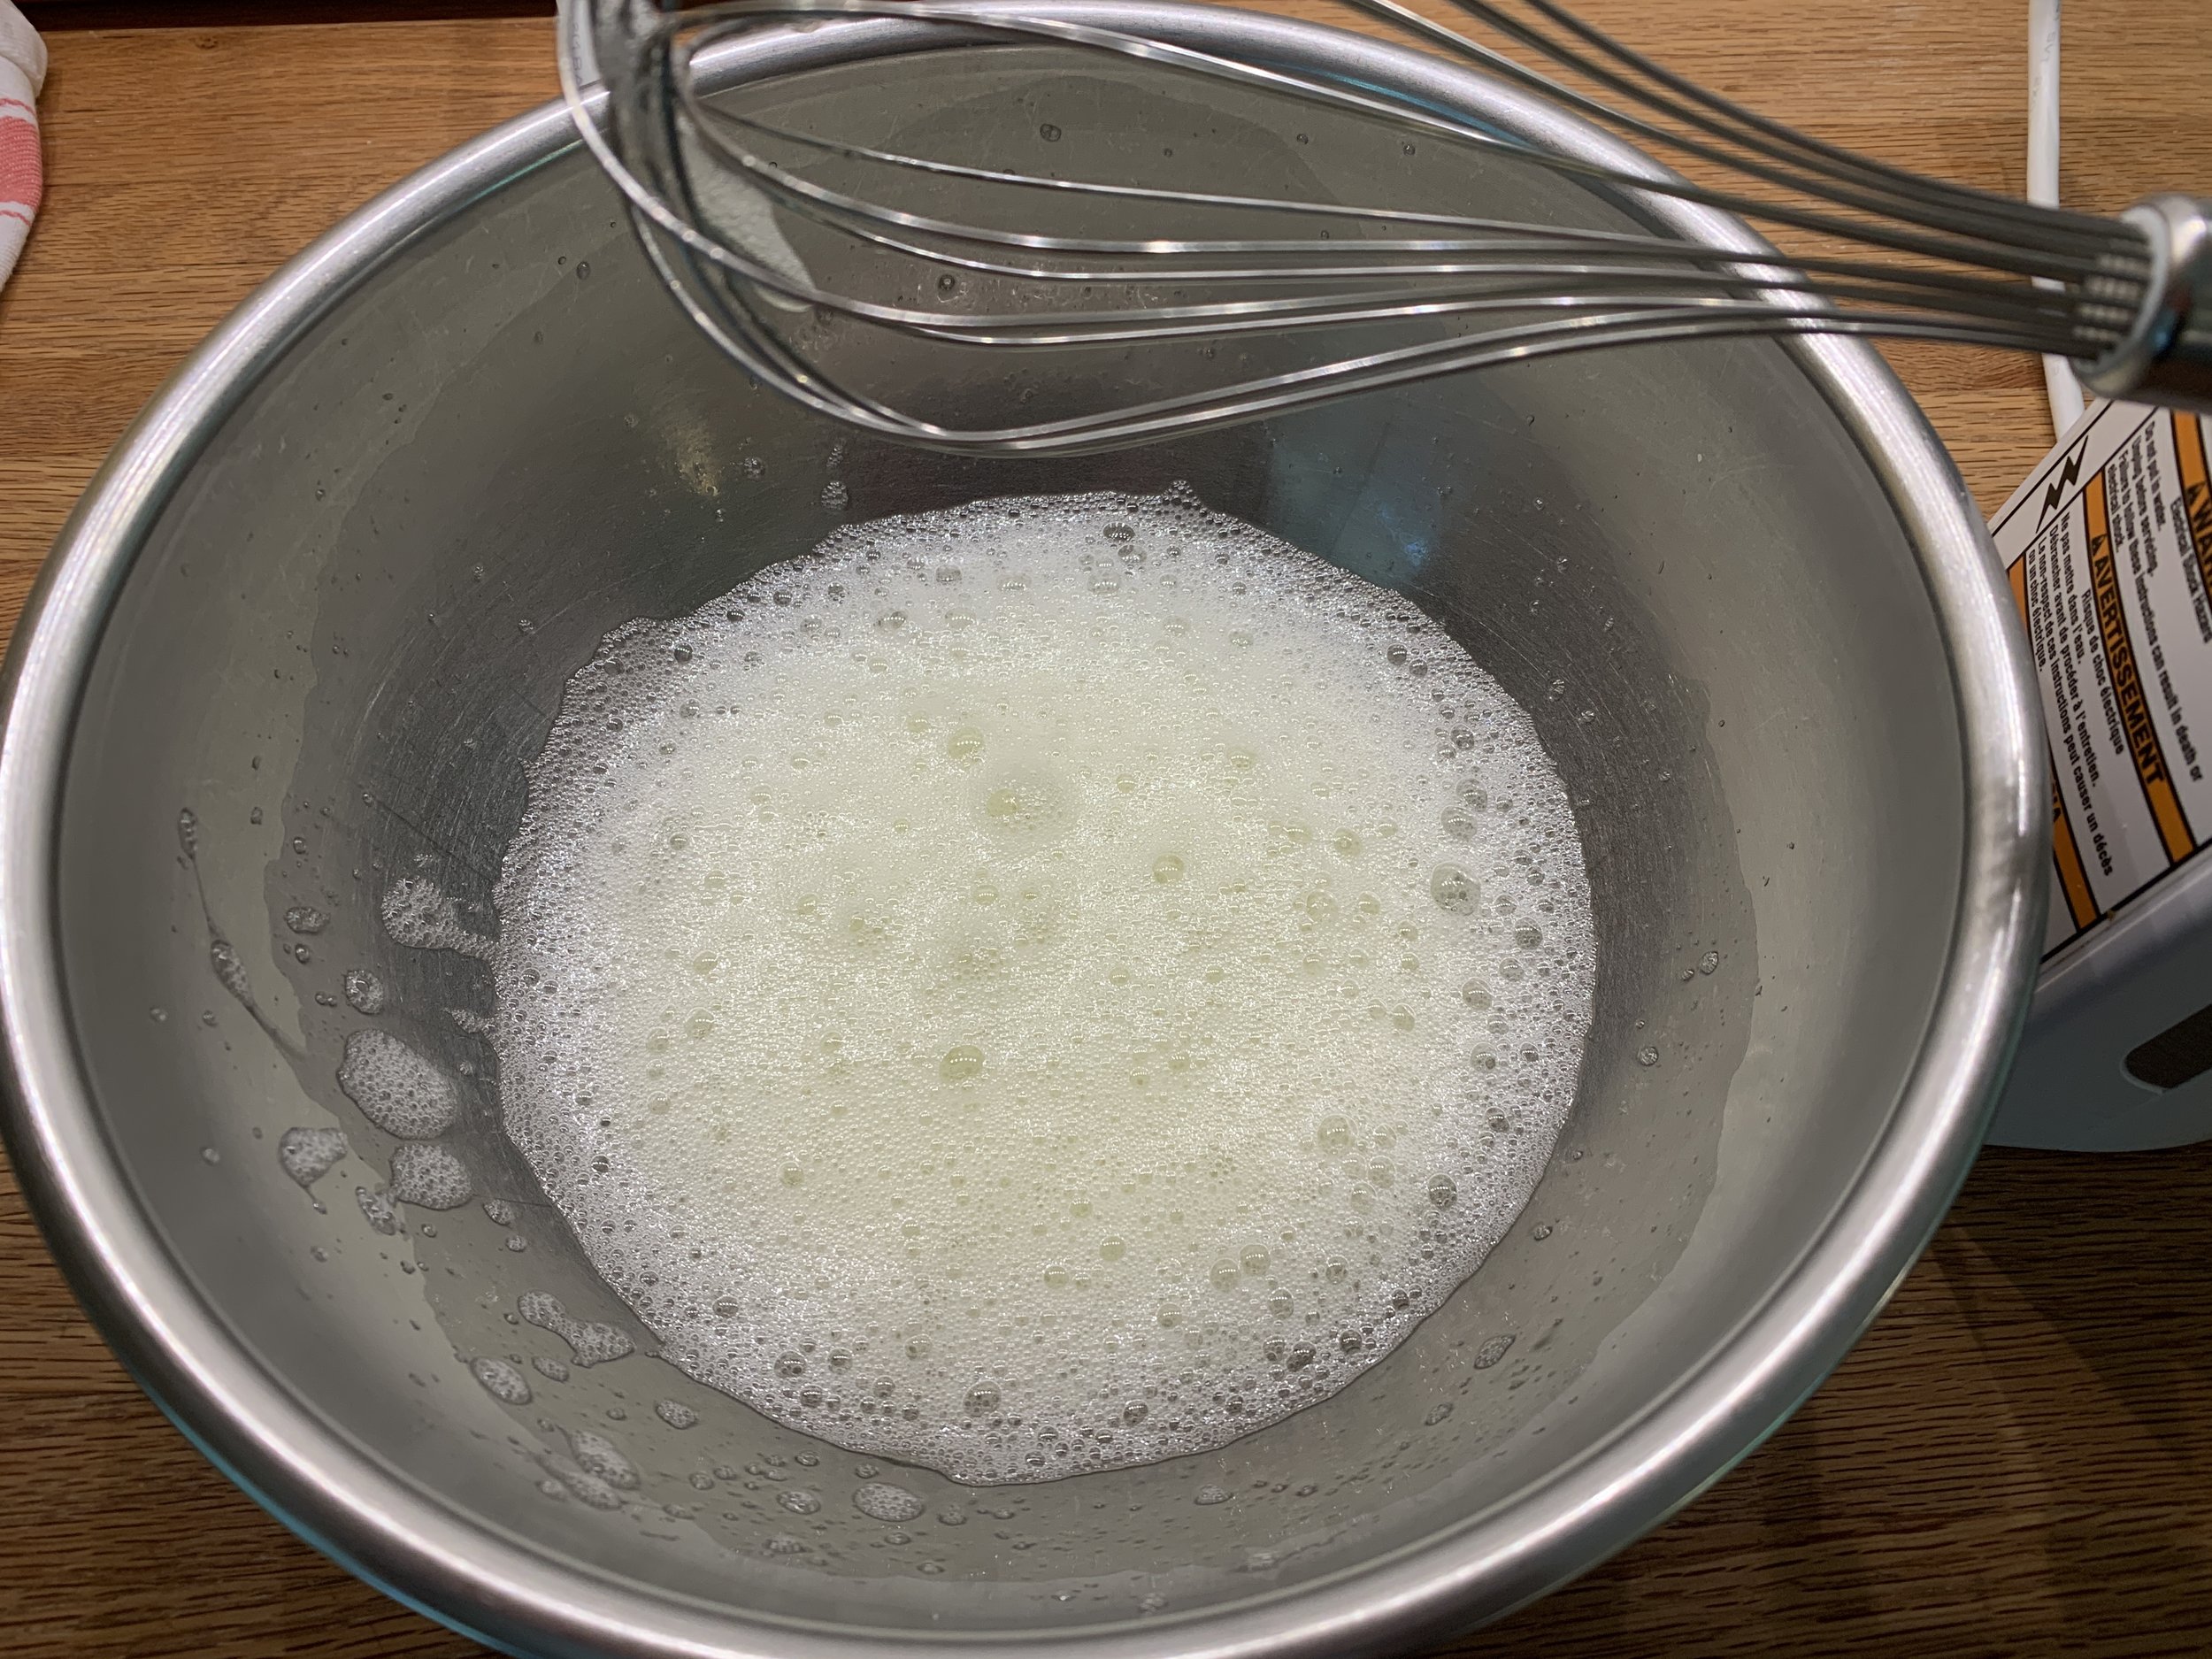
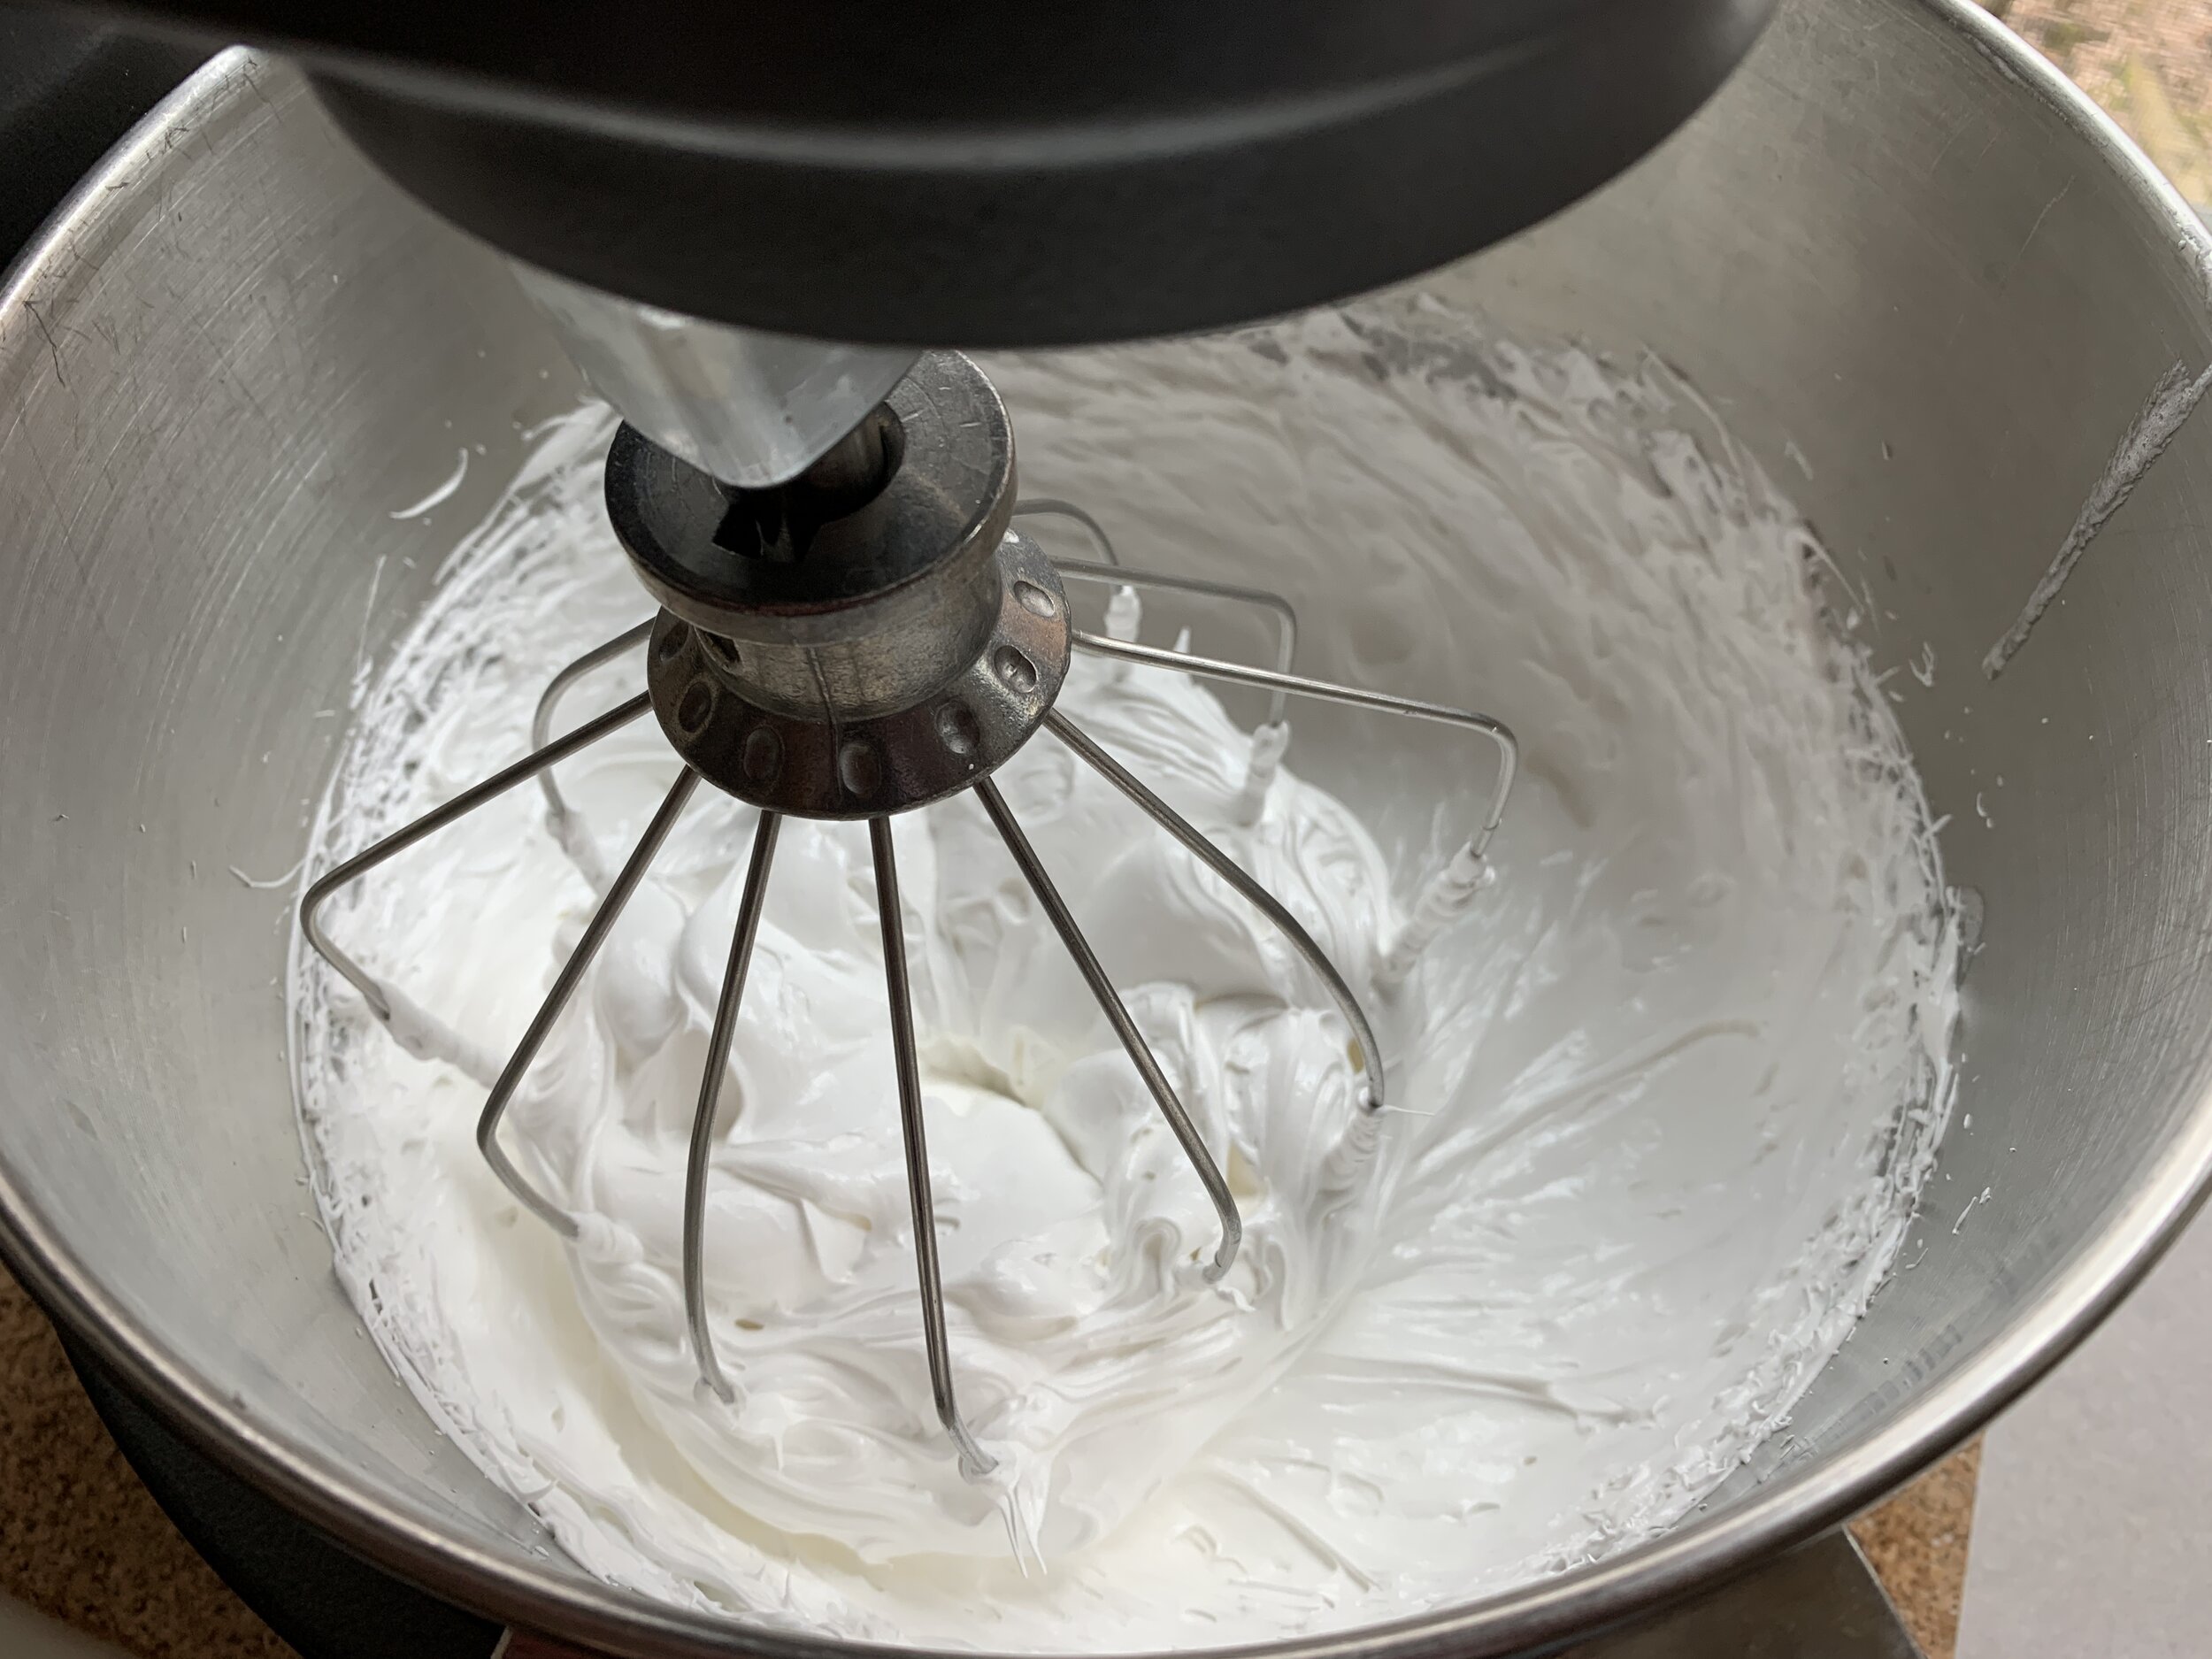
In a squeaky clean bowl (I give mine a quick wipe with vinegar or lemon juice) start whisking room temperature egg whites and a pinch of salt on low to medium-low speed until the mixture changes from a straw color to more white with foamy bubbles. Then gradually shower in the sugar over a couple of minutes - the egg whites accept the sugar more readily that way.

here’s where you start adding the sugar

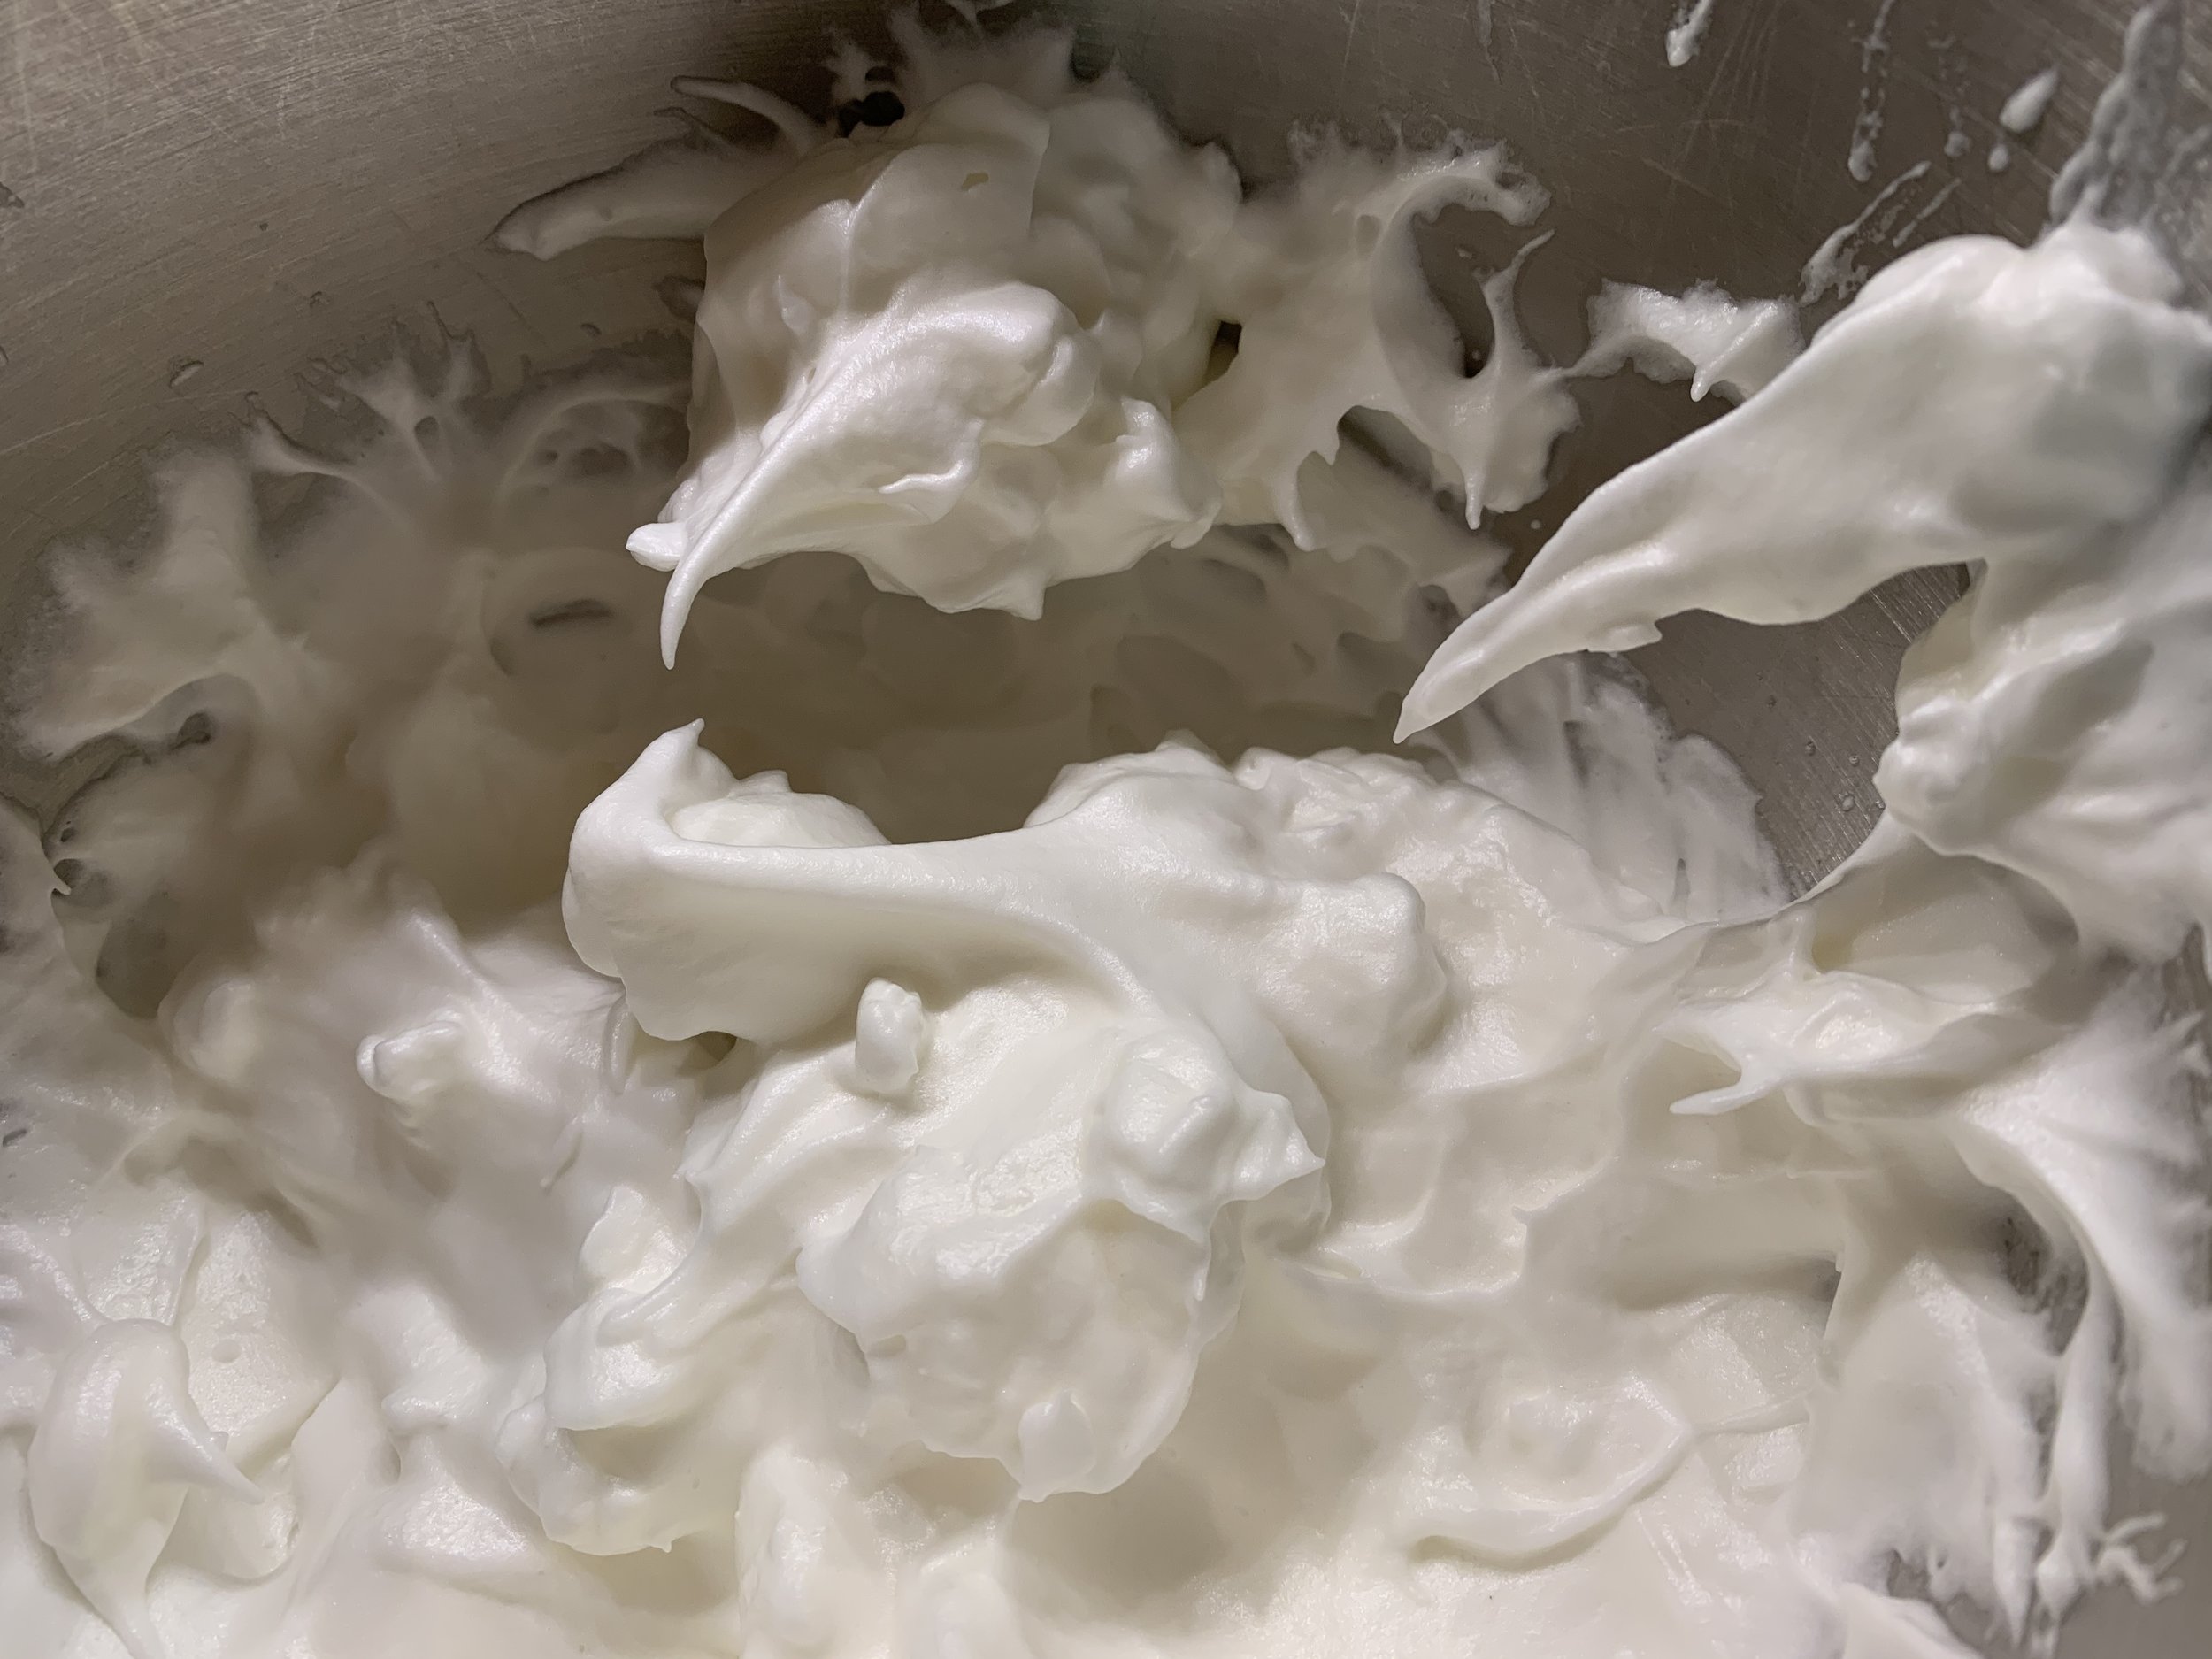
The next important step is whisking the meringue to the proper stiffness (think bec d’oiseau or bird’s beak). Once the sugar is fully added to the whites, increase to medium speed, allowing some time to watch the lovely shiny, stiff meringue develop. It may be 3-4 minutes before you see some thickening and then a few minutes more to reach your goal. Remember always check sooner than later!

In days past I used to amp up the mixer to full speed right away, but I have since adopted this lower and slower approach - breath deeply.

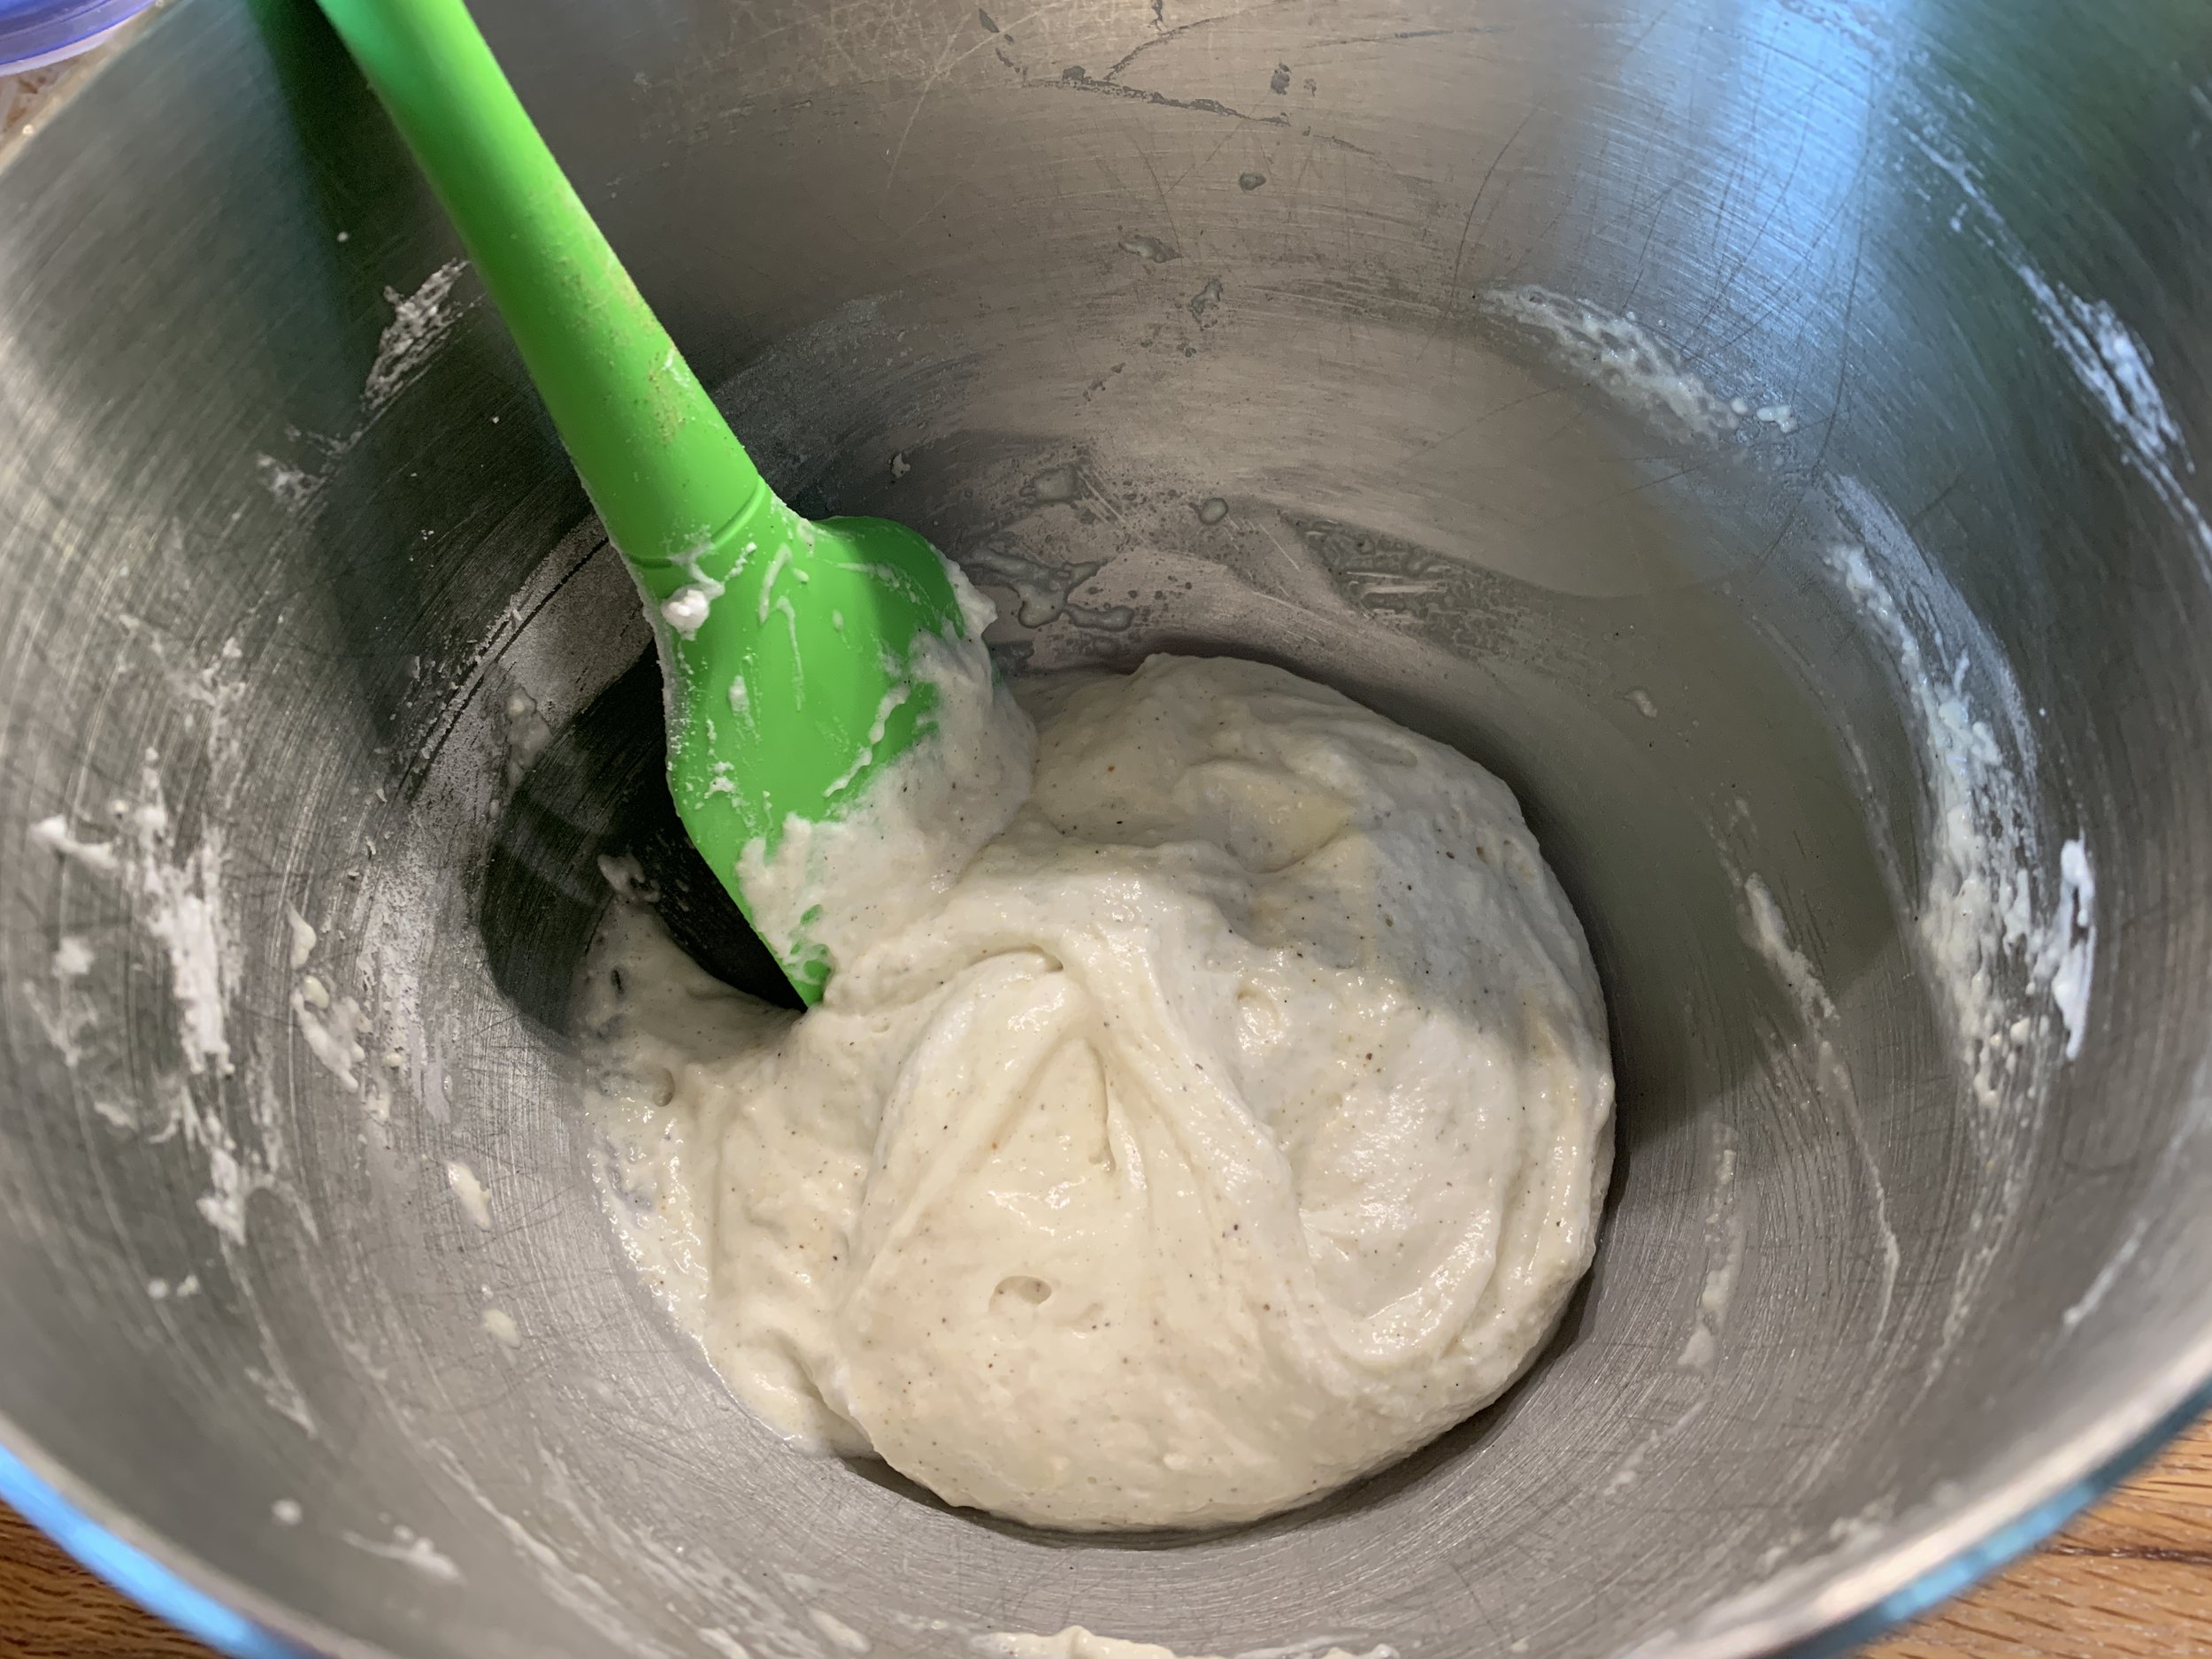
Now the macaronage - with a spatula blend the dry ingredients into the meringue in three additions - it should look thick and a bit rough . . .

then work the mixture to the lava like stage (macaroner) during which it becomes smooth and glossy, ribboning off the bowl scraper or spatula. Here it’s important not to take it too far. Too loose and things will spread in a way that will make you unhappy.

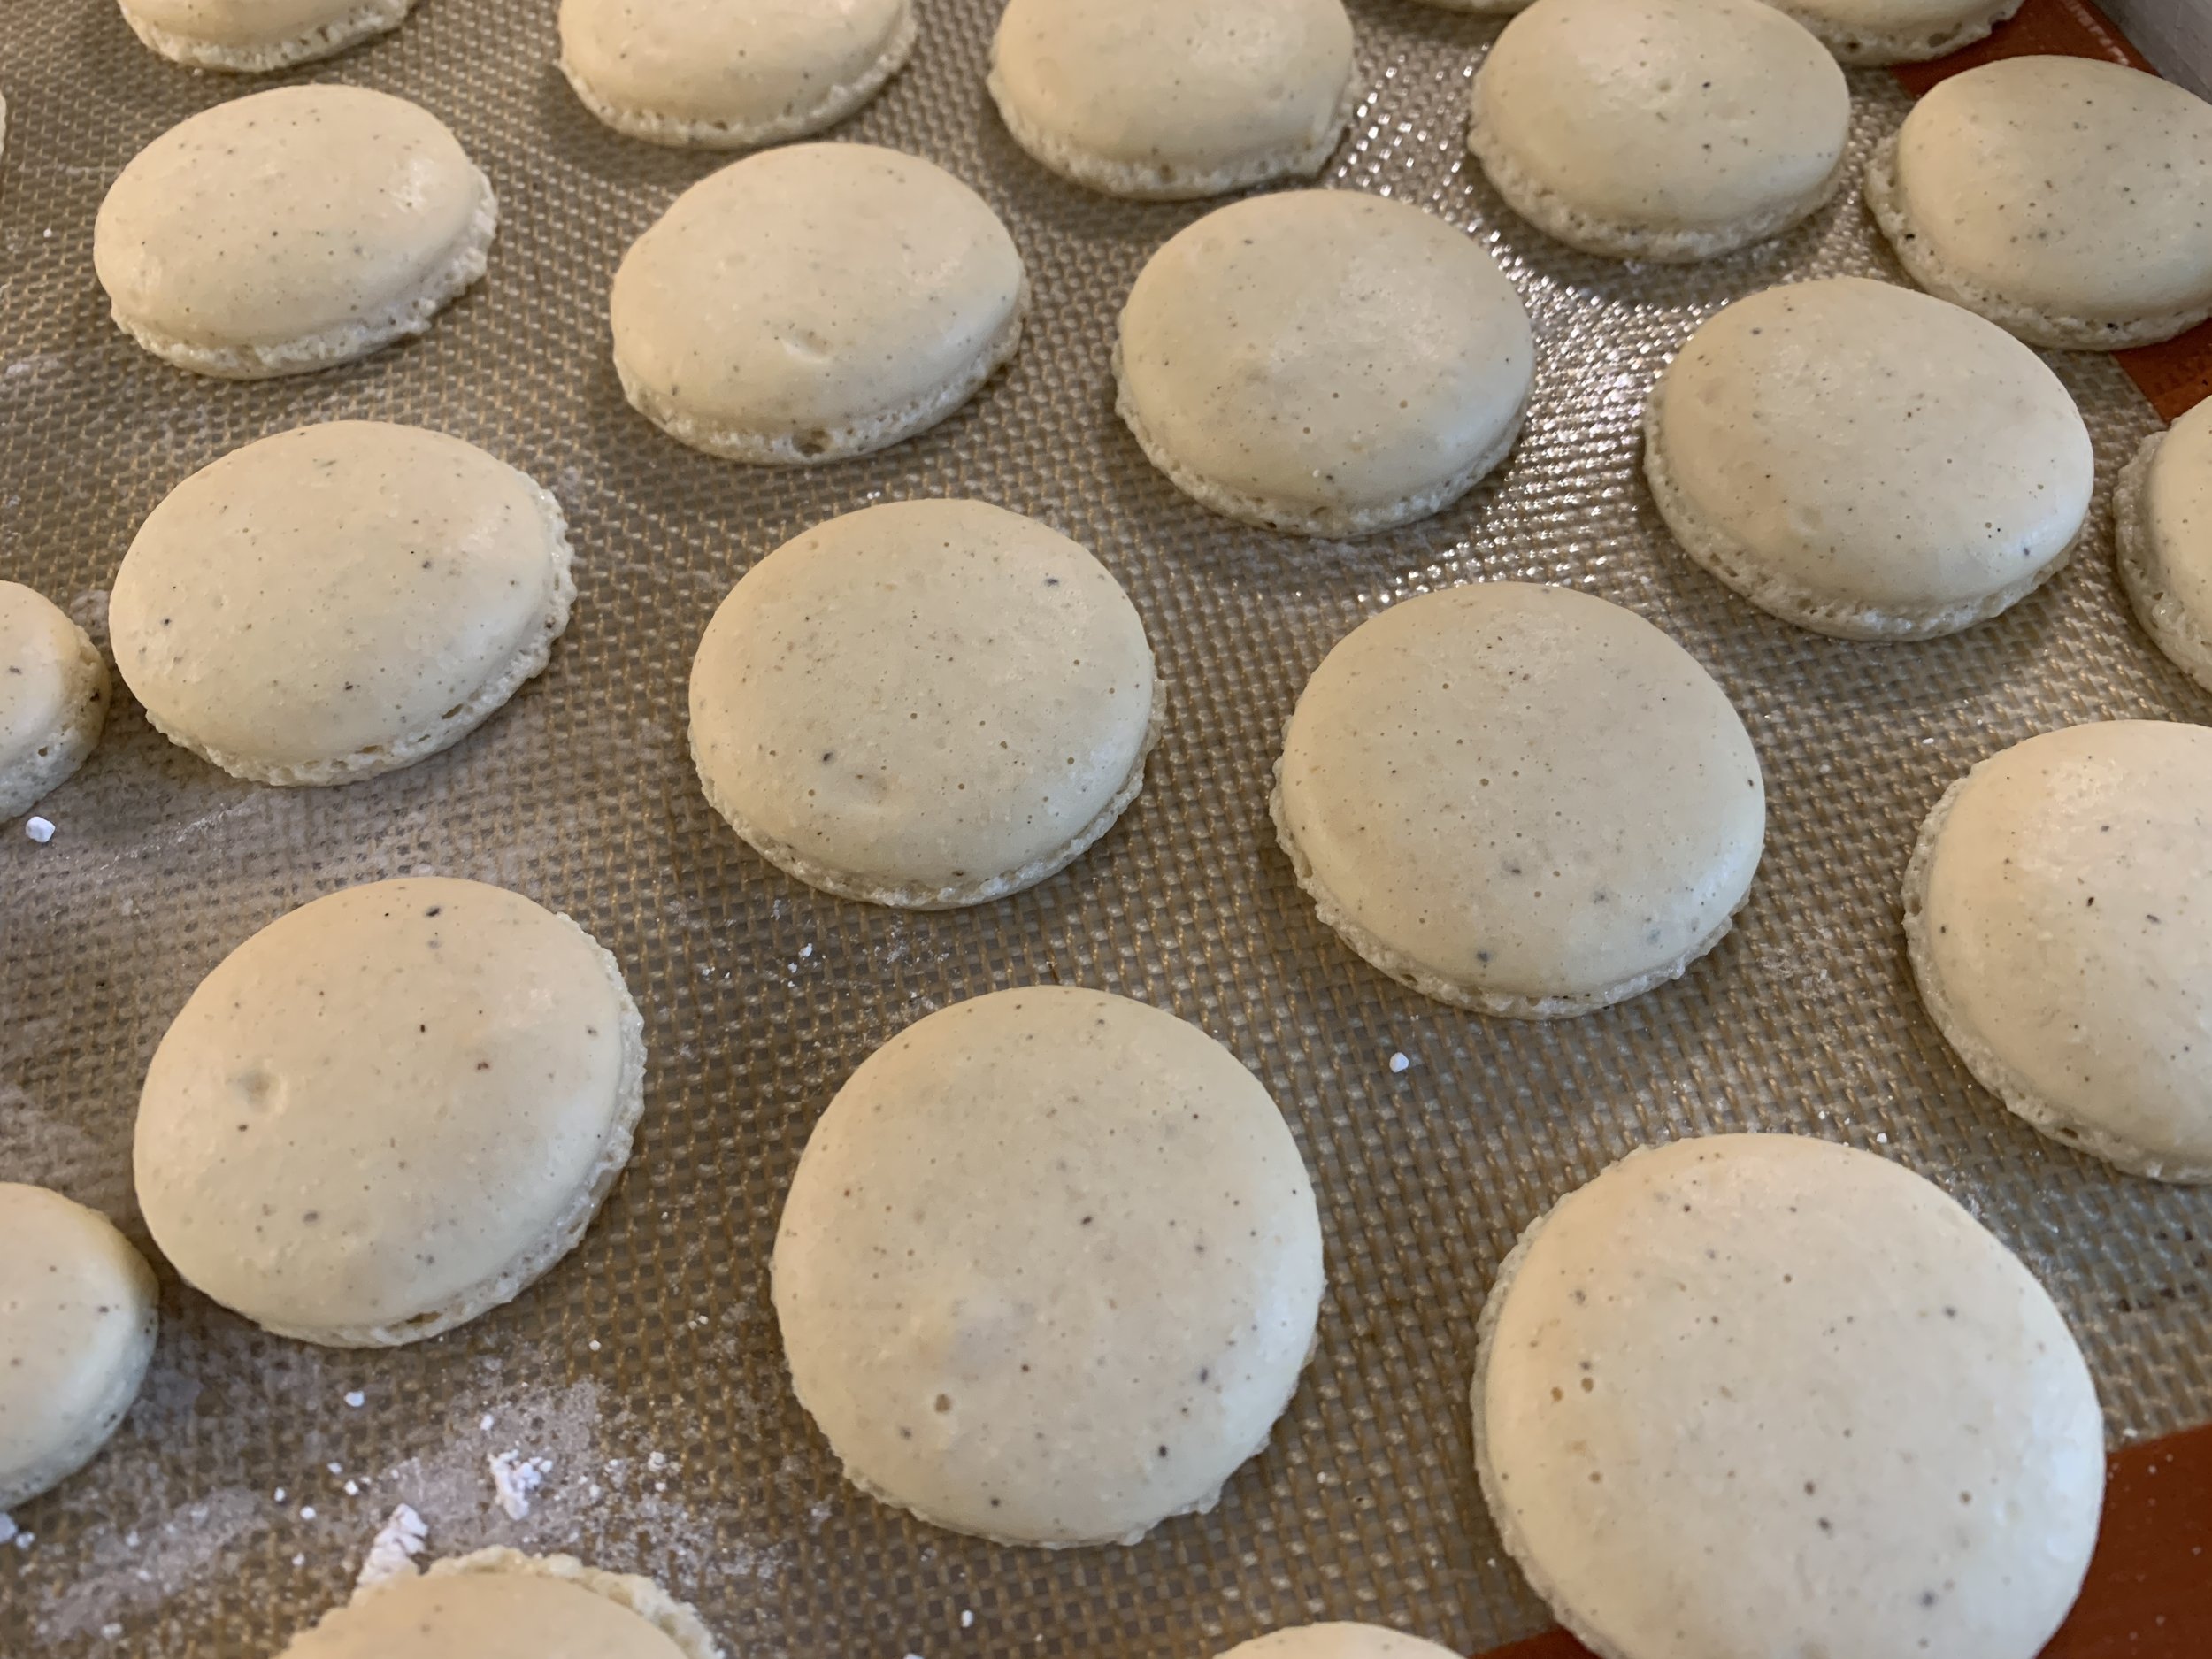
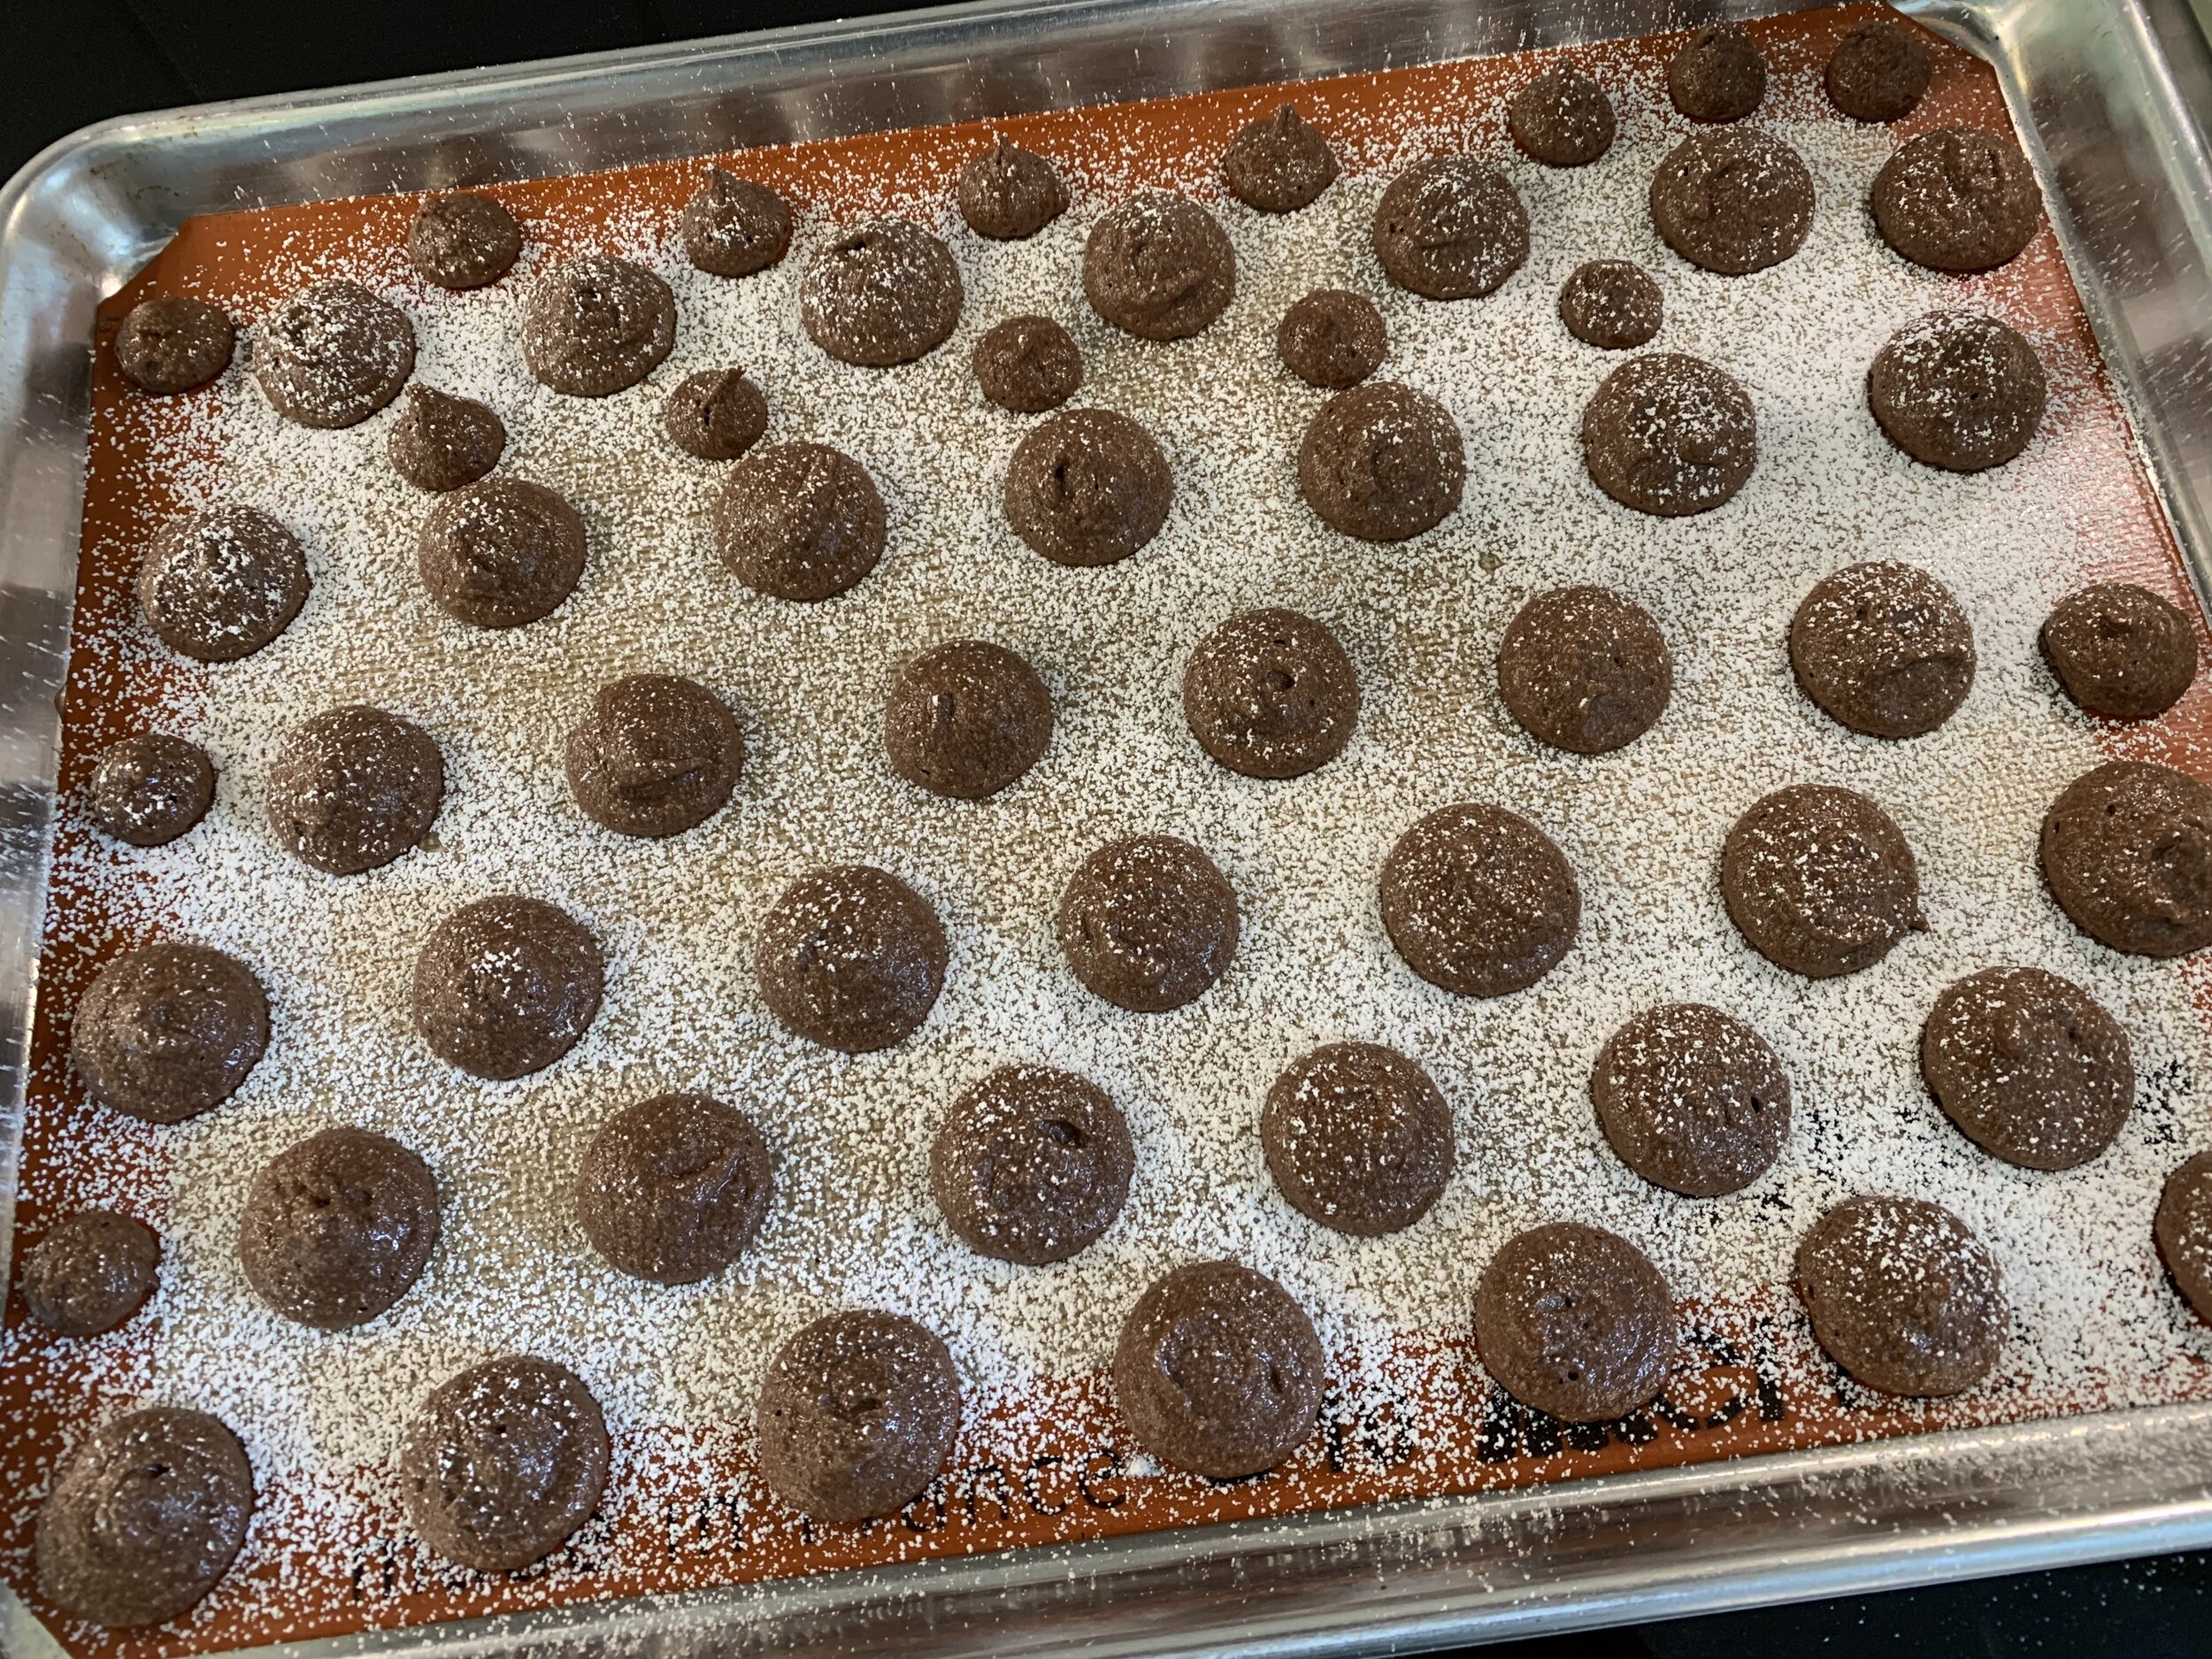
Pipe evenly in circles of about 1.25”, leaving room for the mixture to settle. If you pipe too much, the mixture will spread more than you’d like. In other words, smaller footprint, less spreading, better result.

vanilla speckled

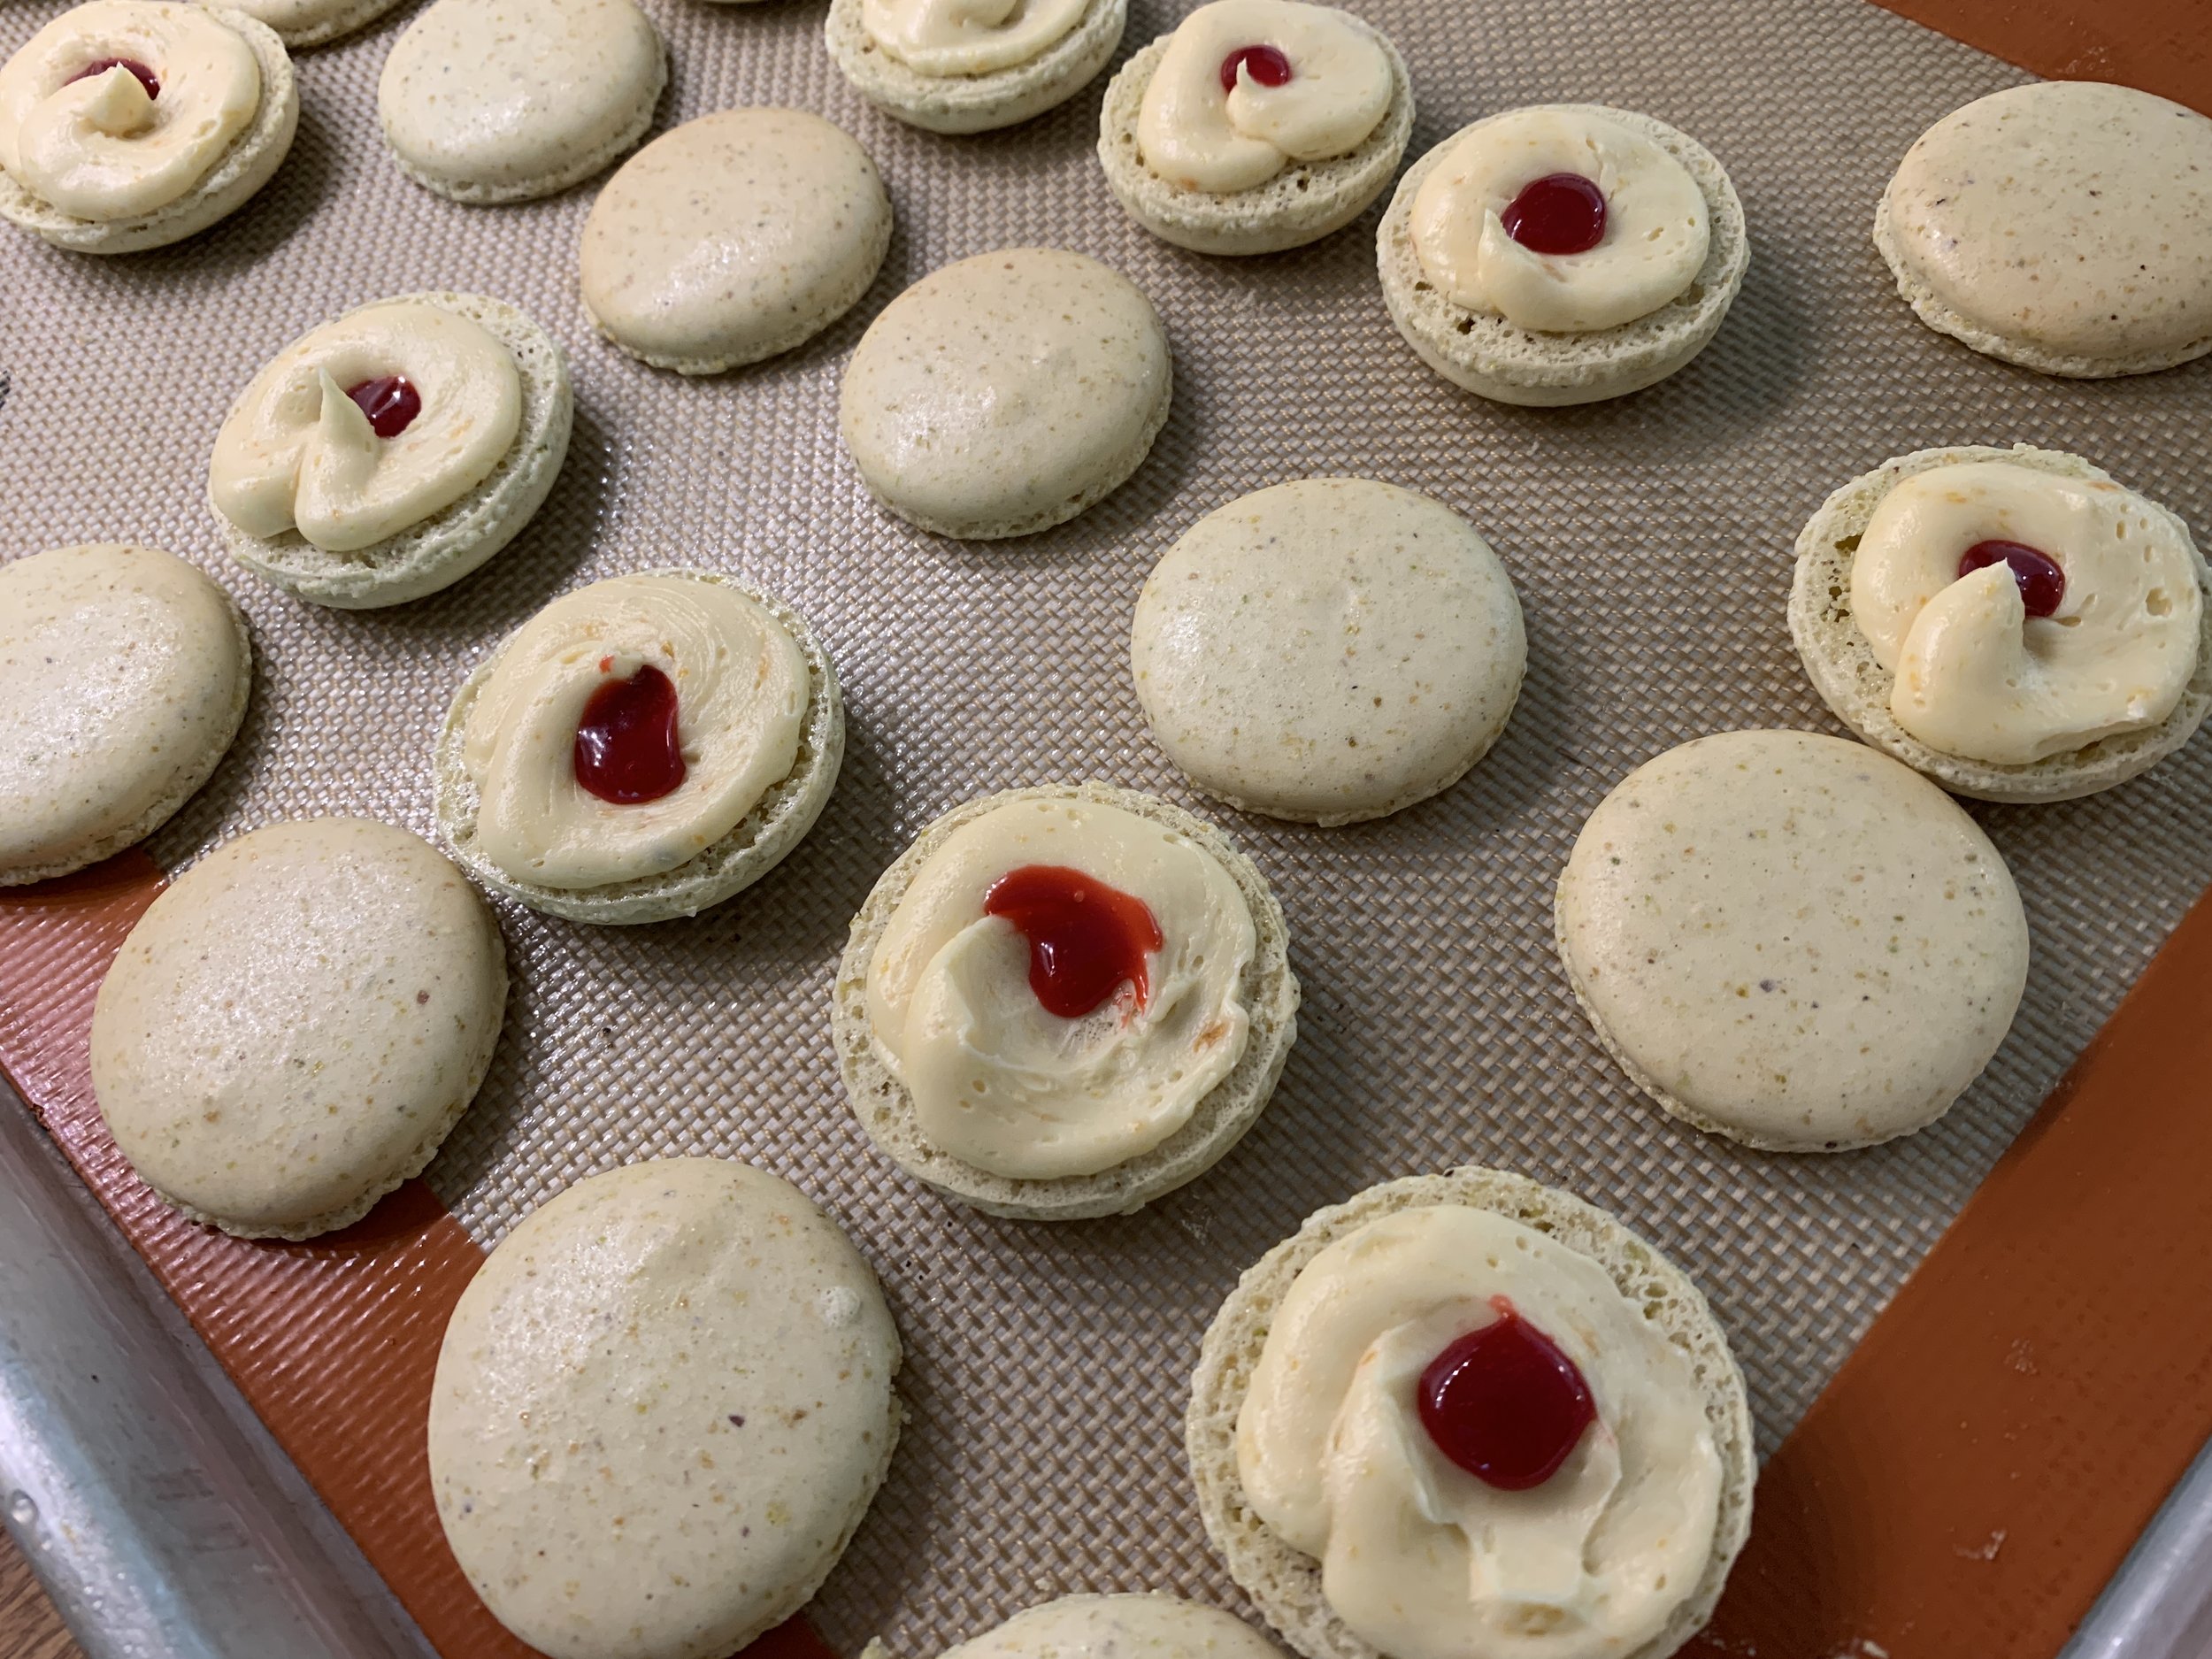
You’ll find fillings ranging from confitures (too sweet for me) to almond paste/butter/flavor mixtures to ganache but frankly, what I’ve really gotten into is Swiss meringue buttercreams paired with ganache to fill the macaron shells. So many choices. One of my faves is a chocolate ganache center ringed by roasted strawberry SMBC. Oh so good.

BTW - notice the plain shells below. I like my shells au naturel, preferring to avoid the use of artificial colorants. Not to worry - there are ways to work around that.

roasted strawberry SMBC/Ganache center

You can dress ‘em up with a dusting of strawberry powder for some color. Fruit powders are available from various online sources, but you can also find freeze dried strawberries and raspberries at Trader Joes. It works well to crush them through a fine strainer/sieve as you dust away.

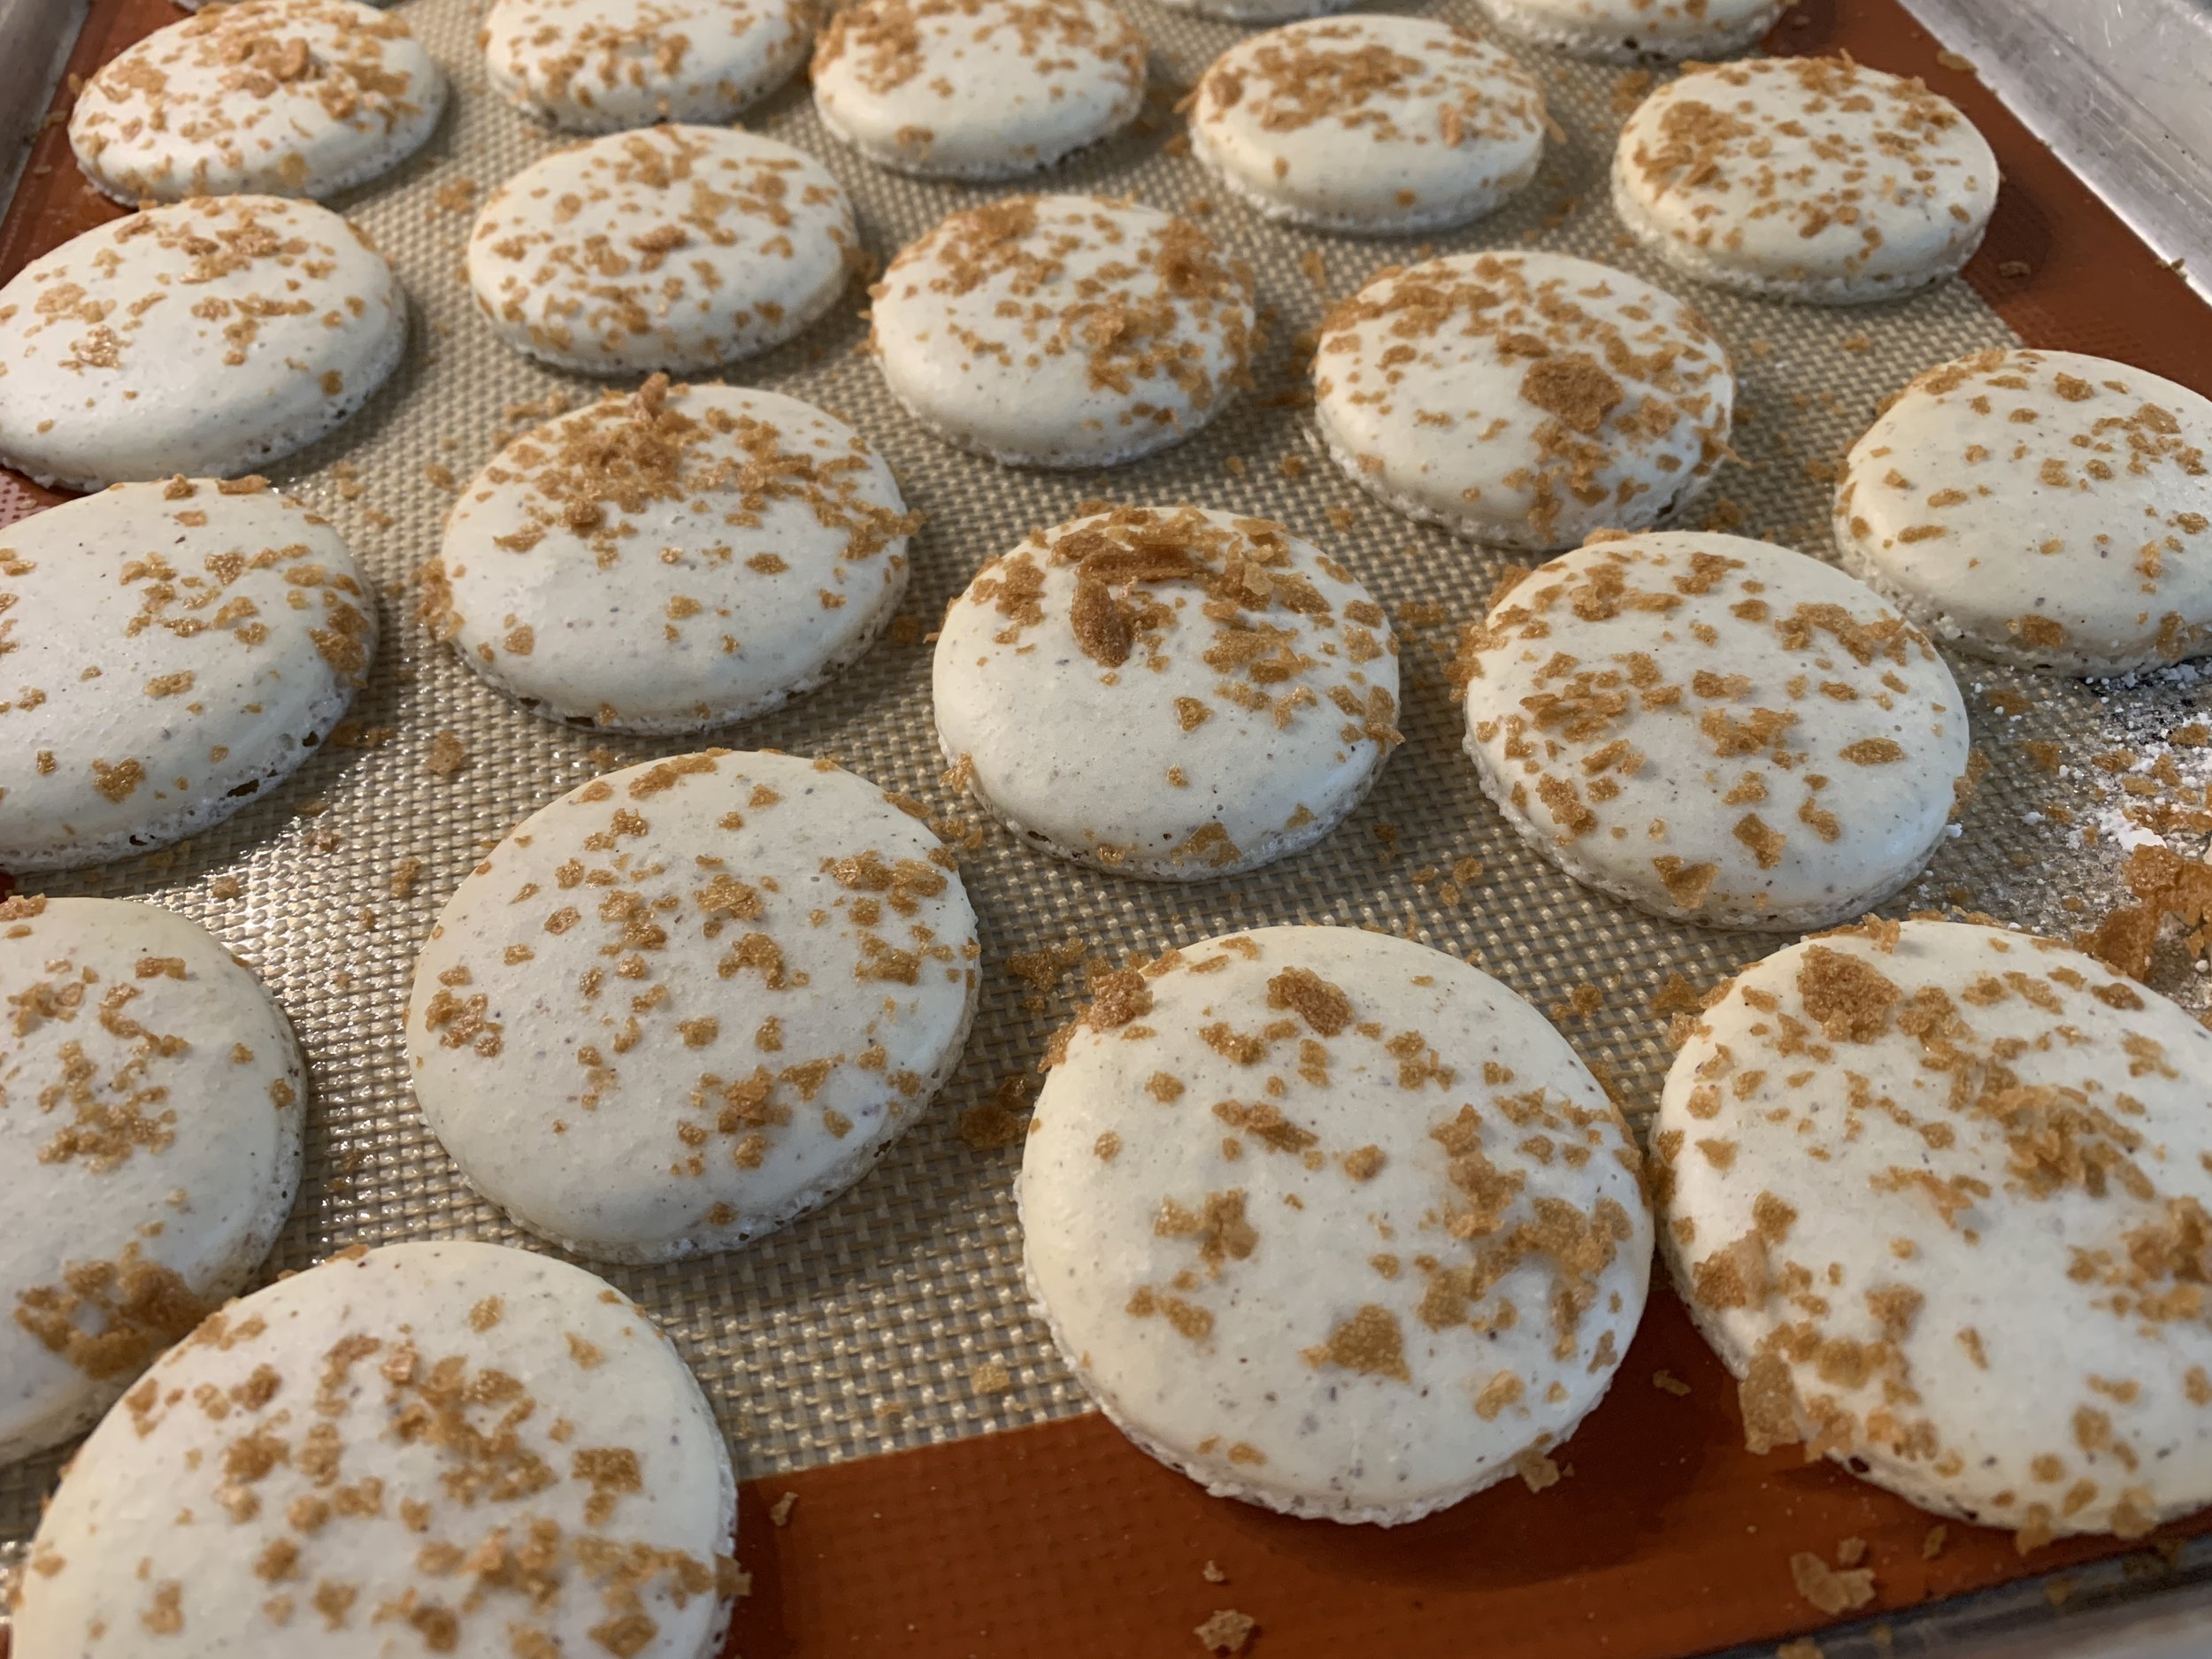
A few other ways to add some color - use ground pistachios or hazelnuts in place of half of the almond flour for a a nice speckled look. Use espresso, cocoa or fruit powders like raspberry with the dry ingredients to add some color. Add in a bit of spice (cinnamon or coriander anyone?) or ground tea whisked in with the dry ingredients. Top the piped shells with finely chopped nuts, ground cocoa nibs, fine coconut or crushed gavotte crêpe crumbs before allowing the shells to dry before the bake.

pistachio speckled with apricot honey SMBC/raspberry coulis center

chocolate shells/white chocolate sesame pistachio ganache

I admit these next shells are kind of messy - it was harder then I expected to sprinkle some crushed gavotte crêpes evenly but what the heck, eh? Hmmm . . . I wonder if crushed corn or rice chex would work? Great with something blueberry me thinks.

gavotte crêpe topping

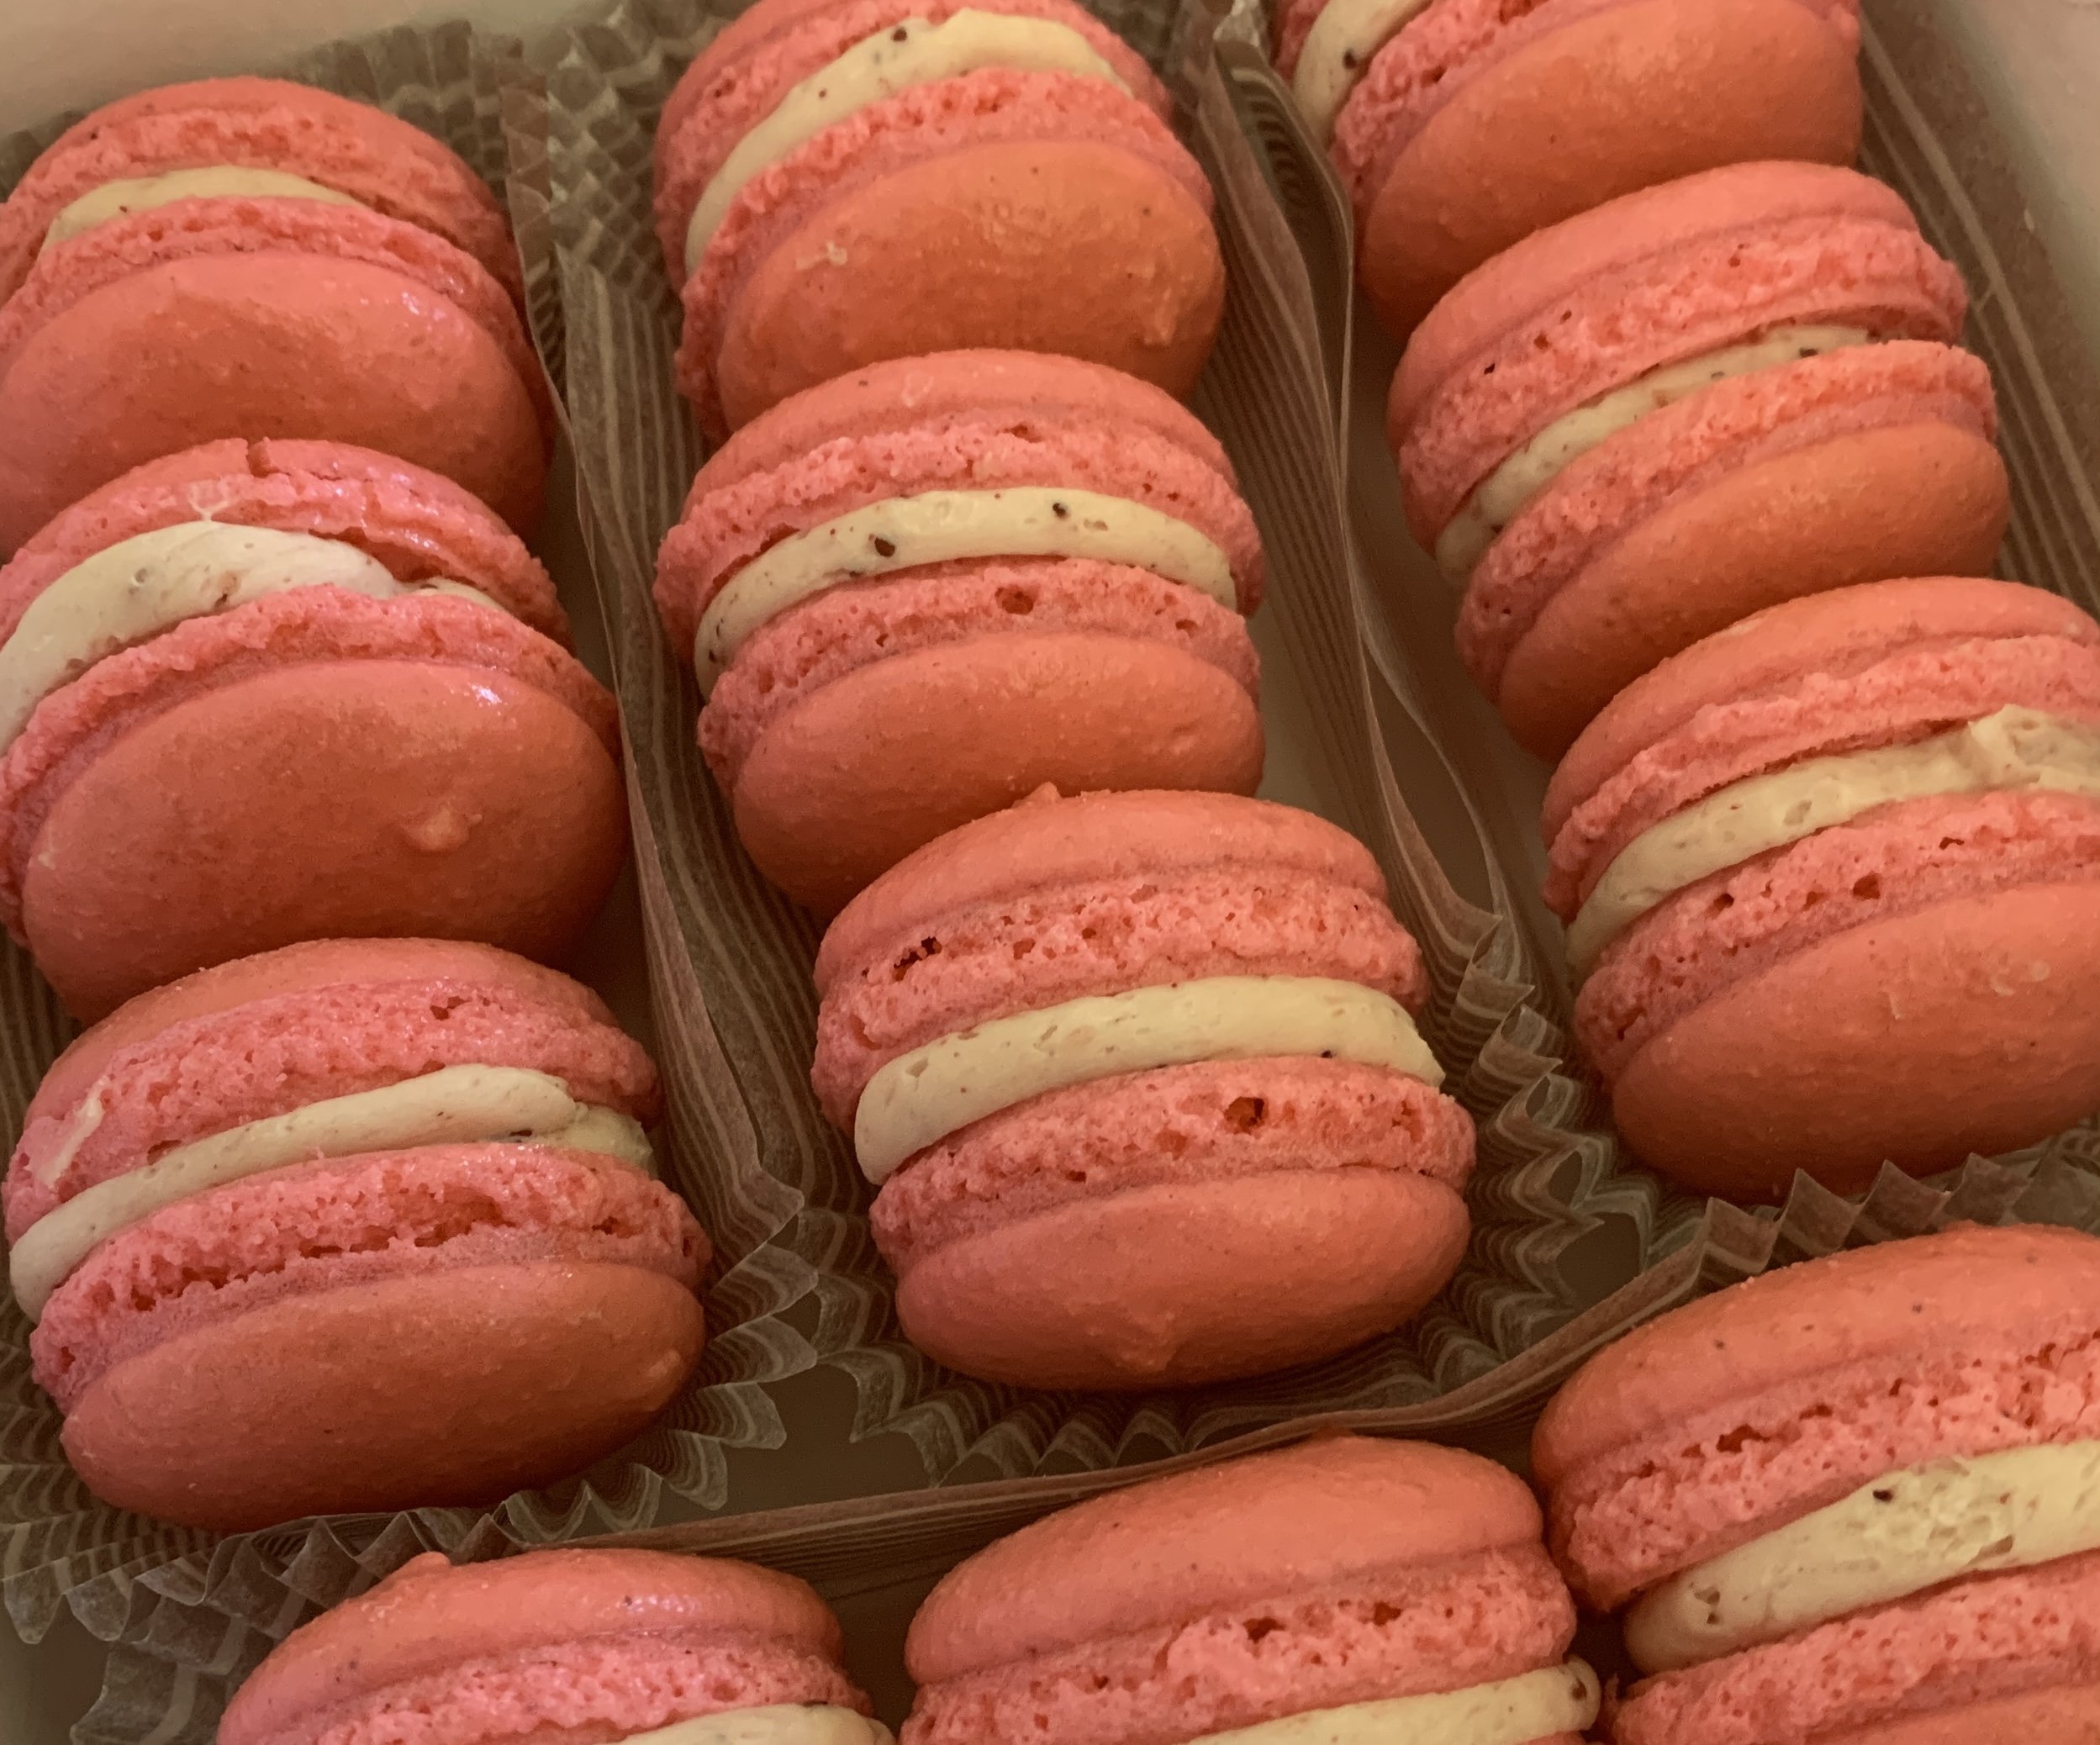
I do keep a few concentrated gel colors on hand mainly for class purposes, and on occasion I’ll use a schmear to fit the project. I recently made a batch with lemon-lime SMBC/ toasted coconut and did tinge the shells with a bit of yellow. Looks pretty nice- and tastes good too!

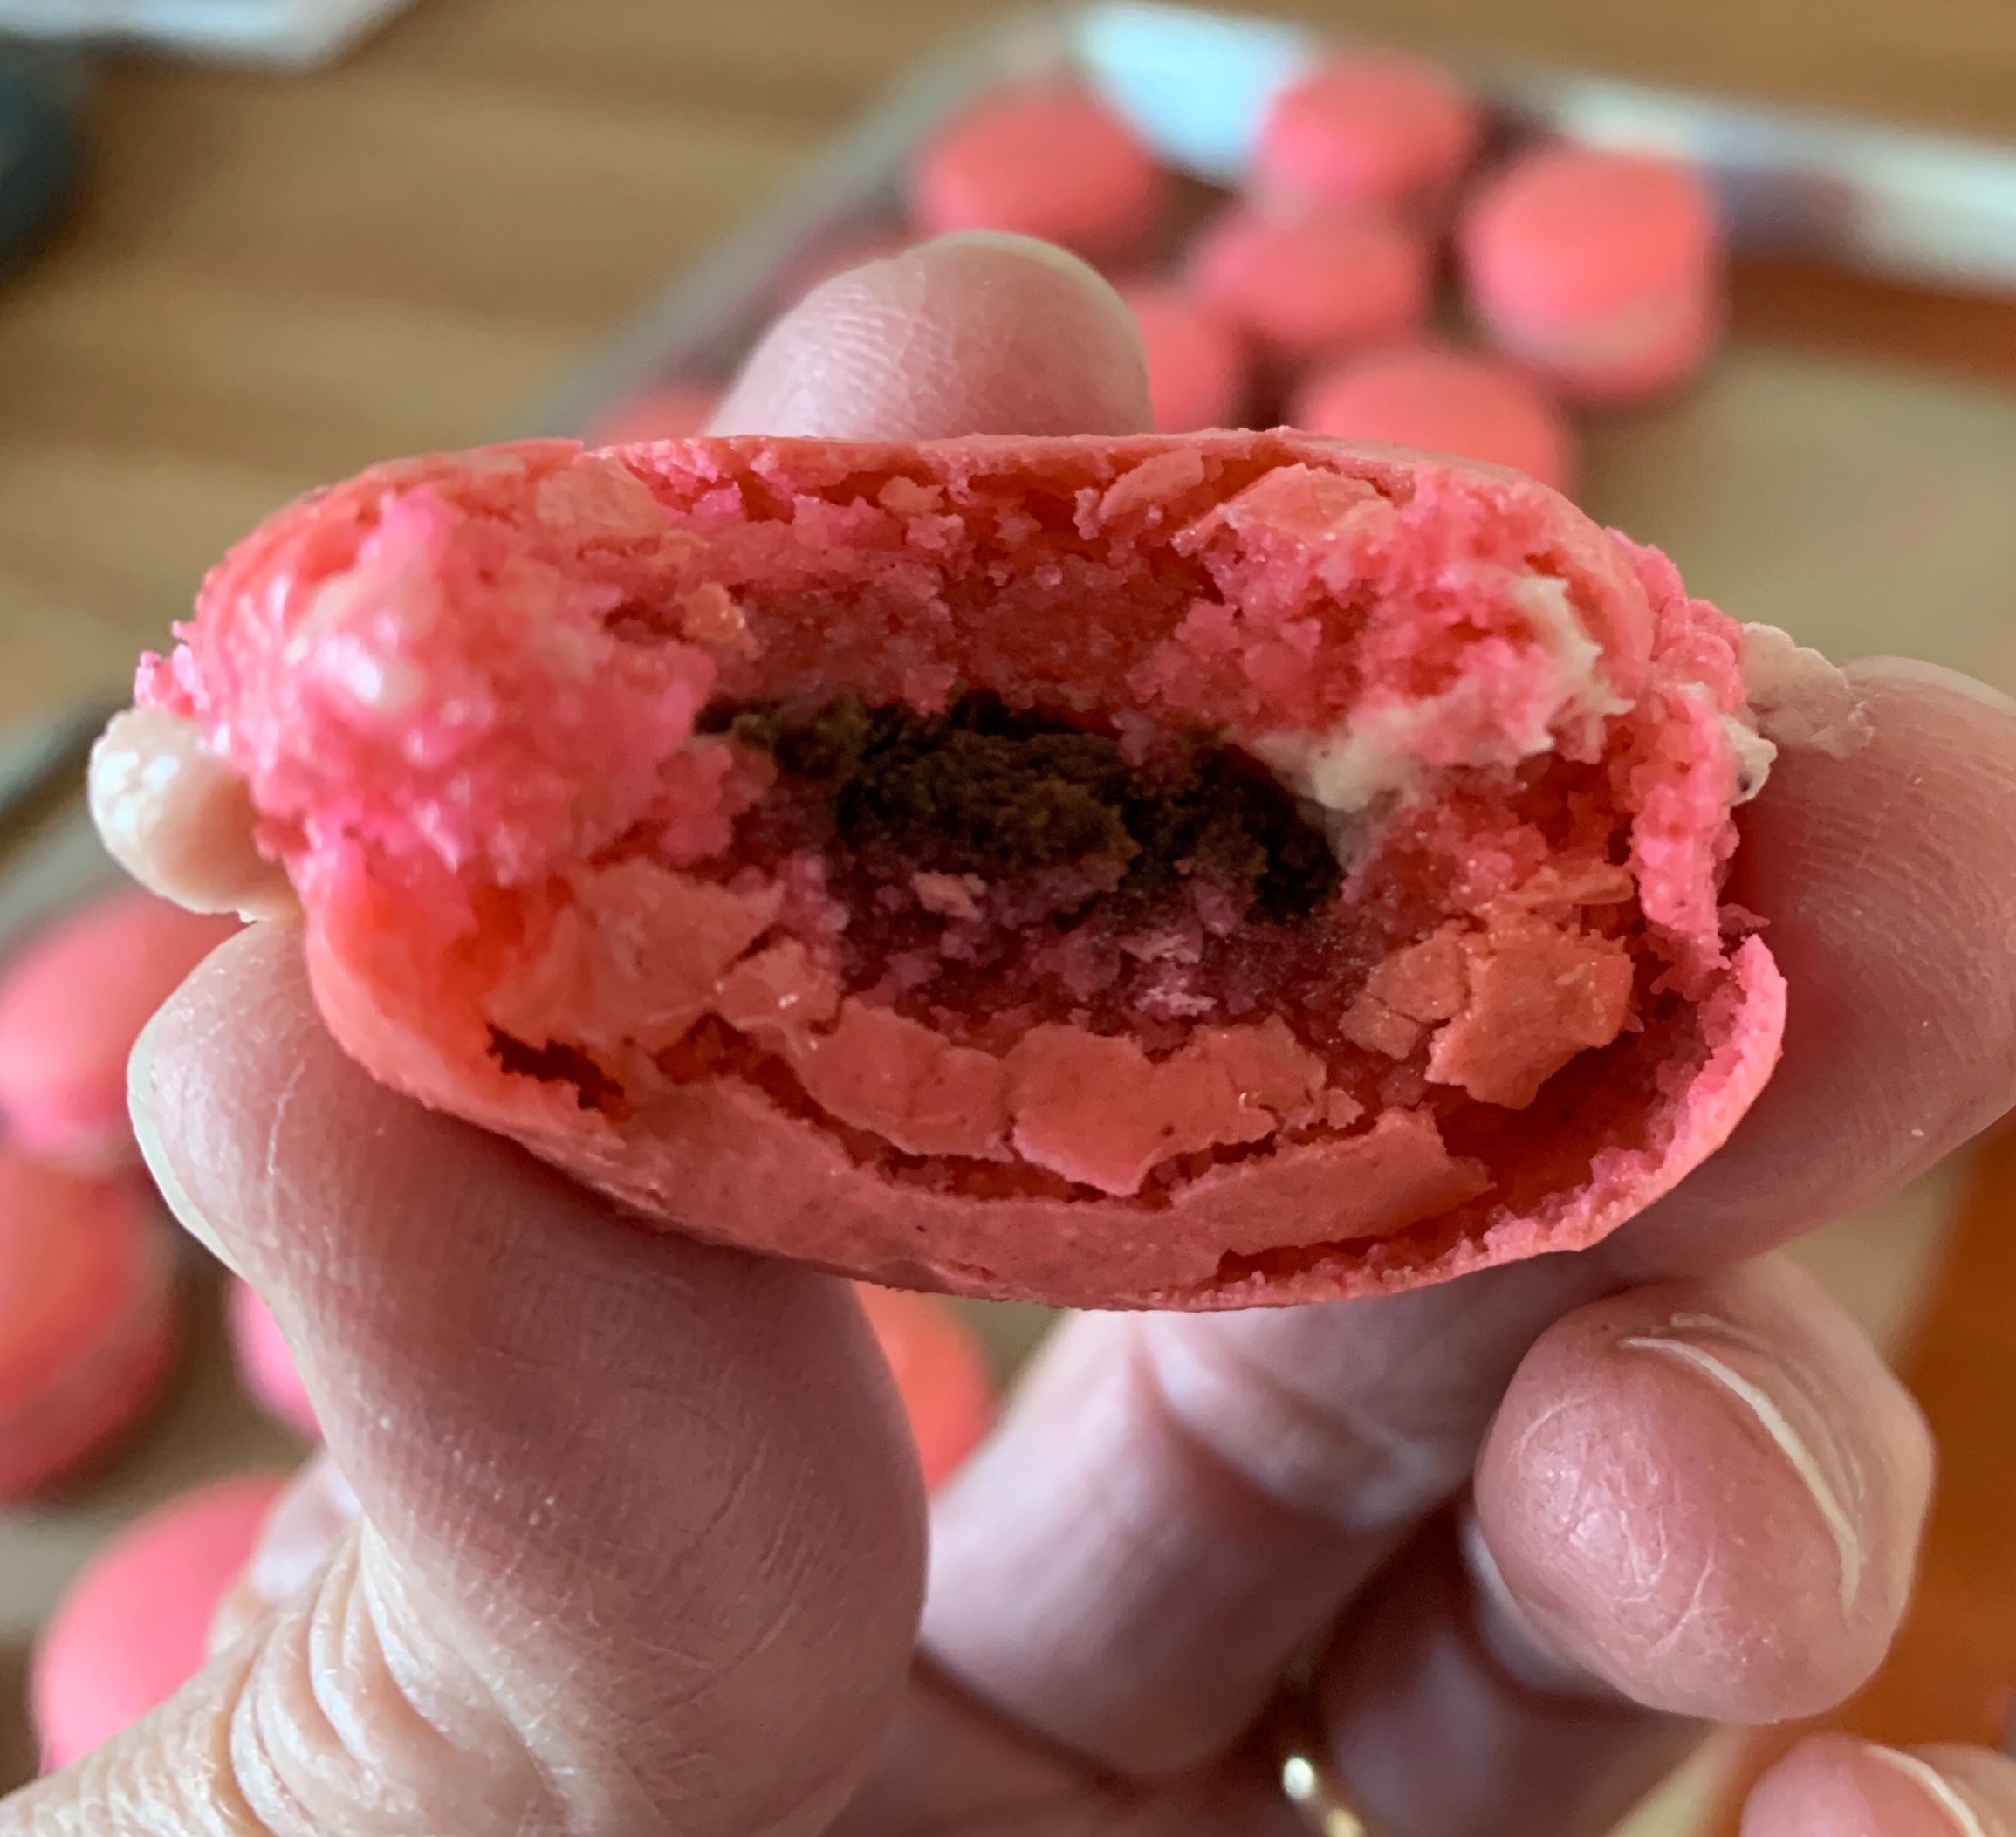
When using concentrated colors, go small - you can always add more. Here’s one instance where I got more heavy handed than I intended but the recipient of these strawberry macs reportedly said “These would make a dead man get up and speak French”.

more roasted strawberry smbc/ganache center

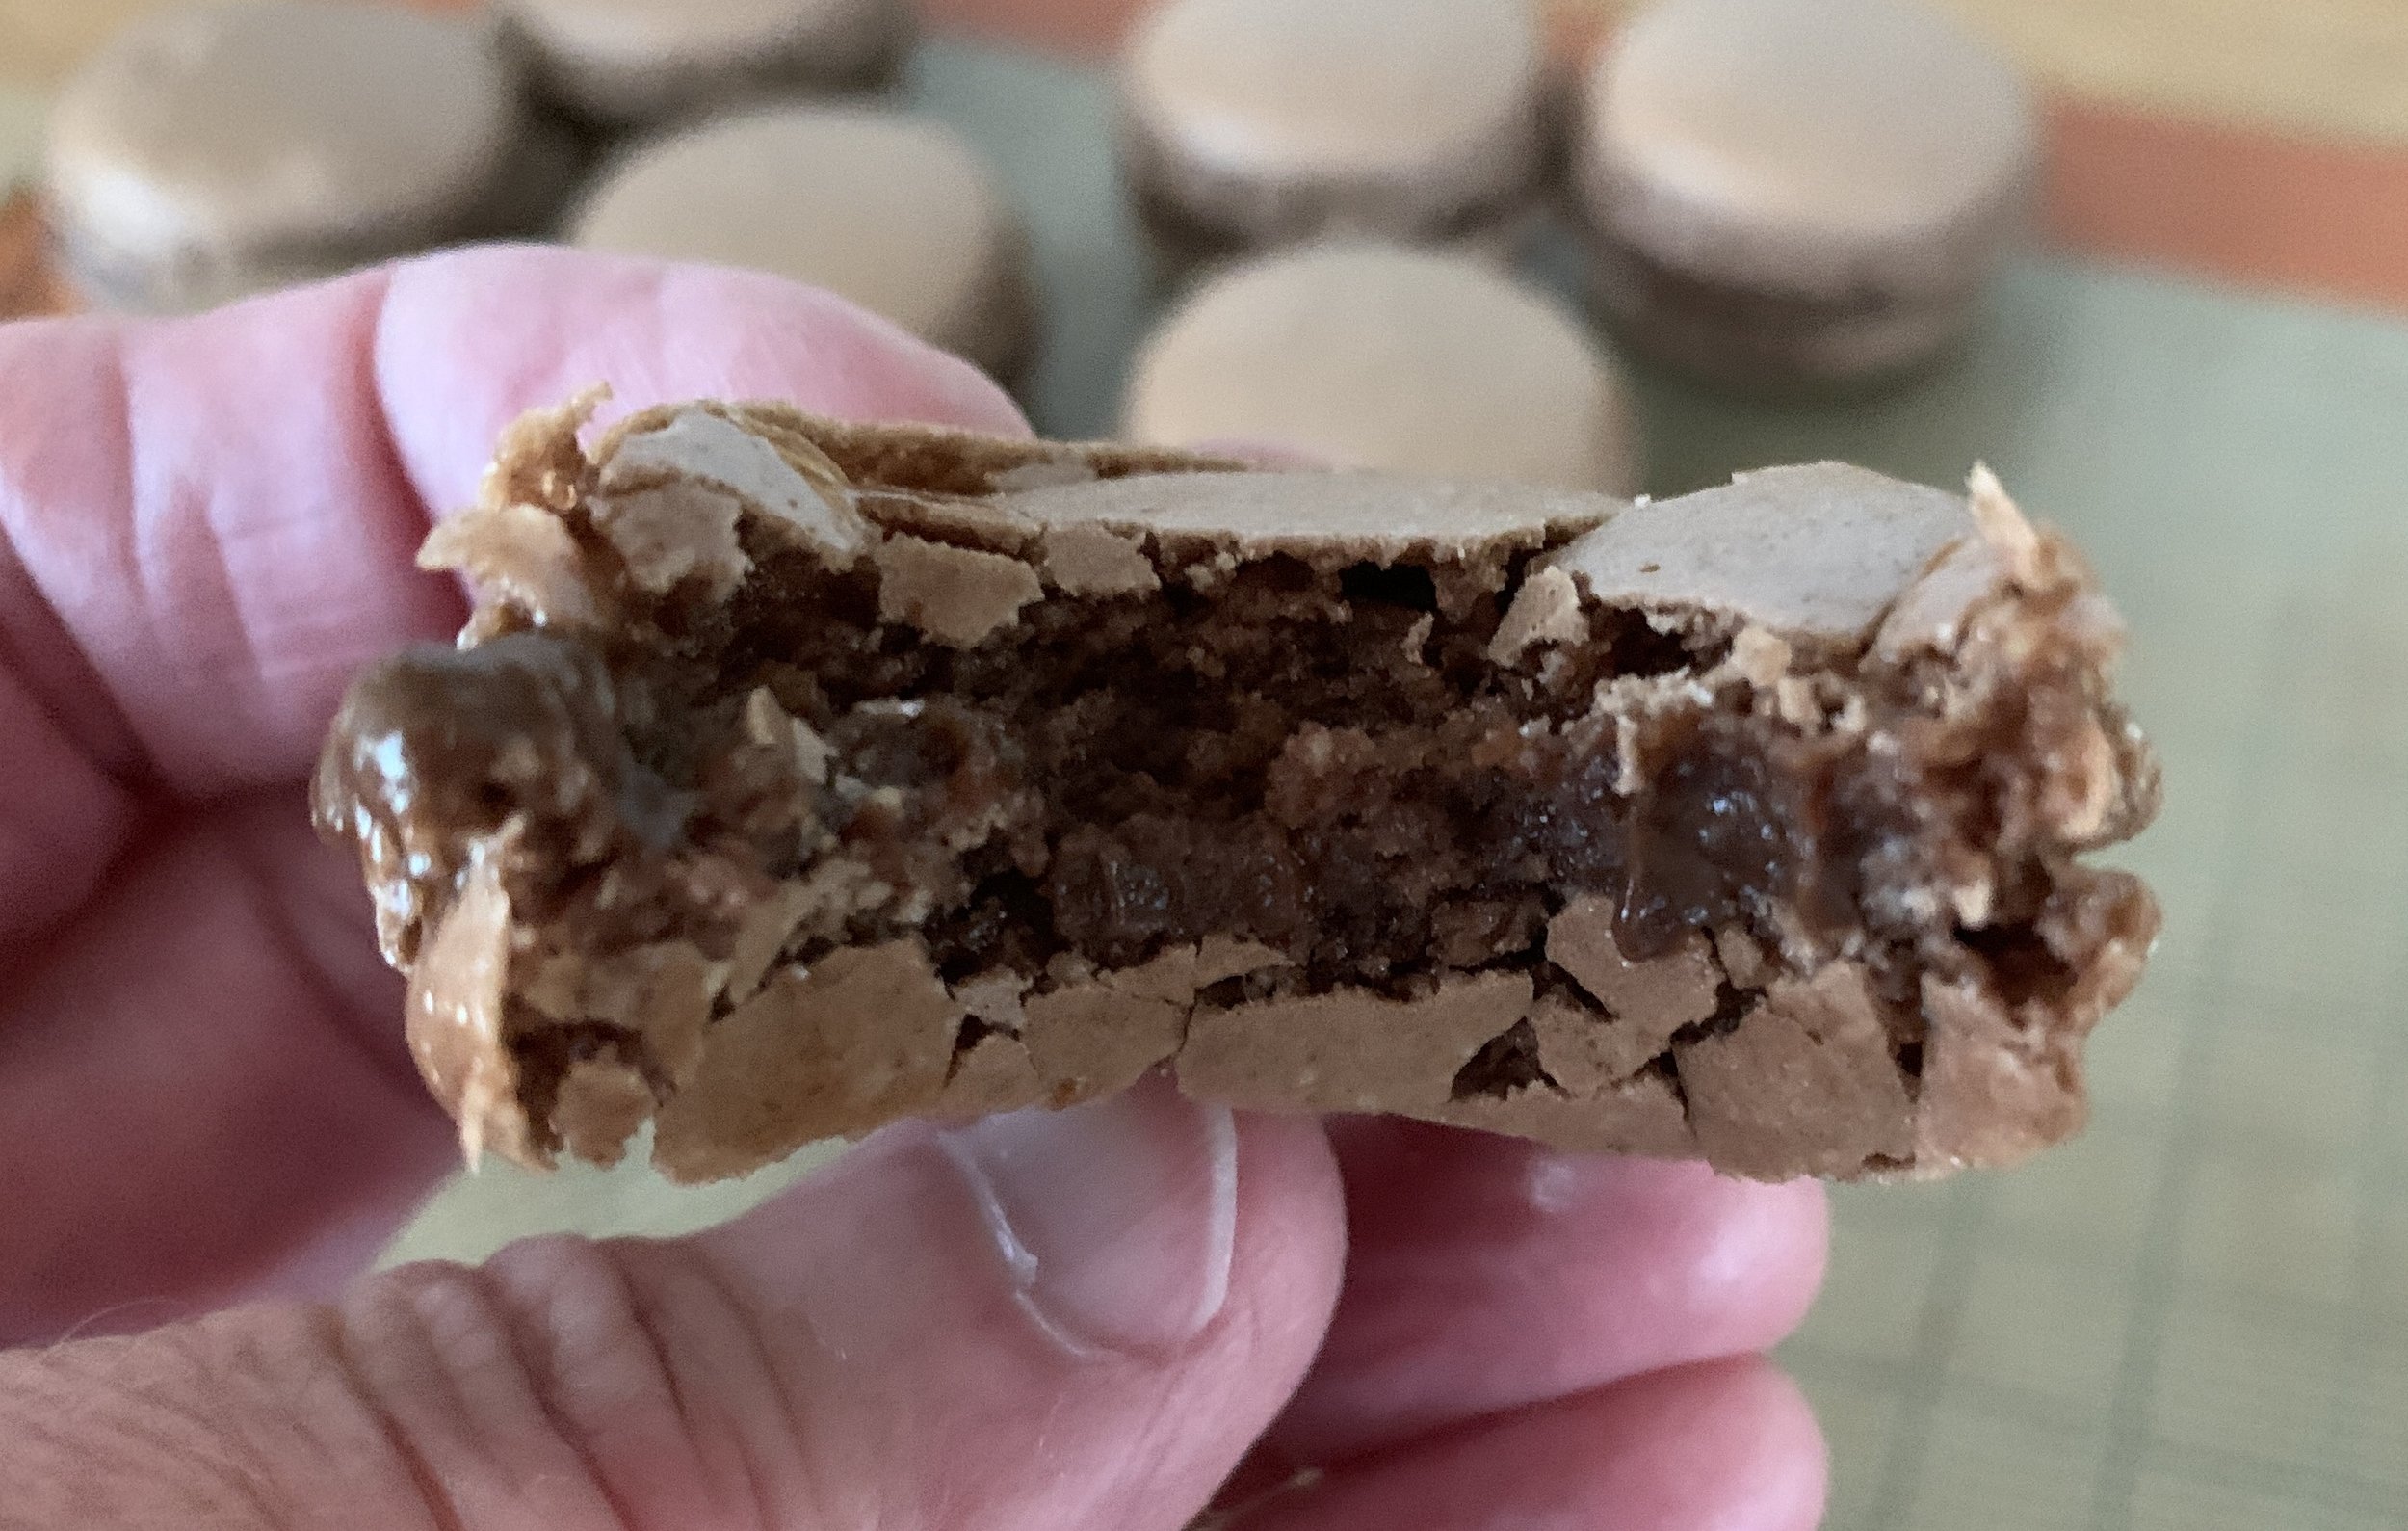
I’ve also taken to heart the importance of letting the filled macarons sit in the fridge for a day or two before enjoying (although many find that difficult!). It’s amazing what that cool rest can do for the texture of this little cookie.

I usually store the baked shells in the freezer, especially if they seem a bit sticky when attempting release from the Silpat. Once frozen they lift off nicely. Then I can fill them when I’m ready.

Even after filling, the freezer is my go to for storage where the texture continues to improve. You can move them into the fridge a day or two before enjoying or give them just a few minutes out of the freezer and enjoy right then and there. It works.

These days, as I look back, I’m a firm believer that attitude and being zen with it all makes a big difference. Ahhh . . . . the pastry gods can look favorably upon us.

It’s tulip time!

Favorite garnishes, the end: crumbles

Banana rye cakes with hazelnut crumble (and a bit of chocolate tucked underneath)

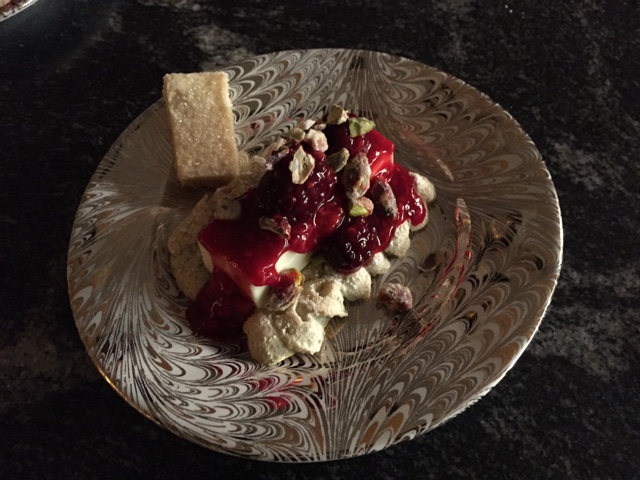
Ready to bake mixed berry crisp with pistachio crumble

Time for the garnish finale in what has become a 4 parter on some favorite ways to dress up and enhance your baked goods.

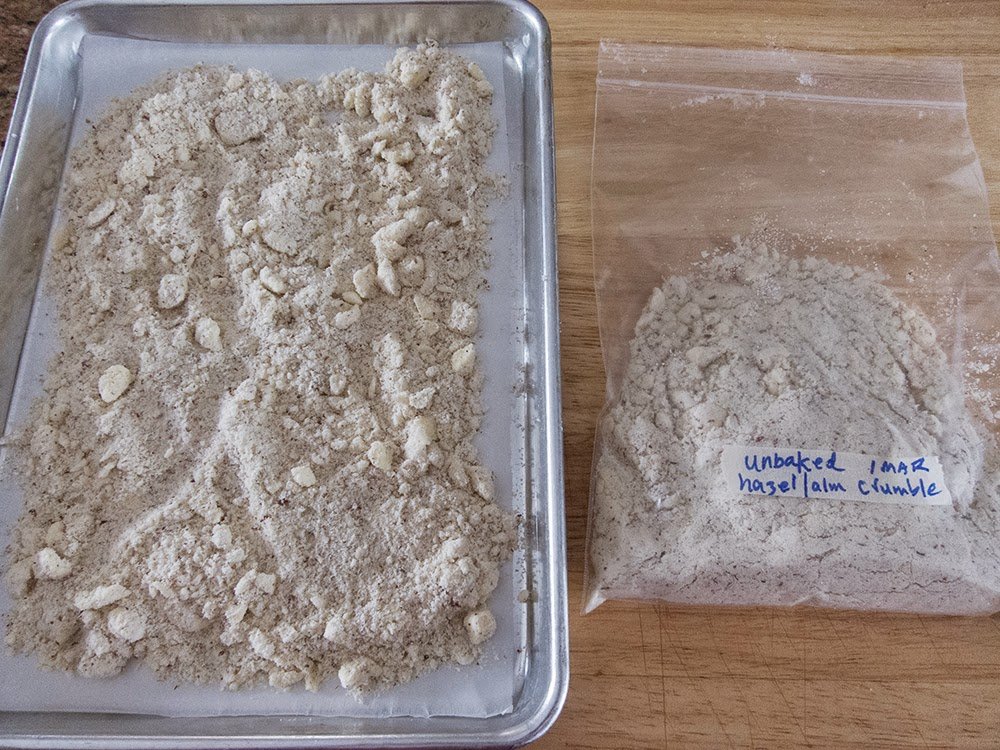
Crumbles are easy, ever so adaptable, perfect for layering or topping and they keep either unbaked or baked in the freezer for many weeks. What a great way to be ready for any garnish occasion. Yes!

If you plan to make some crumble, feel free to double, triple or quadruple the recipe for future projects. Simply mix equal weights of flour and sugar in a medium bowl then sand in the same weight of cool, diced butter with your fingertips, work it to smallish coarse crumbs and voilà, that’s it!

A basic starter quantity is 60 g each of flour, sugar and butter which easily tops a dozen muffin size teacakes, a 9” fruit tart or a 9”x9” pan of fruit crisp.

Ready for sanding

If you’re not using it right away, either spread it out on a sheet pan to bake ahead (350ºF for 15 to 20 minutes, stirring occasionally until golden brown), cool and bag up for the freezer OR store unbaked in a zip-top bag until ready to use.

Tray ready to bake/bag going into the freezer

All baked up

You can change up your crumble by subbing in spelt, whole wheat pastry or rye flour for all purpose (or do a mix) and swap out granulated sugar for raw or dark brown. Make it more nutty by adding an equal weight of nut flour or finely ground toasted nuts. Or simply add in chopped nuts (use anywhere from half to equal the weight of the other ingredients) for more texture and crunch. Add in your favorite spice(s) and/or some citrus zest. Create!

For an alternate crumble approach I use my favorite chocolate shortbread dough (recipe compliments of Thomas Keller’s “Bouchon Bakery”) and rather than bake it as cookies I just crumble up the dough in a single layer on a sheet pan and bake it up. There’s always a bag of the stuff in my freezer. Steve and I love it on ice cream, and I use it to top teacakes garnished with Swiss meringue buttercream or my favorite chocolate ganache tart.

Black gold!

Dark chocolate ganache and caramel apple teacakes

Chocolate ganache tart

You can do the same with your favorite crispy gingersnap dough or basic shortbread dough. I love making my own graham crackers too, both for crumb crusts as well as crushing them up for a garnish.

There’s nothing like the crispy crunch of crumble married with juicy, baked fruit, layered with luscious cream or as a topping for citrus curd or ganache - the list goes on. Just go for it and have fun.

Cheers until next time.

Hazelnut ricotta berry entremet layered and topped with almond/hazelnut crumble

Favorite garnishes part 1: candied nuts

Lightly candied sliced almonds

Lightly candied sliced almonds

Wow! It seems like this one’s been awhile in the making. Let’s just say that life has a way of taking us on a variety of paths and unknowns.

Now let’s talk about garnishes! It’s time to take your pastries and desserts to the next level with . . . . . . . Crunchies!!

Whether you choose cookie crumbs, candied citrus, nutty crumbles, brittles or candied nuts, they’ll all add that extra splash your creations deserve. Use as garnishes on top of ice cream, teacakes, baked fruit and custard desserts or tuck them into creamy layers between your favorite cake slices and you’ll be the happier for it. It’s the little things that make all the difference.

I’ve touched on many of these when writing about different projects over the years, but now I’ve attempted to organize some of my favorites in separate posts so as not to overwhelm with too much info.

Let’s talk nuts. I’ll explain three approaches to candied nuts. Generally you’ll need the stove top and in some cases the oven. I find silicone mats perfect for these projects - no sticking plus easy cleanup.

Start with a clean slate, as it were - use raw, non-salted, non-roasted nuts. I typically have almonds, pecans, walnuts, pistachios and hazelnuts in my larder and, unless I know I’m going to use them within a few weeks, I keep them in the freezer up to six months to preserve freshness.

Here we go. The first approach calls for making a syrup on the stovetop, stirring in your choice of nuts (whole or sliced) and then baking in the oven to crisp things up. Sounds good.

Heat your oven to 350ºF. In a small saucepan stir together 1/4 cup (50 g) sugar, 2 tablespoons water, 1 tablespoon corn syrup and a large pinch of kosher salt. Bring it to a boil over medium heat then remove from the heat and stir in 1.5 cups (~ 200g) of nuts until coated. Then spread the mix out on a parchment or silicone lined 1/2 sheet pan and bake for 5 minutes. Stir them up and bake another 8-10 minutes until golden brown. Let cool and store in an airtight container at room temp. They should last several weeks and are great for garnishing ice cream, custards, crisps, tarts or whatever your little heart desires. Even your morning oatmeal. And they’re not bad all by themselves!!

Cherry almond Breton tartelettes with almond crunchies

The next approach (which I refer to as the egg white method) uses a bowl, whisk, rubber or silicone (my preferred) spatula and the oven (no stovetop). I particularly love making pistachios this way, coarsely chopped and blended into my favorite Breton shortbread dough for just the right touch of crunch. Yum.

Halve or double the recipe to suit your needs. Prep note - you’ll be toasting and cooling the nuts first before blending them into the egg white mixture and then back into the oven. You can do the toasting a few days ahead of time and store the nuts at room temperature in a covered container.

Heat the oven to 300 - 325ºF depending on the nuts you’re using (325º for whole almonds, walnuts and hazelnuts; 300º for pecans and pistachios which tend to burn more easily). Spread 2 cups (about 227 g / 8 ounces) of nuts in a single layer on a sheet pan and toast them about 8-10 minutes to bring out the fragrance. Let cool. Keep the oven on at the same temperature at which you toasted the nuts.

If you’re like me and save your egg whites for various purposes, this is just one way to use ‘em. In a medium bowl whisk 1/2 or ~ 16 g (give or take) of a large egg white with about 75 g of granulated sugar and a pinch of salt until the mixture has thickened and looks like a loose meringue. Don’t fret about the egg white - using one large white will simply give you a frothier coating.

NOTE: change things up by using brown sugar instead of white and adding spices like ginger, cardamom, cinnamon or coriander (or a mix!) for a tasty option.

Blend the nuts into the mix and spread out on a parchment lined pan.

Bake 20-30 minutes, stirring every 10 minutes or so until the egg white mixture appears dry and crunchy, coating the nuts. Let cool and store in a covered container at room temperature for a couple of weeks.

Use whole as a teacake topper; coarsely crush/chop as a garnish for your favorite ice cream; pulse them up in a food processor and blend into buttercream for your favorite layered cake or dessert creation.

Cocoa hazelnut teacakes with white chocolate-mascarpone cream

Buttercream anyone?

The last method also involves toasting the nuts first so have your oven ready. The nuts should be warm when blending them into the caramel for which you’ll need a medium-large saucepan. Have a silicone-mat-lined or buttered baking sheet on which to spread the caramelized nuts. This is akin to making brittle (coming up in a future garnishes post) but no baking soda here.

During my schooling at Le Cordon Bleu in Paris and internship at Pâtisserie Pascal Pinaud, we referred to this concoction as nougatine - caramelized nuts, spread out and cooled, then ground up into crunchy goodness for layering the many entremets that the French love to make and eat. Here’s just one entremet example.

I’m making a pistachio nougatine here. I’ve toasted 170 g / 6 oz pistachios and have them waiting warmly on the side. Have a silicon spatula lightly oiled at the ready.

Place 300 g / 1.5 cups granulated sugar and 60 ml / 1/4 cup water in your saucepan on low to dissolve the sugar.

Once the sugar is dissolved turn the heat up to medium high and bring to a boil.

Cook the sugar to a lovely medium amber. The image below is almost there. When I get close, I give it another 30 seconds or so to reach my desired color. Don’t wait too long - you don’t want burned sugar. After you’ve done it a bunch of times, you just know when to snatch it off the heat.

Remove the caramel from the heat and stir in the nuts with the oiled spatula. Scrape out onto the silpat lined sheet pan and spread into a single layer. Don’t hesitate - just do it.

Let cool. Your options now are to break it up into smaller pieces (a mallet is great for this!) as a topping for ice cream or process it to medium fine crumbs and use it as a garnish or layer for your chosen dessert.

Pistachio nougatine

WARNING! Please be careful when breaking this up since edges of caramel can be extremely sharp. Believe me, I’ve been there.

That’s it for now. You have a number of things in your dessert armamentarium that will add just that special touch. Go for it.

Next time - candied citrus . . . . . and more to follow that. All in due time.

On a final note, as noted at the beginning of this post, it’s taken me awhile to get this one finished. Life events tend to trap our attention when we least expect it. The main thing is to stay positive, stay safe and have a wonderful holiday season.

See you next time around!

A last gasp of bittersweet

Early summer update

Maple glazed pecan Danish

Maple glazed pecan Danish

Though it’s not officially summer by the calendar, it certainly feels like it here in West Michigan. Hot and humid! The inspiration to bake is low on the priority list at the moment, but I can certainly dream, plan and write about baking, can’t I!

It’s been a bit since I’ve posted so I wanted to take the time to share a few of the goodies I’ve made in the past couple of months. Relying on favorite base recipes is de rigueur for me, and where appropriate I’ll share links to those recipes and give you any little changes I might have incorporated.

Chocolate dacquoise bites

Chocolate dacquoise bites

First up - I refer to these as rustic macarons. Made using my standard dacquoise base (remember my last post on vanilla-chocolate dacquoise?), I added 30 gm Dutch process cocoa powder to the almond flour/confectioners sugar to create a chocolate version, piped/baked simple rounds then sandwiched ‘em with salted caramel buttercream. The result is less sweet than the ever popular French macaron, a characteristic I prefer.

The buttercream is basically a combo of about 1 3/4 cups stove top caramel sauce whipped until cool then blended with 113 g (one stick) cubed/room temperature unsalted butter. Add the butter cubes bit by bit as you whip, just like you would when making Swiss meringue buttercream (you could make a caramel version of that instead if you prefer).

These freeze extremely well and can be eaten pretty much as soon as you take them out to enjoy.

Chocolate caramel dacquoise bites

Chocolate caramel dacquoise bites

These treats became part of a small gift box for a volunteer at a nearby assisted living facility, combined with Breton cherry/pistachio tartes topped with tart cherry Swiss meringue buttercream and candied pistachios. Yum.

547781AD-1060-42C1-96D5-AF9560A64093.jpeg

For the Breton tartes, use this dough recipe and add some chopped tart dried cherries and chopped pistachios to the dough (just eyeball it). I use about 40 g of dough for my 65 mm / 2.5” open tart rings (buttered). There are so many options one can create!

Next - maple glazed Danish buns.

05092172-07DC-4578-96F9-4B07477E212A.jpeg

I had a couple of batches of laminated Danish dough in the freezer and decided to create a few things with them: cherry cheese Danish, Danish almond braids and these buns for which I used a half batch of dough for a yield of 9 buns. Roll the dough out to a 12” high x 9” wide rectangle (for a full batch of dough roll to 12” high x 18” wide).

Make a filling (double it for a full batch) by blending 50 g almond flour (or sub in toasted and ground pecans for extra pecan-ness), 43 g dark brown sugar, 30 g egg white (1 large), 15 g maple syrup plus 1.5 T unsalted butter and a tablespoon all purpose flour. Spread it over the rolled out dough then sprinkle toasted, chopped pecans over, pressing them down to help them adhere.

Roll it up cinnamon roll style then slice into nine 1” rolls. I decided to bake these in a buttered and sugared 9x9 pan (again cinnamon roll style) rather than individually placed on a baking sheet. It’s easiest if you line your lightly buttered pan with parchment with an overhang on two opposite sides then butter and sugar the parchment.

After an hour or so rise, they baked up beautifully! Once baked you can simply lift the whole thing out, no muss, no fuss.

Mix 3/4 cup confectioners sugar with 1-3 tablespoons maple syrup to a thin-ish, brush-able consistency and give the buns a good coating.

1836FE29-7D0A-4042-821A-8CFE0B373996.jpeg

Let cool completely or feel free to gently pull them apart and try one still warm. You won’t regret it! So good.

C0D4750B-1E2A-4A01-A322-D228880855FB.jpeg

Next - roasted garlic/dill/cheddar bread created using a poolish approach. It came out pretty tasty although I’d like to tweak the hydration level and kneading/rising times to create a more chewy, rustic style bread. I hope to post about that adventure later this summer.

Roasted garlic/dill/cheddar boule

Roasted garlic/dill/cheddar boule

E94AC5B2-B77E-49CC-A924-961AF2207B33.jpeg

I don’t want to keep you much longer in describing my kitchen shenanigans. There’s always something going on in my head or in my oven so stay tuned for Canadian butter tarts and more.

Meanwhile we have a couple of sandhill cranes hanging out nearby, and we’re just waiting for a baby or two to appear.

Stay cool and calm and enjoy summer!

Mom or Dad??

Mom or Dad??

240A9599-639A-4988-9CD7-B80432E8E3F9.jpeg

In the holiday cookie kitchen - pocky and a few more!

A08BB8CE-0FEB-4EC4-8893-94C3210672F4.jpg

This is the time of year when many bakers and pastry chefs turn to cookies. What is it about Christmas cookies anyway? I certainly remember decorating the traditional sugar cookies that many moms made during our childhoods. Since then there have been so many variants thrown at us during this lead up to the December holiday time, including magazines devoted solely to holiday cookie baking. Snowballs, rugelach, pfefferneuse, ricciarelli, gingersnaps, thumbprints just to name a few - cookies from all corners of the planet. Pretty amazing.

Pocky is a new one for me. I came across small boxes of these traditional Japanese stick biscuit cookies in the checkout line at a local craft store. Who knew? Coincidentally I became aware of a recipe for the homemade version of these intriguing cookie sticks through NYT’s holiday cookie recipes. I had to give ‘em a try.

The dough is easy to put together - you can do it by hand or in a food processor or in a mixer - you decide. I used the stand mixer approach.

Combine 160 g/1.25 cups all purpose flour, 45 g/3 tablespoons cane sugar, 1/2 teaspoon baking powder and 1/4 teaspoon salt in the bowl of a stand mixer; add 56 g/2 ounces cold diced unsalted butter and mix on low several minutes to coarse crumbs (or sand in by hand); add 45 ml/3 tablespoons whole milk mixed with 1/4 teaspoon vanilla extract and mix on low to bring the dough together.

Place the dough on a lightly floured surface and roll it out to form a 5.5”x8” rectangle about 1/4” thick. Wrap in plastic and chill at least an hour or up to several days.

When ready to proceed, heat the oven to 350ºF.

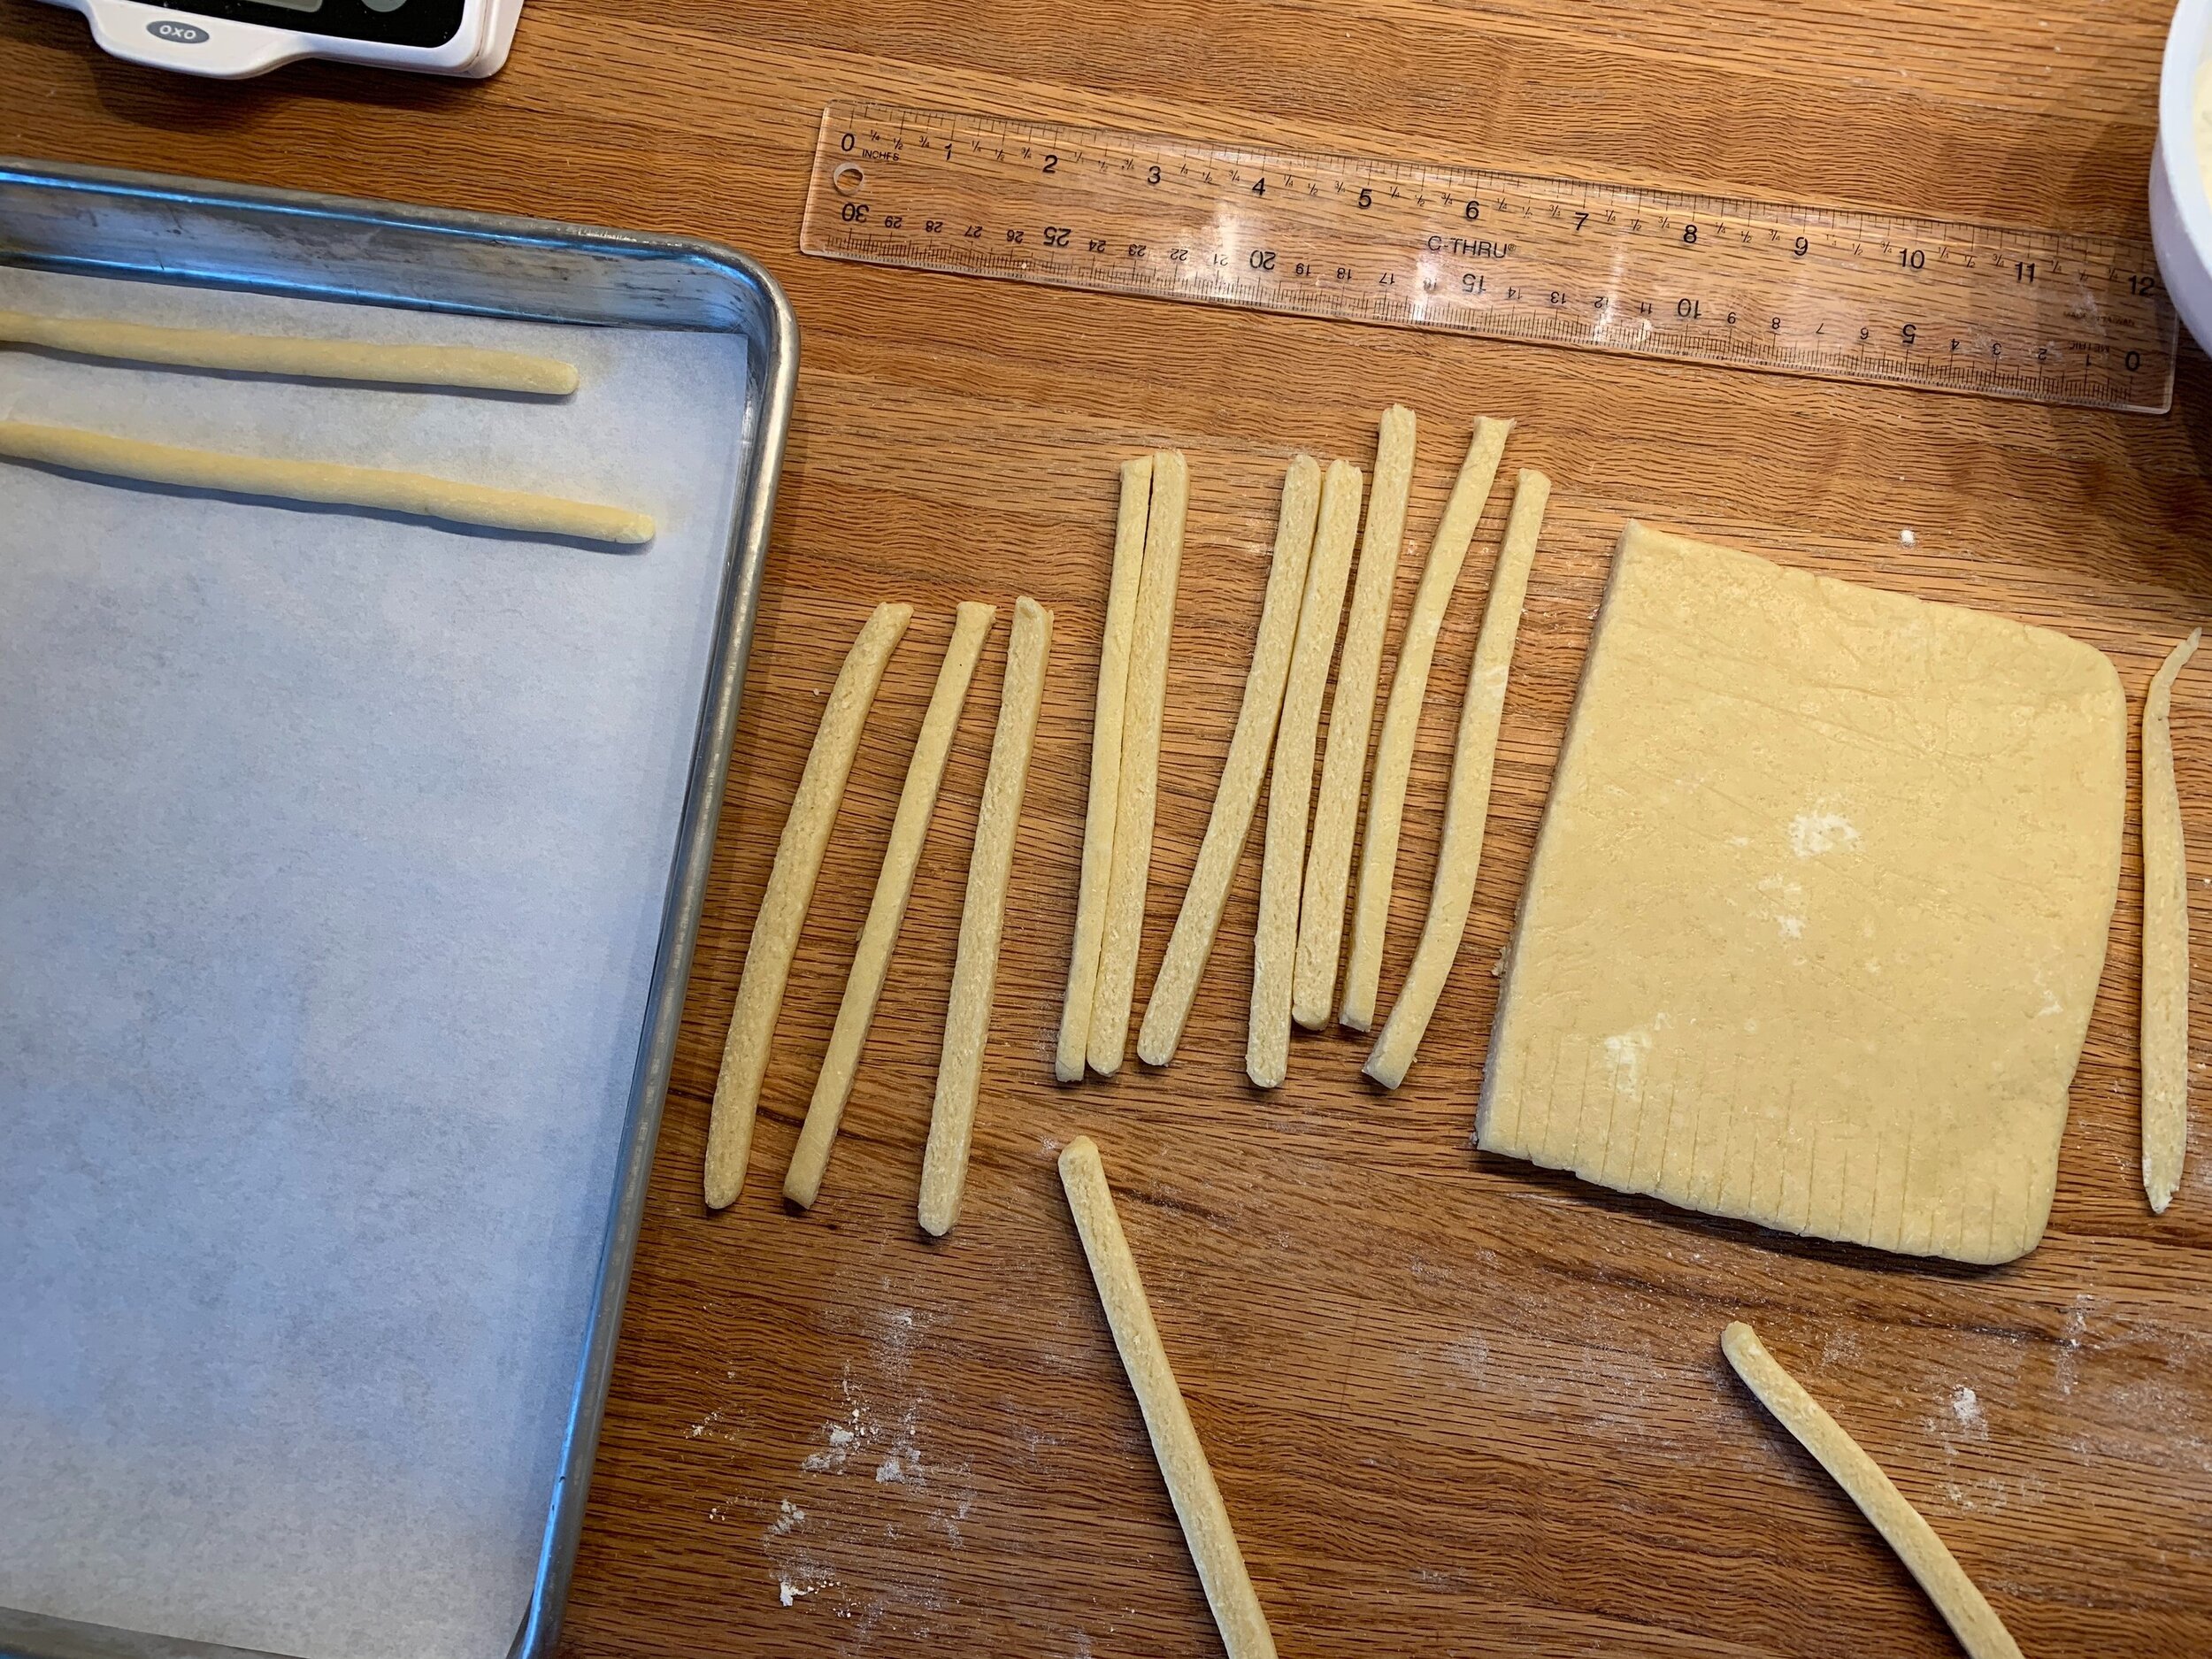
Cut the chilled dough into 1/4 inch thick strips about 5.5” long.

32211C97-0C4F-4EFD-96FF-2CAD93BE5F6B.jpg

With the palms of your hands roll each strip out to about 7-8 inches long. For me it took a bit of time to get a feel for how this dough wanted to behave. Bottom line - use decisive, firm pressure to keep the dough compacted while rolling it out, doing your best to keep the pieces straight. Pop your pans into the freezer for 10 minutes or so before baking.

A5DF55A1-0C8D-4A80-93DD-0FC365744838.jpg

Bake about 15 minutes until golden brown. Cool on wire racks.

951CB125-F7EF-4EE3-81E5-6A8734D0DD67.jpeg

Some of mine were a little curvy but in general these baked up into rustic looking sticks with a certain charm. They taste to me like the animal crackers we used to eat as kids or some kind of teething biscuit - the Brits might call them a digestive biscuit. The flavor is good - simple and straight forward.

I’ve never tasted the Japanese massed produced version, but I’ve looked at the ingredients and have to say - nuh uh.

For decorating I went with microwave melted, tempered white chocolate, raspberry dust and chopped lightly toasted pistachios . . . . .

AA7558B8-D8E8-49F9-B37E-86DA7508F640.jpeg

and dark chocolate with chopped pecans.

CEFB0711-4C06-4F9A-8223-9D70E27DD0EE.jpg
B7ADAAEA-1BF0-4DCE-9B92-CB553FB59E0E.jpeg

Let’s just say that making pocky is something good for a day when you have little else to do and don’t feel rushed. Puttering with chocolates, nuts or whatever you decide to use to make your own version is good for the creative spirit. Calm and patience - that’s it.

7DAA6FBC-CDA4-42DE-AF07-FA47077E4831.jpg

Next up - white chocolate chai buttons using one of my favorite base shortbread recipes. Blend 75 g cane sugar with 200 g room temperature unsalted butter; blend in 250 g all purpose flour, a tablespoon chai spice mix and 56 g/2 ounces finely chopped white chocolate until the dough comes together. Wrap and chill before rolling/cutting shapes of choice or portioning out with a scoop.

For a more nutty/caramel-y taste change the dough up a bit by subbing in dark brown sugar or coarsely ground raw sugar for the cane and sub 50-60 g of whole wheat pastry flour (one of my FAVE ingredients!) for that amount of all purpose. You’ll like the result.

I made my chai mix with a teaspoon each of cinnamon, ginger, cardamom and coriander plus a few grates of fresh nutmeg and some grinds of black pepper. There are different DIY chai mixes out there - some might also contain allspice or star anise or cloves. When making your mix, ramp up the quantities to 3 or 4 times the base so you’ll have plenty on hand for next time. Plus you can add it to other things like cakes, butter creams, ice cream base or your own chai beverage.

Heat the oven to 325ºF. Scoop out tablespoon sized rounds and bake on parchment lined sheet pans for about 20-25 minutes until nicely browned. Some of my cookies spread at the edges just a tad so I cleaned them up with a round cutter while still warm just out of the oven. I like things to be neat - it’s how I operate.

823ECF90-130E-48CF-A12D-6EBF8670A647.jpg

Once cooled give them a drizzle of white chocolate and let set.

300C201D-177A-46B8-9E93-3A84D22DD829.jpeg

Here’s a sampling of some of the other cookie treats I’ve been making this month. I’m pretty sure many of you have your favorite holiday recipes plus there are sooooo many to be found out there in books, magazines and online. Pretty overwhelming actually.

These are always a favorite - almond thumbprints!

53760CC9-B471-49D8-8F2A-B76558A17E84.jpeg

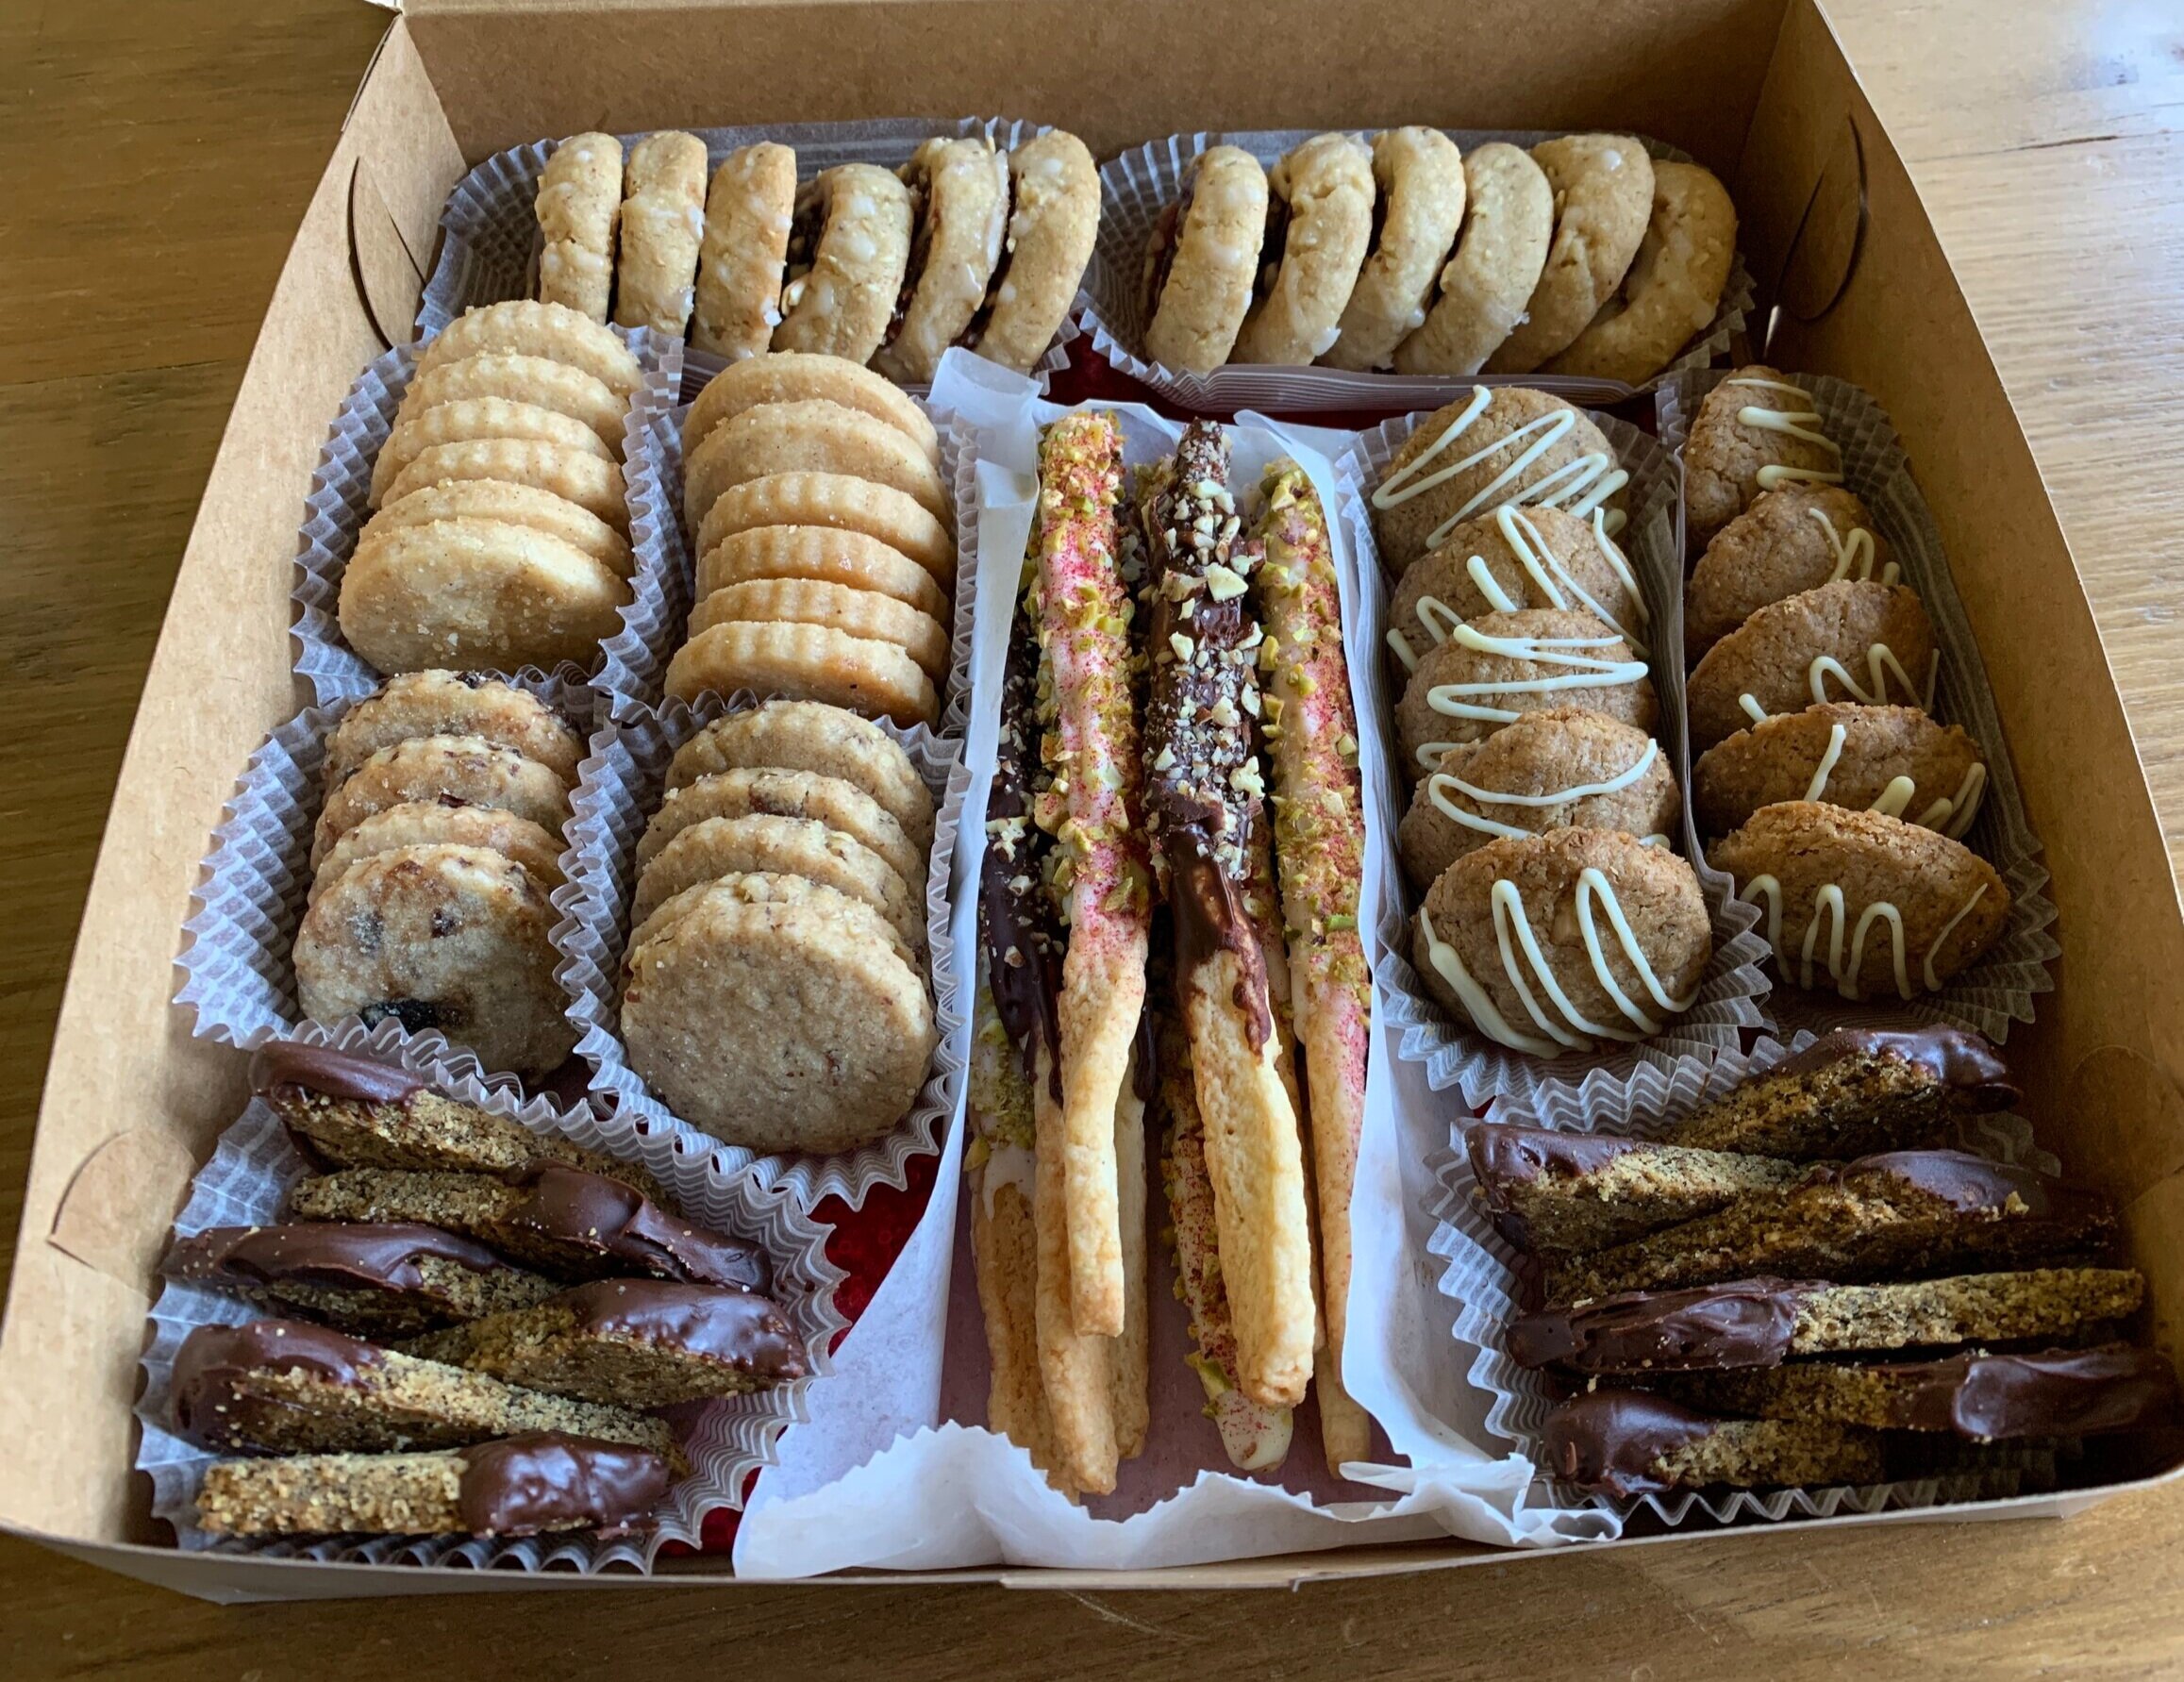
For gift boxes for a nearby independent/assisted living facility I made cinnamon sugar kids . . . . .

7AF1C822-1348-436A-AAC9-167B3EAB95CB.jpeg

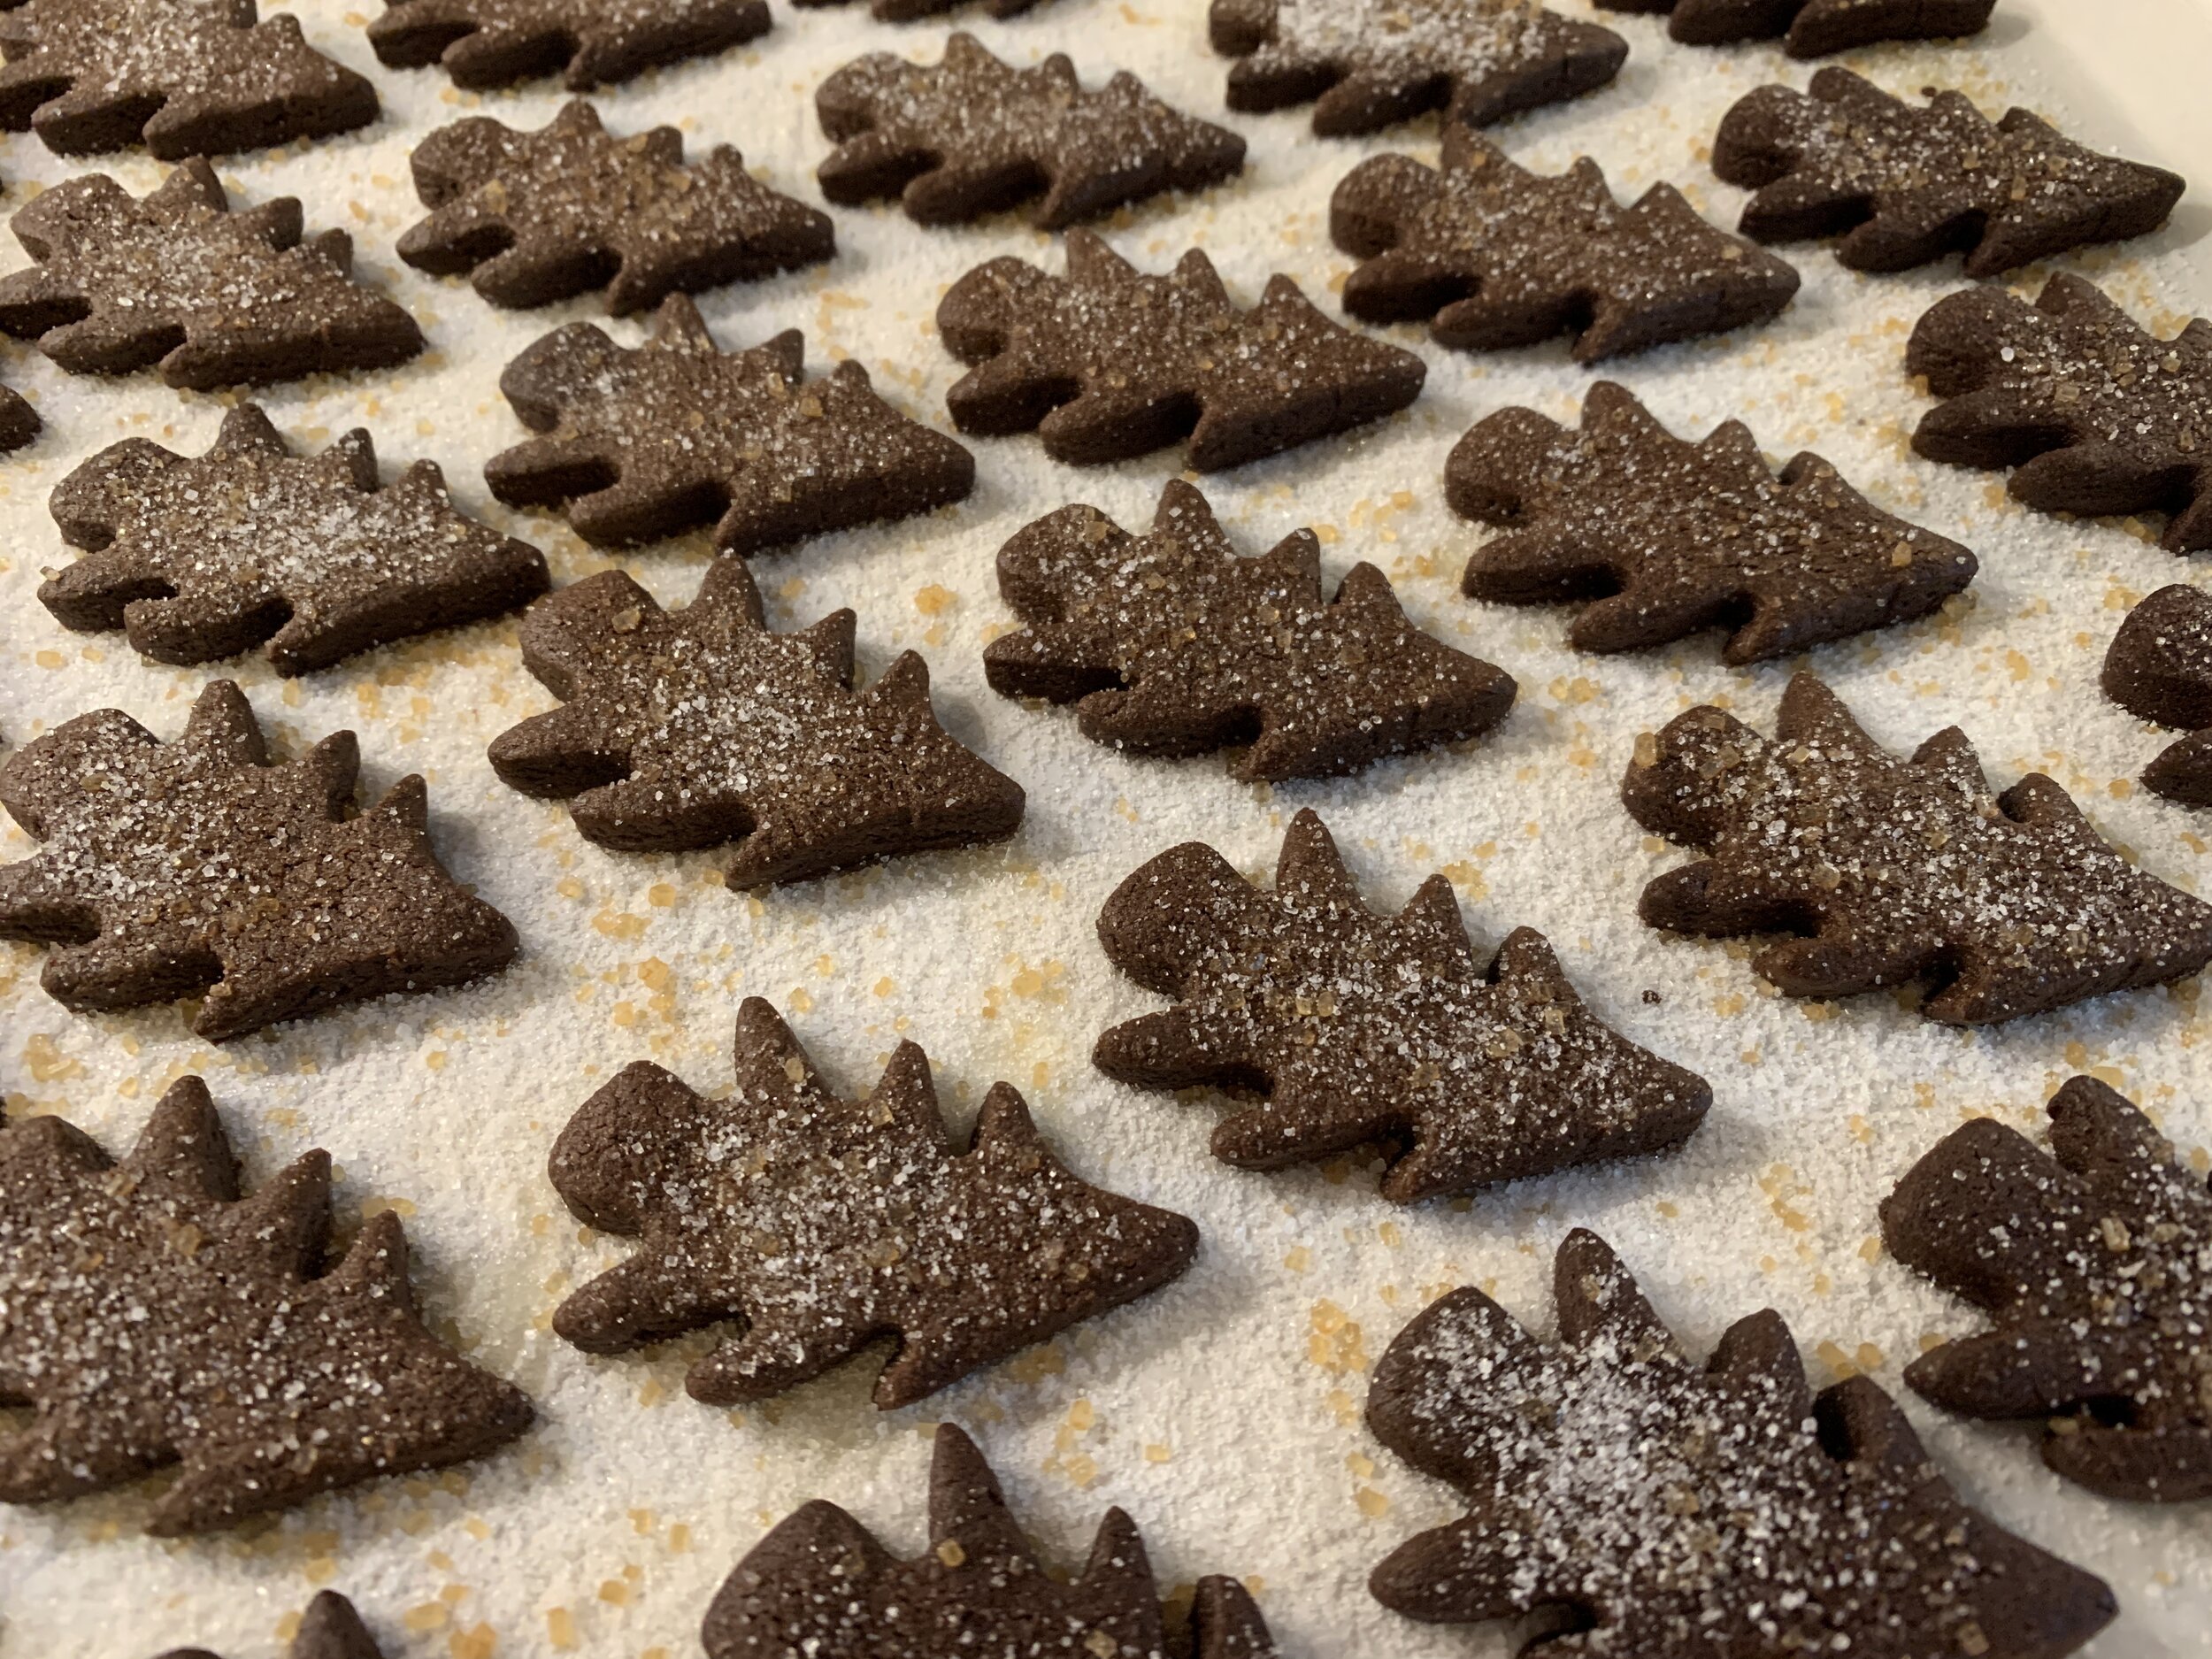
and cocoa trees with a bit of raw sugar crunch and a sprinkling of granulated sugar for that oh so natural woodsy look.

0ADA9DFD-2638-4524-9378-F7164E4F89F2.jpeg

Lots of cute packages for the residents!

0916A85C-92FE-4B51-9C7F-F85E72AF28D5.jpg

Here’s another boxed assortment I put together for the assisted living residence where my mom lives. I like to drop treats off there every now and then to say thanks to the staff, particularly with all they have to do to keep everyone safe during the pandemic. My hat’s off to all of them.

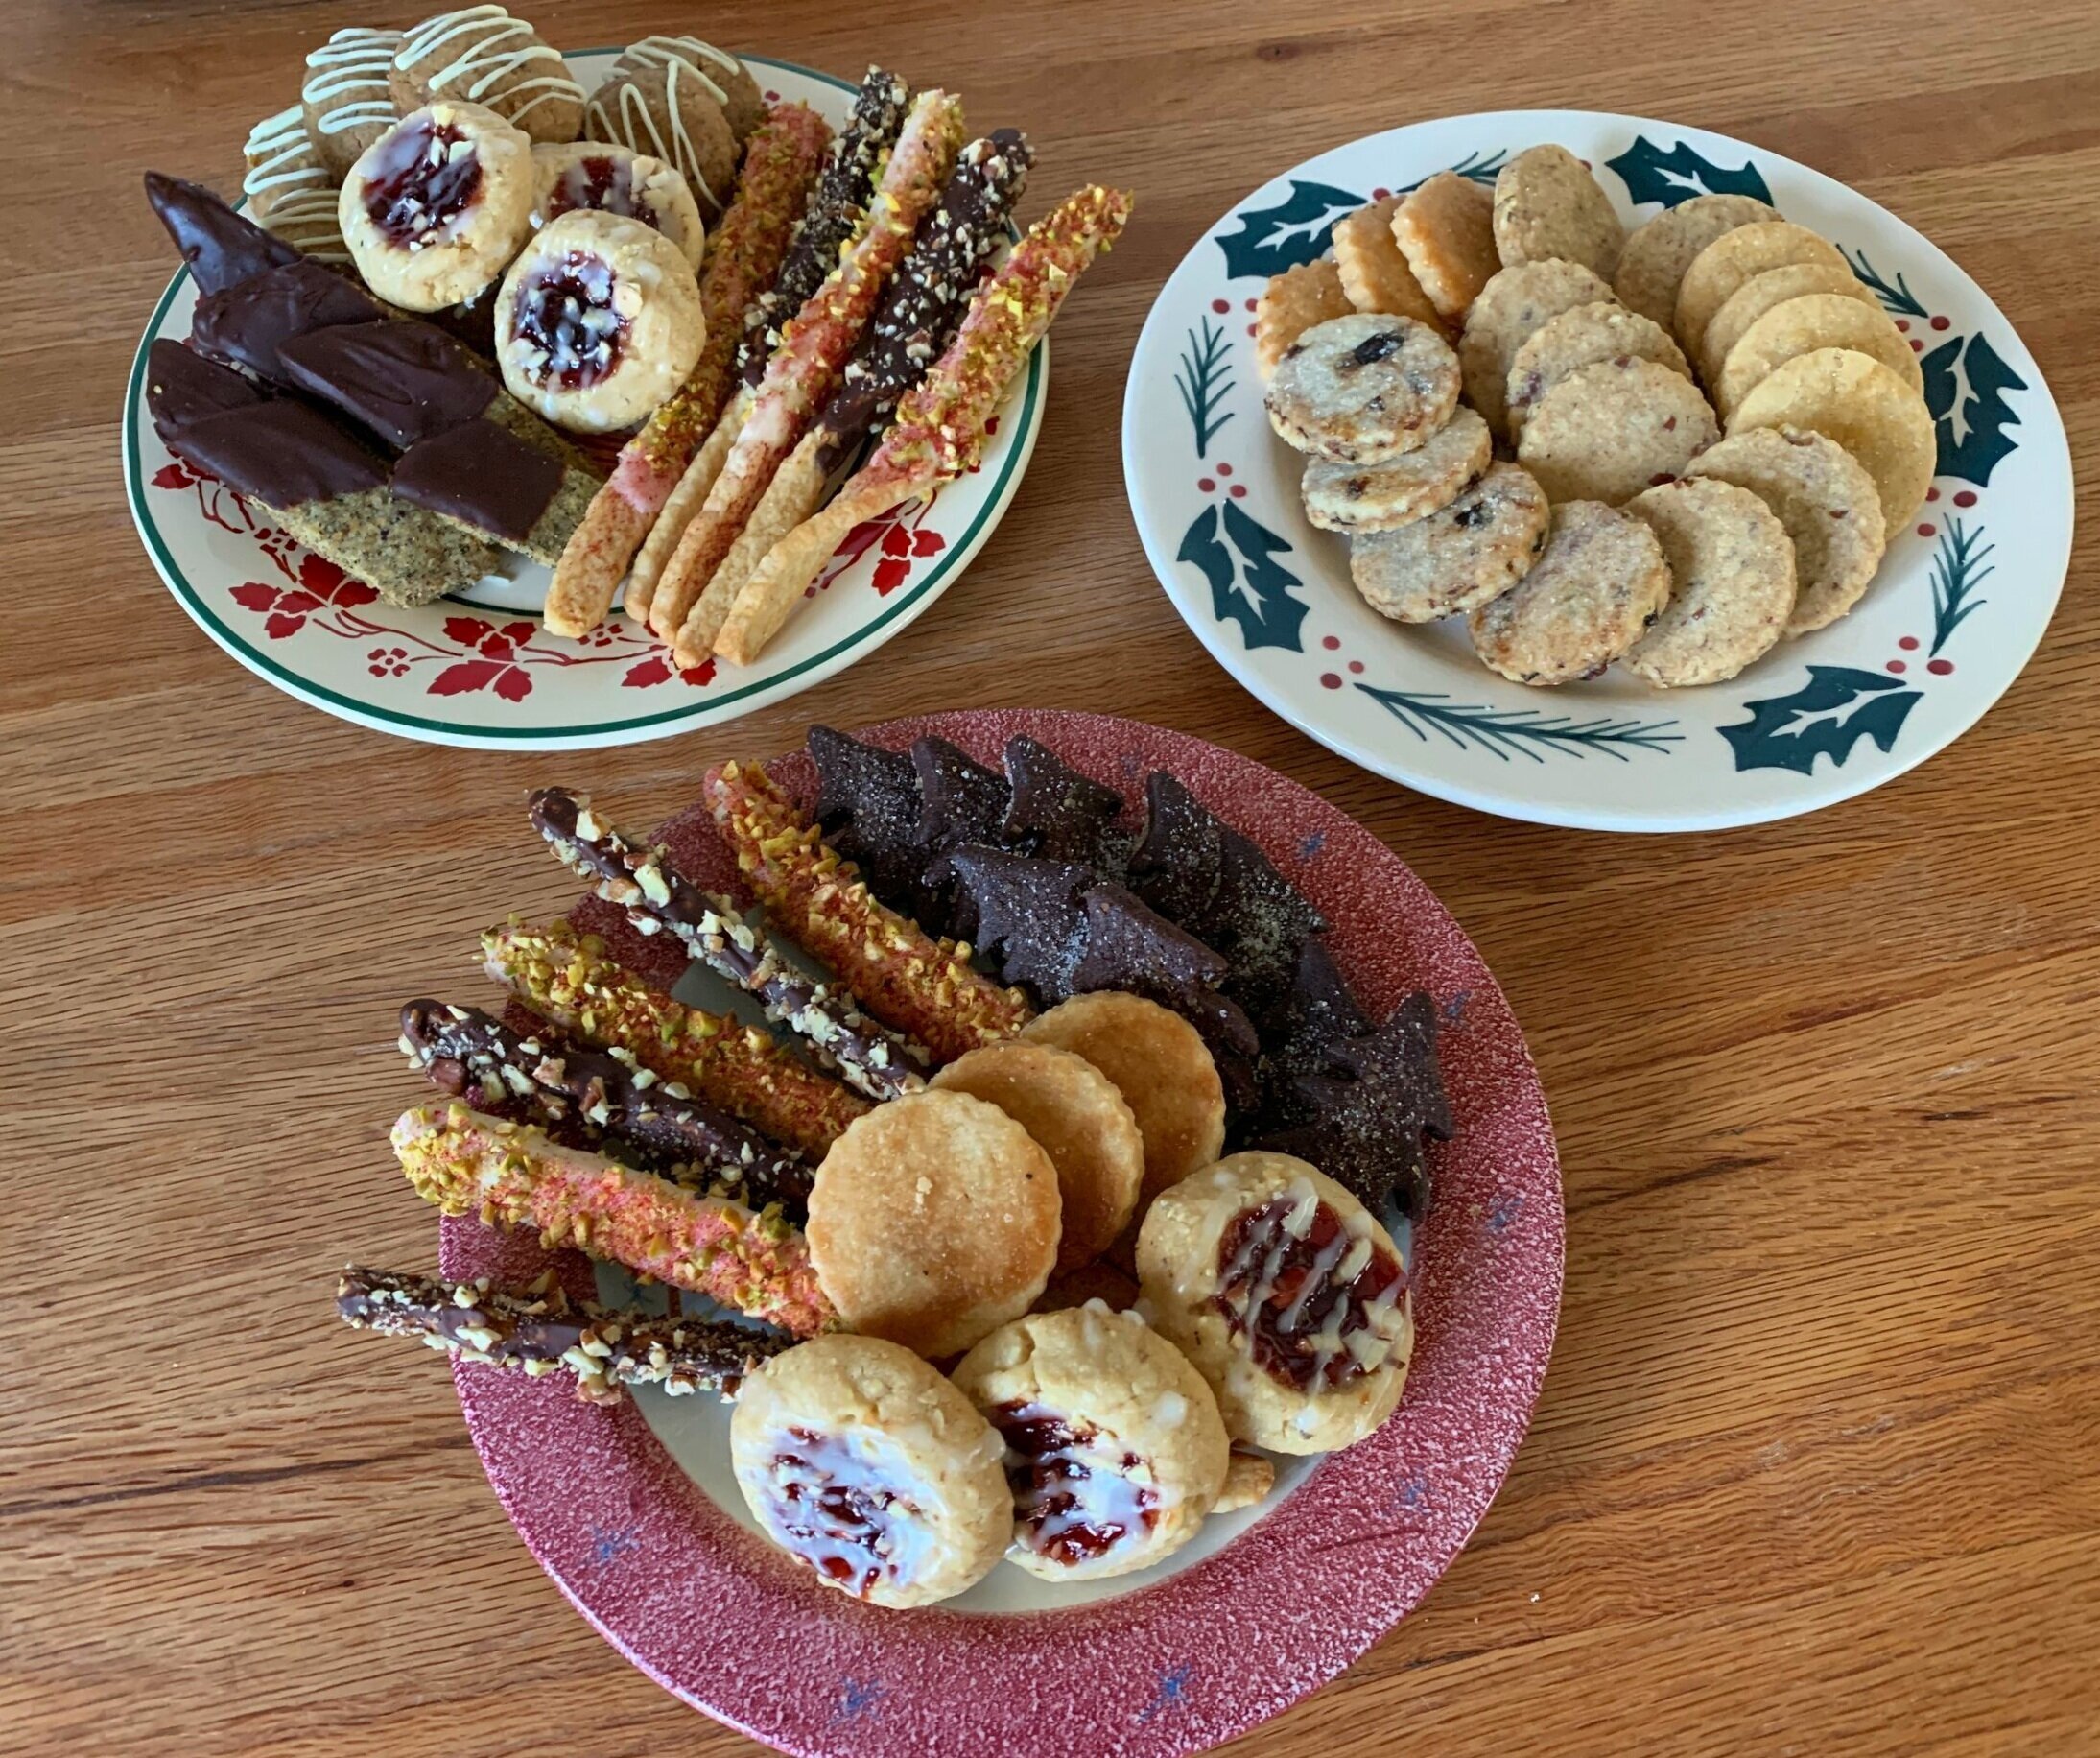
In addition to thumbprints, chai buttons and pocky I added my classic shortbread flavor assortment (to the left of the pocky) of vanilla bean, sea salt caramel, butter pecan and tart cherry. In the forefront are chocolate dipped Earl Grey shortbread made with ground Earl Grey tea, all purpose and hazelnut flour and added orange zest. Chocolate and orange is such a great combo.

E69AB16B-1FDD-4DE4-A7D4-5C2580ED9D52.jpg

Even though Christmas is arriving soon, I may have a few more cookies up my sleeve for this holiday time. Perhaps more gift boxes to hand out to folks for the New Year. Why not!

I’ll leave you with this floral image. We received this orchid from cousin Jen and extended family nearly two years ago after my Uncle John died. It is now blooming for the FIFTH time since then. This time it’s the most prolific with 10 flowers and continues going strong after four months in it’s current bloom. It gives me peace and joy.

May you feel the same as we look ahead to a new year of stability and health for our world.

B2FE7B5B-9C66-4244-83C9-7CEA673DF5B1.jpg

Swiss meringue buttercream

IMG_0771.JPG

Ciao everyone! It took me a bit of time to get this post together, but here it is at last. You’d think with all the extra time on our hands during our staying at home (11 weeks and counting), I’d have knocked this baby out in a few days. I decided to take some extra time to add some recipes for some base components that are great ones to have in your baking armamentarium, and you’ll find links for those throughout the post.
Remember - you can also go directly to my recipe page for a list of base recipes with links to their PDFs and in some cases to blog posts on that particular topic.

Let’s go for it.

Never a big sweet frosting lover, I usually turn to a simple lightly sweetened Chantilly cream, a flavored whipped mascarpone or a basic ganache to give my petite cakes a swirl of panache. Buuuuuuuuut . . . . . . in recent years I’ve become a huge fan of SMBC. So light, airy, buttery and not cloyingly sweet, it’s rife with flavor possibilities. Let’s take a look at just a few and see what you can create to tickle your taste buds.

The beauty of this process is that the base remains the same - egg white, sugar, butter - with flavor added once all the butter is incorporated. Depending on what I plan to use the buttercream for, I’ll do a full batch as a single flavor or divide it in two and create two different flavors. The half batches work well for my small portion cake projects in which a nice swirl or dollop per un petit gâteau is all that’s needed. How efficient is that?

It’s the perfect make-ahead component too since it holds well in the fridge for several days and in the freezer for months. Just remember to thaw and bring it completely to room temperature before rewhipping and using for its intended purpose. It’s most commonly used for filling and decorating layer cakes, garnishing petite cakes or for sandwiching French macarons. A squiggle on an èclair or choux puff might not be bad either!

I reviewed a number of recipes from different sources and found many variants in terms of sugar to egg white ratio (anywhere from 1:1 up to 2:1) as well as differences in the amount of butter added e.g. when using 6 large whites, the butter quantity can range from 340 g / 12 ounces up to a full 456 g / one pound or even more!

Here’s my full batch base recipe (includes flavor variations!) which makes about 4.5 cups of buttercream - generally plenty for a 2-layer eight or nine inch round cake with leftovers for decorating, or just the ticket for some dozens of small treats. And remember - you can freeze the leftovers!

Getting ready to go!

Getting ready to go!

On the day you want to make your SMBC, plan ahead and weigh out 370 g unsalted butter and cut it into 1/2 to 1 inch cubes. The butter needs to be at room temperature before adding it to the meringue!

Have your flavor ingredients ready to go too - from a pinch up to 1/4 teaspoon of salt to taste, 2 teaspoons vanilla (or other extracts) plus your chosen additions like caramel, fruit purée, melted/cooled yet liquid chocolate or lemon curd.

For the meringue place 6 large egg whites and 300 g sugar in a bowl over a steaming bain marie whisking constantly until the mixture reaches a temperature of anywhere from 145-155ºF. Transfer the mixture to the bowl of a stand mixer fitted with the whisk and beat on high until completely cool and marshmallow-y. I plan on a good 10 minutes for that.

Realize that the bottom of the mixing bowl may still feel a tad warm to the touch due to the heat of mixing. I test the meringue by putting a dab on my wrist - if it feels cool, I start adding the butter. You want to avoid adding it too early or you’ll end up with a soupy mess.

IMG_0572.JPG

Add the butter several pieces at a time, blending completely after each addition. The mixture should thicken and become smooth and creamy by the time all the butter has been added. If it’s too loose, pop it into the fridge or freezer to firm it up and then rewhip.

Butter added - just waiting for flavor additions

Butter added - just waiting for flavor additions

When incorporating flavor components, they should be at room temperature, added slowly and blended on medium low with the whisk attachment to keep the buttercream from separating. Then scrape down and give it a final high speed whisking for a couple of minutes. Some folks switch to the paddle to give it a final fluffing up.

For a full batch of apple cider caramel blend in 1/4 teaspoon salt, 1 cup caramel sauce with 2 tablespoons boiled cider (available from King Arthur Flour) and 1 teaspoon vanilla extract or vanilla bean paste.

Apple cider caramel

Apple cider caramel

For white chocolate mocha have ready 170 g white chocolate, melted and cooled yet still liquid, plus 2 tablespoons instant espresso powder dissolved in 2 tablespoon hot water and cooled. Blend it in. Yum.

White chocolate mocha

White chocolate mocha

Oh man - yes I know this isn’t gelato but these images remind me of those mounds of creamy, cold goodness on display in all the gelaterias in Italy!

In addition to the two above (let’s call them richer flavors), I also went for the lighter, springier choices of lemon, mixed berry and honey orange. You can find details on the flavor additions here.

Now what exactly might I do with all this buttercream?? Small cakes of course!

First a quick word on piping tips. Just three tip shapes - round, star and French star - can create a bevy of designs for you. For years I’ve relied on my round and basic star tips (closed or more open like the one in the rear) to pipe the simple designs I prefer, but the French star - oh my. It has finer spacing which creates more of a seashell or tighter spiral look. I LOVE it. The only one I have is the one you see below, but I think a couple more sizes would do me just fine. Yup.

BTW just so you have a sense of size, the round tips range from 6 mm at the bottom of the image up to 12 mm (~1/2 inch) at the top.

IMG_0871.jpg

I chose pecan cakes for the apple cider caramel SMBC, baking them in petite tinned steel brioche tins. NOTE: it’s very important to butter the tins thoroughly and pop the cakes out within a few minutes of coming out of the oven to avoid sticking. One could also use mini muffin tins like I did in a previous post where you’ll find the pecan cake recipe. Silicone molds would also work well although I think the cakes brown and crisp better in metal molds.

My small round tip served nicely to pipe a daisy like design to compliment the fluted ridges of the cakes. Pretty simple stuff.

Apple cider caramel on pecan pie cake

Apple cider caramel on pecan pie cake

For the white chocolate mocha SMBC a classic moelleux chocolat seemed just right, baked in one of my favorite square savarin silicone molds. The French star tip yields a lovely scallop like swirl. Those are some Valrhona dark chocolate crunchy pearls on top. Delicious.

White chocolate mocha on moelleux chocolat

White chocolate mocha on moelleux chocolat

The lemon cake is essentially financier batter to which lemon zest has been added. I baked these in mini-muffin silicone molds. So simple and nice.

Lemon on citrus financier

Lemon on citrus financier

Since I made a batch of lemon curd to add to the lemon buttercream, I also used it to create a center flavor burst in the cake before topping with the final flourish. Using a round tip I cut out a core piece (for snacking of course), filled it with the curd and finished it off with a star tip swirl.

IMG_0768.jpg
IMG_0770.jpg

For the mixed berry use your favorite base muffin recipe and fold in an assortment of berries like blue, red and black. I generally avoid adding fresh strawberries to cakes or muffins due to their water content and mushiness after baking. Once again a star tip provides the luscious ridges. Create different looks as you swirl, twist and lift your tip.

Mixed berry on triple berry muffins

Mixed berry on triple berry muffins

For the honey orange SMBC I again used my base financier batter, replacing 1/2 the almond flour with finely ground pistachios and adding orange zest for a lovely citrus touch. Similar to the lemon cakes above, I used my favorite mini-muffin silicone mold for the cakes and the star tip swirl for the top flourish with a few pistachios tucked in the center for a tasty treat.

Honey orange on orange pistachio financier

Honey orange on orange pistachio financier

For a different look I used another favorite ingot rectangular silicone mold which gives me a linear canvas for the buttercream using the French star tip. Same financier, more orange zest in the buttercream for a deeper orange color and a ridge of scallops or stars on top. Remember it’s all about how you twist, swirl and lift! Candied pistachios add just the right crunch. So deeeelicous!

IMG_0942.jpg

Have fun creating your own treats with luscious buttercream the Swiss way!

As spring moves into summer do your best to keep a positive outlook, stay safe and healthy. That’s what counts.

Giant allium

Giant allium

White lacecap Viburnum

White lacecap Viburnum

Fragrant lilac -oh the aroma!

Fragrant lilac -oh the aroma!

Chocolate pistachio swirls

IMG_0342.jpg

Time for more fun with croissant dough! Thinking along the lines of pain au chocolat , how about using the classic chocolate batons in smaller pieces to create a chocolate pistachio swirl? Sure thing!

IMG_0318.jpg

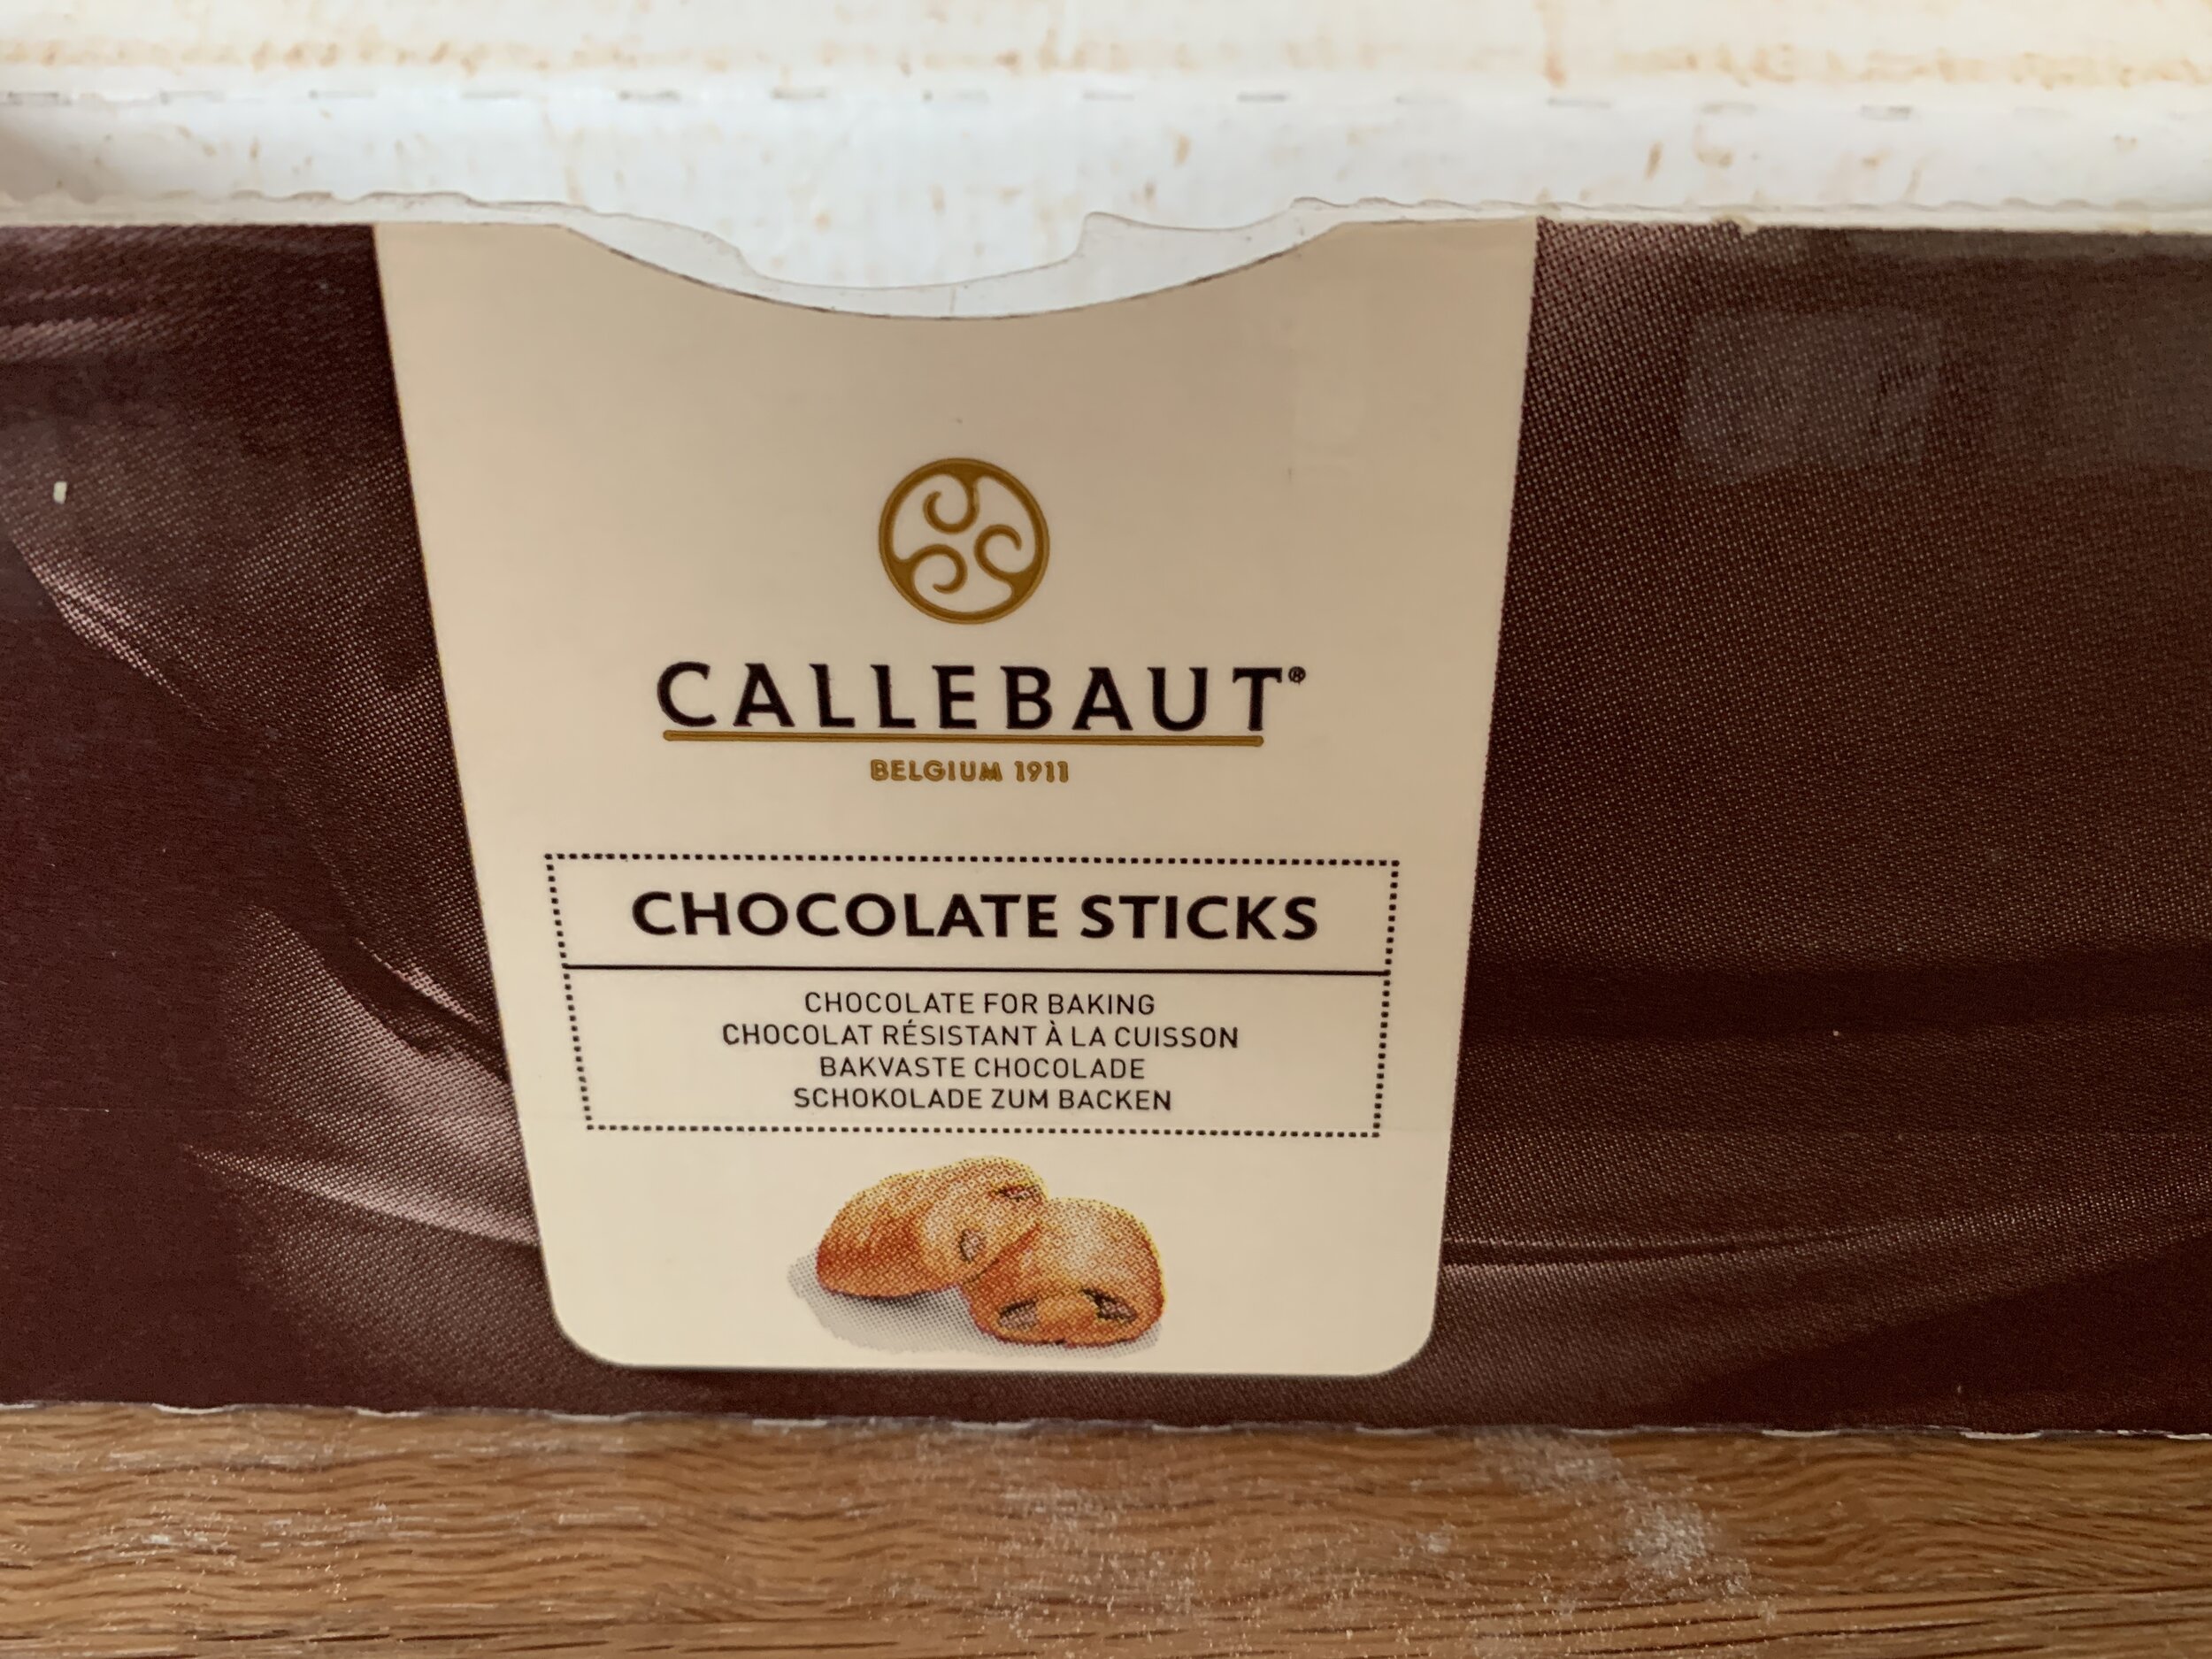
I’ve been using Callebaut’s chocolate baking sticks ever since my Paris internship days at Pascal Pinaud’s pâtisserie on rue Monge in the 5th arr. The box in the shop looked EXACTLY like this and here I am 13 years later still buying the same brand. They’re delicious and hold up well during baking - the only problem is that Steve likes to snitch a couple every day for that oh so needed chocolate fix.

IMG_0319.JPG

I love making petite pain au chocolat with my basic croissant dough. Just the right size for a treat along side one’s morning coffee.

IMG_0132.JPG

For this project I took a slightly different approach. I had a full batch of dough on hand but, since I wanted to bake some straight-up all butter croissants for the freezer (croissant aux amandes here we come!), I used a half batch for those and the other for my choco-pistachio swirls.

I made a pistachio version of crème d’amandes by replacing the almond flour with toasted and ground pistachios. Blend butter and sugar, add in the ground pistachios, blend in egg and a bit of flour and you’re ready.

I prepped my muffin tins by buttering and coating with raw sugar.

IMG_0323.JPG

I spent a few minutes plotting the size to which I wanted to roll the dough out as well as the width of each spiral. Turns out I used 1/3 portions (~1 inch wide pieces) of the chocolate batons to create my spirals.

I planned 9 swirls from a half batch of dough. Roll the dough out to ~ 9 inches wide and ~ 12 inches high. Spread a layer of pistachio cream over the dough and place 4 rows of the 1” baton pieces across the dough, spacing the rows about 3 inches apart as seen below.

IMG_0324.JPG

Cut one inch strips, roll them up and tuck them cut side up in the prepared muffin tins.

IMG_0325.jpg
IMG_0327.jpg
IMG_0328.JPG

Cover the pan lightly with plastic wrap and let the spirals rise about 45 minutes. You should appreciate some poof and greater prominence of the laminations.

About 20-30 minutes before baking heat the oven to 375ºF.

IMG_0330.jpg

Bake approximately 20-25 minutes until golden brown and the pistachio cream is set. I typically bake 10 minutes, rotate my pan and, depending on the degree of browning, I may reduce my oven temp to 350ºF to finish the process.

I find that when baking these in a muffin tin, even when the visible portions of the swirls look nicely browned, once I pop them out of the pan there can still be paleness to the sides and bottoms. If so, I transfer the swirls (OUT of the tin) onto a parchment lined sheet pan and put them back in the oven at 325ºF for another 5-10 minutes to finish off the baking and have a nicely golden end result. It’s a bit more fuss but it does the trick.

Another way to approach this is to use buttered 80 mm open rings instead of a muffin tin or simply space the pastries an inch and a half or so apart on a parchment lined sheet pan and bake them unfettered by any type of form. They’ll probably unfurl a bit as they expand but will be “held” by their neighbors.

IMG_0333.JPG

Once cooled (or even when still a bit warm!) enjoy with a fresh cup of coffee or your favorite tea. No fancy plated shot here - just go for it!

Flaky, buttery, pistachio-y with just the right balance of chocolate. Good and good for ya as Steve loves to say!

Stay home and happy baking! We’ll get through this yet folks.

IMG_0339.JPG

Nutty rosemary and lemon/pistachio/sesame shortbread

IMG_2610.JPG

I LOVE shortbread! I think back to those childhood days of eating Lorna Doone cookies and how much I enjoyed their crumbly butteriness (was there really butter in those babies??). I've come a long way down the shortbread trail since then. Yes, I know I've gone on about this topic in the past, but good things deserve a little review every now and then, right?

Depending on what part of the world you hang out in, these cookies can be referred to as biscuits (thanks to the Brits), shortbread (more Scottish - think Walkers) or sablés (thanks to the French).

My approach follows the traditional Scottish method - a simple combo of sugar/butter/flour, and you're good to go. Typically along the lines of 1-2-3 dough, you weigh out 1 part sugar to 2 parts butter to 3 parts flour and mix 'em up. You can play around with the ratios (decrease the sugar and increase the butter a bit) to yield an even more buttery cookie.

I have two base recipes that I use regularly. One uses granulated cane sugar and one confectioner's sugar (gives 'em a slightly more tender texture?). You can play around with different sugars on your own and decide which gives you the texture you most enjoy.

And why do I use two different bases you might ask? Because I can and so can you!

Add in your favorite citrus zest, spices, chopped nuts, chopped chocolate, dried fruit - the possibilities go on and on.

There are two mixing methods: sanding and what I like to call blending (I think of this one as just short of creaming - you're not trying to aerate the dough, just blending everything together).

The first involves weighing your sugar and flour into a mixing bowl, dicing cold butter and sanding it into the dry ingredients to coarse crumbs. At that point you just press into a pan and bake it. You can take the mixing a step further, going past the coarse crumbs until the dough holds together, then wrap, chill and roll out later, cutting into any shape that suits your fancy.

Both methods result in a lovely crumbly/crispy/buttery cookie, although, with the sanding and press in method, the texture is a bit more crumbly and melt-in-your-mouth. I make mine both ways and enjoy them equally.

If you look at LOTS of shortbread cookies recipes, you may notice that many of the French sablés add egg (whole or yolk) to the dough as a binder. They're delicious too! 

Periodically I enjoy changing up my flavor offerings. This time I had pecans in the freezer and sesame seeds in the cupboard.

First up - rosemary pecan.

IMG_2492.JPG

Over the years I occasionally make rosemary roasted nuts, usually walnuts or pecans, that are absolutely delicious as an appetizer along with a cheese or two. For a savory cookie, I chop some of the already rosemary-ied nuts and add them into my dough. Yum. So delicious.

IMG_2609.JPG

Next - lemon pistachio sesame.

IMG_2545.JPG

This one adds in some toasted sesame seeds, lemon zest/juice and chopped unsalted raw pistachios. Once baked, I brush them with honey and pop them back into the oven for a few minutes to set the honey. Oh man are they good!

IMG_2538.JPG
IMG_2611.JPG

On to the base recipes (plus additions!)

Rosemary pecan:

  1. In a stand mixer with the paddle attachment blend 75 g granulated cane sugar with 200 g diced, room temperature unsalted butter. 
  2. Add 250 g all purpose flour and blend in just until the dough comes together. Note/tip: I've started replacing about 1/5 of my all purpose flour with white whole wheat for some added whole grain goodness. 
  3. For the rosemary pecan version, chop 75 g rosemary roasted pecans (recipe below) and add them into the dough. Wrap, chill for at least an hour before rolling out and cutting desired shapes.

How easy is that??!

Lemon pistachio sesame:

  1. In a stand mixer with the paddle attachment blend 75 g confectioner's sugar with 227 g diced, room temperature, unsalted butter (notice a slight bump in the butter content here).
  2. Add 1 teaspoon vanilla extract, the zest of two lemons plus 2 teaspoons freshly squeezed lemon juice and blend in.
  3. Add 260 g all purpose flour (or sub 1/5 of that as white whole wheat flour) and 1/2 teaspoon salt and mix just until it comes together.

Blend in 50 g toasted sesame seeds and 50 g chopped raw pistachios. Wrap and chill for an hour or so before rolling out and cutting desired shapes.

I bake my shortbread at 325ºF (convection) for about 15 minutes or until gently browned (watch what's happening in there!!). Don't forget - it's your job to learn your own oven. 

Now how about those roasted rosemary pecans, you might ask? Here's the recipe (you'll have PLENTY of nuts for your shortbread dough - feel free to halve the recipe OR, even better, make the full batch and have plenty for apps and snacks):

  1.  Heat oven to 325º F.
  2. In a microwave safe bowl melt 2 tablespoons unsalted butter. Add 2 tablespoons olive oil, 1/3 cup chopped fresh rosemary (or 2 tablespoons crumbled dried), 2 teaspoons kosher salt, 1 teaspoon paprika and 1/8 teaspoon cayenne.
  3. Place 4 cups nuts (walnuts, pecans or a mixture of the two) in a bowl and toss with the above mixture, coating the nuts evenly.
  4. Spread onto a 1/2 sheet pan and bake 15-20 minutes, stirring every 5 minutes or so, until browned and fragrant.
  5. Drain on paper towels, cool and serve at room temperature (or chop some up for your shortbread - yay!!).
  6. Store leftovers in an airtight container and enjoy for many days.
IMG_2493.JPG

Now get in that kitchen of yours and create your own version of delicious, crumbly, buttery shortbread. You can do it!

Pistachio berry dacquoise

I'm a bit behind the curve on this one but welcome to 2017!

During the Christmas-New Year's week we had a lovely dinner at friend Margaret's cozy and festively decorated home. She rustled up a Viennese beef stew with noodles, as a reminder of her recent trip to Austria in early December. Her friend Kate brought a delicious and full-of-good-stuff green salad, and I, of course, brought dessert.

Creamy custard, lightly sweetened berry compote, candied pistachios - all nestled on a dacquoise base.  Sounds pretty good!

Dacquoise is one of my favorite things to make (and to eat, yes sir!). It's basically a soft nut meringue with the same ingredients as the popular and trendy French macaron, but it is WAY less fussy and tastes great too.

Having egg whites in the fridge is often the impetus I need to make dacquoise, and so it was that I began to imagine a pistachio version for my dessert creation.

The recipe (this is half my typical base recipe): in a separate bowl whisk together 50 g almond flour, 50 g ground unsalted raw pistachios and 75 g confectioners sugar. In a mixer with the whisk attachment whip 3 egg whites with 25 g granulated sugar to stiff peaks.  Gently fold in the nut/confectioners sugar mixture just until blended.

NOTE:  you can use any ground nut, either by itself or as a mix - almond, pistachio, hazelnut, walnut or pecan - you decide.

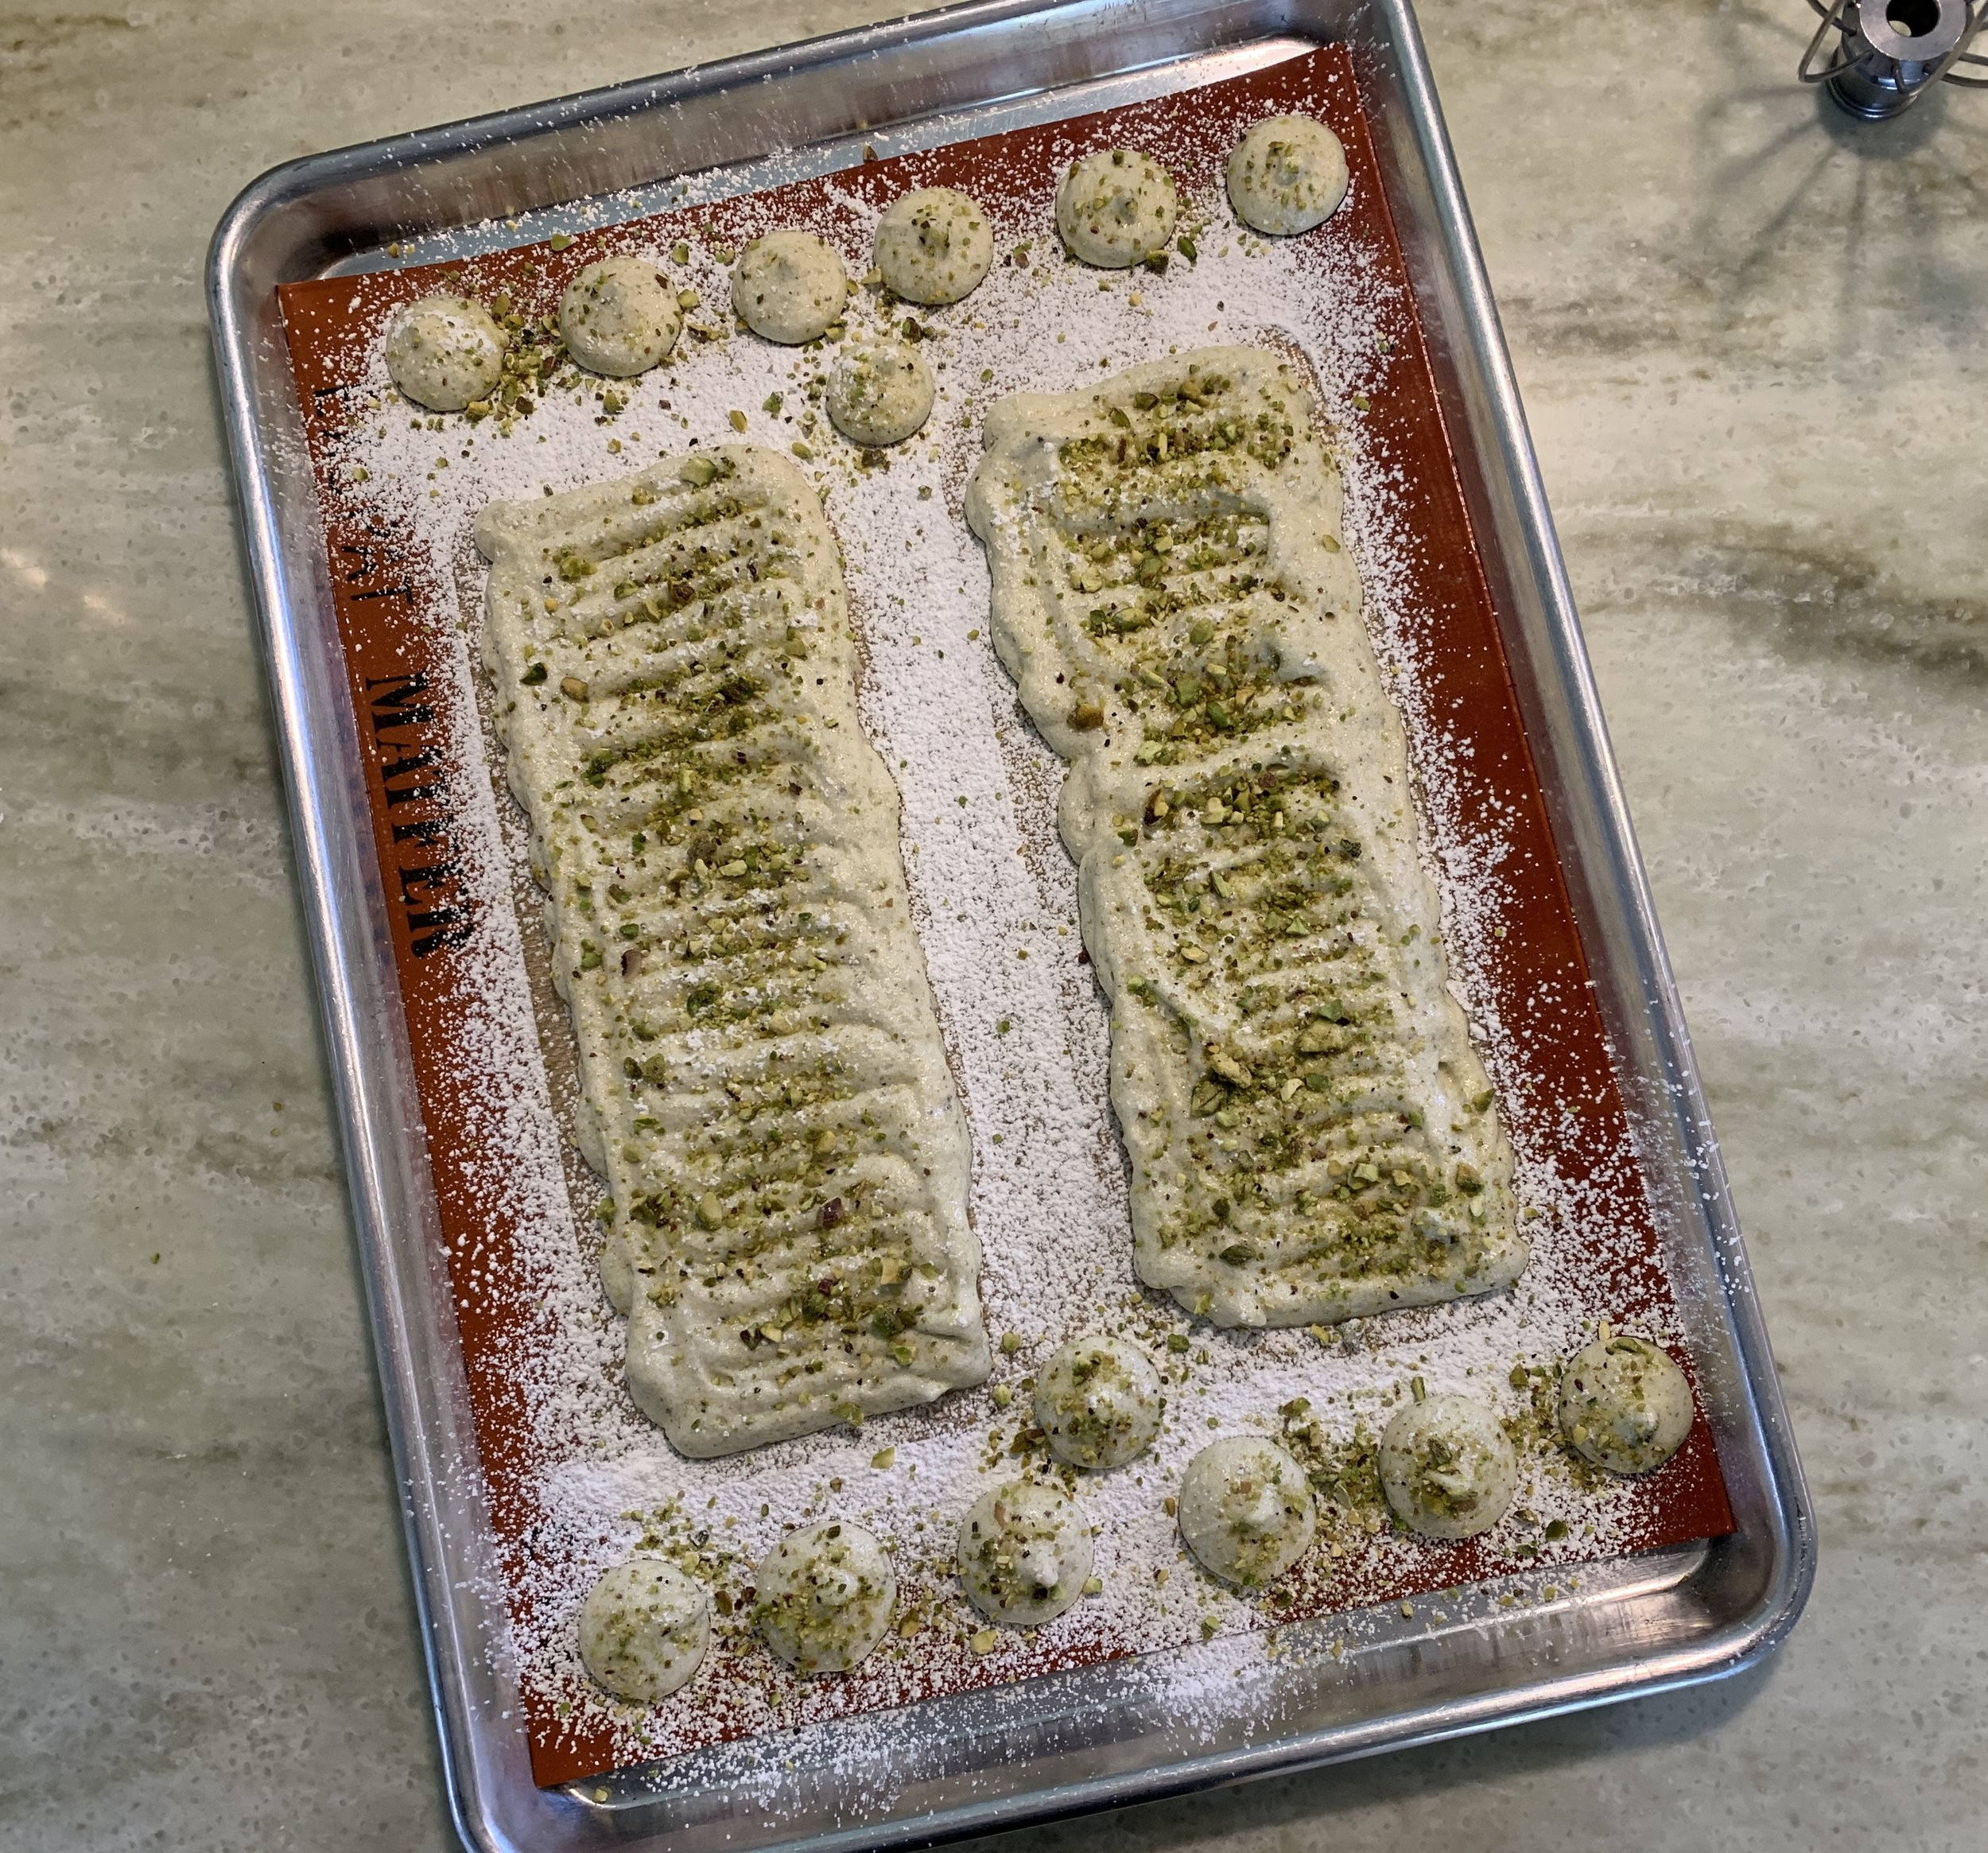
Once the dacquoise is mixed you can pipe any shape you choose, depending on your dessert vision. You can see what I did below. I think of these as dacquoise rafts just waiting to float down a dessert river, and, in this case, destined to carry a creamy ricotta custard ingot.

ready for the oven

all baked up!

Dacquoise is one of the few things for which I use silicone baking mats. The softly baked meringue lifts off the Silpat so easily. It's a beautiful thing. And another plus is you can make these ahead and freeze them until ready to go.

Candied pistachios are next. Adjust the recipe depending on the quantities you need, but a typical base recipe calls for 2 cups raw nuts, about 1/2 an egg white, some sugar as well as spices of choice if that's what you're after - cinnamon, nutmeg, ginger, coriander, even a little cayenne pepper - it's up to you.

Just whisk up the egg white until foamy, whisk in about 1/4 cup sugar (and the optional spices) then stir in the nuts until coated. Spread out onto a parchment or Silpat lined pan and bake at 325ºF, stirring every 10 minutes or so, until the egg whites have dried and things look toasty. It usually takes about 20-25 minutes for me.

Good news - the nuts are another do-ahead component that will keep at room temperature in a covered container for many days.

crunchy goodness

The beauty of these is they aren't really very sweet, even though coated in sugar - just deliciously enjoyable!

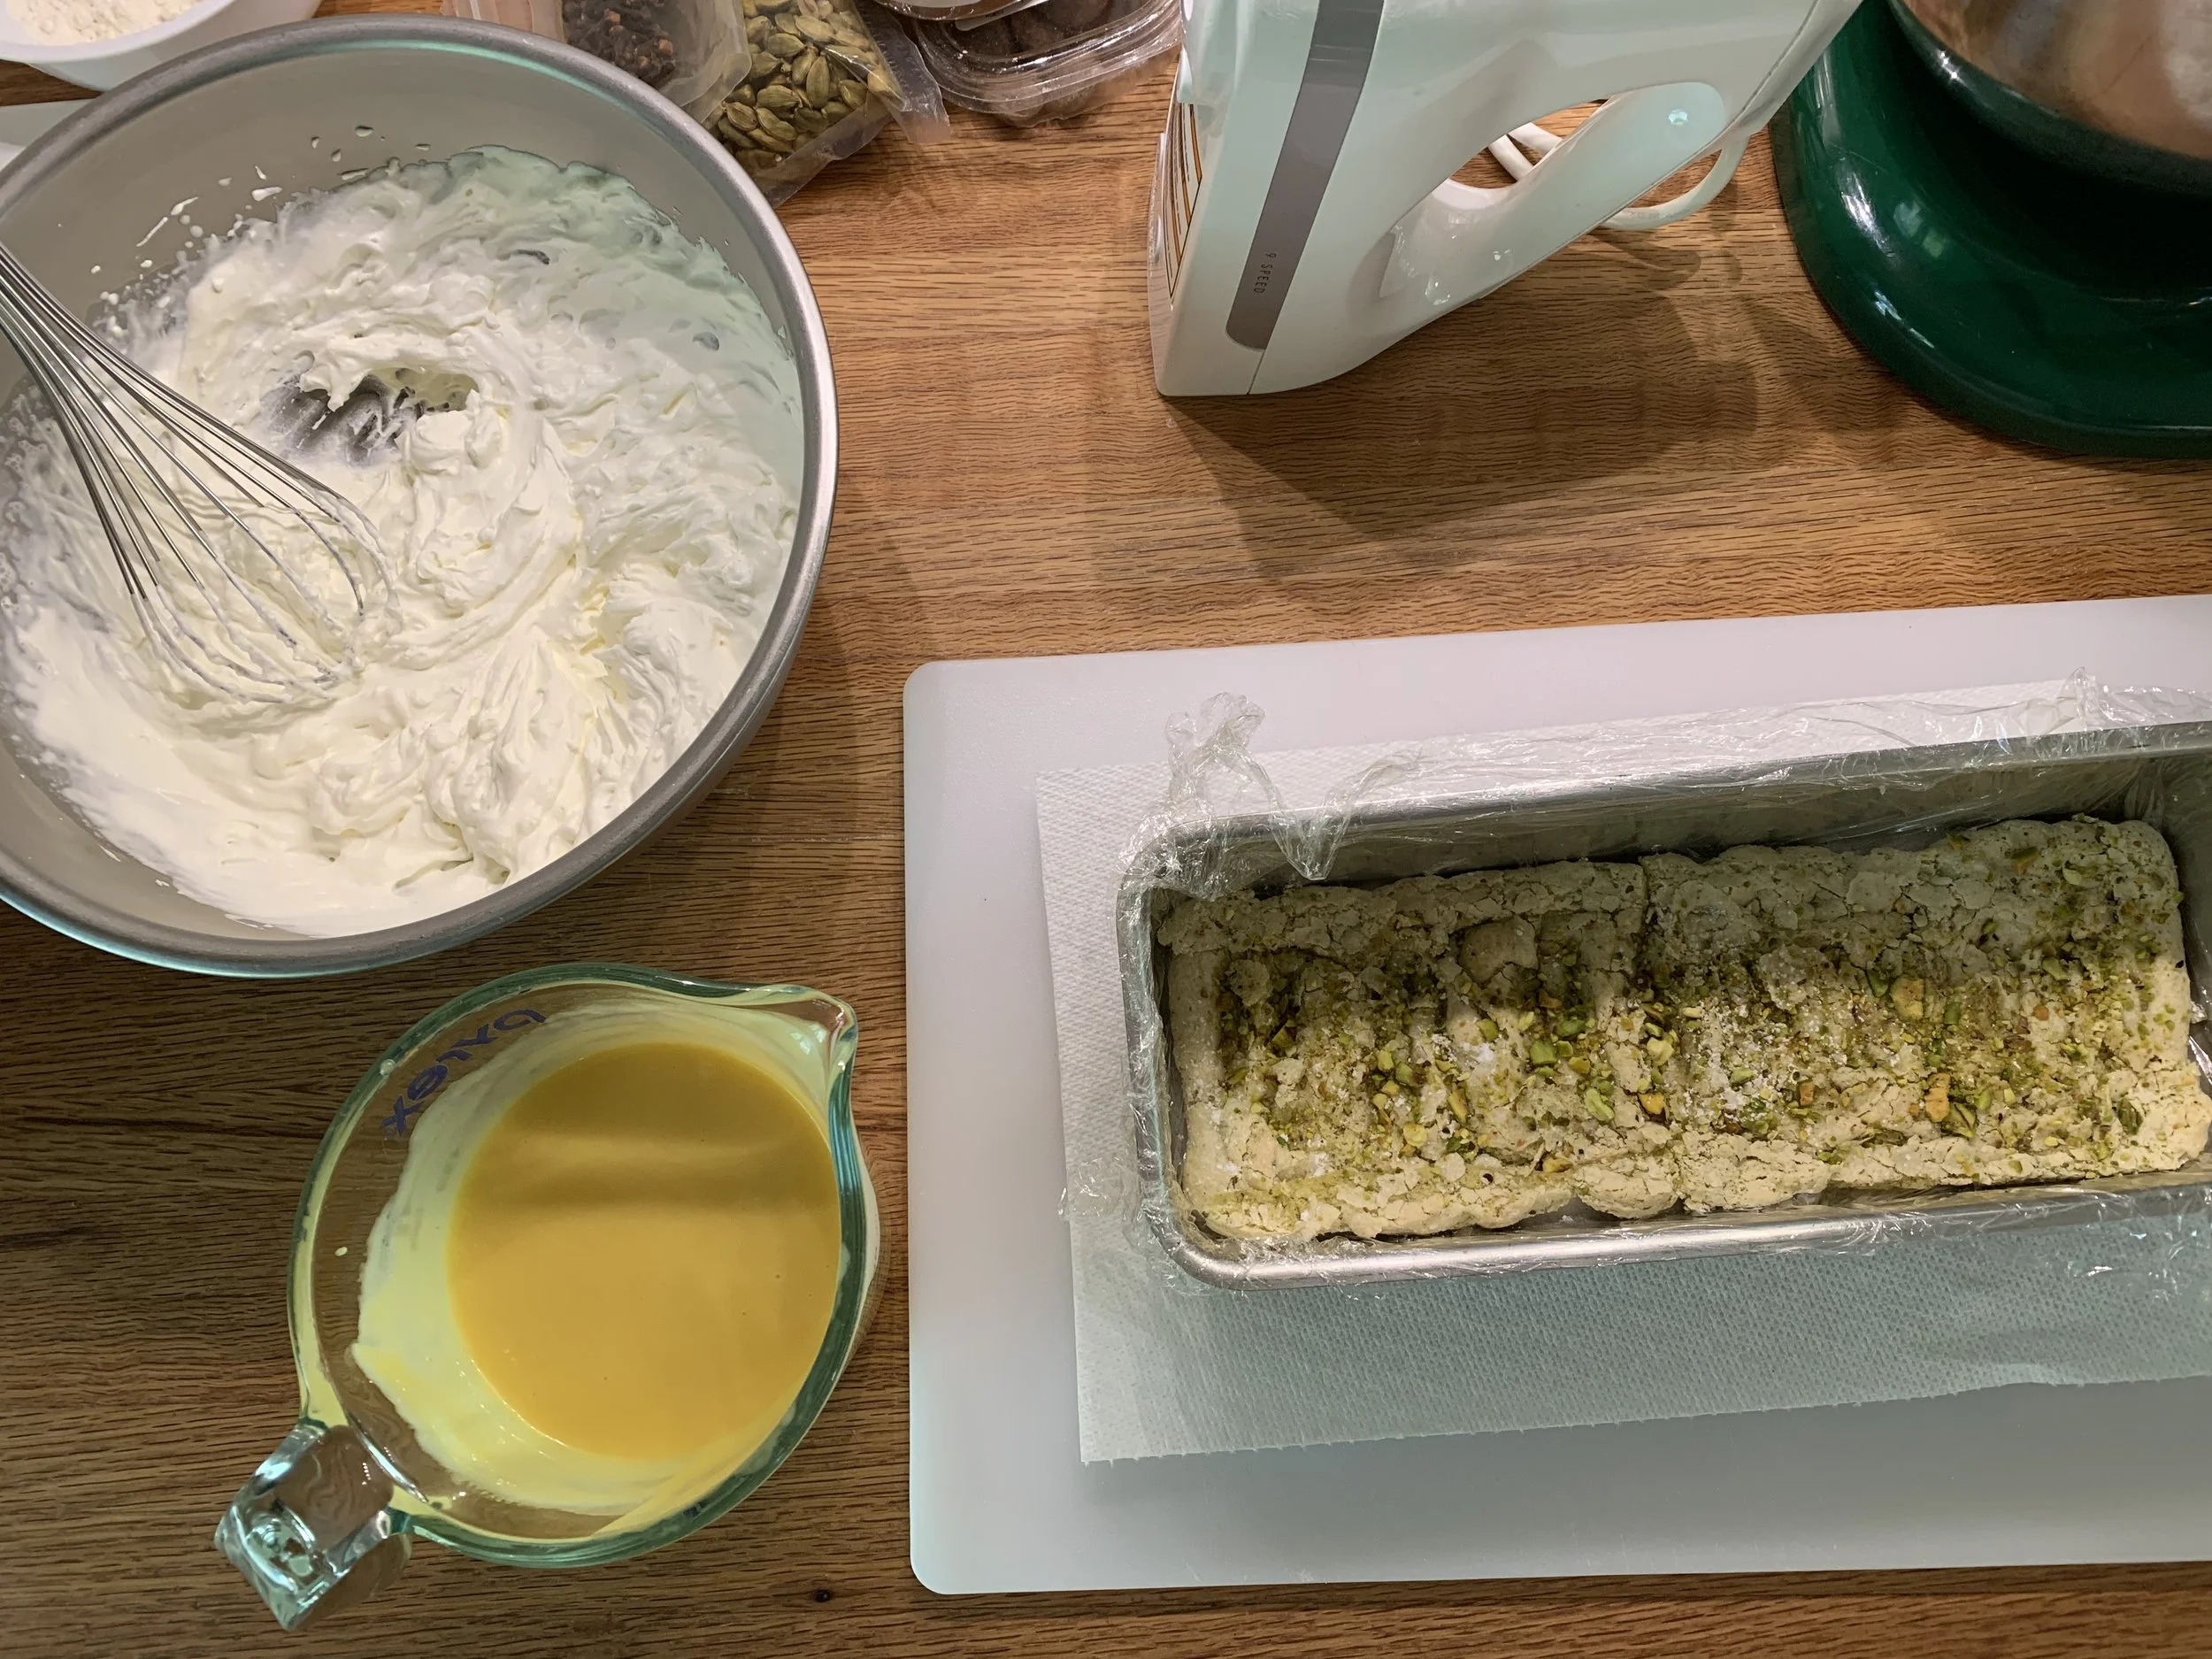
The ricotta custard is a combo of 177 g ricotta, 354 g cream cheese, 112 g sugar, 2 eggs, 1 egg white, seeds from 1/2 scraped vanilla bean and 177 g heavy cream. Beat the cheeses, sugar, vanilla bean in the mixer until smooth, beat in the egg and white, then add the cream and blend.

Pour the custard into flexible silicone molds of choice. I used Silikomart's SF026 12-well ingot shaped mold. 

Place the molds on a sheet pan, pour some hot water in to bathe the lower half of the molds and bake at 275ºF until the custard is set. The time will vary depending on the size of your molds (for these it took 20-25 minutes). This recipe made about 20 custard ingots.

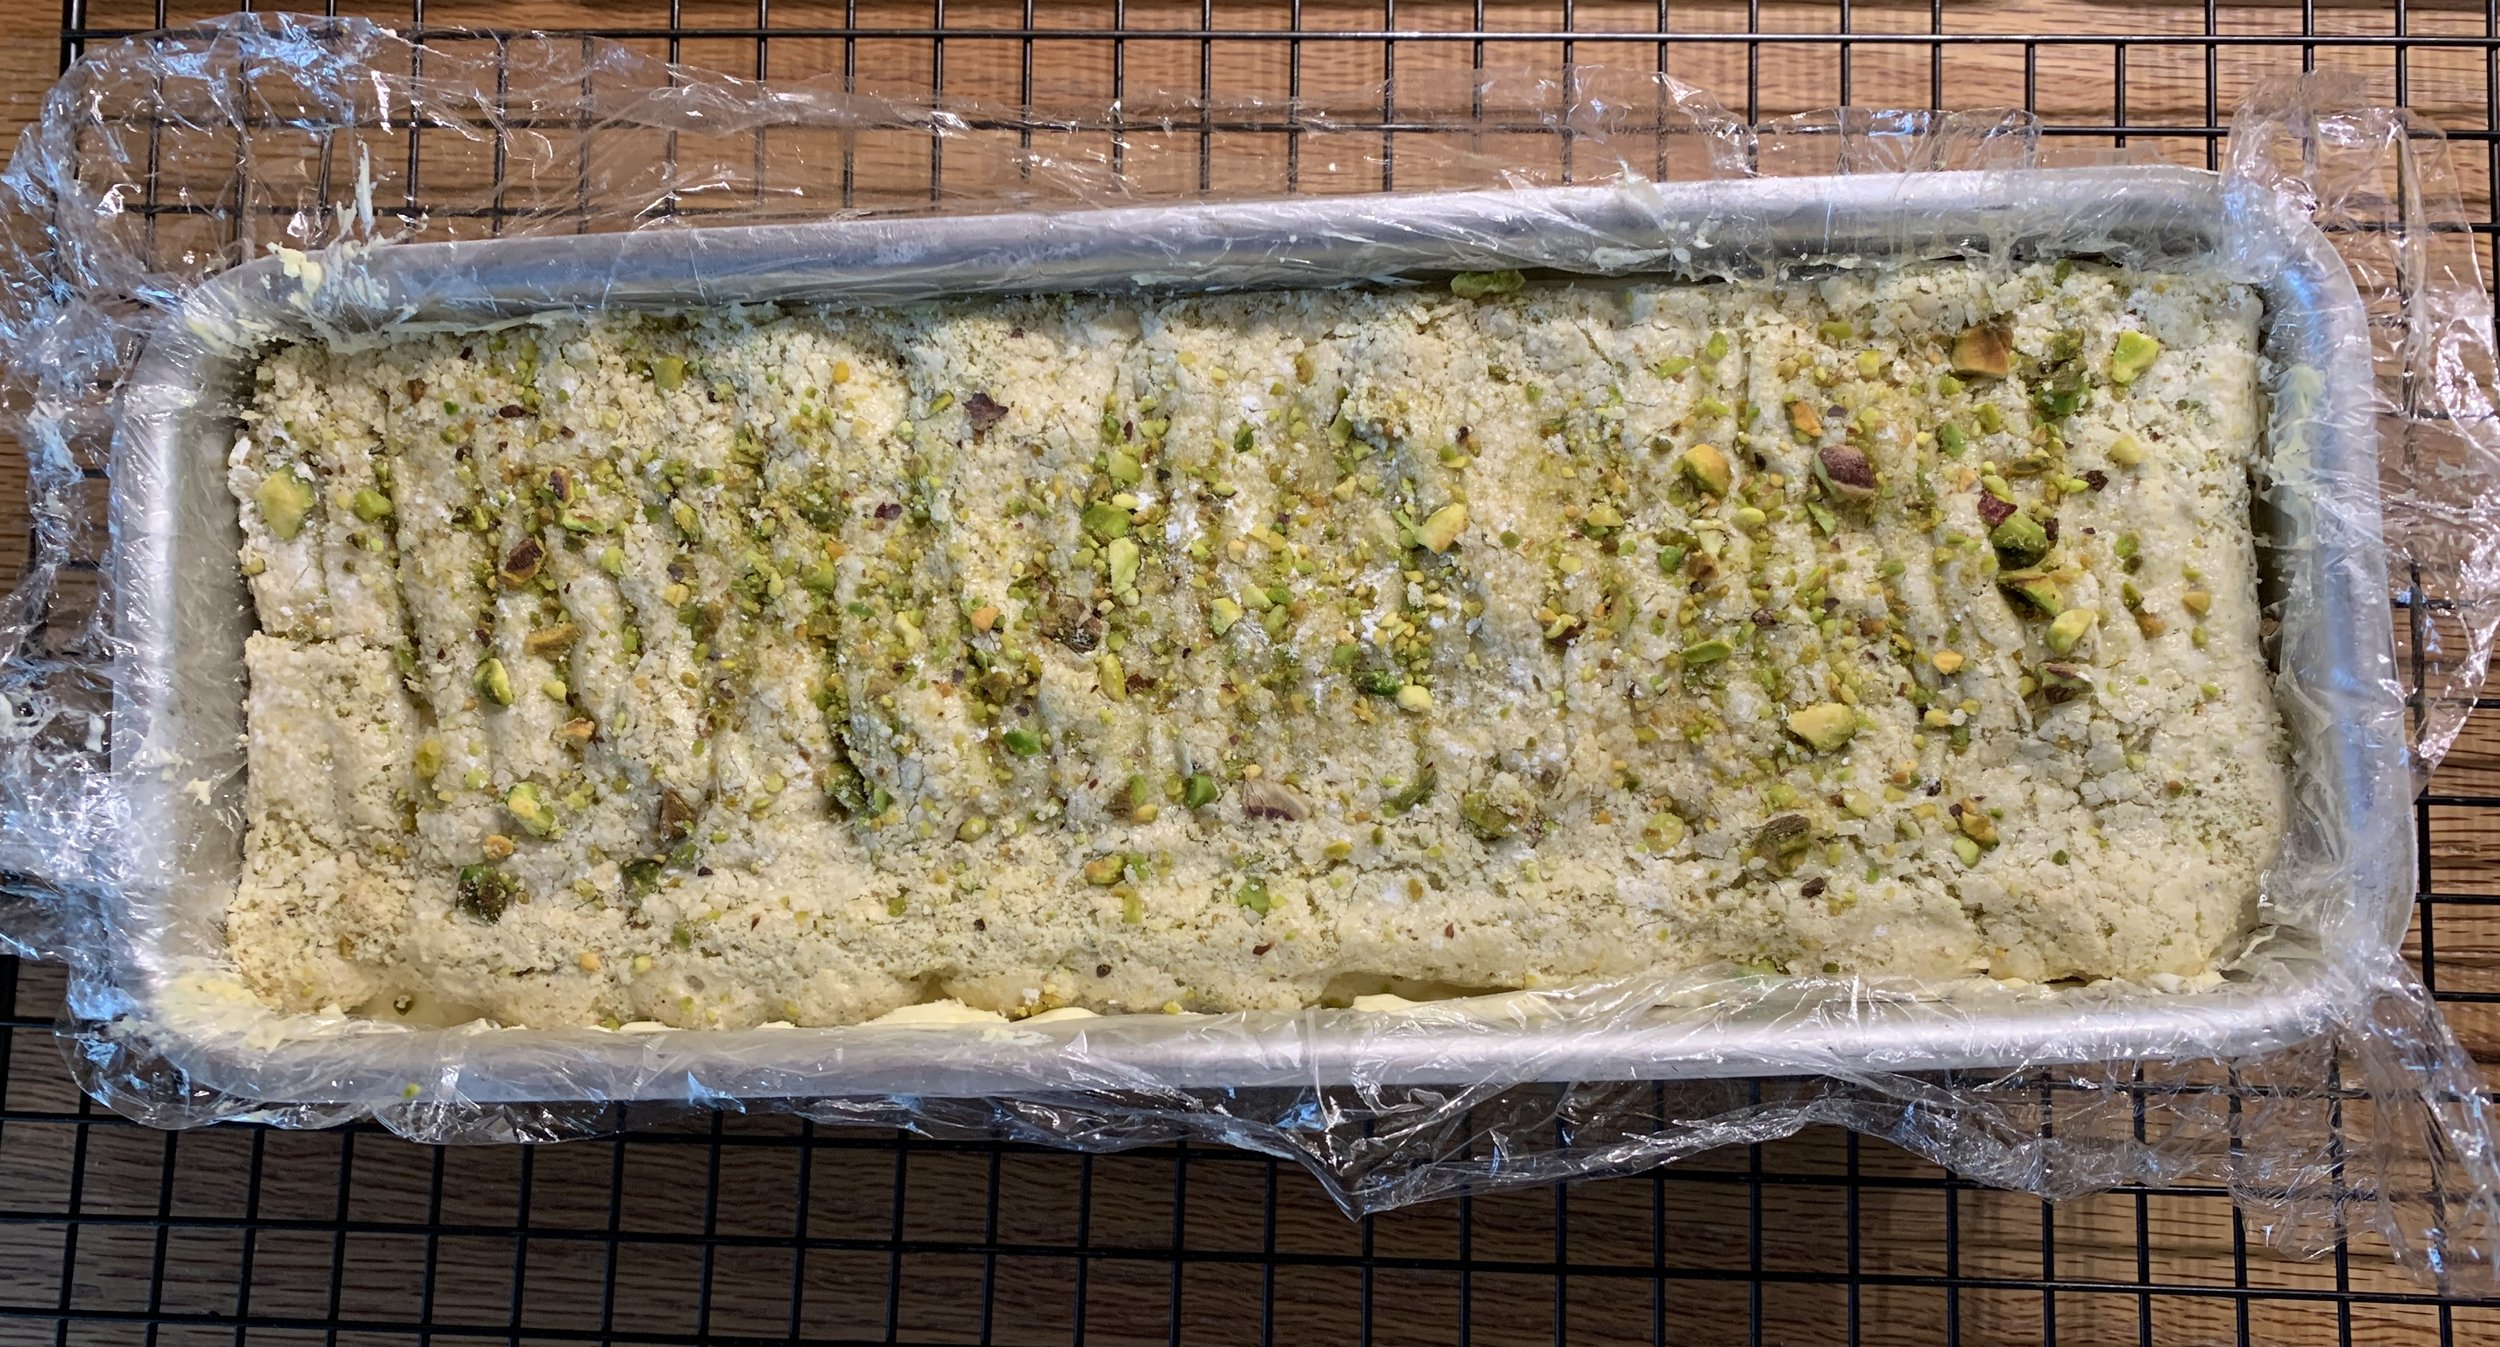
Once baked, let the custards cool to room temperature then put them, mold and all, into the freezer until firm. Then you can pop them out of the molds and store them frozen. Yay! Another do-ahead.

In the afternoon on your designated dessert day, just place the frozen shapes onto your chosen bases and refrigerate to thaw before serving. The custards hold their shape and are ready to garnish and enjoy!

I made a berry compote with a mixture of raspberries and blackberries (total 300 g) in a saucepan with 40 g of sugar and some lime zest. Heat 'em up until the berries break down a bit then stir in a cornstarch slurry (2 teaspoons cornstarch whisked in 1 tablespoon warm water) and simmer a few minutes until the mixture thickens.

Serve it a bit on the warm side or refrigerate it until ready to use. By now you know - do-ahead!!

What a luscious combination enjoyed by all! And a simple vanilla shortbread on the side added that extra special something.

Happy New Year from The French Tarte. Here's to all the baking and dessert creations to come!

Strawberry pistachio feuilletés


Forever scheming about ways to use ingredients I have on hand, whether in the freezer or cupboard, I hit upon feuilletés, puff pastry cases filled with whatever your little heart desires.

Our local grocery store, Meijer, has recently started carrying local Michigan, greenhouse-grown strawberries, which look world's better than the usual year round California giant, and often anemic looking, berries.

not bad for "out of season" fruit

I also had some pistachio paste on hand and decided on a pistachio pastry cream filling topped with fresh strawberries and pistachio crumble for this particular adventure.

I rolled out my puff, cut squares and fashioned the turned-corner feuilletés as seen in the photo below.  I popped them into the freezer while heating the oven to 425ºF.


Once the oven came up to temp, I brushed them with a little milk, sprinkled on some vanilla sugar and baked them with an overturned cooling grid across the top of the sheet pans - this technique keeps the puff even as it rises.

After about 10-15 minutes I removed the cooling grids and continued baking until nicely puffed and golden brown (another 10 minutes or so).

just out of the oven

love those layers!

I had made a classic crème pâtissiere au pistache earlier that day.  I added a bit of whipped cream to lighten the chilled pistachio cream.

Once the feuilletés were cooled, I simply pushed down their centers to make room for the filling, piped in some pistachio pastry cream and topped them with slices of strawberry.  Pistachio crumble finished them off, along with a dusting of powdered sugar.


Et voila!


These made for a delicious flaky, buttery, creamy, fruity, crunchy treat after a traditional Easter dinner of ham, cheesy potatoes, asparagus, strawberry spinach salad, carrot souffle and more.

Tasty.  Now just get into YOUR kitchen and create your own version of feuilletés!

Yes indeed.

Pistachio and chocolate butter cake from Samantha Seneviratne

A post holiday gift to myself was the book the new sugar and spice - A RECIPE FOR BOLDER BAKING by Samantha Seneviratne.

Many of the recipes have caught my eye.  My first trial from the book, coffee cardamom shortbread, was a definite success.

Next up is the cover recipe for pistachio and chocolate butter cake, highlighting the use of pistachio paste, cardamom and chocolate chunks (and butter, of course).


The butter, eggs and milk should be at room temperature.

Butter a 9" springform pan and heat the oven to 350º.

Do your ingredient mise en place . . . .

les ingredients
and let's go!

Whisk 223 grams flour, 7 grams baking powder, one teaspoon freshly ground cardamom (hard to see, but it's there on the left side in with the flour) and 1/2 teaspoon salt in a medium bowl.

Cream 113 grams/1 stick room temperature, unsalted butter with 75 grams granulated sugar with an electric mixer on medium speed until light and fluffy.

Add two eggs, one at a time, then blend in 198 grams pistachio paste.

Add the flour mixture alternately with 120 ml milk in three additions, beginning and ending with the flour.

Fold in 85 grams chopped dark chocolate (I used a mixture of 56% and 72%).

Put the batter into the springform pan and smooth.  Sprinkle 35 grams coarsely chopped pistachos over the top.

A very straight forward cake batter preparation.

ready for the oven

Bake for about 30-40 minutes.

just out of the oven

How did this work out?  Well, this is one case where it's important to pay attention to what's going on in your oven.

I baked this for a good 50-55 minutes since the center was still loose after the first 30-40 minutes.

At that point all the signs of doneness were there - a tester inserted in the center came out with moist crumbs, the top was nicely browned, there was no central jiggling when I lightly shook the pan, and it felt firm in the center.  Plus the aroma was enticing!

BUT!  Once this cake cooled it sank significantly in the middle and was still not thoroughly baked through in the center.  Disappointing.  You pay attention, you think it's done, but then . . . .

Perhaps the fact that my springform pan was sitting on an insulated cookie sheet kept the oven heat from getting properly into the center - who knows!

However, all was not lost.  I simply cut out the center goo, sliced the cake and served it with Samantha's roasted banana ice cream (see my next post!).  Pretty tasty indeed.

The cake is dense and buttery with a lovely cardamom-pistachio-chocolate thing going on.

If I were to do this recipe again, I would bake the cake in small flexi-molds or individual cake pans.  The baking time would be less, and the smaller portions would bake through more evenly.

Live and learn.  That's what it's all about.