Baking with rye flour: cookies two ways

Hi! The days continue to fly by! It’s been awhile since I’ve posted but I have a few drafts in the hopper on projects I accomplished during the cooler weeks of late spring/summer. I’ve worked on them helter-skelter without giving myself enough time to finish and publish them.

In the coming weeks I hope to share a citrus yogurt olive oil loaf cake, maple blueberry almond butter cakes, a classic plum torte and the second topic in my recently launched FAVE series - pots de crème. Leaning more toward simple and delicious cakes seems more appropriate for warm summer days, especially when fresh local fruits are teeming at the farmers markets. It’s best to leave the laminated dough and flaky pâte brisée for the cooler months.

Summer plum torte

My days are peppered with regular exercising, admiring late summer flowers along the paths, recipe writing and organization, planning for autumn classes through our local school district’s adult enrichment program, looking into a couple of small home improvement projects, hosting family, celebrating birthdays (including Mom’s 97th!) and anniversaries, along with a grand cousins’ reunion to boot. That’s summer for ya!

Classic summer - black eyed susans!

Enough of all that. Let’s talk rye!

On a late spring trip up to Traverse City to met up with friends Patty and Paul, we enjoyed a variety of food and wine adventures. One was a visit to Farm Club, a calming and beautiful spot in the countryside outside TC. A blend of restaurant, brewery, farm gardens and market, it’s an enjoyable way to spend a couple of hours on a beautiful afternoon no matter the season. We happened to be there over the Memorial Day weekend, enjoying a delicious lunch and taking advantage of a bit of shopping in their eclectic market.

Bags of recently milled rye flour on the shelf caught my eye and so it was that I came home with one of said bags. Although the staff there that day couldn’t give me the particulars as to whether it was dark, medium or light rye, I wanted to see what I might do with it once back in Grand Rapids.

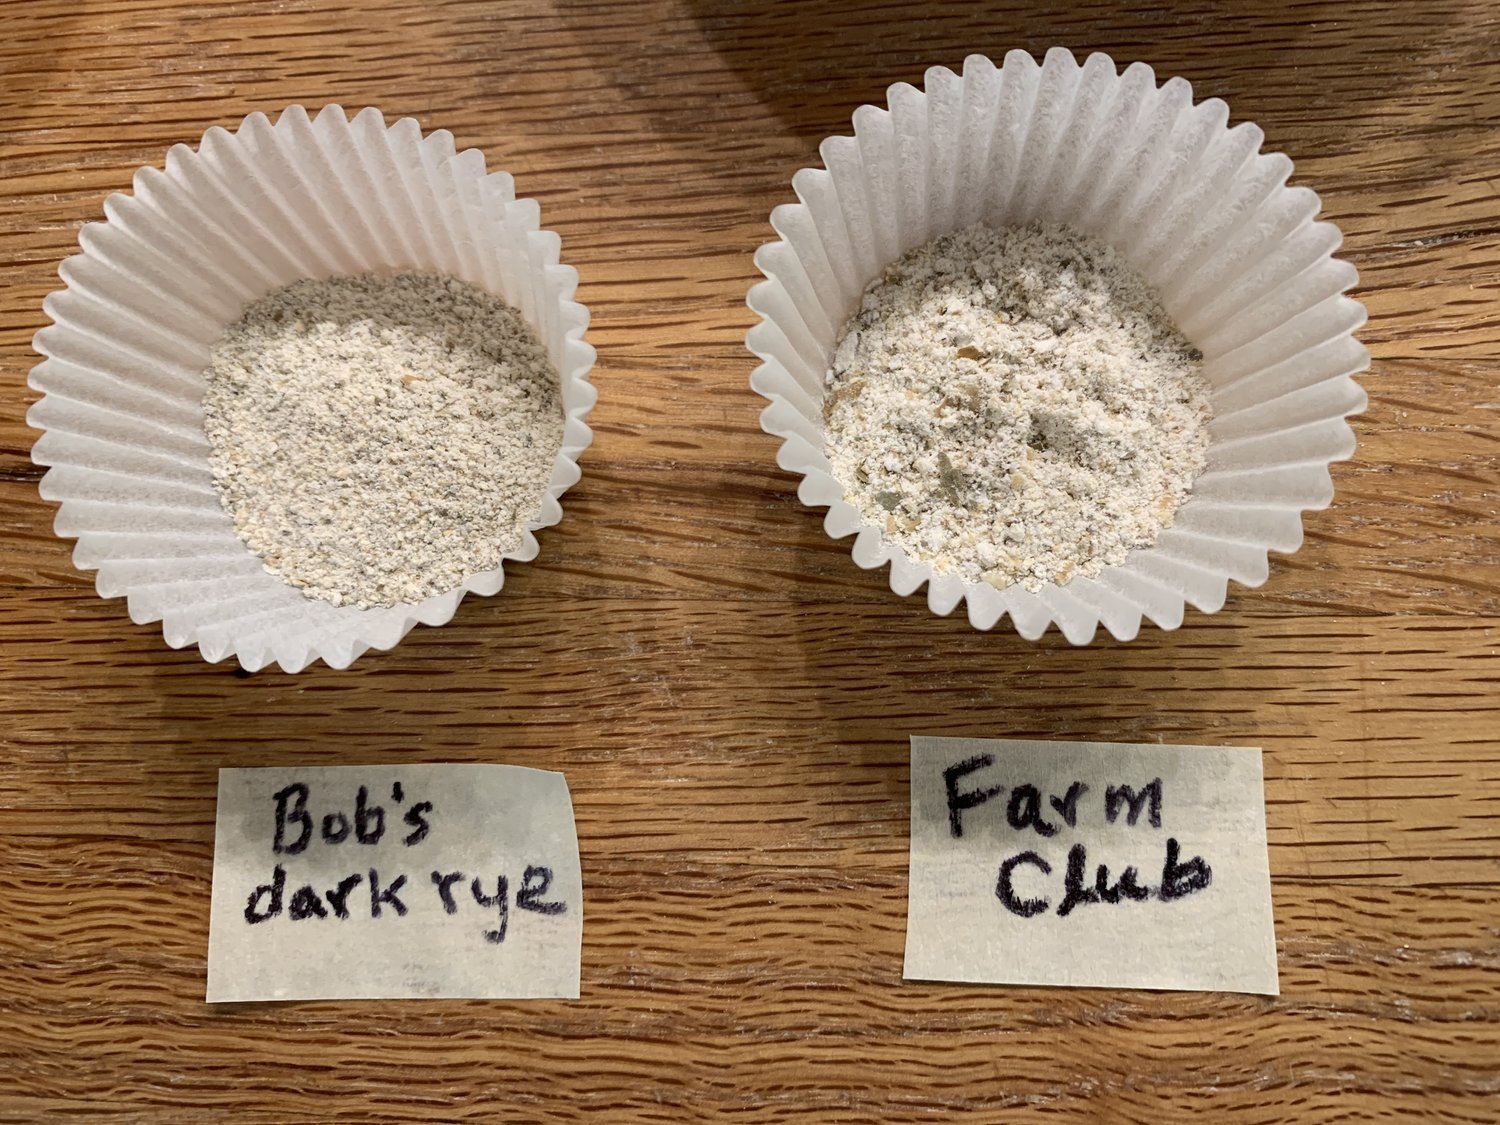
I compared it with the stone ground dark rye from Bob’s Red Mill that I’ve been using for awhile and found it to be a whole grain, coarser grind with bran, germ and endosperm clearly visible.

For some time now I’ve been incorporating rye flour into some of my breads, rolls, tart doughs, puff pastry and cake batters, seeing how it marries with all purpose, whole wheat, spelt and nut flours. So far I enjoy the deeper, nutty taste it imparts. Rye is lower in gluten than wheat flours so the two are often combined to give that just right texture and somewhat earthy flavor that one might be looking for in their baked goods. Plus rye has some nutritional benefits - better control of blood sugar, high dietary fiber, some help with cholesterol reduction and it contains important B-vitamins and certain minerals like magnesium, iron and potassium.

My goal this time around is to share a couple of rye chocolate chunk cookie recipes. The steps are familiar to many since both of these are made very much like a standard chocolate chip cookie.

If you prefer not to scroll through the post (I know I do go on and on sometimes), here’s the link to recipe one using both rye and all purpose flour, chopped chocolate and dried tart cherries; the cookies are toasty blond (header photo) like many chocolate chip cookies. Recipe two uses all rye flour and contains cocoa powder to give the cookies a through and through chocolate look.

First up - this one is based on a recipe from Mokonuts, a cafe/bakery in Paris’ 11th arr. which I learned about from Dorie Greenspan, the prolific cookbook author and Paris guru that I’ve admired for many years. I made these once a while back and have been wanting to revisit them. How about now?!

Mokonuts makes them with dried cranberries but I went with Michigan dried cherries, typically a staple in my baking cupboard. Chocolate chunks and poppy seeds add to the interesting mix. Here’s the recipe with the mise below. A picture says a thousand words.

All mised up

The plan ahead prep includes cubing 140 g / 5 ounces unsalted butter which should be at cool room temp and chopping 113 g / 4 ounces of chocolate. My cherries needed a little pick me up so I soaked them in hot water for a bit then drained them and paper toweled dry. I like my cookies on the small side so I snipped the cherries into smaller bits.

I used a combo of the Bob’s Red Mill dark rye and the Farm Club whole grain rye along with all purpose. Here’s the familiar cookie drill: dry ingredients whisked together in a separate bowl; butter and sugars creamed in the mixer; egg blended in; dry ingredients blended in then add cherries, chocolate and poppy seeds.

For awhile now there’s been a much greater emphasis in the cookie world on refrigerating cookie dough overnight for a more chewy yet crispy end result. That’s the case here. Scoop out your chosen portions and store them in the fridge overnight in a covered container or on a parchment lined sheet pan covered with plastic wrap. You can store them close together then spread them out for baking. I used a 25 g volume scoop for a not too huge end result and my yield was 34 cookies.

The dough should remain cold until ready to bake so get your oven heating to 425ºF and when it’s ready, space your cold dough balls about 2 inches apart and pop ‘em in the oven!


Bake one sheet at a time. If you only have one sheet pan, make sure it’s completely cool and the dough cold before baking the second round. Bake about 10 minutes, remove from the oven and tap the tops lightly with a small spatula. Let them rest a few minutes then transfer to a cooling rack.

Et voilà

Yum! Nicely crisp with a center chew and the chocolate/cherry combo is divine. Yes.


As if you haven’t had enough yet, the second recipe is from Brontë Aurell’s book “Brontë at Home”, this one using cocoa powder blended in with the dry ingredients to yield an obviously chocolate end result.

All mised up

For the prep, coarsely chop 100 g / 2/3 cup chocolate - I used my Guittard 61% discs - OR use either milk or dark chocolate chips. Melt 150 g / 11 tablespoons unsalted butter and set aside to cool. Blend dry ingredients (rye flour, cocoa powder, baking soda, salt) in a separate bowl. I used solely the Farm Club whole grain rye flour for this one. Mise out both brown and granulated sugars in a small bowl. One egg plus one yolk, 2 tablespoons of milk and 1 teaspoon vanilla extract round out the roster. If you prefer, scrape the seeds of one vanilla bean into your dry ingredients. Don’t forget to save that pod!! Let it dry and pop it into a container of granulated sugar.

This dough is wetter than the first and also needs a chill. In this case, wrap it as one in plastic wrap and refrigerate a few hours or overnight. The chilled dough is much easier to scoop out the next day.


I opted for two different sizes, one using my smallest one tablespoon scoop, each weighing in at 15 g. My next size up scoop is slightly less than 2 tablespoons and those weighed in ~ 25 g. I simply wanted to see how each baked up.


Answer - pretty much the same, apart from size. They bake about 8-10 minutes at 375ºF/190ºC. My yield: 18 of the 25 g; 24 of the 15 g. If making all the 25 g size, the yield should be around 33 cookies.


I like these! An interesting whole grain chew with a nutty hint, just the right cocoa-ness and not too sweet. Steve liked ‘em too!


I admit I’d give the cherry chocolate chunk version higher marks but both of these cookies have qualities many will enjoy. While cookies are always best freshly baked, both versions keep in a covered container over 2-3 days. But my go to method is freezing them in ziptop bags and popping a few out when the craving hits. They’re delicious cold!

Enjoy the remaining summer everyone and have fun! Autumn is just around the corner.

Banana rye walnut chocolate chunk cakes

I learned something about bananas some years back. Once they’re ripe and you’re not ready to eat them right then and there, peel ’em, chunk them up and freeze them! You can then use them in smoothies, cakes or quick breads where they lend a special creaminess to the batter. Yum.

This recipe calls for 4 medium bananas which I figured came to about 480 g of banana mash (~120 g per banana). I’m sure you can give or take the amount without negatively affecting the final result so don’t fuss too much as to the exact quantity of said banana.

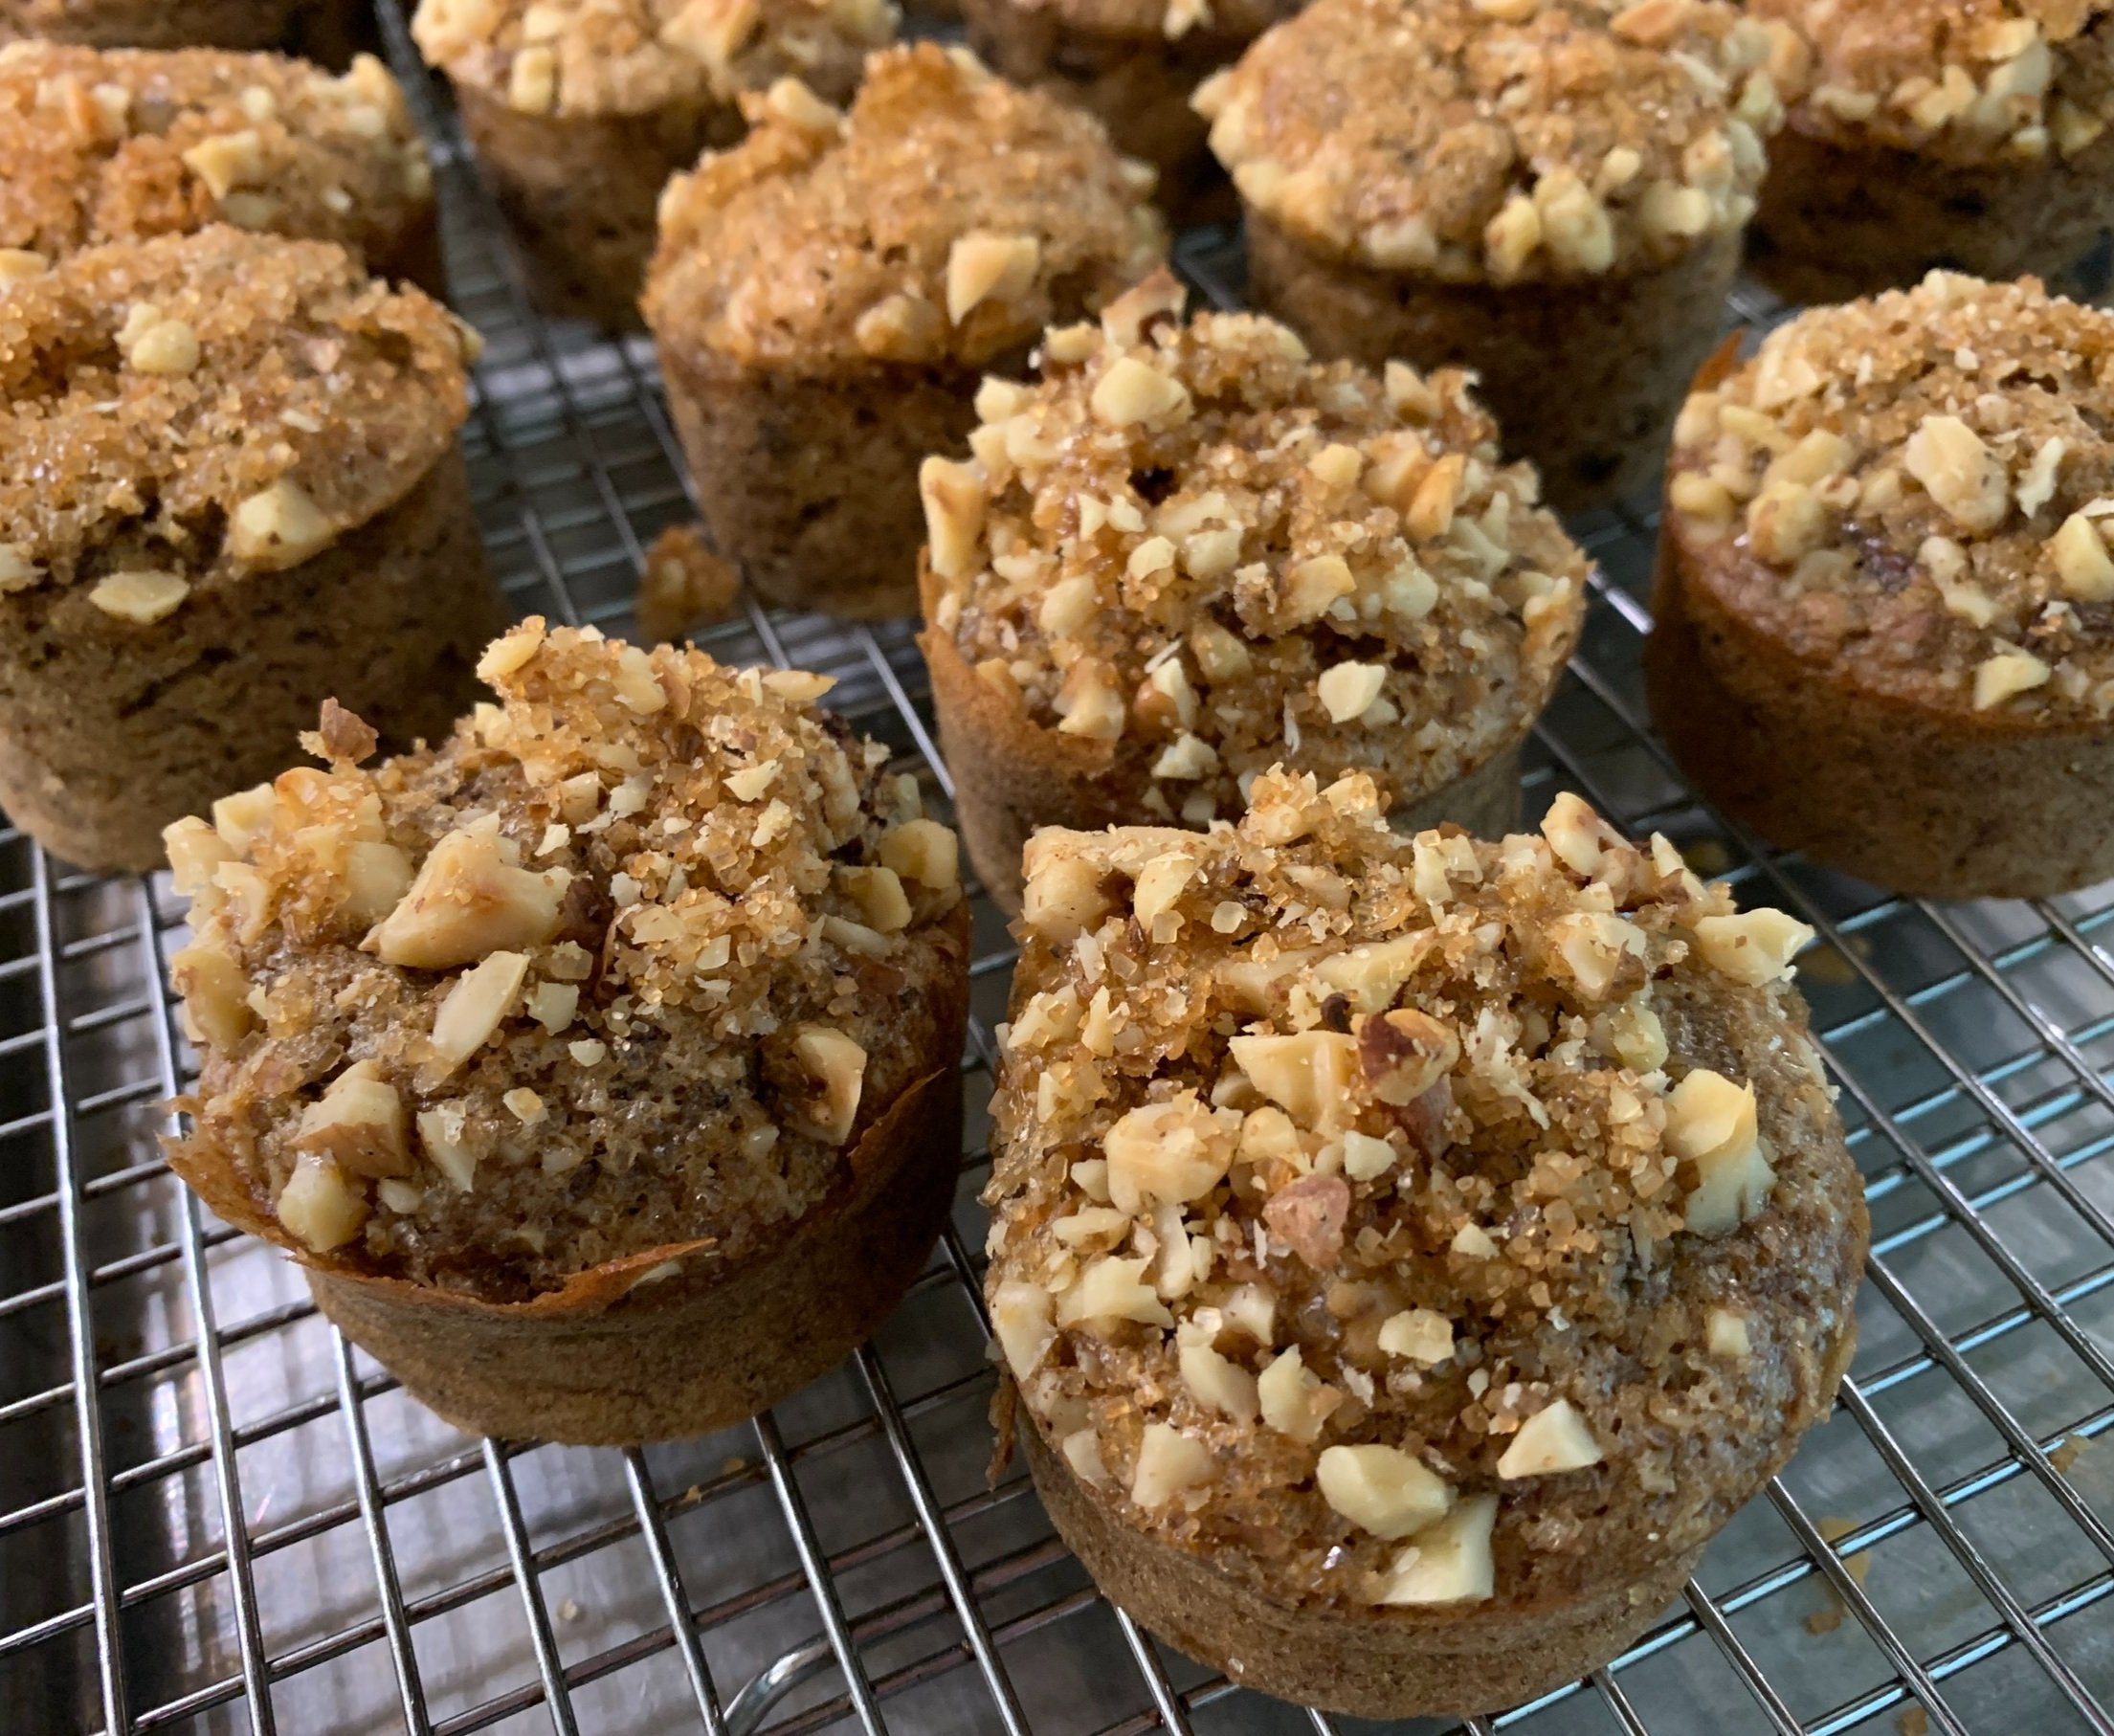
This is my take on banana rye bread from Brontë Aurell’s book “Brontë at Home - baking from the Scandi Kitchen”. I’ve made these babies a bunch of times and realized that I’ve never written about them. I’ve done variations subbing maple sugar (thanks sister Joyce!) for some of the brown sugar, subbing ground oats and/or whole wheat pastry flour for some of the all purpose flour, adding in chopped toasted nuts like hazelnuts or walnuts, adding chocolate chunks and topping with a nutty streusel. So moist. All good.

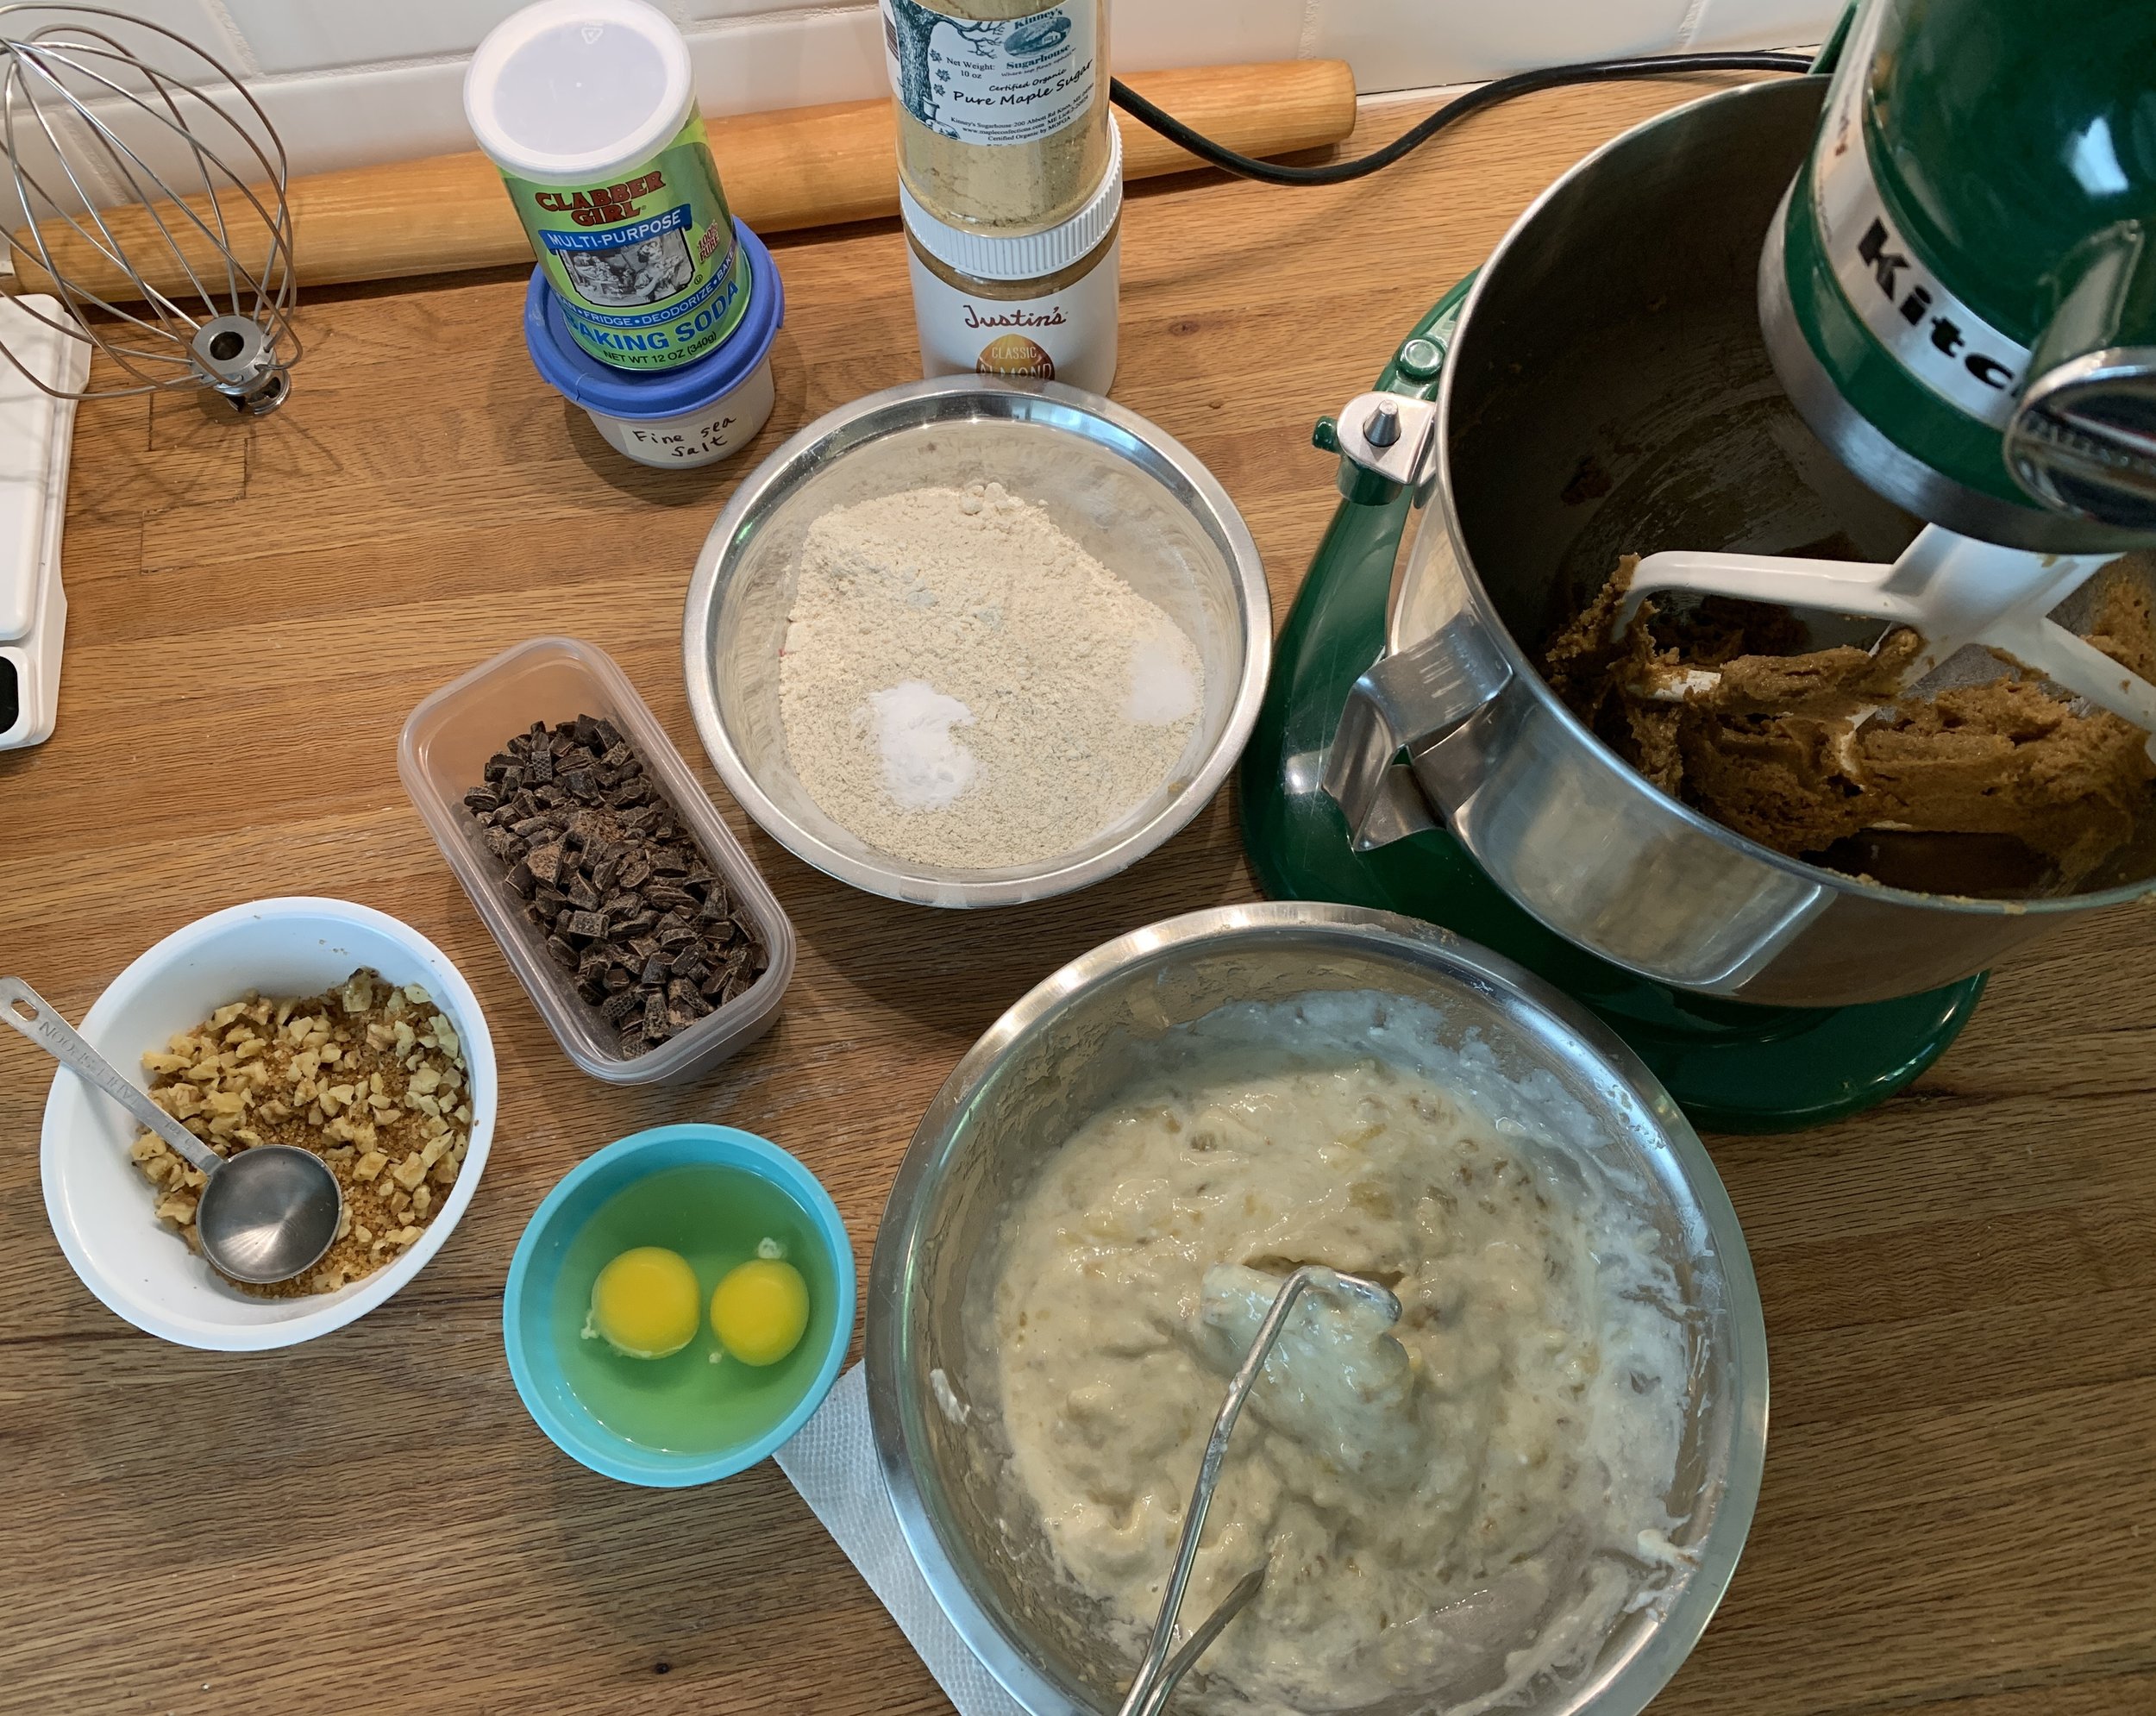
Here’s the recipe (including some of the variations I’ve made) and my mise for this version in the image below. It’s a pretty straight forward cake batter - mashed banana, yogurt, lemon juice and vanilla in a separate bowl; dry ingredients in another bowl; cream butter/sugar, add egg then add wet/dry alternating. Basic right?

In this case I’m also adding 170 g / 6 ounces chopped chocolate to the batter and topping with chopped walnuts and raw sugar for a bit of crunch.

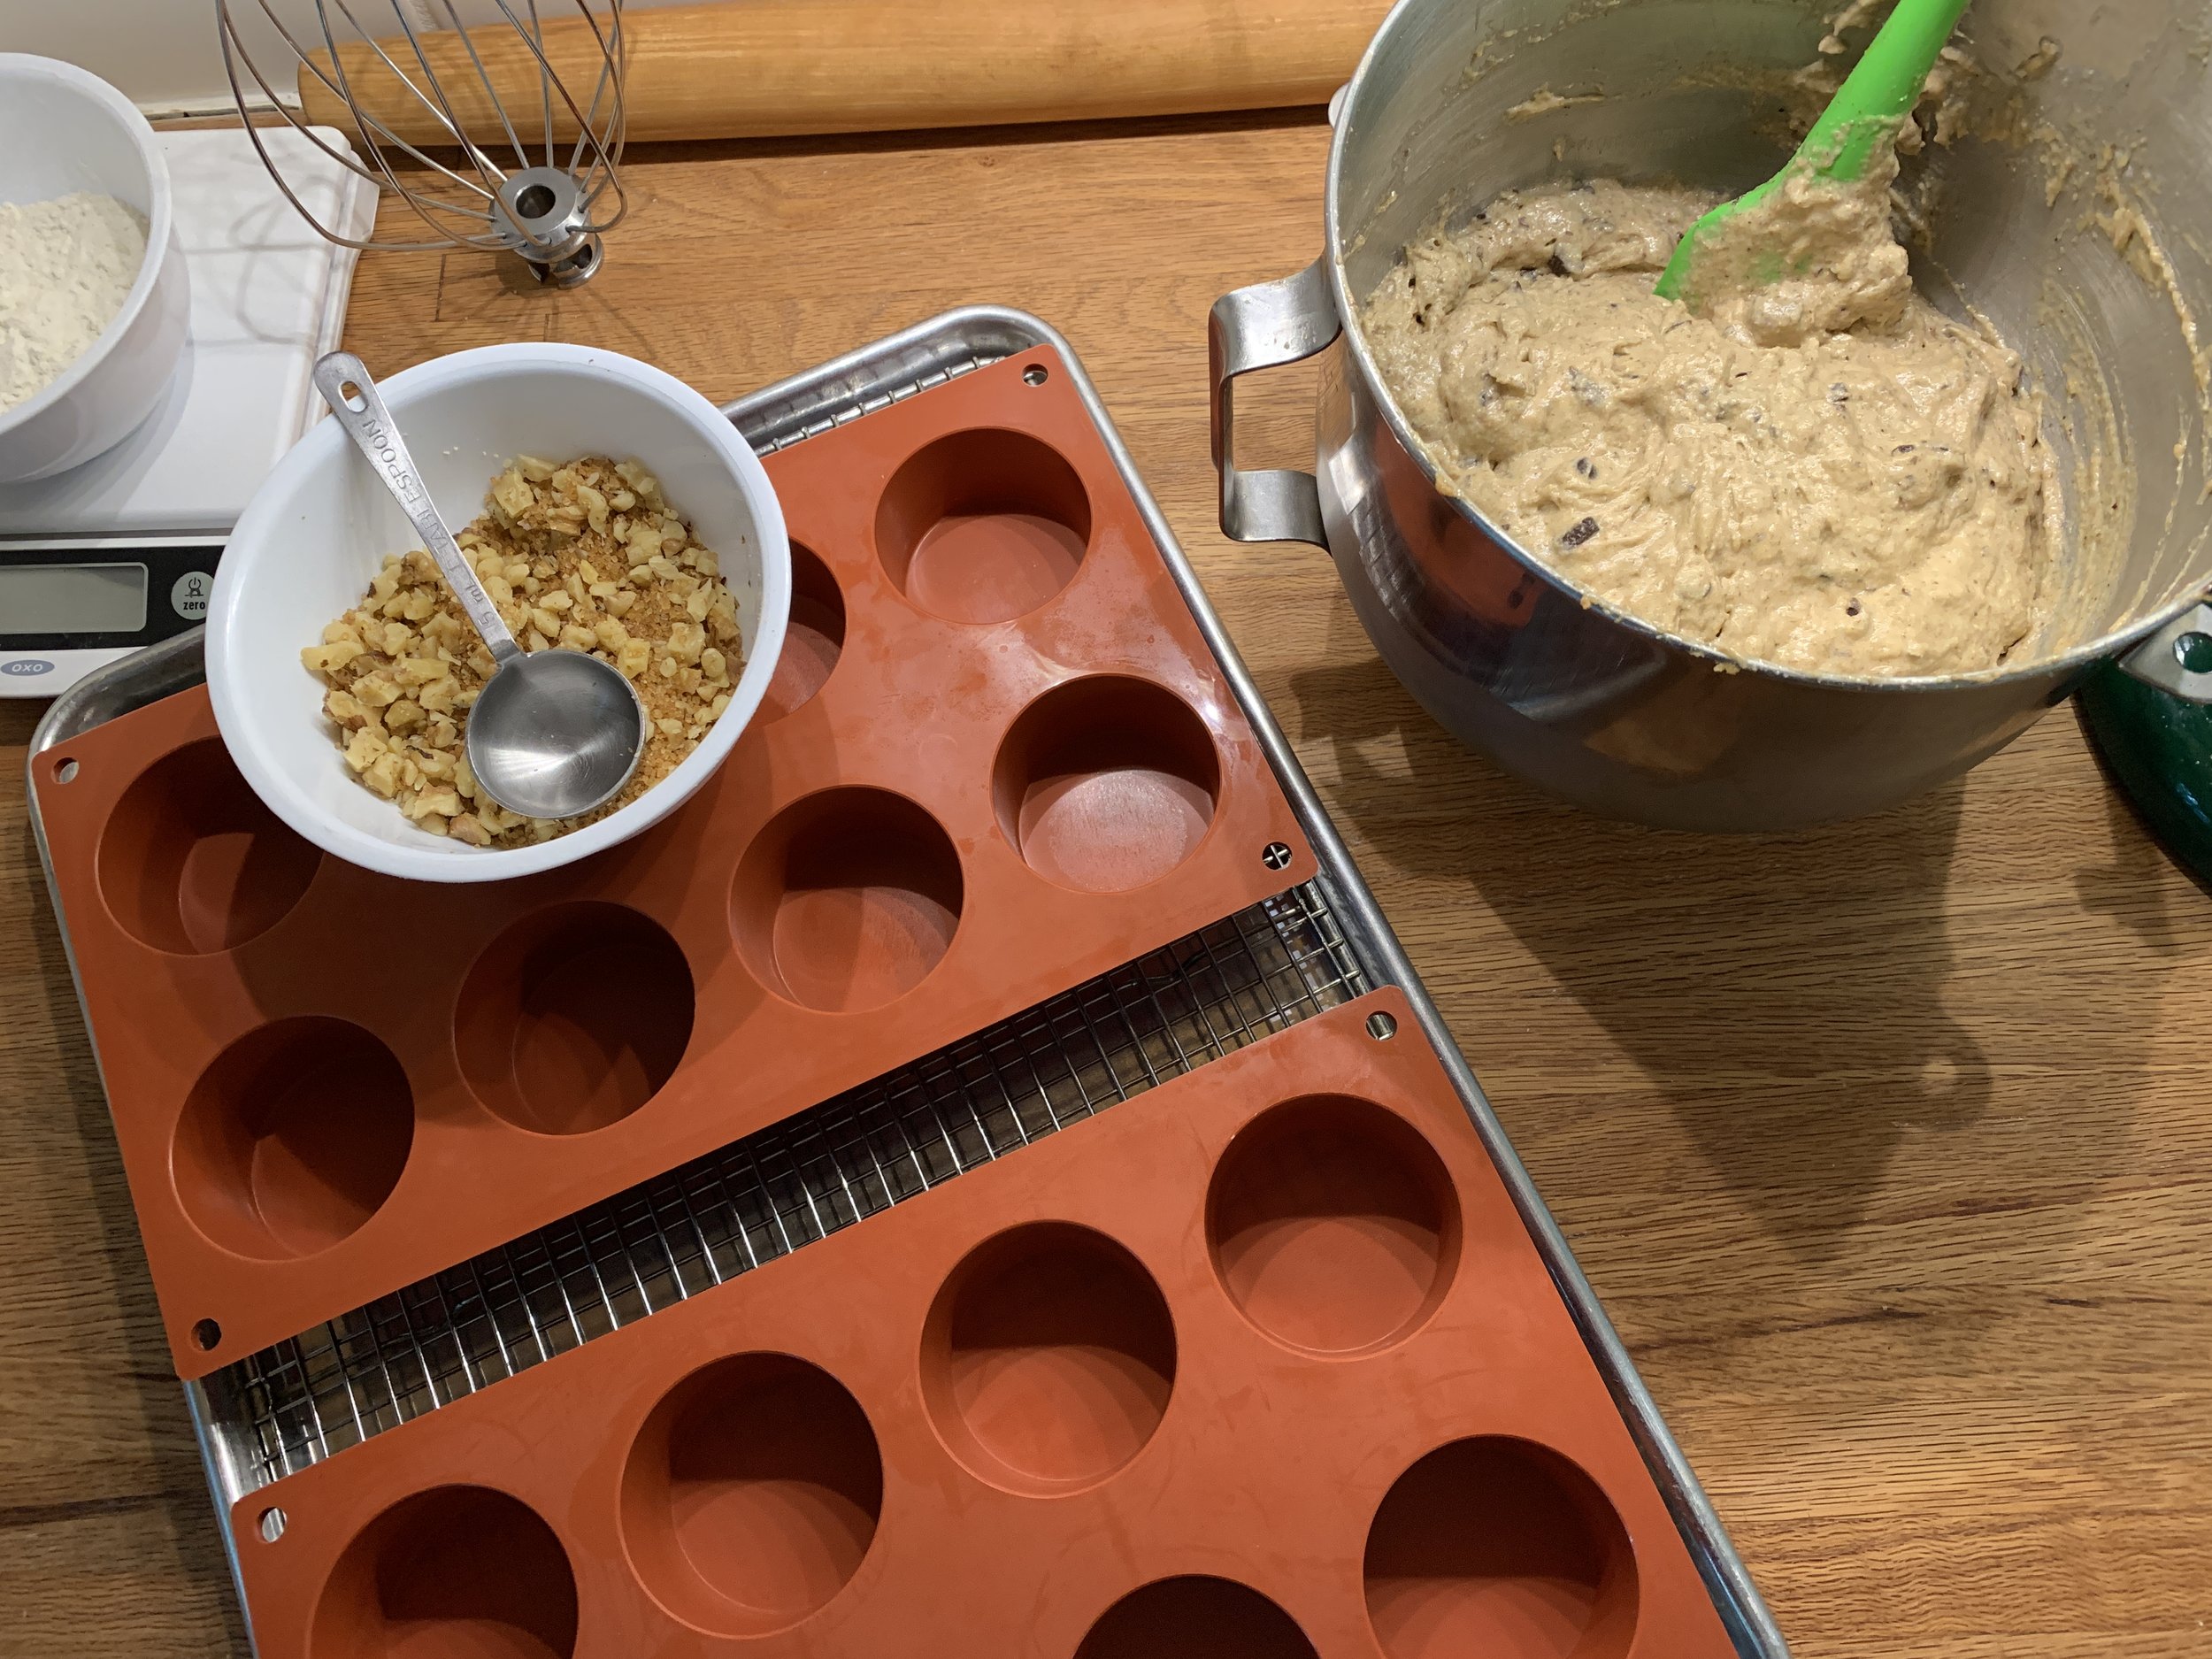
You can bake these cakes in buttered/floured muffin tins but I prefer (and love) my Silikomart silicone flexi-molds - so many different shapes and sizes. This time I’m using the 8-well SF028, rather like a standard muffin size. The recipe yield is about 20 cakes using that particular mold. I also often use the 11-well SF022 which is a tad larger than a standard mini-muffin pan - I get about 33 cakes with that mold. NOTE - I have several of each mold.

I place the molds on a wire grid on a half sheet pan - that allows for better air circulation and more even baking.

You can find a large selection of Silikomart molds at bakedeco.com. By the way - I have no affiliate links with any companies - I simply like sharing the things I find useful and fun in the baking kitchen!

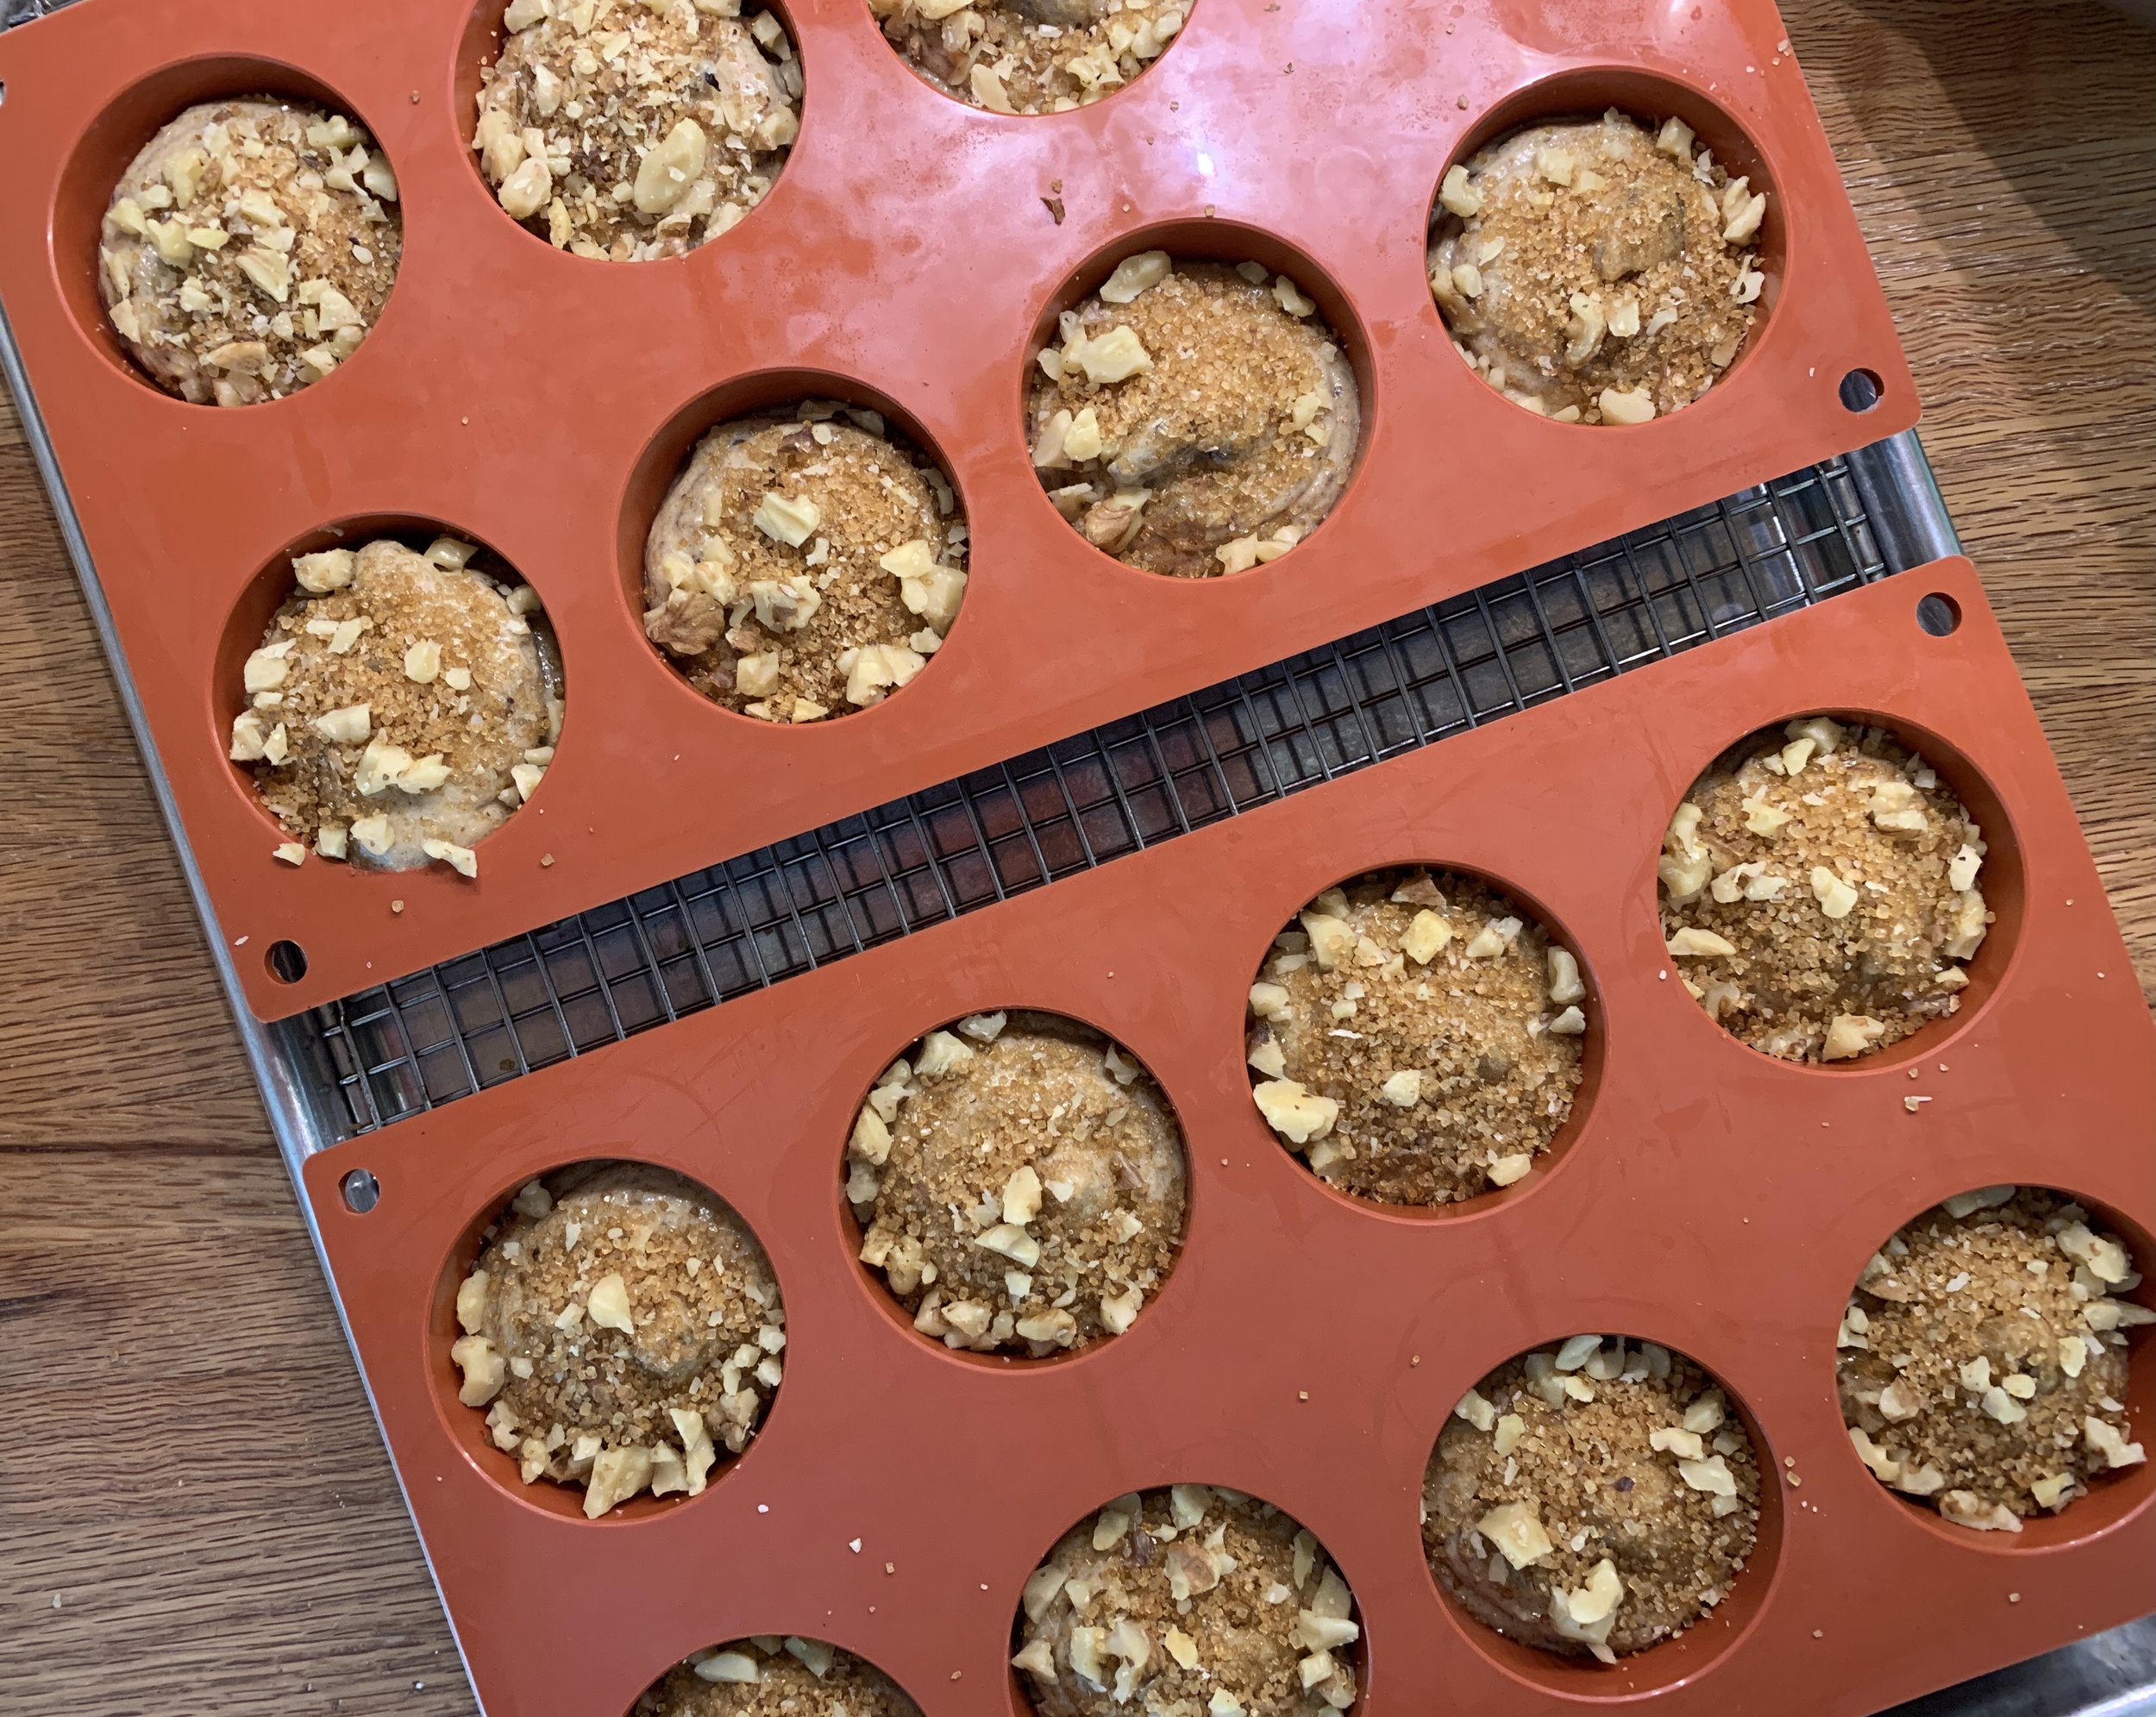
Heat the oven to 350ºF. Fill molds about 3/4 full. Sprinkle chopped walnuts and raw sugar on top.

Bake 20 minutes or so - always check about half way through. Your oven may take longer than mine. You want the center to feel set and just the barest hint of a moist crumb on a tester.

Let them rest about 10 minutes then gently turn them out onto a wire cooling rack. If you can’t wait, try one a bit warm when the chocolate will still be gooey, otherwise cool to room temp and enjoy.

These freeze well too. Even better!

Let me add my official Happy New Year to all of you. Time for new projects and, as always, staying active and keeping our collective chins up. OK.