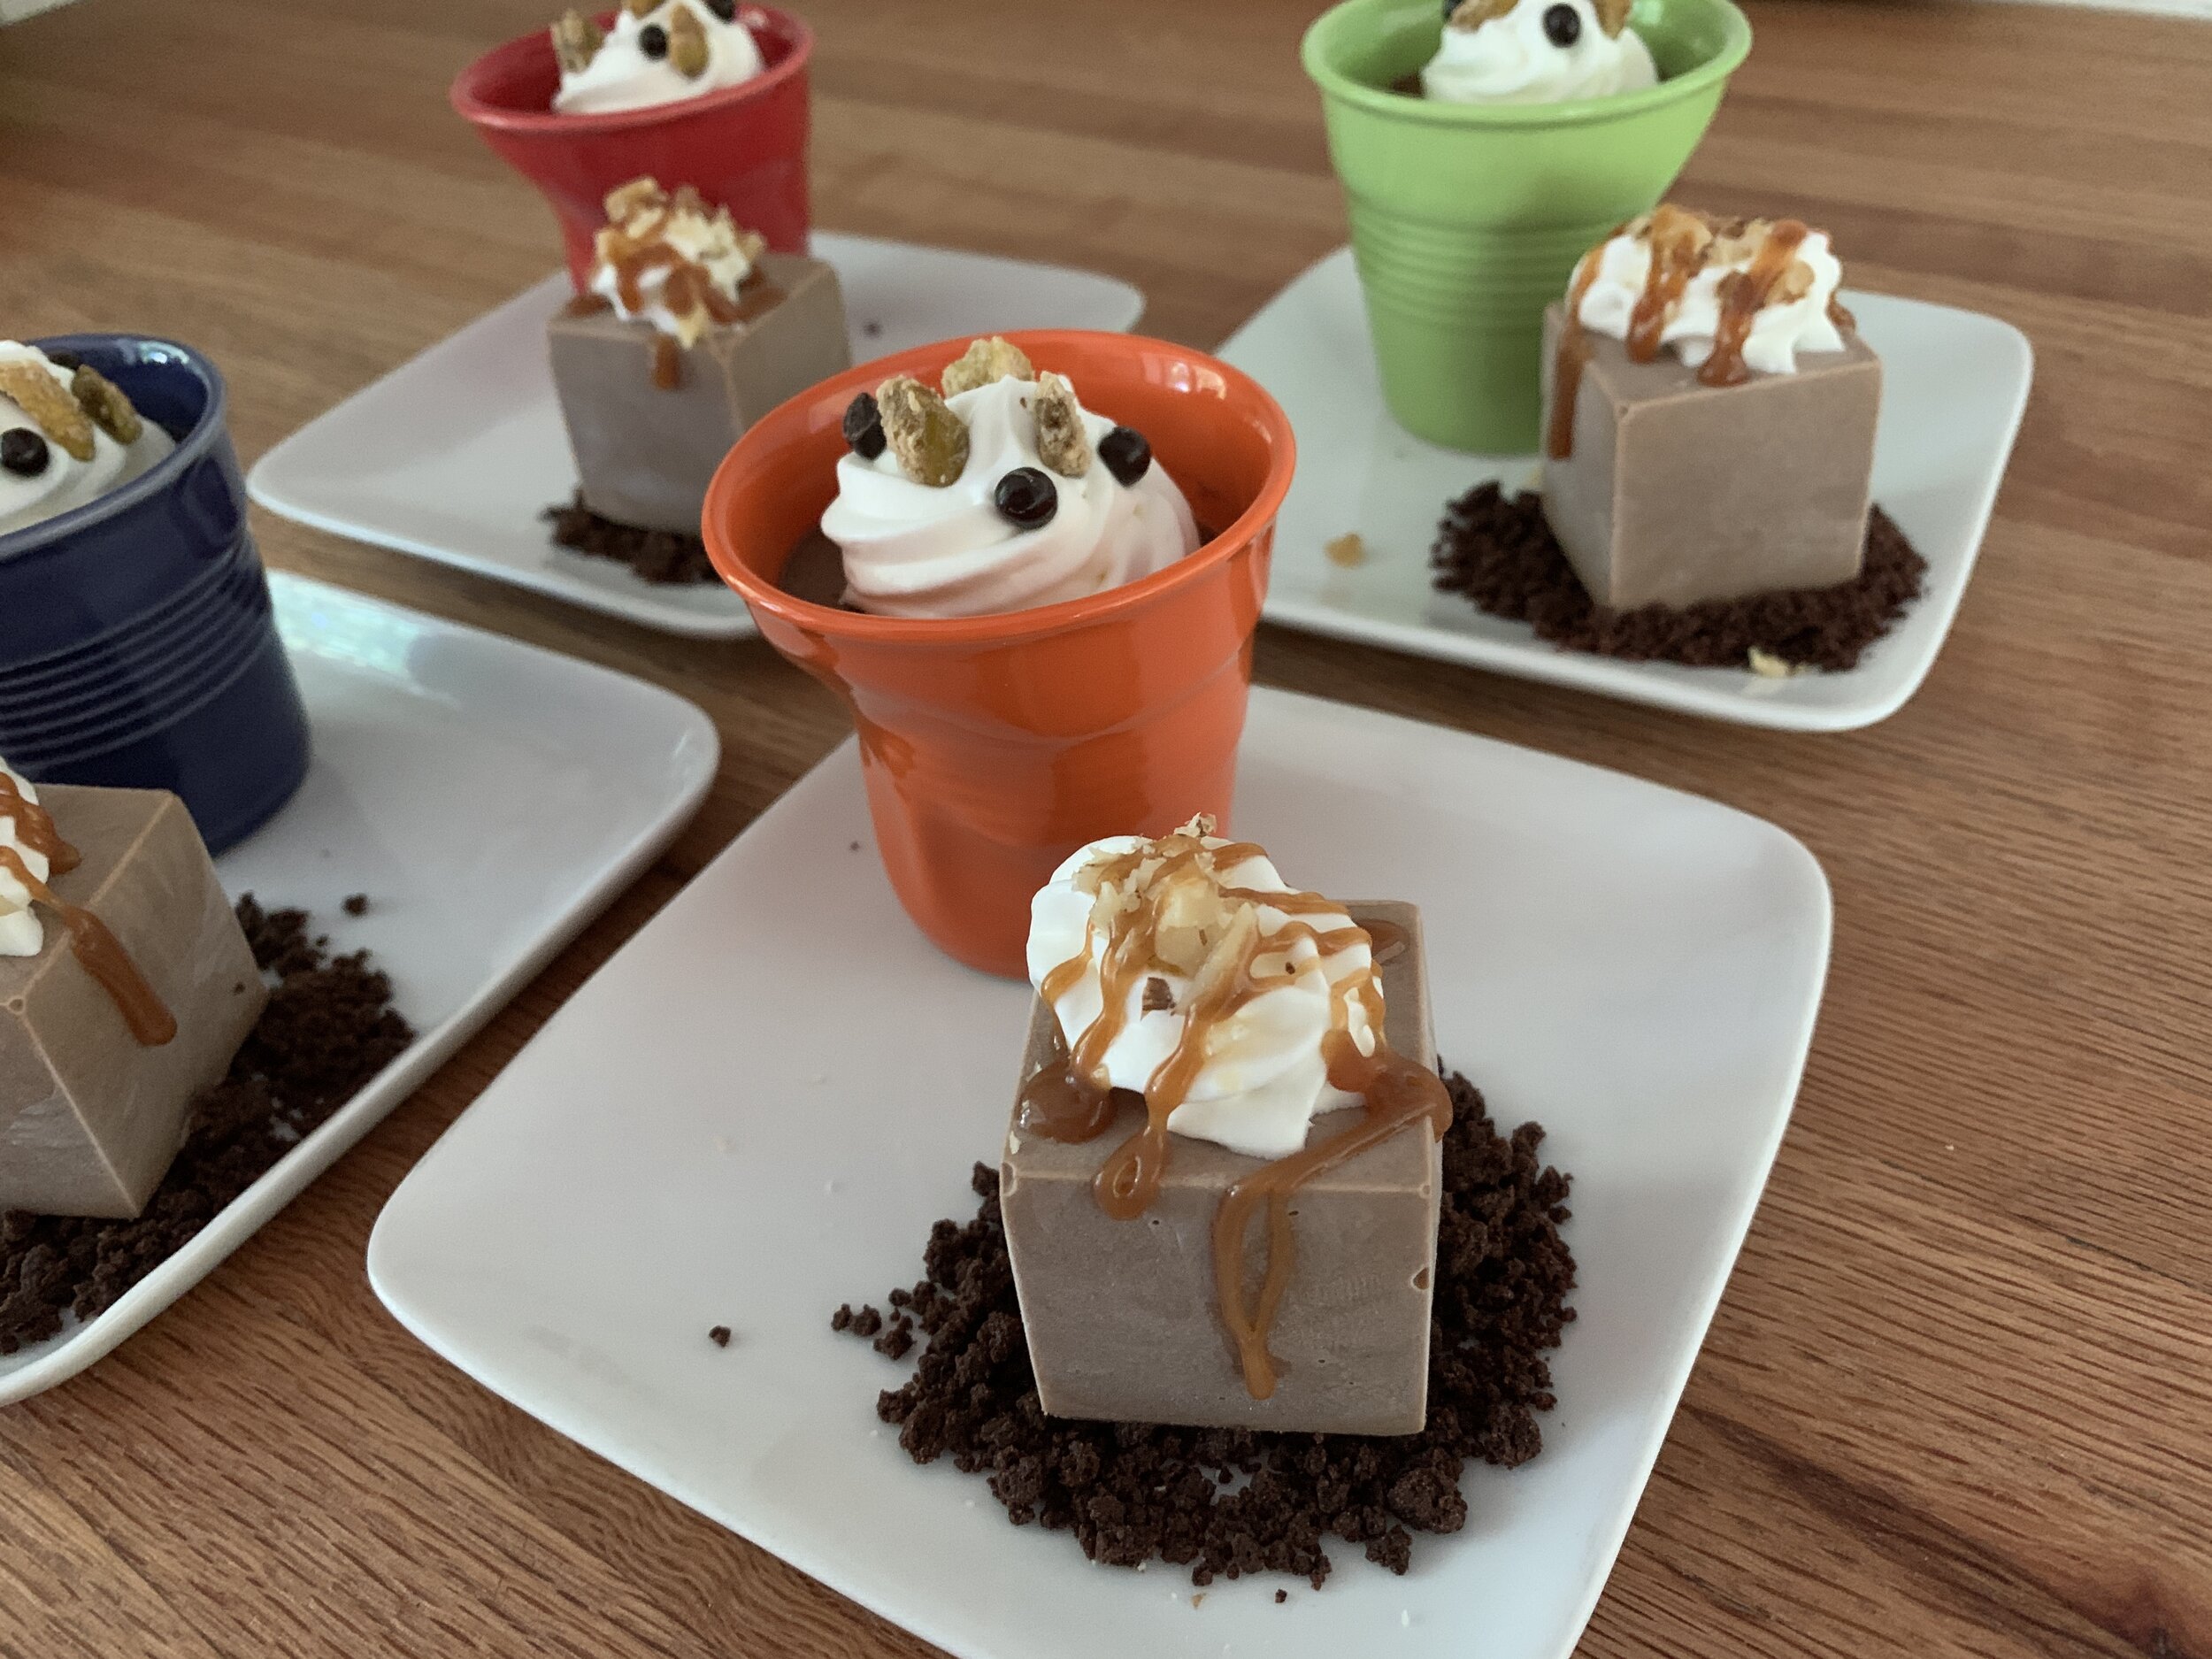
Chocolate pot de crème fudgesicle
/Just think about this - one delicious base and two ways to use it - classic pots de crème and a creamy, frozen, reminiscent-of-childhood treat. What a great way to create a luscious chocolate-y summer dessert duo with a minimum of oven work involved. Even better, to make it more enticing, it’s a make ahead project too!
This takes me back to Gracie’s days. At the restaurant I used to make these chocolate pots de crème in small brown espresso cups topped with a dollop of lightly sweetened Chantilly cream and served with a baton of delicious vanilla shortbread. Just enough to satisfy an after dinner sweet tooth with rich, cool and creamy luxury.
Then one day I discovered that I could take any leftover custard base I had in the fridge, pour it into silicone molds and freeze it. After all, the mixture is essentially crème anglaise (dairy, yolks and sugar), the same base used to make ice cream. So why not!
The perks of silicone molds are not only the many, many shapes and sizes out there but also their oven safeness and their freeze-ability and flexibility. Once frozen, simply push the treats out onto a plate or into a bowl when ready to serve.
The grey cube shape here (thanks Chef Joe) is an Elastomoule made by the French company De Buyer. The majority of my silicone molds are the Italian brand Silikomart which I typically buy through Kerekes, a NYC based company with a great selection of all things pastry plus great customer service.
The first time I sampled one of these, my taste buds took me back to the fudge-sicles of childhood (without the stick!) but with a creamier, richer smoothness that blew them out of the water! Since with this approach the custard is what’s referred to as “still” frozen rather than churned in an ice cream maker, it isn’t aerated and thus has a denser texture. Mmmmm!
Before going on to the recipe, here’s a quick back story. In 2009 I had the good fortune to spend some time in Paris pursuing professional development courses at Le Cordon Bleu and language study at L’Alliance Français. Needless to say, I was regularly out and about on the metro as well as being a flâneuse, strolling along les rues. I used to love going to les grand magasins, the big department stores like Galeries Lafayette and Bon Marché to browse all manner of things. A feast for the eyes!
On one visit to Galeries Lafayette I came upon these crinkled, colorful little espresso cups from Revol the French porcelain company (they still make these “crumpled cups” in three sizes!!). Easy to pack and a perfect addition to the different sizes and shapes of ramekins I so easily fall for. I’m a sucker for baked custards so why not have some cool oven safe receptacles in which to bake them.
The full base recipe fills 8 to 10 four-ounce ramekins. Obviously your yield will vary depending on what you’re filling. Smaller portions, greater yield.
For this project I made 2/3 of a recipe (4 yolks) with a yield of six of my cute Revol cups and ~ten 42 g/1.5 oz frozen cubes. I love small portions.
Don’t let the image below confuse you - just pretend there are 6 yolks in that bowl! The recipe quantities given are for the FULL recipe using 6 yolks.
Finally - here we go.
Place 113 g / 4 ounces chopped dark chocolate (I like a 60-66% range) in a bowl or a glass Pyrex measuring cup. Heat 4 cups heavy cream and a pinch of salt in a saucepan, bring it to a boil over medium heat then pour it over the chocolate and blend until melted. Note: You can reduce the fat content somewhat by using 2.5 cups cream and 1.5 cups whole milk if you’d like.
In a separate bowl whisk (with gusto!) 6 large egg yolks with 100 g / 1/2 cup granulated sugar to thicken and lighten them, a minute or two. Temper the hot chocolate mixture into the egg yolks and return all to the saucepan.
Cook over medium heat while stirring (I go back and forth between a silicone spatula and whisk) until beginning to thicken.
When making crème anglaise you don’t want the mixture to boil. You’re shooting for a temp of 180- 185ºF (82-85ºC). If you don’t have a thermometer, there are several signs to help you. You should feel a bit more drag as you stir the mixture. Look for tiny bubbles forming around the edge of the pan and steam coming off the surface. Coat your spatula with the mixture and run your finger through it - it should hold the track and not run. The more you do it, the more you just know.
Strain the mixture and fill whatever ramekins you’re using for pots de crème, leaving about 1/4 to 3/8 inch space at the top. Place ramekins in an oven safe dish and fill the dish with hot water to a level about 1/2 way up the ramekins’ sides. Cover loosely with foil and place in a 300ºF oven. Bake about 30-40 minutes until almost completely set but with a jiggle in the center. I always check at about 20 minutes then every 5-8 minutes or so until I’m happy with the jiggle status. They will set more as they cool and chill.
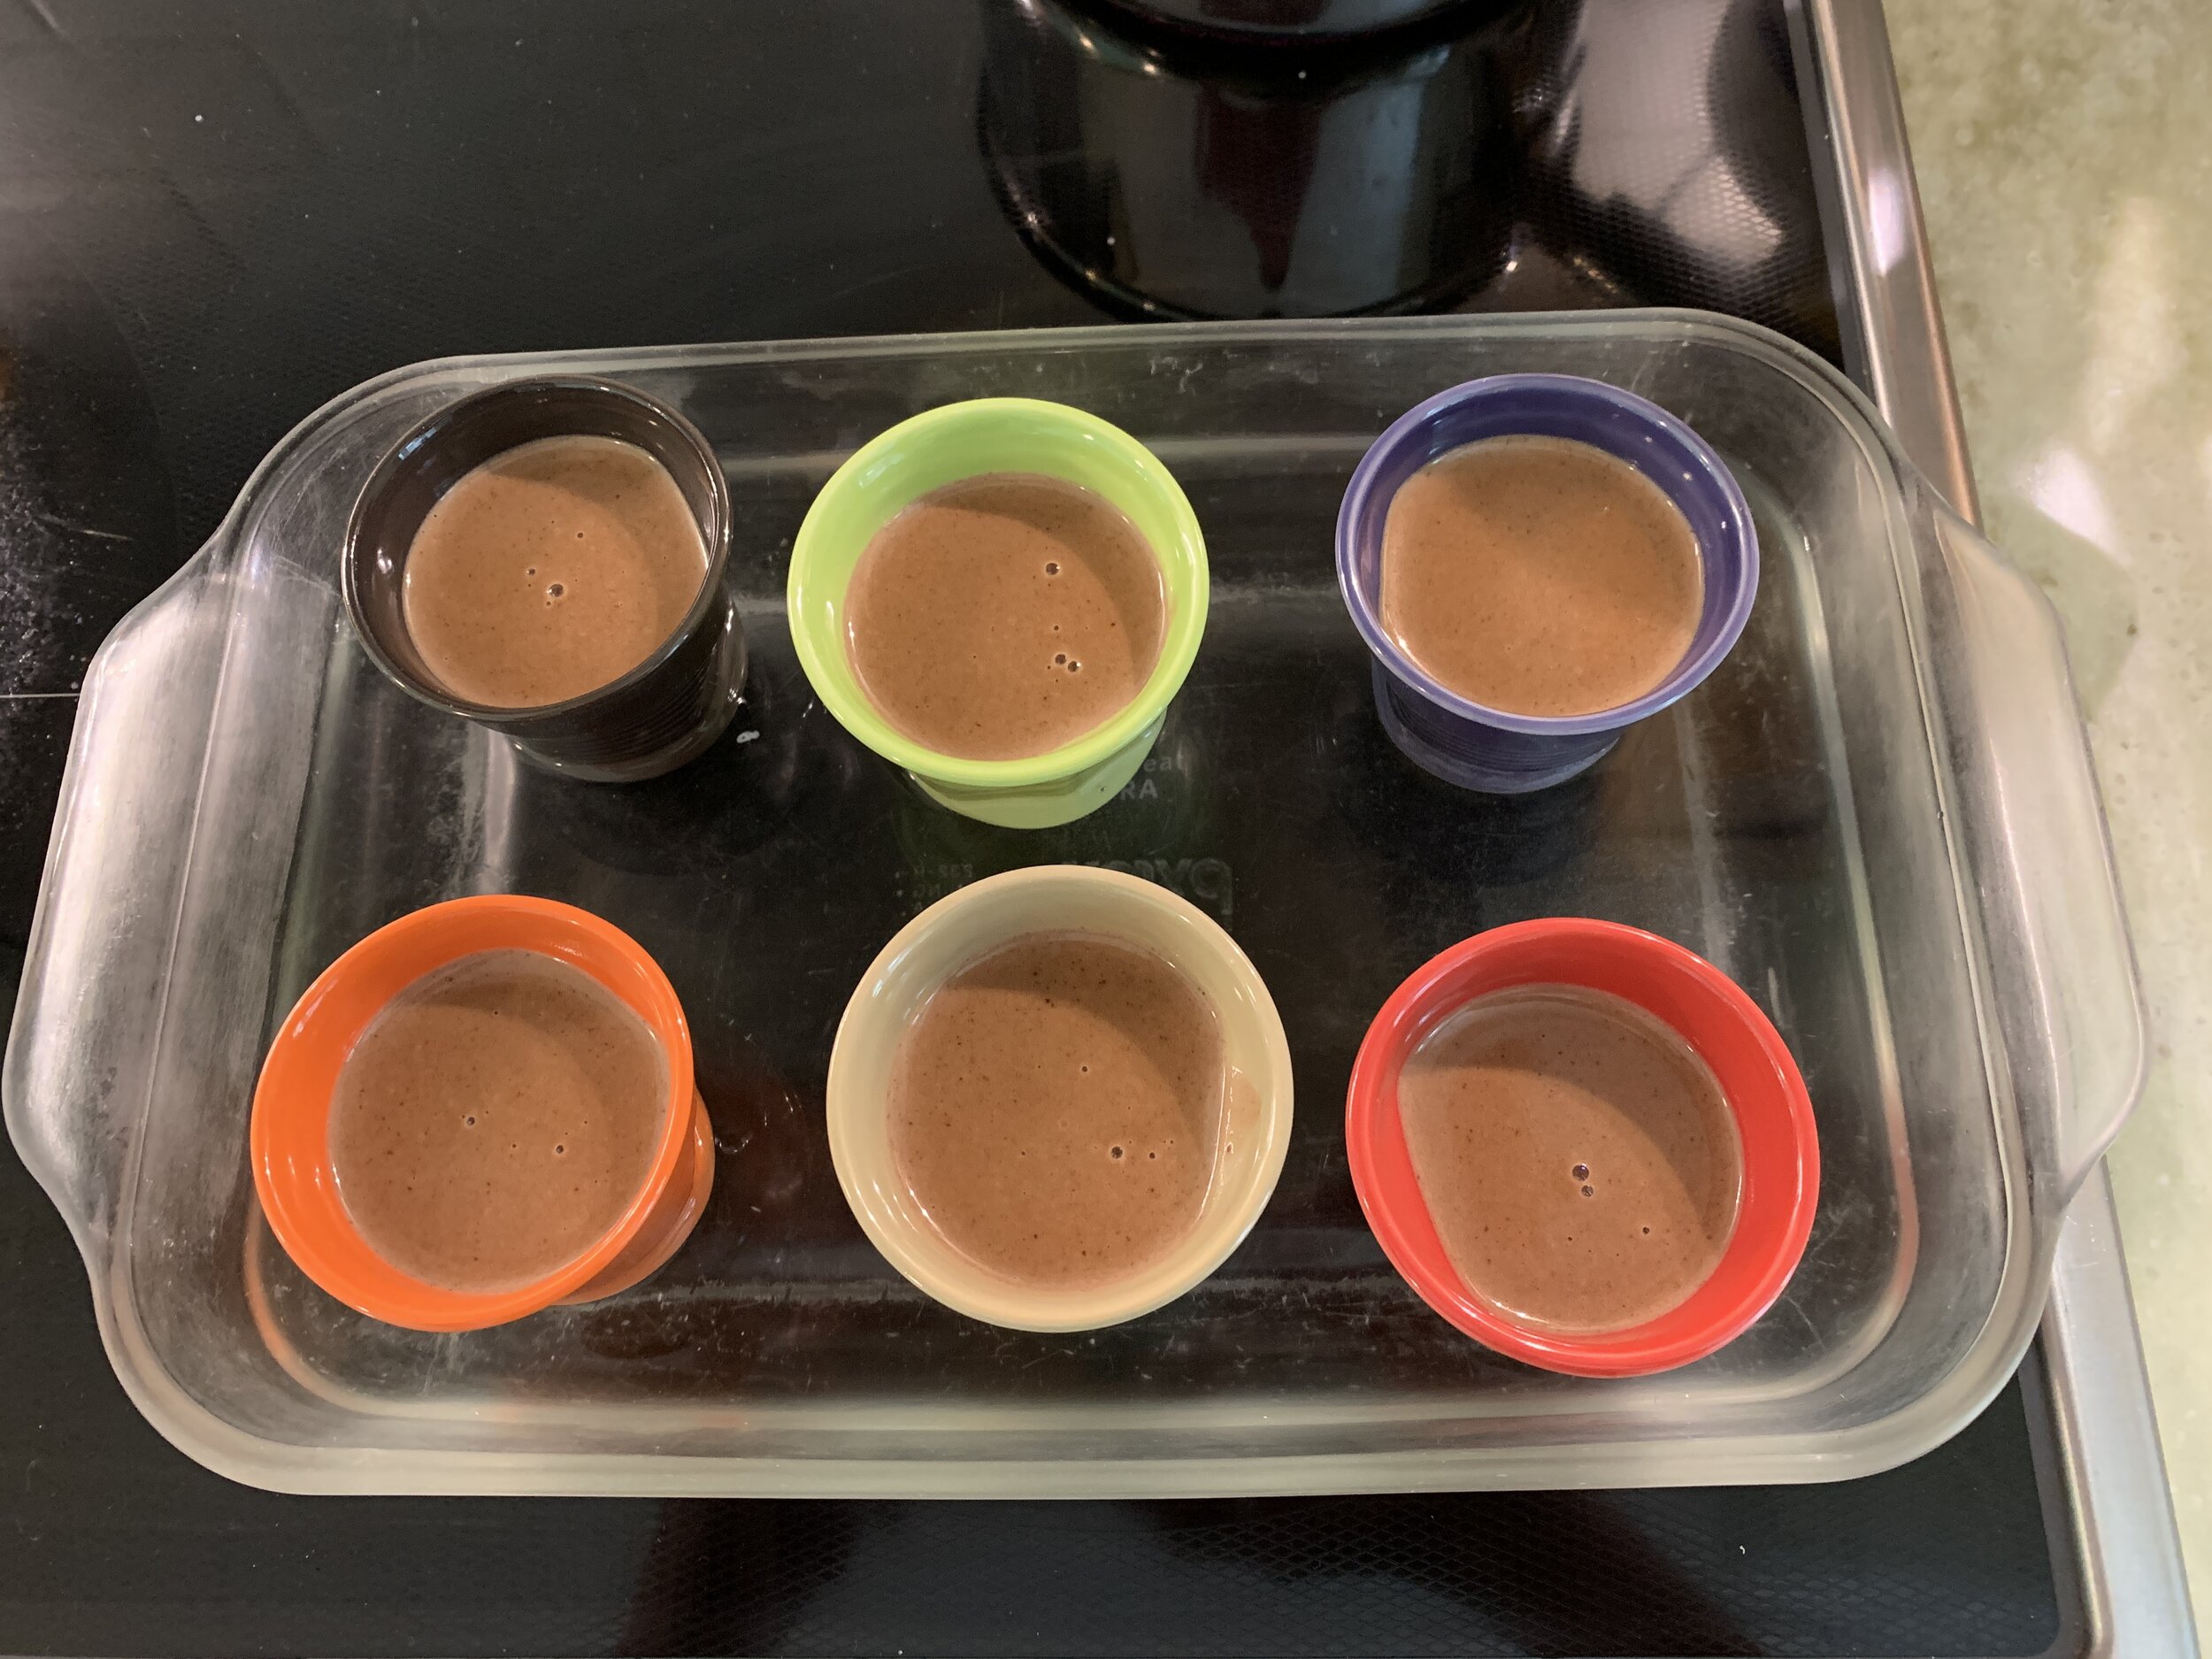
I filled my 6 Revol espresso cups which hold about 2 ounces. The rest of the base went into the fridge to chill before transferring to silicone molds and the freezer.
See the before-oven (liquid) above and after-baking (set) difference below?
Once out of the oven, lift the ramekins out of the hot water bath and place on a rack to cool fully. Then cover with plastic wrap and refrigerate to chill thoroughly, at least several hours. They’ll keep for several days - remember the planning ahead approach? It’s a good one.
If you’ve made your custard base with an eye to both pots de crème AND fudgesicles, refrigerate the rest of the base for a day or two where it should thicken nicely. Fill your flexi-molds to the top, using a small offset spatula to smooth and remove any excess, then place the molds on a sheet pan and into the freezer to firm up. Once frozen I cover the surface directly with plastic wrap - the molds can stay in there for days up to a couple of weeks.
When you’re getting close to serving, give yourself an extra 10-15 minutes or so once you’ve popped them out of the molds. At least with my “deep” freezer, they freeze very firmly and do well with a bit of softening before enjoying their luscious goodness.
Serve them along side the pots de crème on small plates as I did or by themselves in a bowl with your favorite ice cream type toppings.
I love a dollop of whipped cream, cookie crumbs, caramel sauce and chopped toasted or candied nuts, but you could also choose a bit of finely diced crystallized ginger, toasted coconut or raspberry or cherry coulis all of which complement chocolate so nicely. Valrhona chocolate crunchy pearls aren’t bad either.
Dense, chocolate-y, creamy and oh so delicious. Yes.
Please be safe out there. We still have a long way to go.
It’s officially summer - there’s still plenty of time to pot up some assorted annuals and make yourself smile!!


