Hazel-chocolate spirals plus croissant squiggles
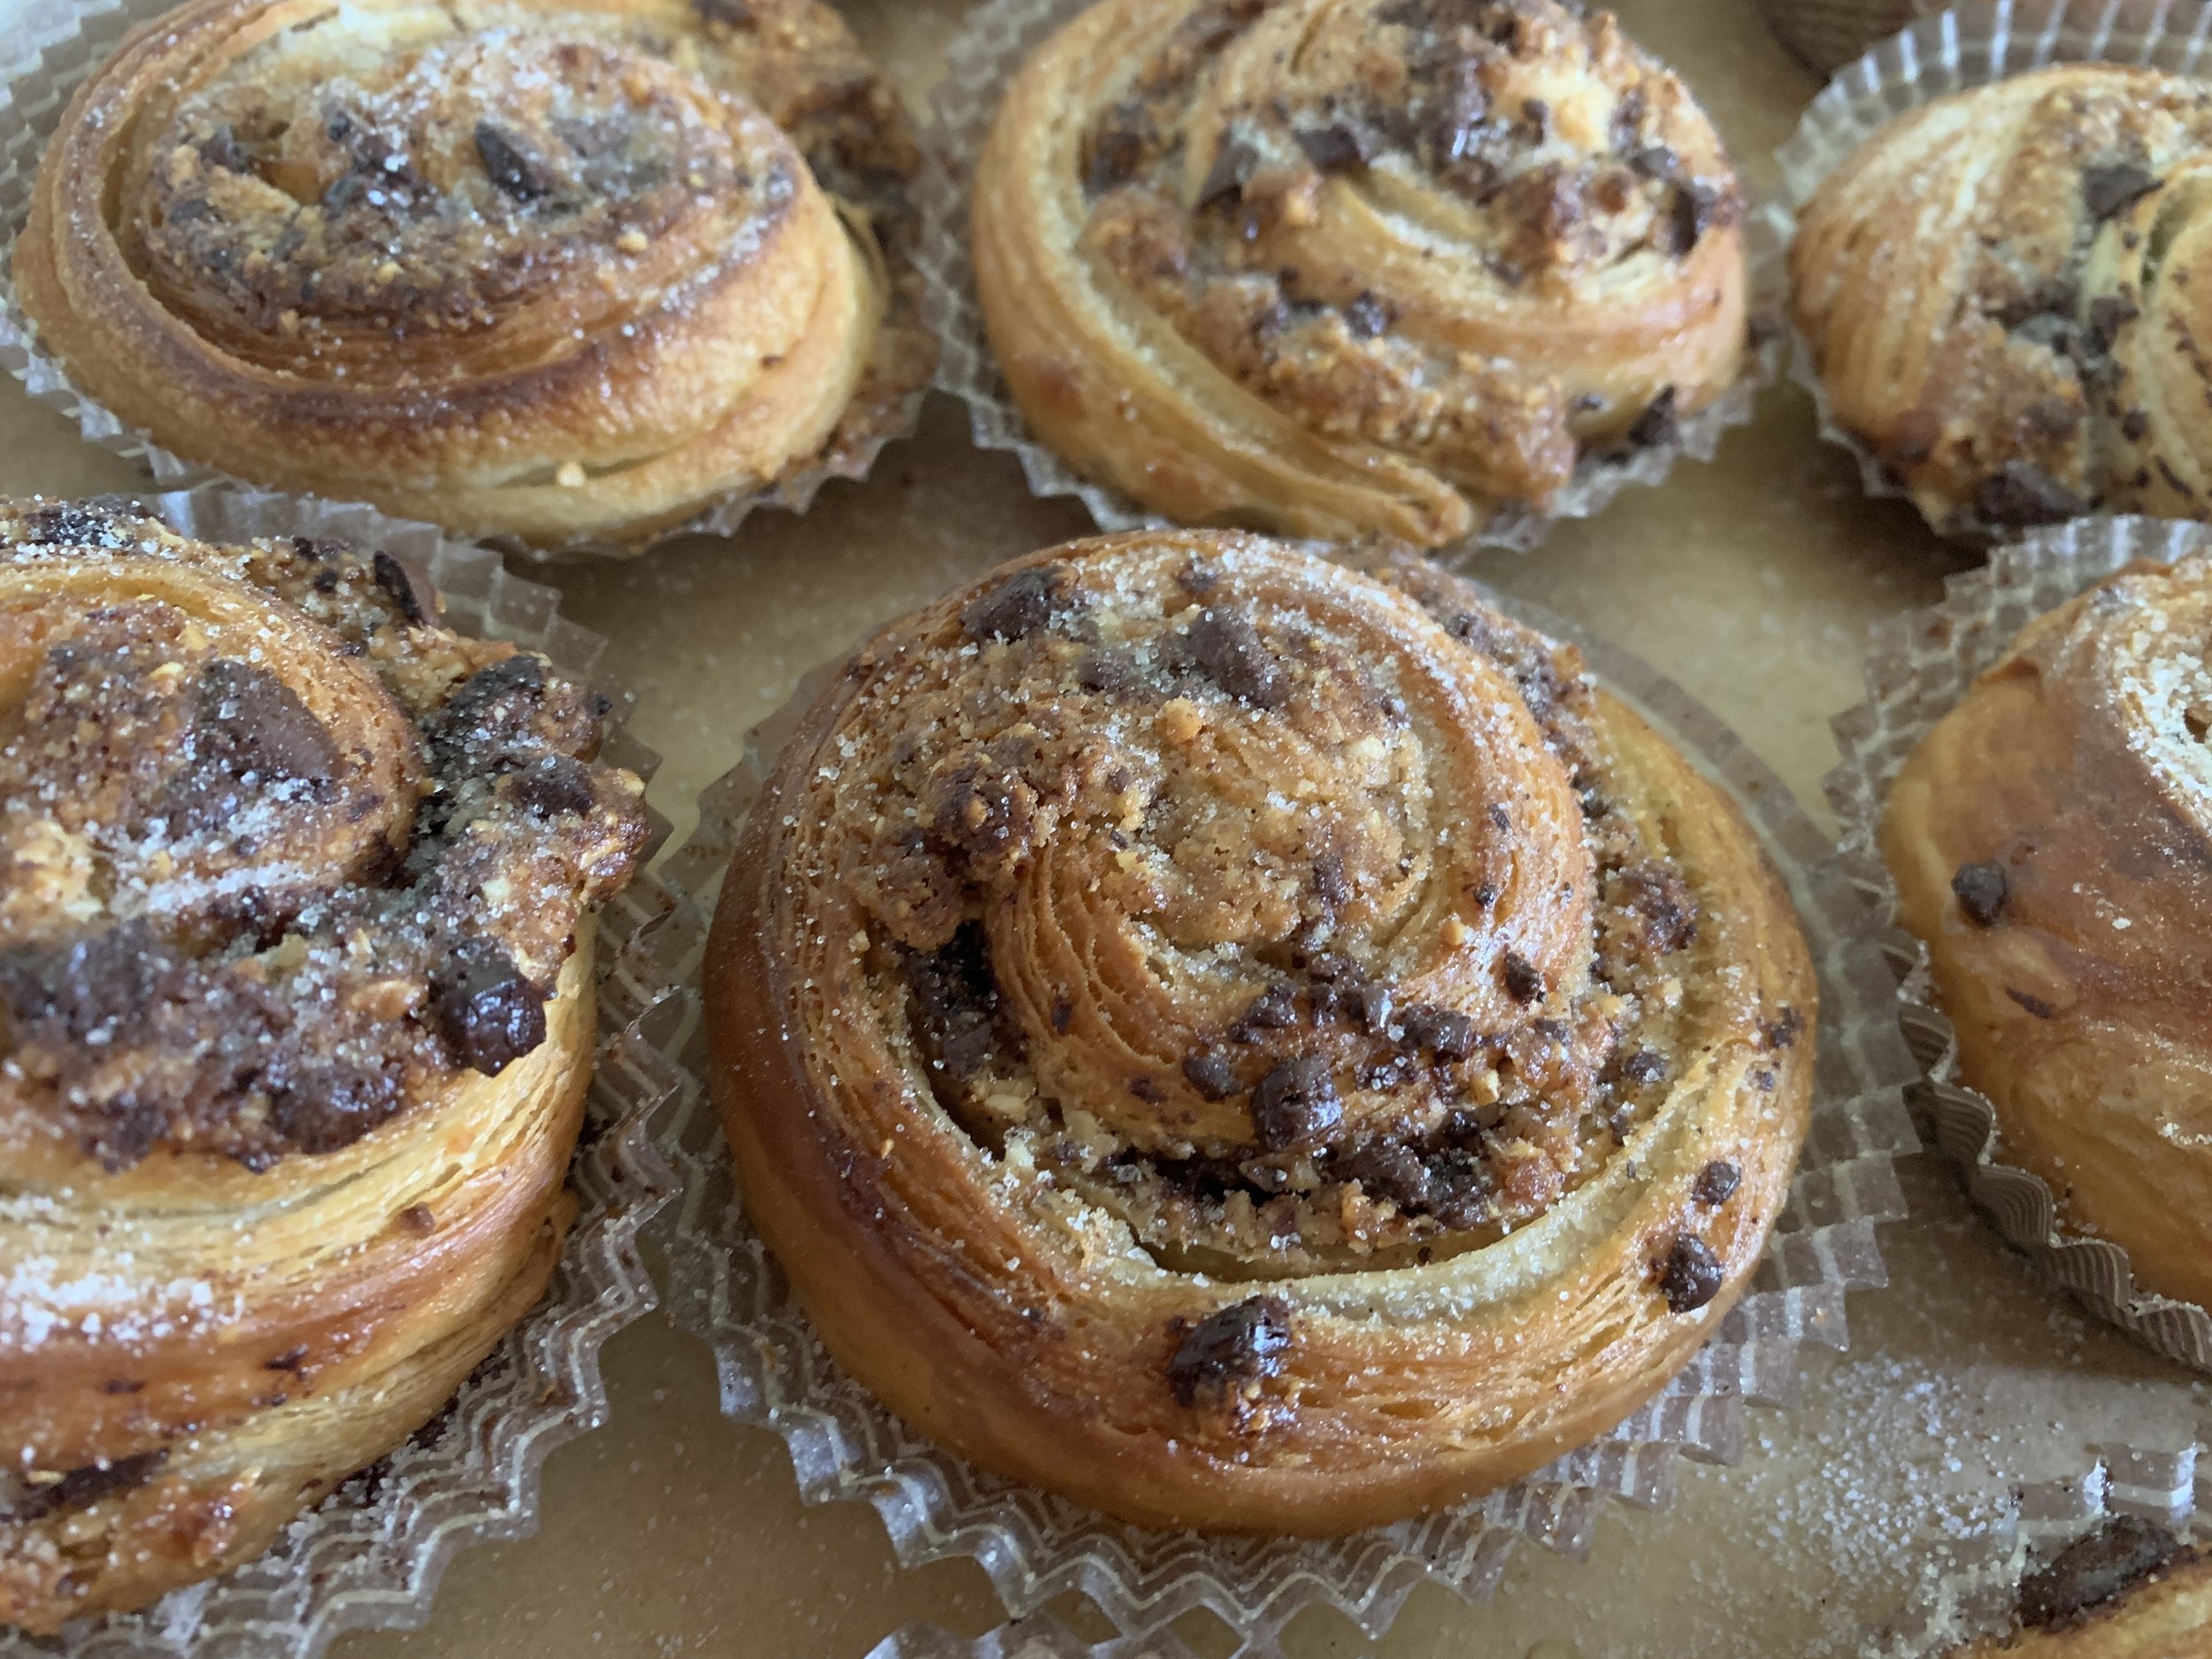
/Back on our stage once again - it’s time for more fun with croissant dough! Some weeks back I came across an article about the various ways that many baking and pastry folks are shaping their laminated dough - eye opening to say the least. I wanted to give one of those shapes a try in addition to making some spirals for a group event.
First let’s review the classic spiral process (here’s one version), using one of my favorite fillings - hazelnut remonce topped with chopped chocolate for a match made in heaven.
A quick sidebar: I first made remonce about 3 years ago based on Brontë Aurell’s recipe - 100 g each of almond paste (preferably 50% almond/50% sugar), sugar and butter. As I thought about that mix, I realized it’s essentially 50 g almond, 150 g sugar and 100 g butter. After my lovely class experience in Copenhagen in May of 2022 where we made remonce with 100 g each almond flour, sugar and butter - essentially créme d’amande without any egg or flour - I tweaked the almond paste version to 100 g almond paste, 50 g almond flour, 50 g sugar and 100 g butter for a more almond, less sweet version than Aurell’s. Add 300 g of toasted, ground hazelnuts to the mix for the hazel version. Did you follow that?? It’s all in the details.
As many of you know, the spiral is what we all use for cinnamon rolls - roll out a rectangle of dough, spread or sprinkle your filling on, roll it up into a log, slice, pan up, proof, bake and enjoy! There are tons of filling options, either sweet or savory, so use your imagination and go for it.
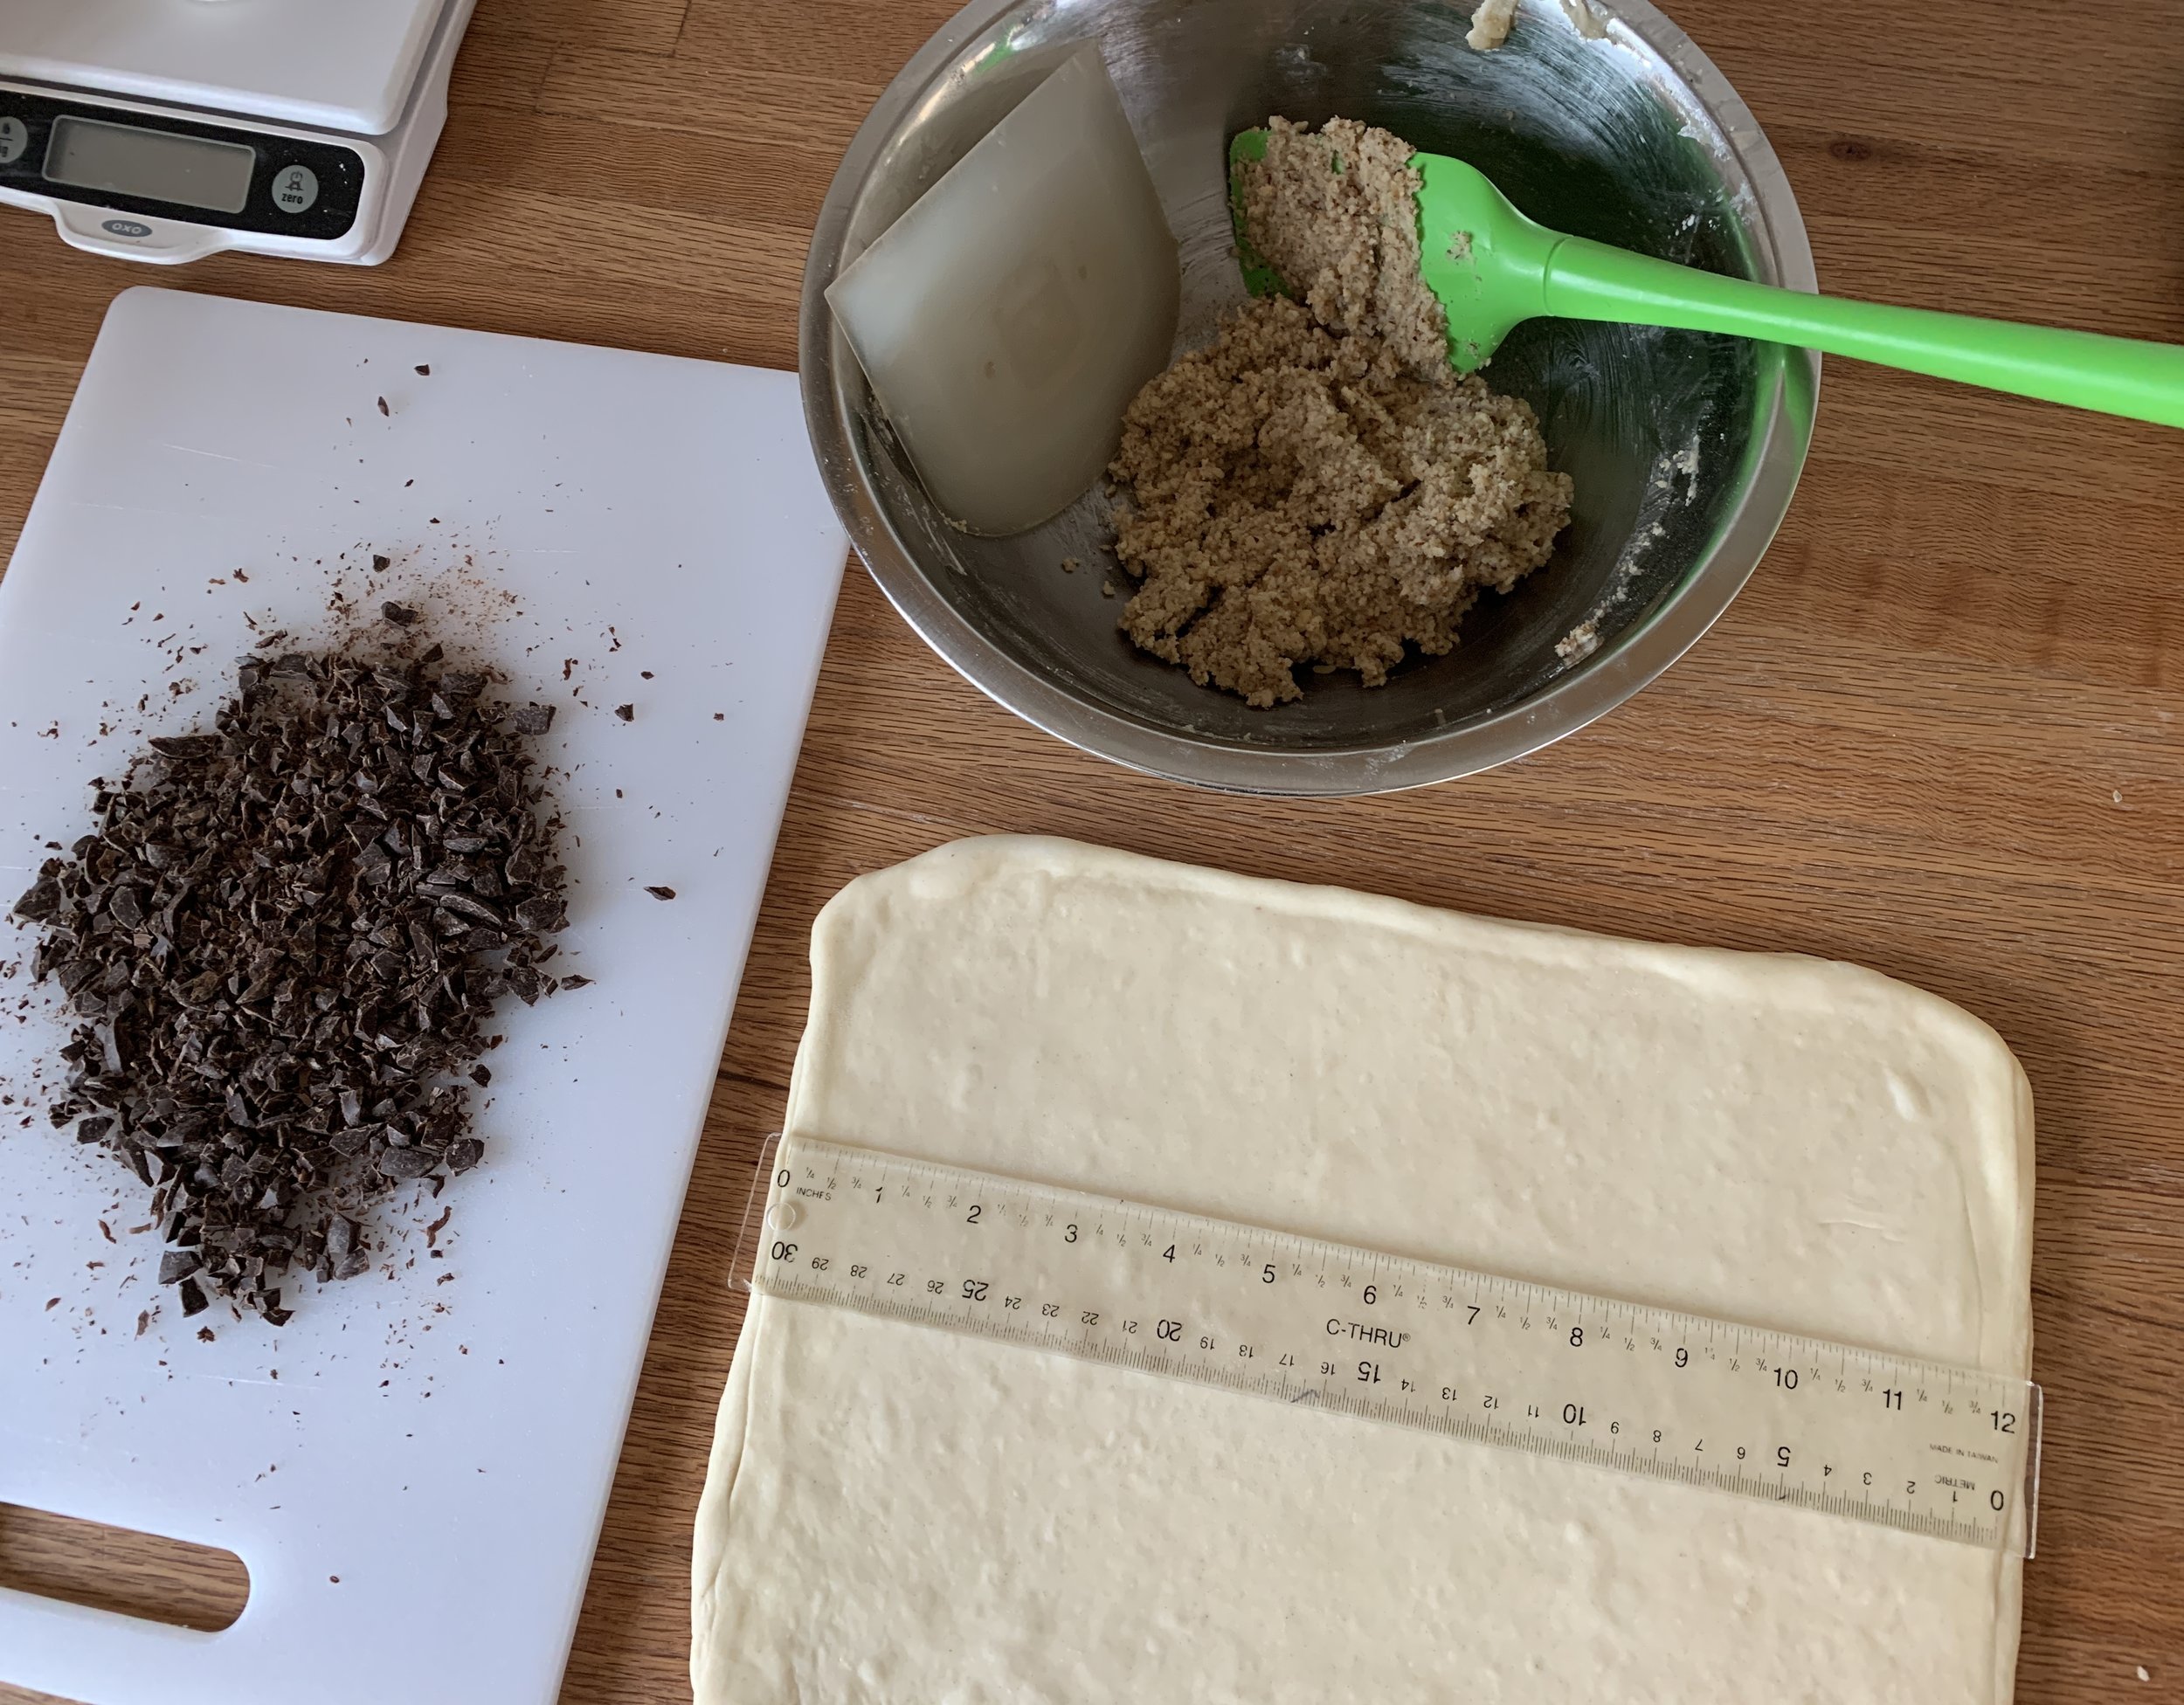
I’m using a half batch of croissant dough here - roll to about an 8” x 12” rectangle (20 cm x 30 cm).
Ready for the filling
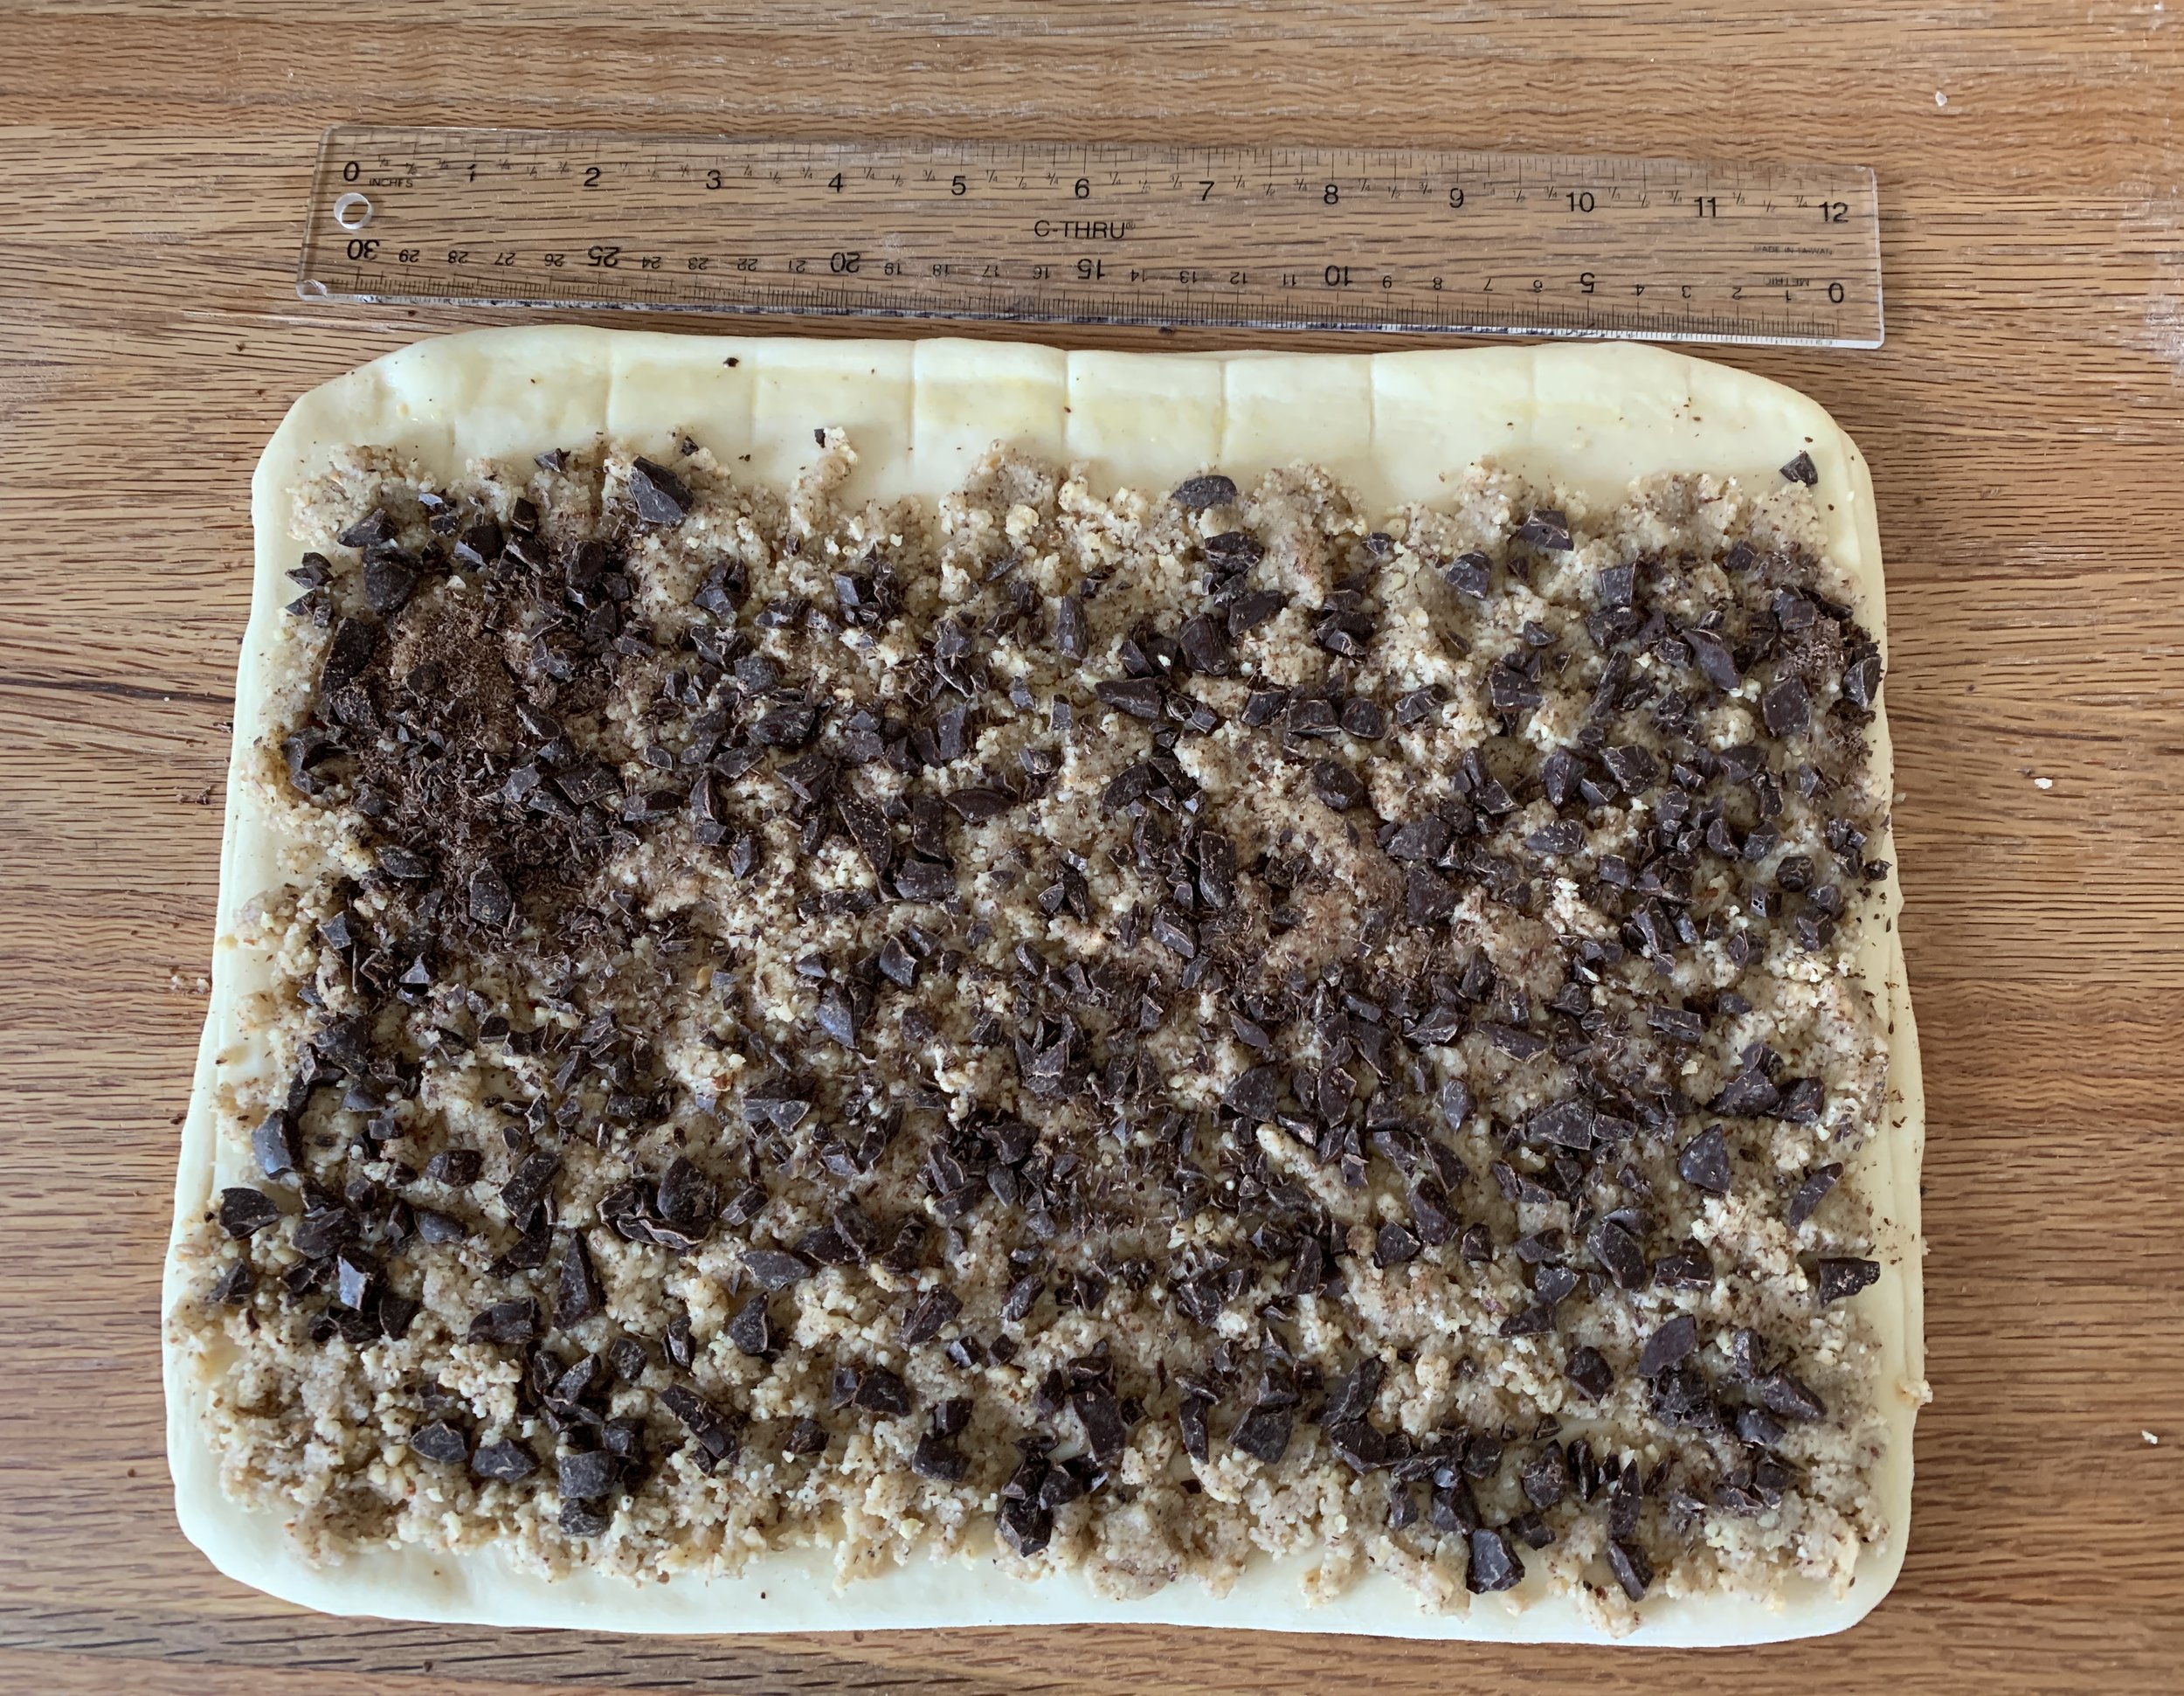
Spread 227 g / 8 ounces hazelnut remonce filling over the dough and sprinkle with 50 g chopped chocolate. I use Guittard 61%.
Ready to cut
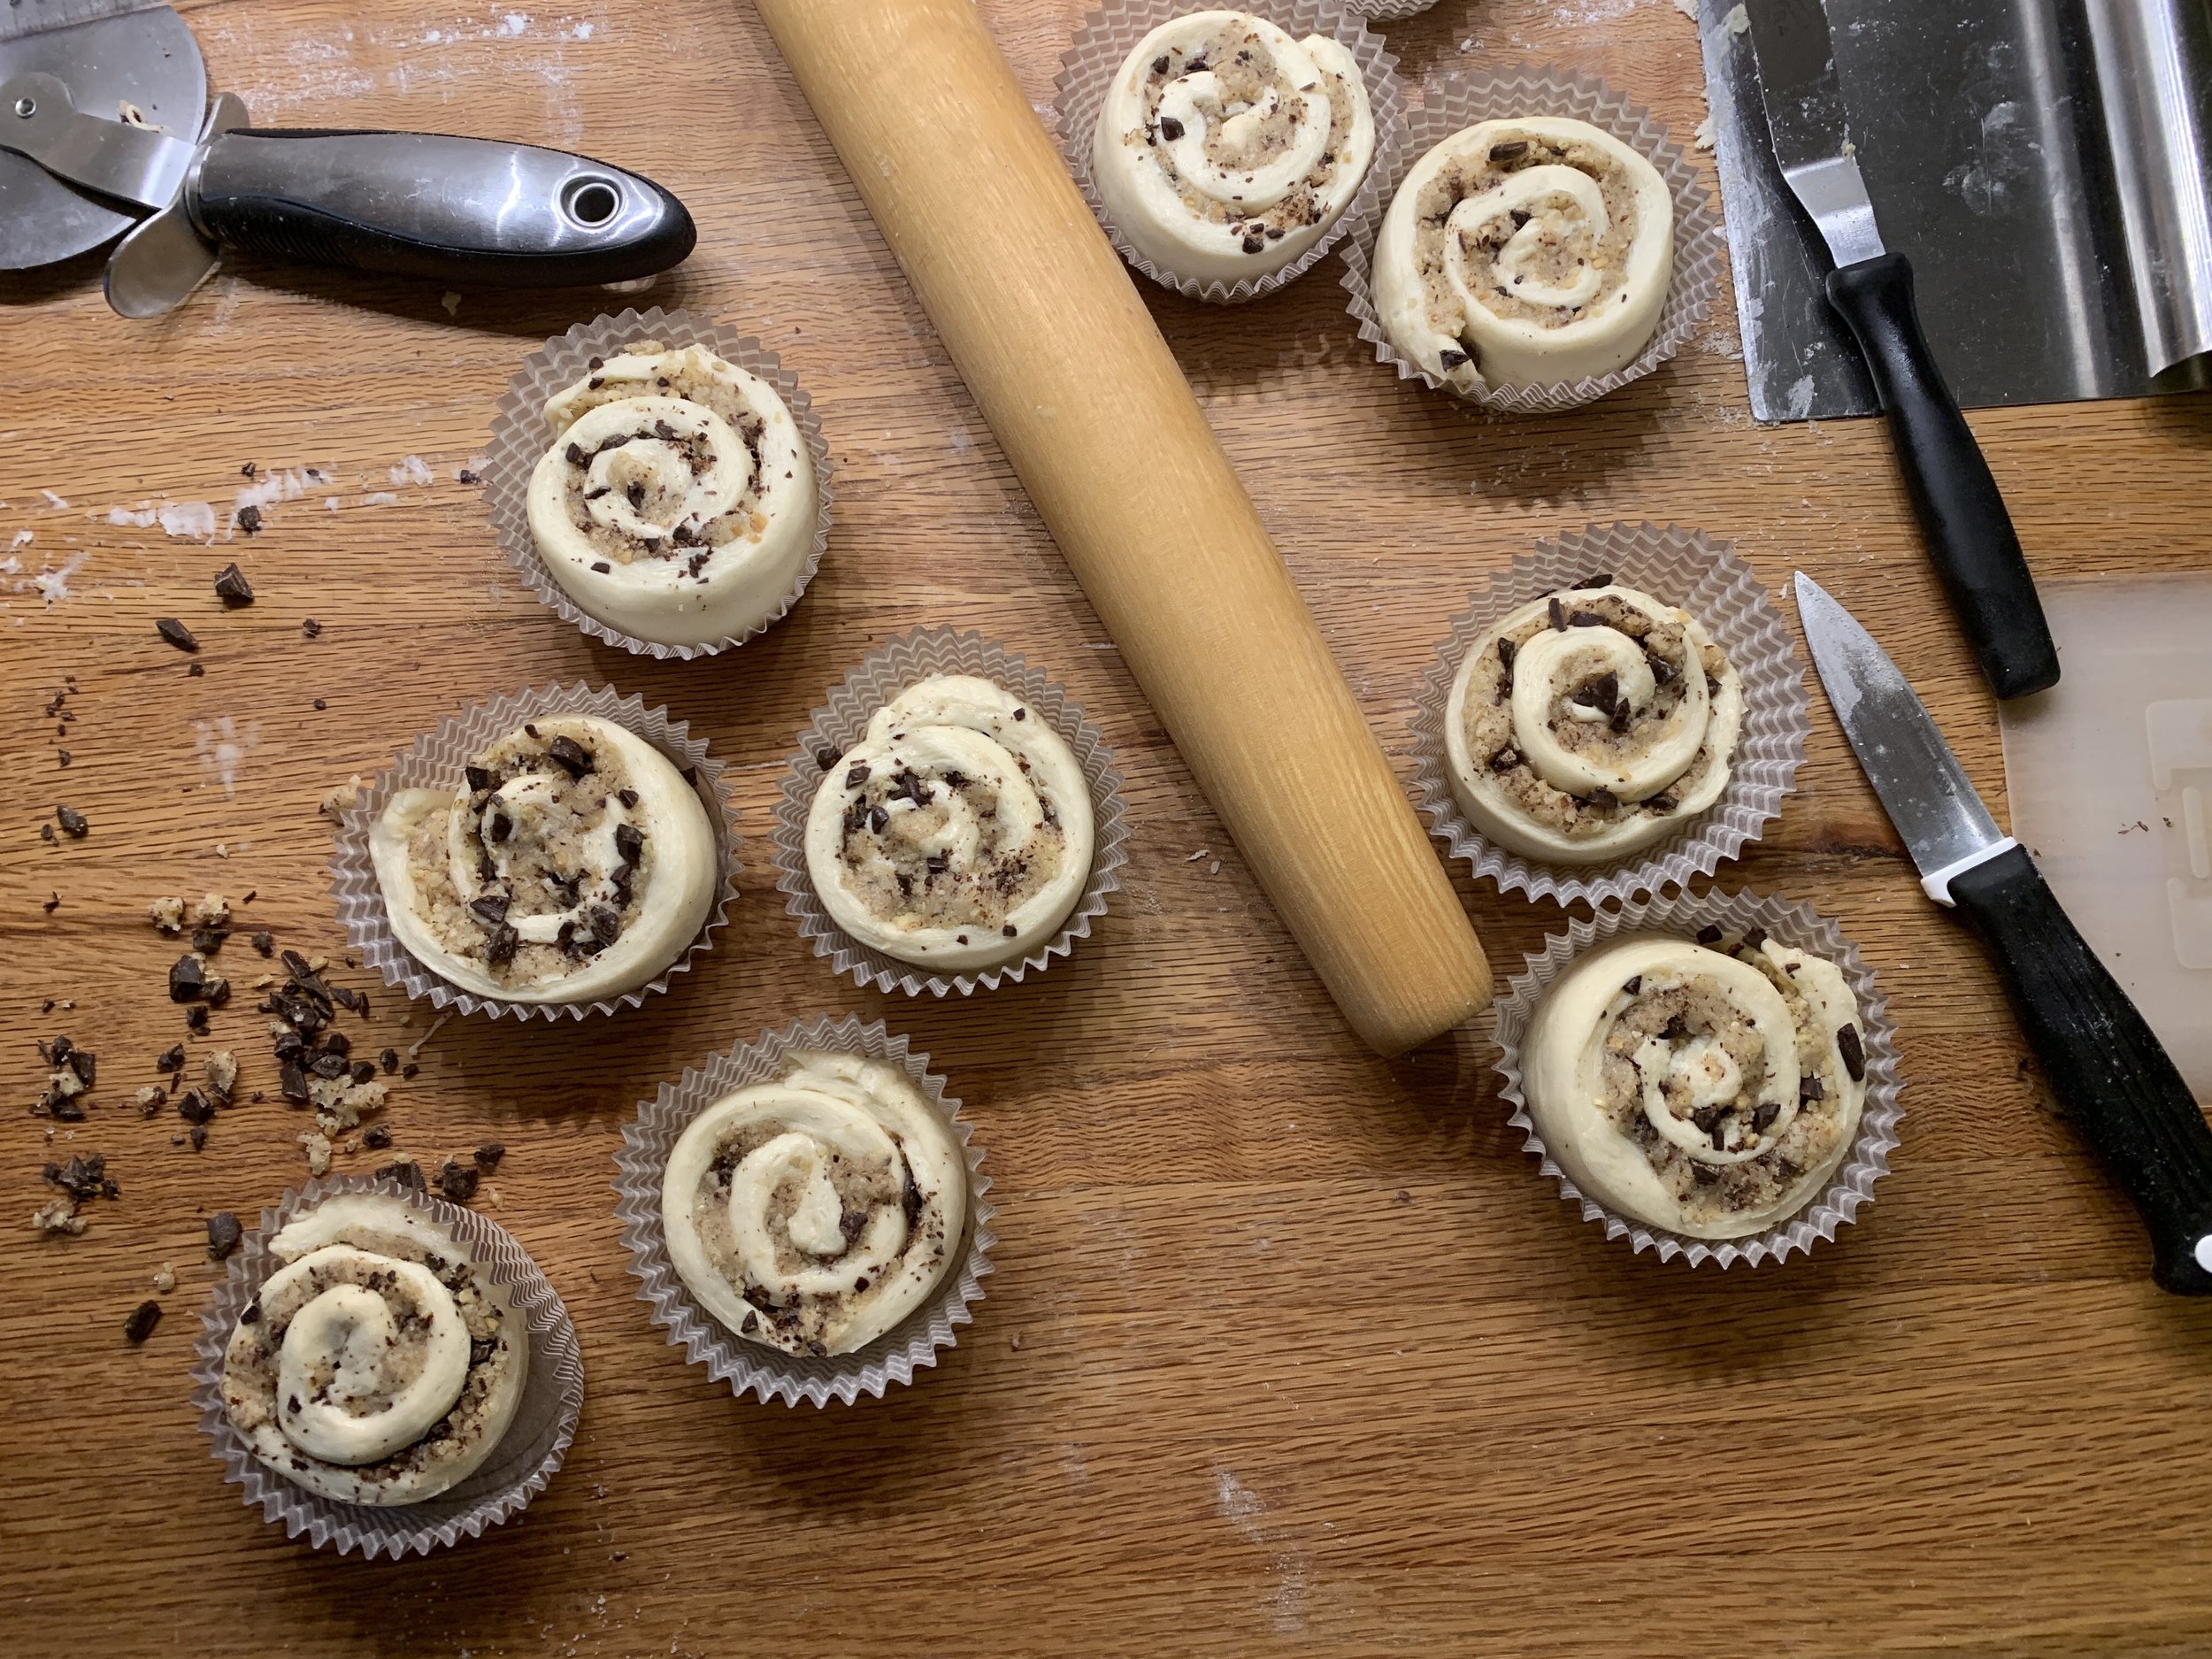
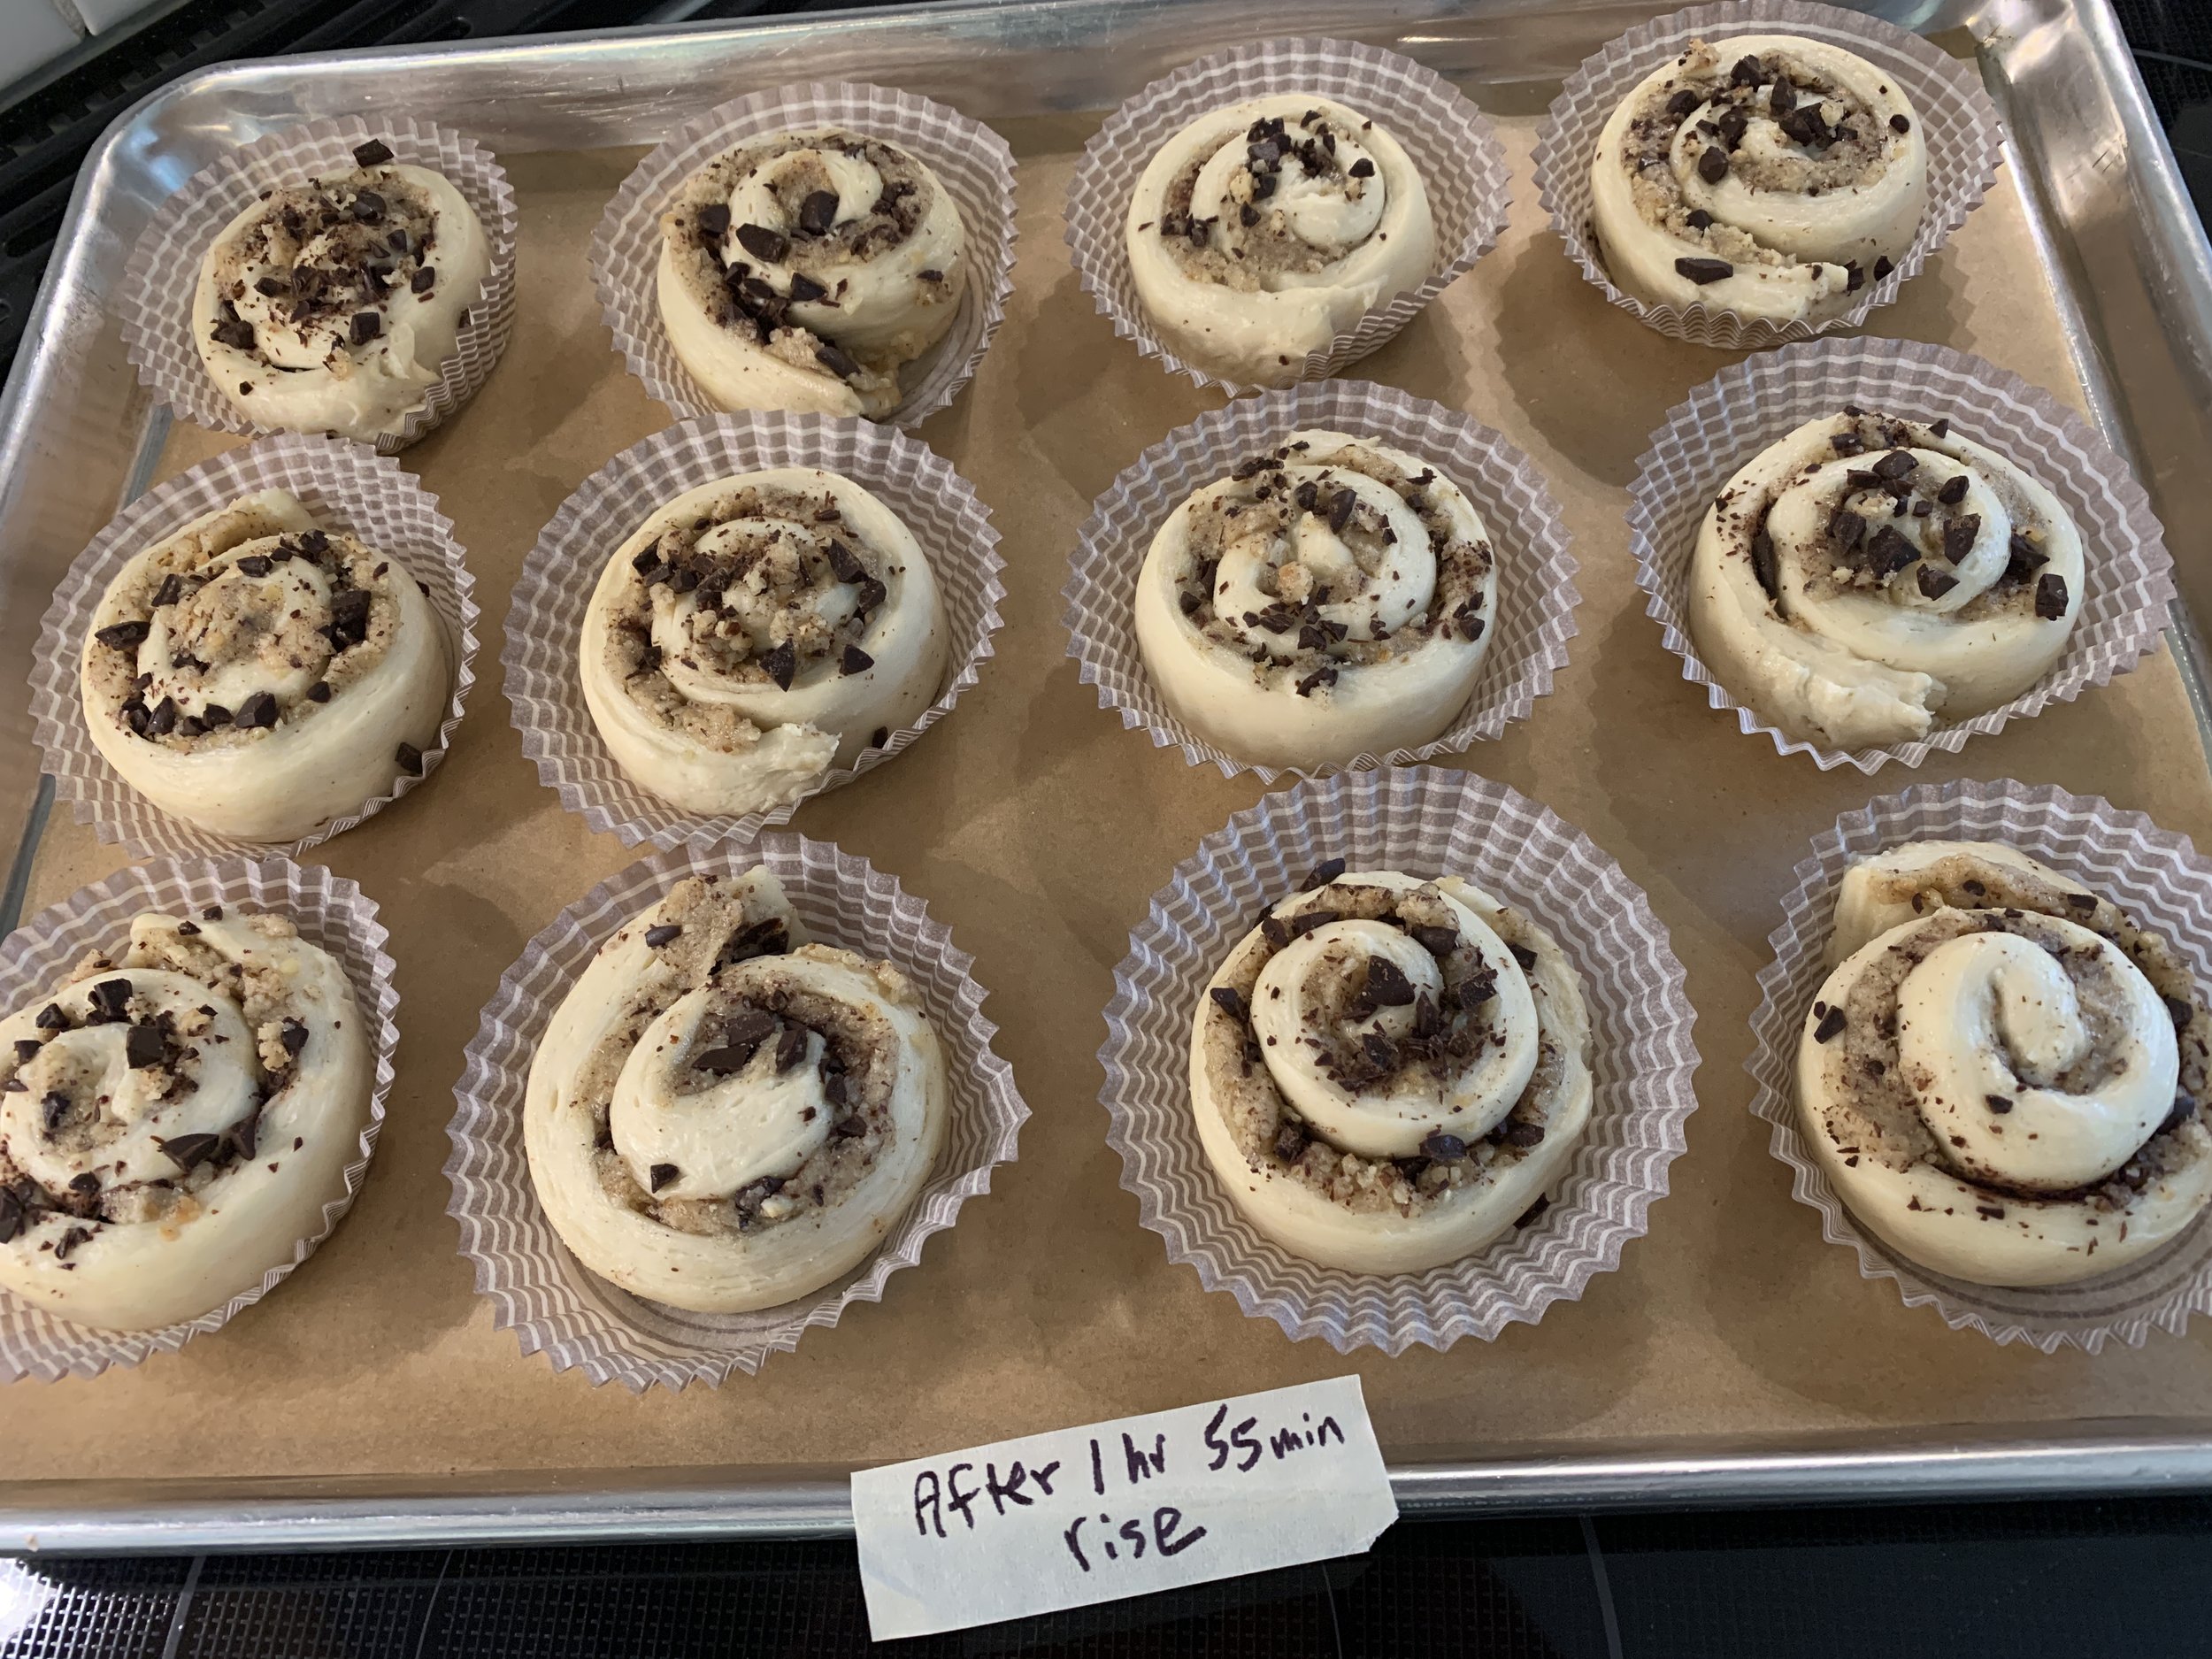
Cut ten 3 cm wide strips, roll ‘em up and place each in a standard sized baking paper. PSST - this is a new approach for me. Rather than tucking them in a pan cheek-by-jowl or setting them openly onto a sheet pan without any ring or form, the papers give them just enough of a boundary to allow for rising/spreading and baking very nicely. Yes!
Rolling, rolling, rolling
Cover lightly with buttered plastic wrap and let rise 1.5 to 2 hours. Not to confuse you, but I cut two additional strips from the half batch of dough I was using for the squiggle test (coming up) to give me an even dozen as you see below.
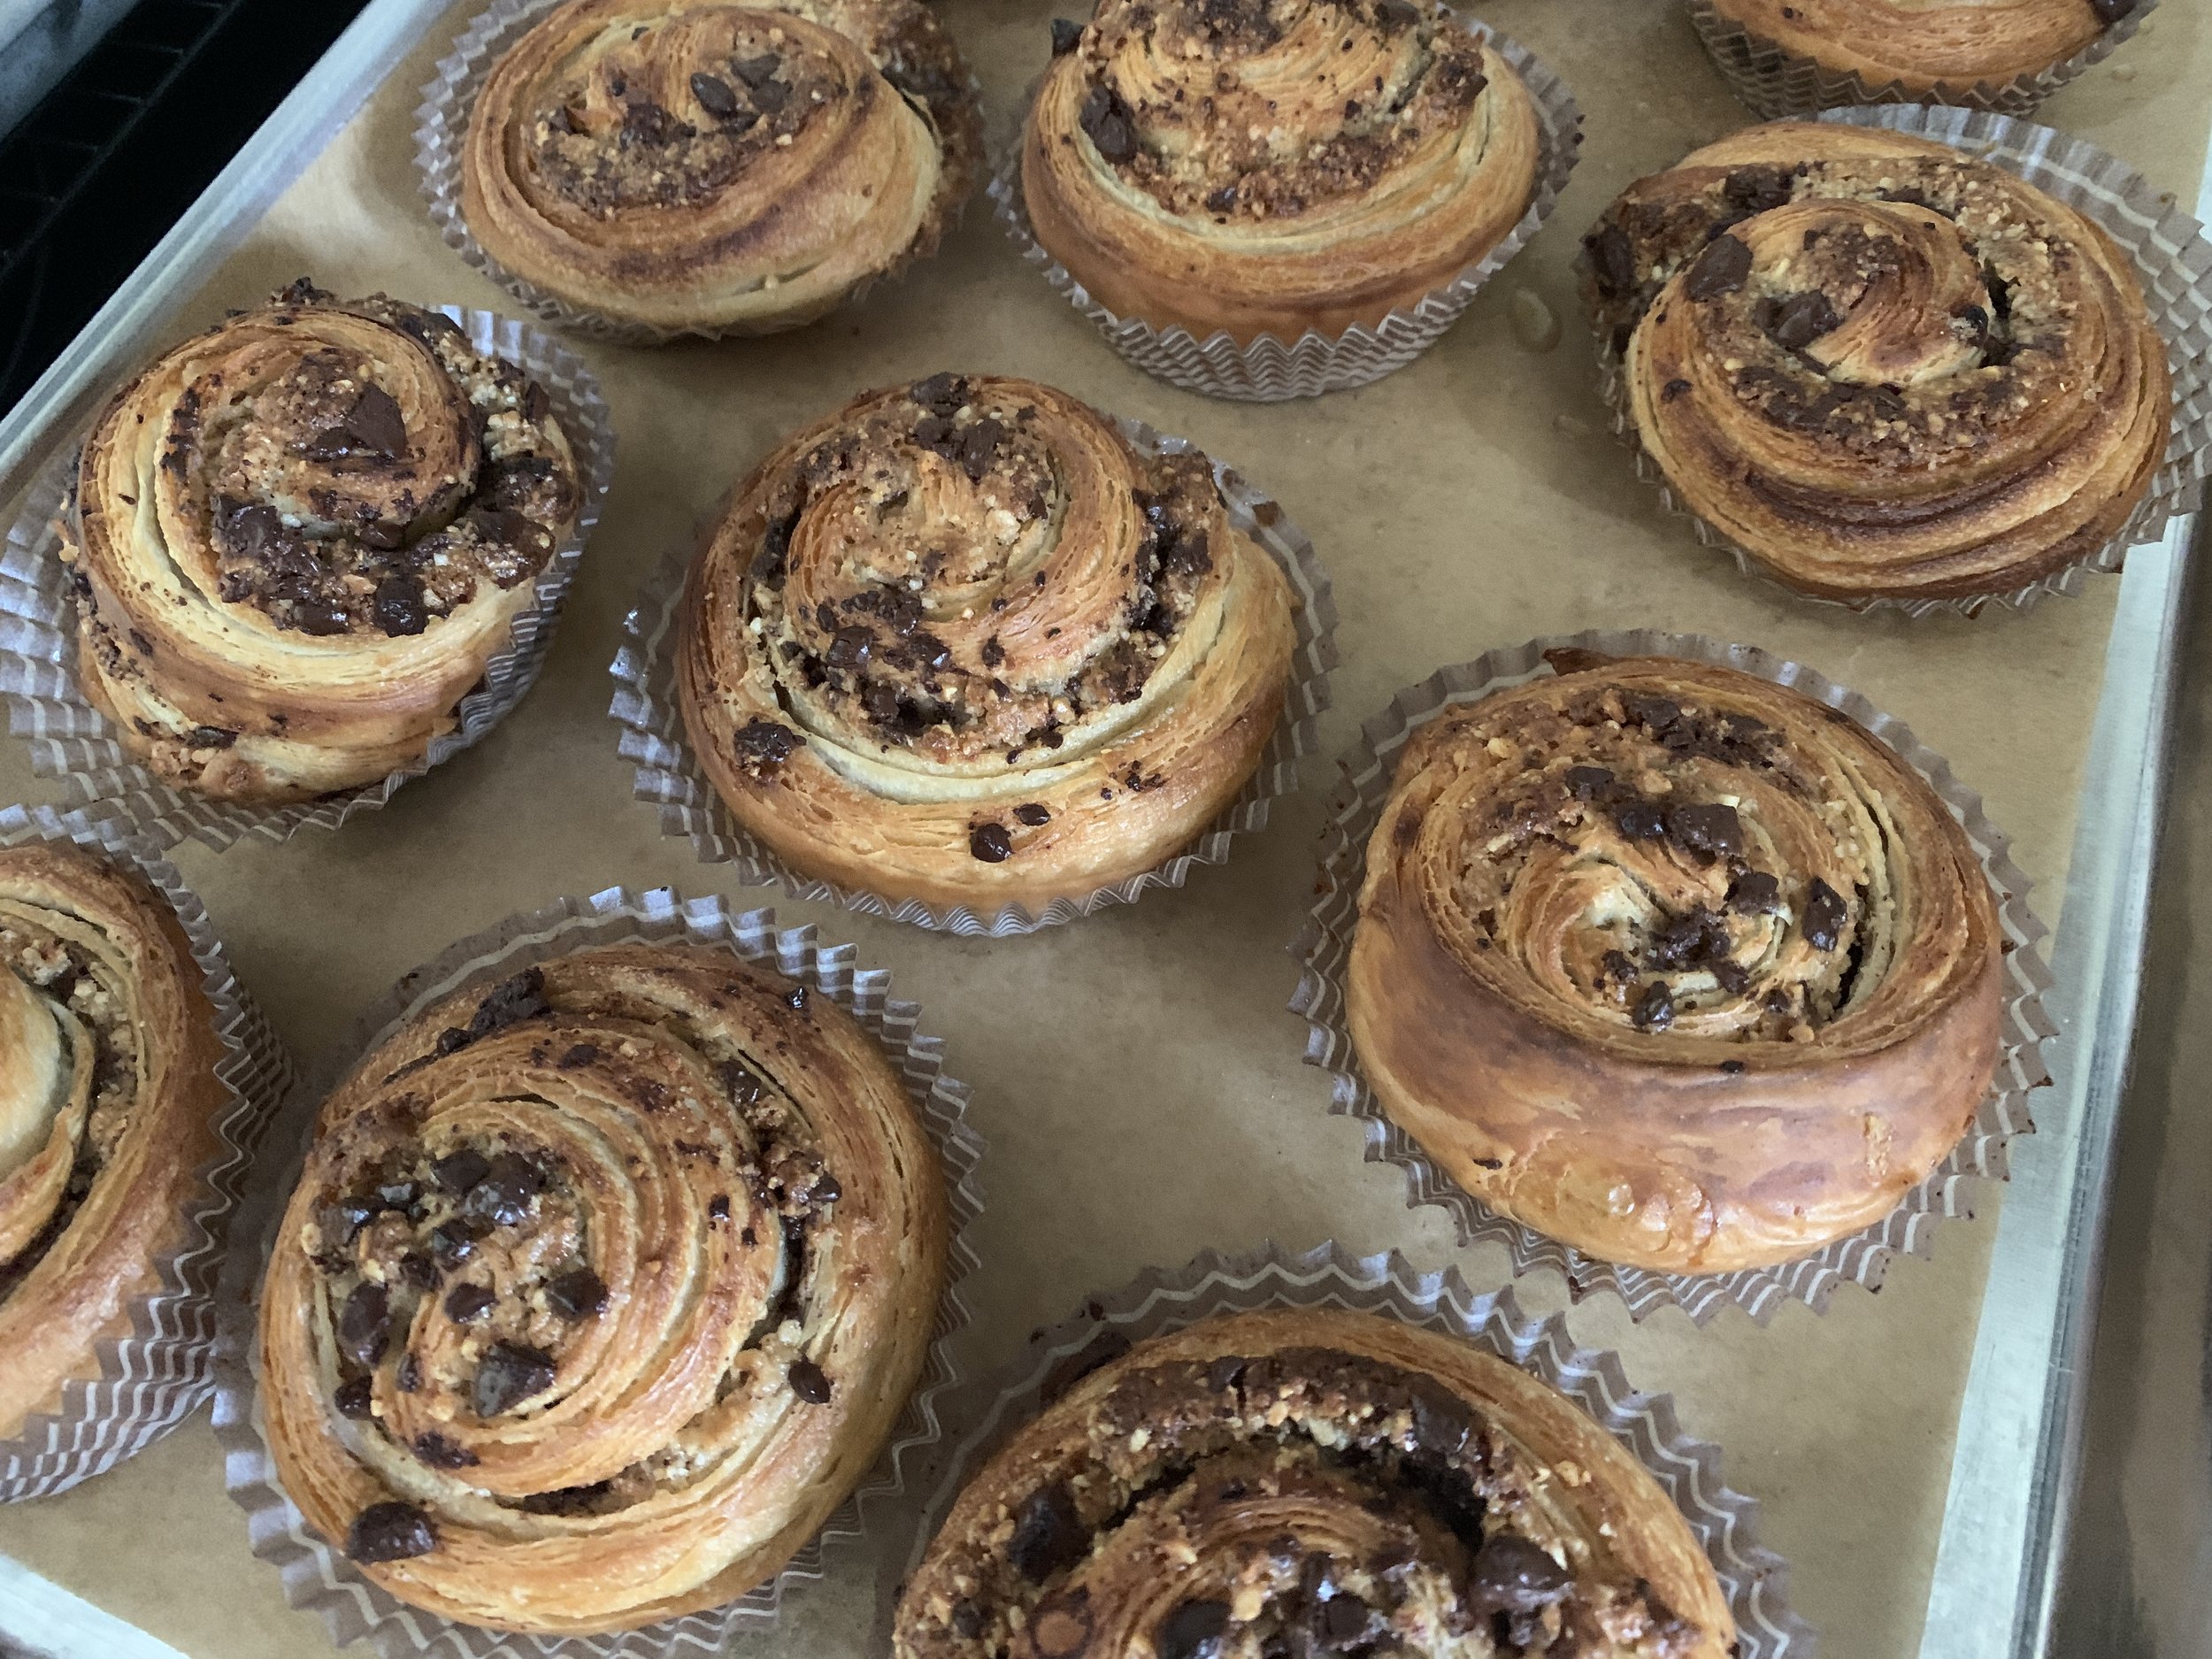
Toward the end of the rise heat the oven to 400ºF. Bake 10 minutes, rotate the pan and check the browning. If browning too quickly, reduce temp to 375ºF and bake an additional 10-15 minutes until nicely browned.
For a little shine I brush them with some simple syrup and then give ‘em a sprinkle of coriander sugar. Yum.
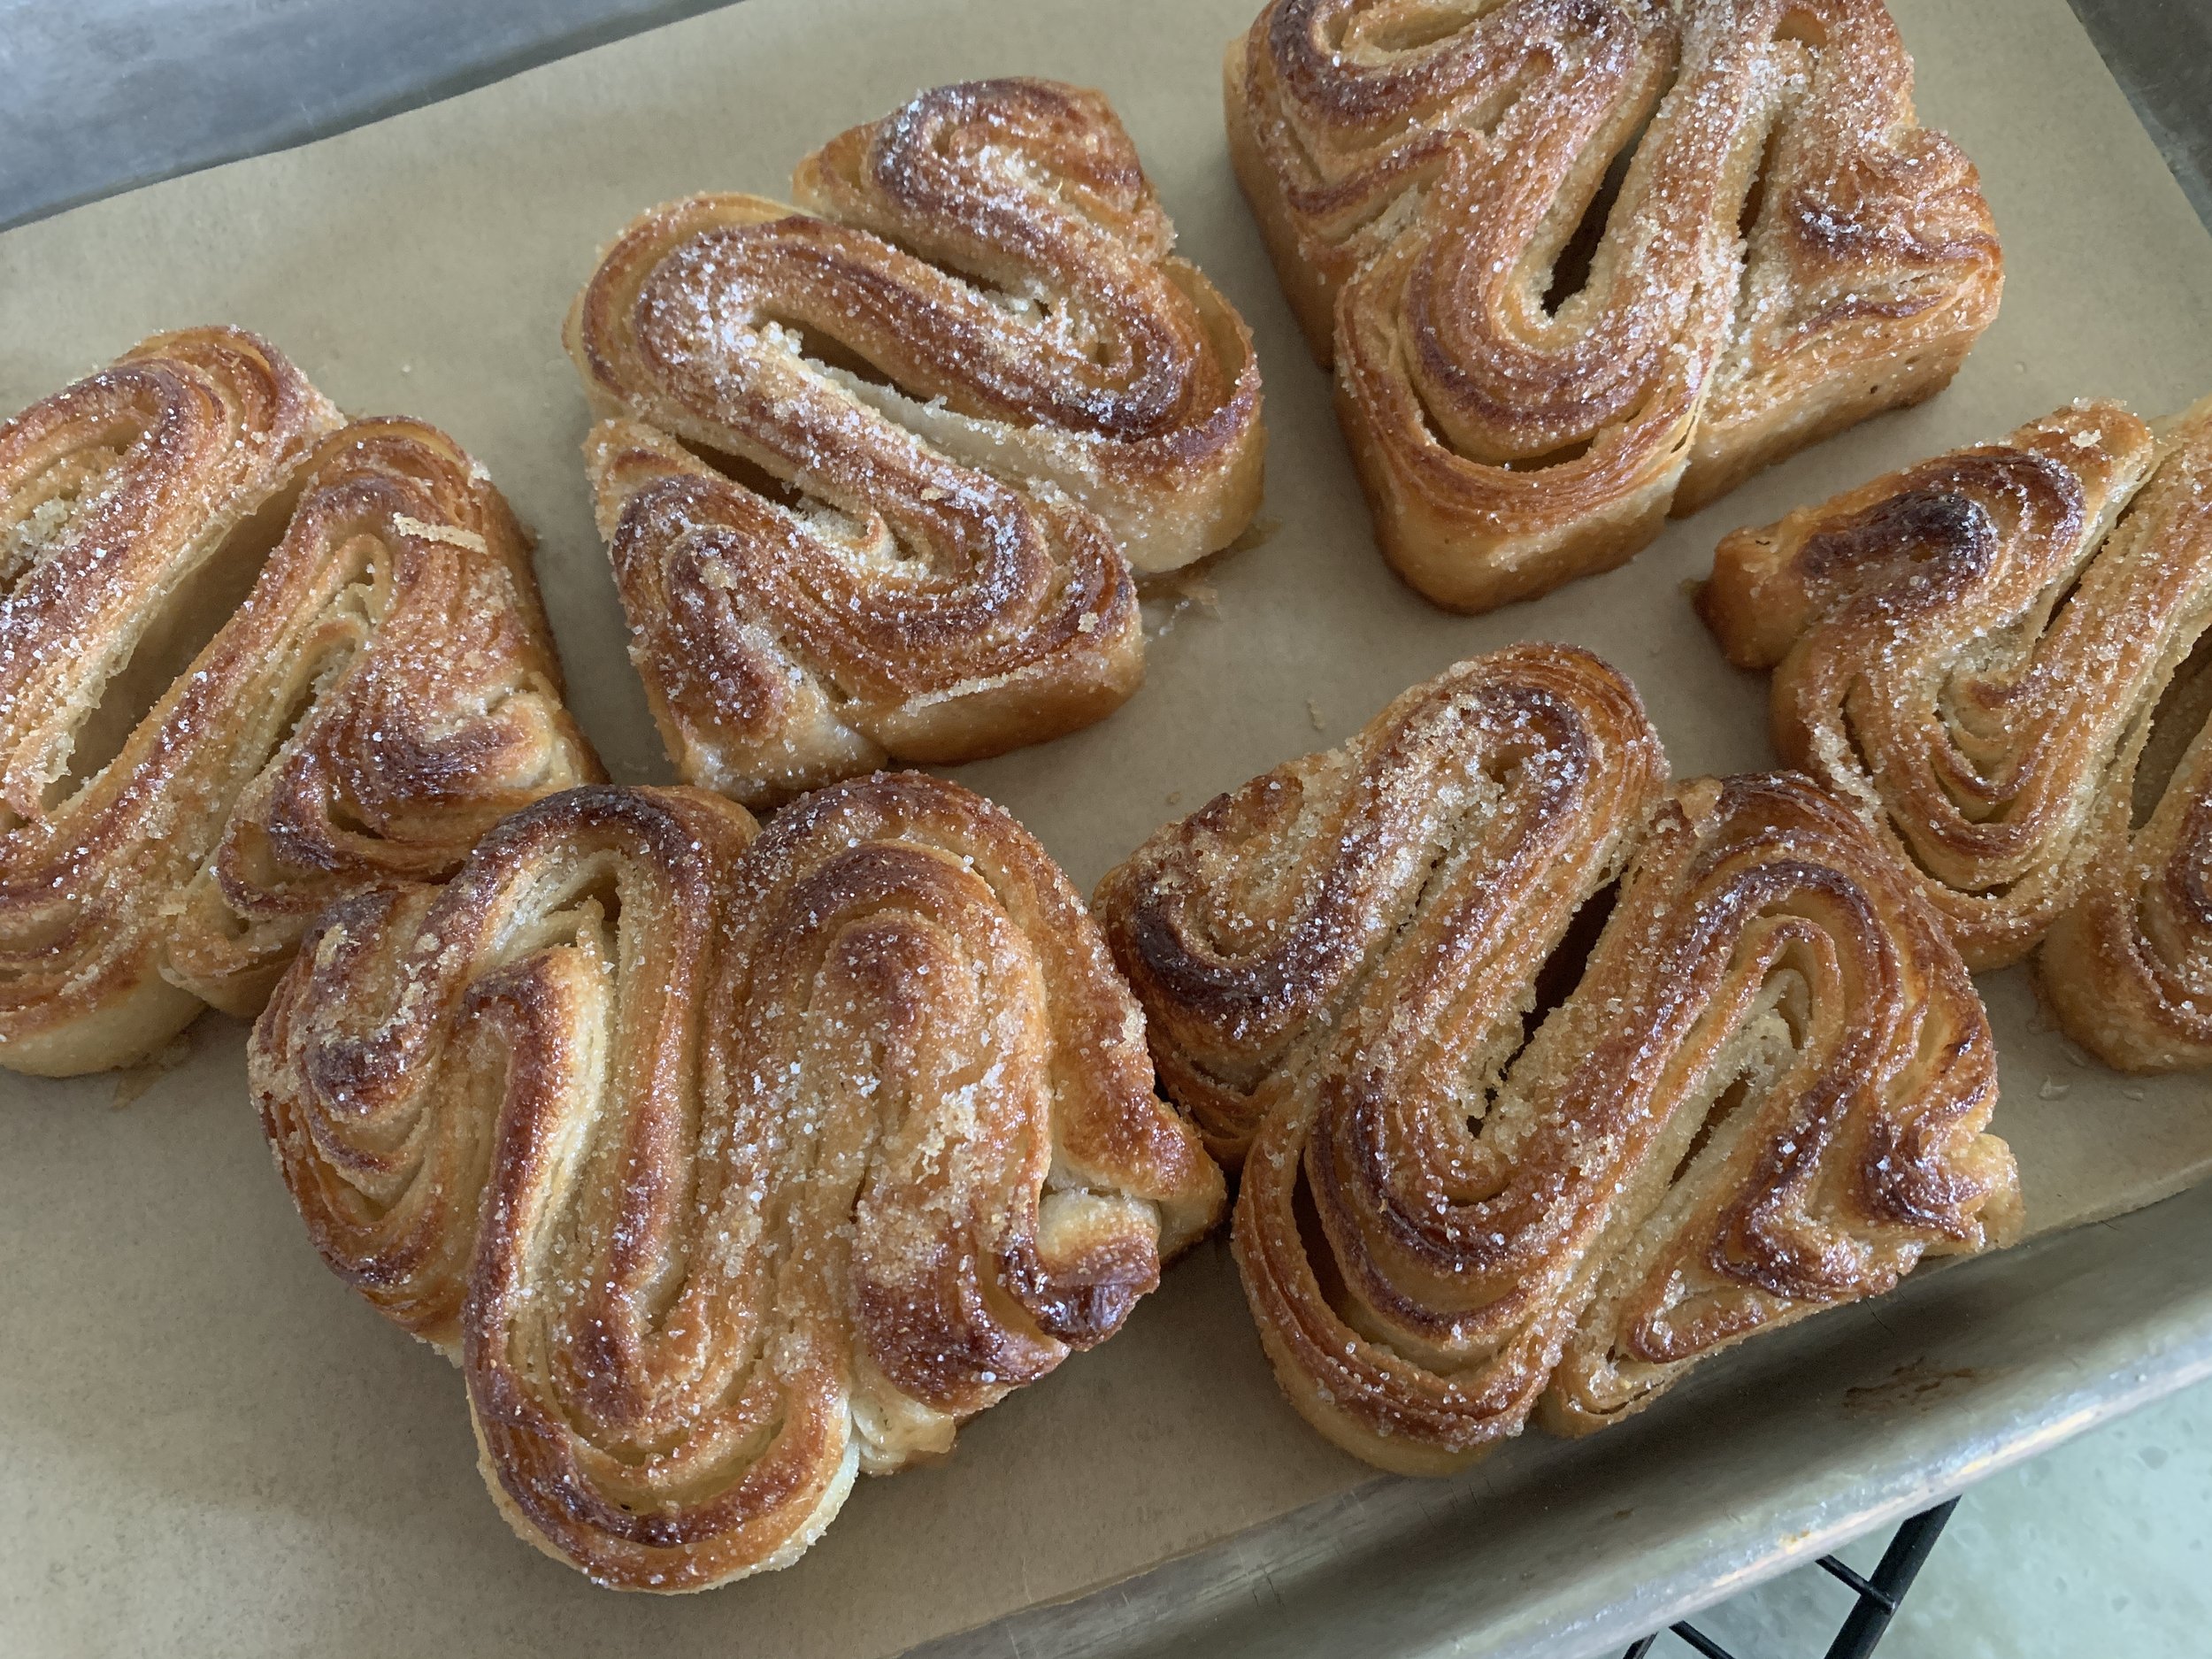
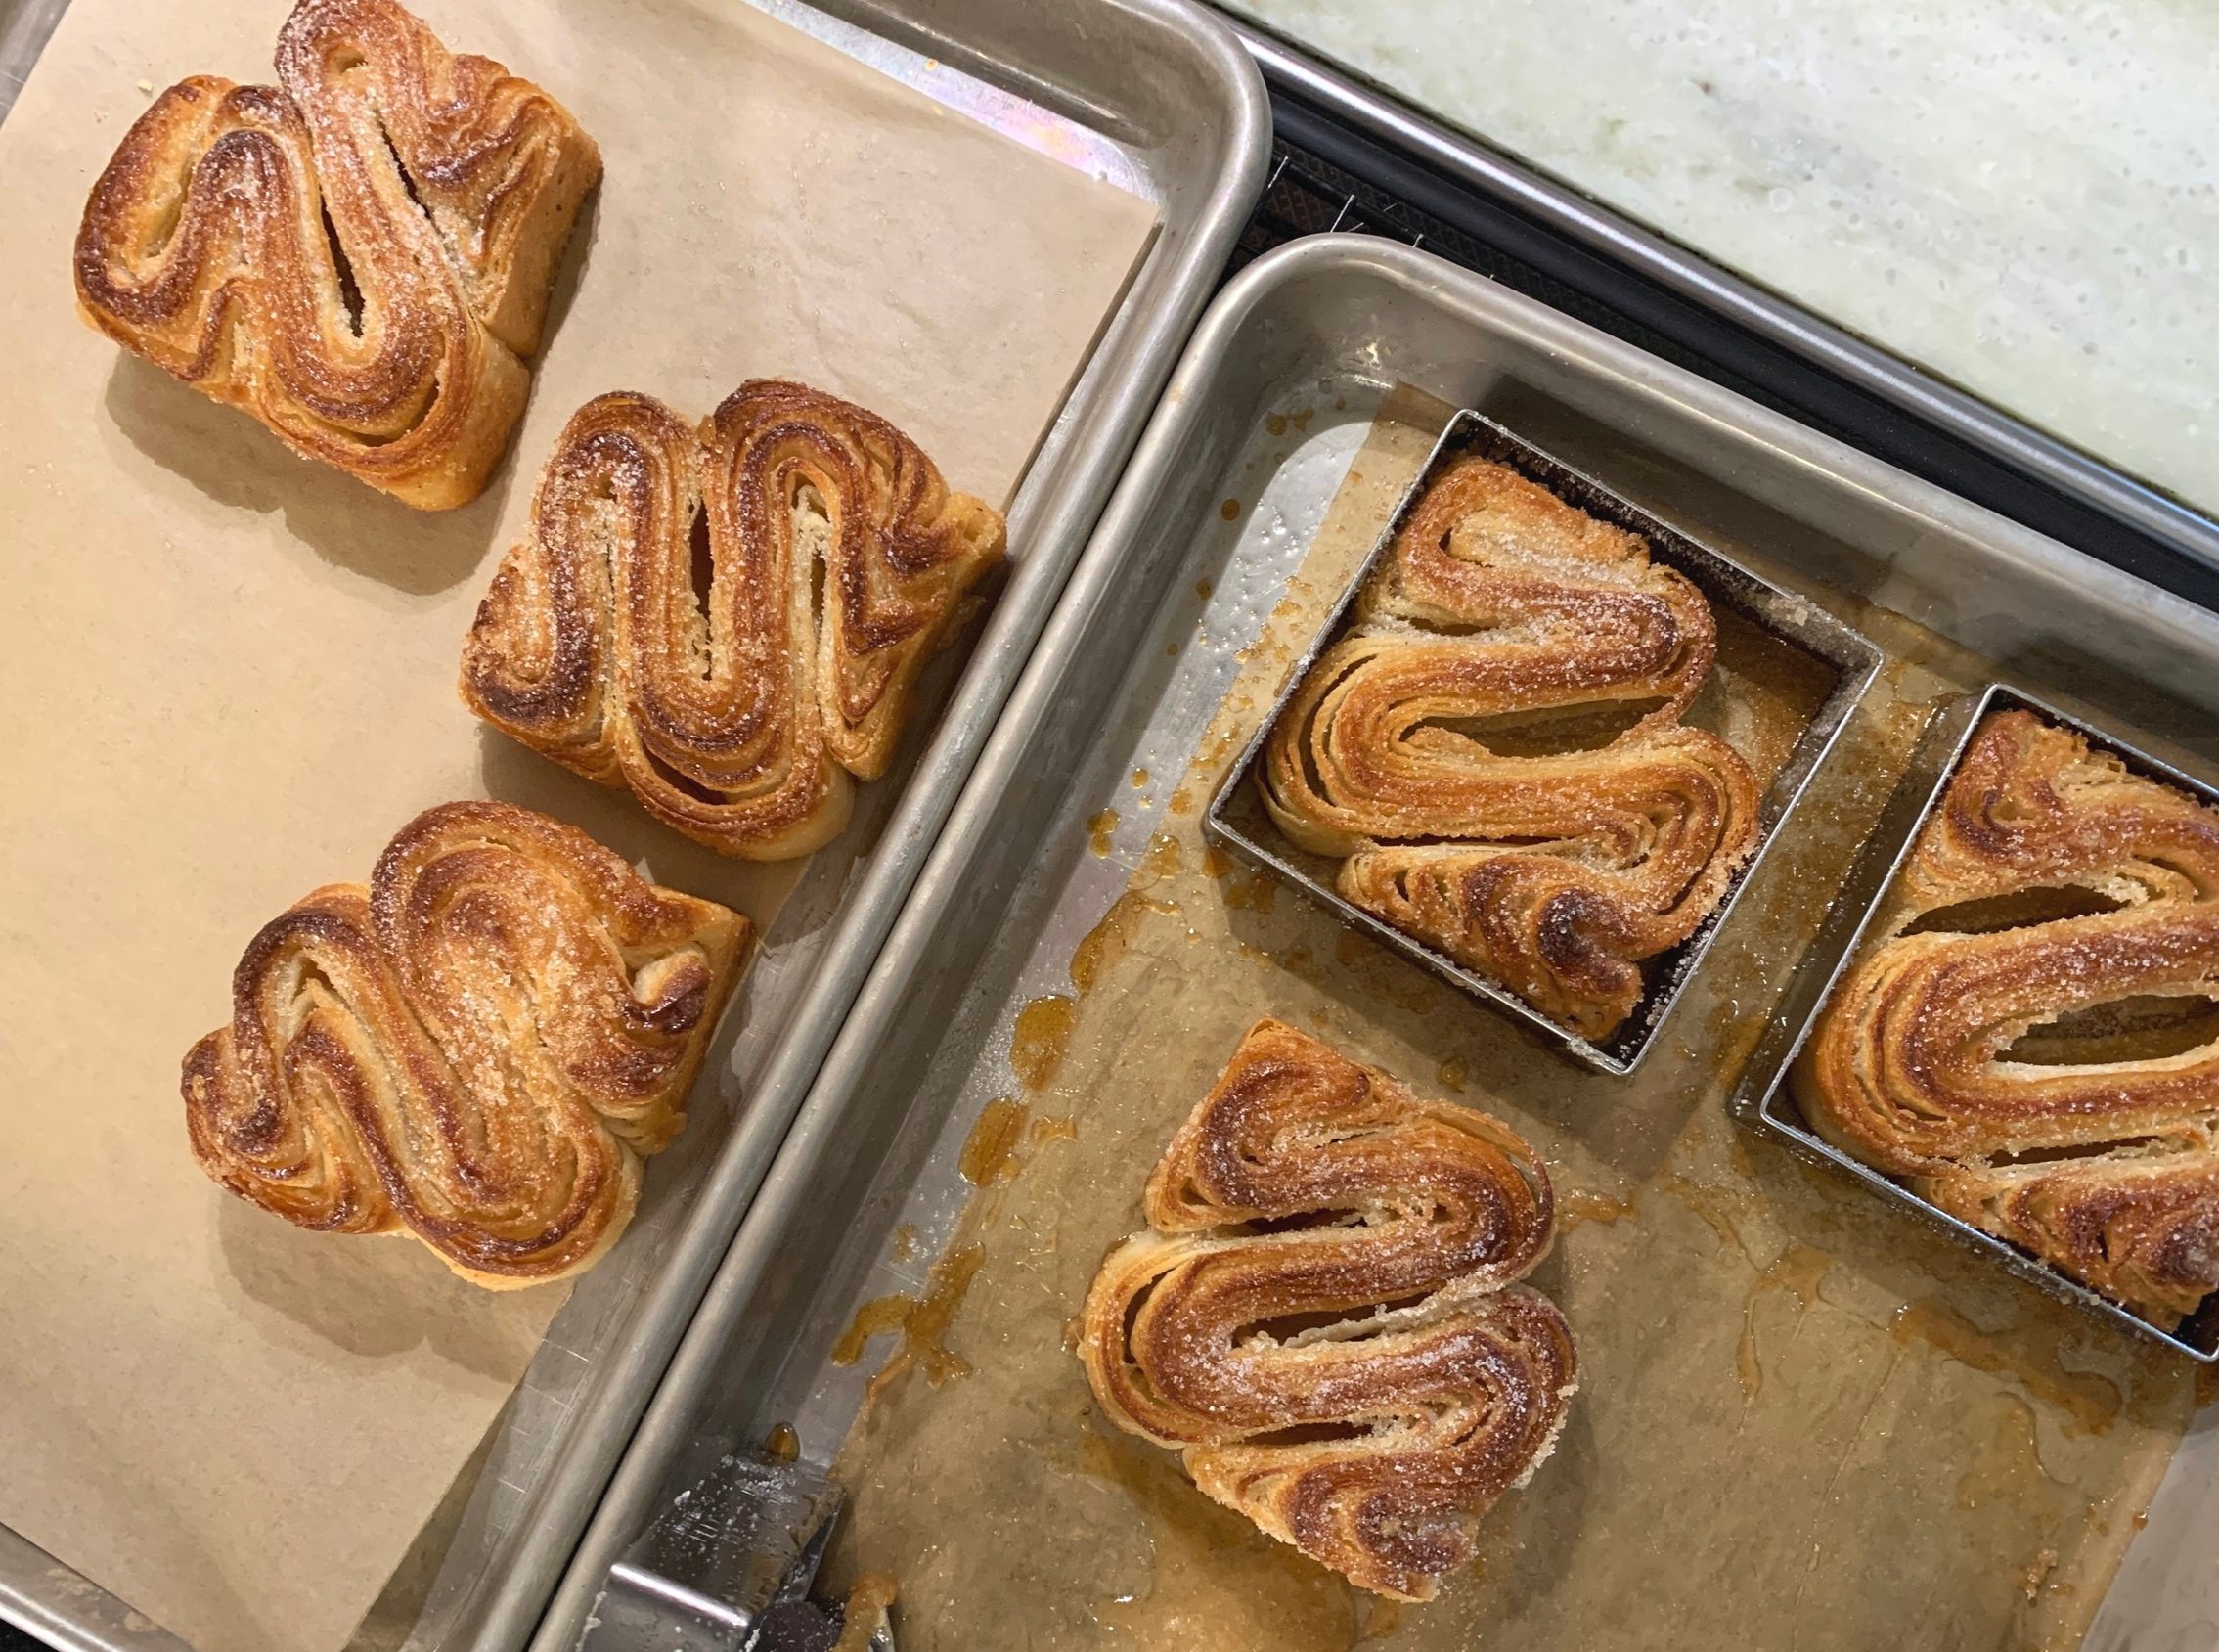
Time for the new shape! Squiggles. They remind me of fleur-de-lis.
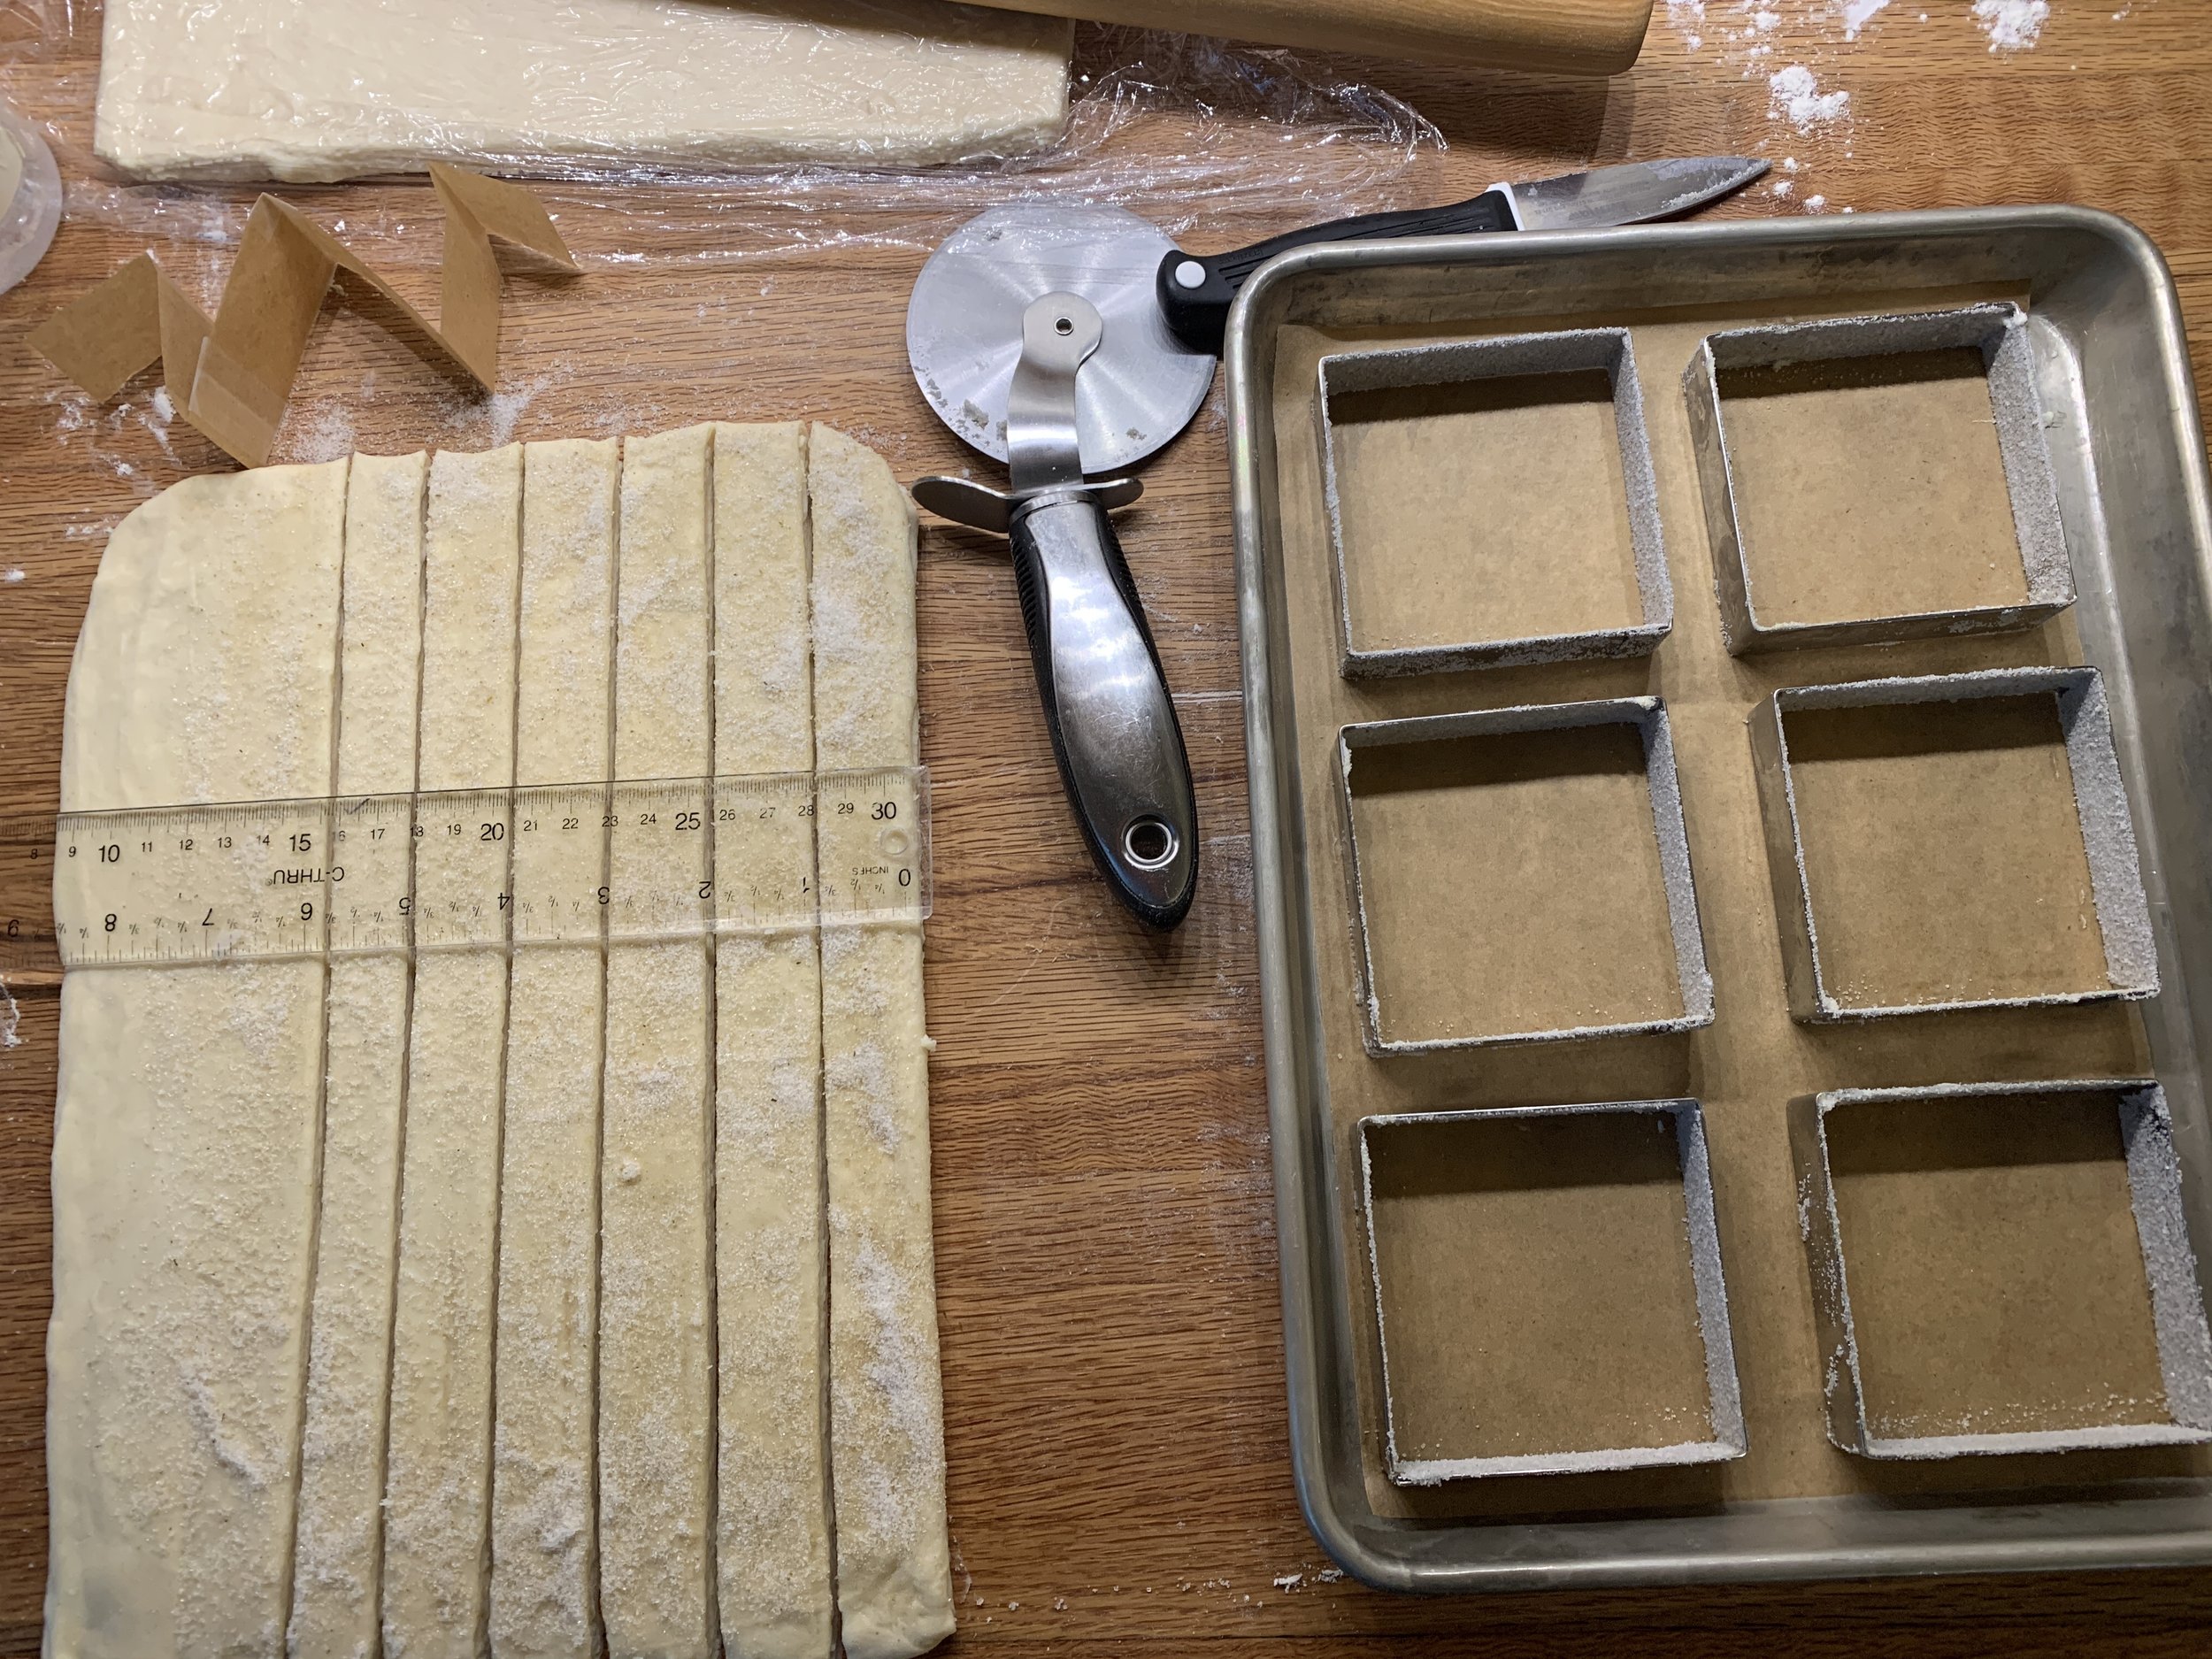
Using a half batch of dough, I rolled it out to an 8” x 12” rectangle, this time with the short side parallel to the edge of the counter. I have only six 80-mm square tart forms so six pastries resulted from this experiment.
Butter and sugar the tart forms which serve as the boundary for the dough to keep it in check, so to speak, as it proofs and bakes. Cut six 30 cm (12”) long and ~ 2.5 cm (1”) wide strips. My cutting eye was a bit off and a couple came out a bit narrower - going forward I’d cut them all a tad wider, ~3 cm each.
Shape each strip into a squiggle (I had practiced with a strip of paper first and figured out the curves I was going for), tuck each into a prepped form at an angle as seen below and sprinkle with some coriander sugar.
Cover lightly with buttered plastic wrap and let rise about 1.5 hours.
Bake at 375ºF about 20 minutes until nicely browned. I also gave these the simple syrup, coriander sugar treatment.
All in all, a fun time in the baking kitchen! I hope you’re having fun too!!
Summer marches on.

