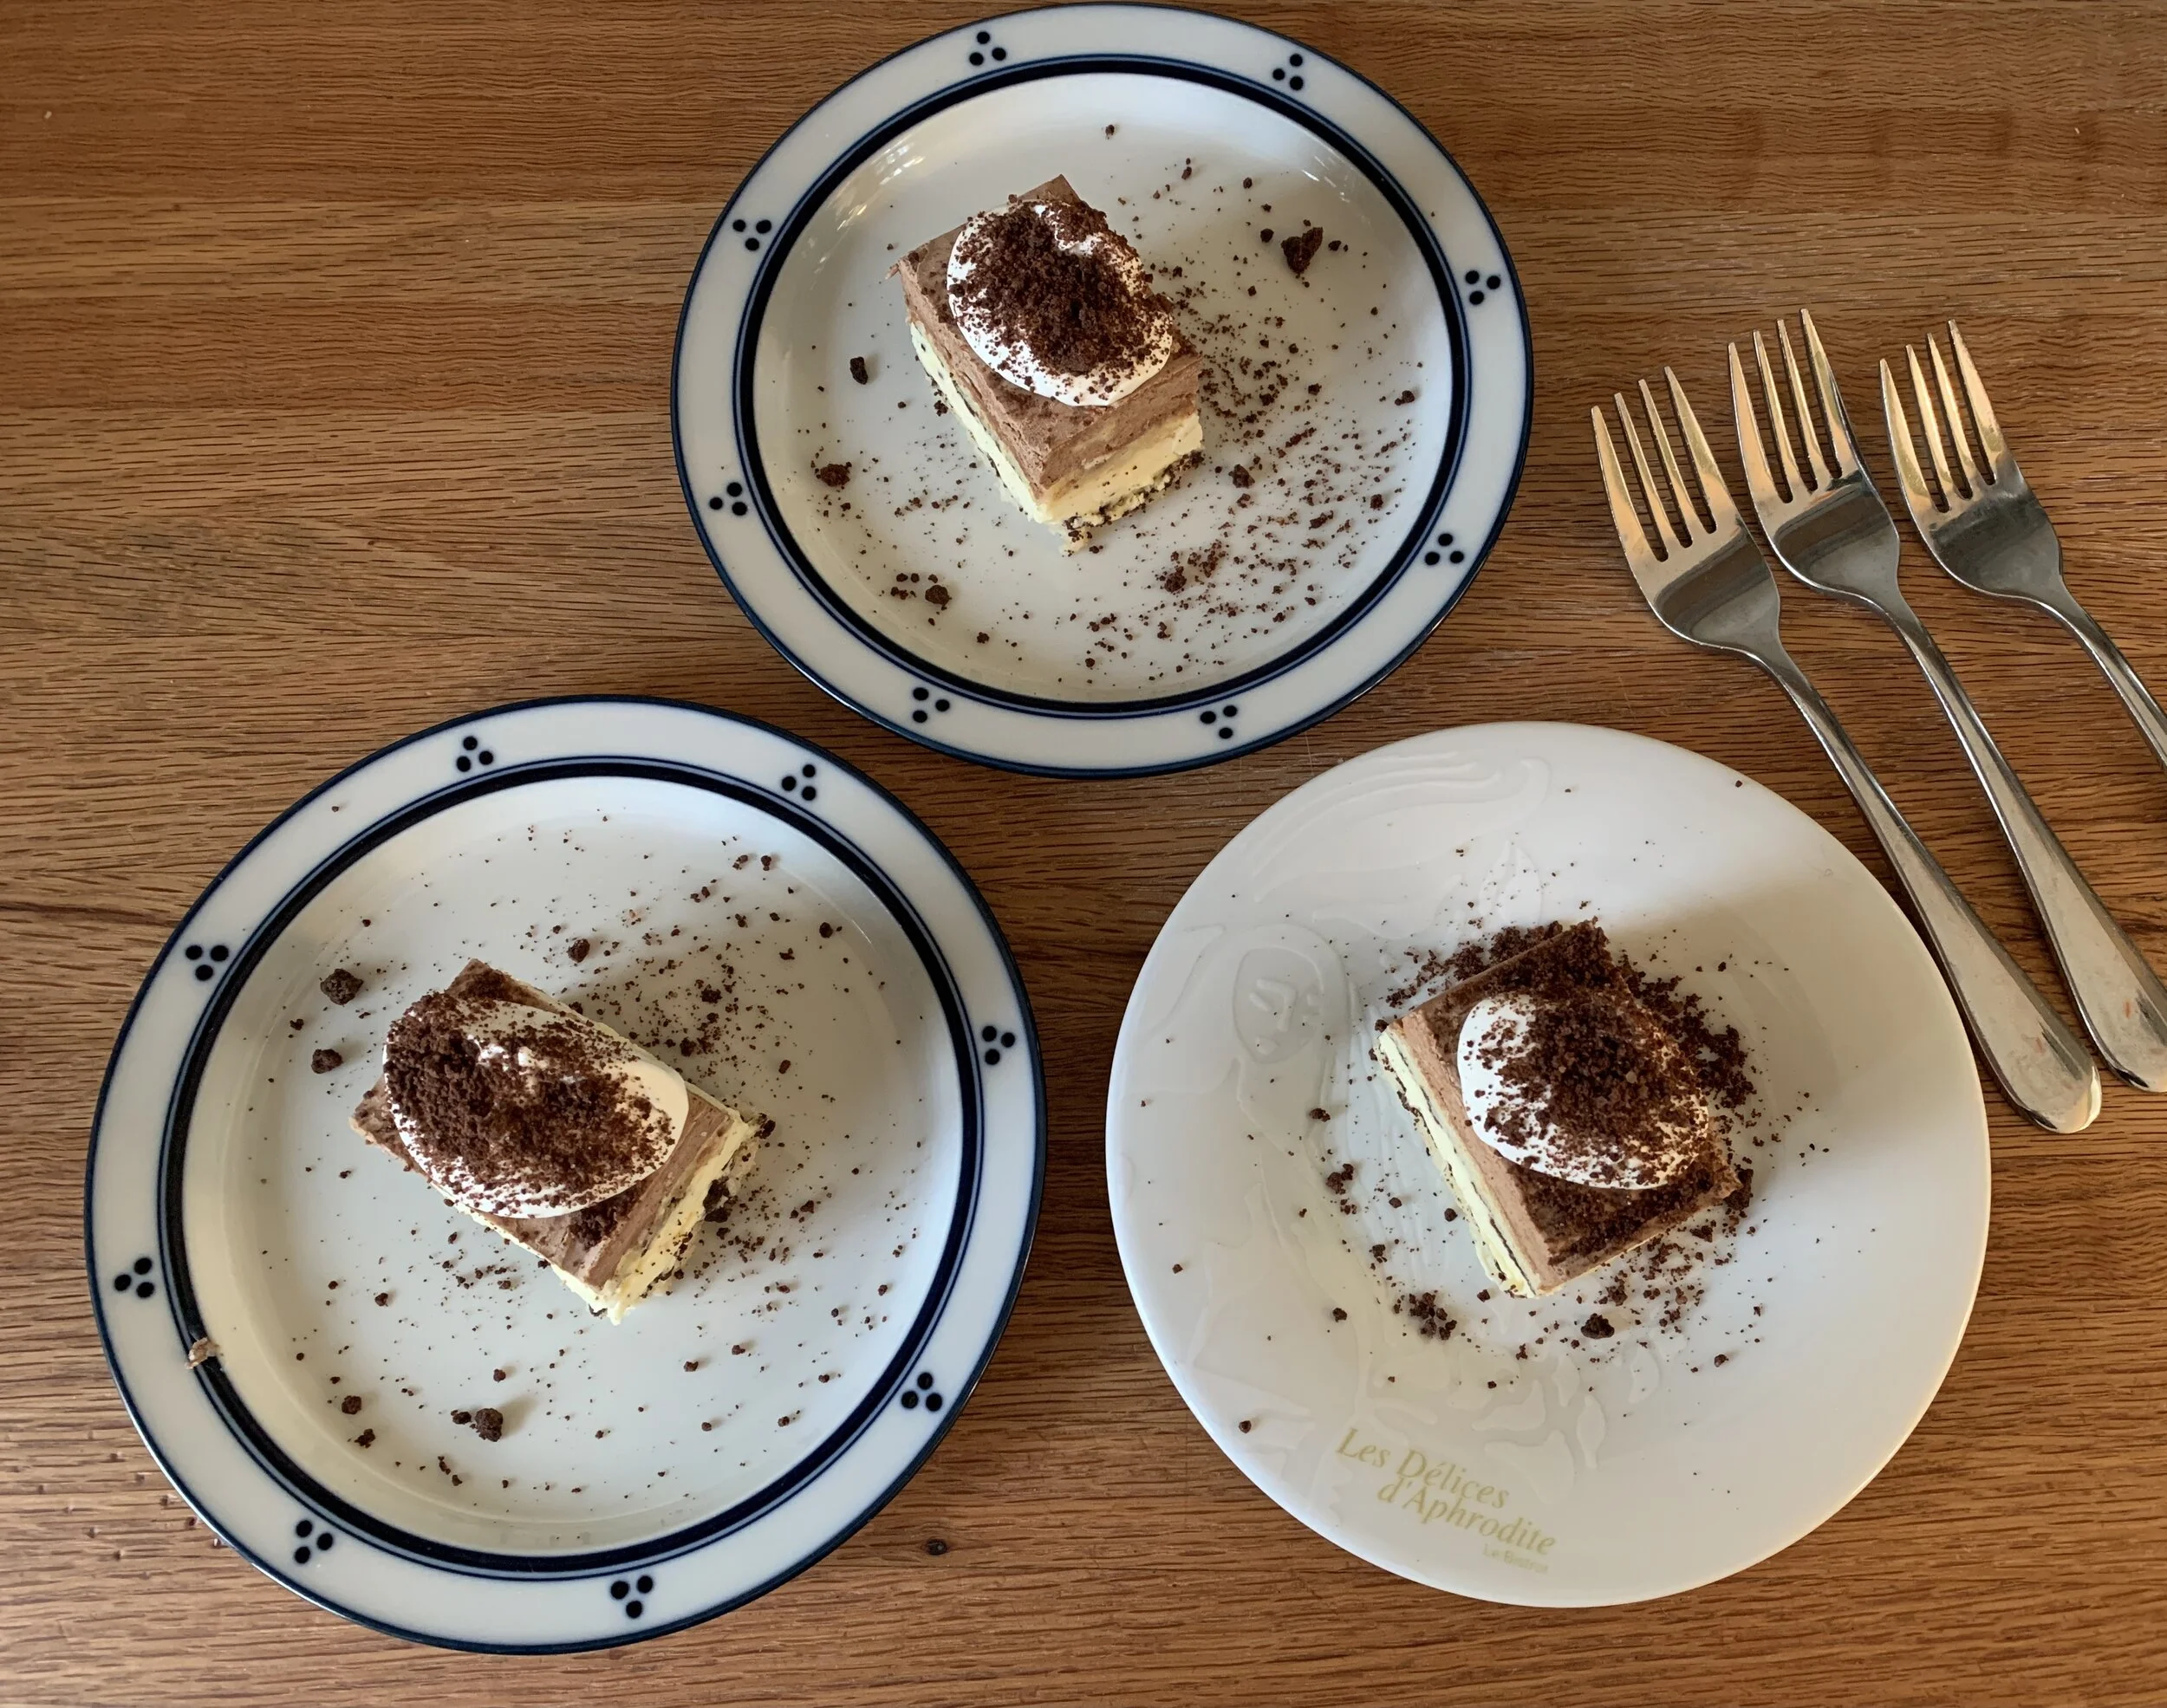
Vanilla/chocolate dacquoise
/Here’s a perfect example of taking oft made and familiar components from your repertoire and putting them together for a delicious dessert. It’s a wonderful way to create a layered entremet either from new beginnings or as a means of using a leftover cream or ganache that’s begging to be saved. BTW - the freezer is your friend here.
As a reminder, don’t forget to check out my recipe page where you’ll find some of my favorite base recipes that can be combined as you see fit to make your own version of tastiness.
This one came together after making the mille-feuille aux fraises that I wrote about here. I had enough vanilla crème légère left that I simply couldn’t throw away, so I went with my favorite dacquoise as the base for my creation.
The full dacquoise recipe is intended to be good for a half sheet pan but I wanted only two 16 cm (just a tad over 6 inches) squares so I used 3/4 of a recipe. I’ve shared this trick with you before - place your intended mold/shape on the Silpat and dust confectioner’s sugar over it to give you the outline.
Pipe your meringue mixture evenly within the outlines and sprinkle with additional confectioner’s sugar. It’s OK if you’re a little outside the lines - you’ll trim the edges before assembly anyway.
Ready for the oven
Bake at 325ºF for about 20-25 minutes until lightly browned.
All baked up!
Let cool. Once cooled, I like to pop the sheet pan into the freezer for 10-15 minutes which allows for easier release from the Silpat.
When ready to assemble, I first neatened up the edges using my 16 cm form as a faux cutter. BTW - never cut with anything sharp on a Silpat. You’ll regret it.
Place the 16 cm form on a cake board (I used a cardboard square covered with foil), have your intended cream and any other garnishes at the ready, then set in the first layer of dacquoise.
I proceeded with caramel drizzle topped with chocolate shortbread crumbs . . . . . .
followed by a layer of vanilla crème légère spread evenly. Eyeball the amount of cream you use depending on the height of your form and the other layers you’re planning to add.
My form is 4.5 cm (1.75 inches) high and, since I wanted to leave room for my second dacquoise layer and some whipped ganache, I took my cream about 1/2 way up.
Top with the second dacquoise layer and hold in the freezer to firm up a bit before the finale.
For the ganache I used 50 g of Guittard’s 61% Lever du Soleil . . . . .
and three times that weight in heavy cream. I knew I didn’t need much and this turned out to be the perfect amount. Of course, if you make more, you can always use the extra for something else, eh?
Make as you would any ganache by boiling the cream, pouring it over the chocolate (chopped if you don’t have it already in discs), and gently blending until smooth. I suggest making this early in the day - it has to chill completely before you whip it. When you’re ready to add it to your entremet, just whip to soft peaks and spread it on top.
Whipped ganache - the best stuff ever
Place the whole thing in the freezer. Once firm, cover the top with a piece of parchment or waxed paper, pressing down gently to exclude air. Wrap it all in foil or plastic wrap. It can remain in the freezer for some weeks. Mine was frozen for about a month before Steve, my mom, and I enjoyed it for his recent birthday supper.
The day you wish to serve, take it out of the freezer, put it in the fridge for an hour or so, then use a knife warmed in hot water and wiped dry to cut around the edges to loosen the form. Lift off the form then cut into slices of desired size, again using the warmed knife technique. It’s much easier to slice when still semi-frozen and firm.
Hold the portions in the fridge in a covered container where it will continue to thaw and be ready to eat several hours later.
I garnished with a simple dollop of whipped cream and a sprinkle of chocolate crumbs for serving and enjoying.
Steve the birthday boy’s conclusion - yum, yum, yum. Oh so light, creamy and smooth, a hint of crunch and the soft slightly chewiness of the meringue layers all made for a memorable dessert (and the leftovers kept for 2-3 days in the fridge!)
Now think about creating your own version of deliciousness. You can do it!
May you have a song in your heart and a spring in your step.


