Sportskage trial
/
I'm on a pastry detour to Denmark! Who woulda thunk it?!
I recently received a request to make a sportskage (sports cake), which, as I've come to learn, is a classic "cake" created back in the late 1800's by La Glace, a pastry shop in Copenhagen, for the opening of a play entitled "Sportsmen". It's been around ever since and continues to be a popular offering at the conditori.
It is basically whipped cream with chopped caramelized nuts (nougatine) folded into it, domed on top of an almond macaron type base, then topped with more whipped cream and caramelized choux puffs. When I first saw photos of this pile of cream, I was curious, not only as to how one approaches the assembly, but also the slicing and serving of such a thing. How does it hold its shape, I asked myself?
What better way to find out than to jump right in and make it. My trial was underway!
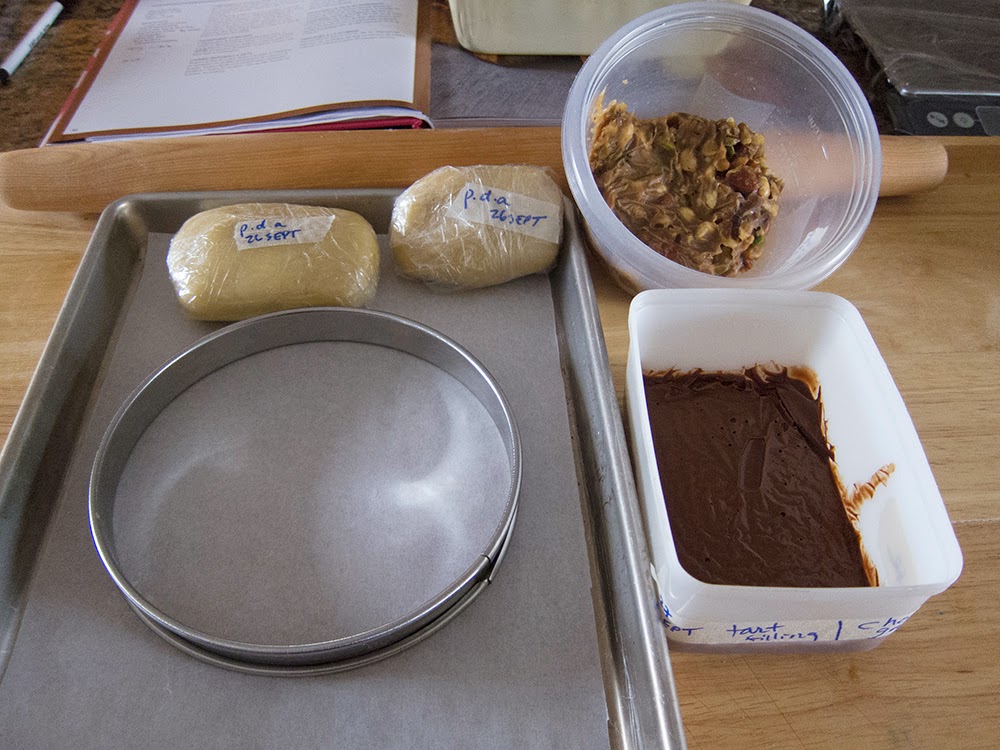
Unlike the recipes I reviewed on line which use almond paste, egg white and sugar for the "cake" base, I opted to substitute one of my (and Steve's) all time favorite components. Dacquoise is in the meringue family, made with ground nuts (almonds or hazelnuts or pistachios or walnuts - you name it), egg whites and sugar, much like the ever-so-popular French macaron.
For me the beauty of a dacquoise is how much easier it is to make than the fussy macaron. In this case I wanted to know if the small version of my go-to recipe would be enough for a 9-10" diameter base for the sportskage.
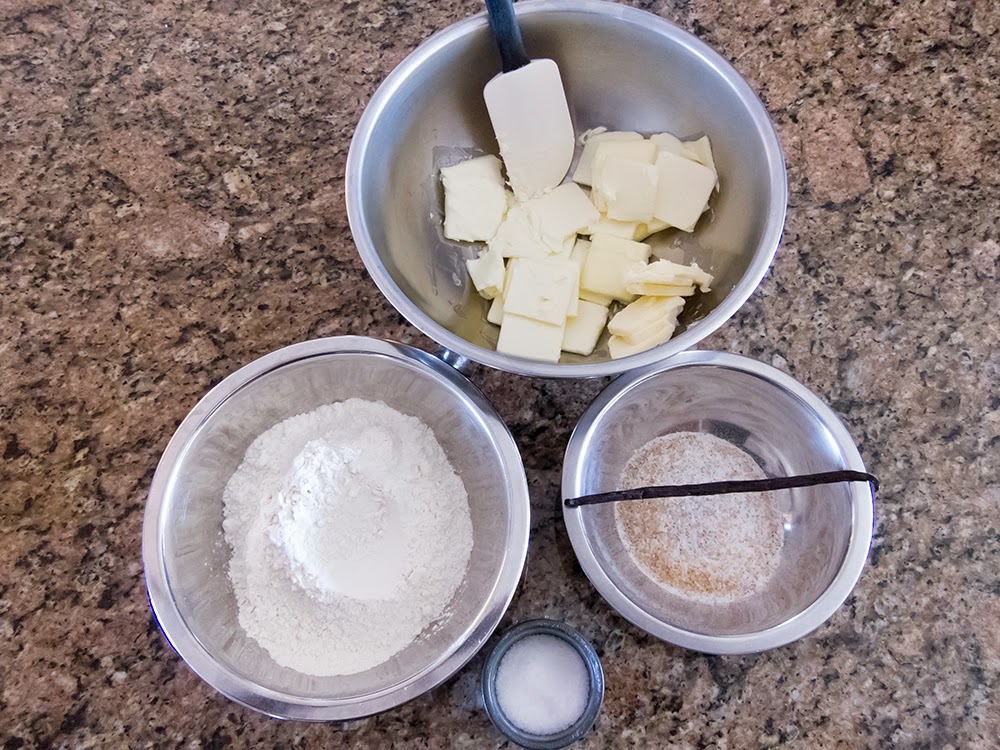
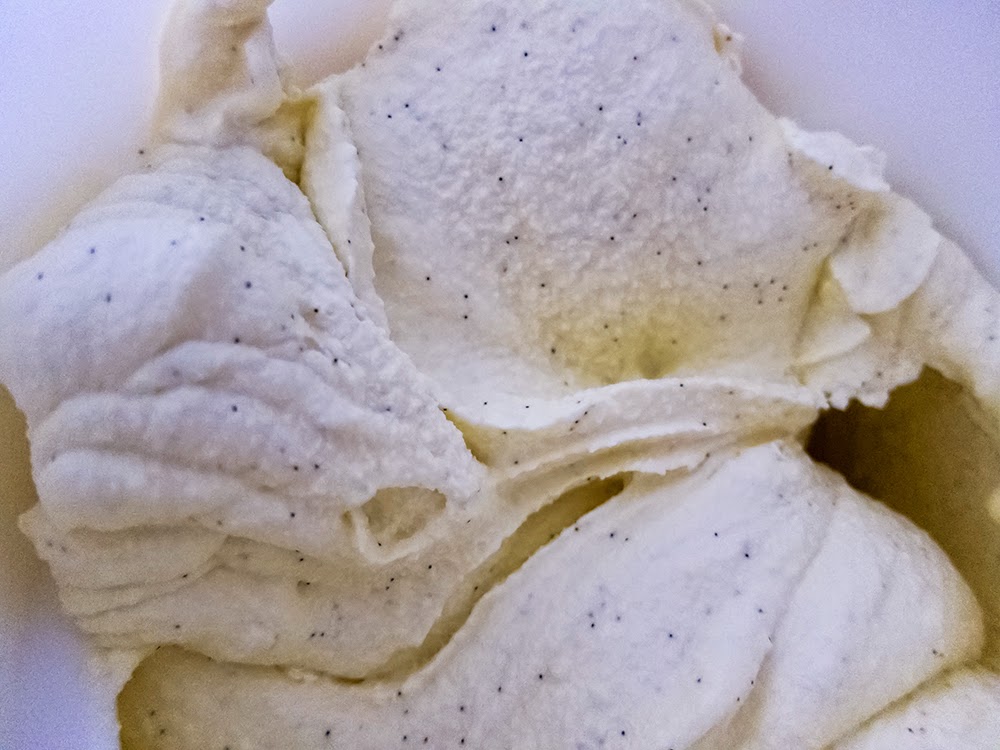
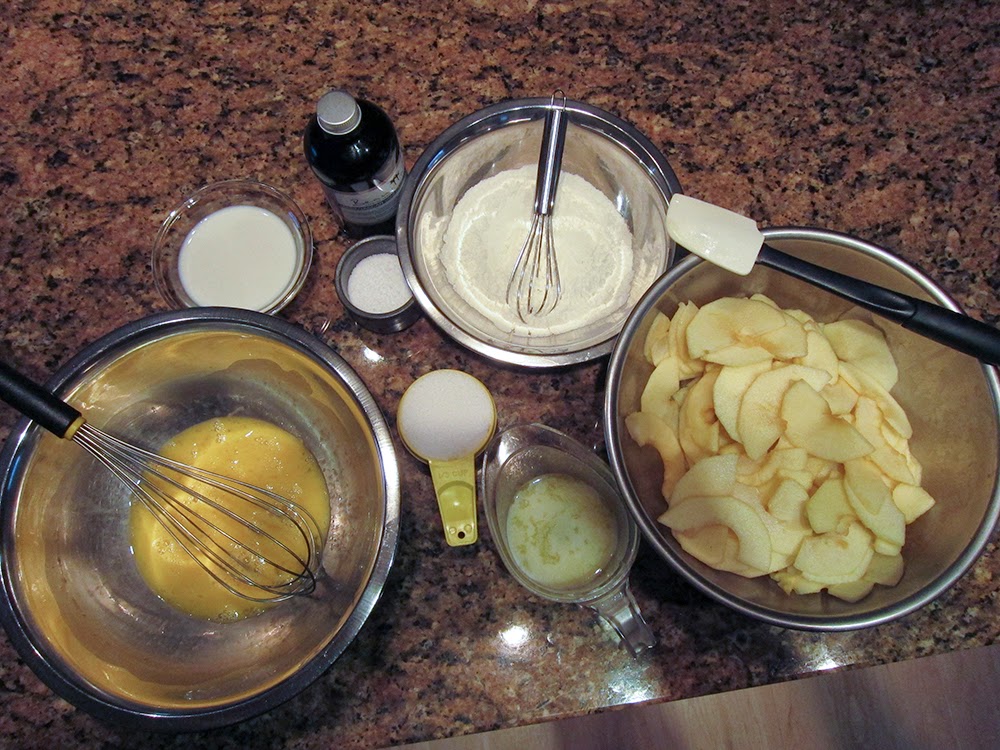
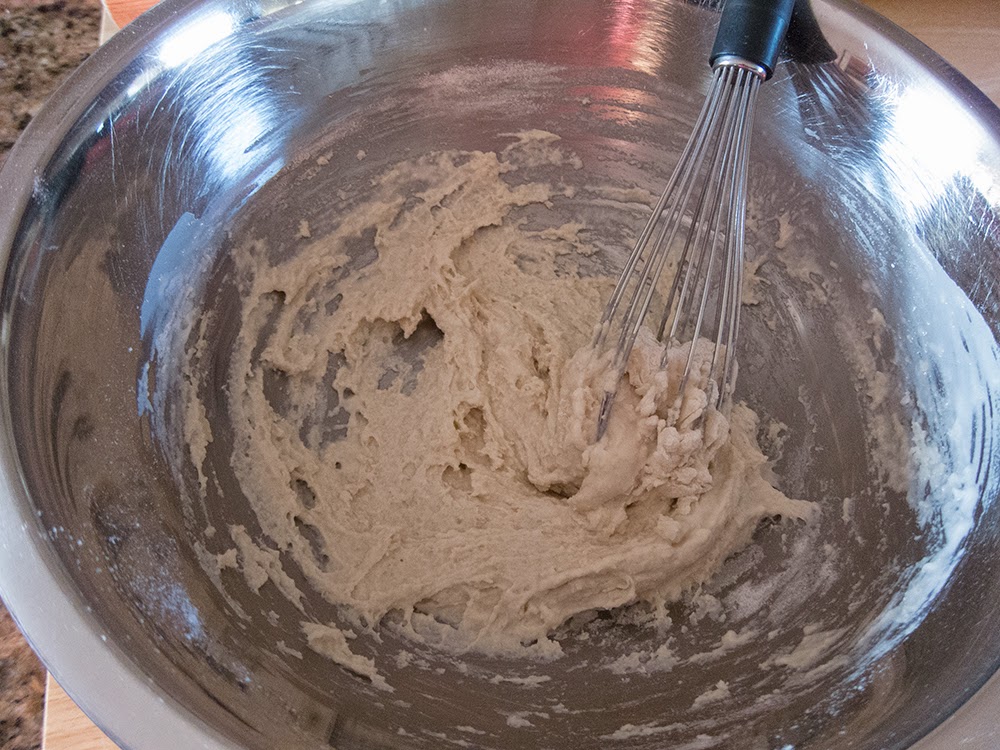
I decided on a hazelnut version and proceeded with my mise en place. Very straight forward, no muss, no fuss. When making a meringue I typically weigh out my egg whites and let them sit at room temp for an hour or so, since they mount better when no longer refrigerator cold.
Here I have egg whites (99 gm or about three), confectioner's sugar (75 gm), ground hazelnuts (99 gm) and granulated sugar (25 gm) at the ready.

Whisk the ground hazelnuts and confectioners sugar together . . .

Start the egg whites on low speed, using the whisk attachment, and, once they start to look foamy, add the granulated sugar . . . .
then continue beating on high speed to firm peaks.
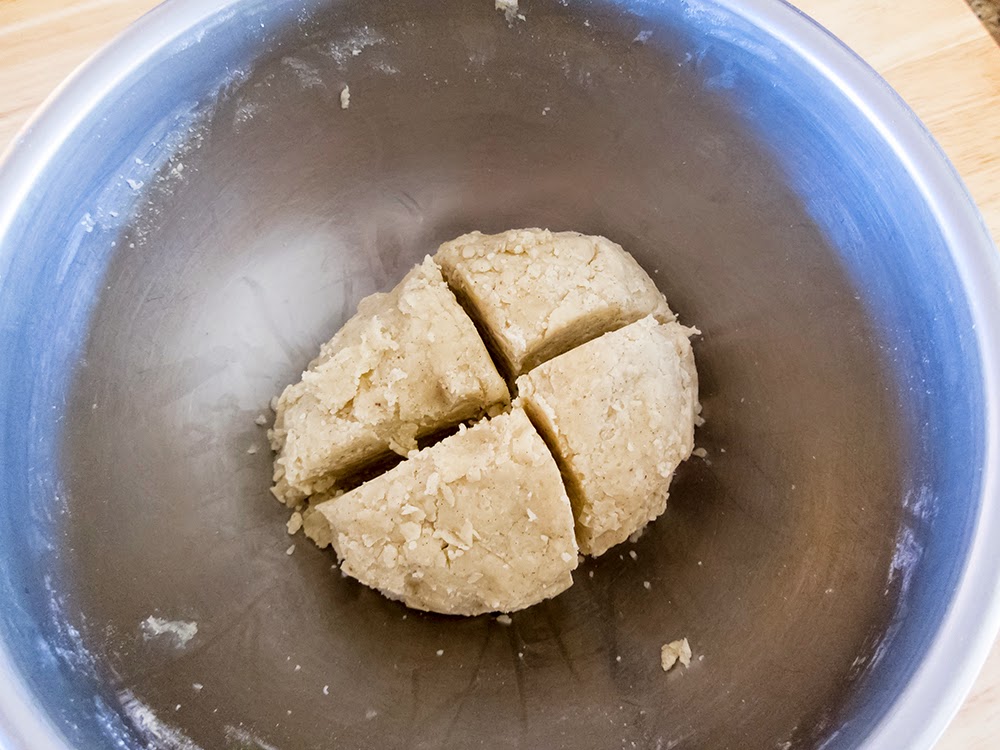
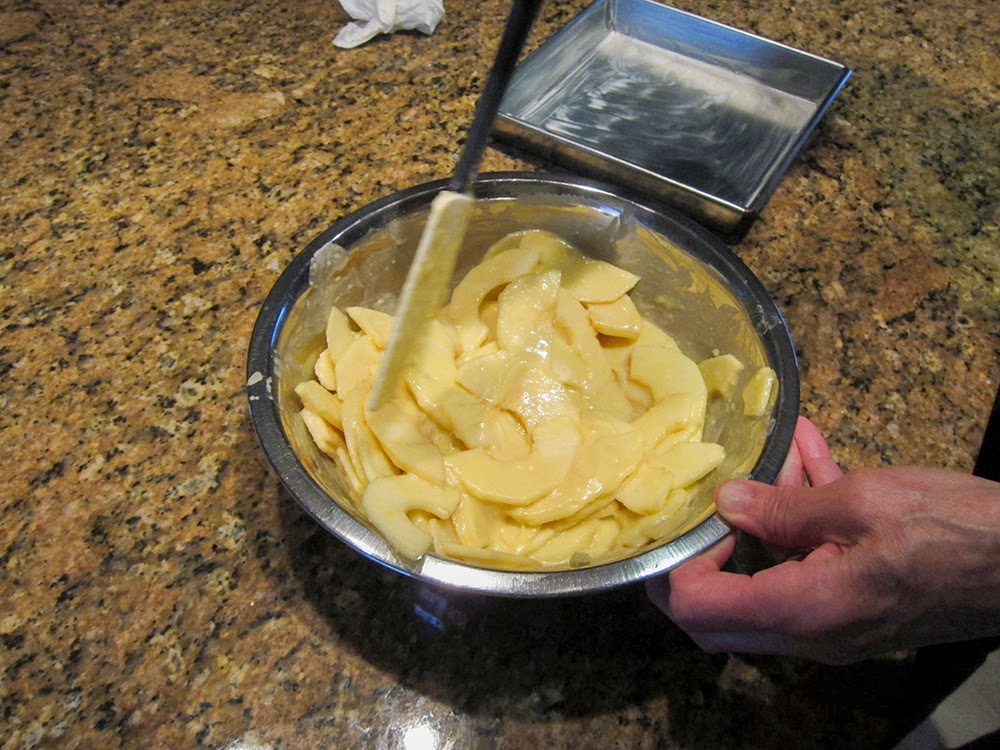
Now gently fold in the hazelnut/confectioners sugar mixture just until incorporated . . .

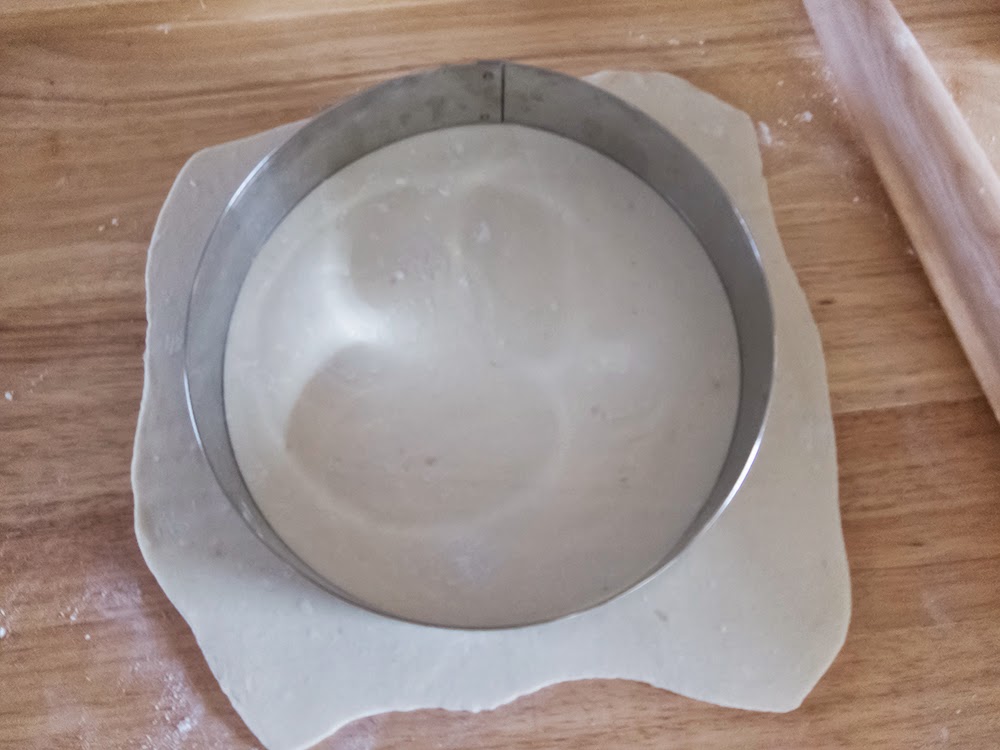
and pipe into a nice round!
You can appreciate that my coil doesn't quite reach the periphery of my 240mm cake ring, so I might need a slightly larger recipe when it comes time for the real thing. We'll see.
Out of the oven . . .

I was happy with the thickness, feeling it would nicely support the cream that would later be mounded on it. But to give me a slightly larger base for the final dessert I'll consider a 15-20% increase in my base recipe.
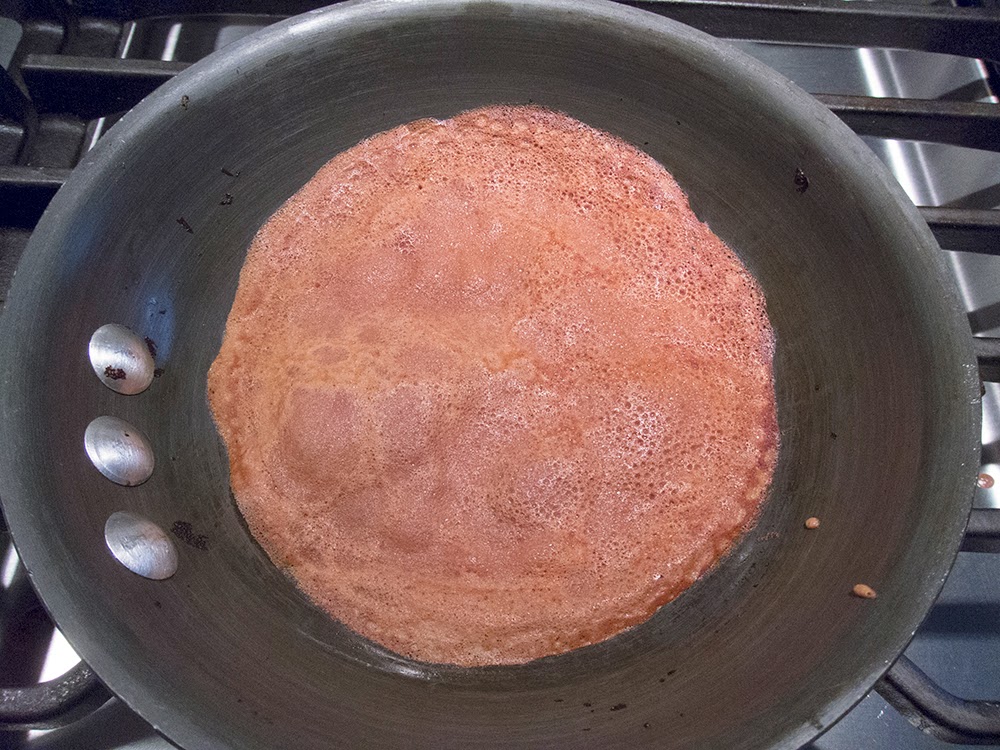
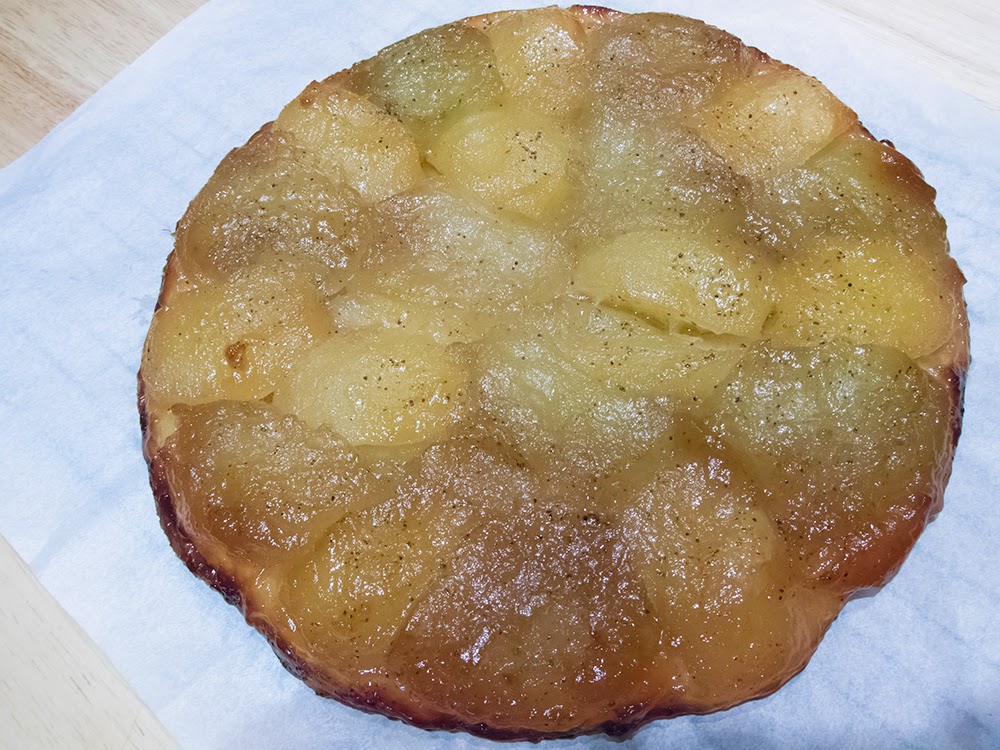
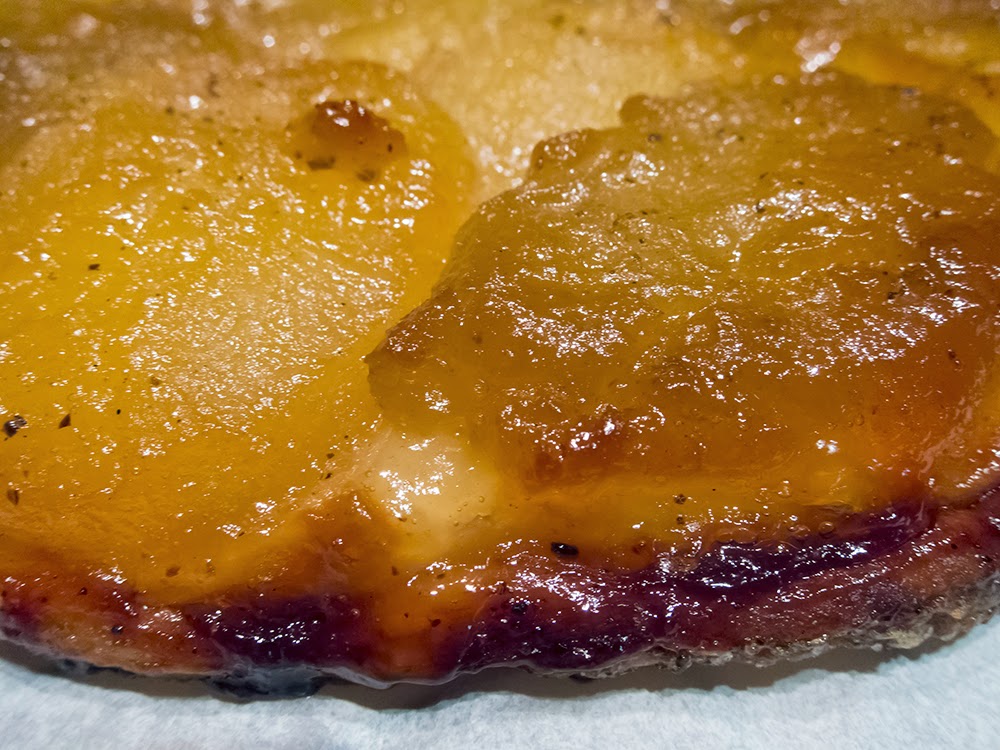
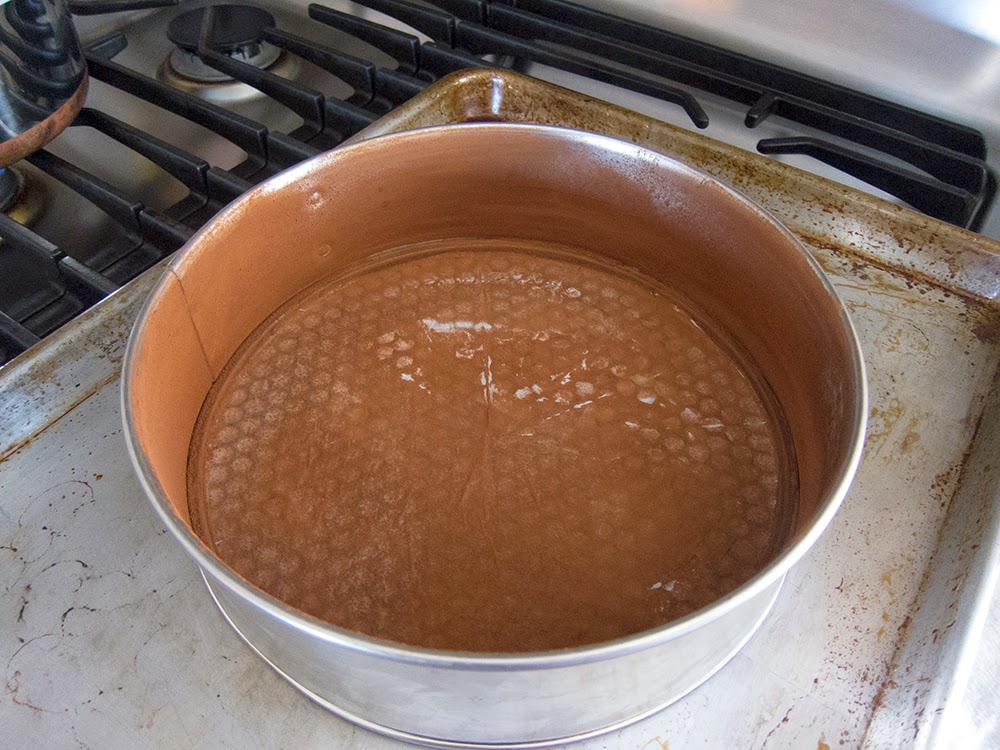
Next I prepared the nougatine by making a standard caramel into which I stirred toasted hazelnuts. This mixture is poured immediately onto a Silpat and allowed to cool until hard. BEWARE! Hot caramel is dangerous!! Wear protective oven gloves or hot mitts to prevent burns. I know - I've been there.

I prefer blanched hazelnuts as a rule, but this time I used a mixture of blanched and natural hazelnuts. When I learned from my local nut vendor that blanched hazelnuts are currently very hard to come by and expensive due to a poor crop in Turkey, I opted for the skins-on version from Oregon to supplement the small supply of blanched nuts that I had in my freezer from earlier in the year. I initially tried the toasting-in-the-oven/rubbing-the-skins-off technique, but boy-oh-boy, those skins did NOT want to come off, try as I might. I just had to go with the flow and move forward, skins and all.
Once the nut/caramel mixture was cooled I ground it up to a coarse texture. I want a nice crunch to the final dessert but am careful to avoid caramel pieces that are too big since they can be quite hard and difficult to chew. No broken teeth allowed!
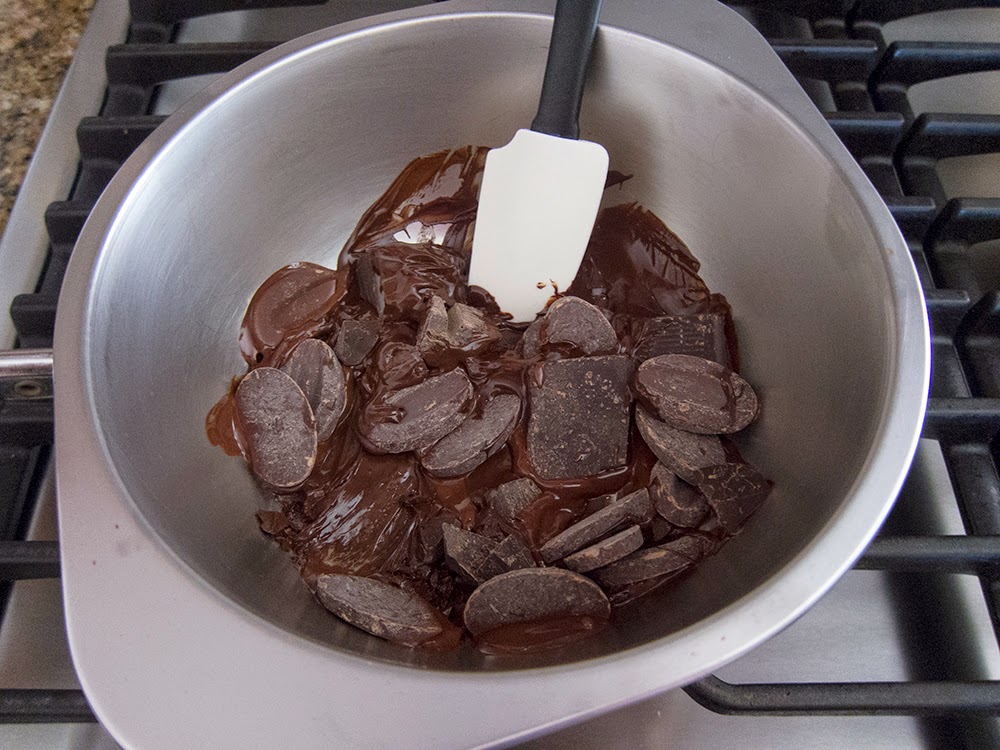
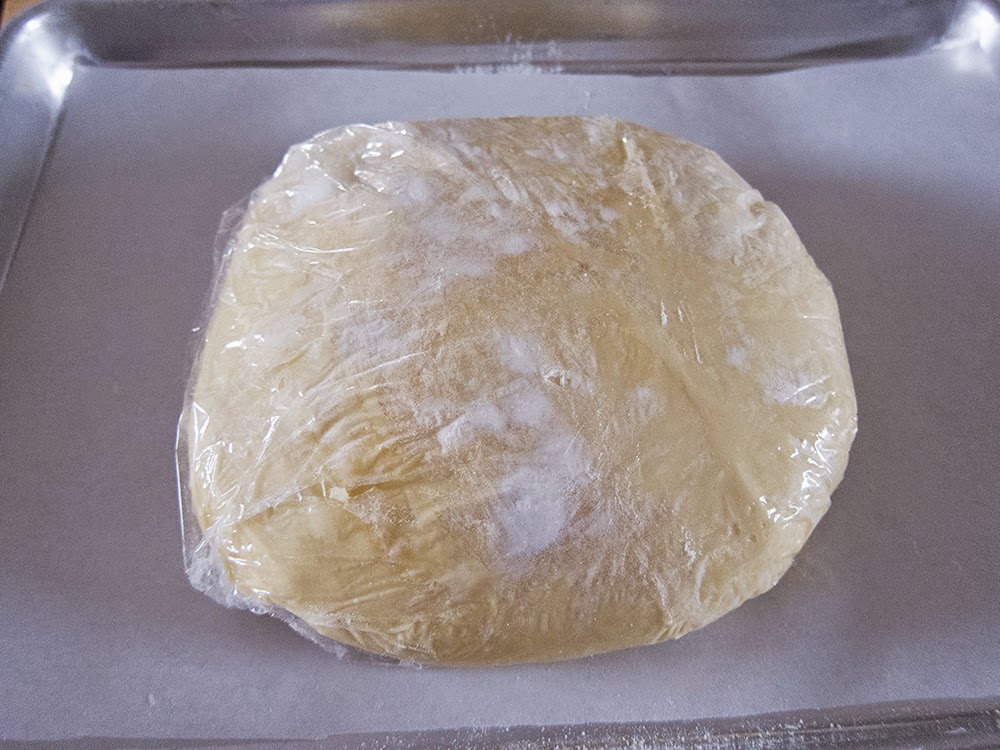
The next component is pâte à choux for the small profiterole style puffs that will be dipped in caramel (another CAUTION HOT!) and placed on the surface of the sportskage. I used my usual base recipe (à la Michel Roux) which calls for 125 ml water, 125 ml milk, 100 gm butter, 1/2 tsp salt, 3/4 tsp sugar, 150 gm flour and 4 eggs.
I've found a number of recipes that use only water as the liquid, but I find the combo of water AND milk gives the puff a nicer flavor and more golden hue. Granted the choux isn't really there to provide much flavor but serves primarily as the vehicle, whether for sweet or savory applications. Yet, it's good to have a puff with a bit of character, if you ask me!
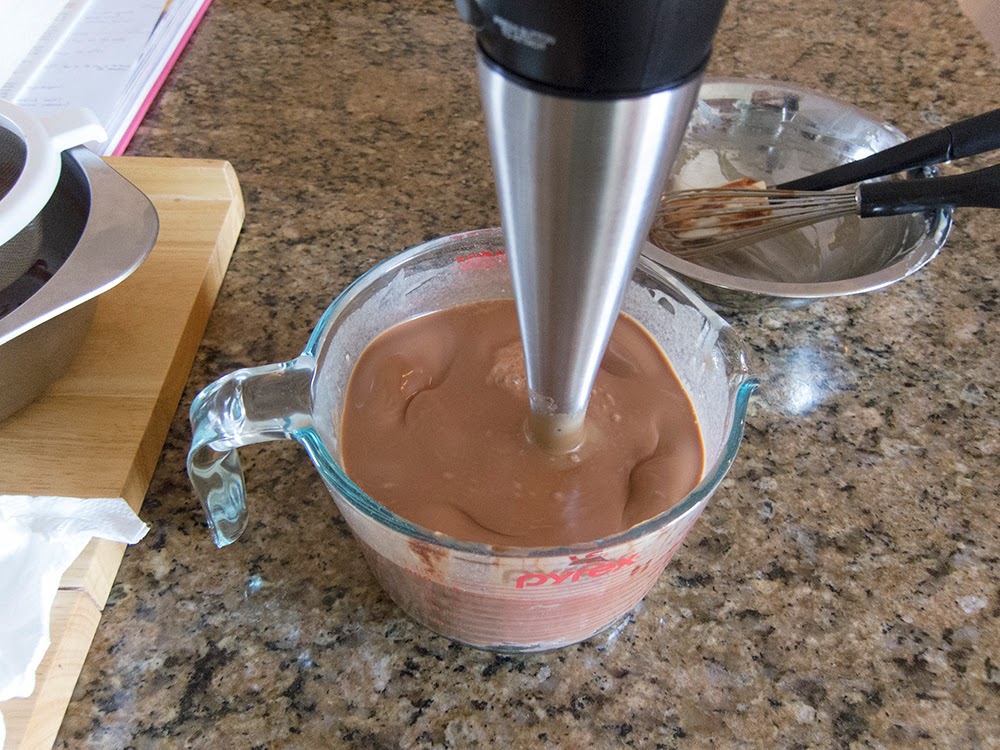
The water, milk, butter, salt and sugar go into a saucepan on the cooktop and heated to melt the butter and bring to a boil. Take it off the heat, stir in the flour in one fell swoop, then place it back onto the heat to dry the mixture out briefly.
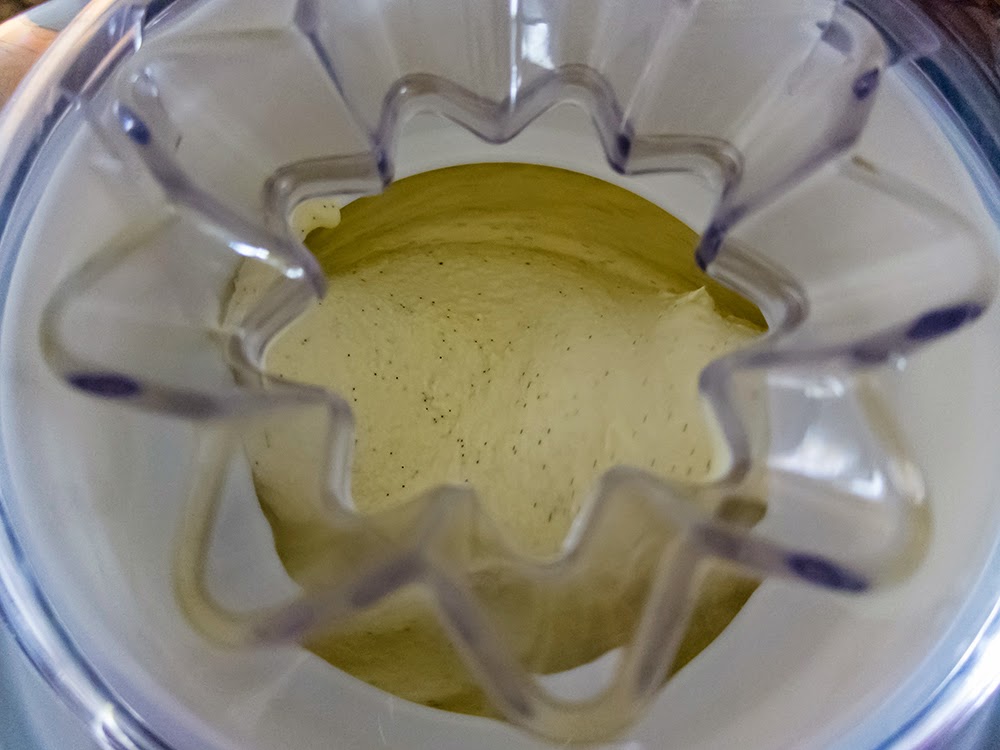
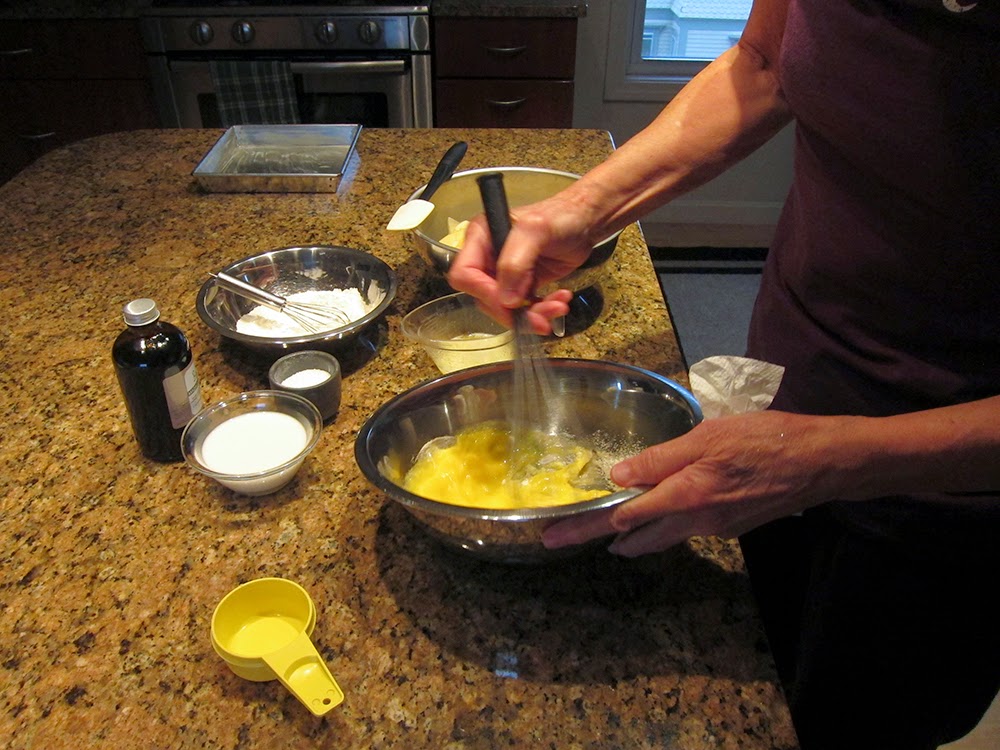
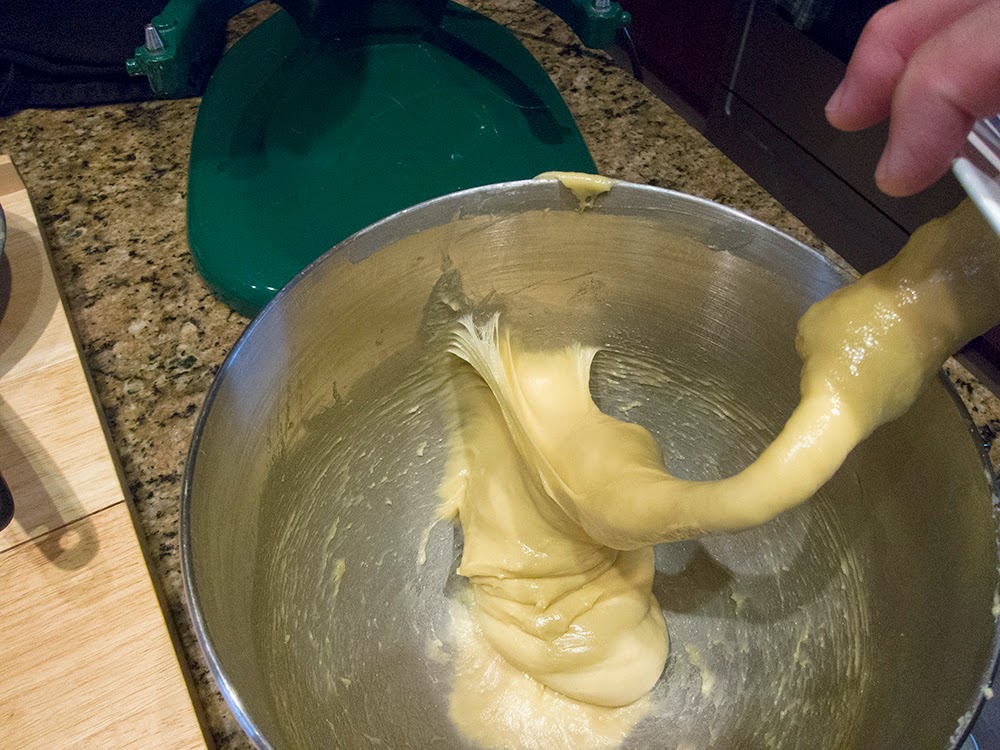
You can mix the eggs in either by hand or in the mixer. I opt for the mixer since it's easier. Dump your hot panada (what it's called before the eggs are added) into the bowl and, using the paddle attachment, add the eggs one-by-one until each is incorporated.
This part of the choux making process is fascinating - with each egg addition the mixture looks all clumpy and lumpy, but it magically comes together, becoming a silky, shiny paste.
OK, so mine looks a little lumpy, but it piped out beautifully and baked up just right!
Most of the work is done! As is the case with soooooo many baking projects, it's all about planning. The three components I've made so far can all be made ahead. The dacquoise freezes beautifully, the nougatine will keep well in a closed container at dry room temp conditions for days, and the choux puffs can also be frozen. Now all I have to do is whip the cream and assemble.
For my test case I decided on a smaller version, so I cut my base down to 16 cm size.
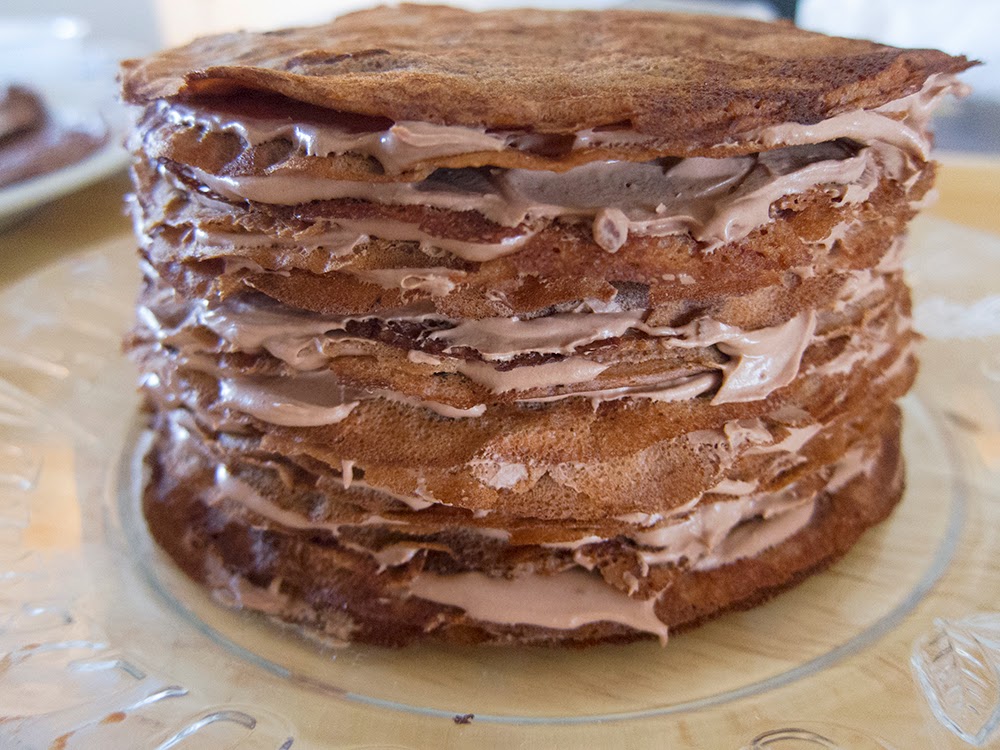
I folded the nougatine into the whipped cream and mounded it on the dacquoise with nary a hitch. It was much easier than I anticipated and certainly held its shape.
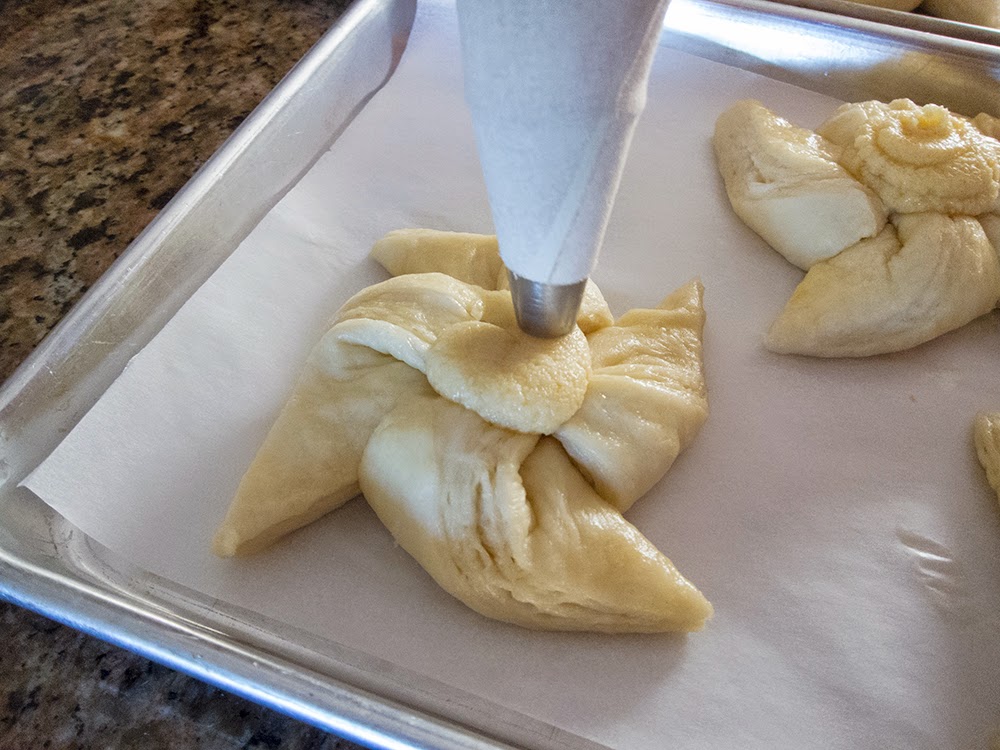
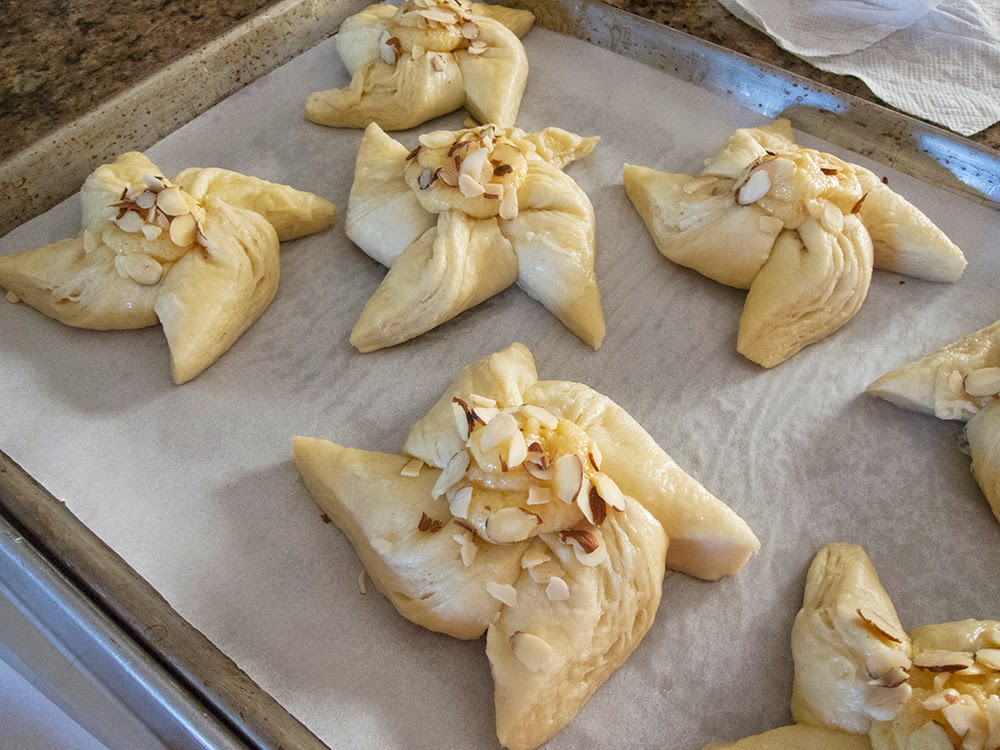
My puff garnishes were way out of proportion, since they rather dwarfed this smaller base version. I popped a few on anyway and attempted piping "petals" of whipped cream.
I recently received a request to make a sportskage (sports cake), which, as I've come to learn, is a classic "cake" created back in the late 1800's by La Glace, a pastry shop in Copenhagen, for the opening of a play entitled "Sportsmen". It's been around ever since and continues to be a popular offering at the conditori.
It is basically whipped cream with chopped caramelized nuts (nougatine) folded into it, domed on top of an almond macaron type base, then topped with more whipped cream and caramelized choux puffs. When I first saw photos of this pile of cream, I was curious, not only as to how one approaches the assembly, but also the slicing and serving of such a thing. How does it hold its shape, I asked myself?
What better way to find out than to jump right in and make it. My trial was underway!
Unlike the recipes I reviewed on line which use almond paste, egg white and sugar for the "cake" base, I opted to substitute one of my (and Steve's) all time favorite components. Dacquoise is in the meringue family, made with ground nuts (almonds or hazelnuts or pistachios or walnuts - you name it), egg whites and sugar, much like the ever-so-popular French macaron.
For me the beauty of a dacquoise is how much easier it is to make than the fussy macaron. In this case I wanted to know if the small version of my go-to recipe would be enough for a 9-10" diameter base for the sportskage.
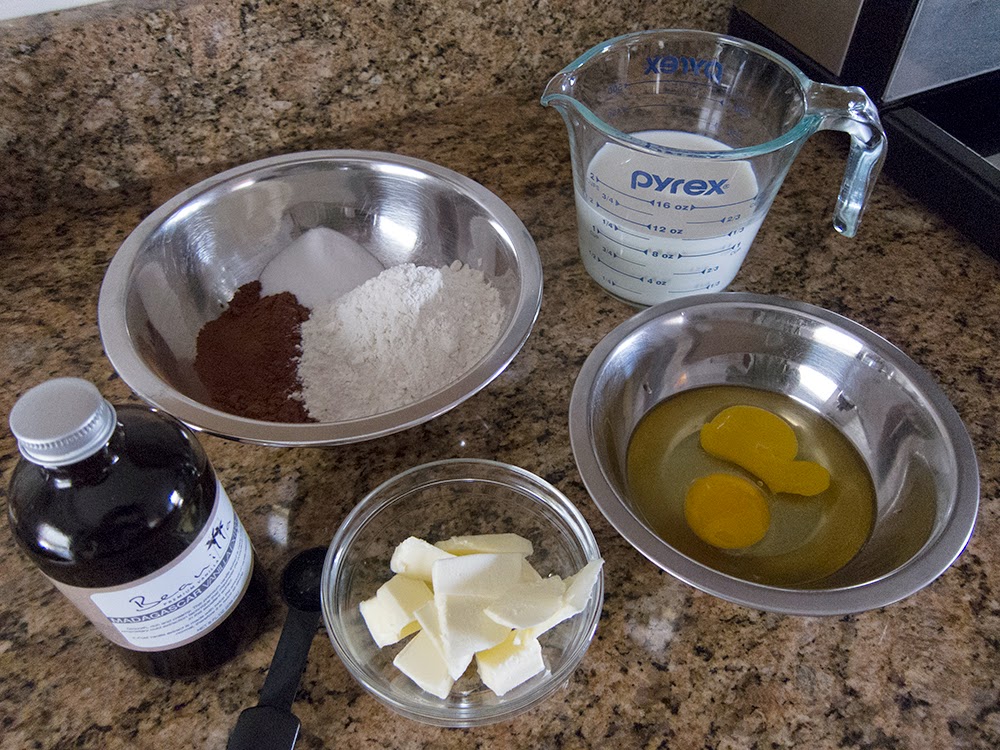
I decided on a hazelnut version and proceeded with my mise en place. Very straight forward, no muss, no fuss. When making a meringue I typically weigh out my egg whites and let them sit at room temp for an hour or so, since they mount better when no longer refrigerator cold.
Here I have egg whites (99 gm or about three), confectioner's sugar (75 gm), ground hazelnuts (99 gm) and granulated sugar (25 gm) at the ready.
Whisk the ground hazelnuts and confectioners sugar together . . .
Start the egg whites on low speed, using the whisk attachment, and, once they start to look foamy, add the granulated sugar . . . .
 |
| foaming up! |
 |
| adding the sugar |
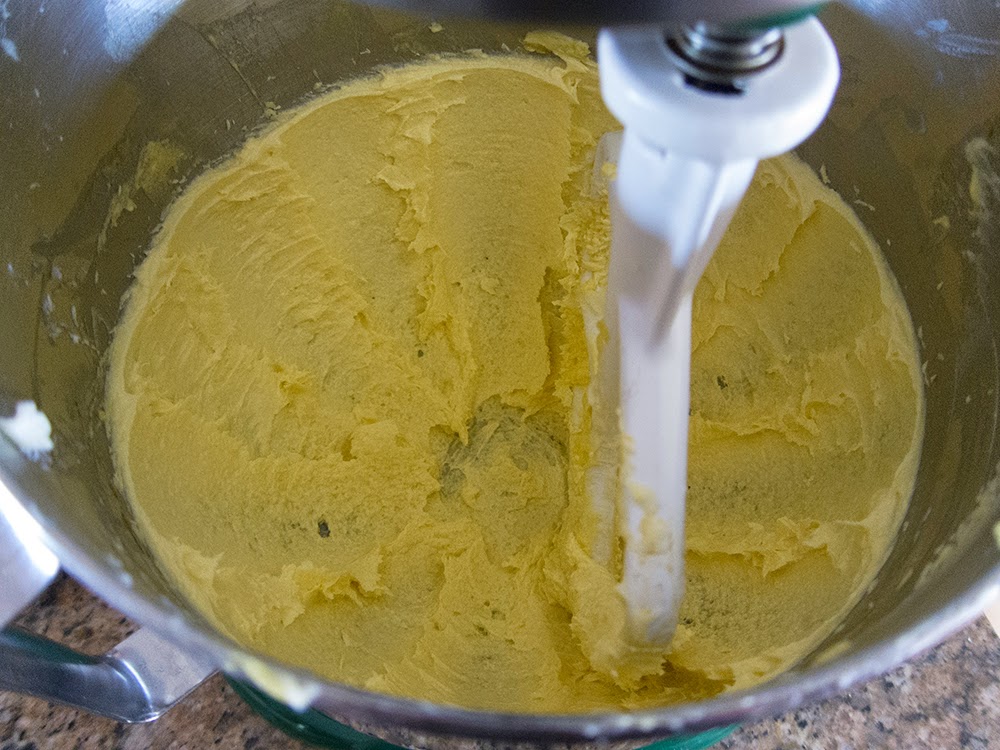
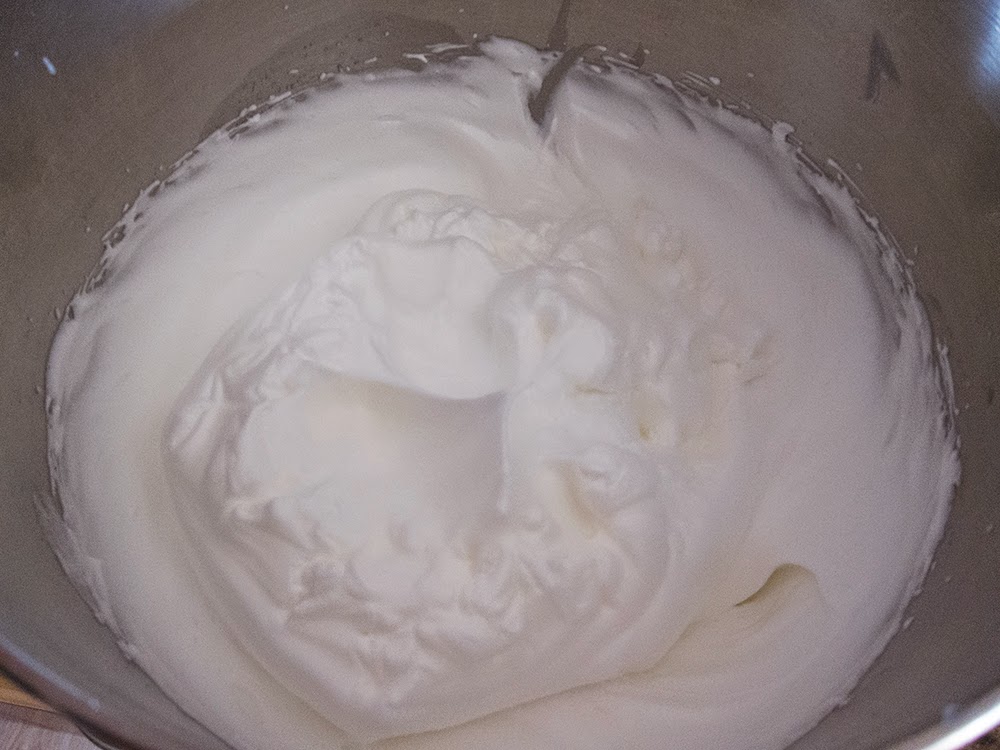
then continue beating on high speed to firm peaks.
 |
| look at these peaks! |
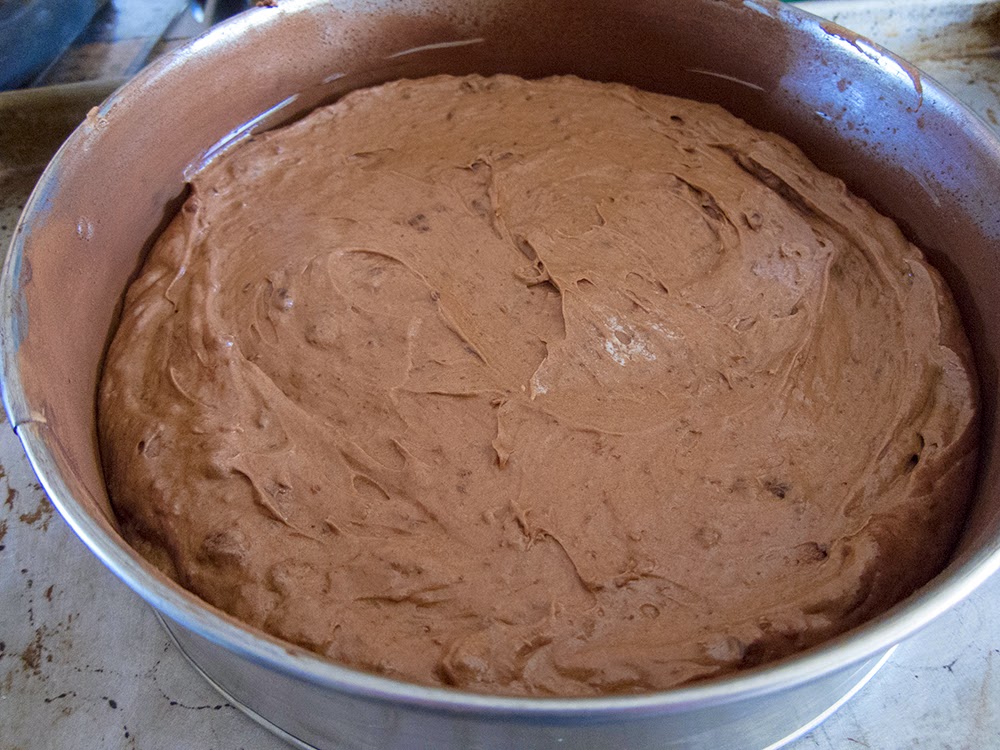
Now gently fold in the hazelnut/confectioners sugar mixture just until incorporated . . .
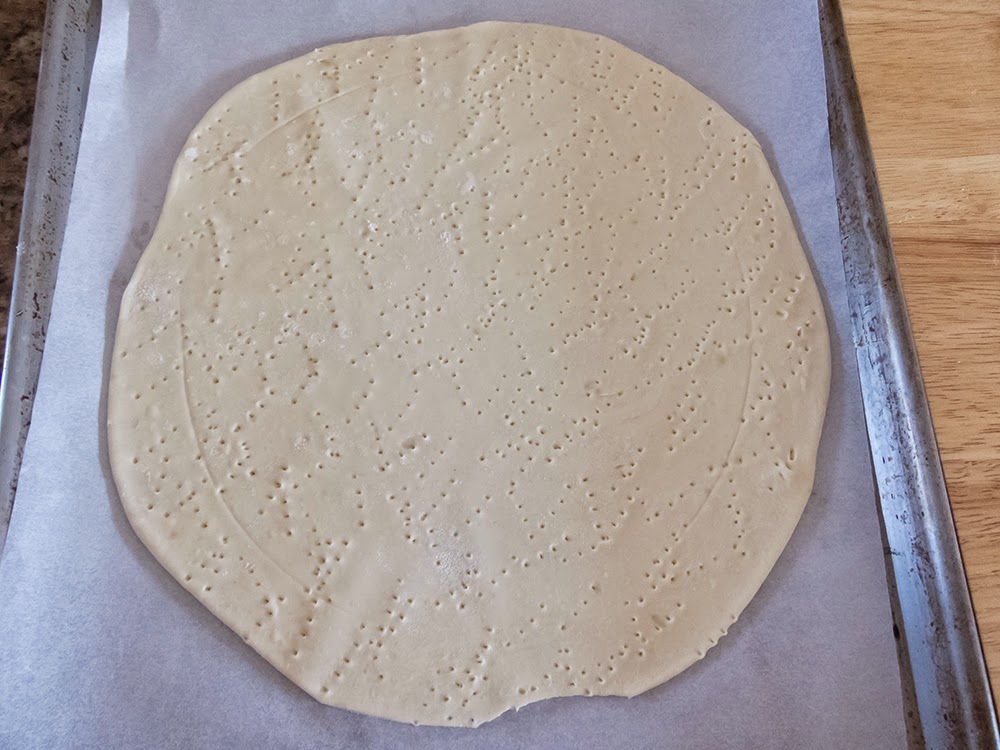
and pipe into a nice round!
 |
| ready for the oven |
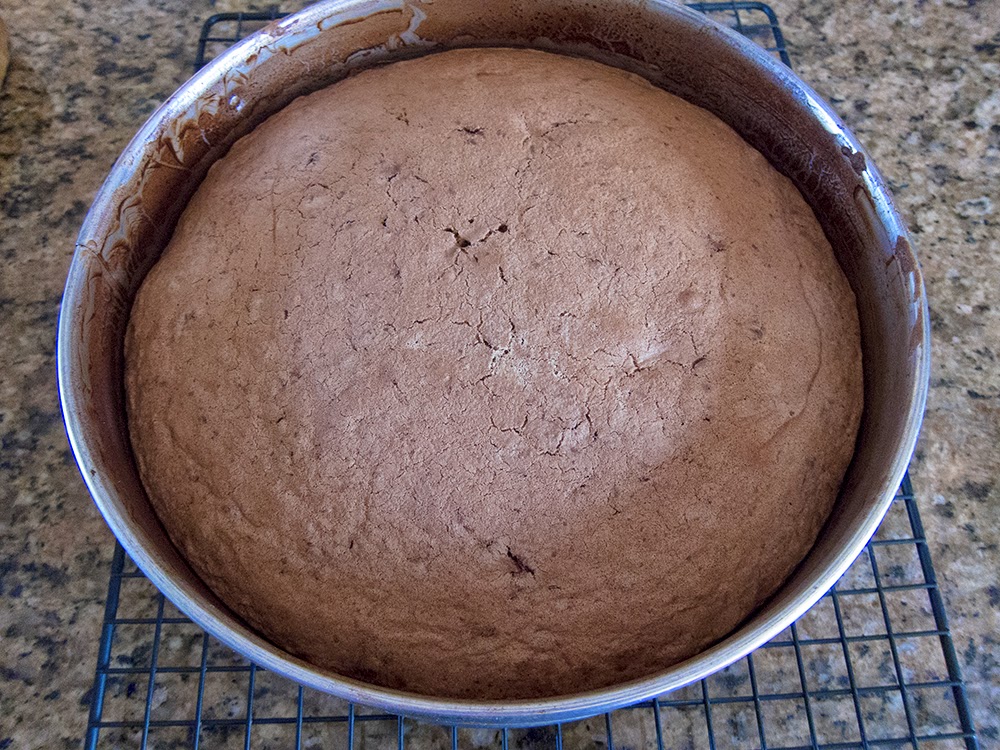
Out of the oven . . .
I was happy with the thickness, feeling it would nicely support the cream that would later be mounded on it. But to give me a slightly larger base for the final dessert I'll consider a 15-20% increase in my base recipe.
Next I prepared the nougatine by making a standard caramel into which I stirred toasted hazelnuts. This mixture is poured immediately onto a Silpat and allowed to cool until hard. BEWARE! Hot caramel is dangerous!! Wear protective oven gloves or hot mitts to prevent burns. I know - I've been there.
I prefer blanched hazelnuts as a rule, but this time I used a mixture of blanched and natural hazelnuts. When I learned from my local nut vendor that blanched hazelnuts are currently very hard to come by and expensive due to a poor crop in Turkey, I opted for the skins-on version from Oregon to supplement the small supply of blanched nuts that I had in my freezer from earlier in the year. I initially tried the toasting-in-the-oven/rubbing-the-skins-off technique, but boy-oh-boy, those skins did NOT want to come off, try as I might. I just had to go with the flow and move forward, skins and all.
Once the nut/caramel mixture was cooled I ground it up to a coarse texture. I want a nice crunch to the final dessert but am careful to avoid caramel pieces that are too big since they can be quite hard and difficult to chew. No broken teeth allowed!
 |
| coarsely ground hazelnut nougatine |
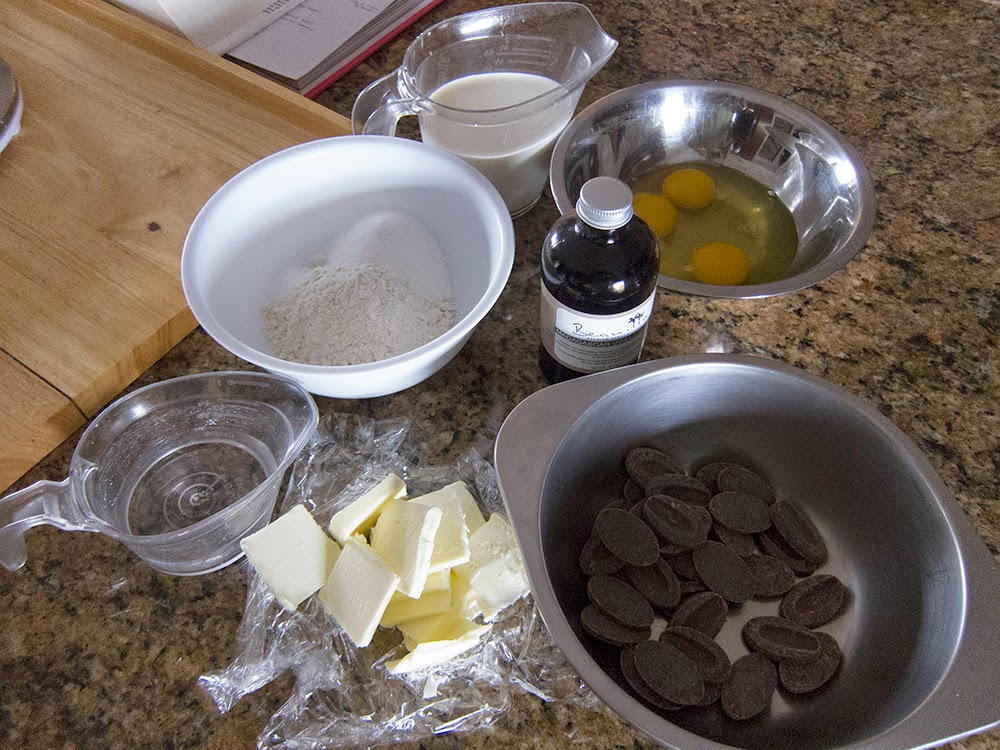
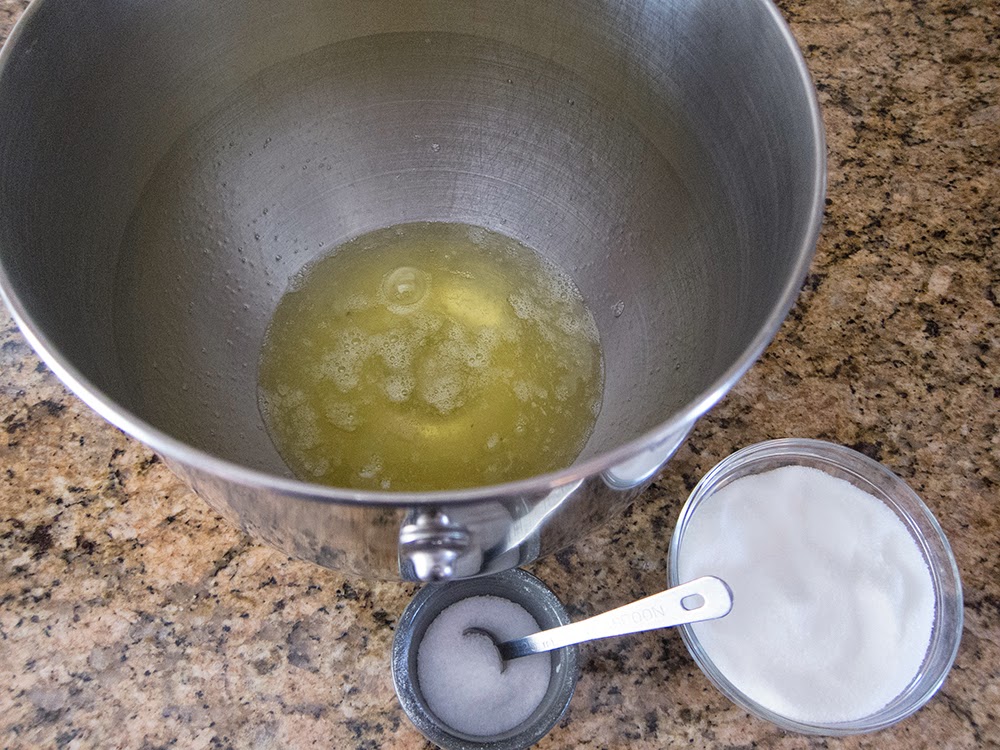
The next component is pâte à choux for the small profiterole style puffs that will be dipped in caramel (another CAUTION HOT!) and placed on the surface of the sportskage. I used my usual base recipe (à la Michel Roux) which calls for 125 ml water, 125 ml milk, 100 gm butter, 1/2 tsp salt, 3/4 tsp sugar, 150 gm flour and 4 eggs.
I've found a number of recipes that use only water as the liquid, but I find the combo of water AND milk gives the puff a nicer flavor and more golden hue. Granted the choux isn't really there to provide much flavor but serves primarily as the vehicle, whether for sweet or savory applications. Yet, it's good to have a puff with a bit of character, if you ask me!
 |
| mise en place for choux |
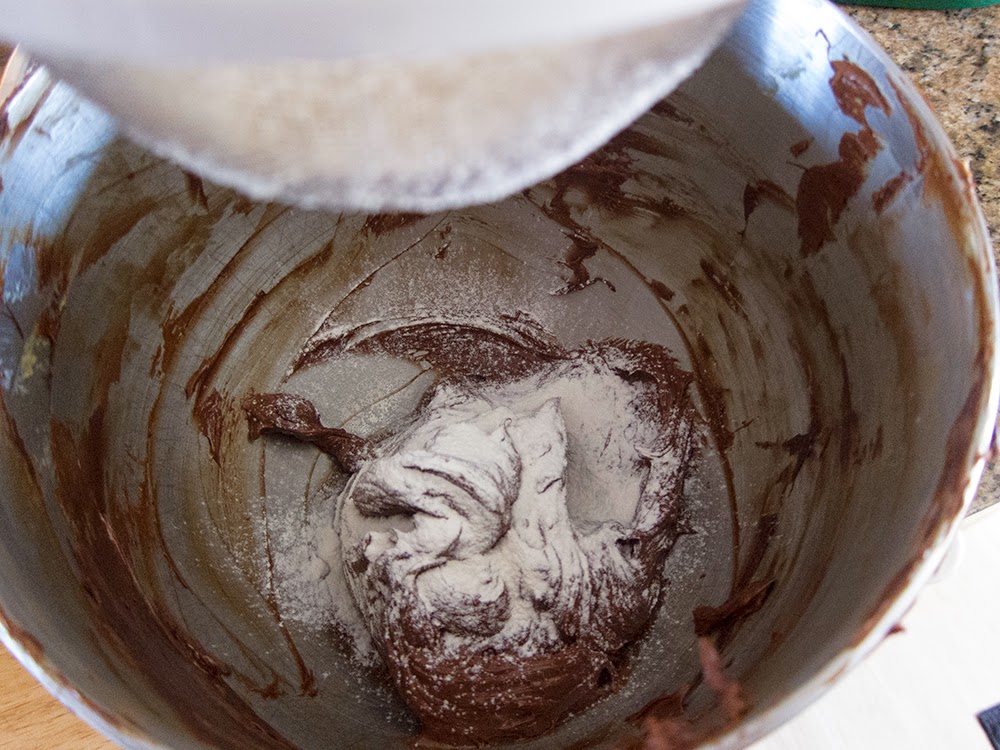
The water, milk, butter, salt and sugar go into a saucepan on the cooktop and heated to melt the butter and bring to a boil. Take it off the heat, stir in the flour in one fell swoop, then place it back onto the heat to dry the mixture out briefly.
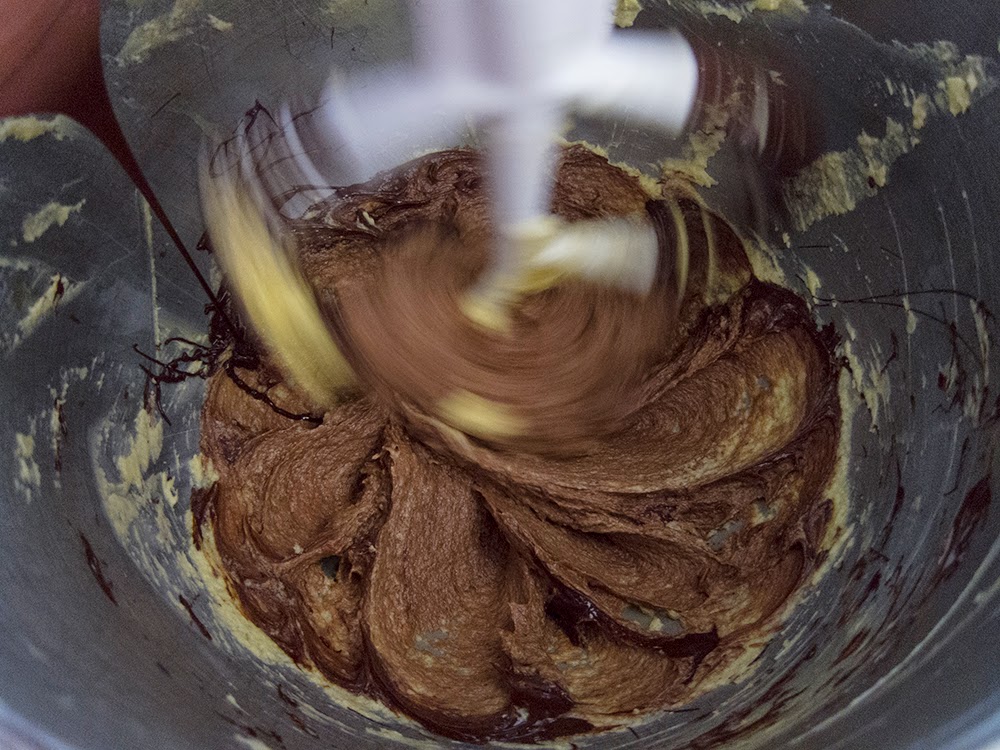
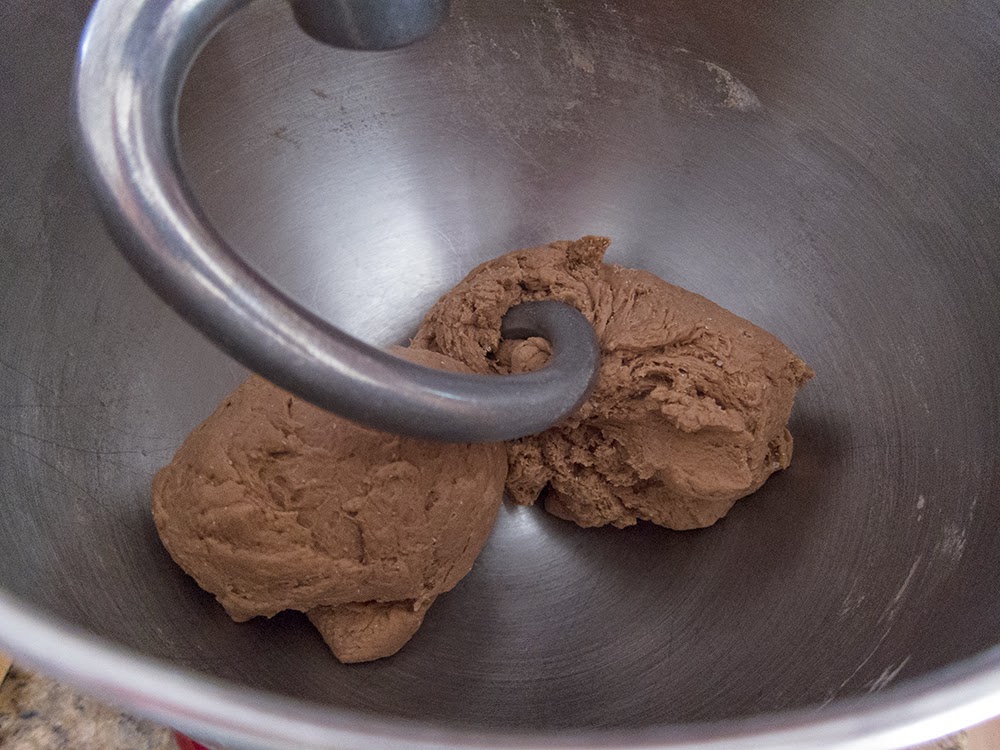
You can mix the eggs in either by hand or in the mixer. I opt for the mixer since it's easier. Dump your hot panada (what it's called before the eggs are added) into the bowl and, using the paddle attachment, add the eggs one-by-one until each is incorporated.
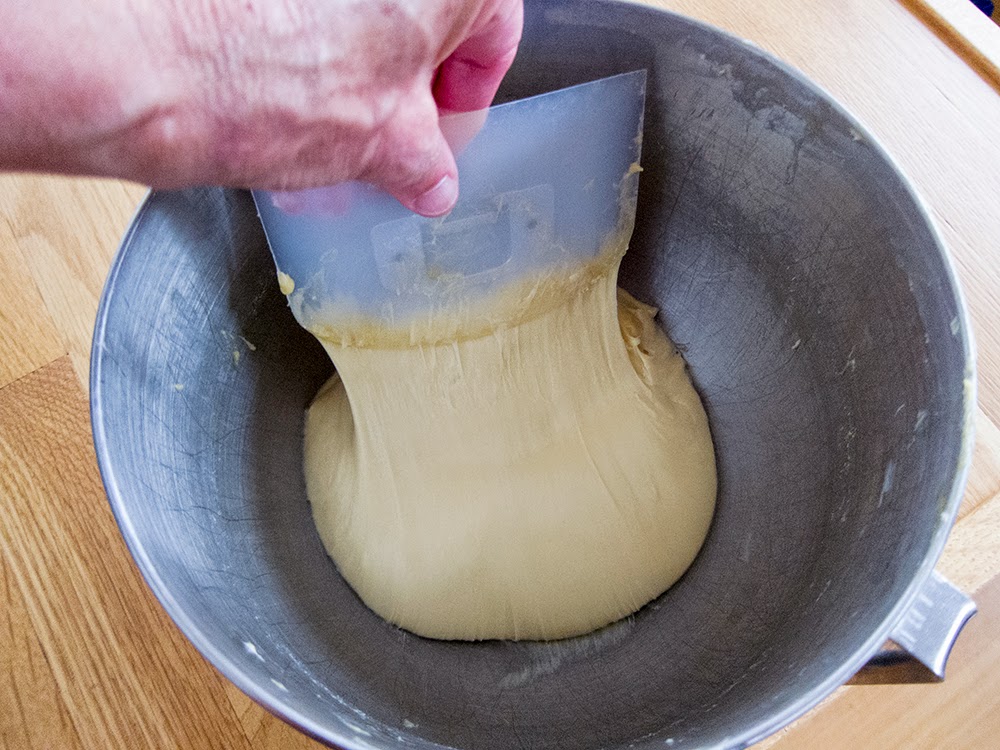
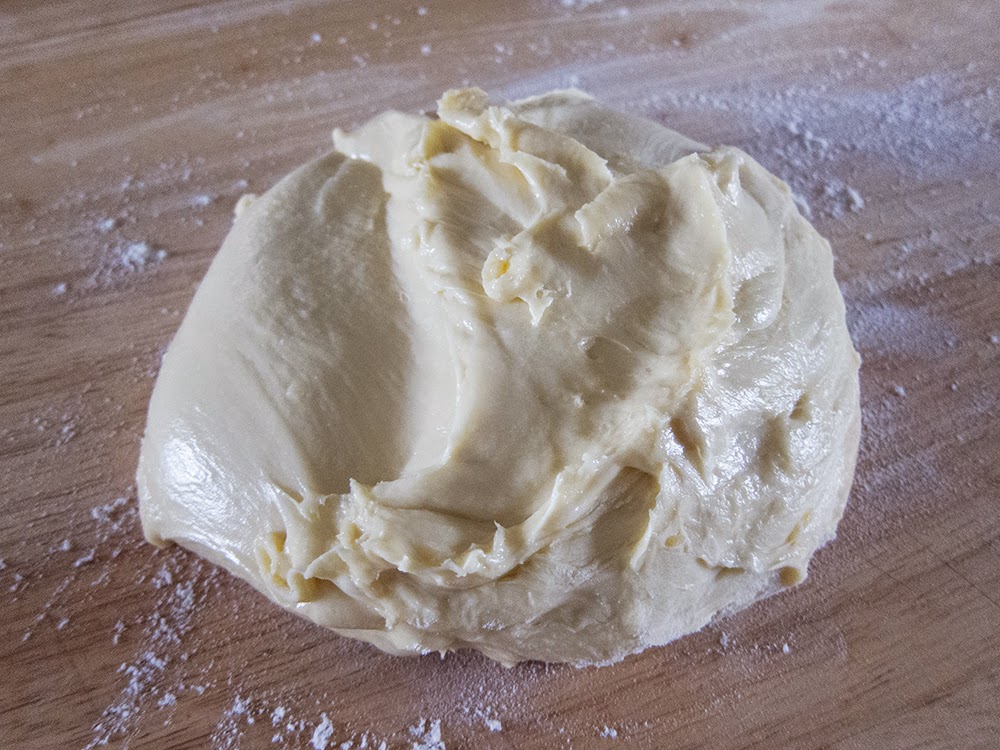
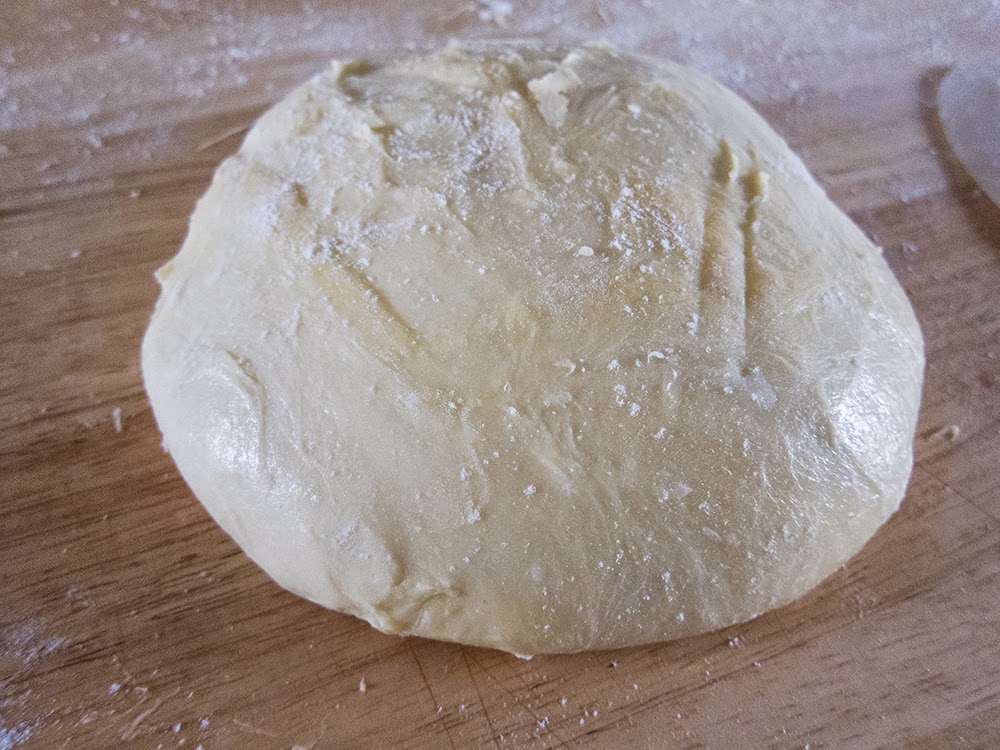
This part of the choux making process is fascinating - with each egg addition the mixture looks all clumpy and lumpy, but it magically comes together, becoming a silky, shiny paste.
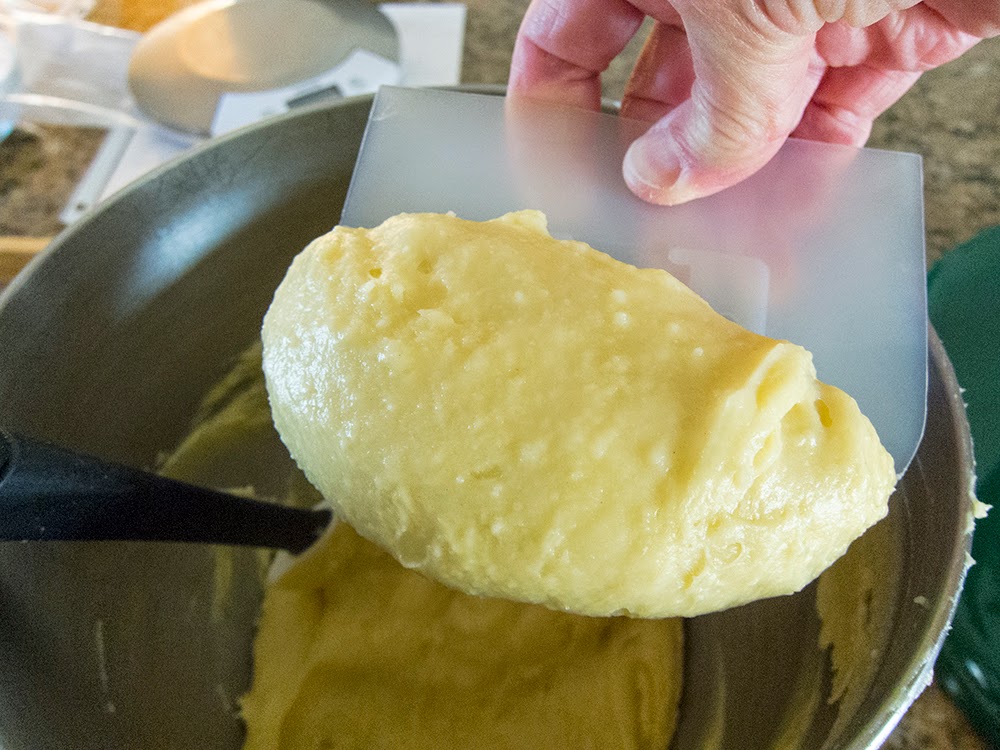 |
| finished choux paste |
 |
| piping choux |
 |
| out of the oven, looking good |
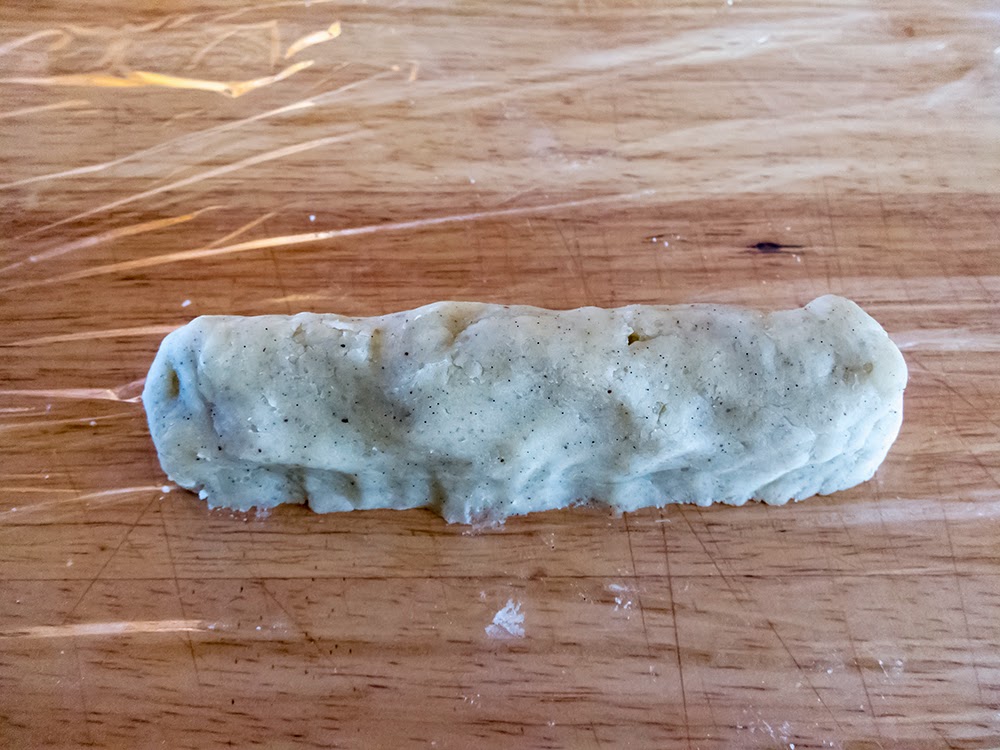
For my test case I decided on a smaller version, so I cut my base down to 16 cm size.
 |
| ready to assemble |
 |
| interesting, eh? |
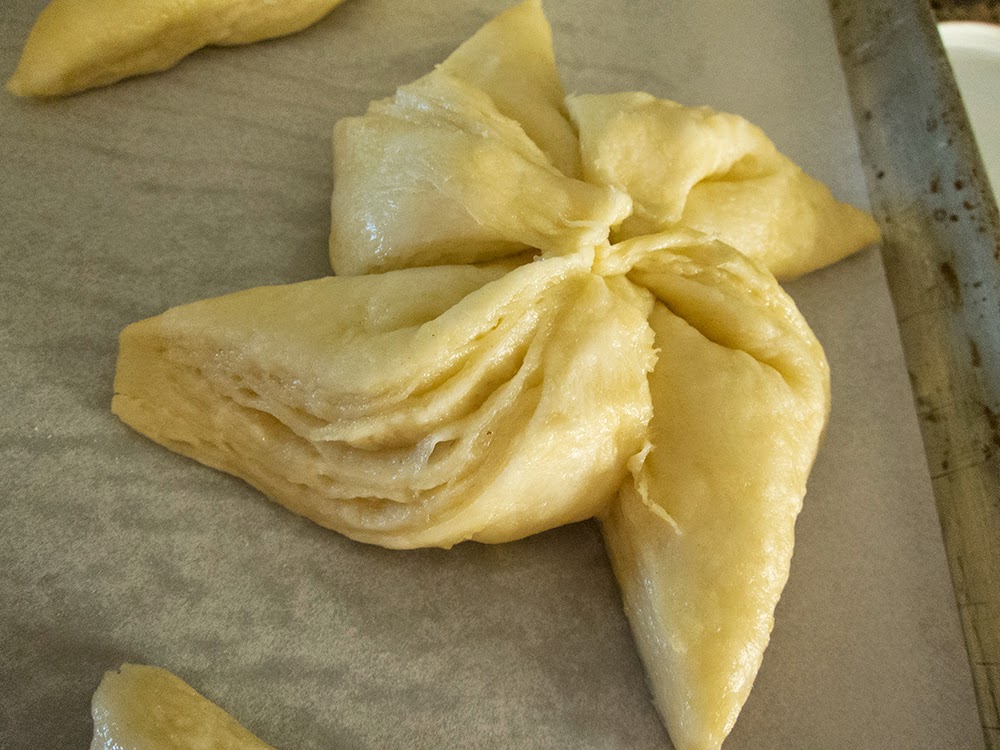
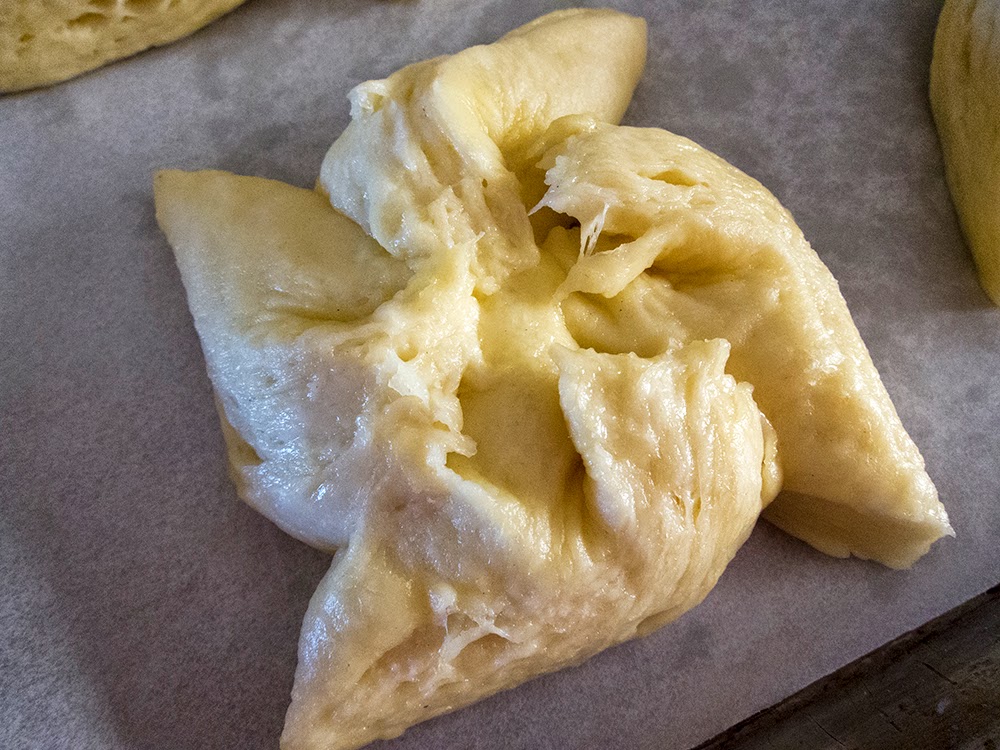
My puff garnishes were way out of proportion, since they rather dwarfed this smaller base version. I popped a few on anyway and attempted piping "petals" of whipped cream.
 |
| just think of them as profiterole "tumors" |
 |
| kind of like weird layered growths on the bark of a tree |
Yikes!! Needs work.
Let's just say I have to practice this part for the final - kind of like studying for a test. Decorative piping has never been a big interest of mine - I think of a piping bag as a practical tool for dispensing, since it gives one control and direction to get the product exactly were you want it. But I'm game for some decor - just need the right tip!
At any rate I put the whole thing in the fridge and, several hours later, Steve and I did a mini tasting. I was delighted that it sliced very easily and held its shape to boot. And it tasted good - yes!
 |
| we had already popped all the choux puffs off and eaten them |
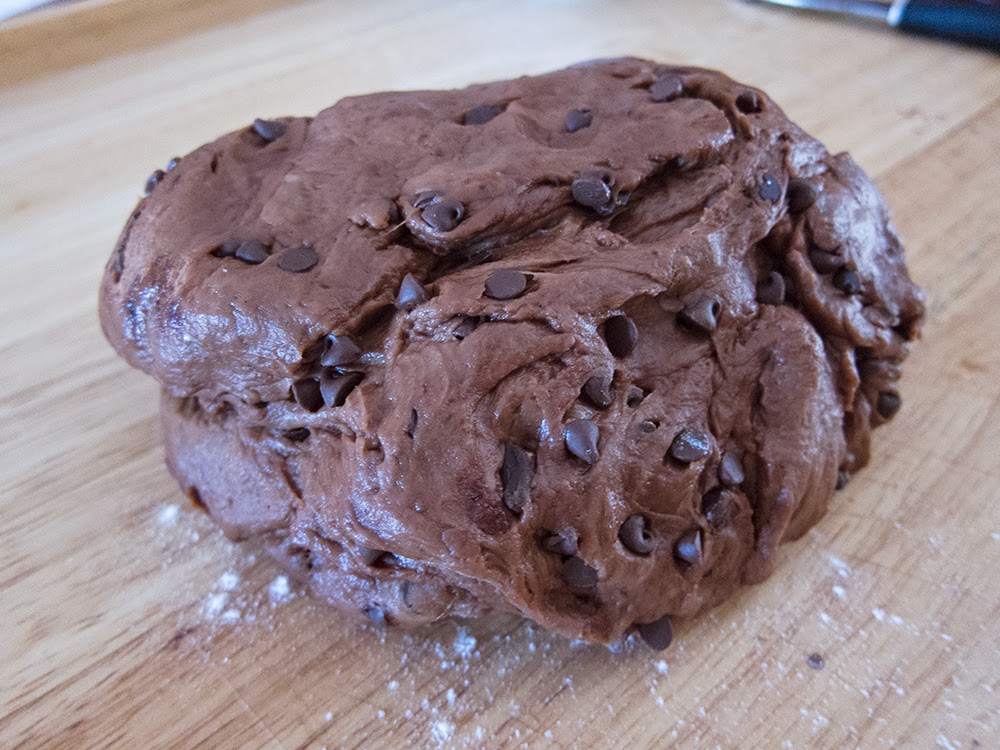
This test run taught me a few things - make a slightly larger base to achieve my 9-10" diameter; make sure the nougatine isn't too coarse or caramel pieces too big; make the choux puffs smaller; practice "petal piping". Shouldn't be too hard, right??
I hope to share pictures of the final finished product with you in a couple of weeks. Stay tuned!
In the meantime stay warm, enjoy December and may visions of sugarplums dance in your heads.