Semifreddo and a one dish composed dessert
/
On the prowl once again for a weekend supper dessert idea I decided to make a semifreddo to pair with something warm and fruity.
Semifreddo is Italian for "half-cold" and is a molded, creamy dessert that's in the "still frozen" category, meaning it isn't churned like ice creams and sorbets before freezing. There are numerous flavor possibilities with coffee, chocolate, citrus or a fruit purée of one's choosing among the many.
Its base is similar to an Italian zabaglione or French sabayon in which egg yolks, sugar and a liquid like Marsala (the classic in Italy), Champagne, Prosecco, red or white wine, citrus (or other fruit) juice or a liqueur are whisked over a bain marie until lightened, foamy and thickened.
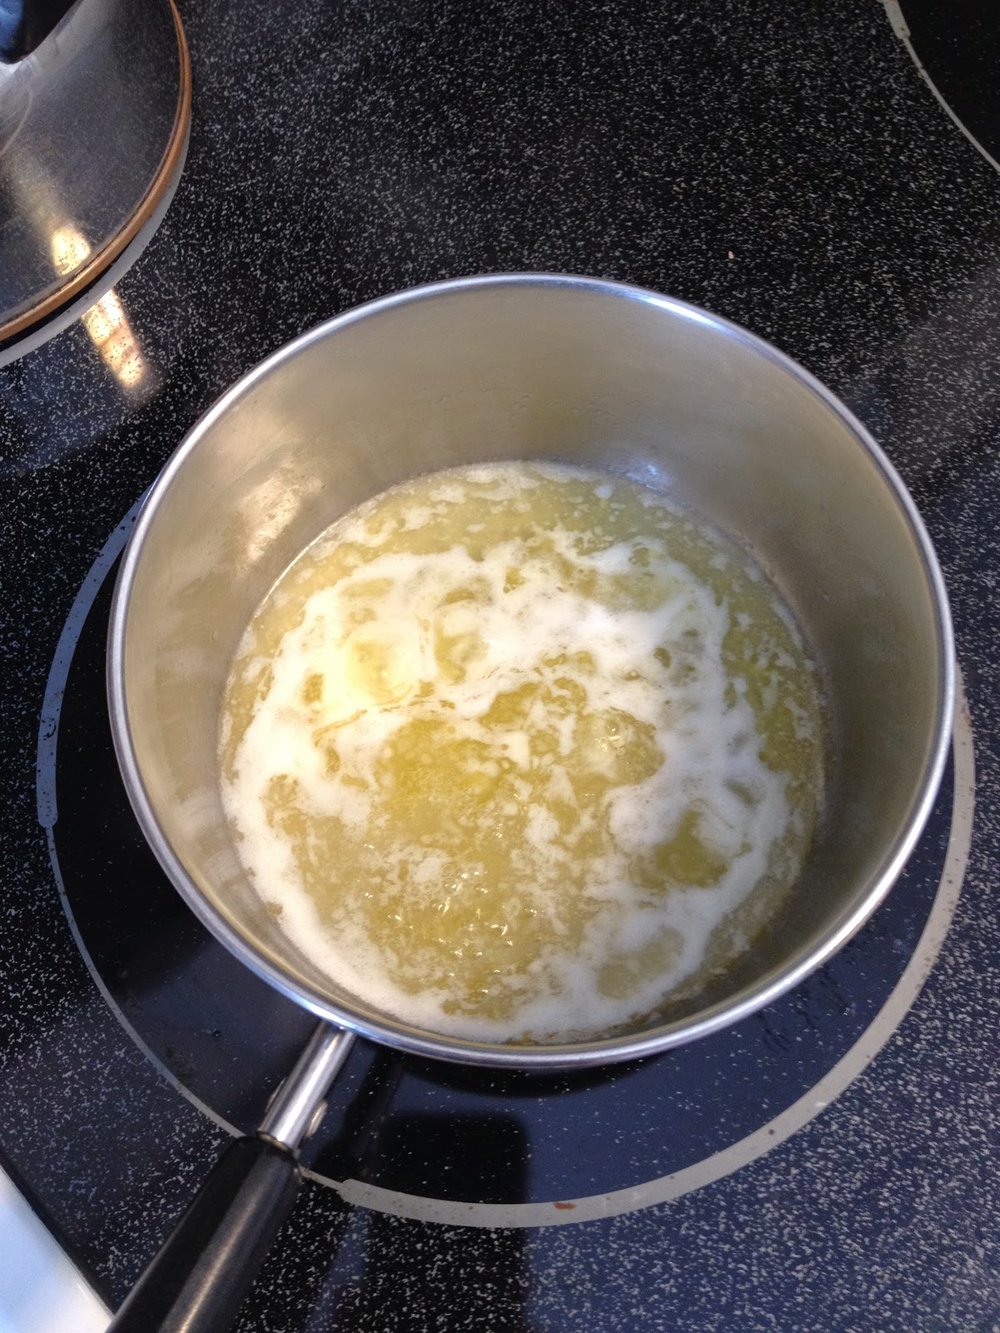
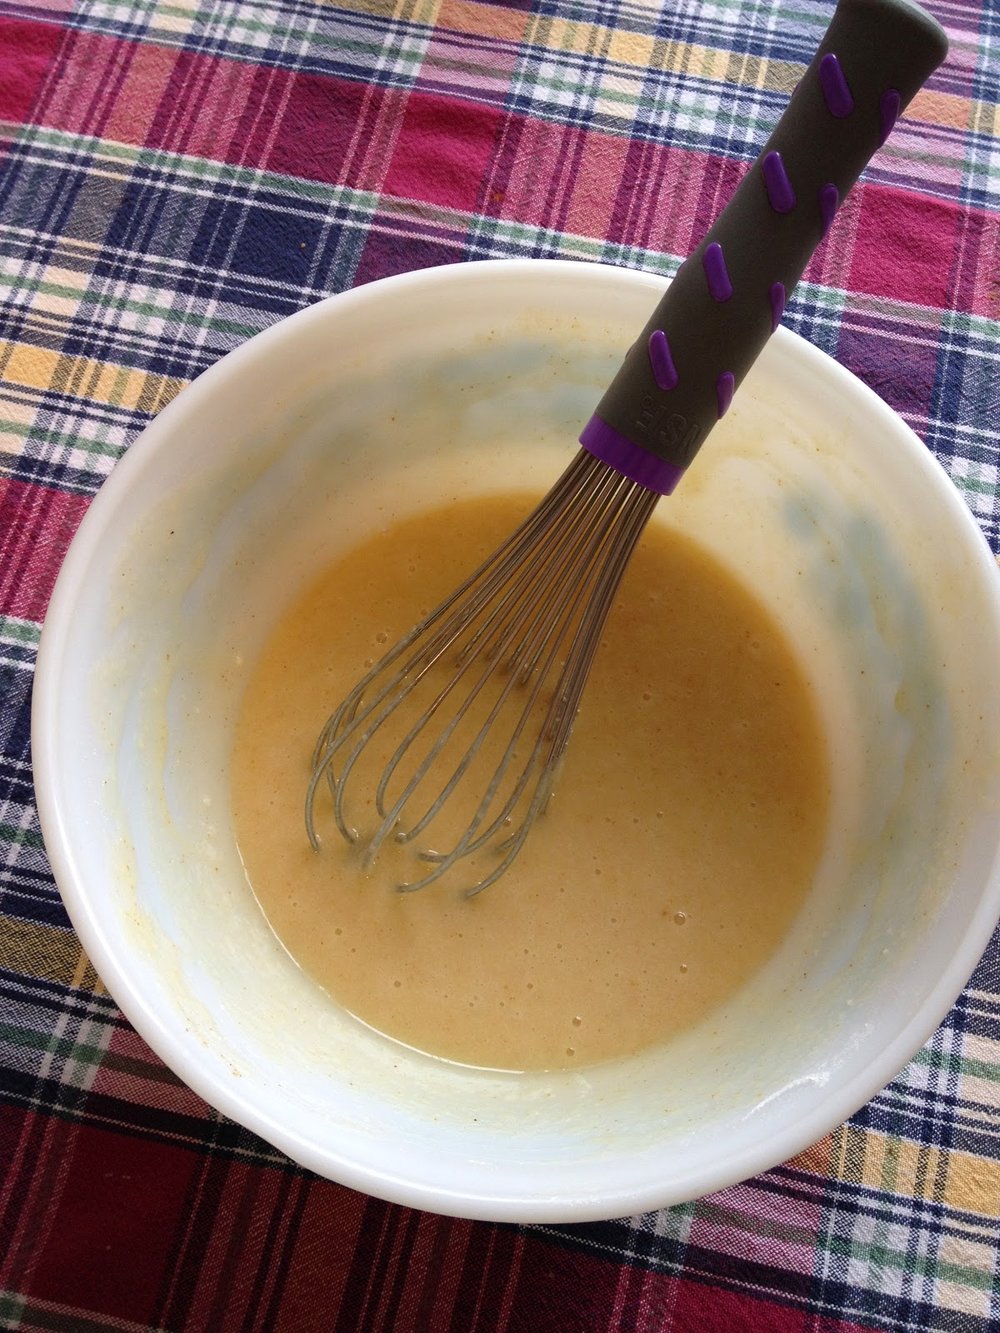
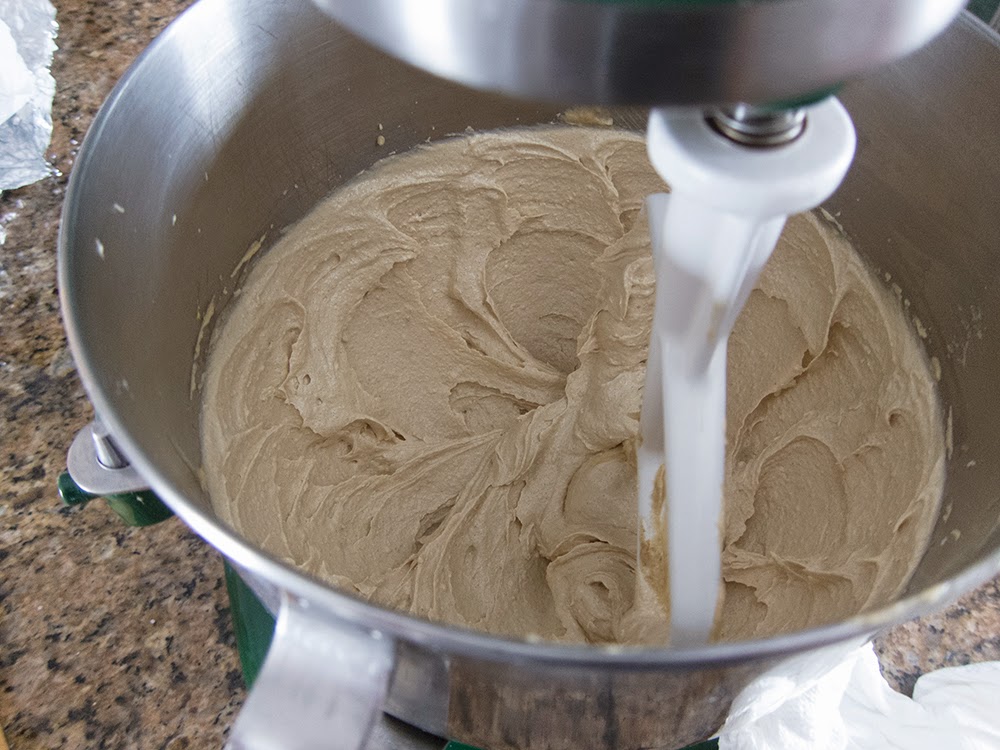
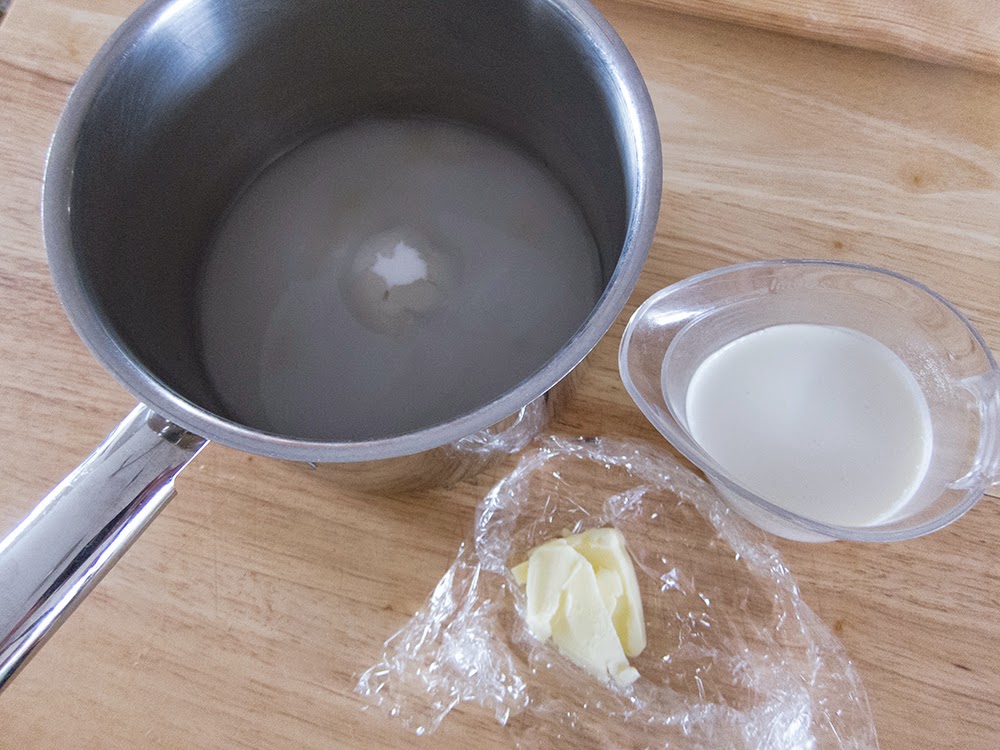
In this case I whisked 80 ml (1/3 cup) vanilla simple syrup (essentially combining my sugar and liquid before hand) with 3 egg yolks until thickened and lighter.
A zabaglione or sabayon in its pristine form is often served warm just after preparation, perhaps with fresh fruit, but in this case I cooled it over an ice bath in preparation for the next step.
When you take a zabaglione/sabayon to the next level and fold either whipped cream or a meringue into the chilled base, it becomes a semifreddo (or a French parfait - confused yet?).
The mixture can be placed in one large plastic-wrap-lined mold such as a simple loaf pan or a fluted bowl, or can be portioned into small silicone molds, available in an appealing assortment of shapes and sizes.
Freeze for a number of hours until firm. Well wrapped it can sit in the freezer for several days, allowing at least that portion of the dessert to be made ahead (it's all about the planning, folks!).
A quick side note: there are many terms in the cream/custard lexicon, and the word mousse is one that I've always found it a bit confusing. The word literally means "froth" or "foam" and refers to a dish in which an aerator like whipped cream or meringue is folded into a base. That base can be a fruit purée, a crème anglaise or crème pâtissiére, pudding or custard, curd, sabayon, or pâte à bombe (yet another French base made with just yolks and sugar). However a mousse isn't necessarily frozen, so I guess that's one distinction from a semifreddo.
Just had to throw that in there!
As I was mentally concocting my composed dessert I knew I wanted some crunch. The words crisp and crumble always speak to me of American desserts, yet, truth be told, the French are all over the crumble thing. They're sold in many pâtisseries, and one can find books devoted solely to the subject of the crumble in librairies like Gibert Jeune et Librairie Gourmande in Paris.
I turned to my recipe binder from Pascal Pinaud's shop on rue Monge and resurrected a crumble recipe which calls for both almond and hazelnut flours (I was on a nut roll with this dessert).
A basic crumble is equal weights sugar, butter and flour. You can add the same weight of a nut flour or even just chopped nuts. The idea is to mix the dry ingredients, then sand in cold diced butter to create coarse crumbs. For this batch I used 120 gm each sugar, butter and flour, plus a total of 120 gm of almond and hazelnut flours (I used 30 gm almond and 90 gm hazel - you can decide your own ratio).
Now you have a choice. Your crumble can be baked ahead and used later as a crisp, buttery topping for whatever - a tart, a custard, some ice cream or fruit, or even your morning oatmeal. Keeping the crumble separate and adding it as a topping just before serving keeps it from getting soggy.
Or you can bag up the raw mixture, freeze it and have it at the ready to simply throw on top of fruit, cake batter or anything else you can think of and bake it - it melts in a bit yet still provides a crispy baked topping to your dessert.
When I bake my crumble ahead, I do it at 350º for about 20 minutes, stirring it up every 5 minutes or so until lightly browned and set.
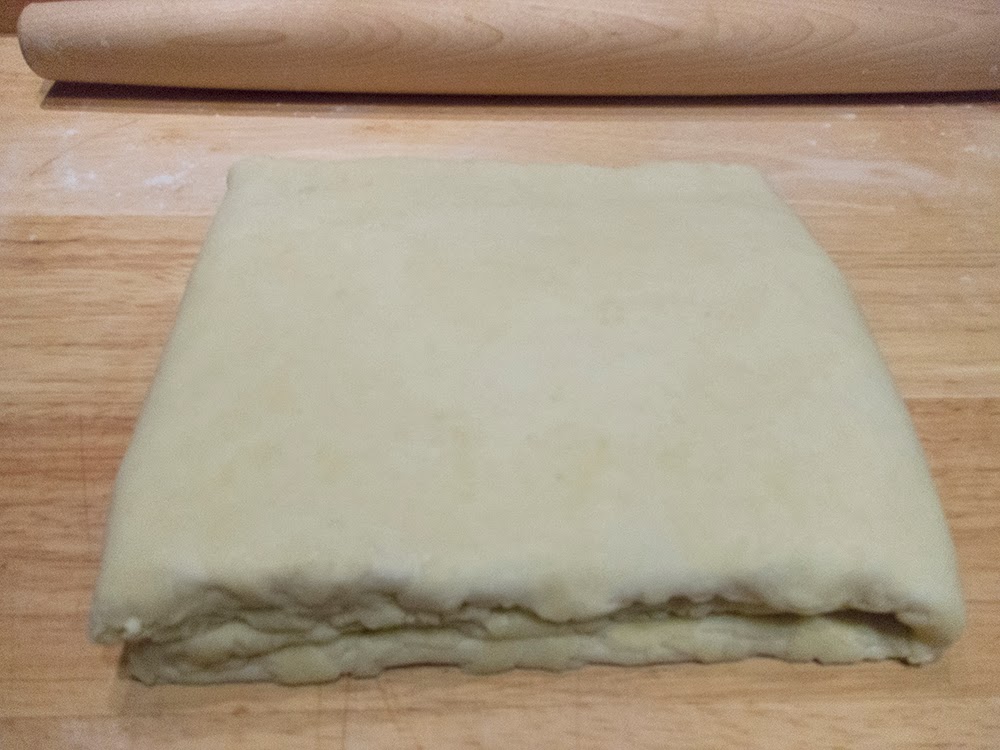
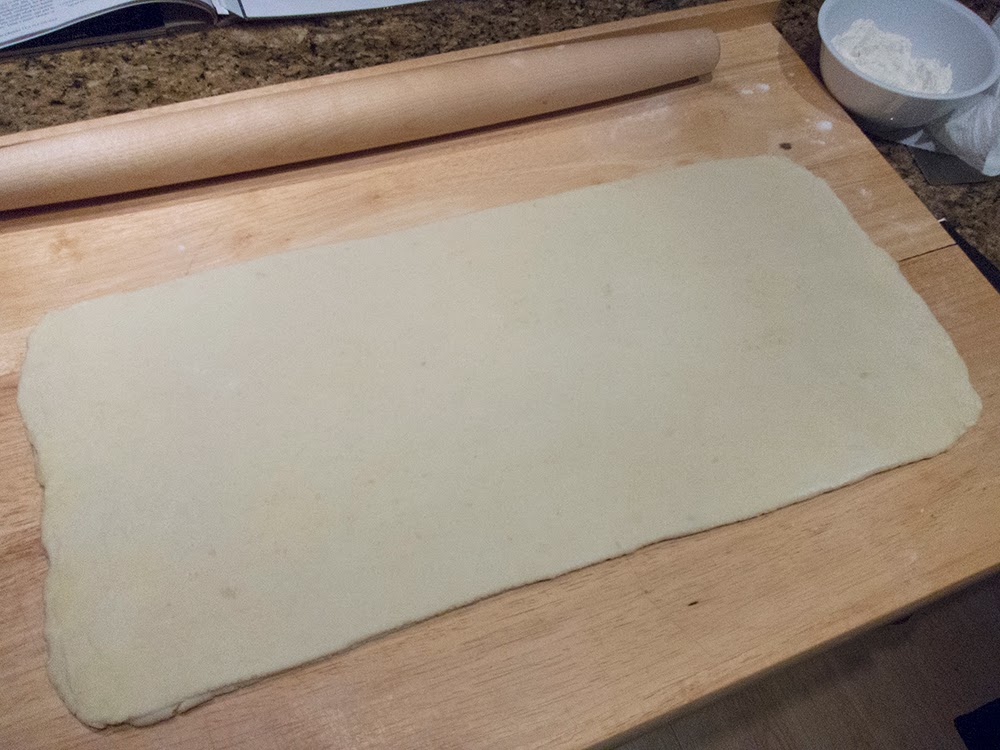
There is another option for a crumble which allows you to create coarser crumbs or even larger chunks to use as a garnish on a larger entremet type of dessert. This one involves blending softened butter with sugar, then blending in the all purpose and nut flours, pretty much like a cookie dough. Then shape the dough into a 1/2" (or so) thick square or round, cover and chill. Then you can cut it or break it up into chunks and bake it as described above. And they're not a bad pop-in-your-mouth snack either!
Now onto the fruit part. So it's still winter, after all, but I was going for cherries and berries for this dessert. That's the beauty of IQF (individually quick frozen) fruit that's available in the grocery stores all year round.
I have these great little square ramekins that I bought at Crate and Barrel some years back. They hold just the right amount for a not too generous dessert portion. To fill six of them I used 340 gm (12 oz) frozen pitted sweet cherries and about a cup and a half of mixed blueberries and raspberries. I tossed them in a mixture of 85 gm (generous 1/3 cup) sugar, 10 gm (~ 1TBSP) cornstarch, the zest of half a lemon, a pinch of freshly grated nutmeg and 1/8 teaspoon coriander. Topped with some pistachio crumble that I had in my freezer (told you I was on a nut kick), they're ready for the oven.

Bake at 325º for about 40-45 minutes until the crumble is lightly browned and the fruit is bubbly.
When it came time for dessert, I scooped some semifreddo onto the still warm fruit, sprinkled some hazelnut-almond crumble on top and drizzled a bit of caramel over it all.
Delicious!

So use your imagination and create your own composed dessert. Having the contrast in textures (creamy, fruity, crunchy) and temperatures (warm and cool) is oh so wonderful. And remember - it doesn't have to be fussy, difficult or fancy - just tasty!
 |
| cherry berry pistacho crumble with vanilla almond semifreddo |
Semifreddo is Italian for "half-cold" and is a molded, creamy dessert that's in the "still frozen" category, meaning it isn't churned like ice creams and sorbets before freezing. There are numerous flavor possibilities with coffee, chocolate, citrus or a fruit purée of one's choosing among the many.
Its base is similar to an Italian zabaglione or French sabayon in which egg yolks, sugar and a liquid like Marsala (the classic in Italy), Champagne, Prosecco, red or white wine, citrus (or other fruit) juice or a liqueur are whisked over a bain marie until lightened, foamy and thickened.
In this case I whisked 80 ml (1/3 cup) vanilla simple syrup (essentially combining my sugar and liquid before hand) with 3 egg yolks until thickened and lighter.
 |
| at the start of cooking |
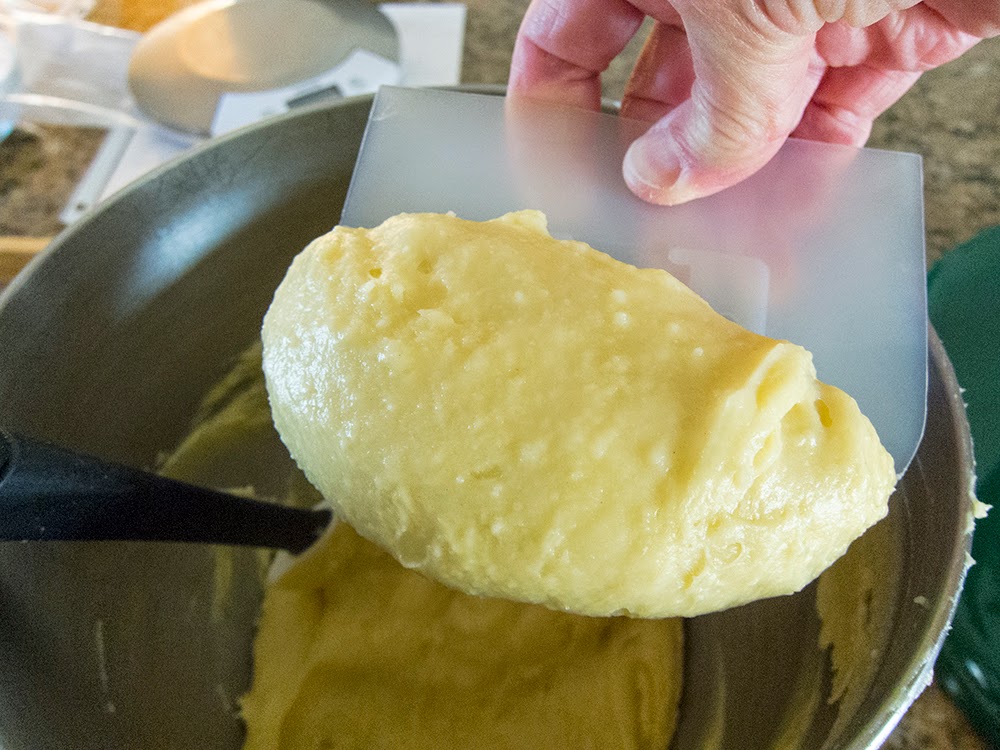
 |
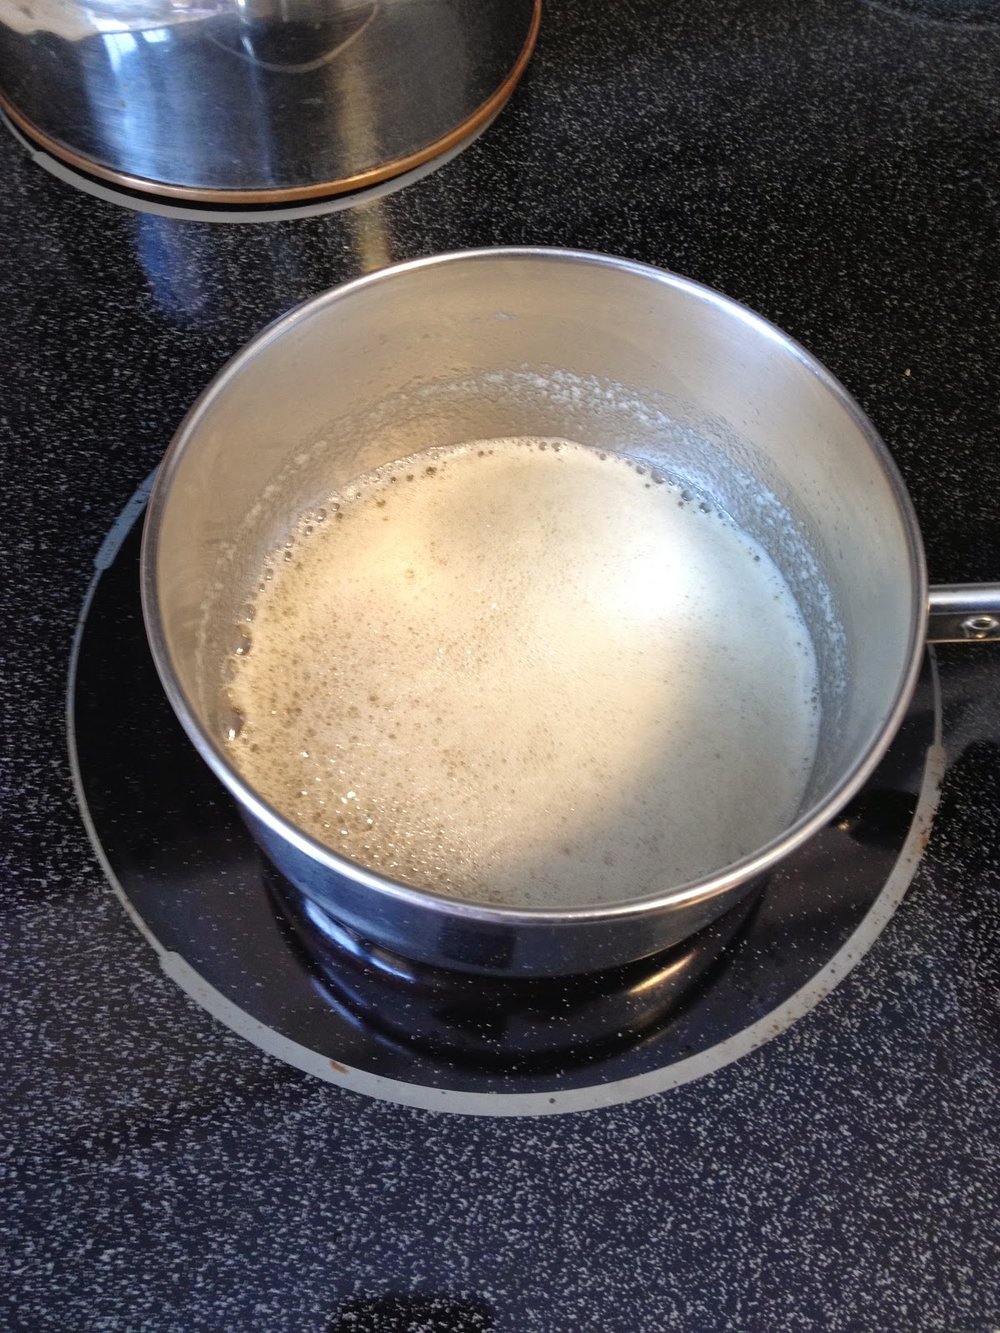
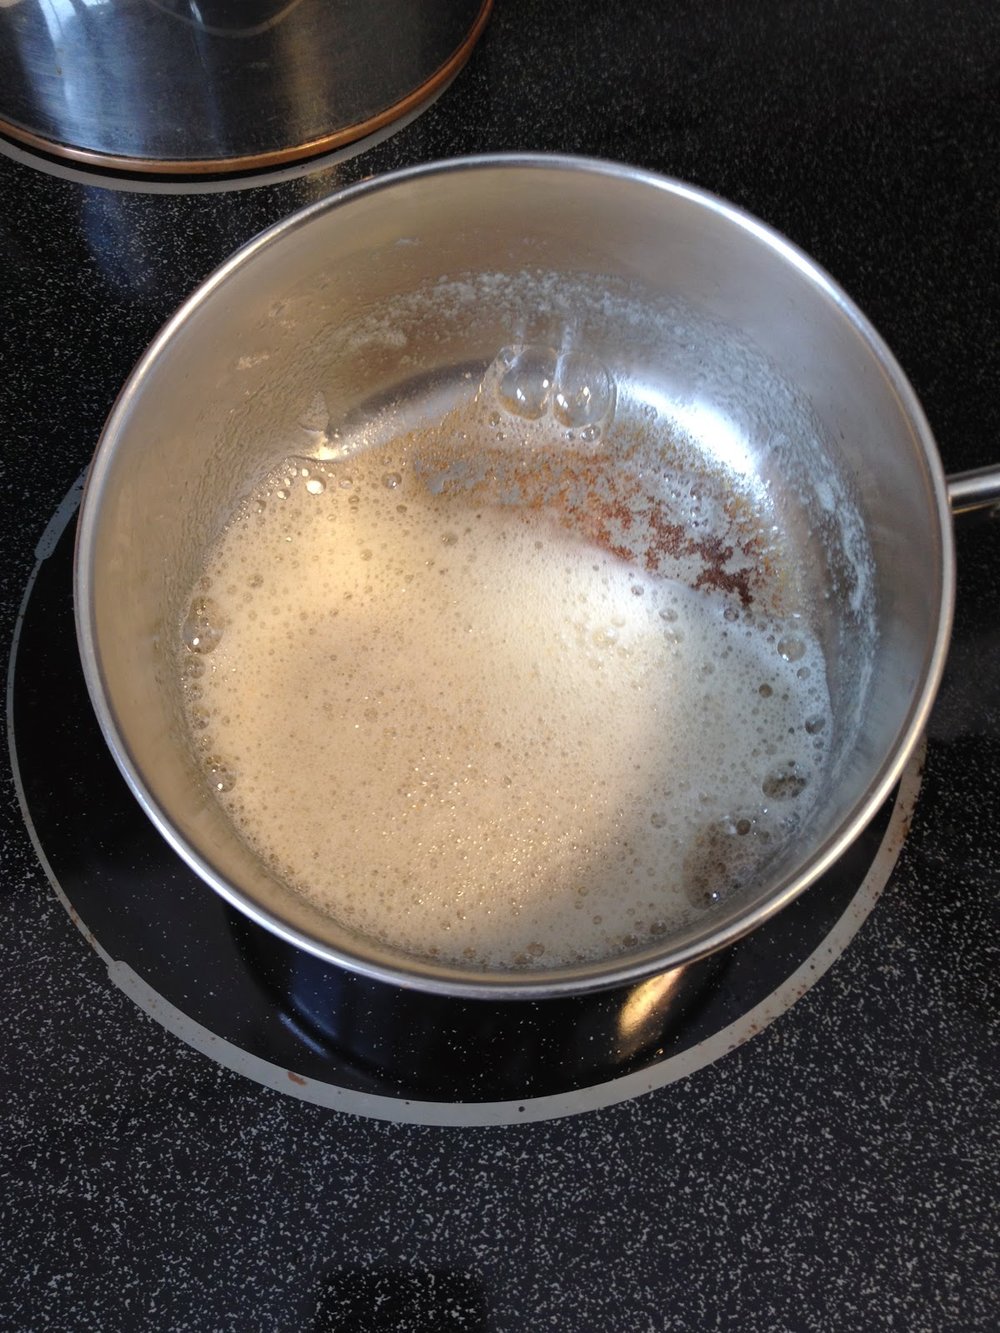
| thicker and more pale |
A zabaglione or sabayon in its pristine form is often served warm just after preparation, perhaps with fresh fruit, but in this case I cooled it over an ice bath in preparation for the next step.
When you take a zabaglione/sabayon to the next level and fold either whipped cream or a meringue into the chilled base, it becomes a semifreddo (or a French parfait - confused yet?).
 |
| whip cream to nice soft peaks |
 |
| all blended together |
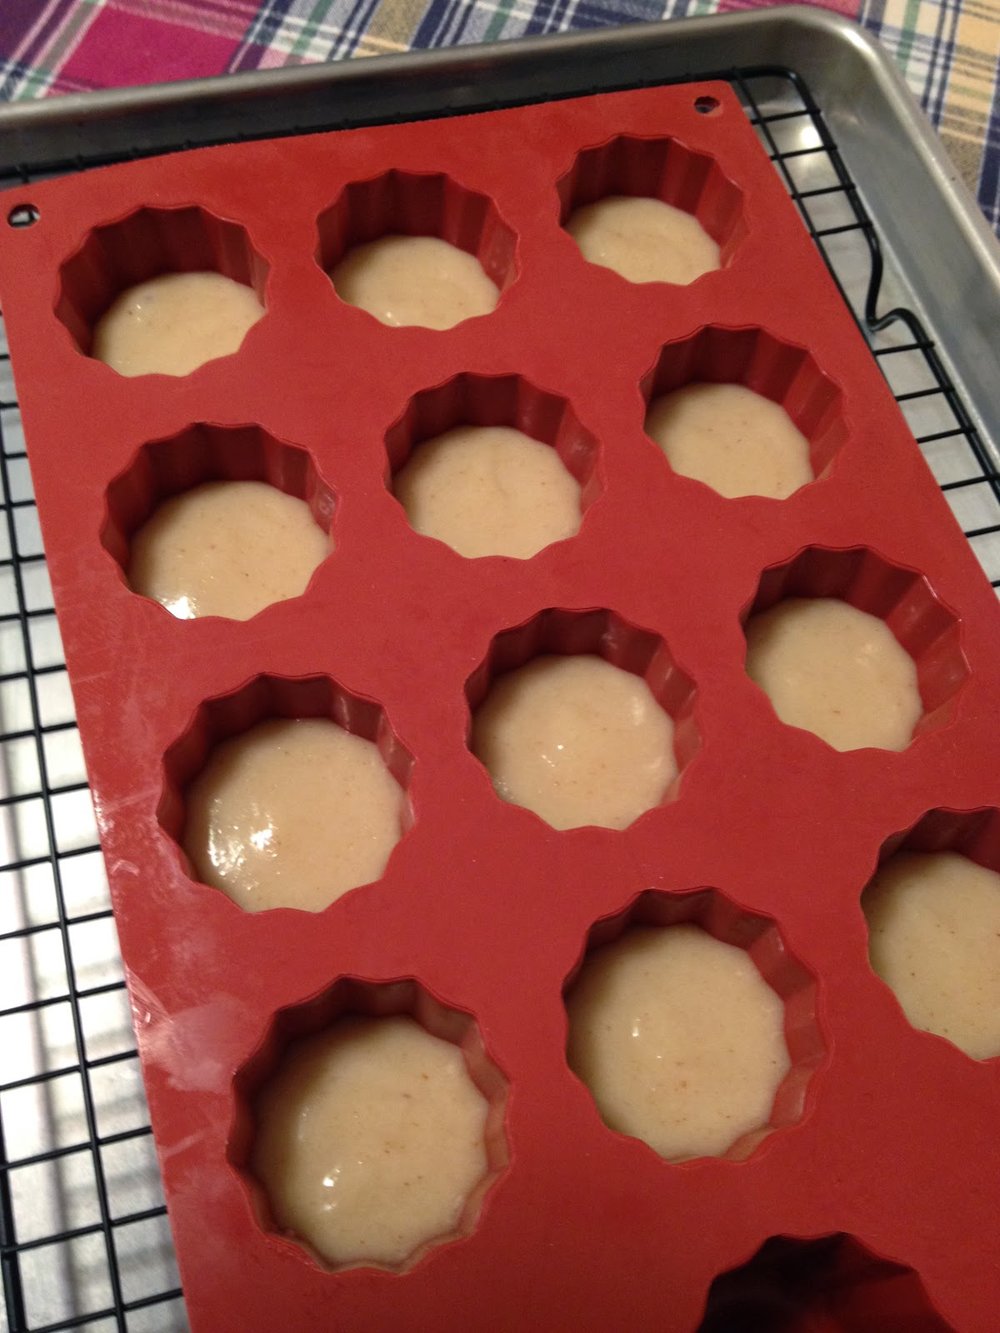
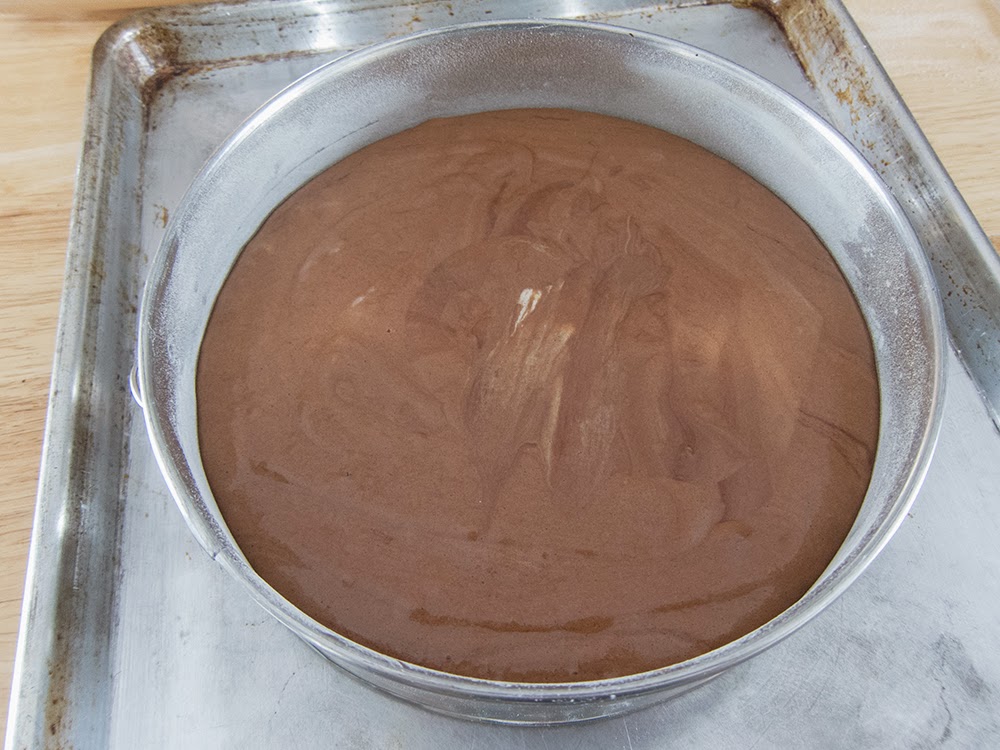
The mixture can be placed in one large plastic-wrap-lined mold such as a simple loaf pan or a fluted bowl, or can be portioned into small silicone molds, available in an appealing assortment of shapes and sizes.
 |
| cover with the plastic wrap and pop into the freezer |
Freeze for a number of hours until firm. Well wrapped it can sit in the freezer for several days, allowing at least that portion of the dessert to be made ahead (it's all about the planning, folks!).
A quick side note: there are many terms in the cream/custard lexicon, and the word mousse is one that I've always found it a bit confusing. The word literally means "froth" or "foam" and refers to a dish in which an aerator like whipped cream or meringue is folded into a base. That base can be a fruit purée, a crème anglaise or crème pâtissiére, pudding or custard, curd, sabayon, or pâte à bombe (yet another French base made with just yolks and sugar). However a mousse isn't necessarily frozen, so I guess that's one distinction from a semifreddo.
Just had to throw that in there!
As I was mentally concocting my composed dessert I knew I wanted some crunch. The words crisp and crumble always speak to me of American desserts, yet, truth be told, the French are all over the crumble thing. They're sold in many pâtisseries, and one can find books devoted solely to the subject of the crumble in librairies like Gibert Jeune et Librairie Gourmande in Paris.
I turned to my recipe binder from Pascal Pinaud's shop on rue Monge and resurrected a crumble recipe which calls for both almond and hazelnut flours (I was on a nut roll with this dessert).
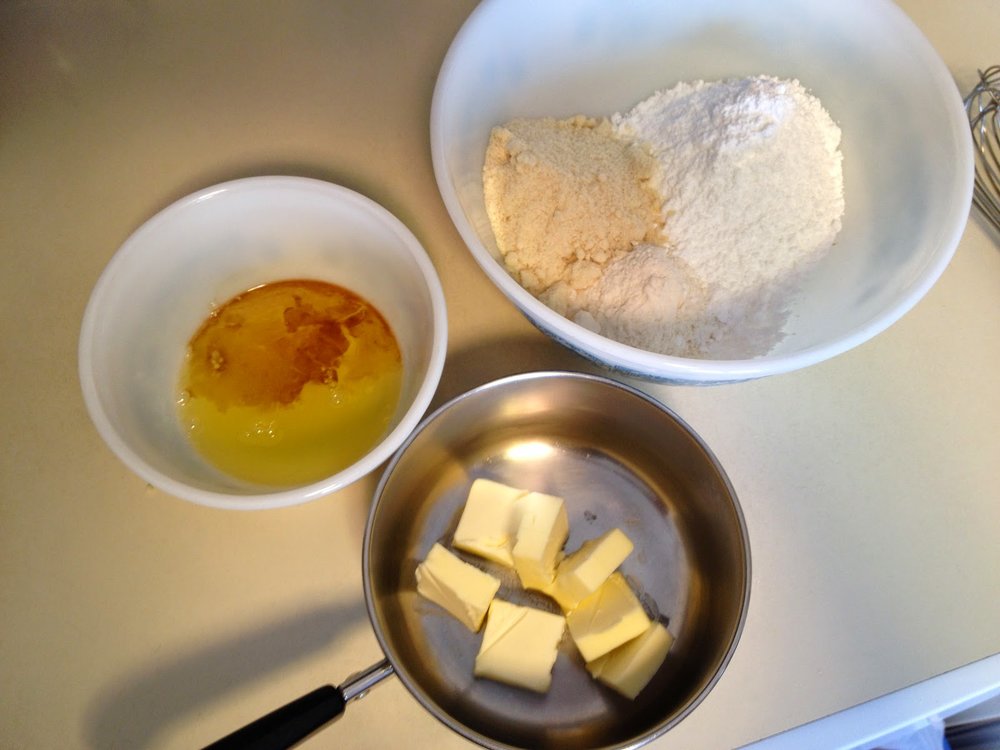
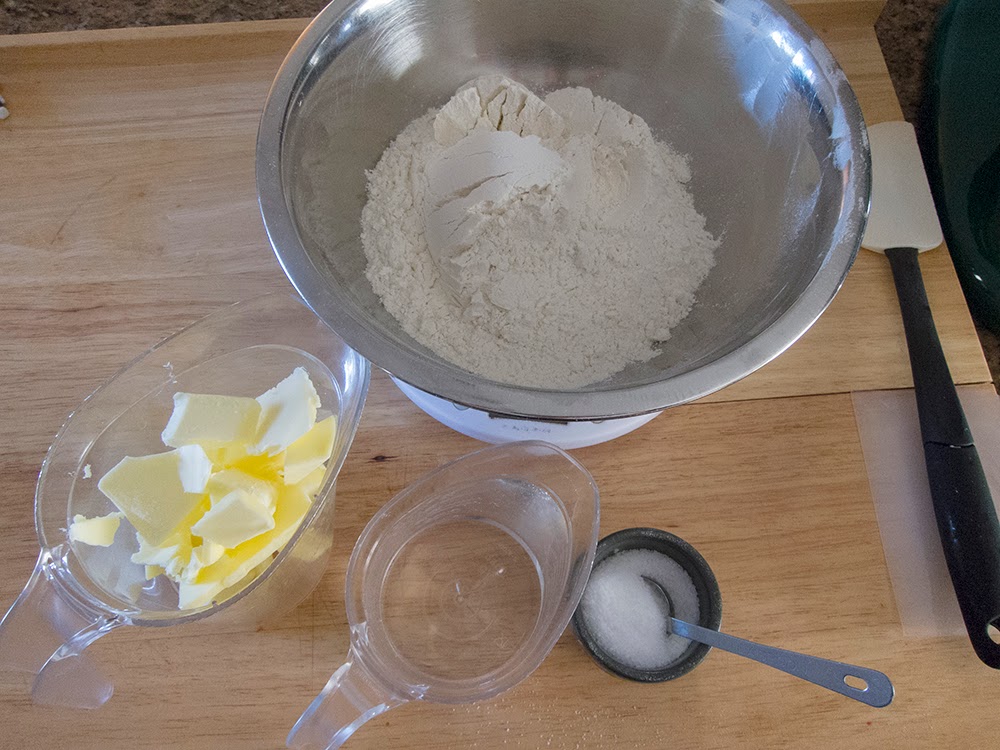
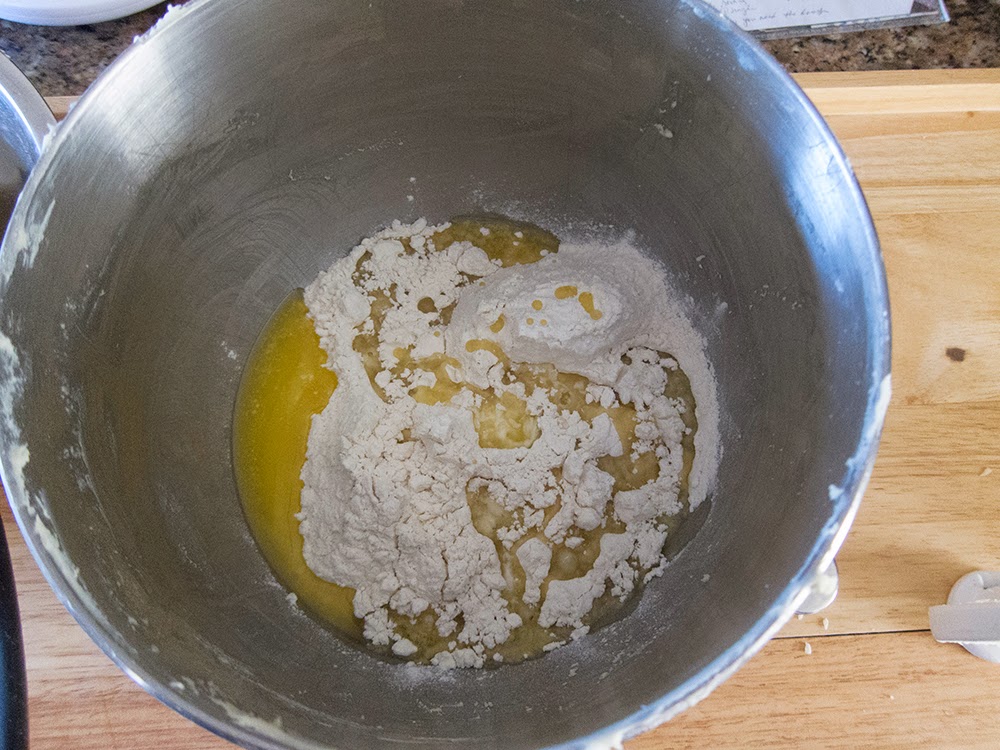
A basic crumble is equal weights sugar, butter and flour. You can add the same weight of a nut flour or even just chopped nuts. The idea is to mix the dry ingredients, then sand in cold diced butter to create coarse crumbs. For this batch I used 120 gm each sugar, butter and flour, plus a total of 120 gm of almond and hazelnut flours (I used 30 gm almond and 90 gm hazel - you can decide your own ratio).
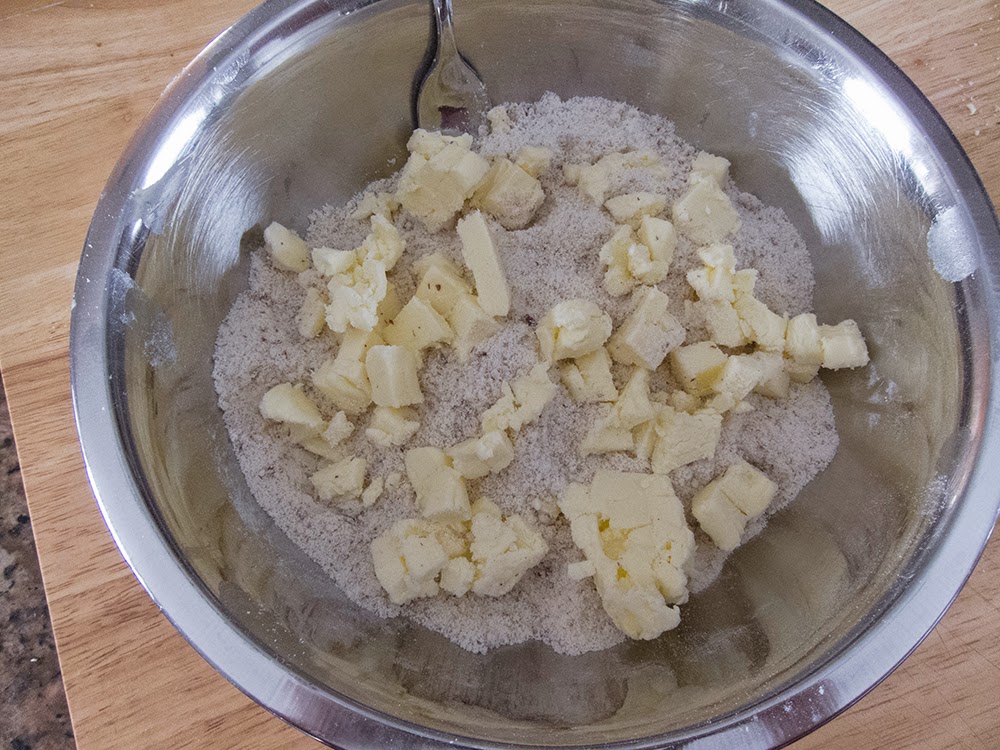 |
| les ingredients |
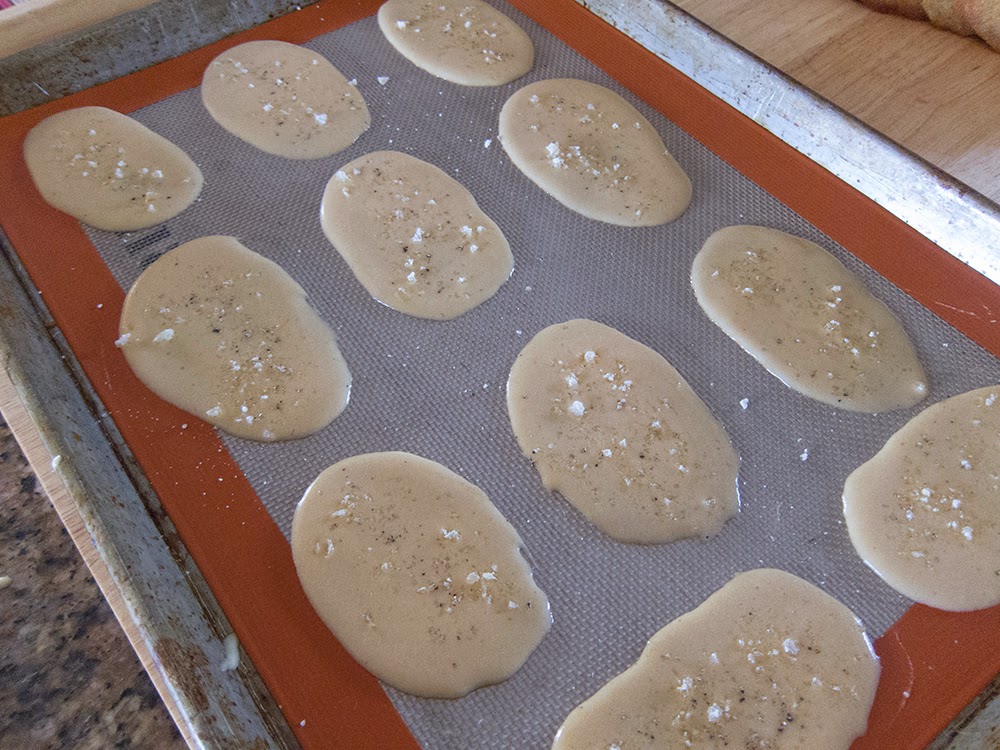
 |
| bake it now or freeze it for later |
Now you have a choice. Your crumble can be baked ahead and used later as a crisp, buttery topping for whatever - a tart, a custard, some ice cream or fruit, or even your morning oatmeal. Keeping the crumble separate and adding it as a topping just before serving keeps it from getting soggy.
Or you can bag up the raw mixture, freeze it and have it at the ready to simply throw on top of fruit, cake batter or anything else you can think of and bake it - it melts in a bit yet still provides a crispy baked topping to your dessert.
When I bake my crumble ahead, I do it at 350º for about 20 minutes, stirring it up every 5 minutes or so until lightly browned and set.
 |
| use a bench scraper to toss and separate the crumbs |
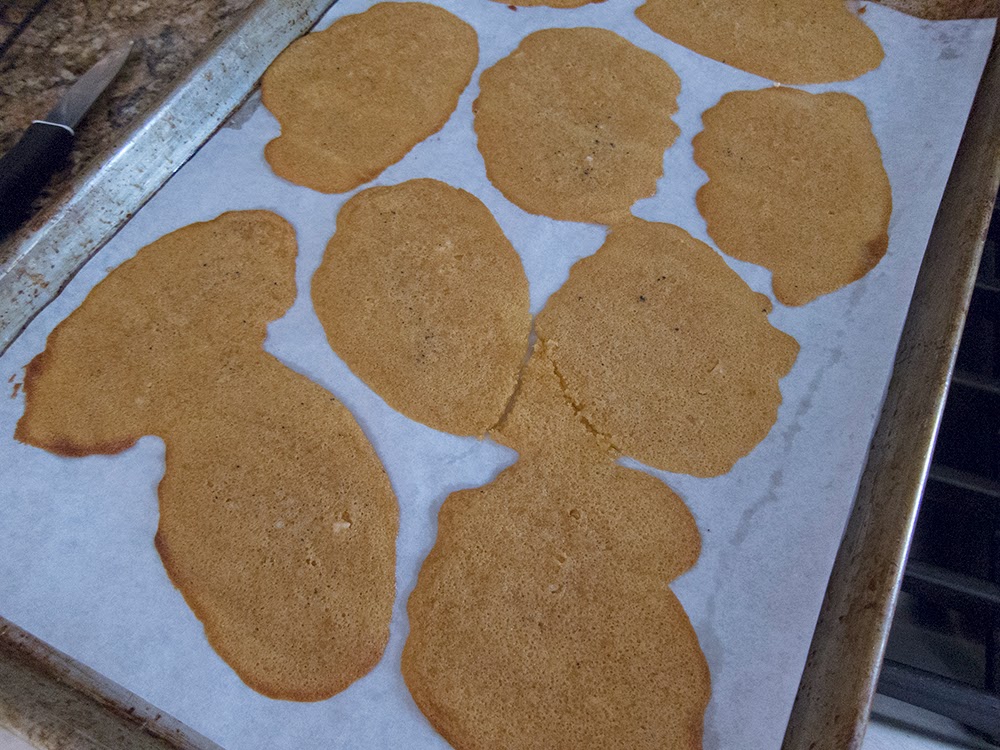
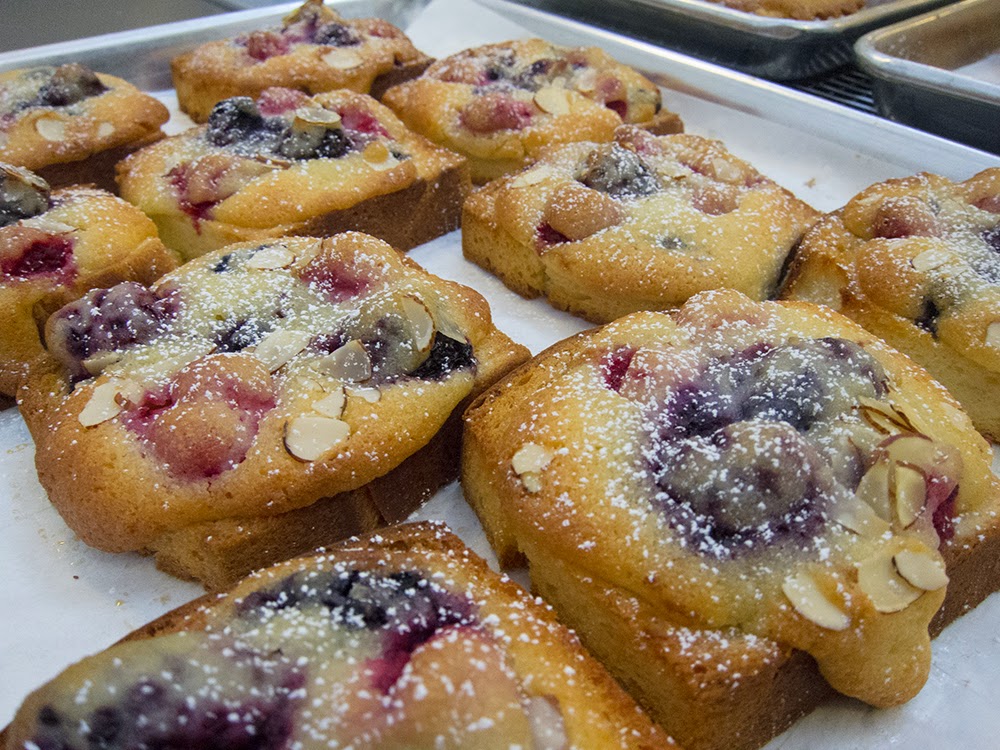
 |
| all baked up |
 |
| Mmmmm! |
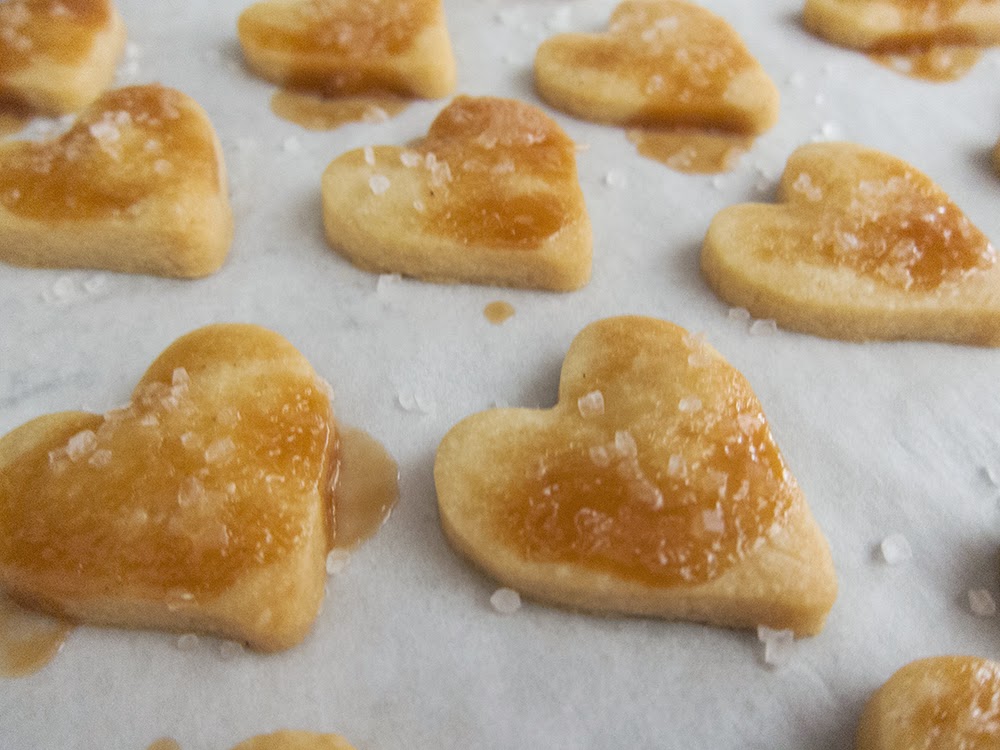
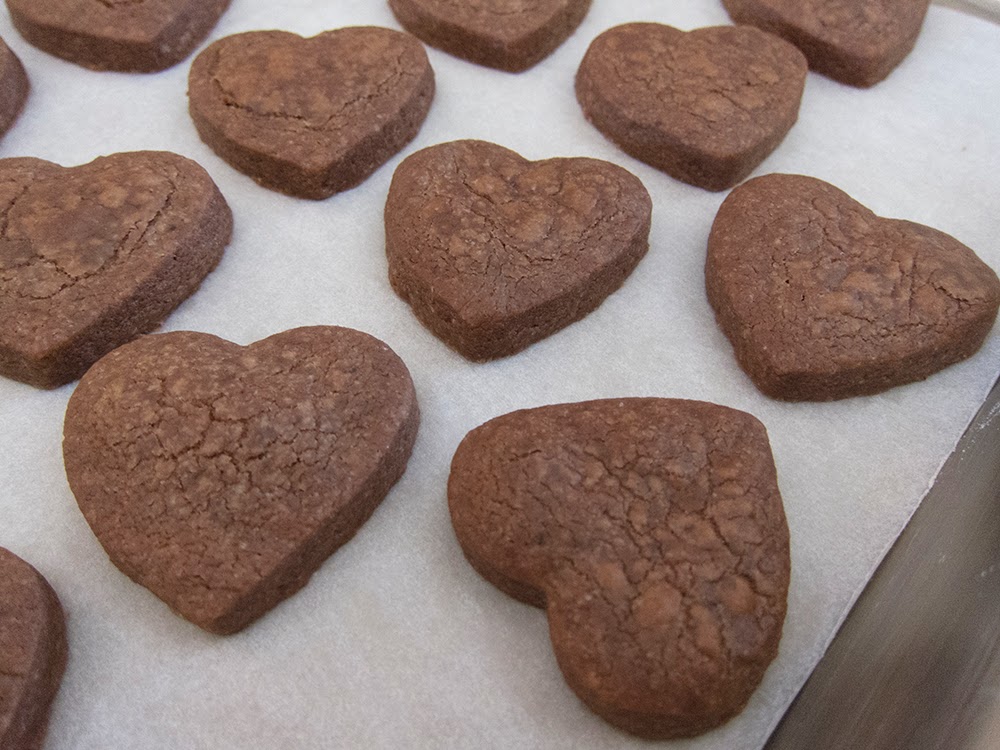
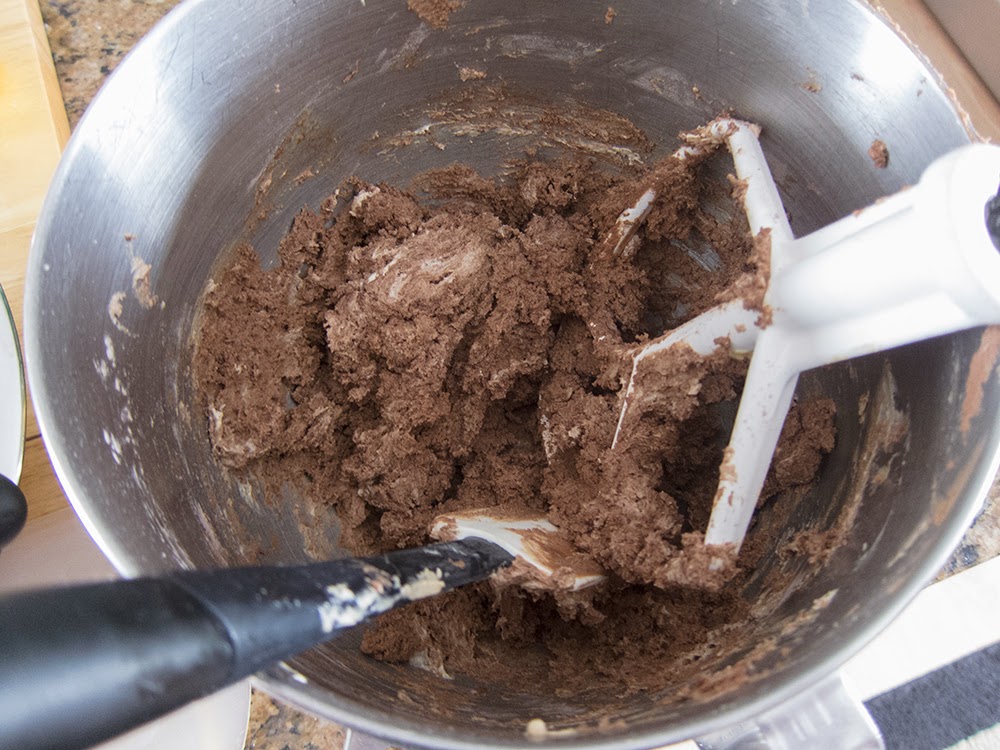
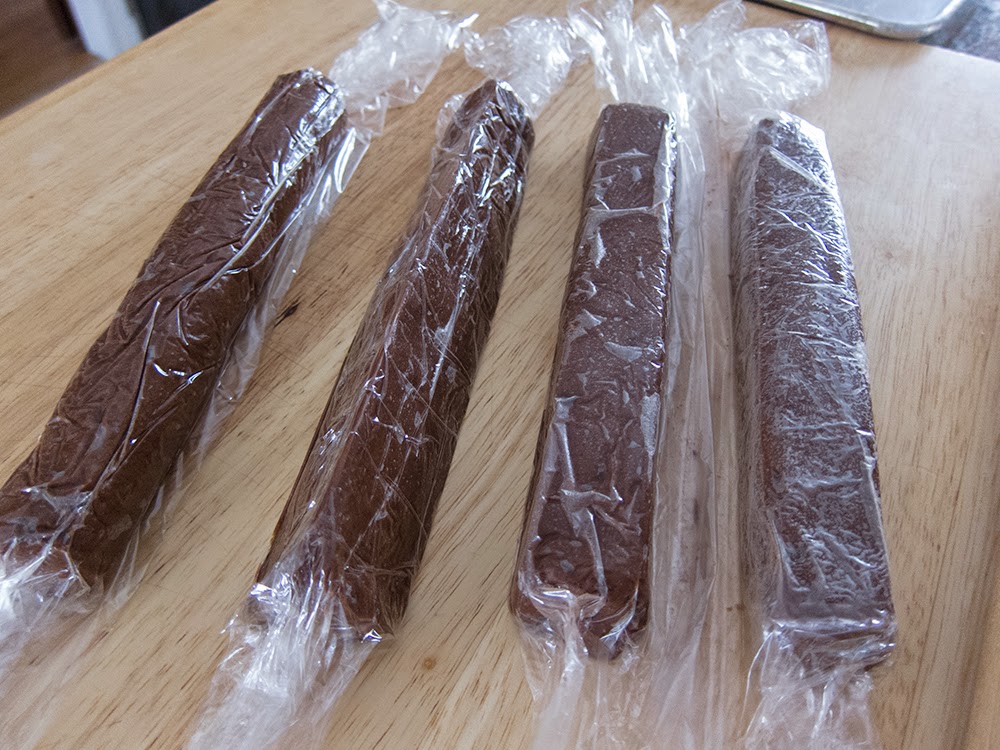
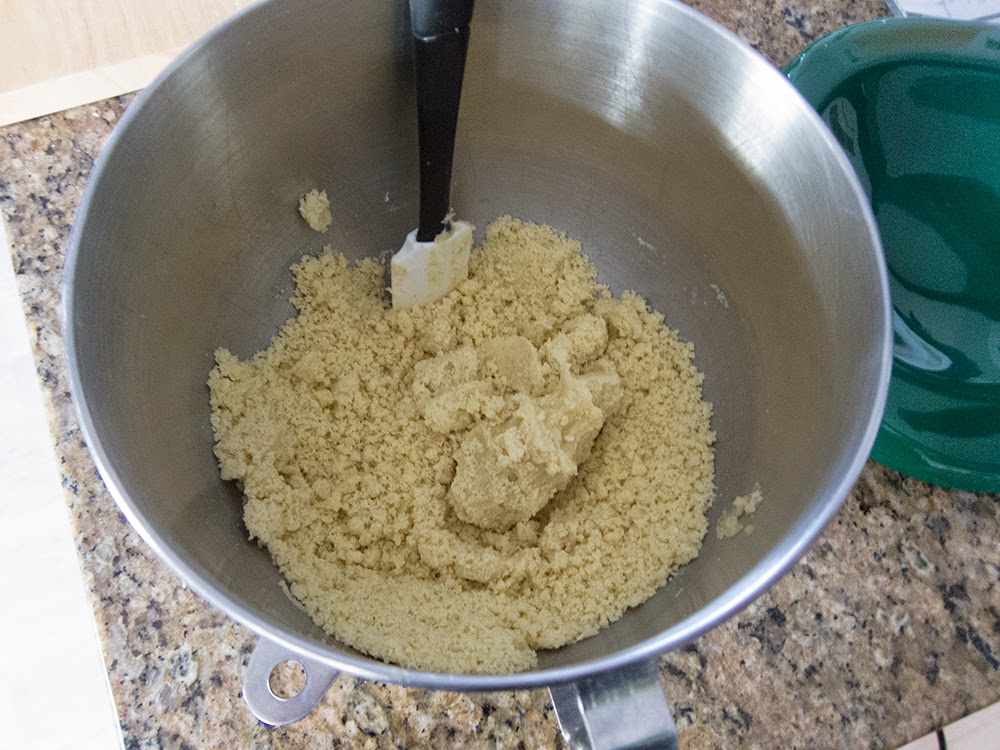
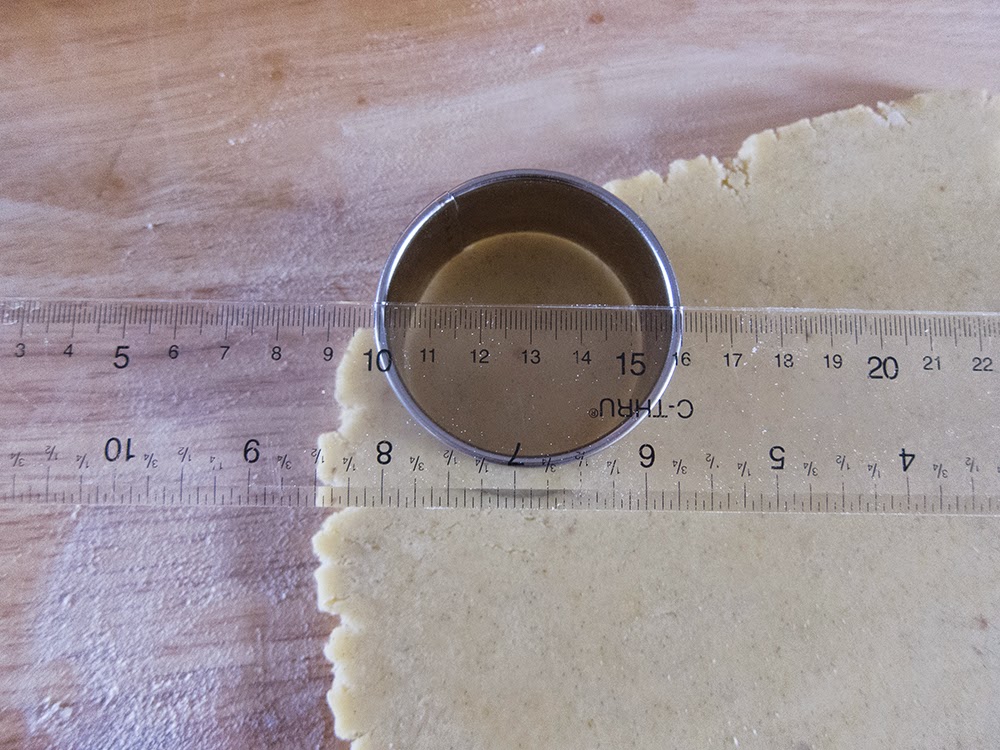
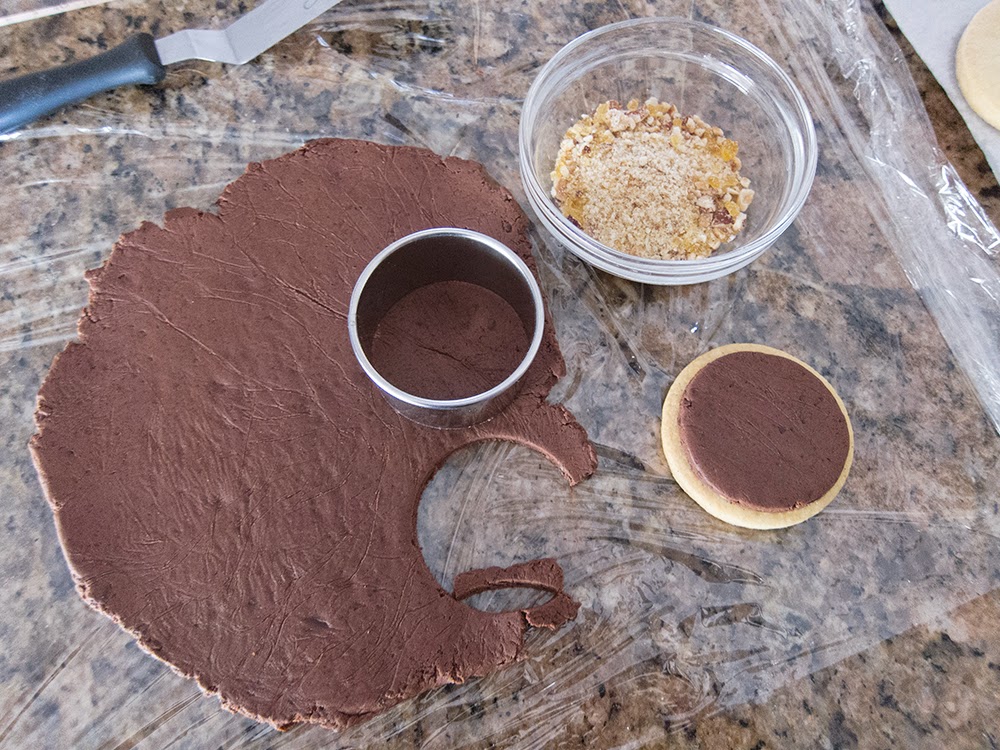
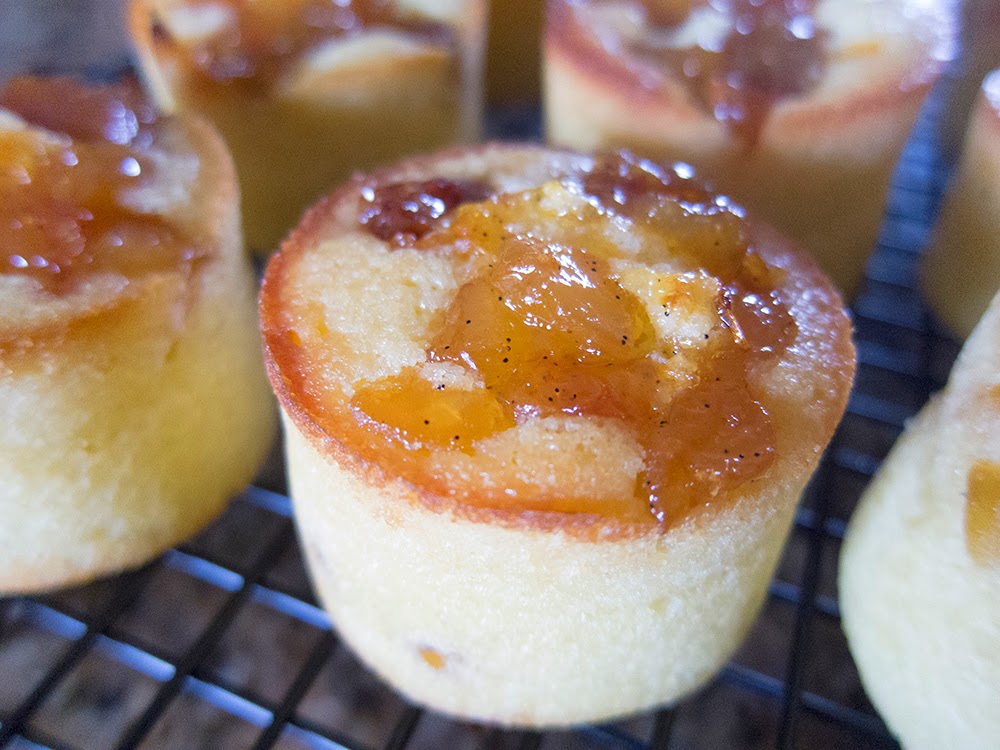
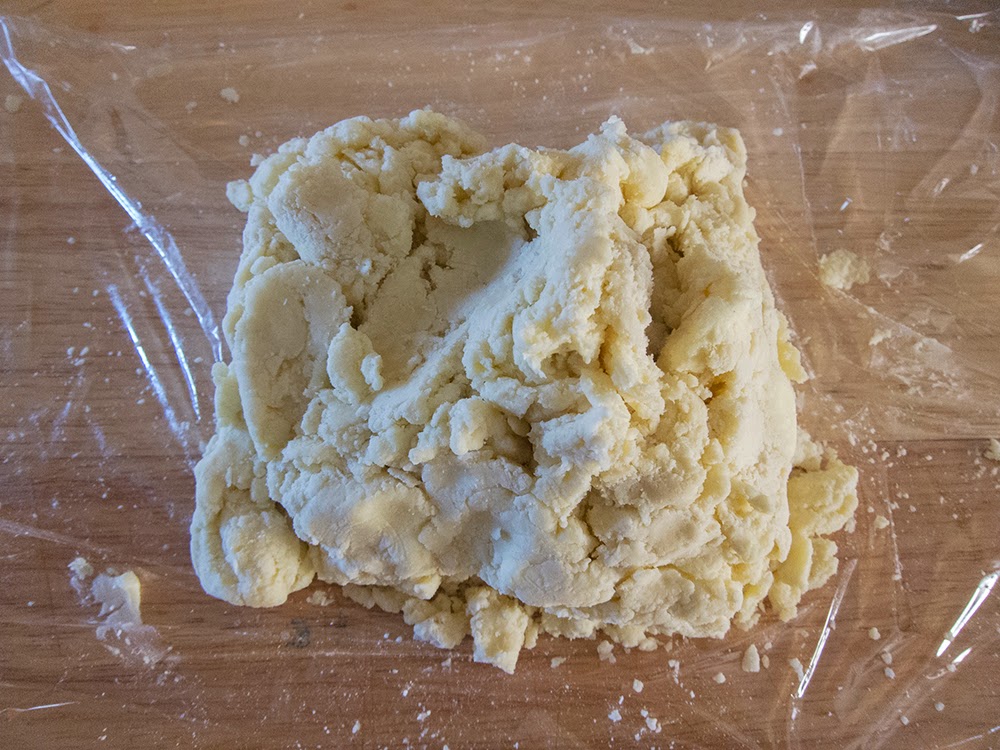
There is another option for a crumble which allows you to create coarser crumbs or even larger chunks to use as a garnish on a larger entremet type of dessert. This one involves blending softened butter with sugar, then blending in the all purpose and nut flours, pretty much like a cookie dough. Then shape the dough into a 1/2" (or so) thick square or round, cover and chill. Then you can cut it or break it up into chunks and bake it as described above. And they're not a bad pop-in-your-mouth snack either!
Now onto the fruit part. So it's still winter, after all, but I was going for cherries and berries for this dessert. That's the beauty of IQF (individually quick frozen) fruit that's available in the grocery stores all year round.
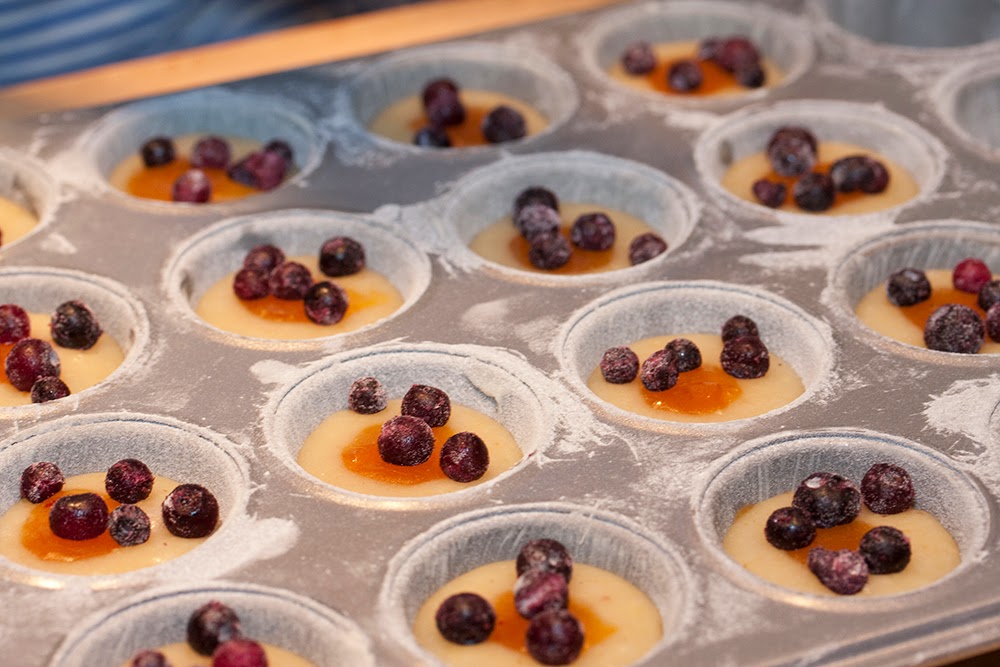
I have these great little square ramekins that I bought at Crate and Barrel some years back. They hold just the right amount for a not too generous dessert portion. To fill six of them I used 340 gm (12 oz) frozen pitted sweet cherries and about a cup and a half of mixed blueberries and raspberries. I tossed them in a mixture of 85 gm (generous 1/3 cup) sugar, 10 gm (~ 1TBSP) cornstarch, the zest of half a lemon, a pinch of freshly grated nutmeg and 1/8 teaspoon coriander. Topped with some pistachio crumble that I had in my freezer (told you I was on a nut kick), they're ready for the oven.
Bake at 325º for about 40-45 minutes until the crumble is lightly browned and the fruit is bubbly.
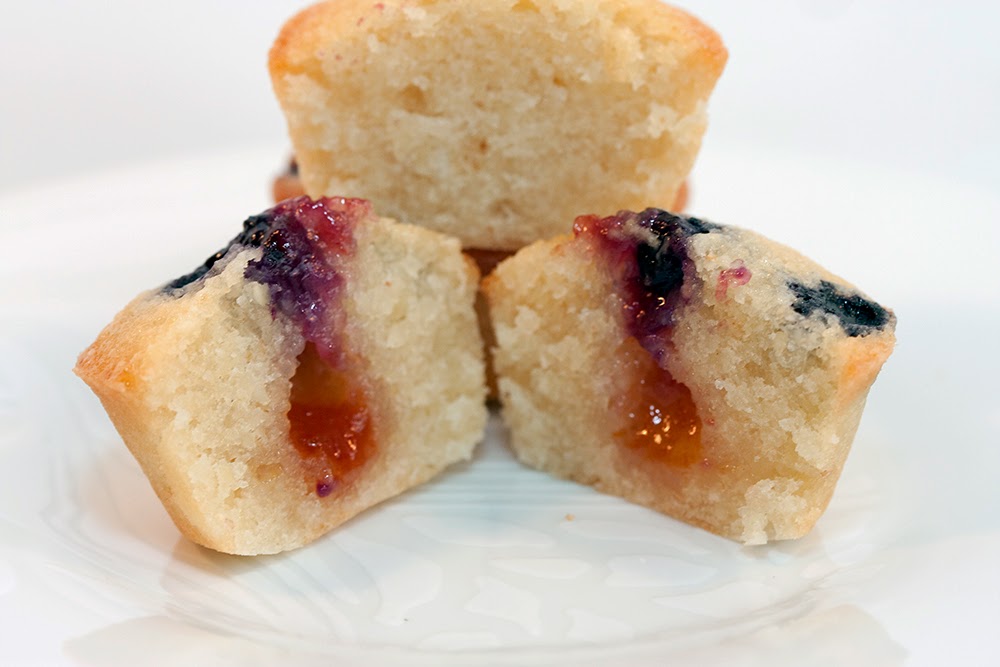
When it came time for dessert, I scooped some semifreddo onto the still warm fruit, sprinkled some hazelnut-almond crumble on top and drizzled a bit of caramel over it all.
Delicious!
So use your imagination and create your own composed dessert. Having the contrast in textures (creamy, fruity, crunchy) and temperatures (warm and cool) is oh so wonderful. And remember - it doesn't have to be fussy, difficult or fancy - just tasty!