Homemade graham crackers and a coconut cream tart for Christmas
/
It's hard to believe that Christmas Day has come and gone. Especially with the no-snow-on-the-ground, warm weather we've been having here in west Michigan. The weeks leading up to Christmas always seem to fill up with various projects, activities and baking (of course!). And then it's over and time for a new year.
The other day when Steve and I were checking out Kingma's butcher counter looking for flank steak, we were also perusing the many aisles of food products. There before my eyes was one of the largest selections of Bob's Red Mill flours that I have ever seen. The one that caught my eye was graham flour and got me in the mood to make my own graham crackers in preparation for a graham cracker crusted coconut cream tart for Christmas Day.
This graham flour is ground from "hearty dark northern, hard red spring wheat" and "contains all of the wheat berry's healthy and natural elements - the germ, endosperm and bran". It's good for you!
I first made my own graham crackers some years ago after paying closer attention to the ingredients on the boxes of "store bought" grahams. I like to keep my baked goods as preservative free as possible and making these crackers at home is really an easy proposition. So why not go for it?!
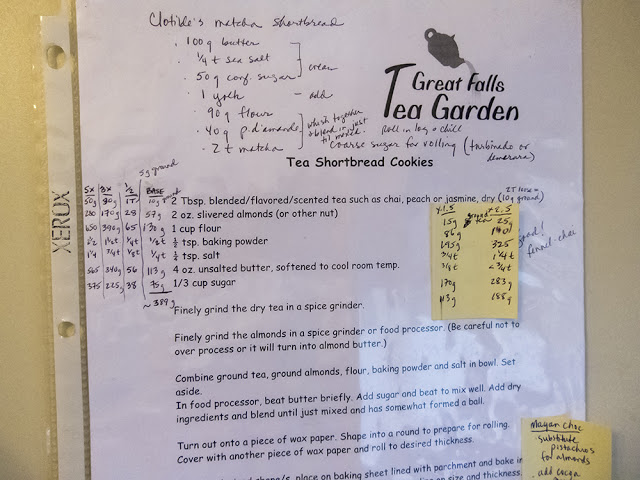
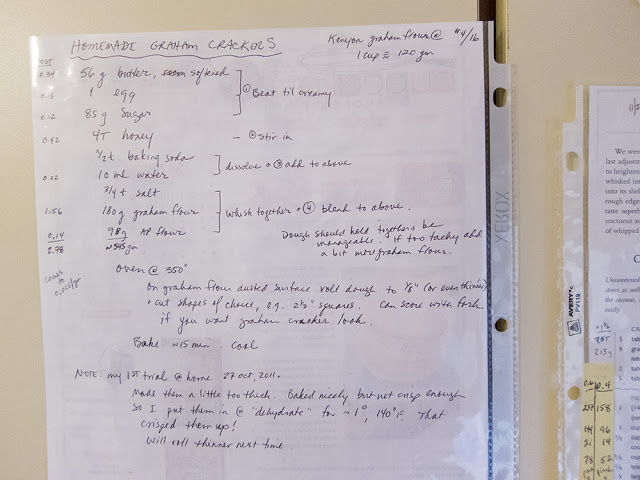
I think this recipe may have come from Elizabeth Falkner when she visited Johnson and Wales University in Providence a few years ago as a distinguished visiting chef. It's a keeper. I often write up recipes with gram weights and note things I might do differently the next time. I keep them in plastic page sleeves that I then stash in my many recipe notebooks.
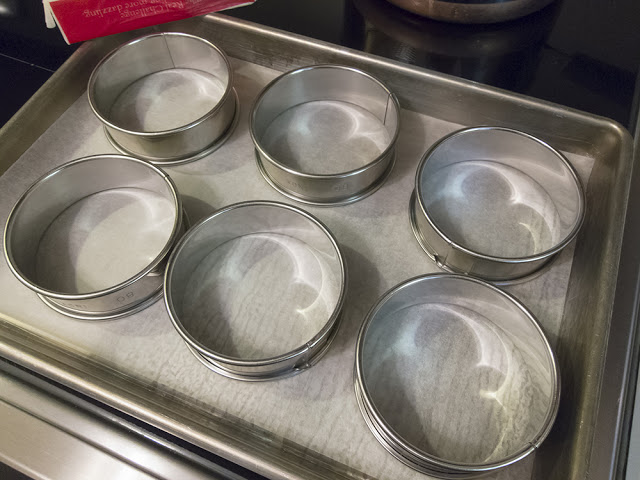
Heat the oven to 350º F. Line two 1/2 sheet pans with parchment paper.
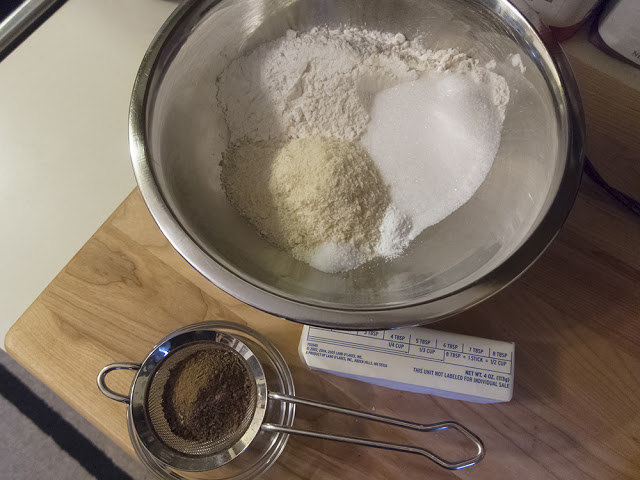
In a separate bowl whisk 180 grams graham flour with 98 grams all purpose flour and 3/4 teaspoon salt.
In a mixing bowl cream 56 g (2 oz) soft butter with 85 g sugar; add 1 large egg and mix until blended.
Stir in 4 tablespoons honey, followed by 1/2 teaspoon baking soda that's been dissolved in 2 teaspoons of water.
Blend in the dry ingredients.
The dough should hold together and be manageable. If it's too sticky, add a bit more graham flour.
On a graham flour dusted surface roll the dough out to a thickness of about 2 mm. I work with about half the dough at a time. It is a tad sticky, but just keep lightly dusting and lifting the dough with a bench scraper to keep it from sticking.
Since my plan for these grahams was to crush them for a graham cracker crust, I wasn't too fussy about how I cut and baked them. You can certainly cut nice looking squares and even score them with a fork to give the quintessential graham cracker look if you're serving them as a traditional cracker.
Bake for about 15 minutes and always remember to watch what's going on in your oven!
My graham cracker crust calls for 140 grams (5 oz) of graham crackers so I weighed out what I needed and coarsely broke up the remaining crackers to put in my freezer for the next time.
I crushed the crackers for the crust with the old zip-top bag/rolling pin technique which eliminates having to get out the food processor (or cleaning it afterwards). Love it!
This coconut cream tart recipe comes from the Baking Illustrated book by the editors of Cooks Illustrated magazine and calls for toasting unsweetened, shredded coconut for both the crust, the filling and the top garnish. I did that a bit ahead.
The above ingredients include the 140 grams crushed graham crackers, 2 tablespoons sugar, 70 grams (5 tablespoons) melted unsalted butter and 4 tablespoons of toasted coconut. Simply mix it all with a fork and press it firmly into a tart pan.
Bake the crust at 325º F for about 20 minutes until fragrant and browned.
While the crust cools go ahead and make the coconut cream filling.
The filling is prepared using a basic pastry cream method. Place the contents of one 14 oz can of coconut milk in a sauce pan, along with 240 ml (one cup) of whole milk, 35 grams of toasted coconut, 75 grams sugar and 1/4 teaspoon salt. Heat this to a simmer, stirring occasionally. Meanwhile place 5 egg yolks in a separate bowl, whisk in 75 grams sugar and 28 grams cornstarch.
Gradually pour half of the hot milk mixture over the yolk mixture, whisking constantly, then return all to the sauce pan and cook, still whisking constantly until the mixture thickens and bubbles.
Take it off the heat and whisk in 1/2 teaspoon vanilla extract and 28 grams (2 tablespoons) unsalted butter.
Pour the cream directly into the baked crust, cover the surface with plastic wrap and refrigerate at least 3 hours until chilled.
Whip up a cup of heavy cream with a splash of vanilla extract and a tablespoon or two of powdered sugar and spread it over the coconut cream filling. I love to use my offset spatula to create a simple design.
Then sprinkle some toasted coconut on the top . . . .
and voila, you're ready to go!
Now it's time to take a breath, relax a bit and look ahead to a new year.
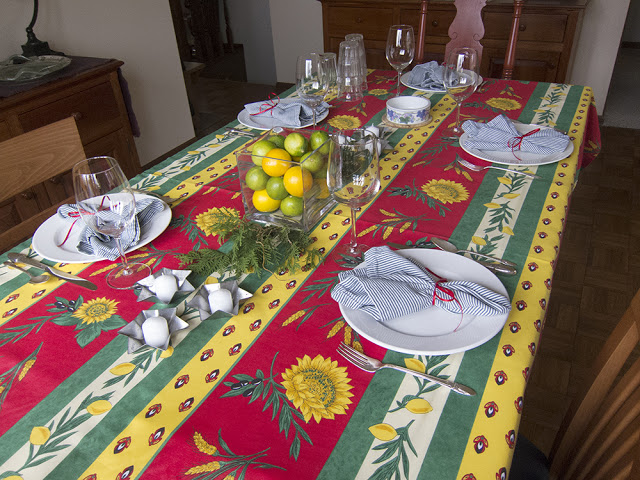 |
| our holiday table |
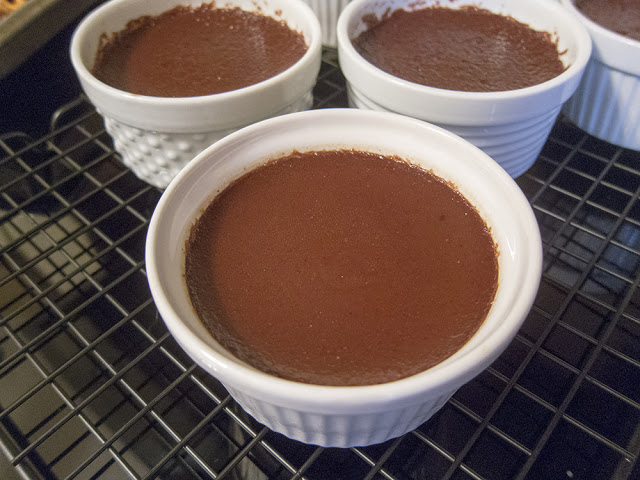 |
| chocolate pot de crème for Christmas Eve supper |
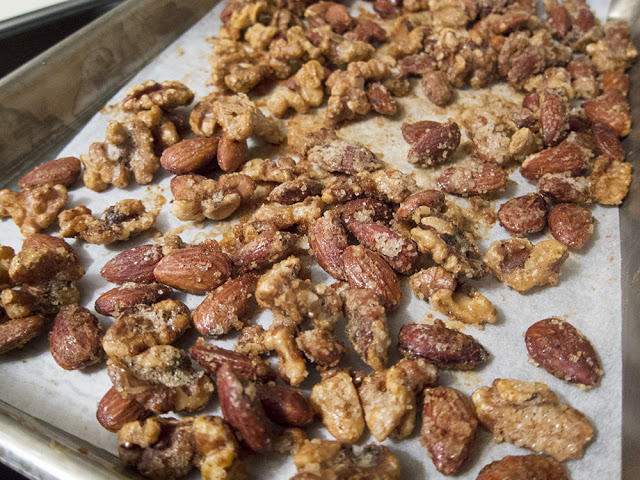 |
| spiced, candied nuts as an accompaniment |
The other day when Steve and I were checking out Kingma's butcher counter looking for flank steak, we were also perusing the many aisles of food products. There before my eyes was one of the largest selections of Bob's Red Mill flours that I have ever seen. The one that caught my eye was graham flour and got me in the mood to make my own graham crackers in preparation for a graham cracker crusted coconut cream tart for Christmas Day.
This graham flour is ground from "hearty dark northern, hard red spring wheat" and "contains all of the wheat berry's healthy and natural elements - the germ, endosperm and bran". It's good for you!
I first made my own graham crackers some years ago after paying closer attention to the ingredients on the boxes of "store bought" grahams. I like to keep my baked goods as preservative free as possible and making these crackers at home is really an easy proposition. So why not go for it?!
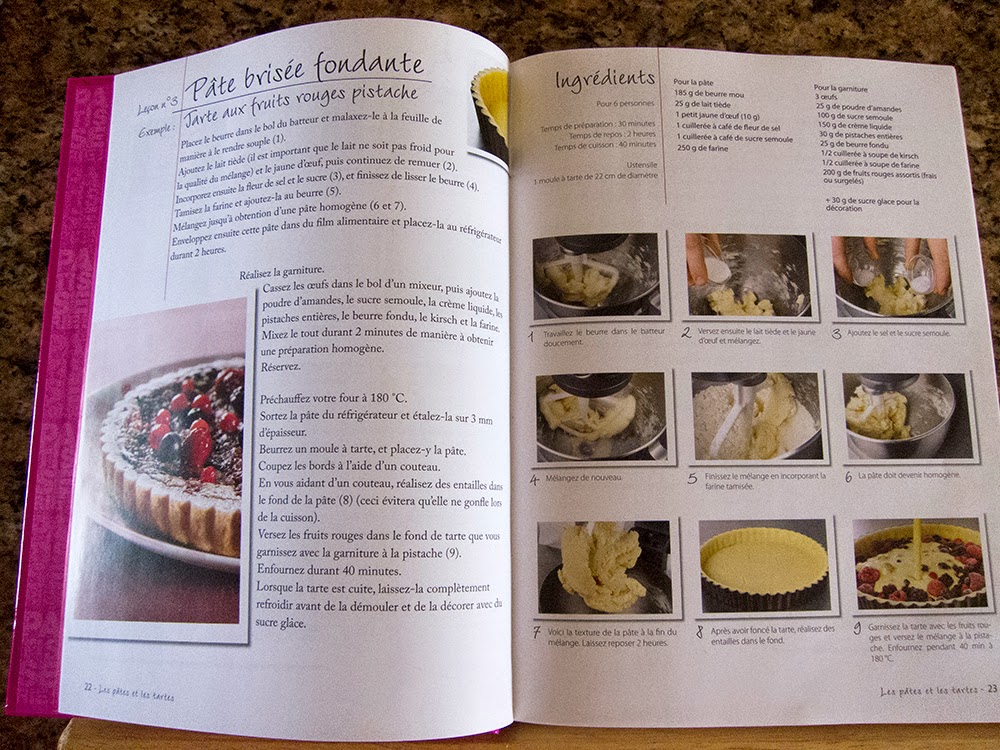
I think this recipe may have come from Elizabeth Falkner when she visited Johnson and Wales University in Providence a few years ago as a distinguished visiting chef. It's a keeper. I often write up recipes with gram weights and note things I might do differently the next time. I keep them in plastic page sleeves that I then stash in my many recipe notebooks.
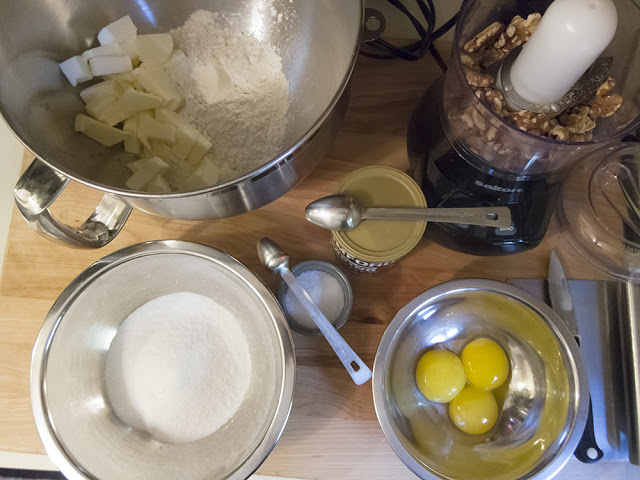
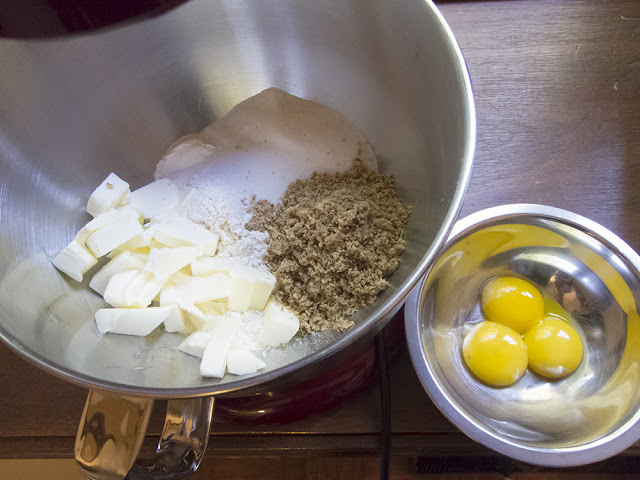
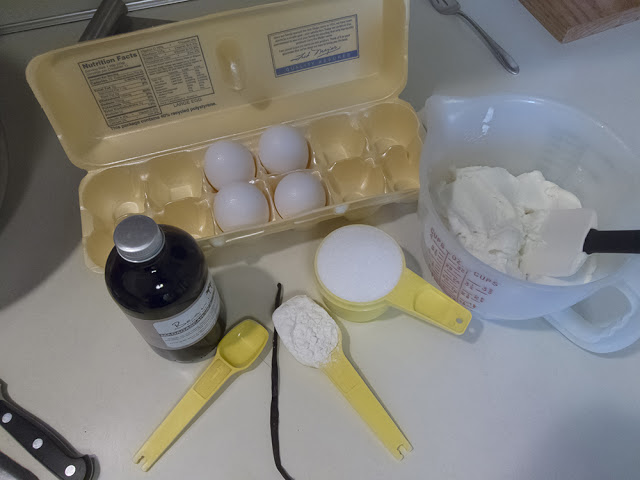
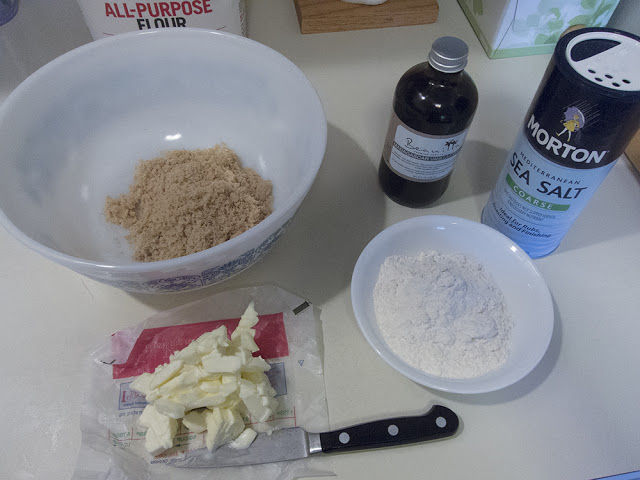
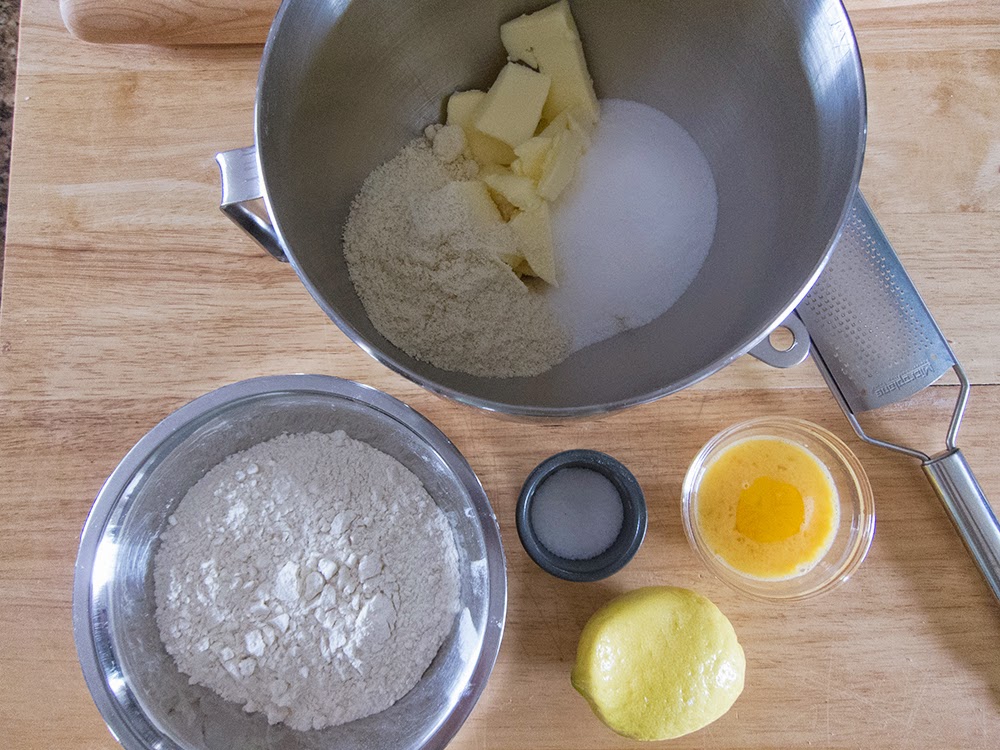
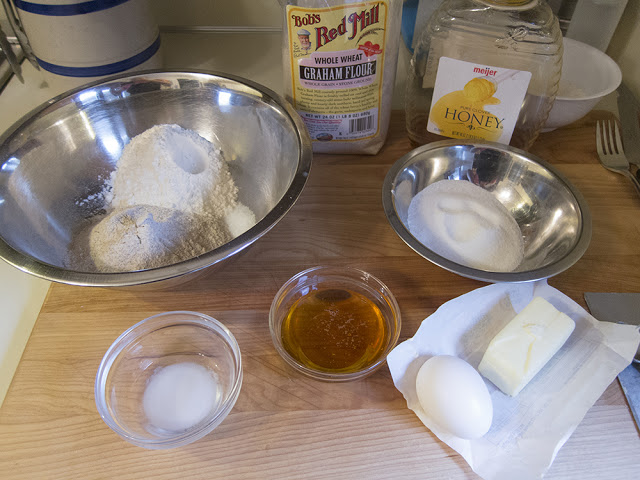 |
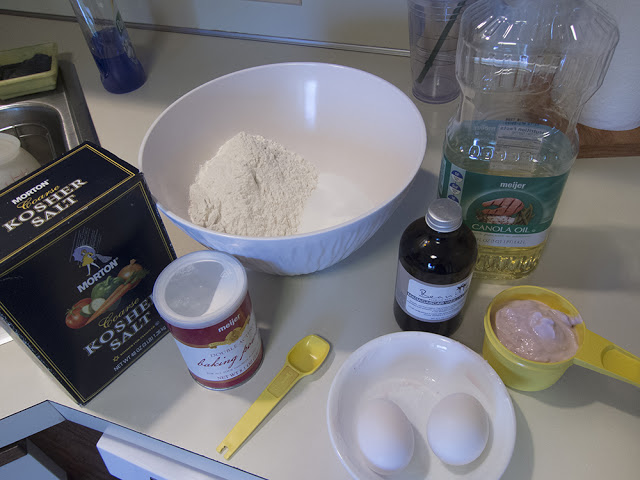
| les ingredients |
Heat the oven to 350º F. Line two 1/2 sheet pans with parchment paper.
In a separate bowl whisk 180 grams graham flour with 98 grams all purpose flour and 3/4 teaspoon salt.
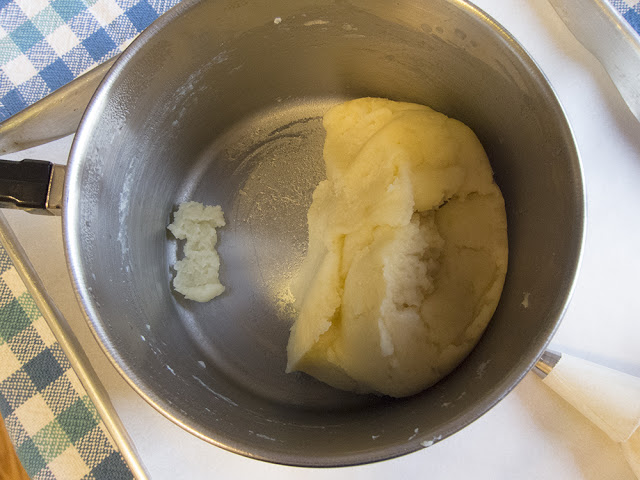
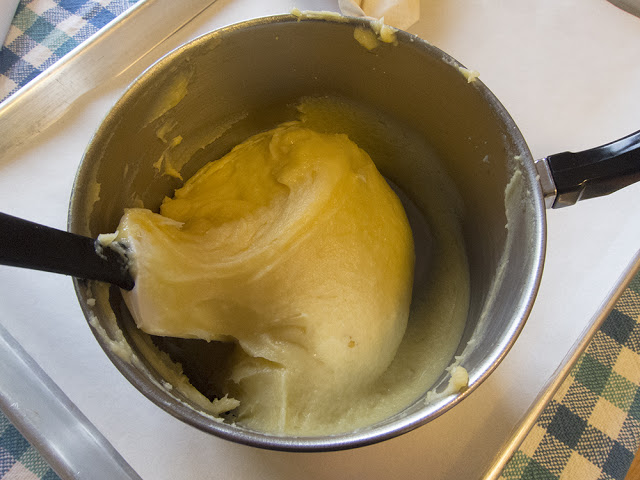
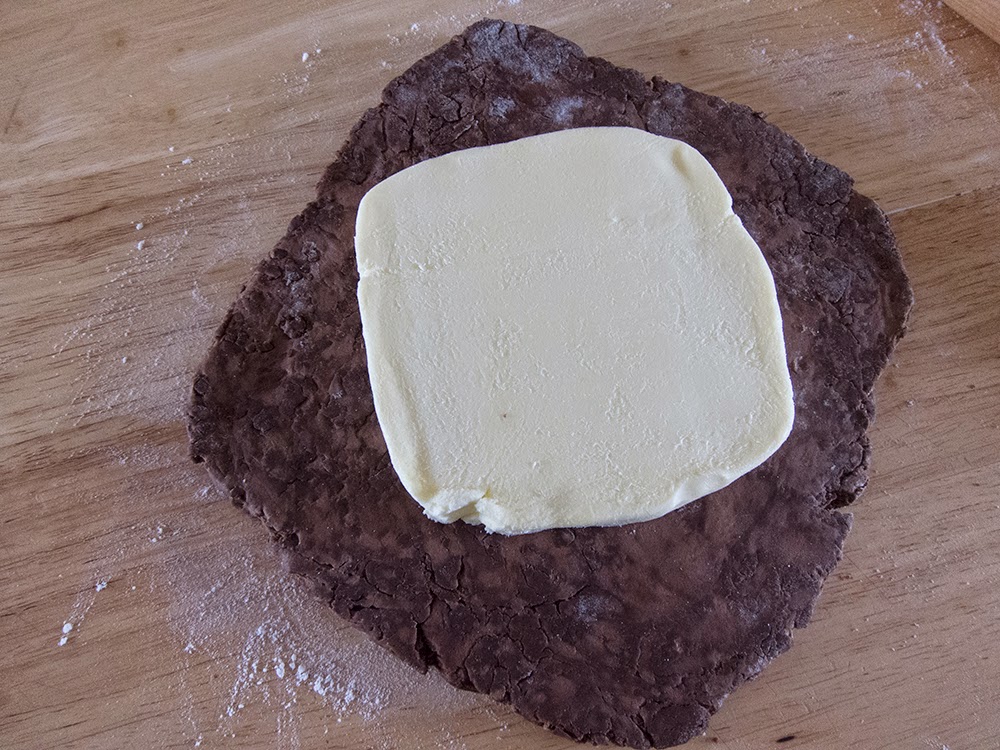
In a mixing bowl cream 56 g (2 oz) soft butter with 85 g sugar; add 1 large egg and mix until blended.
Stir in 4 tablespoons honey, followed by 1/2 teaspoon baking soda that's been dissolved in 2 teaspoons of water.
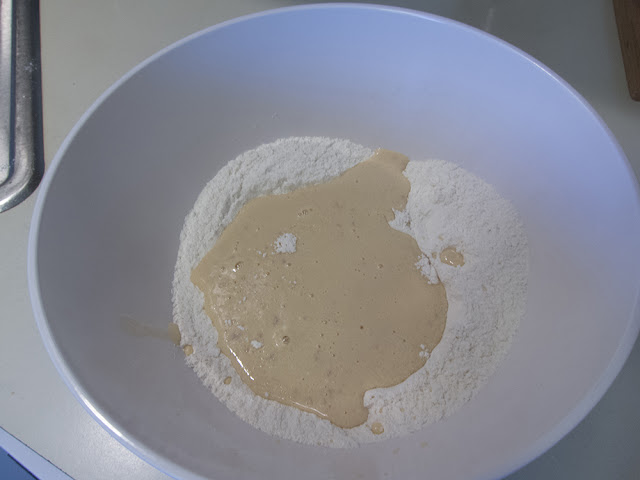
Blend in the dry ingredients.
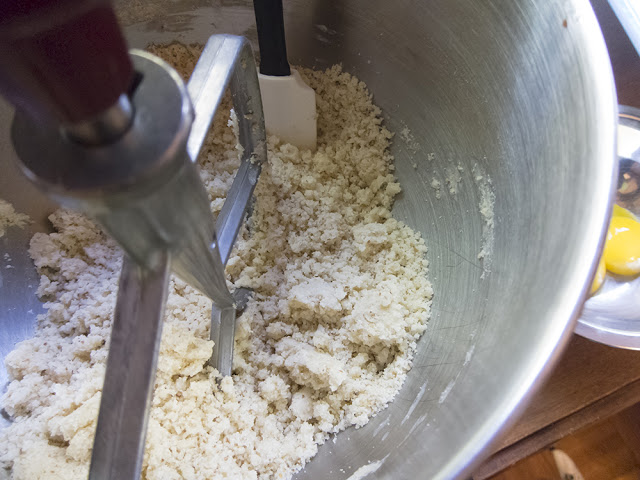
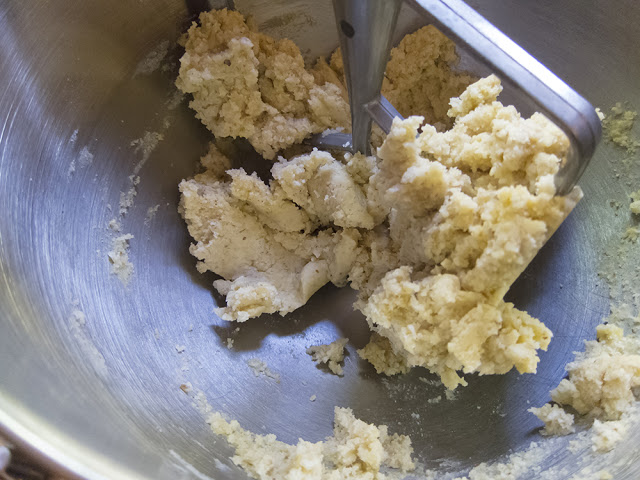
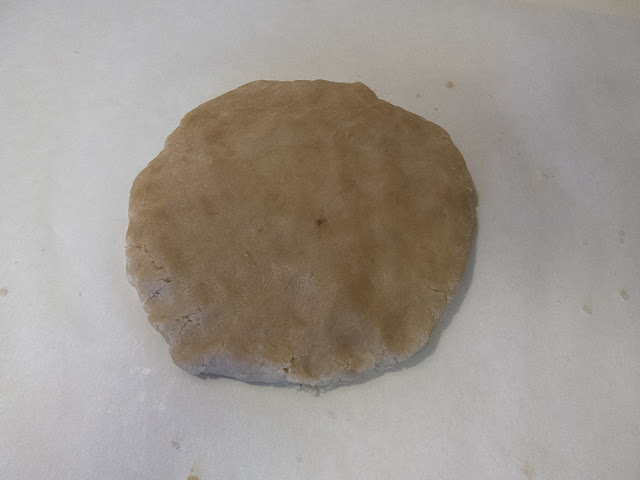
The dough should hold together and be manageable. If it's too sticky, add a bit more graham flour.
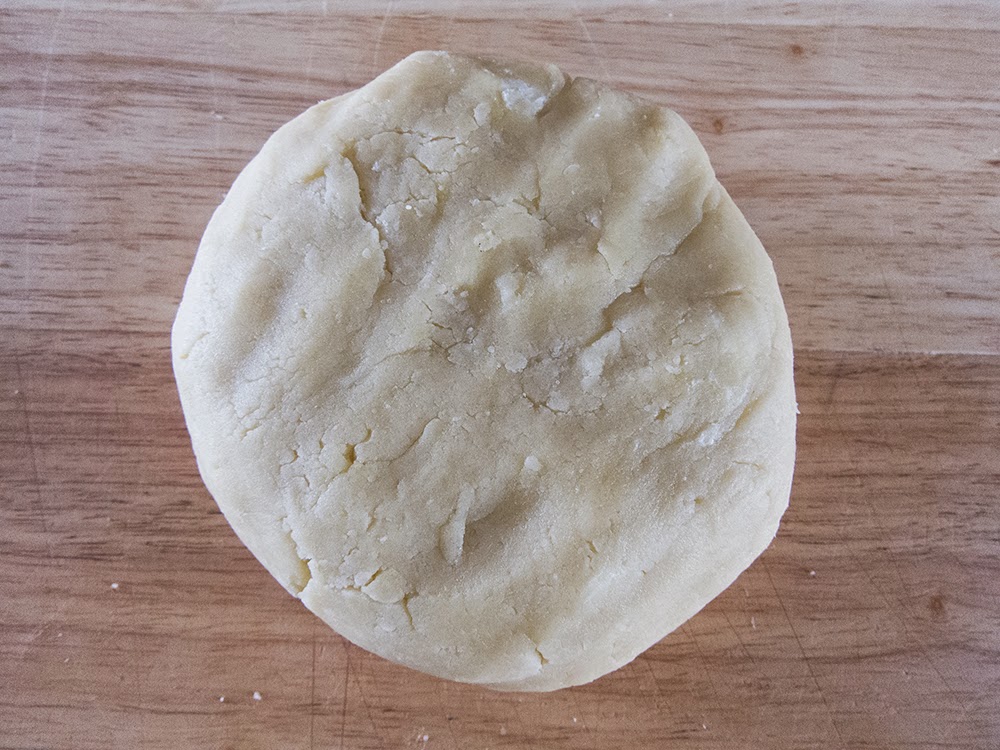
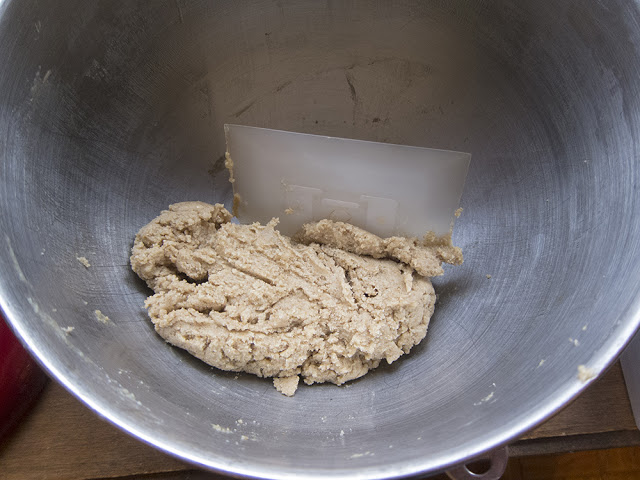 |
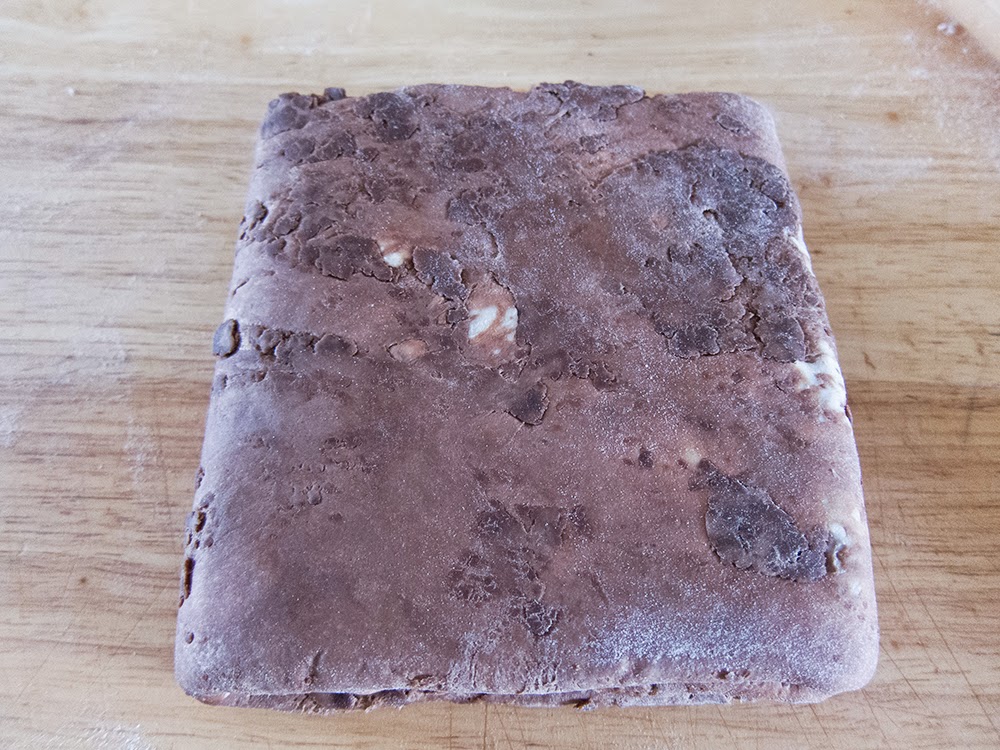
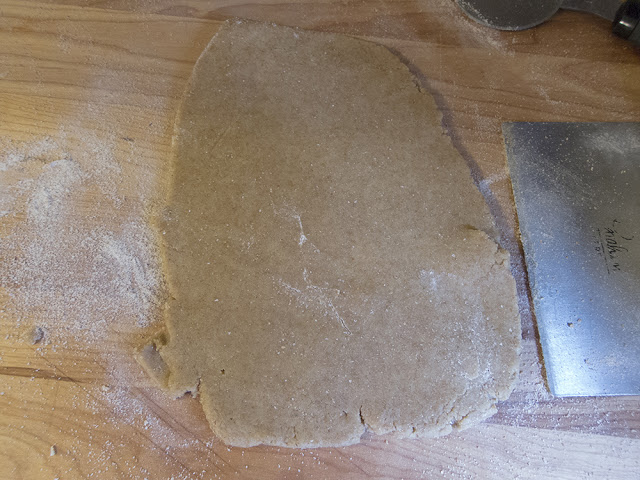
| the finished dough |
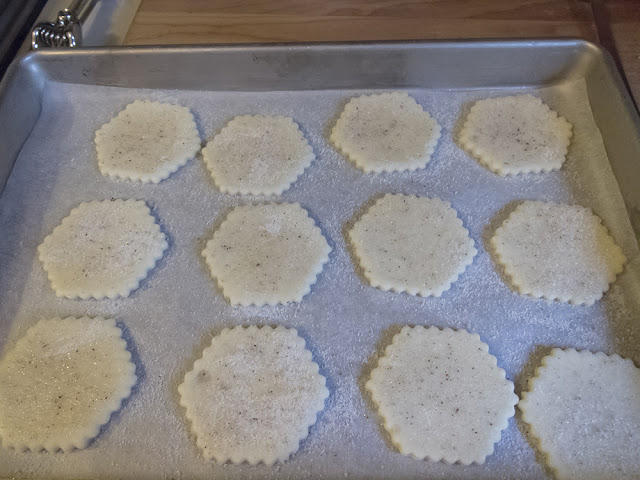
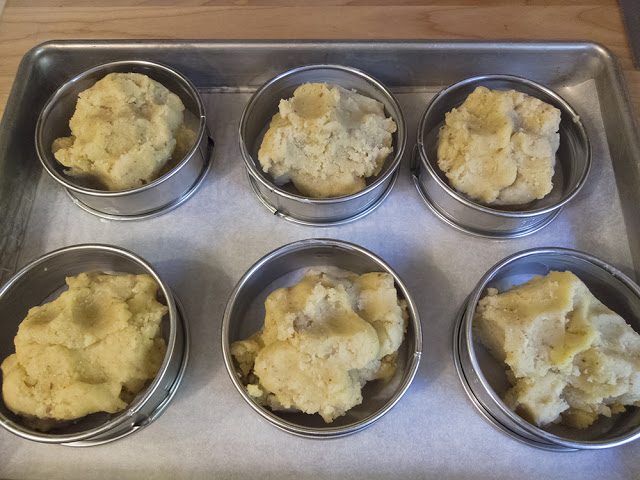
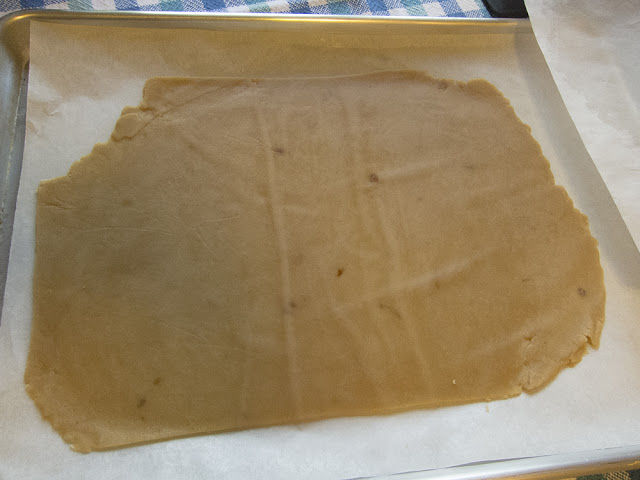
On a graham flour dusted surface roll the dough out to a thickness of about 2 mm. I work with about half the dough at a time. It is a tad sticky, but just keep lightly dusting and lifting the dough with a bench scraper to keep it from sticking.
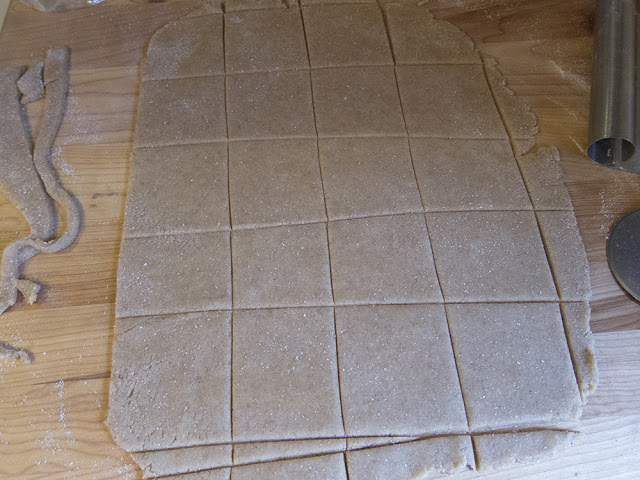
Since my plan for these grahams was to crush them for a graham cracker crust, I wasn't too fussy about how I cut and baked them. You can certainly cut nice looking squares and even score them with a fork to give the quintessential graham cracker look if you're serving them as a traditional cracker.
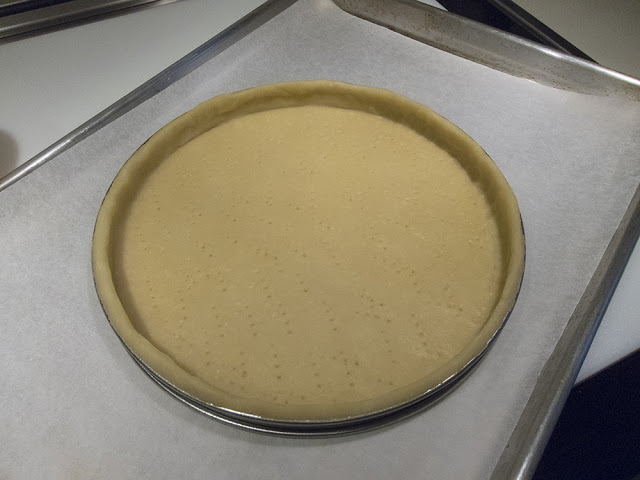
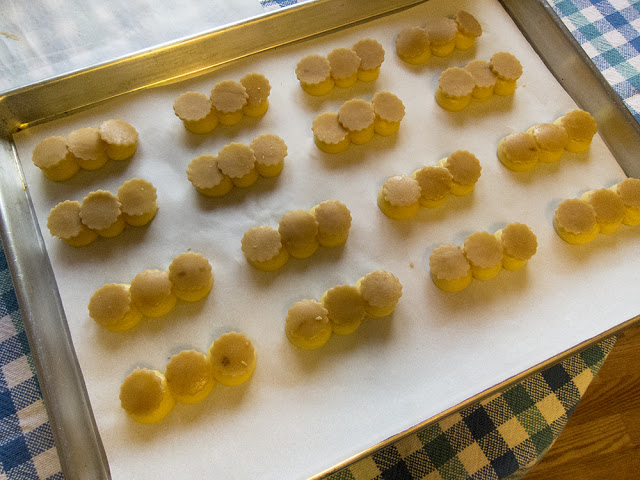
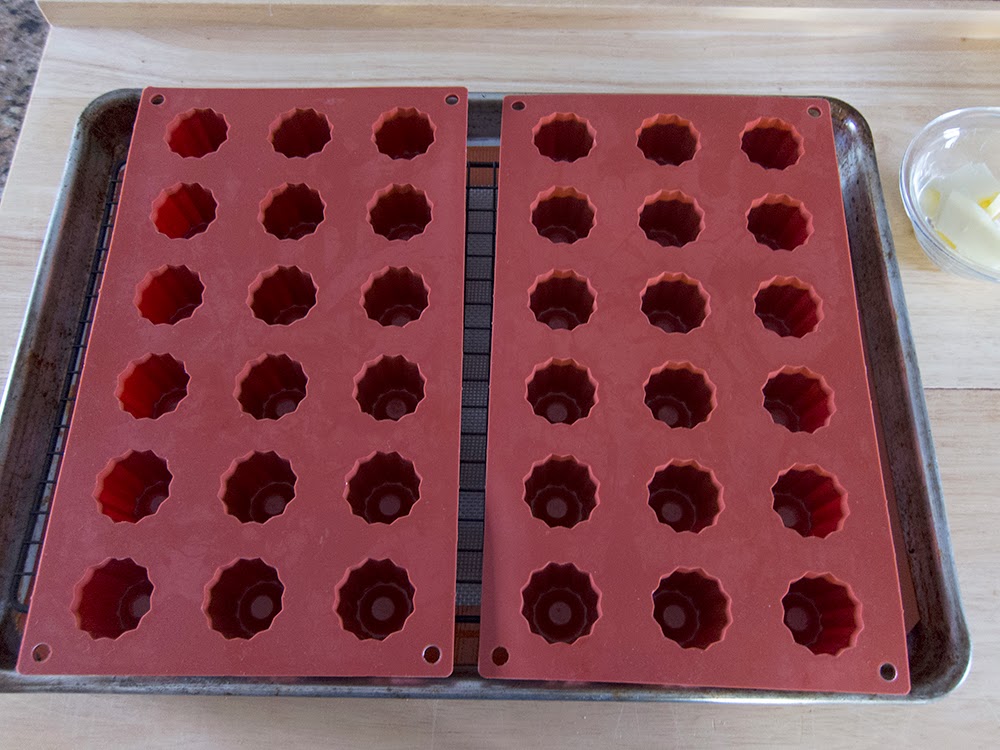
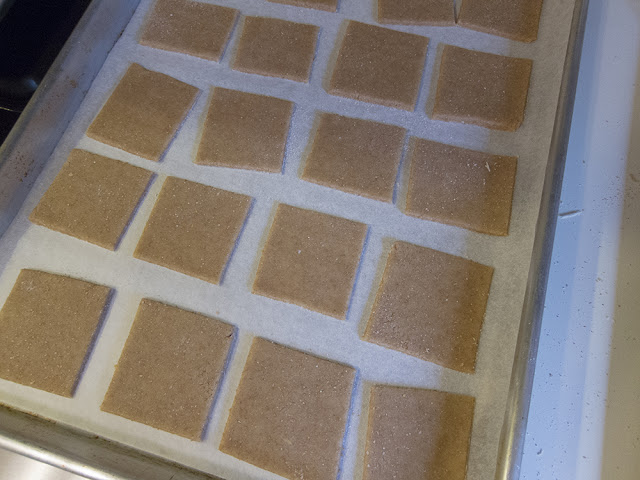 |
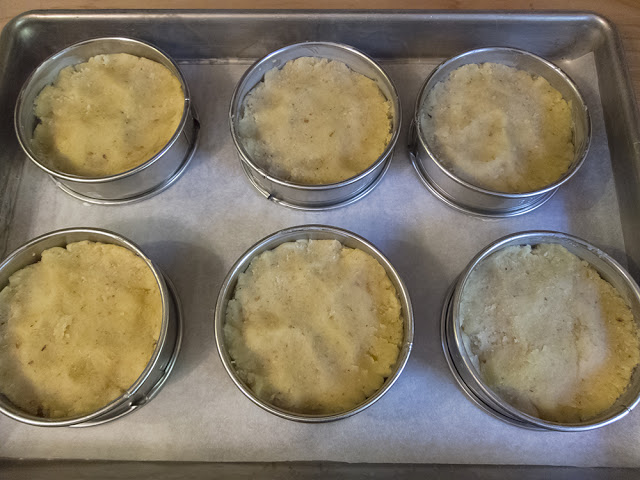
| ready for the oven |
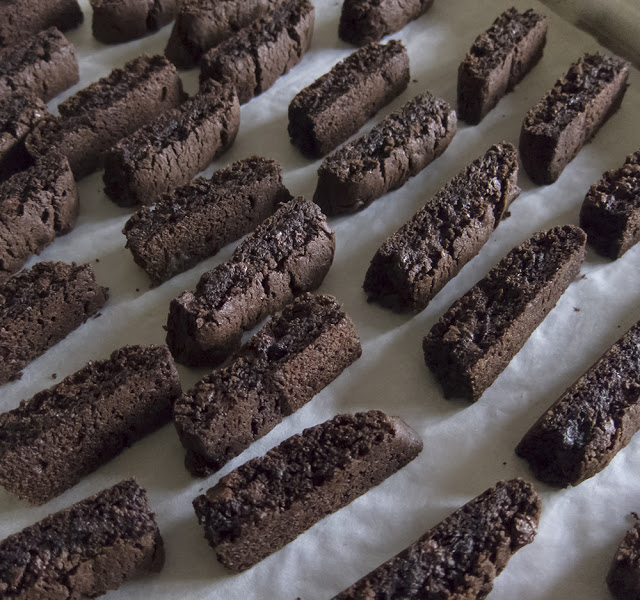
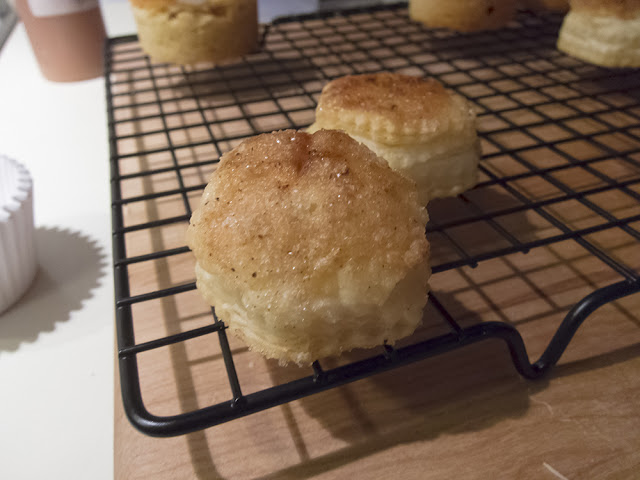
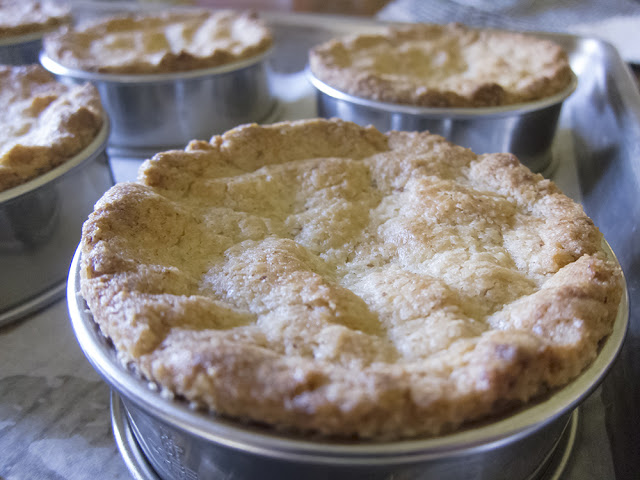
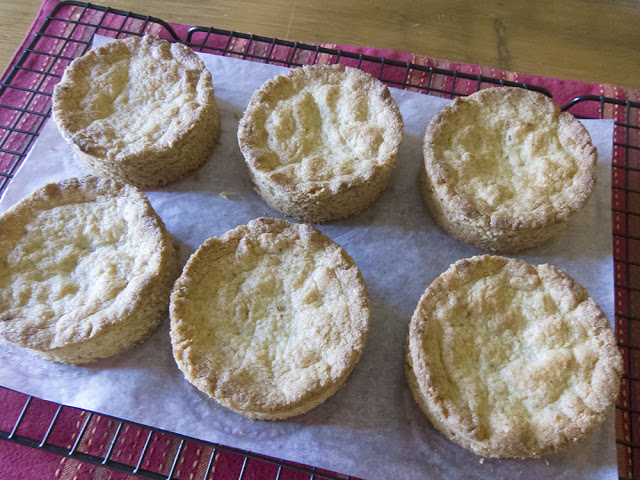
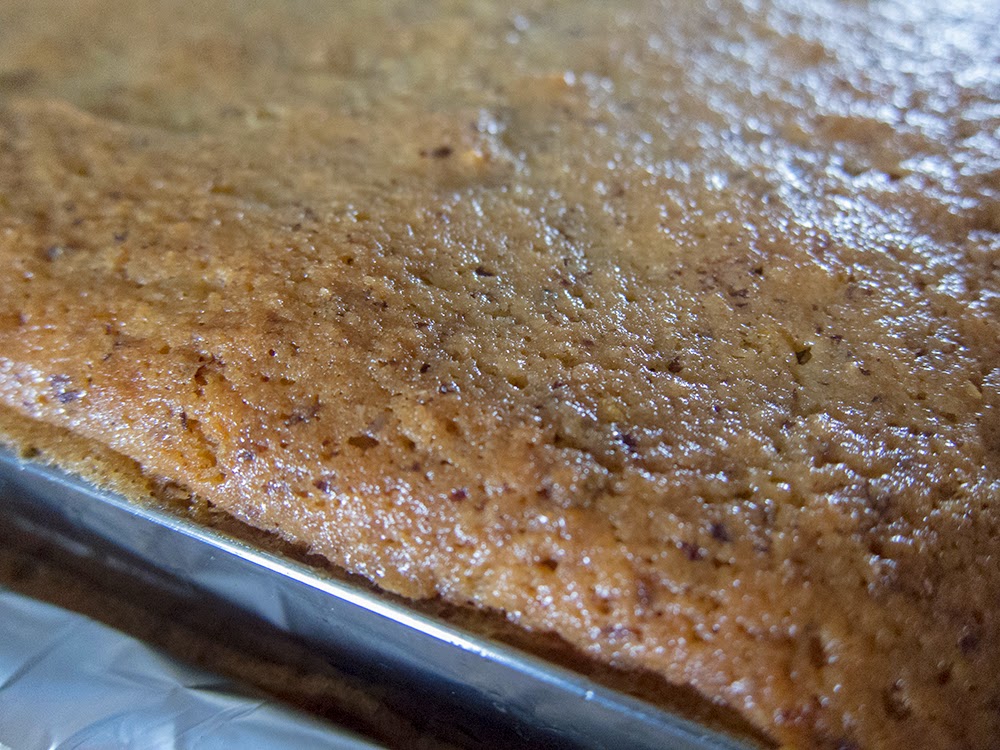
Bake for about 15 minutes and always remember to watch what's going on in your oven!
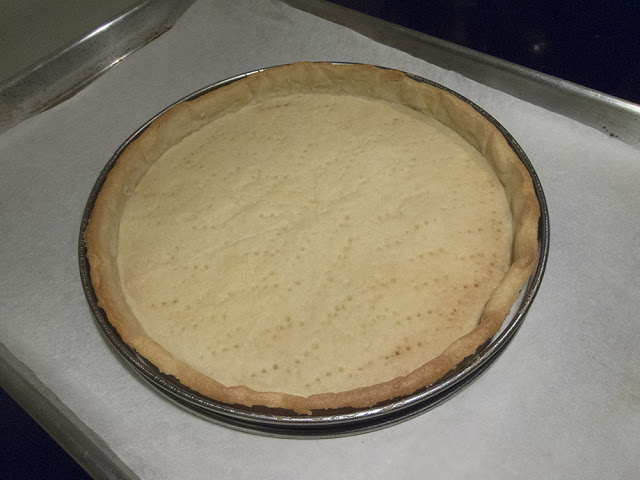
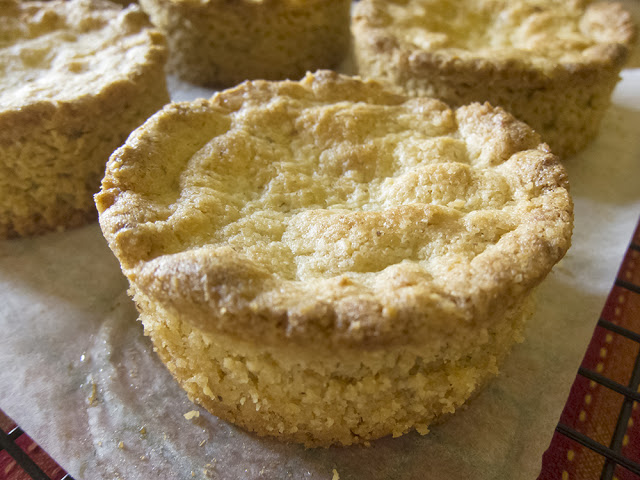
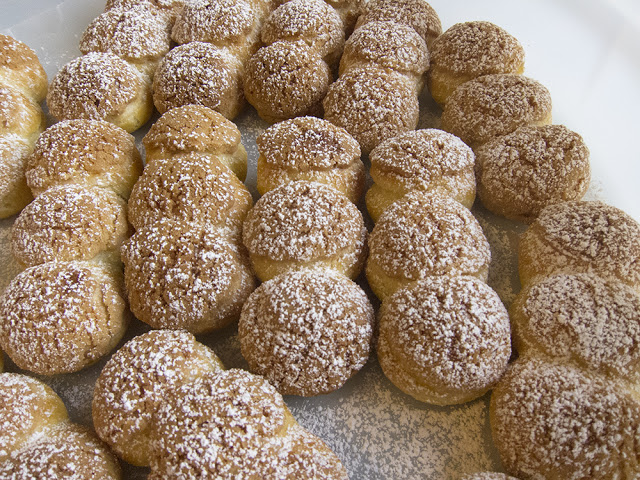
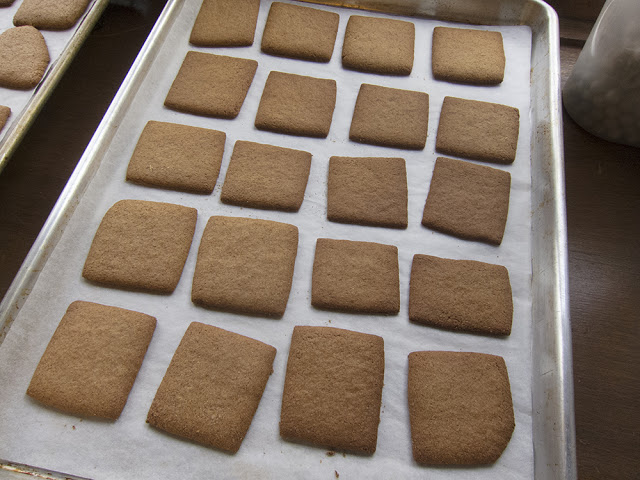 |
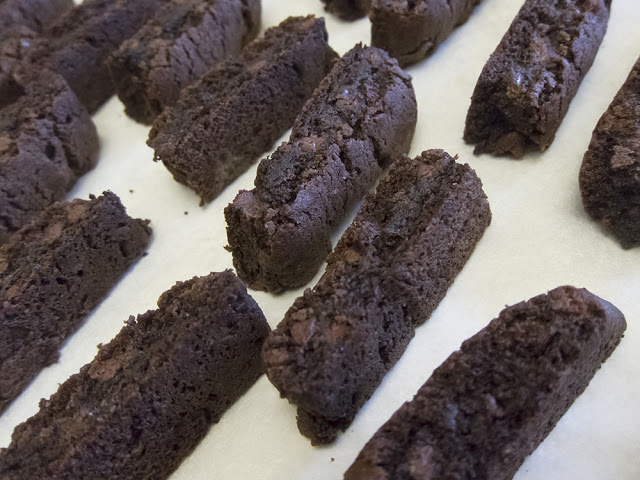
| crisp and golden brown |
My graham cracker crust calls for 140 grams (5 oz) of graham crackers so I weighed out what I needed and coarsely broke up the remaining crackers to put in my freezer for the next time.
I crushed the crackers for the crust with the old zip-top bag/rolling pin technique which eliminates having to get out the food processor (or cleaning it afterwards). Love it!
This coconut cream tart recipe comes from the Baking Illustrated book by the editors of Cooks Illustrated magazine and calls for toasting unsweetened, shredded coconut for both the crust, the filling and the top garnish. I did that a bit ahead.
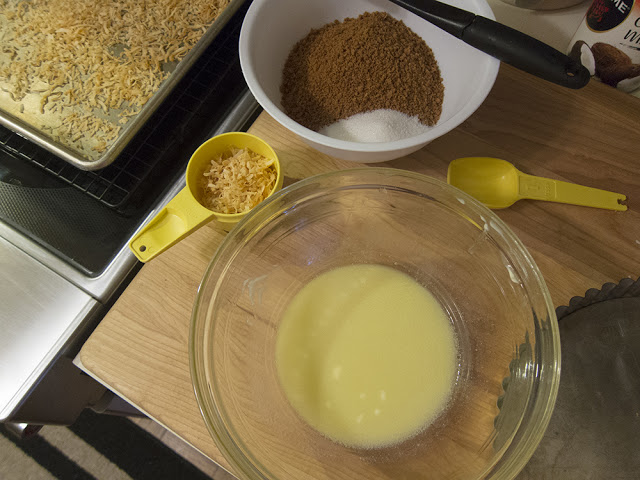 |
| crust ingredients |
The above ingredients include the 140 grams crushed graham crackers, 2 tablespoons sugar, 70 grams (5 tablespoons) melted unsalted butter and 4 tablespoons of toasted coconut. Simply mix it all with a fork and press it firmly into a tart pan.
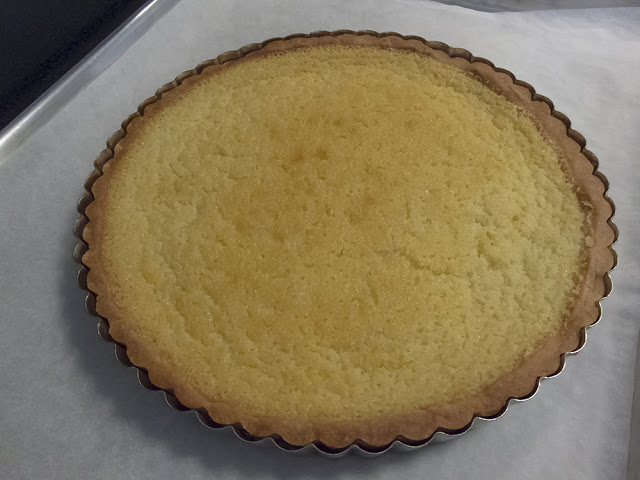
Bake the crust at 325º F for about 20 minutes until fragrant and browned.
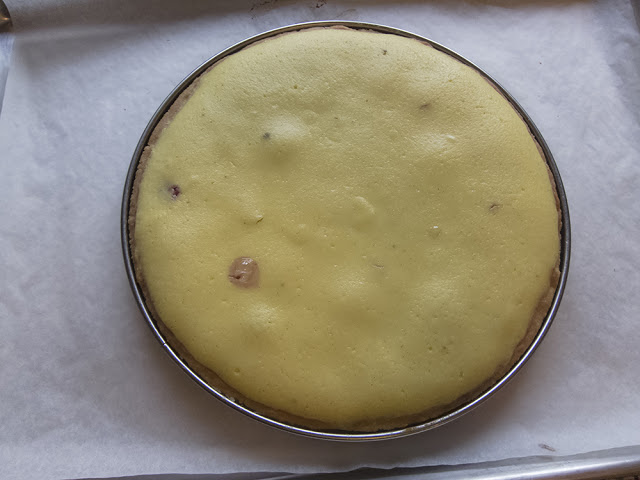
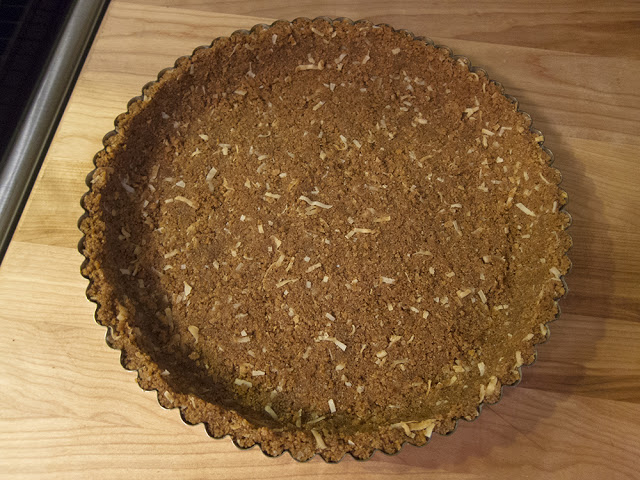 |
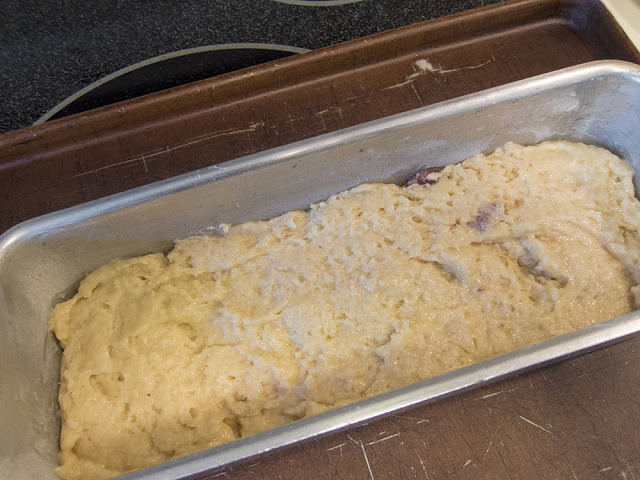
| waiting for the filling |
While the crust cools go ahead and make the coconut cream filling.
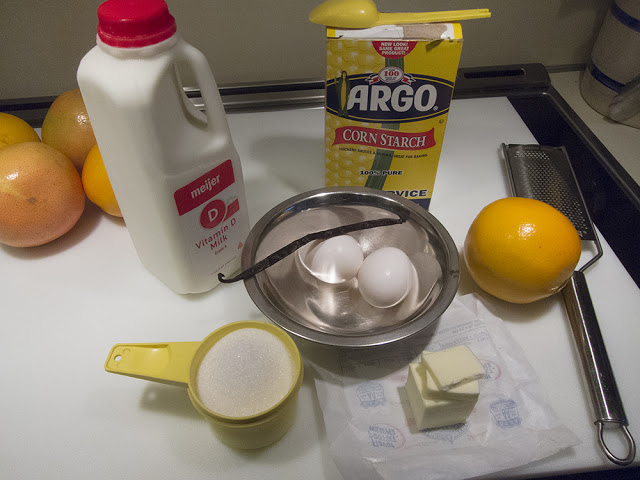
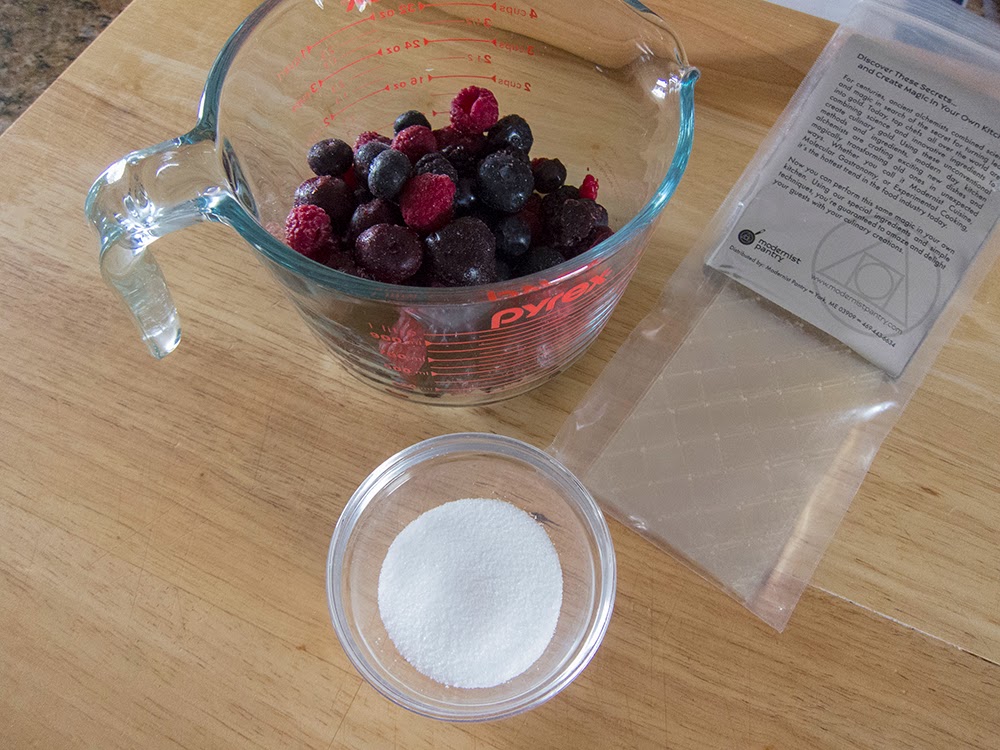
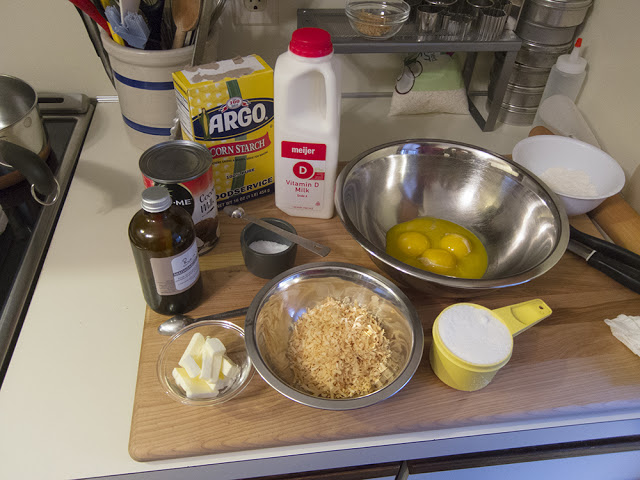 |
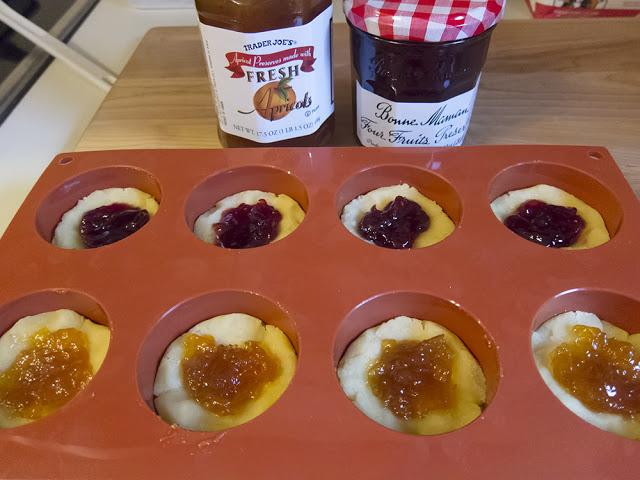
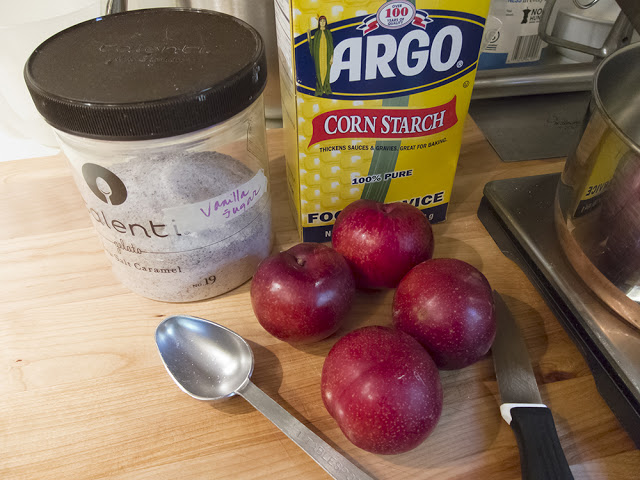
| filling ingredients |
The filling is prepared using a basic pastry cream method. Place the contents of one 14 oz can of coconut milk in a sauce pan, along with 240 ml (one cup) of whole milk, 35 grams of toasted coconut, 75 grams sugar and 1/4 teaspoon salt. Heat this to a simmer, stirring occasionally. Meanwhile place 5 egg yolks in a separate bowl, whisk in 75 grams sugar and 28 grams cornstarch.
Gradually pour half of the hot milk mixture over the yolk mixture, whisking constantly, then return all to the sauce pan and cook, still whisking constantly until the mixture thickens and bubbles.
Take it off the heat and whisk in 1/2 teaspoon vanilla extract and 28 grams (2 tablespoons) unsalted butter.
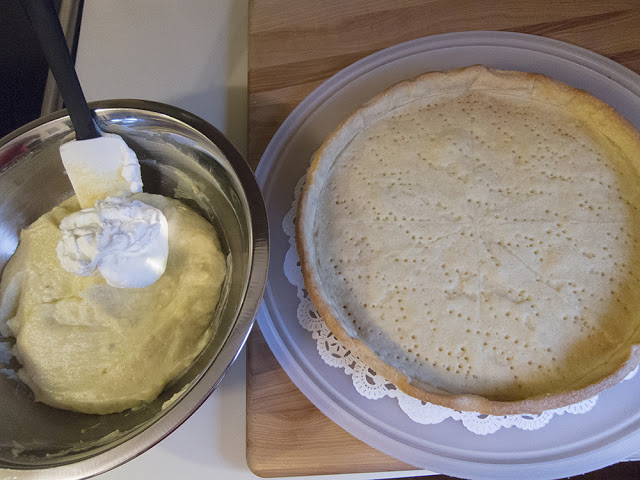
Pour the cream directly into the baked crust, cover the surface with plastic wrap and refrigerate at least 3 hours until chilled.
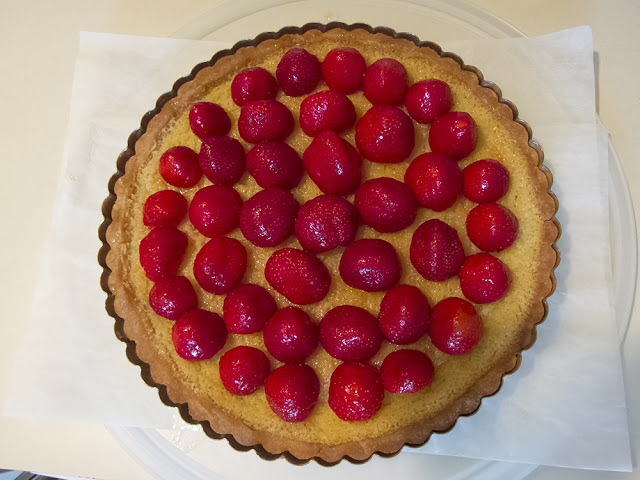
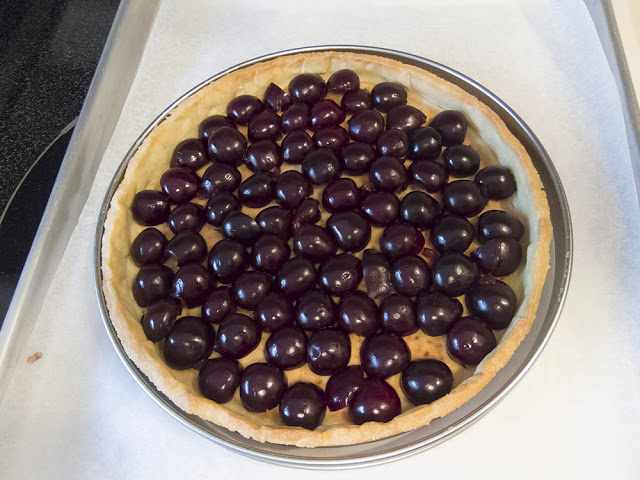
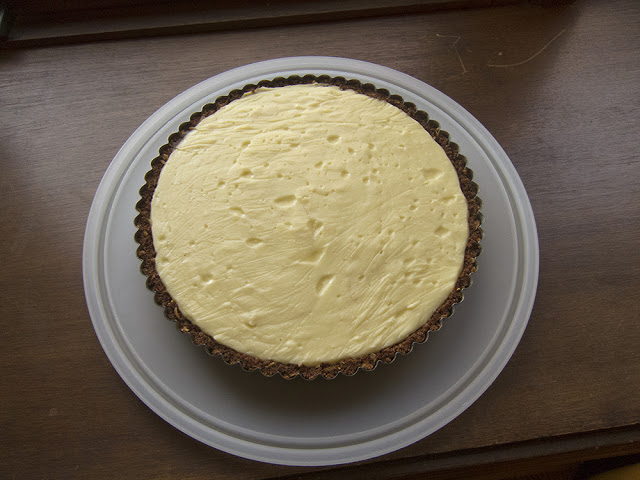 |
| chilled tart ready for garnish |
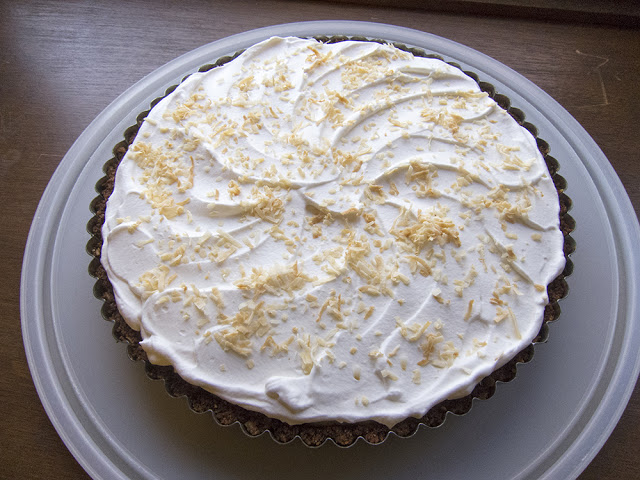
Whip up a cup of heavy cream with a splash of vanilla extract and a tablespoon or two of powdered sugar and spread it over the coconut cream filling. I love to use my offset spatula to create a simple design.
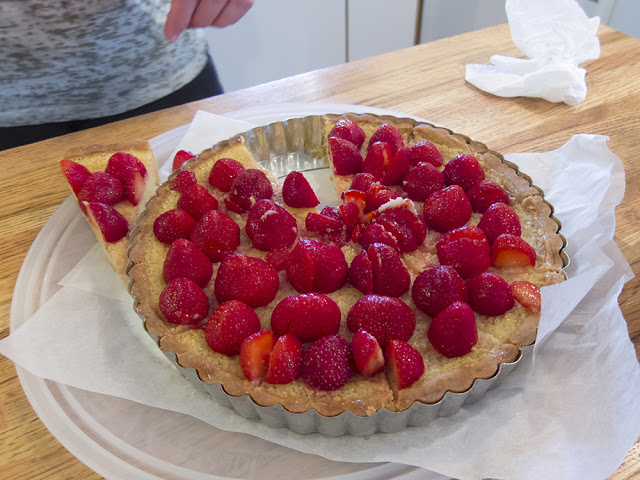
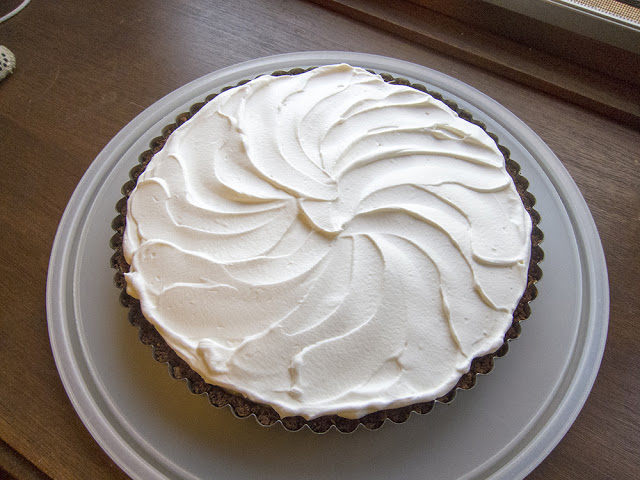 |
| nothing too fancy here folks! |
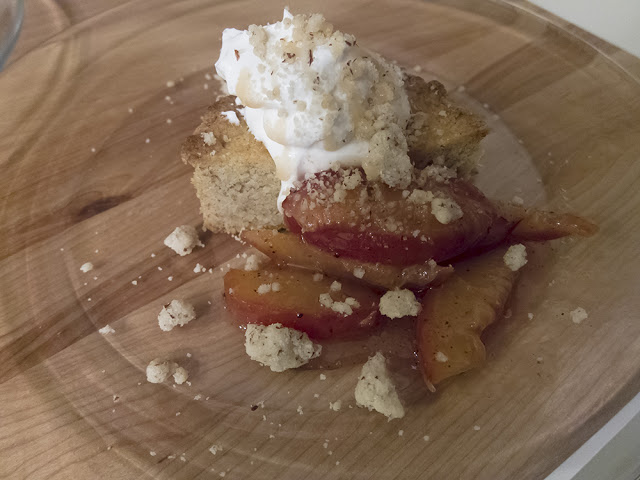
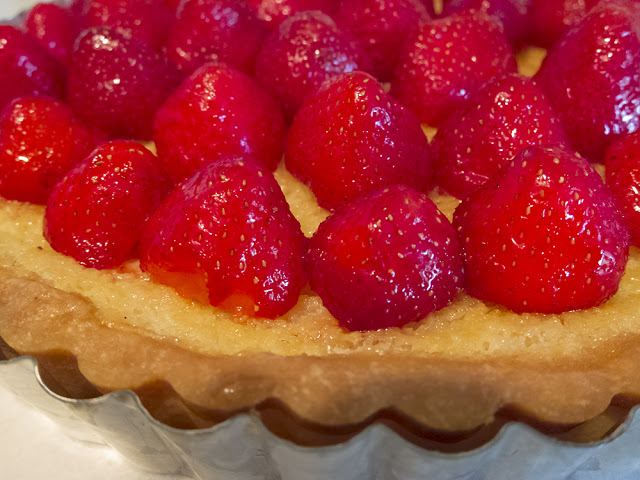
Then sprinkle some toasted coconut on the top . . . .
and voila, you're ready to go!
Now it's time to take a breath, relax a bit and look ahead to a new year.