Chocolate ganache tarte

The holidays are here and, as each day brings its own tasks to be tackled or projects to delight us, I want to send all of you my wishes for a very peaceful season.

And what better time to talk about chocolate!!

This ganache tarte is one of my all time faves. The more I consider all of the goodies I’ve created and written about over the years and the things I so enjoy making, the more I realize that the simplest things are usually the best. This delicious treat has been often requested and frequently made, but, believe it or not, even though I’ve perhaps referred to it in various iterations over the years, I’ve never given it top billing. So here goes.

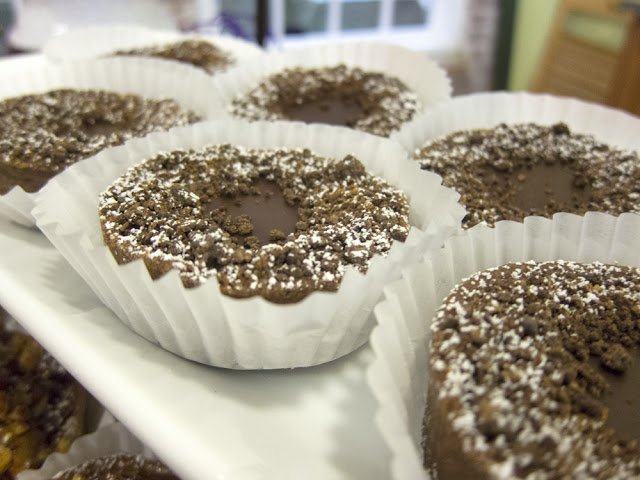
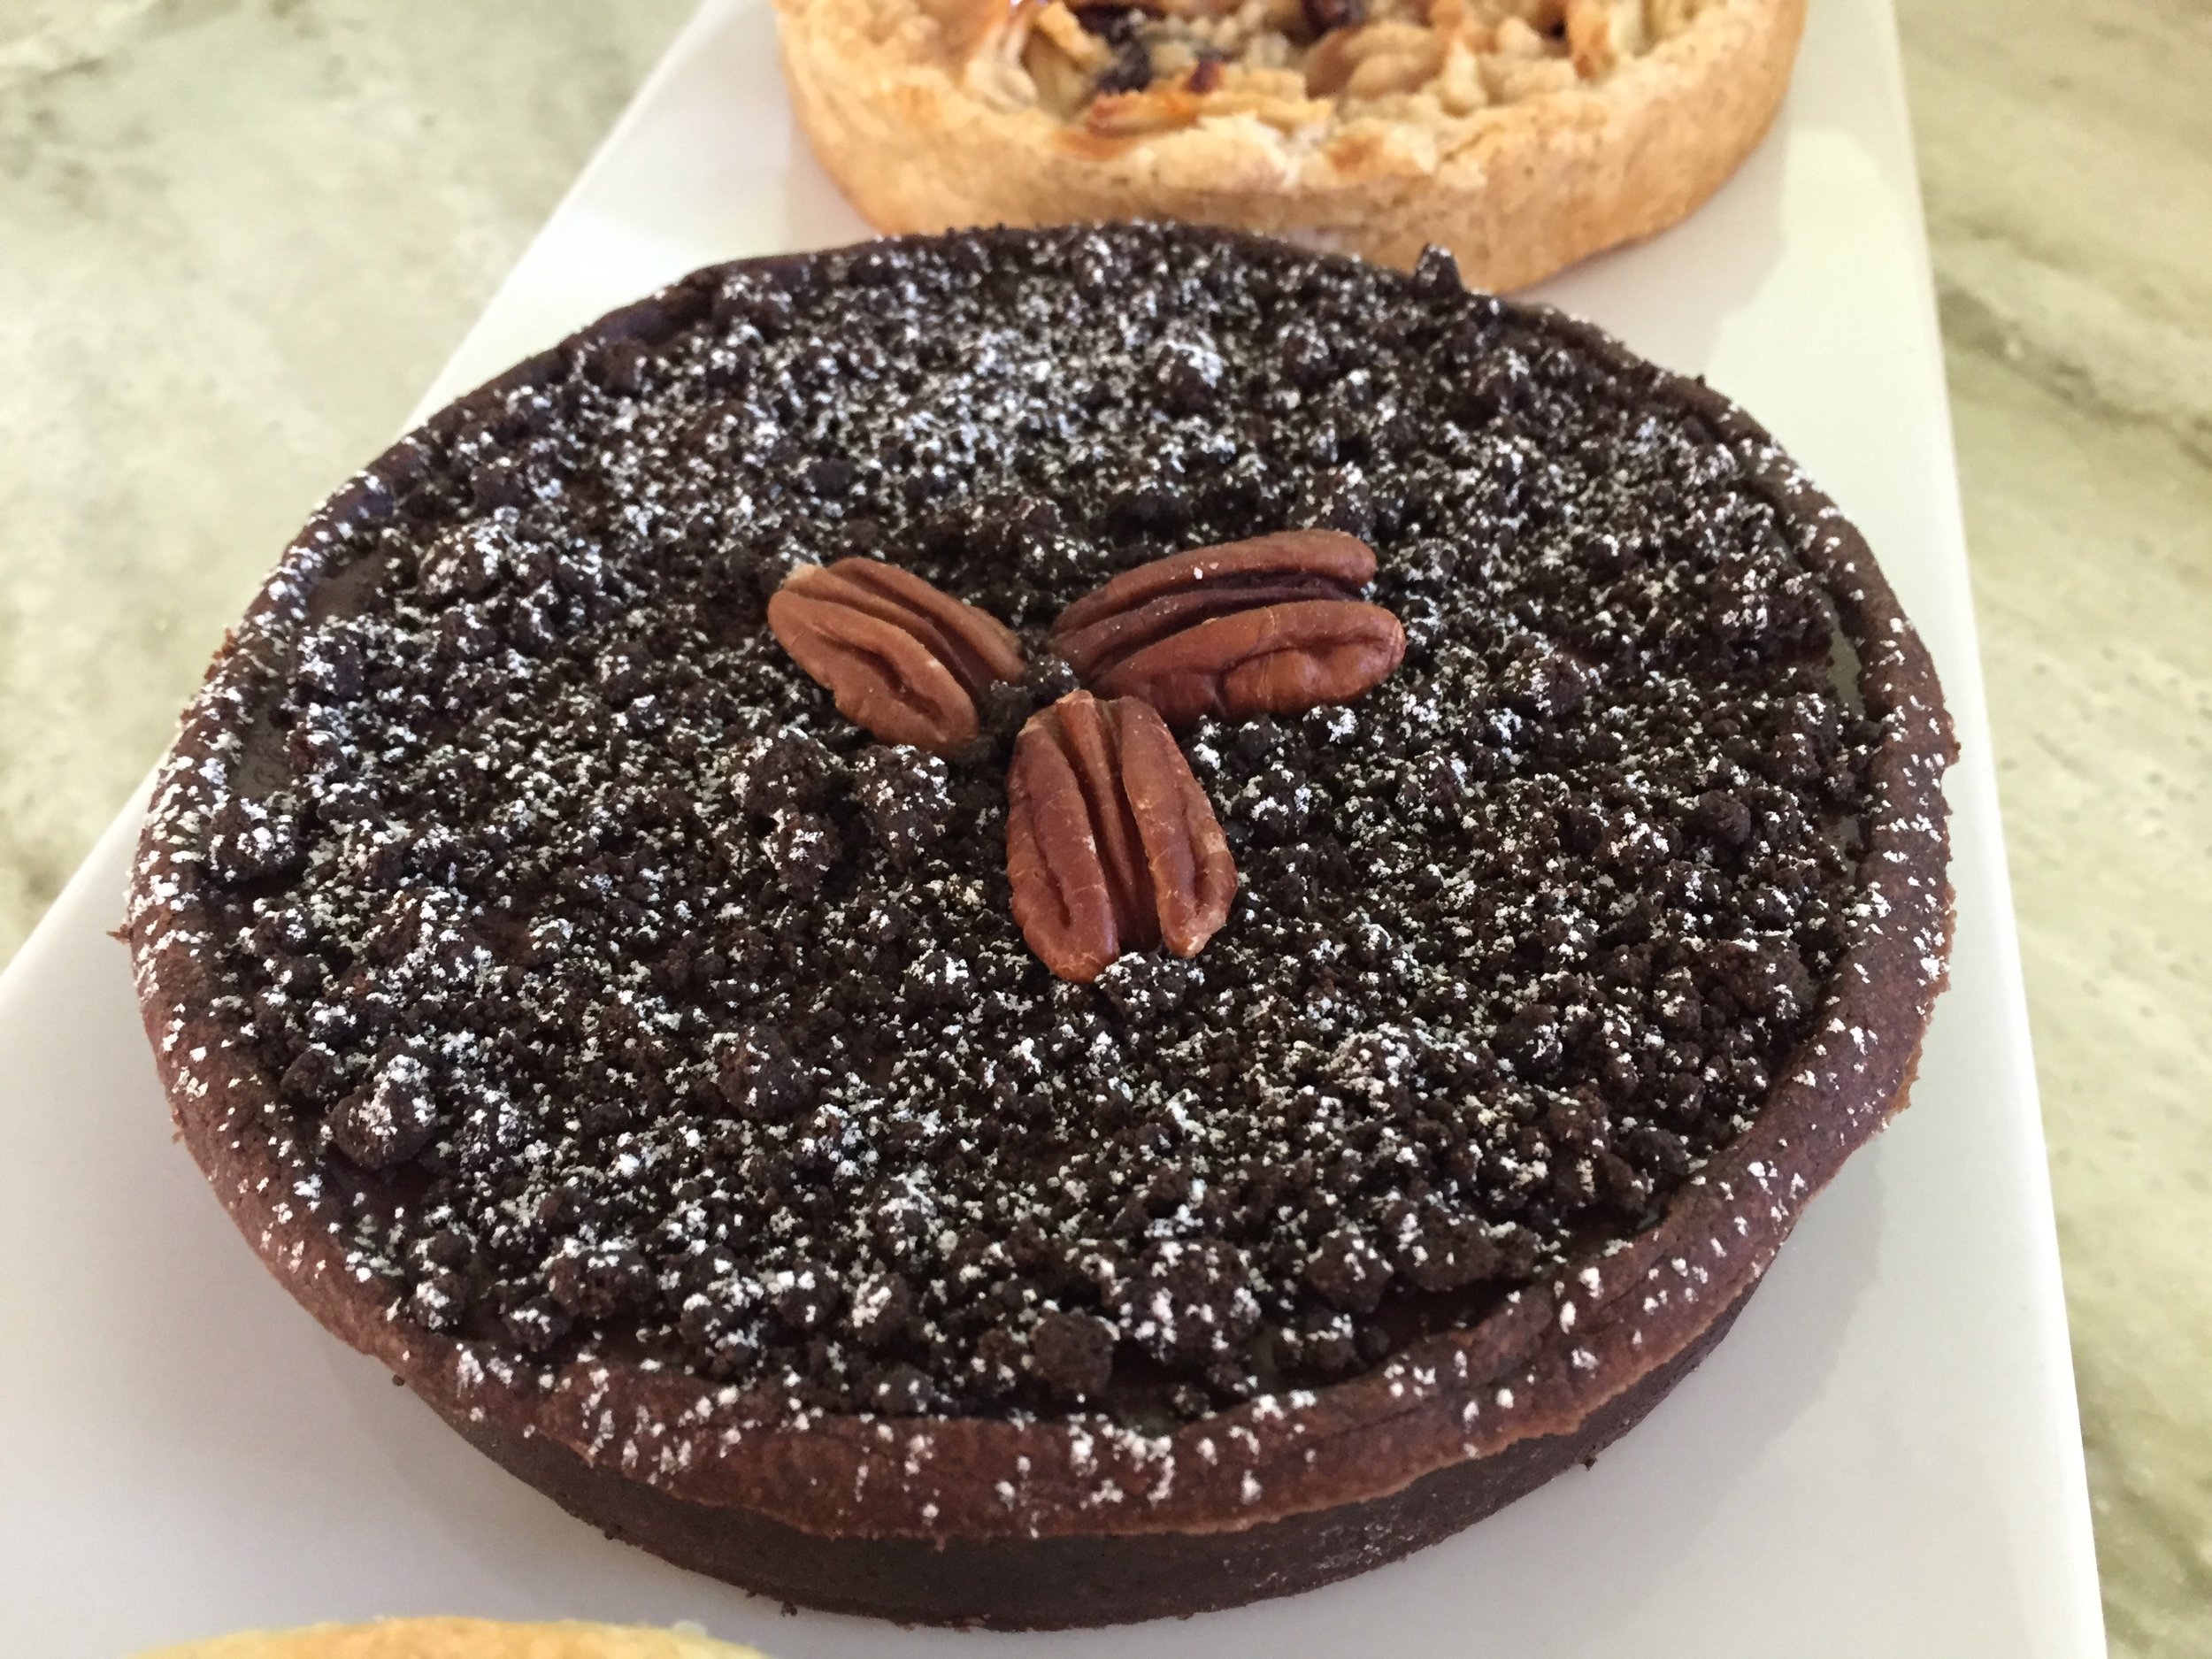
During my Providence/Pawtucket days I made 80 mm individual versions for my retail space, keeping ‘em clean with a sprinkle of chocolate crunchy crumbs and a dusting of confectioner’s sugar. Plain and delicious. Then it’s up to the buyer to leave it au naturel and eat it out of hand or dress it up for serving - dollop on some whipped cream and a few fresh raspberries (for you fruit and chocolate lovers) or top with crunchy candied nuts or some sesame brittle.

Individual ganache tartes

The process utilizes some of the basics in tarte making - cooled blind baked shell; ganache filling poured in and cooled; garnish as you wish; serve and enjoy. Pretty straight forward. You can use either a pâte sucrée au chocolat or a standard pâte sucrée.

As an aside, I’m not intending to overwhelm but to explore options with you for creating your own version of a delicious ganache tarte!

As for planning ahead, be sure you make your chosen dough either the day before or early enough to allow an hour or two for the dough to chill in the fridge before rolling it out. An even better plan-ahead step is to make a double or triple batch of dough a week or two ahead, divide it into approximately 260-280 gram / 9-10 ounce portions and hold them in the freezer well wrapped. The dough keeps for months. Just thaw it in the fridge overnight before using.

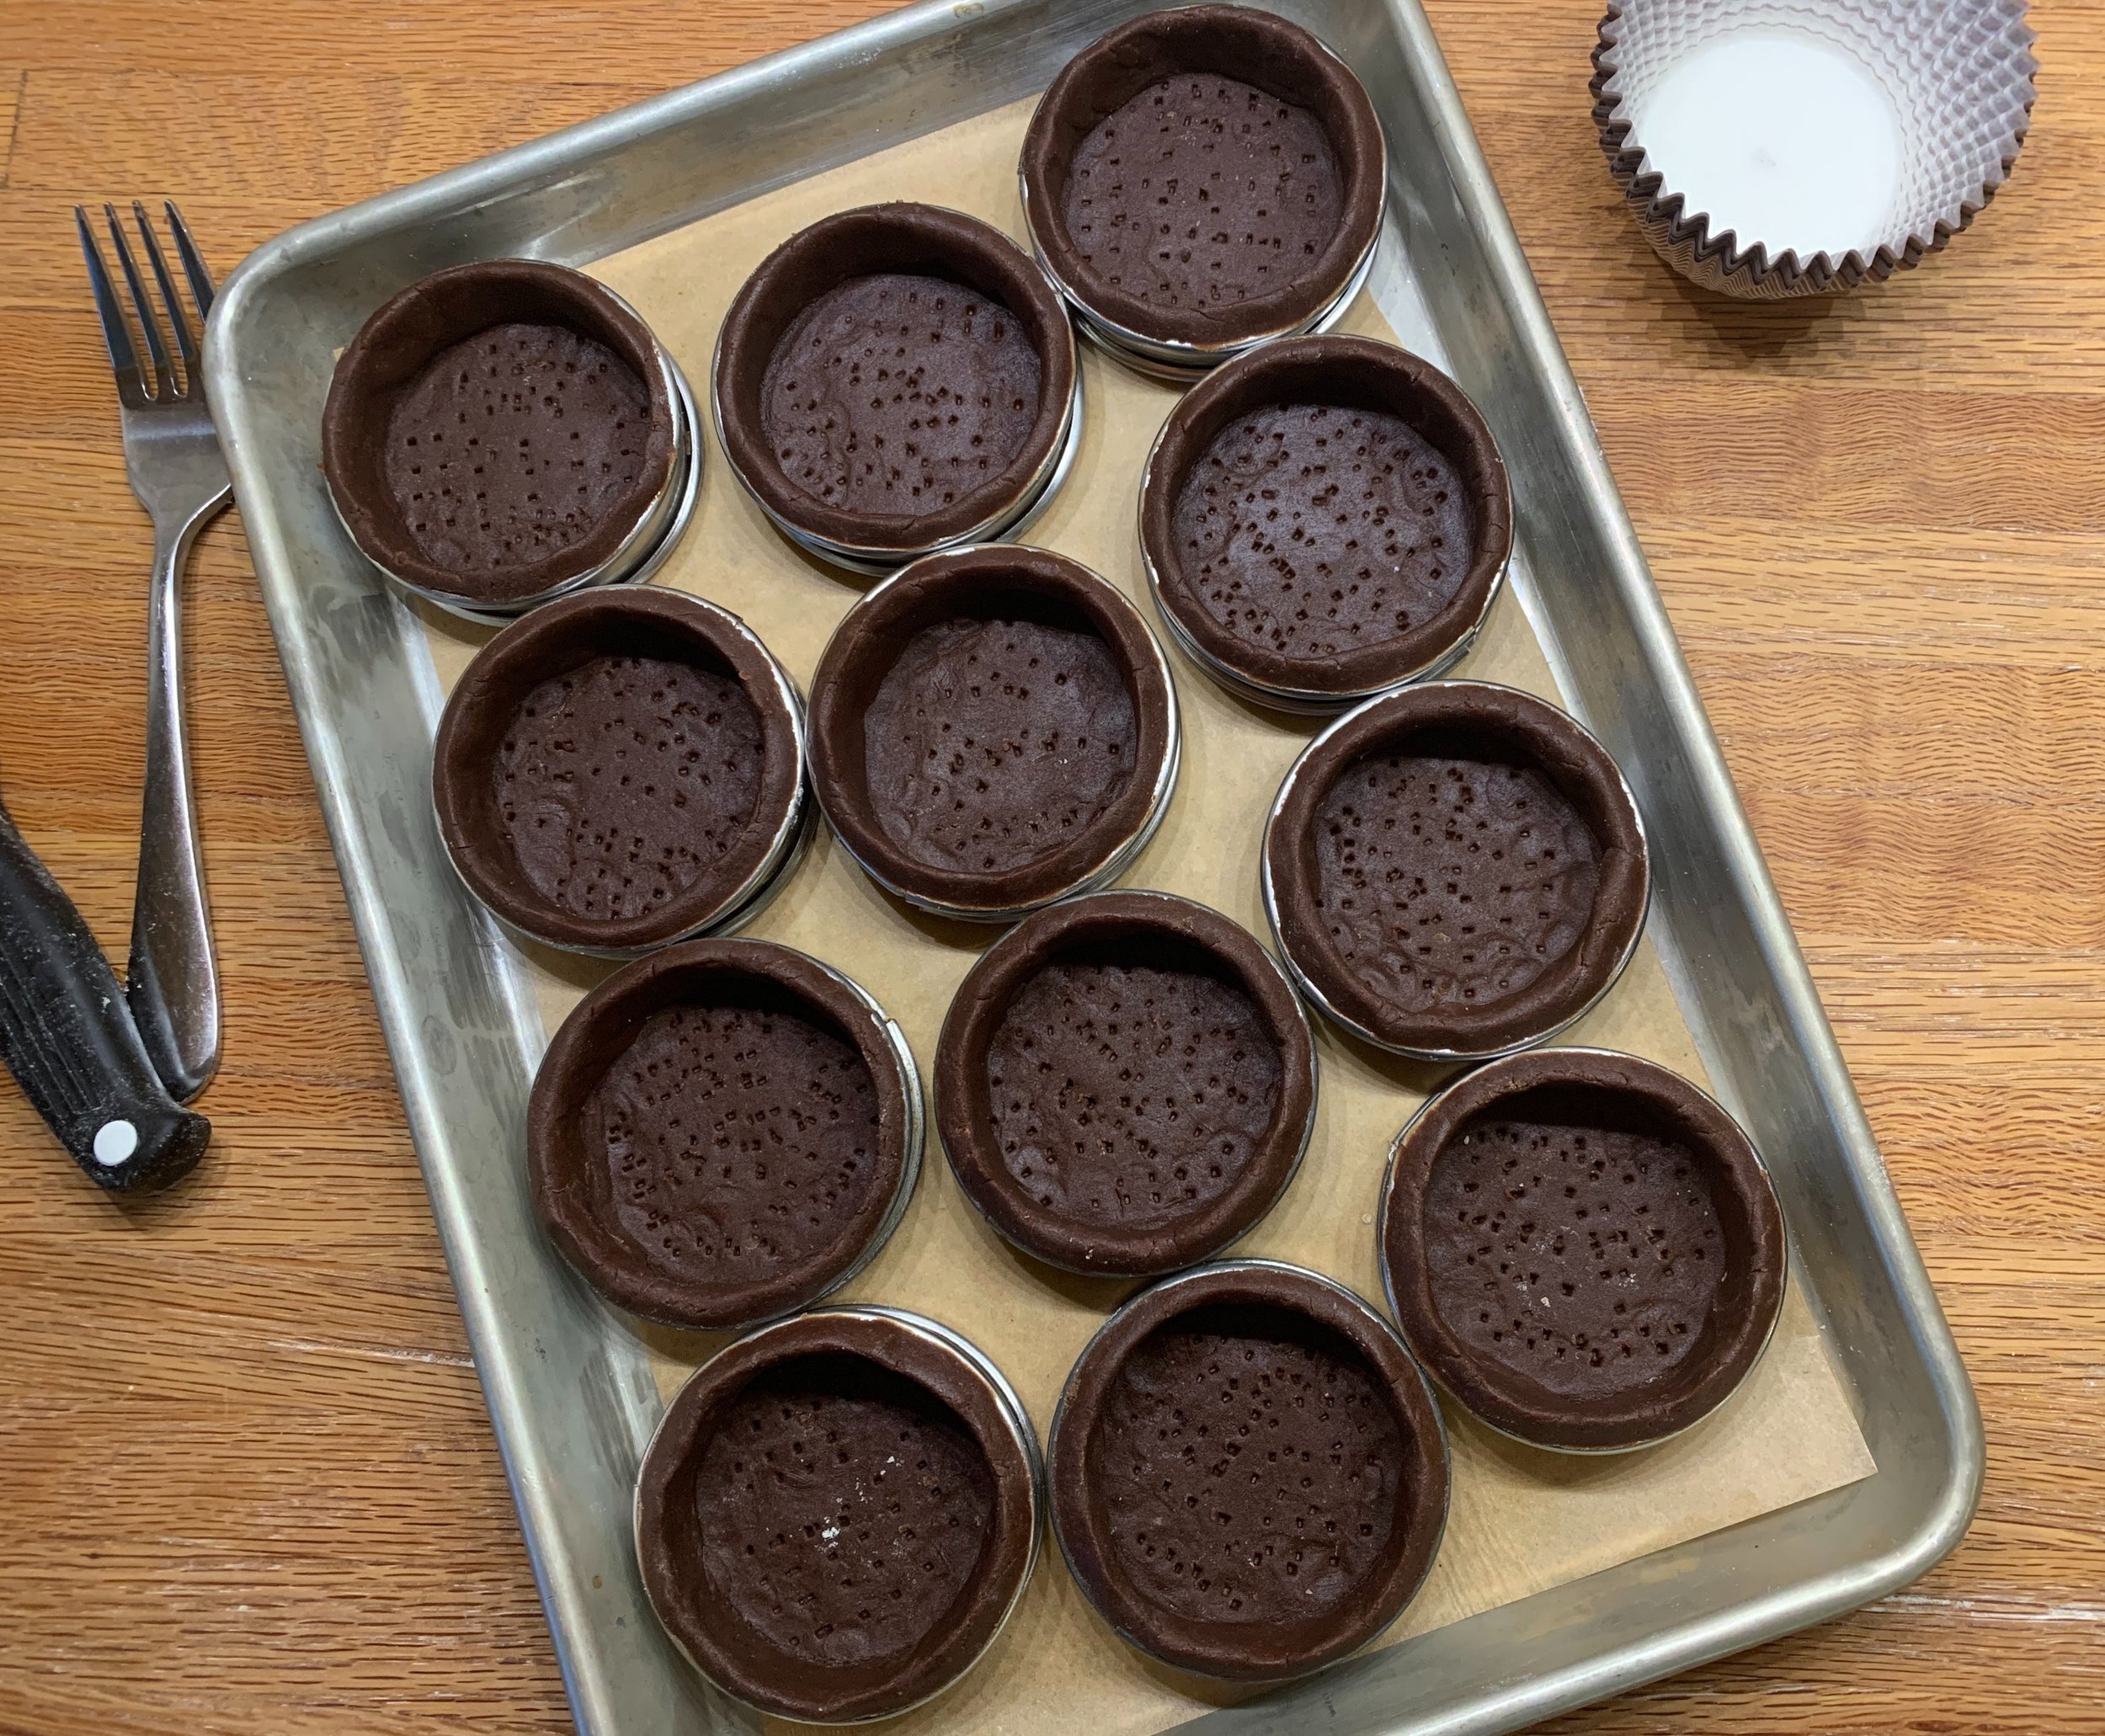
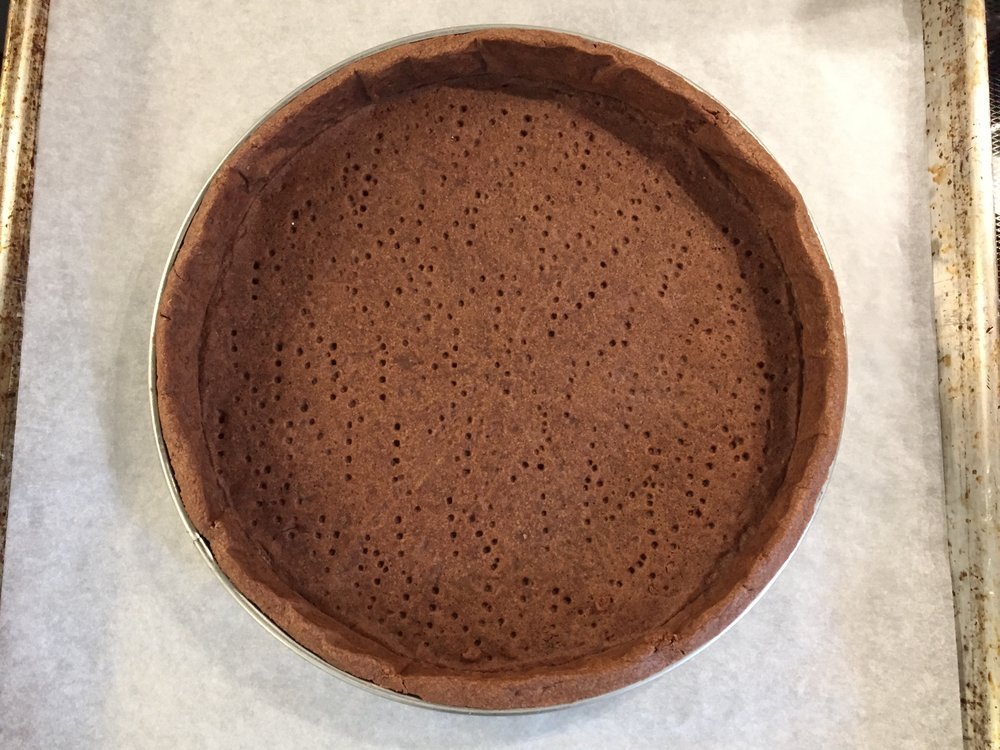
You’ll fully blind bake the tarte shell first. When you’re ready, roll out the dough (generally about 260-280 grams / 9-10 ounces for a 9”) and line a 9” tart ring or fluted pan. Place it on a parchment lined sheet pan, prick the bottom all over with a fork and pop it into the freezer for 15-20 minutes to firm it up.

I often do various sizes for different venues. Roll with it (hah! - get it?). You’ll learn to figure out how much filling will work for certain sized tartes. I gauge a double batch of filling should fill the rings below (not including the little brioche tins).

So many choices!

My favorite 65 mm rings - perfect!

7 inch and 5.5 inch rings

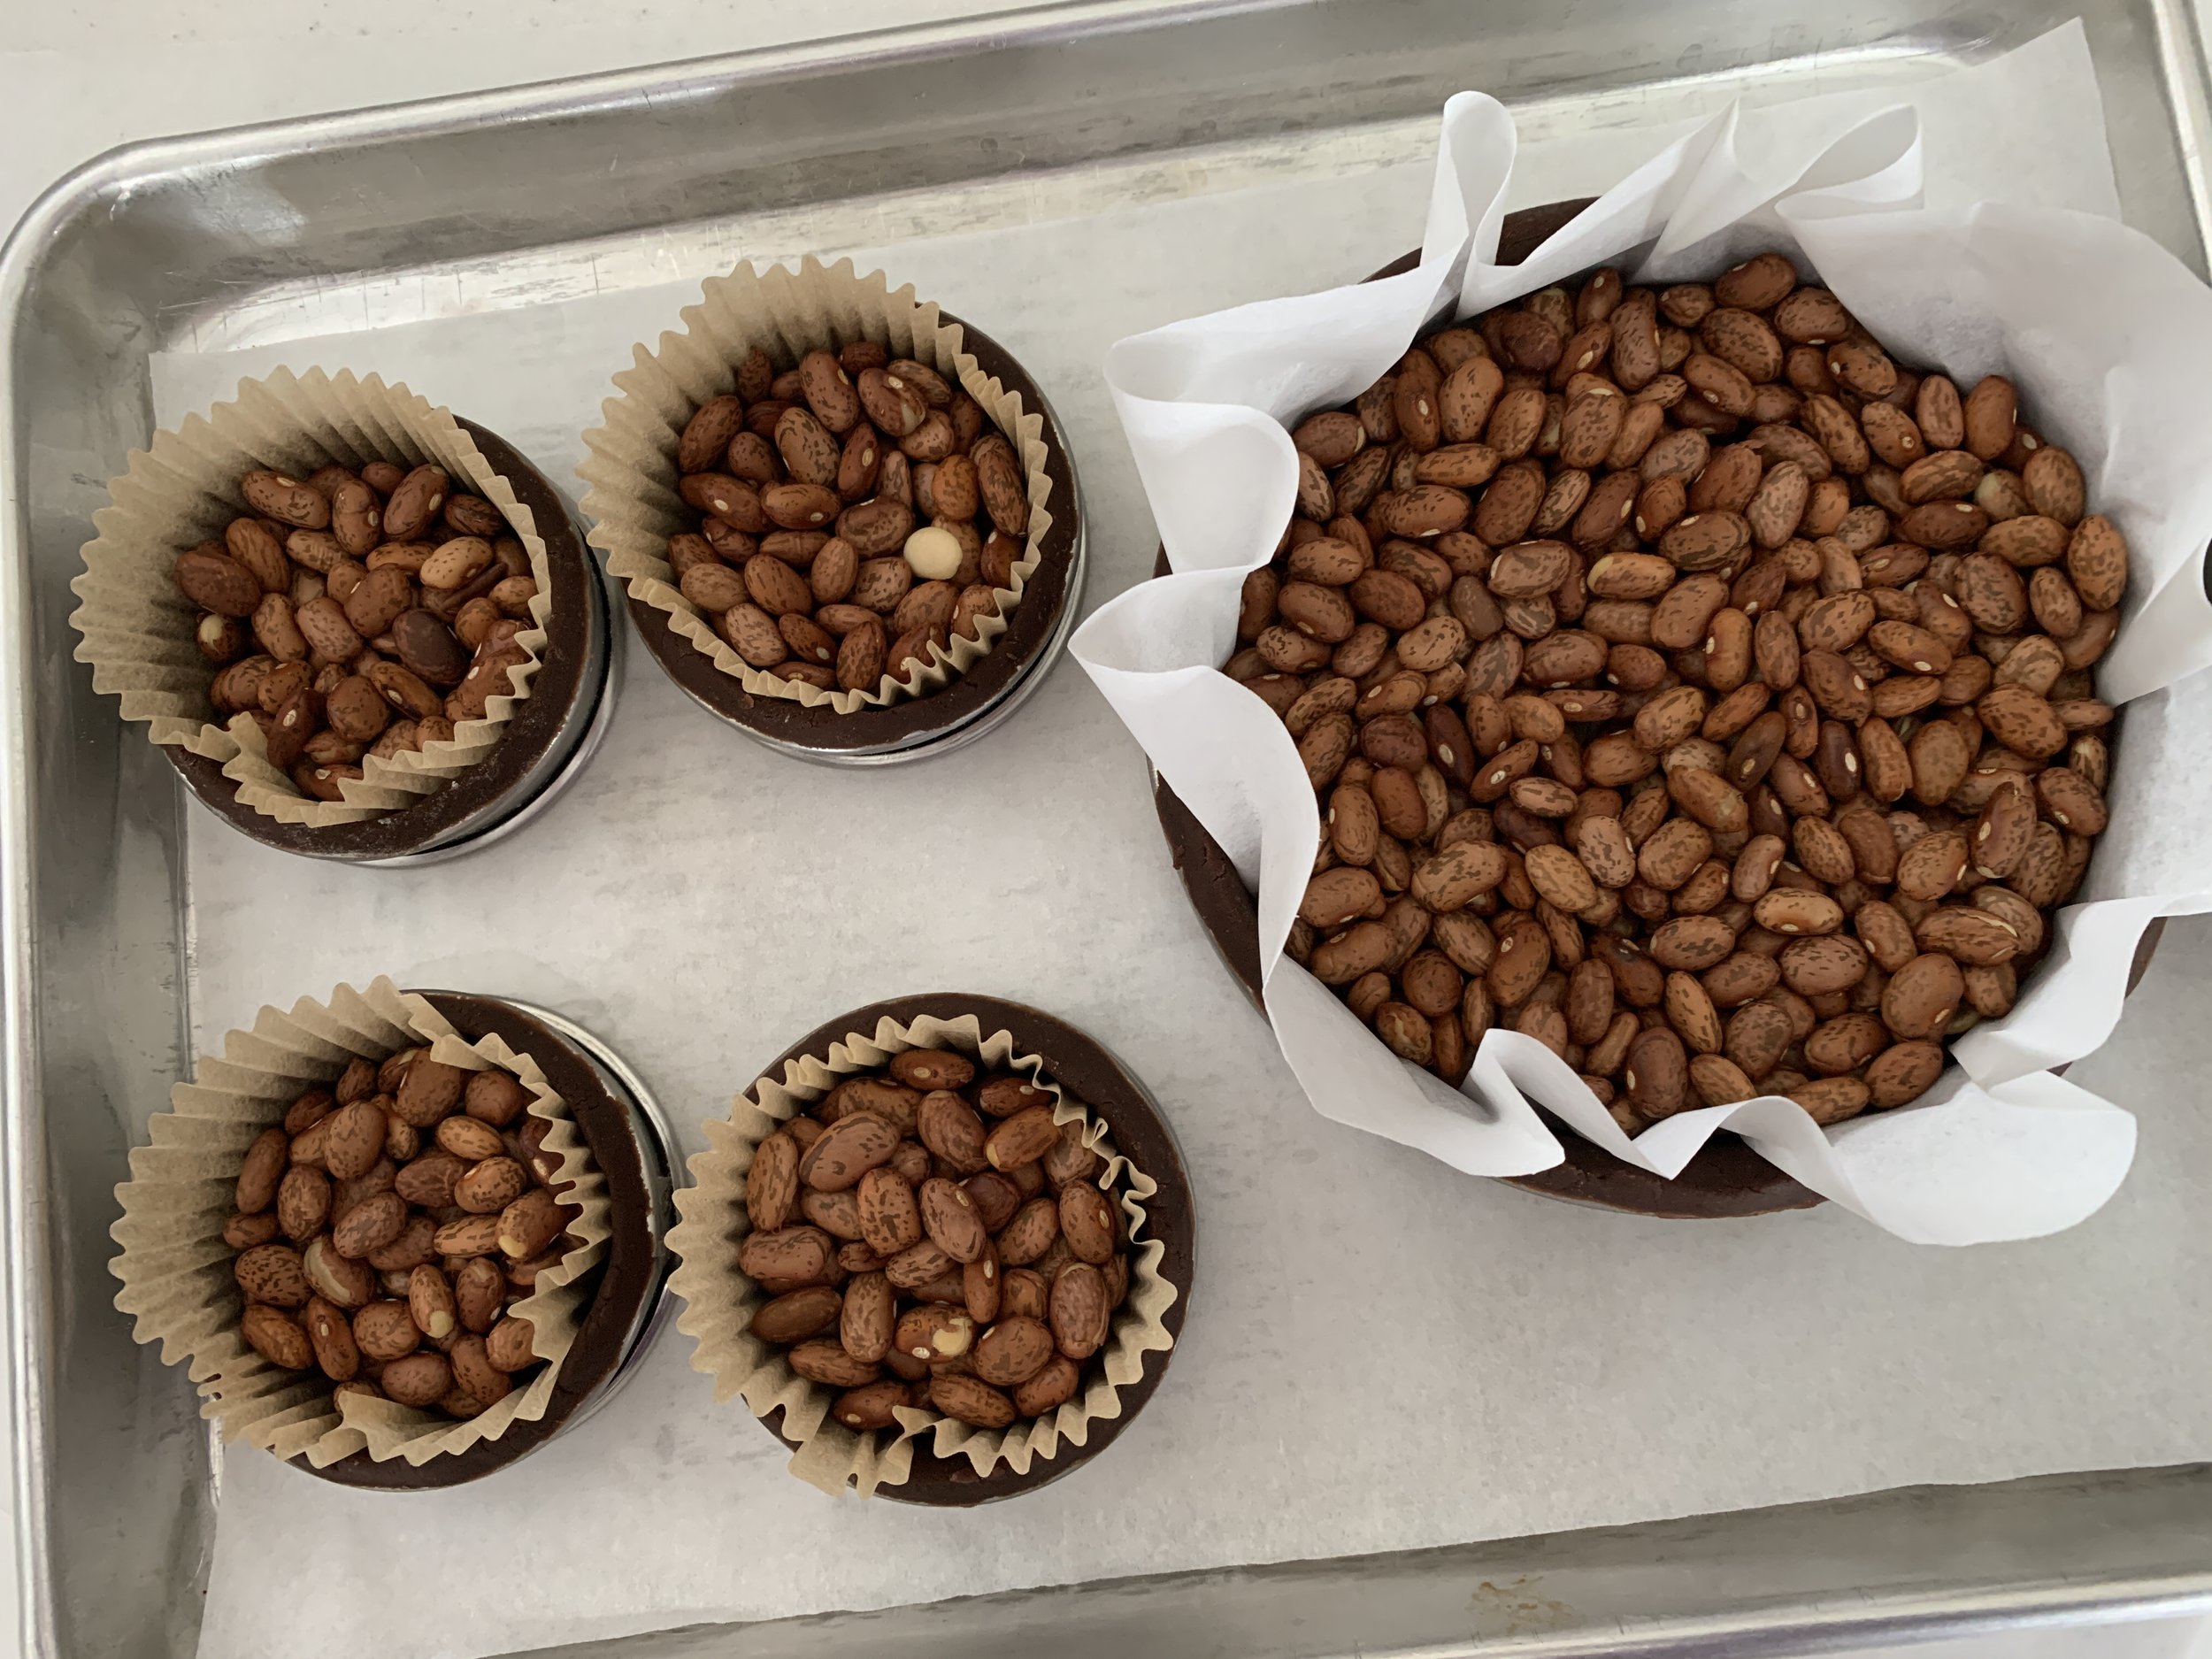
You can actually do the lining step a day or two ahead and hold it in the freezer until baking day. No need to thaw it - just line with a round of parchment, fill with weights or dried beans. Bake at 350ºF for 12-15 minutes, then lift out the weights and parchment and bake an additional 5-8 minutes to fully bake/dry the bottom. Cool completely before filling.

Fully blind baked shell

As if there weren’t enough options for this tarte shell, here’s one more way to help with the plan-ahead process. You can freeze the fully baked shell too! There have been times that I’ve had a baked shell in my freezer for several weeks before I decided it was time to fill and enjoy it. So many possibilities!

The ganache filling is as simple as ganache can be. Place 227 g / 8 ounces of chopped dark chocolate or discs/feves in a medium heat proof bowl along with 28 g / 2 tablespoons unsalted butter. Heat 360 g / 1.5 cups heavy cream to boiling then pour the hot cream over the chocolate/butter. Let it sit a minute then gently blend with a whisk or spatula until smooth. Don’t be aggressive with the mixing - you don’t want to aerate it. Blend in 30 ml / 2 tablespoons brewed espresso - I often make a mix of 1/4 cup hot water with a half tablespoon espresso powder as a substitute for the brewed and use 30 ml of that.

Once the ganache is made, pour it directly into the blind baked shell.

Let it sit out at room temperature uncovered for an hour or so to let the heat dissipate before placing it into the fridge (again uncovered) to fully set. If you put it in the fridge right away, you’ll get condensation on the surface - not attractive, believe you me. Plus chocolate doesn’t like that.

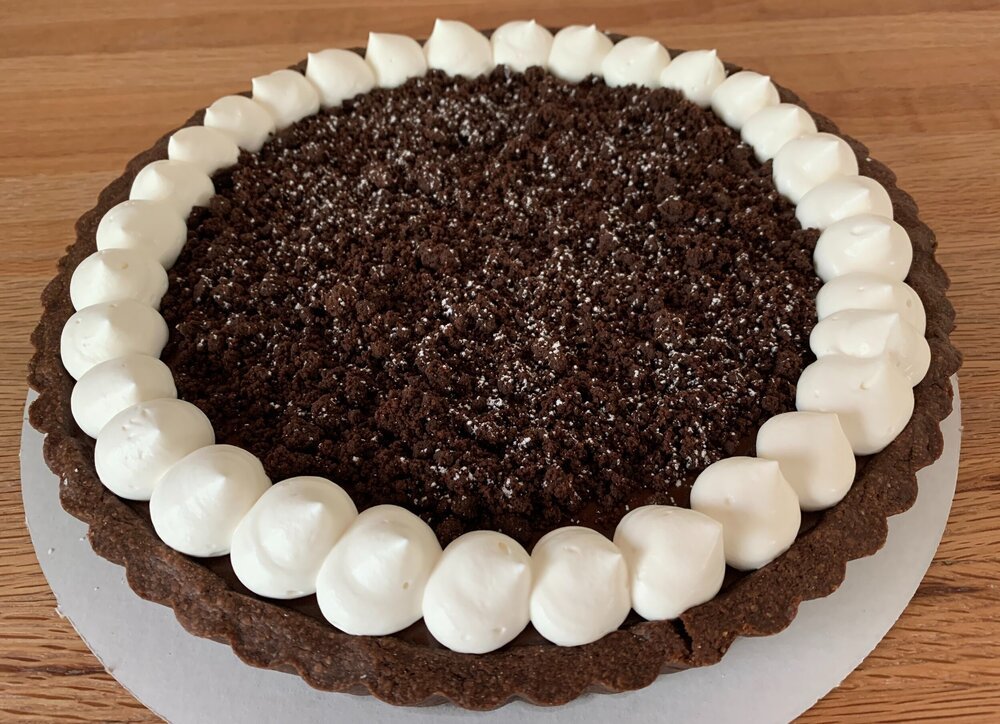
Once chilled, garnish away! Crunchy chocolate crumbs, a light confectioner’s sugar dust, whipped cream and voila! It keeps covered in the fridge over several days so don’t feel like you have to eat it all right away!

An option for you nut lovers out there is to spread some toasted chopped nuts of choice coated in caramel on the bottom and pour the ganache over them. You can do fewer nuts and more ganache or more nuts and less ganache. Below are images of a few different sizes I experimented with for Thanksgiving a few years ago.

Pecans and caramel nestled in

Ganache poured over, ready to set

As for how you’d like to garnish your tarte, keep it simple by dolloping some Chantilly cream on each slice and adding some fresh raspberries. The pecan/caramel version below received a layer of chocolate crunchy crumbs, a dusting of confectioner’s sugar and a simple trio of toasted pecans. Yum.

For petite tartelettes, top the already set ganache with a lighter whipped version of chilled 2.5 parts cream to 1 part chocolate ganache and add a simple chocolate disc as decor.

Check out my ganache tips for more fun with ganache.

Petit fours tartelettes

Nothing like a day late and a dollar short. These images are from late October but I had to share a bit of seasonal beauty with you. They say snow’s a comin’!

Bejeweled burning bush

Late season color after a first snowfall - October 31, 2023

Here’s to comforting and grateful days, keeping our spirits and hearts bright, staying active and healthy and hoping for calm around the world. Cheers and, as always, happy baking!

Favorite garnishes part 3: easy brittles (and Happy New Year!)

Moelleux chocolat/mascarpone cream/sesame brittle

I freely and proudly admit that I’m a dough loving gal in the pastry kitchen. Give me tart dough, puff pastry, croissant and Danish dough, yeast breads (lean and enriched) and shortbread and I’m a happy camper.

Other than the occasional chocolate nut bark or cluster, soft caramel or chocolate truffle, candy making isn’t something I do often. But, particularly when it comes to a tasty garnish, there’s nothing like a snappy brittle to brighten up one’s day. Not only great for a small snack when you’re craving a hint of sweet crunch, they’re a wonderful way to dress up small cakes, custards, ice cream, tarts . . . . . . . . I think you know where I’m going with this.

Here I’ll focus on what has become my go-to-perfect-for-garnsh brittle recipe, compliments of Yotam Ottolenghi”s book “Sweet”. So straight forward with nary any muss nor fuss with candy thermometers or sugar cooking stages. Let’s keep it easy!.

Ottolenghi’s sesame brittle

Here’s a previous post with the recipe and one of the ways I’ve used it. And here’s the recipe again with a printable PDF here.

  1. Toast 125 g sesame seeds (mix of 1/3 black and 2/3 white or all white like I did) either in the oven at 325ºF for about 10 minutes until nicely brown, stirring occasionally, or in a skillet on medium-low on the stove top. Do what you're most comfortable with. Set aside. Increase the oven temp to 350ºF.

  2. Have two half sheet pans and four pieces of parchment (or two parchment and two silicone mats) at the ready.

  3. In a medium saucepan put 100 g granulated sugar, 100 g light corn syrup, 50 g unsalted butter and 1/8 teaspoon salt. Stirring constantly on high heat, blend the mixture and bring to a boil. Remove from the heat and stir in the toasted sesame seeds.

  4. Put two pieces of parchment (or Silpat!) on a heat proof surface (I used two overturned half sheet pans) and pour half of the sesame mixture on each. Cover with the other parchment pieces and roll with a rolling pin until about 1/8 inch thick.

  5. Slide the paper with the sesame caramel onto half sheet pans and remove the top layer of parchment. Peel it back gently, using an oiled silicone spatula to push down any caramel that might stick. Bake for about 20 minutes until nicely browned. Remove from oven, cool and break into shards.

Oiled spatula to hold the brittle down while removing the parchment

Bubbling away in the oven

Out of the oven

Pumpkin custard tart with sesame brittle from a Thanksgiving past

I also made a HALF recipe of a cocoa/cacao nib version by subbing cacao nibs (60 g in this case) for the sesame seeds and adding 10 g sifted Dutch process cocoa powder into the sugar/butter mixture along with the nibs. It’s another great addition to teacakes and ice cream as well as a garnish or crunchy layer for desserts, particularly when you need a bit of chocolate-ness.

Note: the cacao nibs I use are pretty chunky so I put them in a zip-top bag and pound them with the smooth side of a meat mallet to crush them up. It works!

Cacao nib version

These brittles come out thin and crispy without fear of any tooth-sticking pull. They store nicely in single layers between pieces of parchment or waxed paper in a well sealed container (ideally in a cool/non-humid environment) and can also be frozen for several weeks.

Get creative with your own version. I’ve done one with puffed rice. Finely chopped nuts of choice are always an option and crushed pumpkin seeds aren’t bad either.

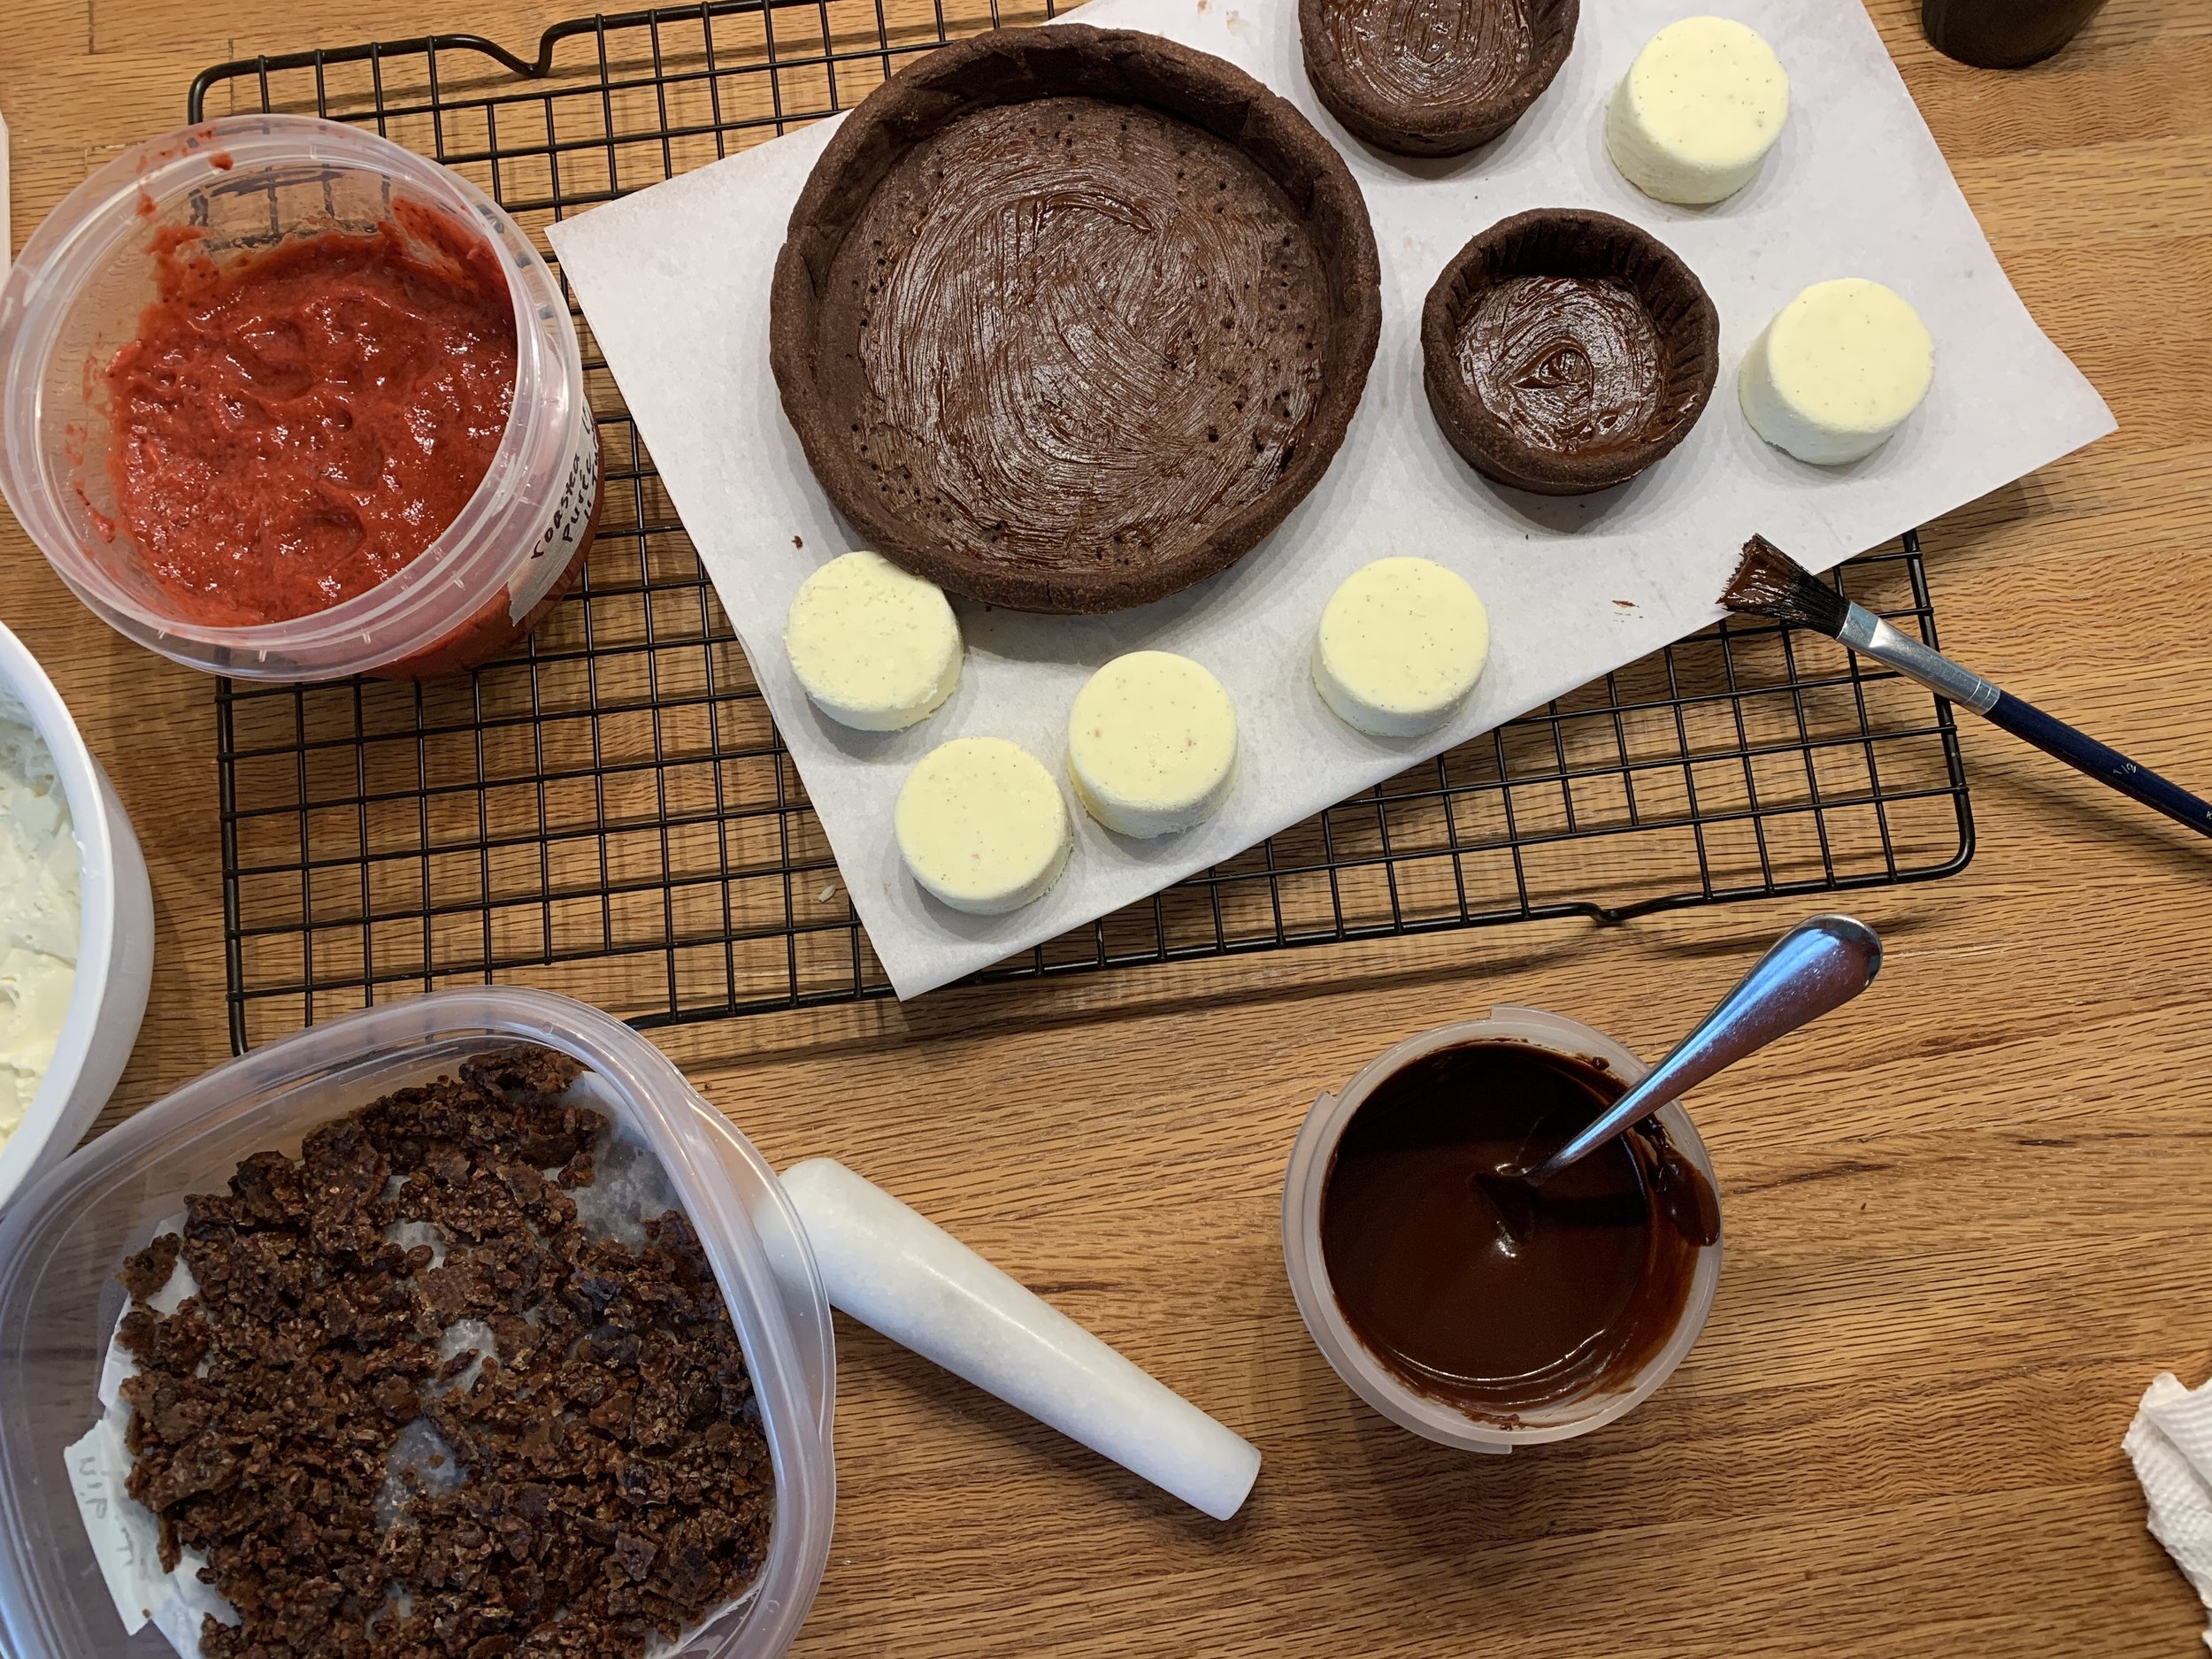
Before I go, here’s a quick tart project I did to use up some leftover components in my fridge and freezer. I had enough dough for a few small tarts; some dark chocolate ganache (3 parts cream to 2 parts chocolate); a handful of petite, frozen ricotta custard rounds from an earlier project; some thawed roasted Michigan strawberry purée that I had used for our Christmas Eve dessert (more on that later); a little bit of white chocolate to make a loose ganache for whipping; plenty of cacao nib brittle.

I blind baked some chocolate tart shells with my favorite chocolate tart dough - one 140 mm “sharing” size and four 65 mm individual sizes. TIP: this is a good plan ahead step since you can freeze blind baked tart shells for days.

Two of the smaller tarts served as a quick dessert after the Christmas holiday, filled with ganache, topped with whipped cream and crushed nibs. So tasty.

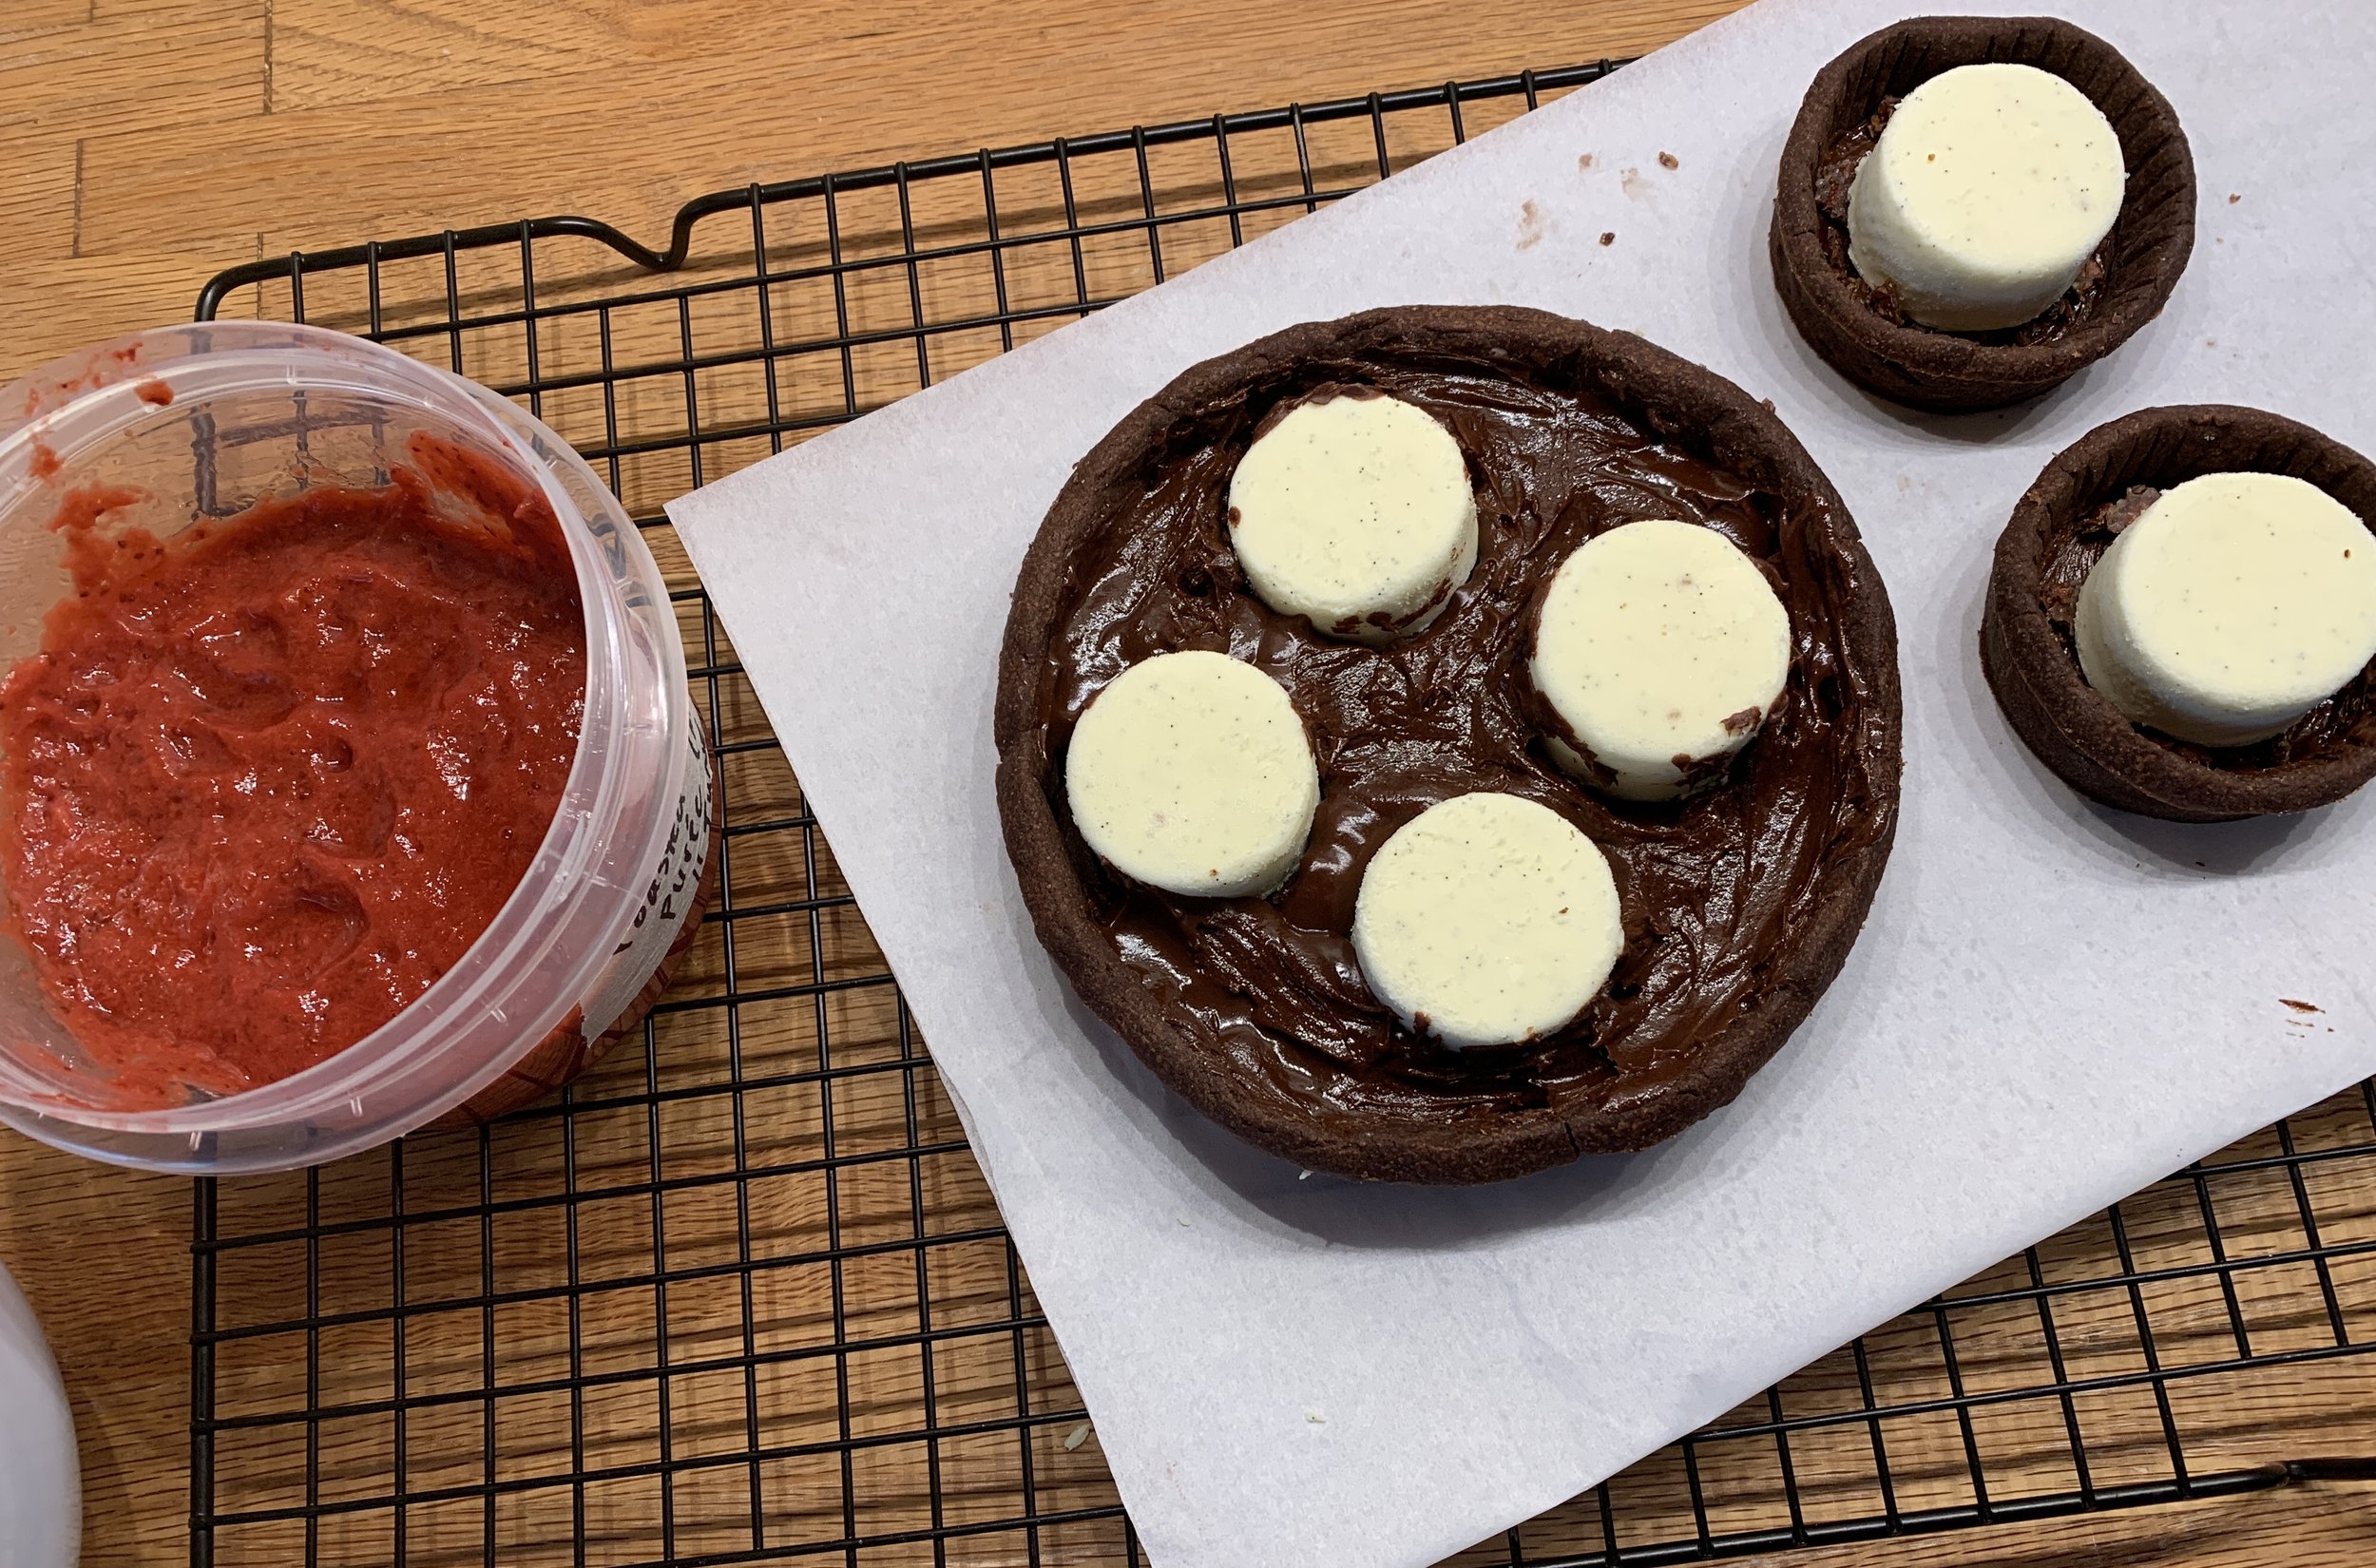
For the remaining tarts I brushed some dark chocolate ganache on the bottoms . . . . . .

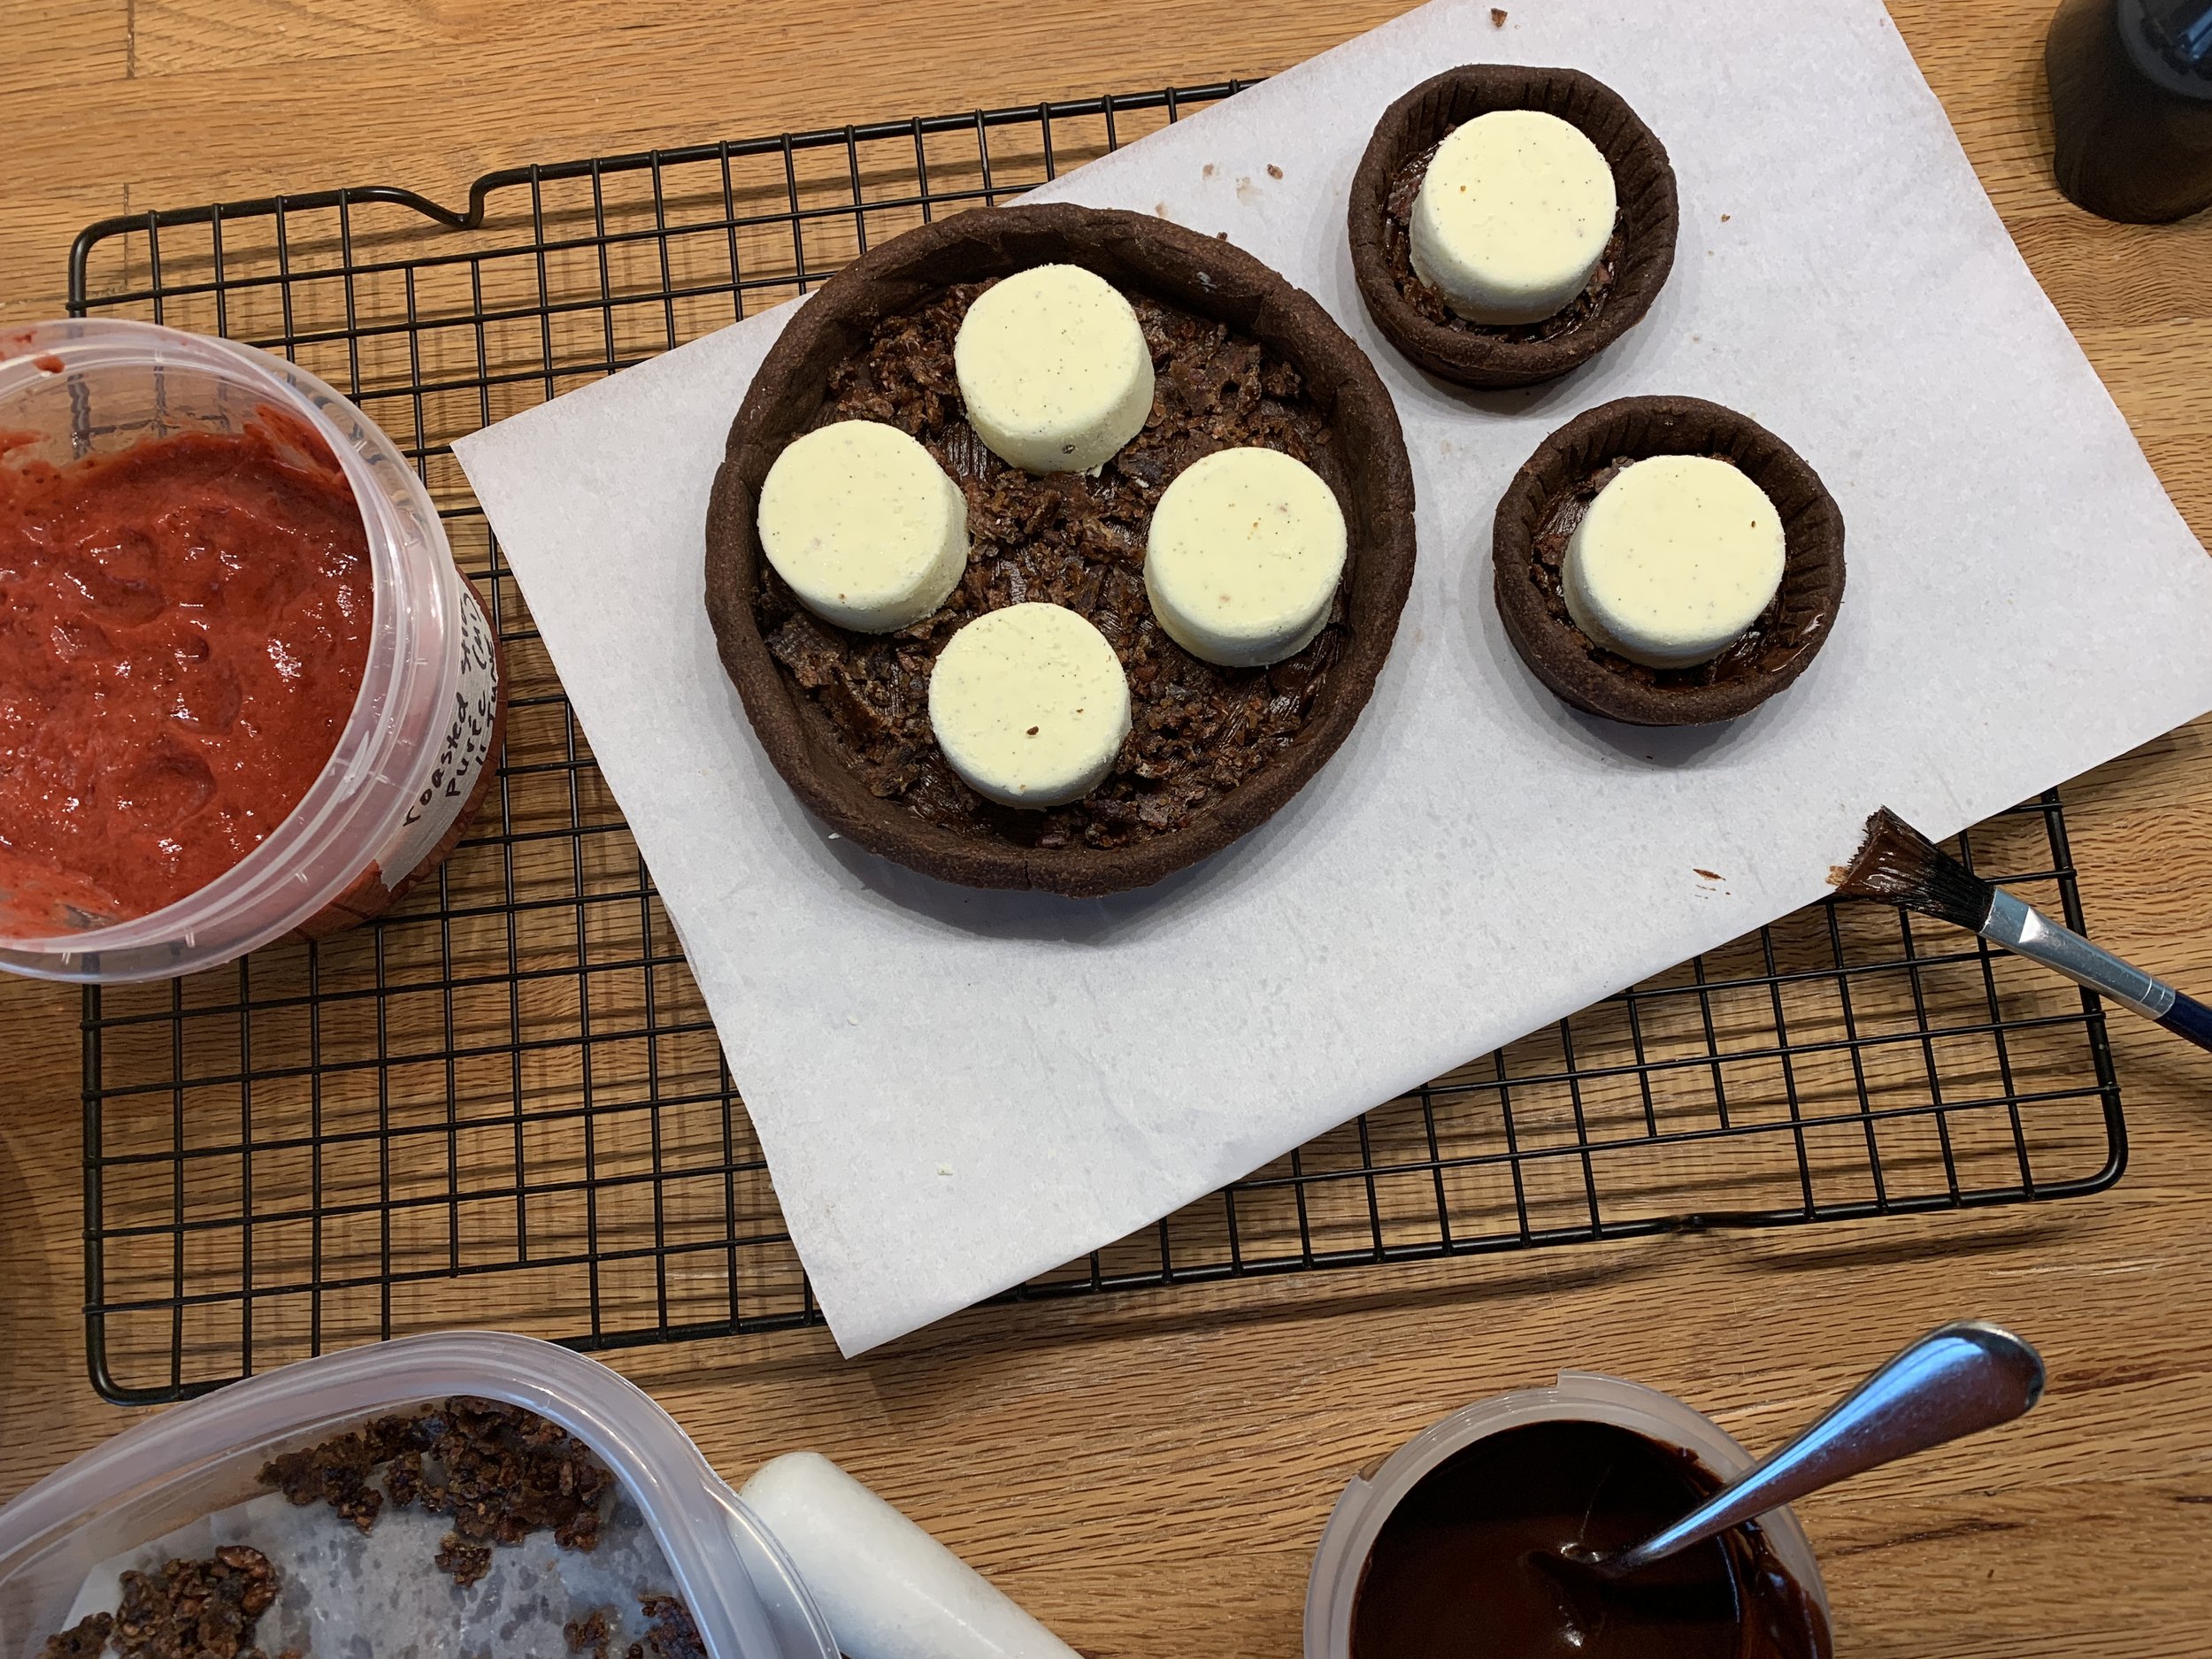
then sprinkled crushed cacao nib brittle over the chocolate and popped in the frozen ricotta rounds (they thaw pretty fast but hold their shape).

I spooned the ganache around as best I could. It’s a tad messy but will be covered up so no one’s the wiser. You could pipe it in too but I wasn’t in the mood.

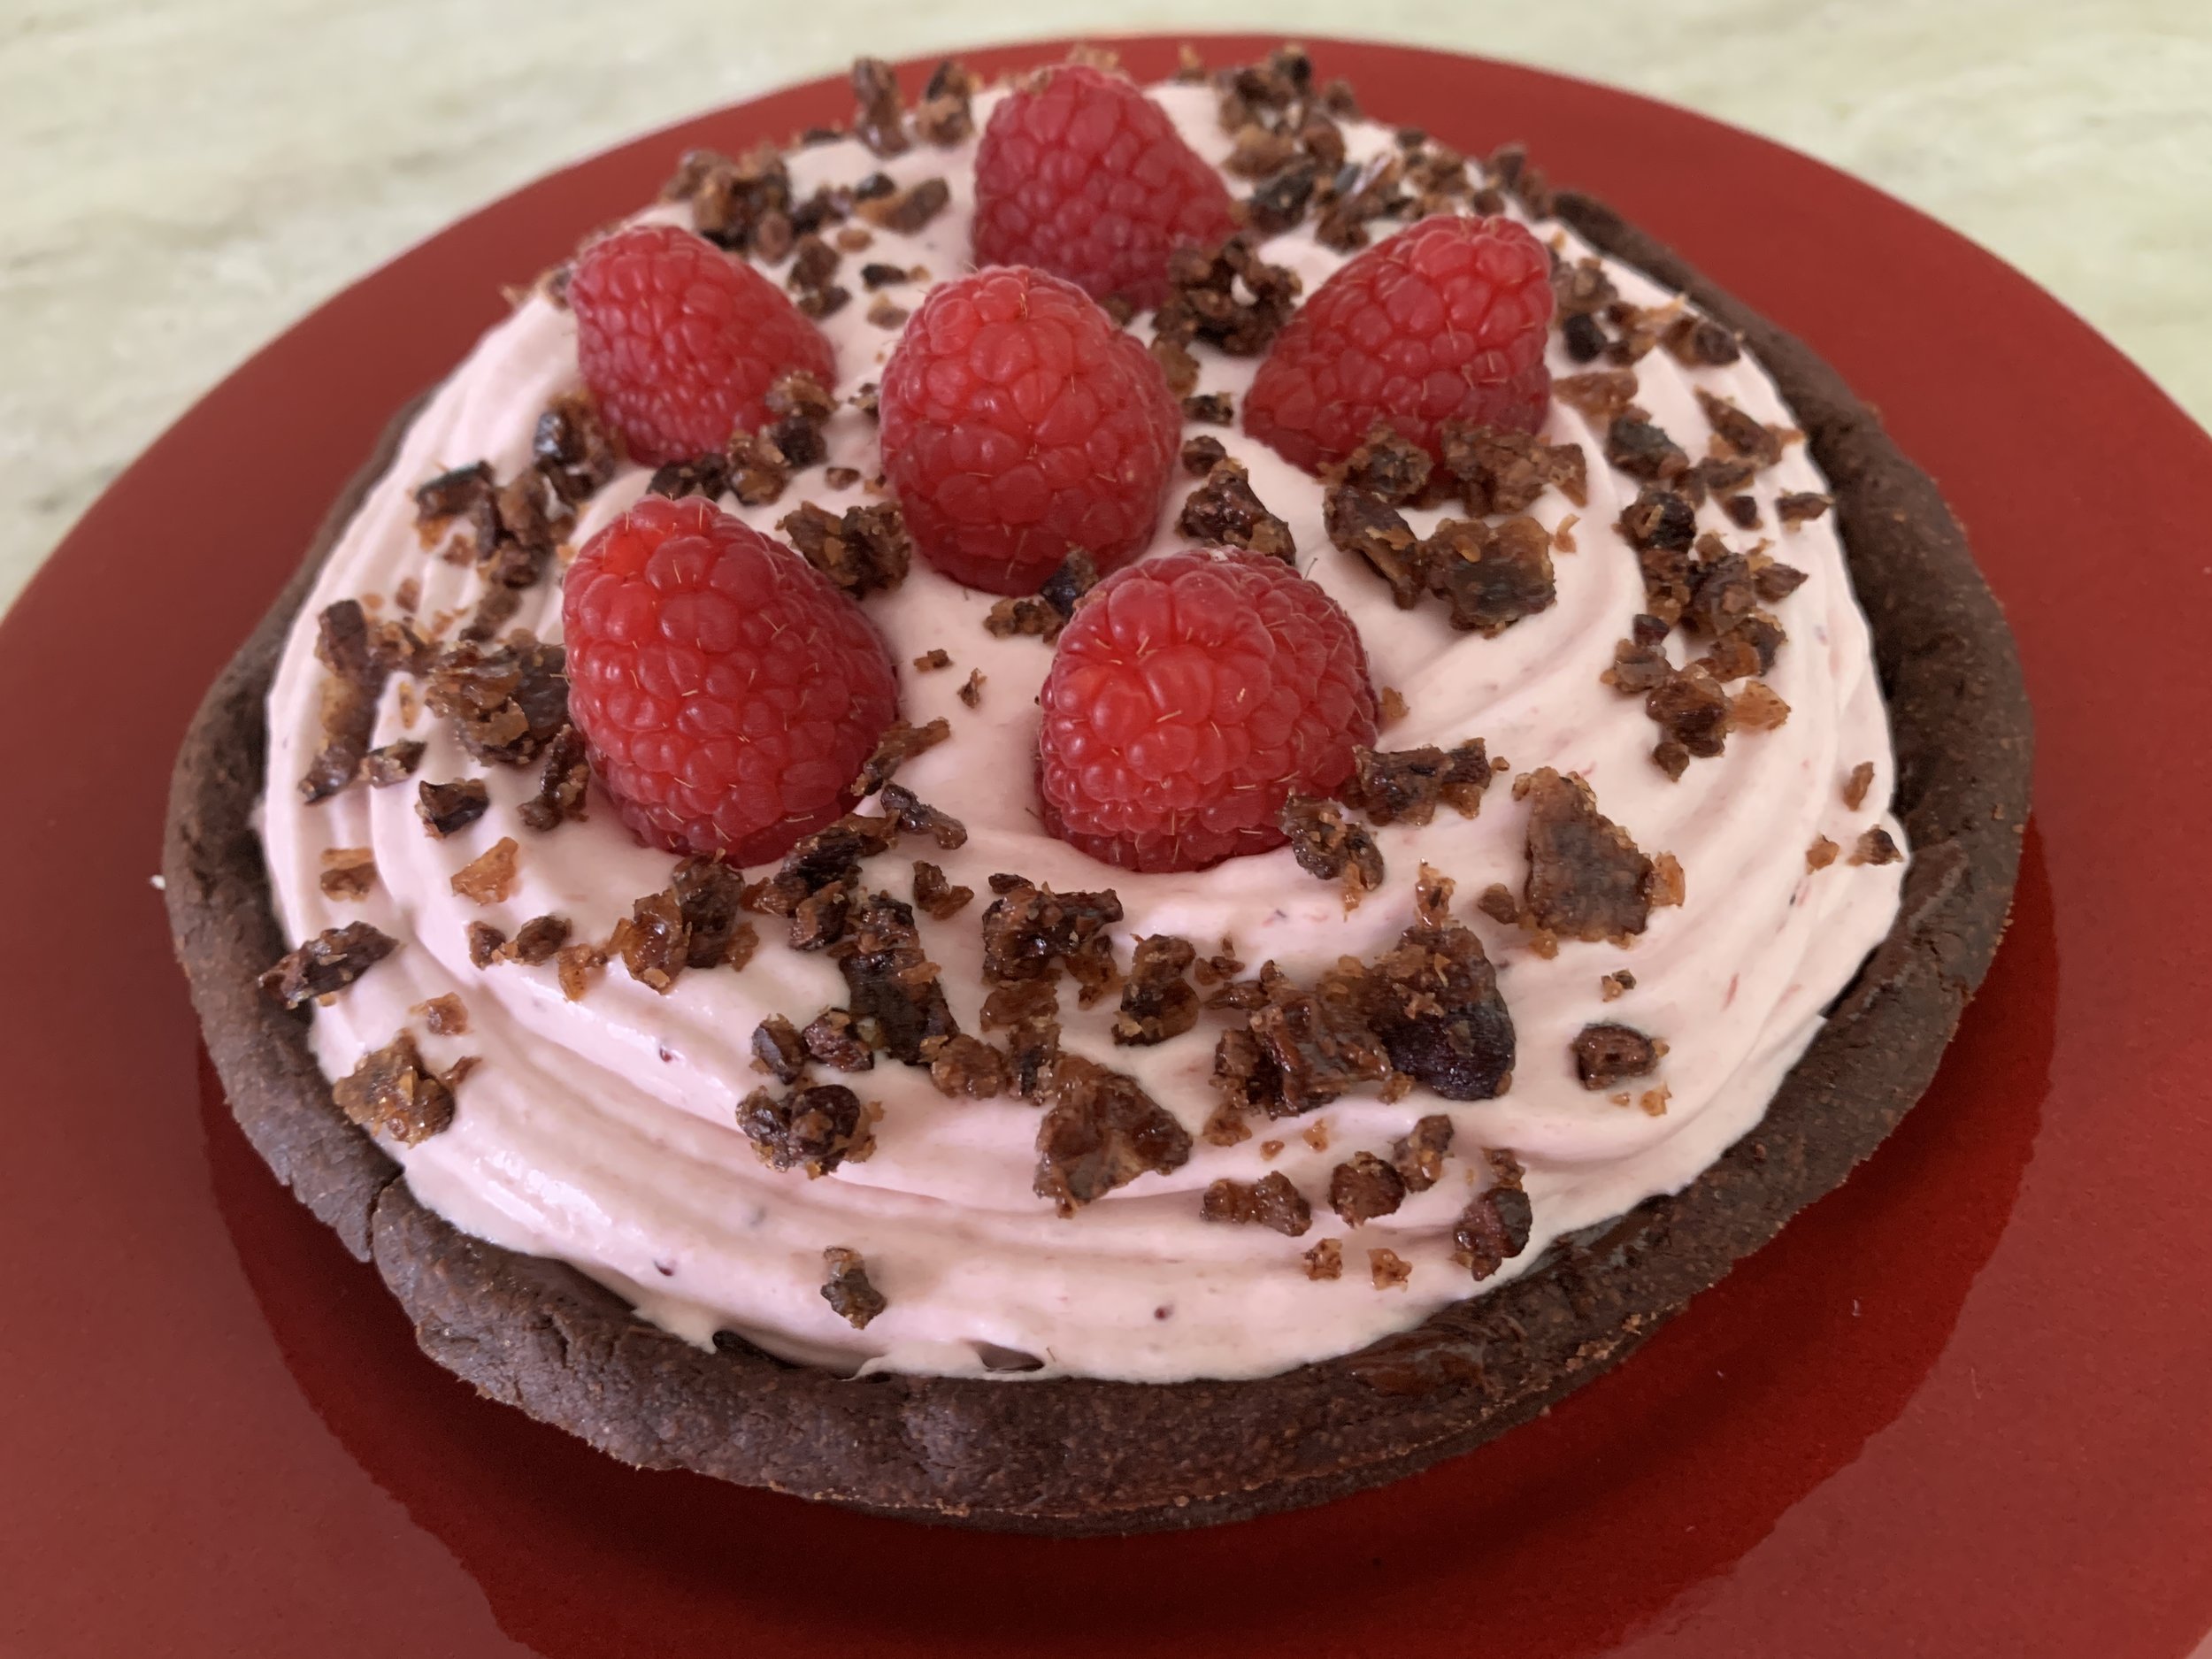
I added a generous soup spoon full of strawberry purée to the chilled white chocolate ganache (used 120g heavy cream to 40 g white chocolate) and whipped it up to soft peaks. For the sharing size tart I piped the cream around and over the ricotta discs then topped with fresh raspberries and more crushed nib brittle.

Et voilà - our New Year’s Eve dessert!

Triple chocolate tart with berry cream

Psst . . . . the smaller tarts were used as taste tests. I was able to spread the softened ricotta flush into the tartelettes then top with a bit of berry cream and nib brittle for a midday snack that Steve and I so enjoyed. Yum - the chocolate crust and ganache with the smooth ricotta custard, hint of berry cream and crunchy nibs is just divine.

Happy New Year everyone and may 2022 bring us new adventures and peaceful, happy days!

I’ll leave you with just a hint of the lovely holiday displays at nearby Meijer Gardens


Tarte au lait au chocolat (milkshake tart)

62D32CAF-56C5-4ED8-B572-542D217C532D.jpeg

It’s time for more tart fun. This nine inch tart is an amped up version of what I called a chocolate milkshake tart back in the day when I was the pastry chef at Gracie’s in Providence RI. It’s a bit over the top from my usual not-too-sweet approach to baking and pastry, but most chocolate lovers won’t say no to a piece.

The chocolate pâte sucrée is fully baked (the only oven use portion of the program) and can be done earlier in the day of assembly or even a few days ahead and held in the freezer until ready. I placed mine on a doily covered cardboard cake round since it was being delivered to someone else, but you can place it on your favorite platter or plate as you wish.

A necessary part of the make ahead-ability is to make a milk chocolate ganache with 140 g milk chocolate and 260 g heavy cream then chill it down thoroughly. Plan for a good 4 hour chill, but you can make it a day or two ahead and keep it refrigerated as well. It will ultimately be whipped and is the essence of the milkshake nature of this tart.

When you’re ready to go, have your prepared crust at the ready. Now make a dark chocolate ganache with 2 parts (by weight) dark chocolate to 3 parts (by weight) heavy cream. For the thin layer in this tart I used 100 g chocolate to 150 g heavy cream but you can certainly make a larger quantity if you have other ganache plans going on in your head - ganache keeps in the fridge for many days. Gently rewarmed, you can dip choux puffs into it, drizzle it over ice cream or make a bunch of smaller tarts for a dessert table. And that’s just the beginning.

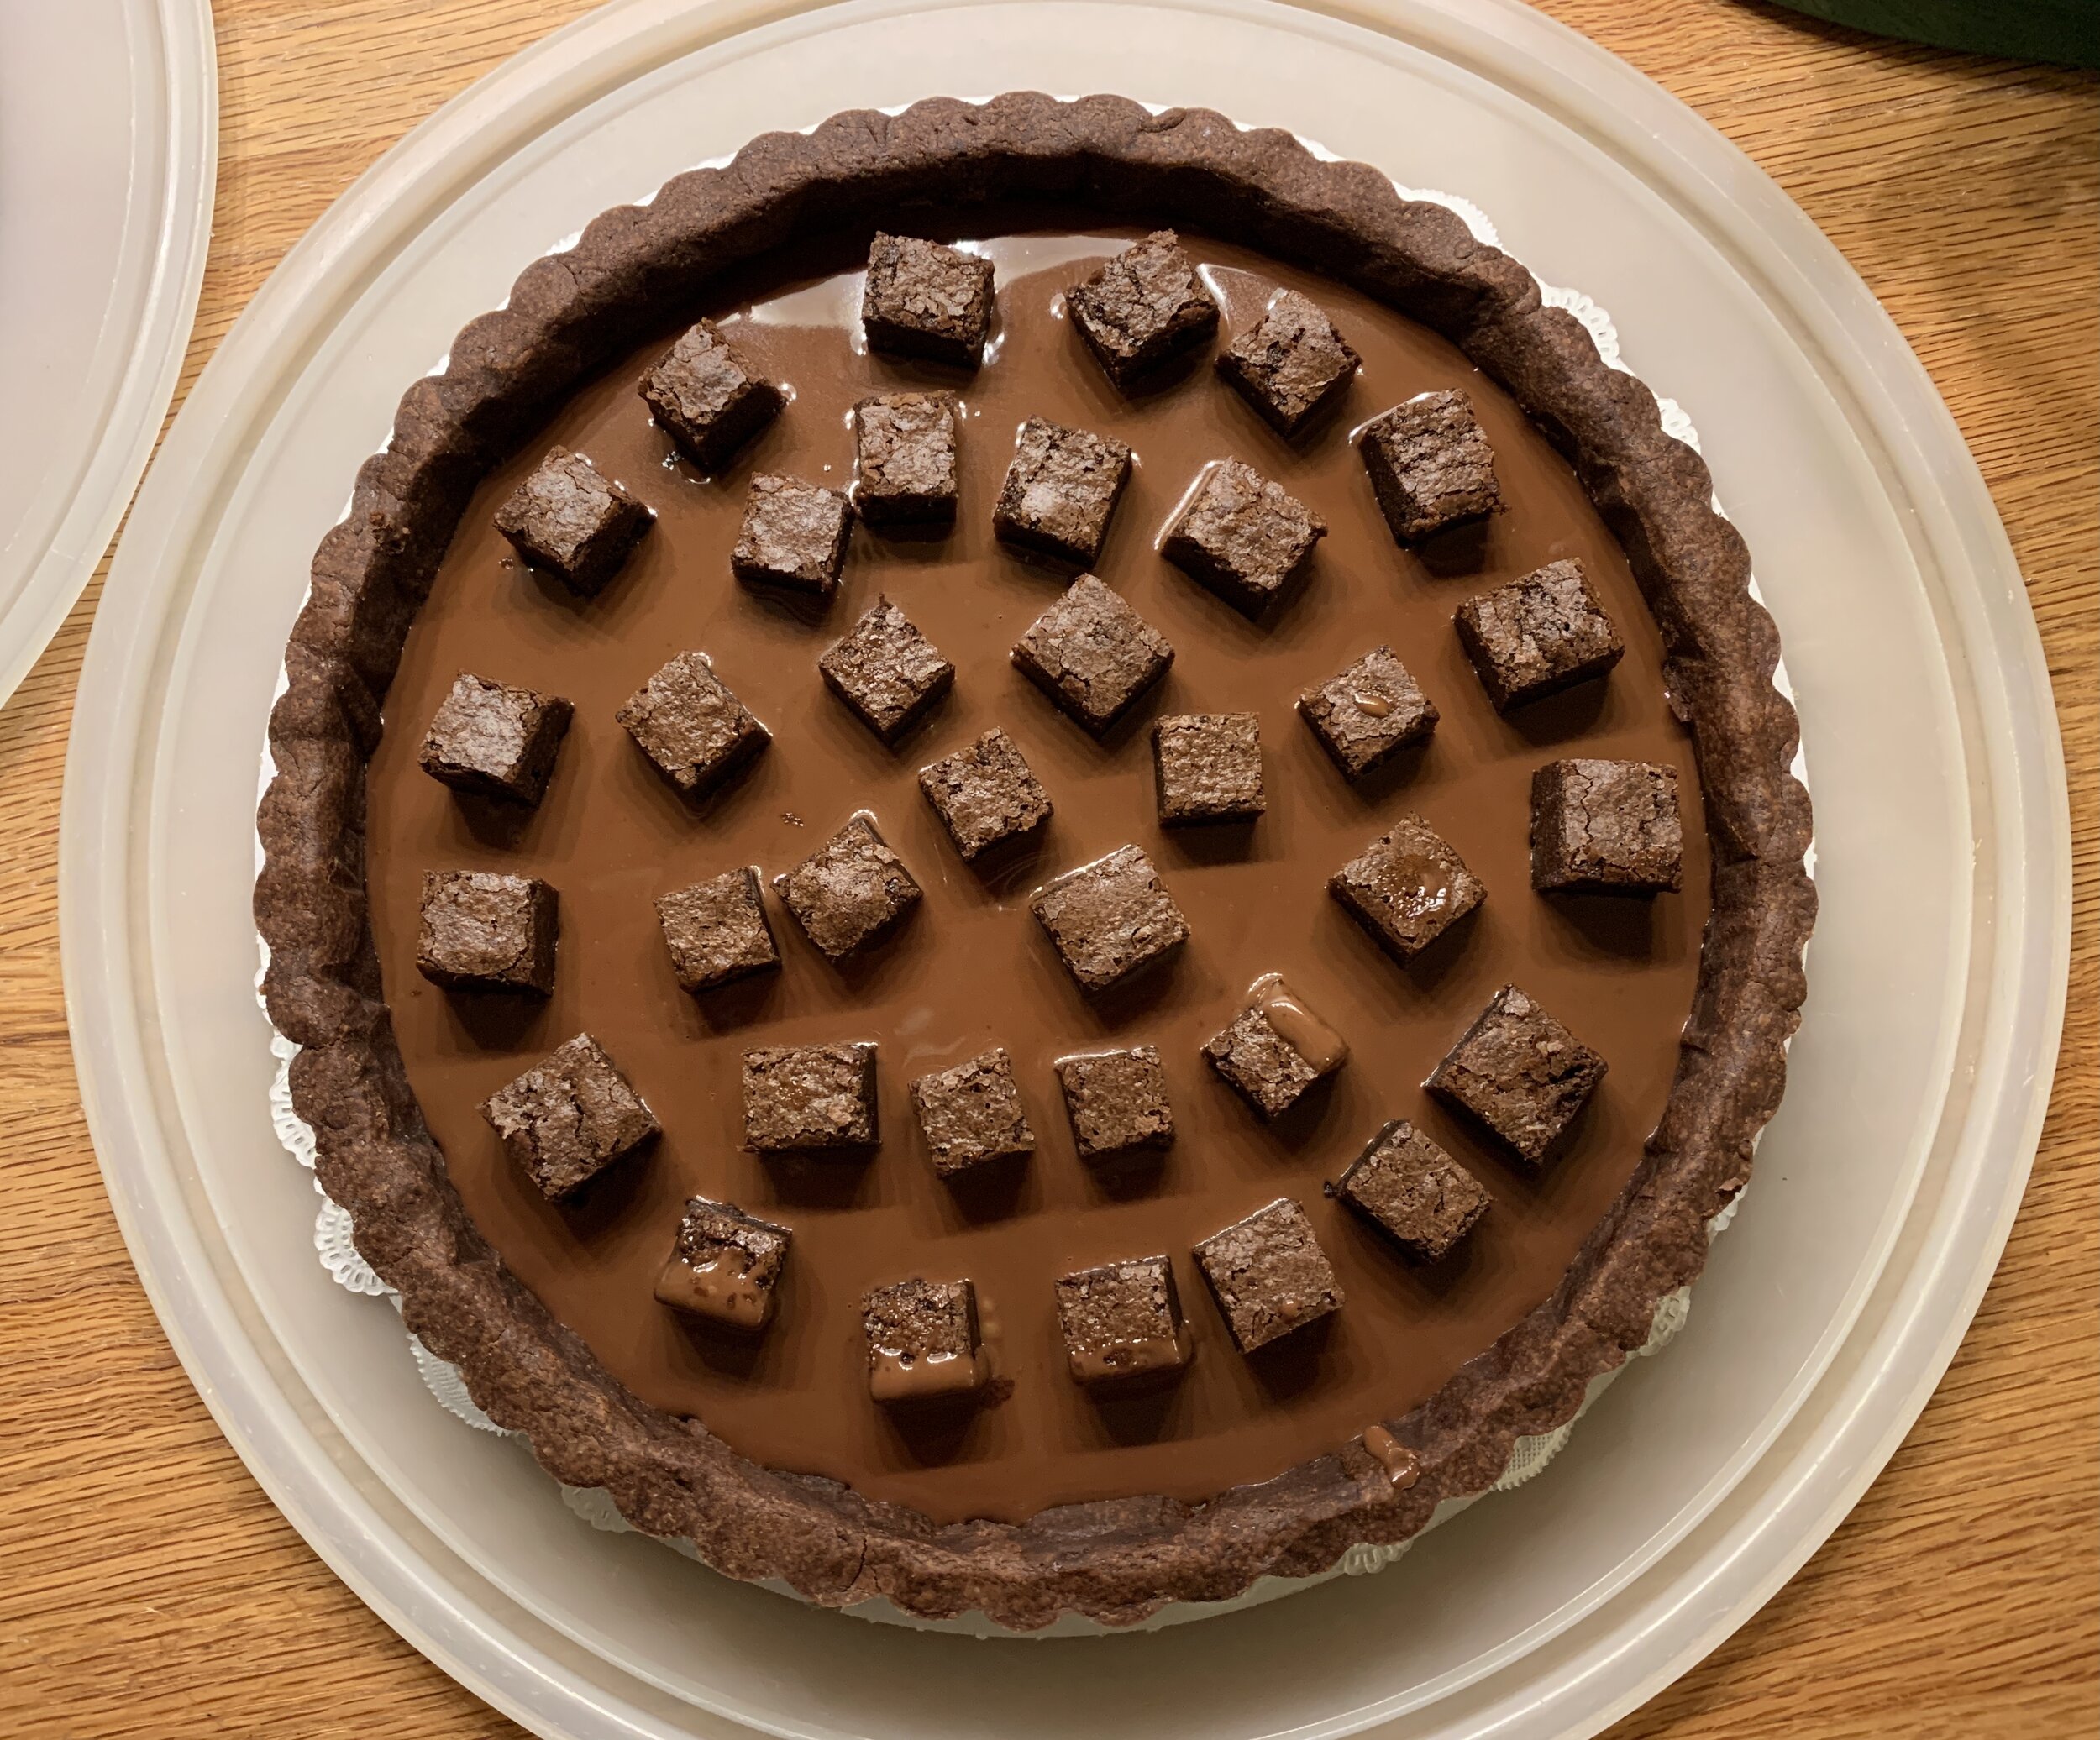
Pour the warm ganache into the baked crust then, using your own favorite brownies (I’m a fudge-y fan myself), dot brownie cubes all around. Chill it an hour or so to set the ganache.

CACB2DD7-5FF8-4BD0-B4DB-9651A20AF2C5_1_201_a.jpeg

Time to whip the milk chocolate cream - yay! You’re going for medium firm peaks.

99CA8F25-AAAB-43CF-A874-E5719B8E2544.jpeg

I piped the cream using a star tip to give it the circular zen-garden-like ridges. As you pipe be sure to let the cream sort of fall among the brownie pieces so you have a nice fill of cream throughout the tart. Don’t be too fussy with it all.

C35C3169-43F5-417F-8EFE-E22F9694745A_1_201_a.jpeg

Garnish with caramel drizzle and a sprinkle of chocolate cookie crumbs and you’re all set. Hold in the fridge until time to serve and enjoy your creation. Now that’s some tasty creamy, crunchy, caramel-y, fudge-y goodness!

While we still have some summer left, have a grand time whatever you do. Cheers!

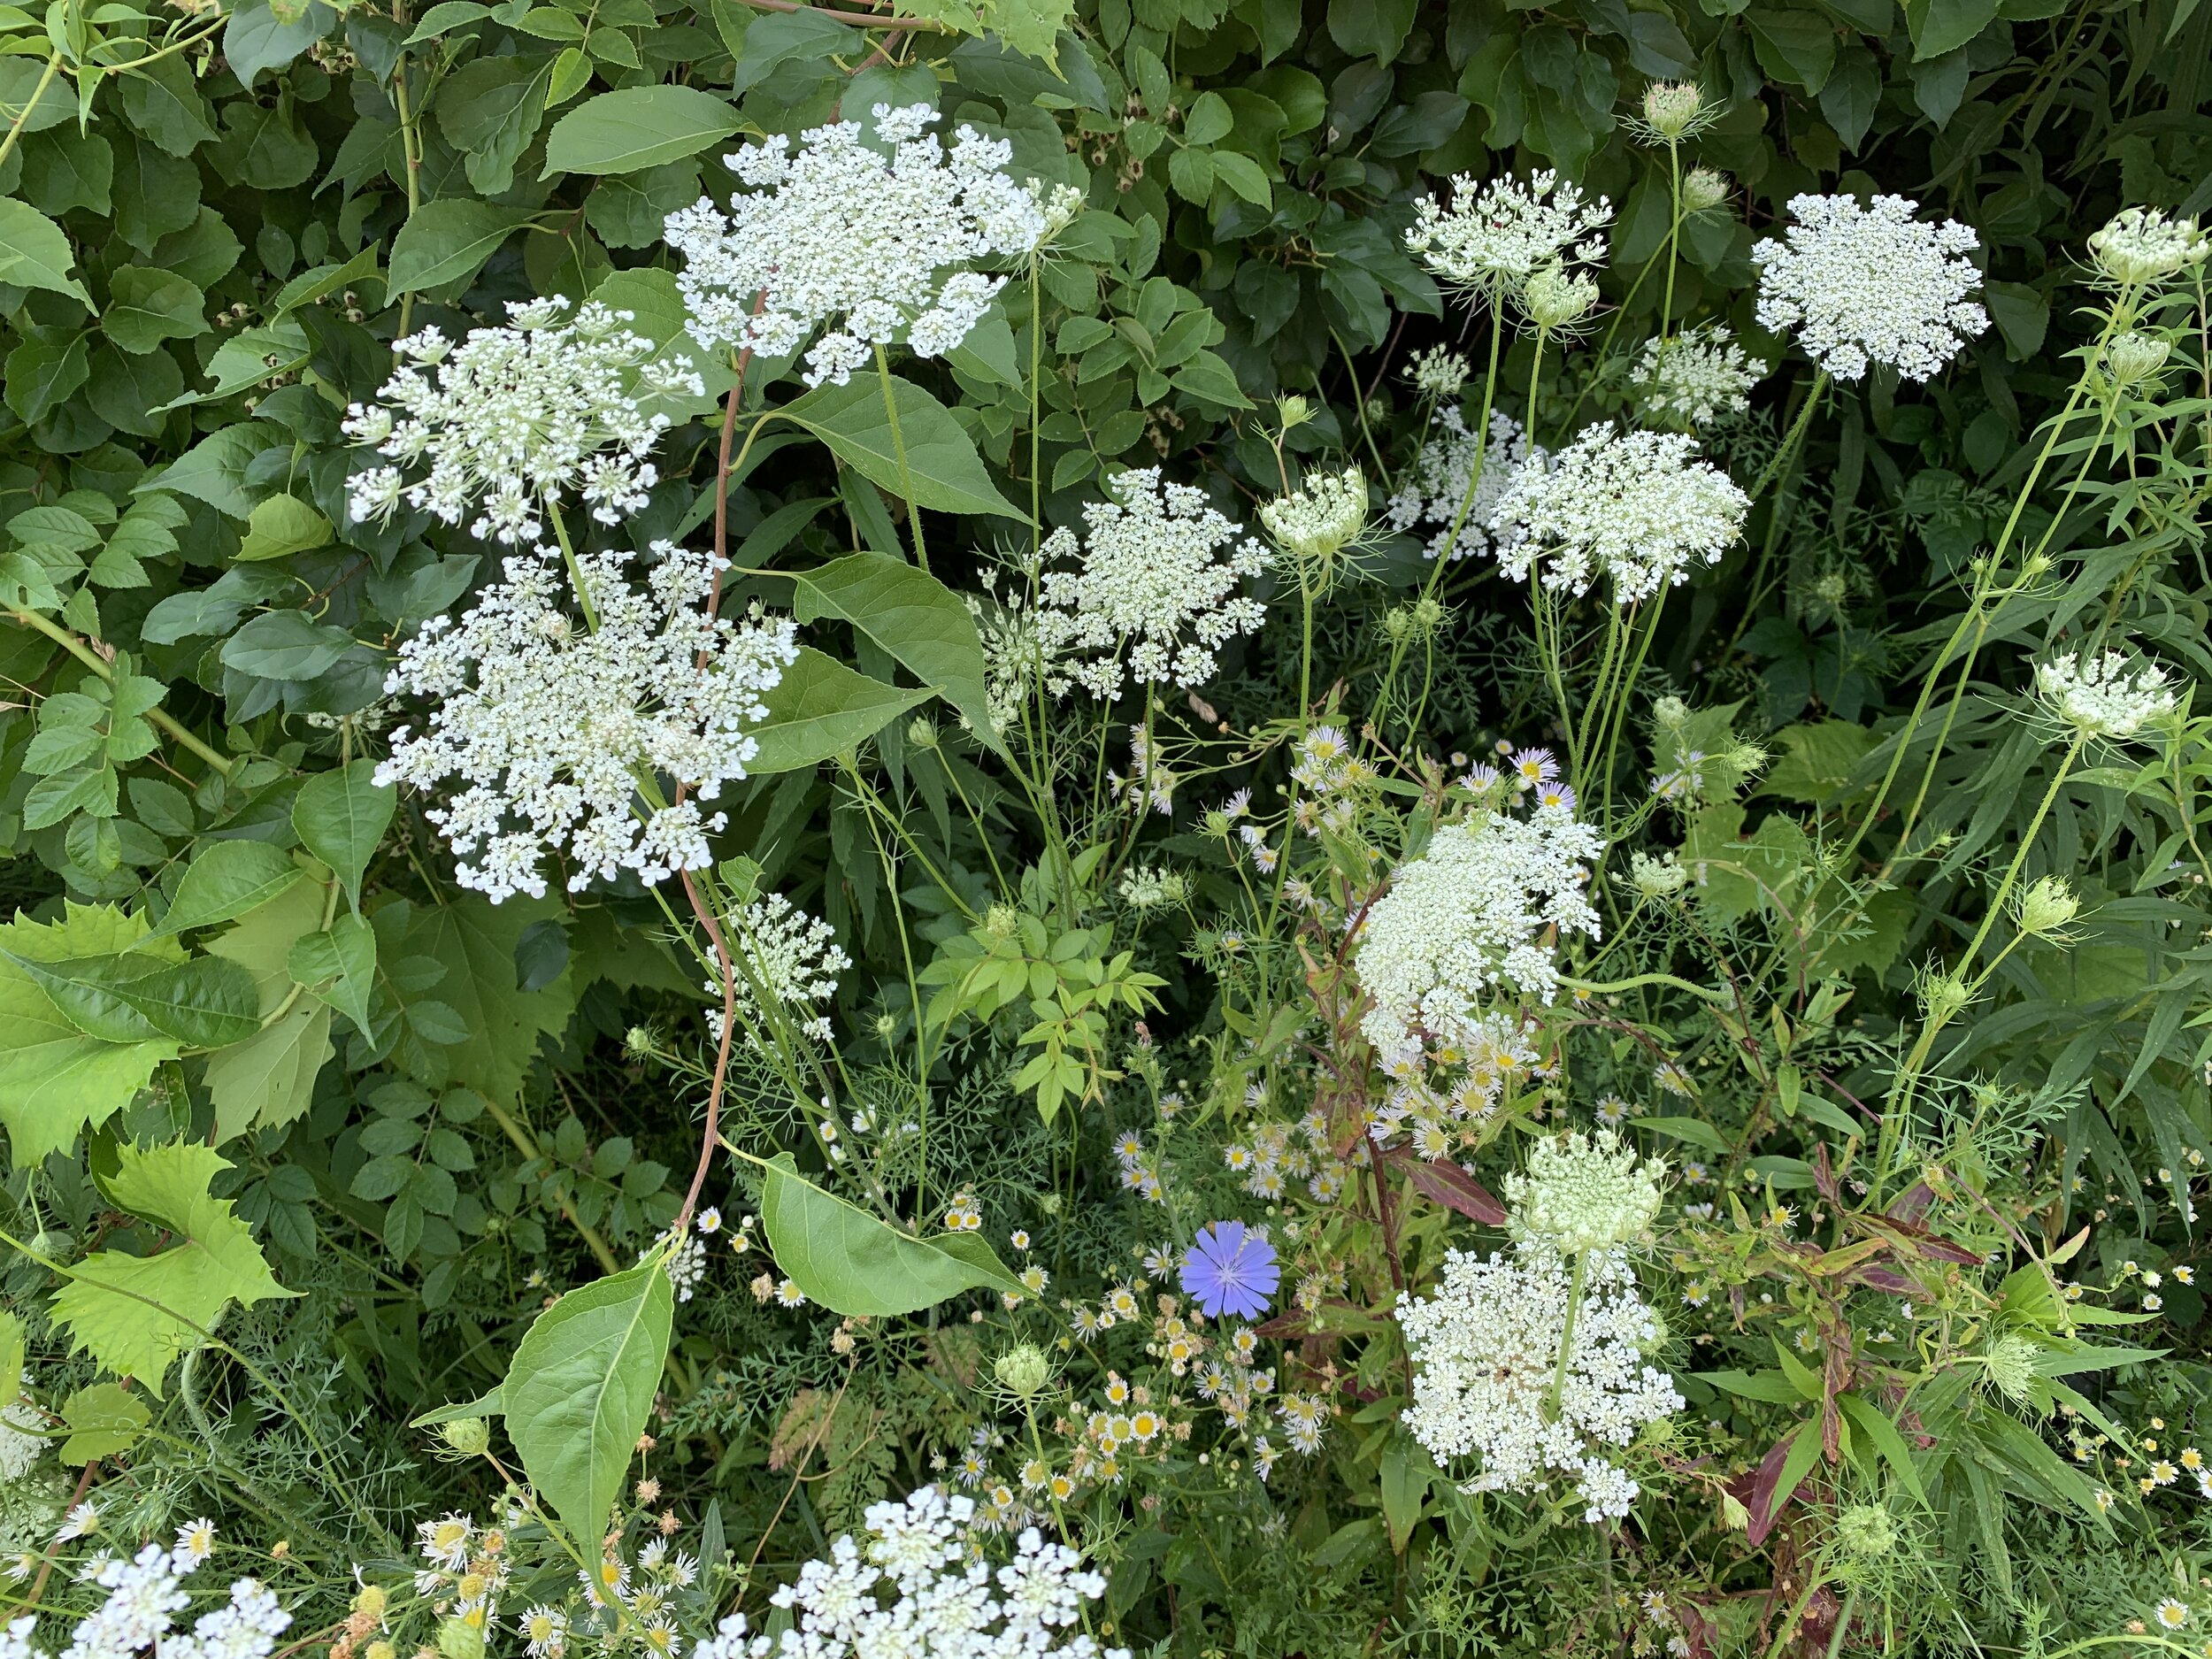
Queen Anne’s lace along my walking route

Queen Anne’s lace along my walking route