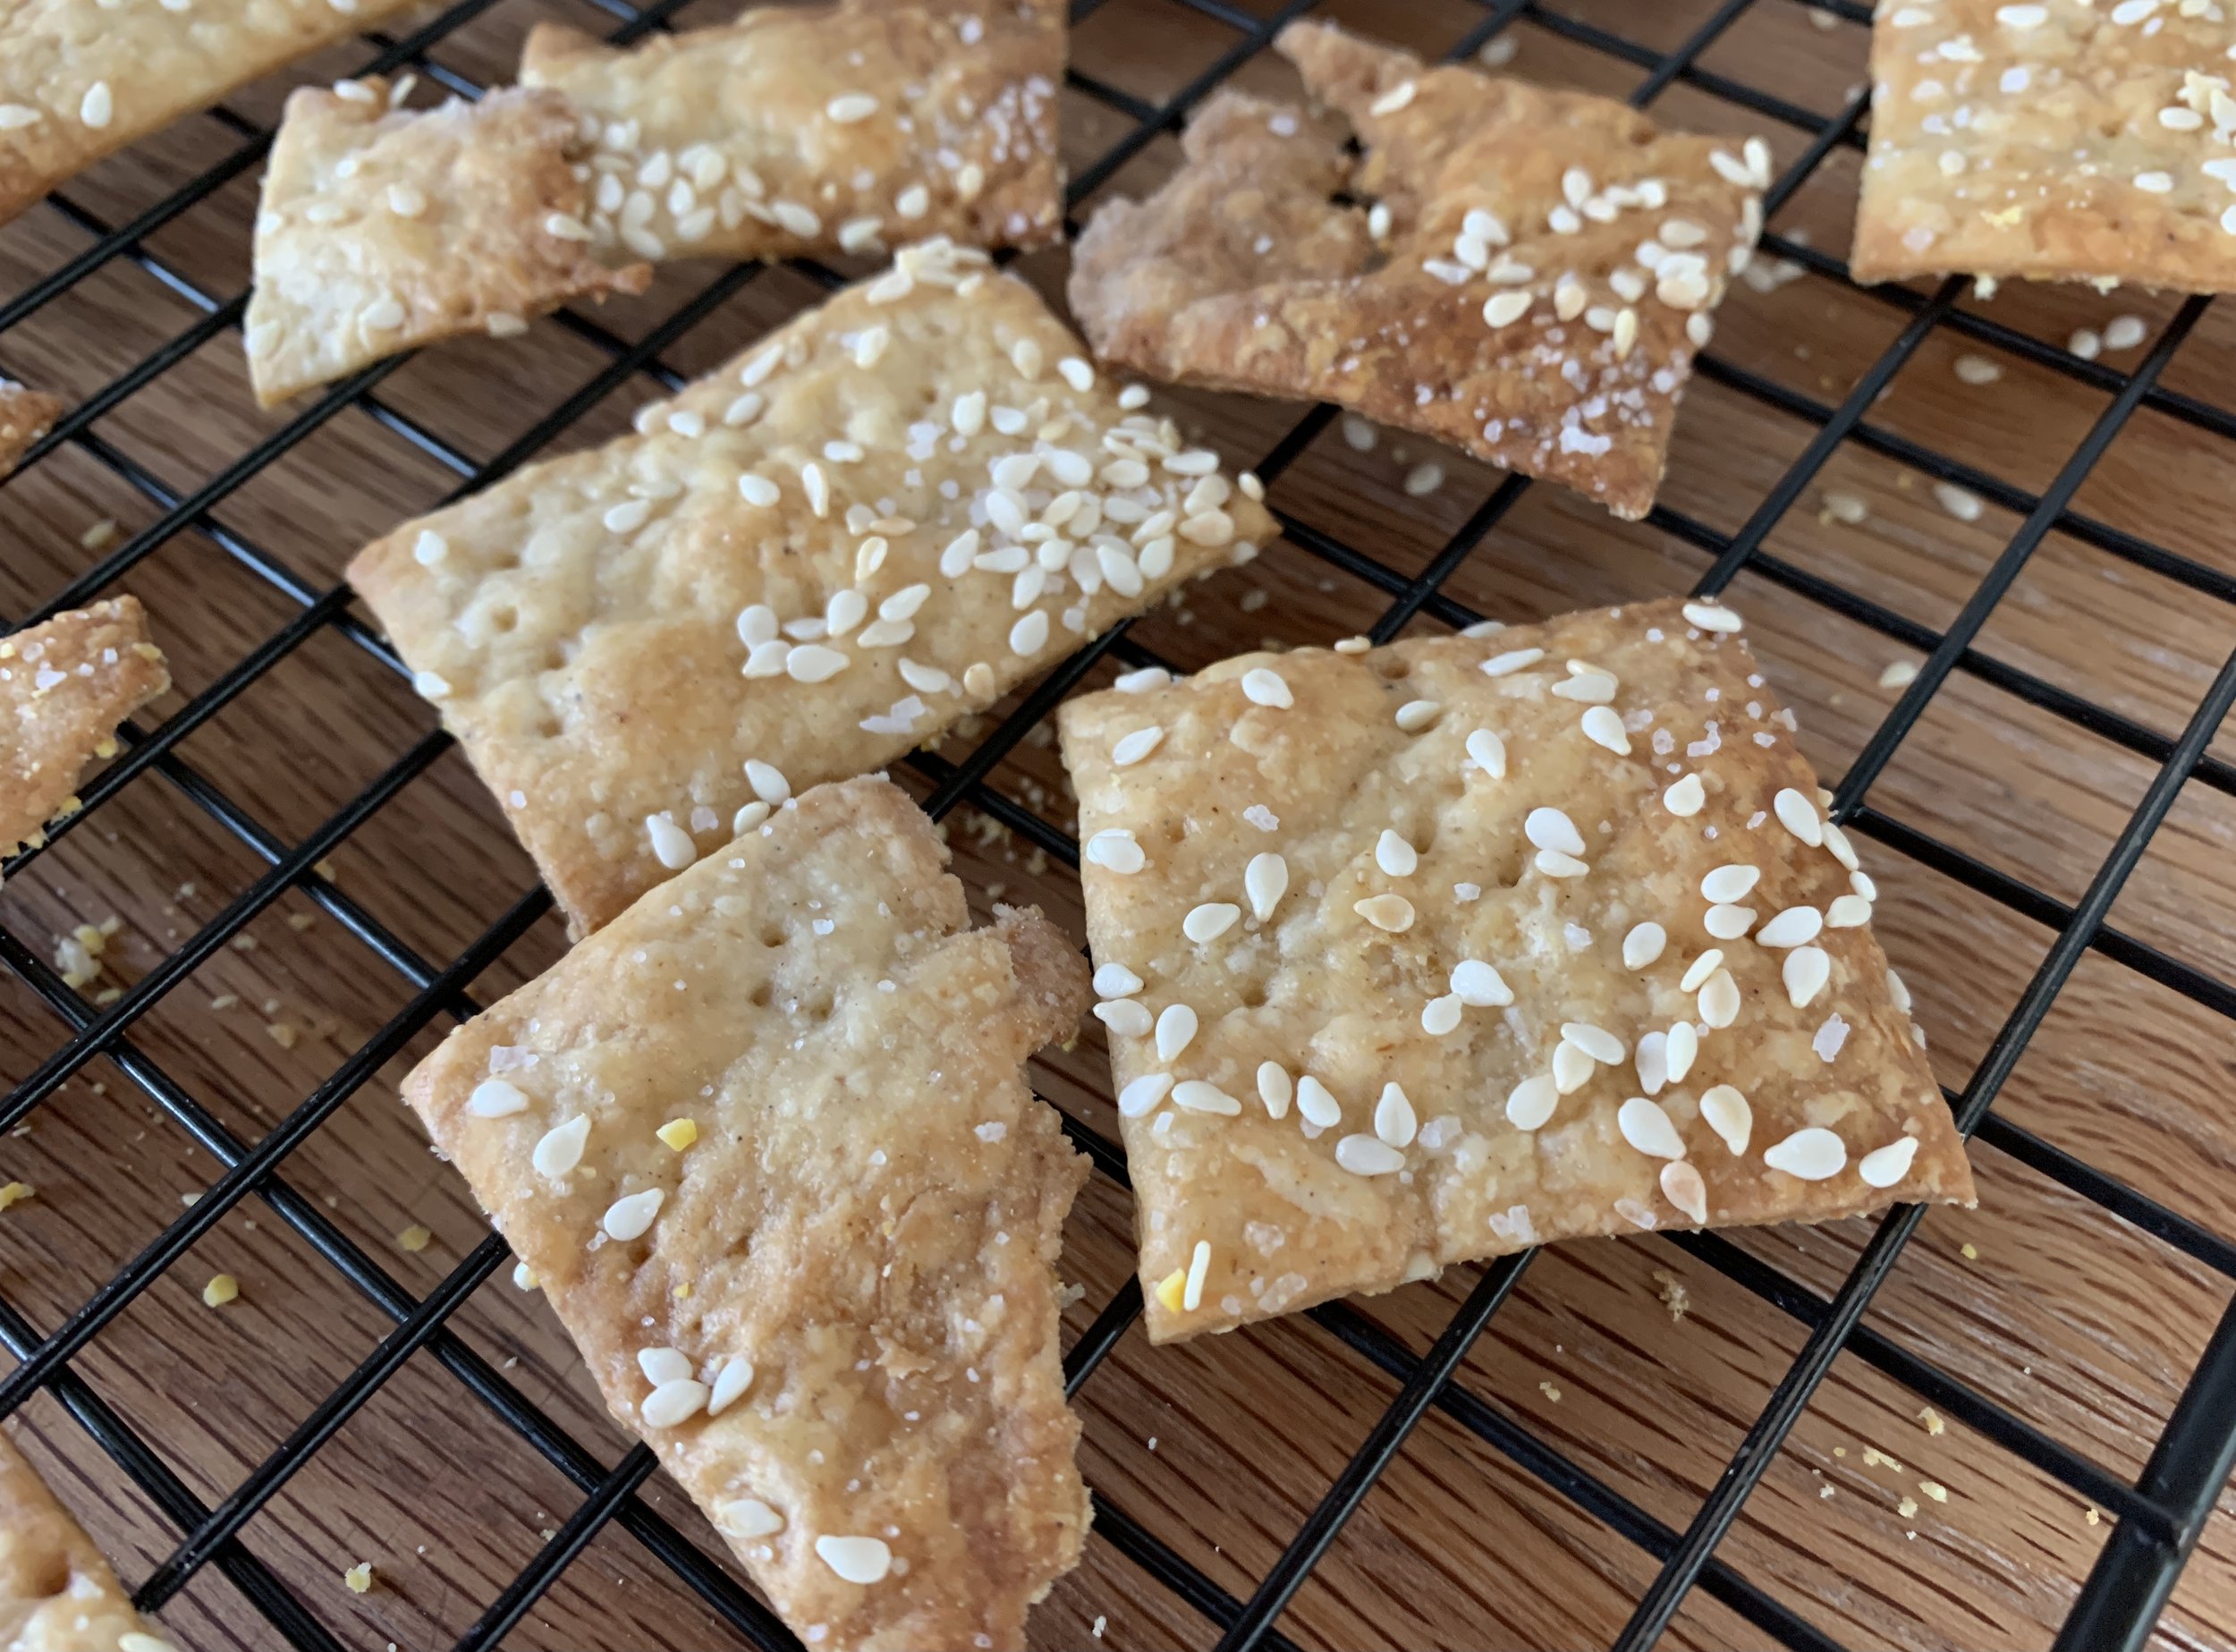
Sesame cumin crackers

Nothing fancy here folks but these babies are delicious! My first foray into baking with chickpea flour, I came across this recipe when browsing back through some old issues of SIFT magazine (Holiday 2018, No. 12) from King Arthur Baking Company (King Arthur Flour back then). The company published this beautiful magazine over 5 years, 3 issues per year, but, alas, they stopped with the holiday issue at the end of 2019. I have all of them except the very first and they tell me it’s not available. I did find an old press release with a PDF of the first 5 pages and also this link to what’s in that first issue if you’d like to check it out.

This cracker recipe comes from Sofra, the popular middle Eastern bakery/cafe in Cambridge MA. Steve and I have experienced some of their goods in past years, since it’s not far down the road from Mt. Auburn cemetery. During our Providence days, we would occasionally take a drive to stroll the beautiful grounds, enjoy the arboretum and pay our respects to the likes of Henry Wadsworth Longfellow, Dorothea Dix, Winslow Homer and Isabella Stewart Gardner. There’s a great view of Boston from the higher elevations, and birding is popular too. A calming place!

The dough is simple to put together but plan ahead since you roll out quarters of the dough, stack them between parchment and chill them for at least 4 hours or overnight before cutting and baking.

Here’s the recipe: In a small bowl blend 3/4 cup buttermilk with 2 tablespoons tahini (be sure and stir it up well first!). In the bowl of a stand mixer with the paddle combine 227 g / 1.75 cups all purpose flour, 50 g / 1/2 cup chickpea flour (I use Bob’s Redmill), 1 tablespoon sugar, 1 teaspoon kosher salt, 1 tablespoon ground cumin, 1/4 teaspoon ground allspice and 113 g / 4 ounces cold unsalted butter cut in 1/4” cubes. Blend on low until butter is in small pieces then add the buttermilk mixture and mix to a wet dough.

The dough is pretty easy to handle when the work surface is properly floured. Divide the dough in 4, keeping the waiting quarters in the fridge as you roll out one at a time. Roll each quarter to a 12”x13” (ish) rectangle - mine was pretty loose-y goose-y since I envisioned my crackers would end up in a variety of shapes and sizes, and I didn’t mind some rough edges. The main thing is rolling the dough nice and thin (1/16”) for better crisping up during the bake.

Line a half sheet pan with parchment, sprinkle with cornmeal (or semolina) and place the first rolled out dough quarter on it. Place a second piece of parchment on the dough, sprinkle again with cornmeal and place the rolled out second quarter on it. Repeat with the other two portions. Cover with plastic and refrigerate 4 hours or overnight. I chose overnight.

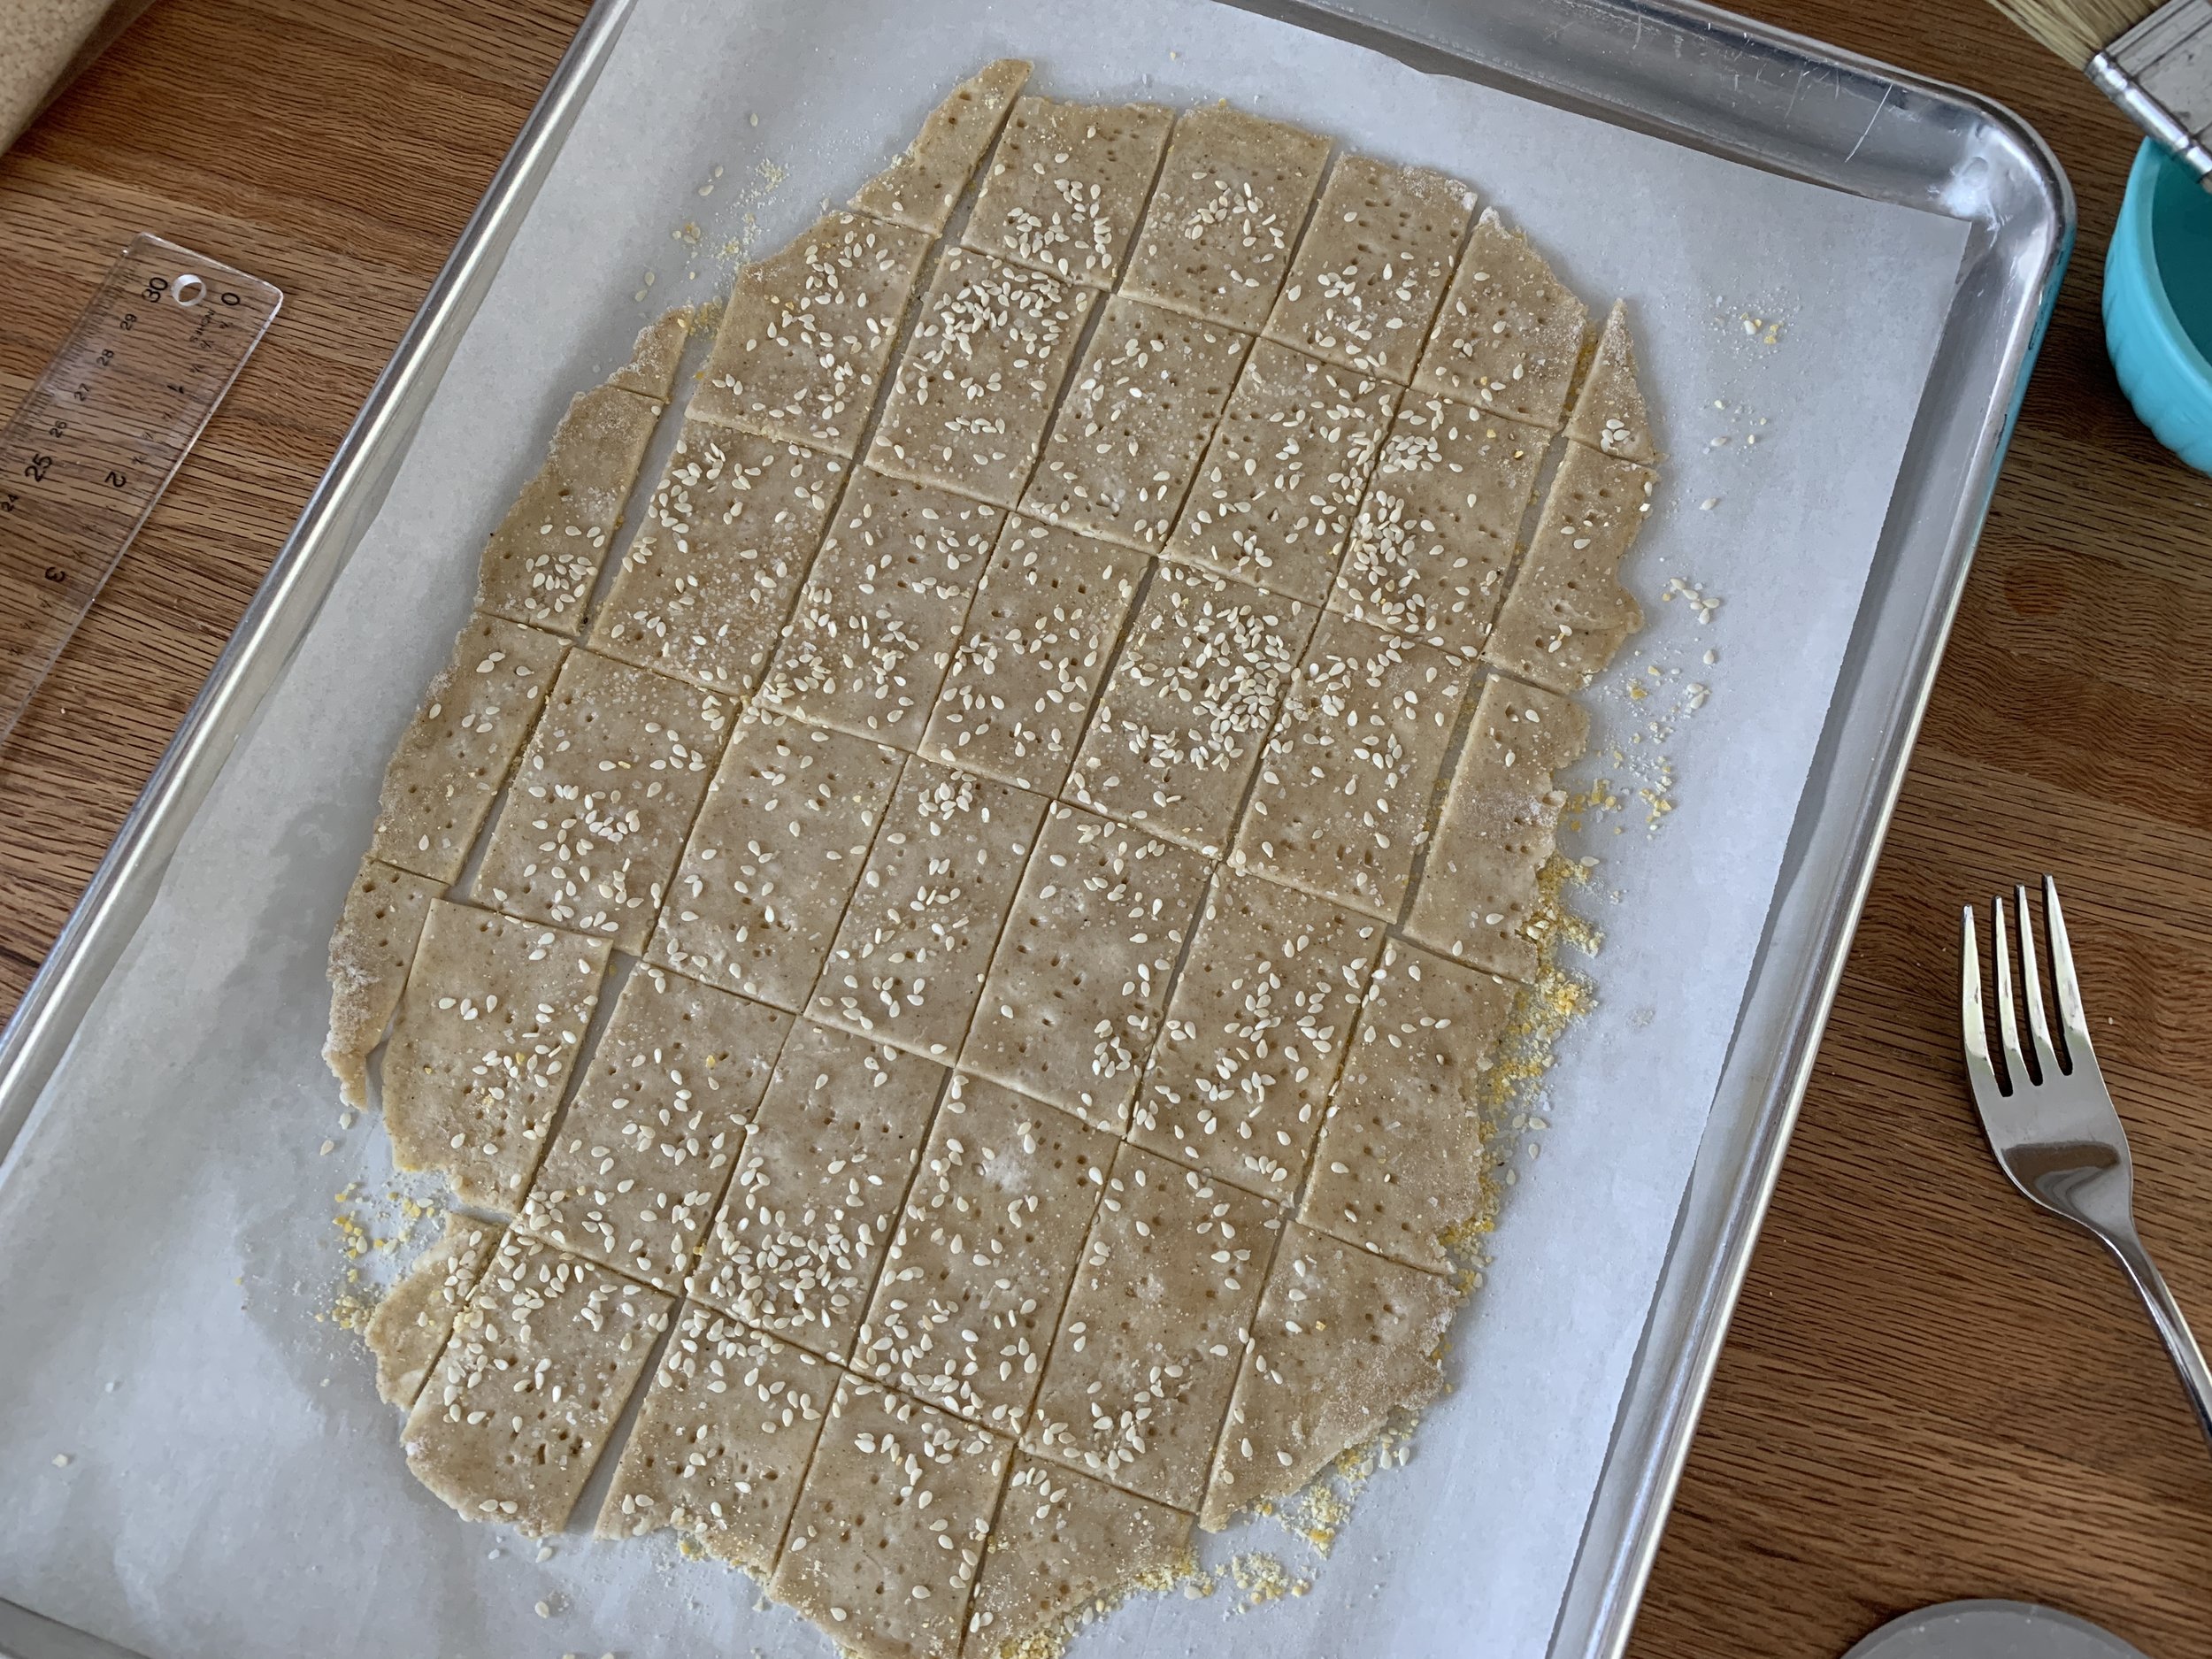
When ready to bake, heat the oven to 350ºF. Have a teaspoon of kosher salt and 2 tablespoons sesame seeds on hand. Lift one of the dough portions on its parchment onto an empty sheet pan. Fork prick it all over, brush lightly with water and sprinkle 1/4 teaspoon kosher salt and 1/2 tablespoon sesame seeds over the top. Cut into squares or rectangles (or whatever shape and size you’d like) with a pizza cutter.

Repeat the above with the next batch of dough on a second empty sheet pan. NOTE - I baked two pans in one go but if you prefer to bake one at a time, go for it.

If you only have one or two half sheet pans and need to rotate batches, pull the baked sheets off onto cooling grids and let the pans cool completely before you continue the above steps with the remaining dough quarters.

Bake about 15 minutes, rotating your pans half way through. I baked mine a bit longer since they weren’t deeply browned and crispy at the 15 minute mark. Remember - all ovens are different! Let cool then recut or break apart and enjoy.

Steve and I found them very tasty with a schmear of hummus or a nice slice of Cotswald cheese. Yum. One note - the medium grind cornmeal that I used for “dusting” the parchment sheets had too much coarse crunch for our tastes. I’d suggest using either fine-grind cornmeal or semolina to 86 that problem.

They keep well in a closed container for a good week. Try ‘em, you’ll like ‘em.

Have a wonderful week!

Favorite garnishes part 3: easy brittles (and Happy New Year!)

Moelleux chocolat/mascarpone cream/sesame brittle

I freely and proudly admit that I’m a dough loving gal in the pastry kitchen. Give me tart dough, puff pastry, croissant and Danish dough, yeast breads (lean and enriched) and shortbread and I’m a happy camper.

Other than the occasional chocolate nut bark or cluster, soft caramel or chocolate truffle, candy making isn’t something I do often. But, particularly when it comes to a tasty garnish, there’s nothing like a snappy brittle to brighten up one’s day. Not only great for a small snack when you’re craving a hint of sweet crunch, they’re a wonderful way to dress up small cakes, custards, ice cream, tarts . . . . . . . . I think you know where I’m going with this.

Here I’ll focus on what has become my go-to-perfect-for-garnsh brittle recipe, compliments of Yotam Ottolenghi”s book “Sweet”. So straight forward with nary any muss nor fuss with candy thermometers or sugar cooking stages. Let’s keep it easy!.

Ottolenghi’s sesame brittle

Here’s a previous post with the recipe and one of the ways I’ve used it. And here’s the recipe again with a printable PDF here.

  1. Toast 125 g sesame seeds (mix of 1/3 black and 2/3 white or all white like I did) either in the oven at 325ºF for about 10 minutes until nicely brown, stirring occasionally, or in a skillet on medium-low on the stove top. Do what you're most comfortable with. Set aside. Increase the oven temp to 350ºF.

  2. Have two half sheet pans and four pieces of parchment (or two parchment and two silicone mats) at the ready.

  3. In a medium saucepan put 100 g granulated sugar, 100 g light corn syrup, 50 g unsalted butter and 1/8 teaspoon salt. Stirring constantly on high heat, blend the mixture and bring to a boil. Remove from the heat and stir in the toasted sesame seeds.

  4. Put two pieces of parchment (or Silpat!) on a heat proof surface (I used two overturned half sheet pans) and pour half of the sesame mixture on each. Cover with the other parchment pieces and roll with a rolling pin until about 1/8 inch thick.

  5. Slide the paper with the sesame caramel onto half sheet pans and remove the top layer of parchment. Peel it back gently, using an oiled silicone spatula to push down any caramel that might stick. Bake for about 20 minutes until nicely browned. Remove from oven, cool and break into shards.

Oiled spatula to hold the brittle down while removing the parchment

Bubbling away in the oven

Out of the oven

Pumpkin custard tart with sesame brittle from a Thanksgiving past

I also made a HALF recipe of a cocoa/cacao nib version by subbing cacao nibs (60 g in this case) for the sesame seeds and adding 10 g sifted Dutch process cocoa powder into the sugar/butter mixture along with the nibs. It’s another great addition to teacakes and ice cream as well as a garnish or crunchy layer for desserts, particularly when you need a bit of chocolate-ness.

Note: the cacao nibs I use are pretty chunky so I put them in a zip-top bag and pound them with the smooth side of a meat mallet to crush them up. It works!

Cacao nib version

These brittles come out thin and crispy without fear of any tooth-sticking pull. They store nicely in single layers between pieces of parchment or waxed paper in a well sealed container (ideally in a cool/non-humid environment) and can also be frozen for several weeks.

Get creative with your own version. I’ve done one with puffed rice. Finely chopped nuts of choice are always an option and crushed pumpkin seeds aren’t bad either.

Before I go, here’s a quick tart project I did to use up some leftover components in my fridge and freezer. I had enough dough for a few small tarts; some dark chocolate ganache (3 parts cream to 2 parts chocolate); a handful of petite, frozen ricotta custard rounds from an earlier project; some thawed roasted Michigan strawberry purée that I had used for our Christmas Eve dessert (more on that later); a little bit of white chocolate to make a loose ganache for whipping; plenty of cacao nib brittle.

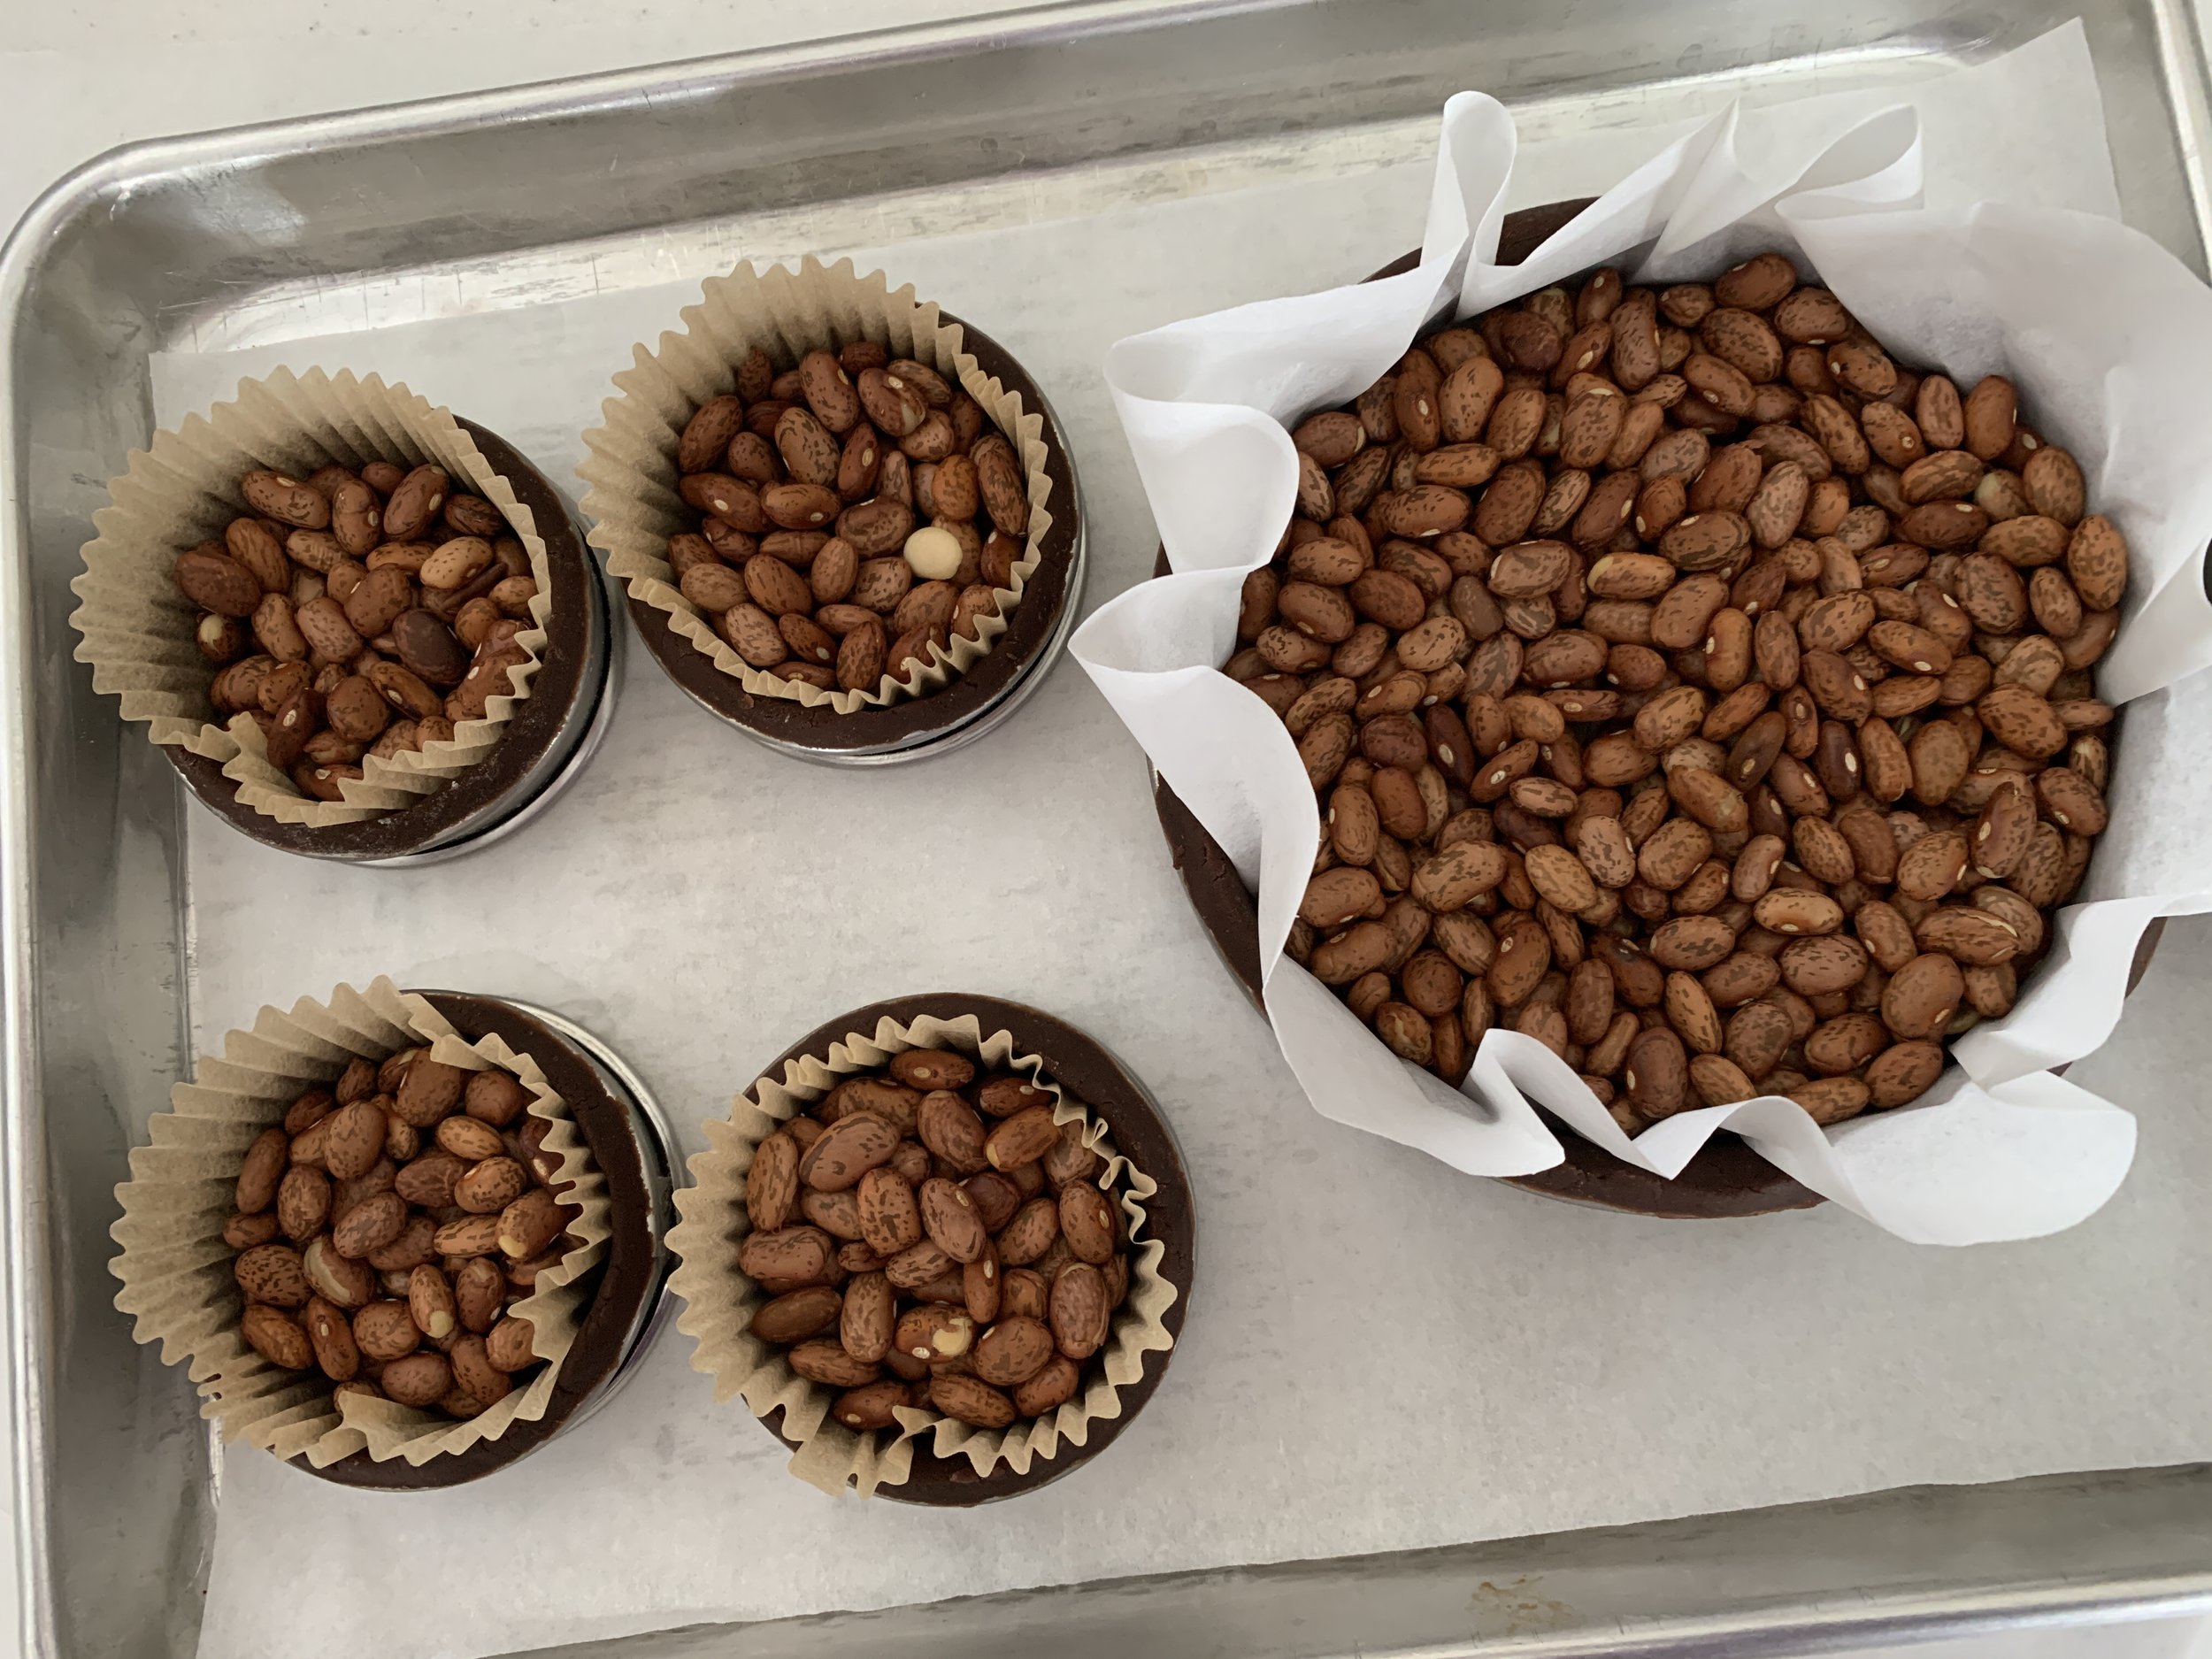
I blind baked some chocolate tart shells with my favorite chocolate tart dough - one 140 mm “sharing” size and four 65 mm individual sizes. TIP: this is a good plan ahead step since you can freeze blind baked tart shells for days.

Two of the smaller tarts served as a quick dessert after the Christmas holiday, filled with ganache, topped with whipped cream and crushed nibs. So tasty.

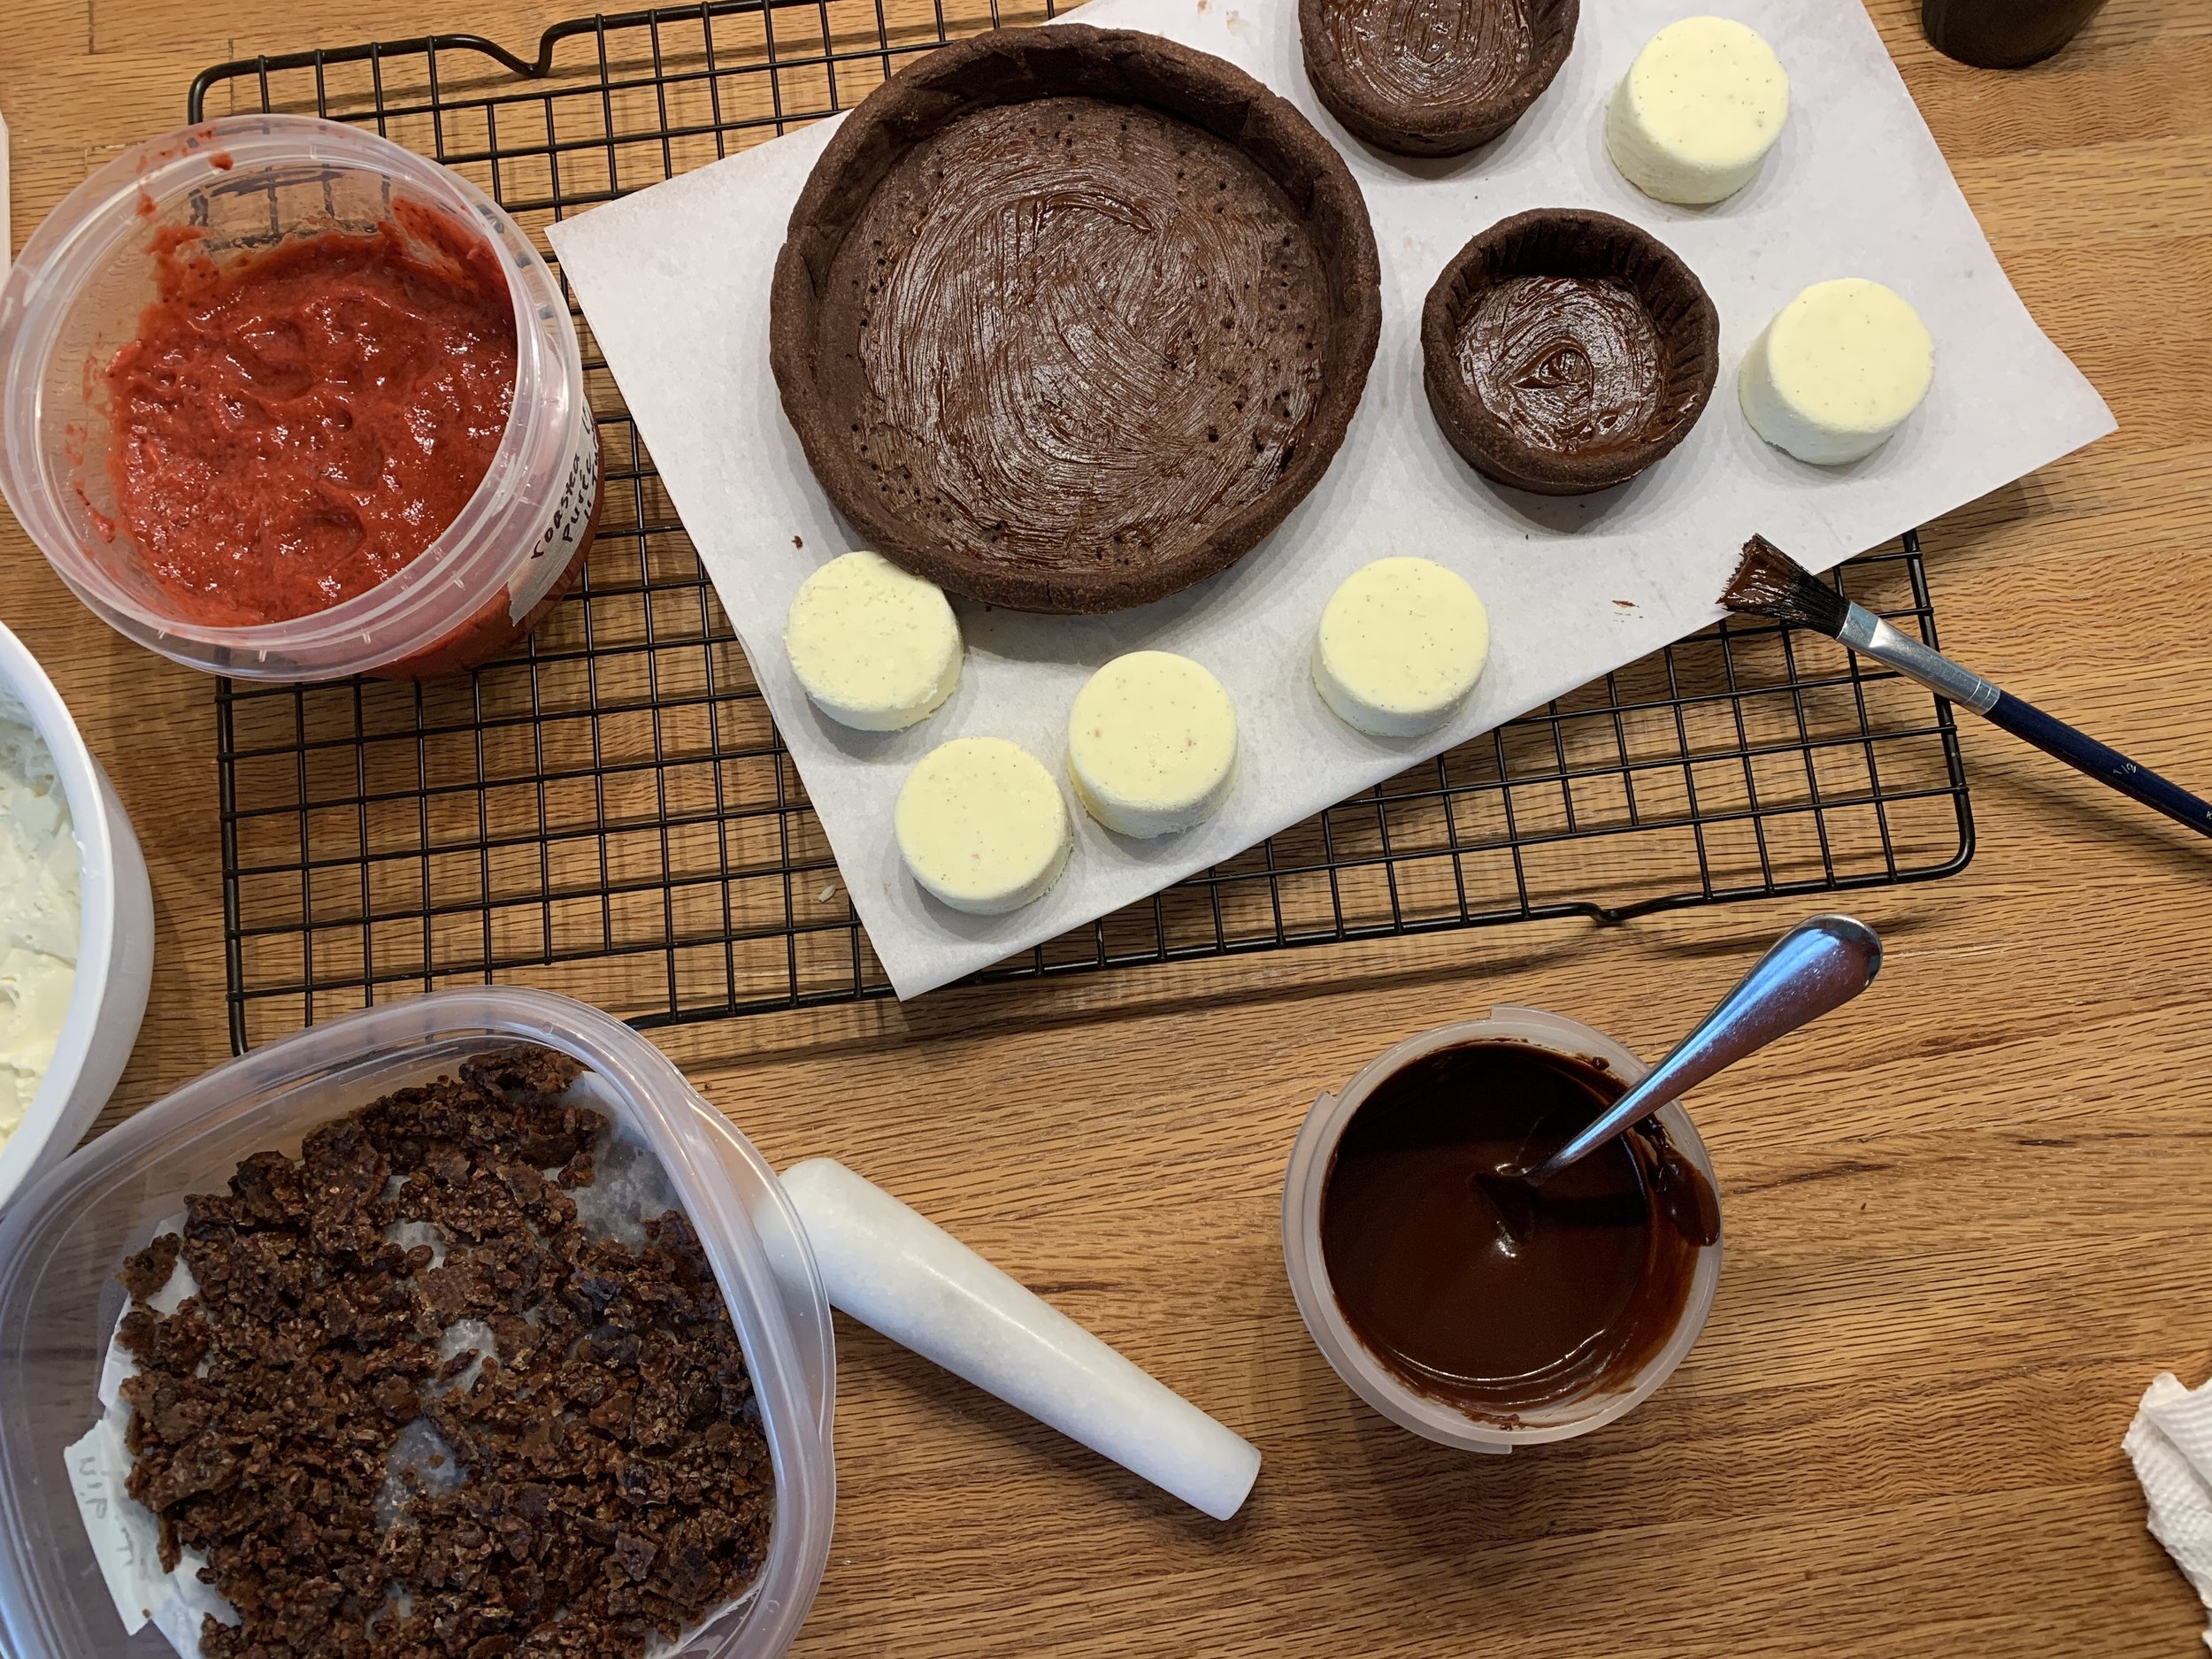
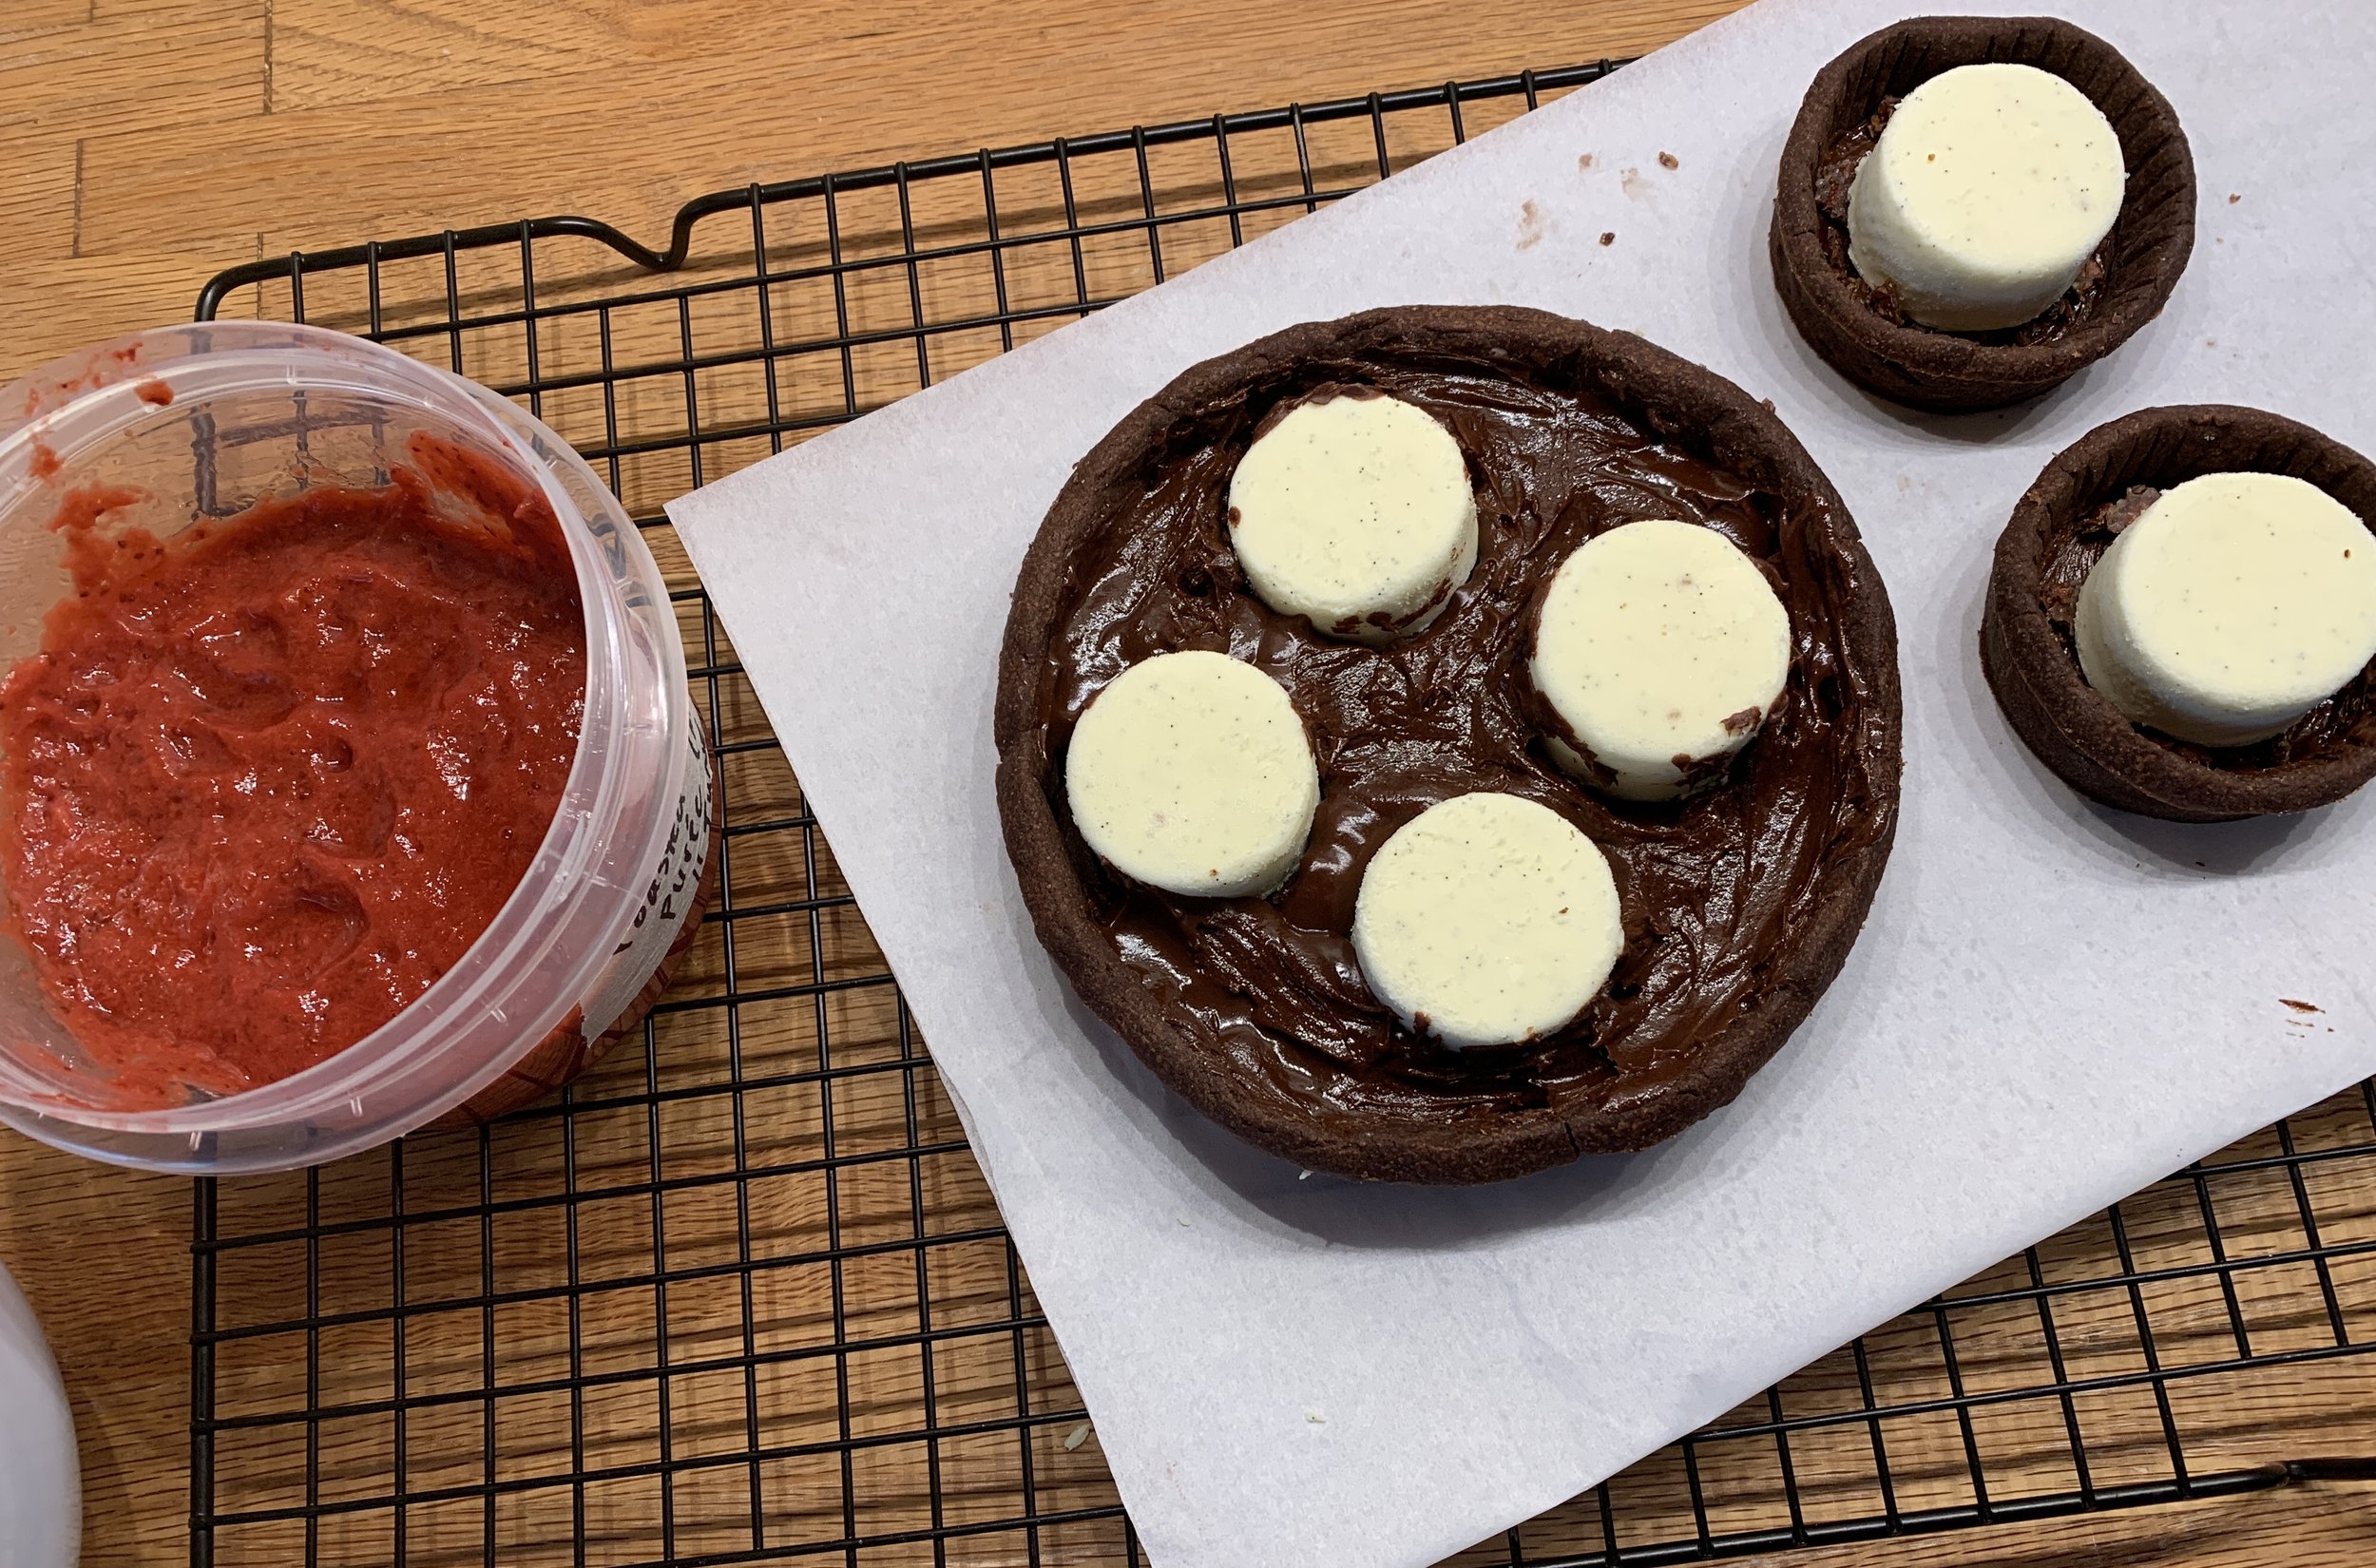
For the remaining tarts I brushed some dark chocolate ganache on the bottoms . . . . . .

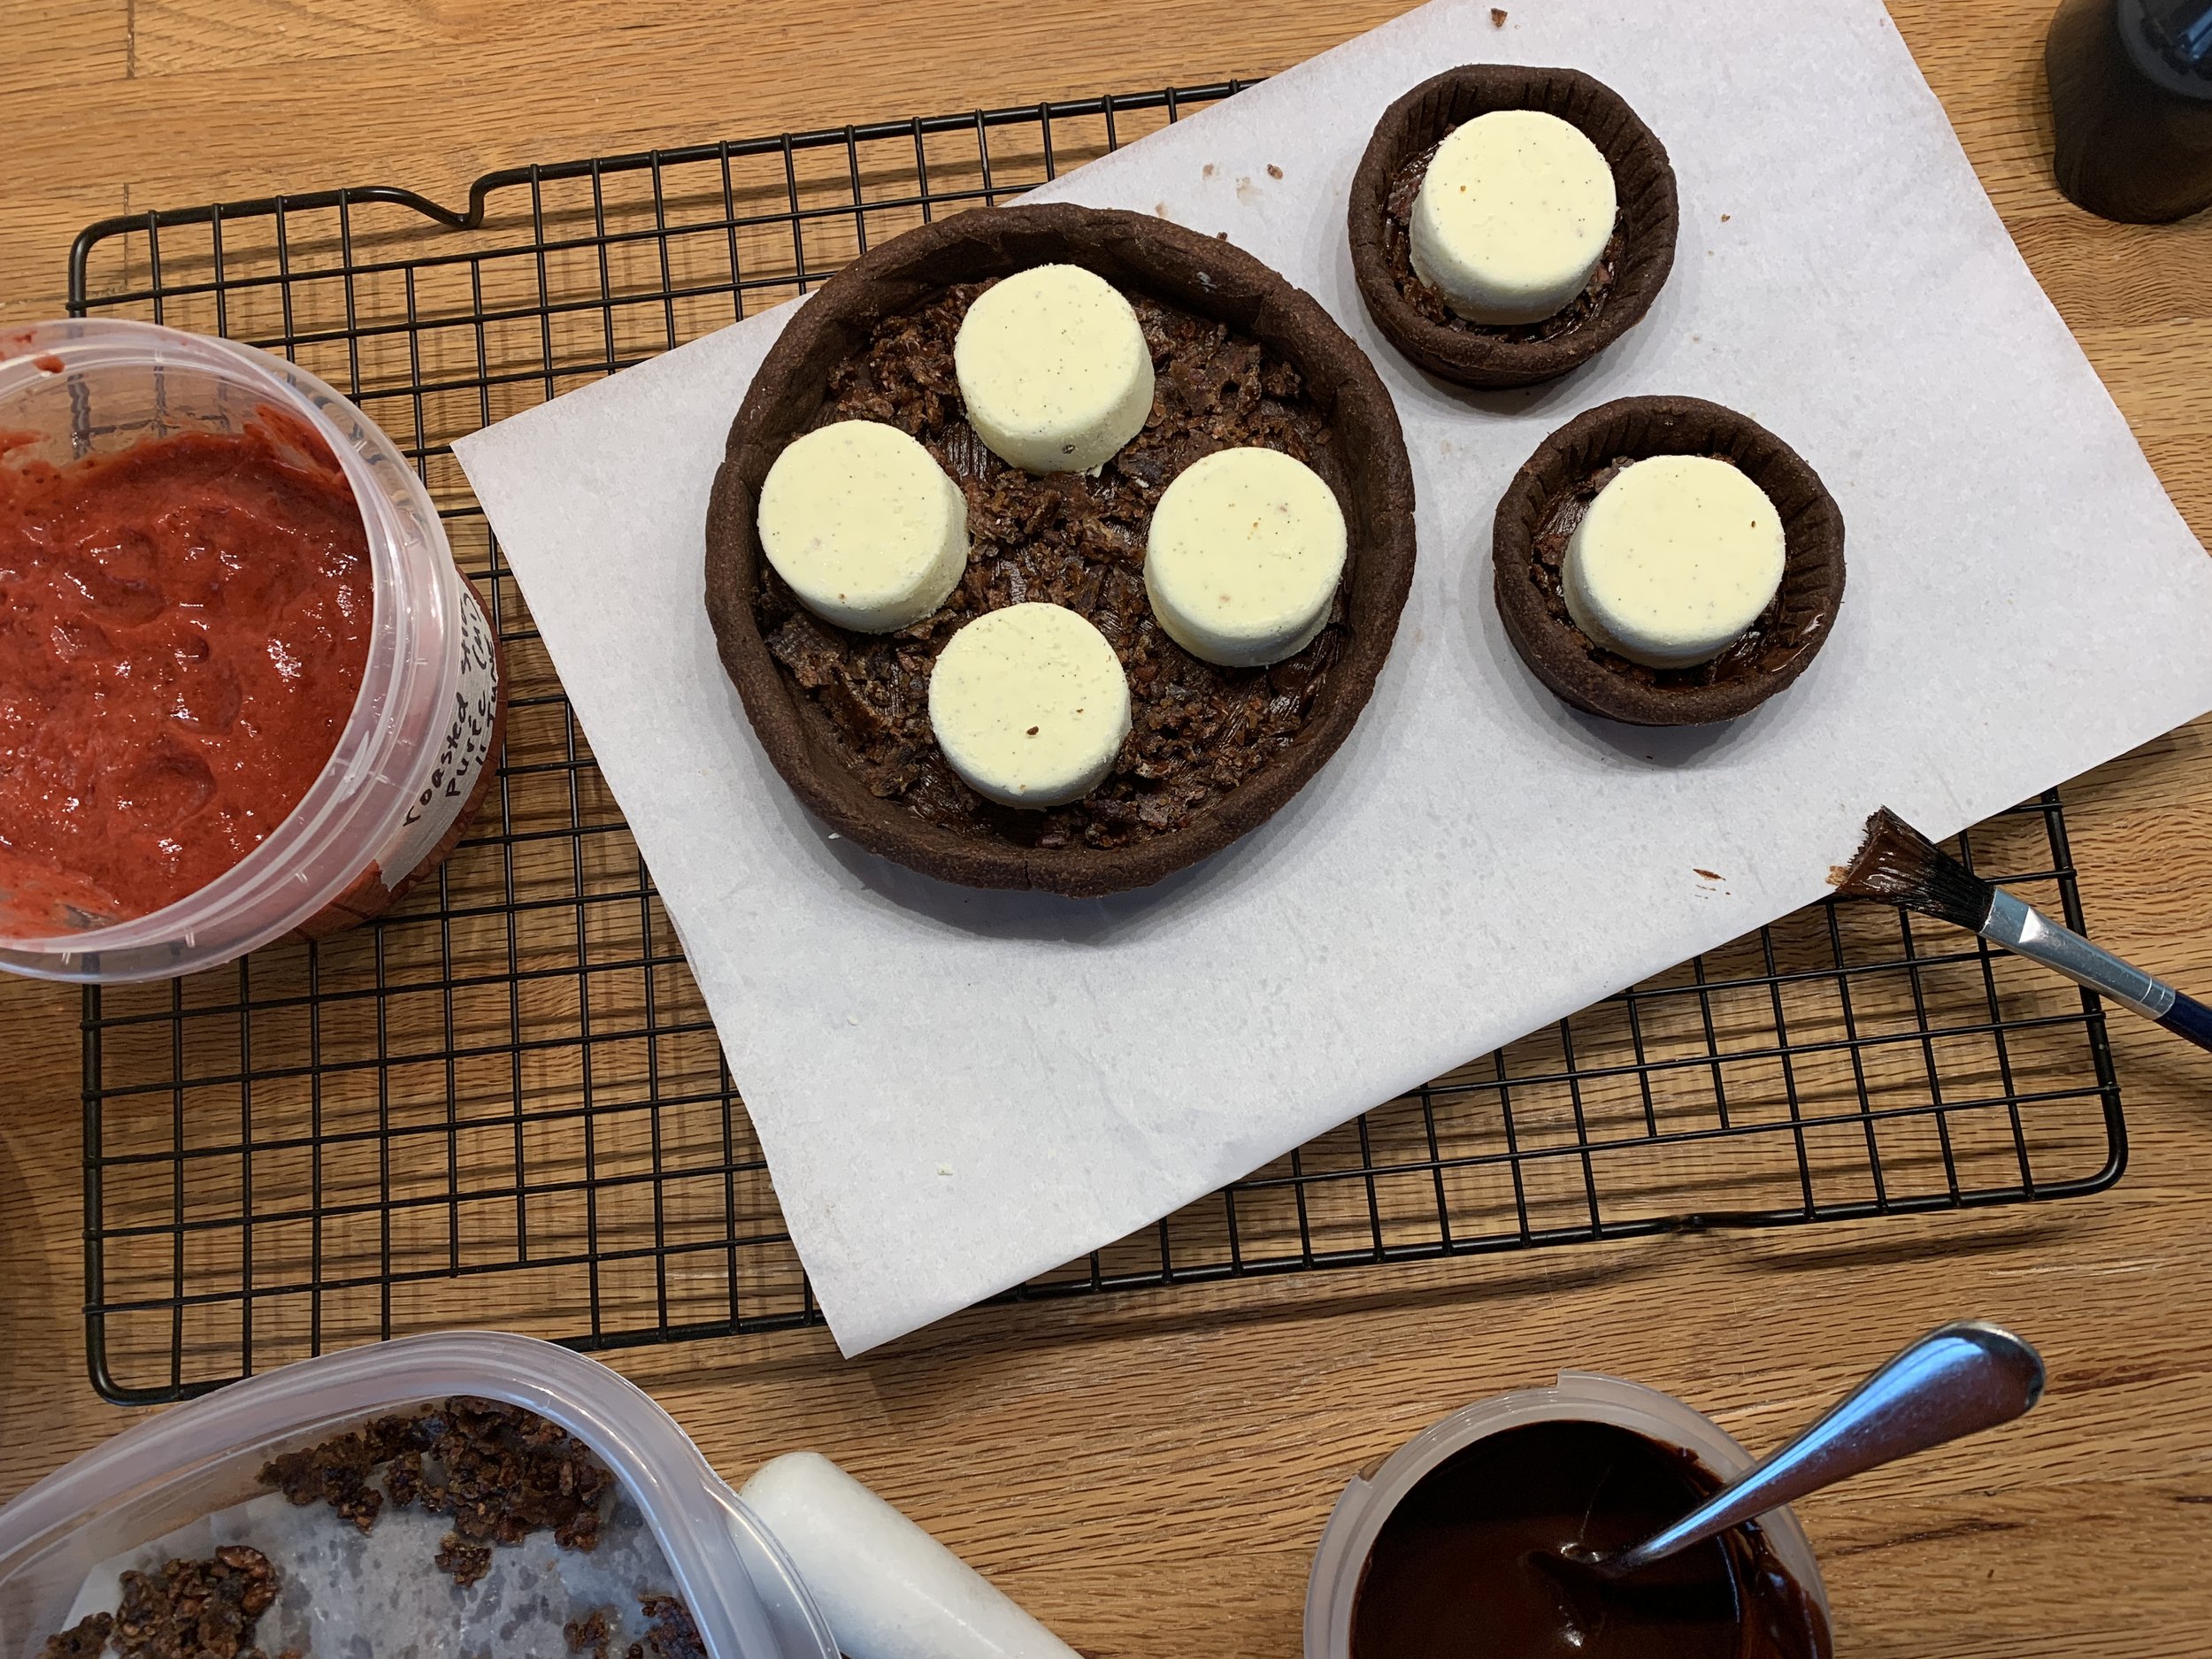
then sprinkled crushed cacao nib brittle over the chocolate and popped in the frozen ricotta rounds (they thaw pretty fast but hold their shape).

I spooned the ganache around as best I could. It’s a tad messy but will be covered up so no one’s the wiser. You could pipe it in too but I wasn’t in the mood.

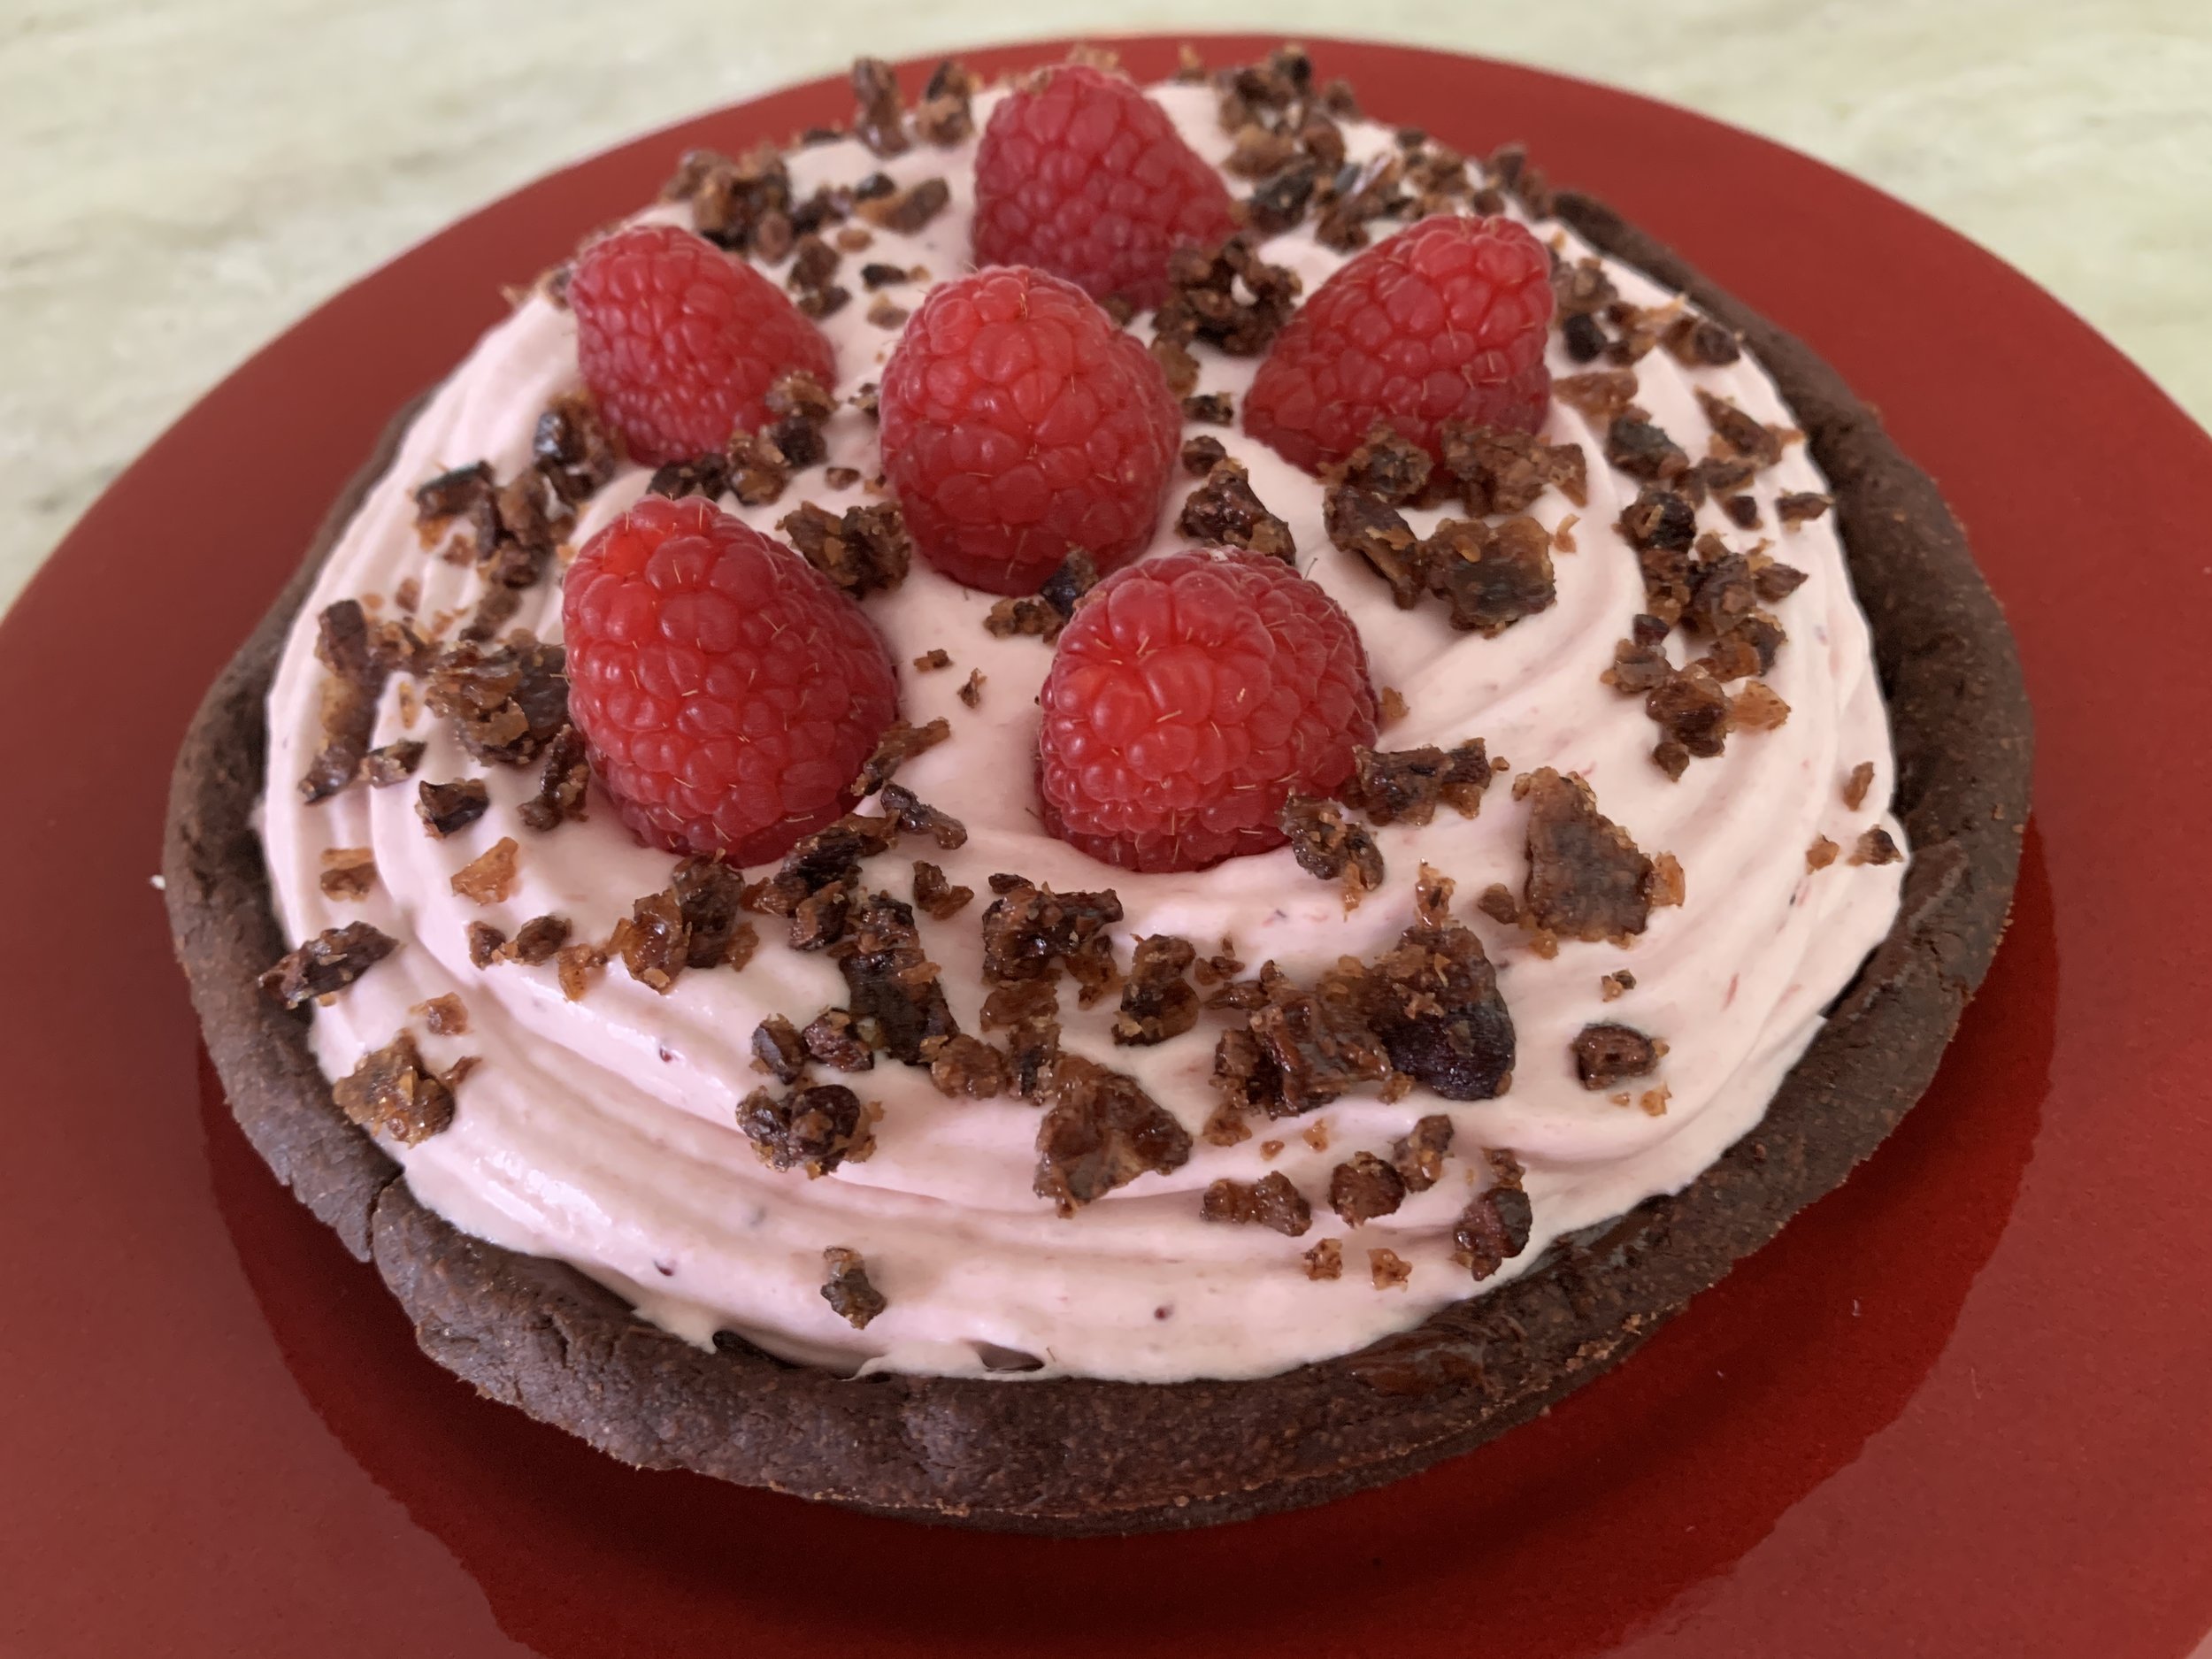
I added a generous soup spoon full of strawberry purée to the chilled white chocolate ganache (used 120g heavy cream to 40 g white chocolate) and whipped it up to soft peaks. For the sharing size tart I piped the cream around and over the ricotta discs then topped with fresh raspberries and more crushed nib brittle.

Et voilà - our New Year’s Eve dessert!

Triple chocolate tart with berry cream

Psst . . . . the smaller tarts were used as taste tests. I was able to spread the softened ricotta flush into the tartelettes then top with a bit of berry cream and nib brittle for a midday snack that Steve and I so enjoyed. Yum - the chocolate crust and ganache with the smooth ricotta custard, hint of berry cream and crunchy nibs is just divine.

Happy New Year everyone and may 2022 bring us new adventures and peaceful, happy days!

I’ll leave you with just a hint of the lovely holiday displays at nearby Meijer Gardens


Rye buns

IMG_4527.jpg

These buns are a true delight! Based on a recipe from “Brontë at Home: baking from the Scandi Kitchen” by Brontë Aurell, they come together like a dream, are great for any type of sandwich, have a lightness about them yet are sturdy enough to hold up to the juiciest grilled burger (which Steve’s tend to be!).

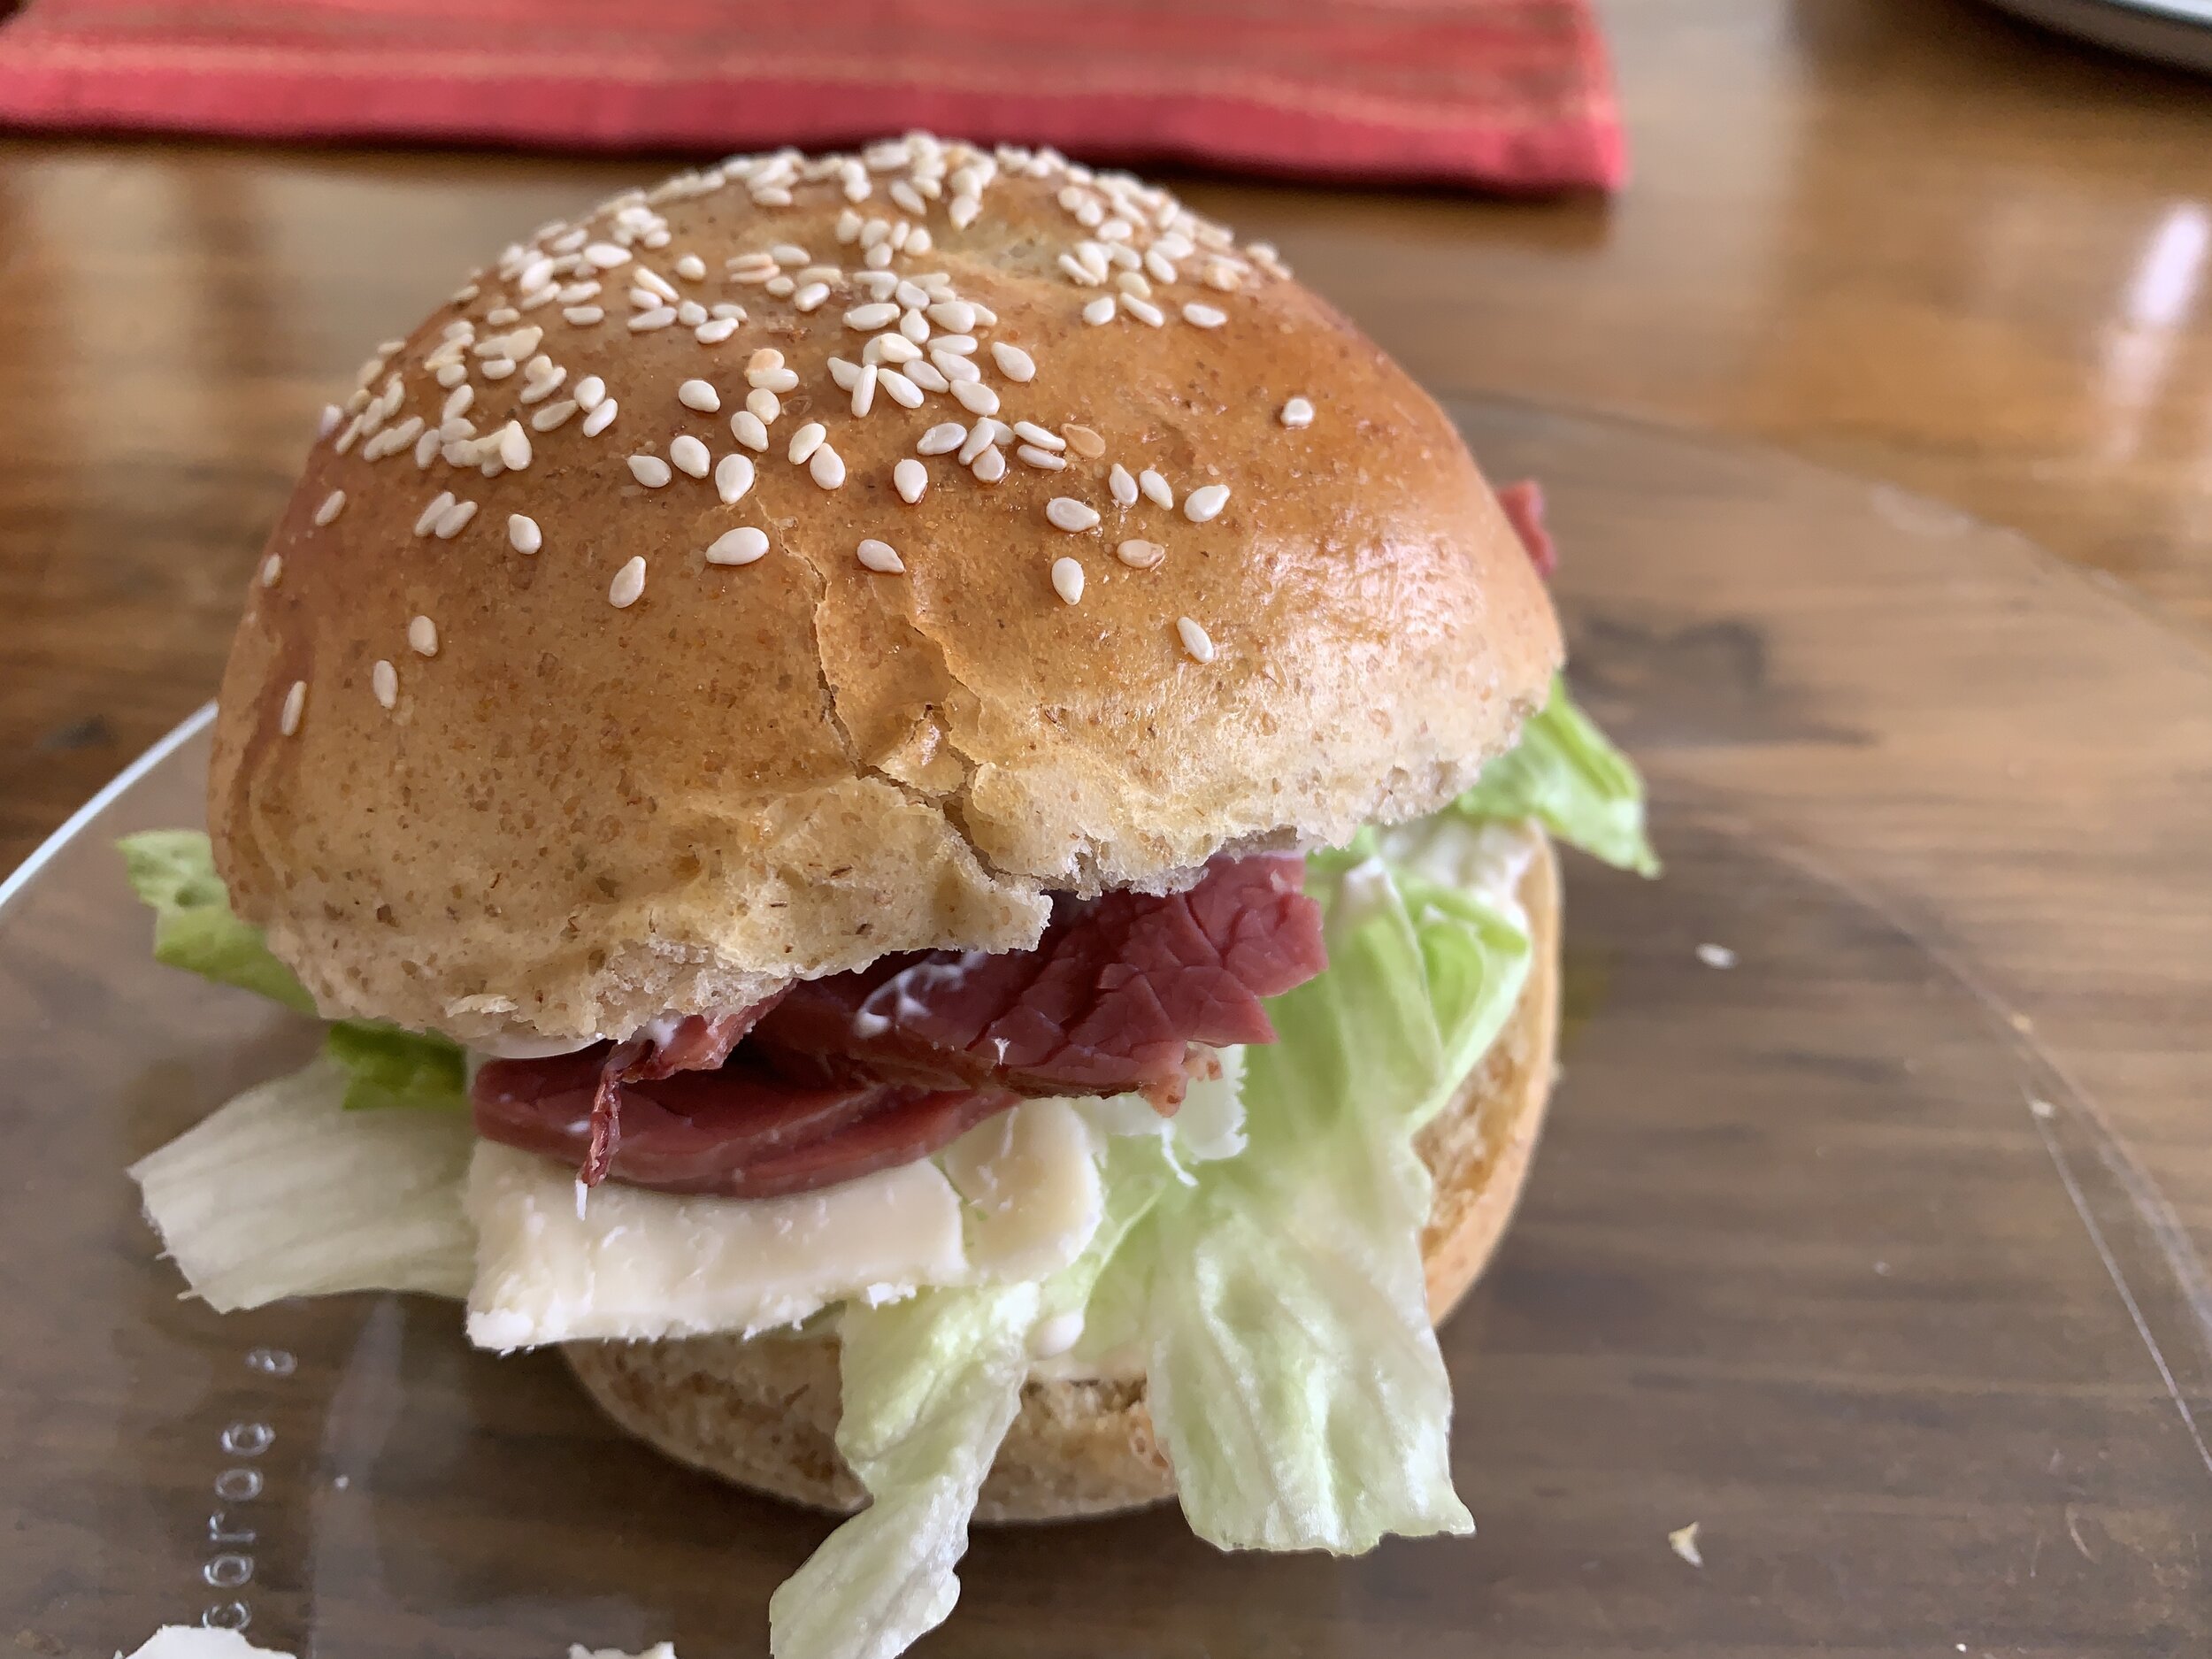
We’ve discovered that they’re great with most any sandwich you can dream up - one of our favorites is thinly sliced dried beef from our local Kingma’s market (no not the stuff you buy in packages in the cold meat section) with crisp lettuce and a schmear of mayo - yum! And a bit of cheddar never hurt either!!

IMG_0120.JPG

Here’s an interesting bit of trivia: in Aurell’s book she mentions these buns are especially good for Biff Lindström. Now what in the world is that I ask? Biff is the Swedish word for beef and, as it turns out, there’s a Swedish specialty named after one Henrik Lindström, a prominent industrialist back in the 1800s. It’s a fried burger made with ground beef, egg, onion, pickled beetroot and a bit of its juice, capers, seasonings (salt and pepper) and optional chopped chives. Hmmm . . . . not being a beet fan, I’m not sure I’ll go for that one, but you might like it - you never know!

Even though they’re called rye buns and contain dark rye flour, these buns have only the teensiest hint of rye flavor. That’s neither good nor bad, just a simple observation.

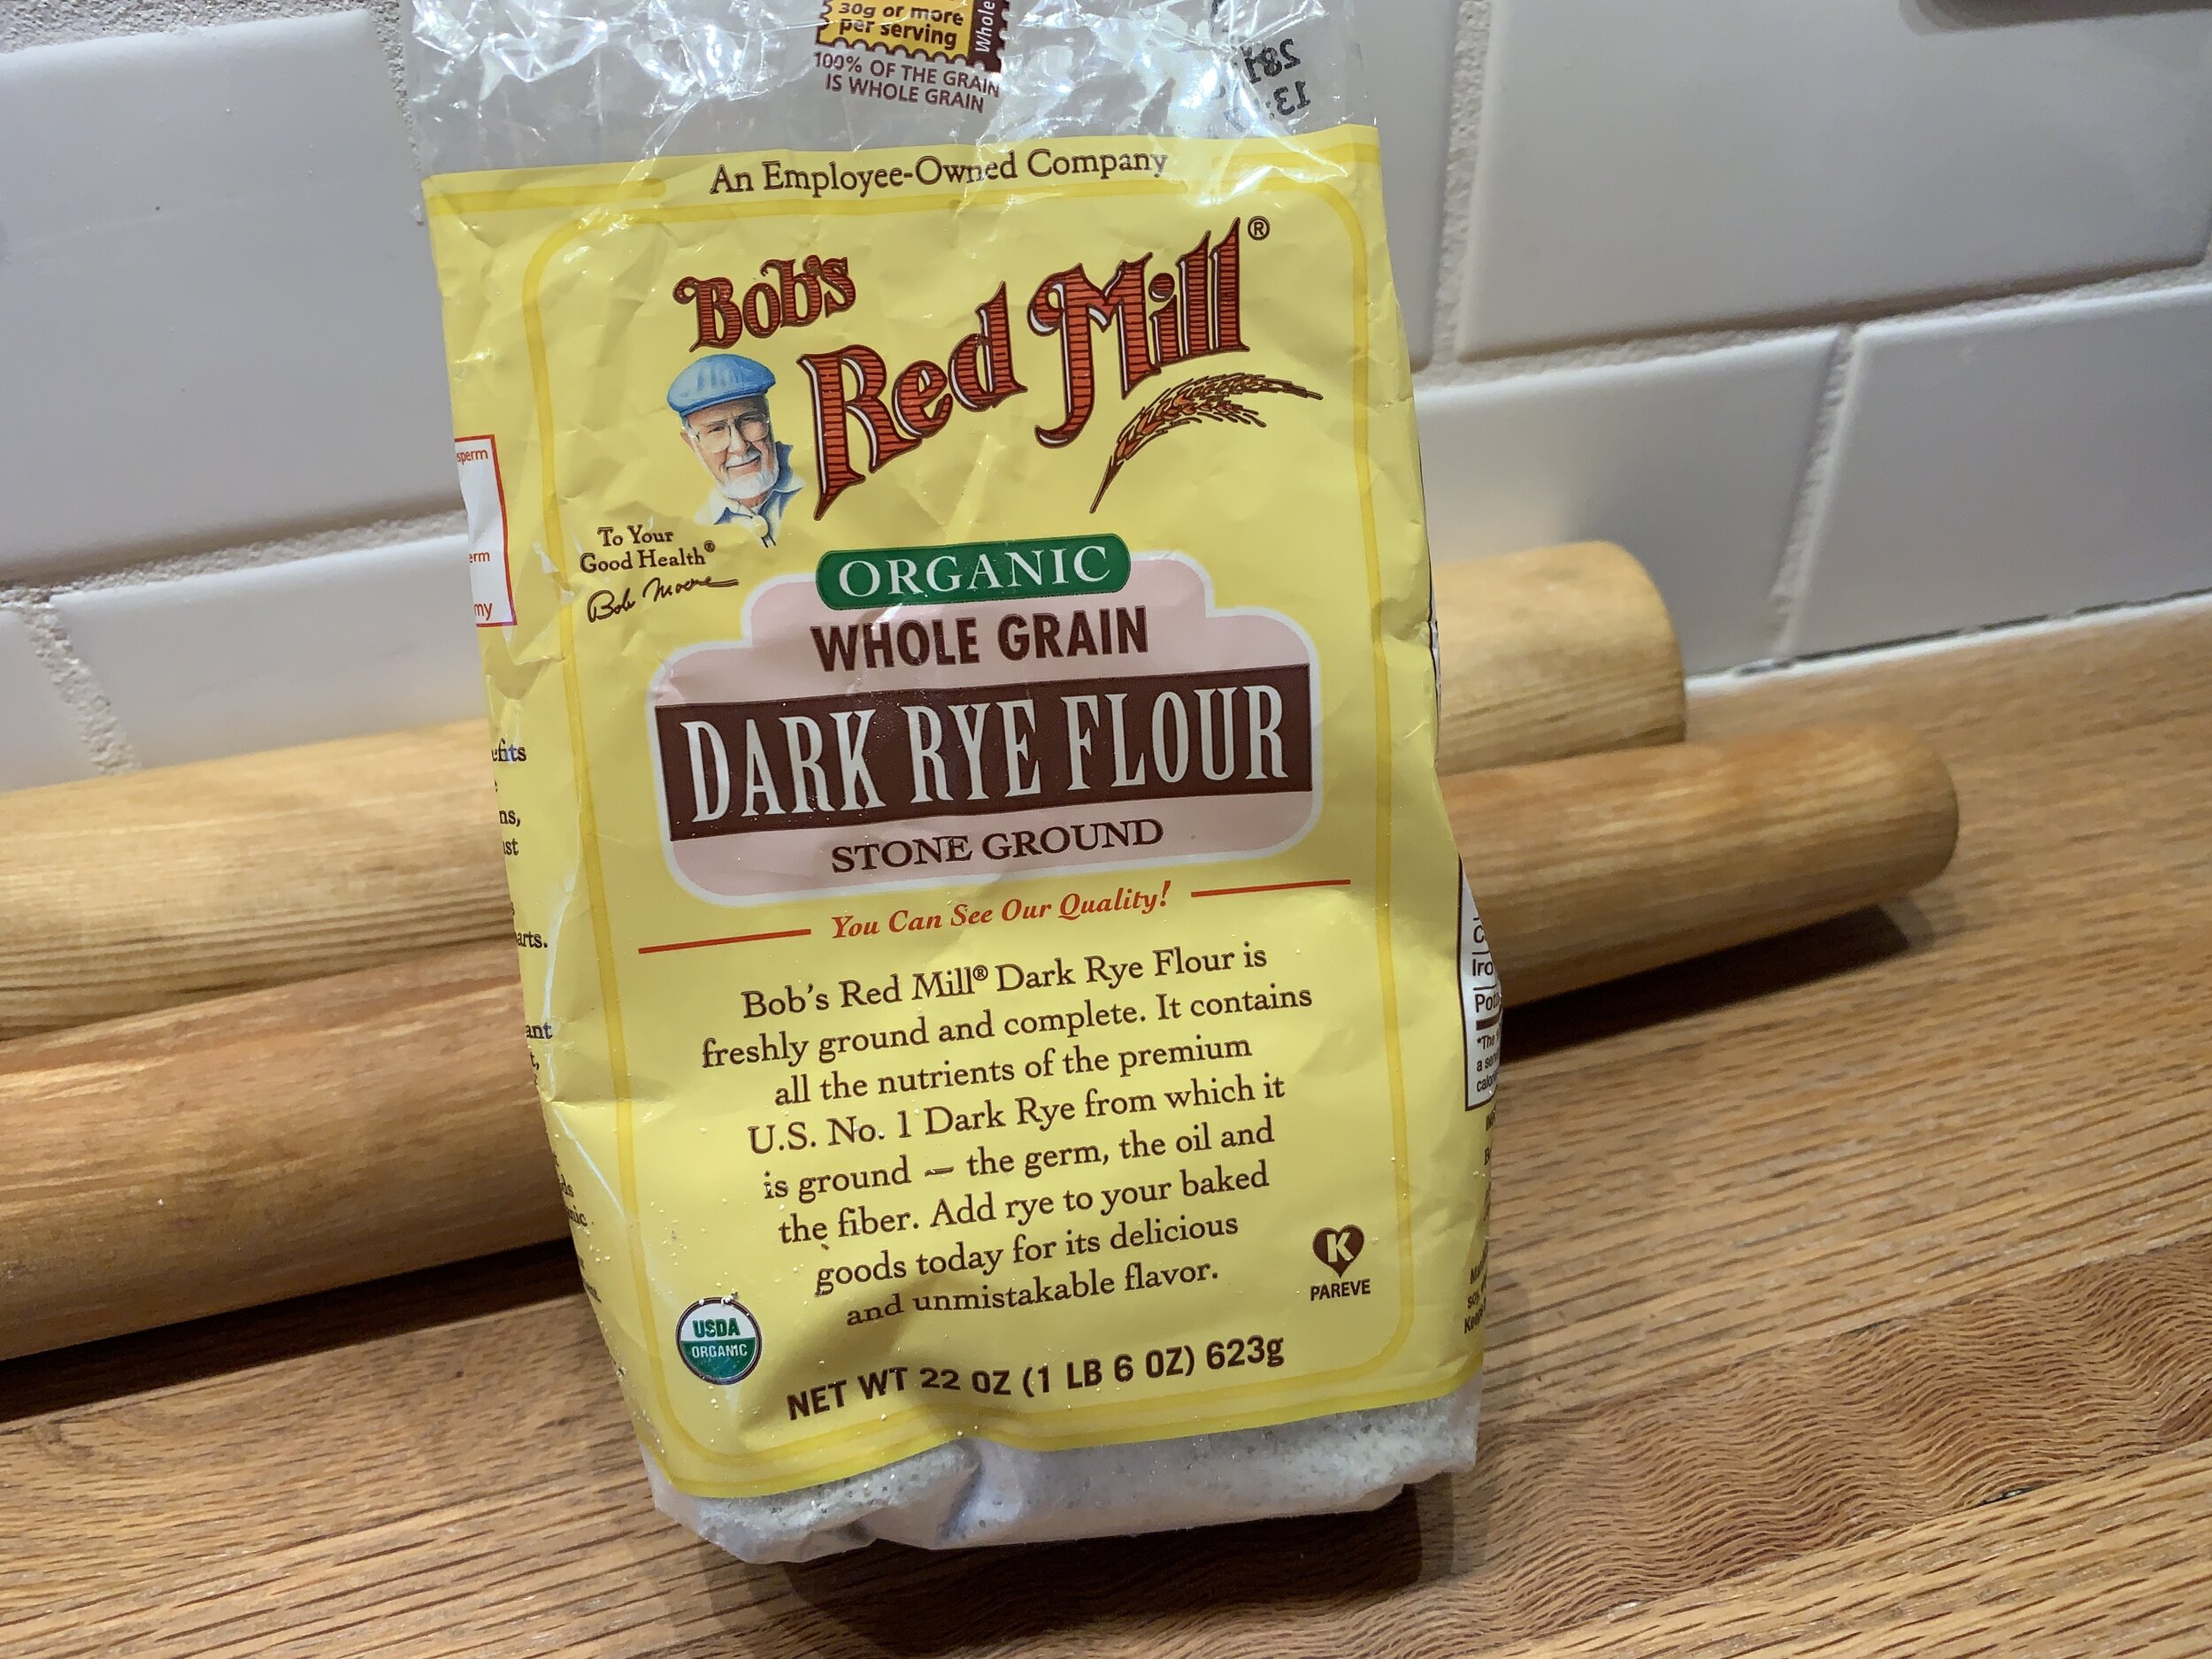
For this project I used Bob’s Red Mill, a line of wonderful flours readily available at local markets around here. While I’m a big fan of King Arthur Flour’s range of products and can buy the standards (i.e. all purpose, bread, whole wheat, white whole wheat, self rising and even the sprouted wheat) at the grocery store, their specialty flours have to be ordered from the company which obviously requires some planning ahead. Cue Bob’s - yes!

IMG_0039.JPG

The range of rye flours available go from white/light rye, medium rye, dark rye and pumpernickel. Here’s a great overview of rye from King Arthur Flour. Since rye flour doesn’t contain as much gluten as its wheat flour counterparts, for a better rise and lighter texture it’s best to combine it with all purpose. Using all rye flour makes for a dense loaf, plus the larger percentage of rye you use in your bread, the slower the rise.

No matter - this recipe works. You can accomplish it in a morning or afternoon and have fresh buns for supper. What’s not to like. Here’s the link to the recipe in PDF form.

I use instant yeast as my go to dried yeast. It doesn’t require jump starting in tepid liquid like active dry does, however, if you’re proceeding with the recipe to complete that day, it’s doesn’t hurt to give the instant yeast a little bath in the warm liquid - gets it going just a tad faster.

IMG_0063.jpg

In the bowl of a stand mixer fitted with the dough hook, mix 10 g / ~3 teaspoons instant yeast with 160 ml (2/3 cup) EACH of tepid water and whole milk. Let stand 10-15 minutes to become frothy. Add 50 g (1/4 cup) light brown sugar and mix until dissolved.

Have 200 g (1.5 cups) dark rye flour and 390 g (3 cups) of white bread flour at the ready, as well as 1.5 teaspoons salt, 1 large egg, 84 g (6 tablespoons) softened unsalted butter.

On low speed add the rye flour to the yeast/milk mixture along with the salt, then the egg and butter. Increase speed to medium low and start adding the bread flour. You may not need all of it. Continue to mix for about 5 minutes.

IMG_0068.jpg

You’re looking for a slightly sticky dough that’s pulling away from the sides of the bowl. FYI - I did end up using all of the bread flour.

IMG_0064.jpg

Place dough in a lightly oiled bowl, cover with plastic wrap and let rise in a warm place about an hour until doubled.

Before the first rise

Before the first rise

After the rise

After the rise

Turn the dough out on a lightly floured work surface, gently knead to form a log that you will then divide into your chosen sizes.

IMG_0079.jpg

Note: the recipe yield will vary depending on the size you wish to make. For example, if making 9 buns (as the base recipe suggests), each one comes in at a hefty 122 g (4.25 ounces) which is a bit too generous methinks. For my first batch I chose 85 g (3 ounces) which gave me a yield of 13 buns, but since Mr. Steve prefers his burger buns a little larger, my second go-around yielded 11 buns at ~100g each.

Into the slider thing? Make them even smaller!

IMG_0080.jpg
IMG_0082.jpg

Shape each piece into a nice boule, place on a parchment lined sheet pan, cover with a damp towel or a lightly oiled piece of plastic wrap and give them a second rise for about 1/2 hour.

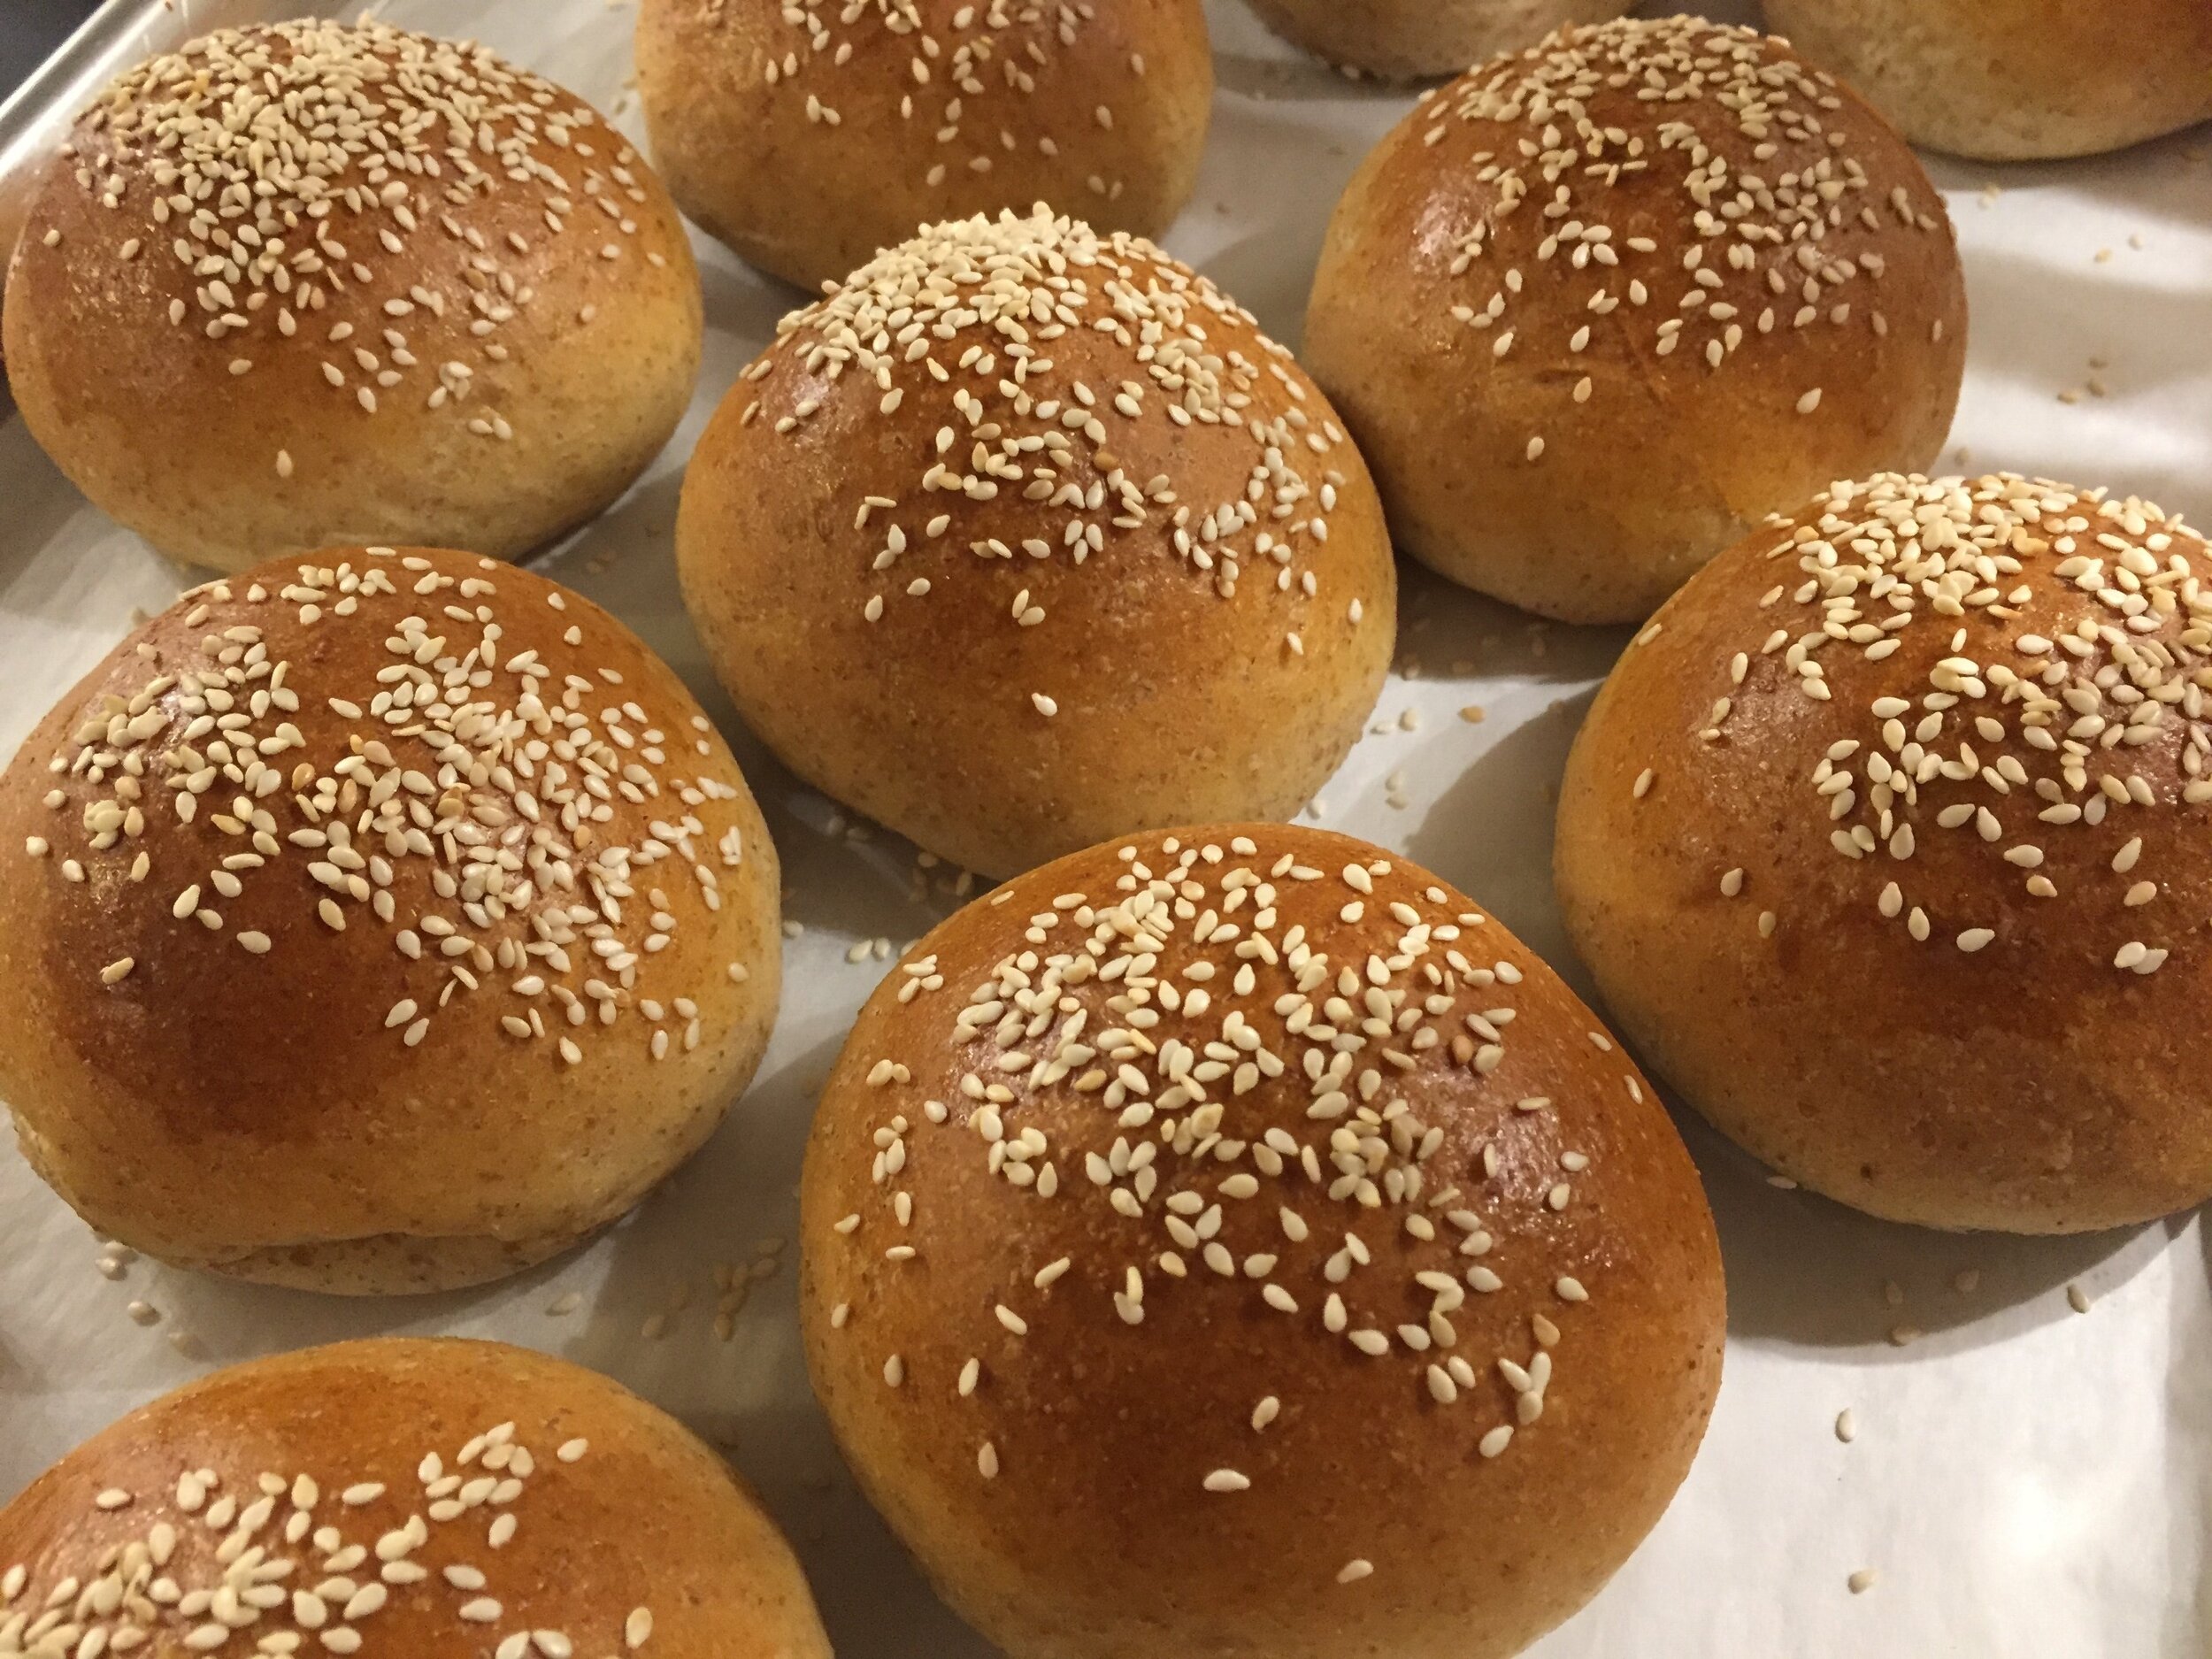
Meanwhile heat your oven to 350ºF. Brush lightly with egg wash and sprinkle sesame seeds (white or black or both) on top (or any seed mixture you like).

IMG_4524.jpg

Ms. Aurell suggests moisture in the oven during baking. Place the sheet pan of buns onto the middle rack and place a shallow heat proof pan with a cup or so of hot water onto the bottom rack. Bake about 13-15 minutes until golden and sound hollow when tapped on the bottom.

Great buns!!

IMG_4526.jpg

So far we’ve had grilled burgers on these babies twice and a couple of different sandwiches. Definitely a keeper. Give ‘em a try - you won’t be sorry.

IMG_0122.JPG