One great bread a few different ways

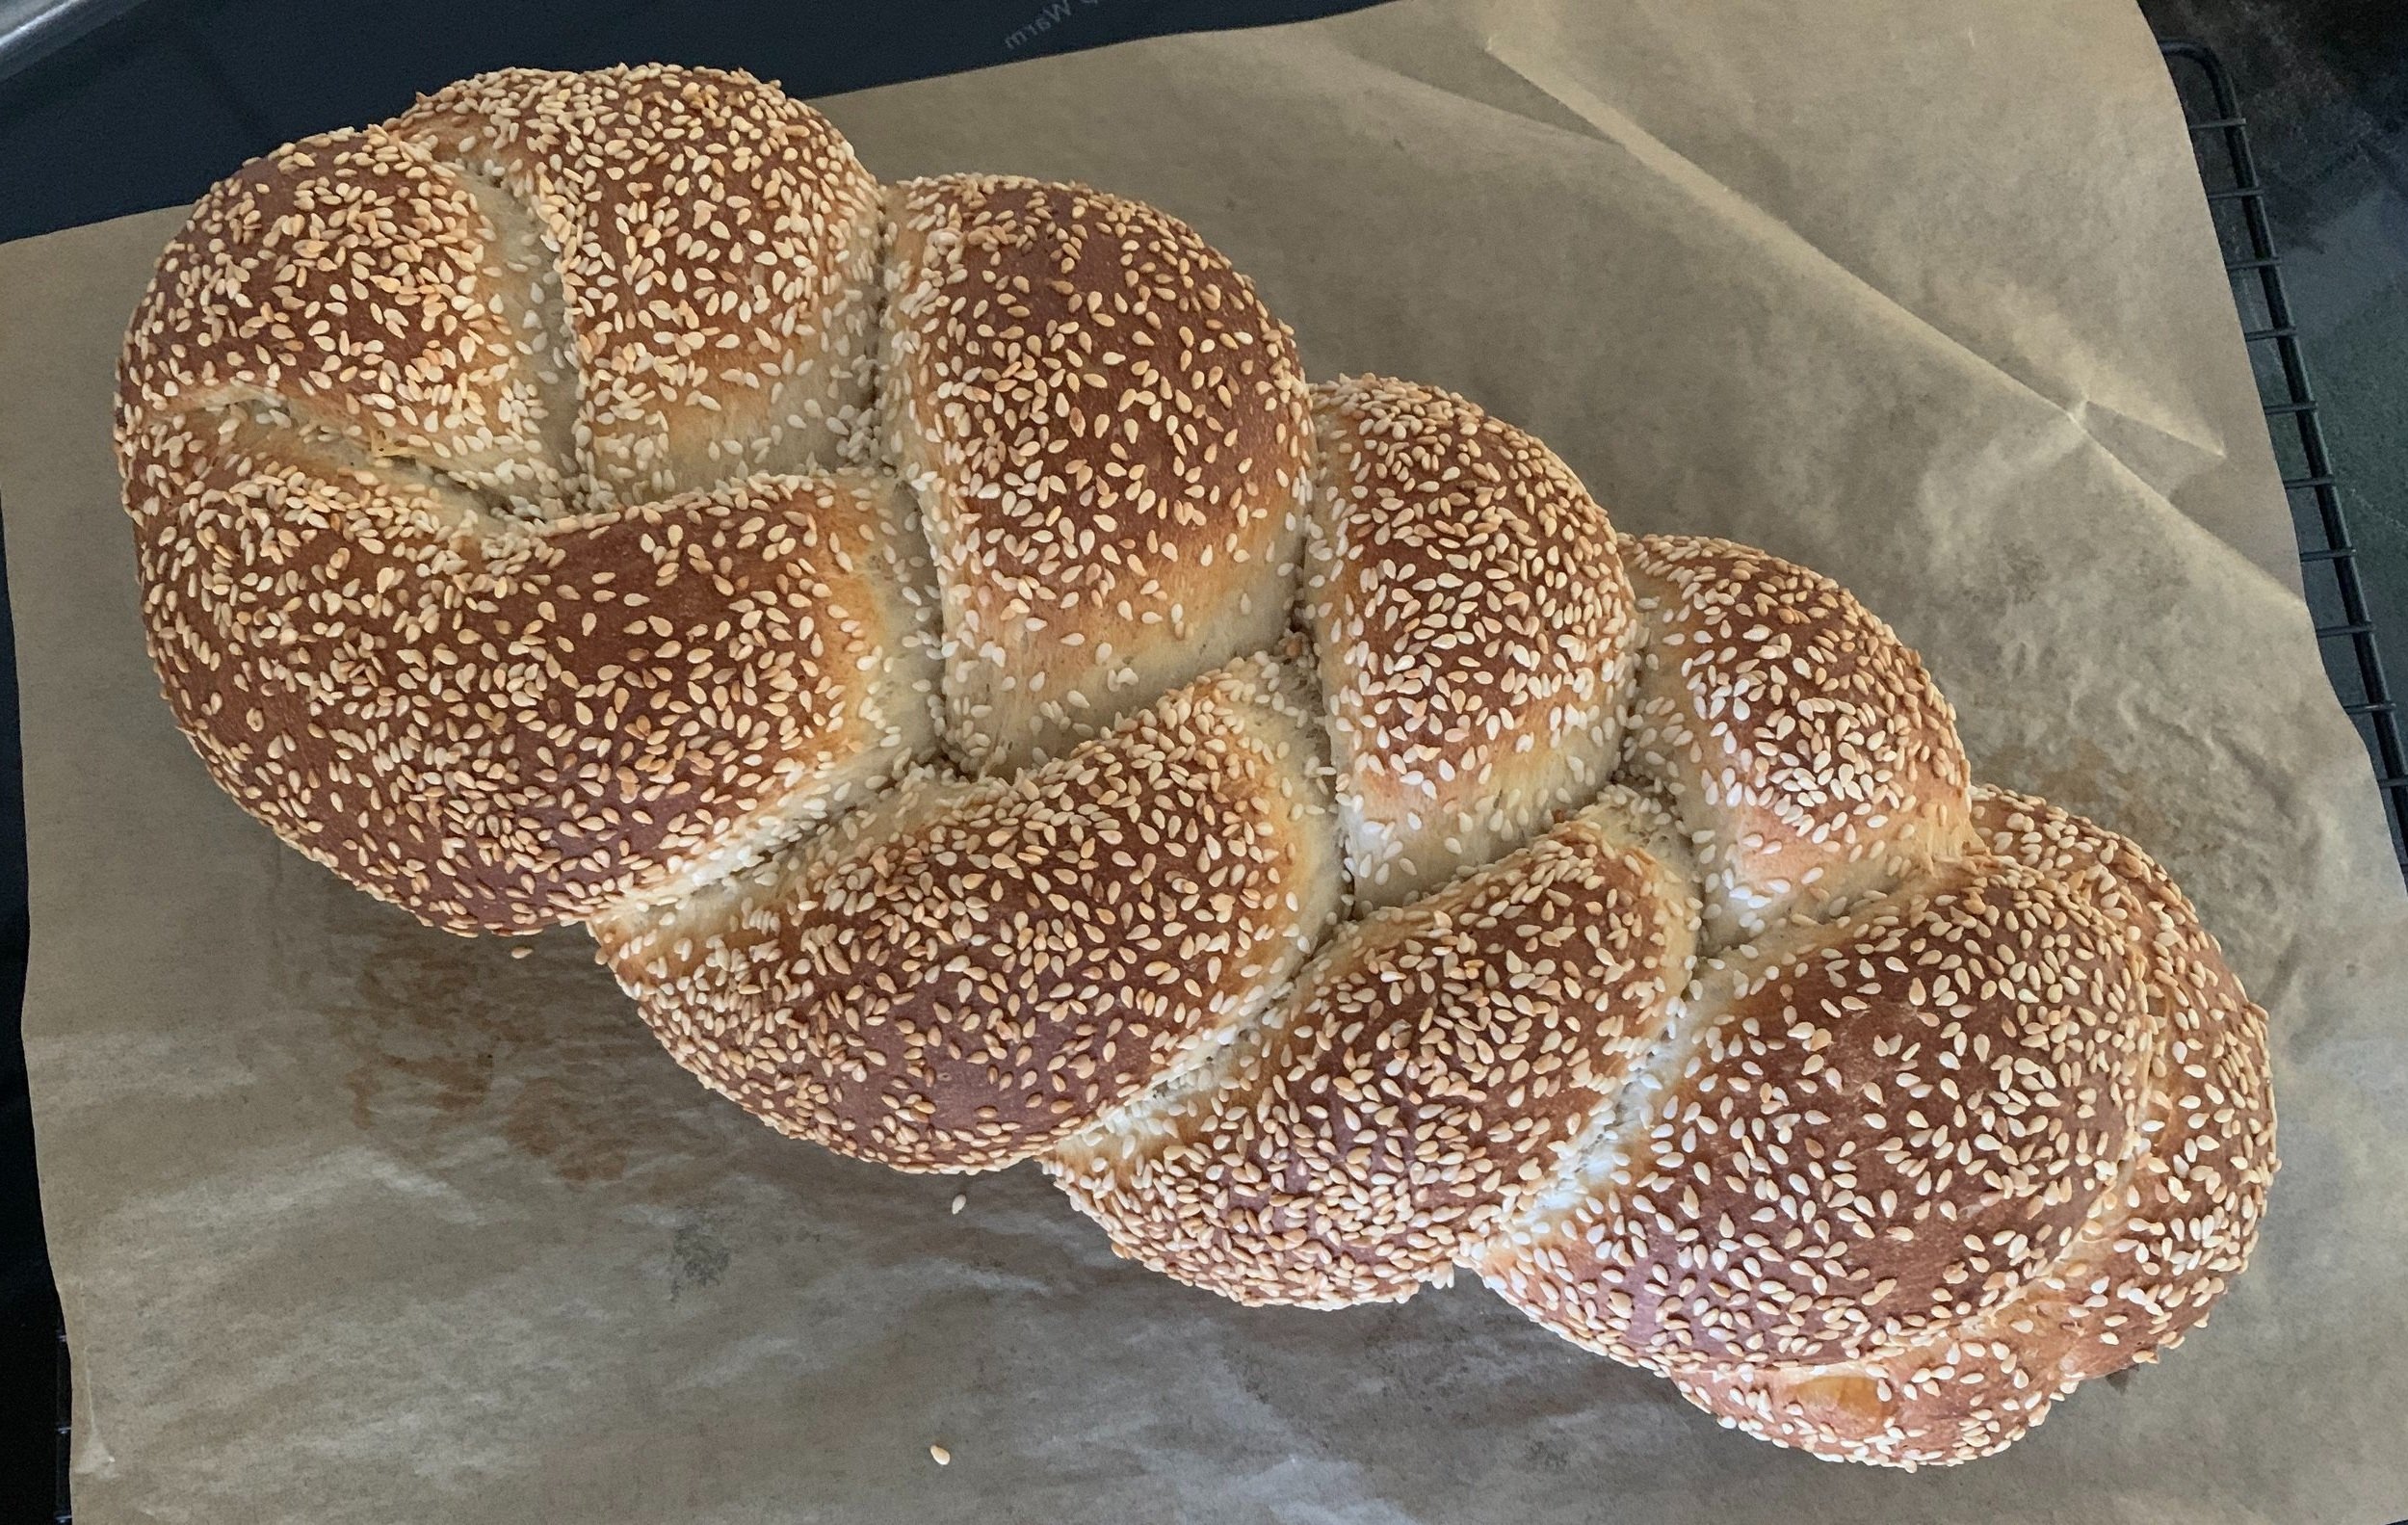
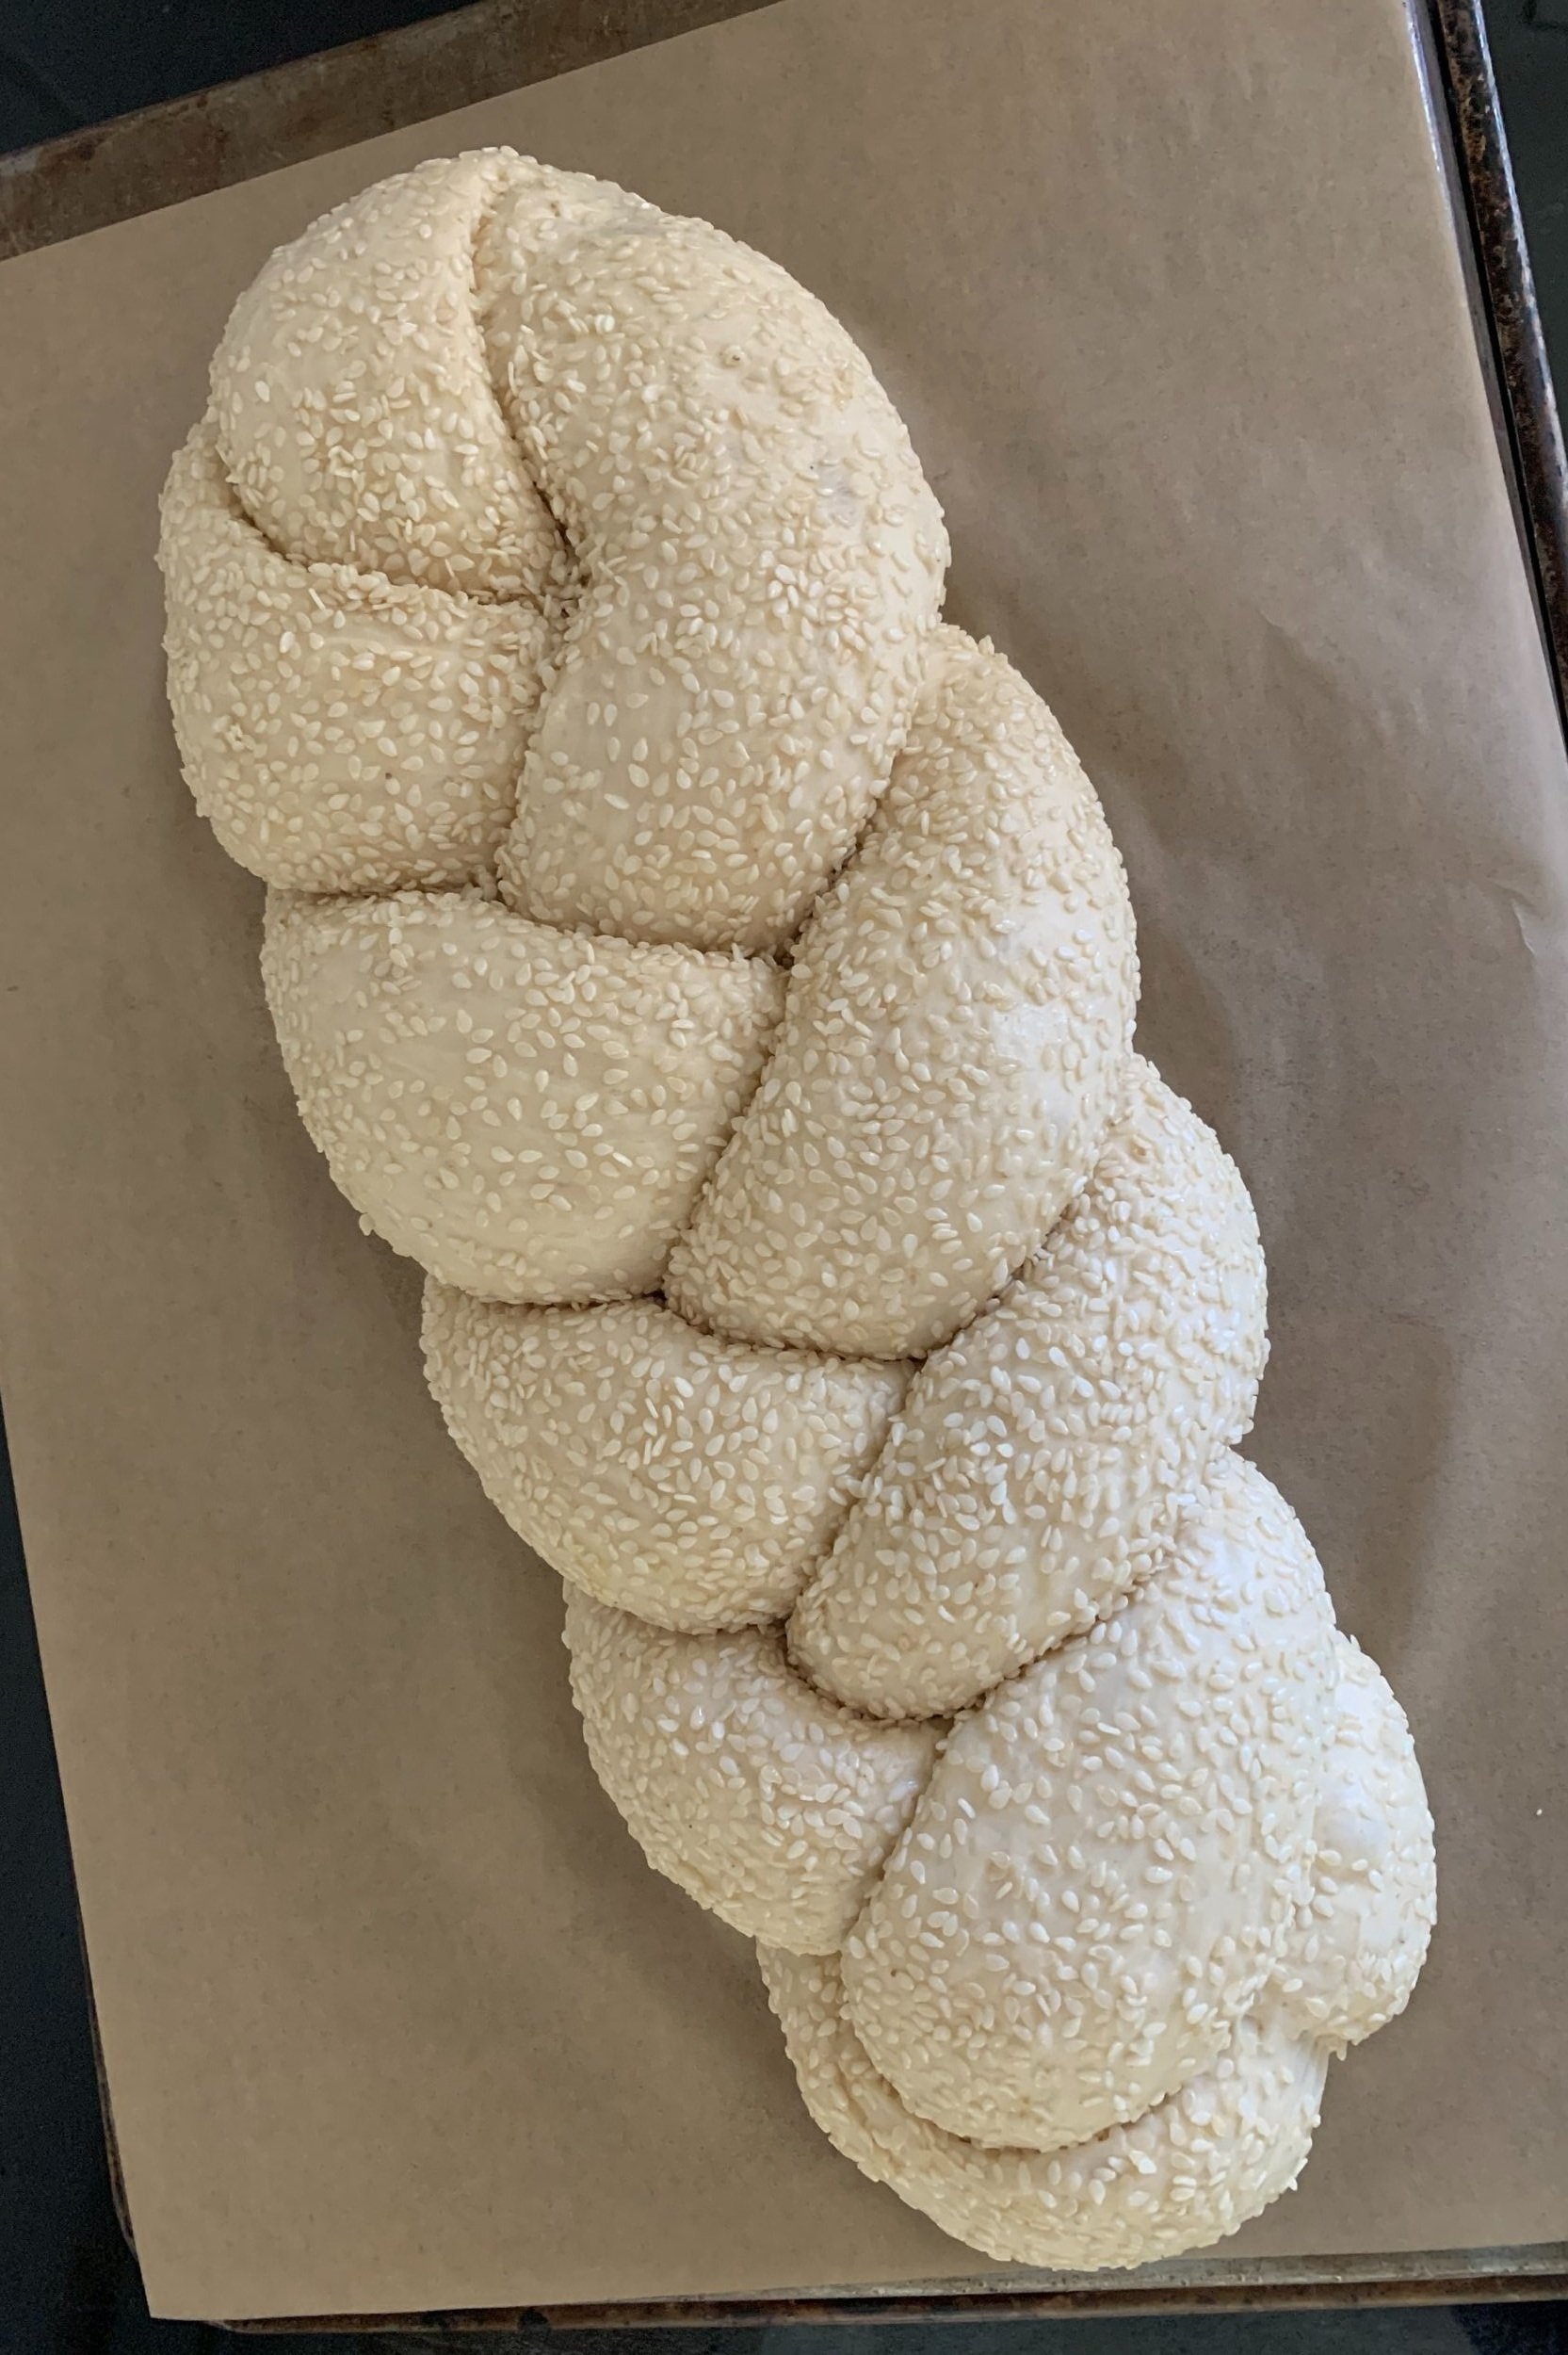
Sesame braid

Hi all. I gave you a sneak peek at this one awhile ago. My how time flies - seems like eons! I packed a lot into this post so get ready.

I LOVE this dough! It calls for an overnight preferment, a process that not only lends itself to planning ahead but also to a stellar end result.

This is my adaptation of scali bread from King Arthur Baking Company. I first came across it in the spring 2017 issue of SIFT magazine (now defunct -awwww!) and made it for the first time back in April of 2022. It’s said to be a staple in Boston’s North End, and, as is the case with the internet, I found a bunch of references/posts about it on line. Meatball sandwiches anyone?


Classically made as a three strand braid coated in sesame seeds, I started with KA’s base recipe for one braid but then doubled it and created my own recipe, subbing in some rye and white whole wheat flour. I’ve tried several different approaches - braid it, twist it, torpedo it, loaf it, herb it, cheese it, seed it - they’re all good!

Let’s take a look at the steps. Make the preferment the evening before. Please note - the dough/proofing images are for my recipe which would make TWO braids. I’m showing the shaping steps for ONE braid.

Give it 13-15 hours at room temperature after which it should be actively fermenting. It’s more stiff than let’s say a typical poolish which is equal weights flour and water.

Mix the preferment with the other dough ingredients and knead to a nice smooth end result.

Give it a 90 minute rise until nice and pouf-y.

That’s what I call a rise folks!

Proceed with your desired shaping. Here are the steps for one sesame coated braid using HALF of the above dough.

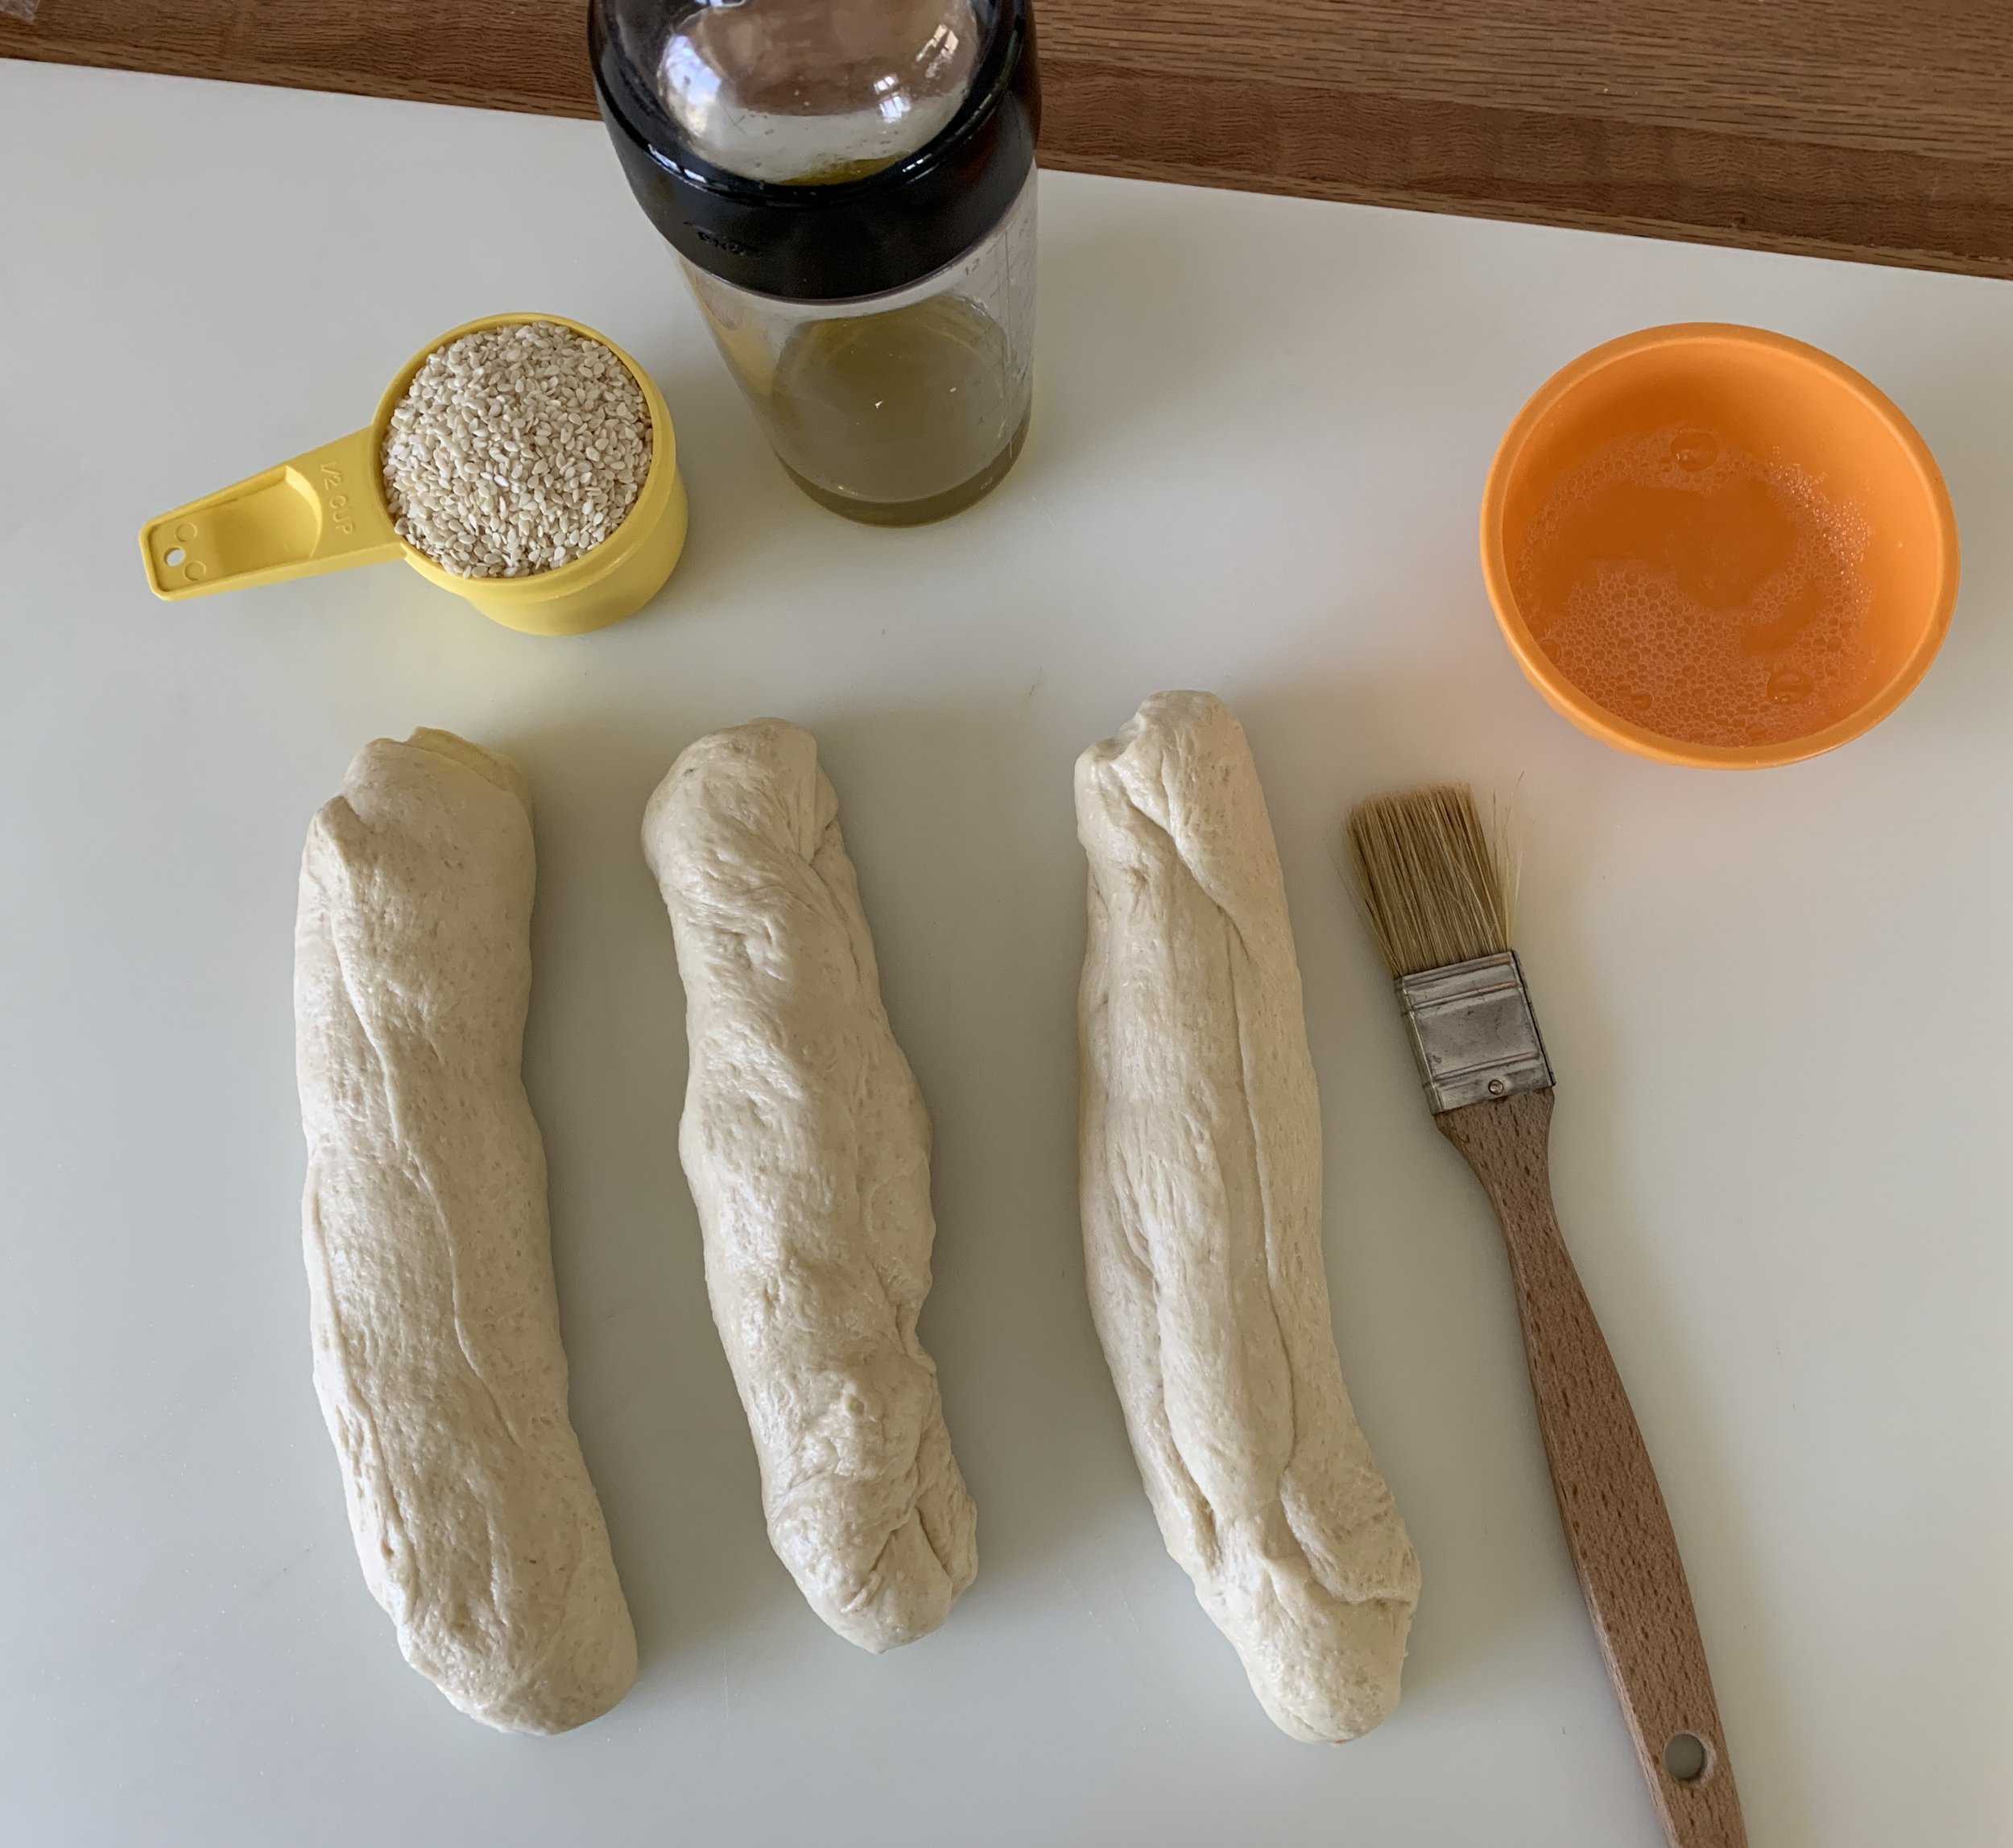
Deflate the dough gently, divide in three equal pieces (each should be about 230 g or so). On a lightly oiled surface roll each piece into a rough log and let rest 10-15 minutes.

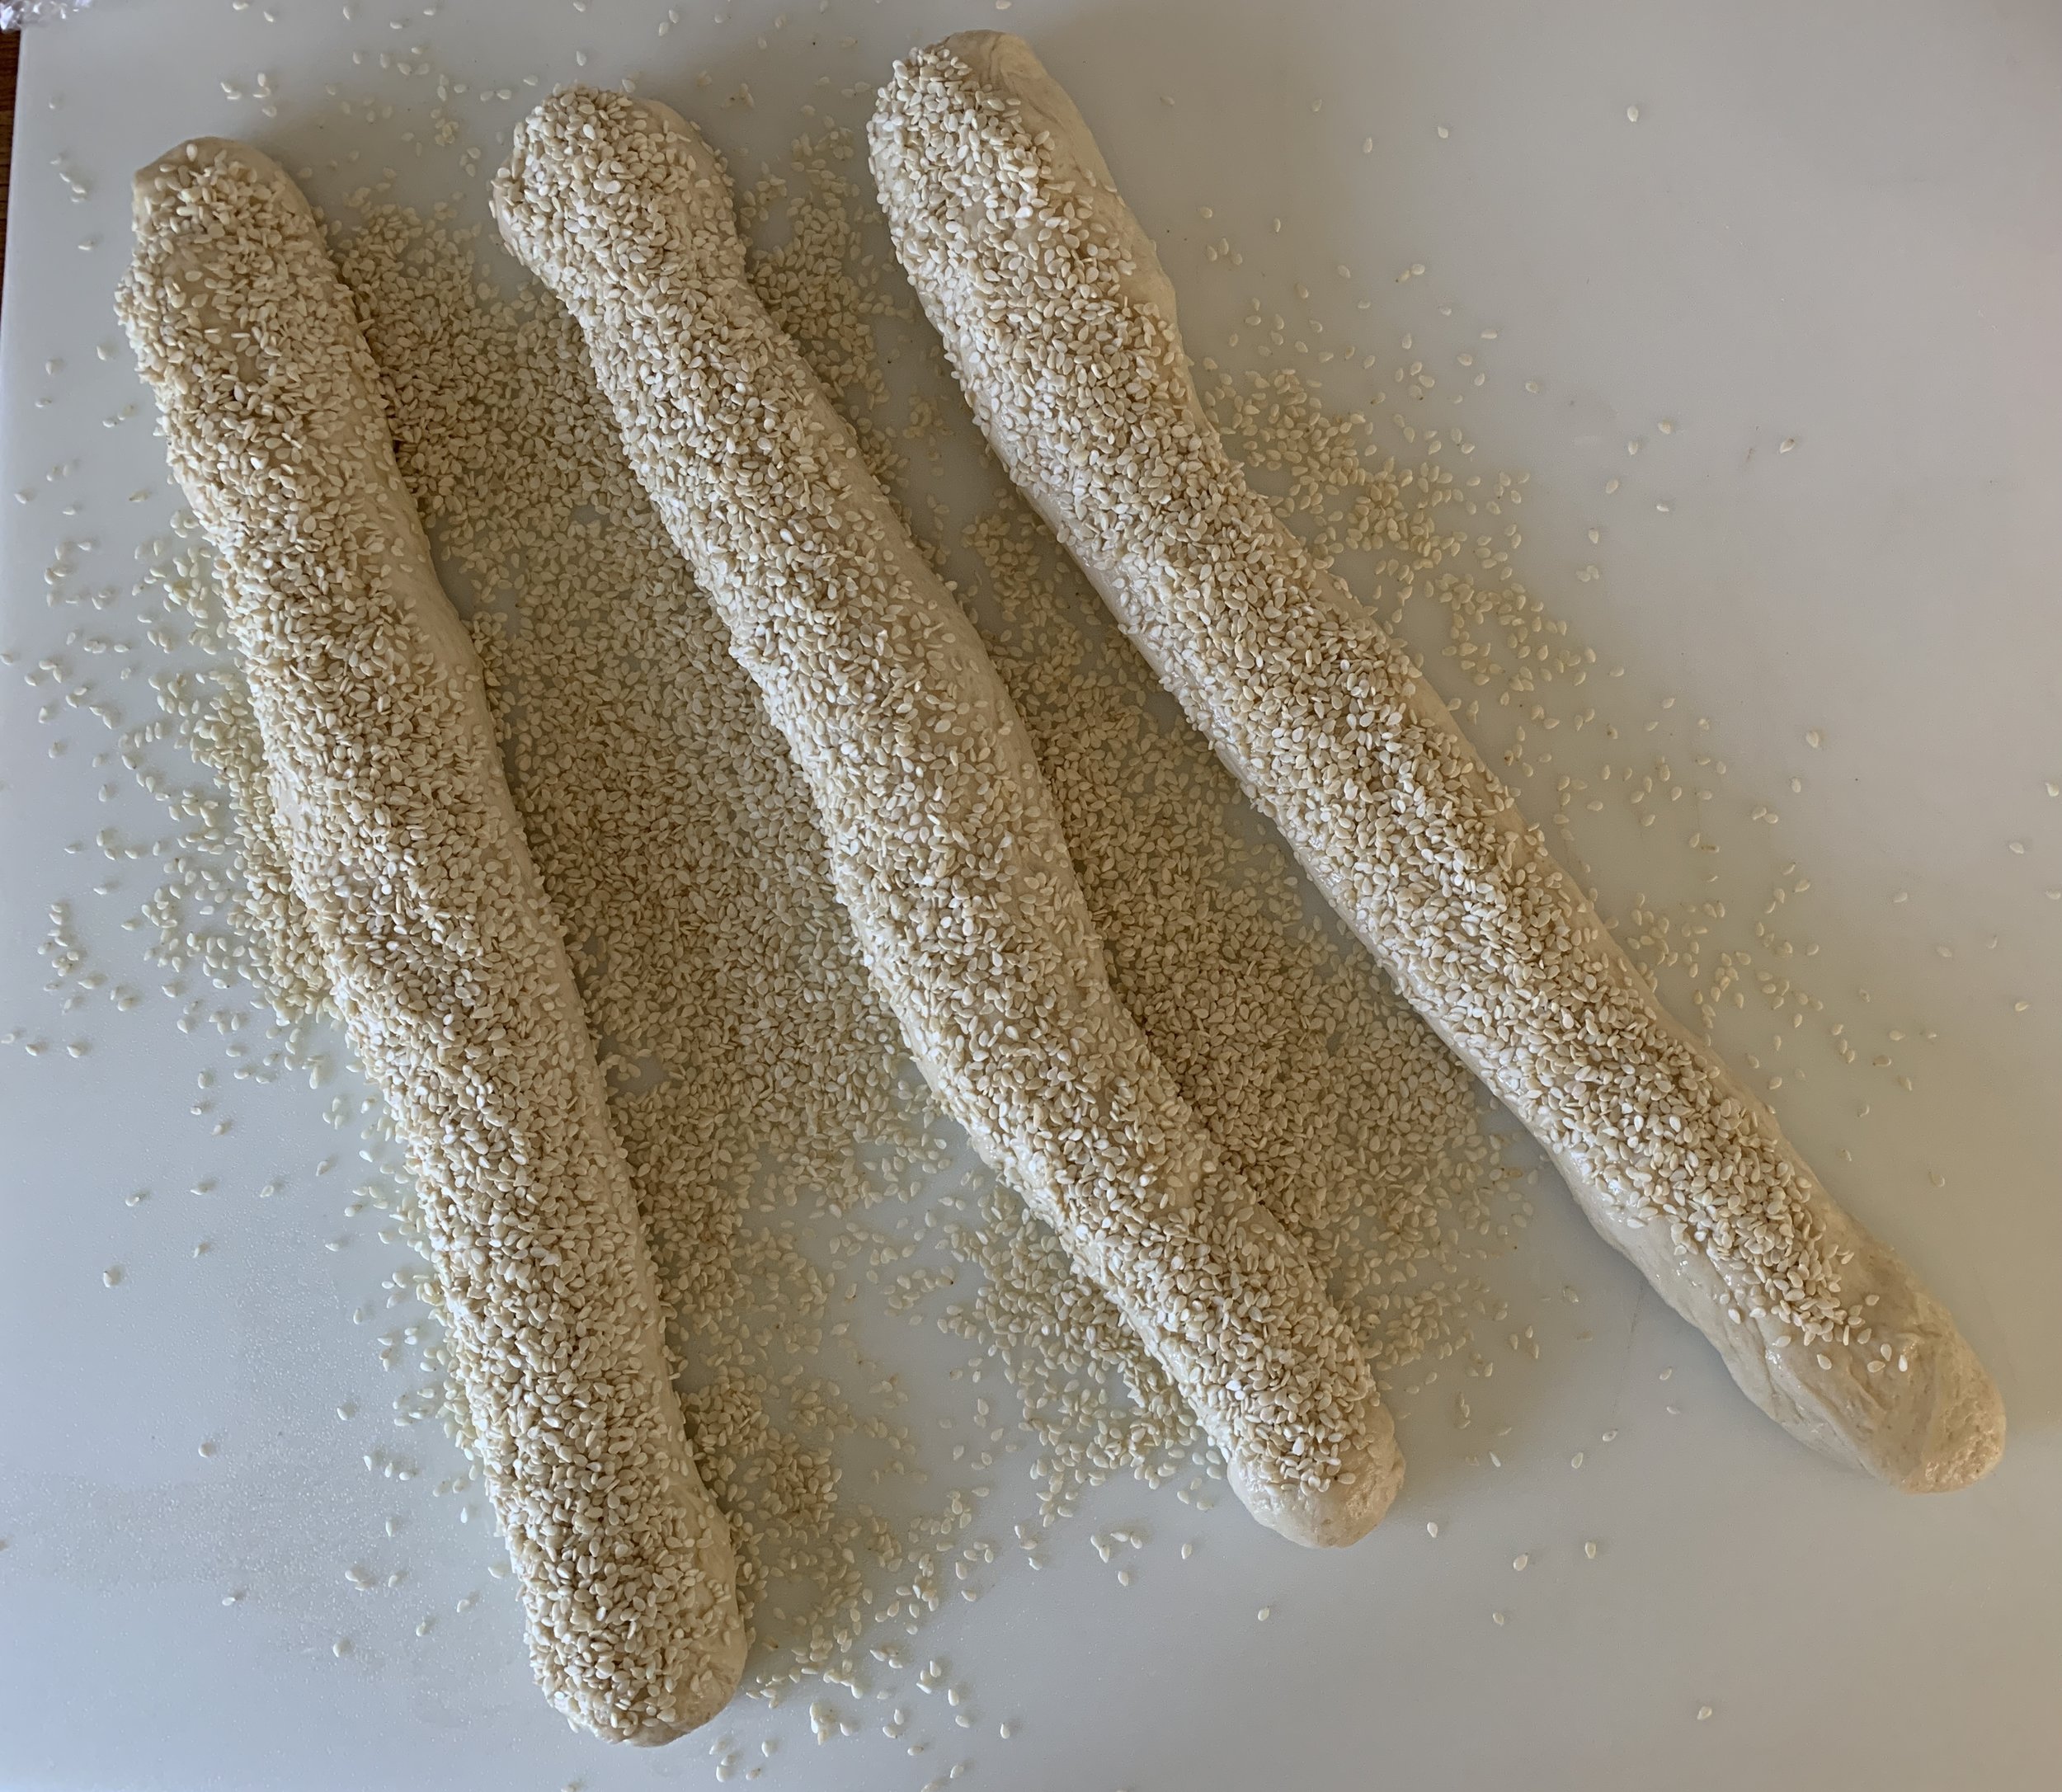
Now roll each log out to a 10-12” length then brush each with egg white and coat thoroughly in sesame seeds.

Pinch top ends together and do a typical three strand braid. Tuck the ends under to neaten things up. I placed mine on parchment on an overturned sheet pan in preparation for sliding it onto my heated baking stone.

Cover with lightly oiled film wrap and let rise about 90 minutes until pouf-y.

Toward the end of the rise, heat the oven to 425ºF (400º convection) with your baking stone if using.

Bake 25-35 minutes until golden brown.

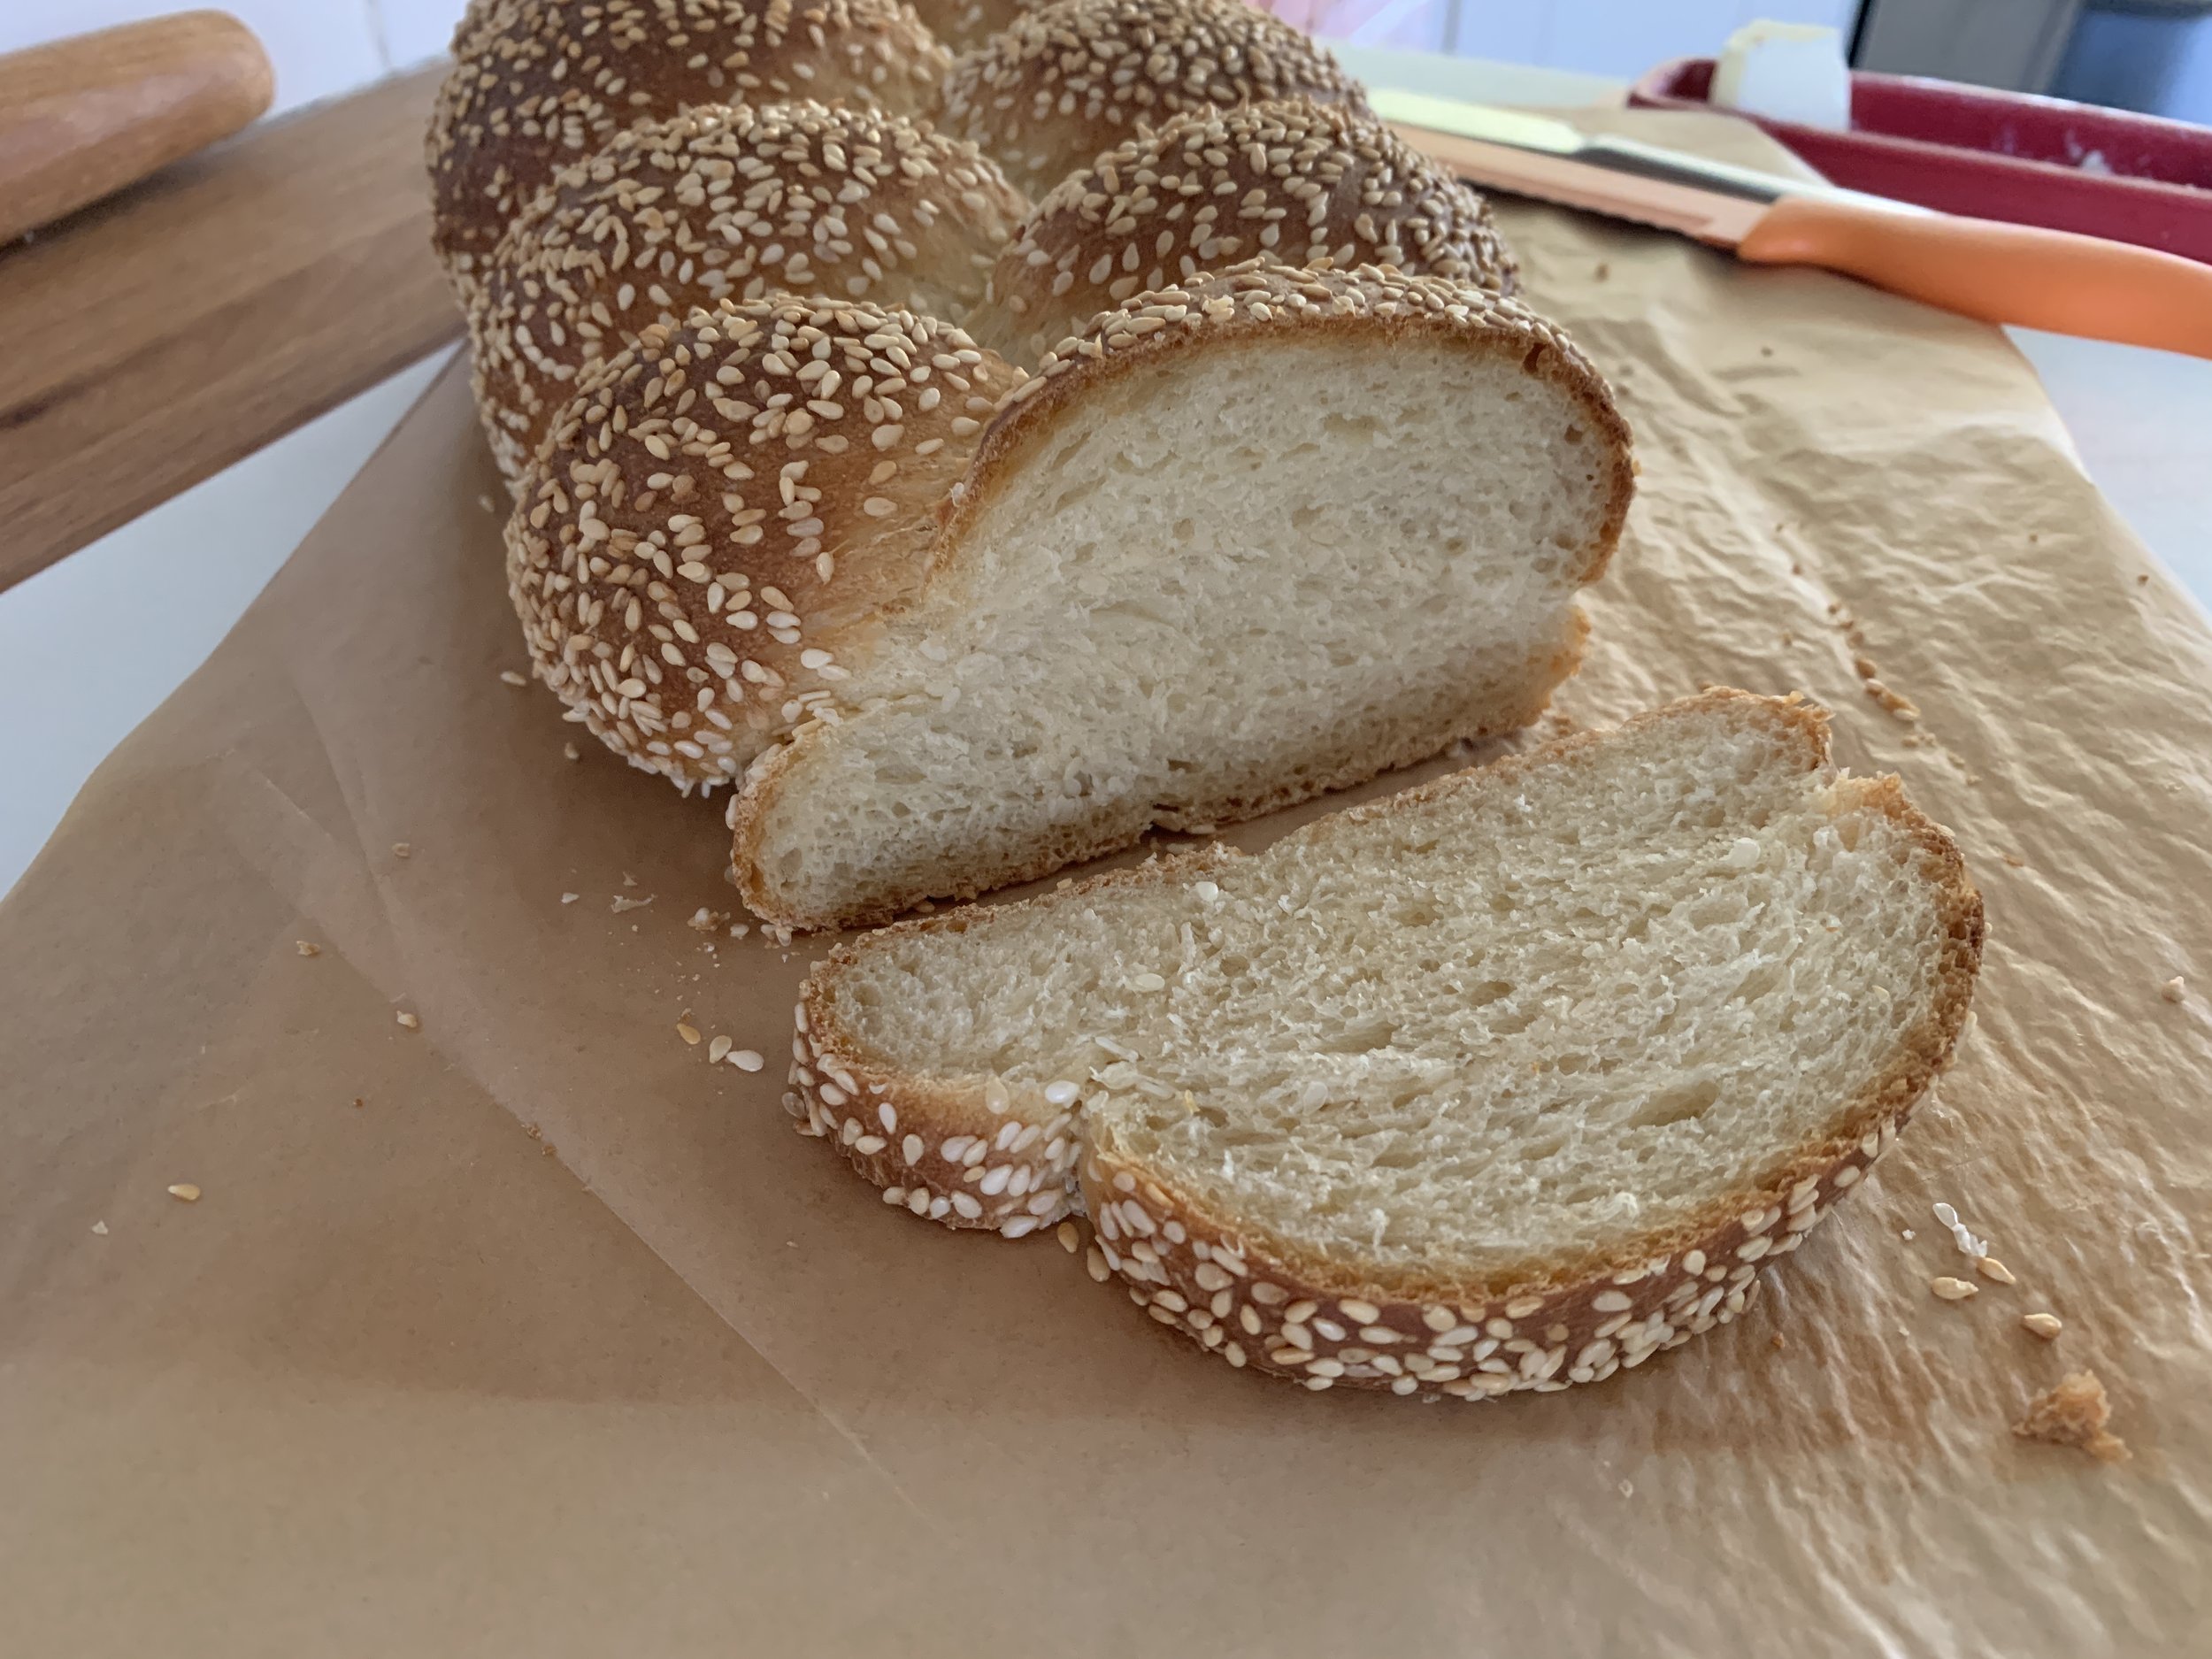
Cooled, sliced, buttered - oh so good!

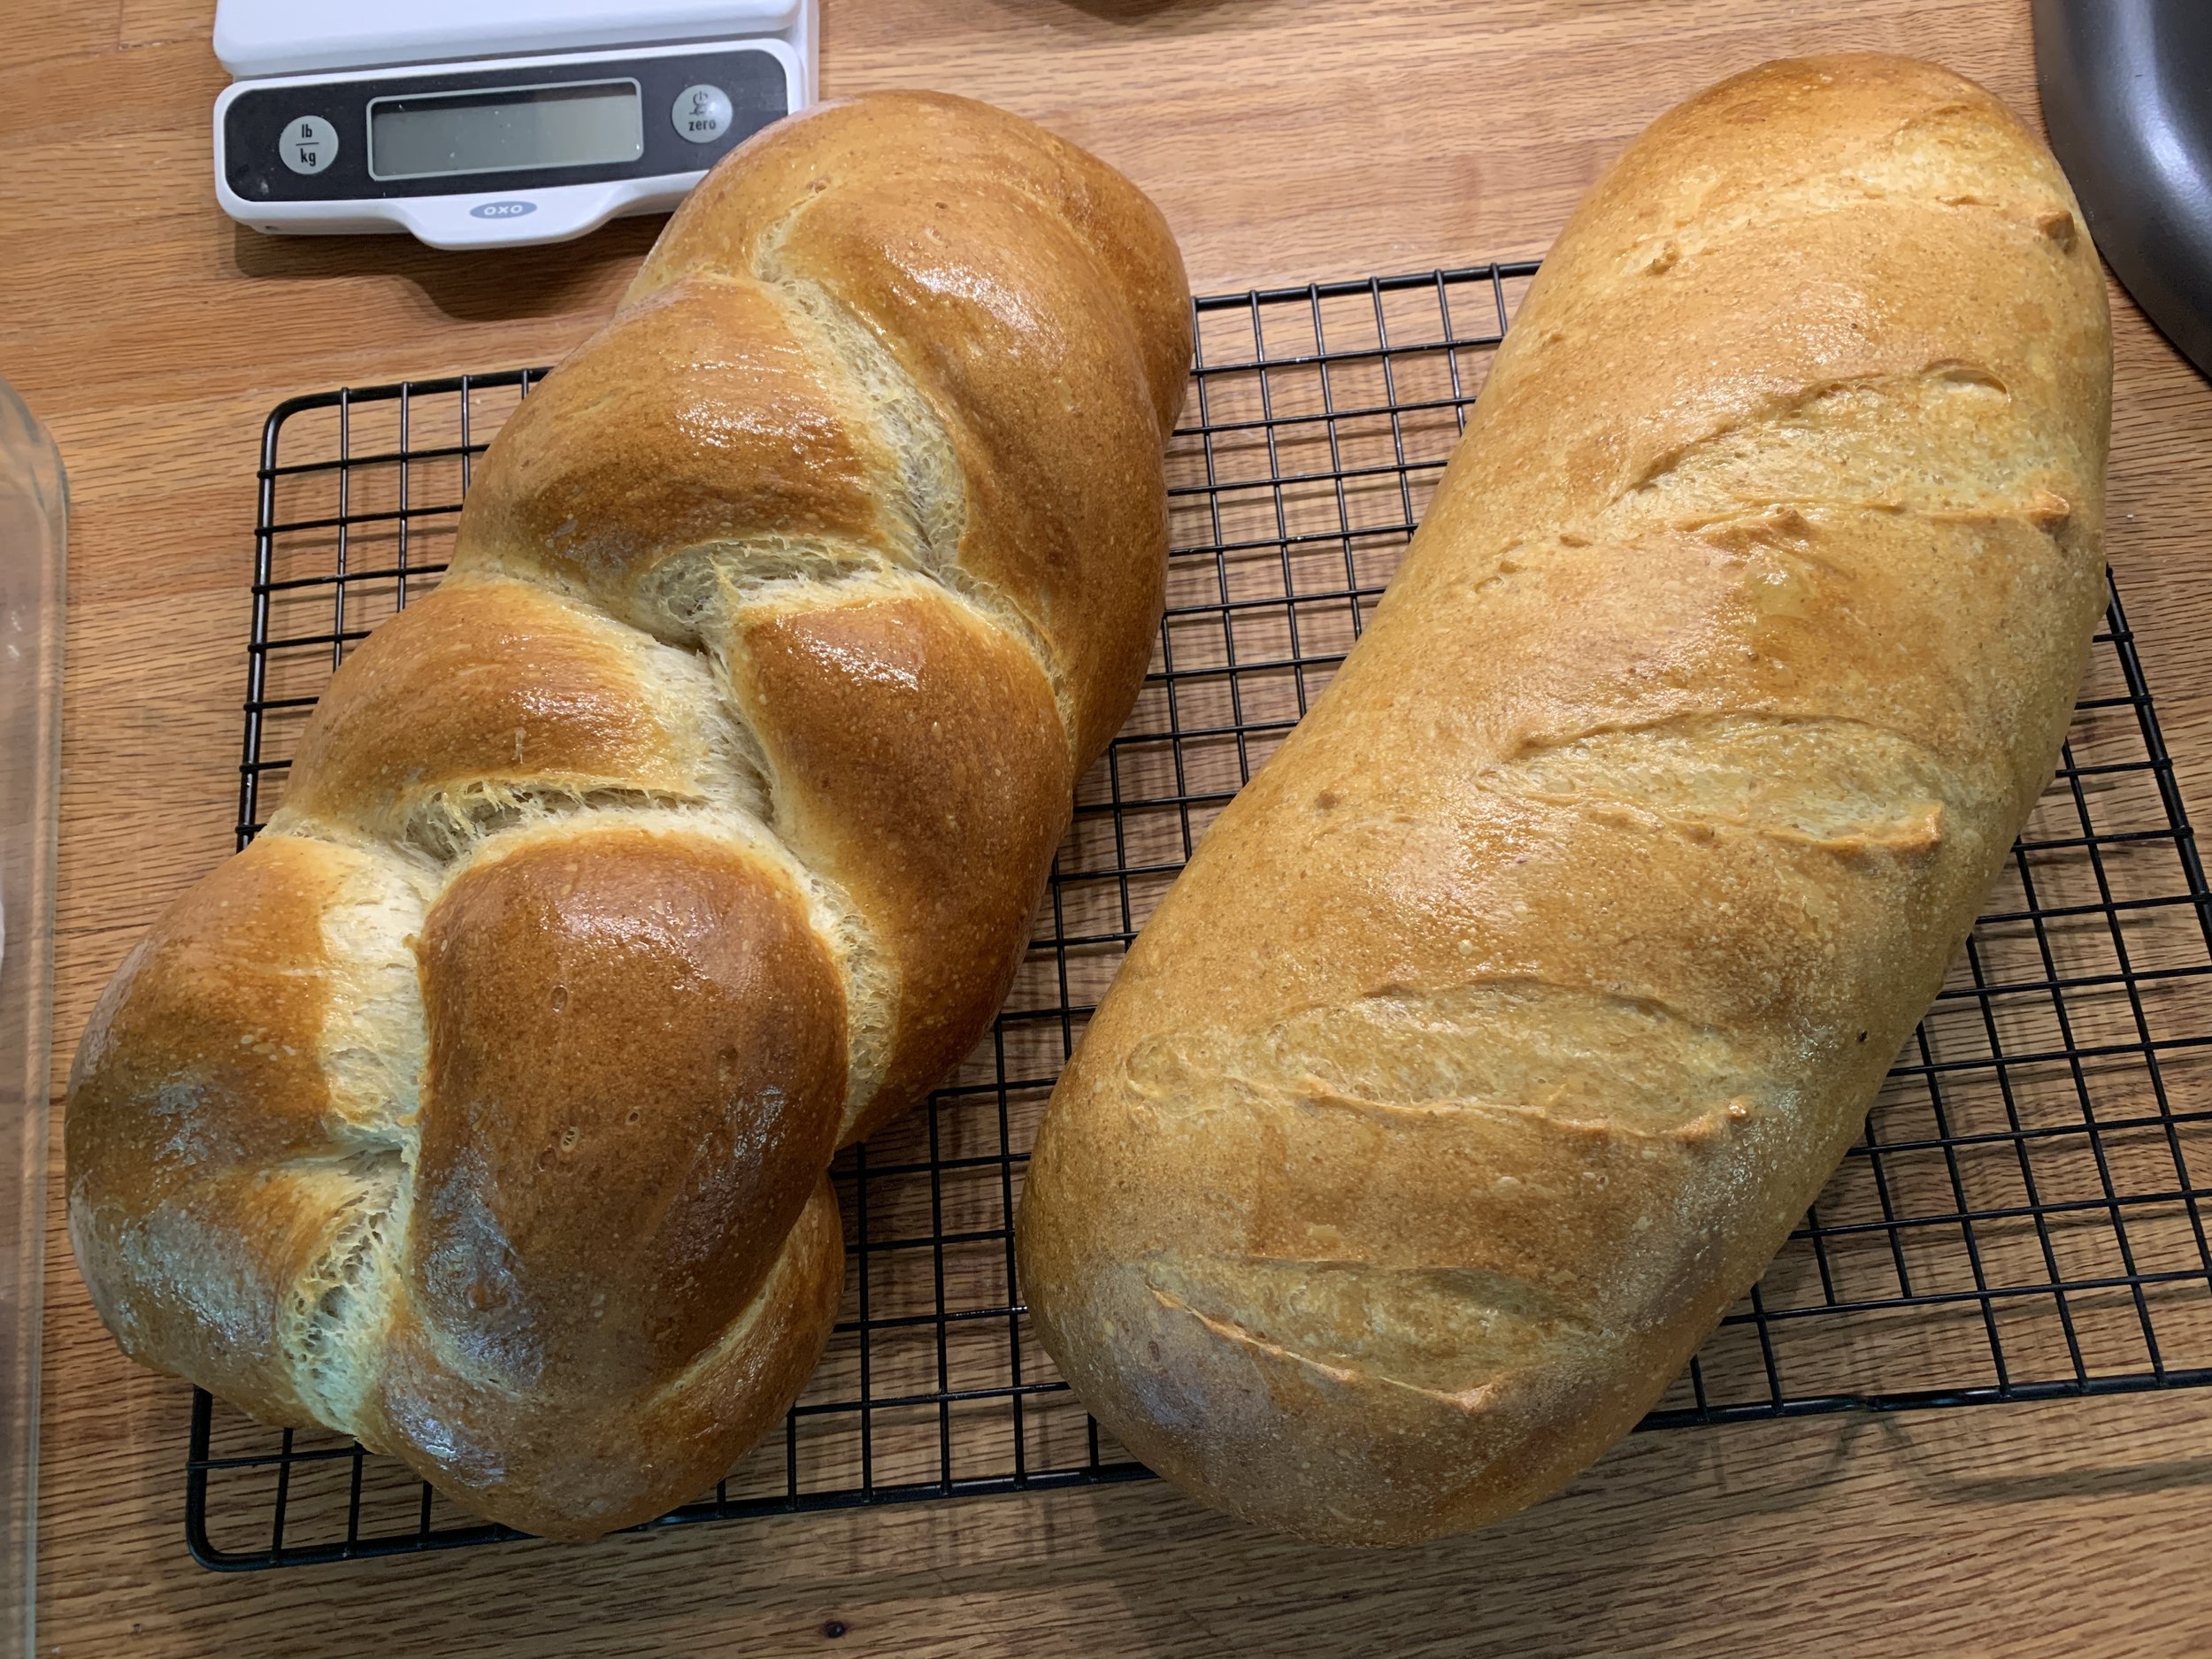
Here are a few other things I made with my full batch recipe. Two basic loaves, one braided and one slashed before baking.

Butter basted braid and a simple loaf

Another full recipe went into making a couple versions of rolls and a cheesy braid.

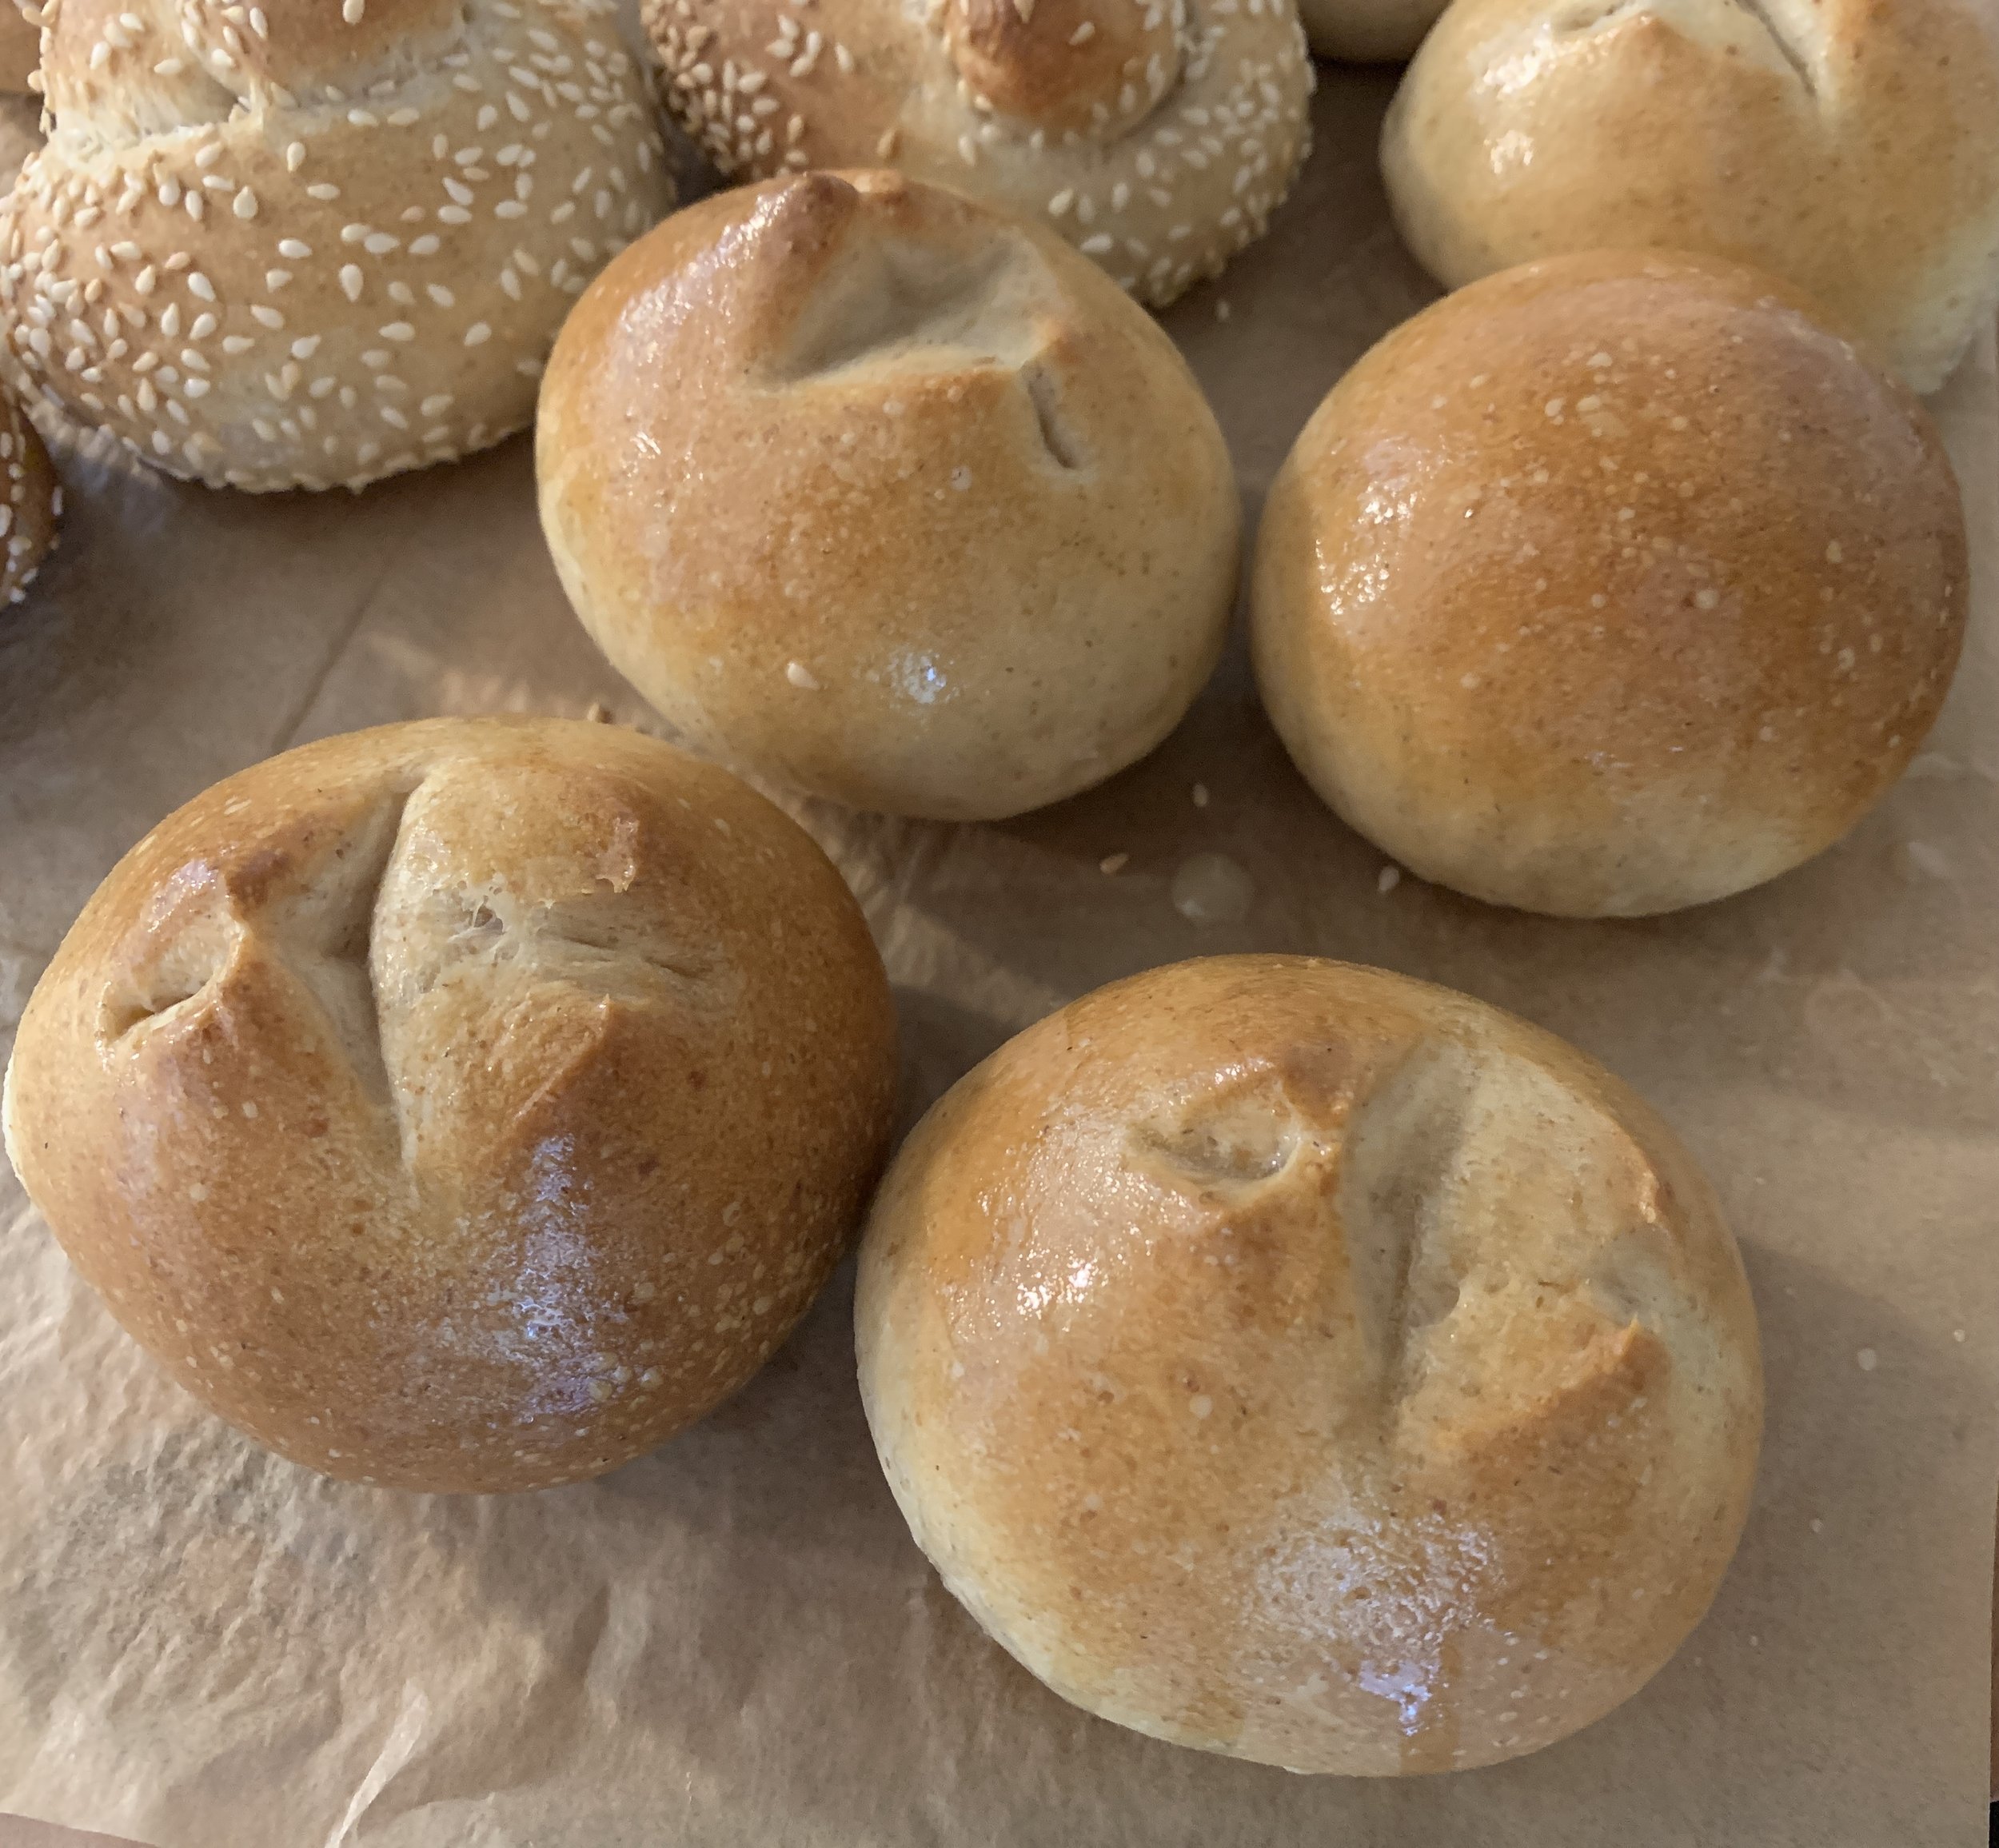
For the rolls I used a tad less than half the recipe to make fifteen 45 g rolls - 8 as sesame knots and 7 as butter basted. The rest became the cheese loaf.

I formed eight “logs” that I rolled in sesame and knotted up and left the other seven as standard round rolls (with a top snip before baking).

shape, shape, shaping!

The rolls enjoyed a nice long rise of ~100 minutes.

REady to bake, Before the snip!

Oops! Forgot one snip!!

Sesame knots and butter basted dinner rolls

This cheesy braid is just like the sesame approach except I coated the ropes in grated cheese the quantity of which I eye-balled. I used sharp Cheddar but gruyère, emmental (or a mix of your faves can all work) and topped with more cheese. I’d use more next time. You could add herbs if you wish. Mmmm good.

Cheesy braid

Had enough yet?? Almost there, I promise.

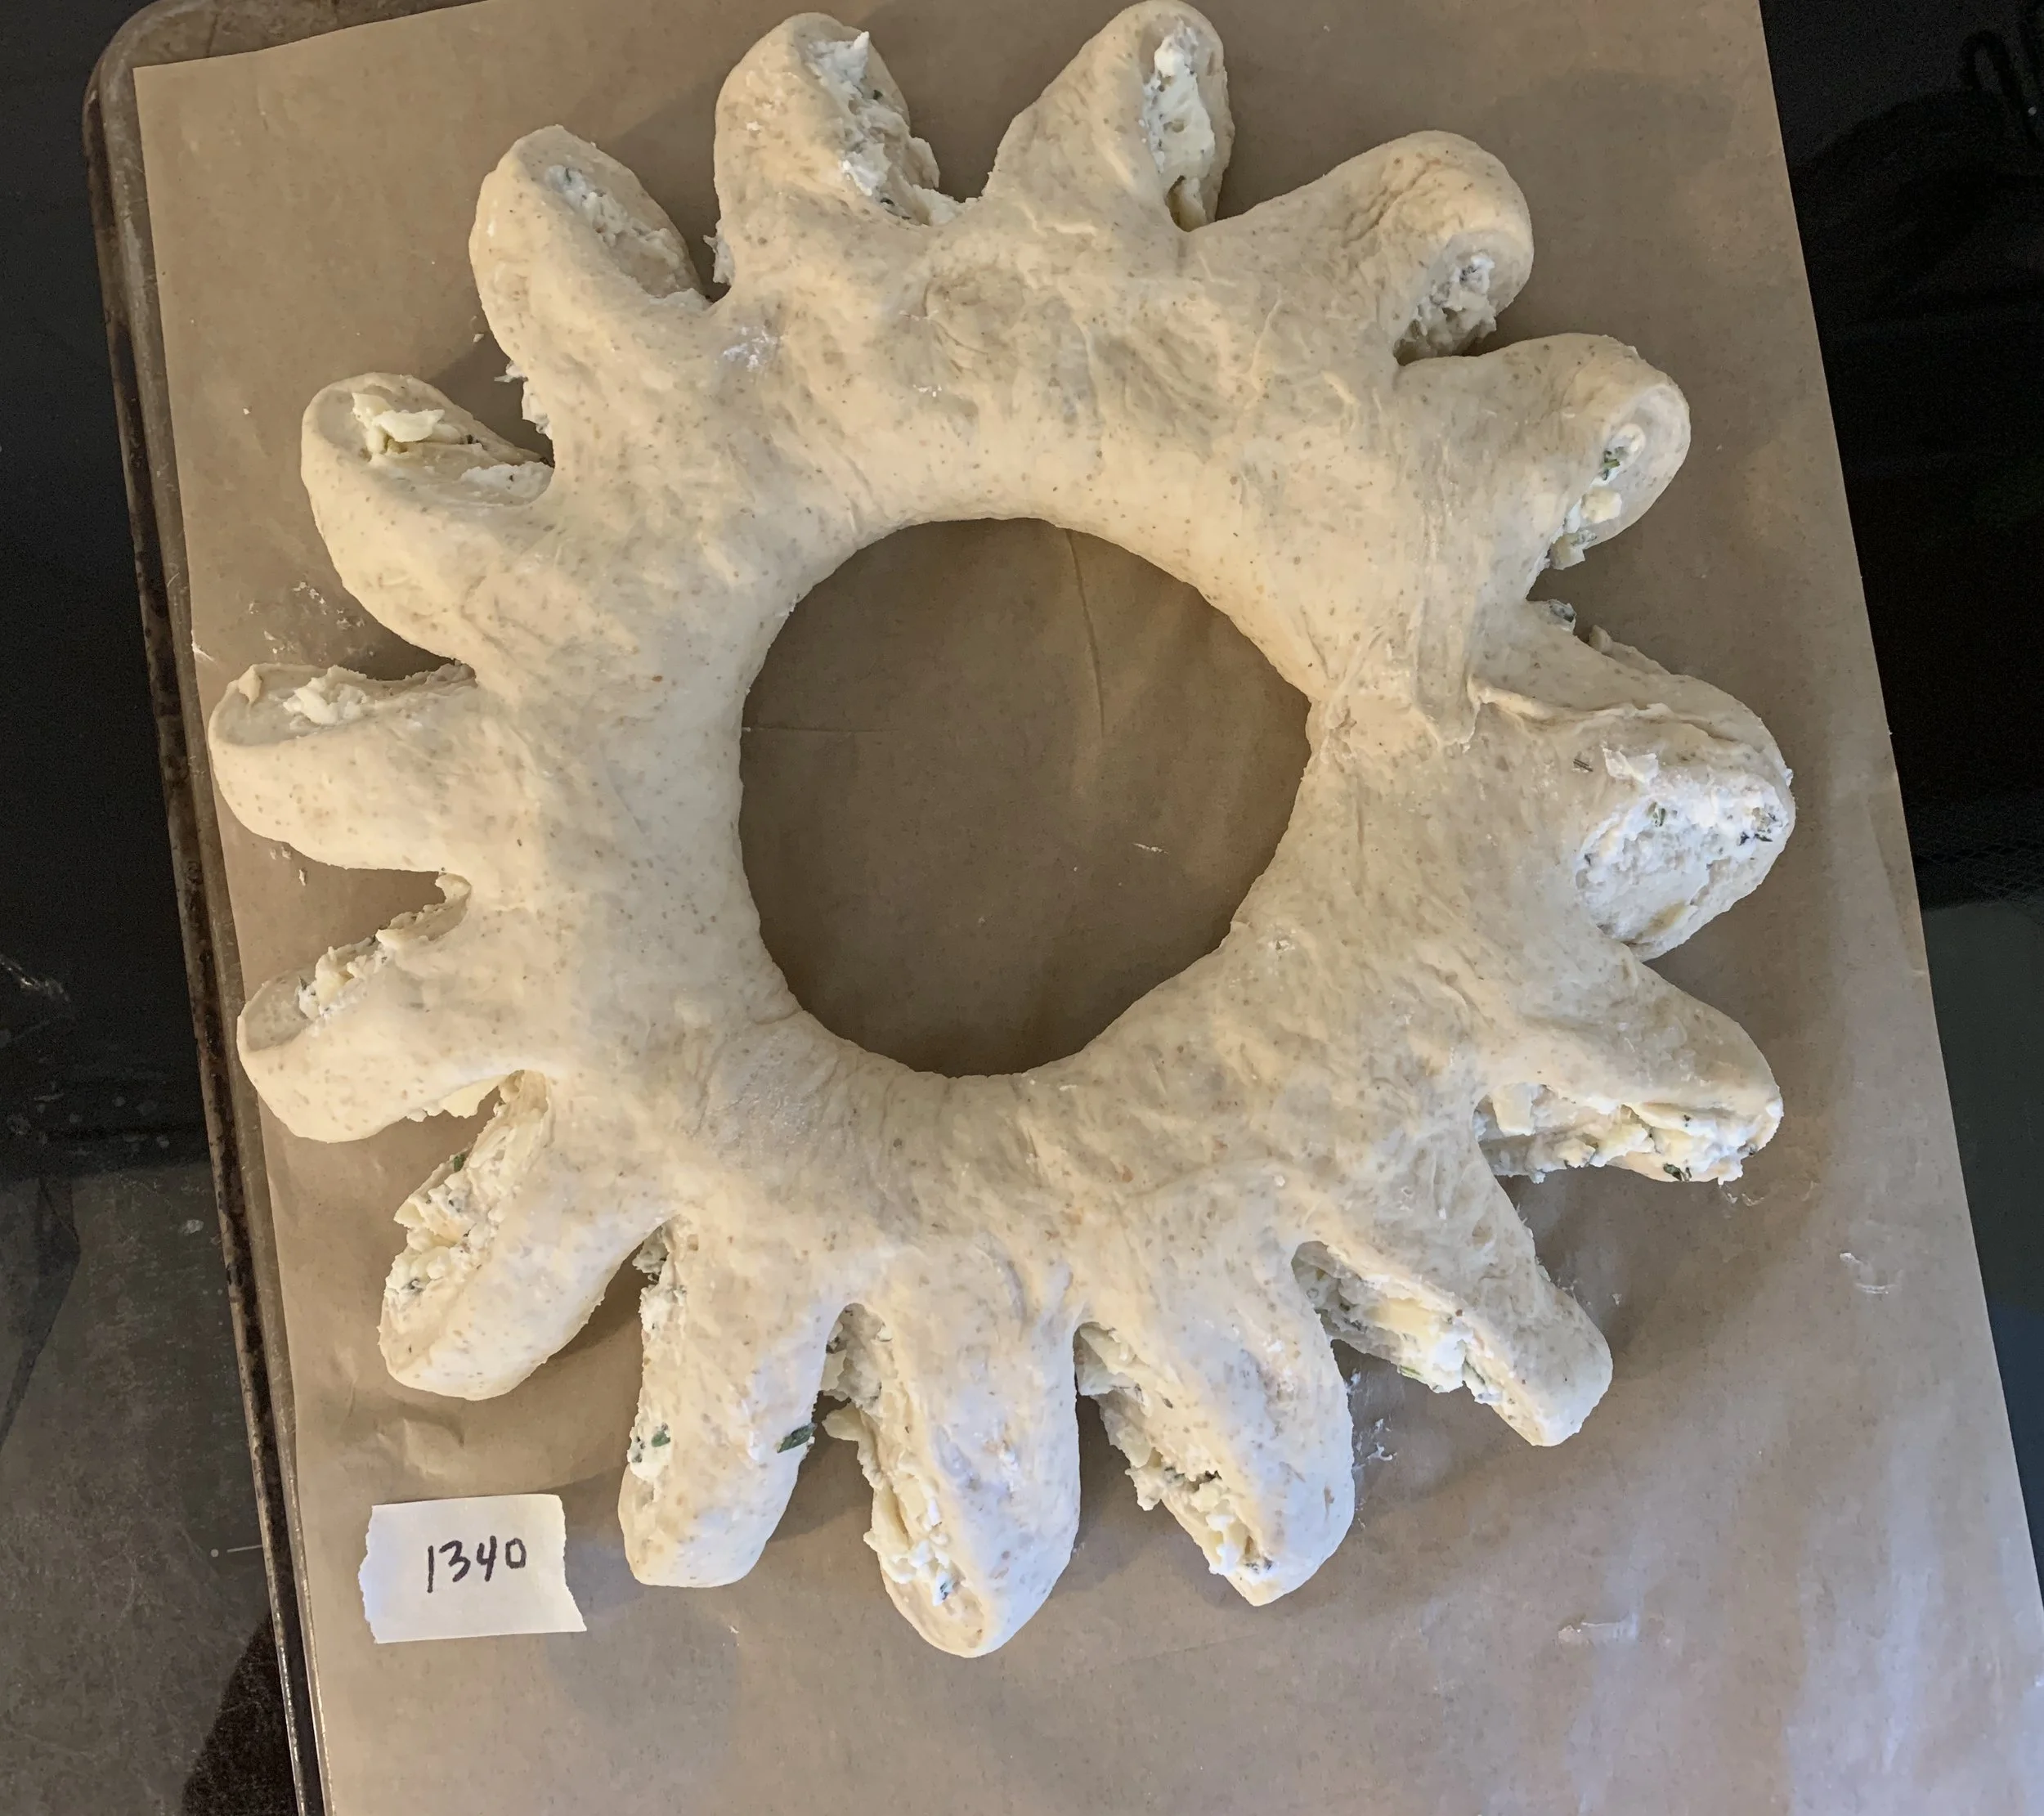
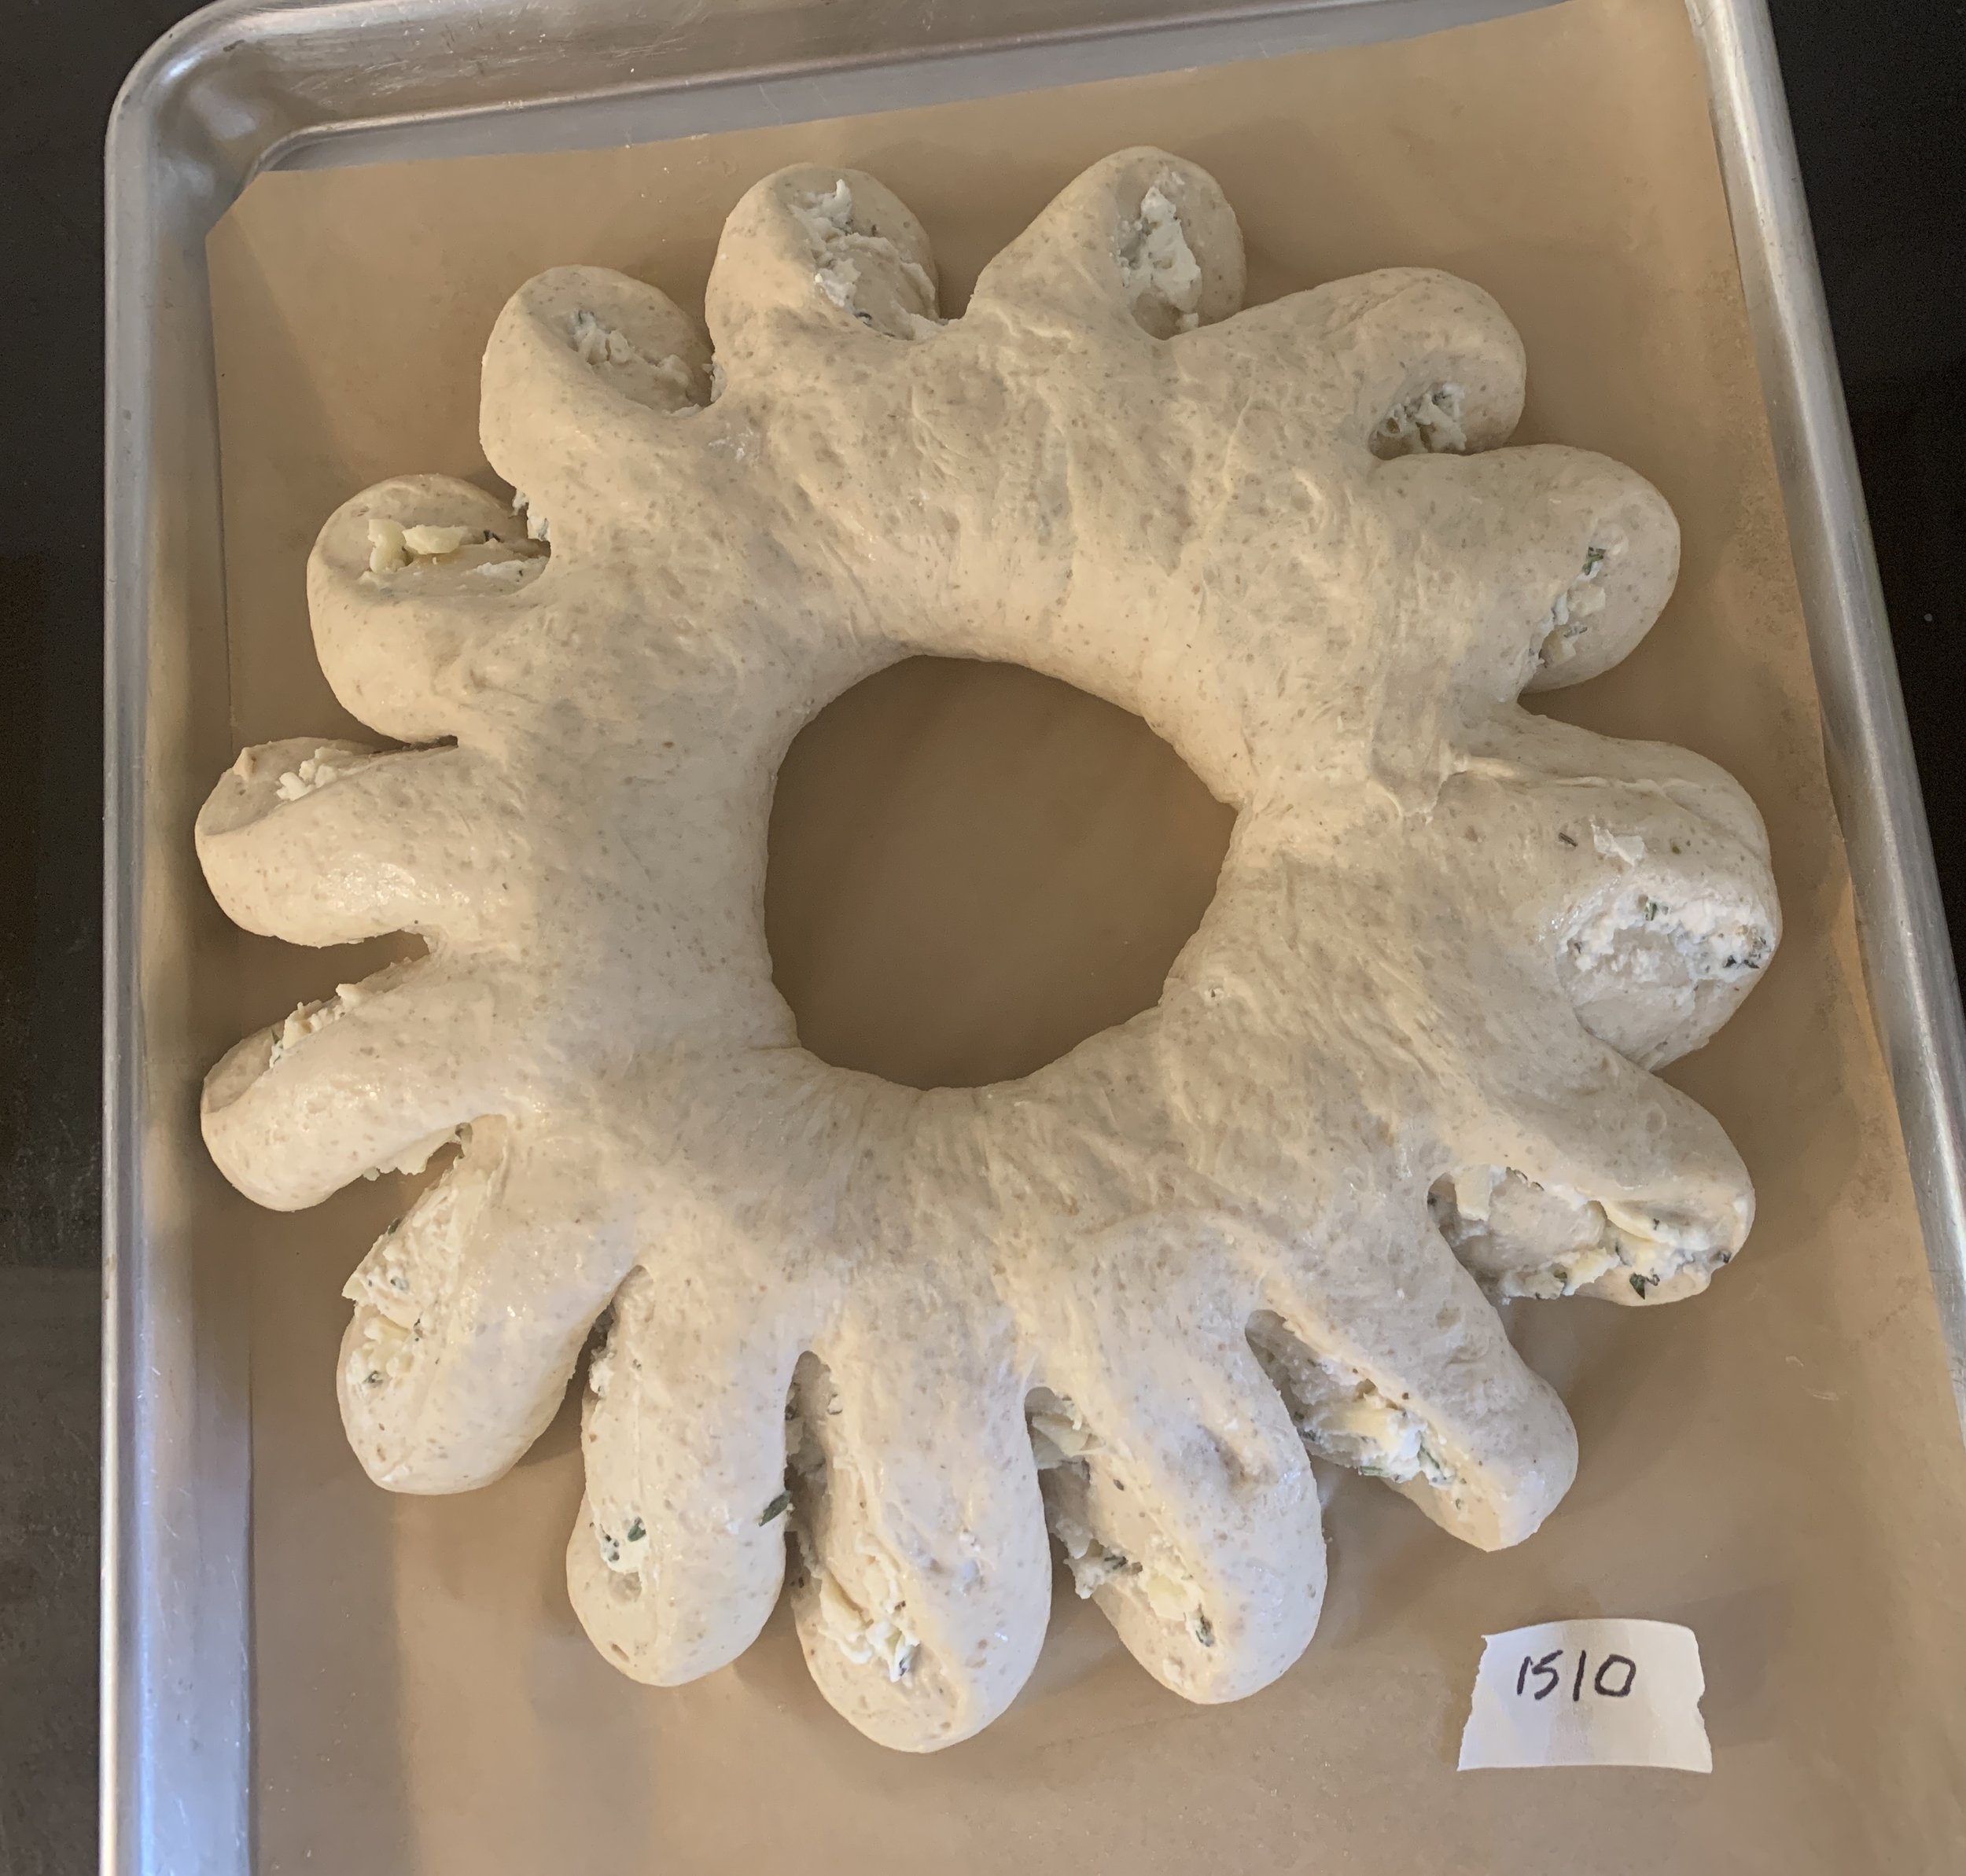
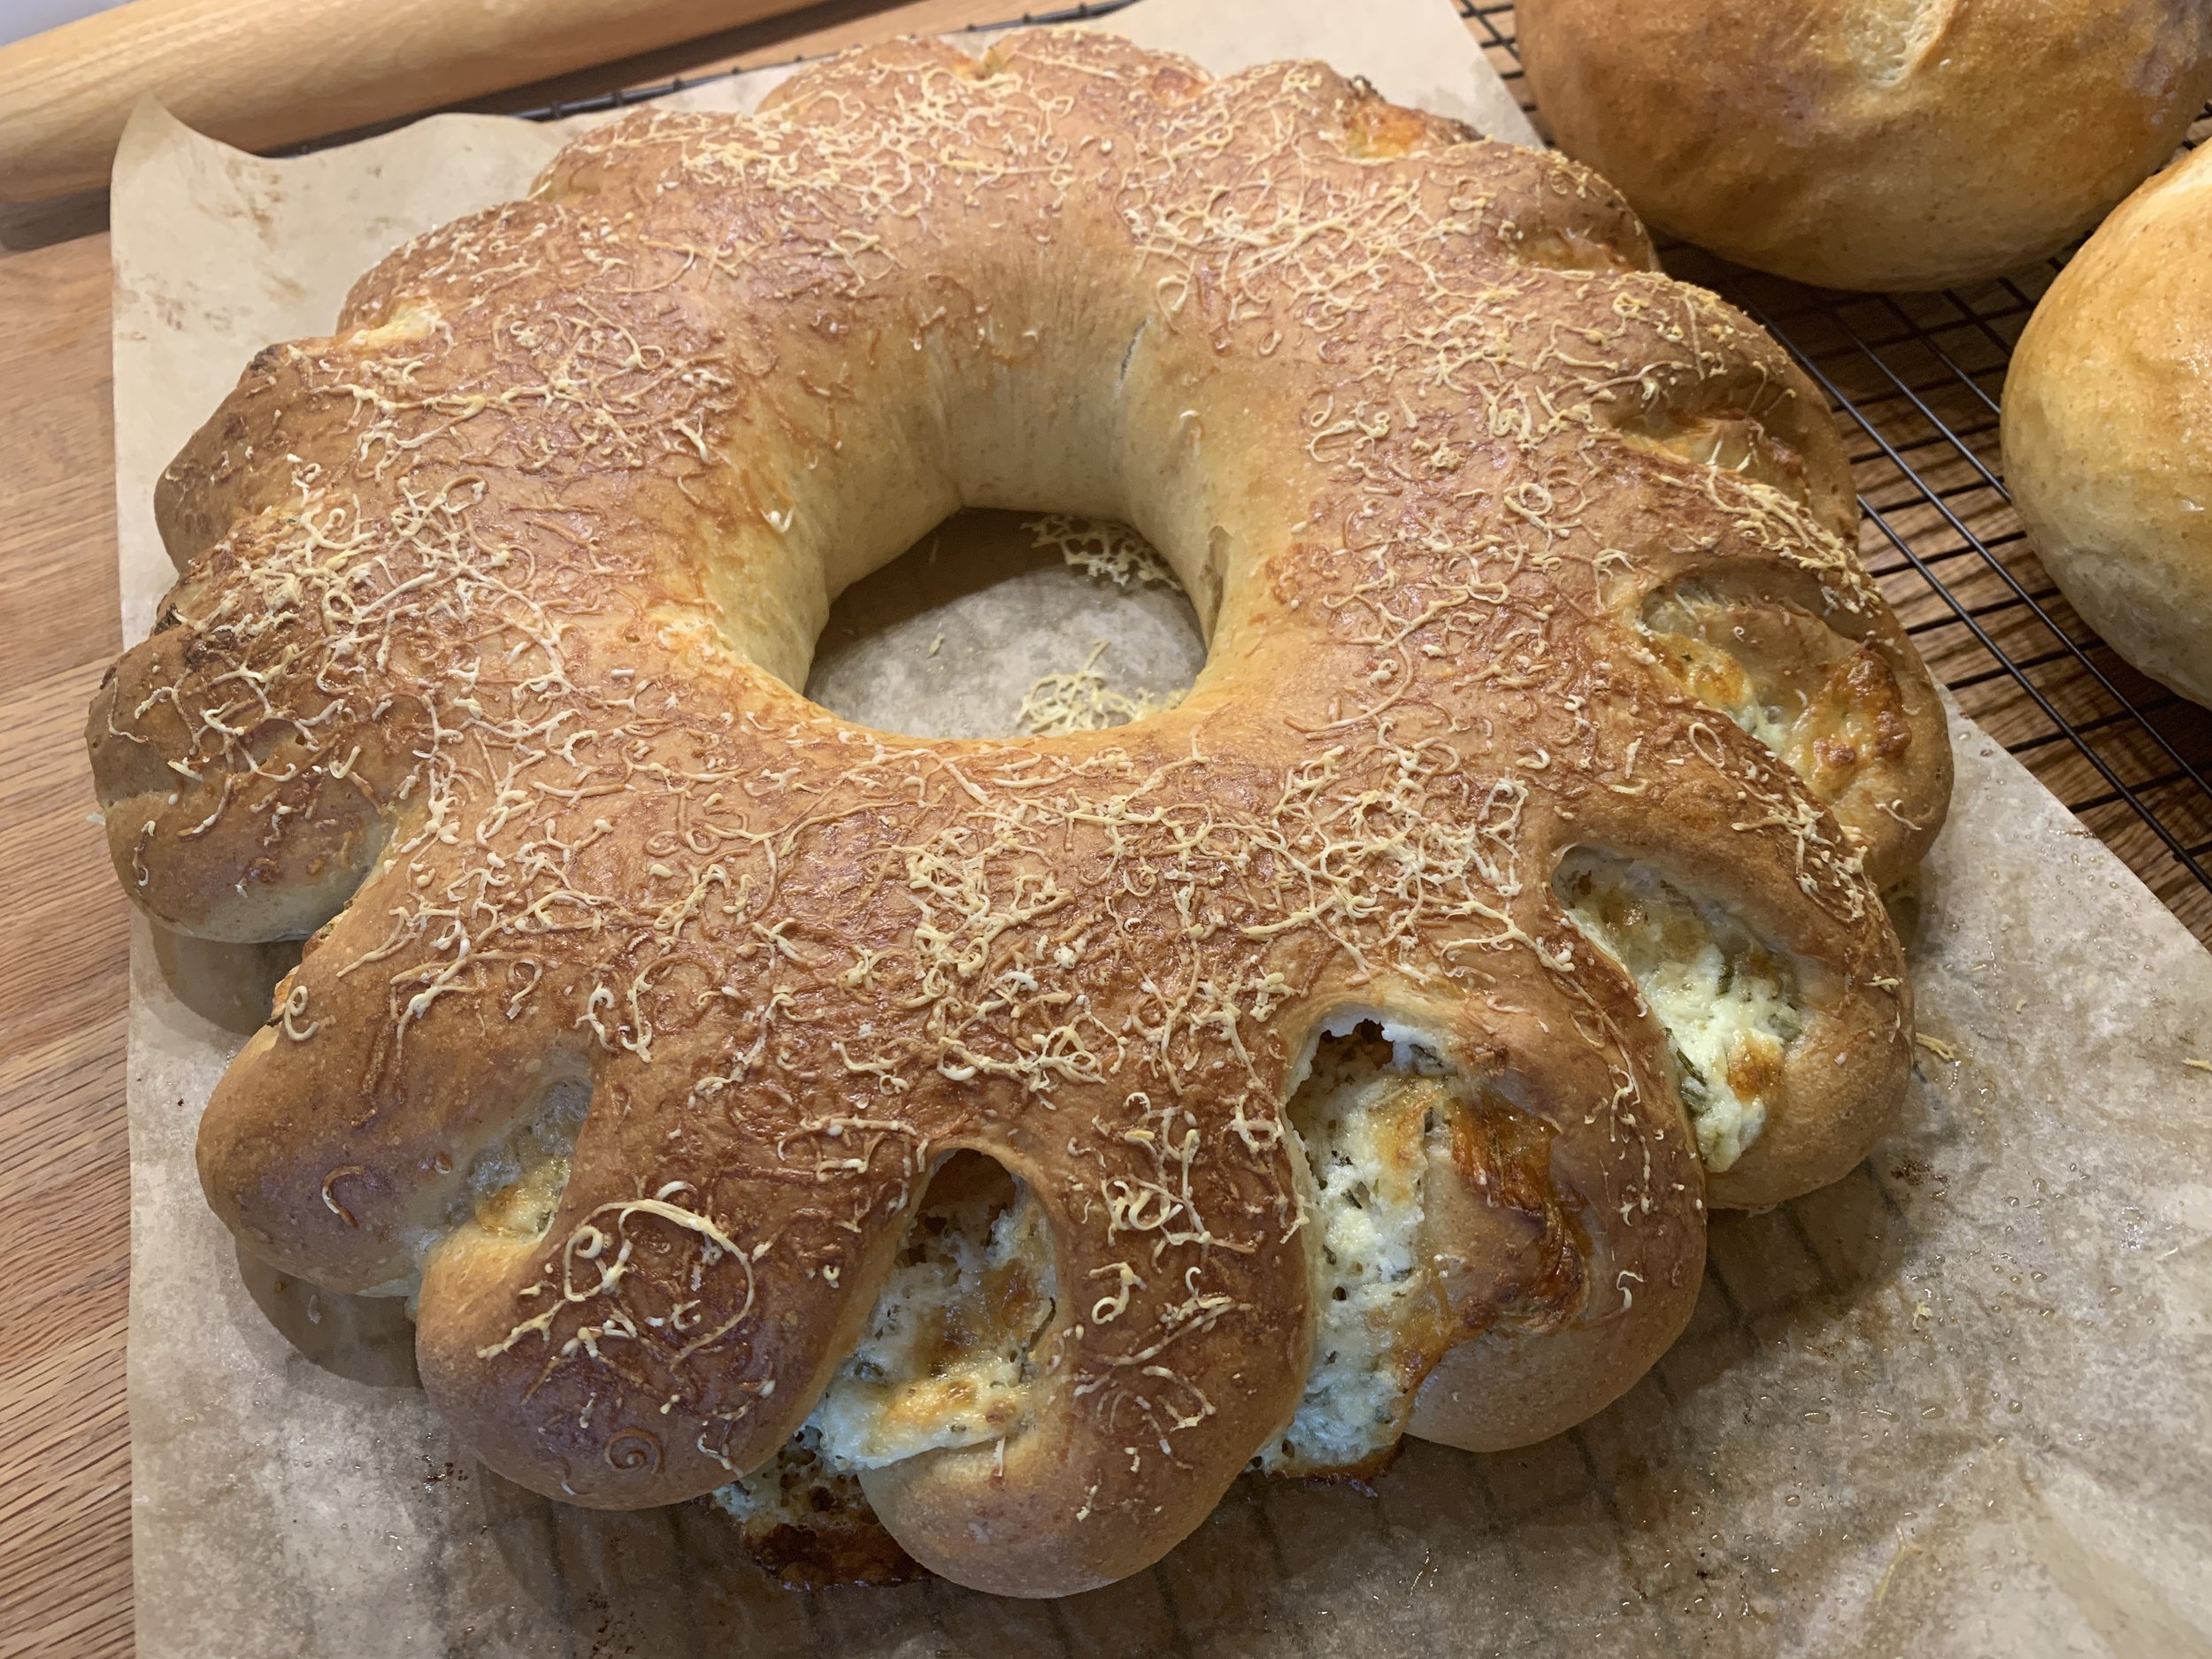
I wanted to try a filled wreath, using half a recipe (~700 g) for that and dividing the rest into two for a couple of simple boules.

Ricotta herb wreath and two small boules

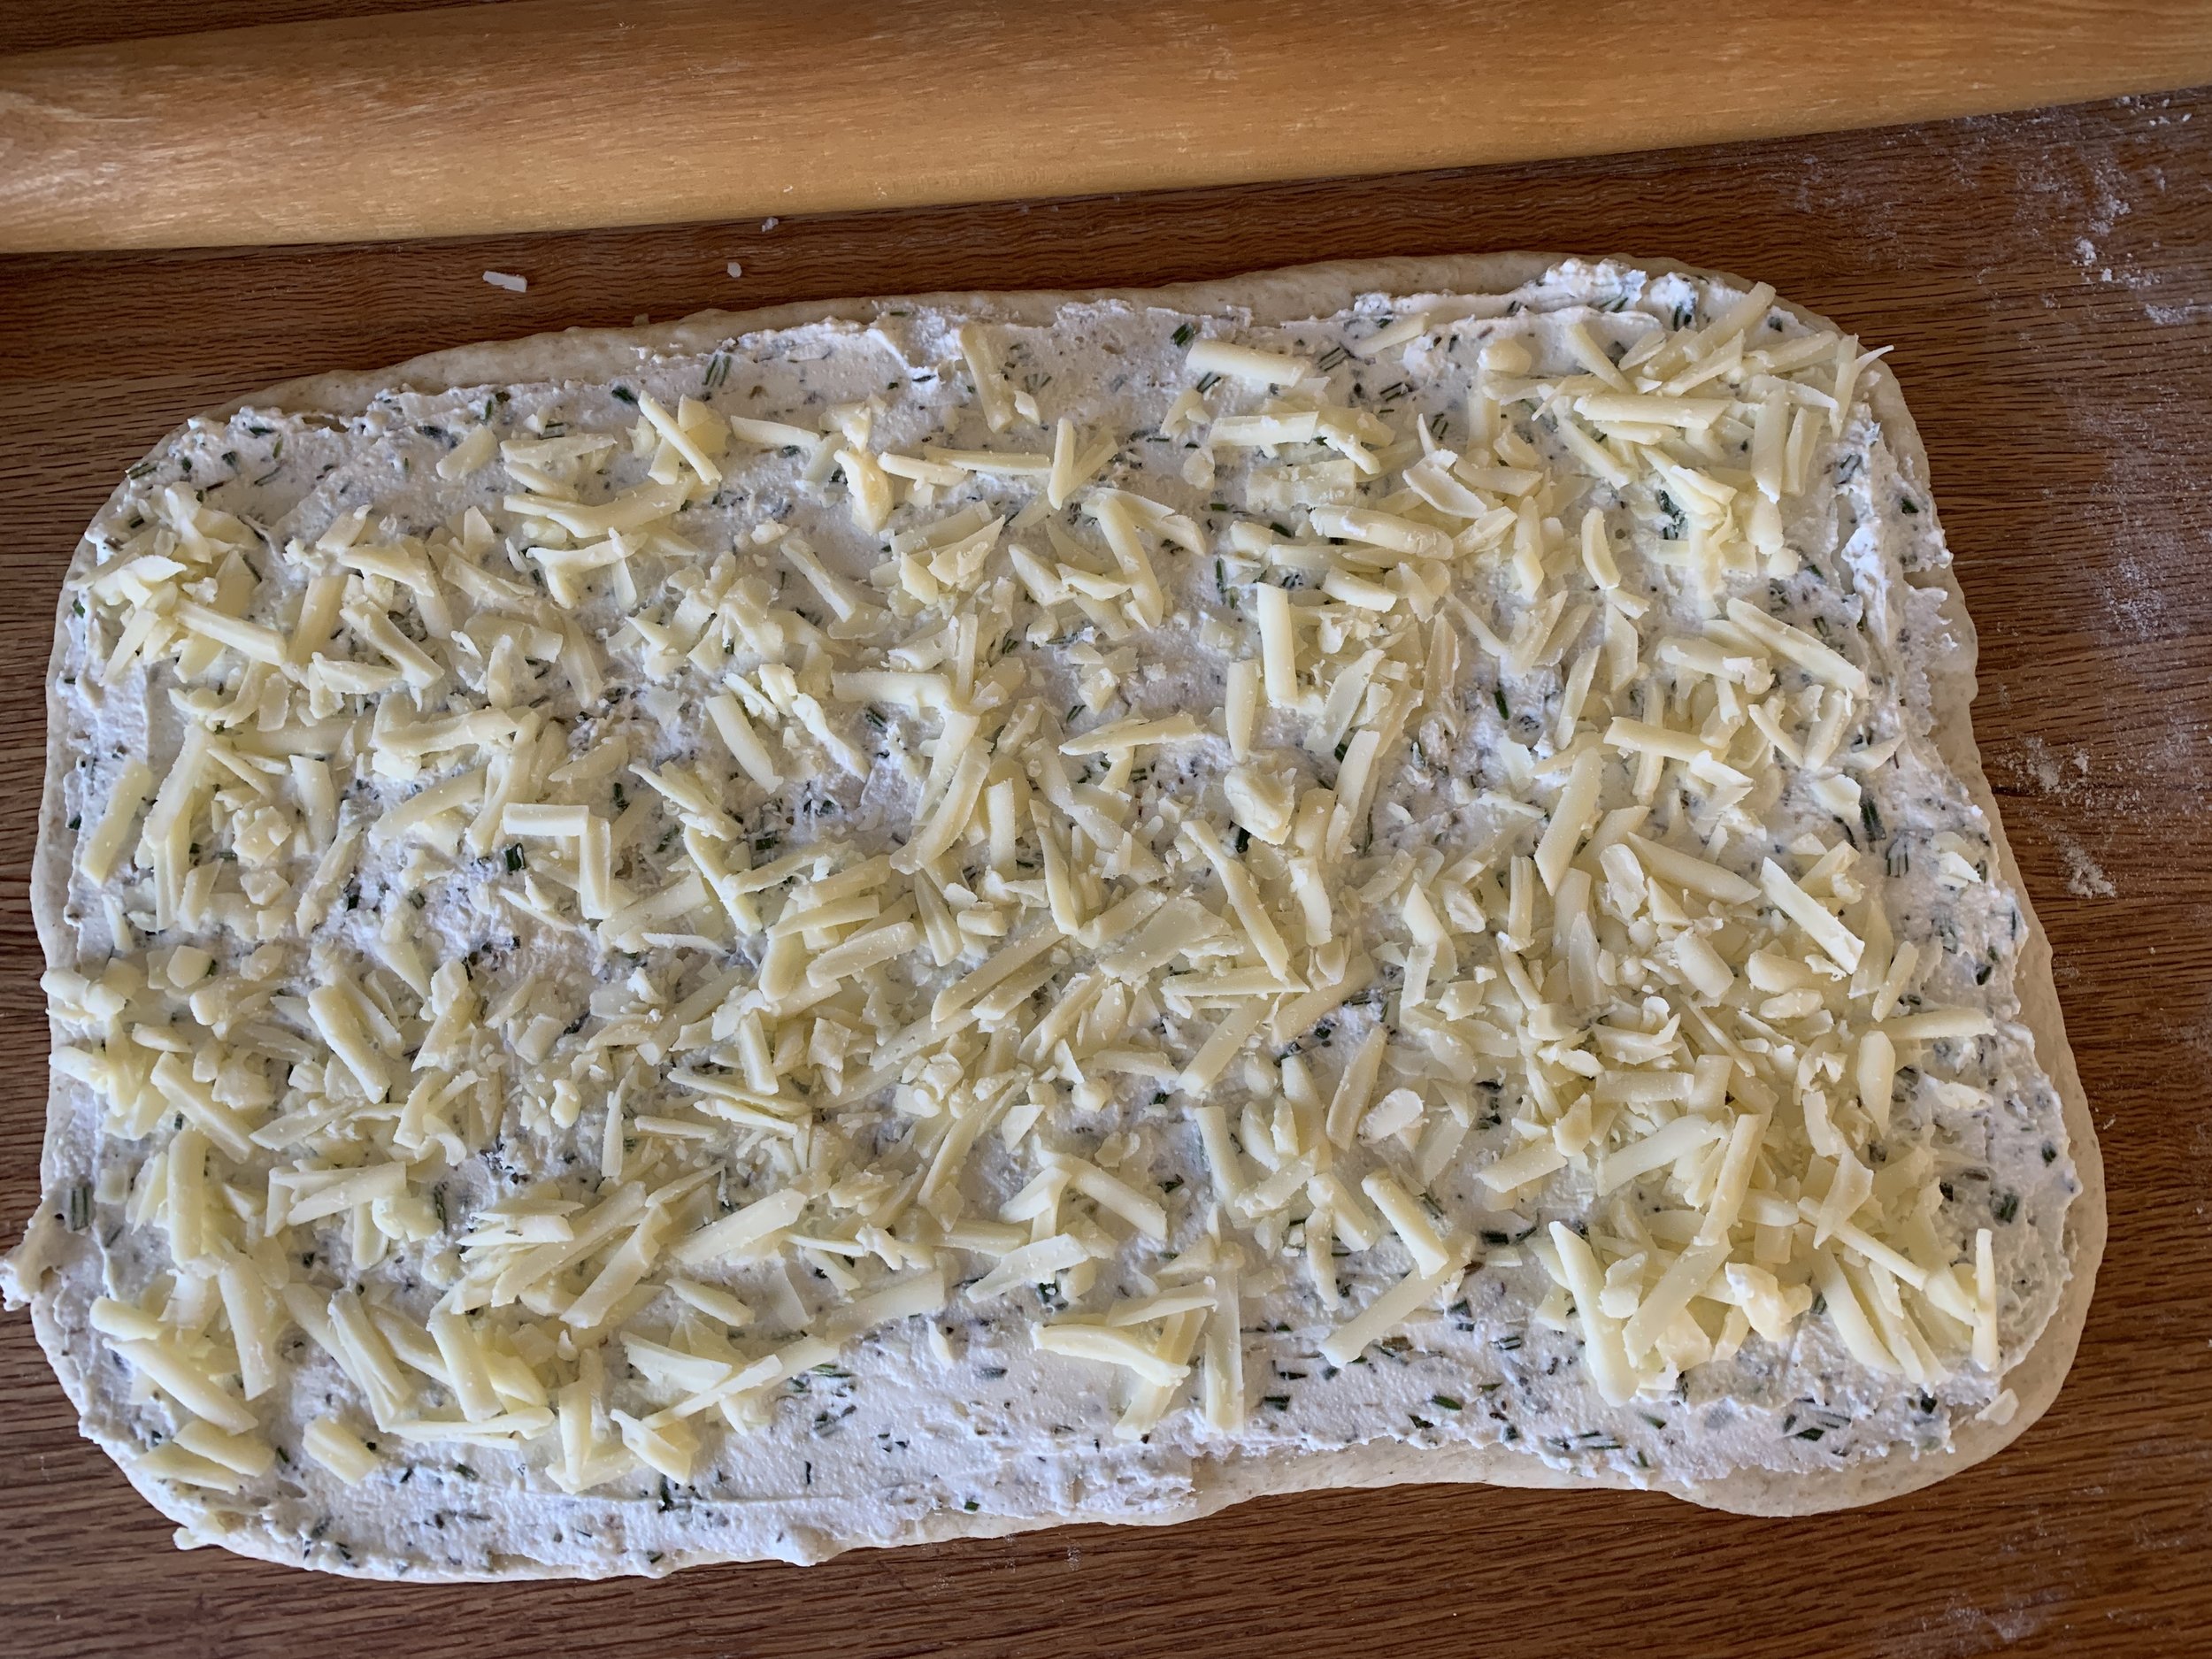
For the filling I mixed 3/4 cup whole milk ricotta, 1/4 cup cream cheese, a few pinches of dried oregano and herbes de provence plus ~2 tablespoons chopped fresh rosemary, one grated clove garlic and 4 ounces of grated sharp provolone which I ultimately thought too over powering - too much!. Live and learn, eh? Next time . . . . .

Roll the dough out to a rectangle of 8-ish by 16-ish inches.

Spread the ricotta filling over the dough and top it with the grated cheese. Press it down lightly.

Log roll it up and cut slits along one side every inch of so, half way through.

Form it into a wreath and pinch the ends together. Separate and twist the sections out a bit. Hmmm . . . looks like some sort of sea creature.

Cover lightly with oiled plastic wrap and let rise about 90 minutes.

Lightly brush top with egg white or water and grate more cheese on top - parmesan or locatelli work well.

Bake 25-30 minutes, let cool and enjoy.

Whew! The end. It’s a good dough to work with and so tasty no matter how you choose to bake it. Have fun!

Bacon cheddar corn scones

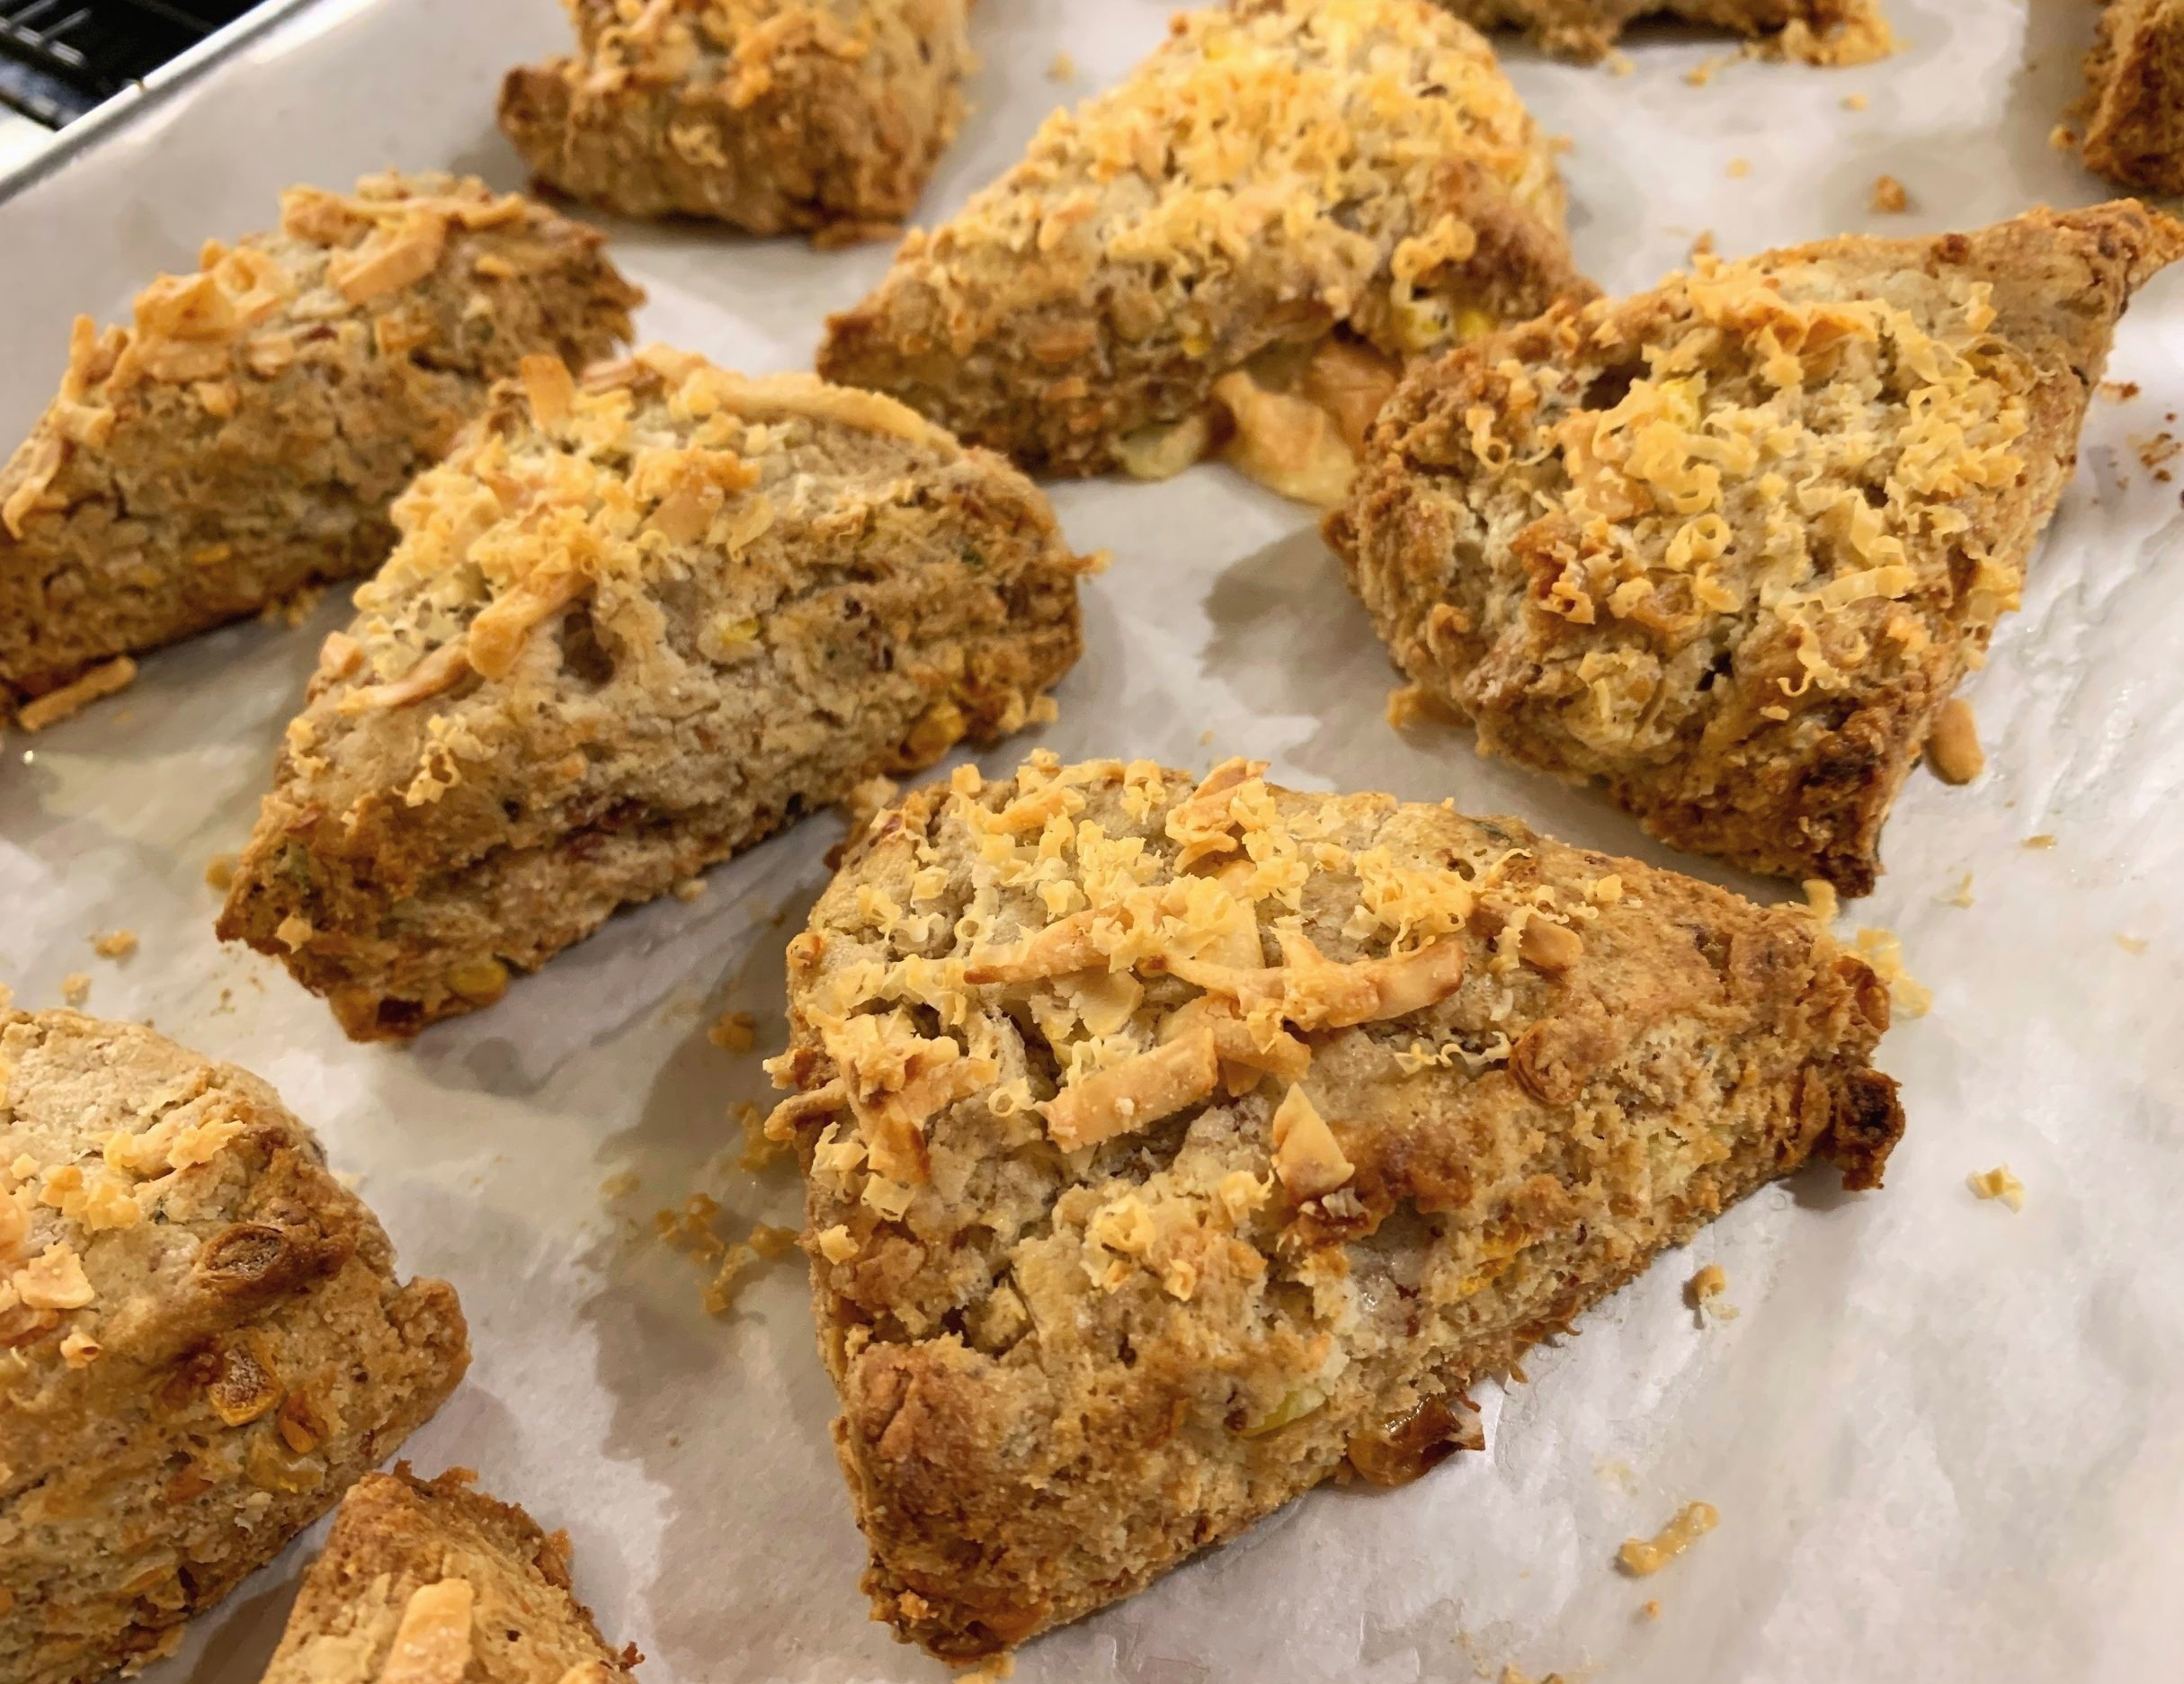
So much sweet corn this year - gotta try something a little different. Why not savory scones!
Steve’s been buying up batches of ears, cutting the kernels off and freezing a lot of it, but he’s also grilled some ears and cut off the grilled kernels for adding to stir fries, frittatas, fried rice, corn chowder - you name it!

I went with a slight variant of my cheddar scone recipe and added grilled corn kernels and bacon bits to the mix. A small pinch of cayenne gives it the right hint of heat without being overwhelming (you can always add more if you’re into the heat factor). If you’d like to make these, here’s a PDF of the recipe fully written for this particular project.

Remember - cold butter and cold cream/egg, work quickly and efficiently to bring it all together.

Place dry ingredients into a large enough mixing bowl to accommodate your hands; work cold butter into the mix by flattening the butter between your fingertips and “flaking” the butter into the flour mixture. Leave visible pieces of butter which will help achieve a light and tender crumb.

Place grated cheese (I like a combo of gruyère and cheddar), corn kernels and bacon on top of the dry ingredients. Pour the cold cream/egg mixture into the center and toss it all with a fork to moisten. Bring everything together quickly with a bowl scraper then turn out onto a lightly floured work surface to gently knead a few times to incorporate any dry bits.

This recipe yields about 900 g of dough. I divide it in two, form each half into a 5”-ish round about 3/4 inch thick and cut into 8 wedges for a yield of 16. I happen to prefer the petite sizes, but if you’d like larger scones, cut each round into 6 wedges (yield 12) or even 4 (yield 8) for a pretty generous sized serving. It’s all up to you.

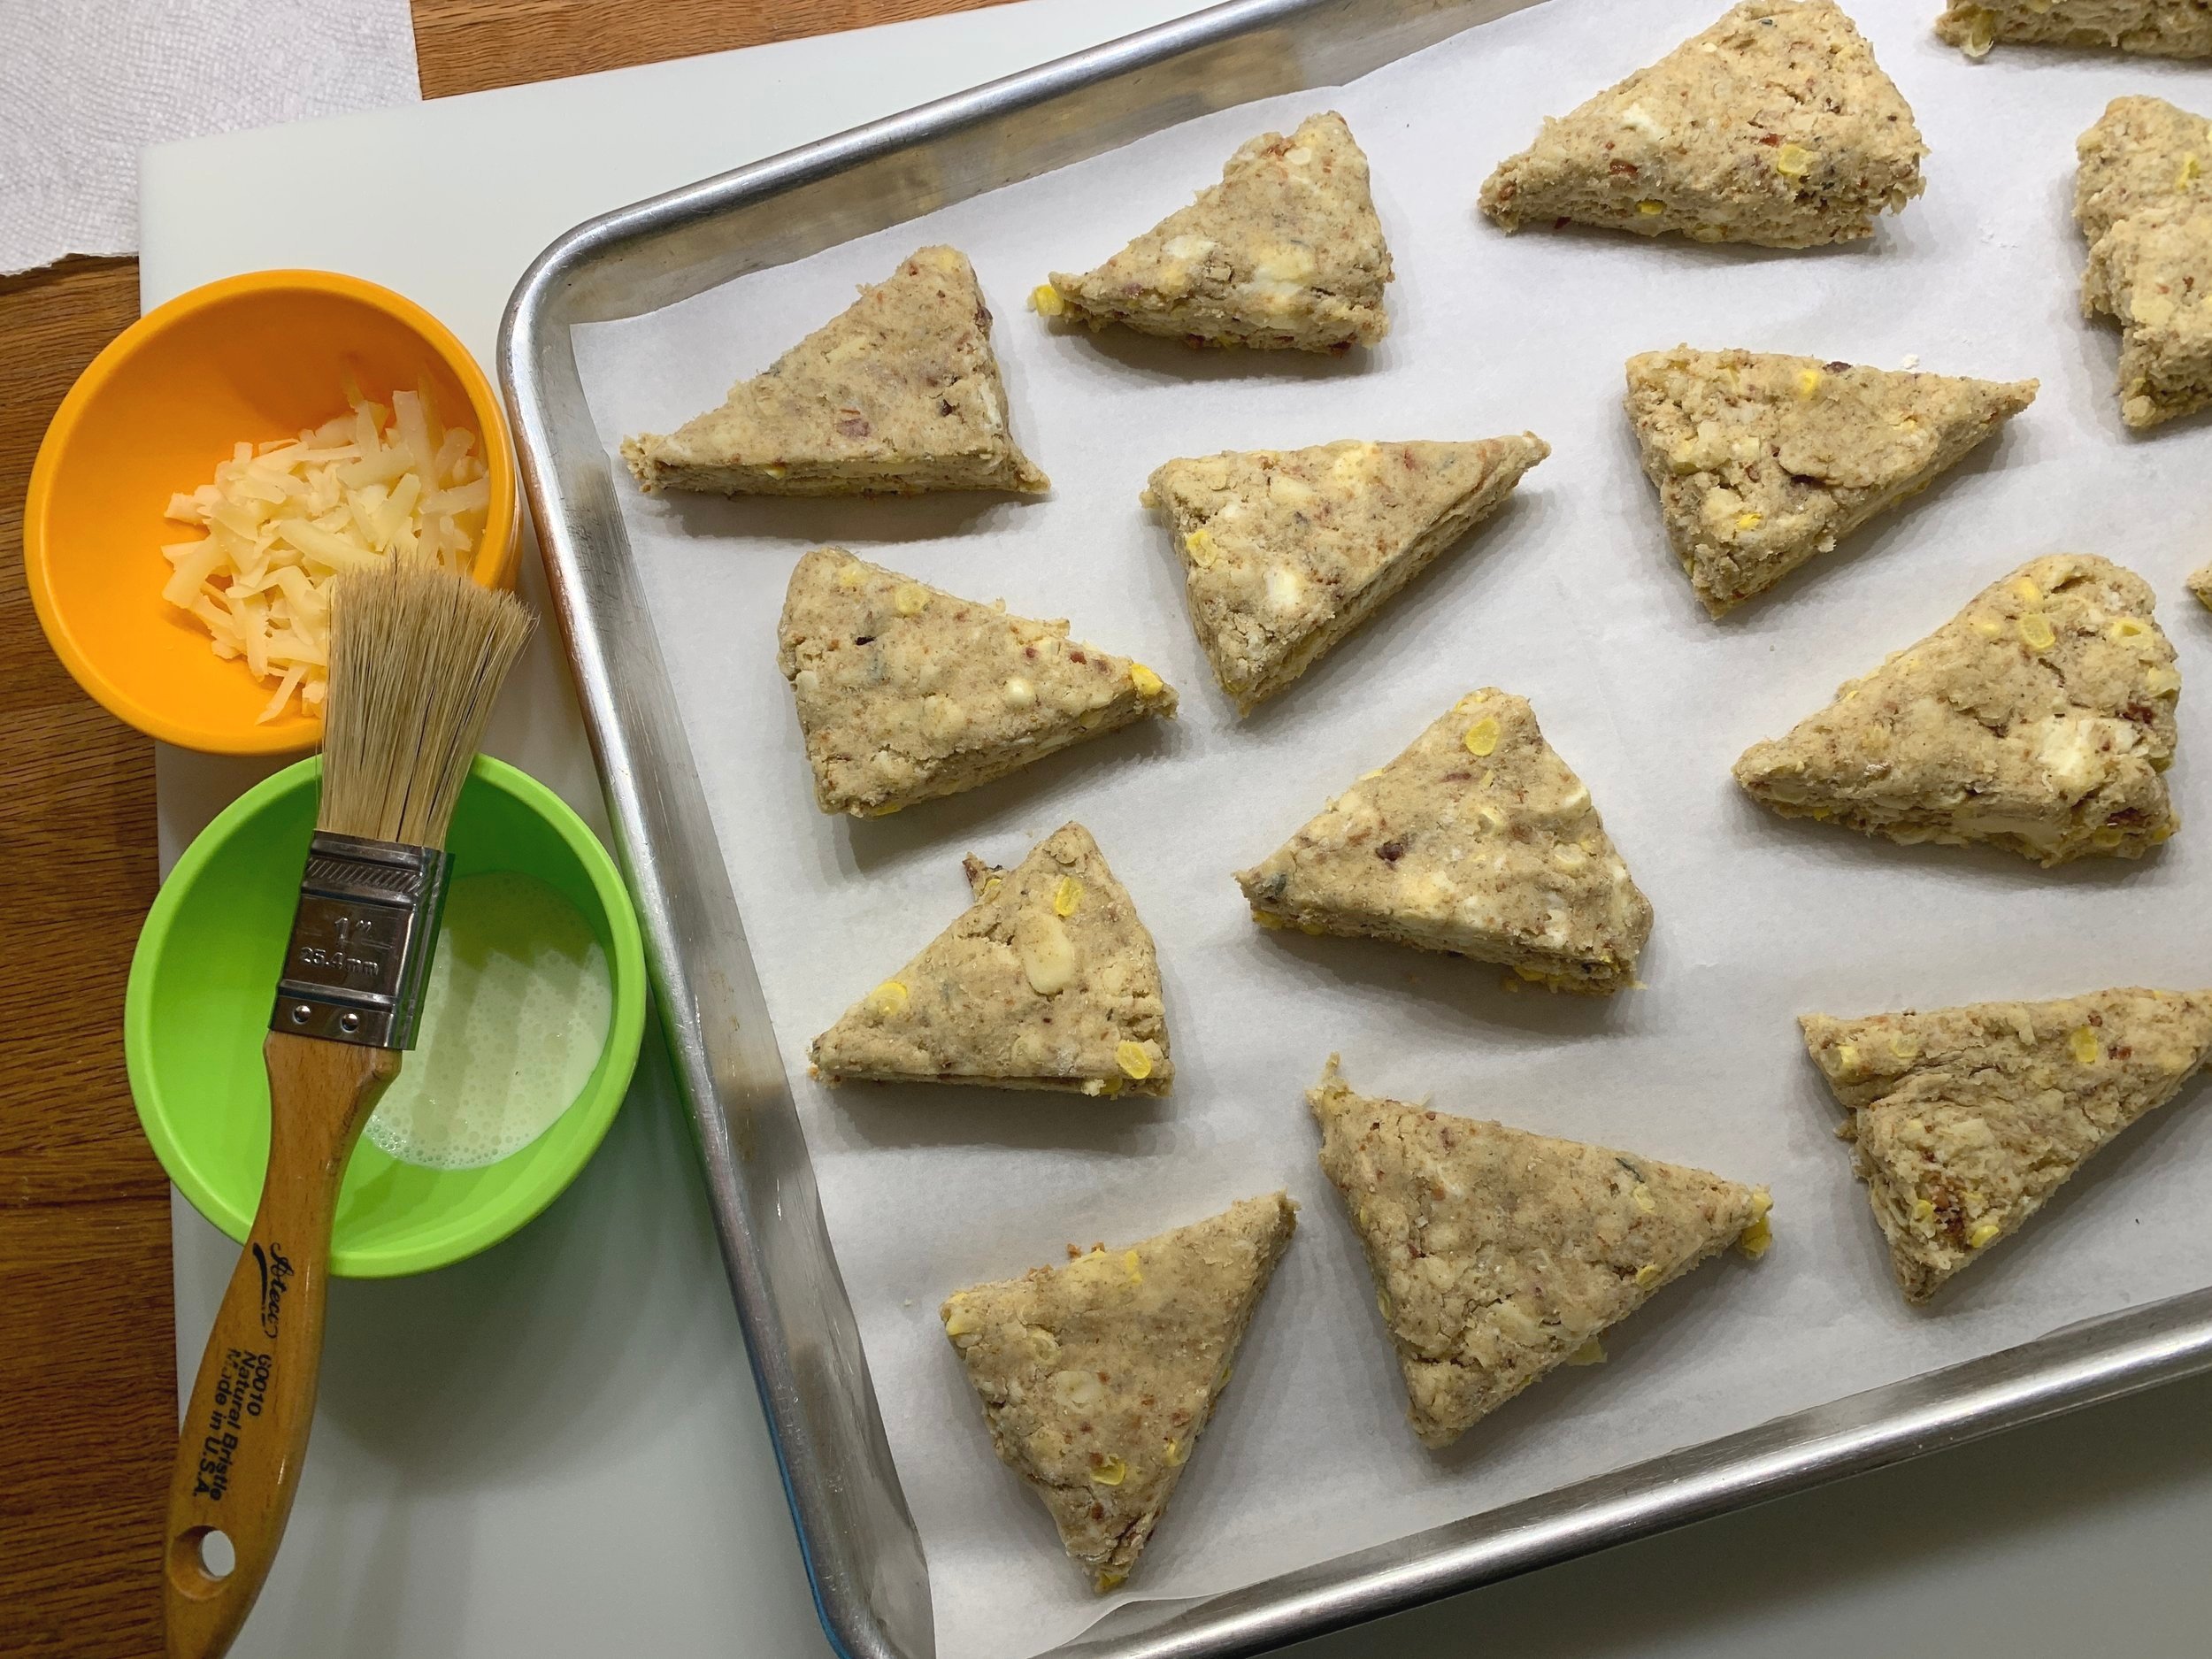
Once the scones are placed on a parchment lined sheet pan, brush with a little milk and sprinkle more cheese on top.


I pop the tray into the freezer and place a second sheet pan in the oven while heating to 400ºF.

Place the scone pan onto the heated sheet pan, bake 10 minutes, rotate trays and bake another 10 minutes until nicely browned. Reduce oven temp to 375ºF half way through if browning too quickly. If I’ve said it once, I’ve said it a thousand times - all ovens are different!

Enjoy slightly warm or cool fully before serving. Hint - a drizzle of honey adds a nice touch.

Crispy outside, moist and studded with goodness inside. You bet.

Work your own wonders with fresh sweet corn. Time’s a wasting!

Happy autumn!!

Early summer update

Maple glazed pecan Danish

Maple glazed pecan Danish

Though it’s not officially summer by the calendar, it certainly feels like it here in West Michigan. Hot and humid! The inspiration to bake is low on the priority list at the moment, but I can certainly dream, plan and write about baking, can’t I!

It’s been a bit since I’ve posted so I wanted to take the time to share a few of the goodies I’ve made in the past couple of months. Relying on favorite base recipes is de rigueur for me, and where appropriate I’ll share links to those recipes and give you any little changes I might have incorporated.

Chocolate dacquoise bites

Chocolate dacquoise bites

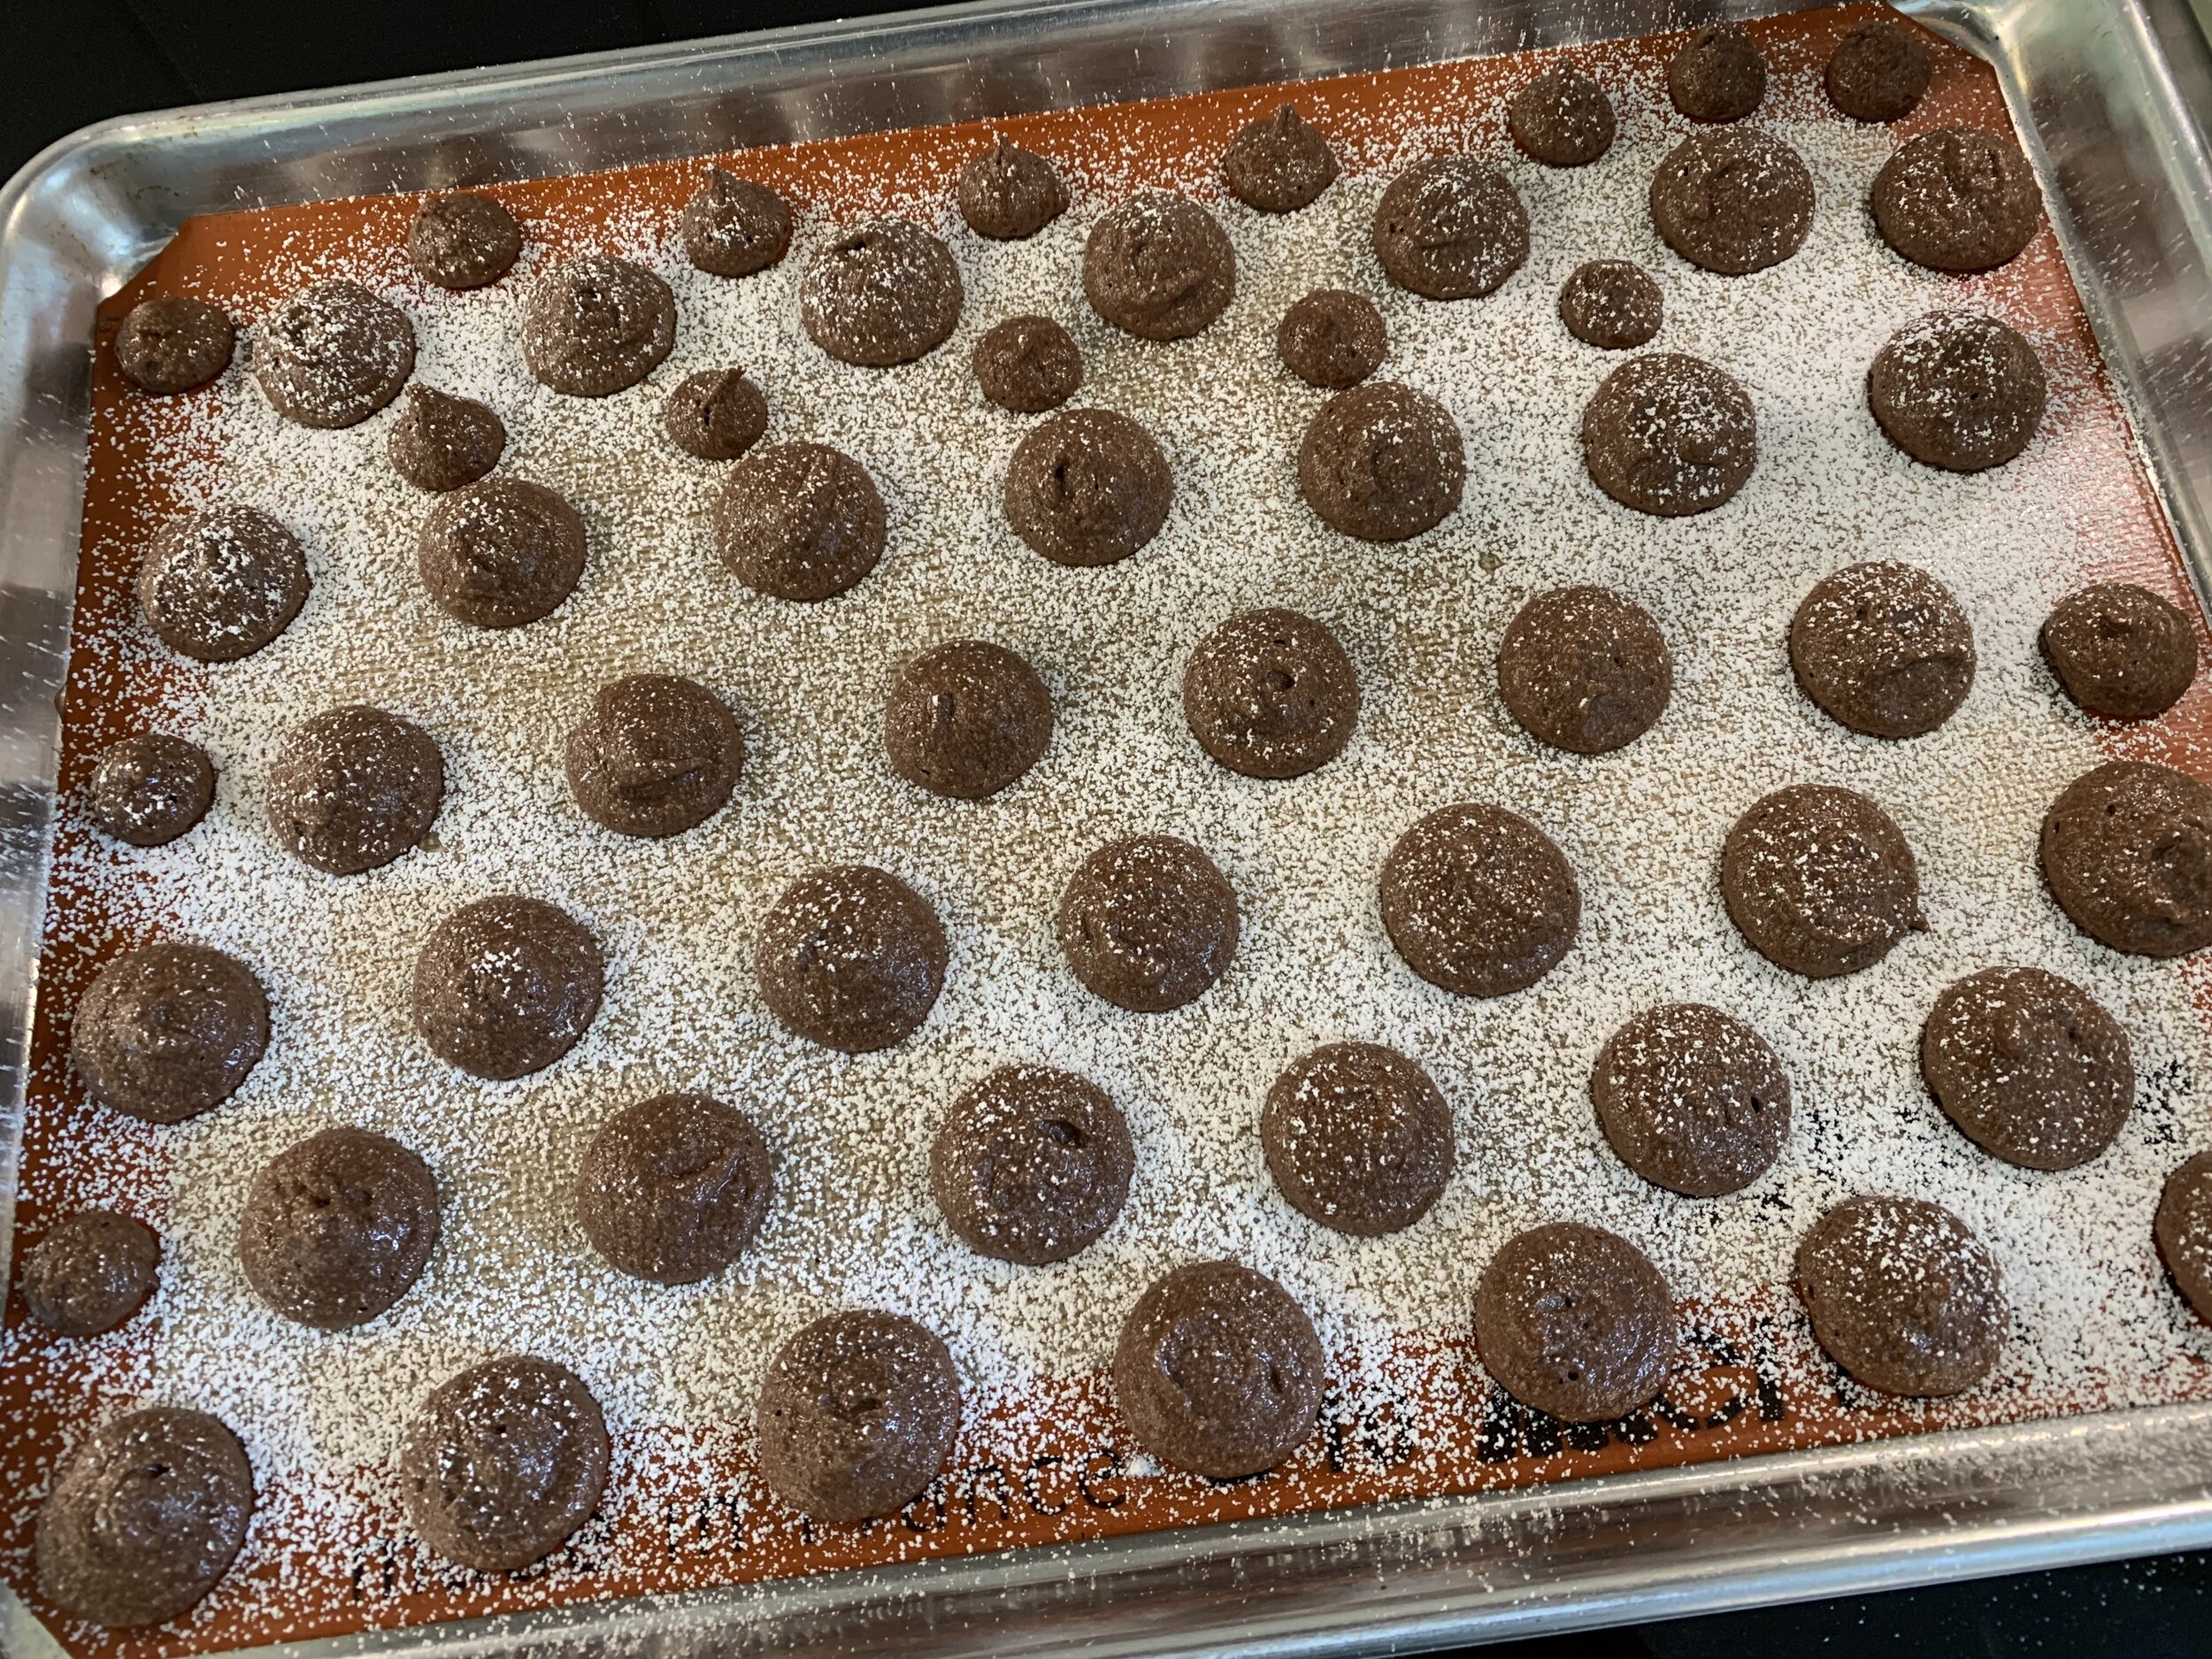
First up - I refer to these as rustic macarons. Made using my standard dacquoise base (remember my last post on vanilla-chocolate dacquoise?), I added 30 gm Dutch process cocoa powder to the almond flour/confectioners sugar to create a chocolate version, piped/baked simple rounds then sandwiched ‘em with salted caramel buttercream. The result is less sweet than the ever popular French macaron, a characteristic I prefer.

The buttercream is basically a combo of about 1 3/4 cups stove top caramel sauce whipped until cool then blended with 113 g (one stick) cubed/room temperature unsalted butter. Add the butter cubes bit by bit as you whip, just like you would when making Swiss meringue buttercream (you could make a caramel version of that instead if you prefer).

These freeze extremely well and can be eaten pretty much as soon as you take them out to enjoy.

Chocolate caramel dacquoise bites

Chocolate caramel dacquoise bites

These treats became part of a small gift box for a volunteer at a nearby assisted living facility, combined with Breton cherry/pistachio tartes topped with tart cherry Swiss meringue buttercream and candied pistachios. Yum.

547781AD-1060-42C1-96D5-AF9560A64093.jpeg

For the Breton tartes, use this dough recipe and add some chopped tart dried cherries and chopped pistachios to the dough (just eyeball it). I use about 40 g of dough for my 65 mm / 2.5” open tart rings (buttered). There are so many options one can create!

Next - maple glazed Danish buns.

05092172-07DC-4578-96F9-4B07477E212A.jpeg

I had a couple of batches of laminated Danish dough in the freezer and decided to create a few things with them: cherry cheese Danish, Danish almond braids and these buns for which I used a half batch of dough for a yield of 9 buns. Roll the dough out to a 12” high x 9” wide rectangle (for a full batch of dough roll to 12” high x 18” wide).

Make a filling (double it for a full batch) by blending 50 g almond flour (or sub in toasted and ground pecans for extra pecan-ness), 43 g dark brown sugar, 30 g egg white (1 large), 15 g maple syrup plus 1.5 T unsalted butter and a tablespoon all purpose flour. Spread it over the rolled out dough then sprinkle toasted, chopped pecans over, pressing them down to help them adhere.

Roll it up cinnamon roll style then slice into nine 1” rolls. I decided to bake these in a buttered and sugared 9x9 pan (again cinnamon roll style) rather than individually placed on a baking sheet. It’s easiest if you line your lightly buttered pan with parchment with an overhang on two opposite sides then butter and sugar the parchment.

After an hour or so rise, they baked up beautifully! Once baked you can simply lift the whole thing out, no muss, no fuss.

Mix 3/4 cup confectioners sugar with 1-3 tablespoons maple syrup to a thin-ish, brush-able consistency and give the buns a good coating.

1836FE29-7D0A-4042-821A-8CFE0B373996.jpeg

Let cool completely or feel free to gently pull them apart and try one still warm. You won’t regret it! So good.

C0D4750B-1E2A-4A01-A322-D228880855FB.jpeg

Next - roasted garlic/dill/cheddar bread created using a poolish approach. It came out pretty tasty although I’d like to tweak the hydration level and kneading/rising times to create a more chewy, rustic style bread. I hope to post about that adventure later this summer.

Roasted garlic/dill/cheddar boule

Roasted garlic/dill/cheddar boule

E94AC5B2-B77E-49CC-A924-961AF2207B33.jpeg

I don’t want to keep you much longer in describing my kitchen shenanigans. There’s always something going on in my head or in my oven so stay tuned for Canadian butter tarts and more.

Meanwhile we have a couple of sandhill cranes hanging out nearby, and we’re just waiting for a baby or two to appear.

Stay cool and calm and enjoy summer!

Mom or Dad??

Mom or Dad??

240A9599-639A-4988-9CD7-B80432E8E3F9.jpeg

Rye buns

IMG_4527.jpg

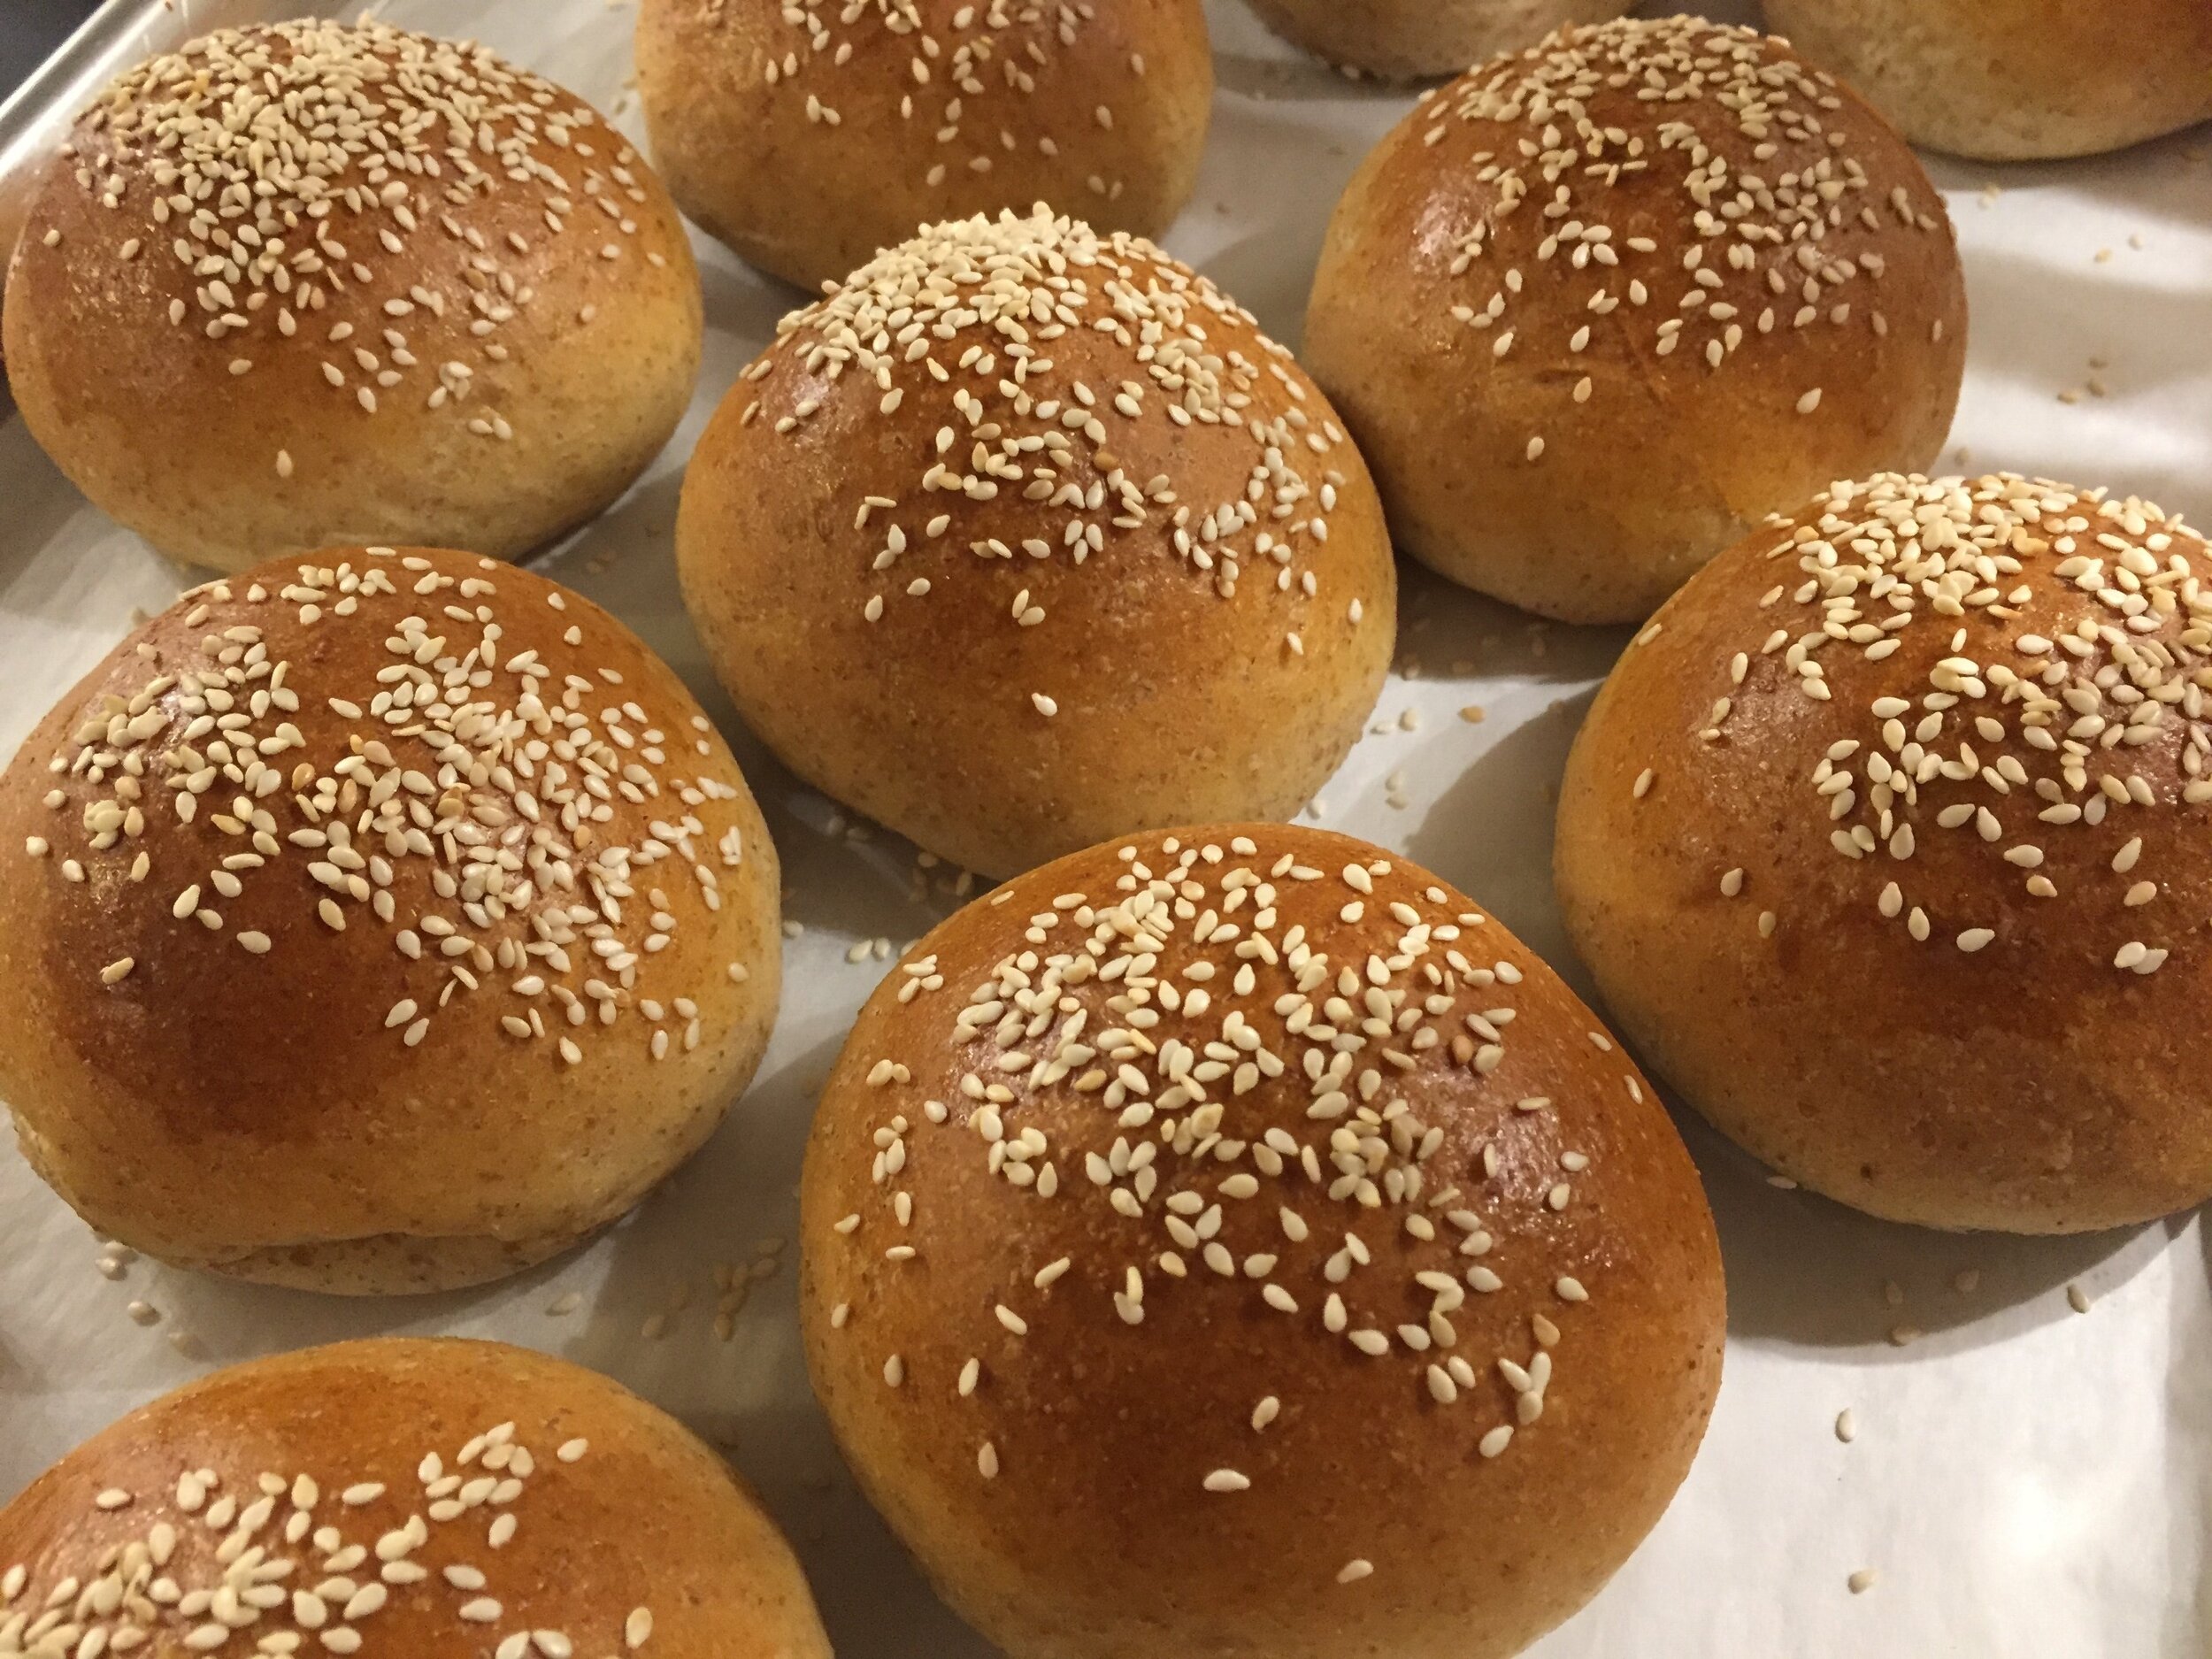
These buns are a true delight! Based on a recipe from “Brontë at Home: baking from the Scandi Kitchen” by Brontë Aurell, they come together like a dream, are great for any type of sandwich, have a lightness about them yet are sturdy enough to hold up to the juiciest grilled burger (which Steve’s tend to be!).

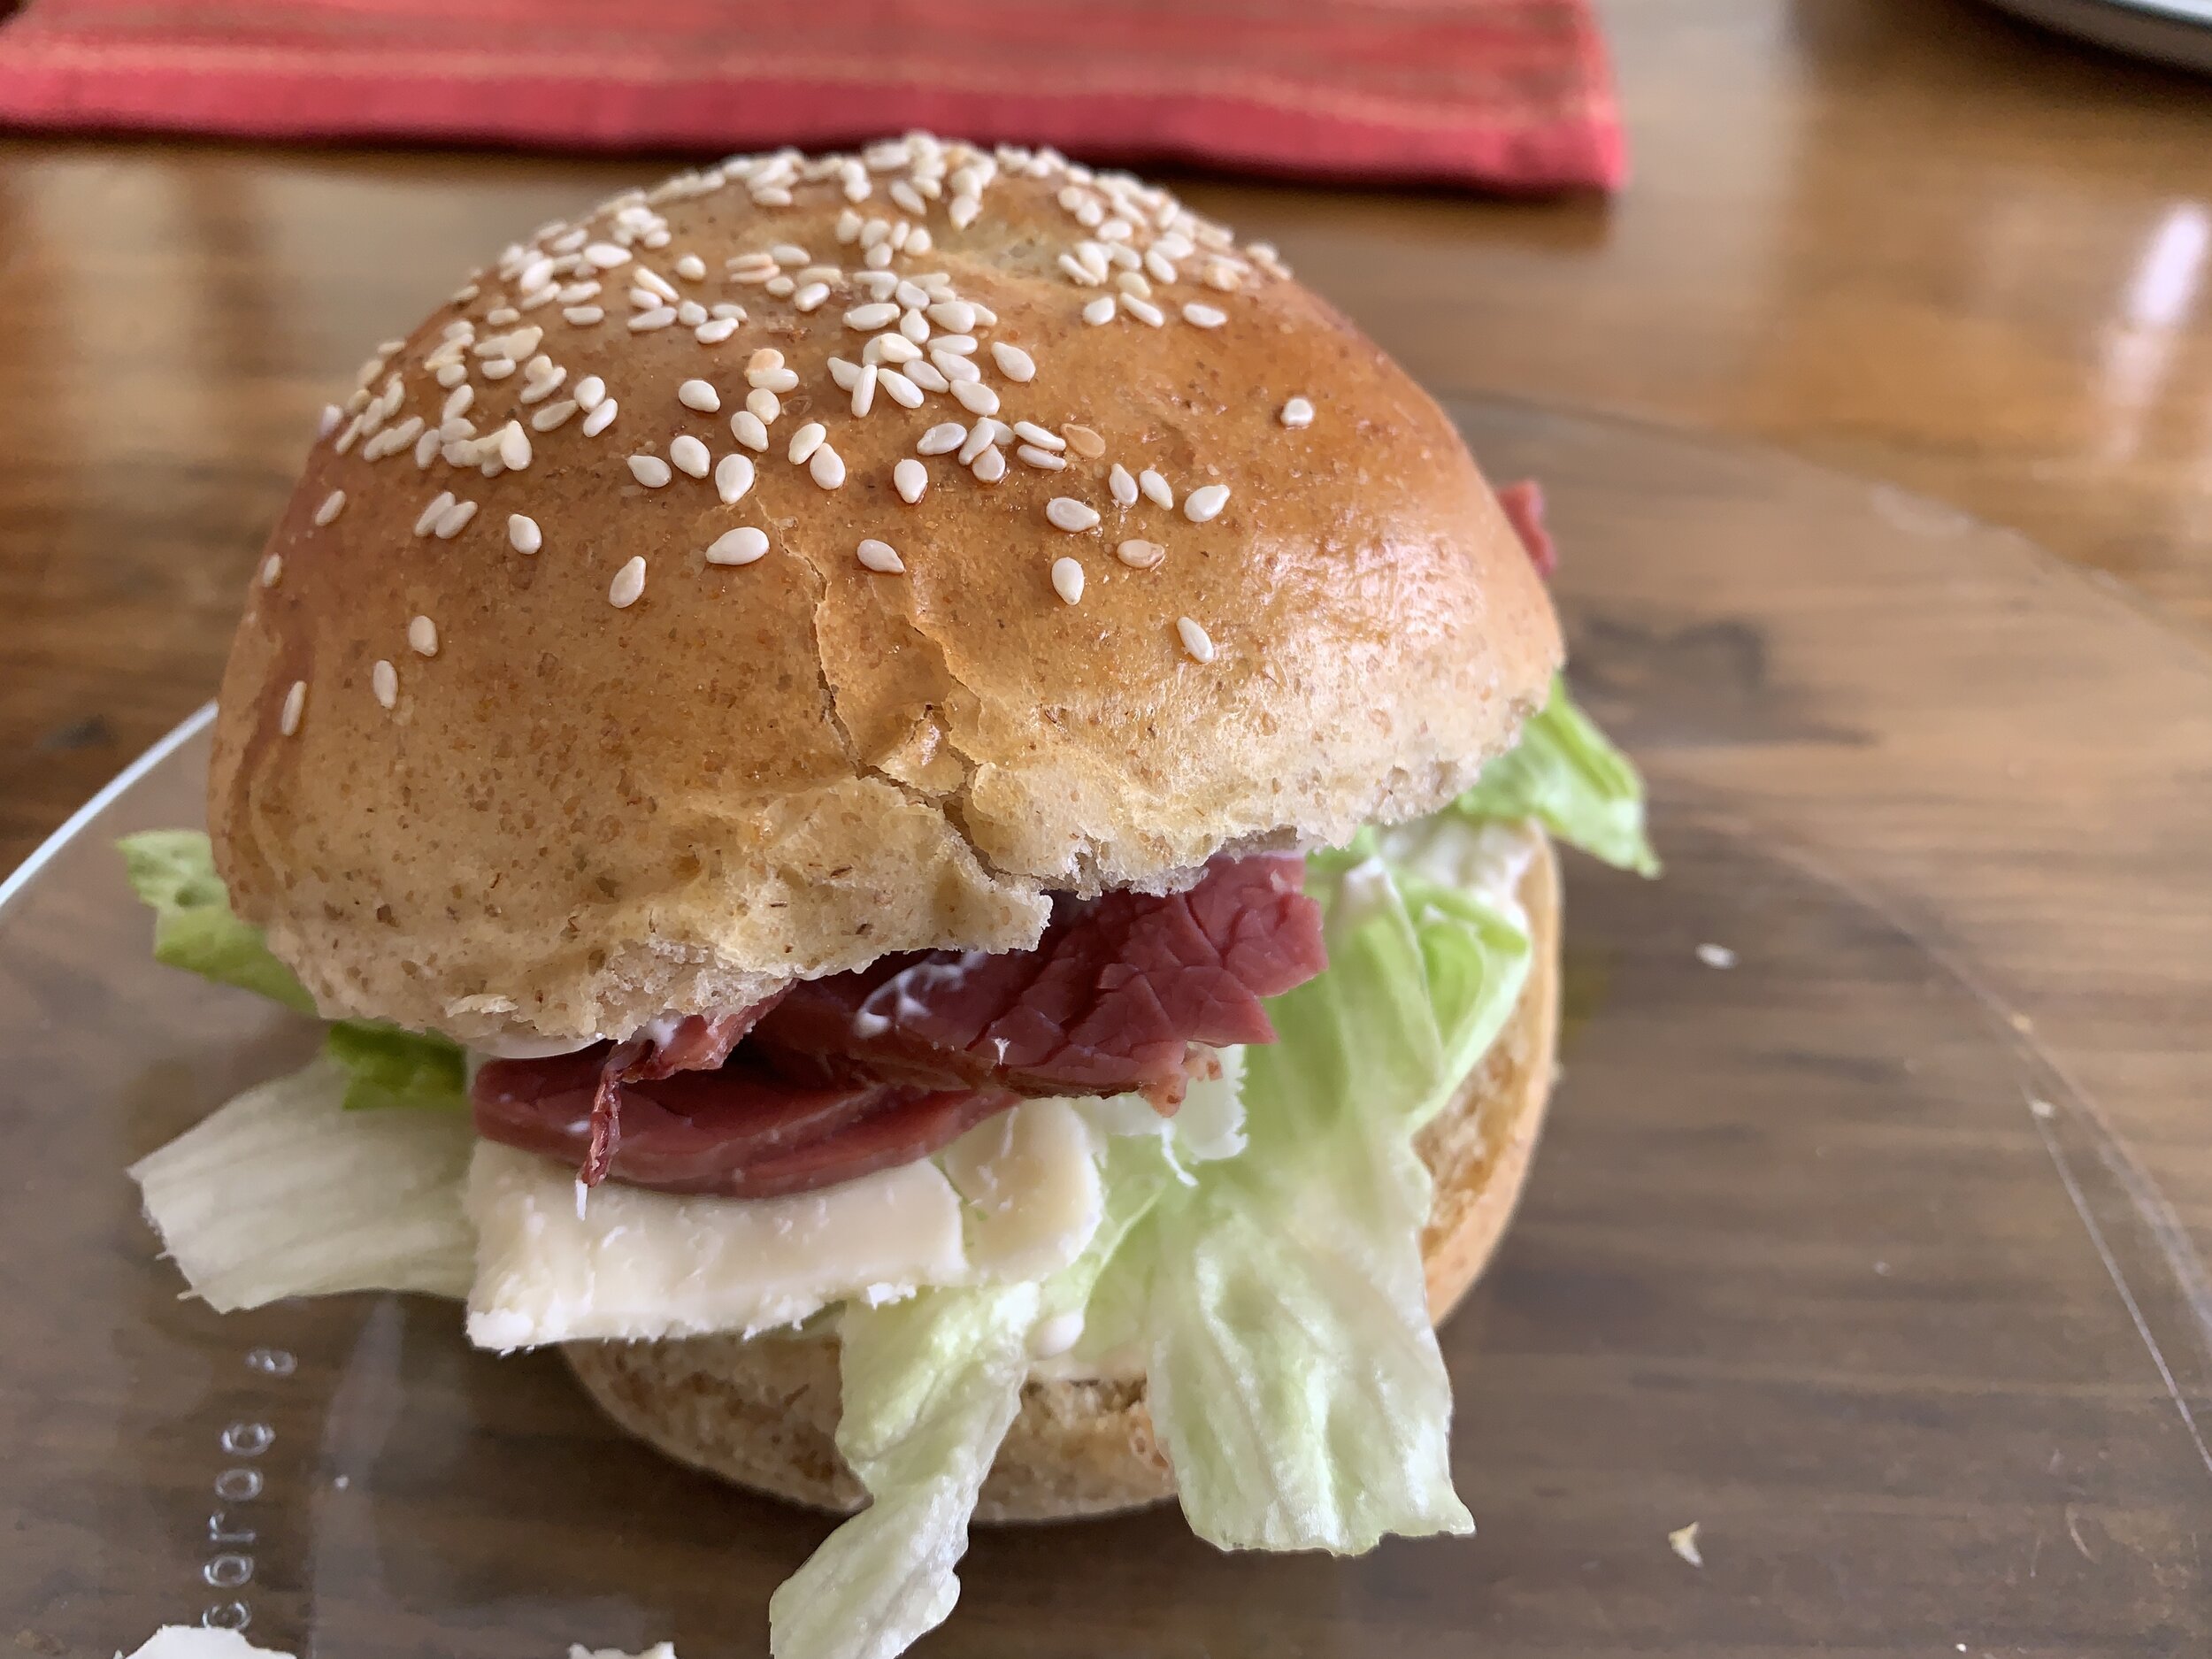
We’ve discovered that they’re great with most any sandwich you can dream up - one of our favorites is thinly sliced dried beef from our local Kingma’s market (no not the stuff you buy in packages in the cold meat section) with crisp lettuce and a schmear of mayo - yum! And a bit of cheddar never hurt either!!

IMG_0120.JPG

Here’s an interesting bit of trivia: in Aurell’s book she mentions these buns are especially good for Biff Lindström. Now what in the world is that I ask? Biff is the Swedish word for beef and, as it turns out, there’s a Swedish specialty named after one Henrik Lindström, a prominent industrialist back in the 1800s. It’s a fried burger made with ground beef, egg, onion, pickled beetroot and a bit of its juice, capers, seasonings (salt and pepper) and optional chopped chives. Hmmm . . . . not being a beet fan, I’m not sure I’ll go for that one, but you might like it - you never know!

Even though they’re called rye buns and contain dark rye flour, these buns have only the teensiest hint of rye flavor. That’s neither good nor bad, just a simple observation.

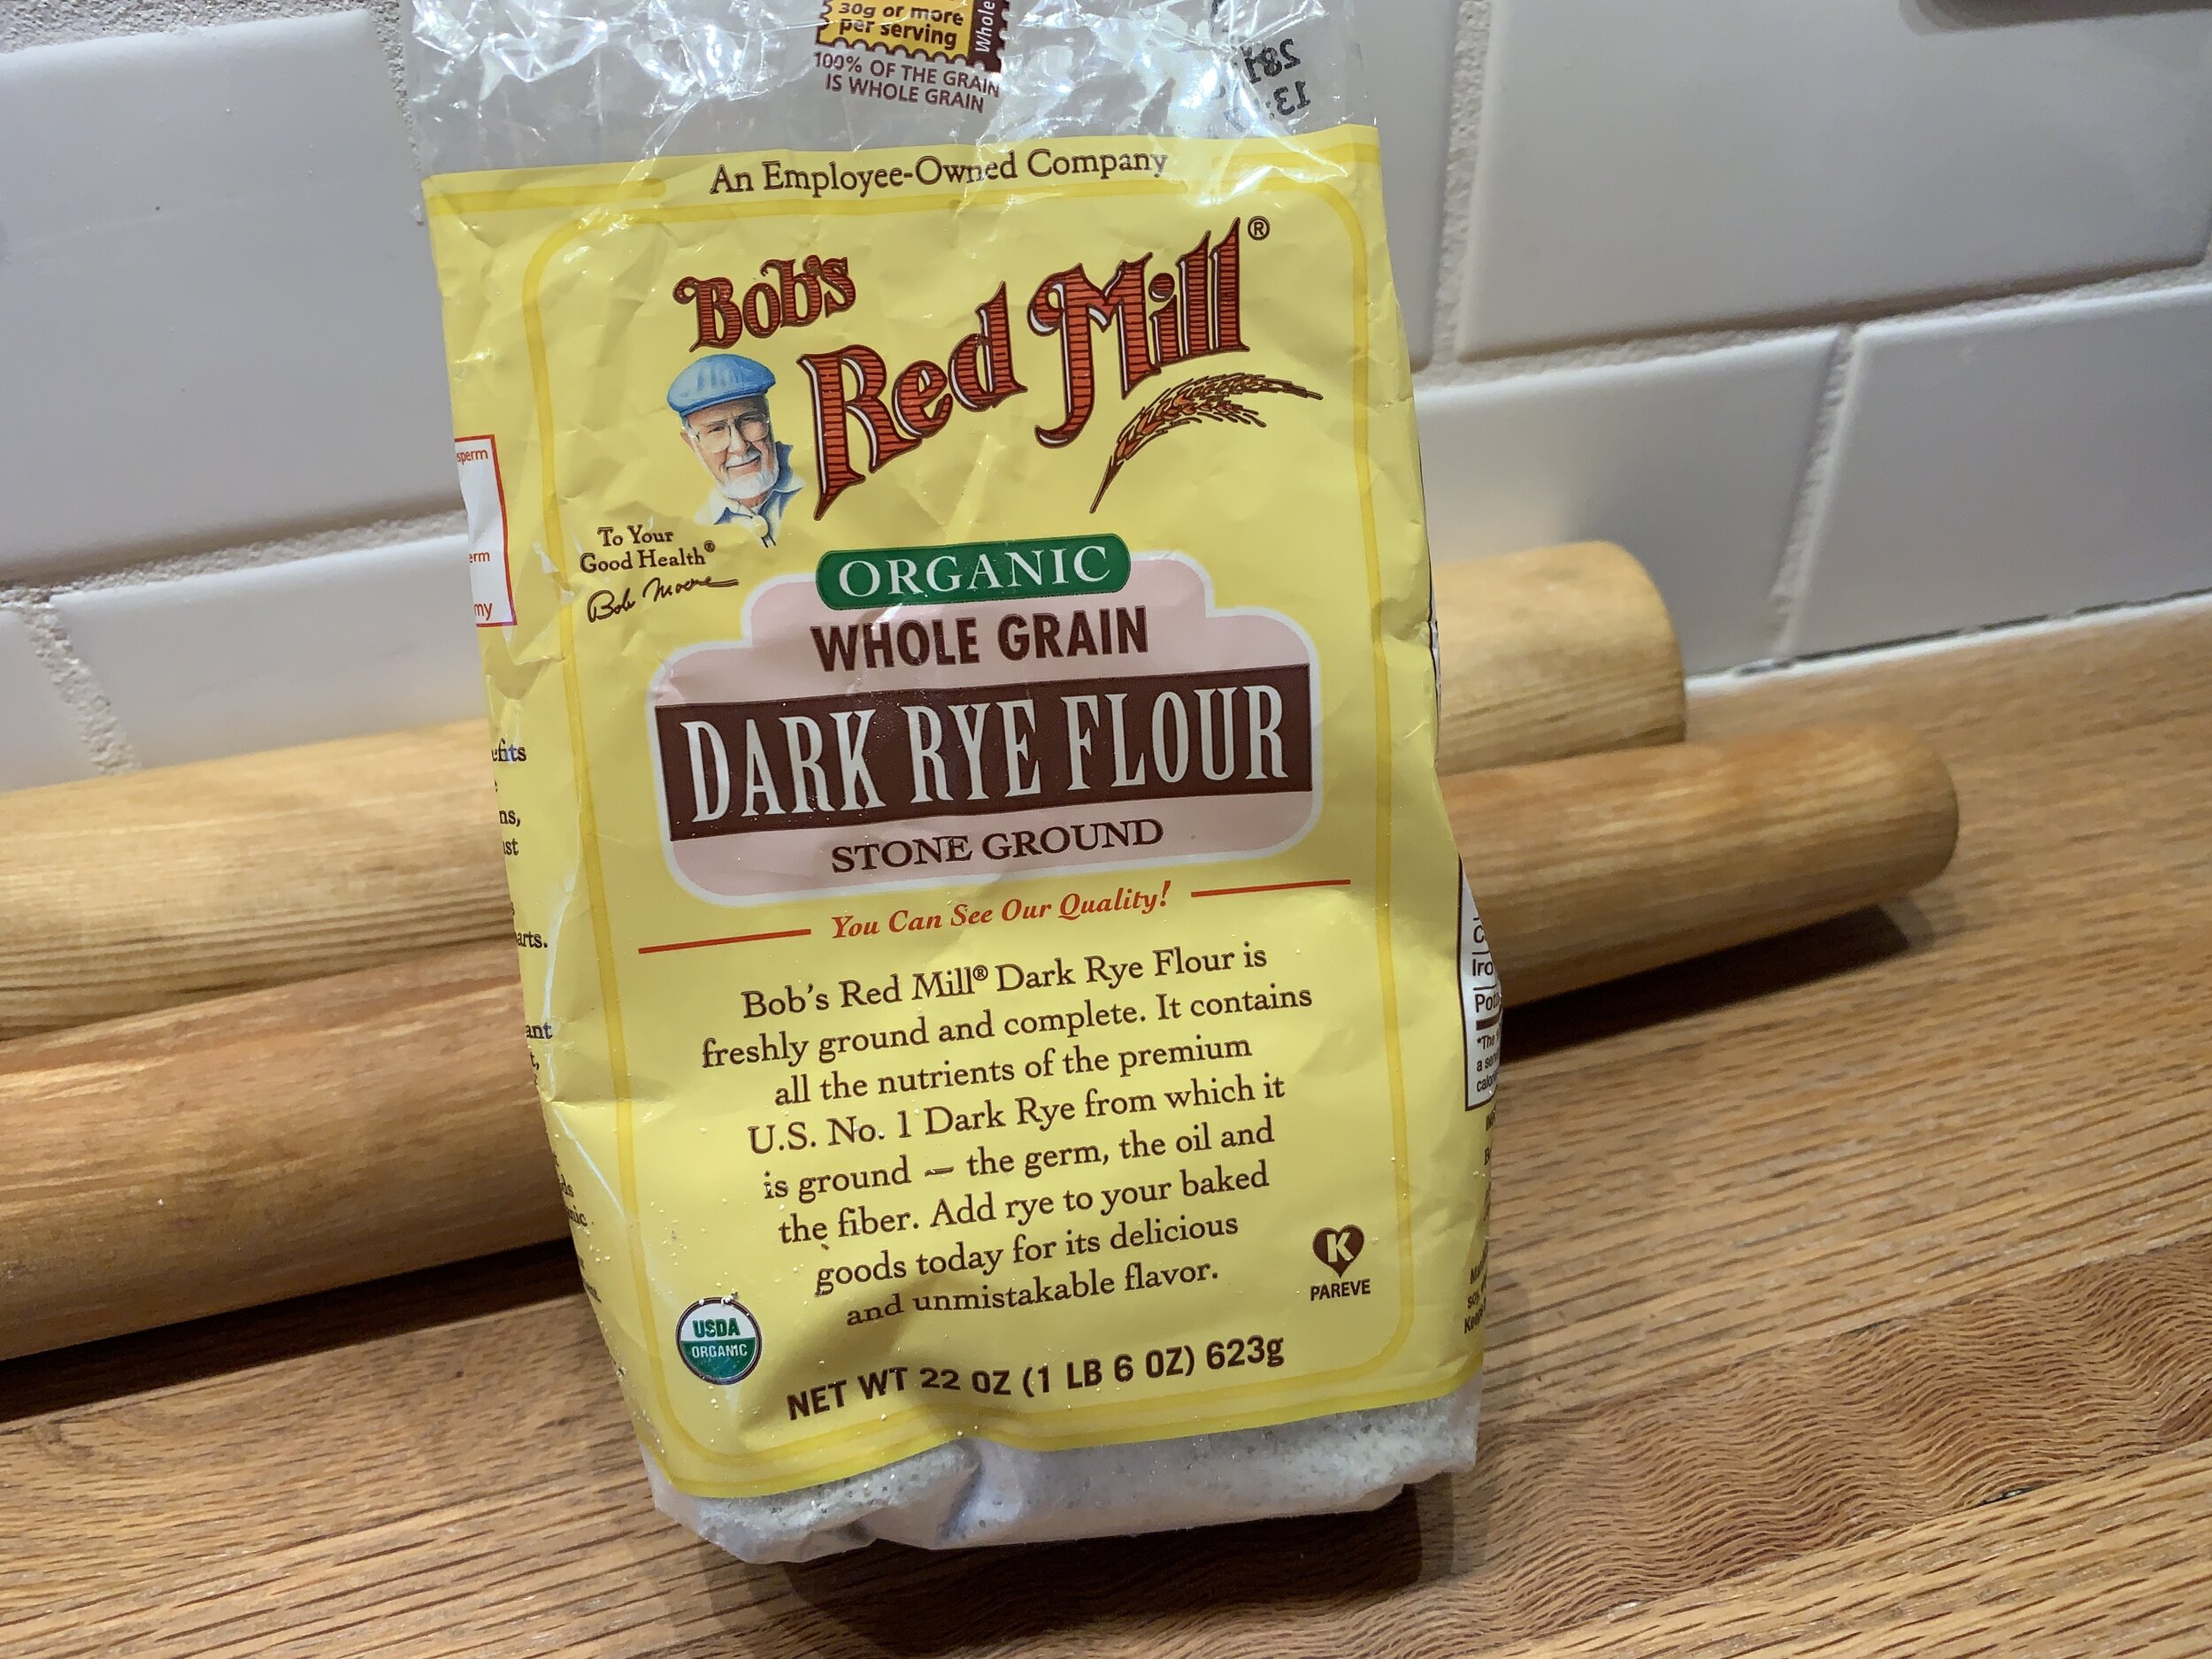
For this project I used Bob’s Red Mill, a line of wonderful flours readily available at local markets around here. While I’m a big fan of King Arthur Flour’s range of products and can buy the standards (i.e. all purpose, bread, whole wheat, white whole wheat, self rising and even the sprouted wheat) at the grocery store, their specialty flours have to be ordered from the company which obviously requires some planning ahead. Cue Bob’s - yes!

IMG_0039.JPG

The range of rye flours available go from white/light rye, medium rye, dark rye and pumpernickel. Here’s a great overview of rye from King Arthur Flour. Since rye flour doesn’t contain as much gluten as its wheat flour counterparts, for a better rise and lighter texture it’s best to combine it with all purpose. Using all rye flour makes for a dense loaf, plus the larger percentage of rye you use in your bread, the slower the rise.

No matter - this recipe works. You can accomplish it in a morning or afternoon and have fresh buns for supper. What’s not to like. Here’s the link to the recipe in PDF form.

I use instant yeast as my go to dried yeast. It doesn’t require jump starting in tepid liquid like active dry does, however, if you’re proceeding with the recipe to complete that day, it’s doesn’t hurt to give the instant yeast a little bath in the warm liquid - gets it going just a tad faster.

IMG_0063.jpg

In the bowl of a stand mixer fitted with the dough hook, mix 10 g / ~3 teaspoons instant yeast with 160 ml (2/3 cup) EACH of tepid water and whole milk. Let stand 10-15 minutes to become frothy. Add 50 g (1/4 cup) light brown sugar and mix until dissolved.

Have 200 g (1.5 cups) dark rye flour and 390 g (3 cups) of white bread flour at the ready, as well as 1.5 teaspoons salt, 1 large egg, 84 g (6 tablespoons) softened unsalted butter.

On low speed add the rye flour to the yeast/milk mixture along with the salt, then the egg and butter. Increase speed to medium low and start adding the bread flour. You may not need all of it. Continue to mix for about 5 minutes.

IMG_0068.jpg

You’re looking for a slightly sticky dough that’s pulling away from the sides of the bowl. FYI - I did end up using all of the bread flour.

IMG_0064.jpg

Place dough in a lightly oiled bowl, cover with plastic wrap and let rise in a warm place about an hour until doubled.

Before the first rise

Before the first rise

After the rise

After the rise

Turn the dough out on a lightly floured work surface, gently knead to form a log that you will then divide into your chosen sizes.

IMG_0079.jpg

Note: the recipe yield will vary depending on the size you wish to make. For example, if making 9 buns (as the base recipe suggests), each one comes in at a hefty 122 g (4.25 ounces) which is a bit too generous methinks. For my first batch I chose 85 g (3 ounces) which gave me a yield of 13 buns, but since Mr. Steve prefers his burger buns a little larger, my second go-around yielded 11 buns at ~100g each.

Into the slider thing? Make them even smaller!

IMG_0080.jpg
IMG_0082.jpg

Shape each piece into a nice boule, place on a parchment lined sheet pan, cover with a damp towel or a lightly oiled piece of plastic wrap and give them a second rise for about 1/2 hour.

Meanwhile heat your oven to 350ºF. Brush lightly with egg wash and sprinkle sesame seeds (white or black or both) on top (or any seed mixture you like).

IMG_4524.jpg

Ms. Aurell suggests moisture in the oven during baking. Place the sheet pan of buns onto the middle rack and place a shallow heat proof pan with a cup or so of hot water onto the bottom rack. Bake about 13-15 minutes until golden and sound hollow when tapped on the bottom.

Great buns!!

IMG_4526.jpg

So far we’ve had grilled burgers on these babies twice and a couple of different sandwiches. Definitely a keeper. Give ‘em a try - you won’t be sorry.

IMG_0122.JPG