Lemon lime toasted coconut tartelettes

Spring’s celebrations always bring out a wave of lemon, lime and coconut themed recipes, and I’m certainly one who hops on the band wagon tout de suite. I made these for Easter as well as for a spring pastry event right down the road - a big hit.

After our return from a late spring trip to New England and Nova Scotia, I was determined to write at least a bit about these, since, even with summer upon us, there’s always room for citrus.

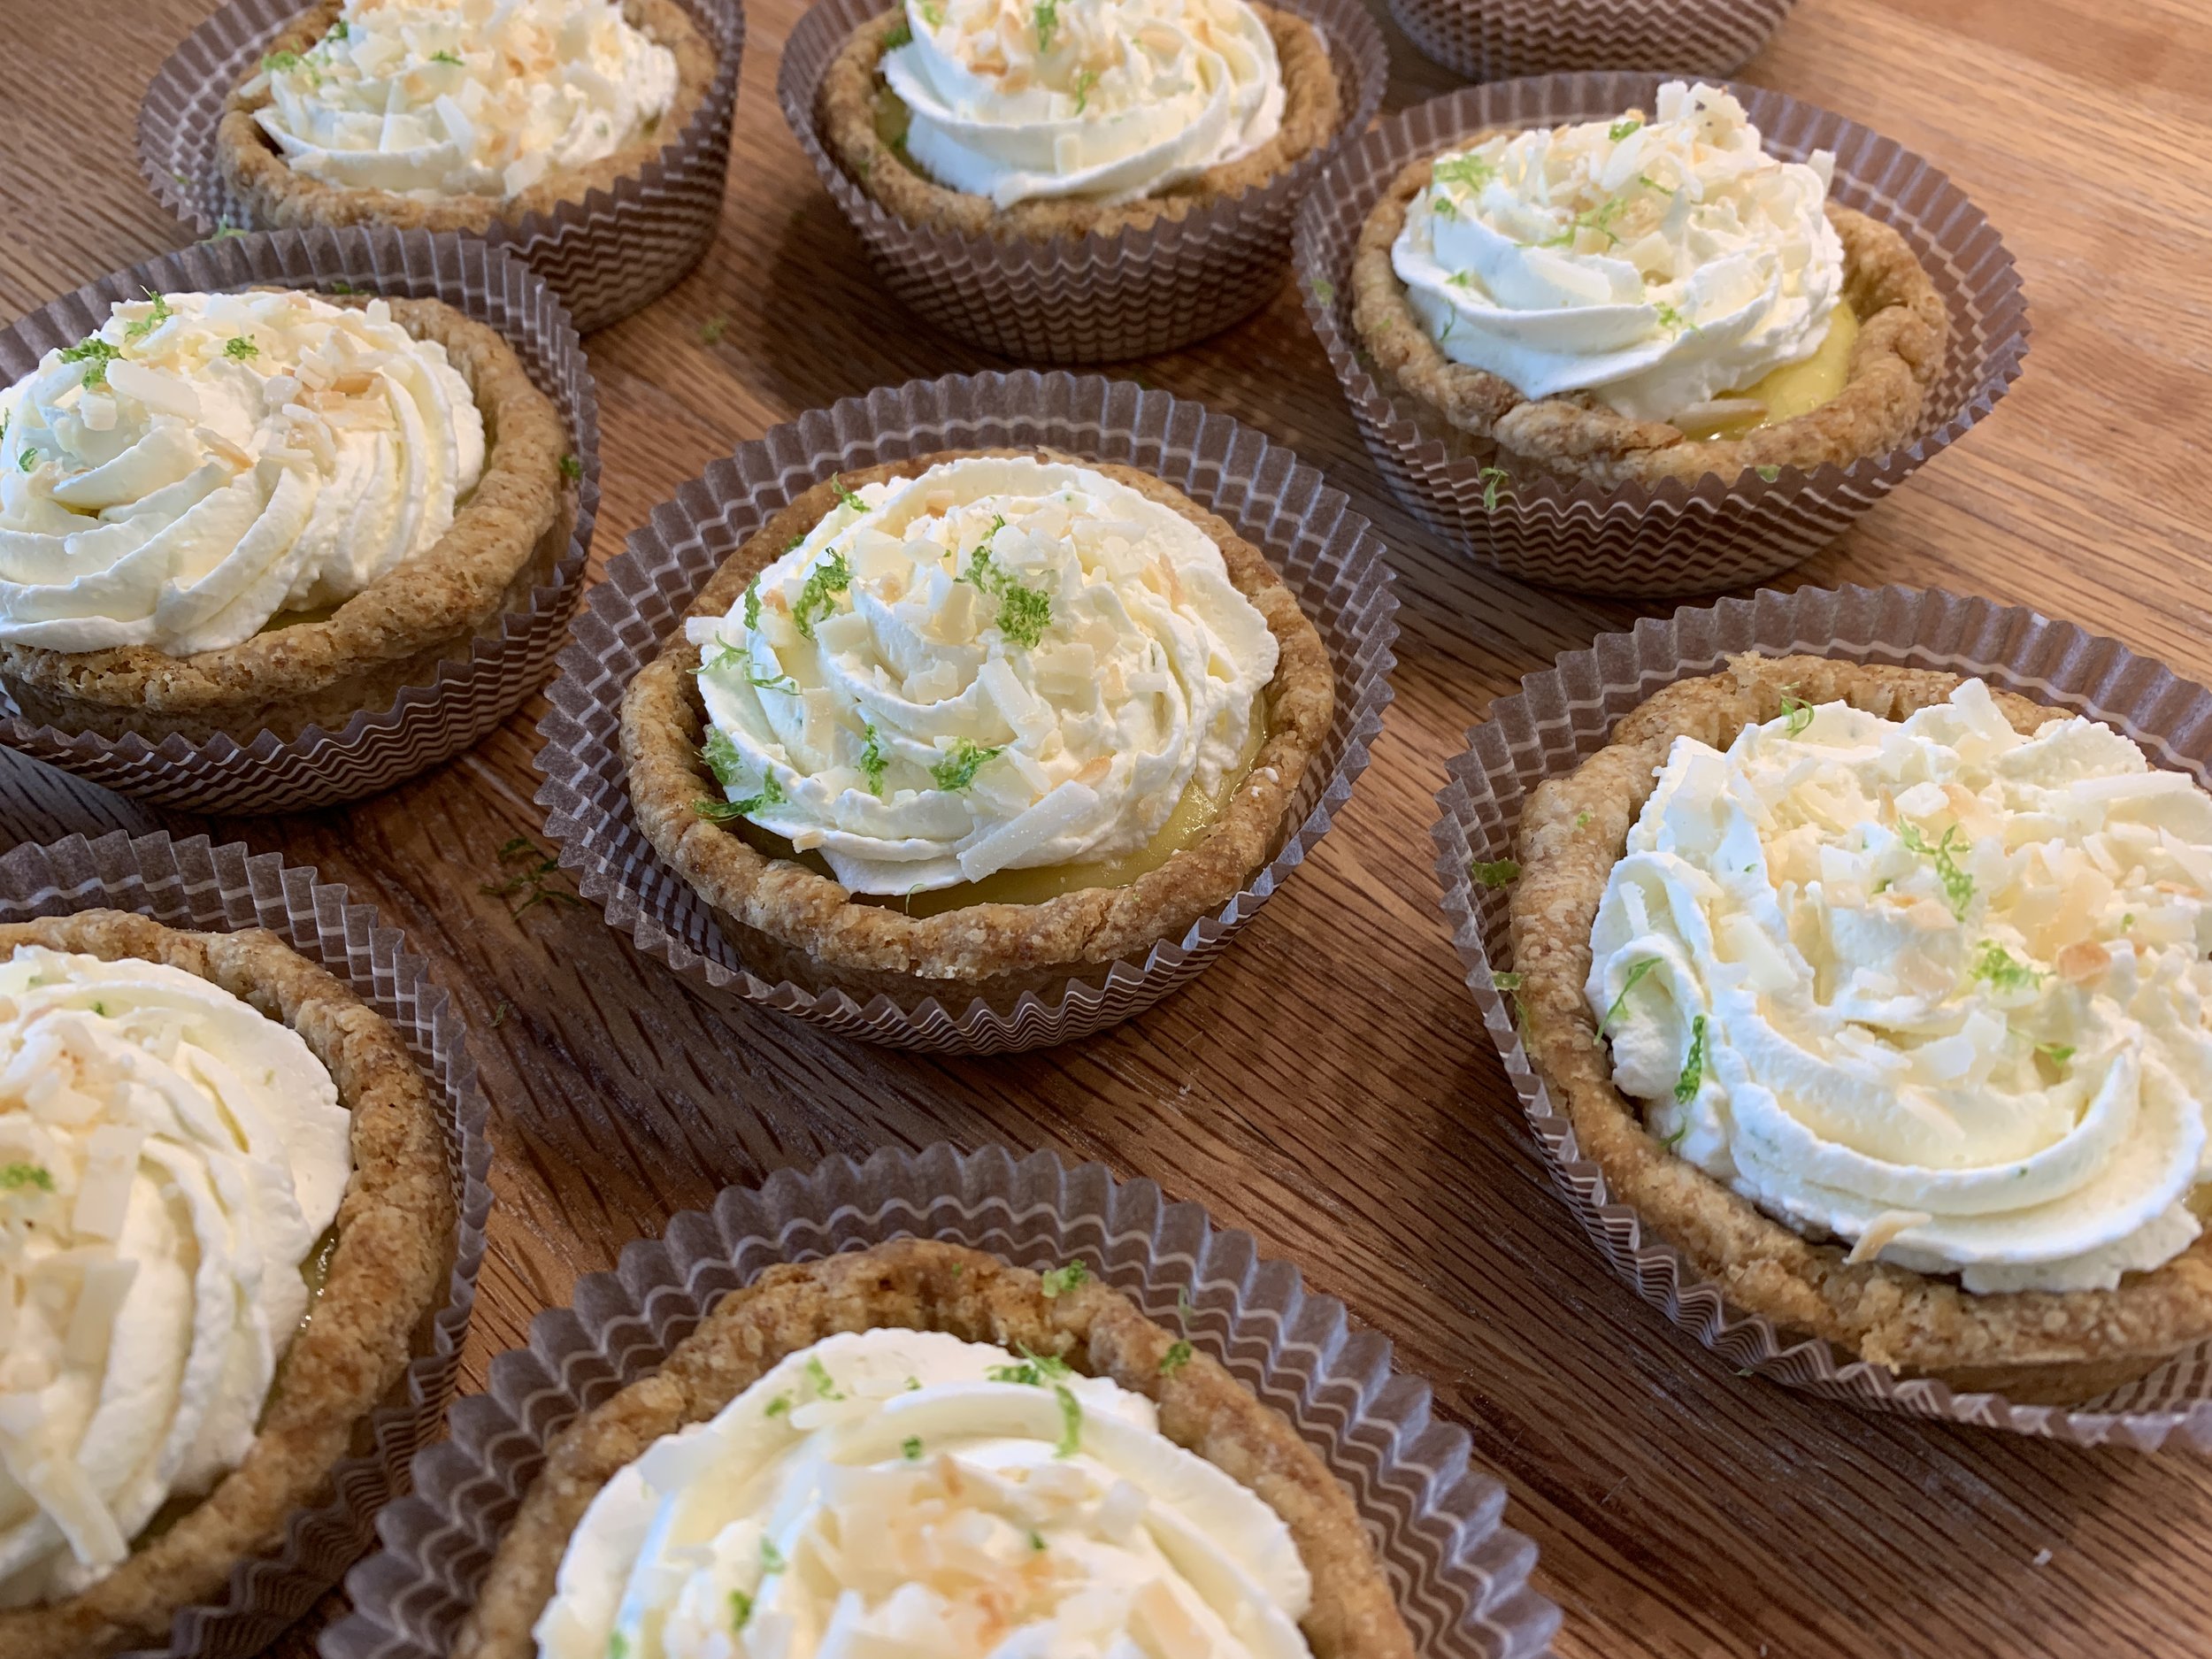
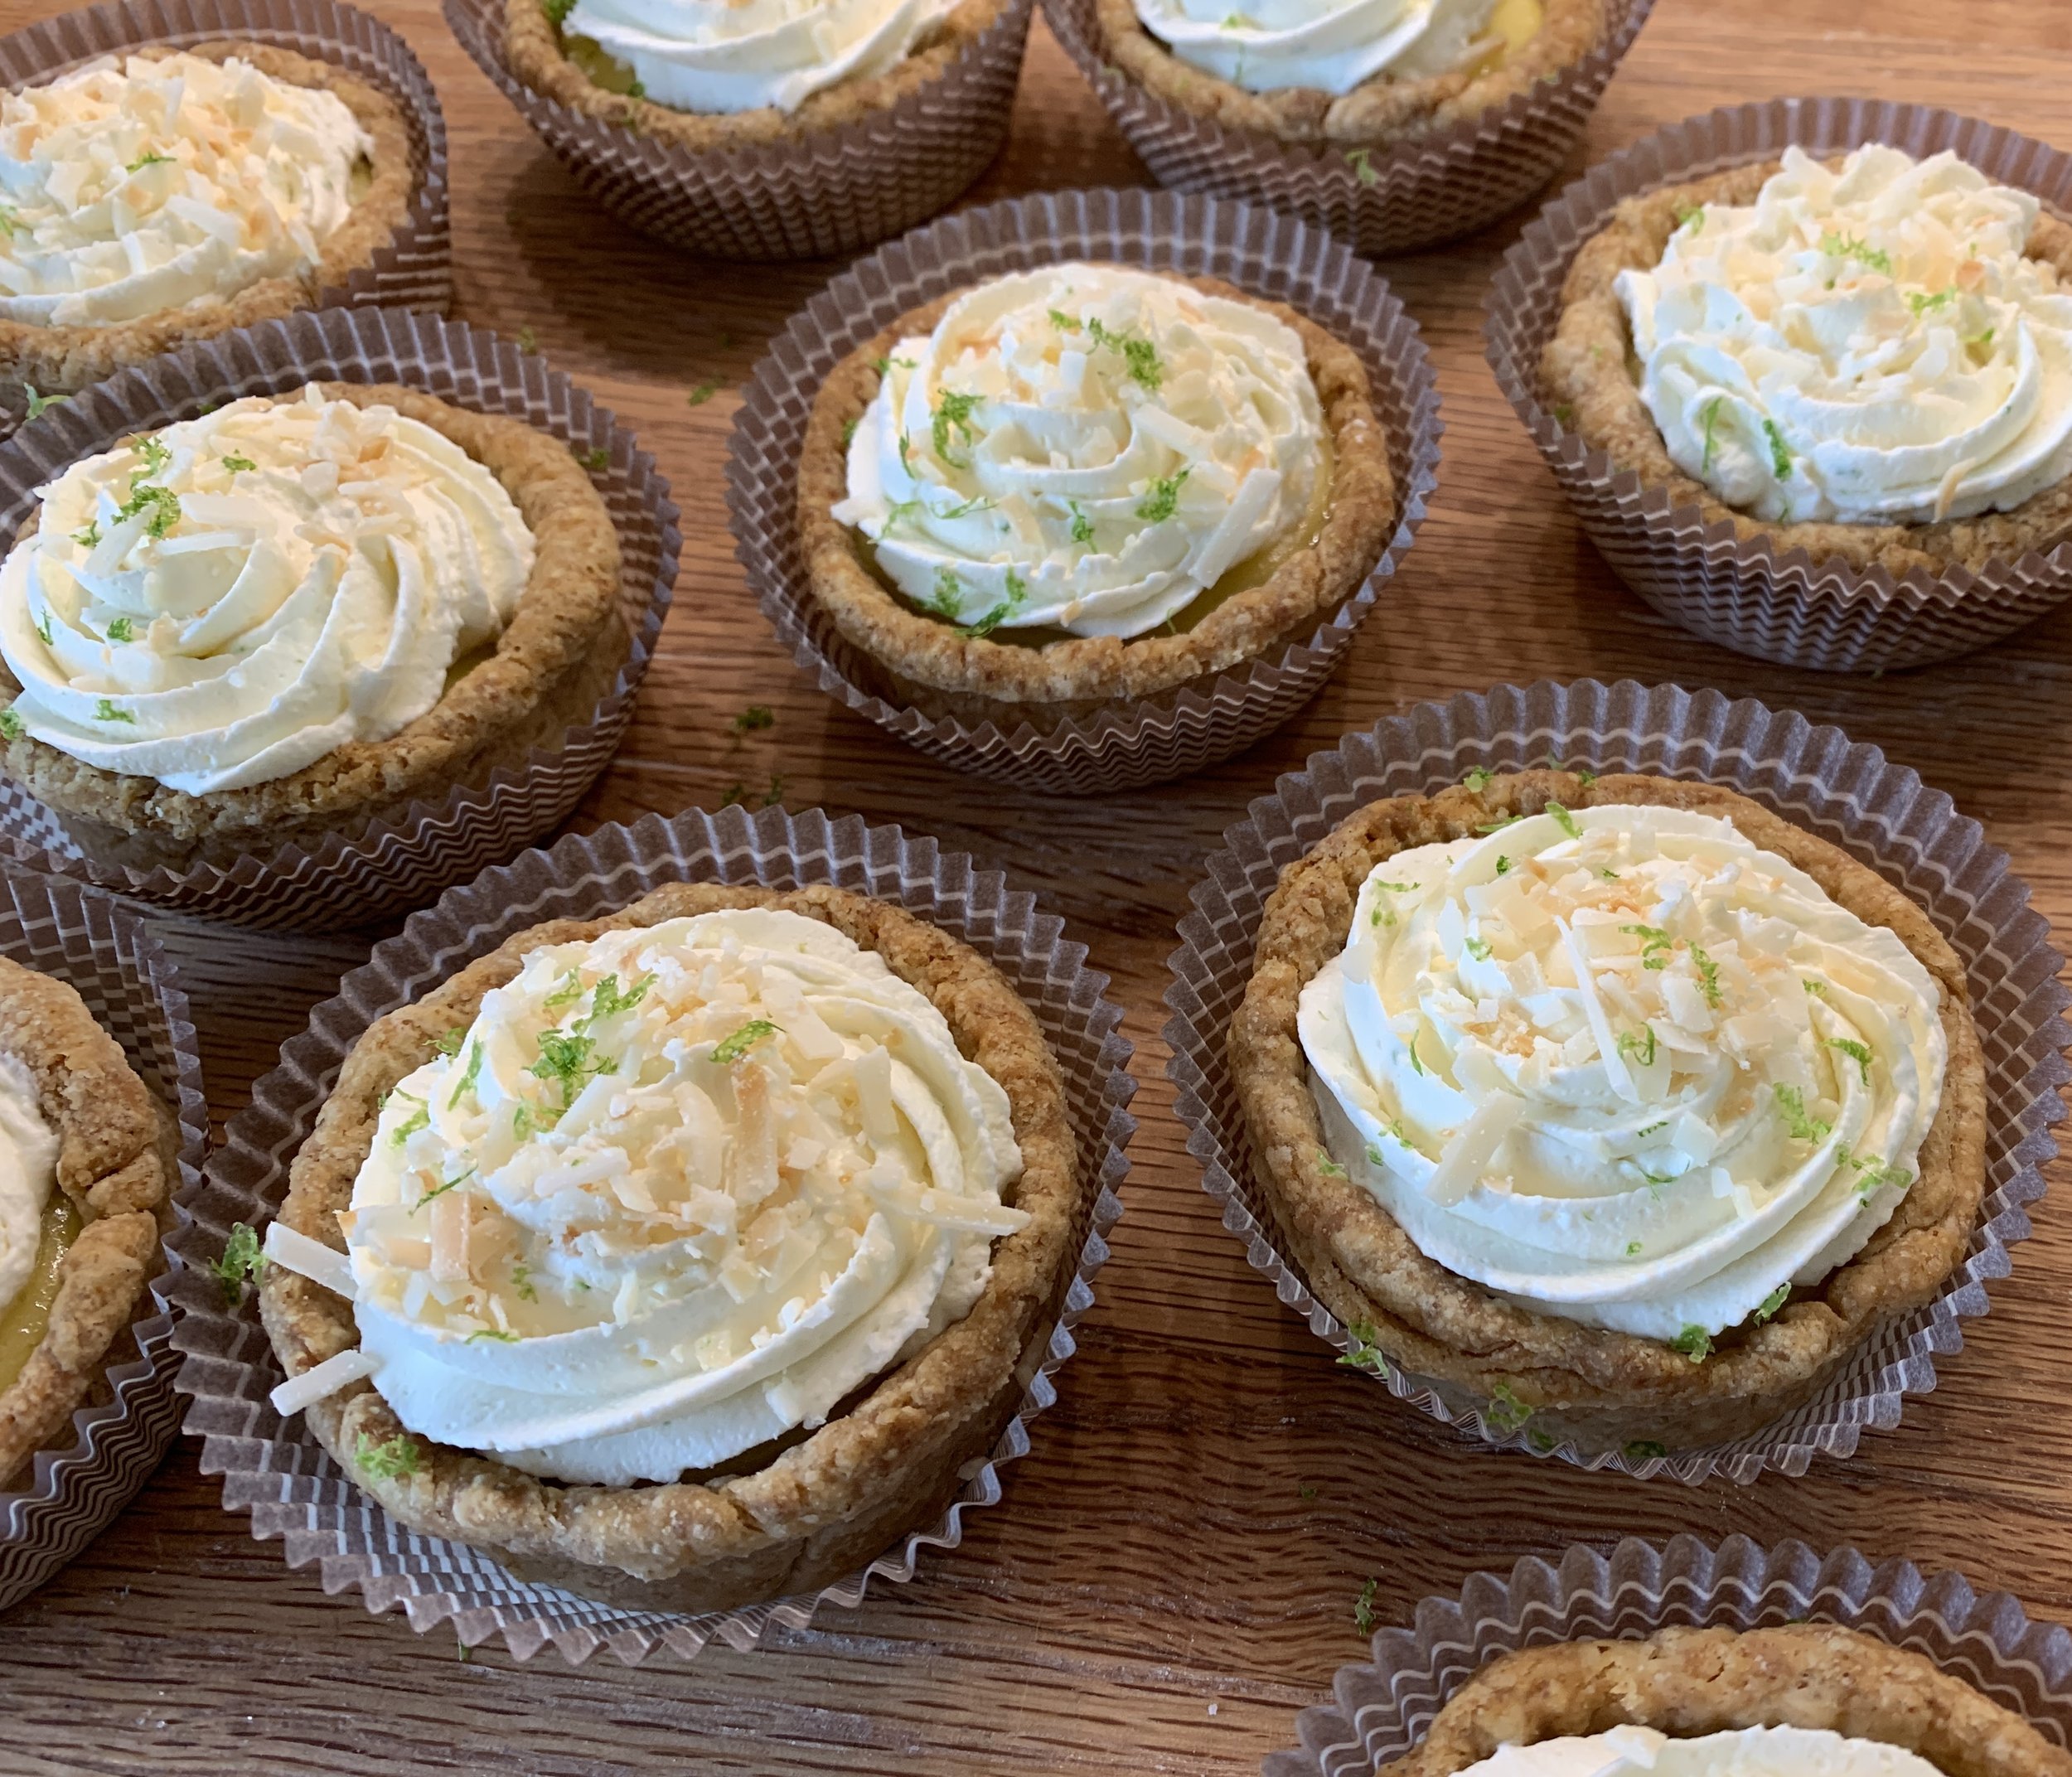
So delicious!! Plan ahead friendly! Tart lemon lime filling baked in an already blind baked pâte brisée shell then garnished with whipped lemon mascarpone cream and toasted coconut. Yum. Yum. Yum.

I know I go on (and on and on) about the classic bases of pastry and these babies fit the bill big time. Using three of the top components on my A list, the result is a match made in heaven. I like to think of tart preparation as a build-your-own process in which you can change up your chosen dough, filling and garnishes to suit your tastes and occasion.

If you already have pâte brisée in your freezer, you’re one step ahead. If not, make the dough and chill it a few hours or overnight before rolling it out, lining your chosen rings/molds then blind baking the shells. TIP: wrap and freeze the dough up to a couple of months for even more plan ahead fun.

Check out this post for so much more on pâte brisée.

example of rings lined for blind baking

The lemon-lime curd is a favorite based on Yotam Ottolenghi’s recipe in “Sweet”, a book I highly recommend. It can be made several days ahead and holds well in the fridge - another win-win for planning. If I have leftover curd, I’ll add it to whipped mascarpone as I’ve done here. It’s also great added to Swiss meringue buttercream, ice cream base during processing or blended into crème pâtissiére to fill choux puffs.

If you prefer, you can make the filling while the shells are baking. I then typically fill the blind baked shells immediately with the warm curd then pop them into a 325ºF oven for about 10-15 minutes to set with a hint of a jiggle left. Cool at room temperature about 30 minutes then chill completely before adding your chosen garnish.

Some may wonder why I bake the filling since it’s already cooked. While not absolutely necessary, I find it makes for a more luscious, creamy mouth experience by taking that extra step.

Option - chill the curd separately then fill the baked/cooled shells, garnish and enjoy .

In the image below the two tartelettes at bottom left and right are examples of the option just mentioned. You can appreciate a looser texture than the others that have been baked which have a certain sheen and appear more set.

Before the final garnish

Whichever way you do it, the final task is the garnish - whipped mascarpone cream which I prep just ahead of use. In this case I used half of the base recipe, adding lime zest and 3-4 tablespoons (or to taste) of lemon-lime curd to the cream as I whipped.

Decorate the tarts with your favorite swirl pattern and top with a bit of lime zest and toasted coconut. You’ll be so happy.

One more thing - Steve and I can attest to the staying power of these lovelies in the fridge for 4-5 days. Whoopee!!

Enjoy and have fun with it!

A trio of chocolate teacakes

Spring is here and chocolate is still on the table. What better way to enjoy it than with three delicious cakes topped with equally delicious garnishes. You can’t go wrong.

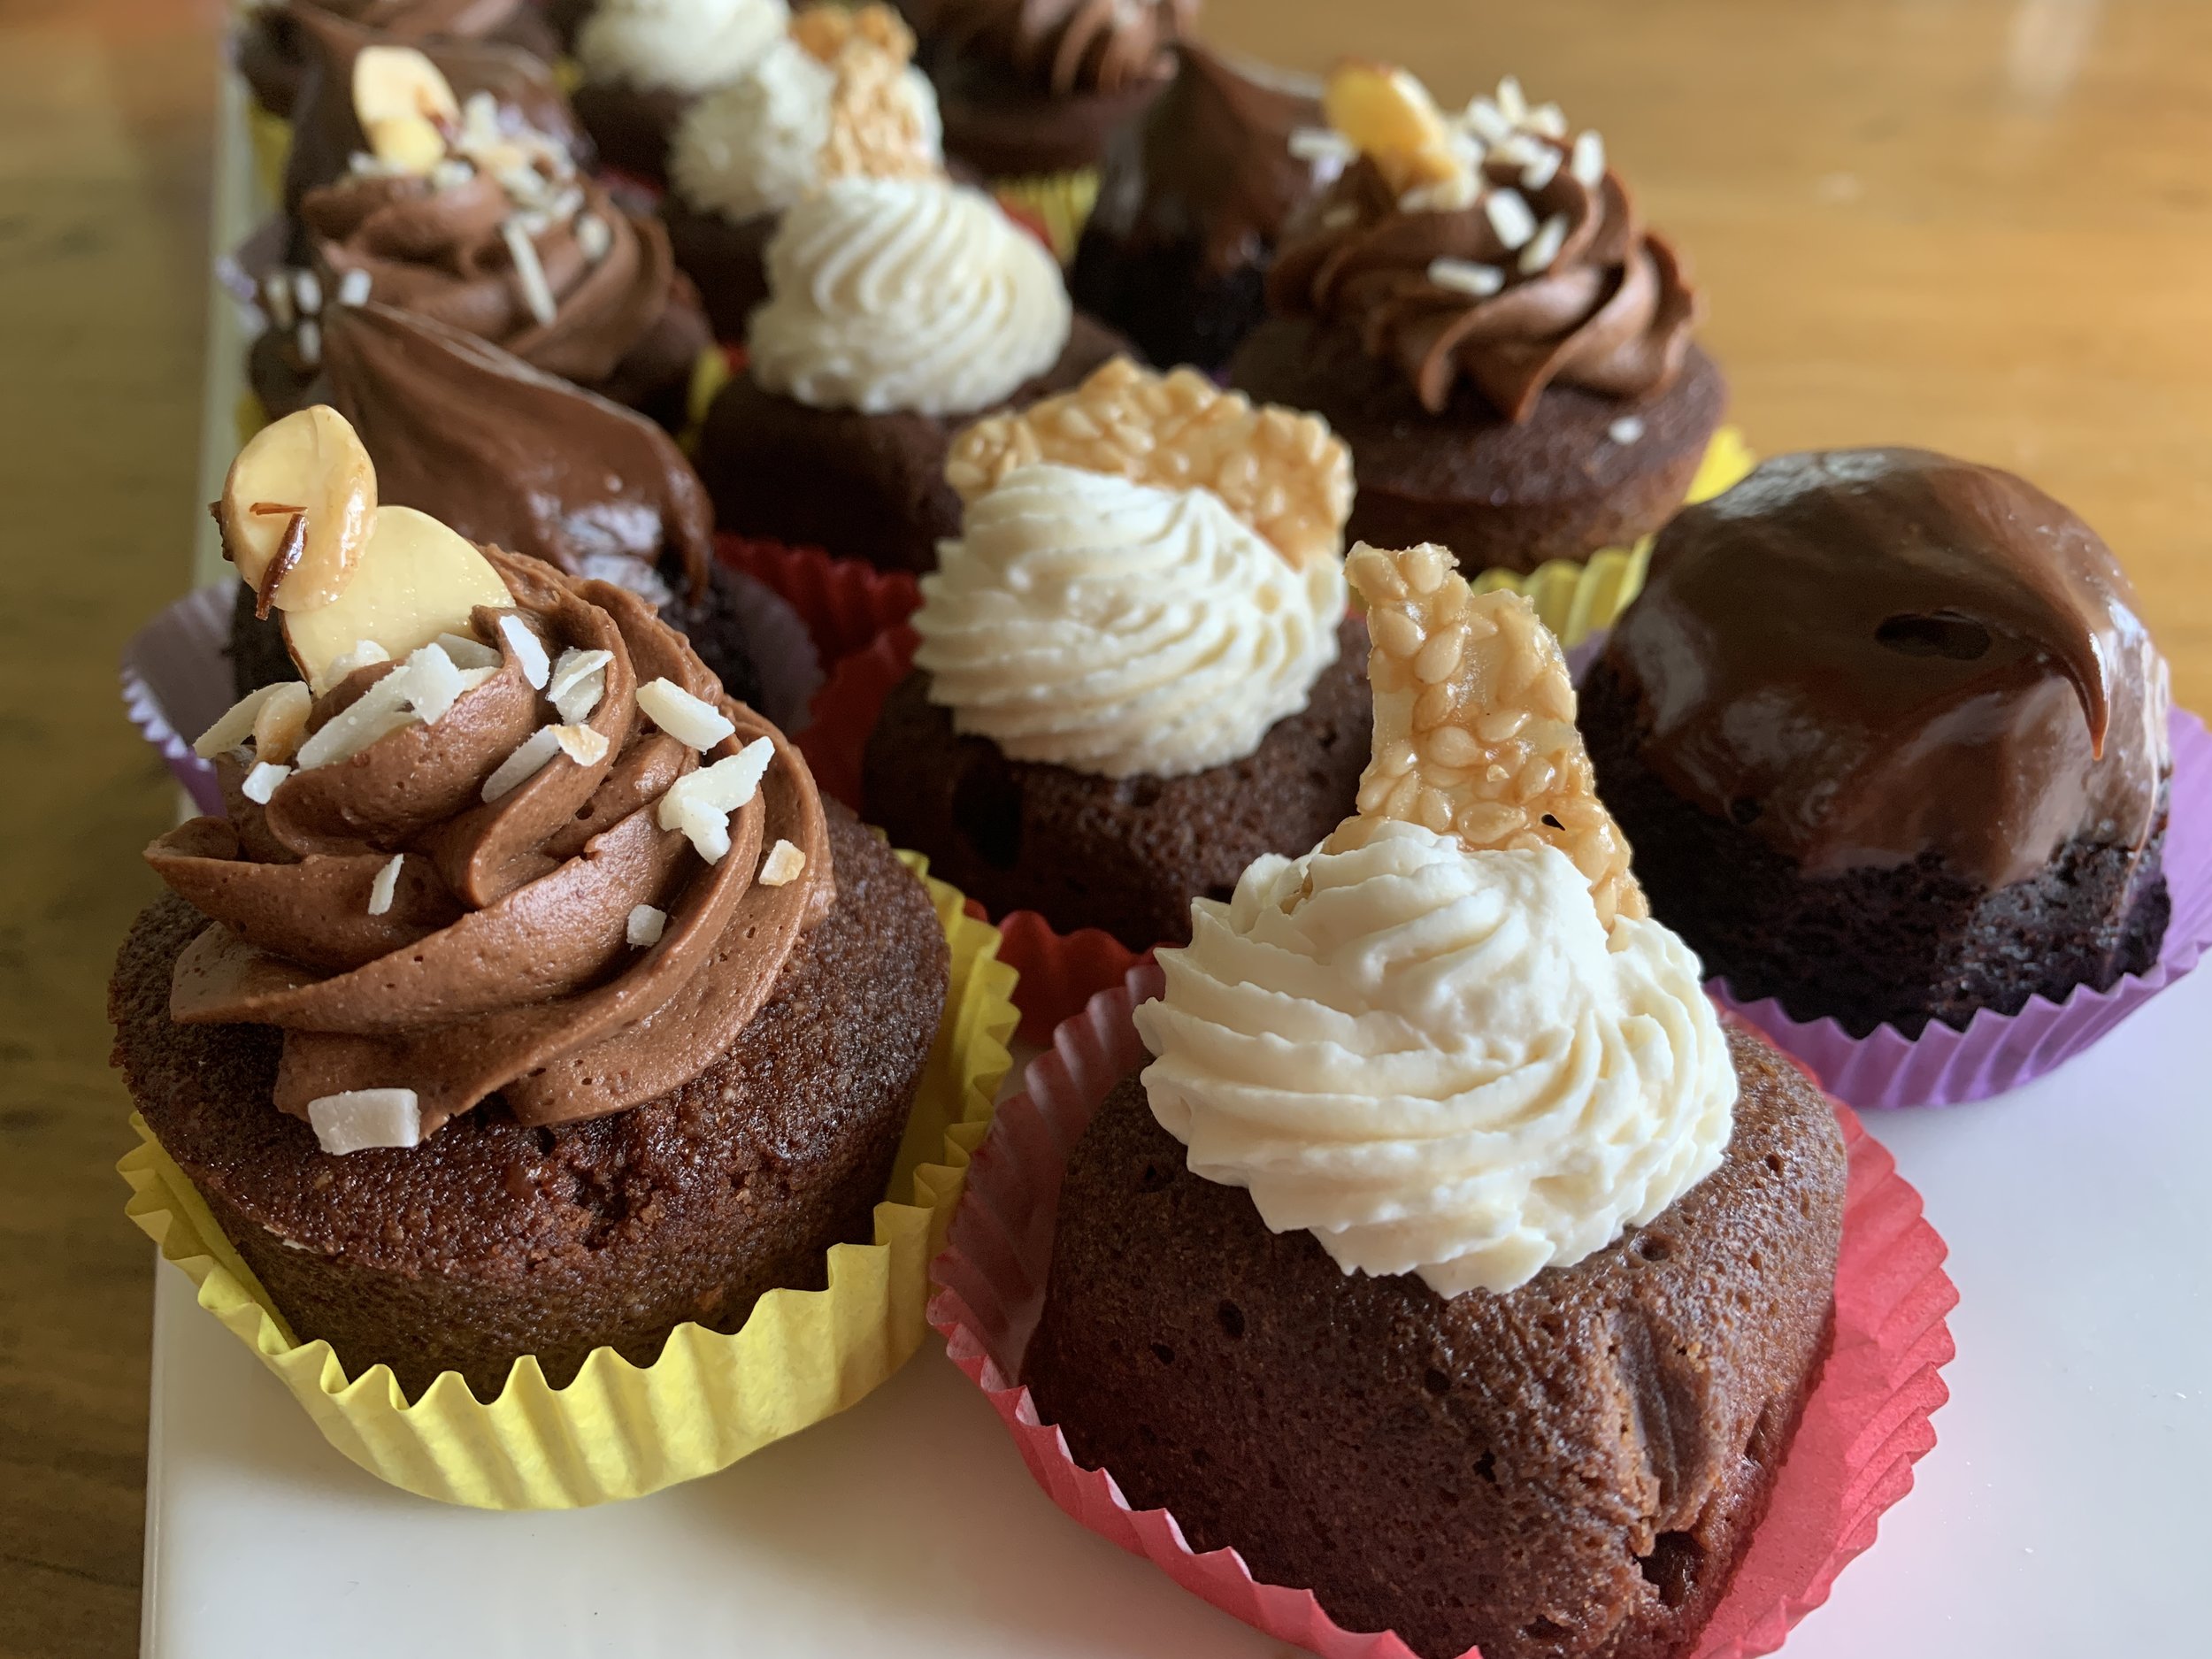
Using two favorite cake bases that have been in my repertoire for some time now, plus a new-for-me chocolate olive oil cake thanks to Melissa Clark, I created this trio for a spring family gathering. Each cake’s topping has its own flavor profile and involves ganache in some way.

I admit this is a lengthy post so here are the links to the recipe PDFs so you can go directly to them if you’d rather not scan through all the steps and photos of preparation: Chocolate olive oil cake; chocolate financier; Easter cake.

Mister Steve made a great observation in that regard - I include all this information not only for you but also for my own records. How cool to go back over the years and see how I described and carried out various baking projects.

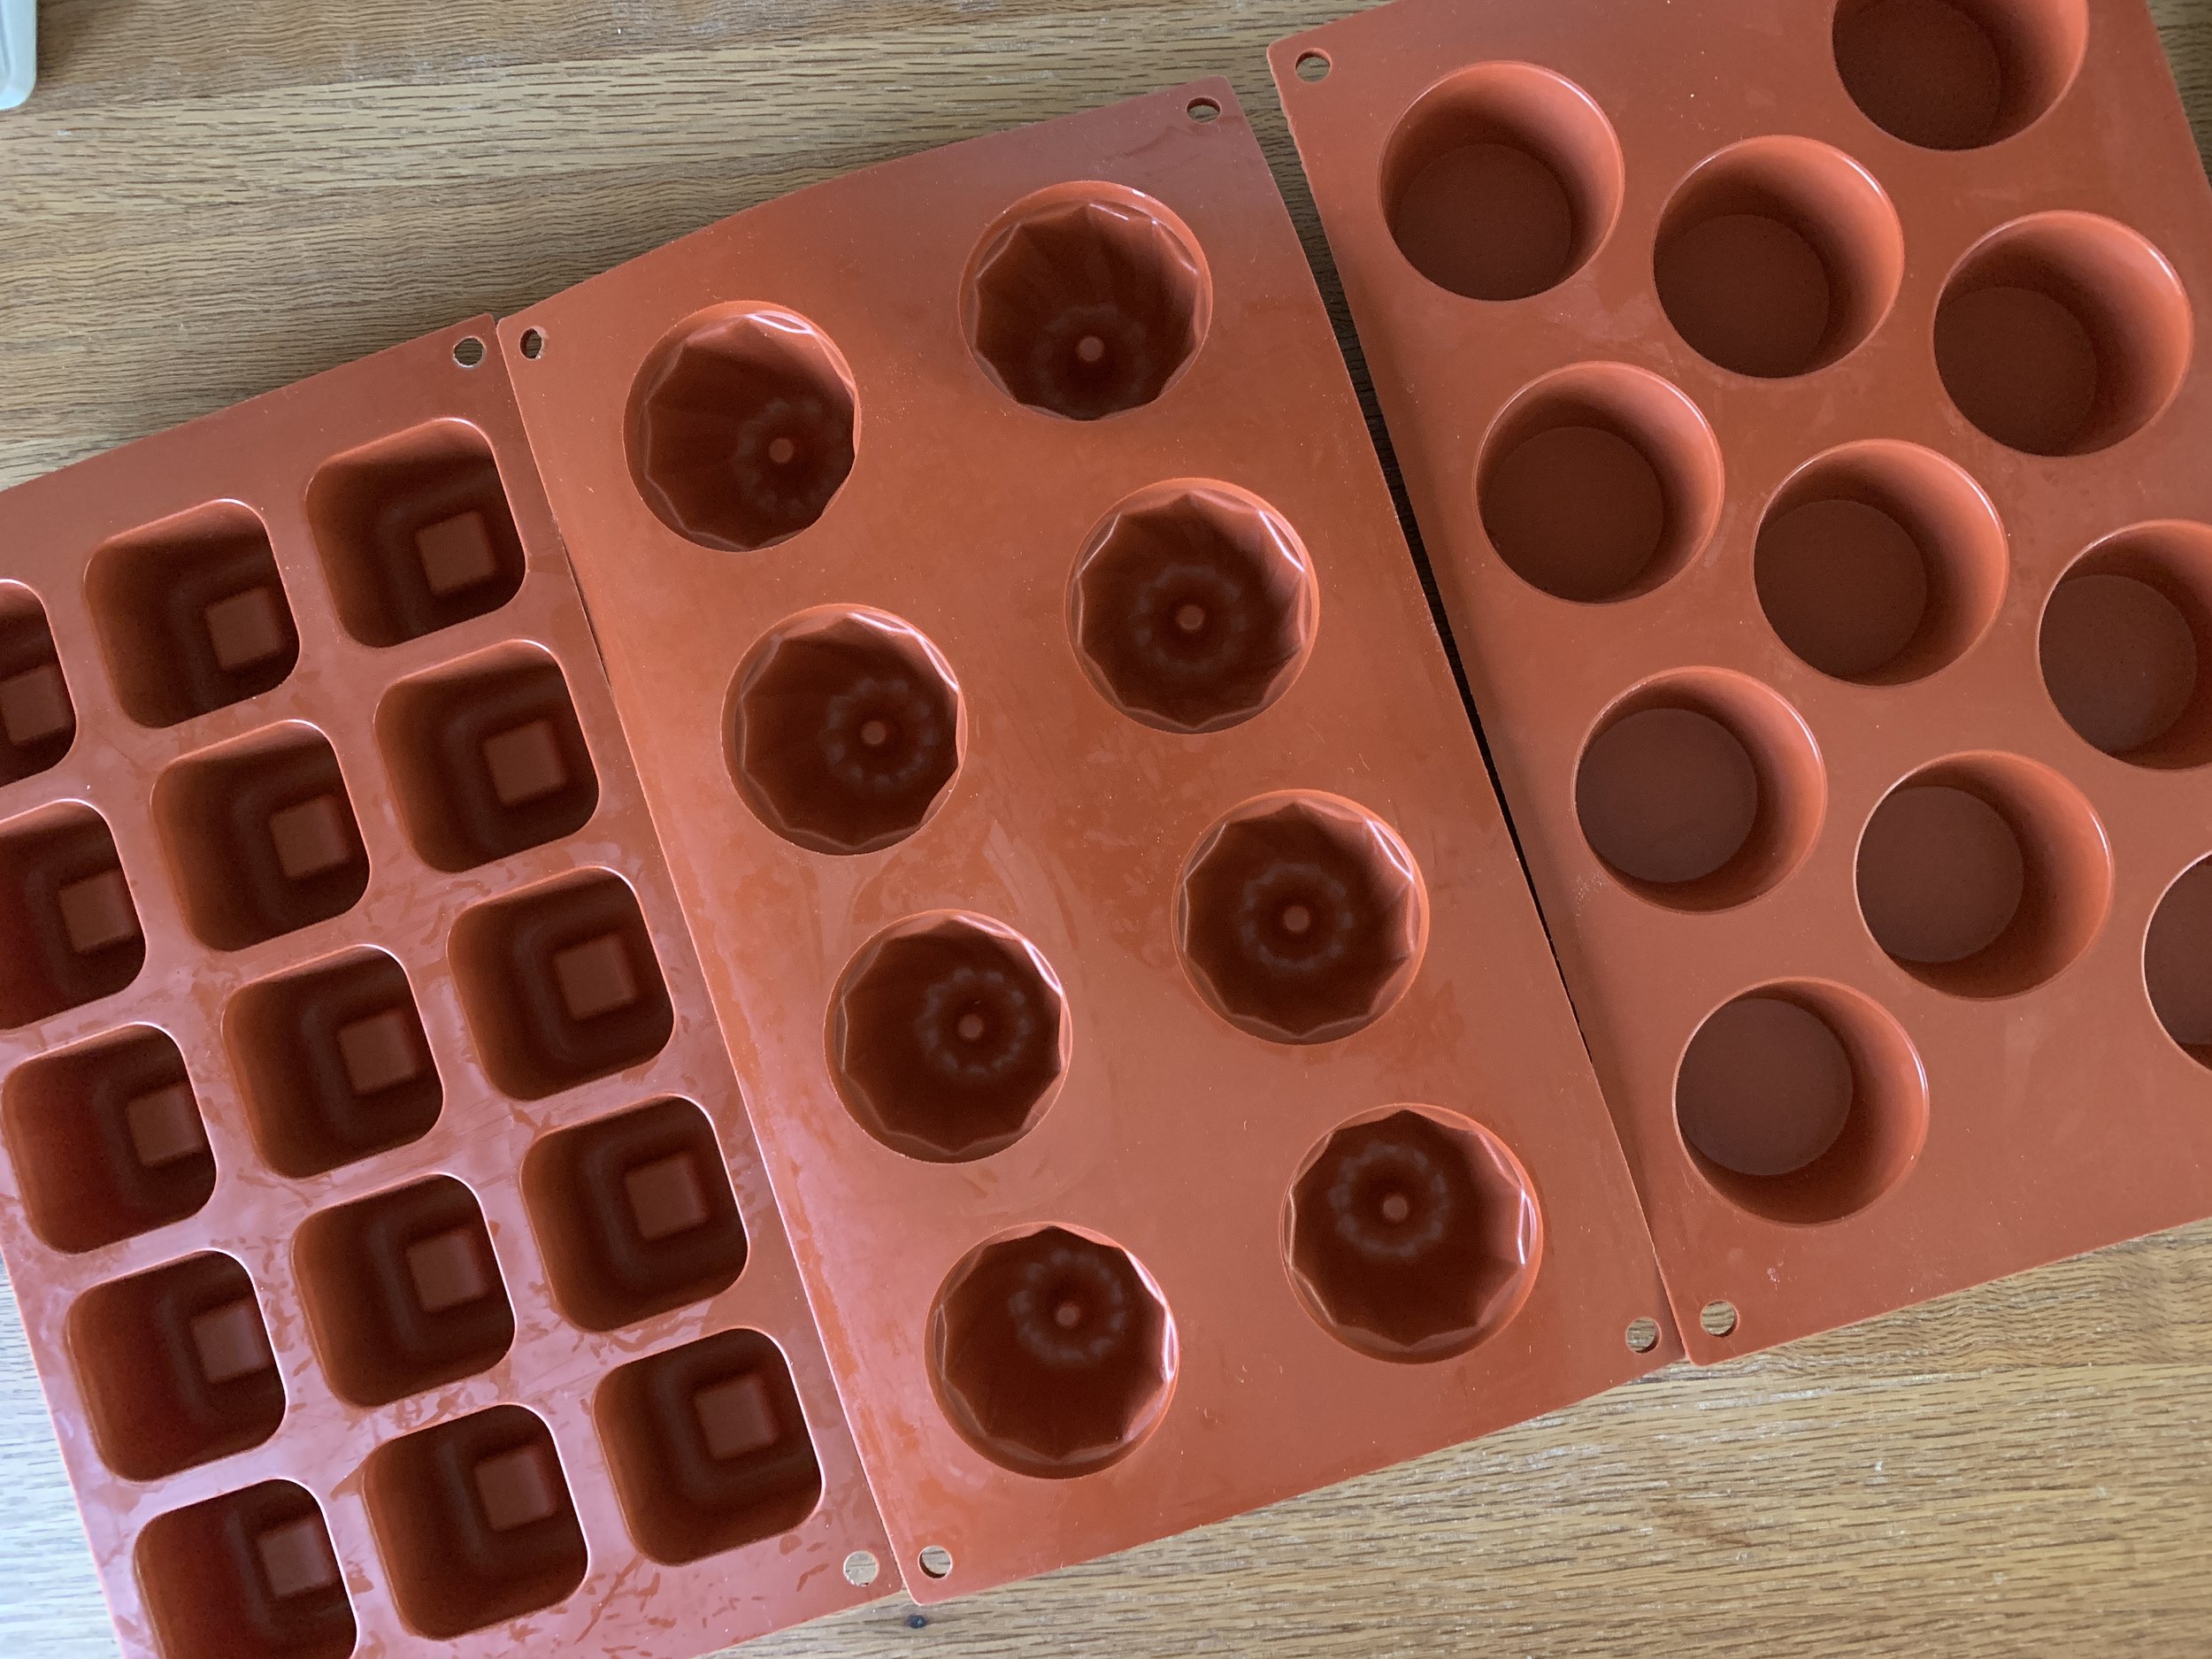
I baked each recipe in a different silicone flexi-mold for a nice variation of shapes and looks - square savarin, mini-Kugelhopf and simple round mini-muffin. My chocolate of choice is Guittard’s 61% lever du soleil discs. When cocoa powder is called for I use Bensdorp Dutch process. Delicious stuff.

First up: chocolate financiers in the simple round muffin molds. Let me tell you there are tons of financier recipes out there. As a matter of fact, the one I used for years was the one we learned at Le Cordon Bleu Paris, always delicious, tried and true. As the years have gone by I’ve adjusted the ratios of ingredients and reduced the sugar content. The basics are butter, egg whites, almond flour, all purpose flour, cocoa powder for this chocolate version and sugar. You’ll see choices for granulated or confectioner’s from recipe to recipe - I typically go with confectioner’s.

The big difference in this chocolate recipe is melting the butter, not browning it, as is true for classic financiers.

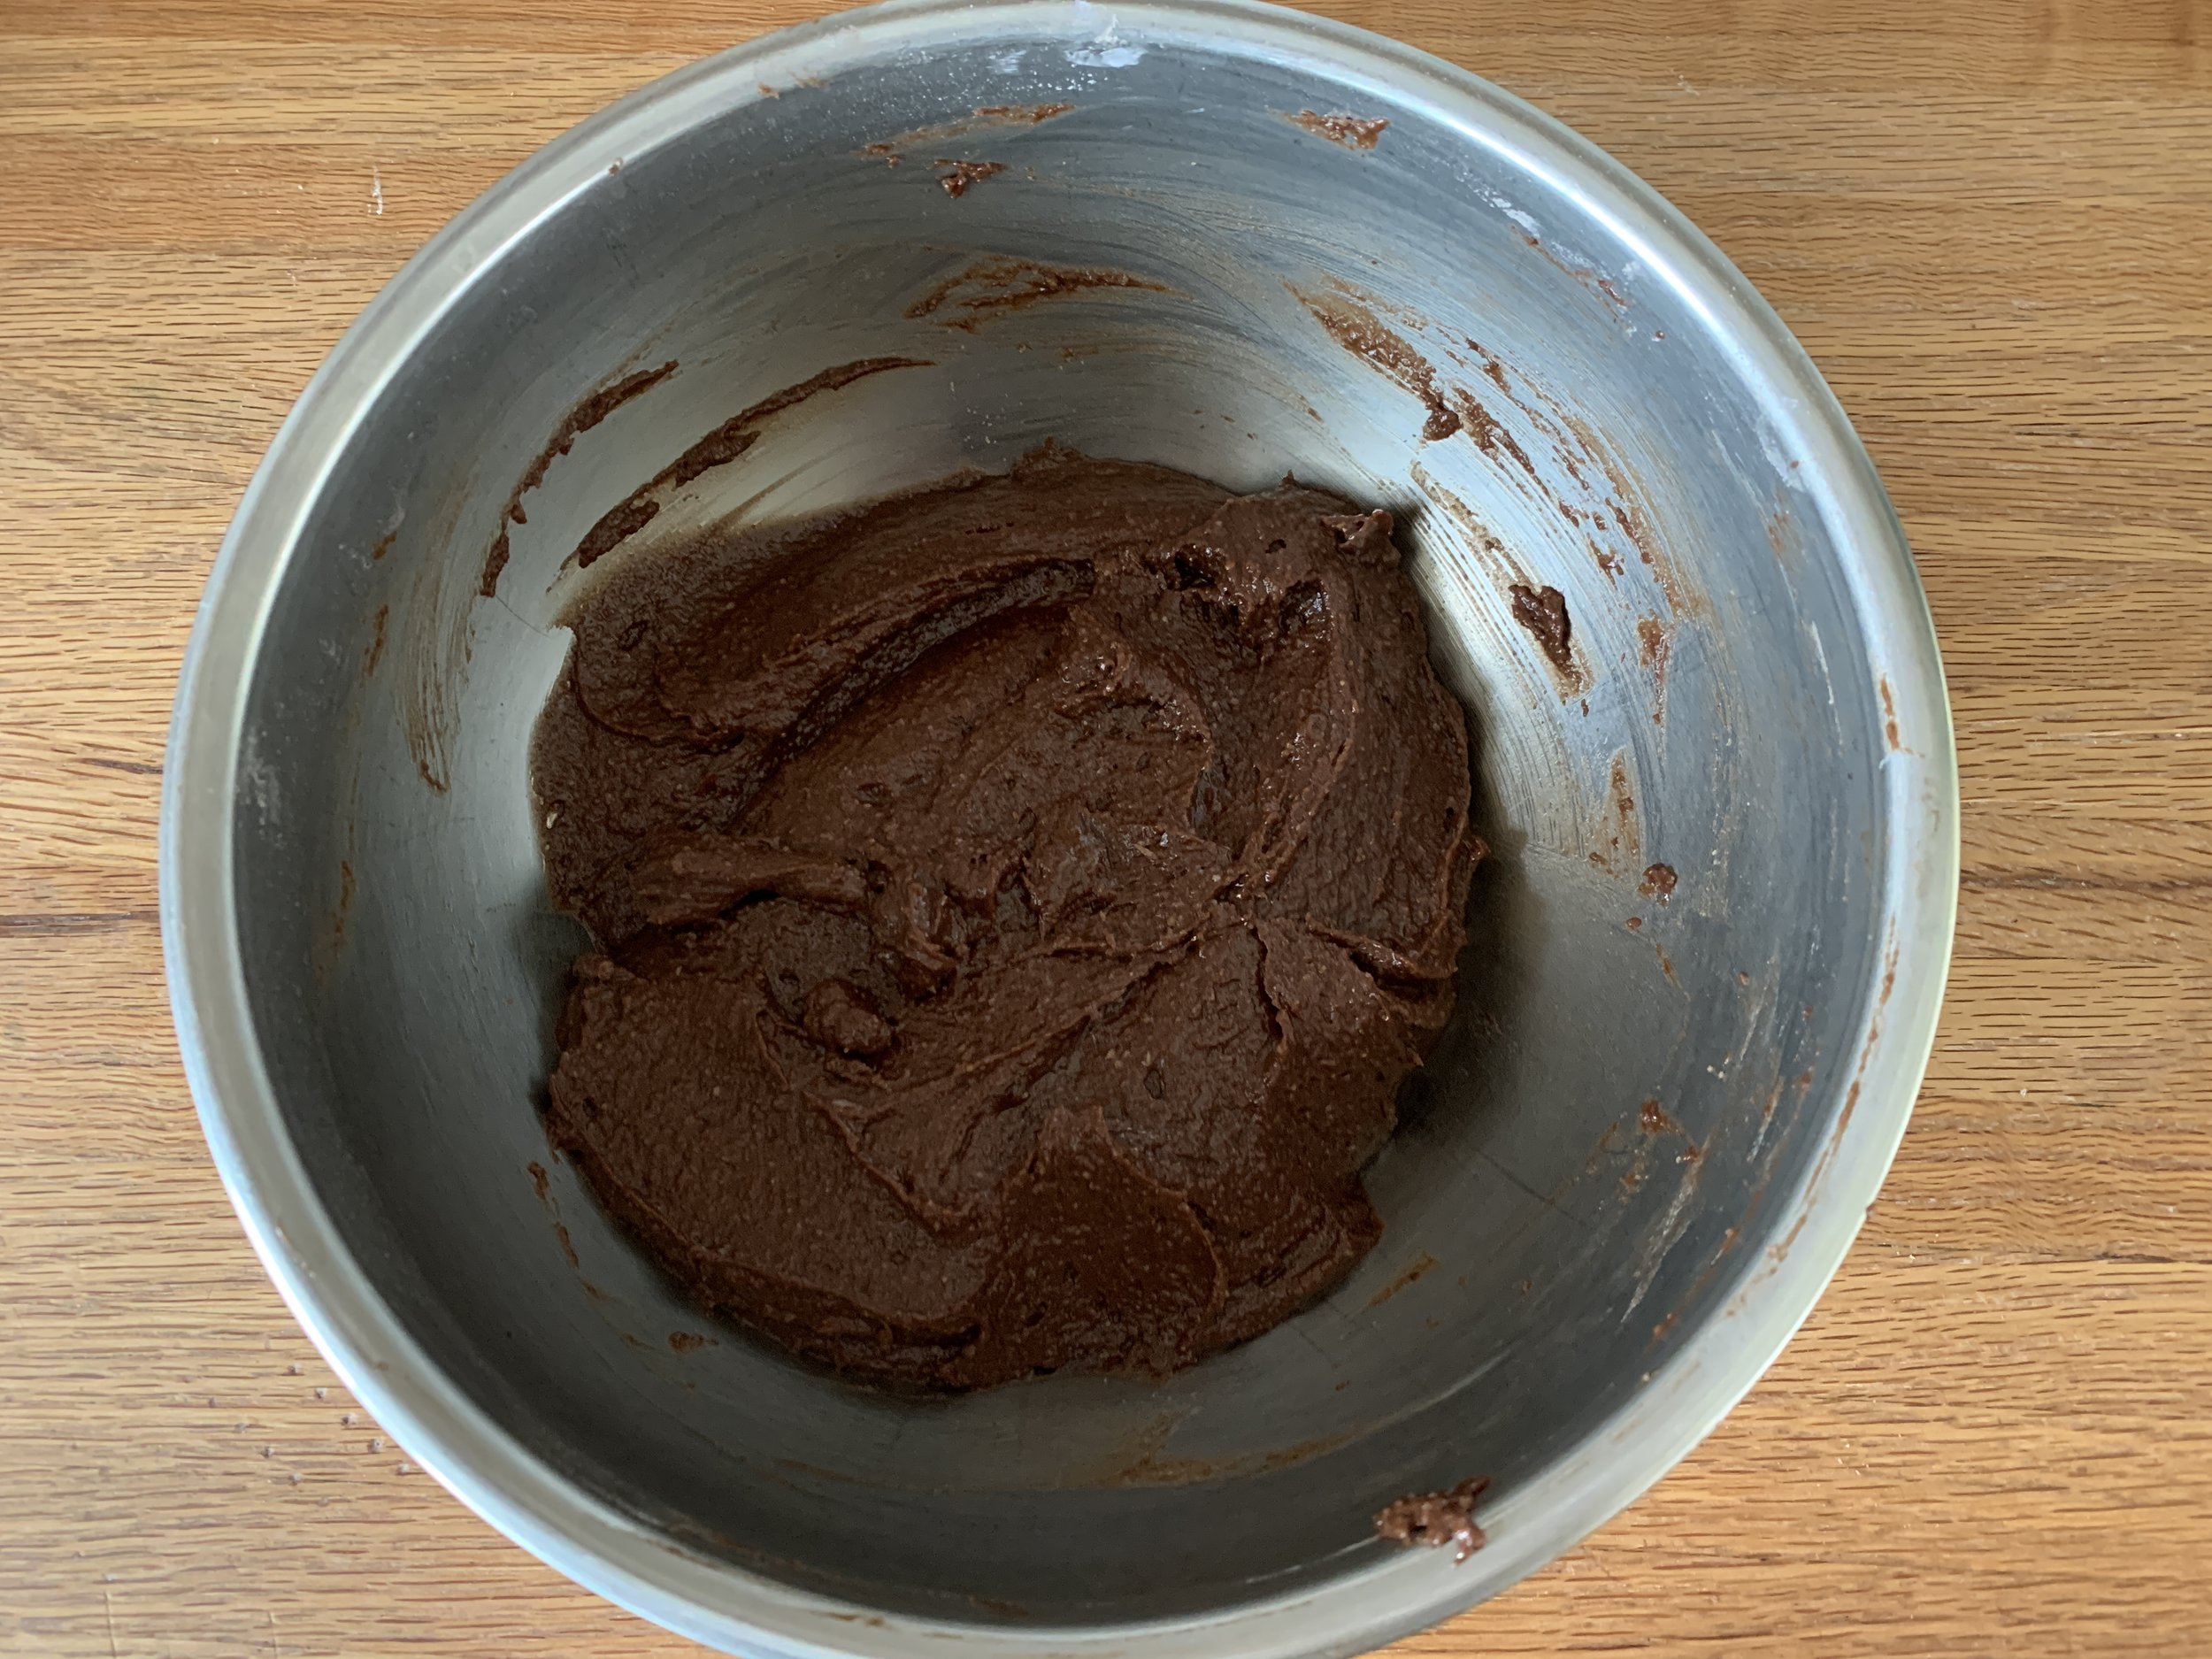
In a medium-large bowl whisk confectioner’s sugar, almond flour, all purpose or whole wheat pastry flour and unsweetened cocoa powder together; in a smaller bowl lightly whisk the egg whites until frothing a bit; melt butter and let cool slightly.

Blend the whites into the dry ingredients in two additions then blend in the butter. Contact cover and fridge for a few hours or a couple of days.

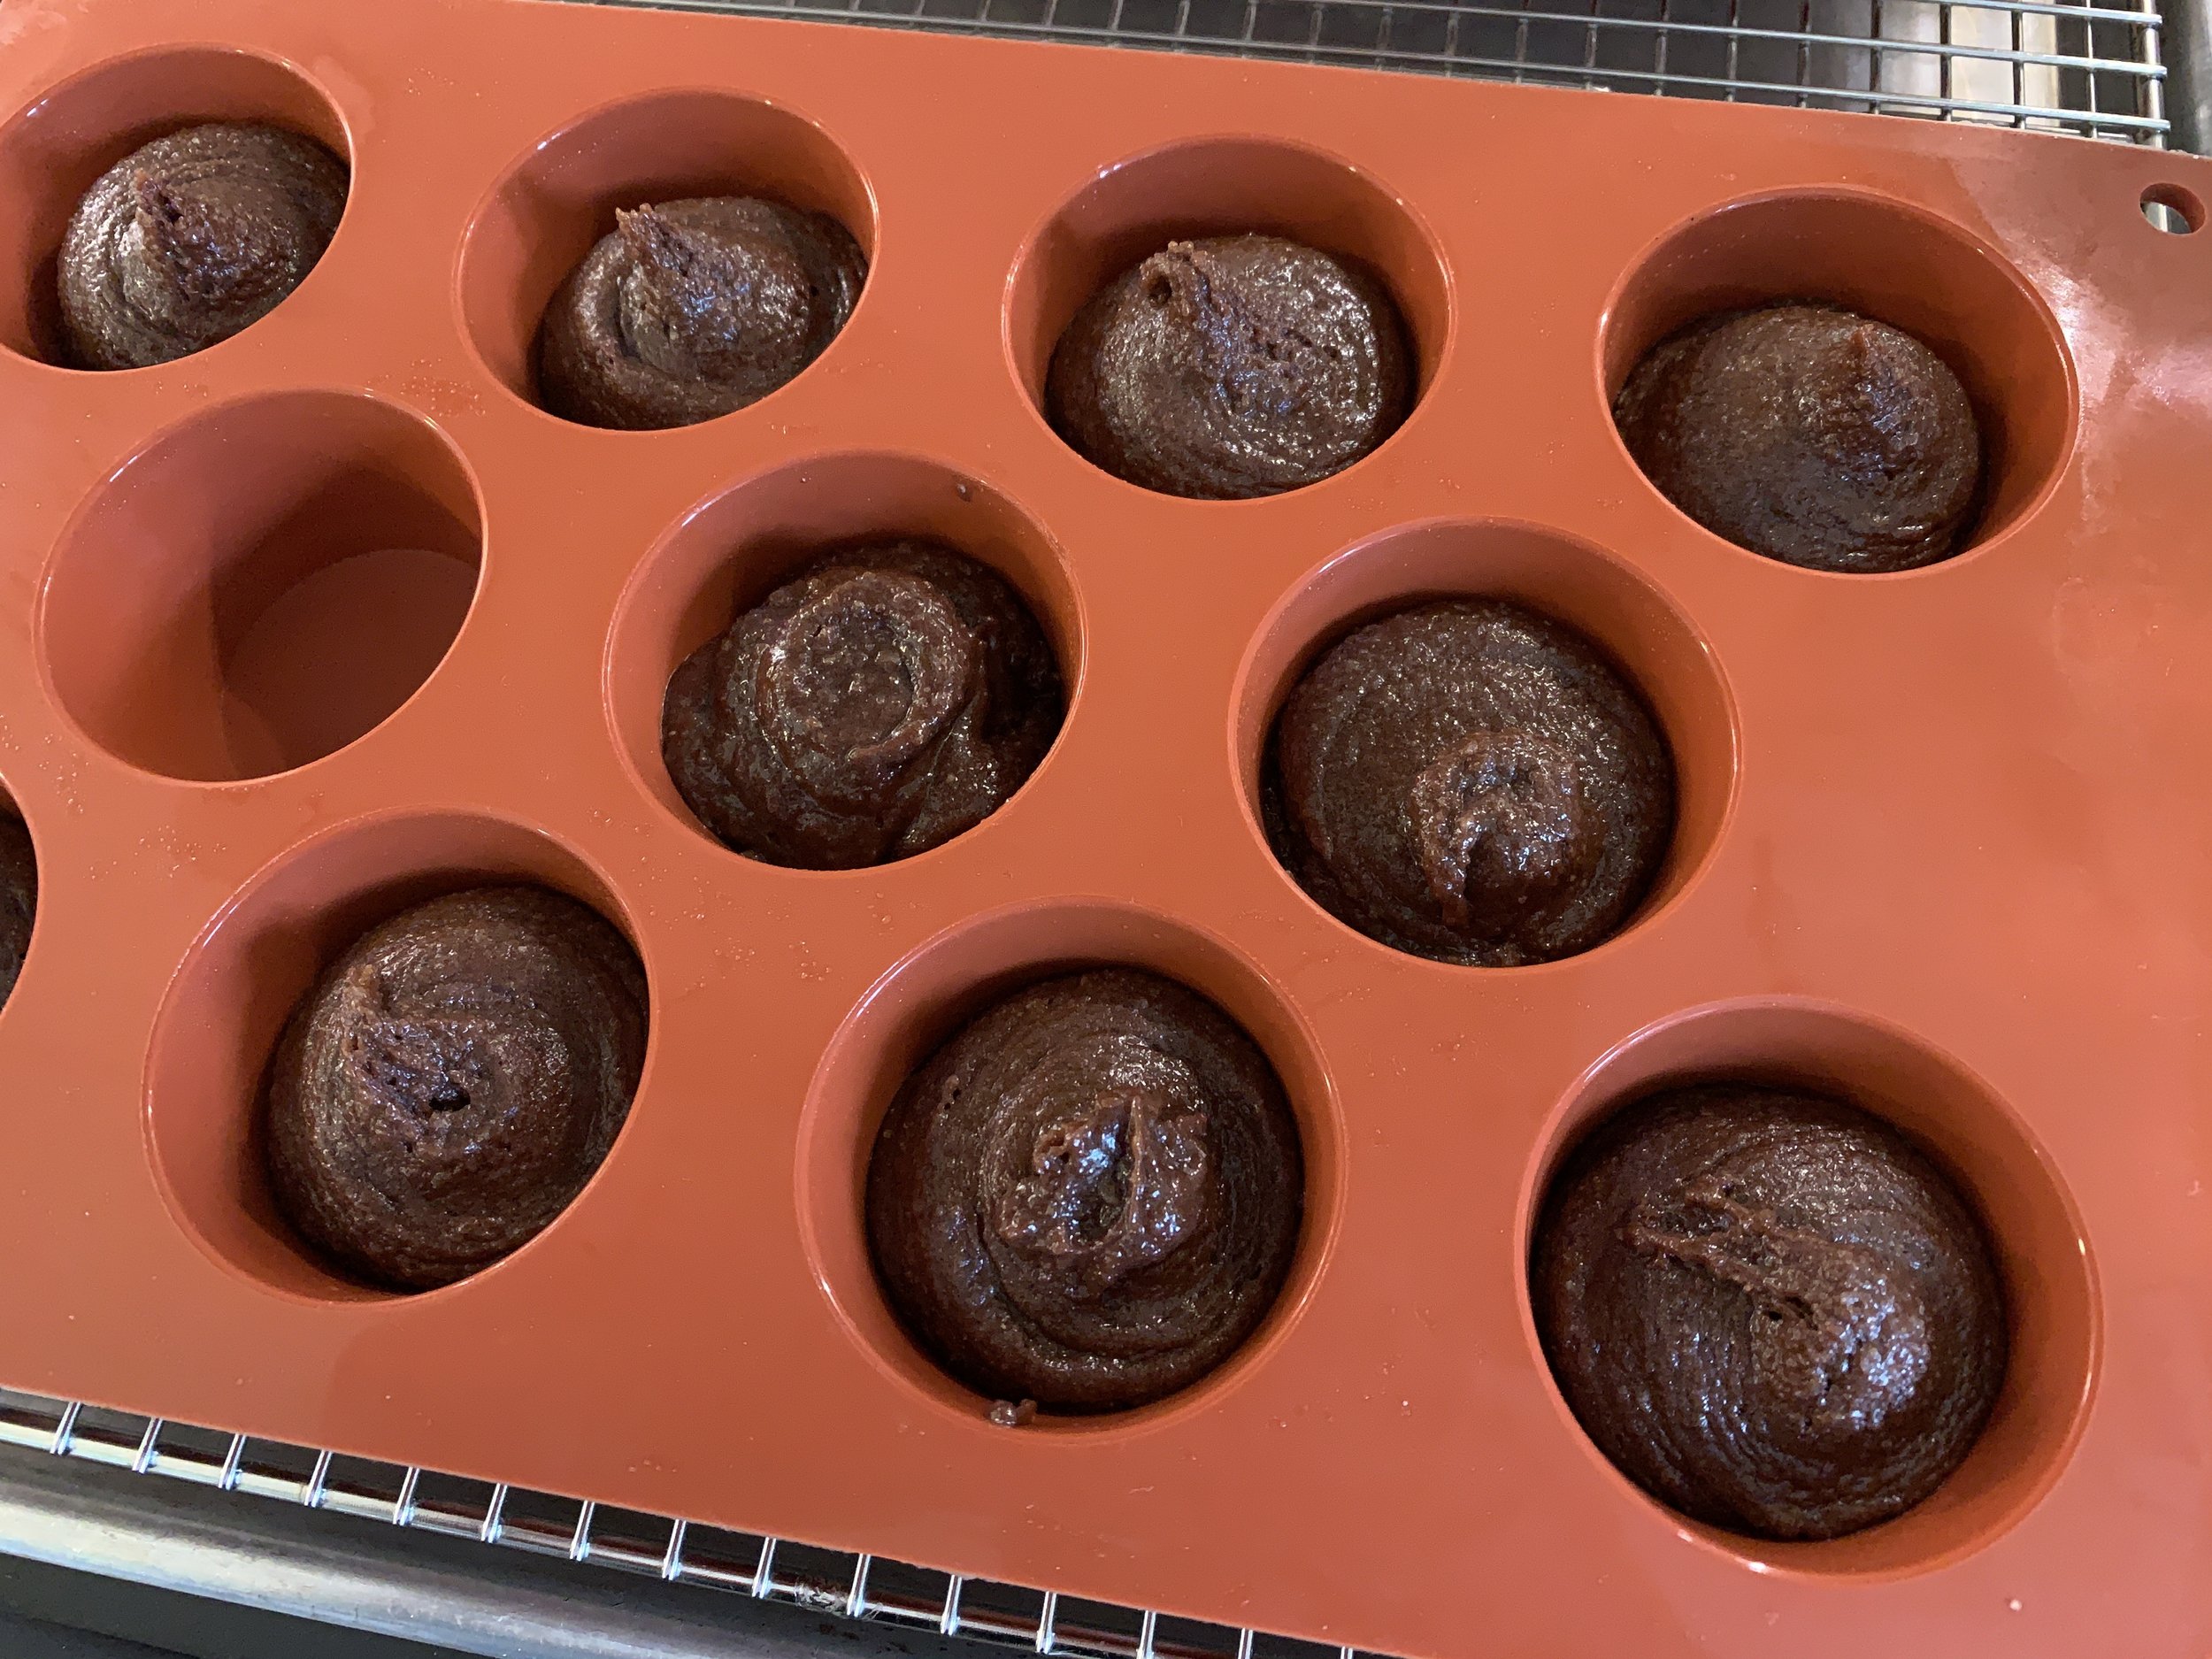
When ready to bake, heat the oven to 375ºF and fill your chosen wells about 3/4 full.

Bake about 15 minutes, check for doneness (no center goo; set). Bake an additional 5 minutes if needed.

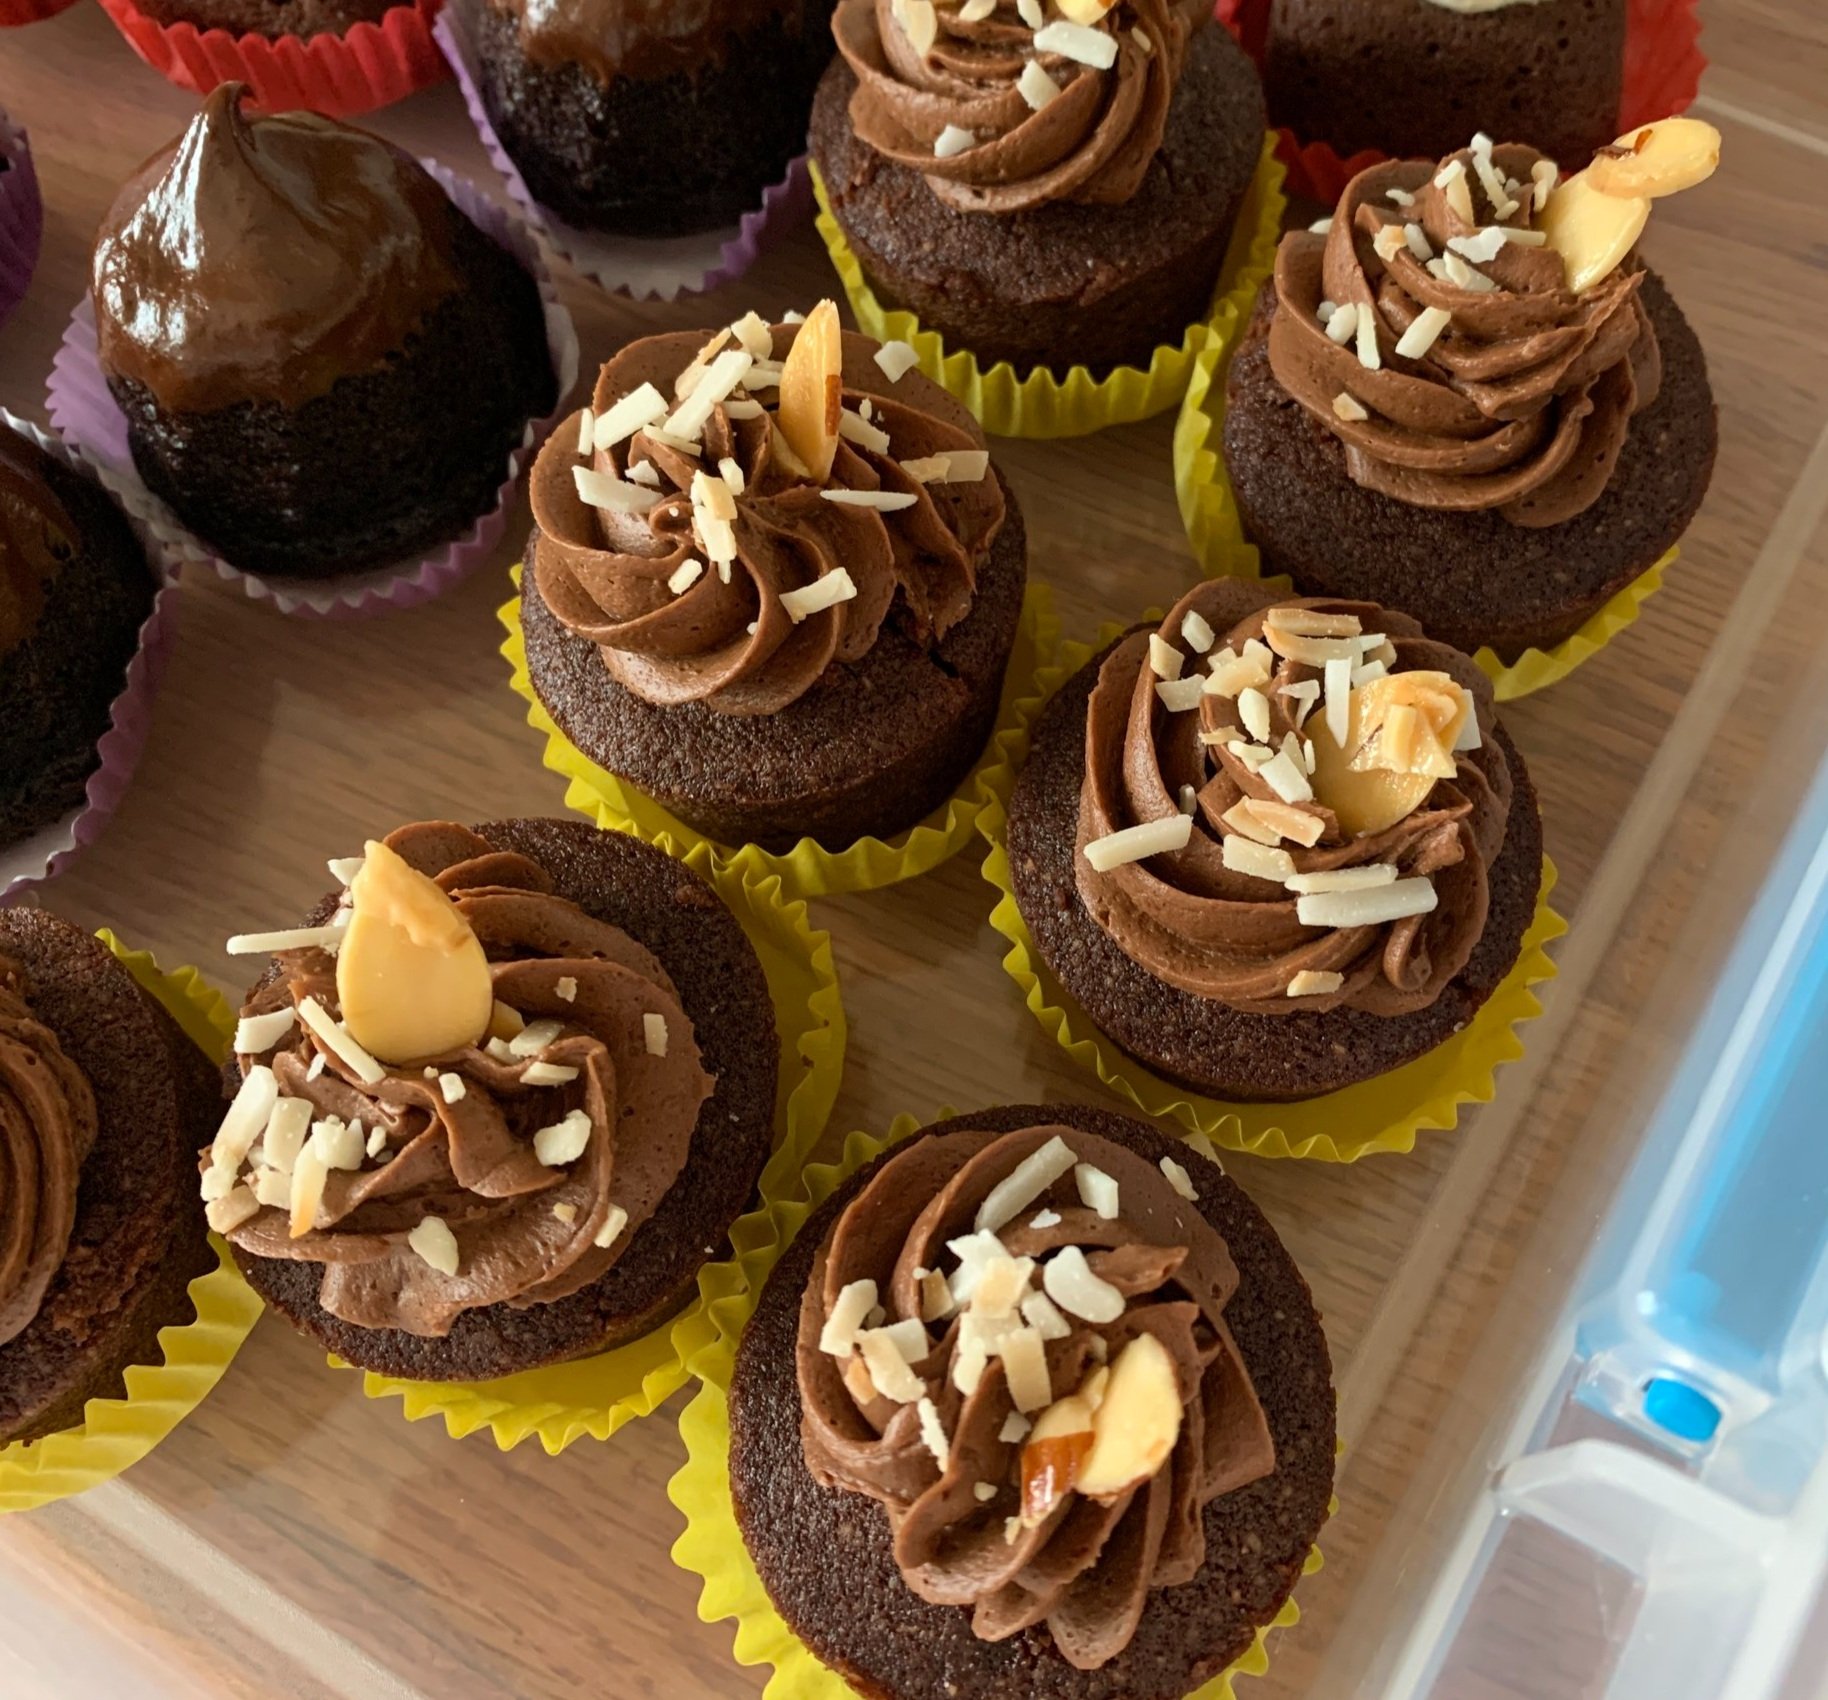
After a 10 minute cool down pop them out of the molds and set aside until ready to garnish. For these I used a small melon baller, scooped out the top center and filled that with a 1:1 ganache. A sprinkle of toasted coconut gave them the “almond joy” sense I was looking for.

Then a swirl of chocolate almond butter Swiss meringue buttercream, an additional sprinkle of toasted coconut and some candied sliced almonds - voila! NOTE: for 2/3 of the base SMBC recipe I added 227 g /8 oz dark chocolate, melted and cooled but still liquid and 1/2 cup of almond butter. So tasty!

The next cake is from a recipe I’ve had for many years but, for the life of me, I can’t recall where exactly I found it. It’s a gateau de Pâques or Easter cake, made with the basics - chocolate, butter, egg, sugar and flour.

The fussiest part is separating the yolks and whites, the whites being whipped separately to be gently folded in at the end. Remember - eggs separate best when cold!

Over a bain-marie melt the butter and chocolate gently - once things get melty, turn off the heat and let the melt continue over the still warm water. Chocolate loves that.

Separate the yolks and whites then whisk the yolks with the sugar for several minutes until thickened, pale and ribbon-y.

Blend in the chocolate butter mixture then sift the flour in and blend.

In a separate clean bowl whip the egg whites to soft peaks . . . . .

then blend them into the batter in three additions, folding gently.

Fill your chosen molds 3/4 full and bake at 325º about 20-25 minutes.

You want them set but note that a slightly shorter bake will give a more fudge-y result.

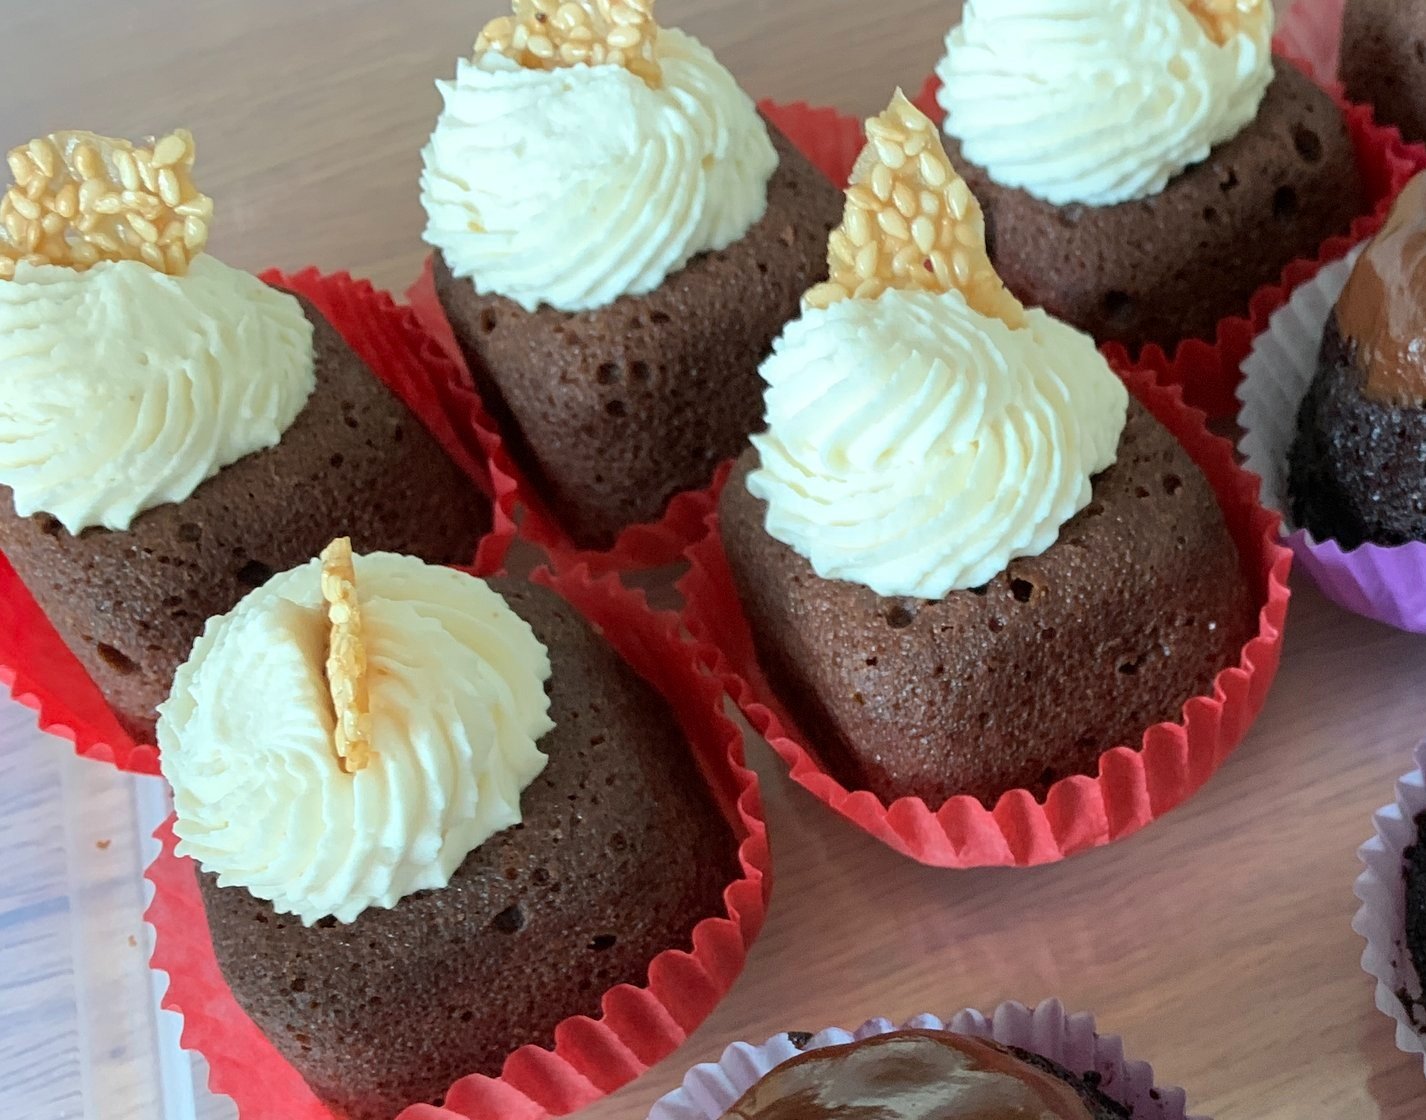
For the finish I filled the wells with a basic 1:1 ganache, let it set and then topped ‘em off with a swirl of caramel mascarpone cream and some sesame brittle. Yum.

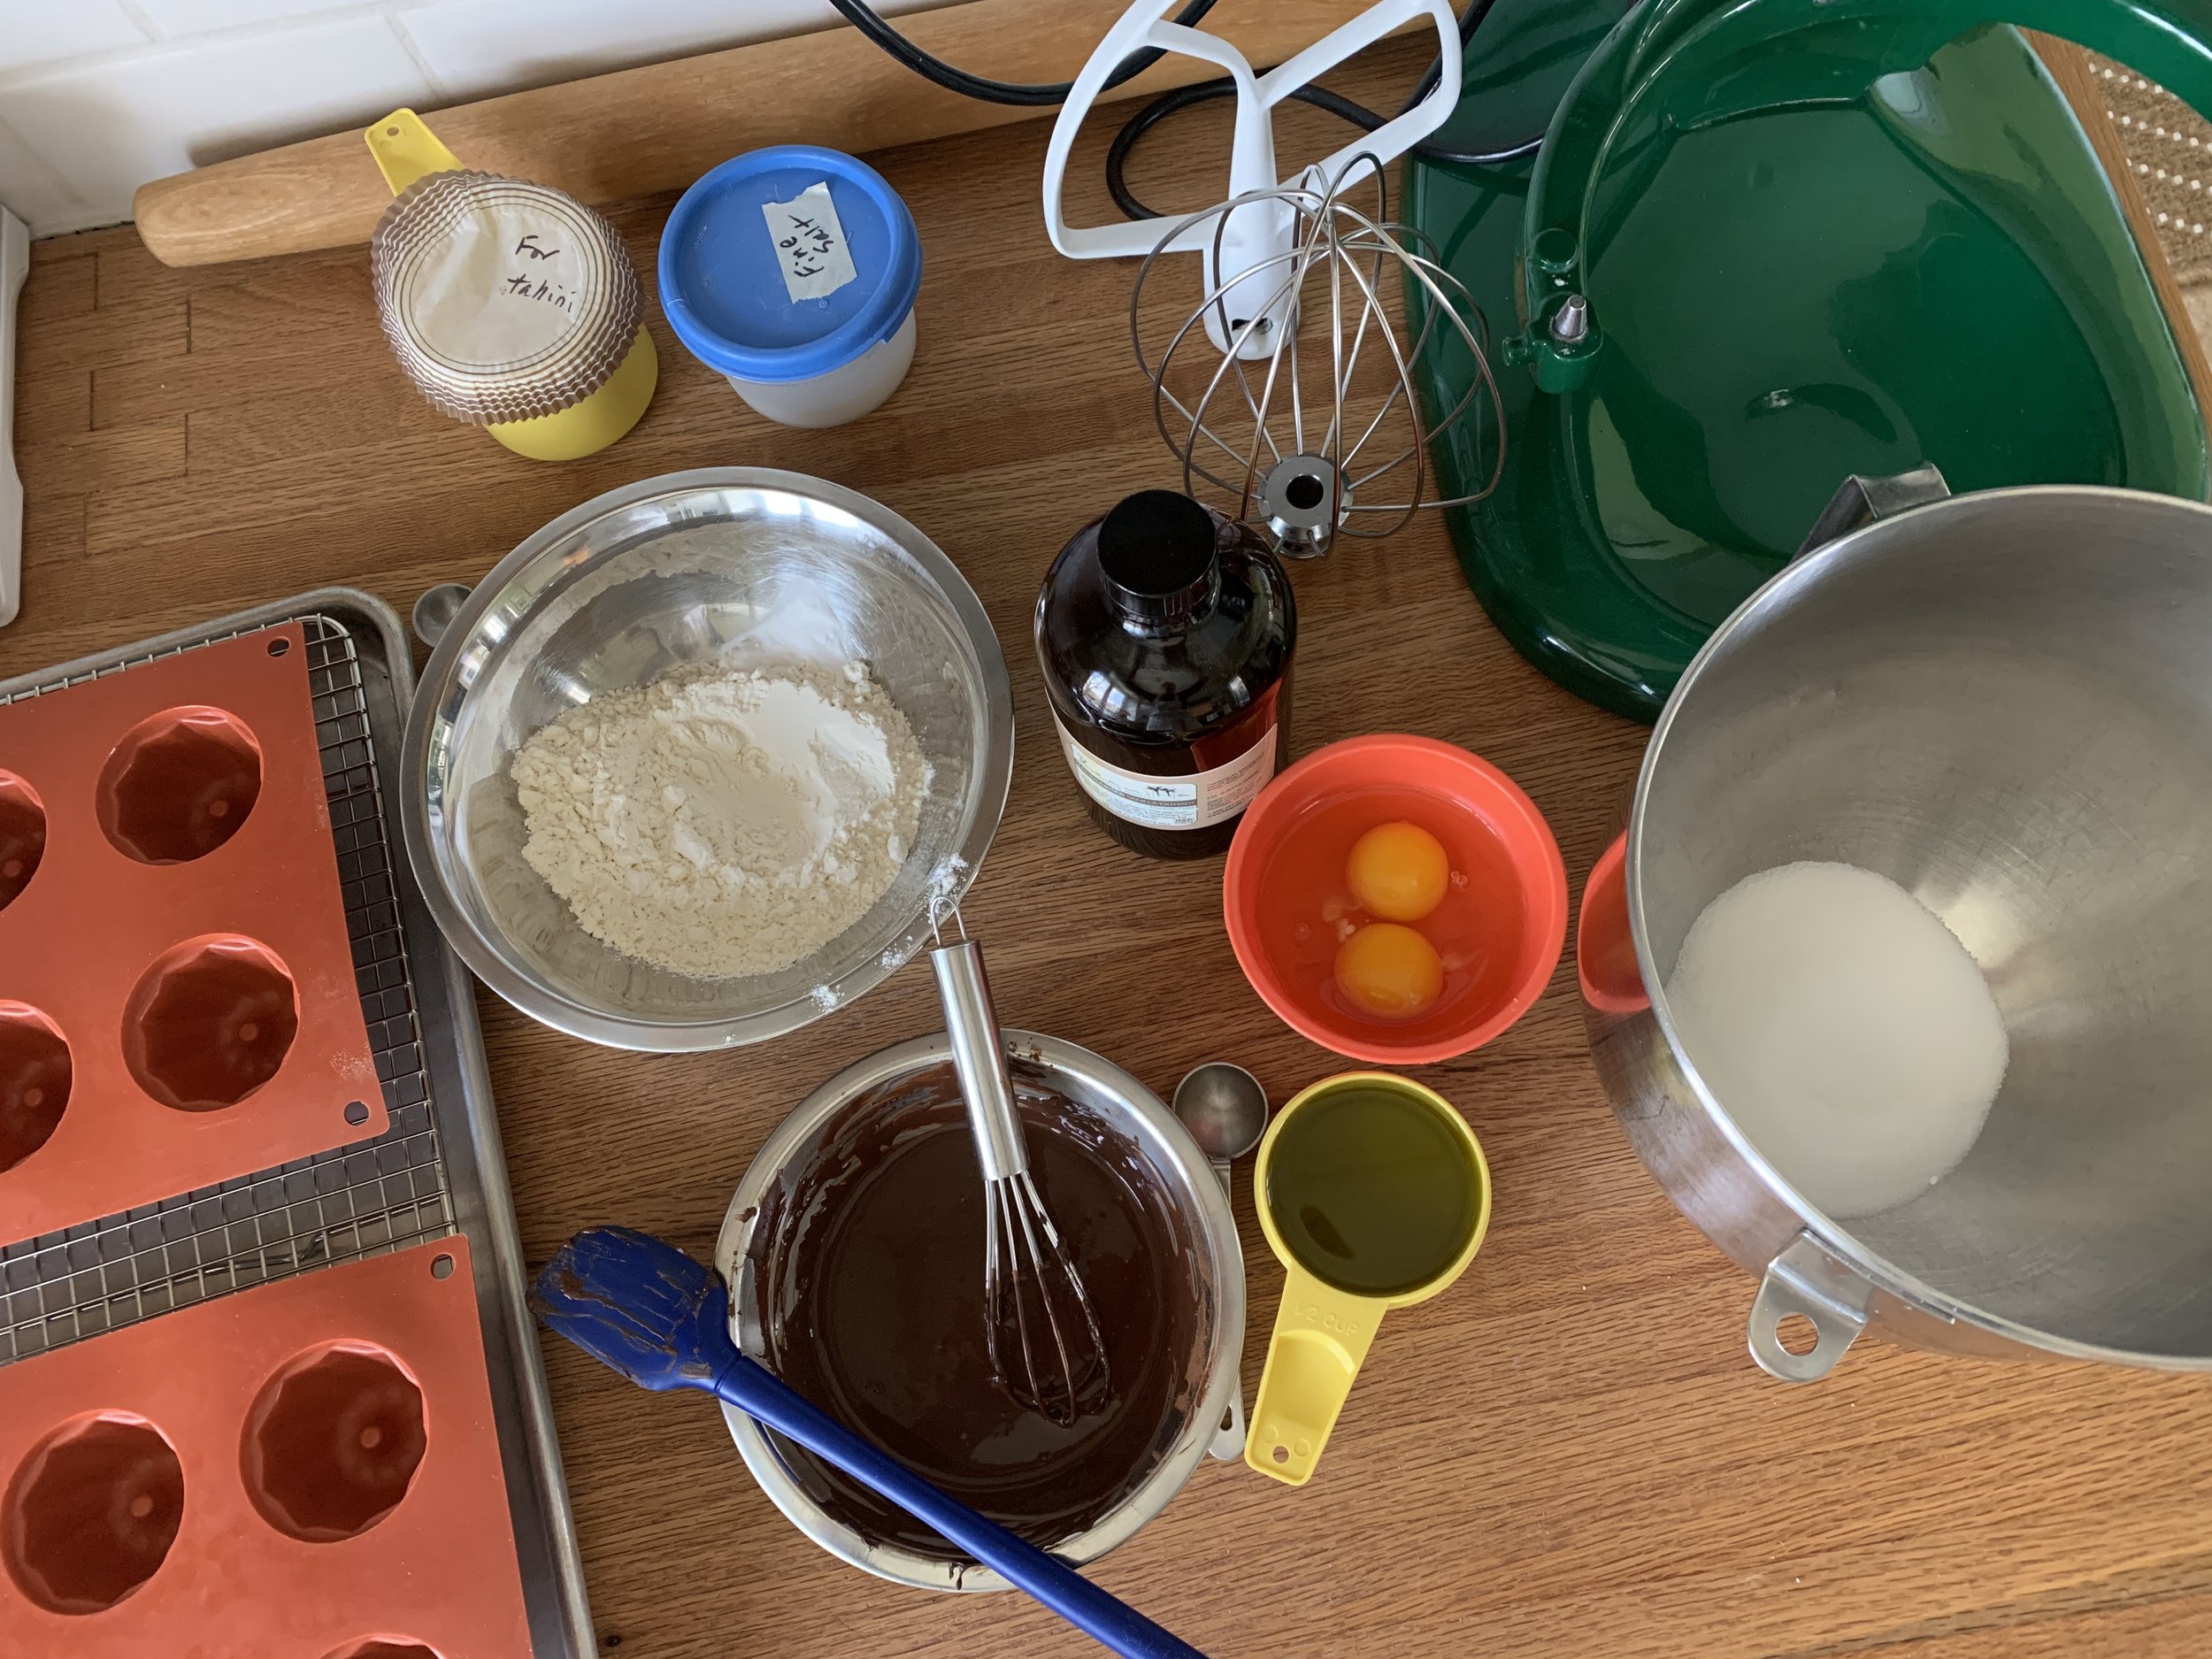
Cake number three is a chocolate olive oil cake from Melissa Clark written for a 9” round cake. Oh so moist. I made this one twice, each time making 2/3 recipe using Earl Grey tea as the liquid. Liquid options include coffee, red wine, orange juice or water.

You create a paste by bringing already brewed tea to boil in a small saucepan, turn the heat off and whisk in Dutch-process cocoa powder, spices of choice (I used a mix of cinnamon, coriander and ginger) and salt. Let it cool.

Once the paste is made, the steps are basic cake simple - beat sugar, olive oil, eggs and vanilla for a few minutes, then add the tea-cocoa mixture followed by flour and baking soda.

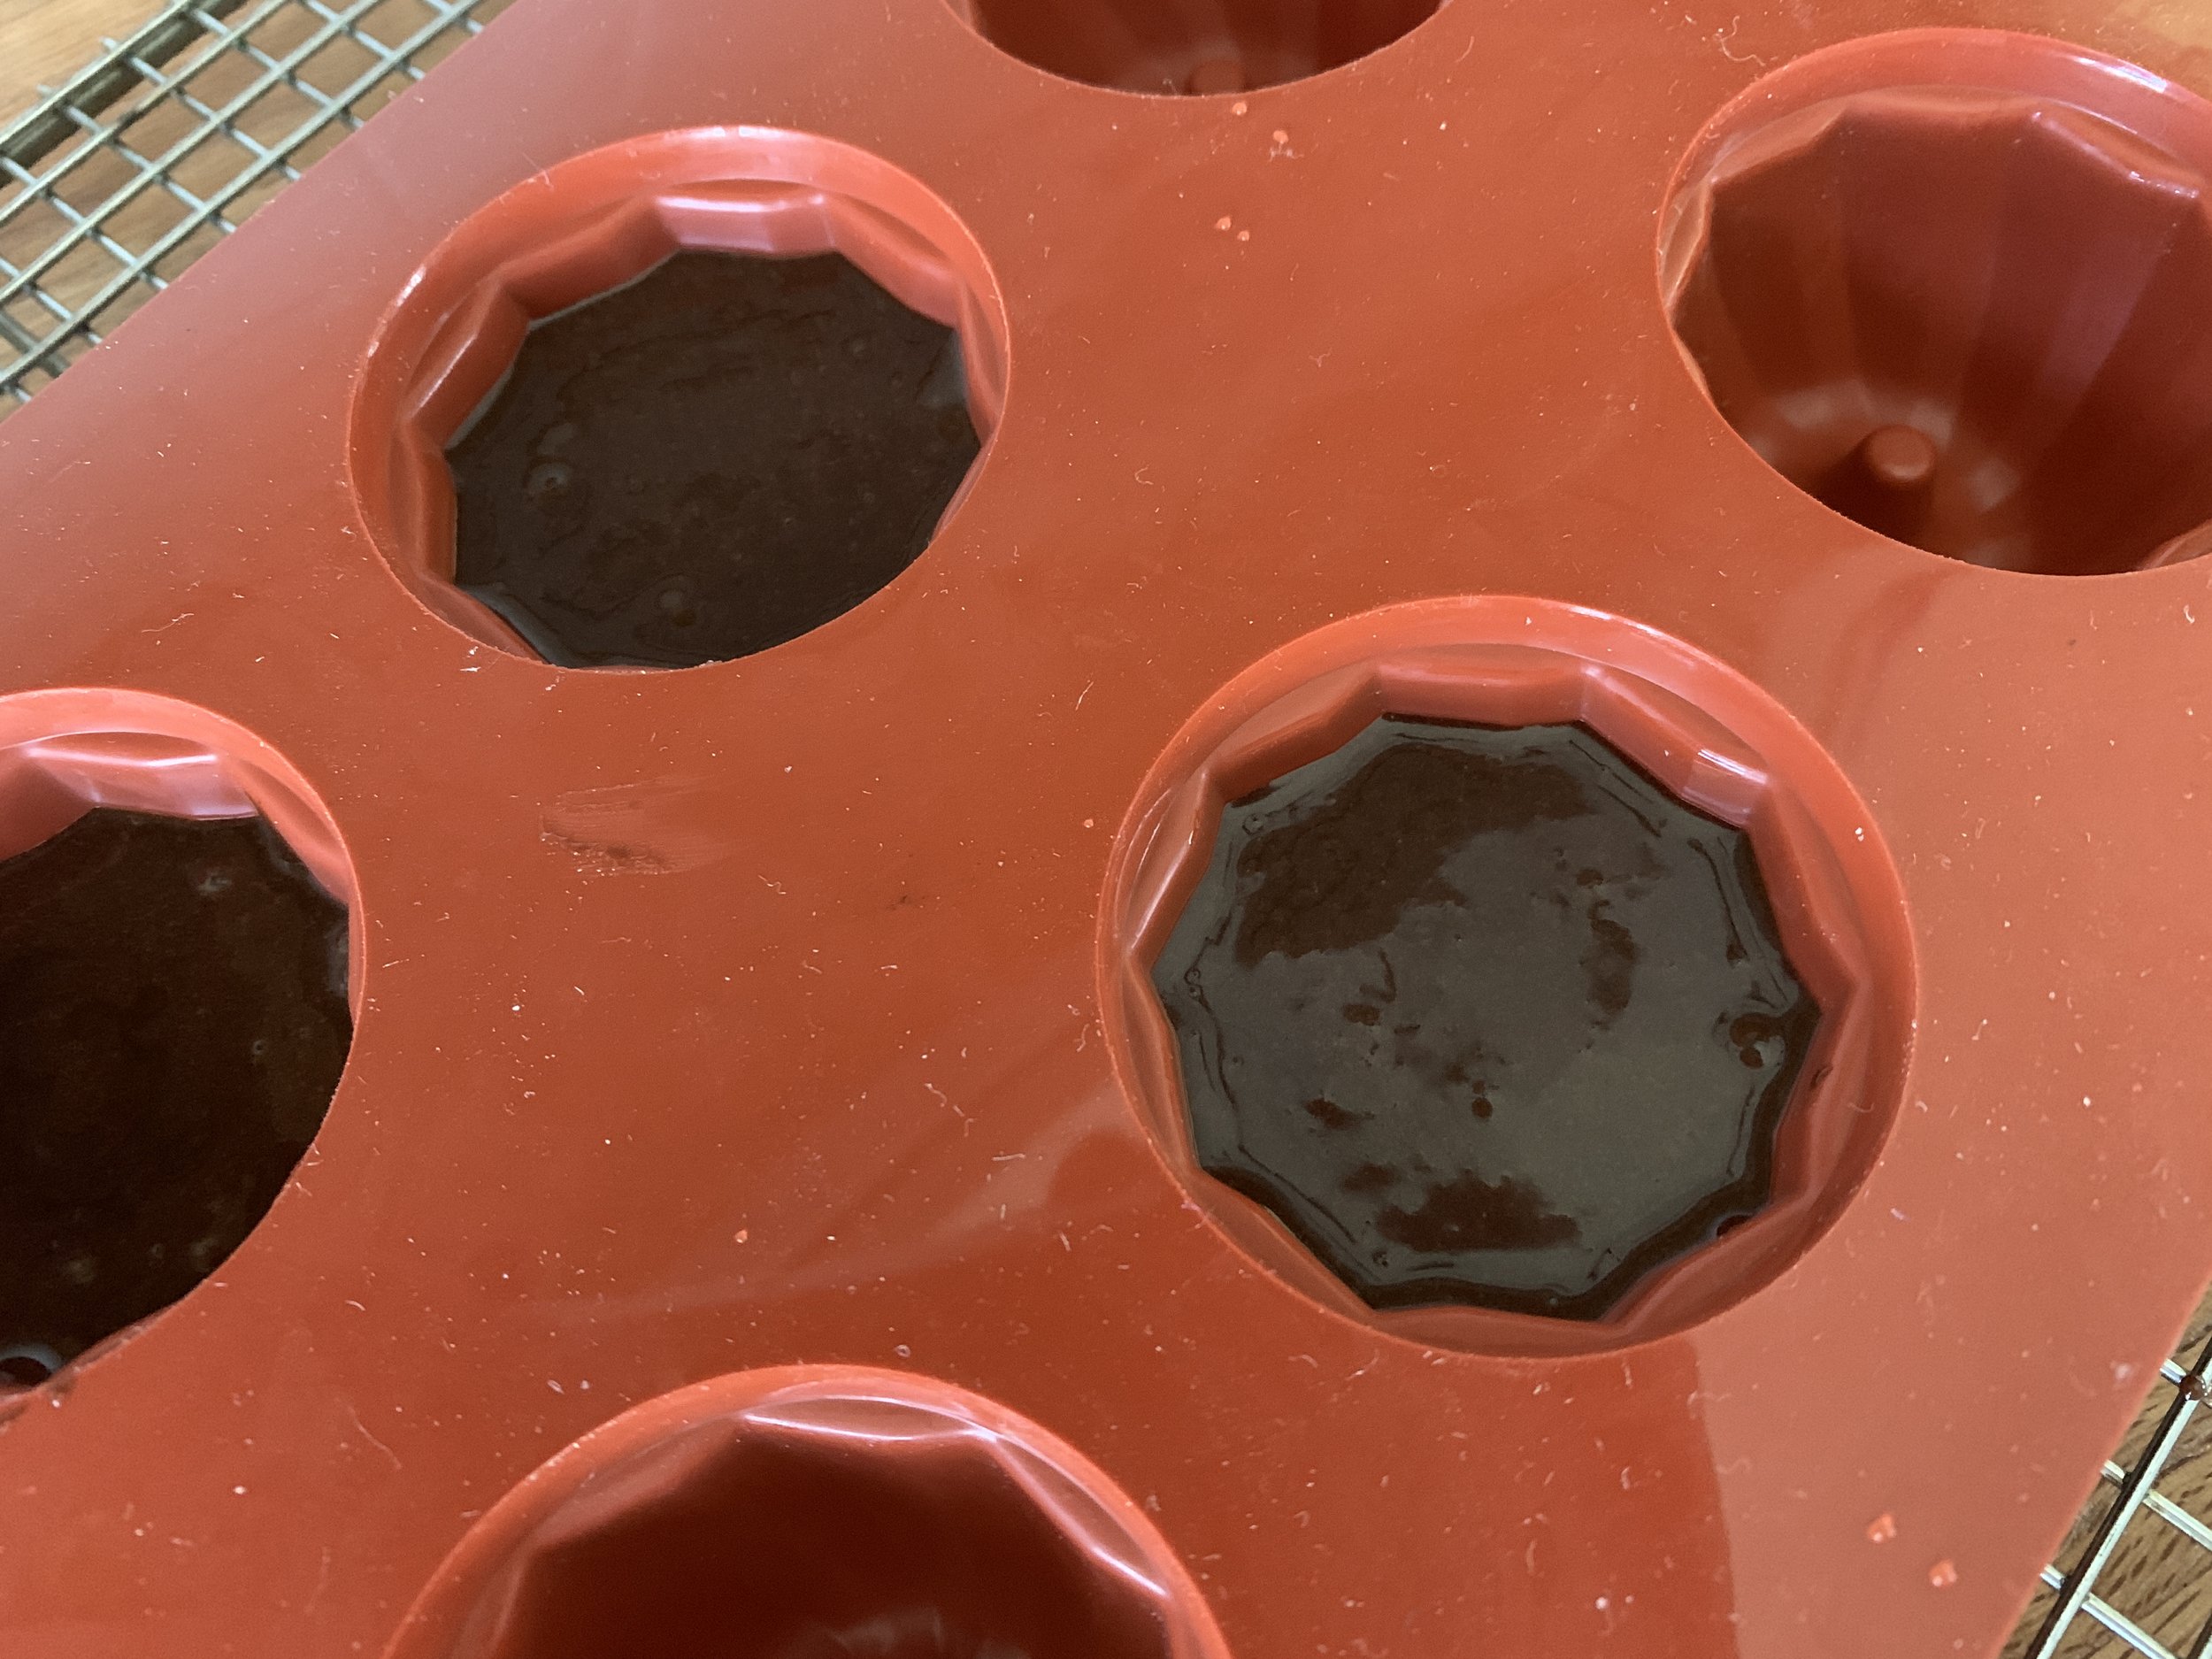
Fill your chosen molds about 3/4 full and bake at 325ºF for about 20 minutes. My yield using 2/3 recipe was 19 lovely Kugelhopf treats.

These baked 8 minutes, rotated, another 8 minutes then an additional 4 to be sure they were set with a tester holding a scant few crumbs.

Let sit 10 minutes or so then gently turn out of the molds. Once cool, I filled the little top cavity with basic ganache and let that set.

These received a top dunk in Earl Grey lavender ganache which I had allowed to set enough so the ganache would coat nicely with some holding power on the top.

It’s made by infusing 3 teaspoons of loose Earl Grey tea plus 1/4 teaspoon dried culinary lavender buds in 160 g / 2/3 cup heavy cream then straining the infused cream into 130 g / 4.6 ounces melted chocolate. Blend it up until smooth, then blend in 18 g / 4 teaspoons unsalted butter. There you go.

This cake is deelish, so moist and delectable with the perfect hint of spice. I’m intrigued by the red wine or orange juice options for next time. Hmmmmm.

As for the ganache, the taste of lavender has never really grabbed me, but I’ll admit this Earl Grey ganache grew on me. I adore versions of herbes de provence that have lavender in the mix (not all do), but have always shied away from using lavender on its own.

A brief review reminded me that lavender is actually part of the mint family and I could sense that light minty floral flavor which was not at all overbearing. I much prefer my flavors on the mellow side. Just ask Steve.

Wow! That seemed to go on forever. I hope you give these three cakes a try and create your own garnishes and flavors.

Happy spring!

Petits gâteaux part 2 - toasted coconut lime

IMG_2642.JPG

Welcome to part 2 of petits gâteaux!

This toasted coconut cake is based on a pound cake recipe I've had for many years, even before pastry school days. I tweaked it in a few places to create a delightful, dense and flavorful cake made with ricotta, lime zest, diced dried pineapple, toasted coconut, a bit of whole wheat pastry flour plus the usual butter, eggs, sugar etc.

I baked these babies in another of my favorite flexi-molds from Silikomart - a rectangular ingot shape that just speaks to me.

Ready for the oven

Ready for the oven

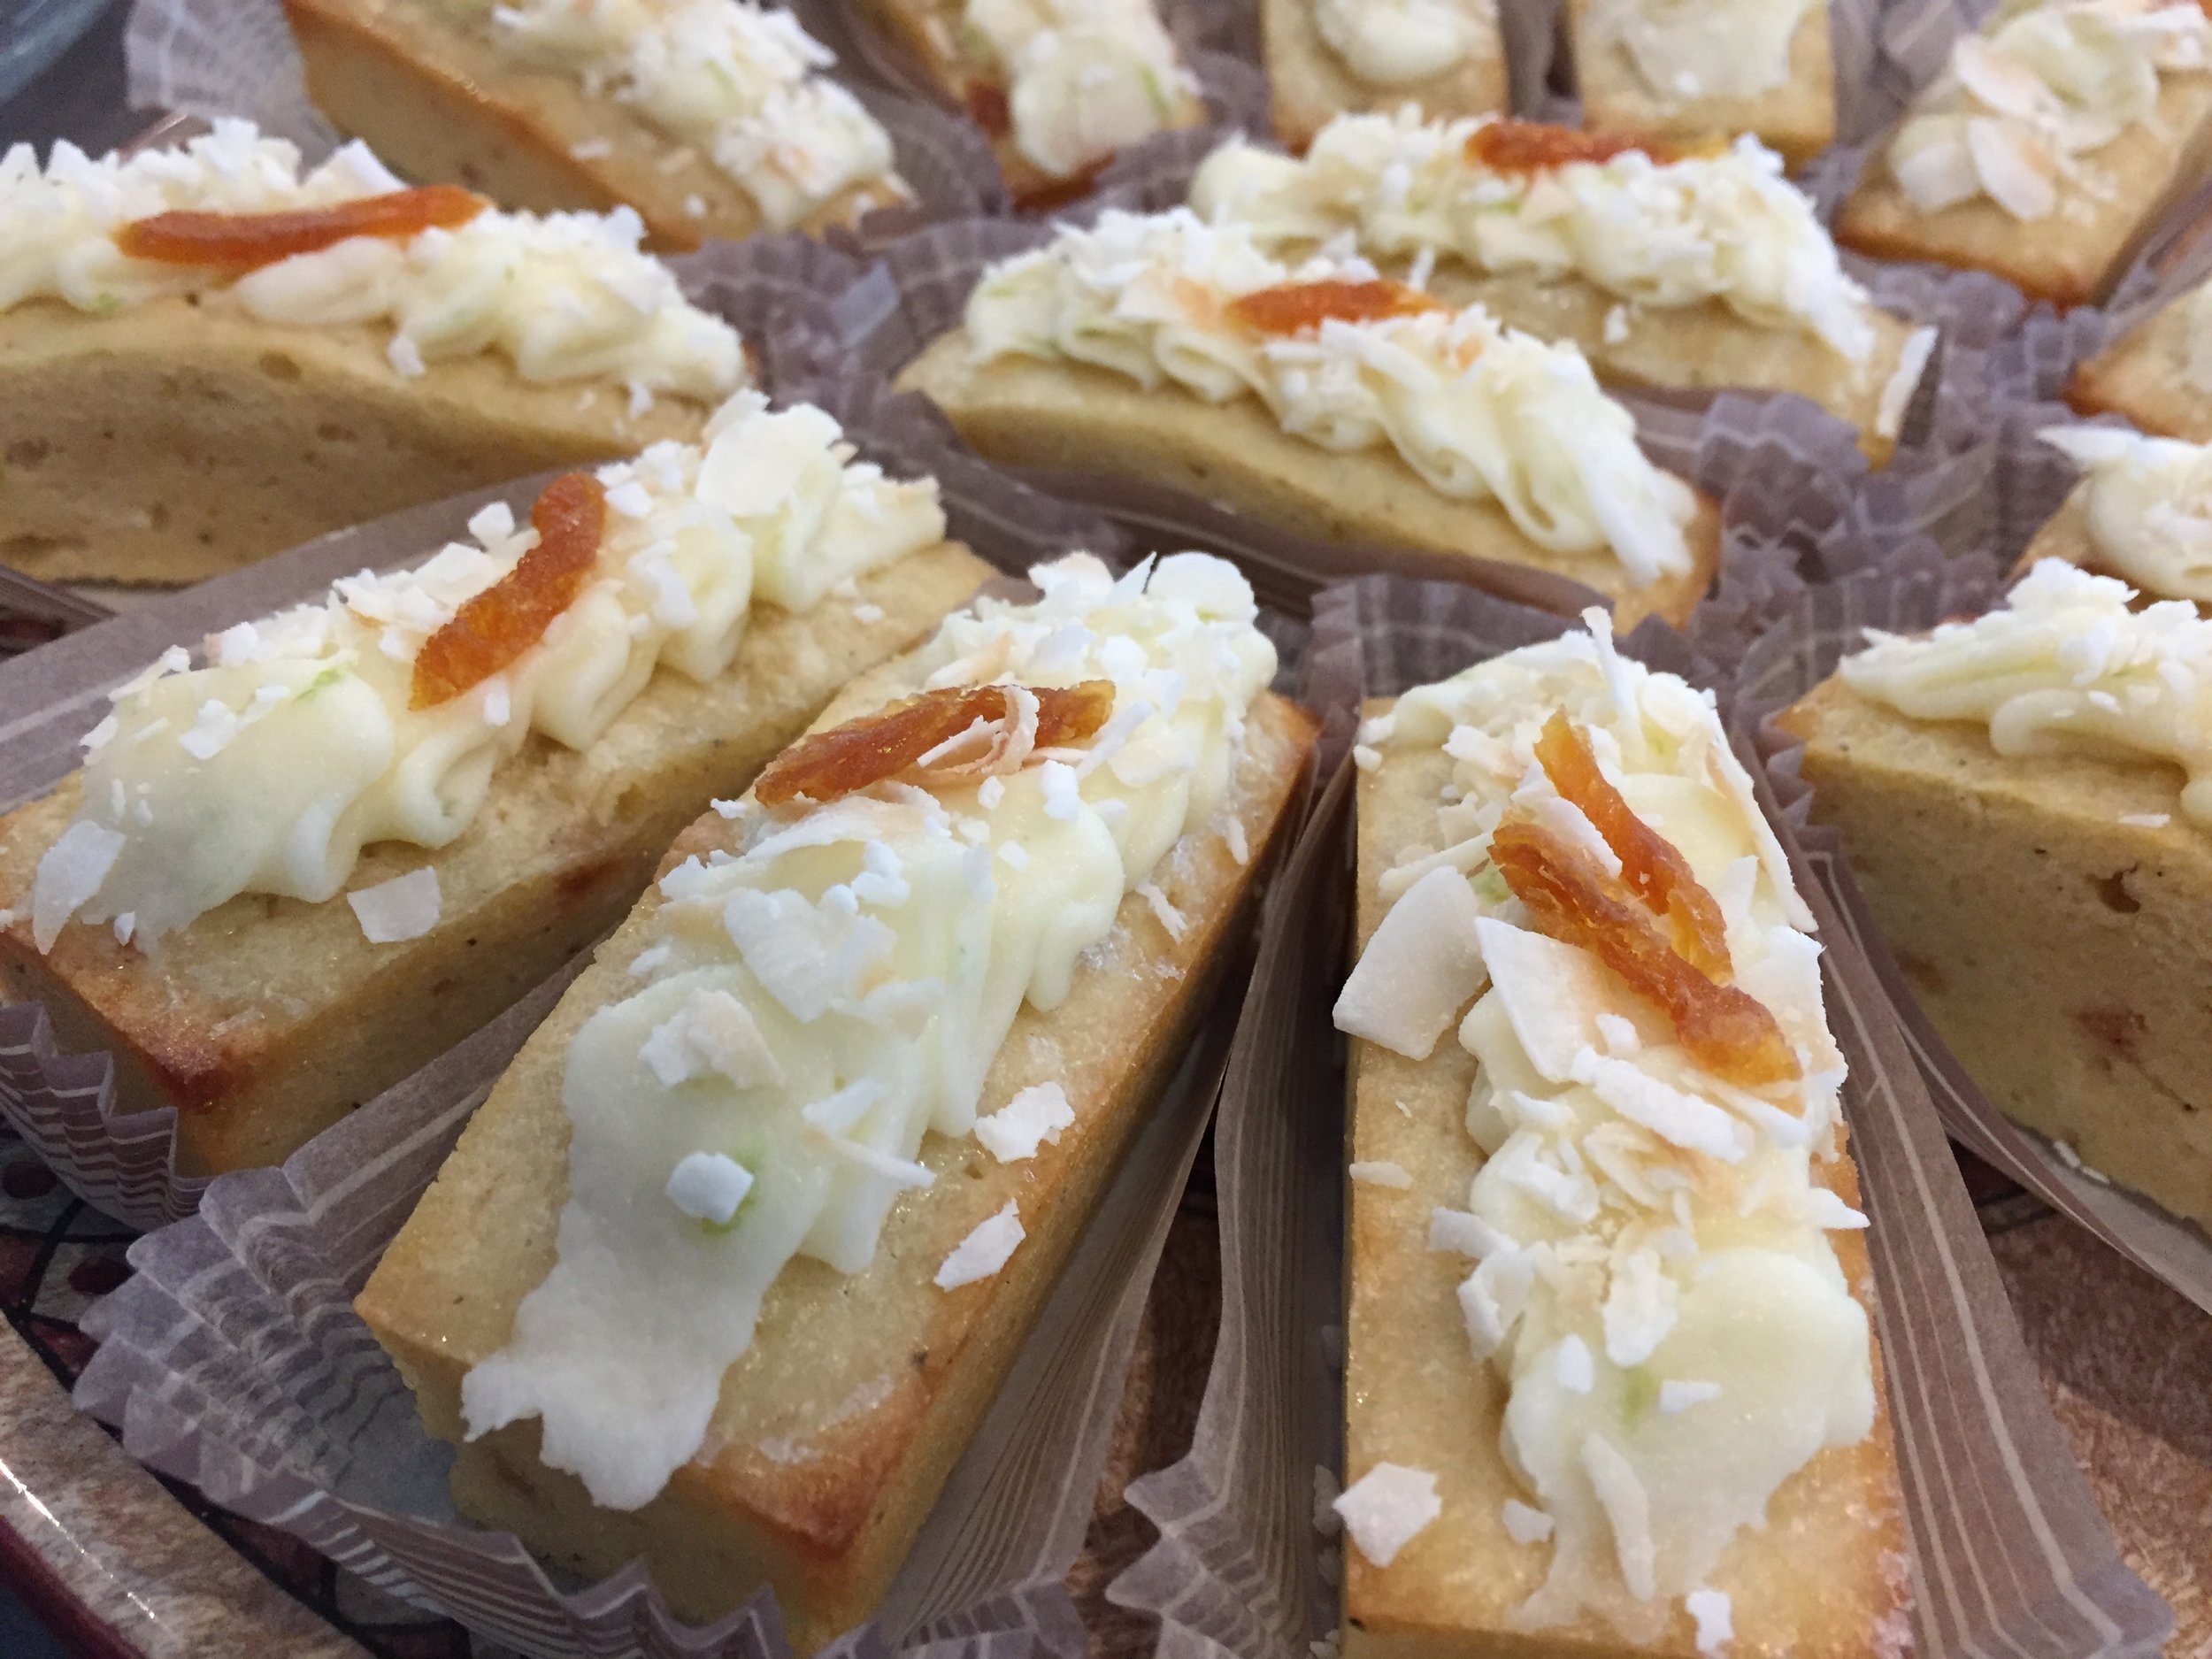
All baked up and glazed

All baked up and glazed

Just out of the oven I brushed on a lime glaze then popped them back in for a few minutes to set the glaze.

Once cooled, I garnished the cakes with a basic cream cheese frosting, zinged with some lime zest, plus a sprinkle of toasted coconut and a julienned piece of dried pineapple.

IMG_2639.JPG

Time for the recipes!

TOASTED COCONUT LIME CAKE: makes one standard Bundt cake OR two medium loaf pans or multiple small cakes. I made a half recipe which yielded 19 "ingots". Components include cake, glaze and frosting plus garnishes.

  1. Get a few things ready: toast 70 g (plus a bit more for garnish) unsweetened shredded coconut and set aside. Zest three limes, reserving the zest of two for the cake and one for the frosting, then juice the limes to yield 45 ml juice (you can do a combo of pineapple and lime juices if you'd like) for the cake plus 30 ml juice for a glaze at the end. Finely chop about 1/4 cup dried sweet pineapple (I found mine at Trader Joe's) and cut a bit more in strips to use as top garnish.
  2. Heat the oven to 325 ºF. If using a Bundt pan or loaf pans, do the butter and flour thing. No need for that with silicone molds.
  3. In a medium bowl whisk together 272 g all purpose flour, 88 g whole wheat pastry flour and 1/4 teaspoon salt.
  4. In the bowl of a stand mixer fitted with the paddle attachment, cream 227 g unsalted butter with 170 g whole milk ricotta until smooth; add in 480 g granulated sugar and the two lime zests, then cream until light and fluffy. NOTE: I like to rub the lime zest into the sugar as I do my mise en place then just add the zested sugar when ready.
  5. Add 5 large eggs, one at a time, beating well and scraping the bowl after each addition.
  6. Blend in 1 teaspoon vanilla extract.
  7. Add lime juice alternating with the dry ingredients just until blended.
  8. Blend in the toasted coconut and diced dried pineapple.
  9. Fill prepared pan(s) or molds and bake. Bundt will take up to 1.25 hours, loaves more like 50-60 minutes and small cakes perhaps 20-25 minutes. Watch what's going on in there! A skewer inserted in the center should come out clean. Remove from the oven.
  10. While your cakes are baking, make a GLAZE by whisking together 3/4 cup powdered sugar and 2 tablespoons lime (or pineapple) juice. You want it thin for just that oh-so right light coating. Once the cakes are out of the oven, brush the glaze on the surface and pop them back in for a few minutes to set the glaze.
  11. Let cool in the pan or molds, then remove.

LIME CREAM CHEESE FROSTING: makes about 2 cups, plenty for your needs (I made a half recipe for my half cake recipe).

  1. Soften 227 g cream cheese and 113 g unsalted butter on low in the microwave. I you prefer not to use a microwave, place the cream cheese and butter in a bowl and place that in a second larger bowl with warm water - you want them soft, not melted.
  2. Add 170 g powdered sugar, 1/2 teaspoon vanilla, a splash of lime juice and the zest of 1 lime.
  3. Blend all until smooth. Spread or pipe as you desire on the top(s) of the cake(s).

For the pièce de résistance, sprinkle some toasted coconut on top along with a piece of slivered dried pineapple. Et voilà. You've done it!!

IMG_2642.JPG