
Les croissants
/OK. I think I make a pretty darn good croissant. So this next recipe in Philippe Conticini's book, La Pâtisserie des Rêves, got me a bit excited to try another take on this quintessential French pastry staple. Little did I know. . . .
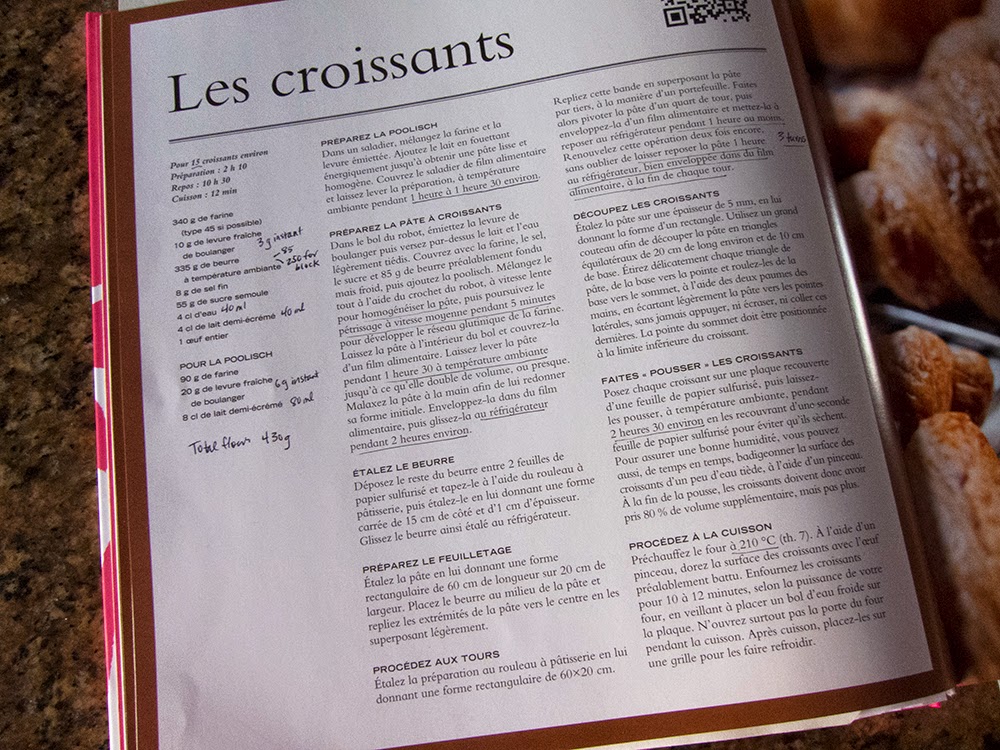
Over the years I've compared many croissant recipes and tested out a number of them. I considered ingredient proportions, mixing and kneading times, numbers of folds/turns, resting and rising times and came up with the recipe and process that has worked well for me. So, you ask, why mess with (near) perfection?! Because life is all about learning!
As I read through Conticini's recipe for this laminated dough, I quickly developed a few concerns about some of his ingredient proportions and the kneading time he recommends. There is a higher ratio of butter to flour in this recipe than that which I typically use, and I prefer my croissants not too heavy in the butter department. Strike 1.
Pascal Pinaud taught me that the dough should be mixed ONLY until it comes together and NO MORE, so when I see a 5-minute kneading time, I start to worry. Strike 2.
The idea is to work the dough very little at the beginning, thus avoiding development of gluten at this stage. That will come later as you put the dough through its folds and turns, essentially kneading it with your rolling pin.
Conticini's recipe starts with making a poolisch which is a rough slurry of flour and liquid (water or milk) with yeast added. I am certainly no expert on the use of a poolisch (also known as pre-ferment or starter), but my understanding is that it is usually a ratio of 1 flour to 1 liquid by weight to which a tiny amount of yeast is added (0.1-0.2% of the weight of the flour). Since 90 gm flour is called for here, by using this rule, the amount of yeast added would only be a miniscule 0.1 gm - a teensy, weensy amount! This recipe calls for the equivalent of 6 gm instant yeast, or 60 times what would typically be used. Strike 3.
It’s better if the pre-ferment sits for 6-24 hours (at room temp or into fridge if holding for up to 24 hours) before adding it into the final dough. This contributes to the flavor as well as the texture, crumb and structure of the end product. In this recipe it sits for 1.5 hours. Strike 4.
(Note: I normally make a détrempe (the croissant dough) with minimal mixing time, let it rest for 45 minutes at room temp and then into the fridge over night, tightly wrapped. My steps are otherwise similar to Philippe's recipe - beurrage, 3 single folds, final rolling, shaping, proofing and baking.)

poolisch ingredients pictured above
So here goes!
For the poolisch simply mix the flour, milk and yeast, cover with plastic film and let sit at room temperature for 1.5 hours. In the future I would use a rubber spatula rather than a whisk - a MUCH easier tool from which to scrape the sticky dough.
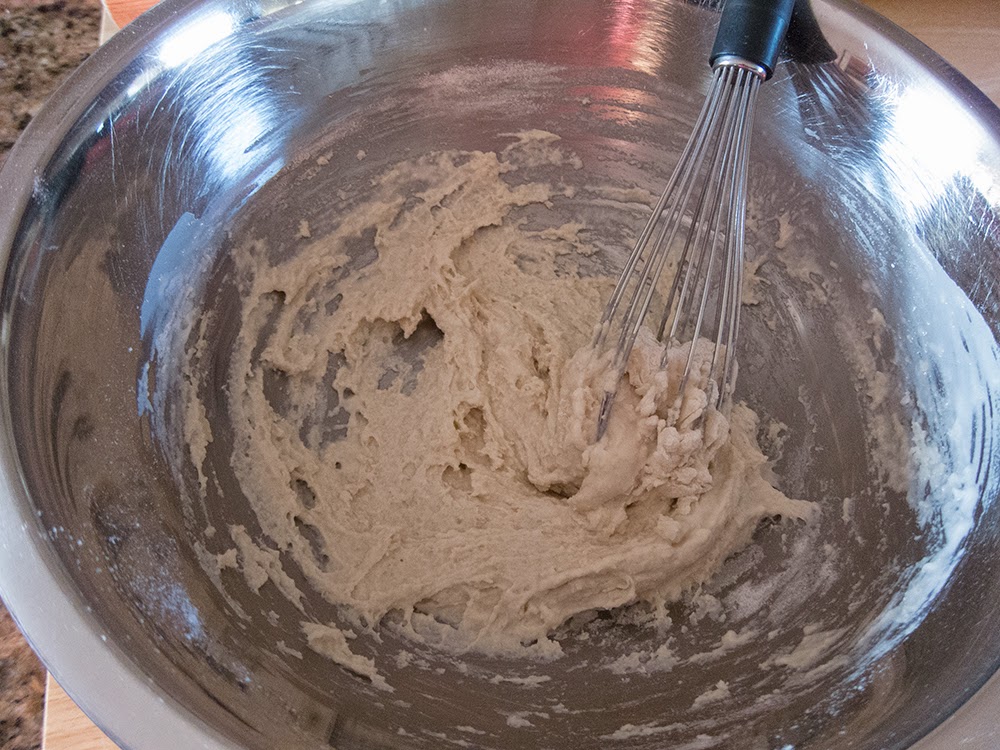
poolisch pictured above
You can then mise en place the remaining pâte à croissant ingredients (the recipe calls for milk and water - I used all milk) and shape and refrigerate your butter block.

Above: flour, salt, sugar in the bowl; butter ready to be softened or melted; milk; yeast

Above: butter block 15 cm square
Give the flour, sugar, salt and instant yeast a quick whisk in the mixing bowl, add in the milk and butter and top it off with the poolisch. Mix with the dough hook on slow speed, then, once everything is incorporated, increase the speed to medium and knead for 5 minutes.

Pretty rough.
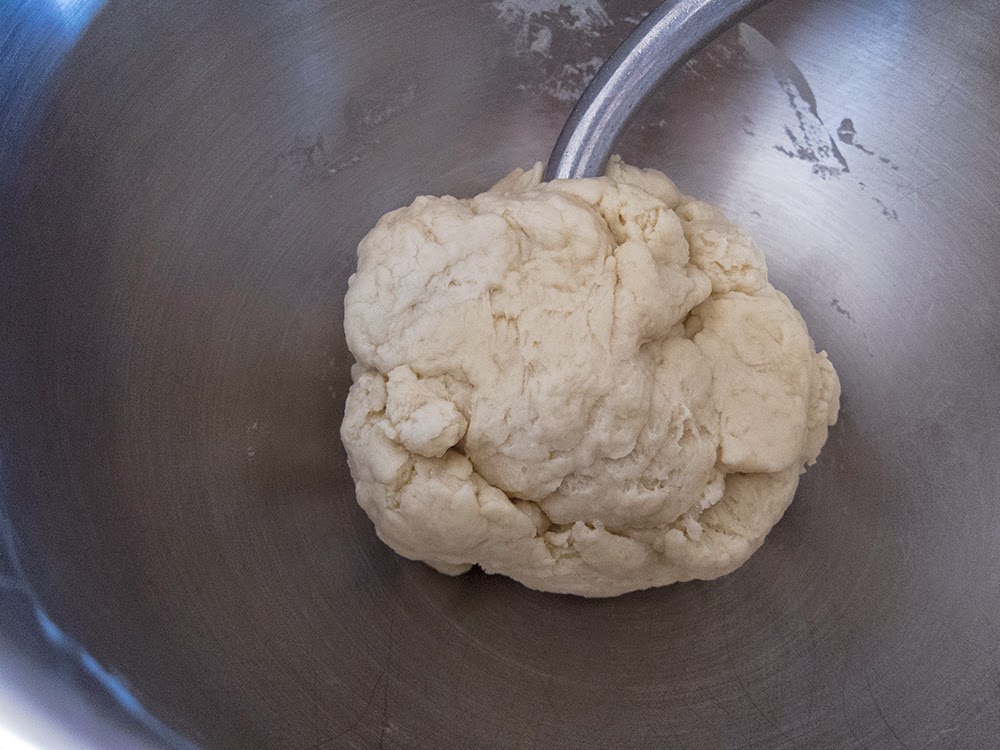
Above: still pretty rough after a 5 minute knead, but a bit more together
Now cover with plastic film, let sit at room temp for 1.5 hours, then wrap tightly in plastic and refrigerate for 2 hours. You want the dough cool for the next steps.
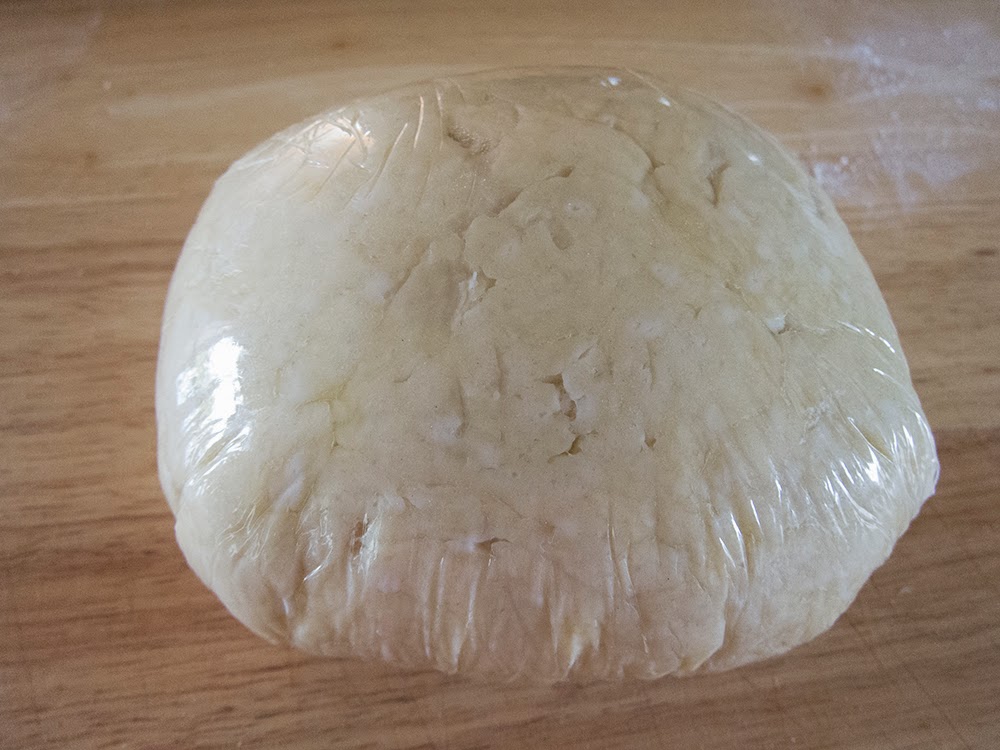
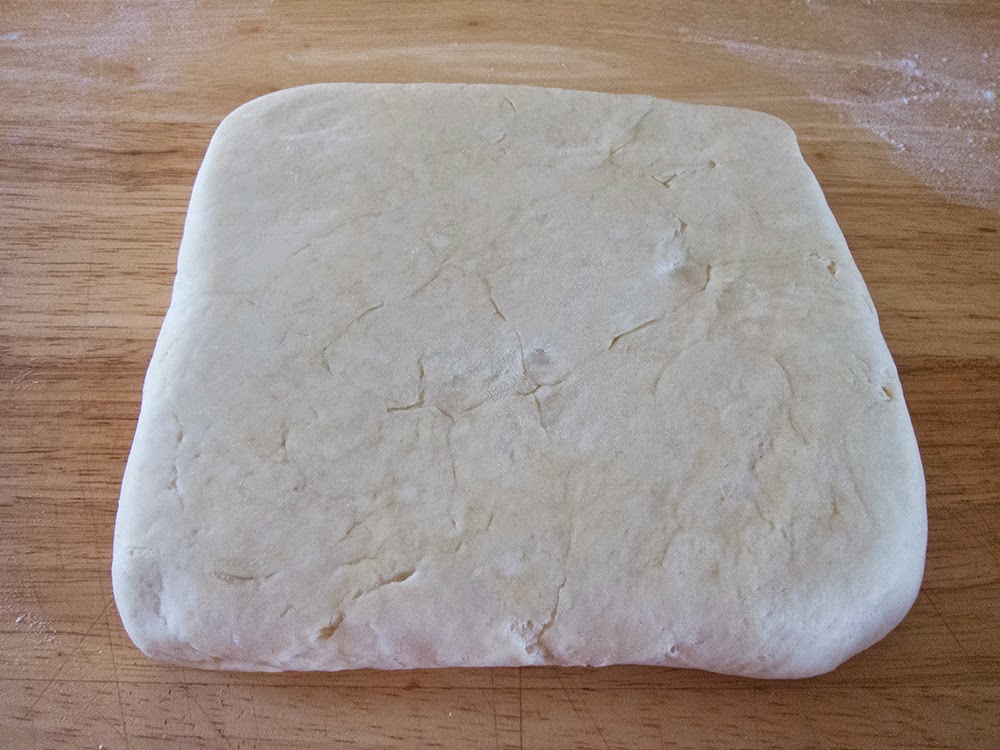
Above: after the 2 hours in the fridge
Now for the beurrage or the enveloping of the butter block. Take your butter block out of the fridge a good 30 minutes before this step. Tapping it with your rolling pin helps soften it a bit - you want it to be cool, yet malleable so it will spread evenly between your dough layers as you roll.
On a lightly floured surface roll your dough out into an elongated diamond, large enough so you can place your butter block in the center and fold the corners of the dough over it, so as to fully encase it (sorry I forgot to take a picture of this!). You should have a neat package of dough and butter.
You should feel the butter out to the edges of your dough package. Notice how rough the dough looks.
I'll note here that this dough feels pretty stiff and isn't easy to roll. Strike 5.
Now for the turns: roll this package out to a length about 3 times its width and do a three fold (also called a single or business letter fold).

Above: rolled out, ready for the first fold
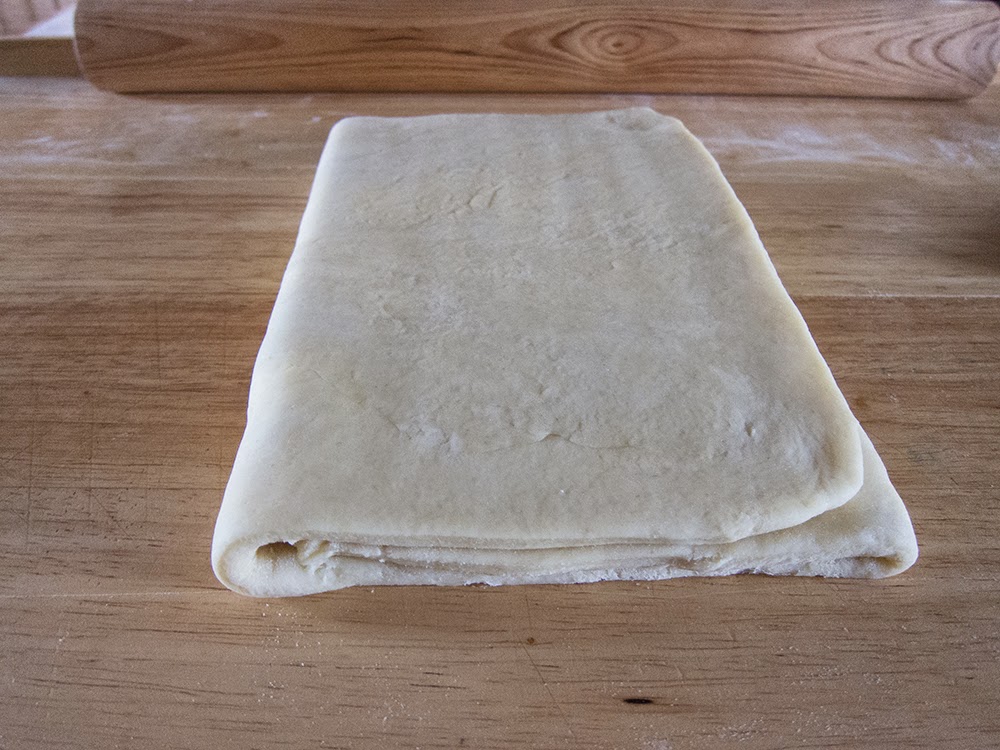
Above: first three (or single) fold; dough turned to prepare for next fold
The photo shows the "spine of the book" on your left. That's how you want your dough positioned for the next roll/fold/turn. Wrap and chill for 30-60 minutes then do the same thing 2 more times, resting and chilling the dough between each turn for a total of 3 turns.
Plan for a final one hour rest in the fridge before rolling the dough out for cutting and shaping.
So here is where I really knew that this would be a fiasco. As I continued to roll the dough for the turns, it remained stiff and difficult to roll. The dough started breaking down and butter showing through - NOT a good sign. Strike 6.
I did struggle through to the final shaping, although my doubts were rising exponentially.
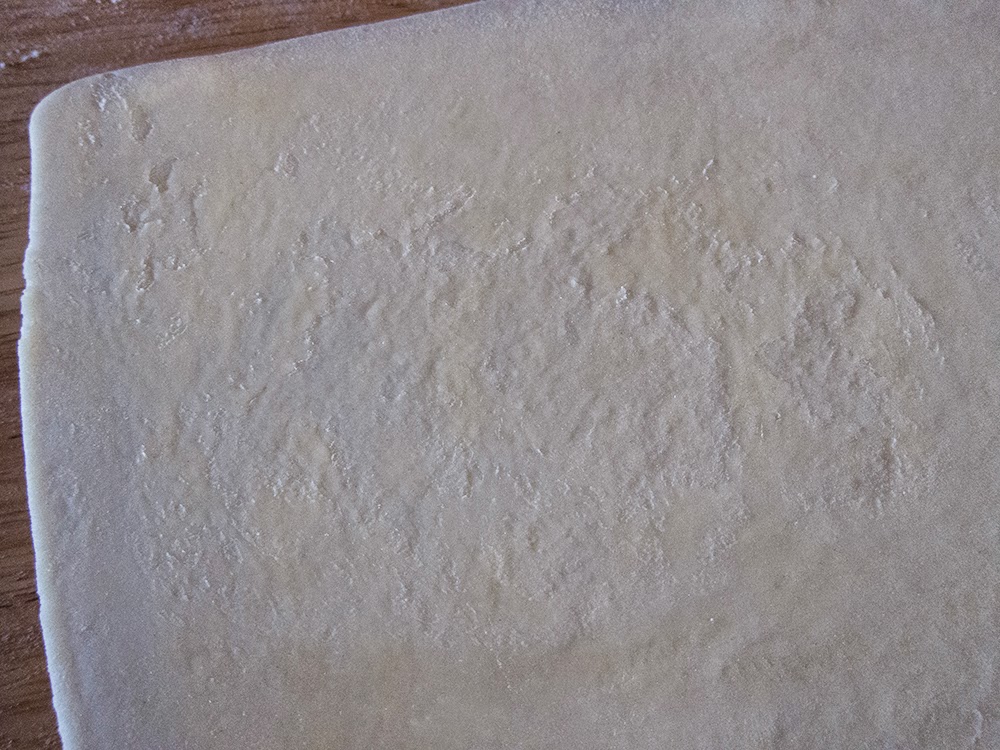
Can you appreciate the butter showing through the dough in the photo above?
Fortunately I had made some of my own croissant dough a couple of days before this, so I'll show you the final steps with that dough, as well as some comparison shots.
When rolling the dough out for final cutting and shaping, give it a rest every now and then. You want it to be nice and relaxed so it won't shrink up when you cut it.
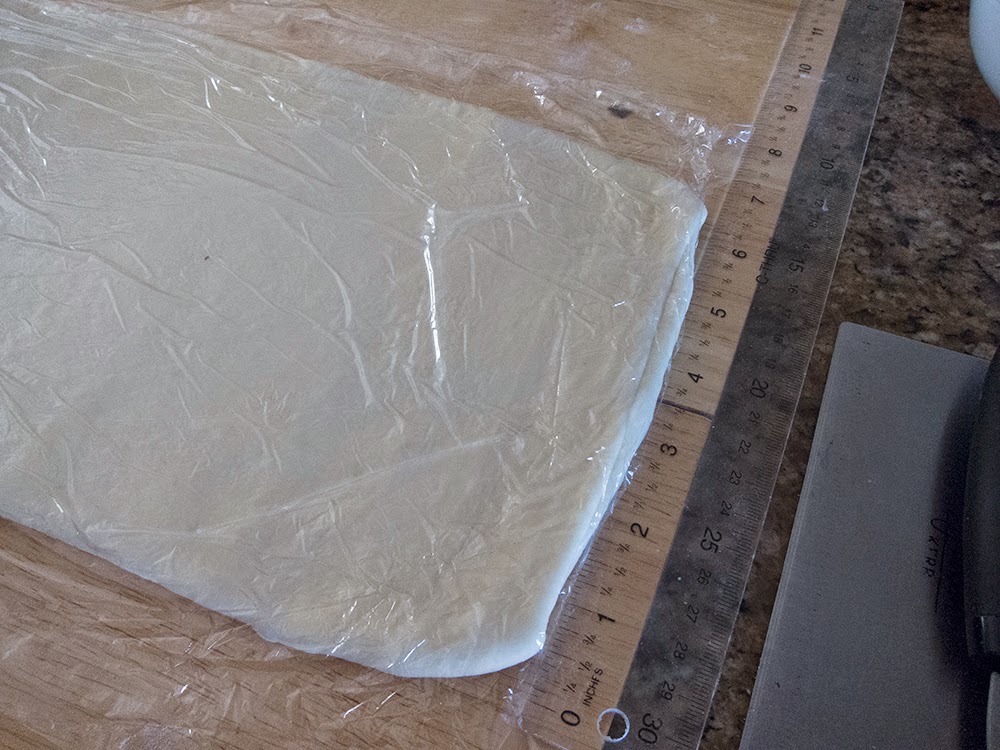
Above: almost there - resting before achieving the 9" depth
When cutting 12 croissants, I roll my dough out to about 24" across and about 9" deep. I cut approximately 4" sections of dough, each of which is cut into 2 triangles.
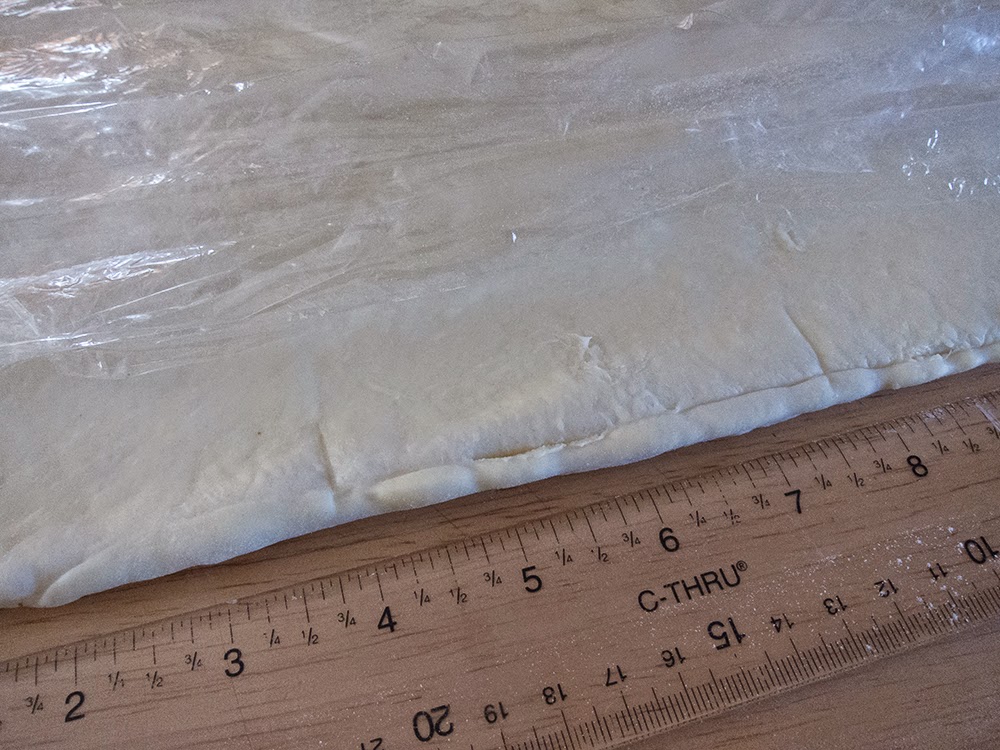
Above: marking my (almost) 4 inch sections

Above: triangles cut, ready to be shaped
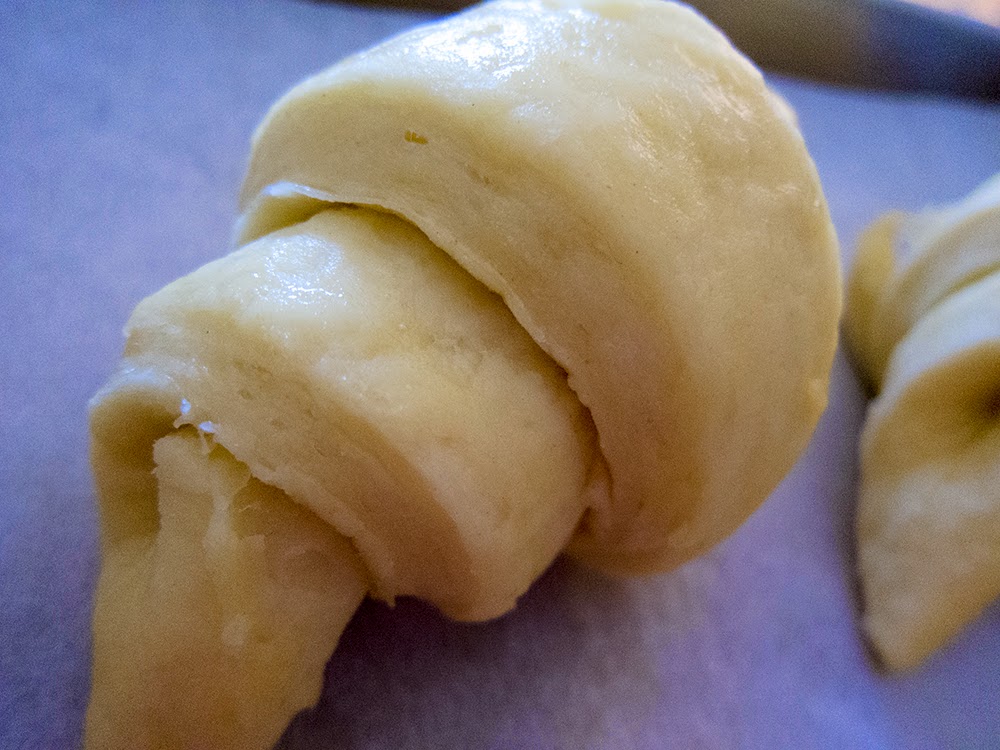
I cut a slit in each base, pick up a triangle, give it a gentle stretch, then place it down and roll it up snugly, tugging gently at the tip as I roll. The tip goes DOWN on the baking sheet.
Here's a comparison:

Philippe's recipe above - a shiny, shaggy, buttery sort of mess

My dough above: smooth and looking good
if you’re not baking your croissants right away, cover them with plastic wrap and hold in the fridge until morning or pop them in the freezer uncovered and once frozen, wrap them tightly for up to a month until ready to thaw, proof and bake.
If ready to proceed with baking, brush on some egg wash and give them a decent 1.5-2 hour proof, ideally at a temperature from 70-78ºF. If you proof too warm, the butter will start melting out - not a pretty picture.
The next two photos show after the proof.
Philippe's above - layers more prominent, but it looks heavy and greasy

Mine above - layers more prominent and it looks light and shiny
Heat your oven to 425ºF, give them a second egg wash and bake about 12-15 minutes.
REMEMBER: watch what’s going on in your oven. Every oven is different (I'll say it again and again)!! I rotate and change positions of my sheet pans about half way through, and I gradually lower my oven temp throughout the baking time, depending on how my croissants are browning. I want the surface to be nicely browned and the laminated edges to be tan not pale, or I risk a croissant that's doughy inside.
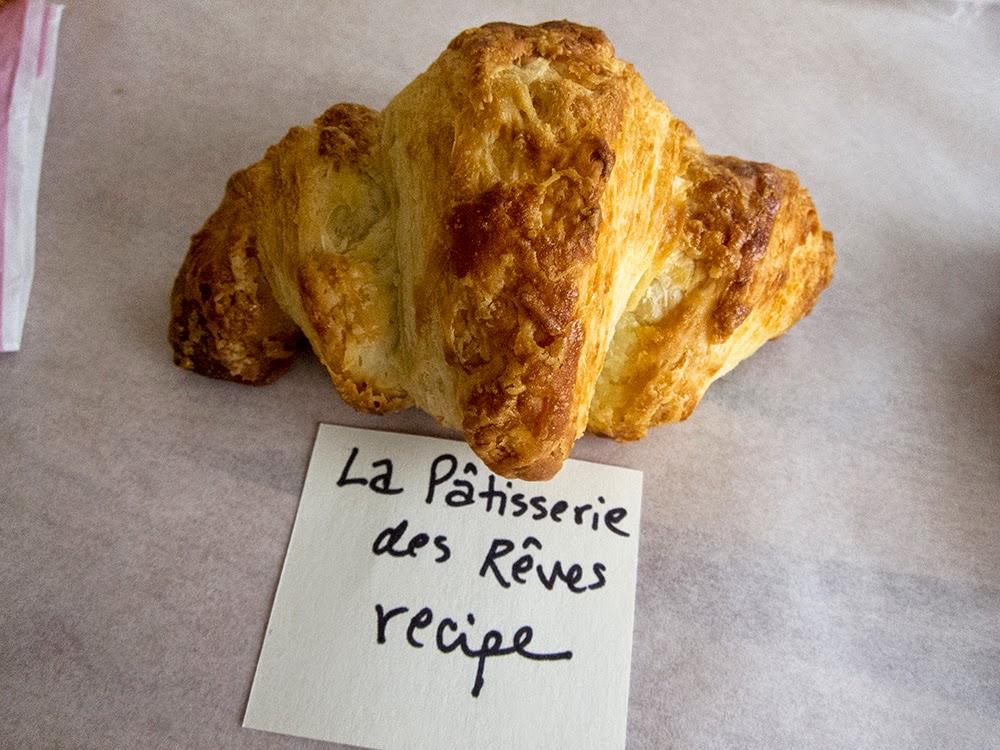
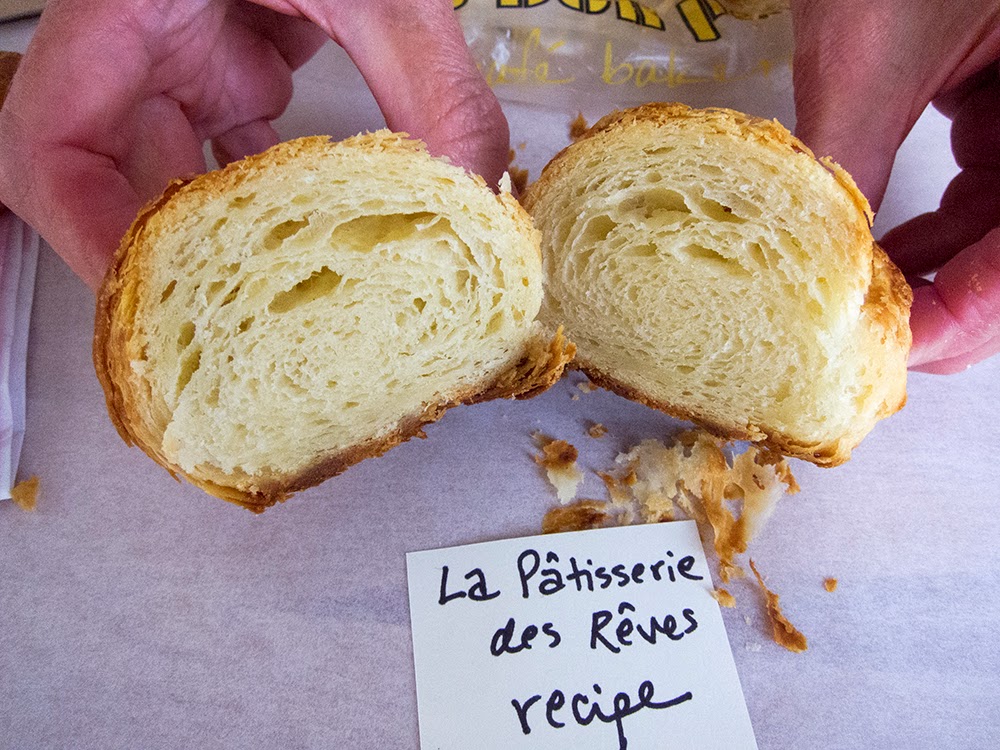
Above: heavy, bready center, some exterior fragility and flakiness, but feels heavy in the hand

The French Tarte above: not bad - note the little browned shards as I cut. (Check out my next post for a tasting of some Providence croissant offerings.)

Above: nice airy lamination, exterior fragility, and has a certain lightness in the hand
It's hard to explain the feel of a good croissant, but once you've experienced it, you just know.
So if you want to make croissants, choose a recipe other than this one in Philippe Conticini's book and practice, practice, practice!
