
Quick puff pastry adventures
/
For several years now my standard approach to puff pastry making has been the reverse approach, or, as the French call it, pâte feuilletée inversée. It comes out so wonderfully flaky and light, buttery and delicious. Check out my post about the process here.
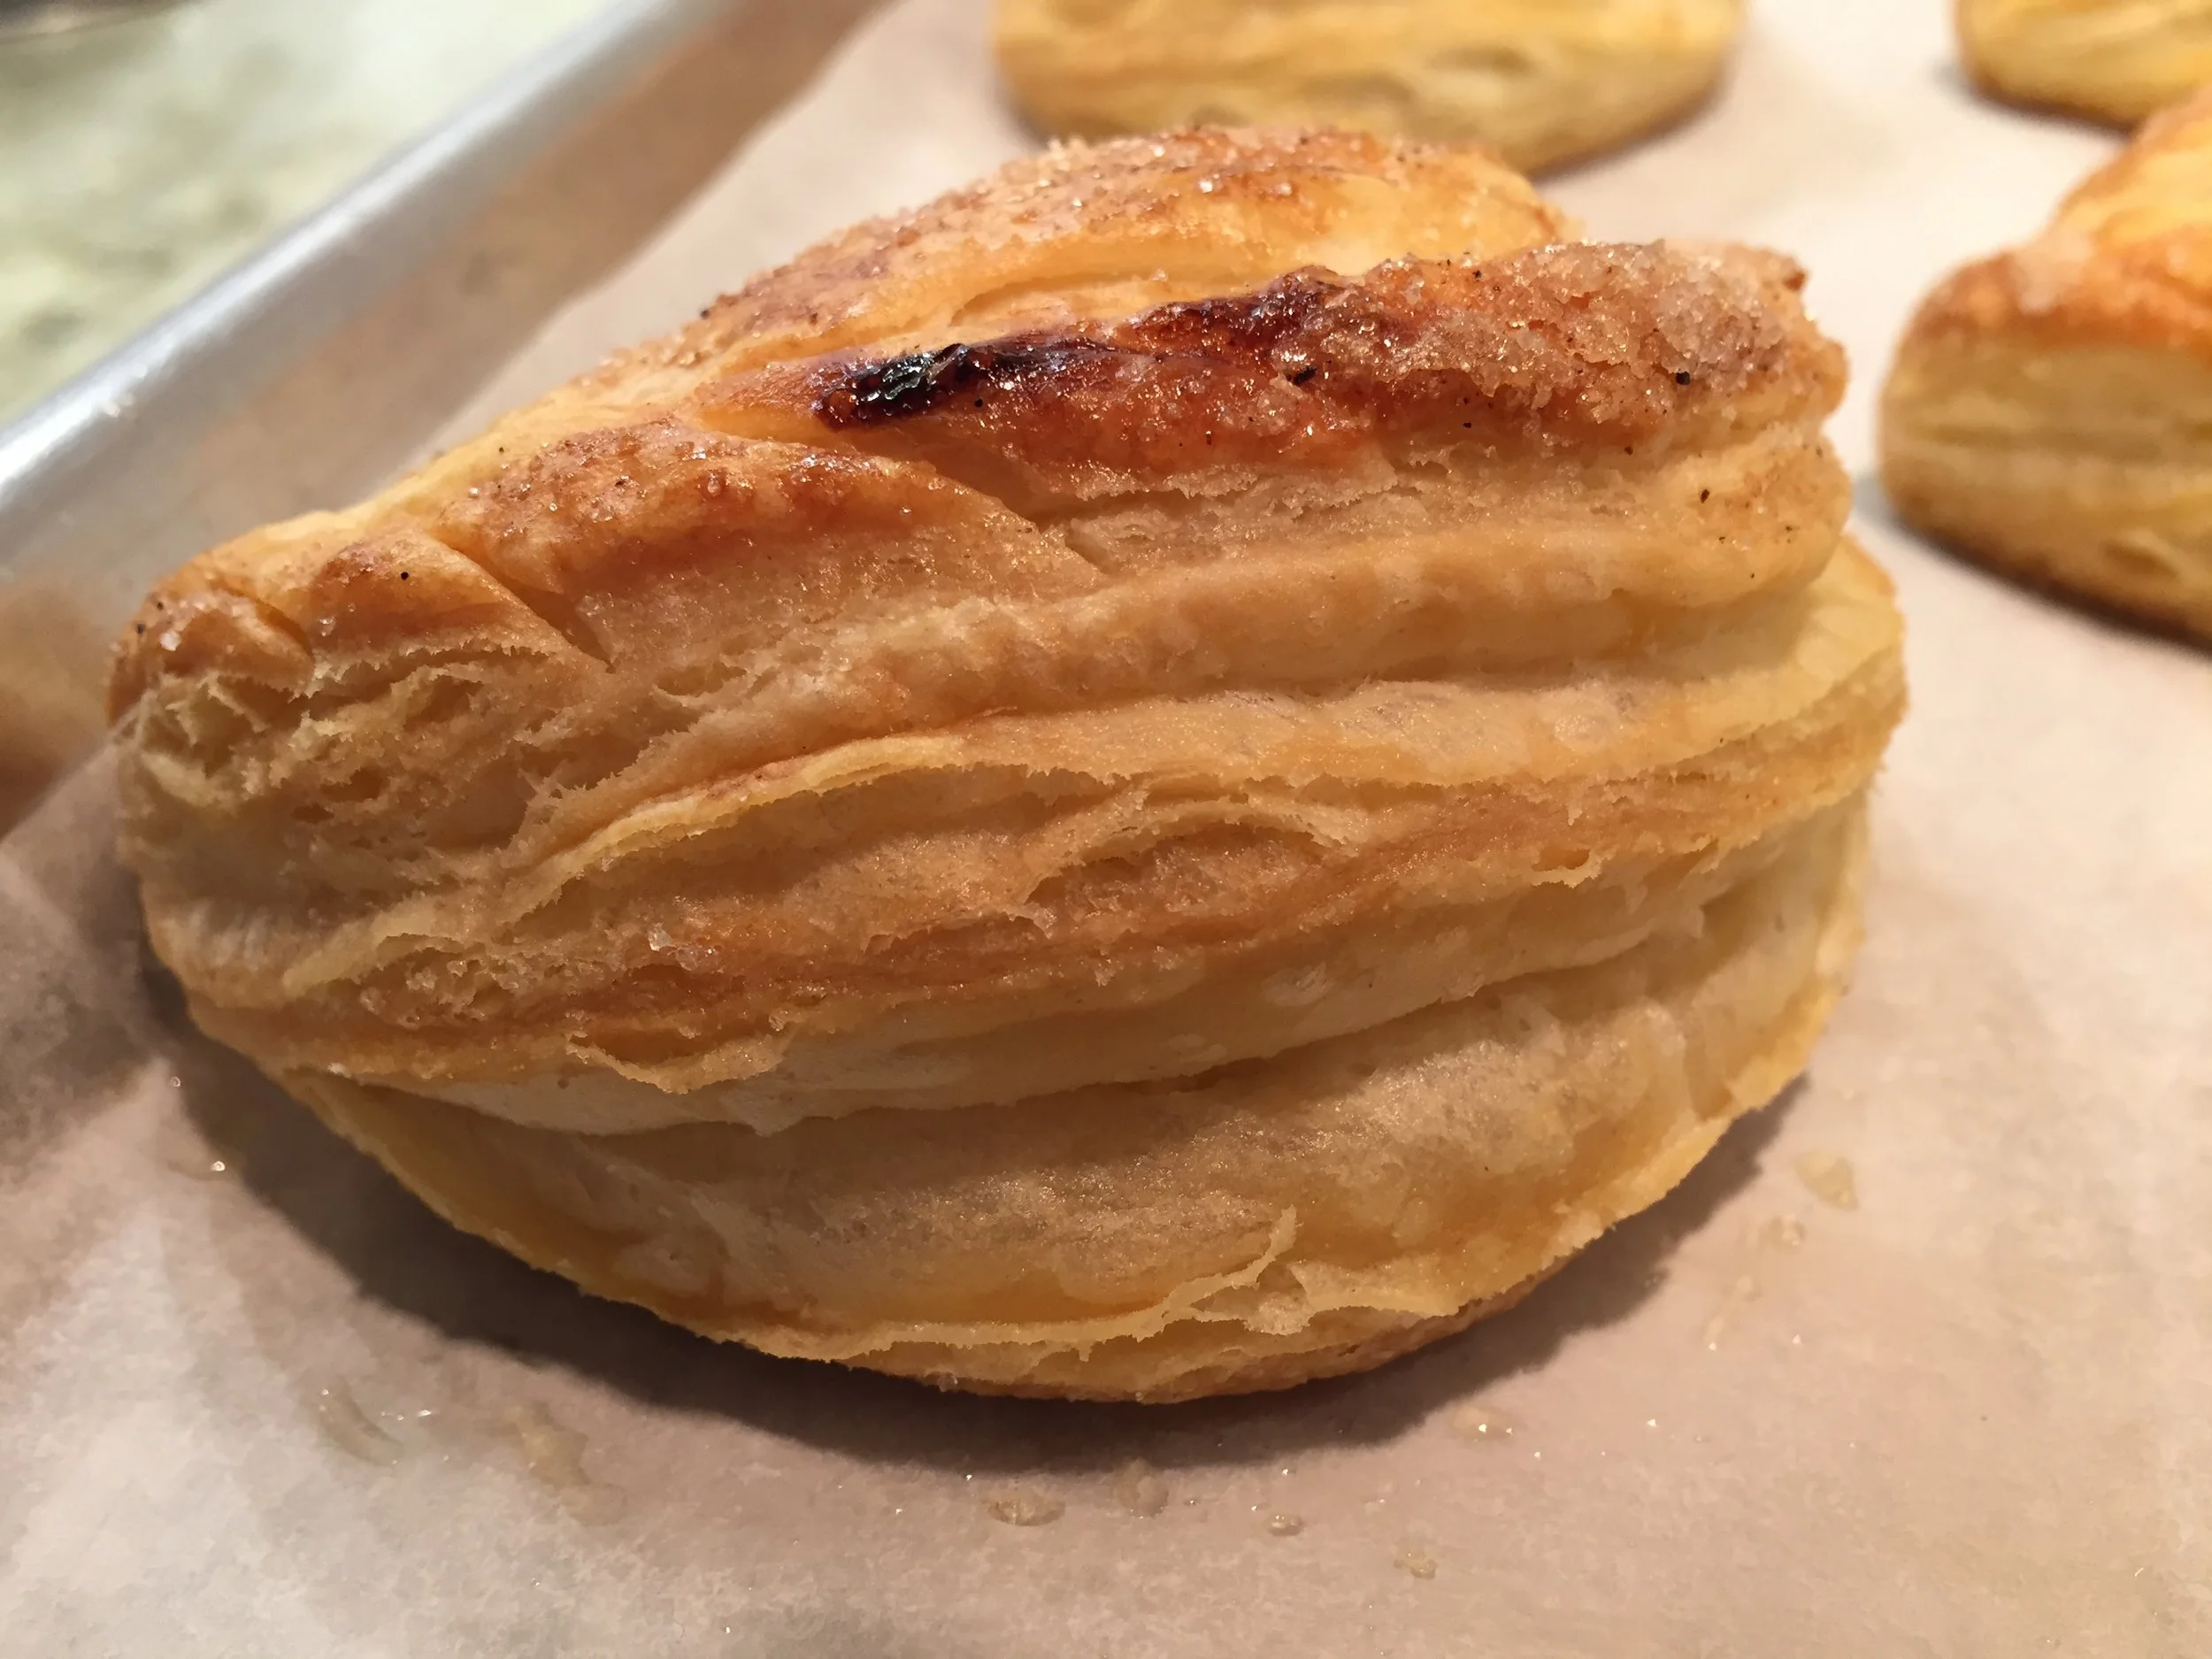
Chausson aux pommes (apple turnovers) are perhaps my favorite goodie to make with puff - the marriage of tart apples sautéed in vanilla sugar, butter and a generous squirt or two of my caramel sauce and then encased in the buttery goodness of puff is a marriage made in heaven.
As I continue to incorporate more whole wheat into my baking, I decided to give a spelt version of quick puff pastry a try. Spelt is considered one of the "ancient grains" descended from wheat. It has a mild, nutty flavor and, although it contains gluten, it has less than whole wheat or white flour. Substituting spelt flour for white flour may make baked goods more tolerable and enjoyable for people with gluten sensitivity.
Spelt quick puff in progress
As usual, I compared various recipes for classic puff, reverse puff and quick or "rough-puff" versions. Generally the flour to butter ratio is close to 1:1 in puff recipes. The other ingredients are water and salt and, while those quantities vary a bit, the water can range from 0.3 to 0.5 of the flour by weight (it's generally lower in quick puff than in classic puff).
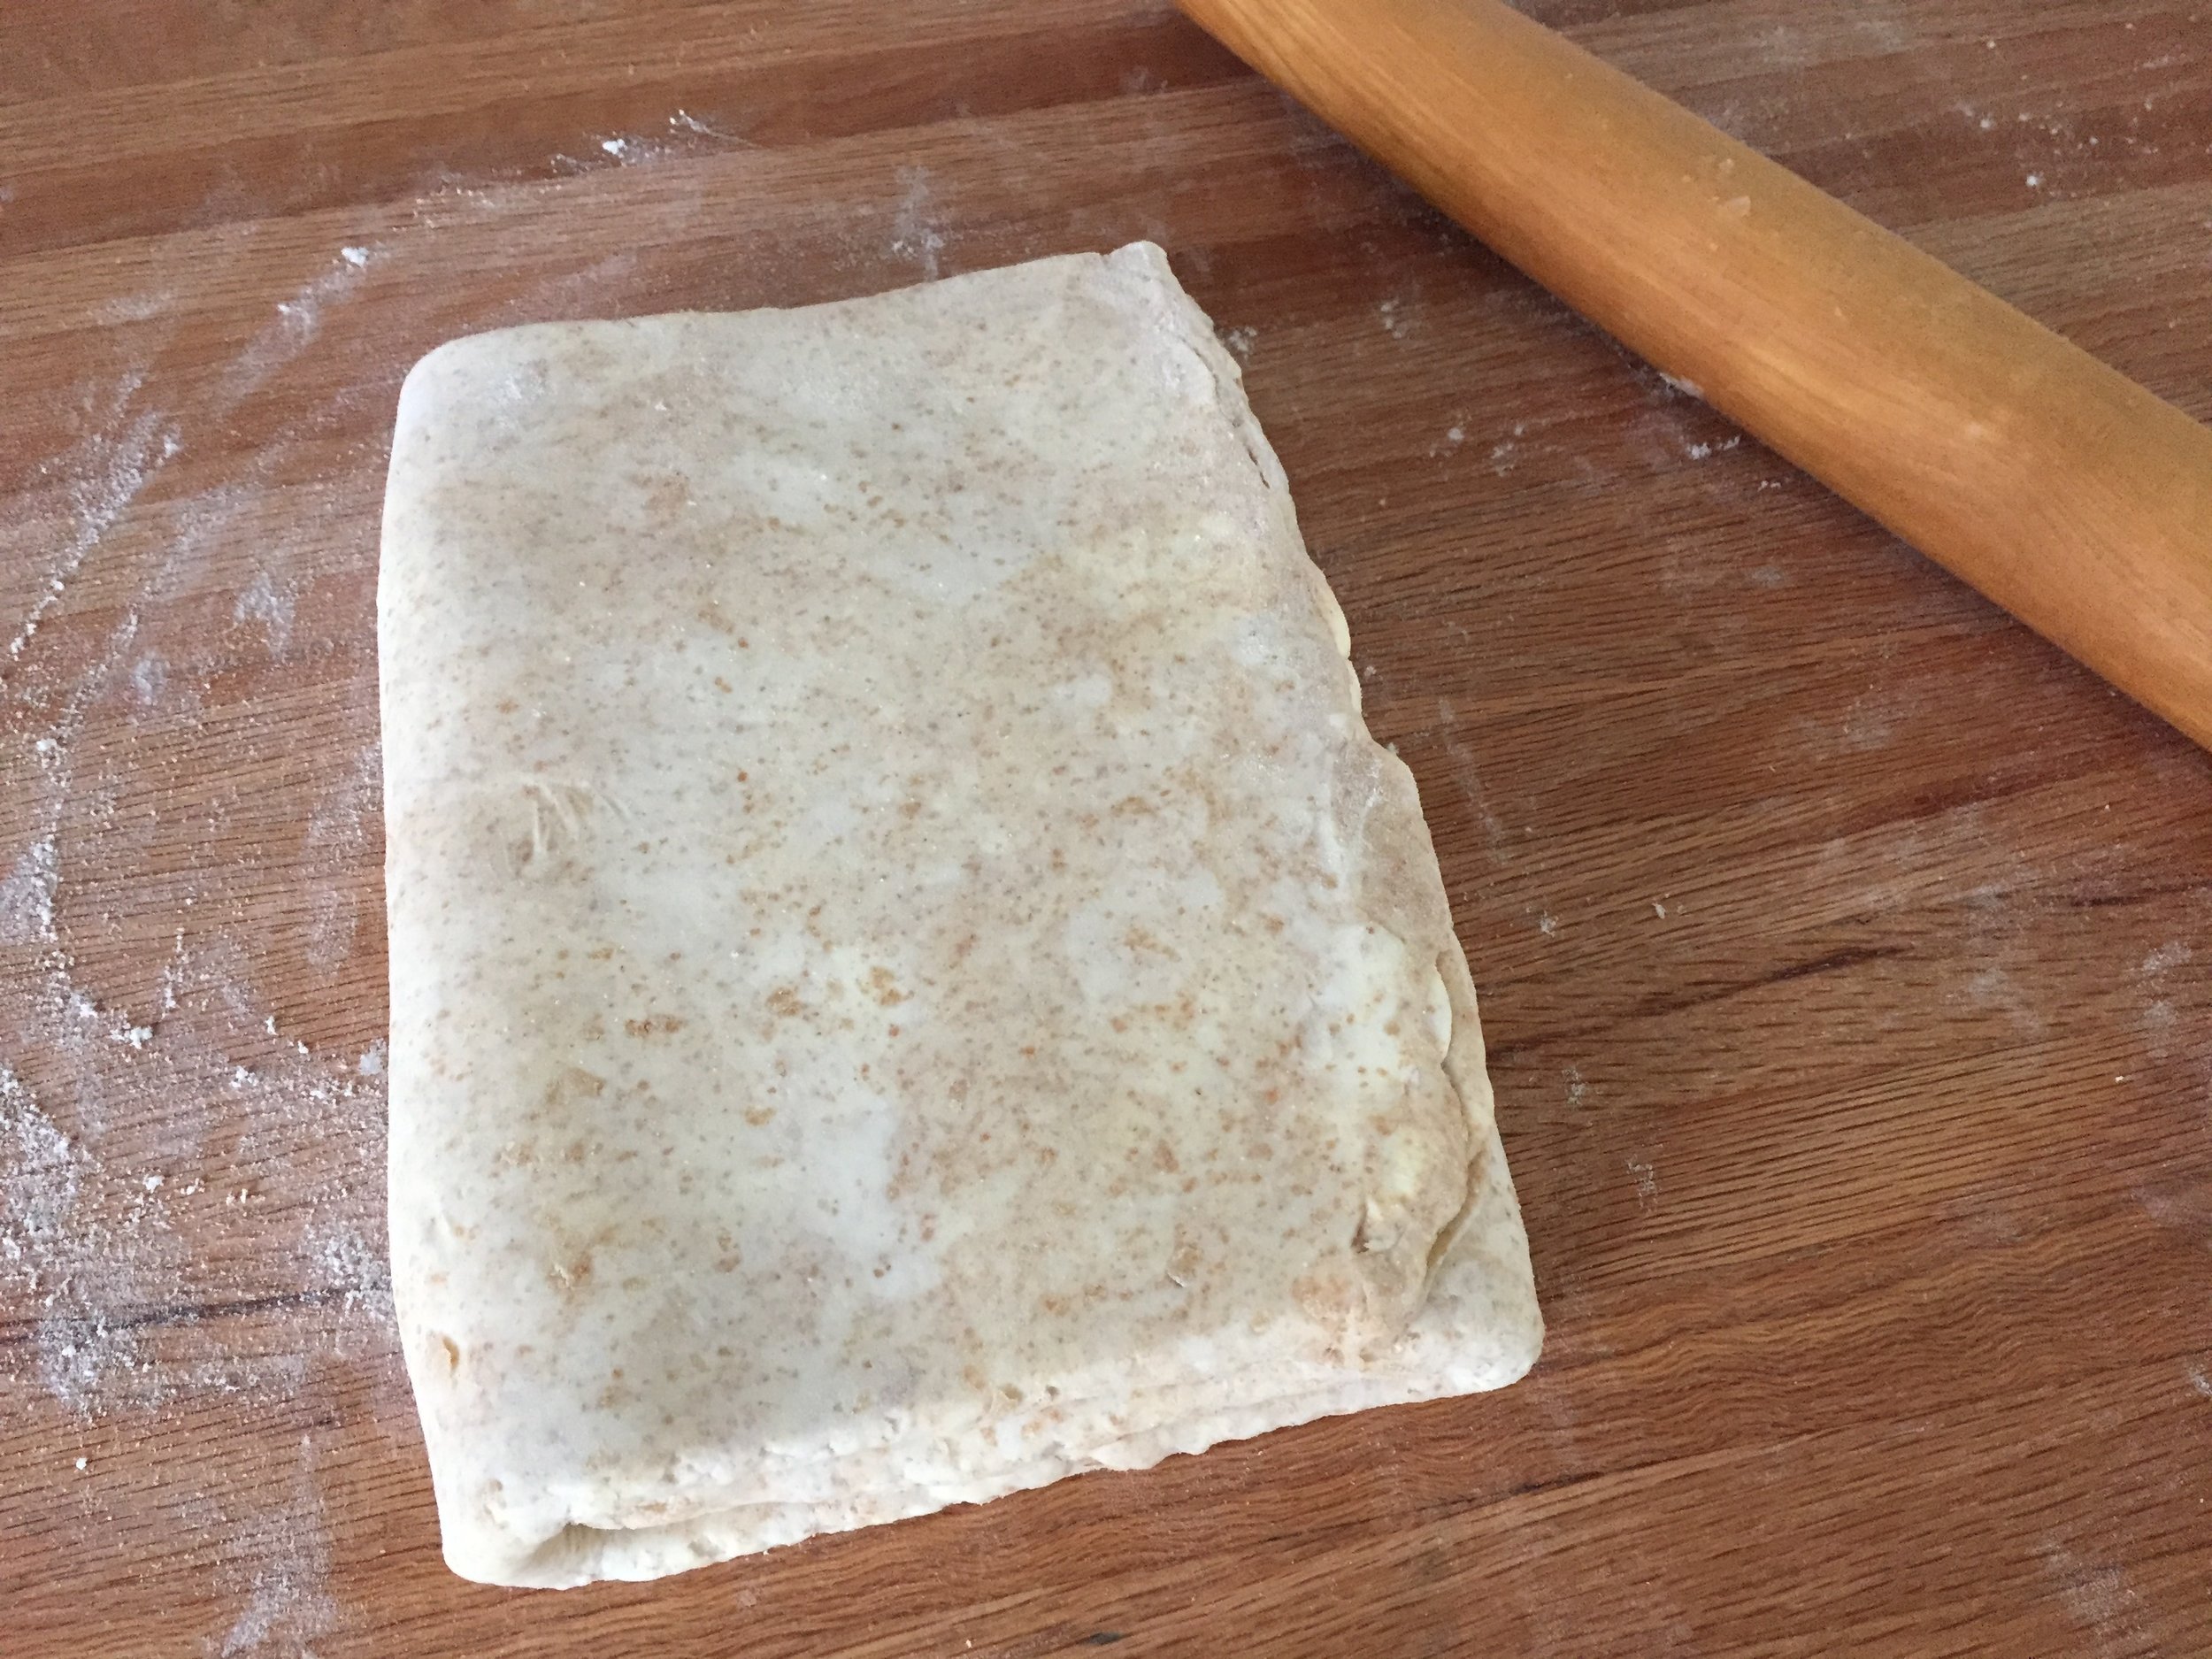
The process with quick or rough puff pastry is simply to cube up the butter, "sand" it into the flour and salt, add the water and then turn it out onto a work surface to form it into a rough, crumbly rectangle. It eliminates the steps required in classic puff pastry of creating the butter block and enveloping it in the dètrempe before proceeding with the folds.
You put the crumbly rectangle through three 3-folds, during which it starts becoming a cohesive dough. Let it rest wrapped in the fridge for 30 minutes or so and repeat three more 3-folds. Give it an hour rest in the fridge and you're ready to go.
My plan was to make a half recipe and analyze the result. I went with a version using a higher ratio of butter to flour, along with a little less water than a classic puff.
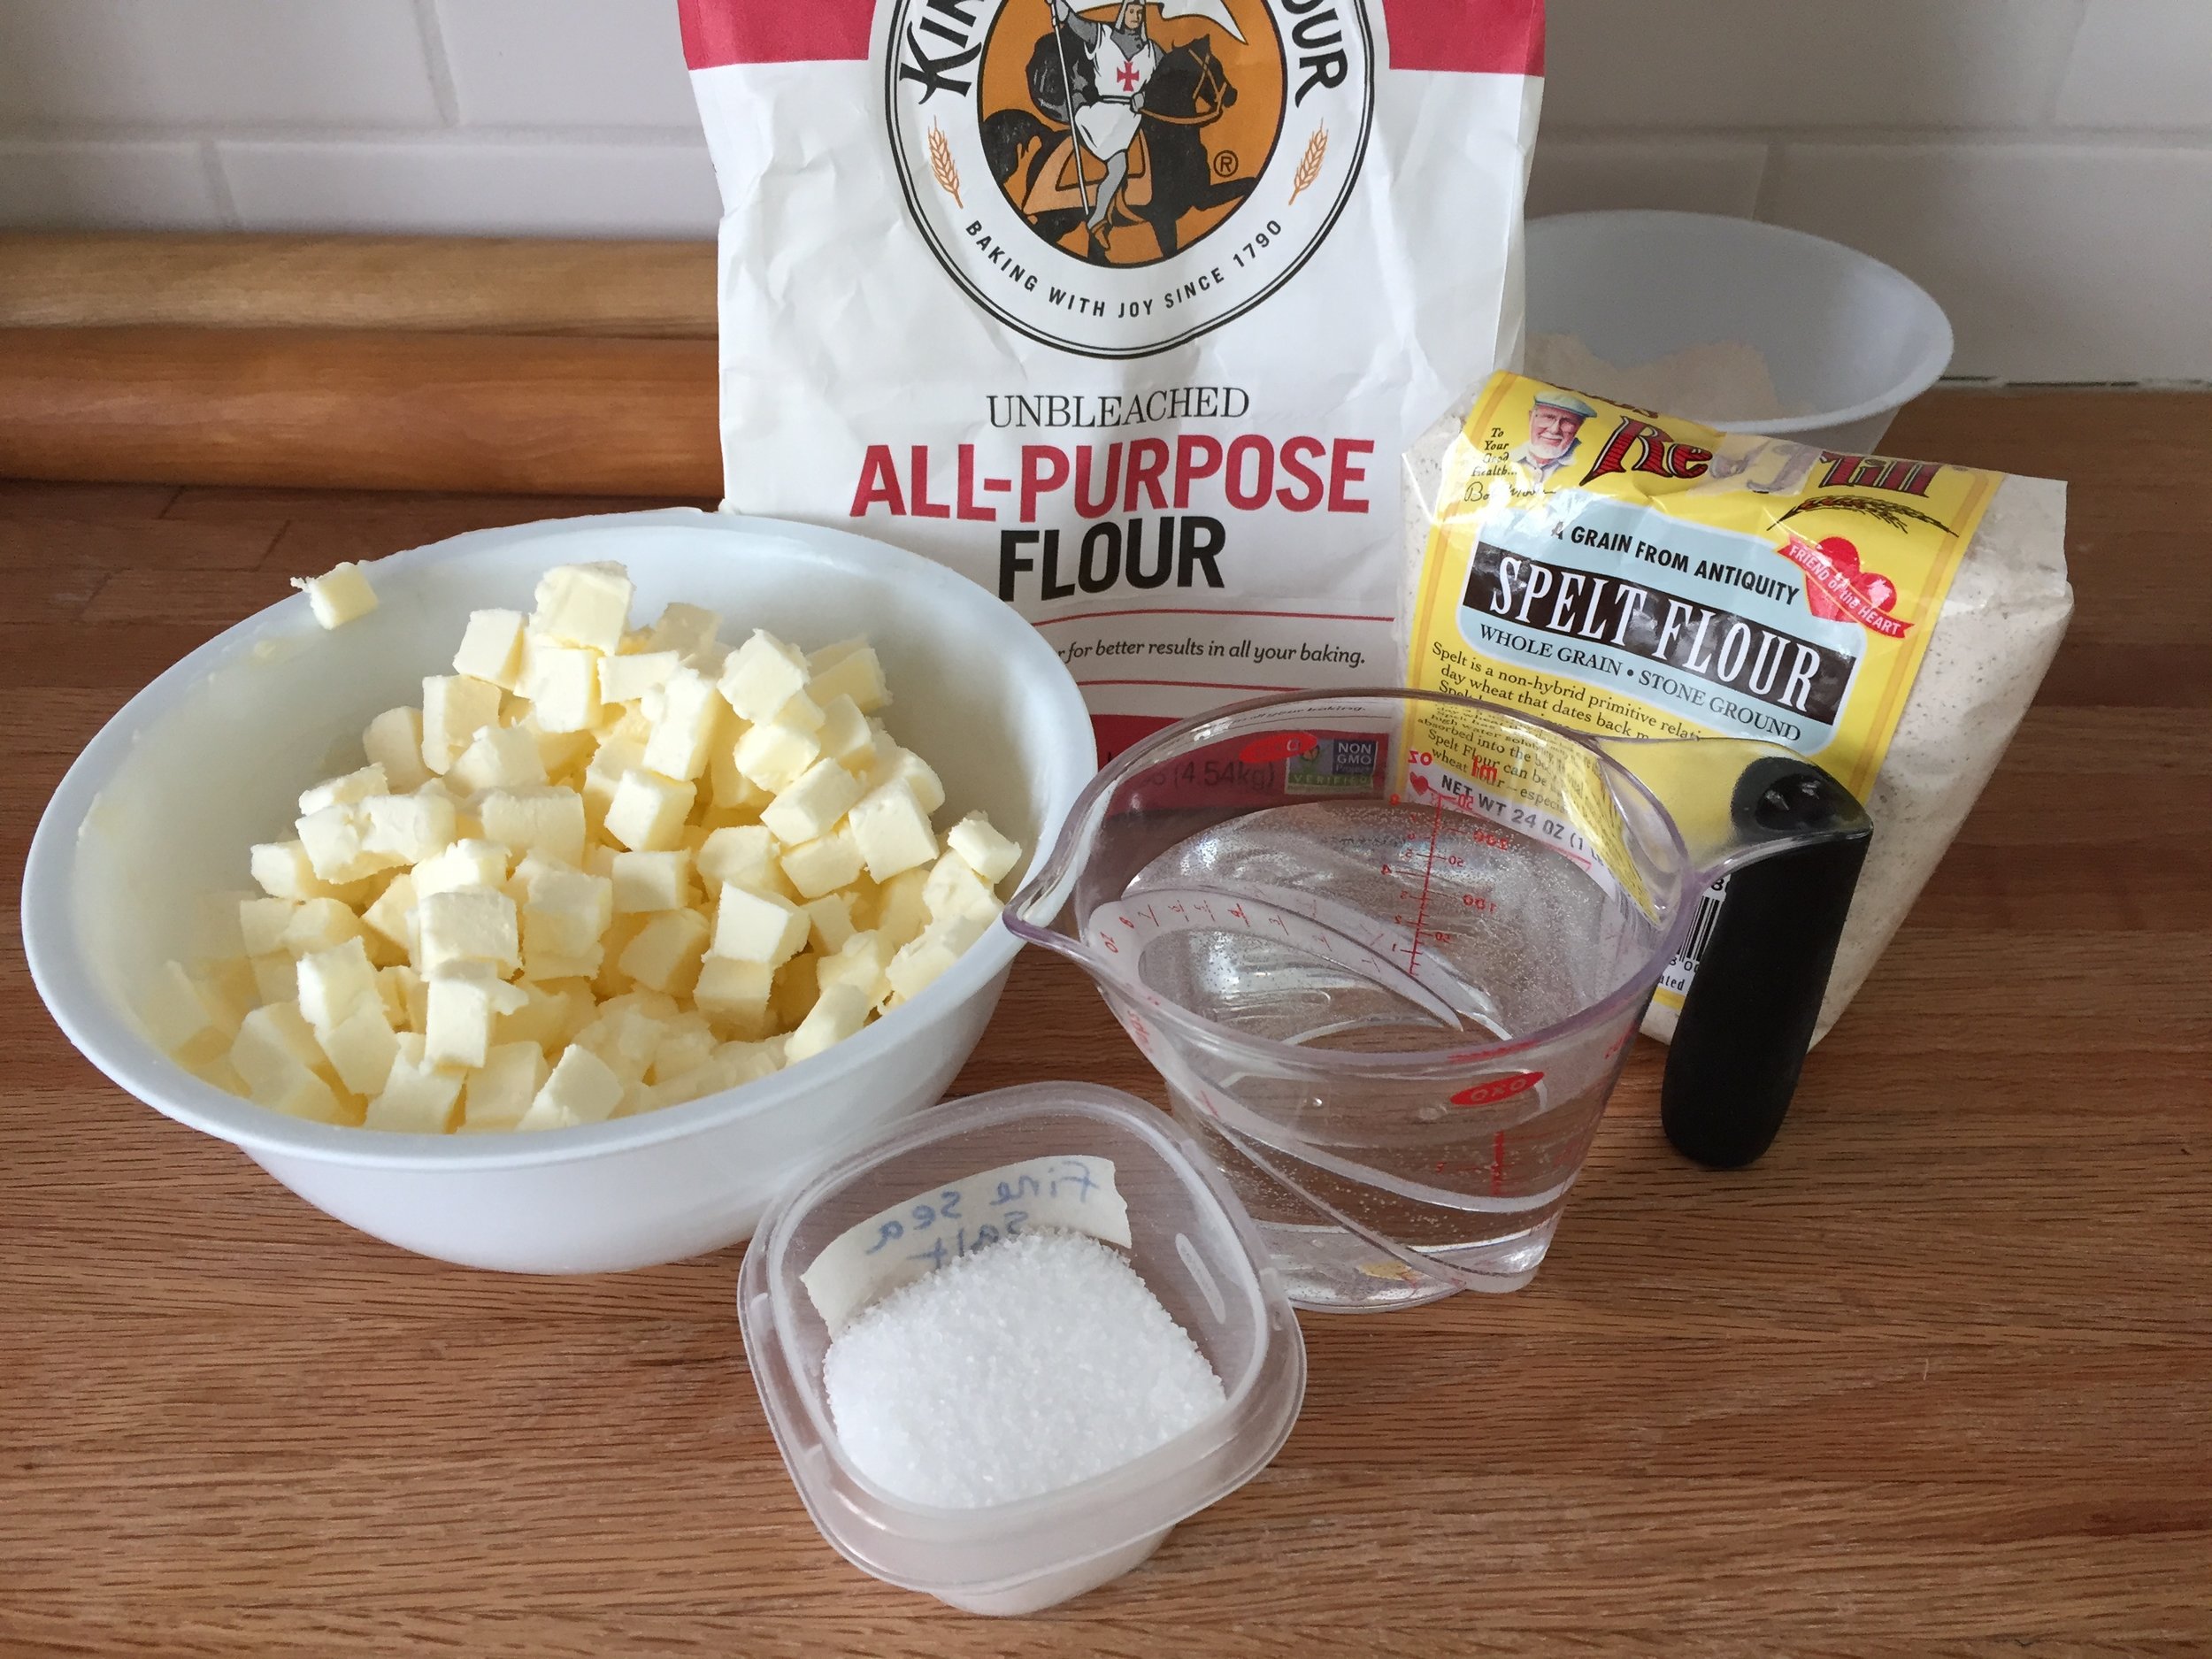
My half recipe called for 320 g cold unsalted butter, 140 g all purpose flour, 145 g spelt flour, 1 teaspoon salt and 120 ml cold water. So, as a conscientious pastry chef will do, I weighed everything out, cubed up my butter and prepared to make my dough.
Into the mixer bowl go the flours, salt and cubed butter which are mixed until the butter begins to break up into smaller pieces. Add the water and mix briefly to incorporate with a resulting crumbly concoction.
OH NO!! Too much water. In my attempts at weighing precision, I neglected to reduce the water in the full recipe by half and in went the FULL amount. As soon as I added it, I realized what I had done. What was supposed to be a crumbly mixture was wet indeed. What to do? Regroup, of course.
I weighed out an additional 140 g all purpose and 145 g spelt flour, blended it in to my wet mixture and turned out the now crumbly dough onto my work surface, forming a rough rectangle. Essentially I moved up from my intended half recipe to a full one.
I then cubed up another 320 g butter, started the first 3-fold, putting a portion of the butter on a third of my rectangle which I then enclosed by finishing the fold. Are you confused yet?

After the first 3-fold was completed I distributed the remaining butter on top of it.

I pressed the butter into the dough then rolled it out and did my second 3-fold. I think this is going to work! Crumbly but OK.

You don't need to see every step, but, the good news is this dough came together very nicely with the ensuing folds. Amazing how dough can be transformed, isn't it?

I divided the finished dough into three pieces, wrapped them well and popped them into the freezer until I was ready to give the quick spelt puff a try.
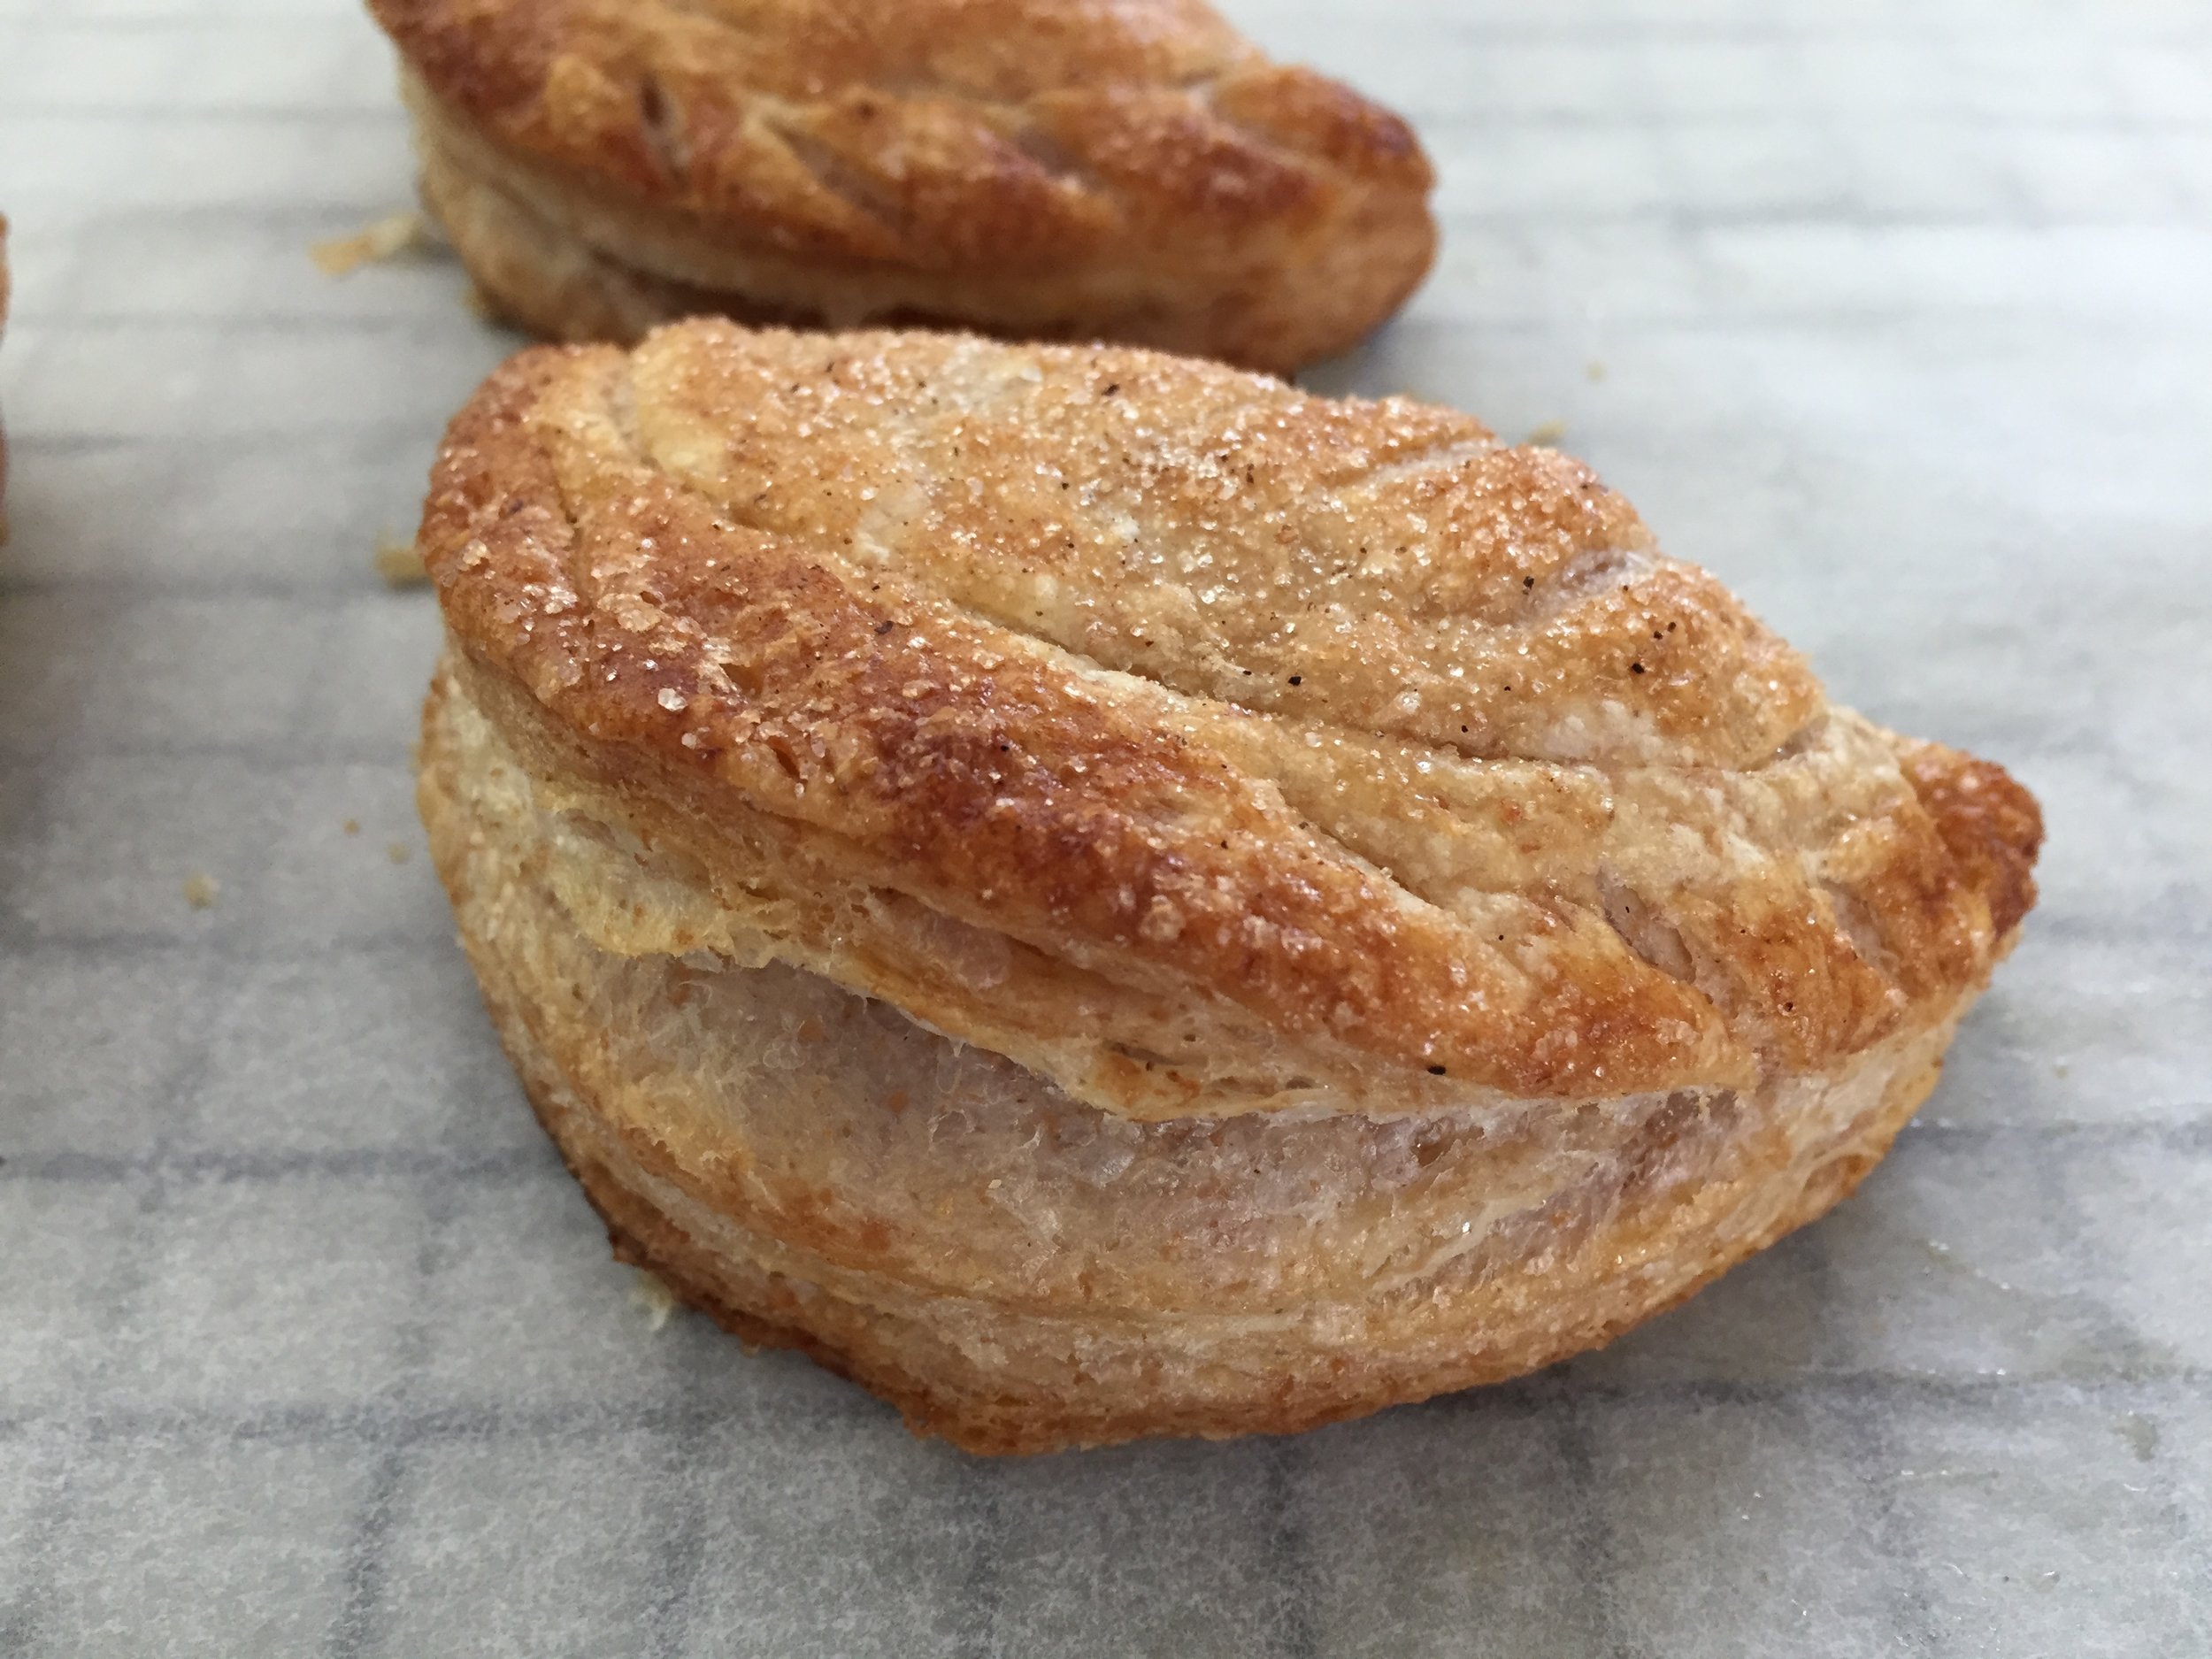
My first practice session with this dough involved chausson aux pommes and a simple blind baked tartlet shell, just to see how it would behave.
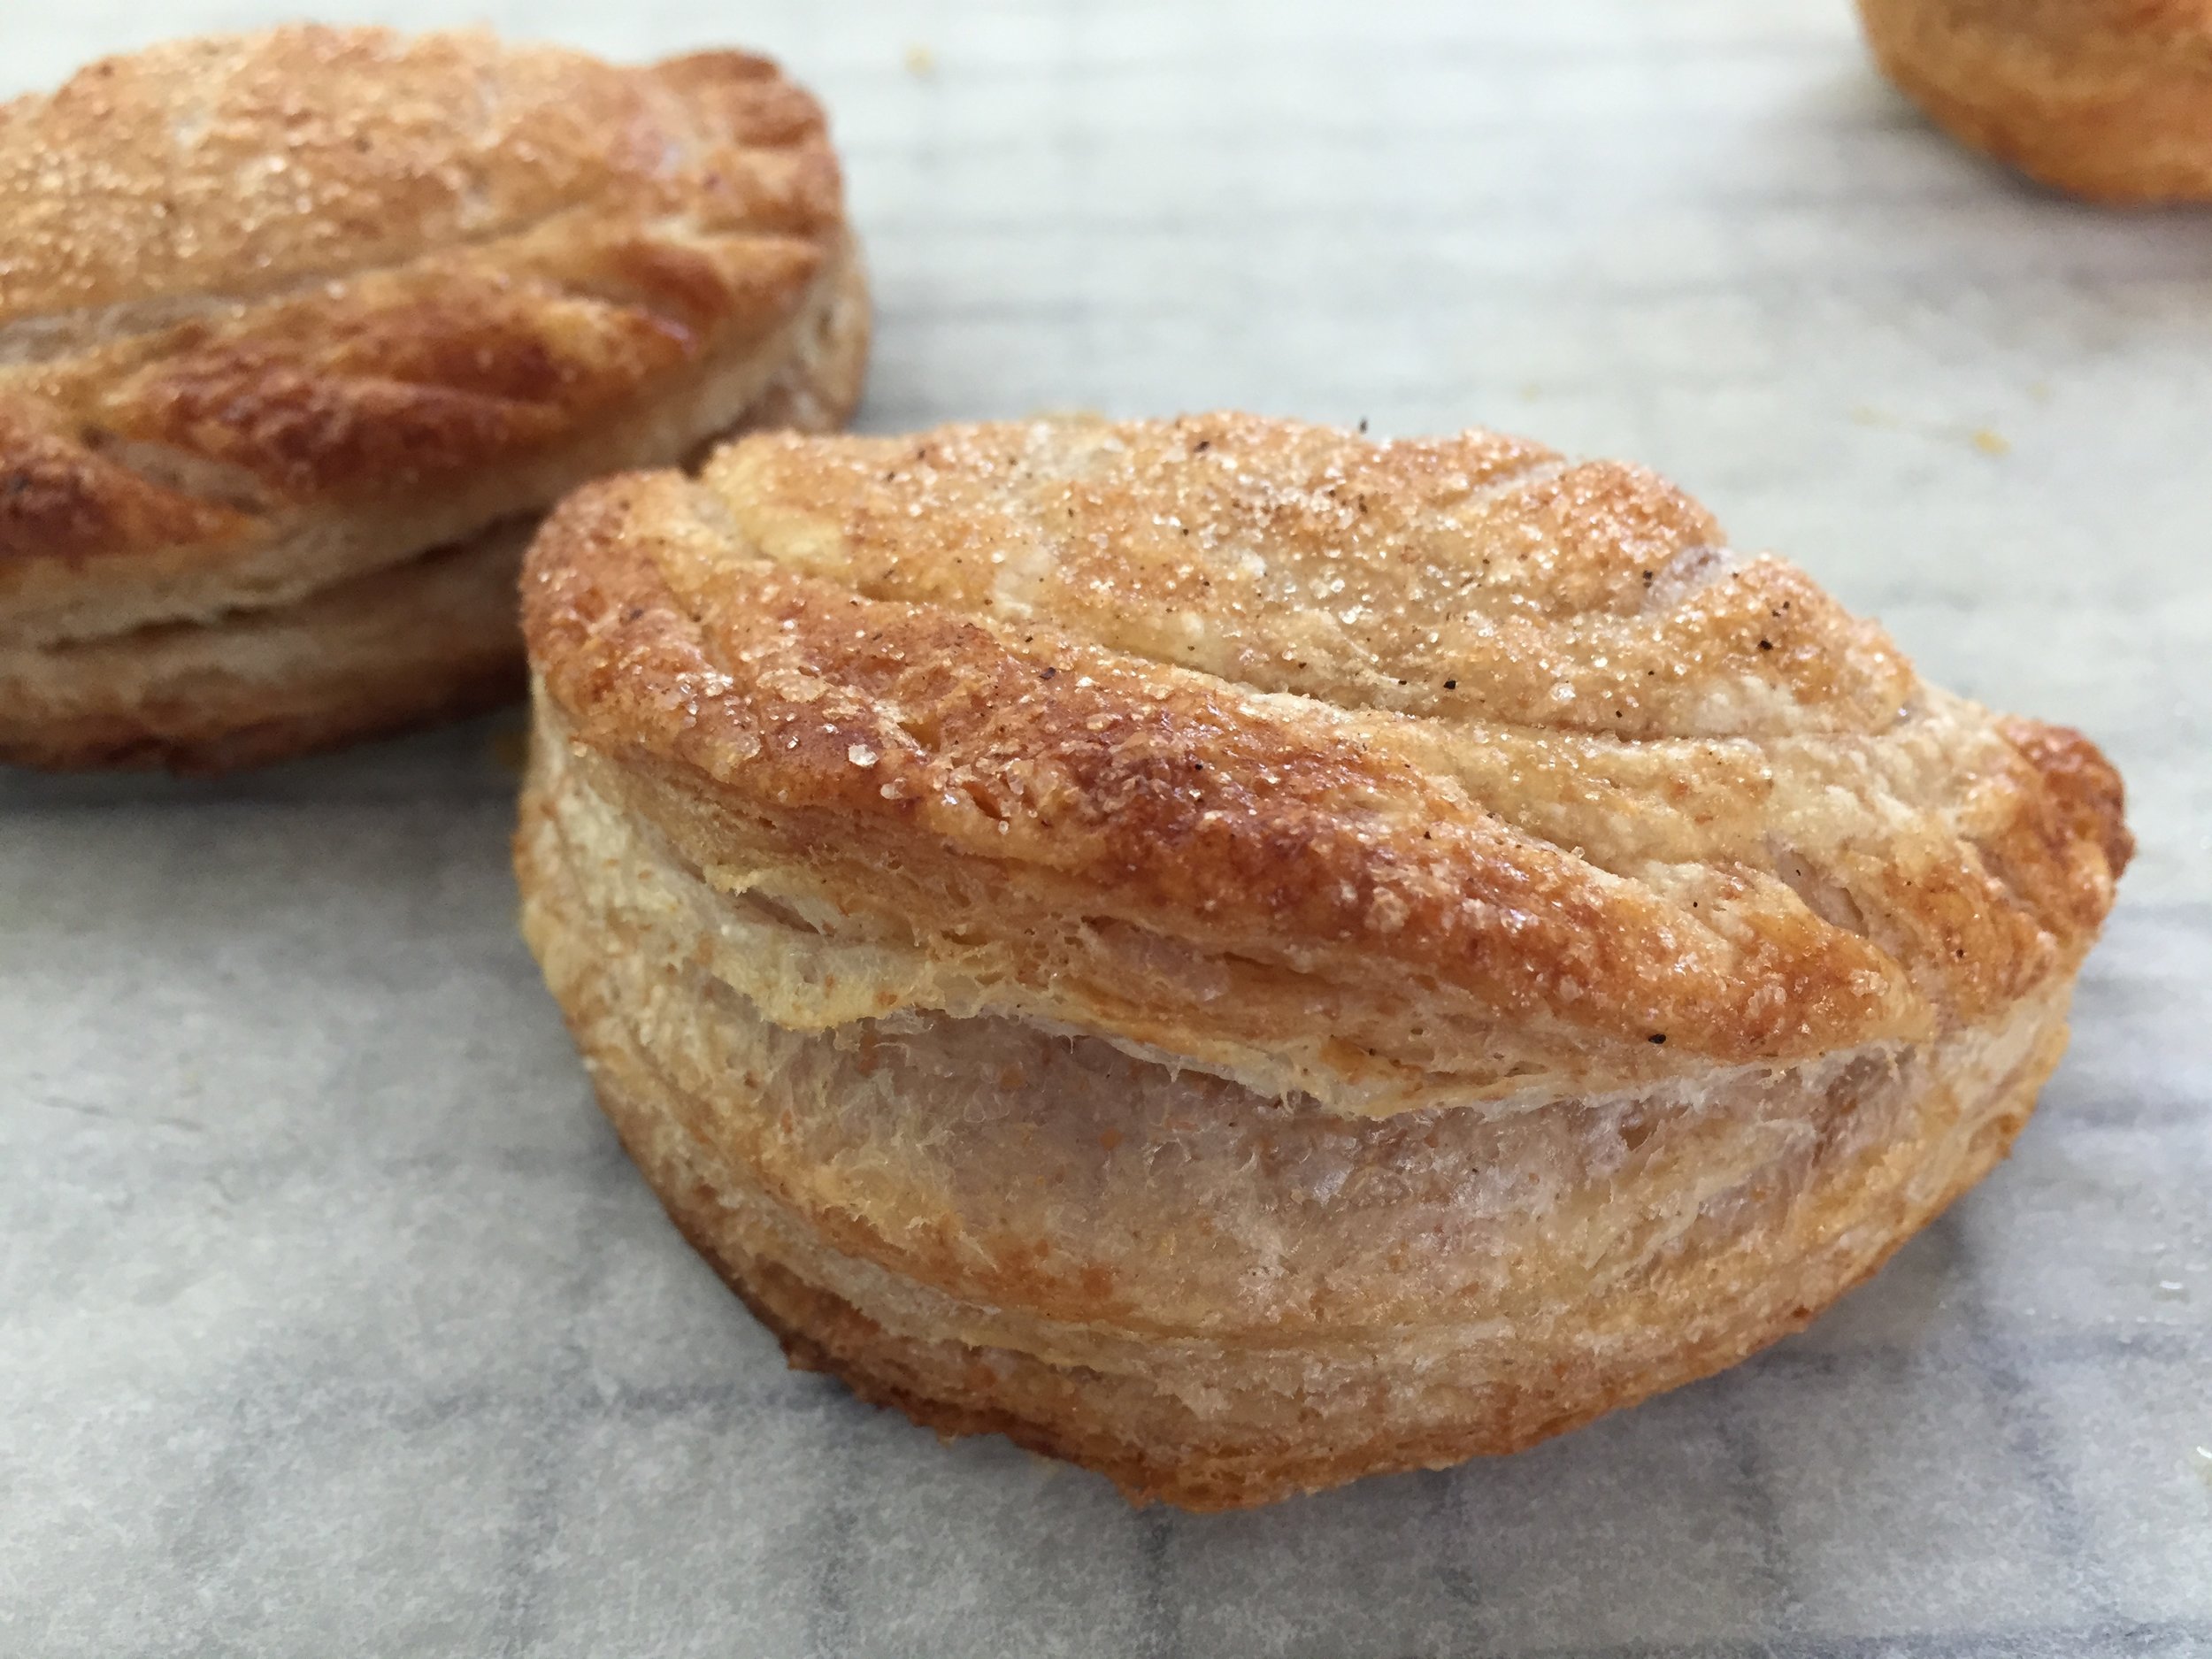


As you can see there's pretty good puffing going on here. The tartlet shell was really puffed up in the center, even though I pricked it all over with a fork and weighted it for most of the baking time. Once I removed the weights and finished the bake, it kept on a'puffing! What you see above is after I had pushed down the center layers to make room for a filling.
Although the chausson puffed up very nicely, I do have to admit that chausson made with reverse puff bake up oh so loverly, as the Brits would say. Witness that very thing in the photo below.
Isn't that just beautiful??
I truly enjoyed the flavor of the quick spelt puff - a bit more nutty and wheat-y than puff made with traditional all purpose flour. It's all about experimenting, eh?
The bottom line? Making mistakes is a great way to learn, and weighing ingredients is very helpful when having to correct those mistakes. Yes indeedy.
Quick puff is fun to make and has a very useful place in the pastry kitchen, particularly for things like tarts (both sweet and savory), quiches, turnovers and even cheese straws and palmiers. Go for it!
Here's the basic quick puff recipe (the FULL one!).
640 g cold, unsalted butter in 1/2 inch cubes
280 g all purpose flour
290 g spelt flour
2 teaspoons salt
240 ml cold water
1. Place the flours and salt in the bowl of a stand mixer with the paddle attachement
2. Add the butter and mix on low speed until the butter is coated and starting to break up into smaller pieces
3. Add the water and mix briefly to incorporate. The dough will be crumbly.
4. Turn the dough out onto a lightly floured work surface and form into a rectangle about an inch thick.
5. Use that wonderful bench scraper of yours to assist in performing a three-fold. Turn the dough 90 degrees and press it again into a one inch thick rectangle. Do another three fold, then repeat the steps one more time, giving you a dough with 3 three folds. As you go, it should start holding together more and more.
6. Wrap the dough in plastic wrap and chill for an hour.
7. Now with the help of your favorite rolling pin, roll the dough into a rectangle about 1/2" thick, do a three-fold, turn 90 degrees and repeat another one. Turn 90 degrees again and do the last three-fold. You'll now have a finished dough with a total of 6 three-folds.
8. Wrap in plastic wrap and chill an hour before using. You may also wrap and freeze it for later use.
Now get into that kitchen of yours and play!

