
Late summer veggie focaccia
/
This is what I’m talking about - sweet corn, tomatoes and a delectable focaccia for summer perfection on a sheet pan. Yes!
Even though it’s officially autumn on the calendar, there’s still time to reap summer’s bounty. As a matter of fact, Steve and I have amassed a wonderful stash of sweet corn in the freezer for fall and winter soups, chowders, frittatas, baked corn pudding, cheesy corn muffins and more.
I simply had to give this one a go. Based on the recipe from Melissa Weller’s “A Good Bake”, it’s focaccia with an interesting twist. Whipped cream! Can you believe it??
I’ll go through the steps with you so as to share my experience with the process. If you’re a fan of very detail oriented recipes/instructions, you should put Melissa’s book on your list.
You’ve got the basics of bread making here - flour, water, yeast, salt - put together using my favorite poolish approach.
Make the poolish (blend 120 g bread flour, 1/2 cup room temp water, 1/16 teaspoon instant yeast in a bowl and cover) the evening before so it sits at room temperature overnight for about 12 hours as it “pre”-ferments. You see it below in its bubbly goodness. Let’s hear it for planning ahead, eh?

To make the final dough place 313 g room temperature (70-75ºF) water in the bowl of a stand mixer and add the poolish and 450 g all purpose flour. Mix with the dough hook on low speed for 2-3 minutes. Remove the bowl from the mixer, place a teaspoon/3 g instant yeast and 12 g fine sea salt separately on top of the dough and let sit uncovered for 30 minutes. This allows the dough to autolyse (flour and water have a chance to start developing gluten before introducing the salt and yeast to the mix).
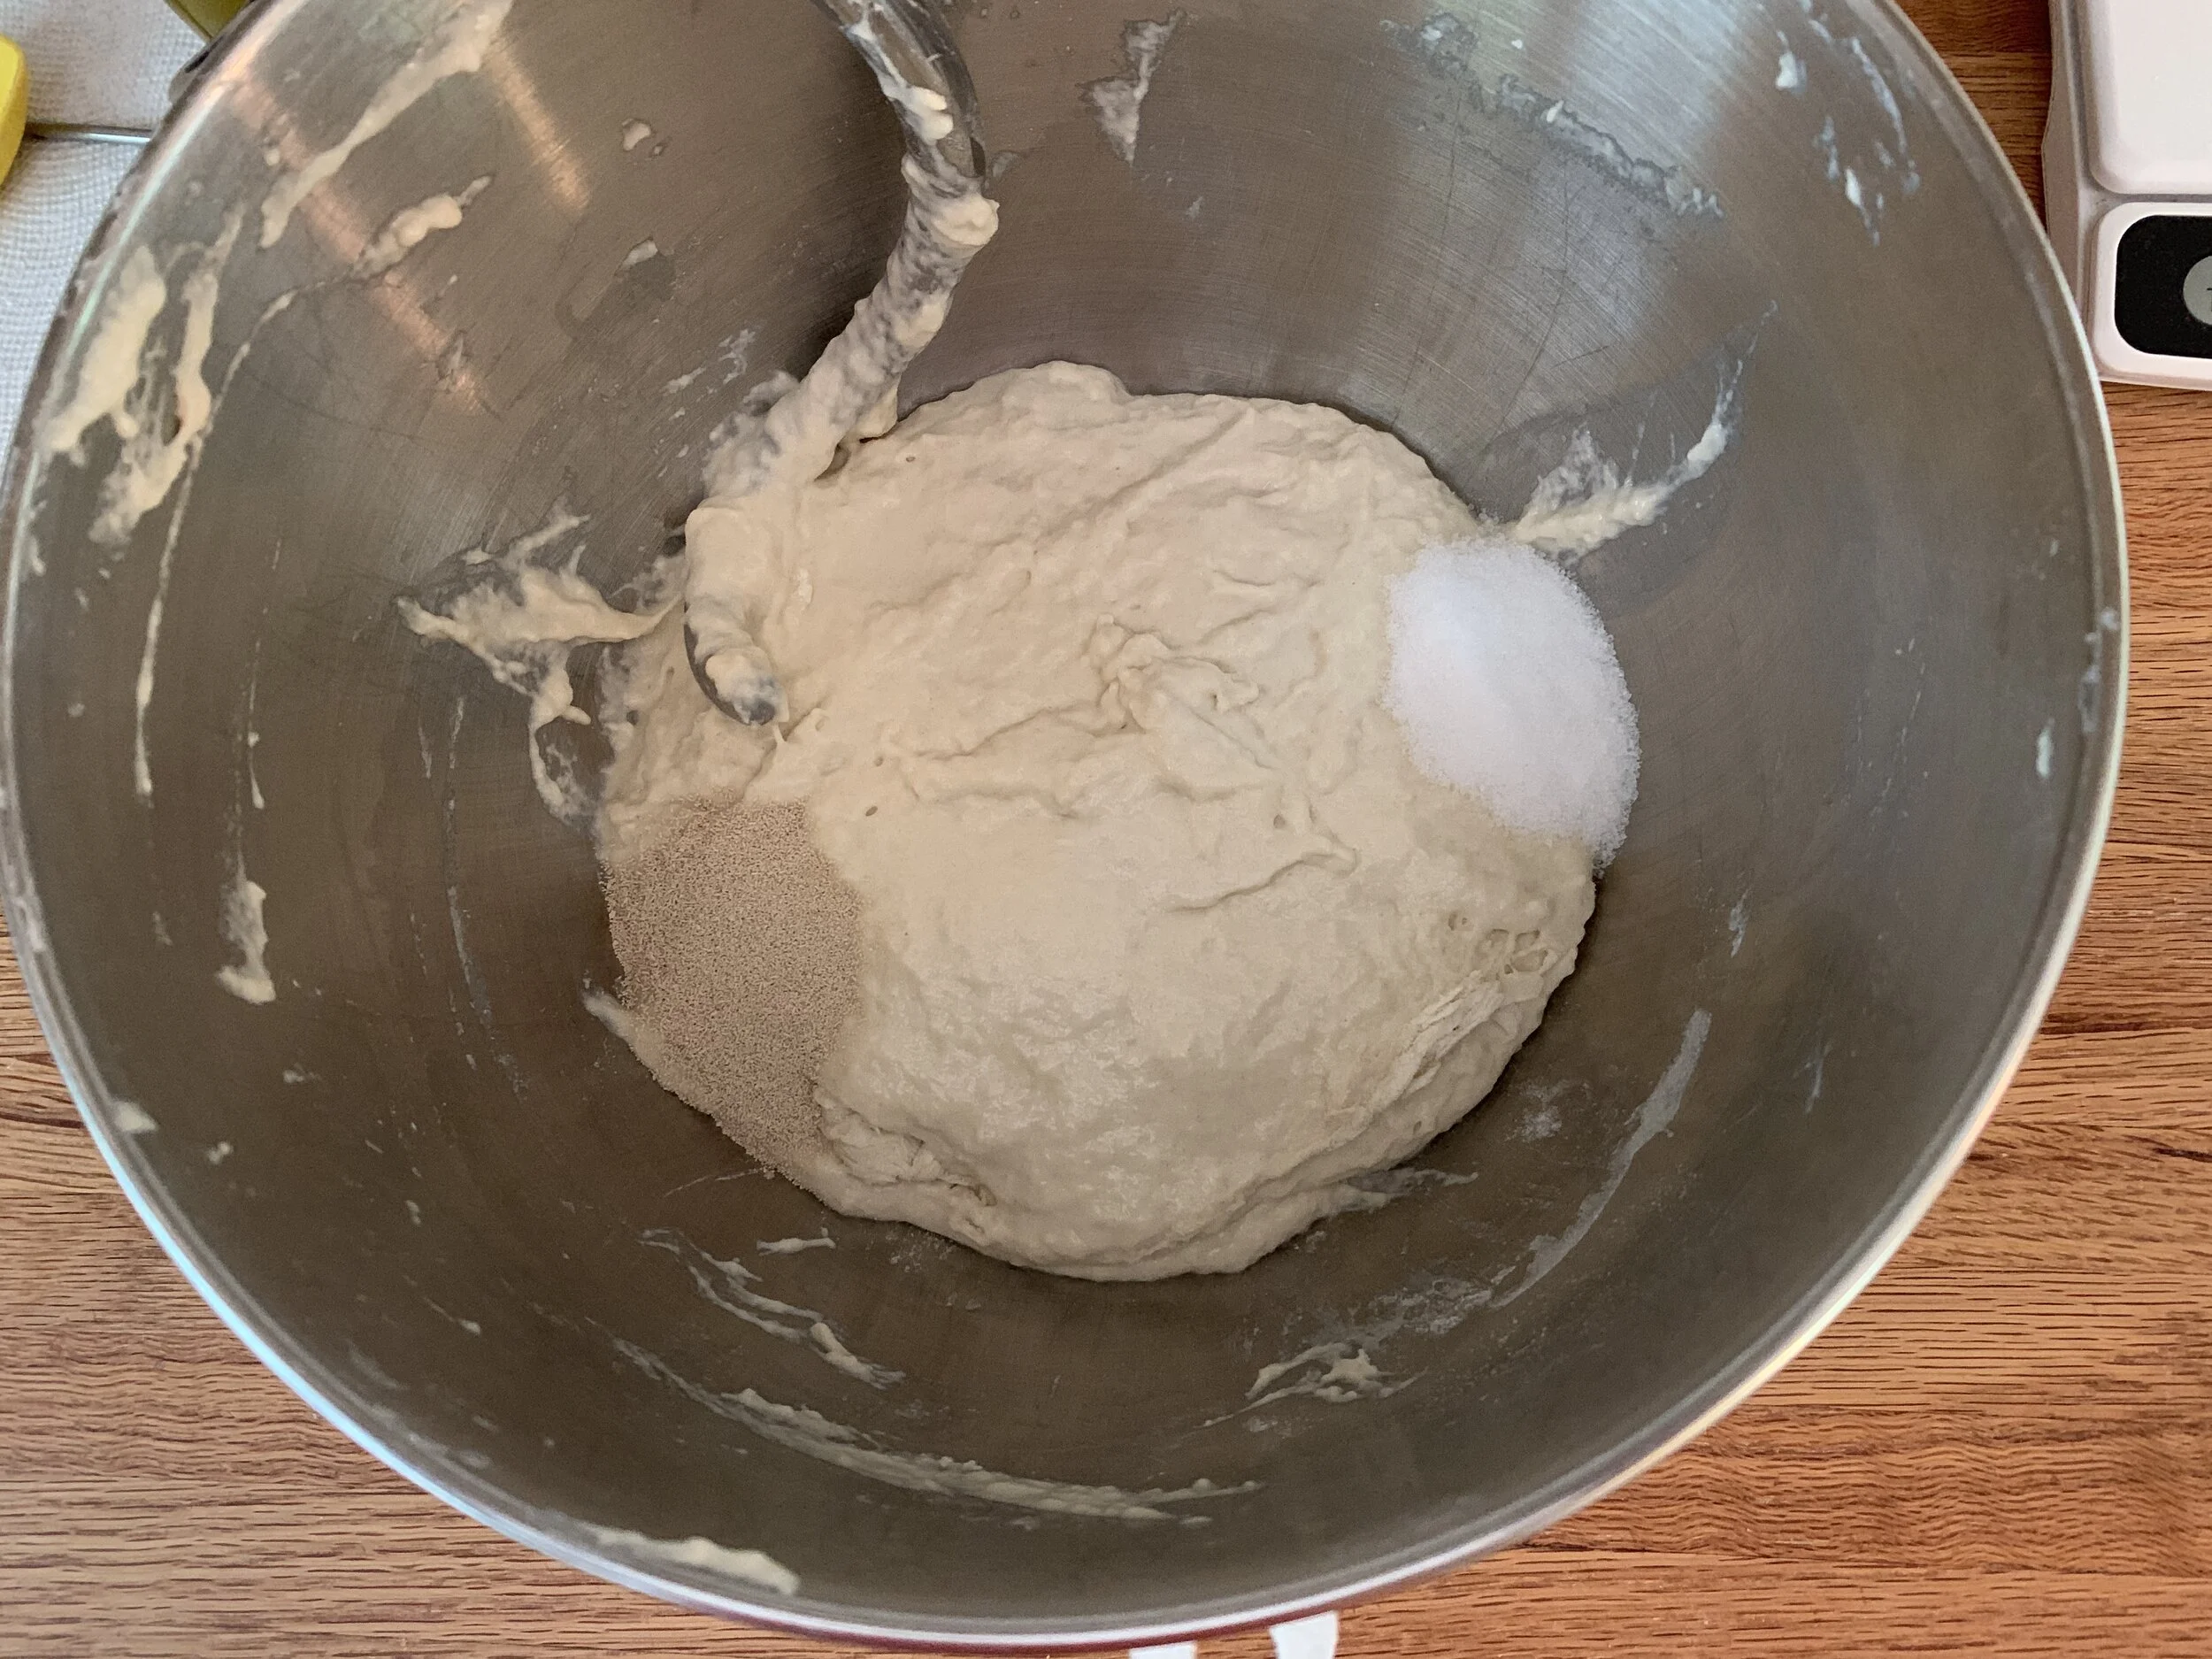
Autolyse step
Return to the stand mixer with the dough hook, mix on low speed for a couple of minutes then increase to medium speed for three minutes. Remove the dough hook and bowl from the stand, cover the bowl with plastic wrap and let ferment for 2 hours. Turn once half way through.
The following images give you a sense of what’s happening.

Dough at the end of mixing

The one hour mark

End of bulk fermentation
Focaccia tends to be what I call a rough and tumble sort of dough - I think you can appreciate that in the photos above.
Now it’s time to pan it up! Have a half sheet pan on hand, pour 75 g (5-6 tablespoons) extra-virgin olive oil into it and spread it around evenly with your hands. Another thing about focaccia - LOTS of olive oil!!
Using a bowl scraper, scrape the dough onto the sheet pan in a pile and coat it with oil. Let it rest 20 minutes then proceed with stretching and dimpling it with your fingertips to work it into the corners and edges. It’s fun!
It will start to spring back so give it another 20 minute rest.

First stretch and dimple
Finish stretching and dimpling to get the dough into the corners of the pan. Now set it aside to proof about 45 minutes.

Ready to top!
Heat the oven to 425ºF. Meanwhile whip 3/4 cup heavy cream to stiff peaks, dollop it onto the dough and gently spread it with an offset spatula.

Cream dolloped

Cream spread - oh boy!!
Let’s assume that any health benefits from the olive oil are pretty much erased by the whipped cream. You gotta live, right?
To top - a pint of small, sweet variety tomatoes, halved and placed over the cream . . . . . .

then sprinkle on the kernels cut off of one ear of corn . . . . . .

then sprinkle with 1 1/2 teaspoons flaky sea salt, chopped fresh or dried herbs of choice (we use a salt free pizza seasoning mix) and 1/3 cup grated Pecorino Romano.

Bake 30-35 minutes until golden brown, rotating the sheet pan 1/2 way through. Remove the focaccia with a large spatula onto a cooling rack.
I’m here to tell you that even with all of that olive oil, there can be some sticking so use some elbow grease and determination if needed to do the deed. I ended up cutting it in the pan and getting the pieces out without too much trouble with the help of my trusty spatula.
We were so eager to try it that I forgot to snap a picture just out of the oven. Oh well.

This is good stuff! Just the right thickness, chewy and superb with the fresh veggies. We enjoyed it with a simple green salad and cut the rest (save for two pieces) to freeze for later.
The next day for lunch we warmed those two pieces up with an egg on top - about 20-25 minutes in a 350 oven to set the egg then a short broil to lend just the right crunch. Delicious!

Enjoy autumn everyone. It’s my favorite time of year, and I hope you love it too!

Roadside asters
