French Tarte Faves (FTF) No. 2: pots de crème
/OK! My first FT FAVE post was on financiers in early June. Next up - pots de crème!
Custards have been one of my favorite things since as far back as I can remember. Back in the 50s and 60s, as more and more foods became available in “convenient” form, Mom glommed onto Jello brand pudding mixes, making the stovetop-cooked versions which were WAY better than the instant variety that came later. Vanilla still warm, topped with chocolate chips so they got all melty; butterscotch with chopped walnuts; chocolate with mini marshmallows. Oh those were the days. I would always snag one of my sibs portions (thanks Joybell for not liking pudding!) for an extra treat.
As I contemplate which FTFs I’d like to post about, I realize that I’ve covered many of them over the years in some way, shape or form. I see it as my chance to review and share a bit more about them as I update recipes and links (which believe me is no small task!).
This particular topic begs to include a discussion of custards in general but that becomes a bit overwhelming. I did write up a mini primer on custards that will give you a sense of the range that ingredient portions can take and how you can adjust them.
The custards I make most commonly are crème anglaise for ice cream bases; crème pâtissière as filling for profiteroles and tartes (or blending with crème d’amandes for frangipane - think galette des rois) and this post’s (and my!) particular fave, pots de crème. Think Jello pudding a thousand times better.
Briefly: the first two custards mentioned above are stove topped cooked versions, the primary difference being that crème pat (as the Brits call it) contains a thickener like flour or cornstarch (or a blend of both) and is brought to a boil to thicken/cook it. Crème anglaise on the other hand contains only egg yolk, dairy and sugar and is cooked to the nappe stage (thick enough to coat the back of a spoon), not boiled ‘cuz the eggs will cook and curdle. My standard ice cream base is a version of crème anglaise - flavor variations are endless as you can see here.
Even on hot summer days, working in the cooler morning hours, one can whip up pots de crème in a low oven and have them ready for a dessert treat that evening. Even better - they keep for several days in the fridge!
My favorite pots de crème are chocolate, maple, butterscotch, cappuccino and lemon (links are to each recipe).
The header image is the maple version (recipe compliments of Sur La Table) which I adorned with maple walnut shortbread, Chantilly and toasted, chopped walnuts. Love it! Truth be told, the garnishing is half the fun. It doesn’t have to be fancy, no sirree. Fresh berries and a favorite crumble will do the trick.
Petite lemon pots
The steps of preparation are essentially the same for all recipes but I’ll talk a bit about a couple of variations that add that certain something to the end result. I don’t want to bore you with too much detail, but I’ll also provide a few process pictures.
Below is prep for the butterscotch version which starts by making an easy “caramel”: melt 56 g / 2 ounces unsalted butter in a medium saucepan then blend in 200 g / 1 cup brown sugar, one cup of heavy cream and a tablespoon of vanilla extract or vanilla bean paste until smooth. That step can be done a bit ahead and the mixture set aside. You’ll blend three more cups of heavy cream and 1/2 teaspoon salt into it and bring it to a simmer on medium heat.
Once I have my dairy/sugar mixture heating up, I separate my eggs as close to the tempering step as possible - that way they don’t sit too long and get shriveled. In this case the yolks are kept separate but note that some recipes have you whisk half of the sugar with the dairy and half with the egg yolks before the tempering step. In that case, whisk the yolk/sugar mixture thoroughly and aggressively until it becomes pale and thicker. If you let yolks and sugar just sit, the sugar can “burn” the yolks and they’ll get all grainy.
Preparing butterscotch pots de crème
When I first made butterscotch pots, I used a mix of 660 ml / 2.75 cups heavy cream and 300 ml / 1.25 cups milk. The end result wasn’t as thick as I like but the flavor was superb. And I saved some of the base, chilled it for a day or two in the fridge then processed into a most delicious ice cream. Yum! NOTE: the recipe link gives you an ALL cream version for pots de crème. If you want to make it into ice cream, use the cream/milk mix.
Butterscotch pots - too loosey goosey for me!
Here’s a lemon version so creamy and tart. The twist here is, rather than replacing a portion of dairy with freshly squeezed lemon juice and adding lemon zest, this one involves reducing a lemon zested simple syrup that is ultimately added to the custard at the end. A nice punch of flavor.
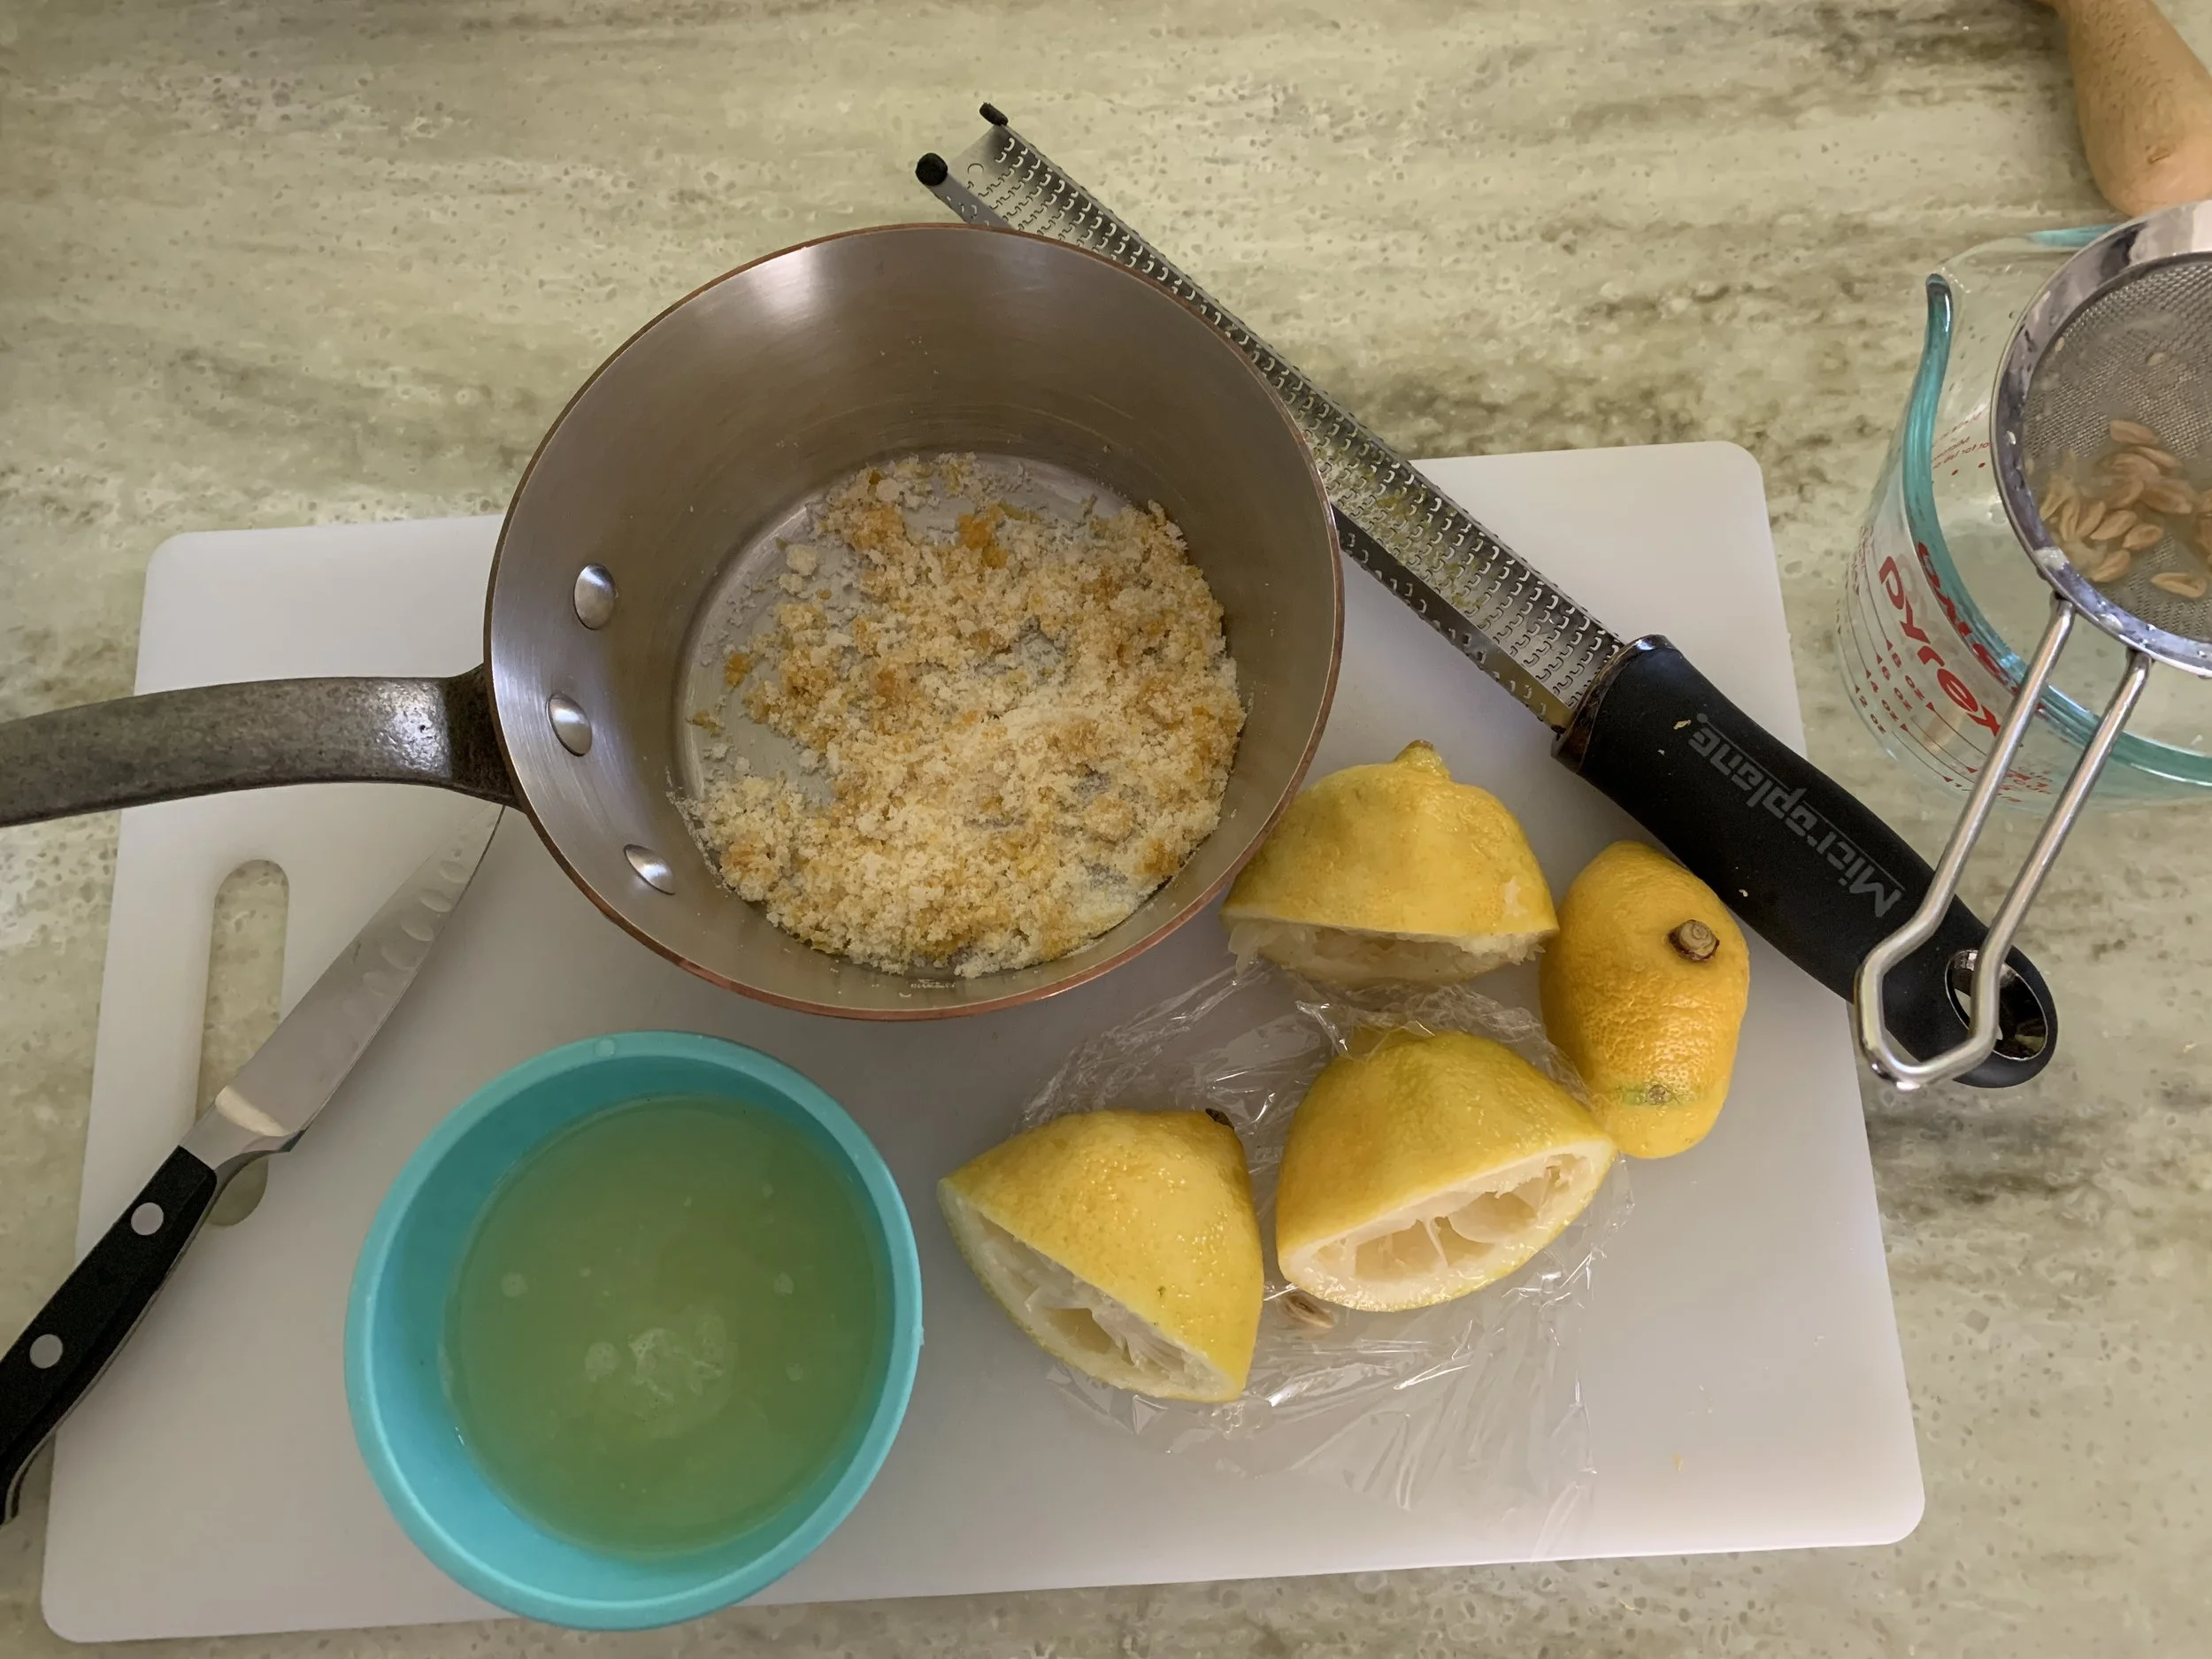
For the syrup you zest a couple of medium to large lemons and rub the zest into 50 g / 1/4 cup sugar; then squeeze yourself 180 ml / 3/4 cup fresh lemon juice and blend it all together.
Mise for lemon simple syrup
Bring to a boil then reduce the heat and continue on a low boil to reduce down to 1/2 cup, stirring periodically.
Coming along nicely
Then you’ll follow along with the base recipe, blending in the reduced simple syrup at the end.
I typically bake my pots at 325º F conventional OR 300ºF convection. Both work although total baking times vary.
Carefully fill the ramekins to about 1/4” below the rim.
Ramekins just filled and ready for the oven
Pour hot water into the baking dish until it reaches half way up the ramekins. No splashing!!
Cover loosely with foil and bake 35-45 minutes. Some pots take longer - I usually check things at about 25 minutes then continue checking until the edges are set and there’s a quarter size jiggly circle in the center. Remember - every oven is different!
Carefully lift the ramekins out of the water bath and place on a wire grid.
Just out of the oven, cooling
Once the custards have cooled to room temperature, chill them in the fridge for several hours. If not serving that day, cover with plastic wrap, keep refrigerated and enjoy over the next several days. So delicious!
I haven’t made the cappuccino version for awhile but looking back over my recipes, I found a note from way back in May of 2010 when I made a batch for a dinner gathering. I wasn’t taking photos of my stuff back then (Steve was my official pastry photographer). I garnished that one with almond nougatine and Chantilly cream. Basically you could add instant espresso powder to any base - hmmmm, should be good in butterscotch or chocolate or maybe even maple.
Chocolate is the flavor I make most often. Check out this post from early pandemic days (6/22/20) where I describe the steps and also create a frozen treat from the same base. Cool!
Enough of all that! I hope I’ve given you an understandable summary and some good recipe variations for you to try. Be creative with your garnishing and have fun with it.
Lemon/chantilly/raspberries with financier on the side
It’s September and baking season is comin’ at ya!
Wild grapes


