Puttering in the kitchen in August

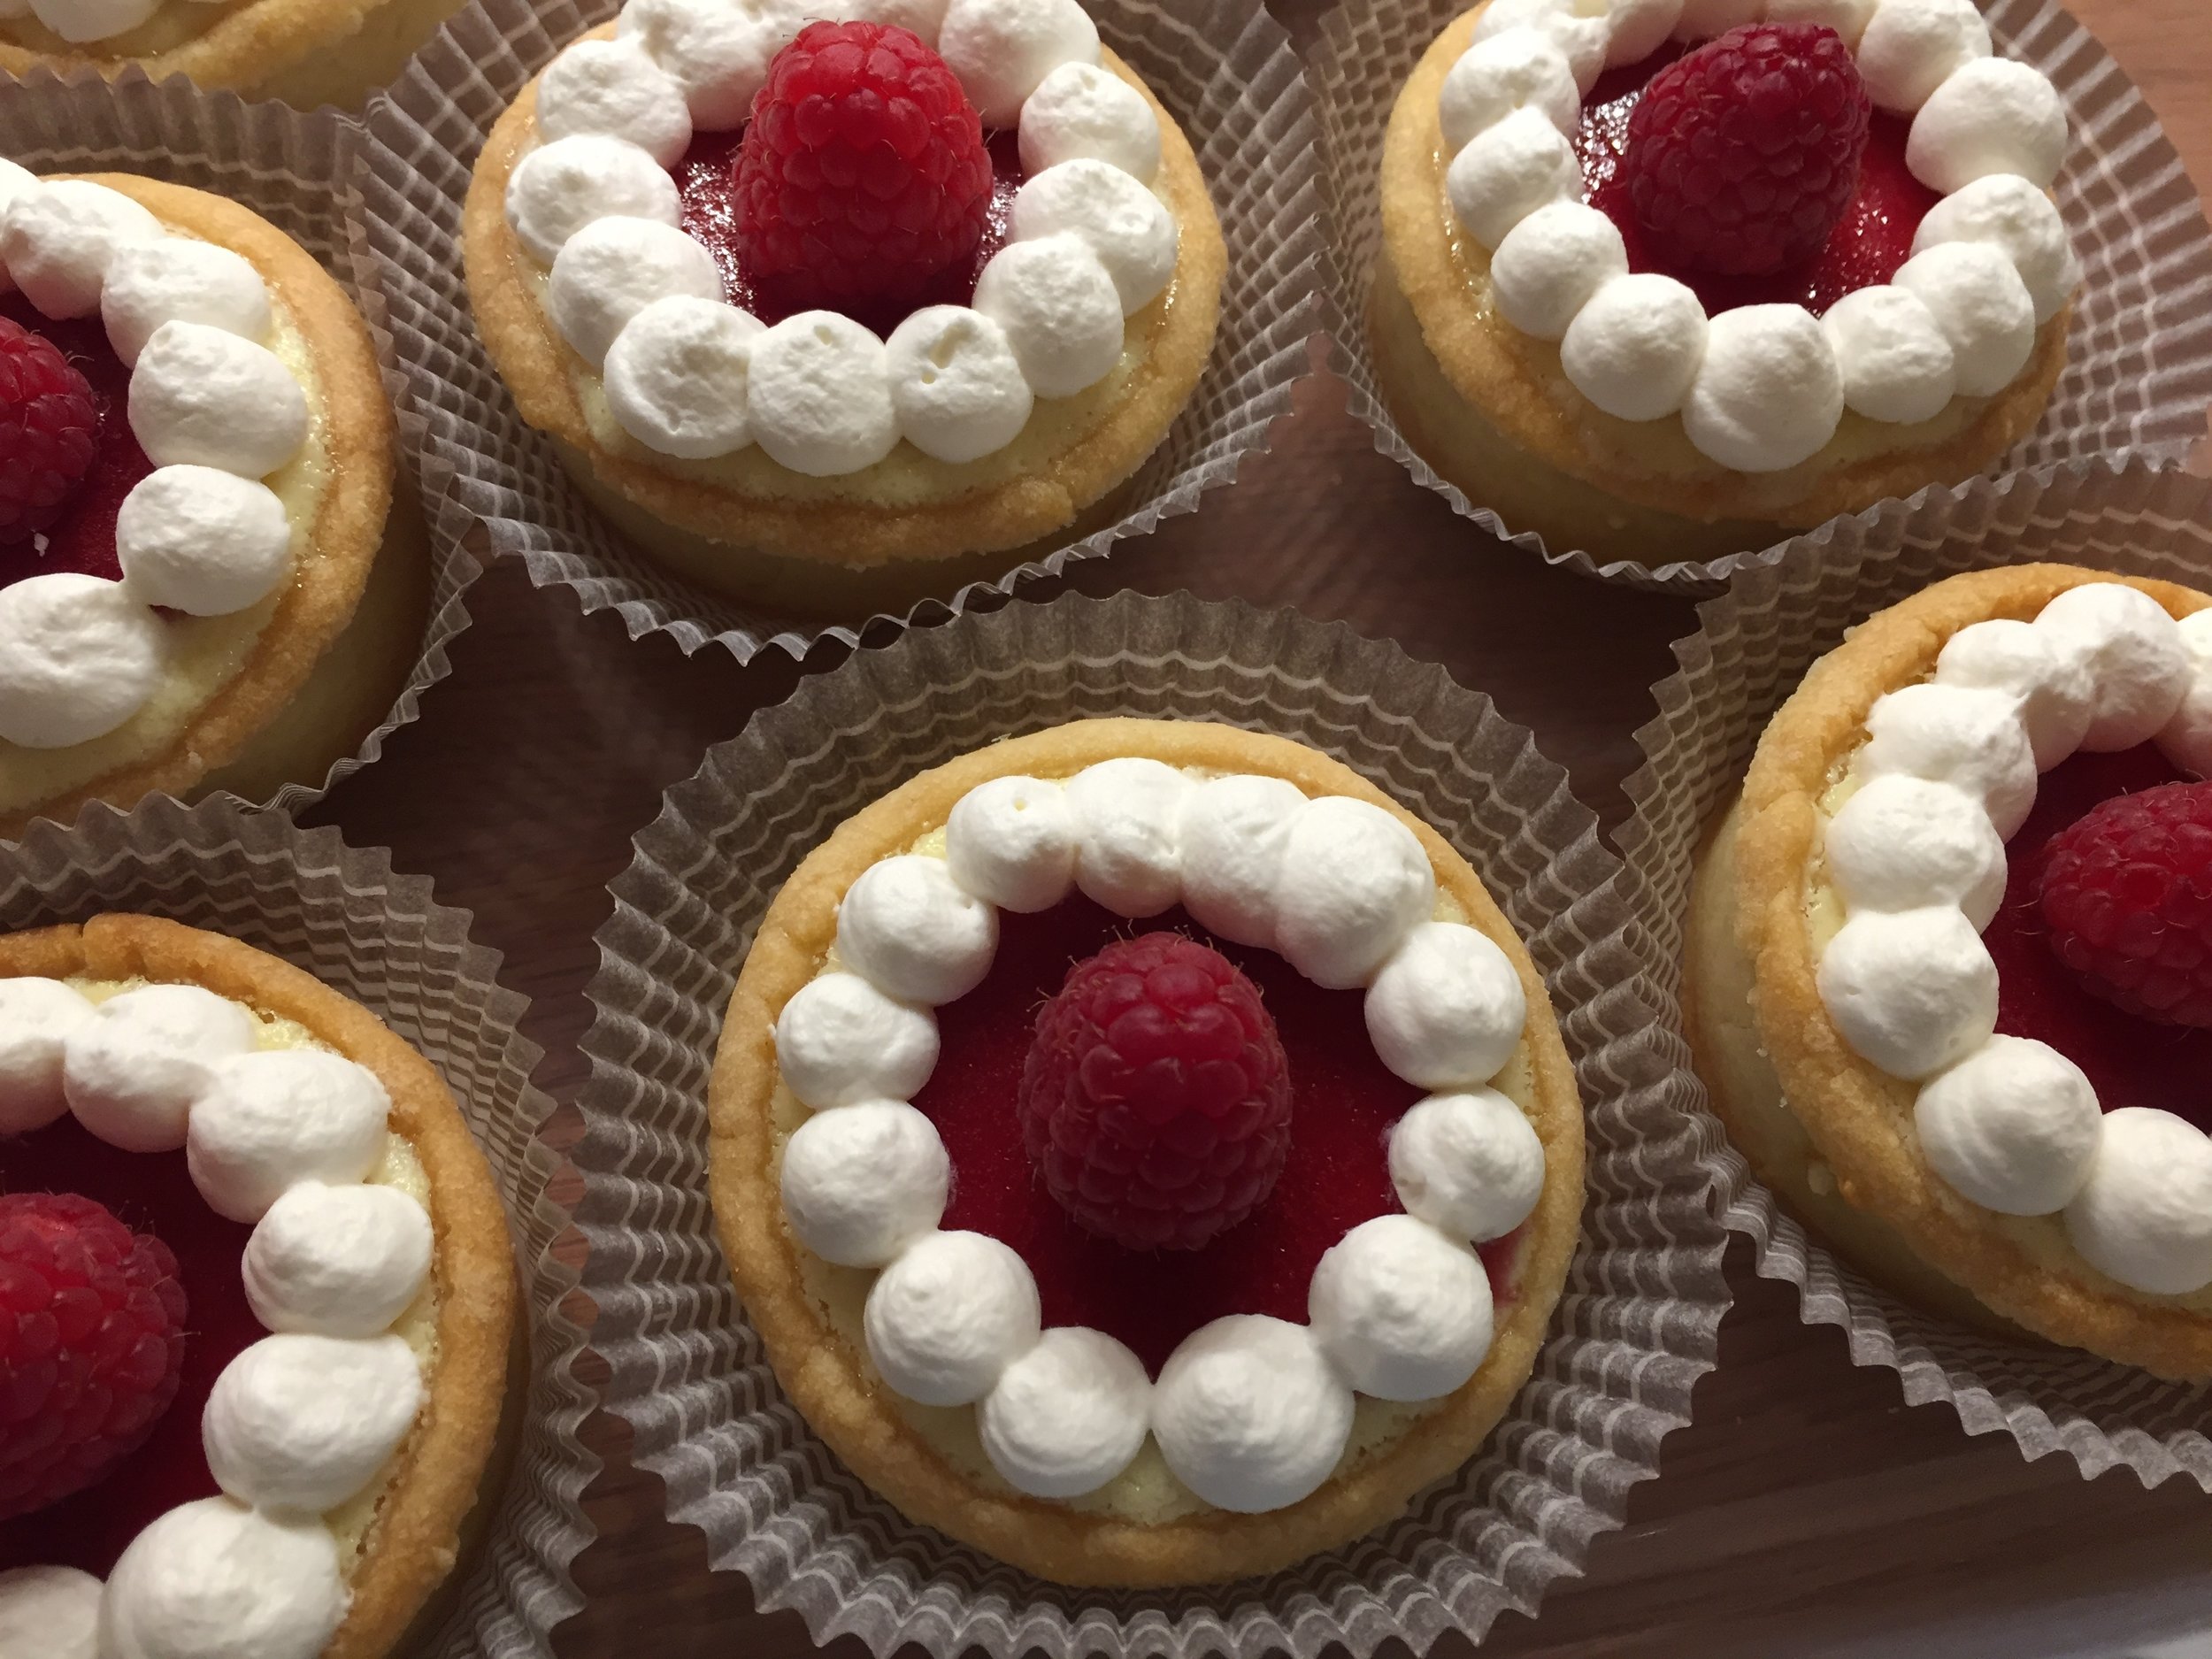
Raspberry cream cheese Danish

Raspberry cream cheese Danish

I first published this post a few days ago but I’ve broken out the blueberry scone section into it’s own post and edited this one. So, if you saw it the first go-around, it’s different now.

We’ve had some touch of autumn days (which I LOVE!) but also some heat and humidity coming back in which doesn’t typically inspire one to do much baking. Even so - I still manage to get some quality kitchen time in. Gotta do it.

The raspberry Danish above are a result of tweaking and finalizing my Danish dough recipe mentioned in the recent Swedish cardamom bun post. So delicious!

Following are a few more visuals of some of the things I’ve been doing lately. I stumble across recipes that either get my attention or not, but those that might incorporate a different technique or ingredient are the ones that I put on the to-do pile.

Please enjoy the pics and dream of the things you might create!

First these blueberry scones are from a NYT article by Dorie Greenspan on Joanne Chang’s (of Boston’s “Flour” fame) recipe. Here’s a more fleshed out post on these. You should give them a try!

Maple glazed blueberry drop scones

Maple glazed blueberry drop scones

Next up - dukkah shortbread. I’ve been wanting to do this for awhile now. Dukkah is a middle Eastern and Egyptian concoction made with toasted nuts, herbs, seeds and spices that are coarsely ground and used in marinades or as garnish for soups, salads, meats, veggies or whatever you want really.

There are LOTS of recipes. Just Google it. I used pistachios and hazelnuts, sesame seeds plus cumin, coriander, fennel and sea salt. I blended about 75 g of the mixture into my base shortbread dough made by blending 75 g sugar (consider half or all dark brown sugar here to add some caramel notes to the nuts and spices) with 200 g unsalted room temperature butter; blend in 250 g all purpose flour (or use 60 g whole wheat pastry flour and 190 all purpose) along with the dukkah . Wrap, chill at least an hour, then roll out and cut shapes of choice. This is good. Sweet and savory. I might leave the fennel out next time and add almonds into the mix.

Dukkah shortbread cookies

Dukkah shortbread cookies

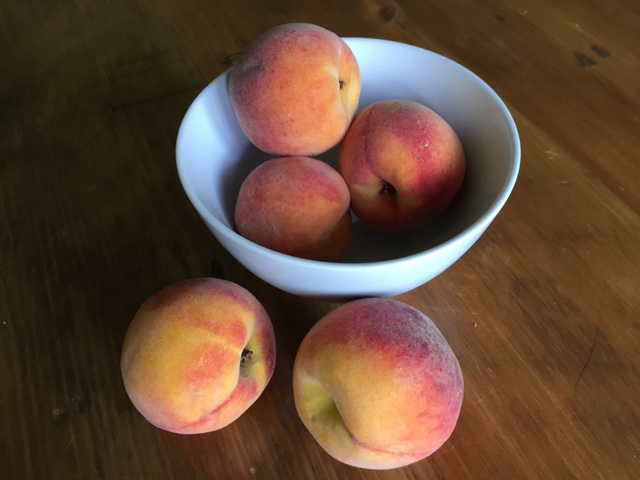
Individual cobblers are fun. These are made with fresh Michigan peaches and blueberries. Great with vanilla ice cream of course.

Individual peach blueberry cobblers

Individual peach blueberry cobblers

Financier batter is simply ripe with flavor possibilities.

Coffee walnut streusel financier

Coffee walnut streusel financier

Next up - these maple almond butter cakes are from a recipe on the underside of the foil lid on Siggi’s yogurt. I don’t keep flax meal on hand so I used almond flour instead. Other than adding a bit of almond butter to shortbread dough in the past, this is my first foray into baking with a significant amount of almond butter. Let’s just say I could get used to it.

There are many brands out there - Justin’s is a popular one. I used “Barney Butter” and have since purchased a roasted almond butter from my favorite almond paste supplier Mandelin. I’m looking forward to trying it.

IMG_1294.jpg

I made these twice. It’s an easy mixing process. The first time with some blueberries and/or peaches tucked on top before baking plus a basic crumb top. Two different sizes - 3” Fat Daddio aluminum pans and smaller panettone papers. One of the 3-inchers went to my mom for her birthday.

IMG_1222.jpg

The second time I used one of my favorite silicone muffin molds, didn’t add fruit but made a delicious almond streusel topping.

IMG_1259.JPG

I will say these are growing on me. They have very little sugar in them compared to many muffin recipes (1/4 cup maple syrup and just a couple tablespoons of brown sugar) so at first bite they seem to fall flat on the taste buds yet . . . . the texture and overall experience is nice, and they seem right somehow. Even Steve said so.

Drizzling some maple syrup or honey on before eating is an excellent addition. The fruit version definitely beats the non fruit and with that added almond streusel . . Yum. Methinks a nice dollop of jam in the center of each before baking would be great too. Next time.

A look ahead - even though it has taken me a seemingly endless amount of time, in addition to putting the final touches on a new brioche feuilletée post, I’ve started the draft for a baguette project piece as well. I love sharing details of processes and steps but that also means I spend a lot more time reviewing and comparing in order to offer a reasonable summary of whatever it might be. At any rate, after 24 weeks of essentially being home, each day brings a different vibe to our lives.

Happy baking, be reasonable and don’t forget that periodic deep breathing helps too.

Soon we’ll be deep into official “baking season”. Love it.

Swiss meringue buttercream

IMG_0771.JPG

Ciao everyone! It took me a bit of time to get this post together, but here it is at last. You’d think with all the extra time on our hands during our staying at home (11 weeks and counting), I’d have knocked this baby out in a few days. I decided to take some extra time to add some recipes for some base components that are great ones to have in your baking armamentarium, and you’ll find links for those throughout the post.

Remember - you can also go directly to my recipe page for a list of base recipes with links to their PDFs and in some cases to blog posts on that particular topic.

Let’s go for it.

Never a big sweet frosting lover, I usually turn to a simple lightly sweetened Chantilly cream, a flavored whipped mascarpone or a basic ganache to give my petite cakes a swirl of panache. Buuuuuuuuut . . . . . . in recent years I’ve become a huge fan of SMBC. So light, airy, buttery and not cloyingly sweet, it’s rife with flavor possibilities. Let’s take a look at just a few and see what you can create to tickle your taste buds.

The beauty of this process is that the base remains the same - egg white, sugar, butter - with flavor added once all the butter is incorporated. Depending on what I plan to use the buttercream for, I’ll do a full batch as a single flavor or divide it in two and create two different flavors. The half batches work well for my small portion cake projects in which a nice swirl or dollop per un petit gâteau is all that’s needed. How efficient is that?

It’s the perfect make-ahead component too since it holds well in the fridge for several days and in the freezer for months. Just remember to thaw and bring it completely to room temperature before rewhipping and using for its intended purpose. It’s most commonly used for filling and decorating layer cakes, garnishing petite cakes or for sandwiching French macarons. A squiggle on an èclair or choux puff might not be bad either!

I reviewed a number of recipes from different sources and found many variants in terms of sugar to egg white ratio (anywhere from 1:1 up to 2:1) as well as differences in the amount of butter added e.g. when using 6 large whites, the butter quantity can range from 340 g / 12 ounces up to a full 456 g / one pound or even more!

Here’s my full batch base recipe (includes flavor variations!) which makes about 4.5 cups of buttercream - generally plenty for a 2-layer eight or nine inch round cake with leftovers for decorating, or just the ticket for some dozens of small treats. And remember - you can freeze the leftovers!

Getting ready to go!

Getting ready to go!

On the day you want to make your SMBC, plan ahead and weigh out 370 g unsalted butter and cut it into 1/2 to 1 inch cubes. The butter needs to be at room temperature before adding it to the meringue!

Have your flavor ingredients ready to go too - from a pinch up to 1/4 teaspoon of salt to taste, 2 teaspoons vanilla (or other extracts) plus your chosen additions like caramel, fruit purée, melted/cooled yet liquid chocolate or lemon curd.

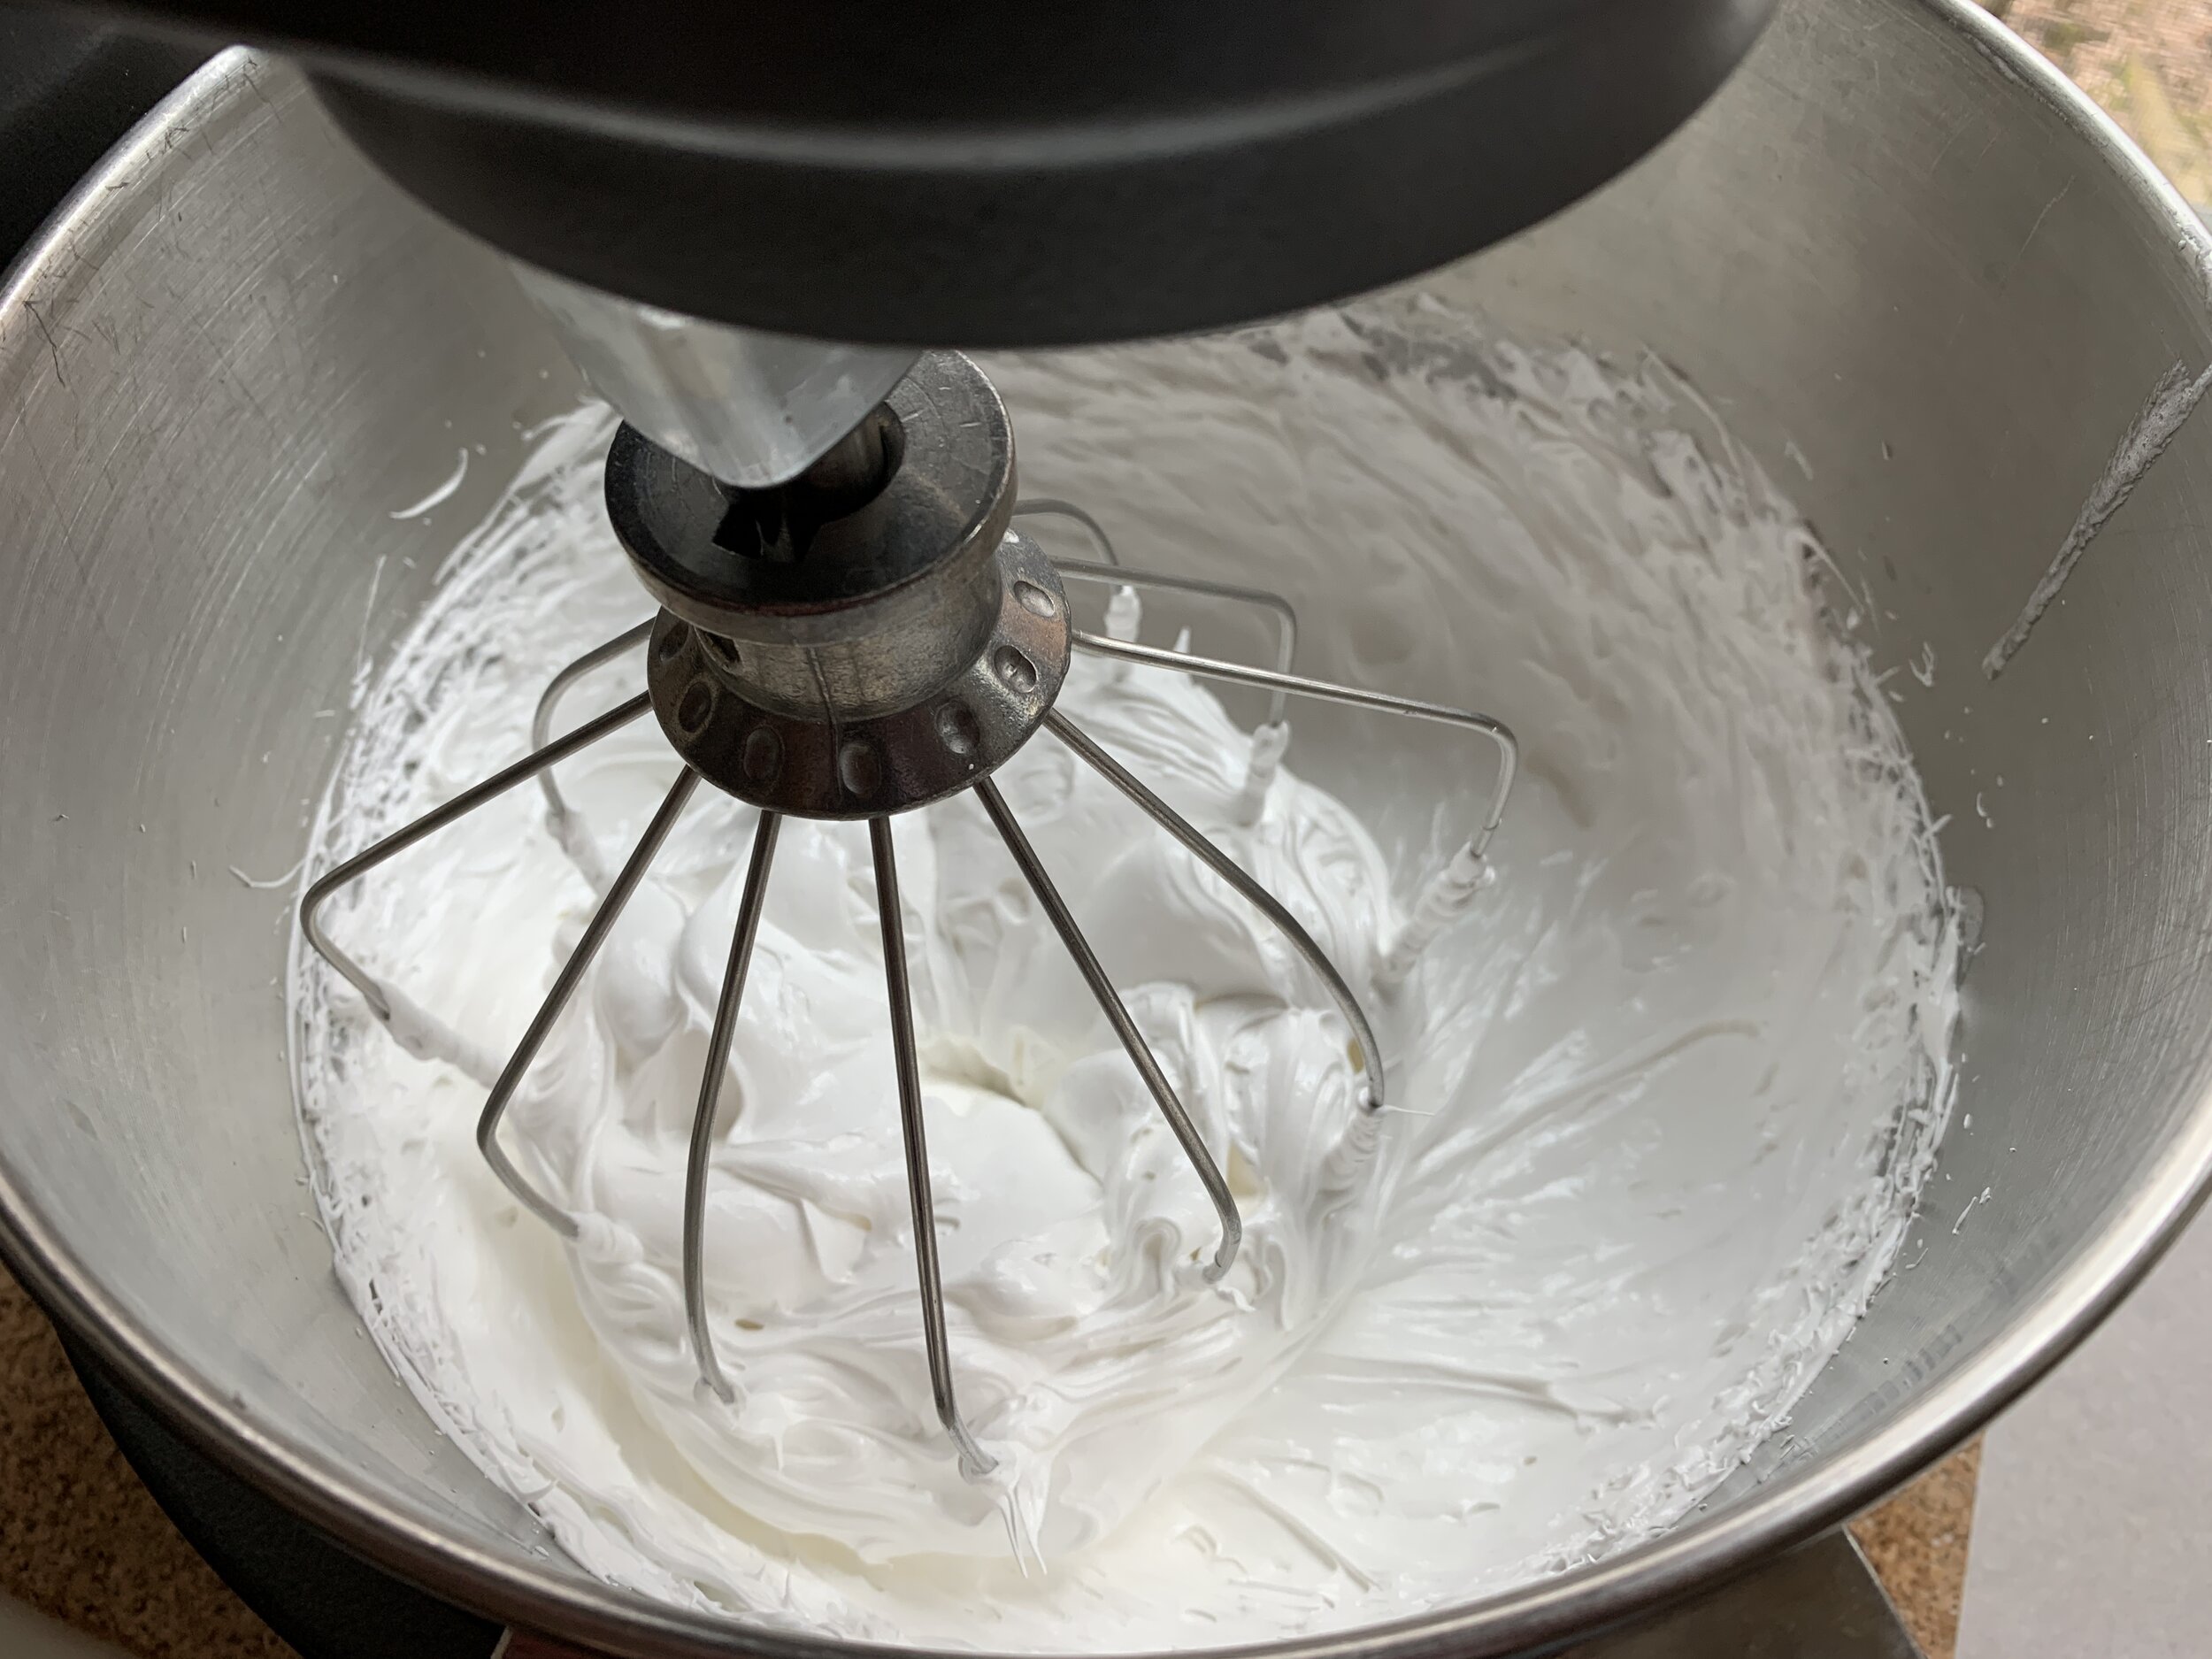
For the meringue place 6 large egg whites and 300 g sugar in a bowl over a steaming bain marie whisking constantly until the mixture reaches a temperature of anywhere from 145-155ºF. Transfer the mixture to the bowl of a stand mixer fitted with the whisk and beat on high until completely cool and marshmallow-y. I plan on a good 10 minutes for that.

Realize that the bottom of the mixing bowl may still feel a tad warm to the touch due to the heat of mixing. I test the meringue by putting a dab on my wrist - if it feels cool, I start adding the butter. You want to avoid adding it too early or you’ll end up with a soupy mess.

IMG_0572.JPG

Add the butter several pieces at a time, blending completely after each addition. The mixture should thicken and become smooth and creamy by the time all the butter has been added. If it’s too loose, pop it into the fridge or freezer to firm it up and then rewhip.

Butter added - just waiting for flavor additions

Butter added - just waiting for flavor additions

When incorporating flavor components, they should be at room temperature, added slowly and blended on medium low with the whisk attachment to keep the buttercream from separating. Then scrape down and give it a final high speed whisking for a couple of minutes. Some folks switch to the paddle to give it a final fluffing up.

For a full batch of apple cider caramel blend in 1/4 teaspoon salt, 1 cup caramel sauce with 2 tablespoons boiled cider (available from King Arthur Flour) and 1 teaspoon vanilla extract or vanilla bean paste.

Apple cider caramel

Apple cider caramel

For white chocolate mocha have ready 170 g white chocolate, melted and cooled yet still liquid, plus 2 tablespoons instant espresso powder dissolved in 2 tablespoon hot water and cooled. Blend it in. Yum.

White chocolate mocha

White chocolate mocha

Oh man - yes I know this isn’t gelato but these images remind me of those mounds of creamy, cold goodness on display in all the gelaterias in Italy!

In addition to the two above (let’s call them richer flavors), I also went for the lighter, springier choices of lemon, mixed berry and honey orange. You can find details on the flavor additions here.

Now what exactly might I do with all this buttercream?? Small cakes of course!

First a quick word on piping tips. Just three tip shapes - round, star and French star - can create a bevy of designs for you. For years I’ve relied on my round and basic star tips (closed or more open like the one in the rear) to pipe the simple designs I prefer, but the French star - oh my. It has finer spacing which creates more of a seashell or tighter spiral look. I LOVE it. The only one I have is the one you see below, but I think a couple more sizes would do me just fine. Yup.

BTW just so you have a sense of size, the round tips range from 6 mm at the bottom of the image up to 12 mm (~1/2 inch) at the top.

IMG_0871.jpg

I chose pecan cakes for the apple cider caramel SMBC, baking them in petite tinned steel brioche tins. NOTE: it’s very important to butter the tins thoroughly and pop the cakes out within a few minutes of coming out of the oven to avoid sticking. One could also use mini muffin tins like I did in a previous post where you’ll find the pecan cake recipe. Silicone molds would also work well although I think the cakes brown and crisp better in metal molds.

My small round tip served nicely to pipe a daisy like design to compliment the fluted ridges of the cakes. Pretty simple stuff.

Apple cider caramel on pecan pie cake

Apple cider caramel on pecan pie cake

For the white chocolate mocha SMBC a classic moelleux chocolat seemed just right, baked in one of my favorite square savarin silicone molds. The French star tip yields a lovely scallop like swirl. Those are some Valrhona dark chocolate crunchy pearls on top. Delicious.

White chocolate mocha on moelleux chocolat

White chocolate mocha on moelleux chocolat

The lemon cake is essentially financier batter to which lemon zest has been added. I baked these in mini-muffin silicone molds. So simple and nice.

Lemon on citrus financier

Lemon on citrus financier

Since I made a batch of lemon curd to add to the lemon buttercream, I also used it to create a center flavor burst in the cake before topping with the final flourish. Using a round tip I cut out a core piece (for snacking of course), filled it with the curd and finished it off with a star tip swirl.

IMG_0768.jpg
IMG_0770.jpg

For the mixed berry use your favorite base muffin recipe and fold in an assortment of berries like blue, red and black. I generally avoid adding fresh strawberries to cakes or muffins due to their water content and mushiness after baking. Once again a star tip provides the luscious ridges. Create different looks as you swirl, twist and lift your tip.

Mixed berry on triple berry muffins

Mixed berry on triple berry muffins

For the honey orange SMBC I again used my base financier batter, replacing 1/2 the almond flour with finely ground pistachios and adding orange zest for a lovely citrus touch. Similar to the lemon cakes above, I used my favorite mini-muffin silicone mold for the cakes and the star tip swirl for the top flourish with a few pistachios tucked in the center for a tasty treat.

Honey orange on orange pistachio financier

Honey orange on orange pistachio financier

For a different look I used another favorite ingot rectangular silicone mold which gives me a linear canvas for the buttercream using the French star tip. Same financier, more orange zest in the buttercream for a deeper orange color and a ridge of scallops or stars on top. Remember it’s all about how you twist, swirl and lift! Candied pistachios add just the right crunch. So deeeelicous!

IMG_0942.jpg

Have fun creating your own treats with luscious buttercream the Swiss way!

As spring moves into summer do your best to keep a positive outlook, stay safe and healthy. That’s what counts.

Giant allium

Giant allium

White lacecap Viburnum

White lacecap Viburnum

Fragrant lilac -oh the aroma!

Fragrant lilac -oh the aroma!

Happy Valentine's weekend!

IMG_0128.jpg

Take your basic favorite choux paste, pipe it into lovely hearts . . .

IMG_0047.jpg

topped with central smaller hearts of lime scented crunchy dough . . .

fullsizeoutput_256.jpeg

bake ‘em with all the love you can muster . . .

fullsizeoutput_253.jpeg

then top with red fruits Swiss meringue buttercream, a dollop of Chantilly and a fresh raspberry. Enjoy!

Wishing all of you a wonderful weekend and lots of fun creating your own special treats for those you love.

IMG_0128.jpg

A merry season to all

Caramel almond moelleux chocolat

Caramel almond moelleux chocolat

Blogging has taken a back seat due to December’s whirlwind of activities from teaching and baking to selling my 92 year old mom’s condo and moving her into a new apartment. Whew!

As was true during my days working in emergency medicine, baking continues to serve as a respite for my heart and soul. The feel of the dough, the lovely aromas wafting from the kitchen and the taste of that oh-so special treat - you can’t beat it!

To help say adieu to 2019, I’d like to share a few of the goodies I’ve been baking of late.

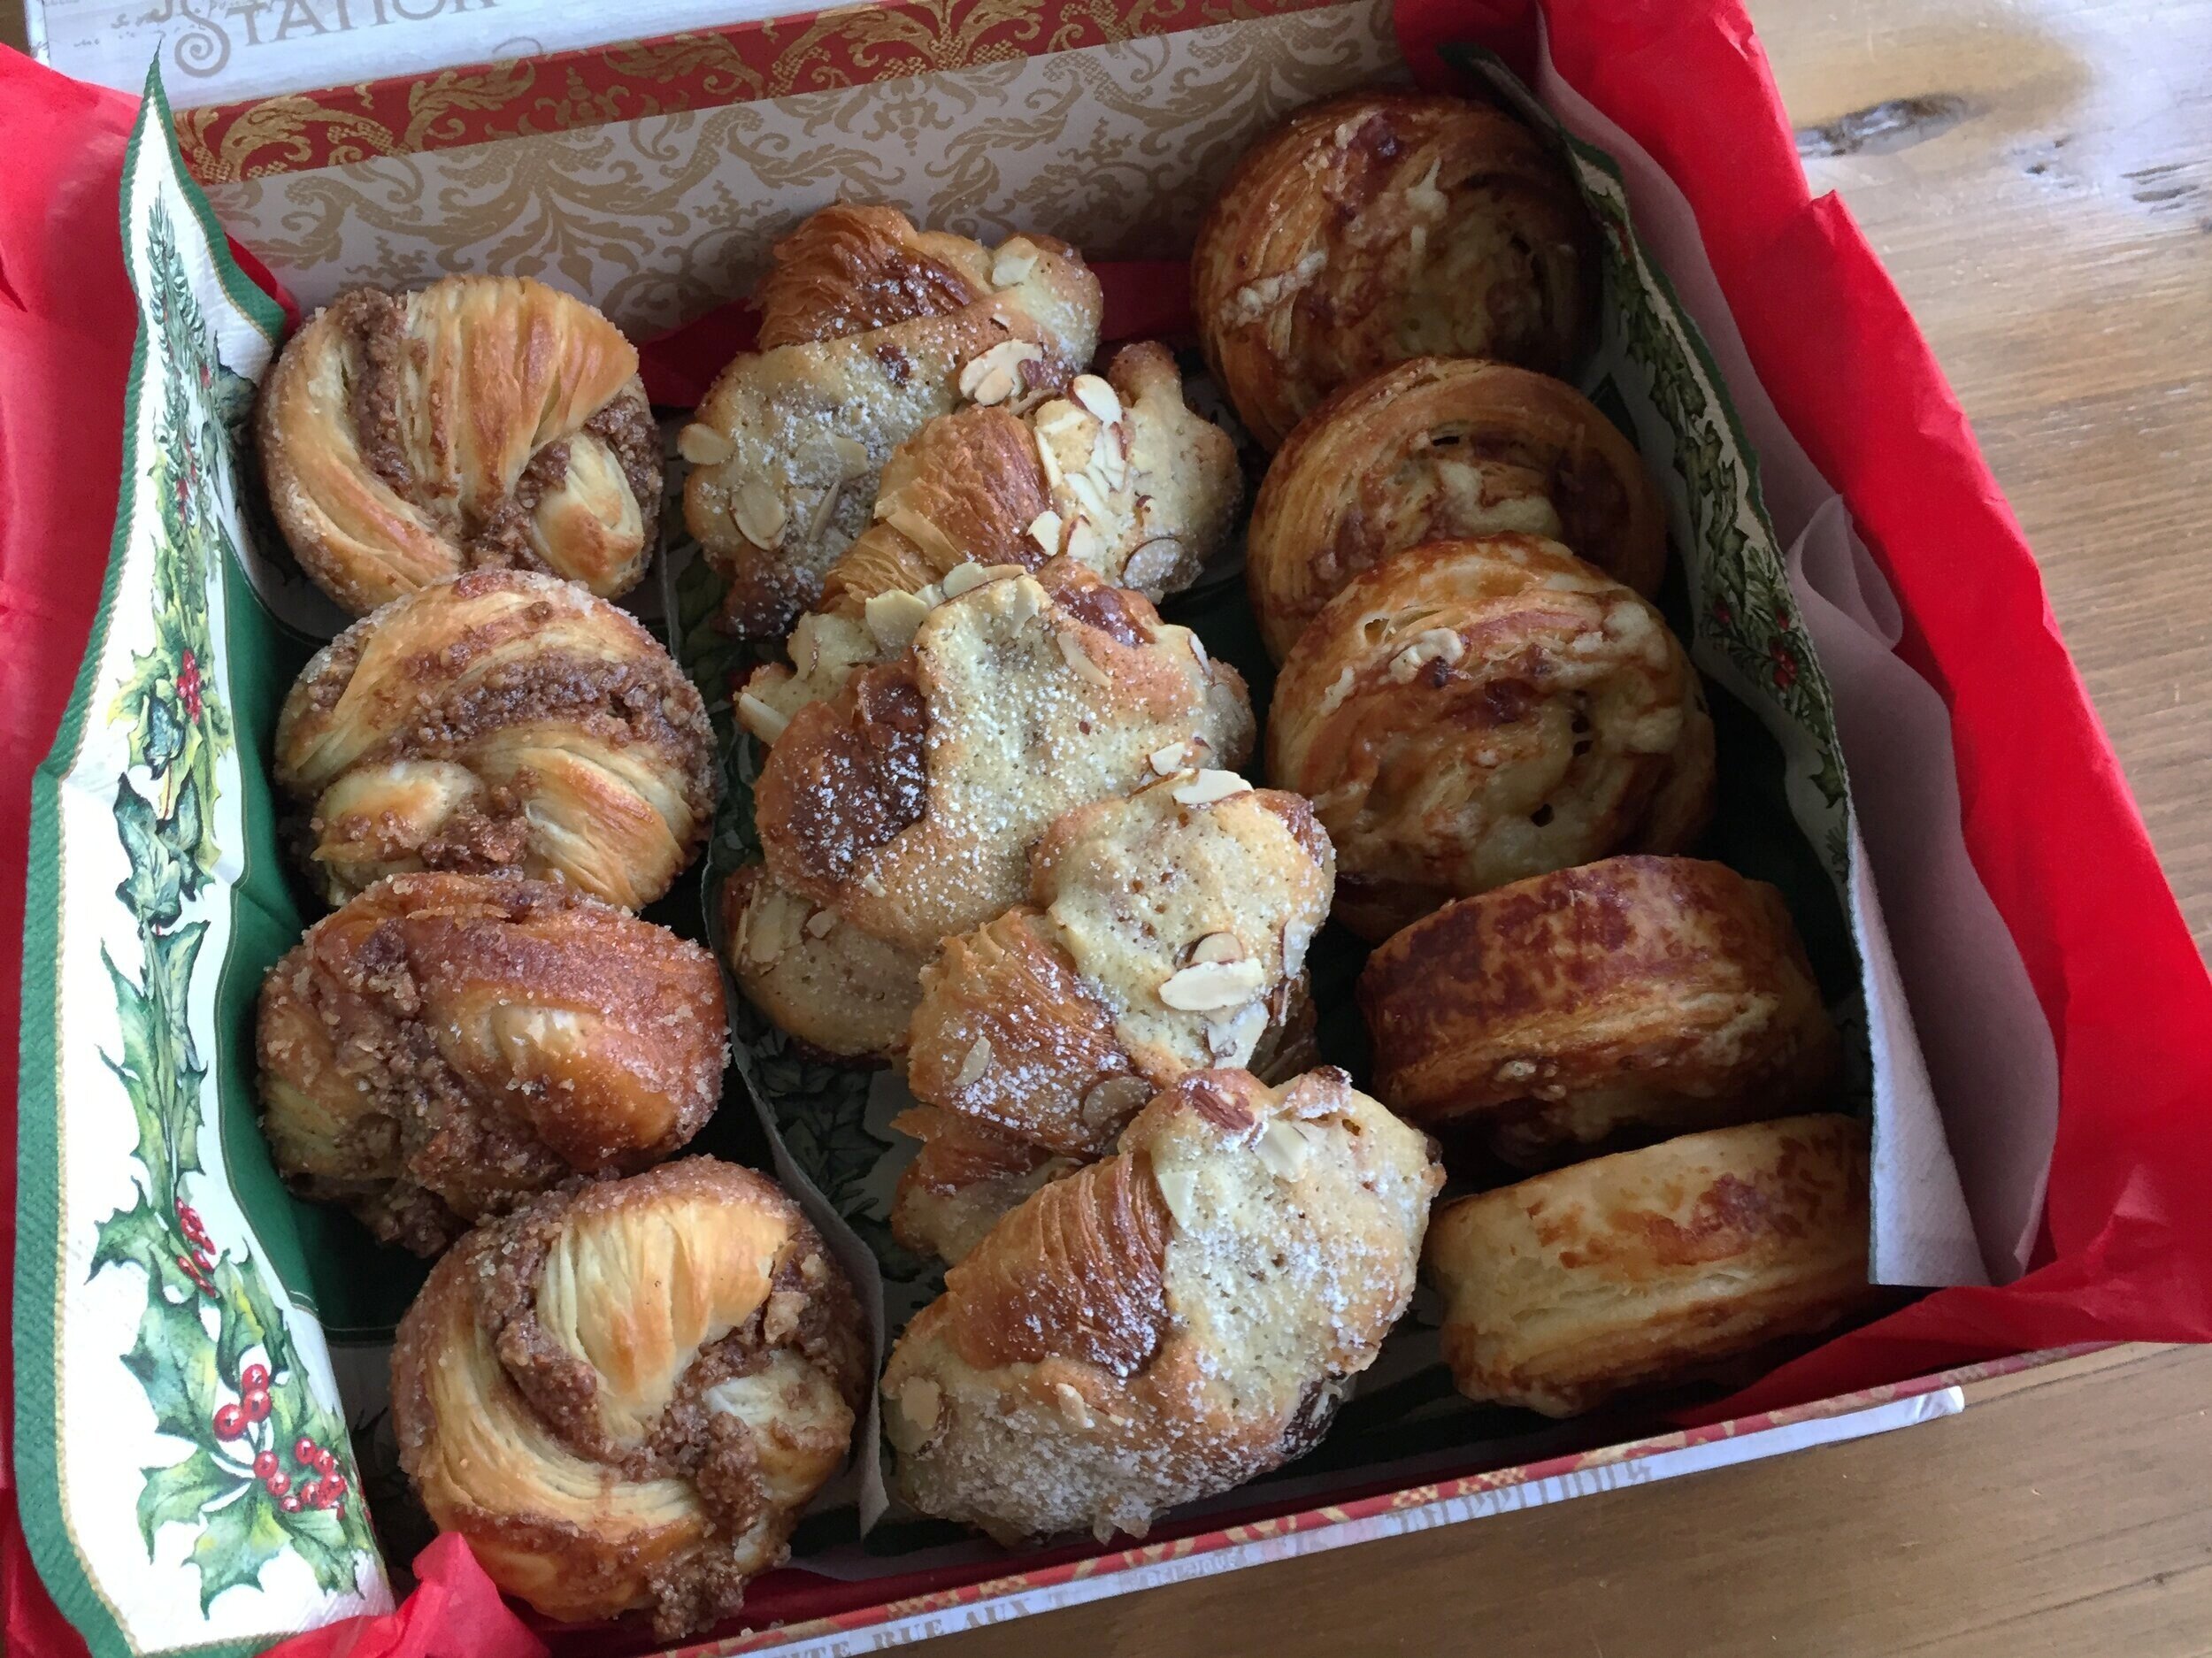
Pecan twirls, almond croissant, ham and cheese spirals

Pecan twirls, almond croissant, ham and cheese spirals

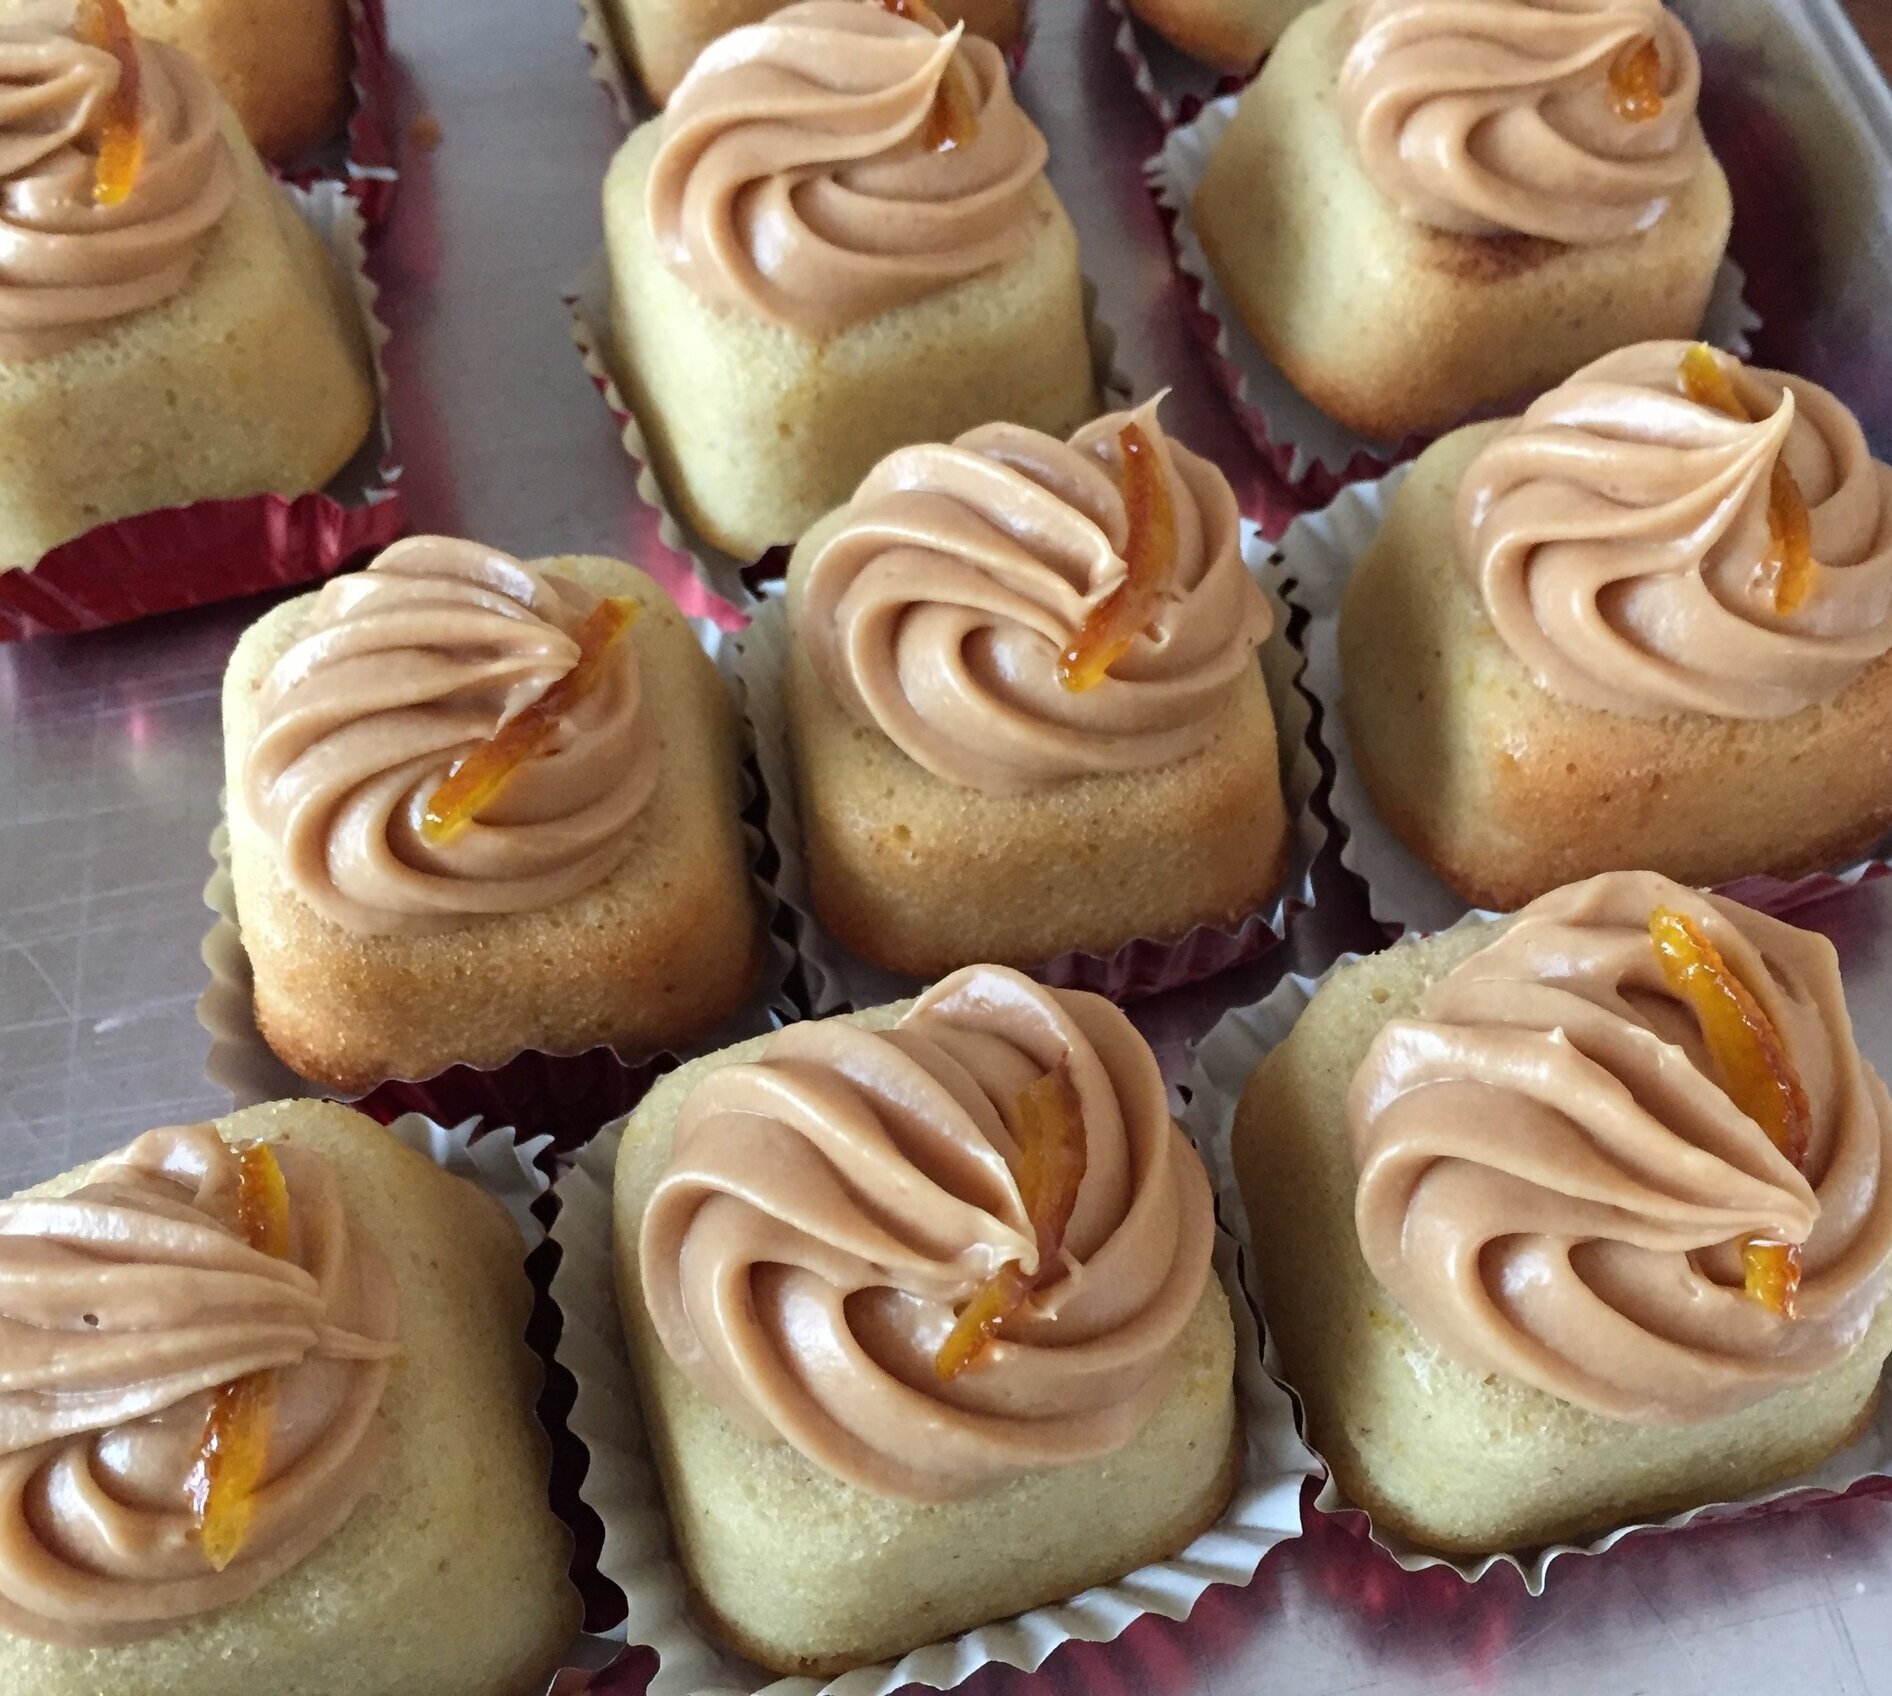
Orange financier with salted caramel buttercream

Orange financier with salted caramel buttercream

Pumpkin pecan crunch brioche

Pumpkin pecan crunch brioche

White chocolate raspberry crispy rice almond bark (now that’s a mouthful!)

White chocolate raspberry crispy rice almond bark (now that’s a mouthful!)

Sending warm holiday greetings to all and may the upcoming year bring you many good things.

The Queen of Hearts she made some tarts . . . .

IMG_4426.JPG

Mind you, I’m not equating myself with the Queen of Hearts from Alice in Wonderland (described as a foul tempered monarch), however I do love making tartes - and I can promise that Steve did NOT steal any of them!!

Above is a collection of fresh fruit tartes I created for a recent Alice-themed fund raising event here in Grand Rapids. The chess board seemed like just the right backdrop for these luscious treats.

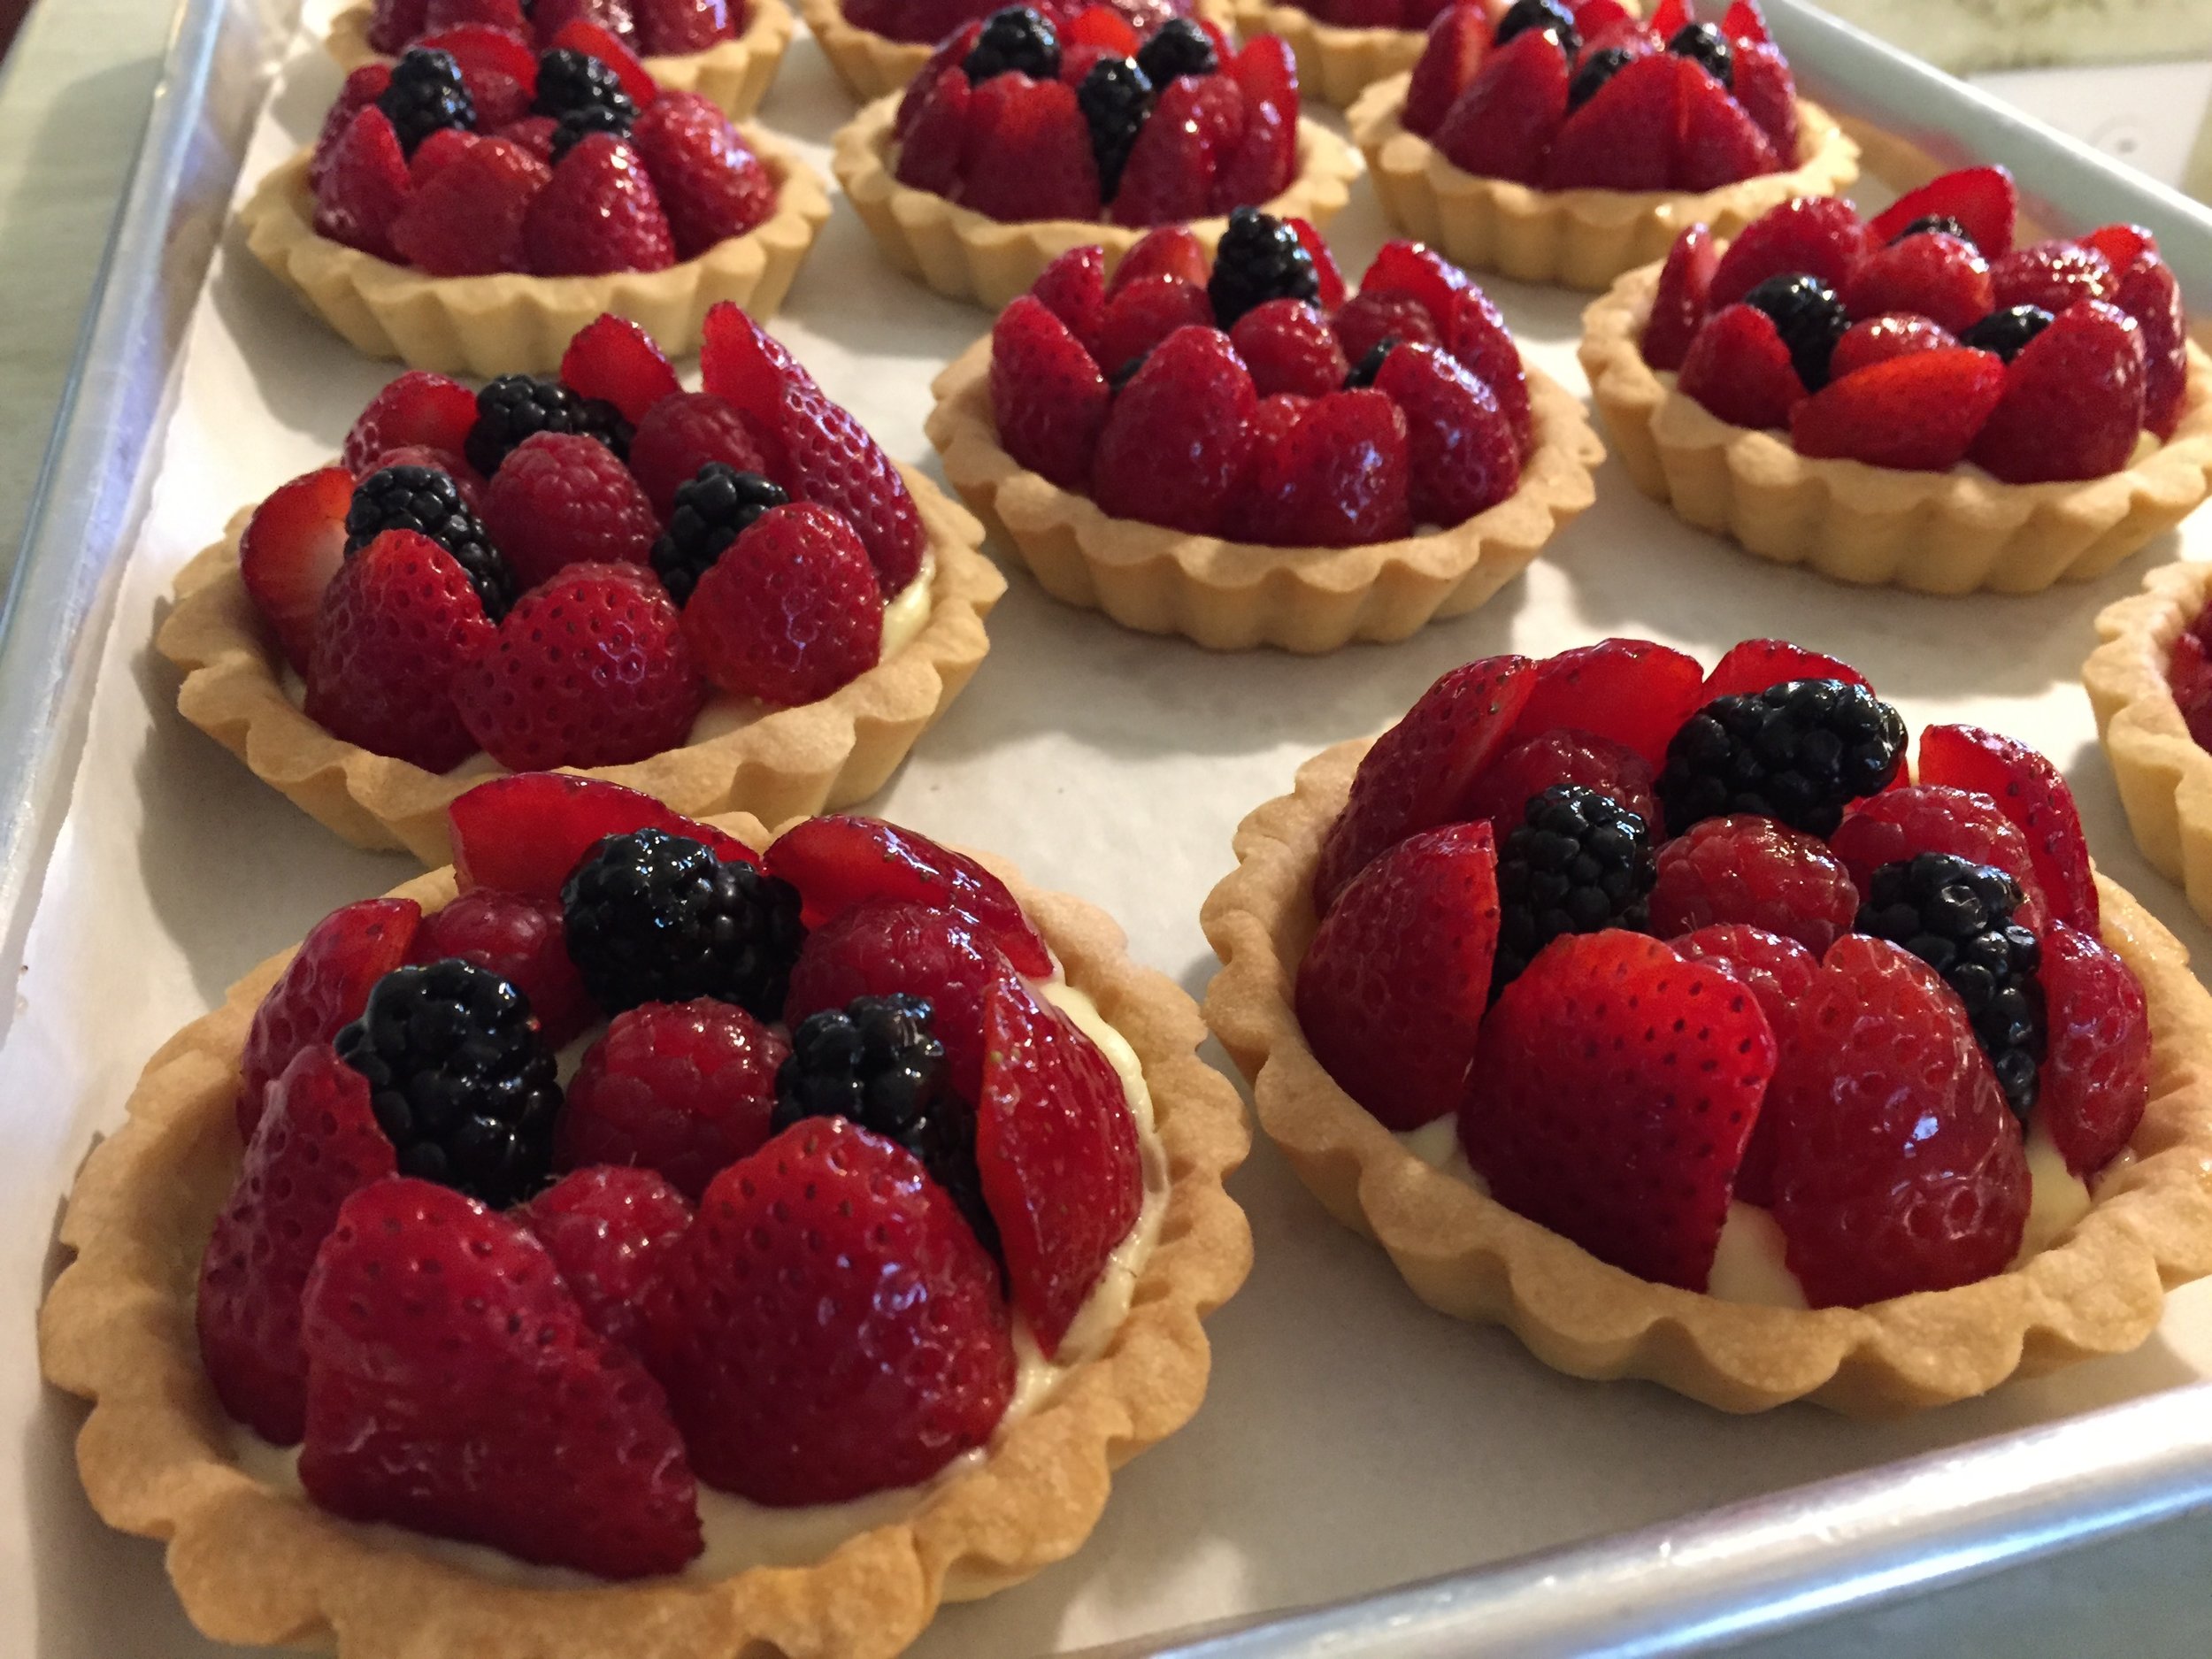
We have blueberry/lemon, raspberry cream, strawberry/lime mascarpone and blackberry citrus/Earl Grey ganache. Delightful!!

When creating your own fruit tartes remember to start with your favorite pâte sucrée, blind baked, then fill with classic crème pâtissiére or a fruity whipped mascarpone or your own version of a citrus or tea infused ganache (white chocolate works well with fresh berries). It’s lots of fun to mix and match to your heart’s content. Hop on over to the recipes page to find some of my favorite base recipes.

IMG_4418.jpg

Here are just a few of the other tartes I’ve done in recent months (including some late summer reminiscing!).

Fresh blueberry

Fresh blueberry

Peach custard

Peach custard

Apple blackberry

Apple blackberry

Classic pear almond

Classic pear almond

As we are ever fast approaching Thanksgiving and the whirlwind of the holiday season, I wish all of you many “all is calm, all is bright” nights.

Happy tarte baking!

Charlotte aux framboises

IMG_3642.JPG

Ladyfingers (biscuit à la cuiller en Français) are just one of the components of a classic charlotte russe, a dessert created with the finger-like sponge cakes as a border, filled with a fruited bavarois and often garnished with crème Chantilly and fresh fruit. Raspberry and pear are two of the commonly used fruits for this particular delight.

Having recently been asked to make the raspberry version for a birthday dinner party for 10, back to the recipe file I went to review the various options for creating the dessert. Both Le Cordon Bleu’s pear charlotte (from my basic pastry classes there) and Michel Roux’s raspberry charlotte served as the springboard for my decisions. Believe you me, there are lots of variations out there.

I opted for a raspberry crème anglaise with added gelatin, blended with softly whipped cream (the makings of a typical bavarois). I went one step further and added some Italian meringue to boot, but you’d be happy with a bavarois by itself if you don’t want to fuss with the meringue part. Either way it’s a great combo!

The filling (even without the Italian meringue) makes plenty for a 9” springform pan. Put any leftovers in ramekins, chill to set and top with fresh fruit, chopped toasted nuts, chocolate sauce or whatever for a lovely light dessert on the fly.

IMG_3648.jpg

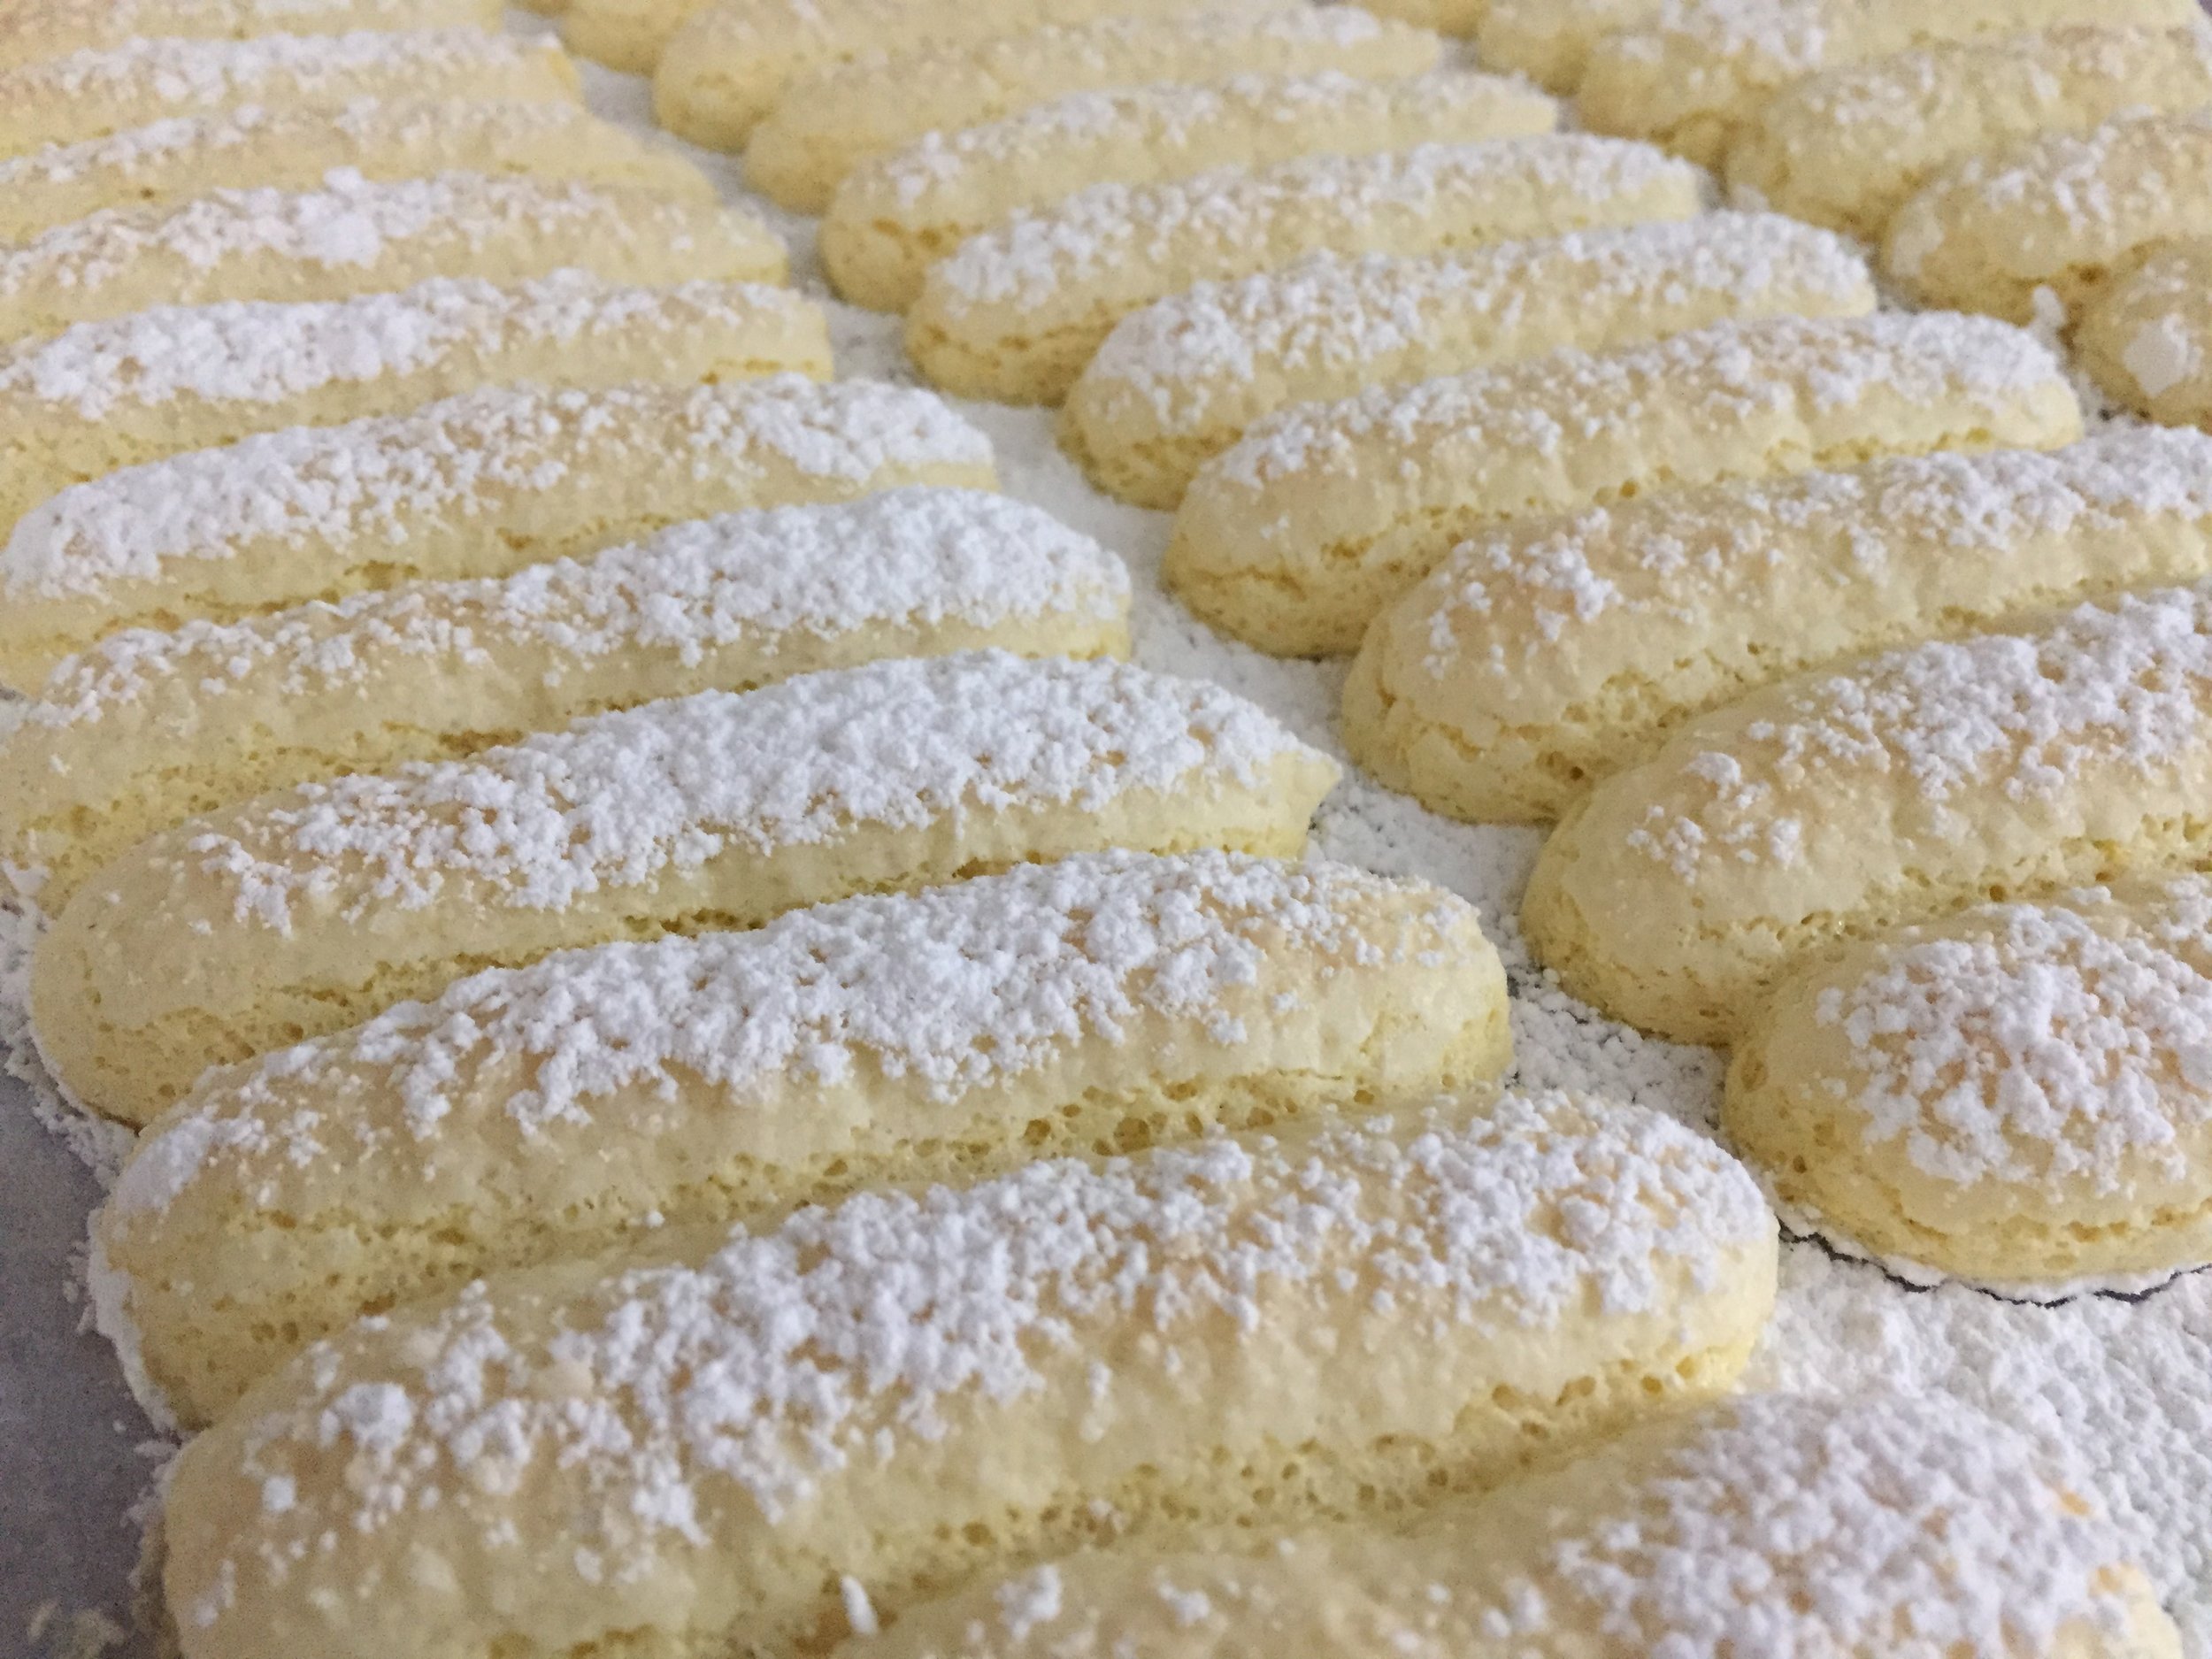
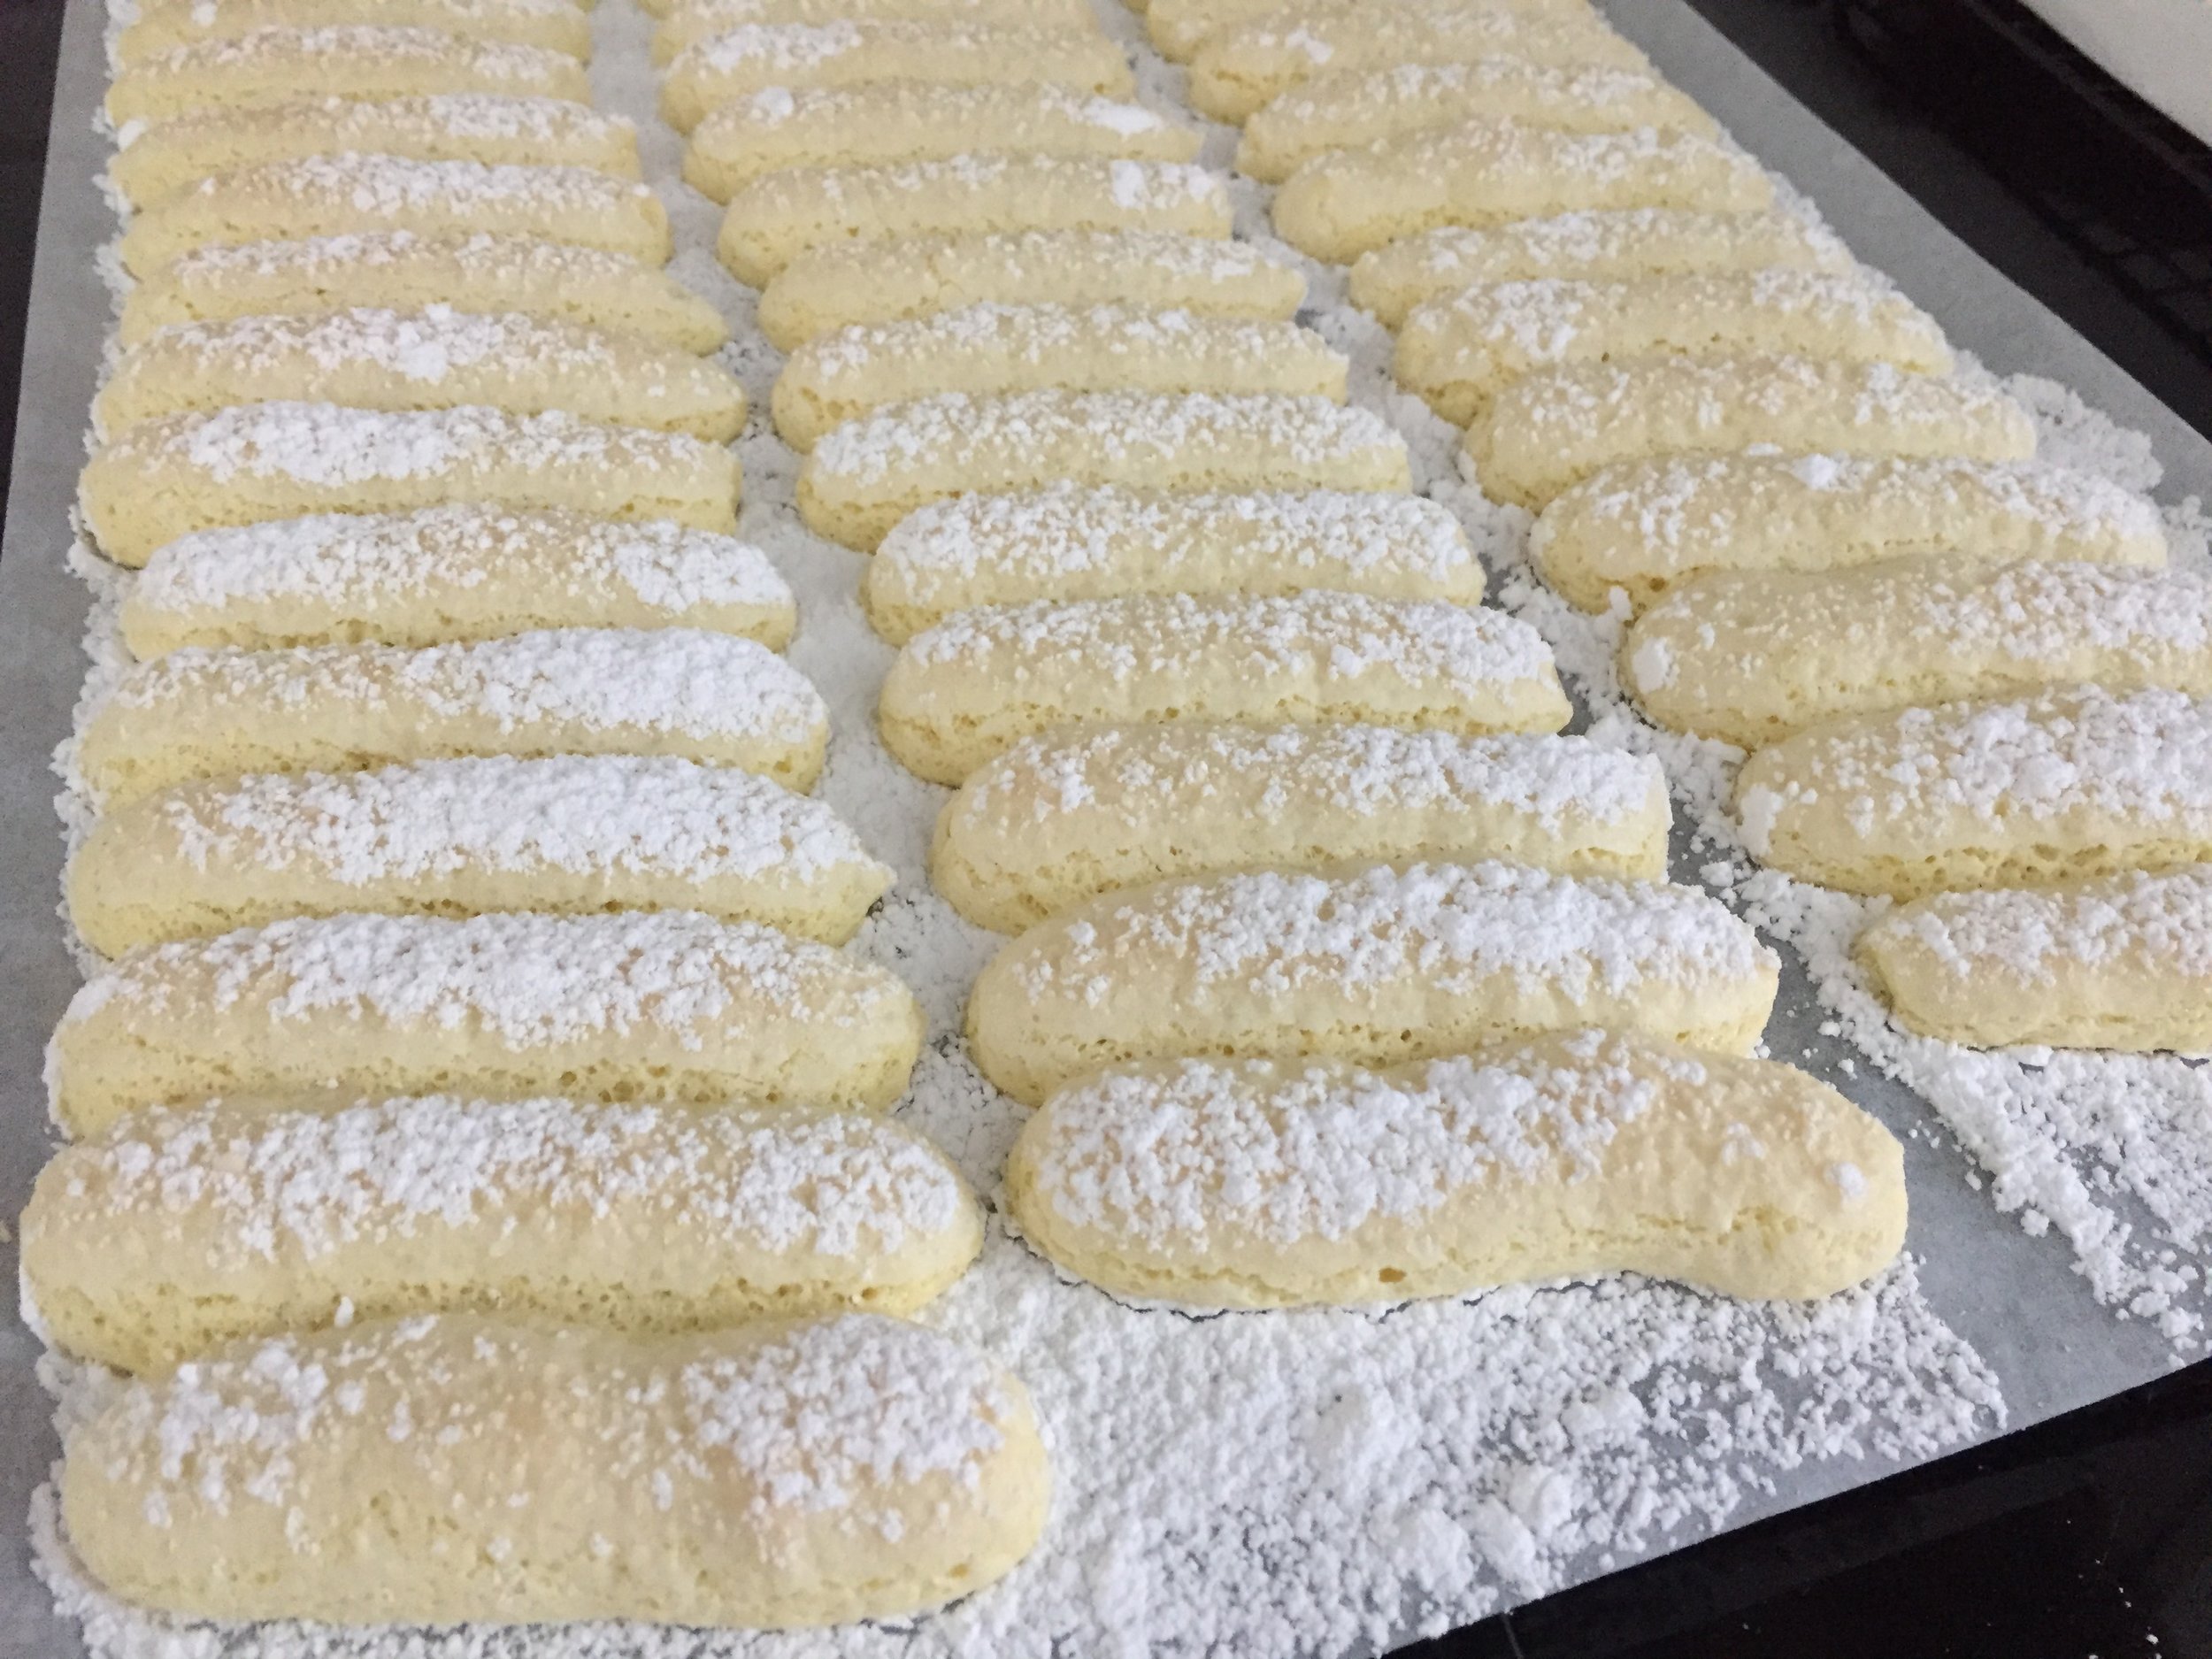
But let’s take it a step back and review the process, OK? Ladyfingers are basically a sponge cake made with eggs, sugar and flour. The eggs are separated, the yolks are beaten with a portion of the sugar until blanched and thickened, and the whites beaten with the other portion of the sugar to stiff peaks (think meringue). The beaten whites are folded into the yolk/sugar mixture then the flour is sifted into the whole shebang and folded in gently. The leavener here is the aeration created by all of that egg whipping. Here’s the printable ladyfinger recipe.

Then it’s time for piping. Yay!

Wanting to put a diagonal slant on my ladyfinger border, I penciled my template for piping onto parchment paper and turned it over so the marks ended up on the non-baking side.

IMG_3637.jpg

Pipe the lengths close together so once baked they meld into connected portions with which to line your mold. You can also see my base piece below.

IMG_3639.JPG

They get a decent dusting of confectioner’s sugar times two before going into the oven. The idea is that the powdered sugar beads and crusts up a bit in the oven.

Bake them at 400ºF for 6-8 minutes et voilà!

IMG_3641.JPG

It takes a little planning to assemble the charlotte, particularly depending on what type of form or pan you have on hand. In pastry school one typically uses an open cake ring lined with acetate film but I opted for the ring portion of my 9” springform pan lined with a parchment collar.

One of the great things about this dessert is its make-ahead-ability. It can be fully assembled and kept in the fridge for a couple of days or frozen for a week before your planned event. Just bake the ladyfingers and base, line your mold with the powdered sugar side of the sponge cakes facing out and hold it in the freezer while making your filling. Once filled, fridge it for a day or two ahead or freeze for a week if need be. It’s a beautiful thing.

The final garnish can be completed the day you plan to serve.

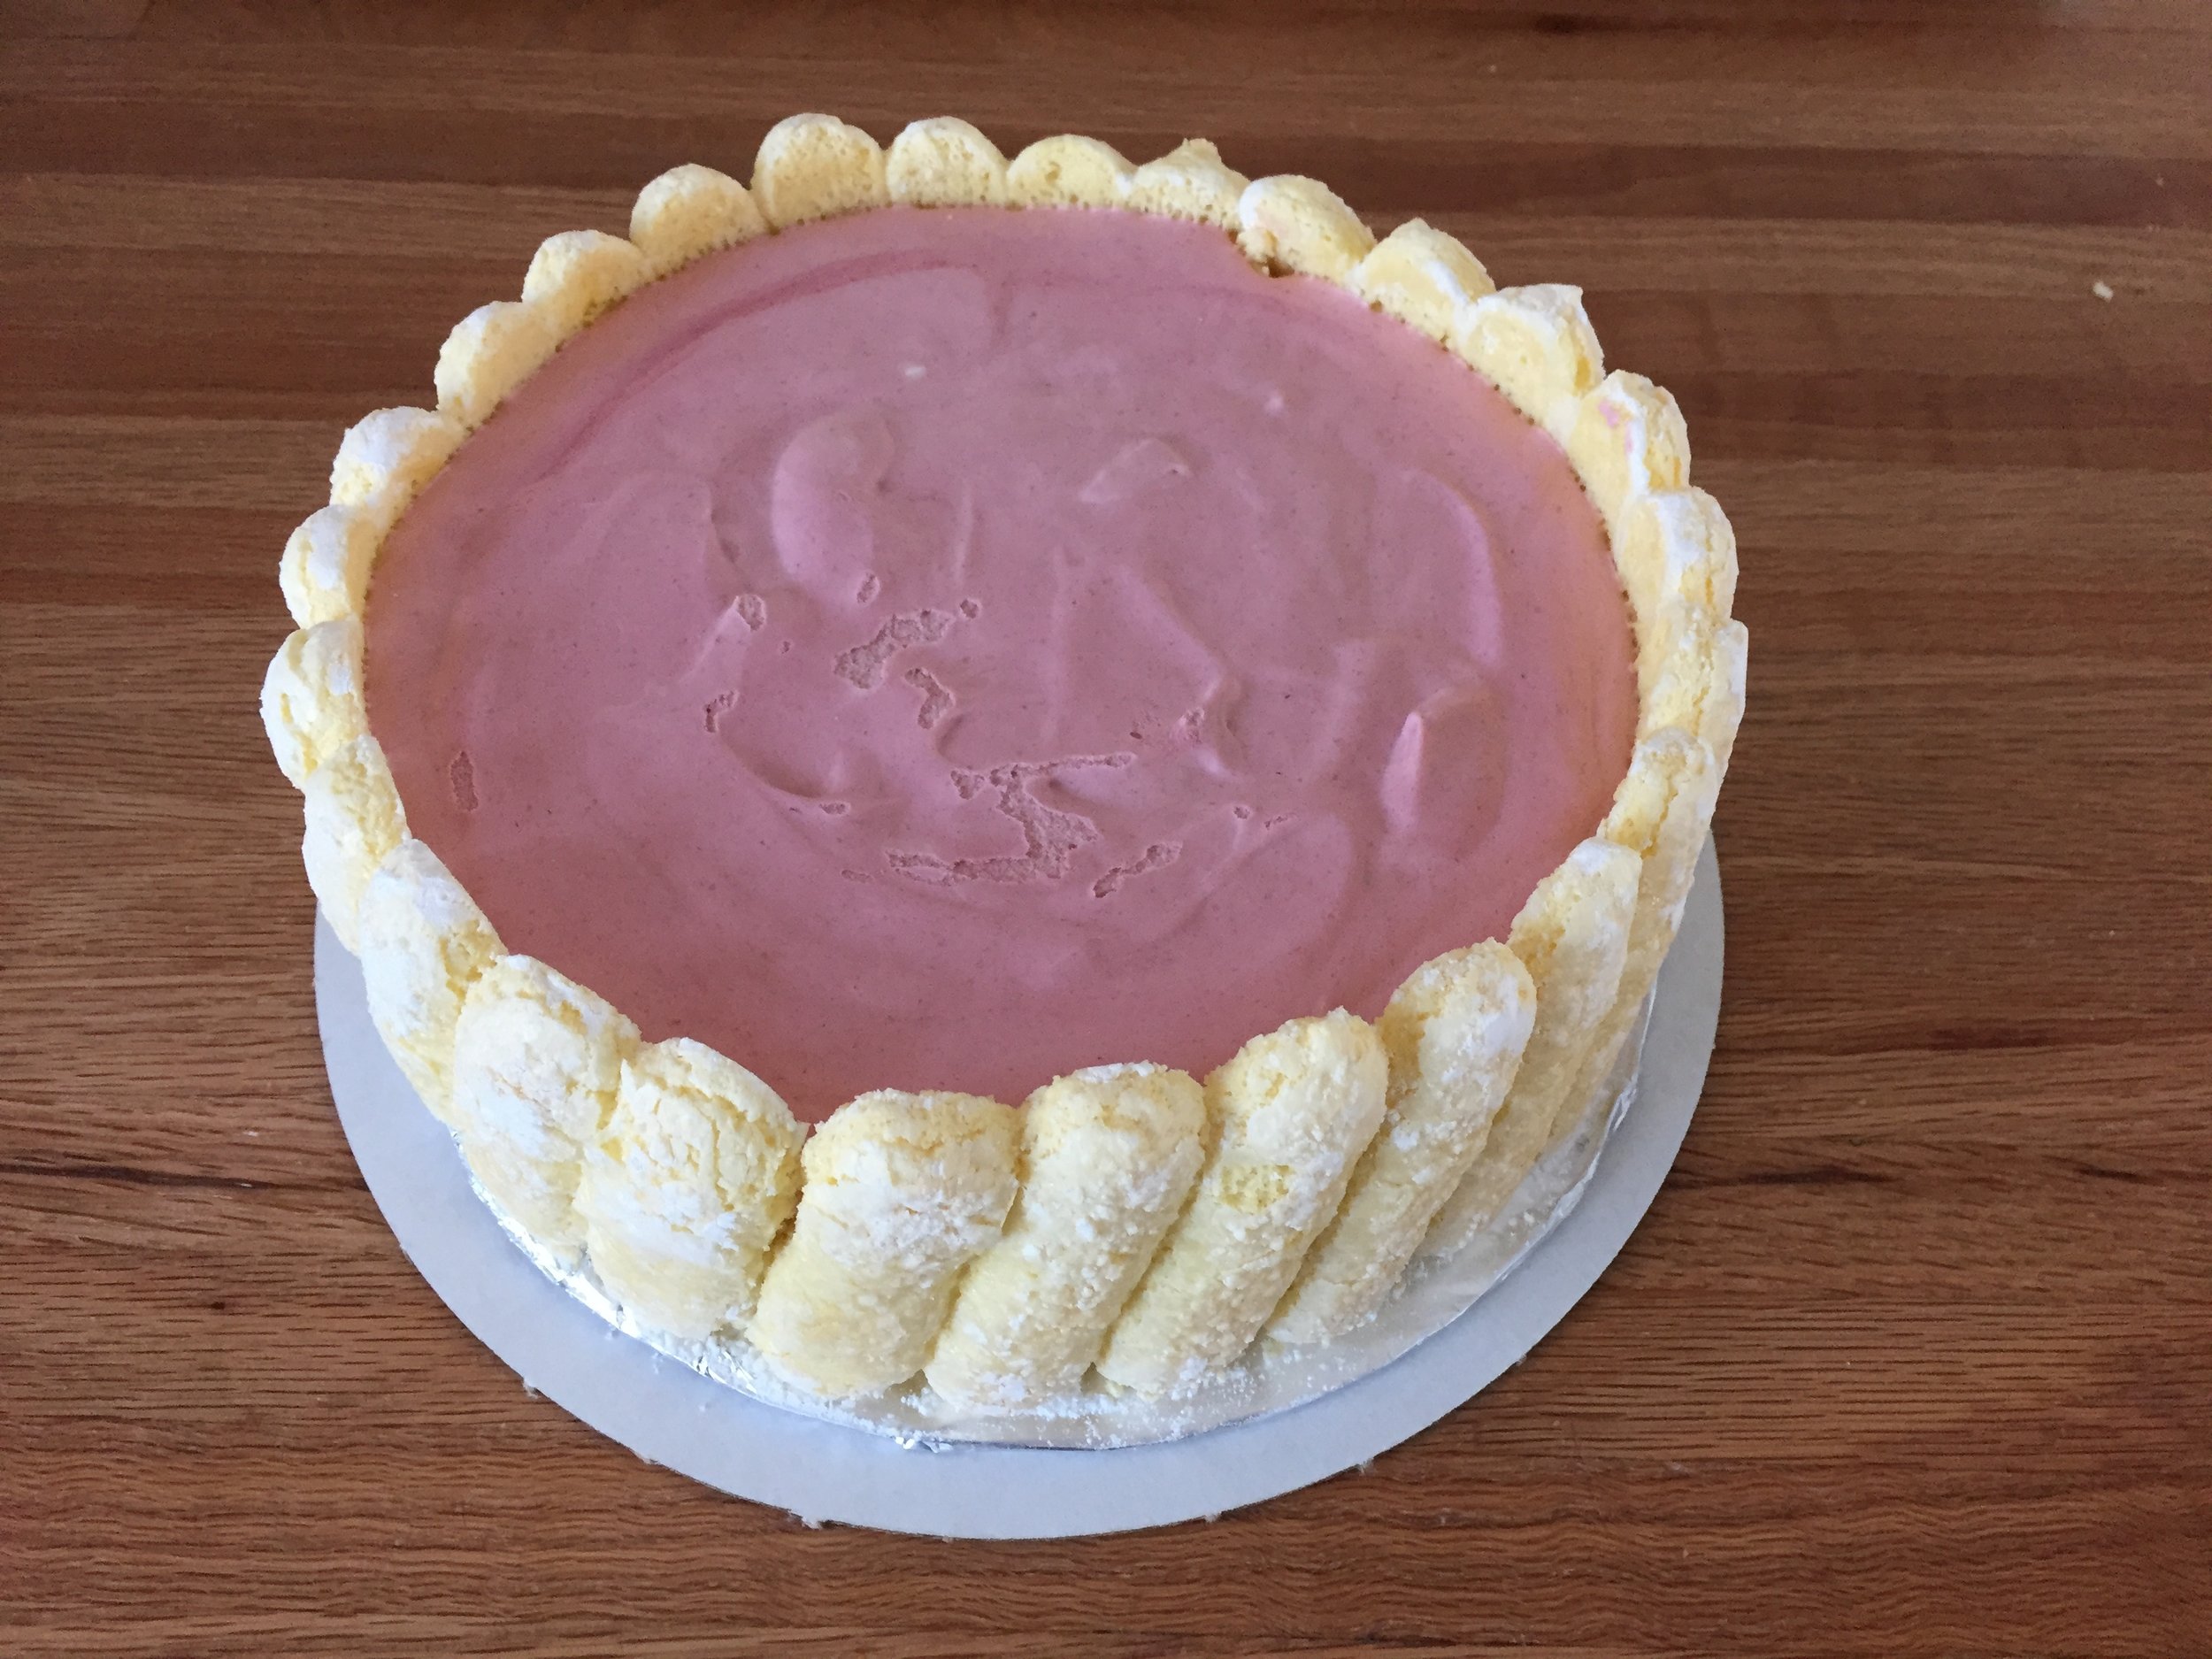
As you can see below, I tucked scraps of sponge cake along the inside bottom edge and where the ladyfinger borders meet to provide a secure cocoon for my raspberry filling. For just a little something extra I arranged fresh raspberries on the bottom.

IMG_3647.jpg

Having completed my filling of raspberry bavarois lightened with Italian meringue, I poured it into my ladyfinger-ed mold almost to the top. Just remember - due to the timing of adding the gelatin and cooling the crème anglaise to just the right temperature for adding the whipped cream and Italian meringue, it’s imperative that your border and base are at the ready. Once the filling is in it’s simply a matter of chilling the whole thing and letting the filling set.

IMG_3650.JPG

A final topping of crème Chantilly and fresh raspberries, and you can call it a day!

IMG_3654.jpg

Since I made this for someone else’s party, I couldn’t slice into this baby right then and there to show you a cut section. Buuuuut . . . . I certainly did taste some ladyfinger scraps with a bit of the bavarois filling, and I say yes indeed!

IMG_3656.JPG

Fresh fruit tarts

Four Inch Tartes individuelles

Four Inch Tartes individuelles

West Michigan is known for it’s grey skies and lack of sunny days during the winter months, but lately I’ve been making a variety of fresh fruit tarts which simply add their own version of sunshine and brightness to the seemingly dreary weather. The good news is when we do have a sunny day, it’s a beauty! And some of our sunsets are absolutely gorgeous. Ahhhh . . . . there’s something about a Michigan sky.

Tartelettes Petits Fours

Tartelettes Petits Fours

While I’d prefer to use fresh local summer berries and stone fruits for my fresh fruit tarts, we’re fortunate to have pretty decent berries coming to us from California as well as citrus and all manner of tropical fruits from various parts of the country and the world. It’s interesting that most requests I receive for fresh fruit tarts happen during the winter months. I guess it’s just that desire for something colorful and delicious, and there’s nothing wrong with that!

TWO and a half inch Tartes individuelles

TWO and a half inch Tartes individuelles

I love the pinkish-orange of the Cara-Cara variant of the navel orange - just like one of our beautiful Michigan sunsets, especially when paired with the brilliant red of raspberries. And the blackberries lean more toward the end-of-sunset dusk when things start darkening into the deep purple hues of the night sky.

Nine inch Tarte

Nine inch Tarte

The nuts and bolts of this type of tart include a standard pâte sucrée crust, a classic crème pâtissiére and, of course, an assortment of fresh fruit. Whatever suits your fancy.

Especially when I’m assembling a large tart, I like to do a mock up of my fruit lay out before actually placing the fruit on top of the crème. Here I’m using raspberries, blackberries, strawberries and Cara-Cara citrus. You might notice the pomegranate seeds at the top - I didn’t end up using them for my own aesthetic reasons (artistic license, right?).

Working on the layout

Working on the layout

Assembly in process

Assembly in process

I must say that finishing a fresh fruit tart gives one quite a sense of satisfaction. And, of course, one hopes that the recipients will be just as satisfied!

Merry Christmas and Happy New Year everyone. Here’s to many more baking adventures! And may you enjoy your own sunsets wherever you are.

IMG_3454.JPG

World egg day!

Maple pot de crème

Maple pot de crème

How many of you knew that October 12 was World Egg Day? I wouldn’t have known if it hadn’t been for Kim, the activities director at Heron Manor/Woods just down the street from our home.

It all started in 1996 when the International Egg Commission set the second Friday in October as World Egg Day to increase awareness of the benefits of eggs and how important they are in human nutrition. Who knew?

Needless to say, eggs are utilized in many different ways in the baking and pastry world. For a morning event this past Friday, October 12, I decided to really go for it in the egg department.

Never one to turn down pot de crème, I thought others would enjoy a maple version of this unctuous delight, topped with maple mascarpone cream, a sprinkle of walnut praline crumbs and a petite maple walnut shortbread cookie on the side. So lovely and so delicious.

The base is essentially a crème brulée type custard made with cream, yolks and sugar (maple syrup here). I used 3 ounce ramekins which I find to be a perfect portion for a just right taste.

To yield 14 portions, whisk together 9 yolks, 3/4 cup REAL maple syrup (don’t you even dare use “pancake syrup“!), 3/4 teaspoon salt and 3/4 teaspoon vanilla extract; heat 3 cups heavy cream to barely simmering and temper it into the egg/maple syrup mixture. Strain through a fine mesh sieve into a pouring measuring cup then fill the ramekins to 1/4” below the rim.

Bake in a water bath at 325ºF. I use a clear pyrex glass baking dish, set the ramekins in, pour hot water into the corner of the dish and fill to about half-way up the sides of the ramekins. Cover loosely with foil and bake about 30-35 minutes, checking it periodically - you want the custard just set with a hint of a jiggle in the center. Once out of the oven, lift them out of the water bath and cool to room temperature on a wire rack.

IMG_3255.JPG

Then refrigerate until chilled. Garnish with whatever you’d like! If not being consumed the same day, I cover them with plastic wrap to enjoy over the next few days.

IMG_3266.JPG

Now for a tart!

IMG_3253.JPG

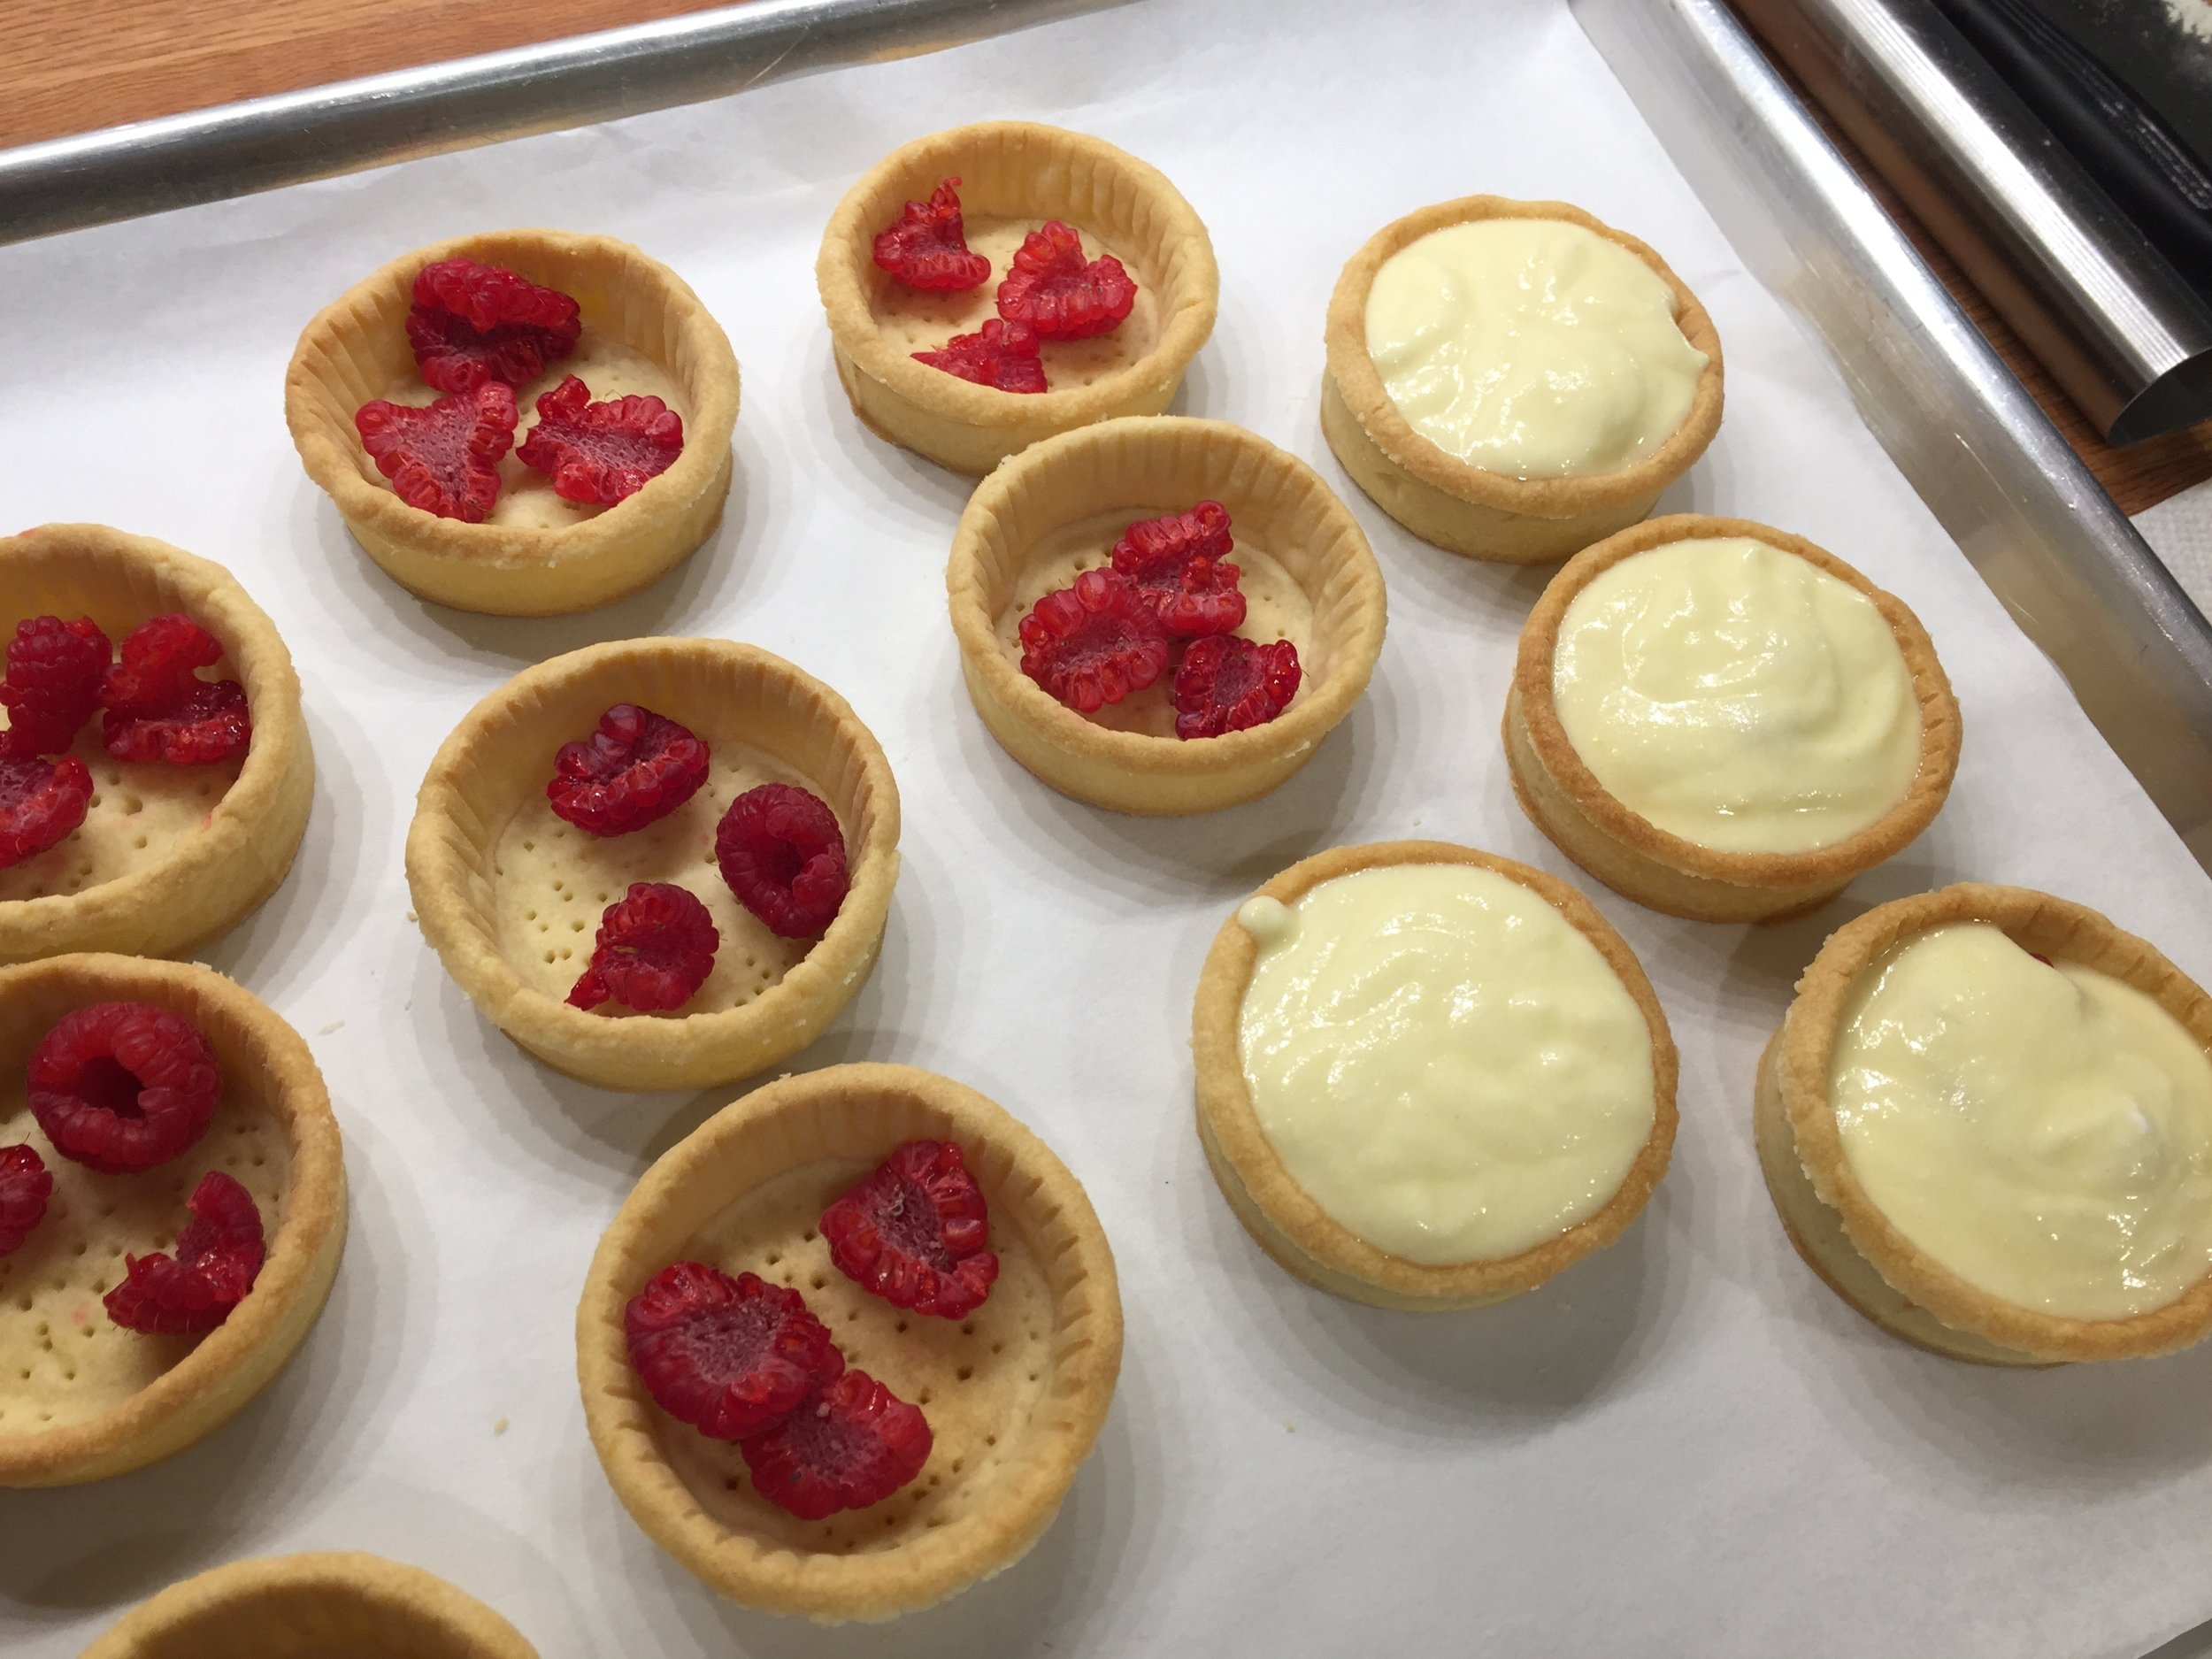
As always, having some version of a tart in the mix is right up my alley and thus a ricotta custard raspberry tartlette was born - buttery blind baked short crust filled with a few raspberry pieces and an easy to make ricotta filling.

For the filling whisk together 2 cups ricotta/3 eggs/one tablespoon cornstarch/3/4 cup sugar/zest of a lemon/ 1 teaspoon vanilla. Et voilà, très simple!

IMG_3244.JPG

Bake at 350ºF until the filling is set and a bit puffy, about 20-25 minutes.

IMG_3247.JPG

To give these babies some panache I made a lightly gelled raspberry coulis and pooled it on the top.

IMG_3249.JPG

Then a nice string-of-pearls crème Chantilly rim and a fresh raspberry to top it off. Smooth and berry delicious !

IMG_3251.JPG

The World Egg Day table also held browned-butter pistachio crumb cakes (egg whites) . . . .

IMG_3263.JPG

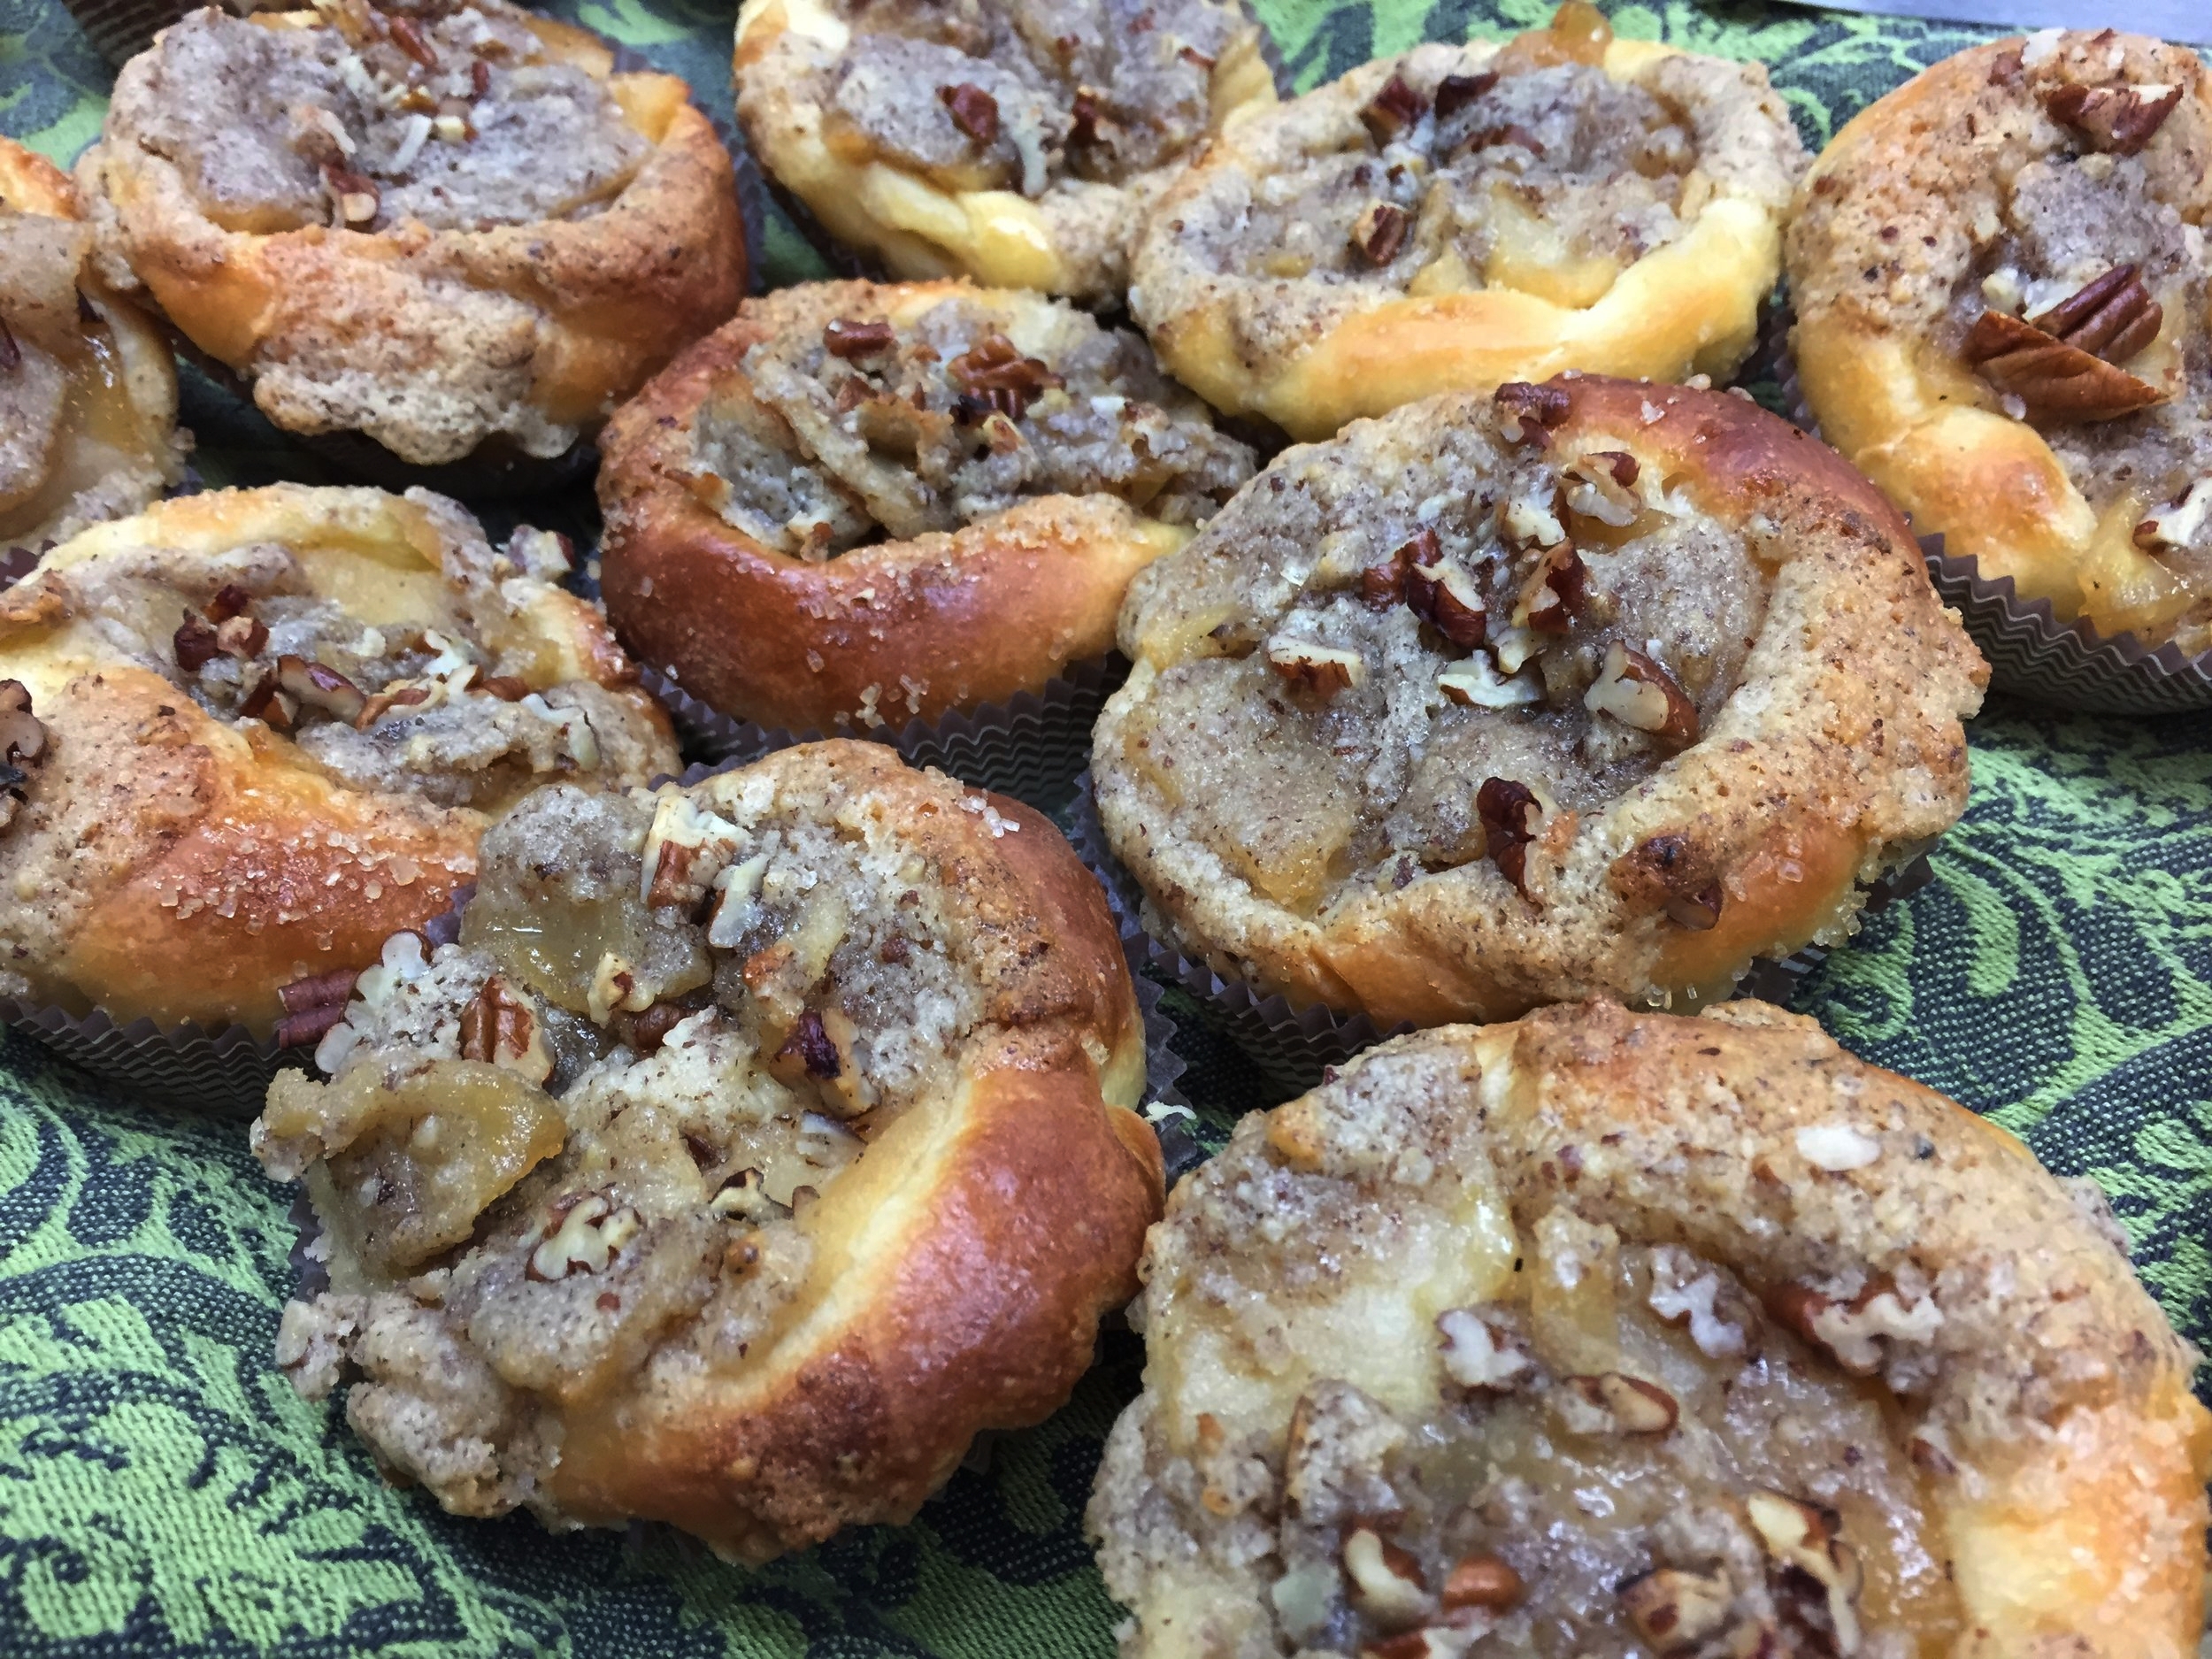
. . . . and apple pecan brioche (we all know that has eggs!).

Note: more on revisiting brioche recipes later - it’s an ongoing task.

IMG_3264.JPG

An enjoyable egg day it was!! Can’t wait until next year.

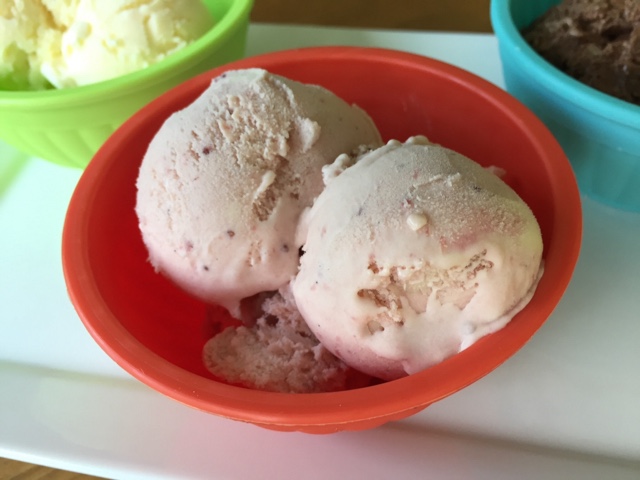
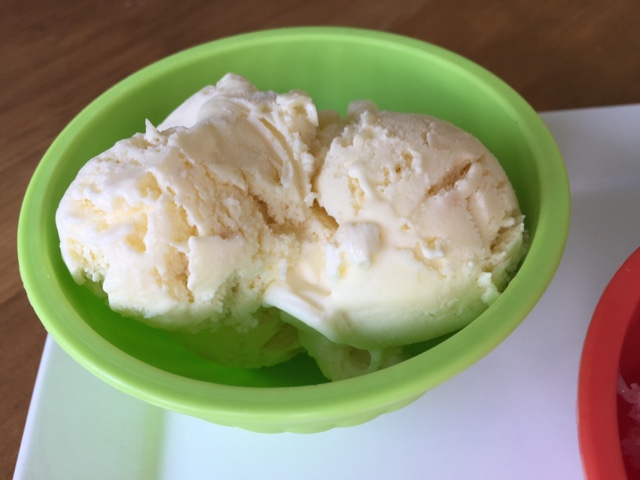
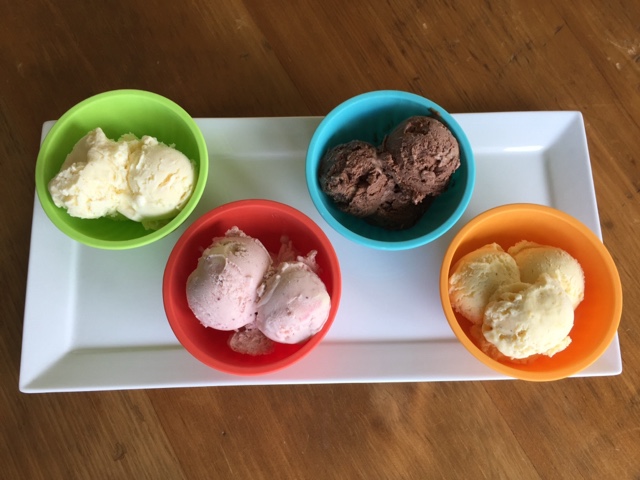
Ice cream! Glace aux pêches, chocolat-amande, framboise-fraise, noix de coco-citron vert

Summer has certainly been in full swing and what better way to enjoy the season than to make some homemade ice cream. Absolutely!

I was on a major roll with this project, that's for sure. Part of it was spurred on by the fresh peaches and berries available at our favorite Fulton Farmer's Market.

Another part of it was the realization that family was coming to visit for my mom's 90th birthday celebration. Having several flavors of ice cream in the freezer seemed like just the thing for any impromptu dessert needs.

I've mentioned in previous posts that I've been using an ice cream base recipe from David Lebovitz for many years now. It's so straight forward and allows one to come up with all sorts of flavor options. He talks about infusing flavors, add-ins before the churning step and mix-ins at the end. SO GOOD.

The base contains 2 cups cream, 1 cup milk, 5 large egg yolks, 155 g sugar and a pinch of salt. The preparation method is that of a basic crème anglaise, cooled over an ice bath and then refrigerated for some hours or over night until ready to process. I love making the bases a day or two ahead so they can cure and thicken in the fridge, plus I have two canisters for my Cuisinart ice cream maker always at the ready in my freezer. Bring it on!

Peach was definitely at the top of the hit list.

When incorporating certain fruits in ice cream there's the possibility that the end result may be a bit icy. David suggests peeling and slicing the peaches, cooking them until they're nice and soft then puréeing them. I added just a whiff of sugar and a splash of lemon juice to what started out as a pound-and-a-half of peaches (before the peeling/pitting and slicing) and was very happy with the end result. Once my chilled base was ready to process, I blended in the cooled peach purée and churned away.

The peach flavor comes through nicely in this creamy, fresh summery treat. I served this one with my from-scratch angel food cake (YUM!) and some sliced fresh peaches. How can one go wrong with that combo?!

Of course it's great on it's own, one luscious spoonful at a time.

Now for chocolate almond, two of the most lovely flavors that one might put together, whether it's in ice cream or some other delectable baked good or chocolate confection.

This version took a little more time since the warmed dairy is first infused for an hour or so with a cup and a half of coarsely chopped toasted almonds. The only downside is that the almonds are discarded after the dairy is strained. Kind of sad.

BUT!! There's hope after all. Next time I'll rinse 'em, soak 'em in water overnight and make my own NUT MILK! I've been dying to try it. And an even more beautiful thing is once the almonds and water are ground and the milk is strained through cheese cloth, the almond meal can be spread out on a baking sheet, dried in the oven and used in baked goods. Now THAT'S a good deal all the way around.

In this case, once the ice cream base is cooked to the anglaise stage, 4 ounces of chopped and melted bittersweet chocolate (at least 60% is recommended) and 1/4 cup Dutch process cocoa are added to the warm mixture before cooling.

In addition, after the ice cream was processed, I mixed in coarsely chopped Ghiradelli 60% chocolate chips and some of my ground almond nougatine.

Now THAT made for a delicious finished version of creamy, chunky delight.

Next up - framboise-fraise!

With this version I prepared the strawberries in a similar fashion to the peaches mentioned above. Hull and cut up about 3/4 pound strawberries, add a couple of tablespoons of sugar and a splash of lemon juice and cook them on the stove top until somewhat thickened and jam-like. Then purée them and chill.

Since I was going for a strawberry-raspberry combo, I also puréed and strained about 8 ounces of fresh raspberries and added them in to the chilled base along with the strawberry purée. Then it's simply a matter of processing to a shear perfection of summery, berry goodness. YES.

Last, but not least, (although this was Steve's least favorite of the bunch, don't ya know!) is coconut lime.

For this version I infused the dairy with 170 grams of toasted coconut and the zest of two limes. After straining, proceed with the usual base prep, chill it over the ice bath and blend in 1/4 cup of freshly squeezed, strained lime juice. 

After churning, this one also got a mix-in of additional crushed toasted coconut to add another dimension to the mouth-feel experience. Quite frankly, in spite of Steve's lack of excitement, I found it nicely lime-y and coconut-y. I gave it a thumbs up.

There's just nothing like homemade ice cream! Now YOU come up with your own favorite flavor combos. You can do it!

Happy summer everyone!