Favorite garnishes, the end: crumbles

Banana rye cakes with hazelnut crumble (and a bit of chocolate tucked underneath)

Ready to bake mixed berry crisp with pistachio crumble

Time for the garnish finale in what has become a 4 parter on some favorite ways to dress up and enhance your baked goods.

Crumbles are easy, ever so adaptable, perfect for layering or topping and they keep either unbaked or baked in the freezer for many weeks. What a great way to be ready for any garnish occasion. Yes!

If you plan to make some crumble, feel free to double, triple or quadruple the recipe for future projects. Simply mix equal weights of flour and sugar in a medium bowl then sand in the same weight of cool, diced butter with your fingertips, work it to smallish coarse crumbs and voilà, that’s it!

A basic starter quantity is 60 g each of flour, sugar and butter which easily tops a dozen muffin size teacakes, a 9” fruit tart or a 9”x9” pan of fruit crisp.

Ready for sanding

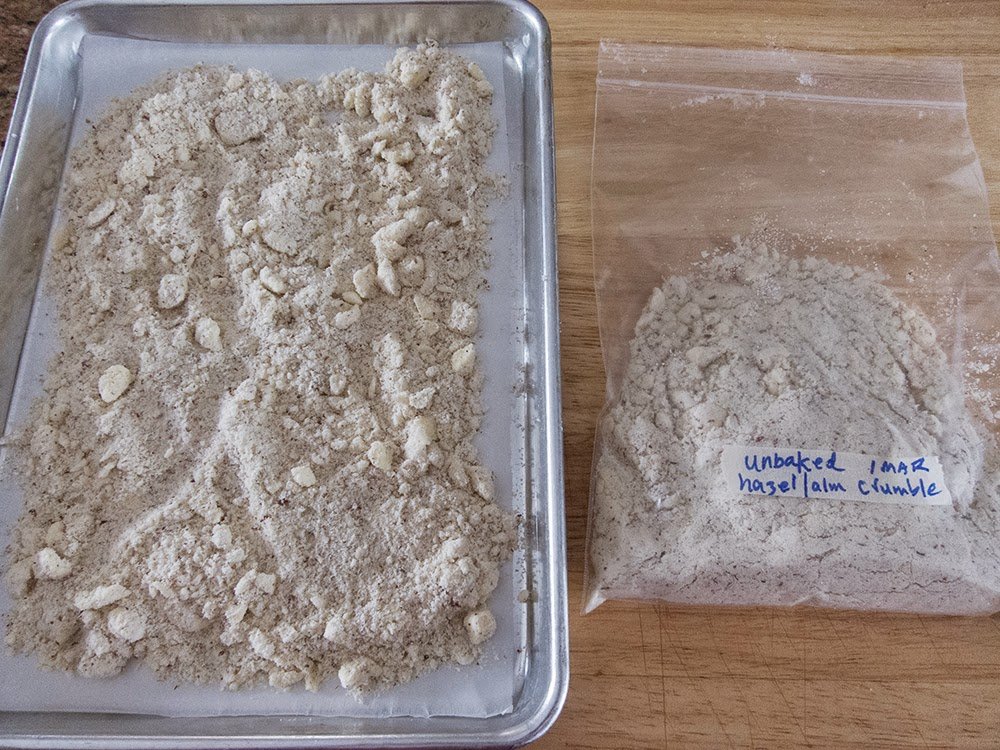
If you’re not using it right away, either spread it out on a sheet pan to bake ahead (350ºF for 15 to 20 minutes, stirring occasionally until golden brown), cool and bag up for the freezer OR store unbaked in a zip-top bag until ready to use.

Tray ready to bake/bag going into the freezer

All baked up

You can change up your crumble by subbing in spelt, whole wheat pastry or rye flour for all purpose (or do a mix) and swap out granulated sugar for raw or dark brown. Make it more nutty by adding an equal weight of nut flour or finely ground toasted nuts. Or simply add in chopped nuts (use anywhere from half to equal the weight of the other ingredients) for more texture and crunch. Add in your favorite spice(s) and/or some citrus zest. Create!

For an alternate crumble approach I use my favorite chocolate shortbread dough (recipe compliments of Thomas Keller’s “Bouchon Bakery”) and rather than bake it as cookies I just crumble up the dough in a single layer on a sheet pan and bake it up. There’s always a bag of the stuff in my freezer. Steve and I love it on ice cream, and I use it to top teacakes garnished with Swiss meringue buttercream or my favorite chocolate ganache tart.

Black gold!

Dark chocolate ganache and caramel apple teacakes

Chocolate ganache tart

You can do the same with your favorite crispy gingersnap dough or basic shortbread dough. I love making my own graham crackers too, both for crumb crusts as well as crushing them up for a garnish.

There’s nothing like the crispy crunch of crumble married with juicy, baked fruit, layered with luscious cream or as a topping for citrus curd or ganache - the list goes on. Just go for it and have fun.

Cheers until next time.

Hazelnut ricotta berry entremet layered and topped with almond/hazelnut crumble

Favorite garnishes part 1: candied nuts

Lightly candied sliced almonds

Lightly candied sliced almonds

Wow! It seems like this one’s been awhile in the making. Let’s just say that life has a way of taking us on a variety of paths and unknowns.

Now let’s talk about garnishes! It’s time to take your pastries and desserts to the next level with . . . . . . . Crunchies!!

Whether you choose cookie crumbs, candied citrus, nutty crumbles, brittles or candied nuts, they’ll all add that extra splash your creations deserve. Use as garnishes on top of ice cream, teacakes, baked fruit and custard desserts or tuck them into creamy layers between your favorite cake slices and you’ll be the happier for it. It’s the little things that make all the difference.

I’ve touched on many of these when writing about different projects over the years, but now I’ve attempted to organize some of my favorites in separate posts so as not to overwhelm with too much info.

Let’s talk nuts. I’ll explain three approaches to candied nuts. Generally you’ll need the stove top and in some cases the oven. I find silicone mats perfect for these projects - no sticking plus easy cleanup.

Start with a clean slate, as it were - use raw, non-salted, non-roasted nuts. I typically have almonds, pecans, walnuts, pistachios and hazelnuts in my larder and, unless I know I’m going to use them within a few weeks, I keep them in the freezer up to six months to preserve freshness.

Here we go. The first approach calls for making a syrup on the stovetop, stirring in your choice of nuts (whole or sliced) and then baking in the oven to crisp things up. Sounds good.

Heat your oven to 350ºF. In a small saucepan stir together 1/4 cup (50 g) sugar, 2 tablespoons water, 1 tablespoon corn syrup and a large pinch of kosher salt. Bring it to a boil over medium heat then remove from the heat and stir in 1.5 cups (~ 200g) of nuts until coated. Then spread the mix out on a parchment or silicone lined 1/2 sheet pan and bake for 5 minutes. Stir them up and bake another 8-10 minutes until golden brown. Let cool and store in an airtight container at room temp. They should last several weeks and are great for garnishing ice cream, custards, crisps, tarts or whatever your little heart desires. Even your morning oatmeal. And they’re not bad all by themselves!!

Cherry almond Breton tartelettes with almond crunchies

The next approach (which I refer to as the egg white method) uses a bowl, whisk, rubber or silicone (my preferred) spatula and the oven (no stovetop). I particularly love making pistachios this way, coarsely chopped and blended into my favorite Breton shortbread dough for just the right touch of crunch. Yum.

Halve or double the recipe to suit your needs. Prep note - you’ll be toasting and cooling the nuts first before blending them into the egg white mixture and then back into the oven. You can do the toasting a few days ahead of time and store the nuts at room temperature in a covered container.

Heat the oven to 300 - 325ºF depending on the nuts you’re using (325º for whole almonds, walnuts and hazelnuts; 300º for pecans and pistachios which tend to burn more easily). Spread 2 cups (about 227 g / 8 ounces) of nuts in a single layer on a sheet pan and toast them about 8-10 minutes to bring out the fragrance. Let cool. Keep the oven on at the same temperature at which you toasted the nuts.
If you’re like me and save your egg whites for various purposes, this is just one way to use ‘em. In a medium bowl whisk 1/2 or ~ 16 g (give or take) of a large egg white with about 75 g of granulated sugar and a pinch of salt until the mixture has thickened and looks like a loose meringue. Don’t fret about the egg white - using one large white will simply give you a frothier coating.

NOTE: change things up by using brown sugar instead of white and adding spices like ginger, cardamom, cinnamon or coriander (or a mix!) for a tasty option.

Blend the nuts into the mix and spread out on a parchment lined pan.

Bake 20-30 minutes, stirring every 10 minutes or so until the egg white mixture appears dry and crunchy, coating the nuts. Let cool and store in a covered container at room temperature for a couple of weeks.

Use whole as a teacake topper; coarsely crush/chop as a garnish for your favorite ice cream; pulse them up in a food processor and blend into buttercream for your favorite layered cake or dessert creation.

Cocoa hazelnut teacakes with white chocolate-mascarpone cream

Buttercream anyone?

The last method also involves toasting the nuts first so have your oven ready. The nuts should be warm when blending them into the caramel for which you’ll need a medium-large saucepan. Have a silicone-mat-lined or buttered baking sheet on which to spread the caramelized nuts. This is akin to making brittle (coming up in a future garnishes post) but no baking soda here.

During my schooling at Le Cordon Bleu in Paris and internship at Pâtisserie Pascal Pinaud, we referred to this concoction as nougatine - caramelized nuts, spread out and cooled, then ground up into crunchy goodness for layering the many entremets that the French love to make and eat. Here’s just one entremet example.

I’m making a pistachio nougatine here. I’ve toasted 170 g / 6 oz pistachios and have them waiting warmly on the side. Have a silicon spatula lightly oiled at the ready.

Place 300 g / 1.5 cups granulated sugar and 60 ml / 1/4 cup water in your saucepan on low to dissolve the sugar.

Once the sugar is dissolved turn the heat up to medium high and bring to a boil.

Cook the sugar to a lovely medium amber. The image below is almost there. When I get close, I give it another 30 seconds or so to reach my desired color. Don’t wait too long - you don’t want burned sugar. After you’ve done it a bunch of times, you just know when to snatch it off the heat.

Remove the caramel from the heat and stir in the nuts with the oiled spatula. Scrape out onto the silpat lined sheet pan and spread into a single layer. Don’t hesitate - just do it.

Let cool. Your options now are to break it up into smaller pieces (a mallet is great for this!) as a topping for ice cream or process it to medium fine crumbs and use it as a garnish or layer for your chosen dessert.

Pistachio nougatine

WARNING! Please be careful when breaking this up since edges of caramel can be extremely sharp. Believe me, I’ve been there.

That’s it for now. You have a number of things in your dessert armamentarium that will add just that special touch. Go for it.

Next time - candied citrus . . . . . and more to follow that. All in due time.

On a final note, as noted at the beginning of this post, it’s taken me awhile to get this one finished. Life events tend to trap our attention when we least expect it. The main thing is to stay positive, stay safe and have a wonderful holiday season.

See you next time around!

A last gasp of bittersweet

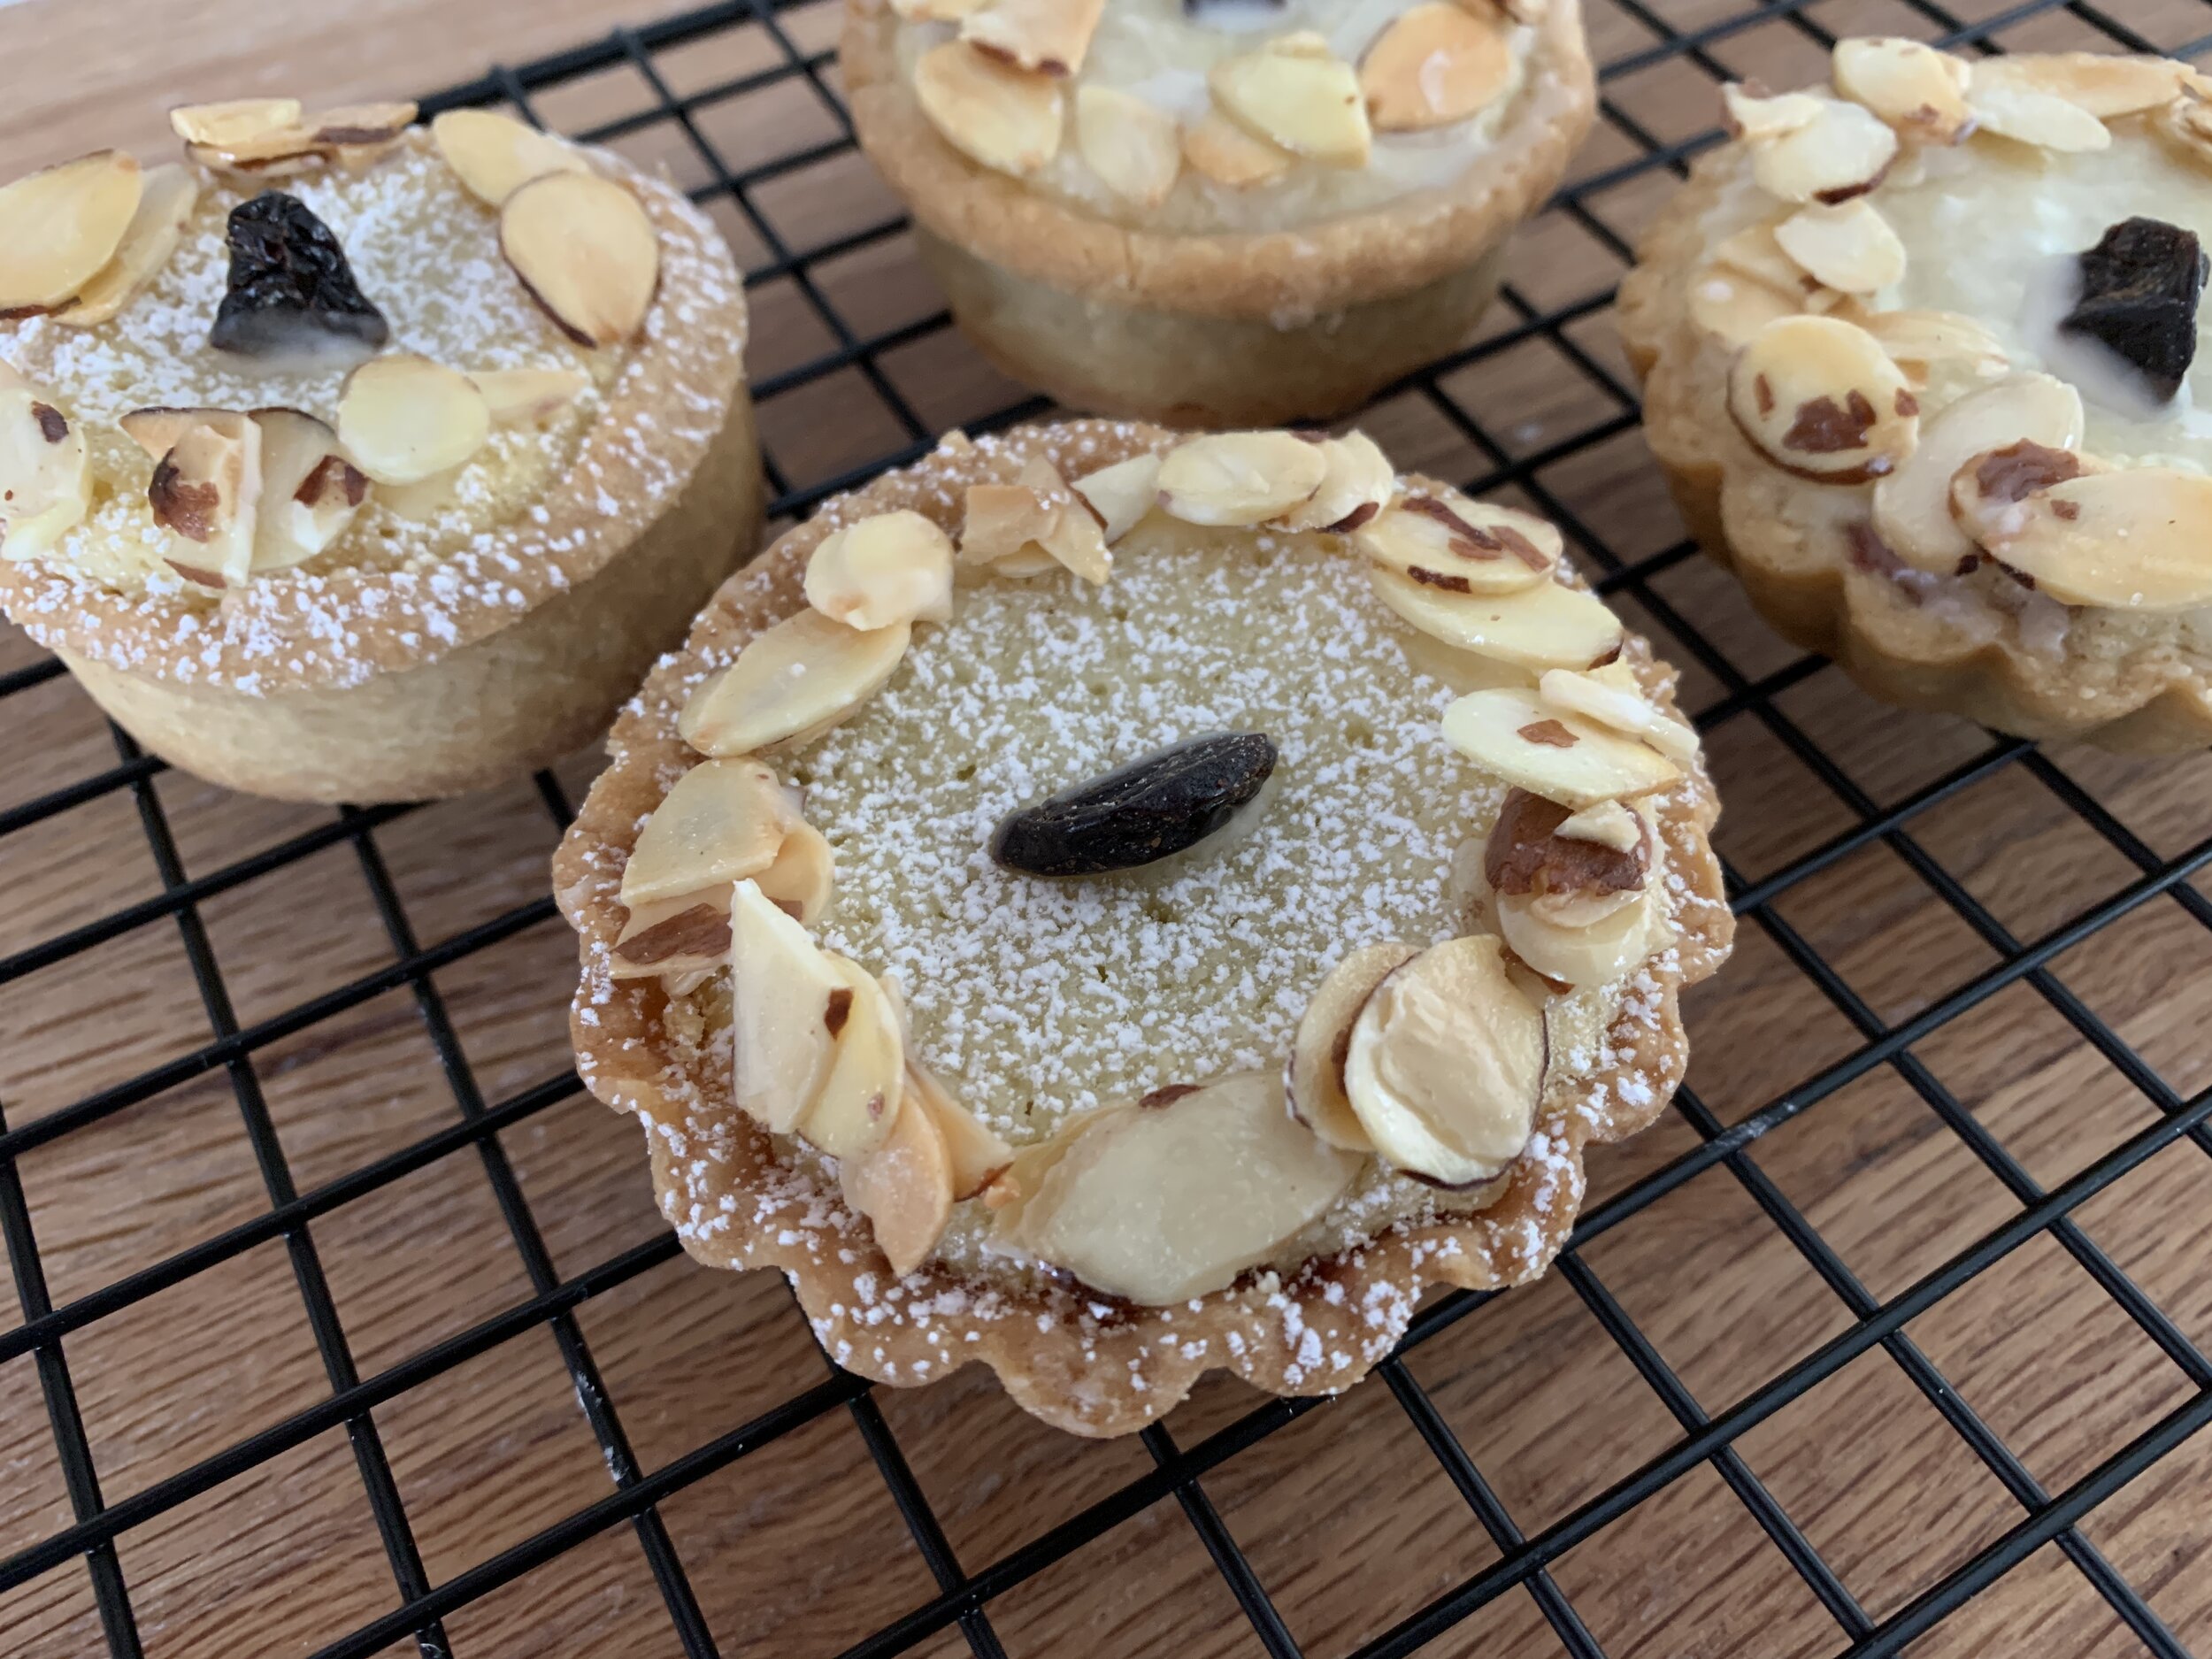
Cherry almond Bakewell tartelettes

C2BBB01E-CAE0-4B10-9E6D-82D4F8E19828.jpeg

Let me just say that there’s nothing like the satisfaction of making a stellar tart. Just the right well baked, crisp and golden crust, the beautiful marriage of fruit with almond cream and a tempting garnish of toasted nuts. Mmmmmm!

Anything with almonds (or nuts in general) is a winner in my book. There are various almond based fillings that one may come across in the baking and pastry world, particularly in Scandinavia, Britain and Northern Europe. Many regions of the globe have their own love affair with almonds and the goods you can create with them.

The terms frangipane and almond cream (crème de amandes en Français) are often used interchangeably but, depending on where you are, they might mean slightly different things. In my Parisian schooling we were taught that frangipane is actually a blend of crème d’amandes and crème pâtissière (used for example in galettes des roi), whereas the term in Britain and Italy (and I’m sure many other countries) refers to what the French call crème d’amandes on its own.

Both will work nicely when making fruit or jam almond tarts, although more typically it’s crème d’amandes that fills the bill (or the tart shell - ha!).

51349C67-2871-4013-9C81-A033CD1B148D.jpg

Of course there are beaucoup des tartes one might create - anything from chocolate ganache to zesty, pucker-y lemon-lime as well as the classic almond cream/fruit combos that one sees in most pâtisseries In Paris and beyond. Think pear, fig/raspberry, plum (the mirabelle is a favorite), cherry, apricot or essentially any fruit or combo thereof you might imagine. So many tarts, so little time!

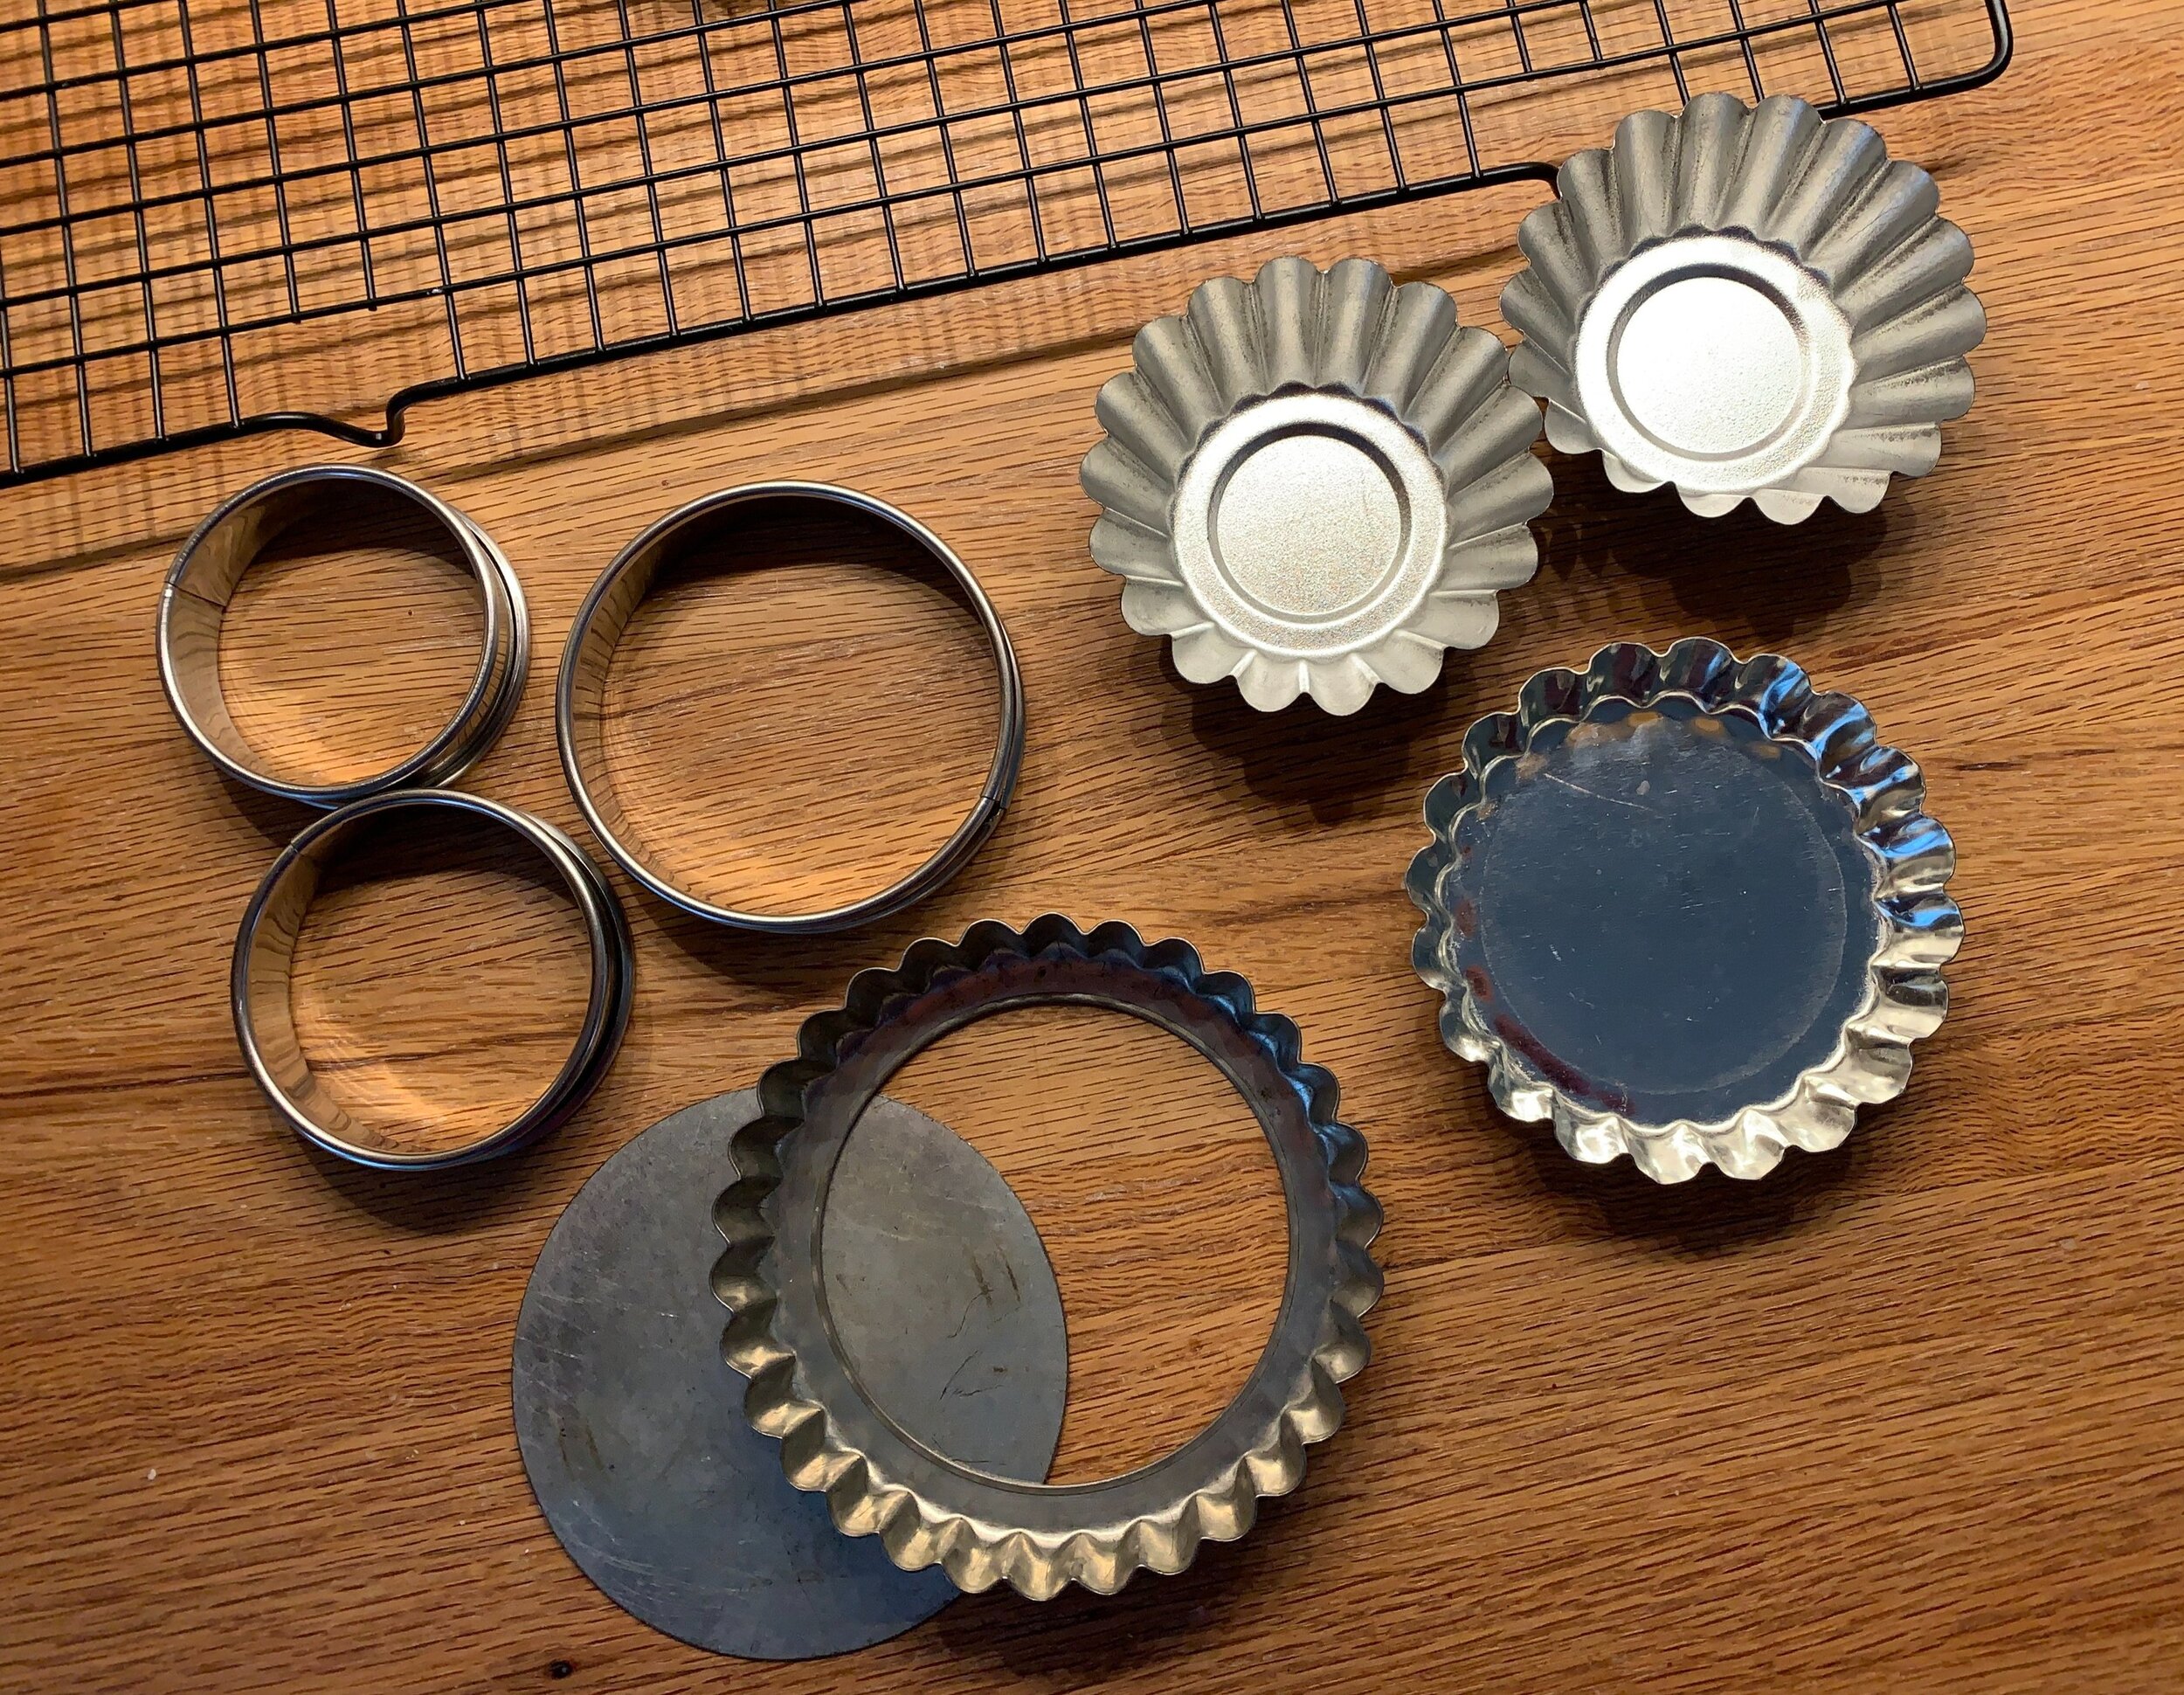
I usually bake tarts, whether large or small, in smooth edged open tart rings. The absence of a metal base allows for more thorough baking of the crust which is better exposed to the oven heat. Plus I like the simplicity of the straight sided, smooth finished tart. It speaks to me.

Buuuut . . . . . If I’m in the mood for a fluted edge, I have the option of removable bottom tart forms vs. solid bottom versions, in which case, depending on the filling, blind baking may come into play. While I love small brioche type tins for tarts, a well baked bottom can be elusive unless you blind bake first then fill and bake to finish.

News flash! I’ve had a Eureka moment in preparation for this post - the oven stone - yay! Prior to this recent discovery, my tendency was to use the open rings or remove the bottom of the fluted pans so as to be sure that my bottom crust baked thoroughly. My experience has shown, particularly with the almond fruit type tarts, that led to a successful bake. Can’t have a soggy bottom now, can we.

B69559DC-5F46-42AF-8535-619F7A0D9C21.jpg

The Bakewell tart is generally associated with England and the town of Bakewell in Derbyshire. Many say it’s a variation on the Bakewell pudding which has more of a jam/custard filling baked in puff pastry or a bottom sponge type cake. The tart version is typically made with an all butter short crust (as the Brits would say) and a jam/almond cream filling. Many recipes use raspberry jam but I decided on cherry from my favorite jam maker Bonne Maman.

I intentionally approached this one to see how well my pâte sucrée would bake in both closed bottom brioche tins and open tart rings. For my first go, I lined my forms and assembled the tarts with a dollop of jam in the bottom and almond cream piped over it. Don’t overfill since the almond cream does puff up during baking.

I baked them on my heated baking stone on which I had also heated a second sheet pan, thinking this would give even better heat transference. Ahhhh . . . . not so.

58D0F830-9B1E-495A-9108-D063FBE9016D.jpg

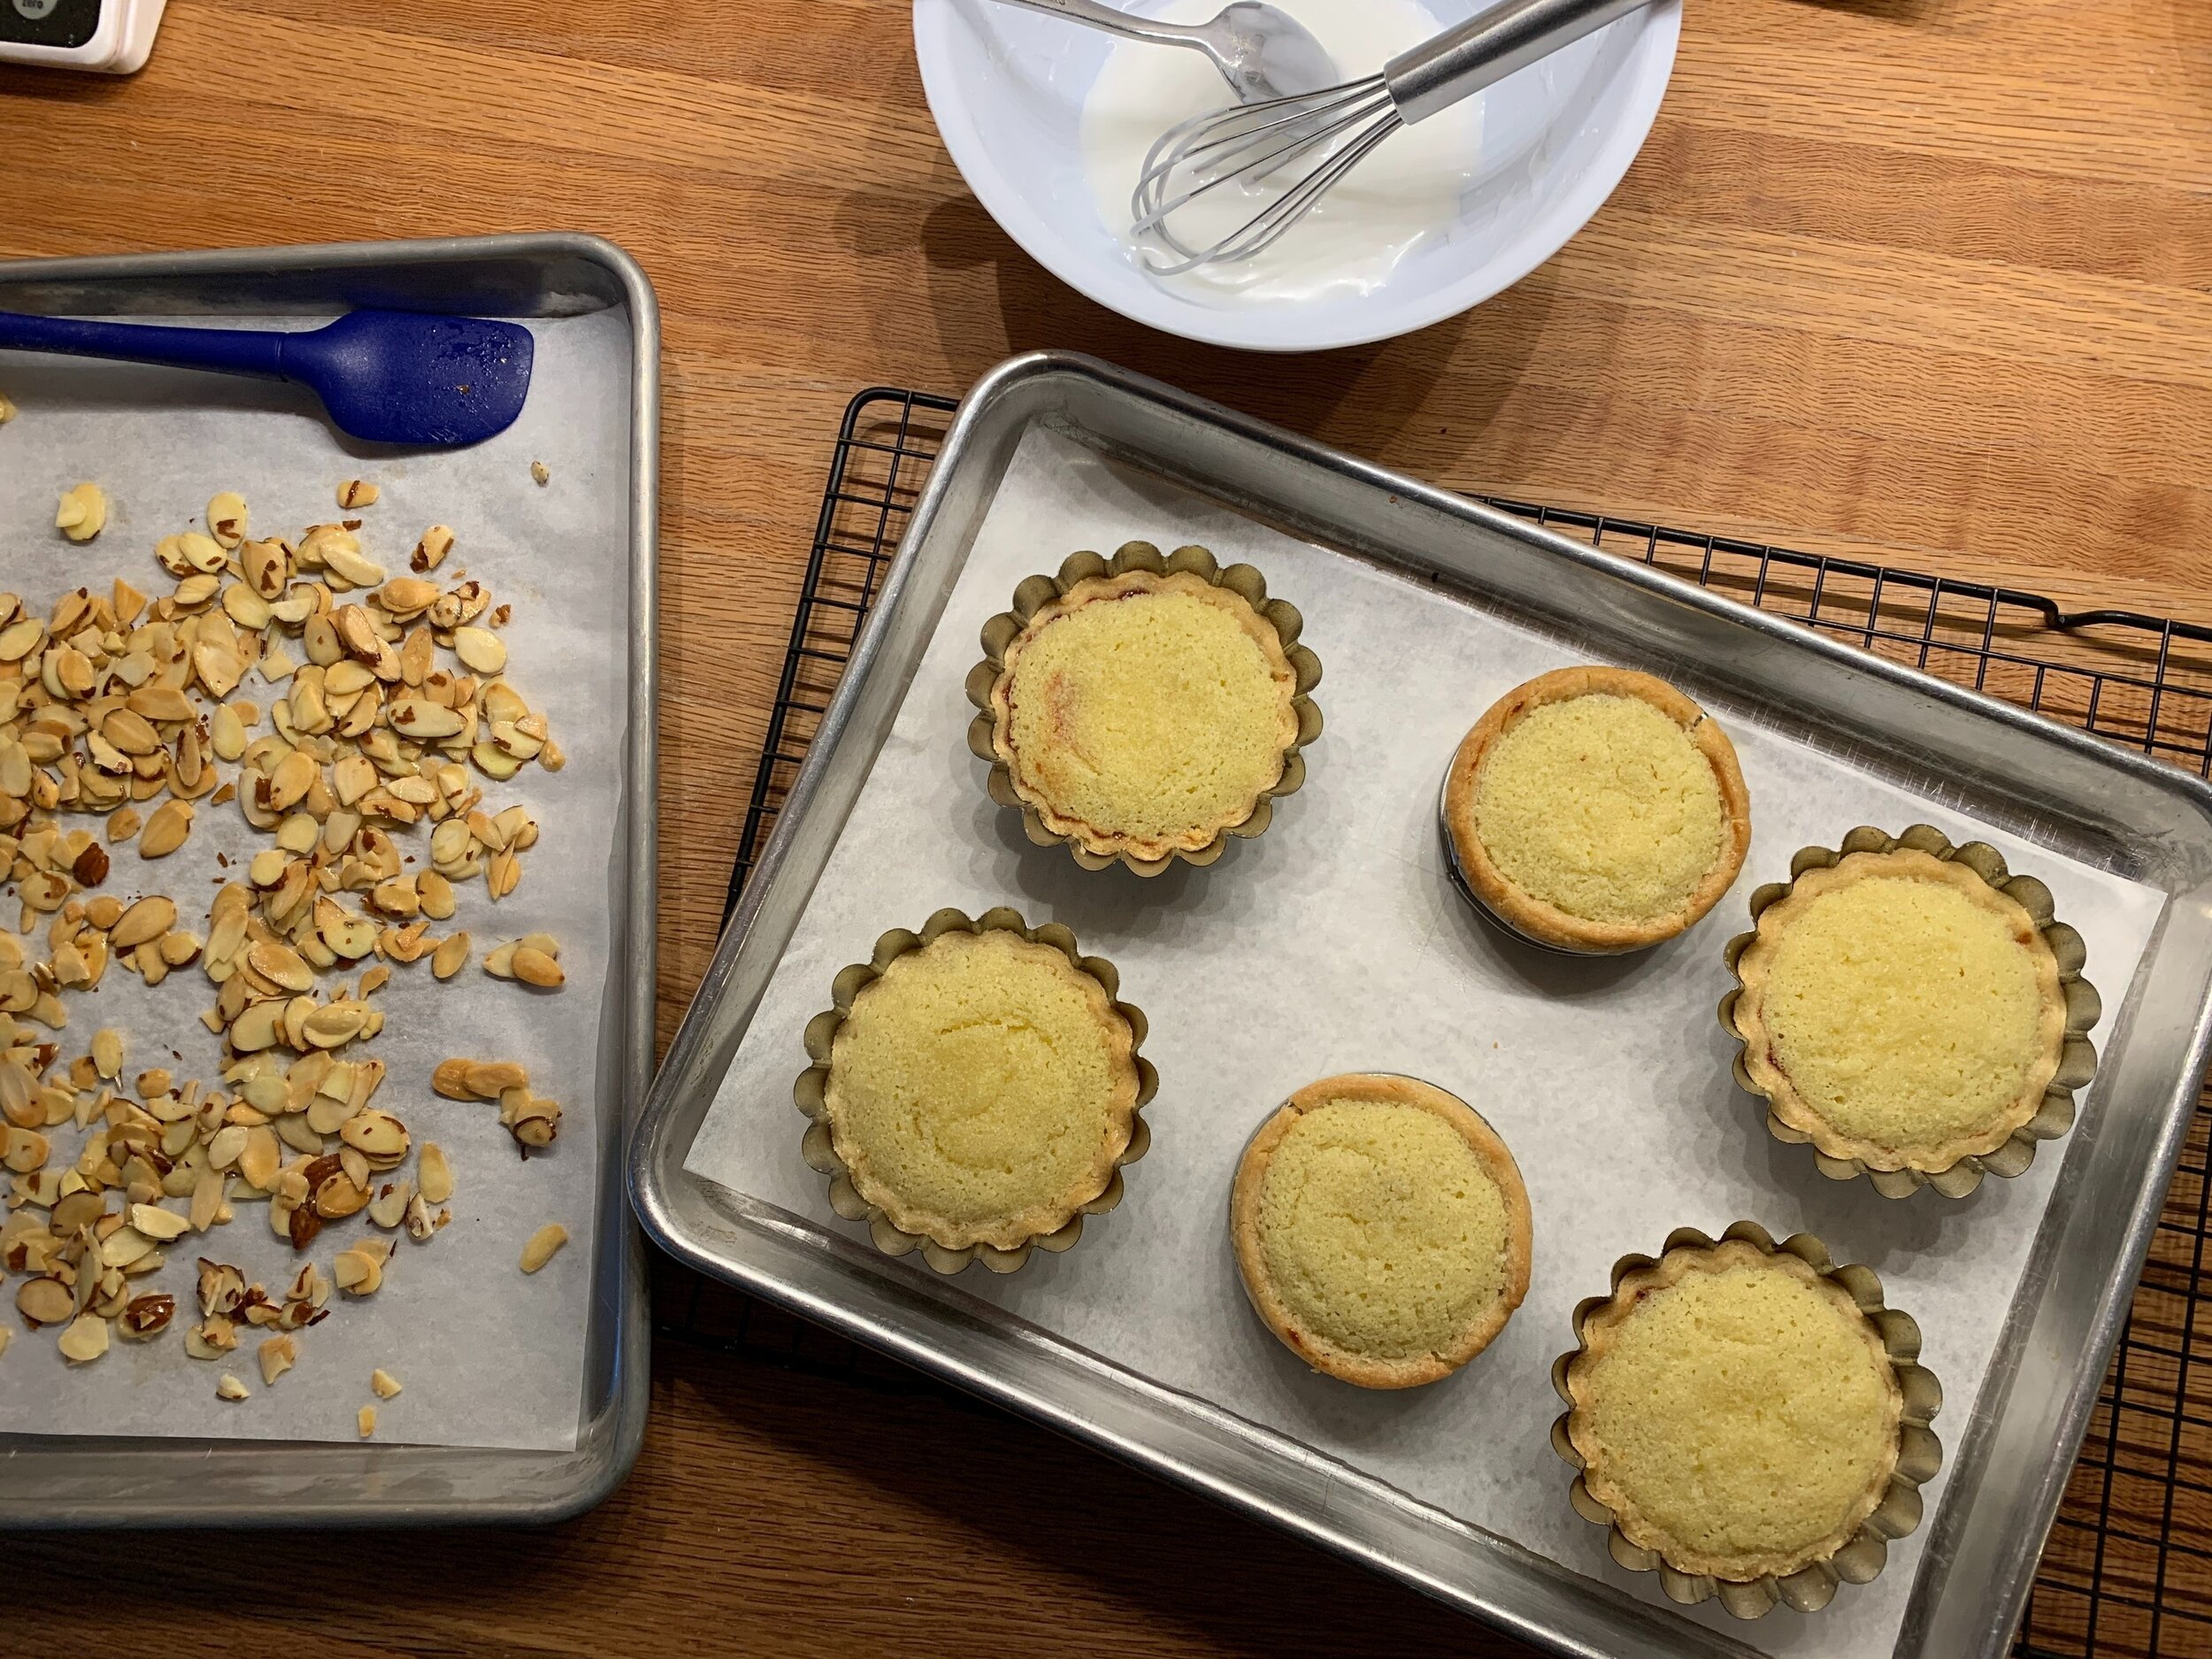
After a 20-25 minute bake at 325ºF (convection), the almond cream was set and lightly golden and the crust edges looked browned.

B33CA05E-65EB-49D5-8CF6-732E2FE7AACF.jpg

The bottom crust of the open ringed tarts was nicely browned, however, the solid bottom brioche tin tart bottoms were not baked all the way through (take my word for it). Fortunately I removed them from the tins and popped them back into the oven, baking another 5-10 minutes for well baked bottoms.

A confectioner’s sugar glaze, a ring of lightly candied sliced almonds and some tart dried cherry bits in the center finished them off.

EB4F7AED-280E-4804-998E-65589D847E05.jpeg

I have one word for you - delicious. While I thought the glaze was too sweet for our tastes (I admit I put it on a bit too thick), this is one stellar tart. Just the right marriage of jam and almond goodness; and the crunch of the candied almonds gives it that wonderful textural contrast.

6D4446FE-681A-4B01-B31B-7EF12A0458AD.jpg

But wait! Not quite finished. My results pushed me to give it one more go. This time I blind baked both an open ringed crust and a closed bottom brioche tin crust. Once cooled, I panned those up with non-blind baked versions. The assembly and baking were the same with one exception - I ditched the second baking sheet and put my sheet pan directly on the heated baking stone.

Here are the results. The blind baked crusts on the left are a bit browner but the other two look pretty darn good too.

CF47BCB7-D018-408D-A5B7-B1A81A6E1EA3.jpeg

And check out the bottoms! Not bad at all - no barely baked bottoms here.

5E76E66D-4C2A-4AEE-B444-EBC613289D8F.jpeg

This time I lightened up my glaze, giving two of the tarts just a light brushing. For a bit of visual comparison the other two got a light dusting of powdered sugar. I stuck the candied almonds around the edges with a bit of glaze et voilà! Steve and I liked these just as much as the first batch.

The lesson: no need for a second sheet pan heated on the stone - it actually seems to have reduced the heat transference, leaving my brioche tin crusts under baked.

The second batch benefited from the consistent heat coming from the baking stone allowing for excellent browning even without first blind baking. Yippee!

One quick note: in general, when baking a tart with a very loose or liquid-y filling, I typically blind bake first. The oven stone may change that perhaps?? We’ll see.

1B975BAF-2A2D-4232-A2B4-F9C3BA078AC9.jpg

I’ll leave you with a final wintry scene looking out our front door. That’s our metal sculpture, Clarence the praying mantis, peeking out of the snow.

Be safe, remain steady and let’s make it to spring in good shape!

4233F6A0-C443-4480-A2F9-3D67A18E20C6.jpeg

A merry season to all

Caramel almond moelleux chocolat

Caramel almond moelleux chocolat

Blogging has taken a back seat due to December’s whirlwind of activities from teaching and baking to selling my 92 year old mom’s condo and moving her into a new apartment. Whew!

As was true during my days working in emergency medicine, baking continues to serve as a respite for my heart and soul. The feel of the dough, the lovely aromas wafting from the kitchen and the taste of that oh-so special treat - you can’t beat it!

To help say adieu to 2019, I’d like to share a few of the goodies I’ve been baking of late.

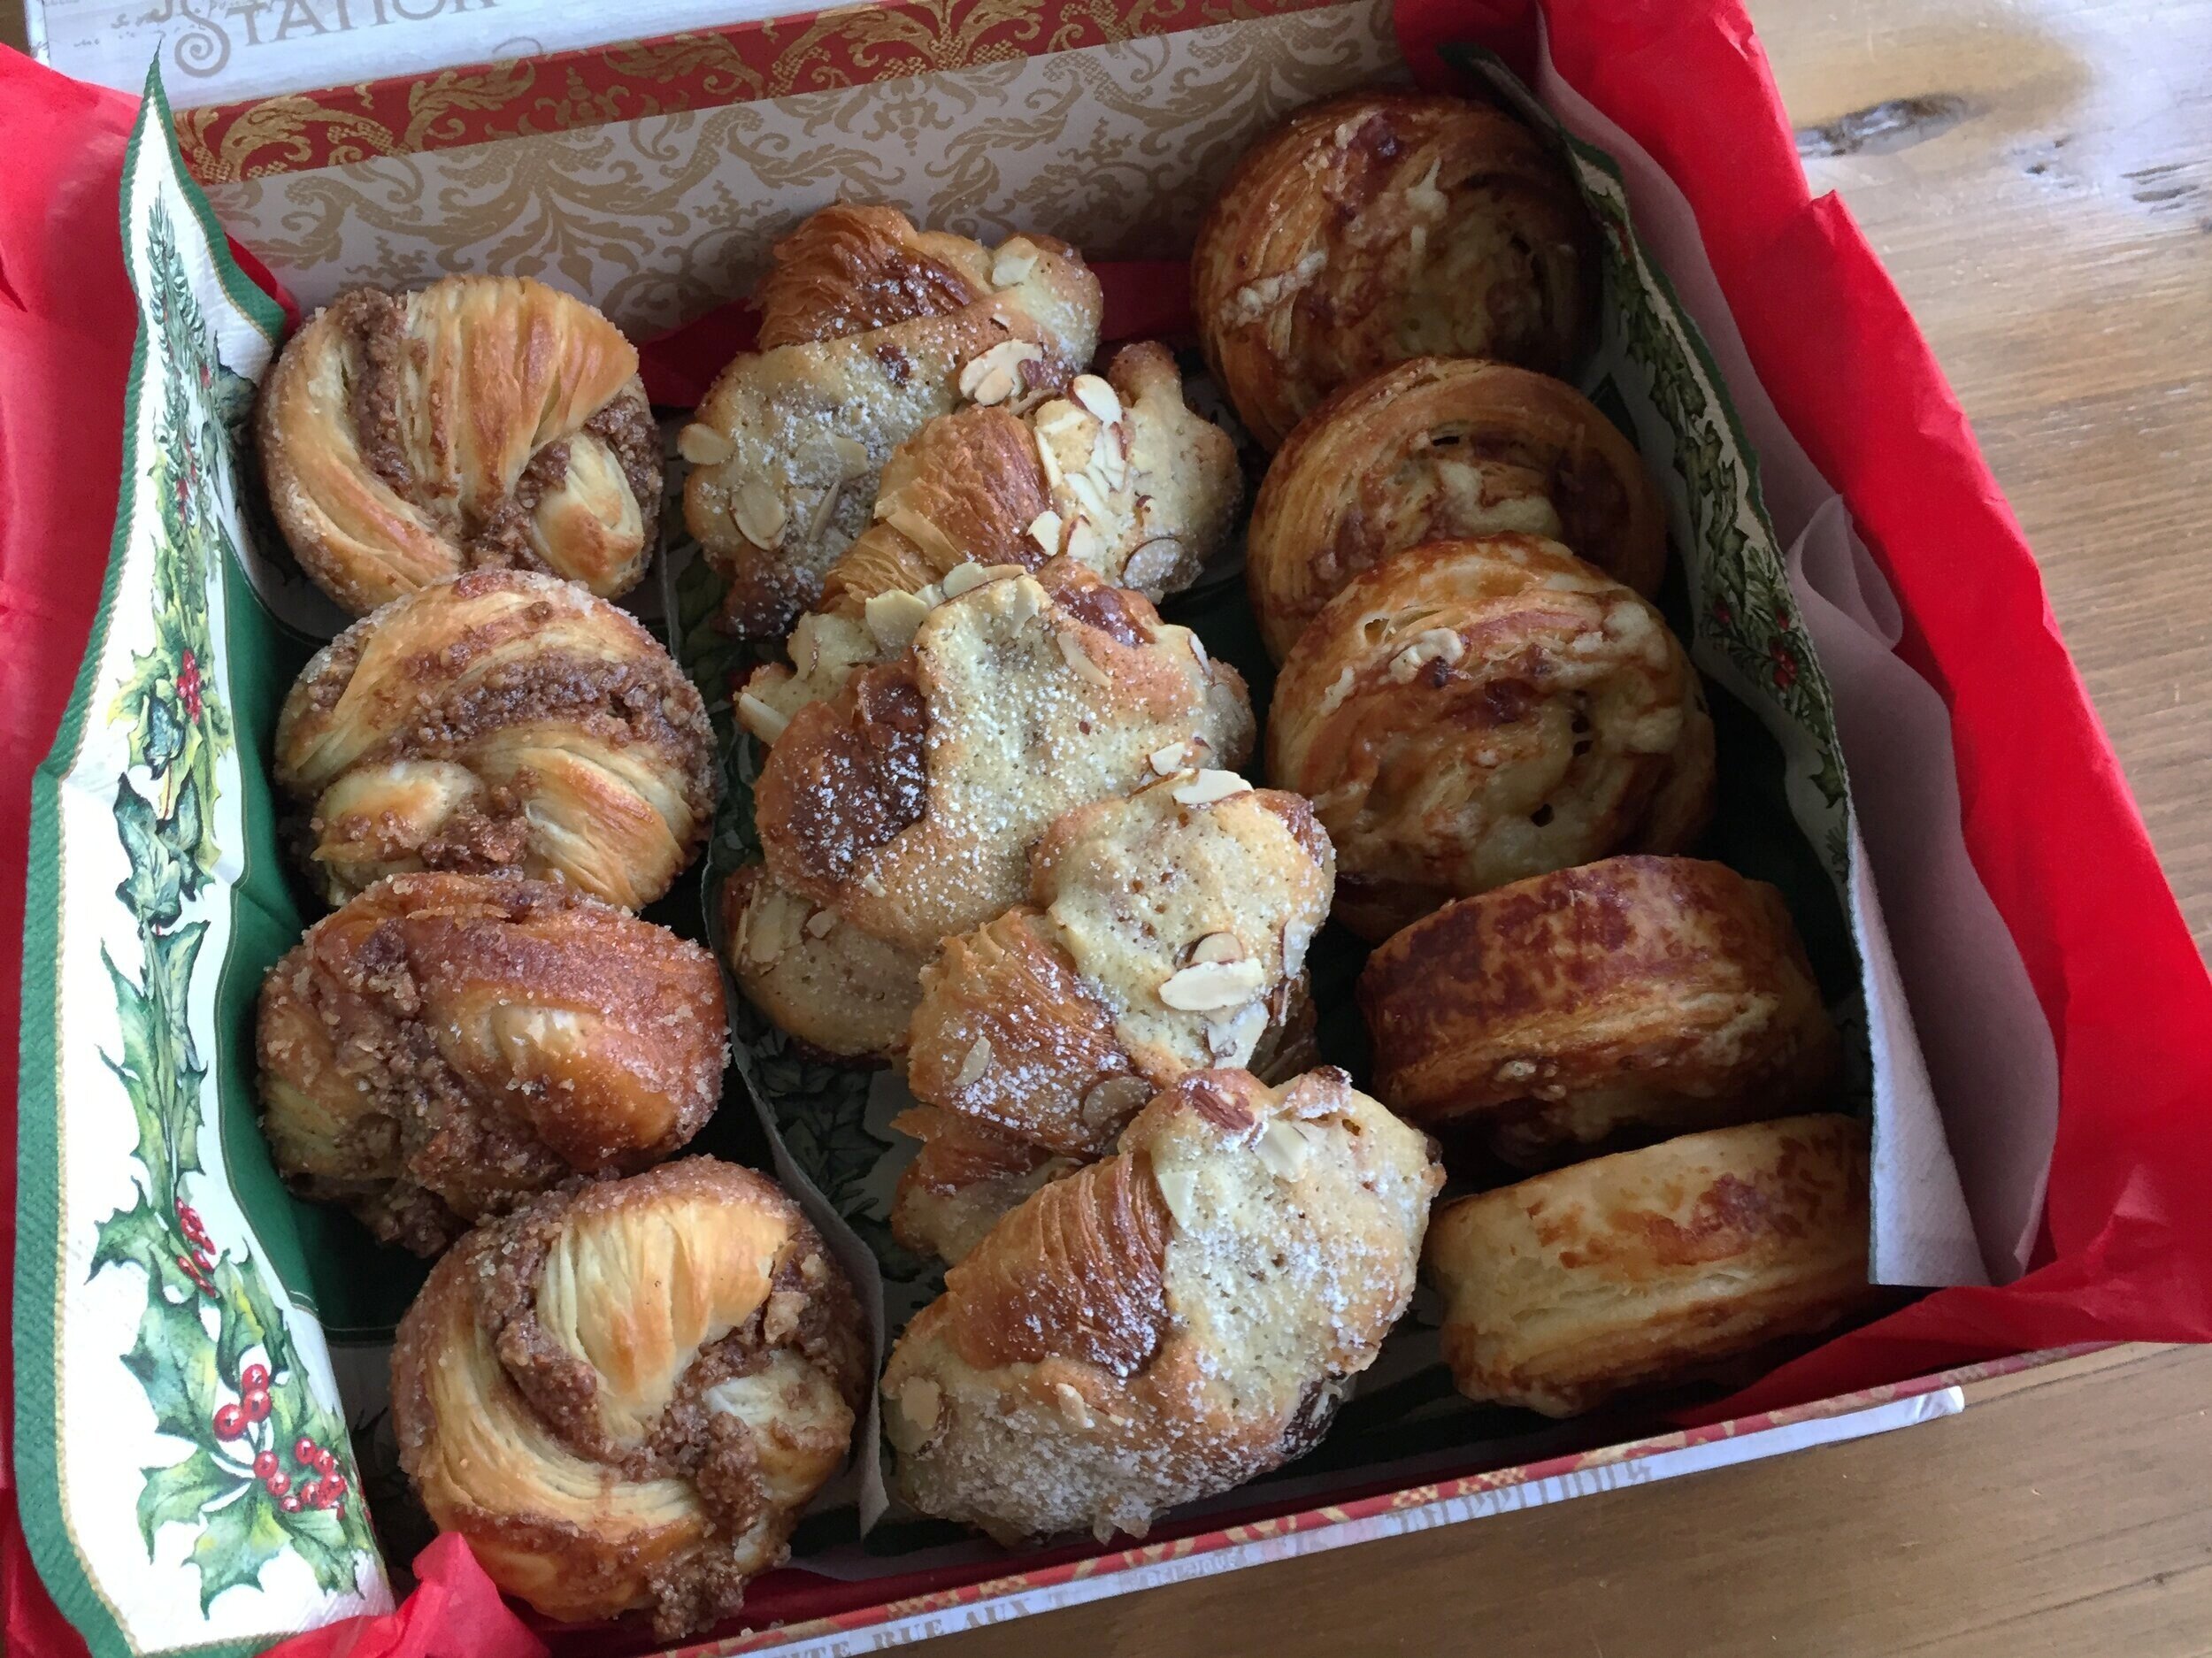
Pecan twirls, almond croissant, ham and cheese spirals

Pecan twirls, almond croissant, ham and cheese spirals

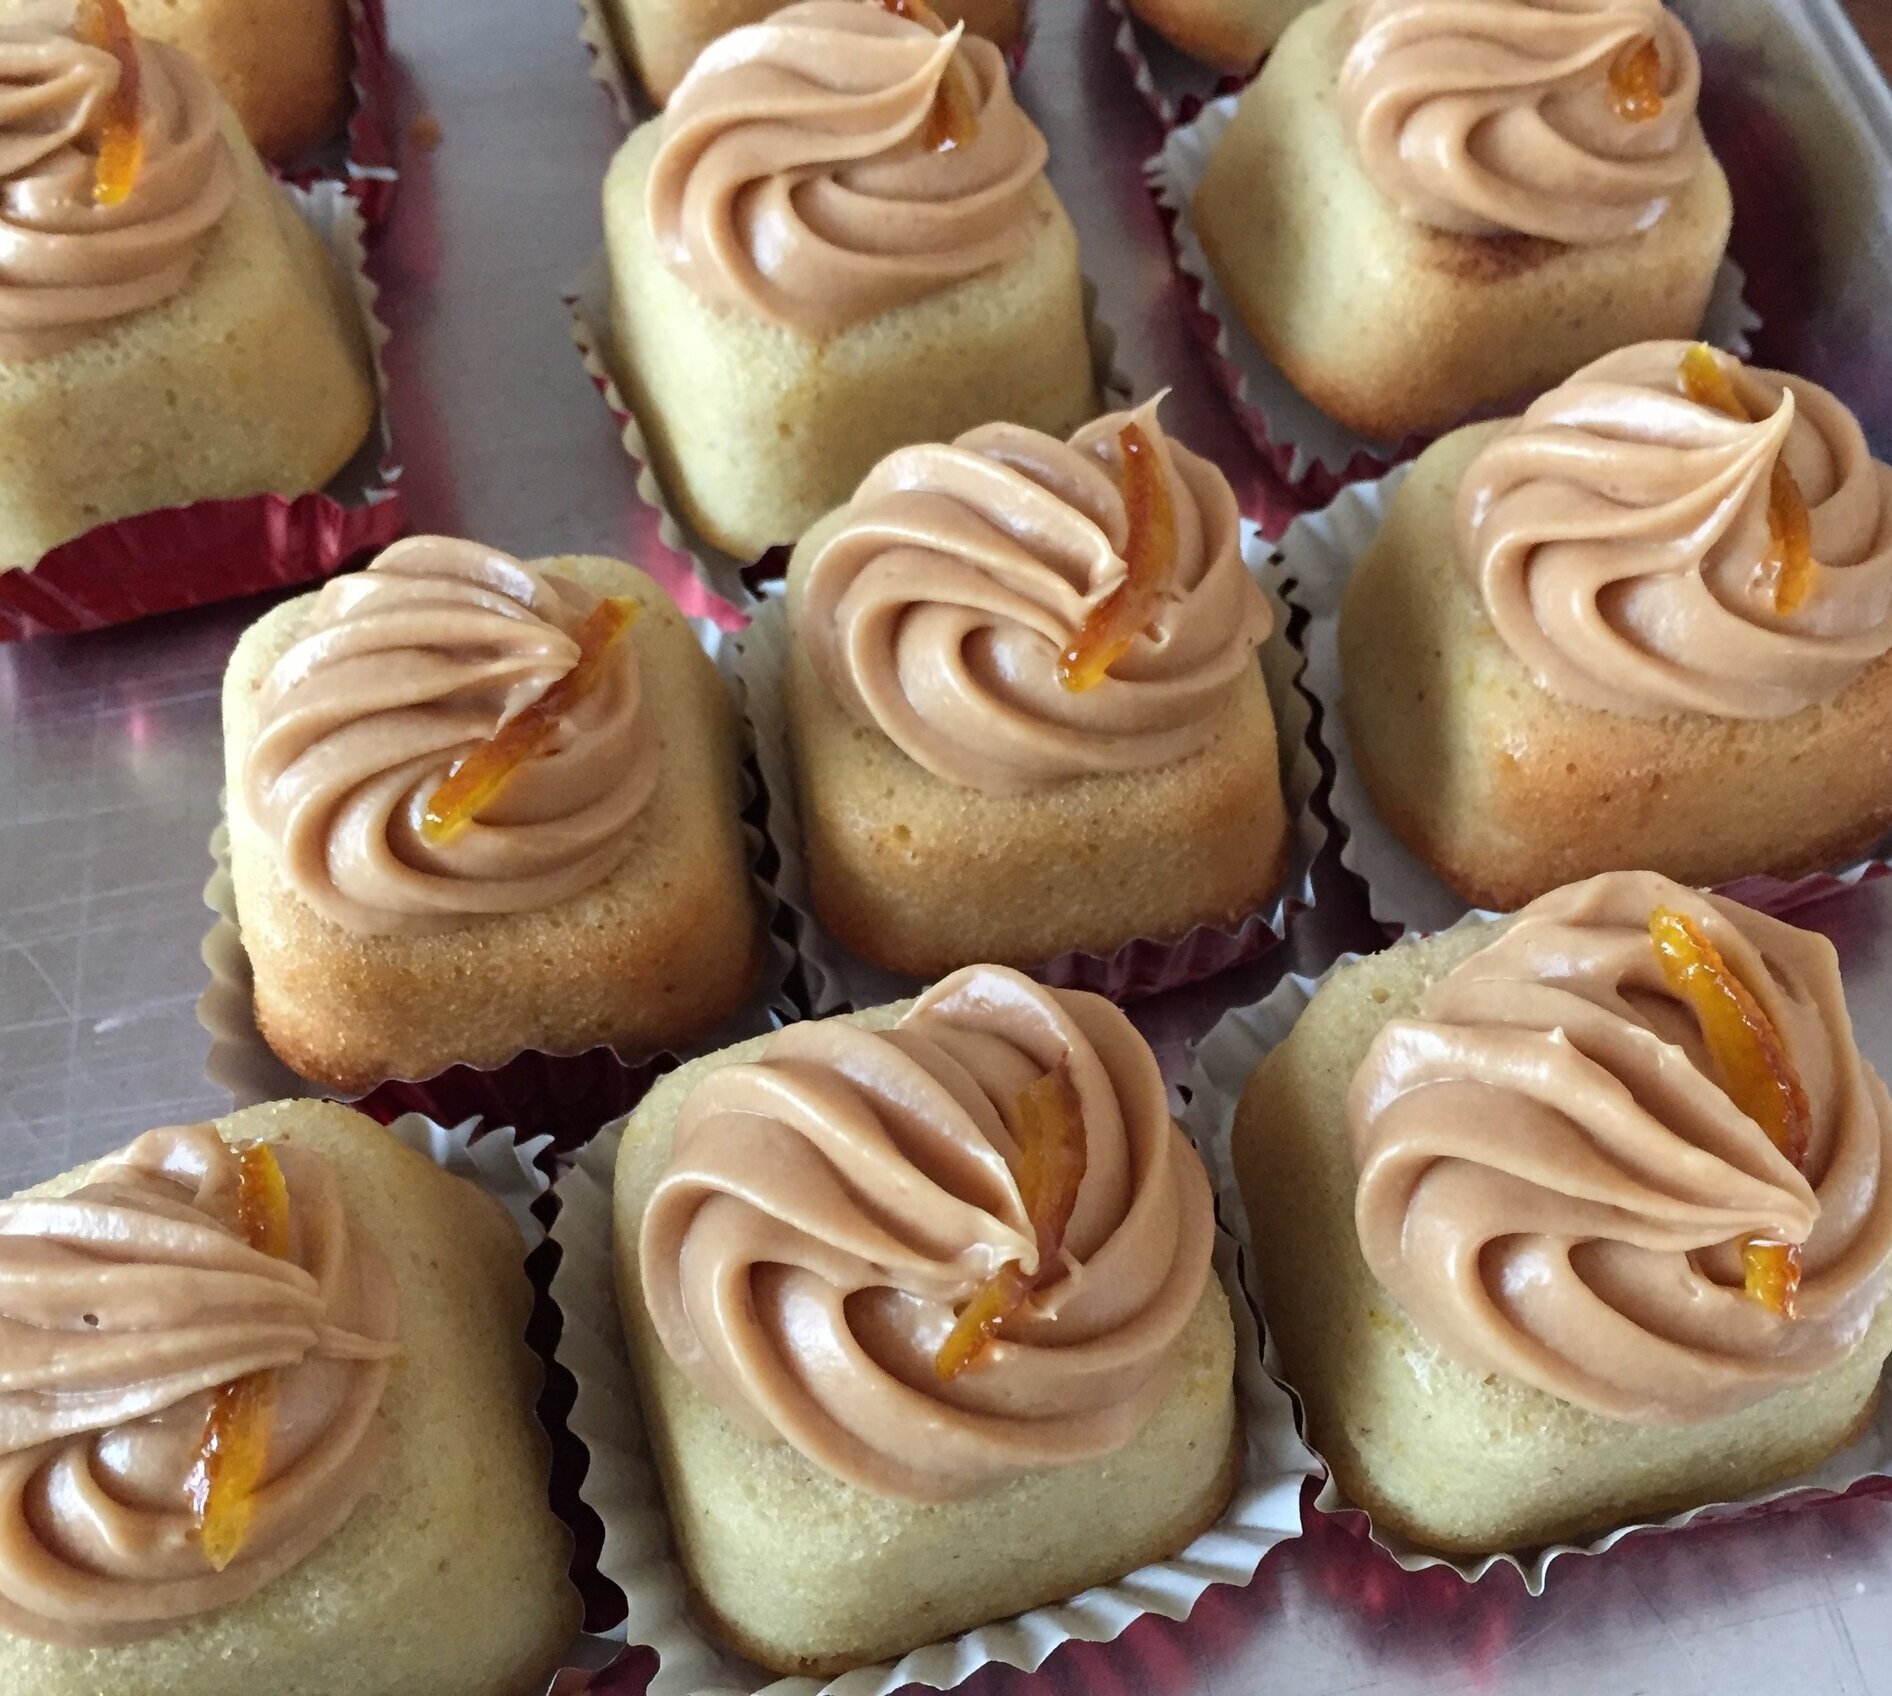
Orange financier with salted caramel buttercream

Orange financier with salted caramel buttercream

Pumpkin pecan crunch brioche

Pumpkin pecan crunch brioche

White chocolate raspberry crispy rice almond bark (now that’s a mouthful!)

White chocolate raspberry crispy rice almond bark (now that’s a mouthful!)

Sending warm holiday greetings to all and may the upcoming year bring you many good things.

Fruity-nutty-oat biscuits with cheese

IMG_2971.JPG

These delectable whole wheat shortbread-style cookies (biscuits for you Brits out there) have just the right hint of sweetness, chock full of toasted nuts, dried fruit and oats. You can read more about the recipe here. Since I wrote about these back in February, I've settled on three flavor variations as an accompaniment to cheese, either as an appetizer or as part of the post dinner cheese course. Cherry hazelnut, apricot pistachio and cranberry almond. Lovely.

IMG_2970.JPG

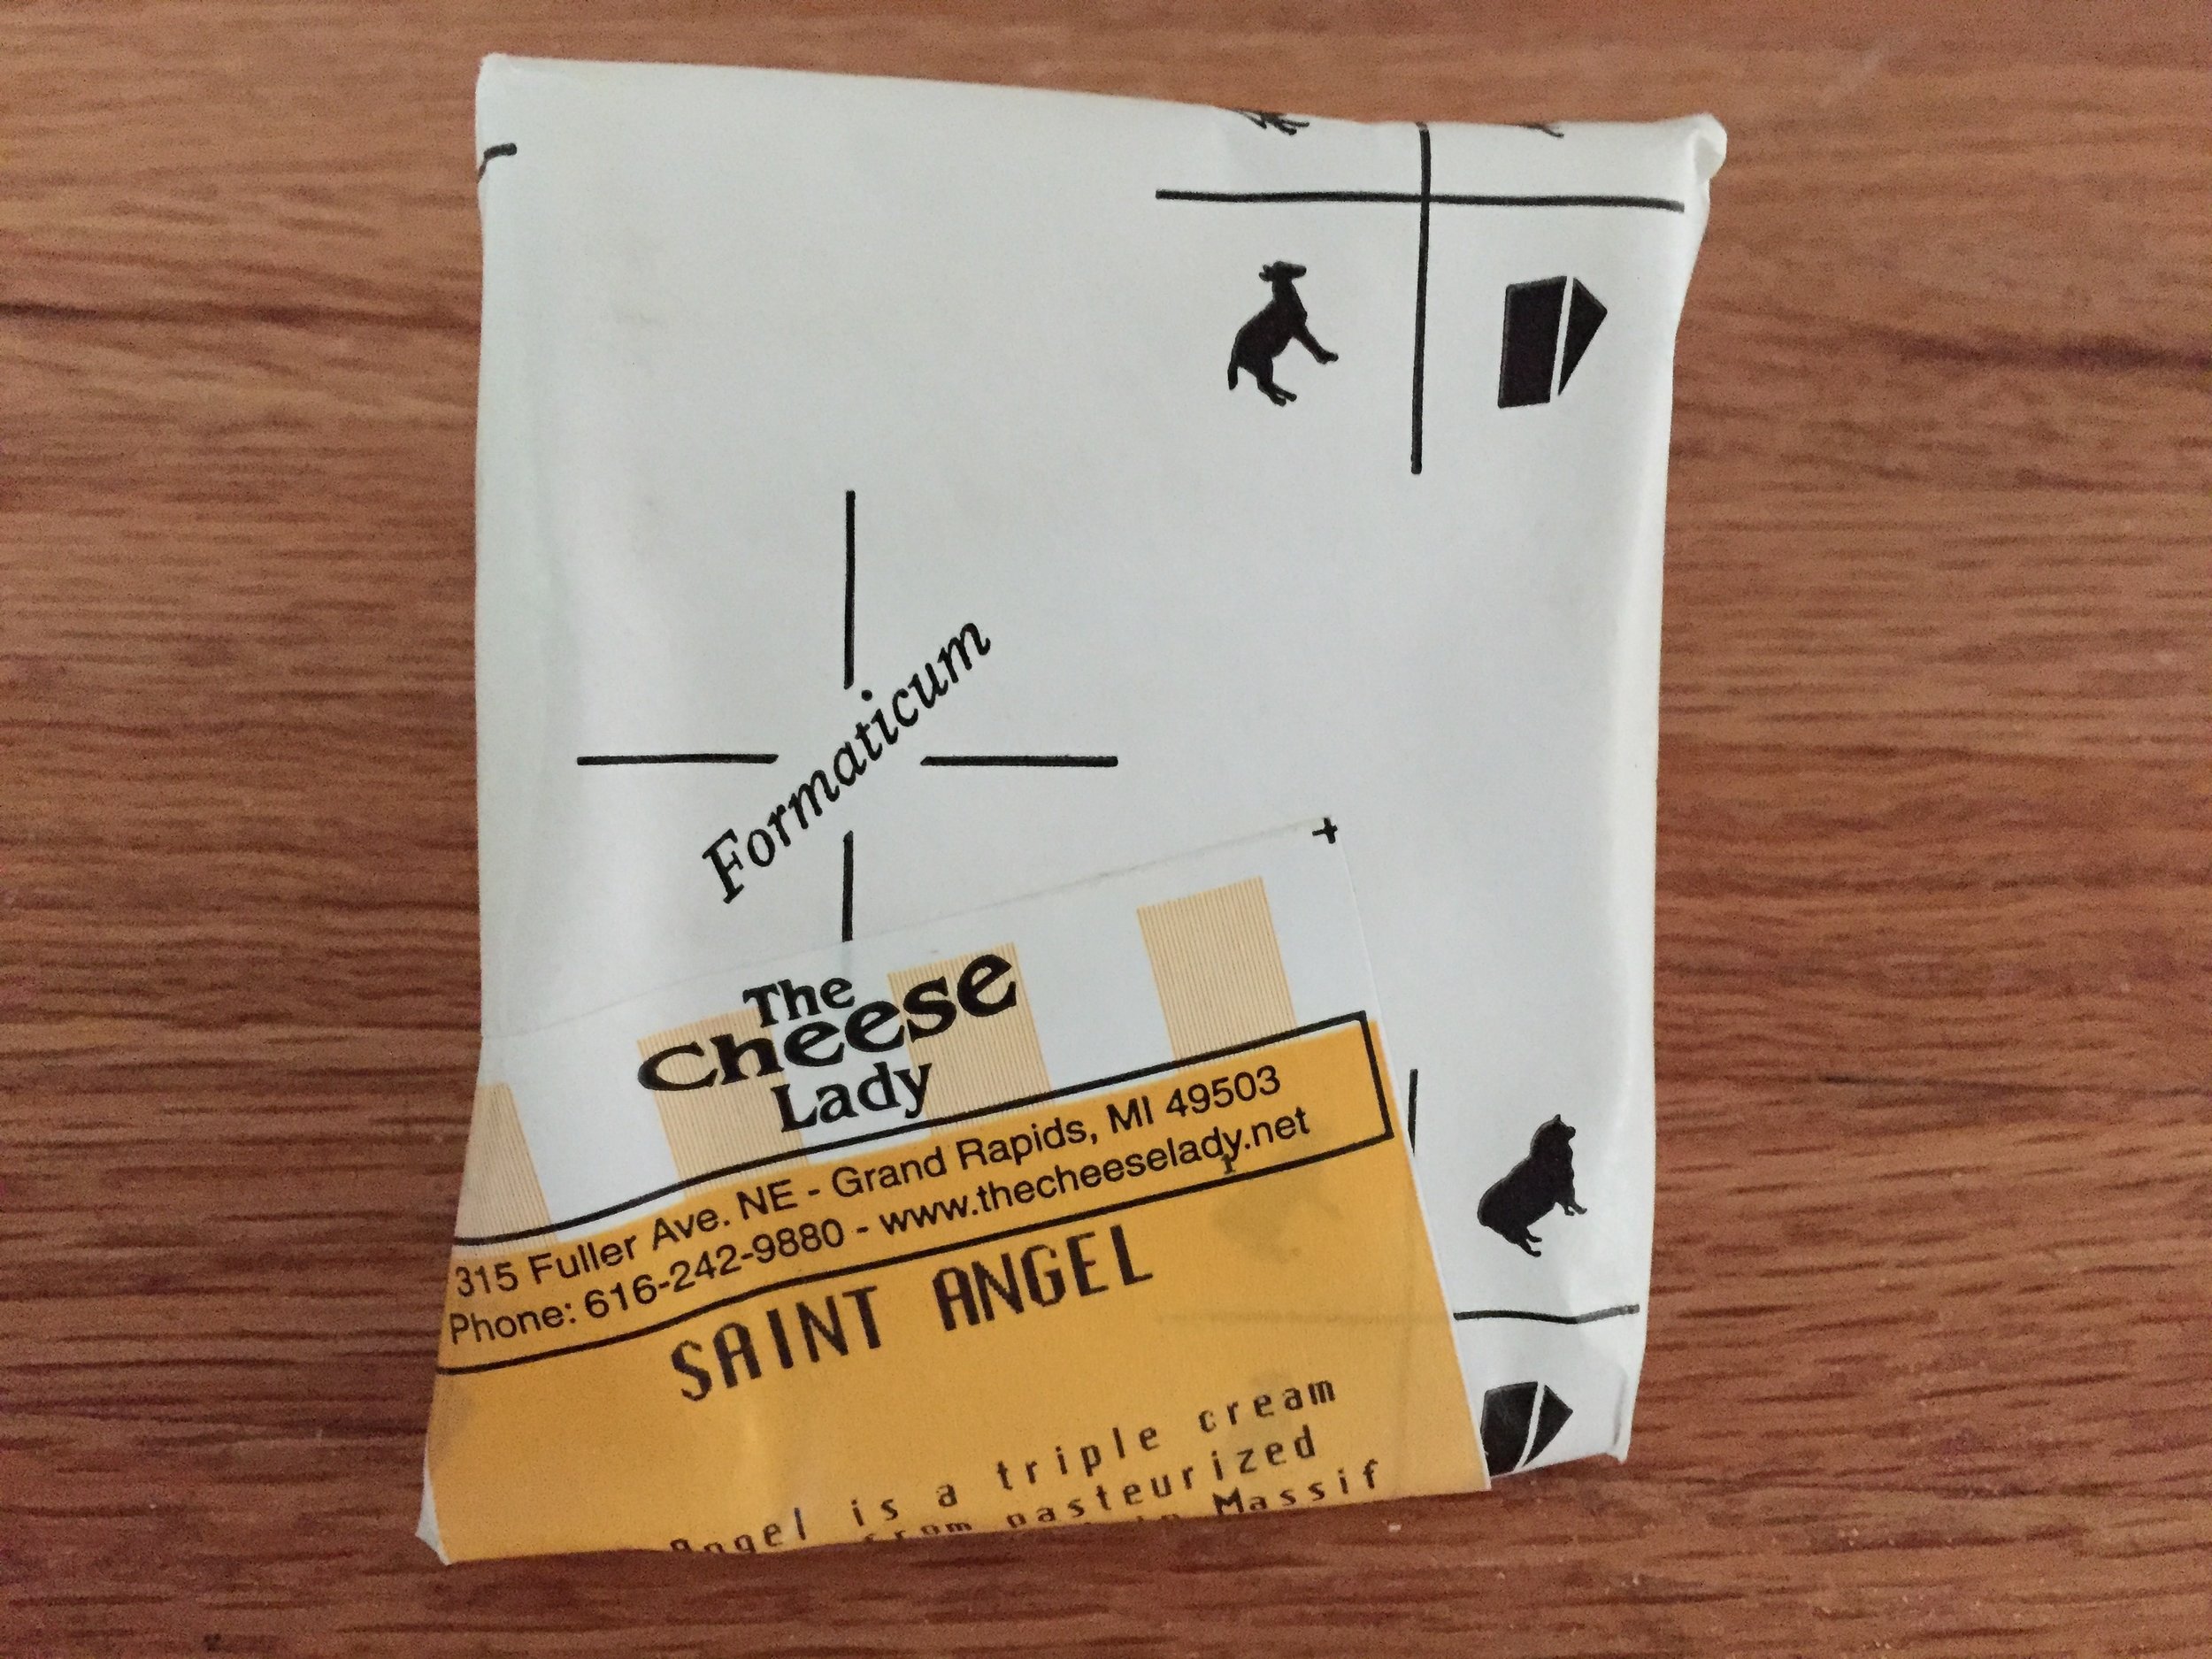
A few weeks back I paired these gems with a mellow, dreamy Saint Angel triple crème from The Cheese Lady here in Grand Rapids. While the cheese is exactly what it should be - buttery, smooth and oh-so-good - it was rather lost when spread on these wholesome biscuits. So I decided to try something a bit more bold and nutty for this episode in my baking-with and pairing-with cheese project.

So back to The Cheese Lady I went.

IMG_3035.JPG

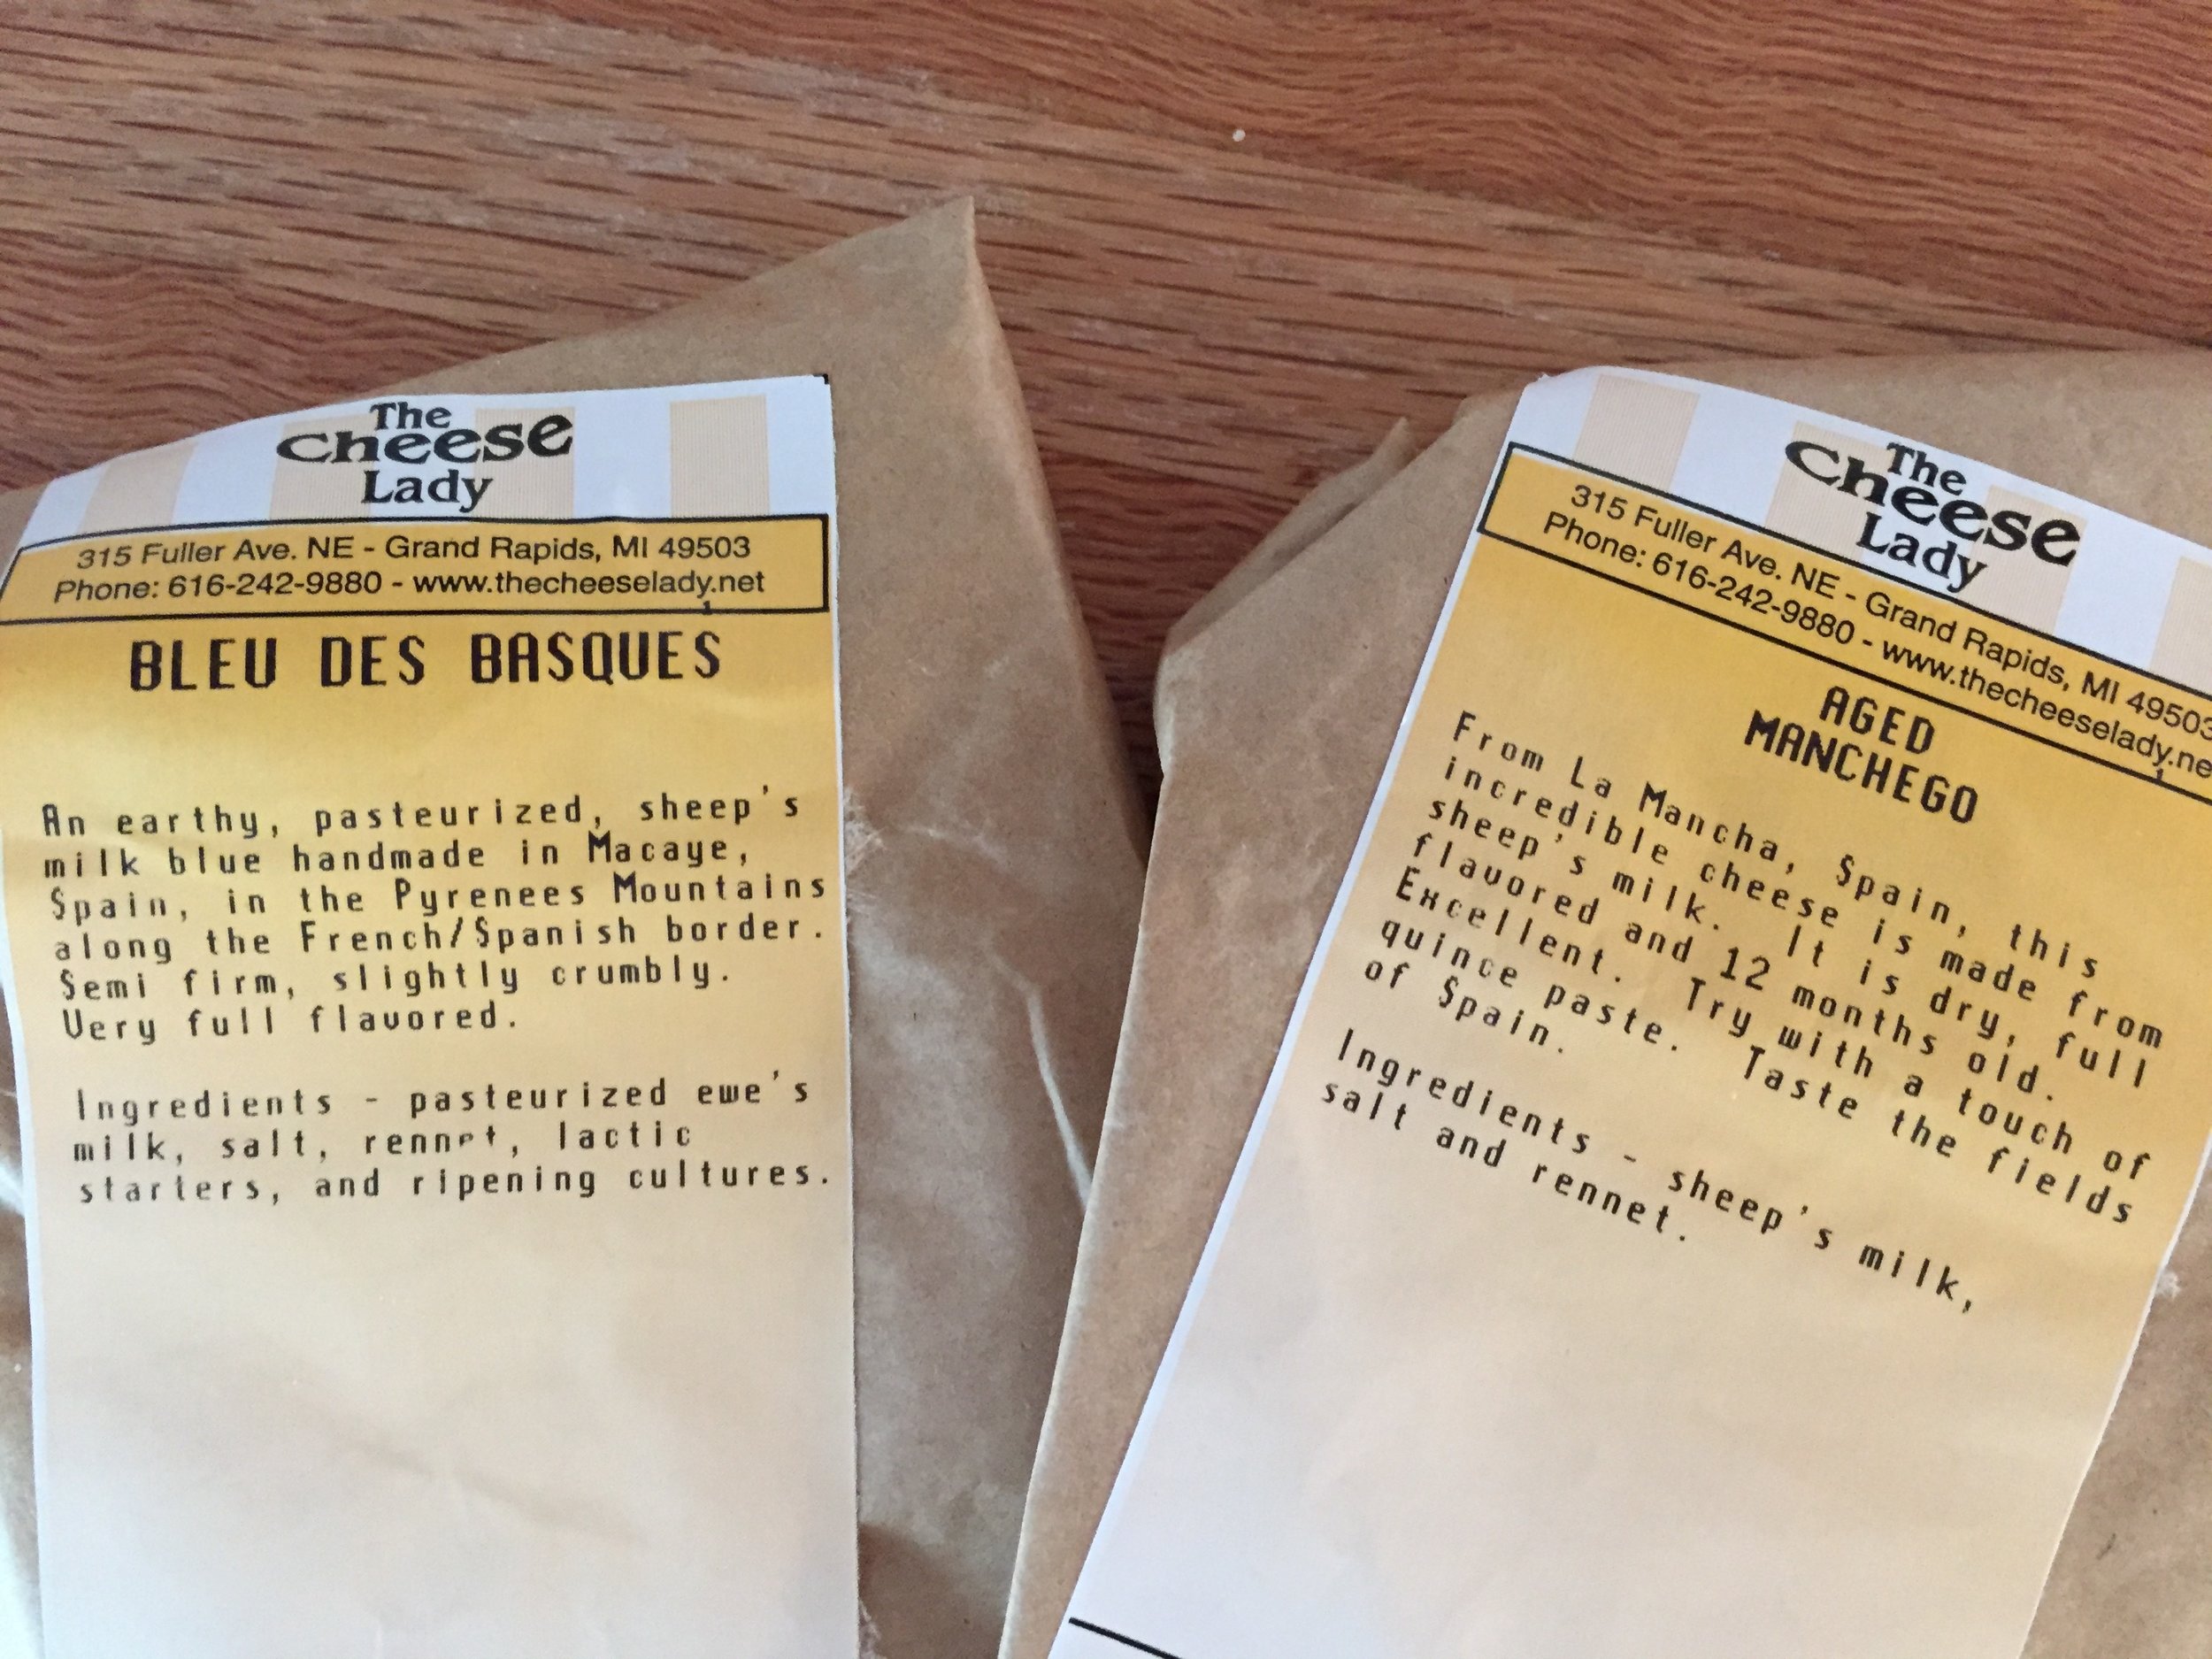
This time I went with a couple of Spanish cheeses, one bleu from the Basque region and one 12 month aged Manchego, both of which just had to be given the chance to show their stuff.

IMG_3039.JPG

The nuttiness of the aged Manchego wasn't bad with the crunchy-little bit chewy-fruity-nutty cookies, but it was the bleu that really shined for me. Salty and pungent yet smooth and creamy - I'll take it! 

IMG_3040.JPG

Alas, while the Steve-meister loves cheese, especially bleus and Manchegos, he couldn't quite get on board with the cookie part (not a shortbread lover - sigh). He'd go for a crispy cracker instead - to each his/her own, right Mr. Steve?

Stay tuned for more cheese adventures!

IMG_3041.JPG