Peaches and cream Breton tart

355913C0-8010-427E-A0FB-B2737EDBF1EC.jpeg

Oooh my, soooo good! My favorite Breton dough, a thin layer of peach jam, fresh Michigan peaches and an easy custard all baked up into a golden buttery treat. What more could you want on a summer August day?

freshpeach.JPG

August and fresh peaches go hand and hand for me. Growing up, my early August birthday dessert choice was most often pound cake with fresh peaches and ice cream. Oh those memories.

Being in a tart mood as I planned some assorted treats for folks down the street, I knew a Breton dough base would be just the thing. While I typically make individual portions for such occasions, my brain asked - how about slices for a change? Two rectangle tart forms coming right up.

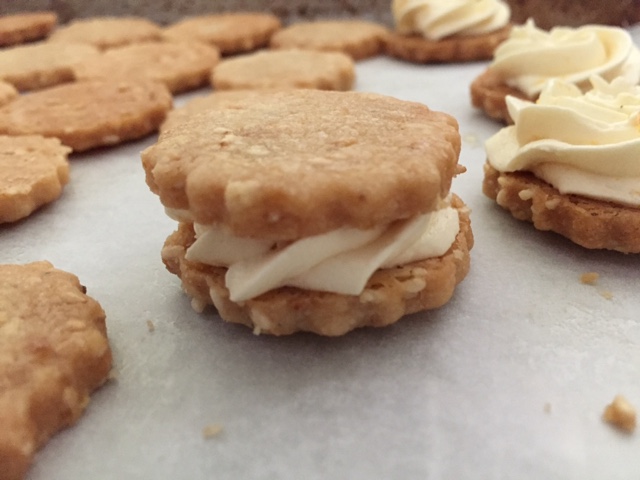
I’ve written several times about the beauty of using Breton dough for its versatility. Bake it thick and plain to create a gateau Breton, roll it more thinly and bake it topped with jammy fruit and crumble or make simple crisp cookies to go with your afternoon tea.

When making Breton tarts, I lean towards a thicker base crust to put the texture somewhere between cookie and cake. Thicker more cake-y, thinner more crisp.

As you see below, the straight sided form is slightly wider so I gauged my dough quantity to give me a thickness of about 3/8”, ending up with 400 g of dough for the slighter smaller fluted form and 475 g for the straight sided one. Butter the forms (it helps so much with removal later - trust me).

Place the dough between plastic wrap and roll or press it into its rough shape . . . . .

F09E8623-62B2-40E8-A6EC-C20565FCF917_1_201_a.jpeg

then transfer it into the form, pressing it evenly and also building up an edge to provide a dam for the upcoming custard. Please note - I left the bottom out of the fluted form - I’ll come back to that later.

D6C66C6B-EC81-42F3-9CA8-935074C19A70_1_201_a.jpeg

Once both forms are “doughed” up, place plastic wrap directly on the dough surface to cover and chill until ready for assembly. The lining step is one you can complete even a couple of days ahead if desired. While the chilling step isn’t absolutely essential, I find that dough always bakes a bit better when it’s cold going into a hot oven.

Heat the oven to 350ºF. Spread a thin layer of peach jam over the dough and bake about 20 minutes to set the dough. You should see the dough risen up and starting to brown a bit.

A quick jam note - every year I contemplate a jump onto the jam making band wagon, yet thus far that process hasn’t finagled its way into my summer repertoire. There are some wonderful jams to be found on well stocked supermarket shelves. I lean toward French made brands like St. Dalfour and Bonne Maman which both offer an interesting line up of flavors.
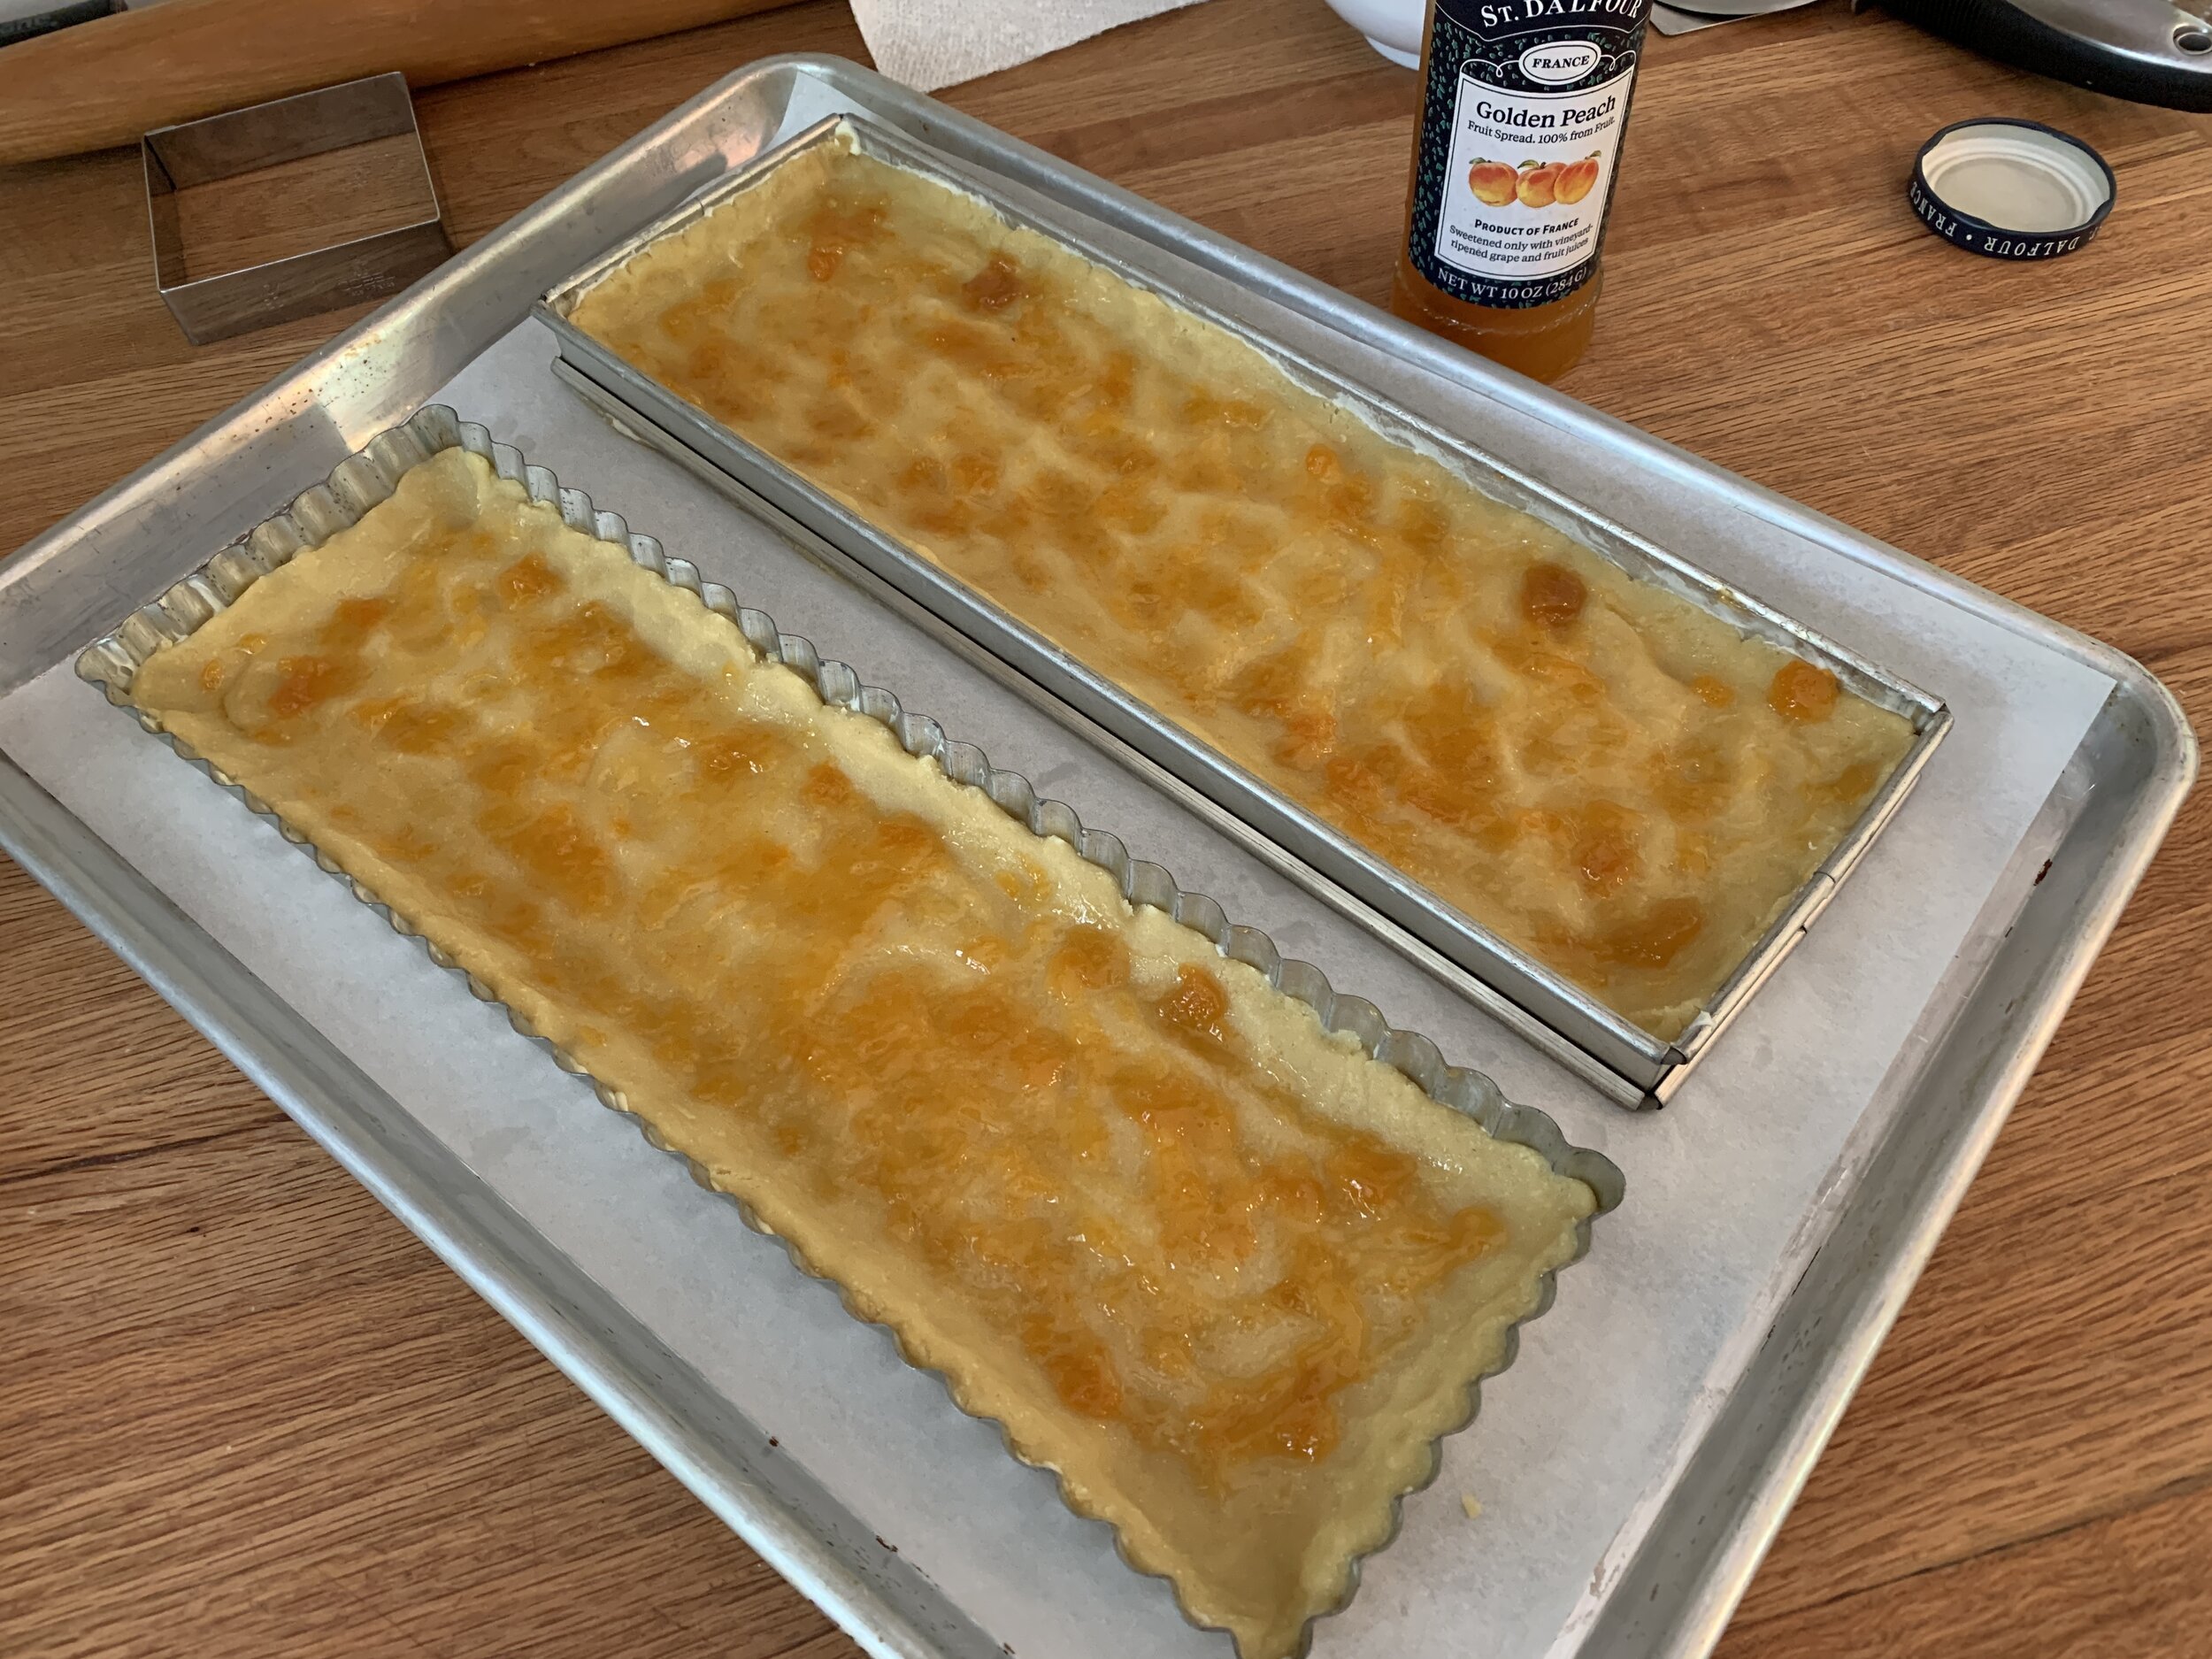
Before baking

Before baking

The par-baking gives me just the amount of time I need to prep my fruit and make my easy custard.

Par-baked

Par-baked

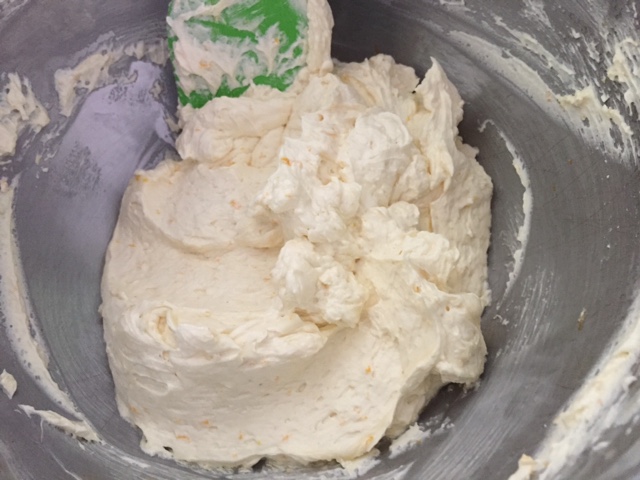
For the custard: in a medium bowl whisk together 80 g cane sugar, 160 ml heavy cream, 2 large eggs, 1.5 tablespoons all purpose flour, 25 g almond flour, 1/2 teaspoon ground coriander, a few grates of fresh nutmeg and a splash of vanilla extract. You can leave out the spices if you prefer and, instead of vanilla, add 1/2 tablespoon of peach brandy or your favorite almond liqueur.

The beauty of this custard filling is not only its ease of preparation but you can whip it up earlier in the day and hold it in the fridge - when ready, give it a quick re-whisk to bring it all back together.

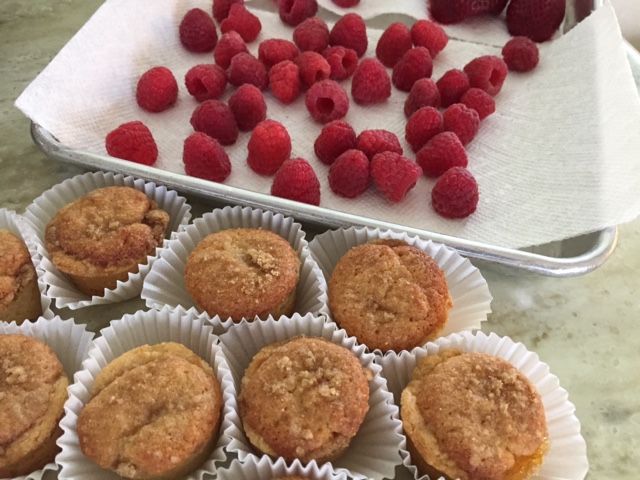
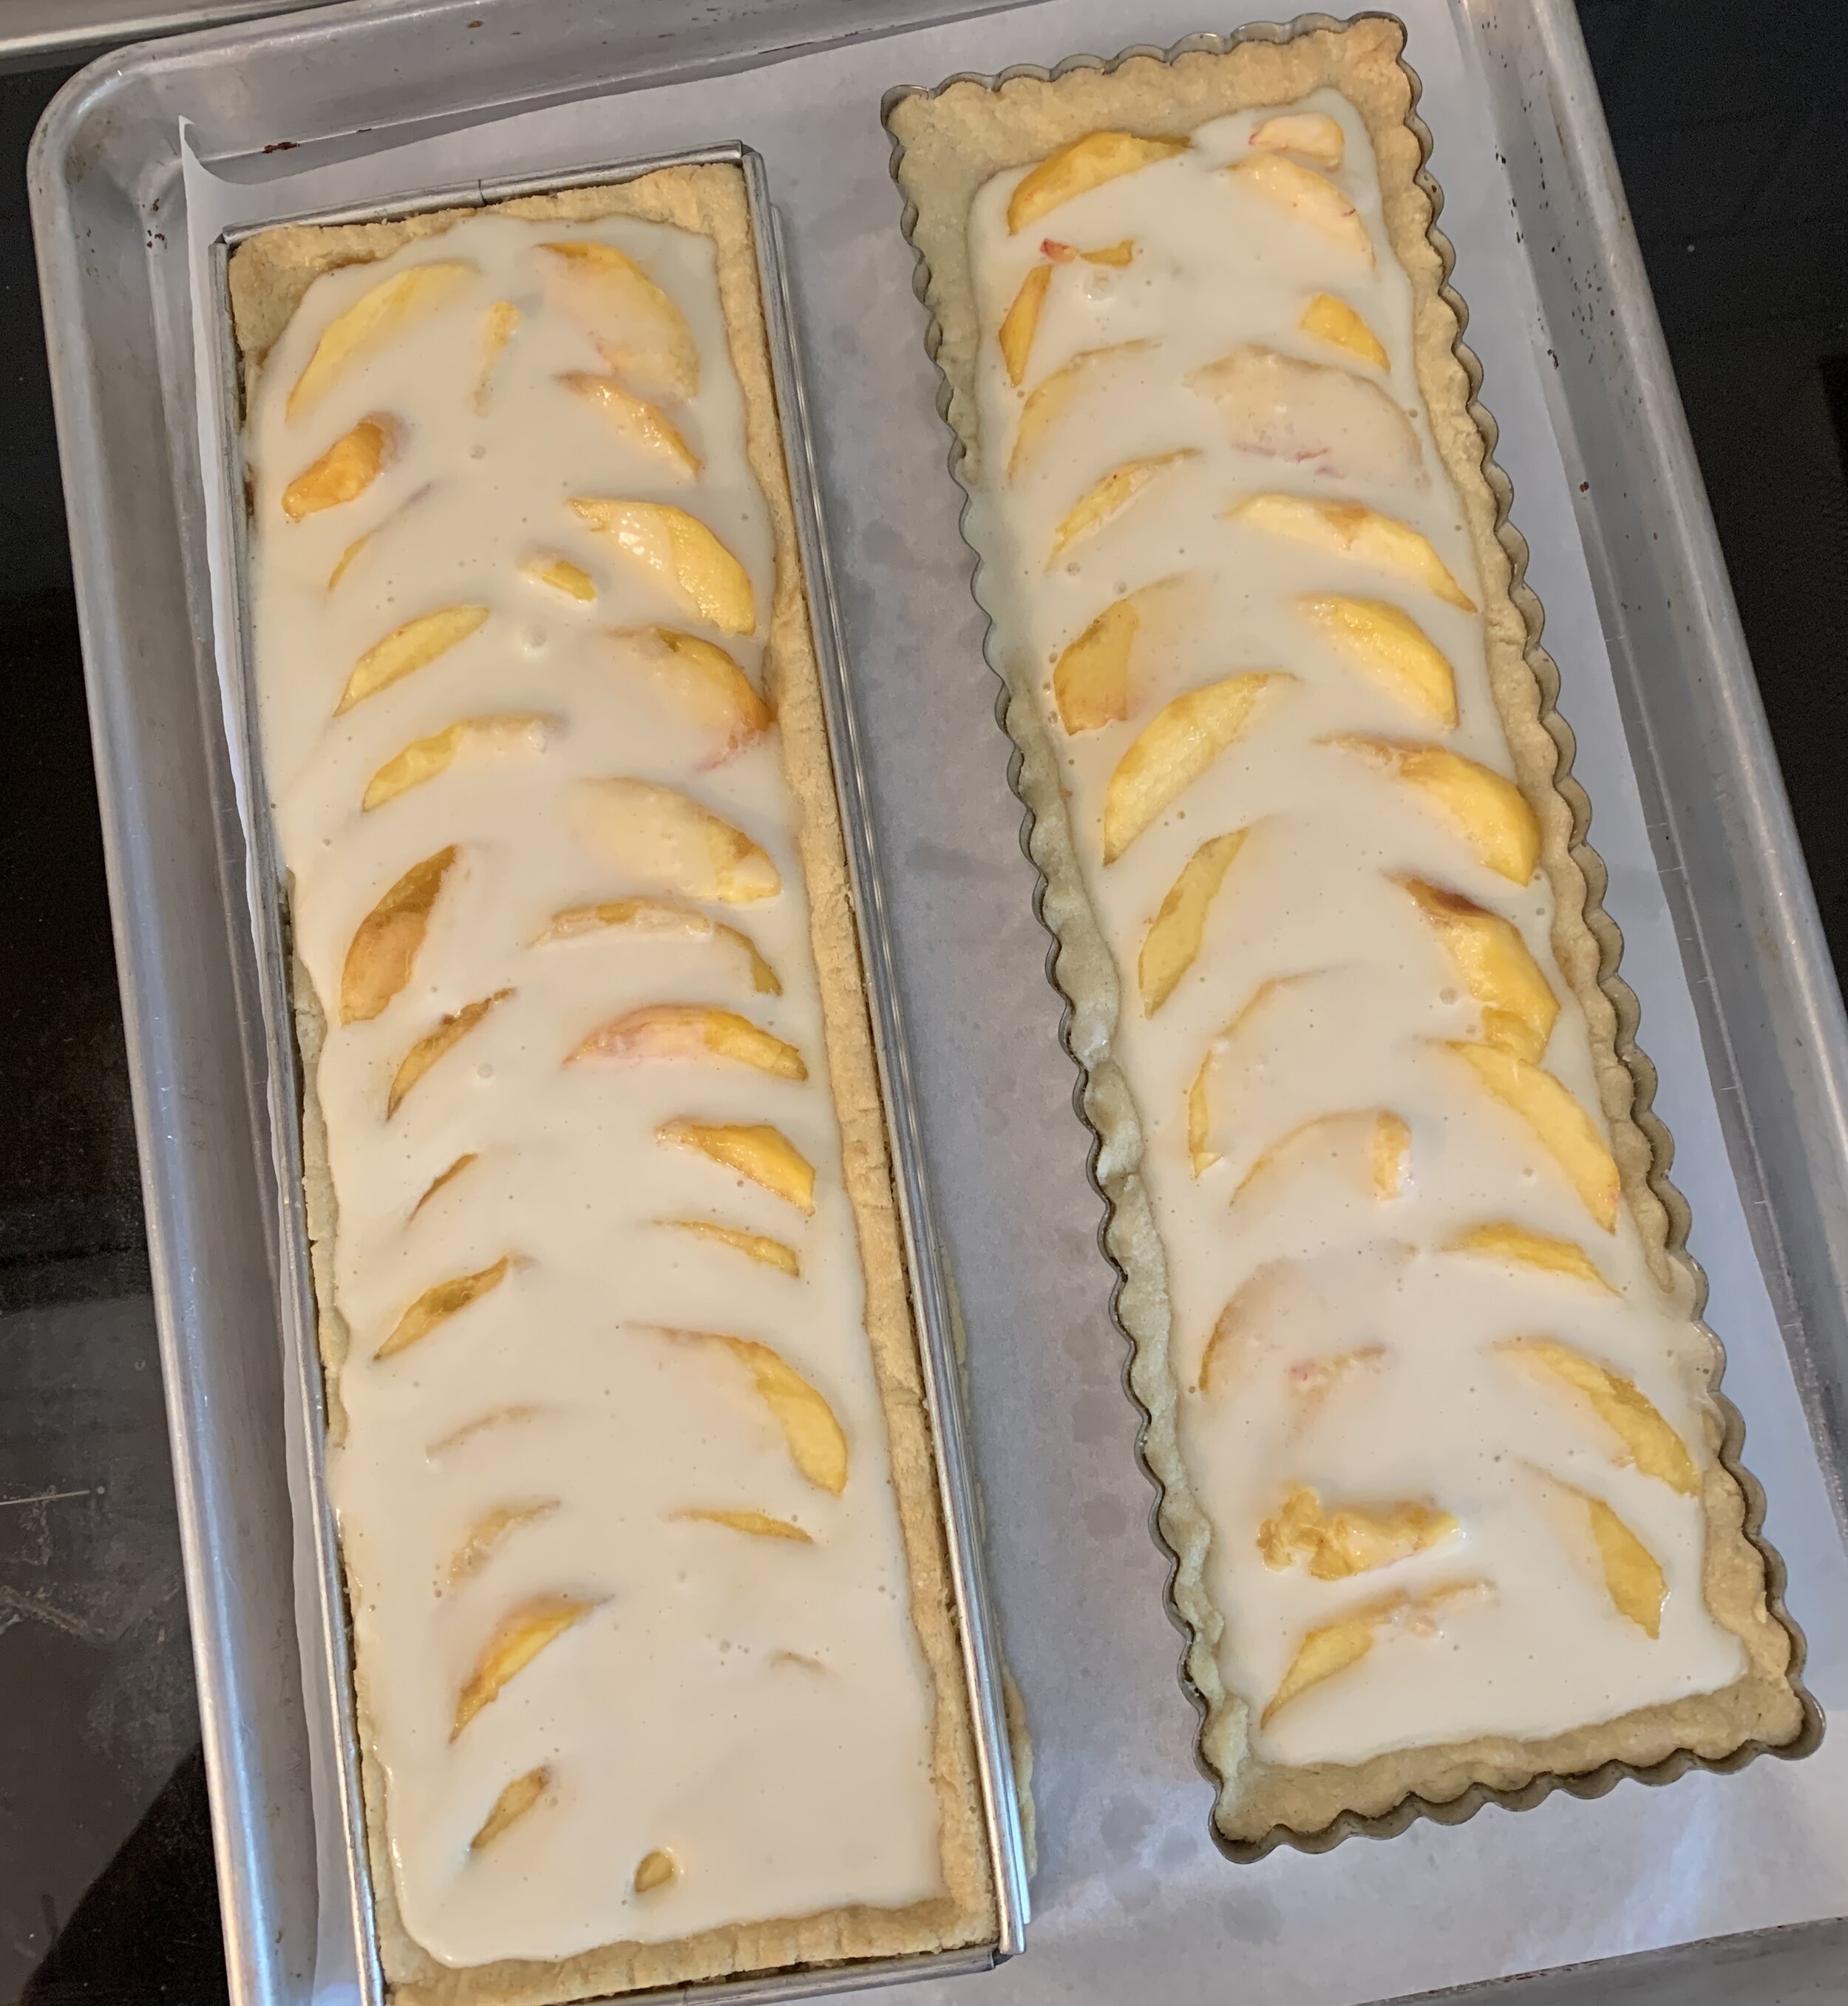
Two ripe peaches for each tart were perfect - peel, slice and line them up something like this.

6725A105-FC4B-4F06-91A4-71705D7221B3_1_201_a.jpeg

Carefully pour the custard over the peaches as far up to the edges as you can without overflowing (whoops - a little bit there on the left). There will most likely be a bit of custard left.

Bake for 10-15 minutes to start setting the custard and then you should be able to add the remainder, drizzling it over the top. Don’t worry it you don’t use quite all of it.

9429E1D2-7360-4F79-A075-943AADEBB4D5_1_201_a.jpeg

Bake for an additional 20-30 minutes until the custard is set, a bit puffy and nicely golden.

DA09ED48-CC3E-4917-B595-6837AE62F78C_1_201_a.jpeg

Looking pretty good!

84835AF6-7939-4620-BBDA-36233EEBF64C.jpeg

Cool for 5-10 minutes then gently loosen the edges using a paring knife or offset spatula to reduce the stick factor from any stray custard. As noted on the left above, Breton dough can sometimes sneak out under the edges of open tart forms during baking - just trim away any edge bits.

Cool an additional 30 minutes or so. The straight sided open form should lift off pretty easily. With a removable bottom fluted form, double check that the curvy edges are free before pushing the bottom up to lift it out of the form. Let cool to room temperature.

NOTE: you may have noticed I baked my fluted tart WITHOUT the removable bottom. I find the crust browns more thoroughly that way. For ease of release, I pop it into the freezer for 20-30 minutes to finish cooling and firm it up. It’s much less fragile that way and is easier to remove from the form.

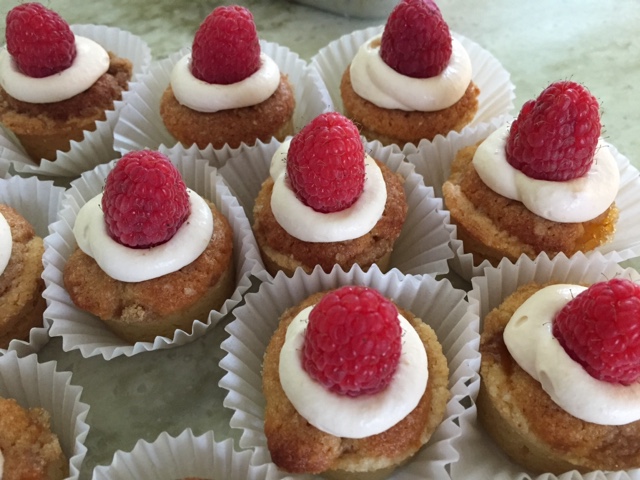
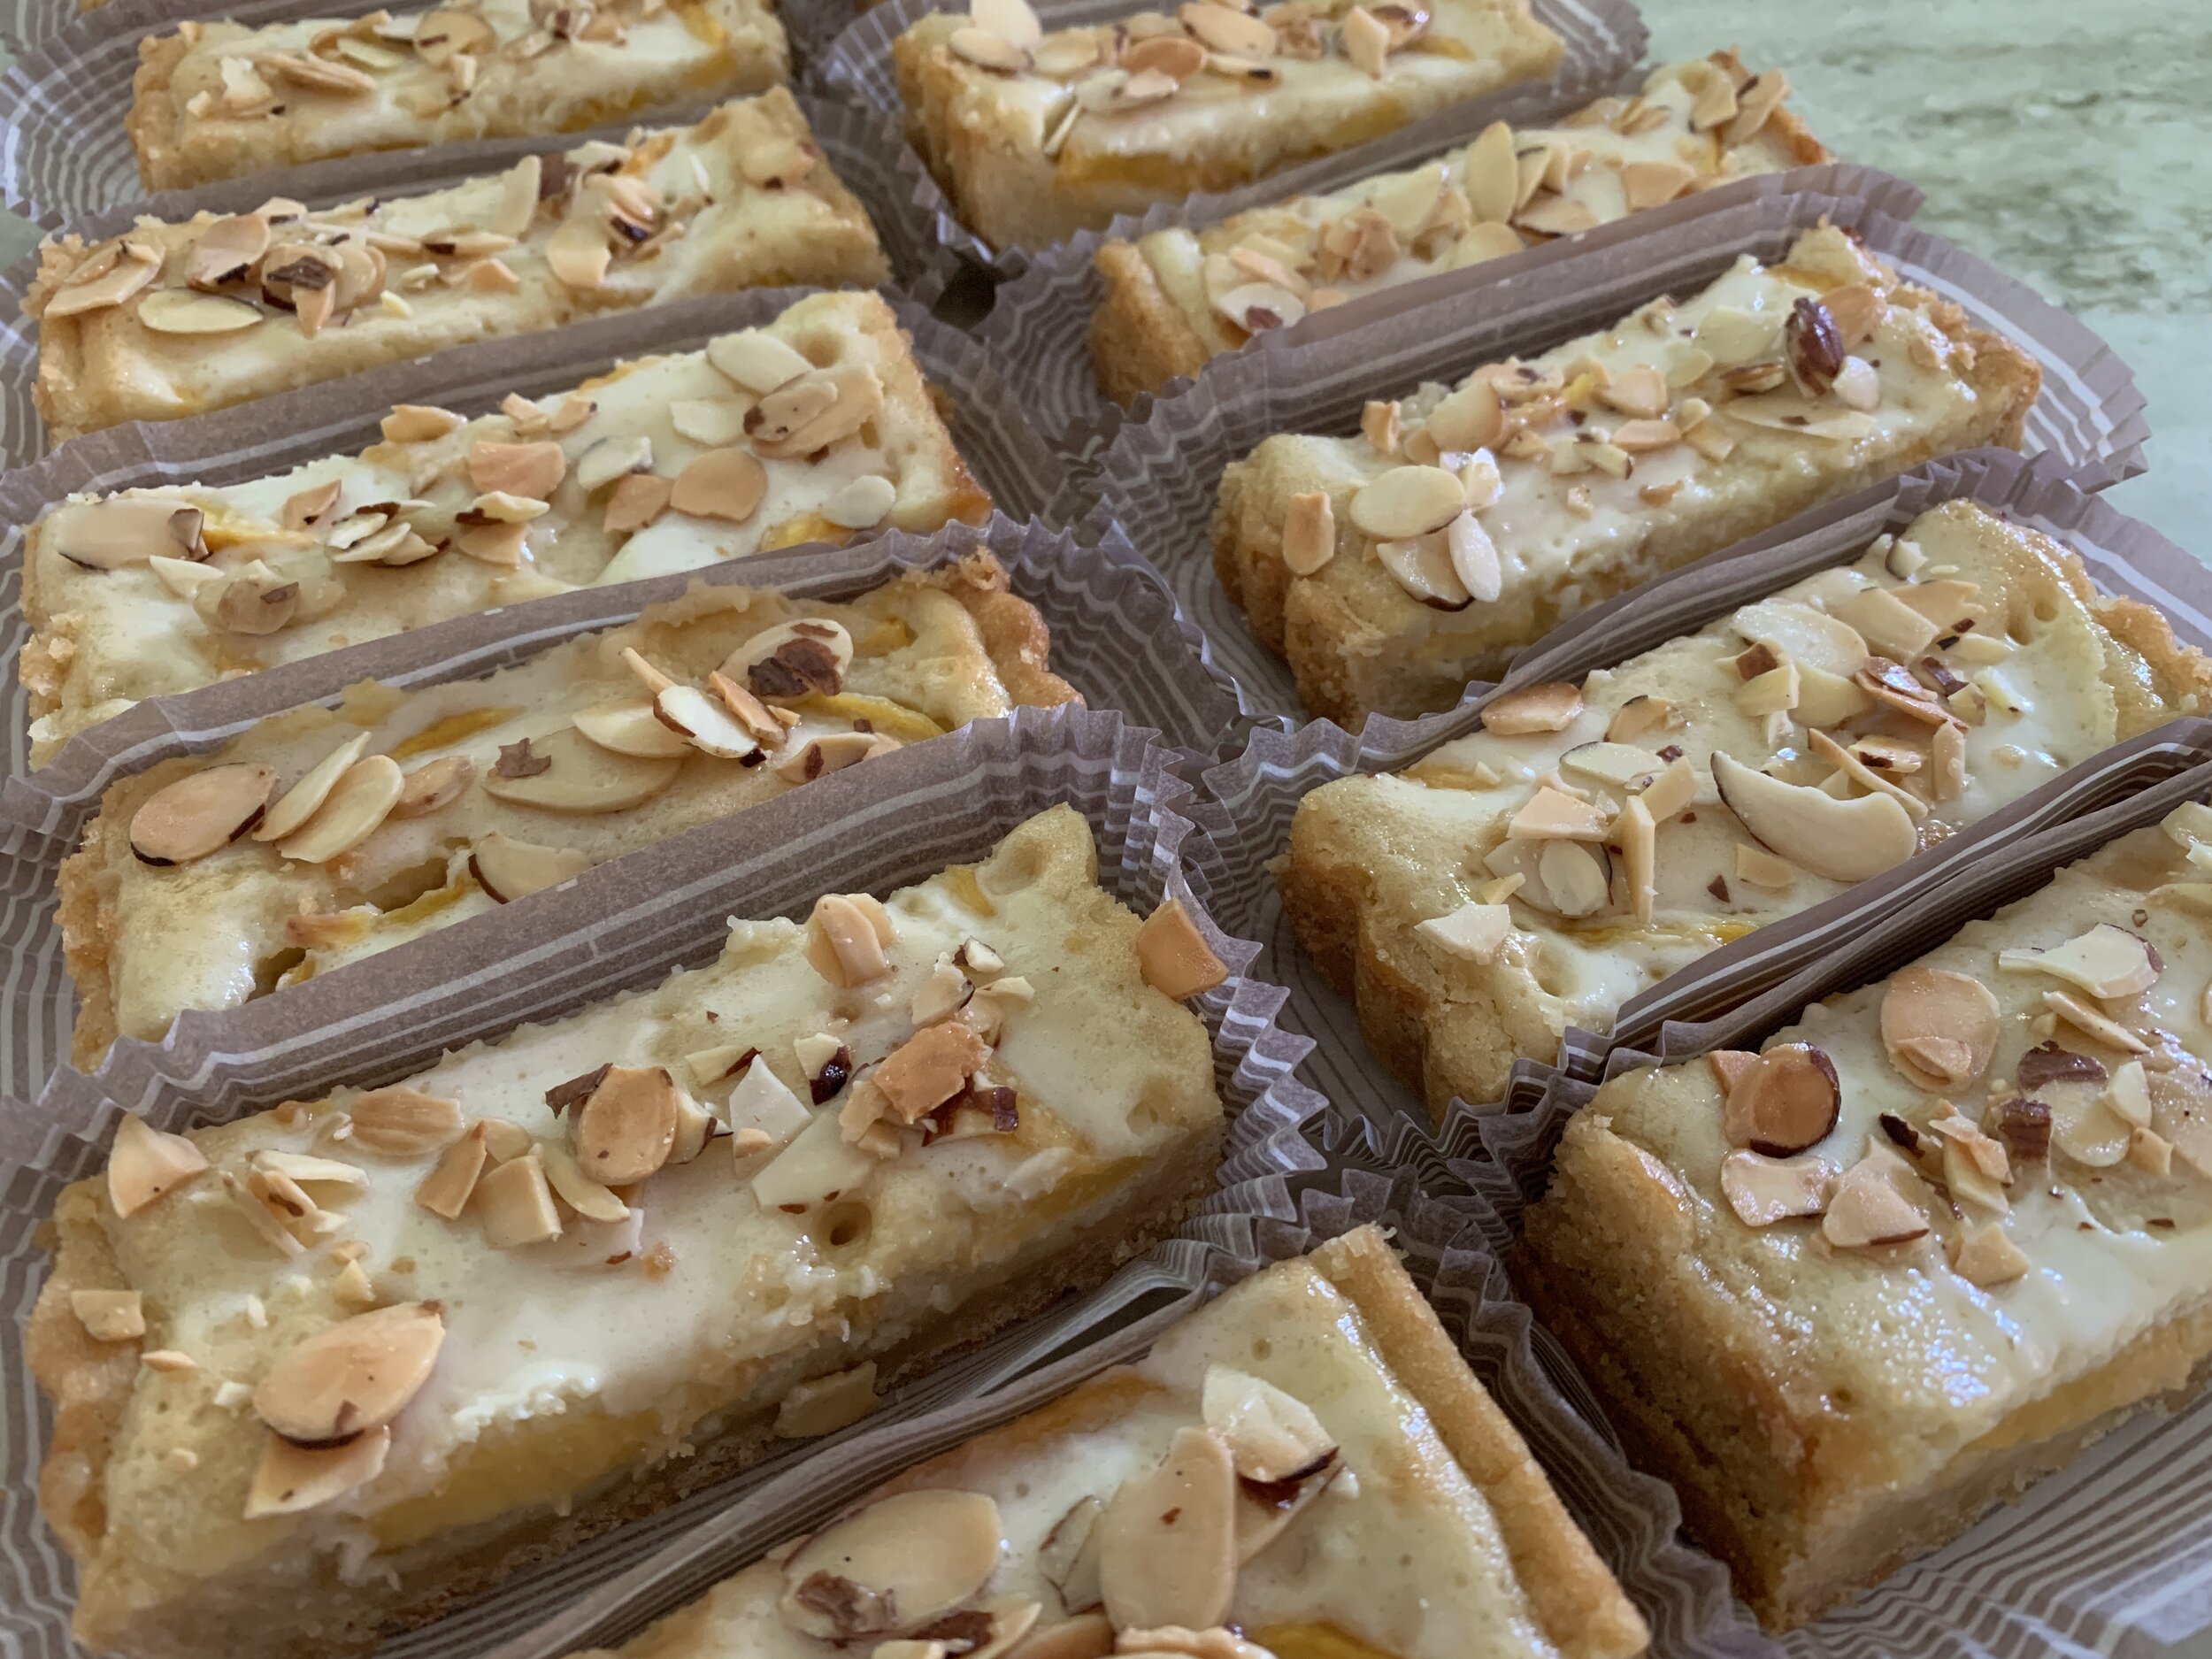
This tart keeps in the fridge a couple of days at least. Slice into rectangles and top with candied almonds for serving.

For the almonds: oven at 350ºF; parchment lined sheet pan; place 1/2 cup sliced almonds in a medium saucepan along with 1/4 cup sugar, 1/4 cup water and 1/4 teaspoon kosher salt; bring to a boil over medium heat and cook 1 minute; strain (discard the liquid) and spread the nuts on the prepared sheet pan; bake ~15 minutes, stirring half way through, until nicely browned; let cool. Keep in a covered container at room temperature and enjoy as a garnish on whatever you fancy!

8840E1FD-D534-45A8-B58F-95015ACC7E98_1_201_a.jpeg

Let’s just say that all of those who tasted these delectable slices (including Steve, the tasting maestro!) were very happy indeed. I love that.

8BAAE9EE-5D38-4BC1-8915-242E77AABF0D.jpeg

Summer’s waning, autumn’s coming. Meanwhile please take care of yourselves and those you love.

Lovely color at nearby Meijer Gardens

Lovely color at nearby Meijer Gardens

Strawberry lime cream stacks with berry sauce

1CEF2EC6-8A05-4229-B697-E2F4B07926D7.jpeg

Oh boy! This one was fun indeed!! Remember the vanilla chocolate dacquoise I wrote about recently? Well, here’s another creation using leftovers and ingredients that needed to be used. This time lime curd from a teacake project, mascarpone (tarte aux fraises fraîches project) and a block of cream cheese just sittin’ in the fridge.

My inspiration often comes from things I happen to have on hand, and let’s be honest - how often do we buy something simply because we have a coupon for it, not knowing exactly what we might do with it? I do! That’s how cream cheese often comes into the equation - good old Philly.

Truth be told, I’m a sucker for custards, particularly baked versions like crème brulée and pots de crème, so I tweaked a ricotta/cream cheese recipe I’ve used a number of times to create a mascarpone version instead. Cue in roasted strawberries and you’ve got yourself something pretty fantastic.

6CE95A7F-CDBB-4949-93A6-571846A9CA52.jpeg

I took advantage of west Michigan’s strawberry season to roast up a bunch and purée them. So tasty in ice cream (yum!) but also to freeze to have on hand for whatever. Here it is quick and dirty - clean, hull, cut up a quart of strawberries into equal pieces. Toss them in 2 tablespoon brown sugar (light or dark, either way), spread out on a silicone mat and bake in a 300ºF oven for 30 to 45 minutes, stirring every 10 minutes or so until juices appear thickened and jammy. Let cool (things will thicken up), then purée.

Where am I going with all this you might ask? OK - cookie base/roasted strawberry mascarpone custard/lime cream/stacked with graham crumbs and caramel/topped with mixed berry sauce. Whoa!

It’s all about planning. The custard/cream can be done ahead and frozen for up to a couple of weeks. The base can be shortbread, meringue or cake depending on your vision. I always have caramel sauce in my fridge and graham or cookie crumbs of various sorts in my freezer.

Lemon or lime curd (just sub in lime juice for lemon) is great for making a citrus cream (2 parts curd to 1 part whipped cream) that can be doled out into silicone molds and frozen until your plan for use starts to take shape. In this case I blended 260 g lime curd with 130 g whipped cream and filled 8 of my favorite muffin shaped wells about 1/2 way. The mold, seen below, is Silikomart’s SF028. My favorite source for this line of molds is Kerekes at Bake Deco.com

7B856BB7-DA6C-4362-8E20-F90B6CA21199.jpeg

I baked my mascarpone custard in the same sized mold (I have several at my disposal!) then cooled and froze the rounds until ready for assembly.

Now for the base. I chose Breton dough for mine, rolling and cutting the rounds a bit larger than the diameter of the molds. Breton dough contains baking powder so the cookies do spread. Just out of the oven, simply trim them up with the same cutter and you have the perfect base on which to set the custard stack. And you can save the crumbs for garnish too!

NOTE: I’d roll the cookies out more thinly next time - although a delicious cookie, it didn’t yield well to a fork. Something flat is best for stacking so a more tender crumbly shortbread or either sponge cake or dacquoise rounds would all work well here.

5009F1B2-A686-45DA-8BD2-3F73DD2ADC31.jpeg

Let’s assemble! Cookie bases in papers (again for ease of placing on an individual serving plate) and components at the ready . . . . . .

EF28C1C4-6D04-4E4D-8A9A-180A9DD5E969.jpeg

Caramel drizzle topped with strawberry custard. . . . . .

36327C7C-47CE-4CE0-9814-E5D20CEE3850.jpeg

then more caramel drizzle topped with graham crumbs and finished off with lime cream.

C99D2574-D86C-4F3D-B620-6CDC63164A48_1_201_a.jpeg

All stacked up!

C8C2DF0C-412D-4F39-999F-5990848F49DE_1_201_a.jpeg
 
5831E154-8200-4B9D-A895-70674E871FFE.jpeg

Plan your assembly a few hours ahead of serving to give the custards time to thaw in the fridge. Don’t worry, they’ll hold their shape. Just before serving add whatever garnish you have in mind. I drizzled more caramel and spooned berry sauce over the top with a sprinkling of graham crumbs on the plate.

Delicious all the way around.

News flash! We’re moving into blueberry season - can’t wait!

E621EB9E-3BC4-4CA9-B002-CF2910B169F7.jpeg

Raspberry-currant cream berry tart

IMG_2925.JPG

Planning a dessert for the recent Bastille Day celebration with the local GR chapter of L'Alliance Française, my thoughts turned to tarts (of course!). I had fresh raspberries, blueberries and even currants from the Fulton Farmer's Market, and it was definitely time to incorporate those goodies into a delicious tart.

I've previously written about Breton dough (one of my faves), the most recent post being in early July using a céréales version to support some fresh pastry cream and strawberries. Besides the flavor and delicious texture of Breton dough, on the more practical side, it calls for egg yolks which I always see as the perfect opportunity to accumulate egg whites for financier batter or meringues. Love it.

My Breton dough was already made and in the fridge, as was a batch of raspberry currant cream that I had used the previous day for some petite fresh berry tartlettes. The plan - layers.

First I rolled the dough out to 1/4" thickness, trimmed the edges as needed and pressed it into my lightly buttered 4"x11" rectangular tart form. (Side note: this is the one tart dough I use that I butter the tart ring or form - otherwise it sticks). I wanted to build up an edge that would bake up around the filling and fruit, so I cut narrow strips of additional dough and placed them around the periphery. Then I spread a thin layer of raspberry jam on the dough within the borders. 

IMG_2908.JPG

Next up - a layer of raspberry currant cream. Now here is just one of the wonderful things about pastry cream - you can replace 75-80% of the whole milk in your favorite pastry cream recipe with fruit purée(s), proceed with the usual preparation and voilà - fruit cream! For this one I used equal weights of fresh raspberry and fresh red currant purées made with some of my farmers's market booty. So tart yet creamy and delicious.

I found it easiest to pipe thin stripes of the cream over the raspberry jam, so as not to mess it up by trying to gently spread it. Piping makes things so neat, doesn't it? 

IMG_2909.JPG

Then comes a nice sprinkle of berries - in my case raspberries and blueberries. Another cool trick is if you freeze your raspberries a few hours ahead, you can easily break them up into halves or smaller pieces while still frozen to distribute them over the cream. You try that with fresh raspberries and you'll have a juicy mess! And you can pop the tart right into the oven - no need to wait for thawing, just go for it.

IMG_2910.JPG

For the final touch I brushed the dough edges with a bit of cream, sprinkled on some raw sugar and added chopped pistachios over the whole kit-n-kaboodle, not only to provide a wonderful color contrast but also some added crunch for the tasting portion of the program.

IMG_2911.JPG

This one baked at 325ºF (convection) for about 25 minutes. I always check things half way through, rotate my sheet pan to provide even browning (yes, even in a convection oven!). You want the crust to be nicely browned and the cream to be set.

IMG_2918.JPG

Let it cool for 15-20 minutes, gently slide a knife or offset spatula around the edges to loosen the tart form and lift it right off.

IMG_2932.JPG

Part of a dessert buffet for the Bastille Day L'Alliance gathering, I sliced it into strips and added a dollop of lightly sweetened whipped cream to each portion. Oh my, I love this dough sooooo much! Light, buttery and a wonderful complement to the tart, fruity cream and berries. And, to top it all off, I had some extra components to make another petite blueberry tart for Steve and myself to enjoy the next day. Scrumptious.

IMG_2935.JPG

A tasty trio for spring

A beautiful day at Fredrick Meijer Gardens here in Grand Rapids Michigan.  Spring is here. Delightful.


And now on to the baking portion of the program.


While I was preparing some sweet treats for a recent L'Alliance Francaise de Grand Rapids event, I was reminded of those days working as the pastry chef at Gracie's in Providence RI where I often created dessert trios for special events or private dinners.  I loved that. Three 2-bite experiences of different textures, creams, crunchies, fruits, nuts or what-have-you. No need to over do it - just some delicious little somethings to go with that after dinner coffee, tea or digestif - yes indeed.


For this menu I choose a petite apricot almond Breton cake topped with apricot caramel mascarpone cream and fresh raspberry, a delectable fudgy brownie with chocolate-graham-walnut crumble sprinkled over a ganache ribbon and my own sesame-cardamom shortbread cookie sandwiched with an orange honey buttercream. 


In this case it's not about a specific recipe or technique but simply the imagination of putting different flavors and textures together.  The more one bakes, the more one opens the mind to new ideas.

Interestingly, that's what I've found since teaching at Sur La Table here in Grand Rapids.  The recipes are chosen by the corporation and tested in the SLT test kitchen before being put on a nationwide schedule that's offered to the public.

Lots of croissant and French macaron classes to be sure, but every month or two some new topics pop up like crepes, soufflés and British baking, all of which prompt me to review and refresh my own knowledge and expertise.  It's all about learning! Plus I love figuring out what the problems might be when something doesn't turn out as expected. Keep trying!

So I've been doing things that haven't been in my typical scope of baking - Swiss meringue buttercream being one of them. Many of the macaron fillings for SLT classes are made using that technique with the flavors and fillings changing seasonally.  I had previously not been a big fan of buttercreams, yet having now made a number of Swiss meringue versions I find them quite appealing.  

There are many cake makers out there who do this in their sleep and many online resources presenting the process and all the delicious flavor variations that exist.

But just to review, a Swiss meringue is made by whisking egg whites and sugar over a bain marie to a temperature or 145º - 155ºF, then transferring it to a stand mixer and whipping to a nice glossy, stiff-peaked meringue.  Voila!


The meringue should be cool before adding the butter a few pieces at a time. The result should be a smooth, creamy buttercream.

I my case I blended orange zest and honey into the buttercream, and it was oh so wonderful with the lightly honey glazed sesame cardamom shortbread. Yum yum yum.


Of course, let's not forget that there's a lot of butter involved so my "everything in moderation" approach still applies, but somehow the meringue and butter combo is quite lovely as a filling for a cookie sandwich or a swirl on the top of a petite cake.


As for the petite Breton cakes, I used a standard Breton dough recipe from Christophe Felder, placed pieces of dough into round flexi-molds, topped 'em with almond cream, a dollop of apricot jam and a sprinkling of brown sugar streusel.  

After the bake, once cooled, I gave them a swirl of caramel mascarpone cream to which I had added some home made apricot purée, and topped 'em with a fresh raspberry.


The brownie bites were the recipe I've been making for Steve for some years, based on one from Fine Cooking magazine by Abigail Johnson way back when.  I gave them a ganache ribbon topping and sprinkled my chocolate-graham crumb- walnut crumble mixture on top. Yup.


All were delicious, delightful and appreciated by L'Alliance Française guests.

The moral of the story?  Use your imagination and keep creating your own flavorful treats! That's what it's all about.

Happy spring!