Afternoon tea at Hôtel de Crillon

We’ve been back home in Michigan for a few weeks now, and I want to share one last adventure from our European travels. I’ve been mulling over how to describe this one since it didn’t quite live up to our expectations, particularly after the generally stellar teas we enjoyed in the UK in autumn of 2019. Well here goes!

We had planned to meet an old friend for afternoon tea while in Paris, and, after a bit of research, we settled on Hôtel de Crillon, a 5 star spot right on Place de la Concorde that reopened several years ago after undergoing a 4 year renovation. With all the hype and the reputation of the place we were pumped to experience it. I recall during my pastry school days that the hotel was a very sought after spot for students to snag their place as a stagiaire - a real feather-in-one’s-cap kind of deal on the pastry chef resumé.

There’s a lovely lounge area soon after entering with luscious purple flowers and cushiony seating, but we were slated for Le Jardin d’Hiver, an outdoor terrace/courtyard venue for lunch and afternoon tea which lacked much luster or natural beauty - some greenery here and there and otherwise a white theme. Perhaps some might consider it calming, although we thought it pretty tame after the interior sumptuousness.

Entry lounge area

We had a quiet corner where we could catch up on the last few years (6!!) since we had seen Diane. After a lot of chatting (and staff periodically milling about wondering when we might order) we finally put in our requests for tea (me), coffee (Steve) and hot chocolate (Diane) to accompany our tiered tea assortments.

Two classic French cookies, langues du chats and lunettes with raspberry jam, came next. I gave them a thumbs up - crispy and flavorful, just as lovely shortbread type cookies should be.

We each received our own tiered server and could choose EITHER brioche or scones (the EITHER made very clear by the wait staff) which came perched above the sweets and savories. Heaven forbid we could have chosen one of each. Diane and I chose the scone pair (plain and fig/cranberry) and Steve went with the brioche (vanilla cream and strawberry/rhubarb). Truth be told, he’s not a big scone fan and he ordered the brioche simply so I could try it. Isn’t he wonderful?
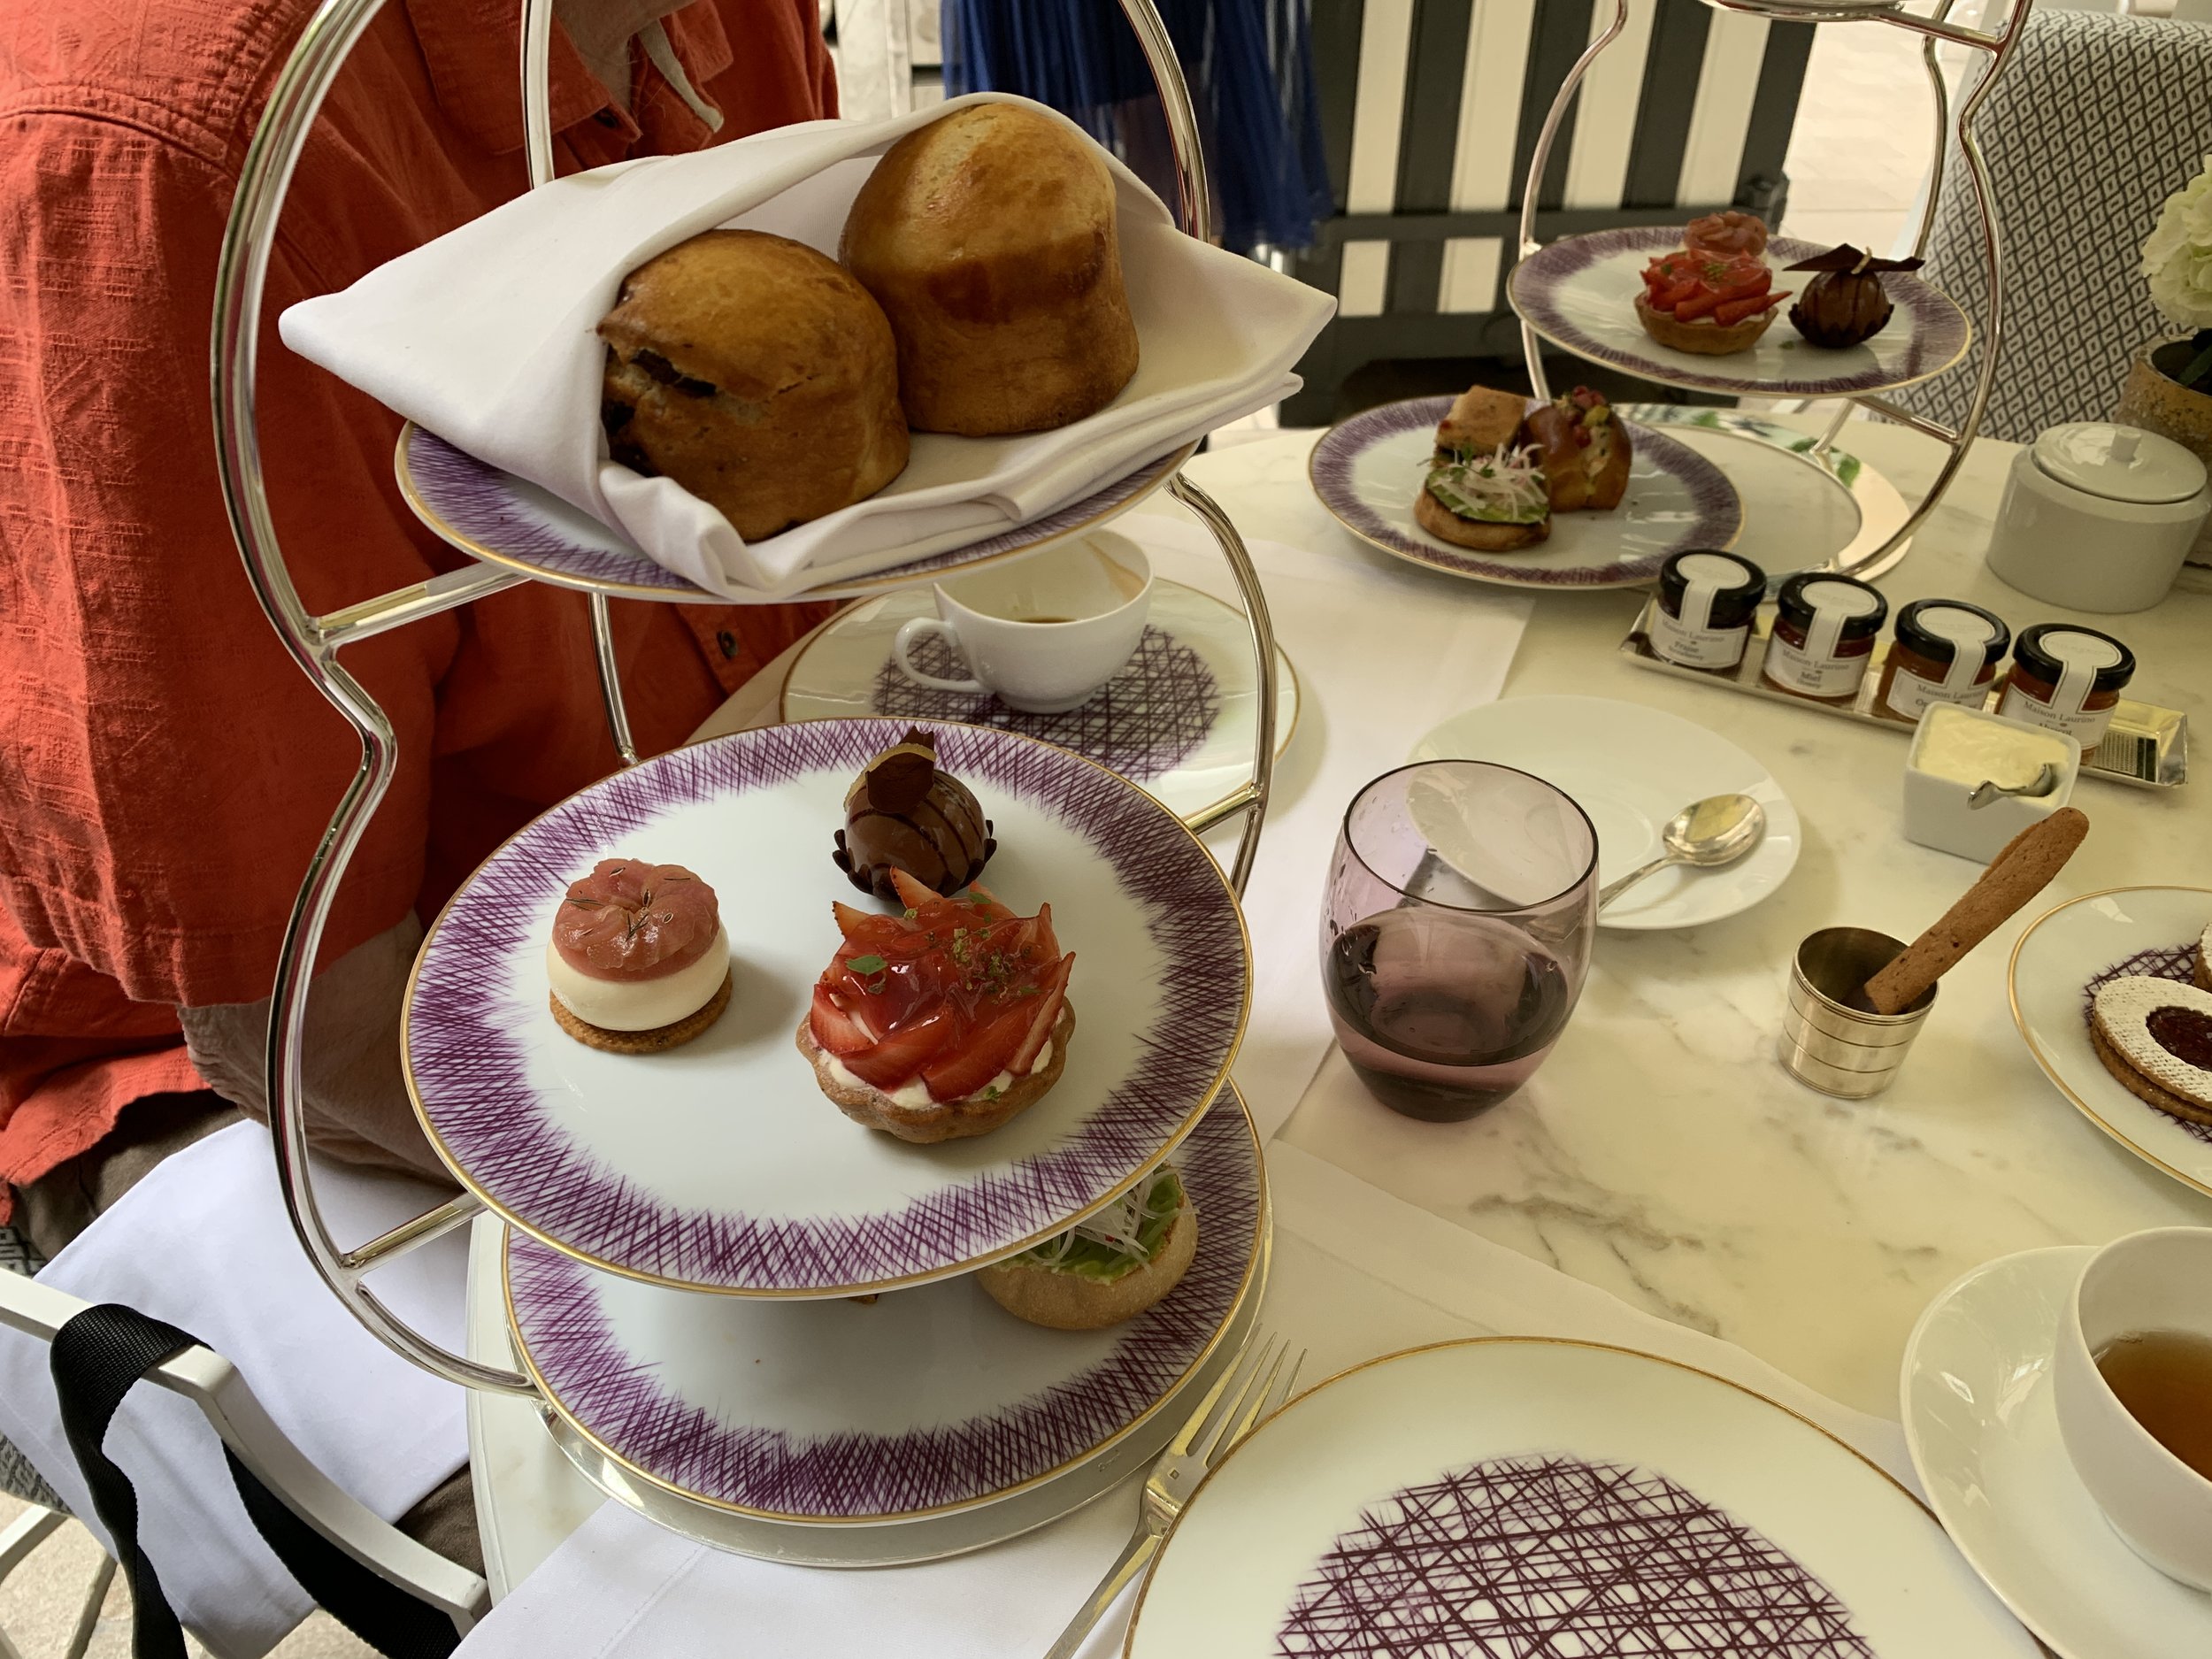
Scones and sweets

Let’s check out the savories - the menu included focaccia/grilled veggies/olive cream; lobster roll on brioche with lime; goat cheese and pea toast (English muffin like) with radish. We all agreed the pea toast took first place but felt the lobster roll lacked any level of pizazz and the focaccia was one dimensional.

Savories

Before moving on to the sweets, I sampled the fig/cranberry scone which was flavorful but more cake-like than the light, fluffy crumbly scones I prefer. I then stole one of Steve’s brioche (vanilla cream) and found it absolutely superb and what would in the end be my favorite for the day. A hidden stash of vanilla cream in the bottom was perfect with the buttery, light brioche and its crisp exterior. Alas the other brioche (strawberry rhubarb) went uneaten since Steve and Diane showed no interest and I had to save room for other things. Awwww.

Steve’s brioche

The sweets plate

The sweets offerings included a lovely fresh strawberry and orange blossom tart which was tasty indeed (save for the slightly less than crisply fresh crust). Can you imagine slicing and arranging those strawberries just so? It’s a lot of work believe you me.

We were disappointed in the rhubarb dill number - while the cream cheese mousse base was good, the rhubarb dill concoction simply didn’t do it for us.

The third sweet, milk chocolate mousse with pink grapefruit jelly, was odd and quite jiggly. Oh well, ya gotta try some new things right?

In the end it was more about chatting and enjoying each other’s company. The icing on the cake, as it were, was receiving the news through a message from Diane’s husband back home that the COVID testing requirement to get back into the USA had been lifted! She was slated to fly home the same day we were and all of us couldn’t have been happier with the news.

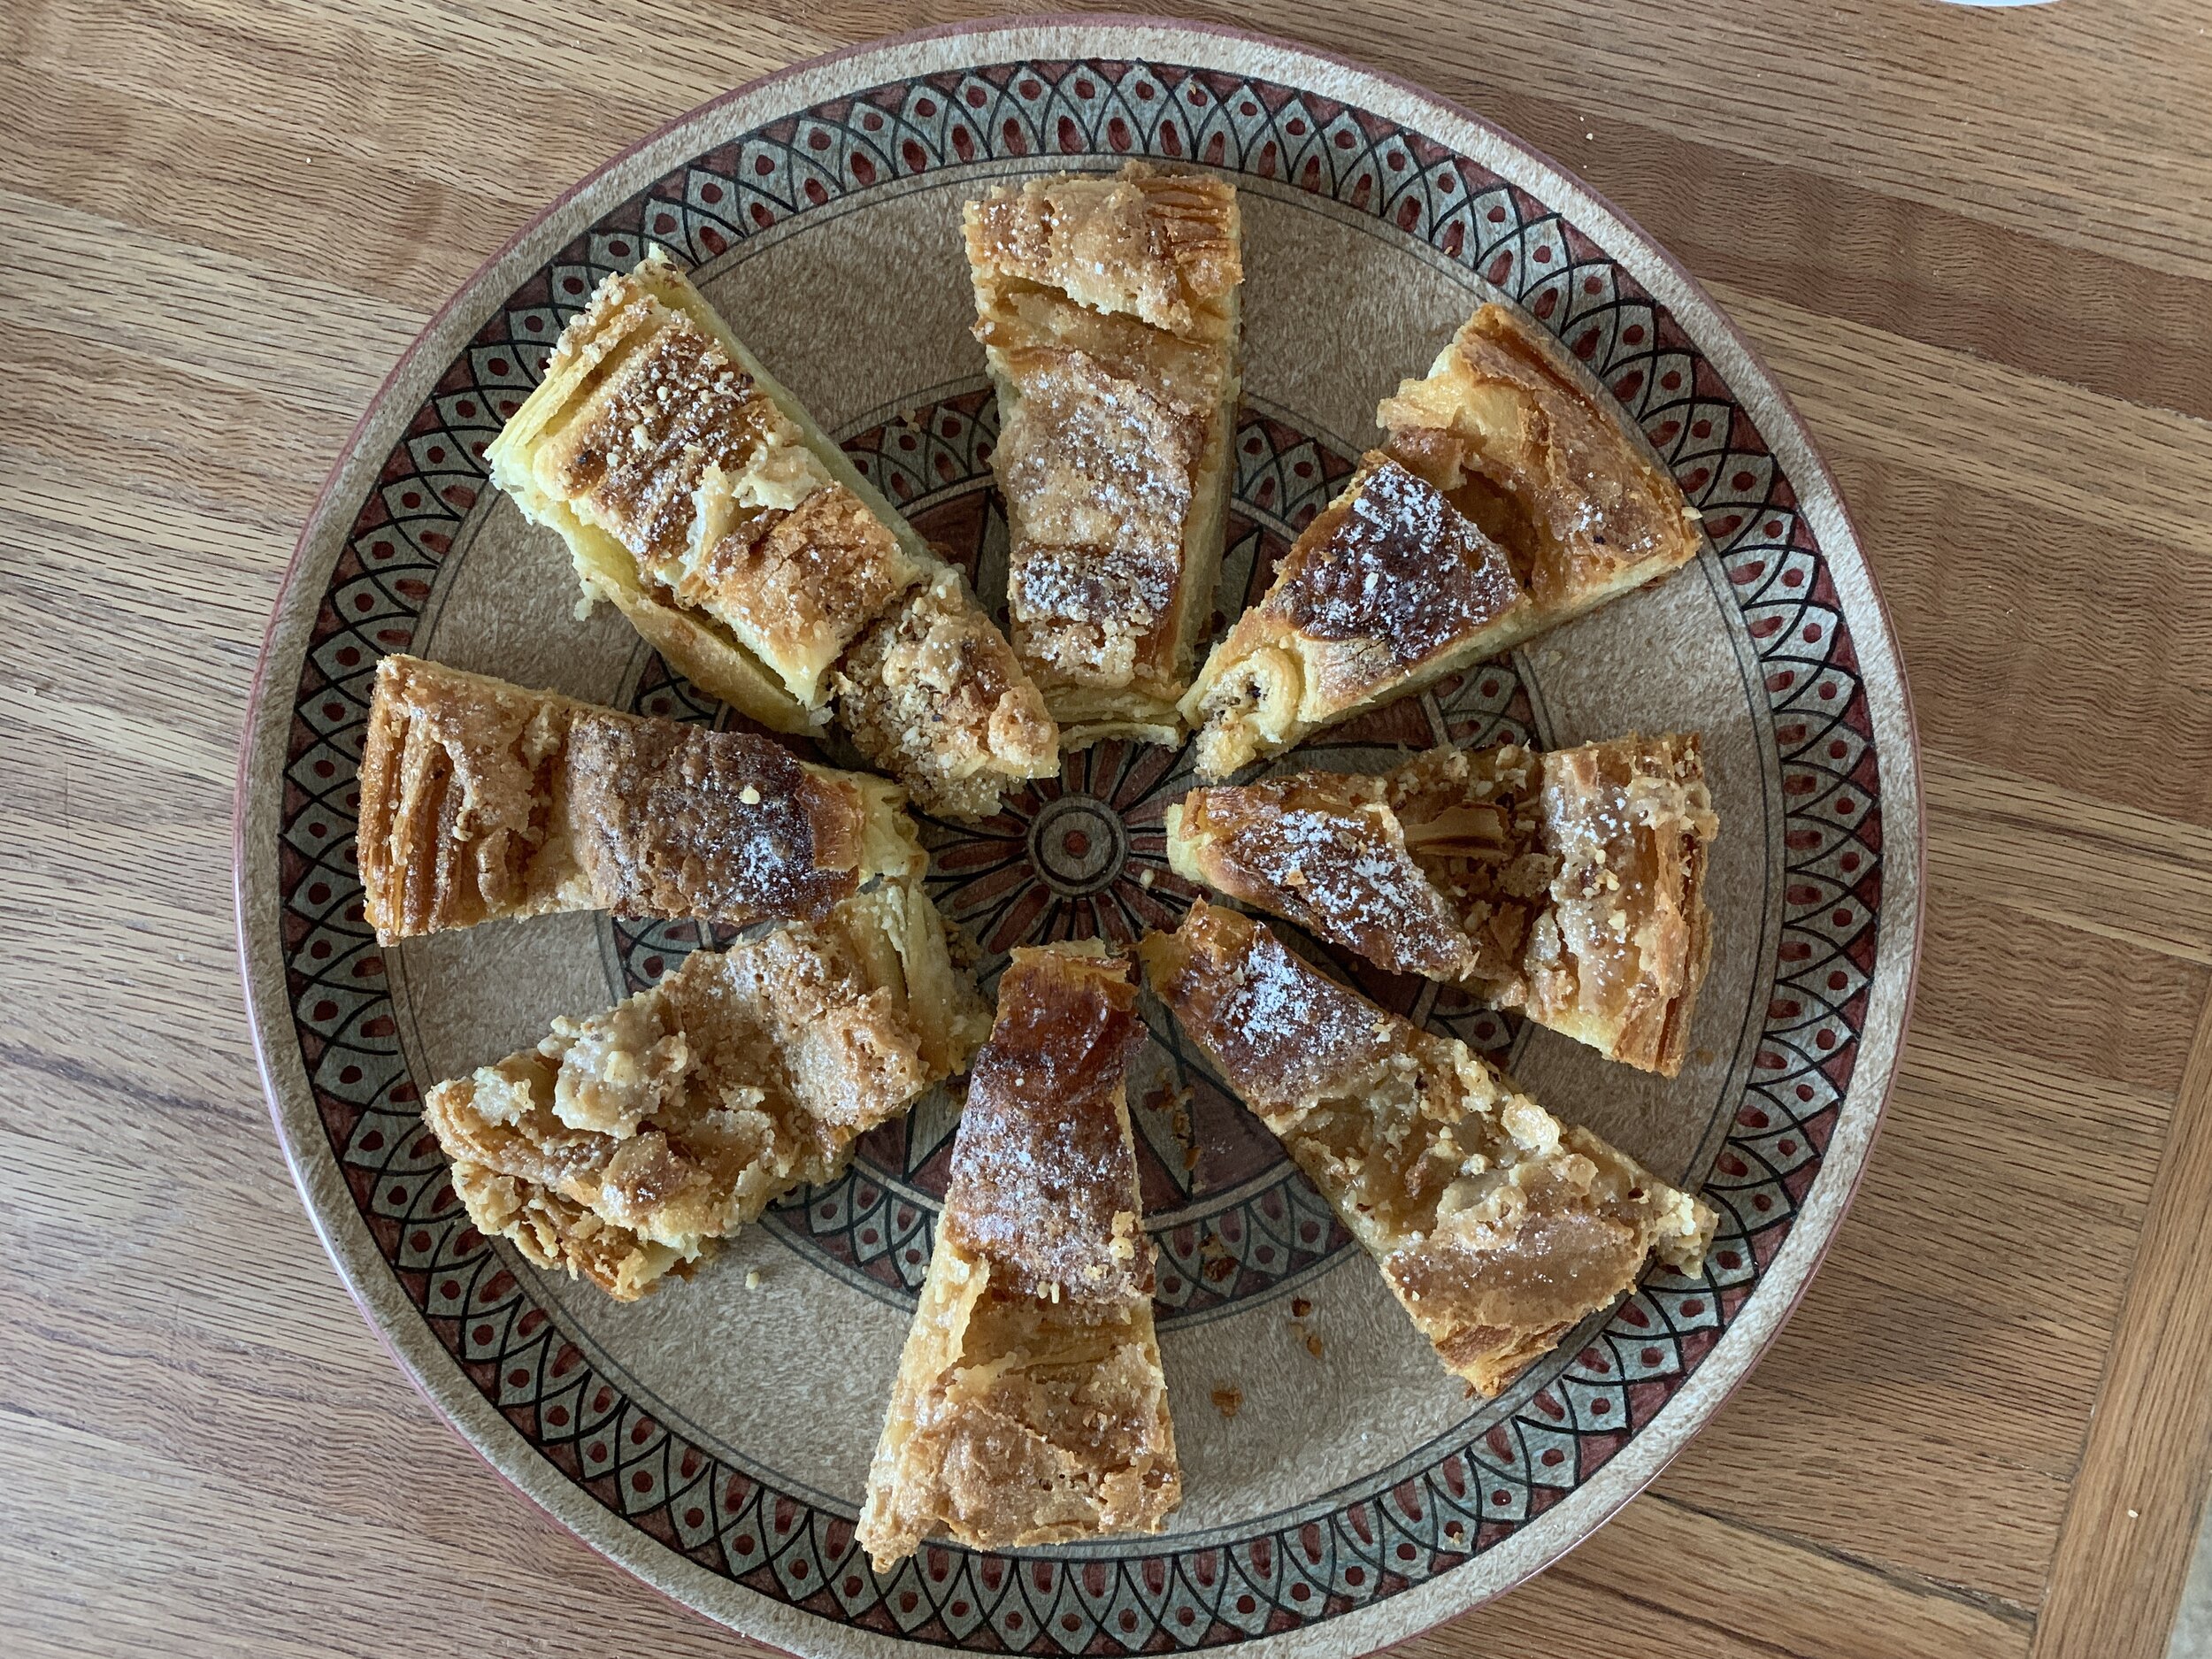
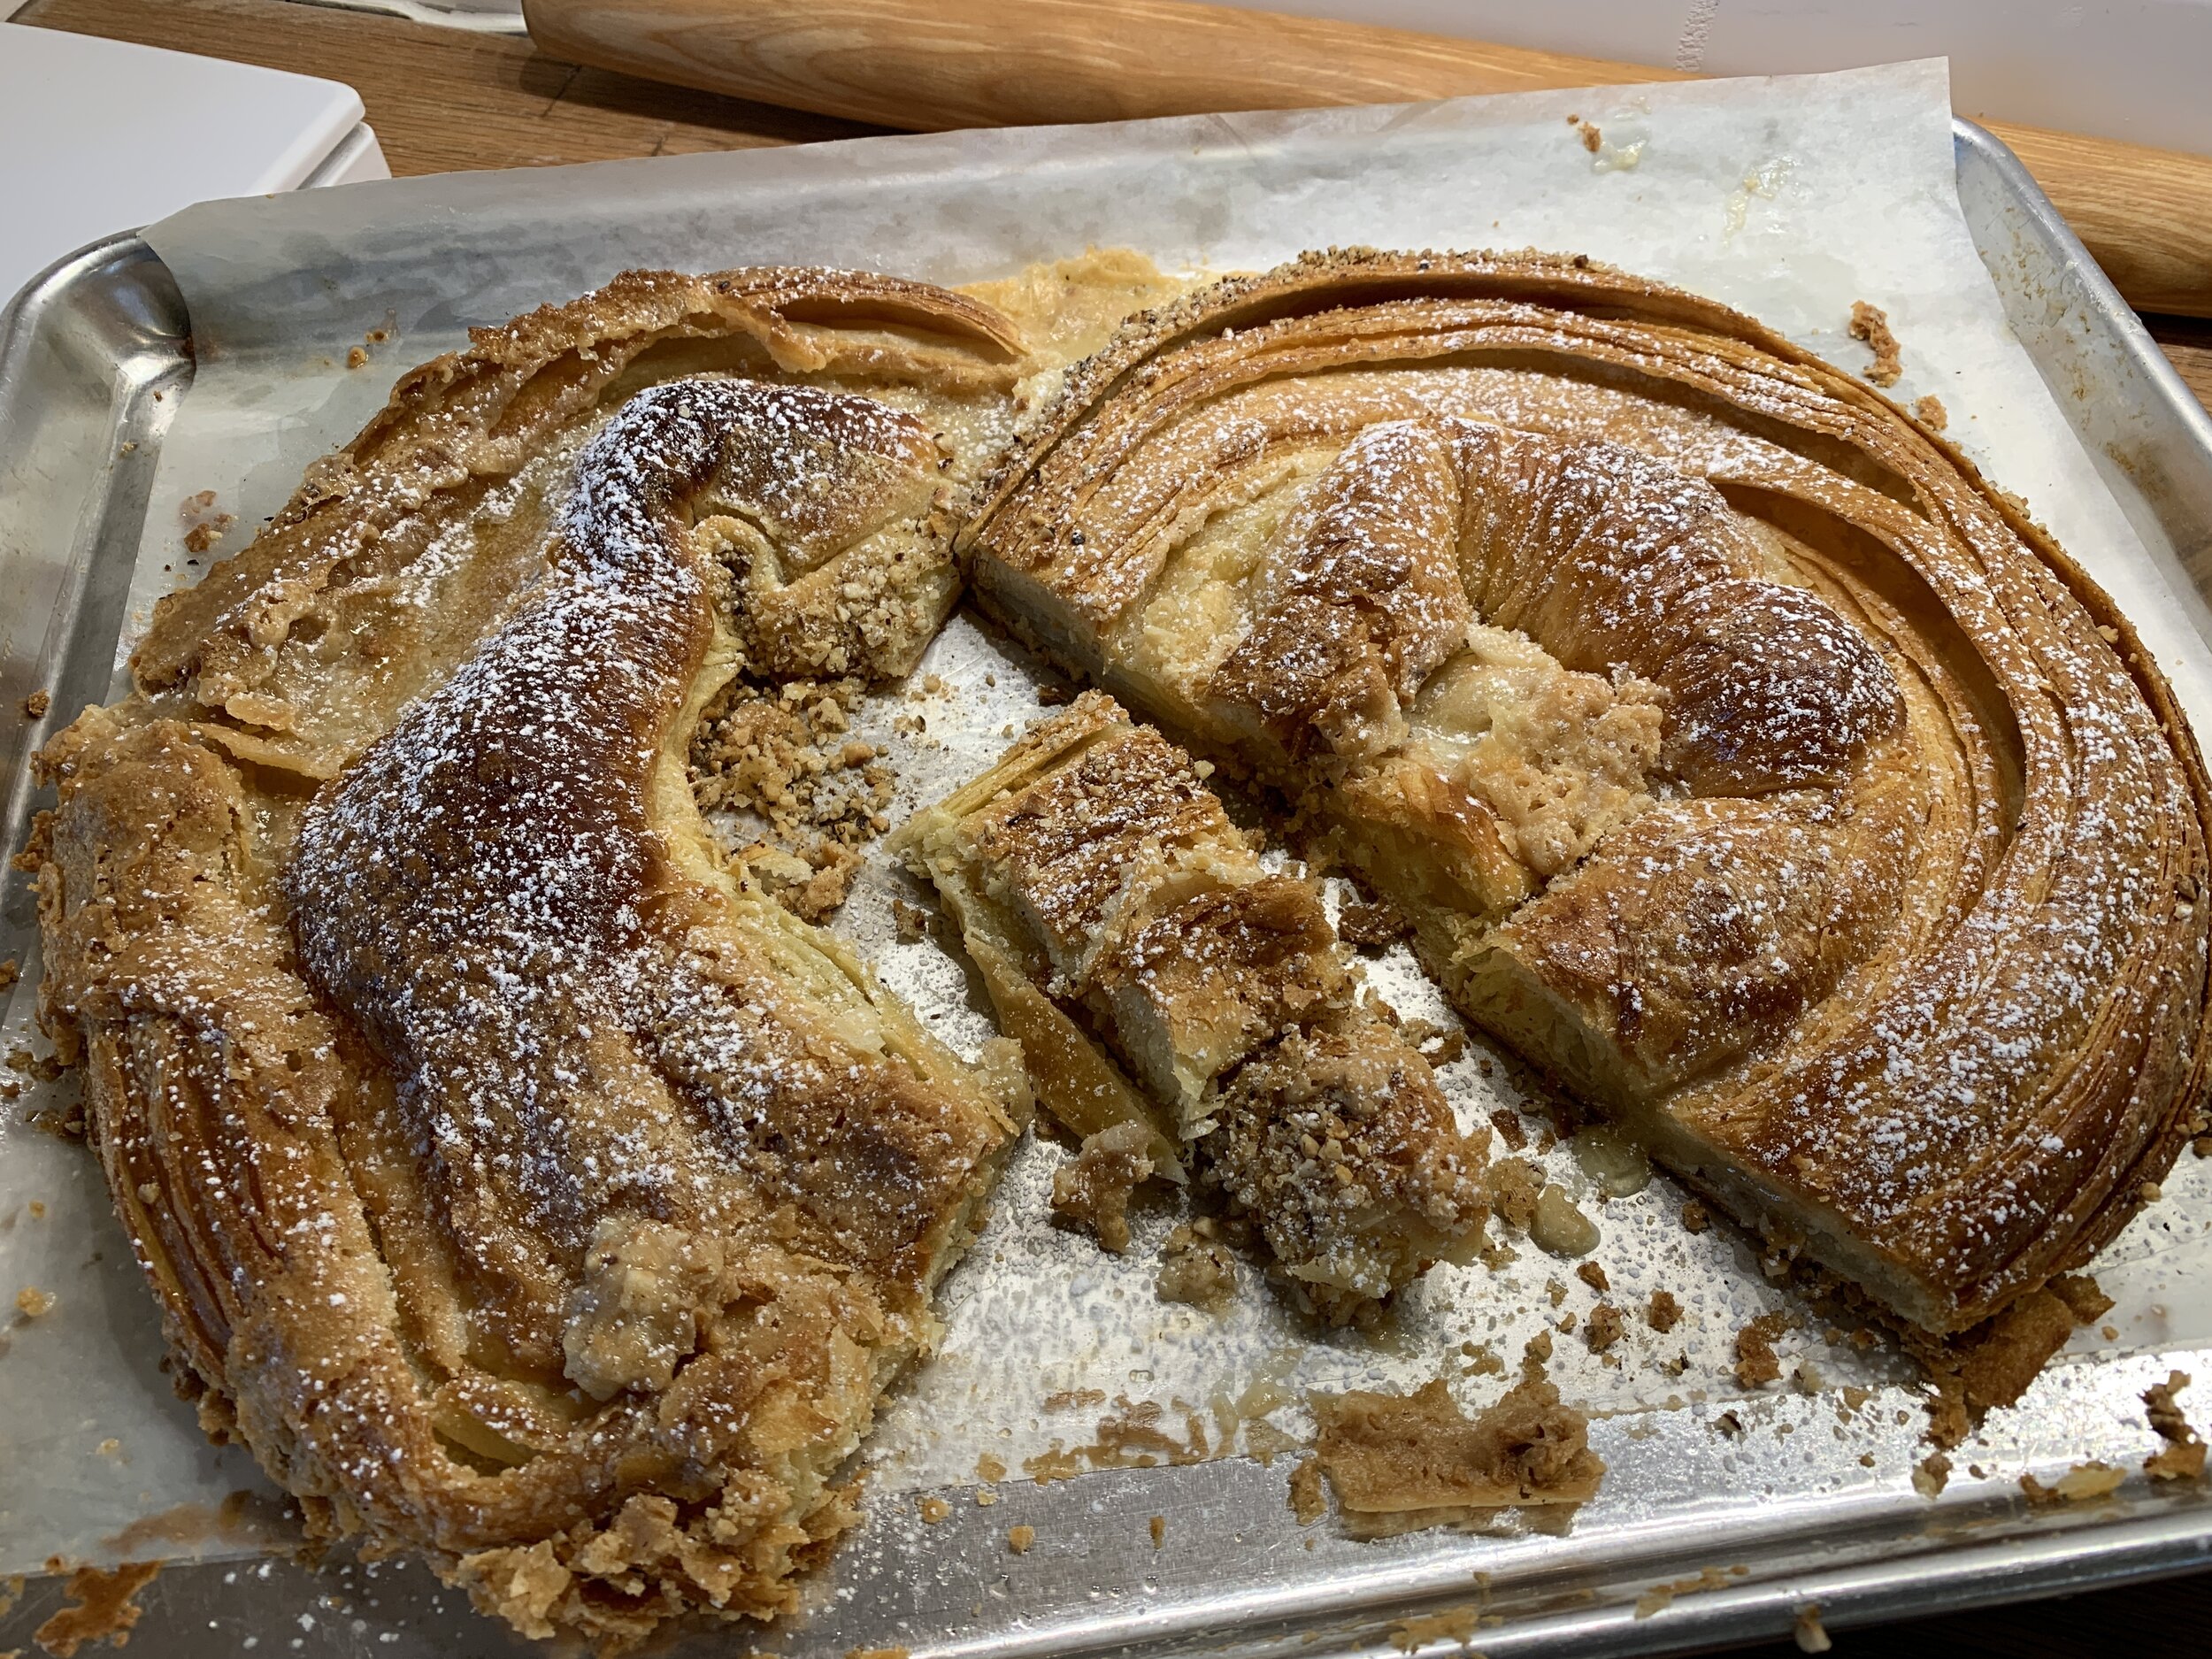
Now we’re back to life as usual, whatever that really means. Since being home, I’ve taught a summer tart class through our local school system and look ahead to occasional pastry activities on the horizon. We’re back in a very casual at home mode for the most part and wondering when all the turmoil around the world will wane. It’s anybody’s guess.

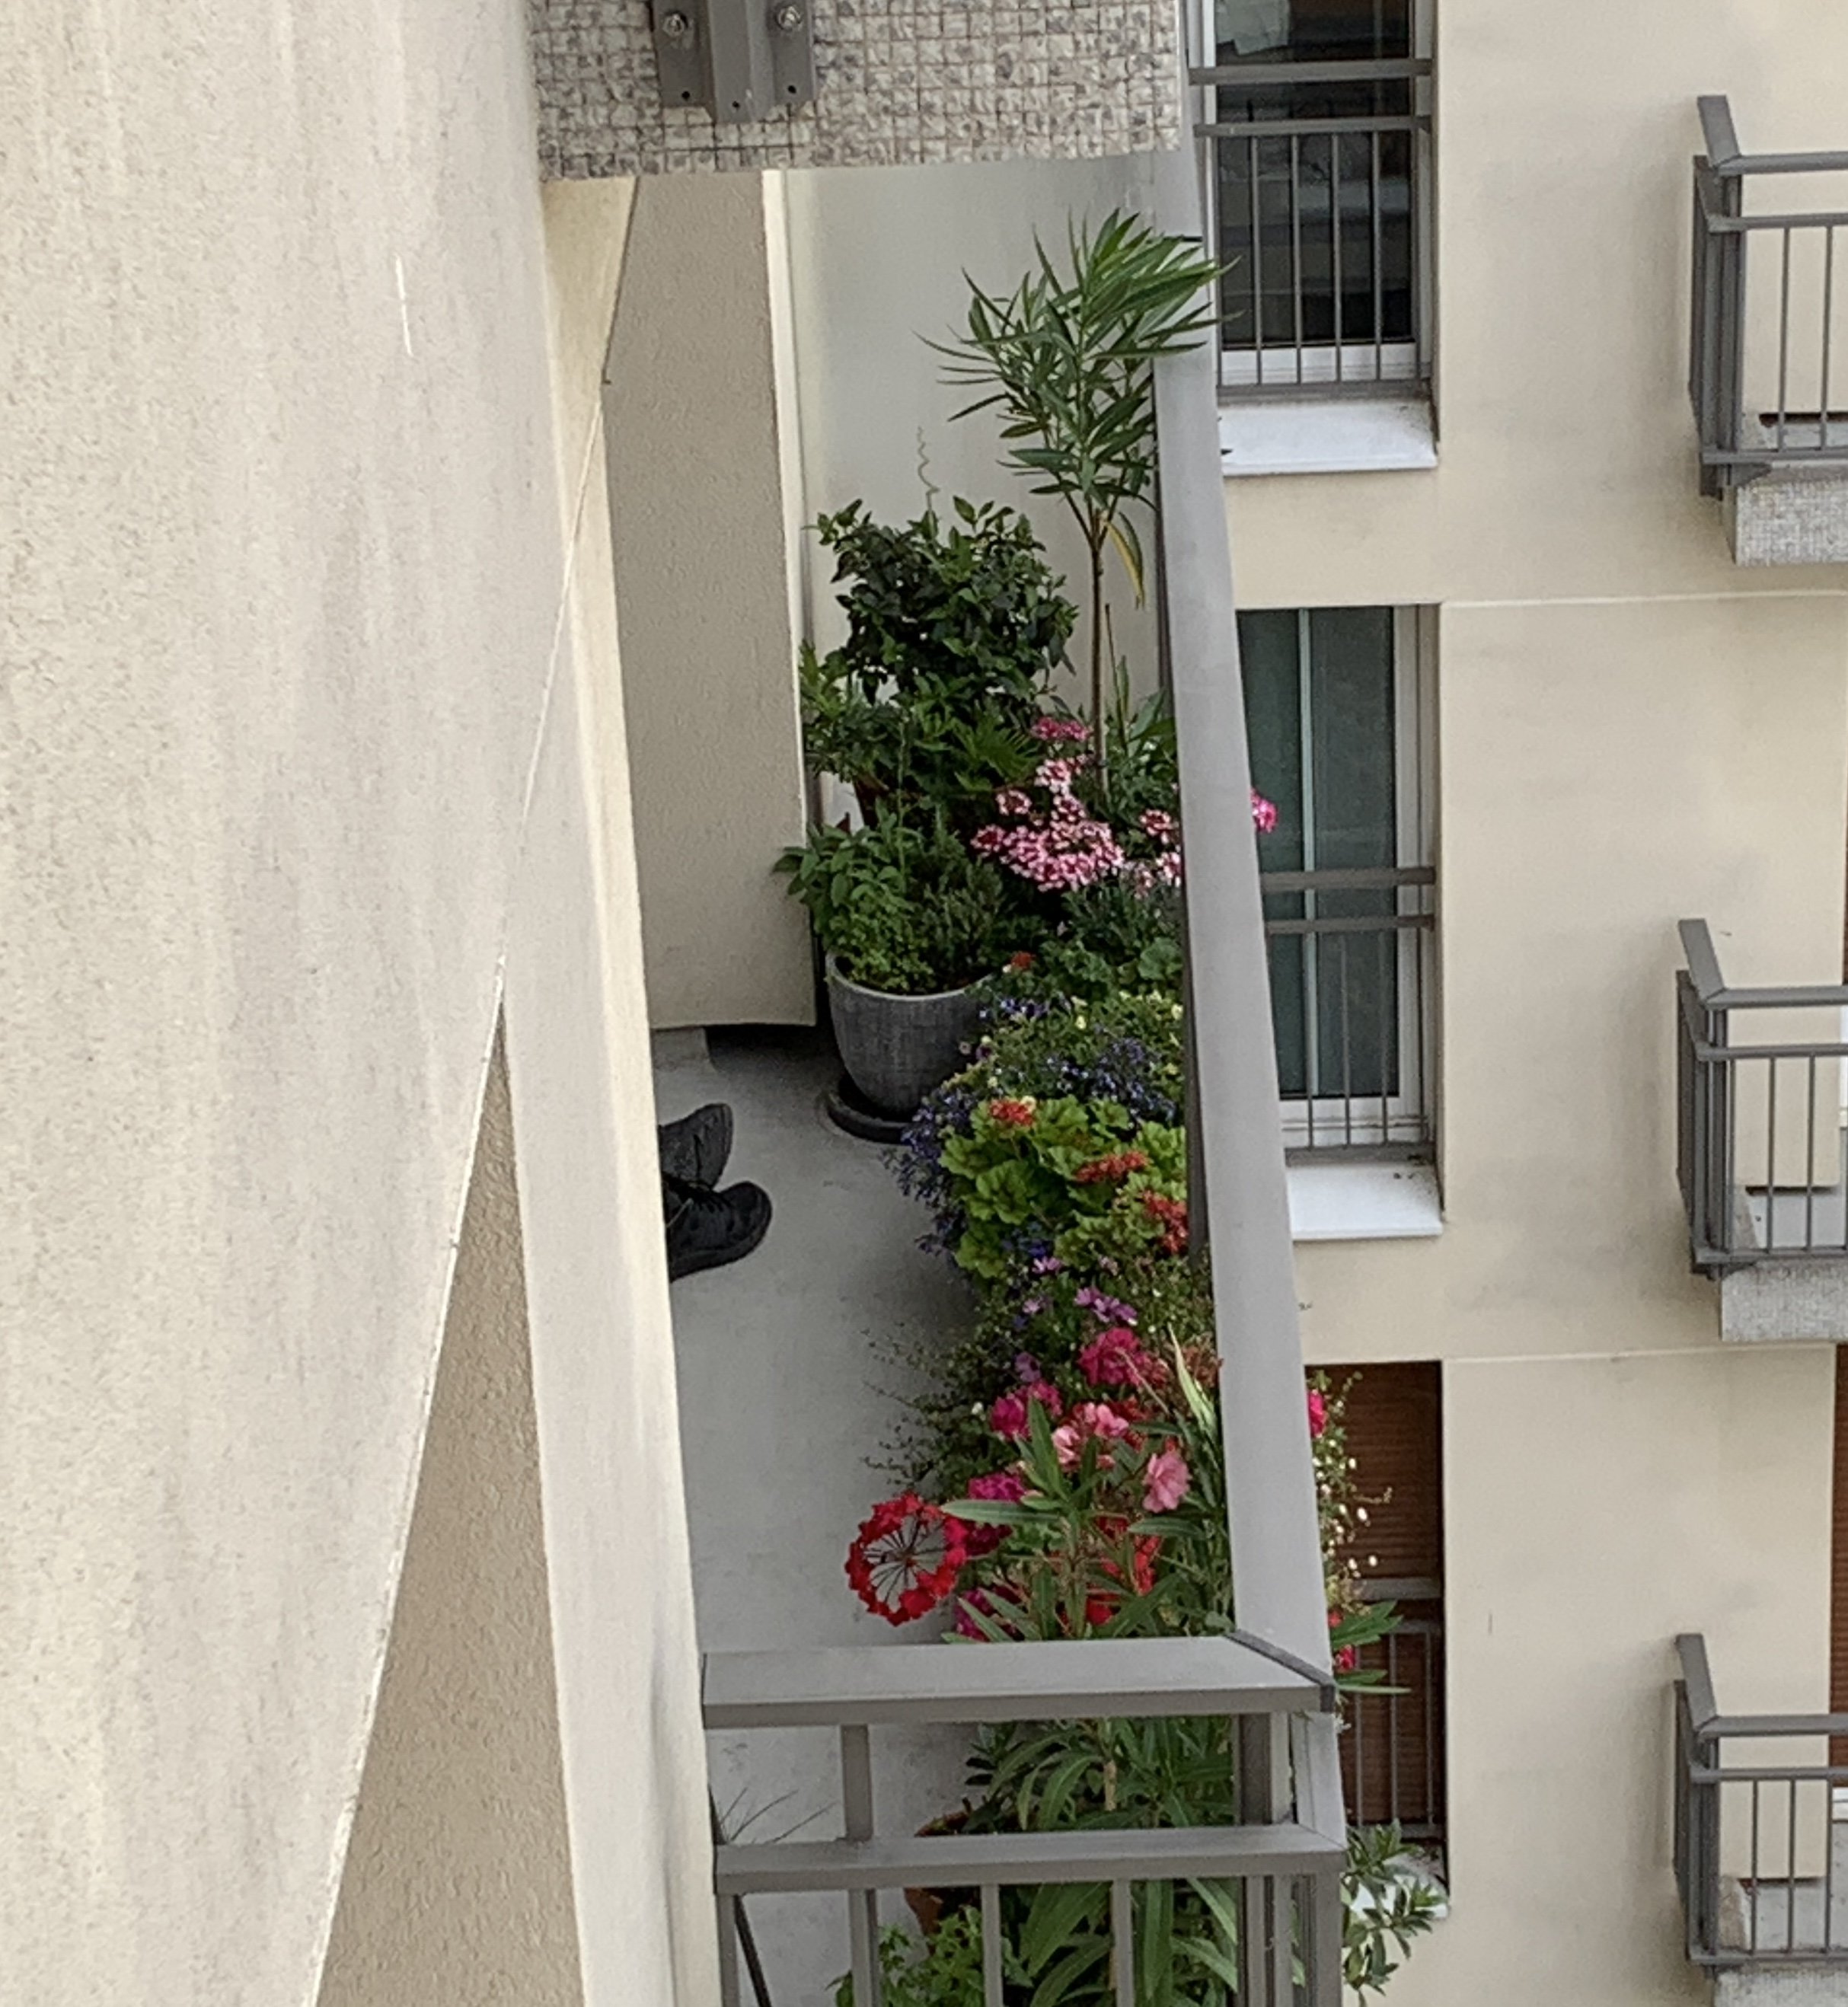
Meanwhile my annuals are potted up, I’m back to regular walks and swims and working on staying calm.

Enjoy summer!

Paris reverie

Paris. One word that conveys so much. For those of you who’ve been, this image of rooftops, chimneys, trees and beautiful evening light will speak to you. While not necessarily what most people think about when they hear that one word, the feeling I get from this image is one of calm, contentment and feeling at home.

Odd isn’t it? Steve and I lived here for 9 months during my Le Cordon Bleu pastry schooling and have been back a number of times over the years. Our last trip was 4 years ago, our return this time much longer than anticipated thanks not only to COVID but to life events in general. Things are always changing aren’t they.

Rows of plane trees in Le Jardin des Plantes

During those months, we lived in an apartment on rue Poliveau in the 5th arr, just down the street from Le Jardin des Plantes, the city’s primary botanical gardens. I took regular walks through the Jardin and along the Seine, always anticipating the vision of Notre Dame in front of me as I passed under the Pont de la Tournelle. Now undergoing restoration after the devastating April, 2019 fire, it is a much different image than the one that would always take my breath away a little bit every time it came into view. There’s something about it.

Restoration underway

Here are just a handful of images that help define Paris for me.

Wallace fountain on rue Jeanne d’Arc in the 13th arr

Small city garden at Place Louis Armstrong 13th arr

Streets named for artists like Edouard Manet (one of Steve’s faves!!), Rubens and Watteau.

Iconic art noveau metro signage - nearest line 5 station to our AirBnB

Fountains - this one is near the foot of rue Mouffetard in the Latin Quarter

One of Steve’s favorite pastries - Paris Brest from Maison Landemaine on rue Monge

Boat rides on the seine - Musée d’Orsay from the water

Lovely flowers on a neighboring balcony

Baguette from nearby pâtisserie/boulangerie La Gobelinoise on Av. Les Gobelins, 13th arr

Sailboats at Le Jardin du Luxembourg

Fruit stands - C’est la saison des cerises! Near rue Mouffetard.

Vintage shop signs at Musée Carnavalet

Do I have to say it??

There’s so much more - I’ve barely scratched the surface. It’s good to be back.

Stay healthy and enjoy summer!

Charles DeGaulle statue on Place Clemenceau

Danish Kringle

IMG_0454.JPG

More fun with laminated dough - an interesting project indeed!

As I was researching and reviewing the pastry known as Danish Kringle I learned that kringle is the word for pretzel and that Danish bakeries typically have a sign outside their shops shaped like a pretzel topped with a crown. A sure sign of good things inside.

Scandinavia is on Steve’s and my travel hit list, although it’s strange to contemplate when we might be able to travel again given our current times. We can only hope. In the meantime I’m reading and learning more about the types of baked goods that come from that corner of the planet. Cool stuff.

IMG_0446.JPG

Made with the Danish version of laminated dough (wienerbrød in Scandi talk), this is a traditional almond filled pastry, popularly served in Denmark for occasions like birthdays, anniversaries and other festivities. Much like croissant dough in its preparation, the primary difference is the addition of egg to the dough. As is true when comparing a number of recipes for a particular pastry, the range of ingredient quantities can certainly vary, particularly the amount of butter used for the laminations.

Inspired by Brontë Aurell’s version in her book “Brontë at Home”, I compared her Danish dough base recipe with several others, most notably the one in my 2004 first edition of CIA’s book “Baking and Pastry - Mastering the Art and Craft” (there have since been two further editions in 2009 and 2015).

It was the first pastry tome I purchased upon our return to the USA after completing my stage at Pâtisserie Pascal Pinaud in Paris’ 5th arrondisement in March of 2007. I used it as my primary reference source (and still refer to it all these years later) during my first summer job that year at JM Gerrish Provisions in Winter Harbor Maine. My how time flies.

IMG_0642.jpg

I ended up creating my dough recipe based on an amalgamation of Aurell’s and CIA’s - pretty similar actually, save for the lesser butter block quantity in CIA’s version. I tend to take a “less is more” approach in my croissant dough too.

The dough: remember if you’re going to mise out your ingredients ahead of time, keep the yeast separate from the salt until ready to actually start mixing since the salt can inhibit the yeast.
Using a stand mixer fitted with the dough hook, mix 375 g / scant 3 cups bread flour, 43 g / 3 tablespoons granulated sugar, 6 g / 2 1/8 teaspoons instant yeast, 6 g / 1 teaspoon salt, 40 g / 3 tablespoons soft unsalted butter, 1 large egg, 1 large egg yolk and 175 g / 3/4 cup room temperature whole milk. Blend on low speed for 2 minutes then increase to medium speed for 4 minutes.

Place the dough in a lightly greased bowl, cover and let rise for about 2 hours. Gently turn the dough out onto a lightly floured work surface, fold it over and form a rectangle on a parchment lined sheet pan. Wrap tightly and refrigerate overnight.

Form 243 g / 2 sticks + 1 tablespoon unsalted butter into a ~8”x8” square by tapping/rolling it between plastic wrap. Keep it wrapped and refrigerated until you’re ready to perform the butter incorporation and the laminations.

Let’s review the steps of creating a laminated dough. Take the butter out of the fridge about 20 minutes before you’re ready to go, then tap it with your rolling pin to make it more malleable - you want it cool and bendable.

Remove the dough from the fridge and roll out to ~8”x 16” rectangle. Place the butter in the middle of the dough and fold one end over it to cover half of the butter as seen below. Do your best to keep the corners square.

IMG_0420.JPG

Fold the other portion of dough over the remaining butter. You can stretch the dough a bit to square off the corners and pinch the edges and center seam together so as to completely envelope the dough. This is called the “lock-in” or le beurrage en Français.

IMG_0421.JPG

Next you’ll roll the dough out to an ~8”x 24” rectangle, paying attention to the edges and center seam to keep things together and prevent any butter from sneaking out. I like to roll the dough with the sealed edges positioned at top and bottom and the center seam vertical to me. Feel free to flip the dough seam side down as you roll.

If your dough ever becomes too warm and butter starts breaking through, wrap and chill it for 15-20 minutes to firm things up again.

IMG_0422.JPG

Typically croissant and Danish dough are put through three 3-folds (also called letter folds), but for this project I started with a 4-fold or book fold. Visualize the center of the dough, fold each end into the center to snuggle up to each other (leave a skosh of a space to allow for folding it) . . . . .

IMG_0423.JPG

then fold it on itself like a book.

IMG_0424.JPG

An important thing to remember when making laminated dough is that after each fold you turn your dough 90 degrees before you roll it out for the next fold. Think of it as the spine of a book on your left.

IMG_0425.JPG

Now wrap the dough in plastic wrap and refrigerate it for 30 minutes before doing the next fold. That keeps the dough/butter cool and stable and allows the dough to relax as well.

Roll it out again into a rectangle but this time visualize the dough in thirds and fold it like a business letter. One end up . . . .

IMG_0434.jpg

the other end down.

IMG_0435.jpg

Wrap and chill another 30 minutes. Making sure the “spine” is on your left, roll it out and repeat another 3-fold. Now the dough is complete. Wrap and chill for at least 30 minutes or up to overnight before rolling it out for its intended use. It can also be frozen up to a month.

Check out these layers!

IMG_0453.JPG

Before rolling the finished dough out for the Kringle, make the almond filling (remonce) by blending together 100 g EACH of almond paste (Mandelin brand is great!), softened unsalted butter and confectioner’s sugar. This is enough filling for one full Danish Kringle. Many Kringle recipes also include raisins but I opted out on that one.

Side note: New word alert for me! Remonce is said to be a Danish word and creation and refers to a commonly used filling in many Nordic cakes and pastries. Almond is a common flavor but it can be made with other nut pastes like pistachio or hazelnut or flavored with cinnamon, cardamom and/or vanilla, depending on what you’re making. For cinnamon rolls the confectioner’s sugar is often replaced with dark brown sugar. Life is full of variations, eh?

IMG_0419.JPG

For this my first Kringle attempt I followed Aurell’s instructions for rolling, filling and shaping the dough. Because her description of the process wasn’t terribly clear (there are no images in the book to help), I checked out a couple of YouTube videos and also went somewhat by instinct.

On a lightly floured surface roll the dough lengthwise to a rectangle about 7”x20” then split it right down the middle length wise. A pizza cutter is a great tool for this.

Then roll each piece again length wise to achieve a width of 4” and a length about 24”.

IMG_0428.JPG

Working with one piece at a time, place half the remonce in a line down the center. Fold the top edge over the filling . . . . .

IMG_0429.jpg

Then bring the bottom edge up and over to make a log.

IMG_0431.jpg

Repeat with the second piece then place both pieces on a parchment lined sheet pan in horseshoe shapes with their ends touching each other.

Turns out there’s actually supposed to be a narrow gap down the centers exposing the filling (that’s what I get for not paying attention) but, once the dough had risen, a gap developed during baking so it all worked out okey-dokey.

IMG_0432.jpg

Now grab one end of each horseshoe and bring them toward the other side, crossing each other to form a pretzel. This is one monster of a pastry! Reminds me of some kind of sea snake or something.

IMG_0433.jpg

Egg wash and let proof in a closed space (I often use an overturned clear tote bin for my cover) for about an hour. About 20-25 minutes before the end of the rise heat the oven to 375ºF.

Repeat the egg wash then sprinkle with toasted, coarsely chopped hazelnuts or sliced almonds (or a combo!) and some raw or pearl sugar.

IMG_0437.jpg

Bake for 10 minutes, turn the oven down to 350º and bake an additional 15-20 minutes. Since the thickness at the crossover point is essentially double the rest of the pastry, I tried to be sure that it had baked through. Not necessarily an easy task. I reduced my oven temp by 25º and continued checking every 5 minutes or so, but it’s not really until you cut into something that you know for sure.

Wow - check this out!! Nice and golden, plus you can appreciate the layers and how the top opened up to reveal the filling. Actually quite a messy looking end result, eh? But after all, it’s about sharing the experience and learning from it!

IMG_0438.jpg

Once it had cooled I started carving. While a bit gooey at some points the flavor and flakiness are definitely there, and our taste testing ended with a thumbs up.

IMG_0442.JPG

Slice it up, dust it with some confectioners sugar and share it with all your friends (safely distancing of course). They’ll thank you for it.

IMG_0456.JPG

Wait - I’m not finished yet! As if you haven’t had enough already, I made one more Kringle with a half batch of dough, hoping to make a more petite pretzel without the overlap.

The dough was a bit wider than I would have liked, but I proceeded with the filling and the folding over, leaving the gap in the center.

IMG_0551.jpg
IMG_0552.jpg
IMG_0553.jpg

It was too thick and bulky to form the pretzel I was envisioning, so ultimately it became a circle. Hmmm . . . those ends don’t really want to stay together. Oh dear.

IMG_0554.jpg

Once risen I topped it with sliced almonds and pearl sugar and baked ‘er up.

IMG_0560.JPG

Even though the risen Kringle looked pretty good, my ends did not stay together in the oven. This baby baked into a shape not unlike those leather horse harness collar thingies that you might see on a team of Clydesdales.

IMG_0563.JPG

Not to worry however. This one baked up beautifully with nice flaky layers, delicious flavor and came with the confirmation that I am now an official fan of remonce filling.

IMG_0567.JPG

Quite a project all-in-all. I’m not giving up on this one folks. It’s so important to share the processes, especially the first time around. Remember, if at first you don’t succeed . . . . you know the rest.

More Kringle? You bet! Stay tuned.

Happy baking, stay safe and think of the good days yet to come.

A visit to the new Le Cordon Bleu in Paris

It was our last day in Paris before heading back to the US of A - what to do, what to do.  Steve had a cemetery investigation project on his hit list, and I had been wanting to visit Le Cordon Bleu, so off I went to do just that.

I had learned not too many months ago that LCB Paris had built a brand new facility on the Quai André Citroën in the 15th arrondisement, right down the street from the Eiffel Tower and in sight of the Statue of Liberty (the French have the original you know) sitting in the middle of the Seine.


Lady Liberty

I found the school without difficulty, although it is a bit of a metro ride on the 10.  A quick walk down Quai André Citroën and I was there.


Somewhat spaceship like in appearance, it's a far cry from the old LCB with its unassuming facade and entryway.  My, those were the days.

One enters via the stairway next to the orange structure you see above.  The space inside is light, spacious and airy with a friendly woman at the reception desk asking how she could help.  When I explained that I'm an alum and would love to see the new school, she promptly called to see if someone was available to give me a tour.


Philippe Rocheron is the school's public relations man and served as my guide.  He and I had actually communicated by email some months ago when I was expressing some interest in their new Diplôme de Boulangerie.  It was nice to put a face with the name.  

There weren't any classes actively in progress for us to visit, but there were a lot of students sitting out in the open areas having their lunch before going into the practical kitchens a bit later.

I was particularly interested in the boulangerie kitchen and was impressed by the wooden topped work tables (my favorite surface on which to work with dough!) and the well equipped space.  Ahhhh - maybe someday.


On the main level there is a small cafe that sells goods made by the chefs at LCB.  As the students become more savvy about production and become more accomplished at things like laminated dough, their end results also go into the case.


My how things have changed - and for the better I might add.

Thanks for the tour Philippe!