Dallmayr cafe and delicatessen

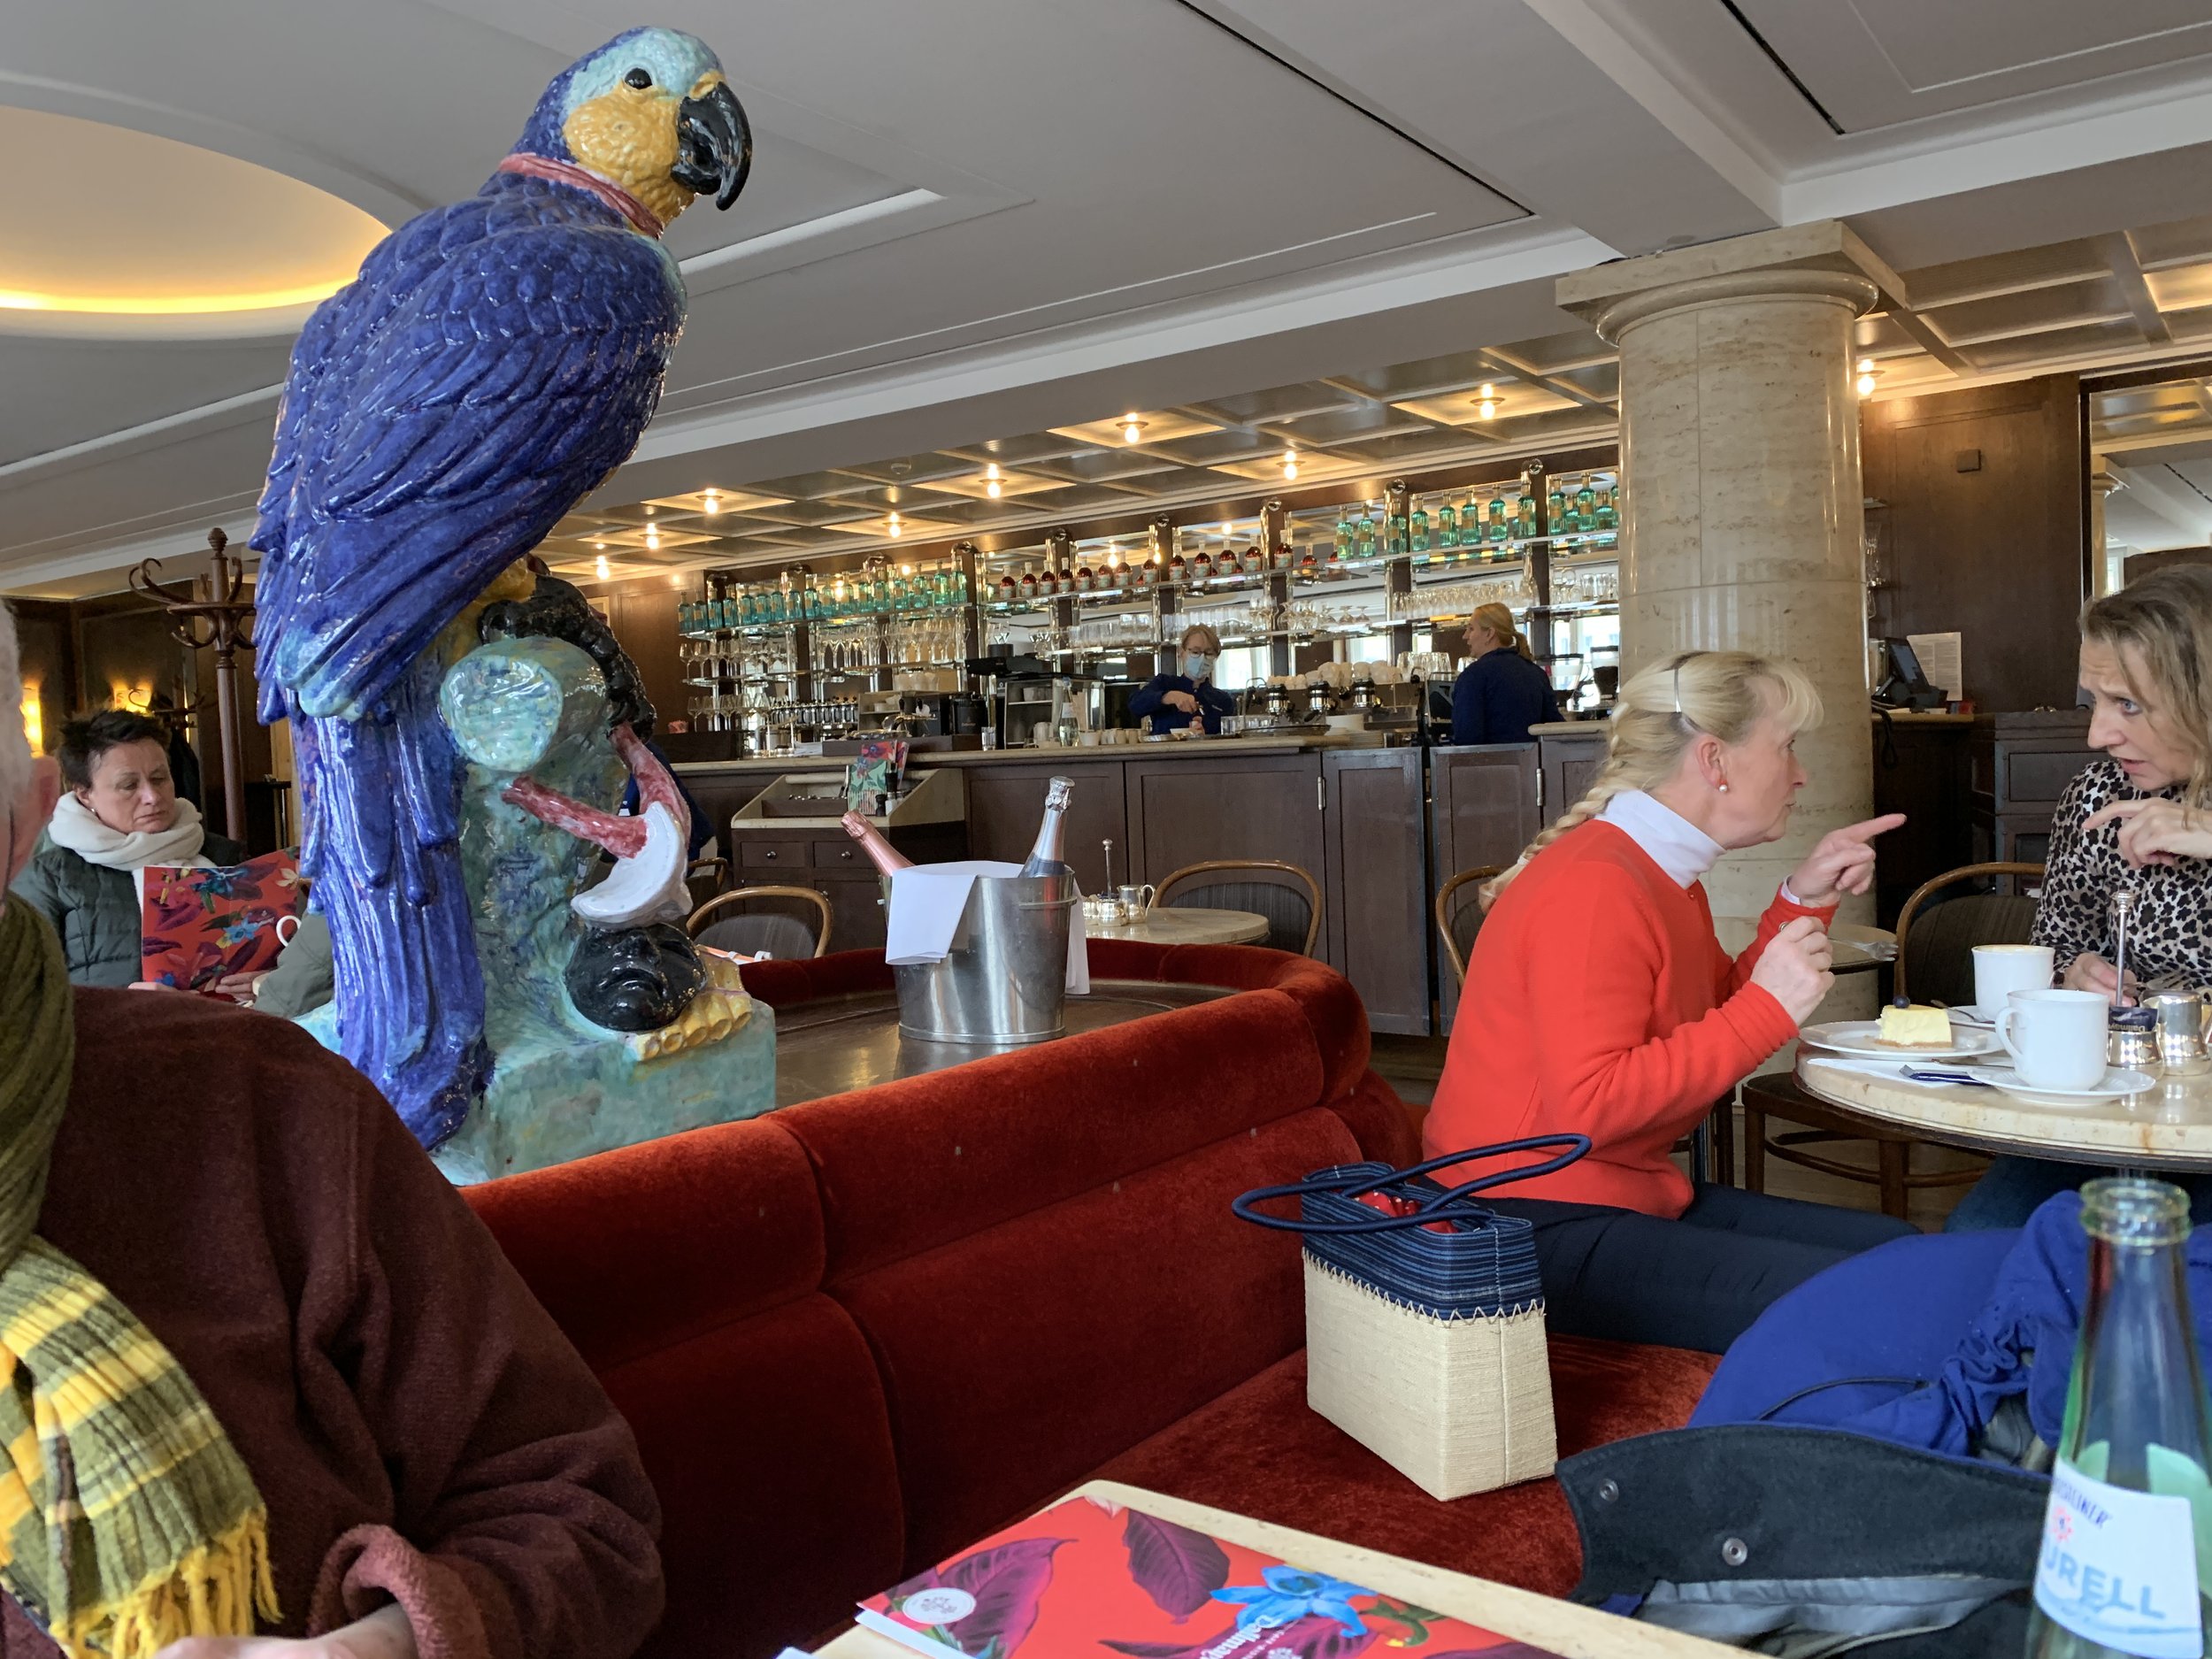
Festooned with blossomed branches for spring, this famous Munich foodie space has been around since 1700. A bustling delicatessen, cafe/bistro, bar/grill and fine dining spot (which reopens September, 2022), Dallmayr attracts locals and travelers alike throughout the year.

After a sobering and rainy visit to Dachau that morning and always in search of a delicious lunch/coffee/pastry experience, we decided to give the cafe a try. Located upstairs, it offers comfortable seating, attentive staff and an all around welcoming vibe. We had a big blue ceramic parrot as our nearby companion.

Even though mask mandates have been lifted for the most part, many folks still mask in indoor public environs, and it’s required on all public transportation and in buildings the likes of museums and government related locales. But when it’s time to eat and drink, the masks come off! Looking around one can just tell that people are so happy to be out and about with family and friends again.

For our lunch Steve chose vitello tonnato, one of his favorite Northern Italian dishes and I went for quiche Lorraine. The dark, seeded rye and traditional baguette in the accompanying bread basket were deelish and our Sancerre was none too shabby either.

If in the mood for dessert, one can go peruse the pastry case for the day’s selections.

Tortes, tartes, kuchens, strudels oh my!

Given the recent apfelstrudel class I attended in Salzburg, that was my choice hands down. Available with ice cream or crème anglaise, I chose the latter along with the requisite afternoon cappuccino of course.

Warmed with flaky pastry, vanilla scented sauce, lightly sweetened cinnamon apple filling - I give it a thumbs up!

After a bit of post lunch relaxing we headed downstairs and wandered a bit through the deli/food hall area very reminiscent of Paris’ famous Fauchon.

Another pastry case caught my eye

Lovely time spent in a lovely location - how fortunate we are.

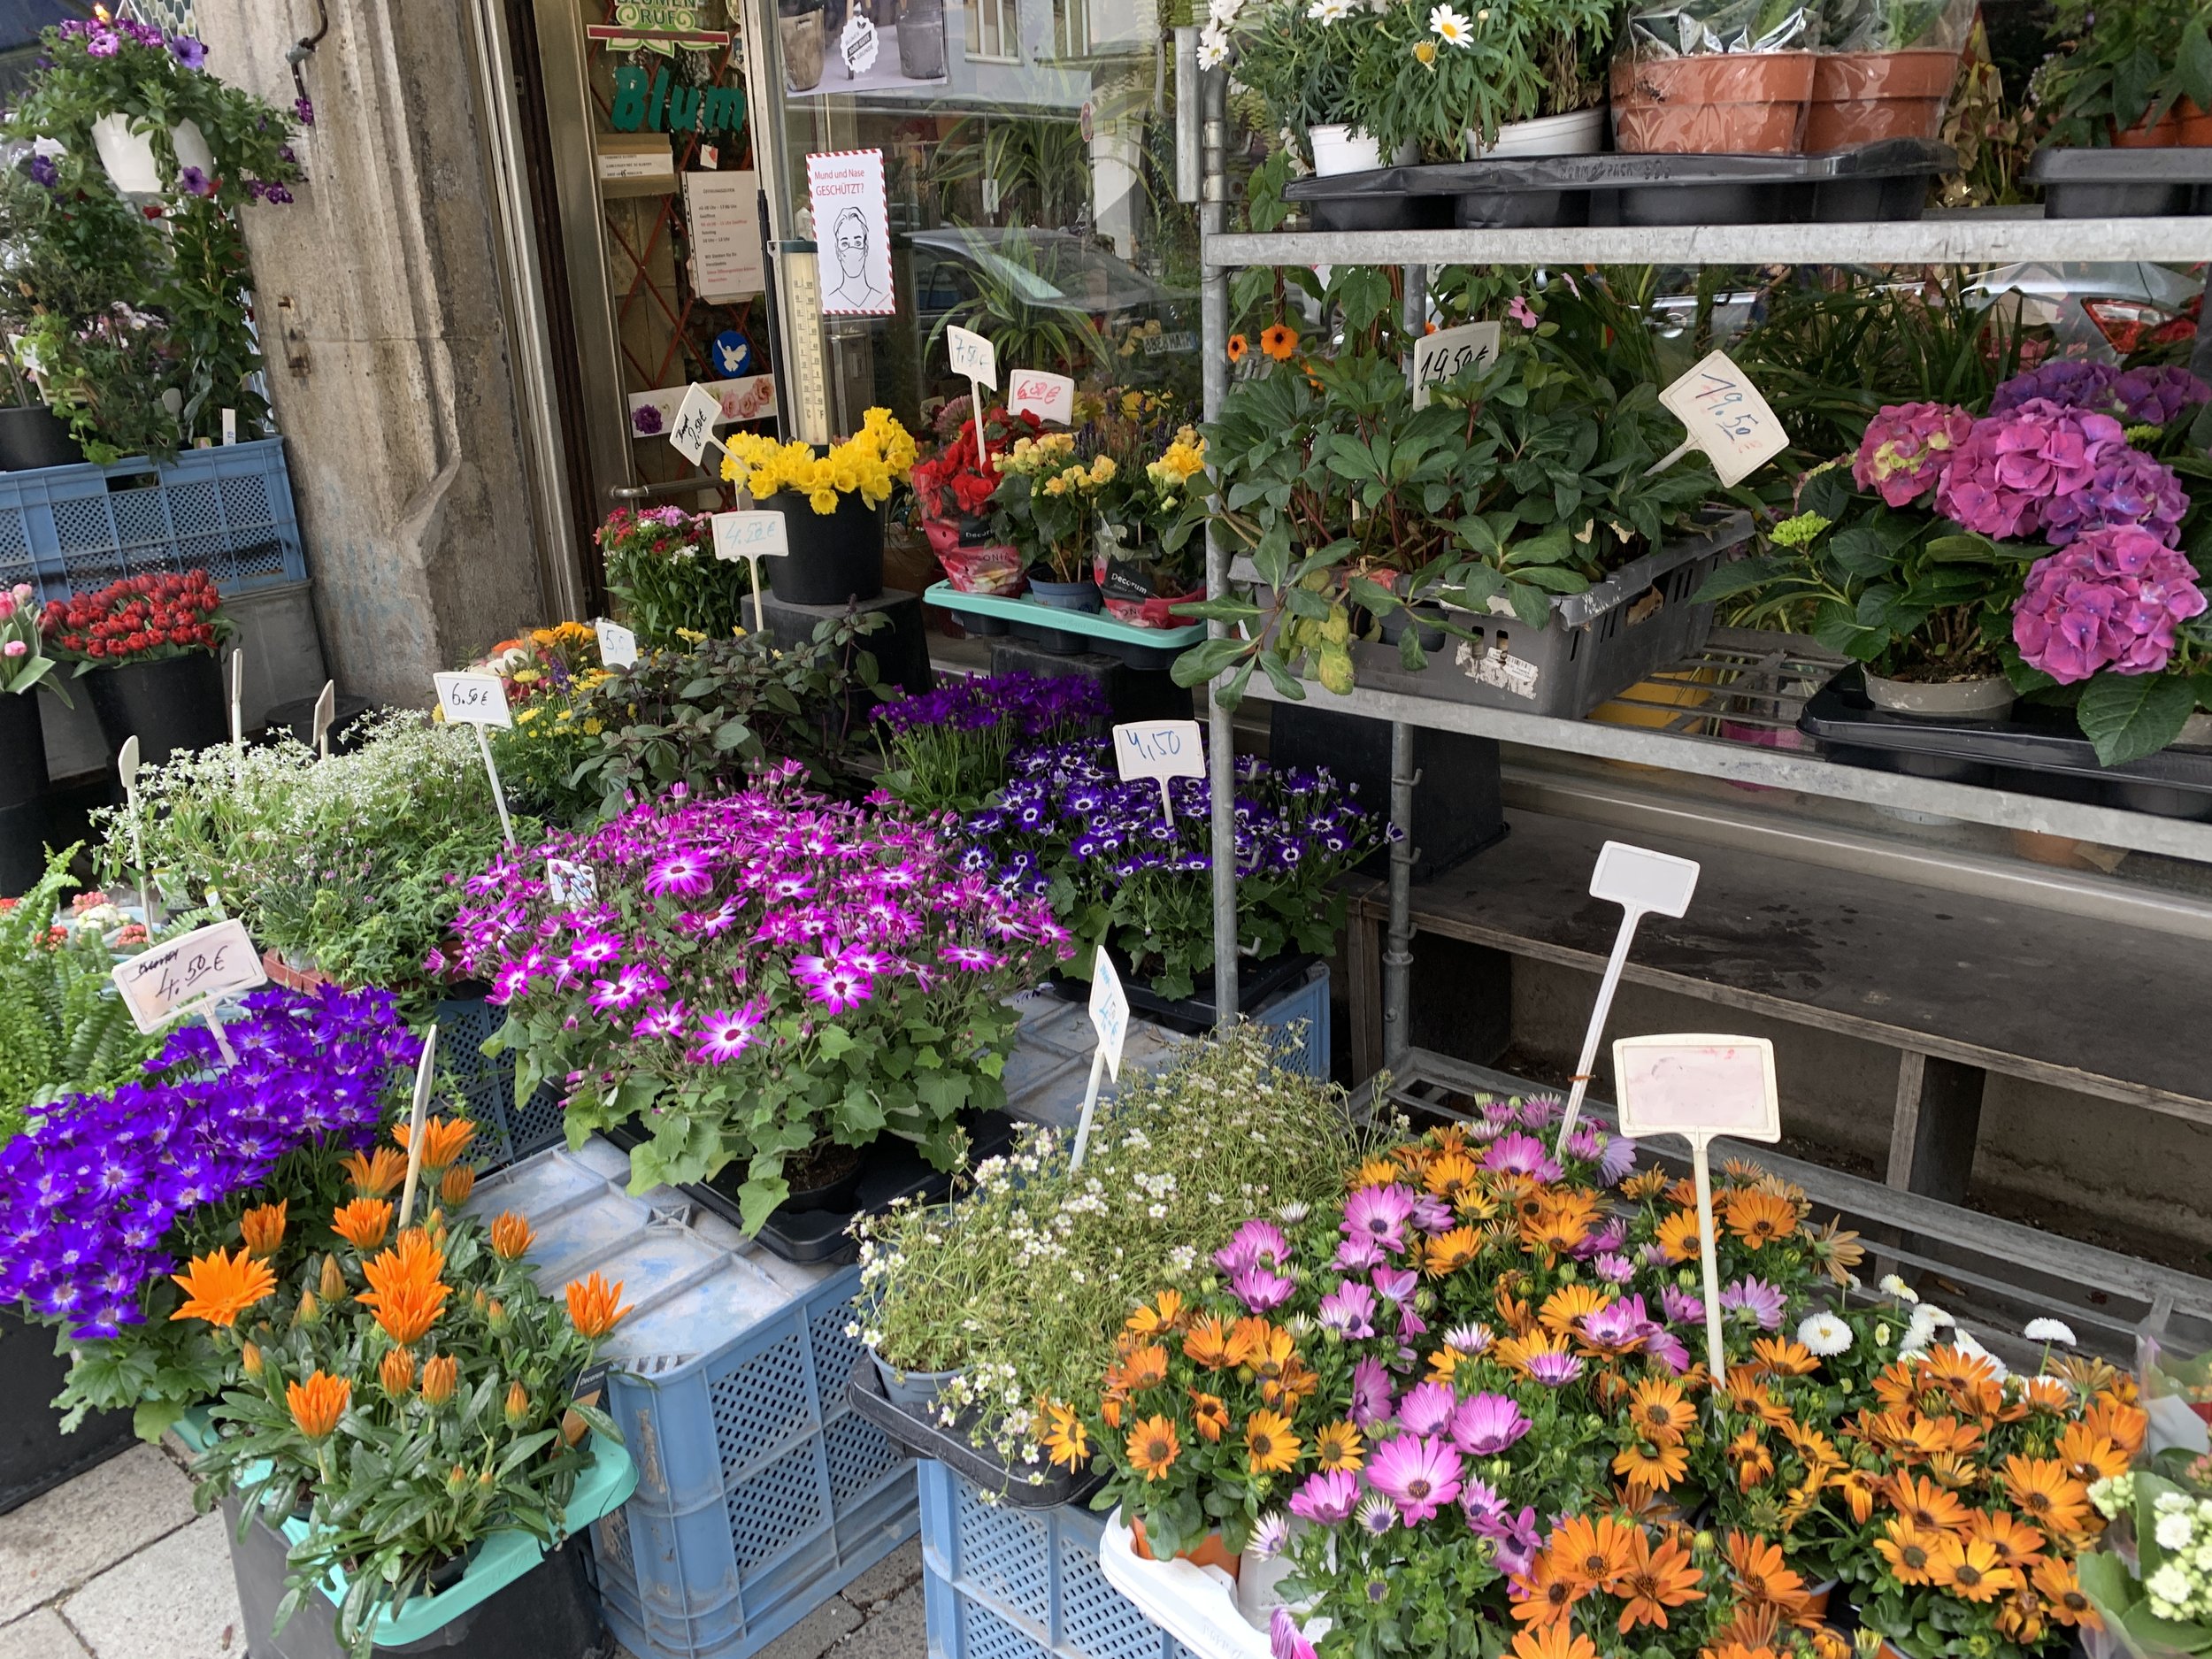
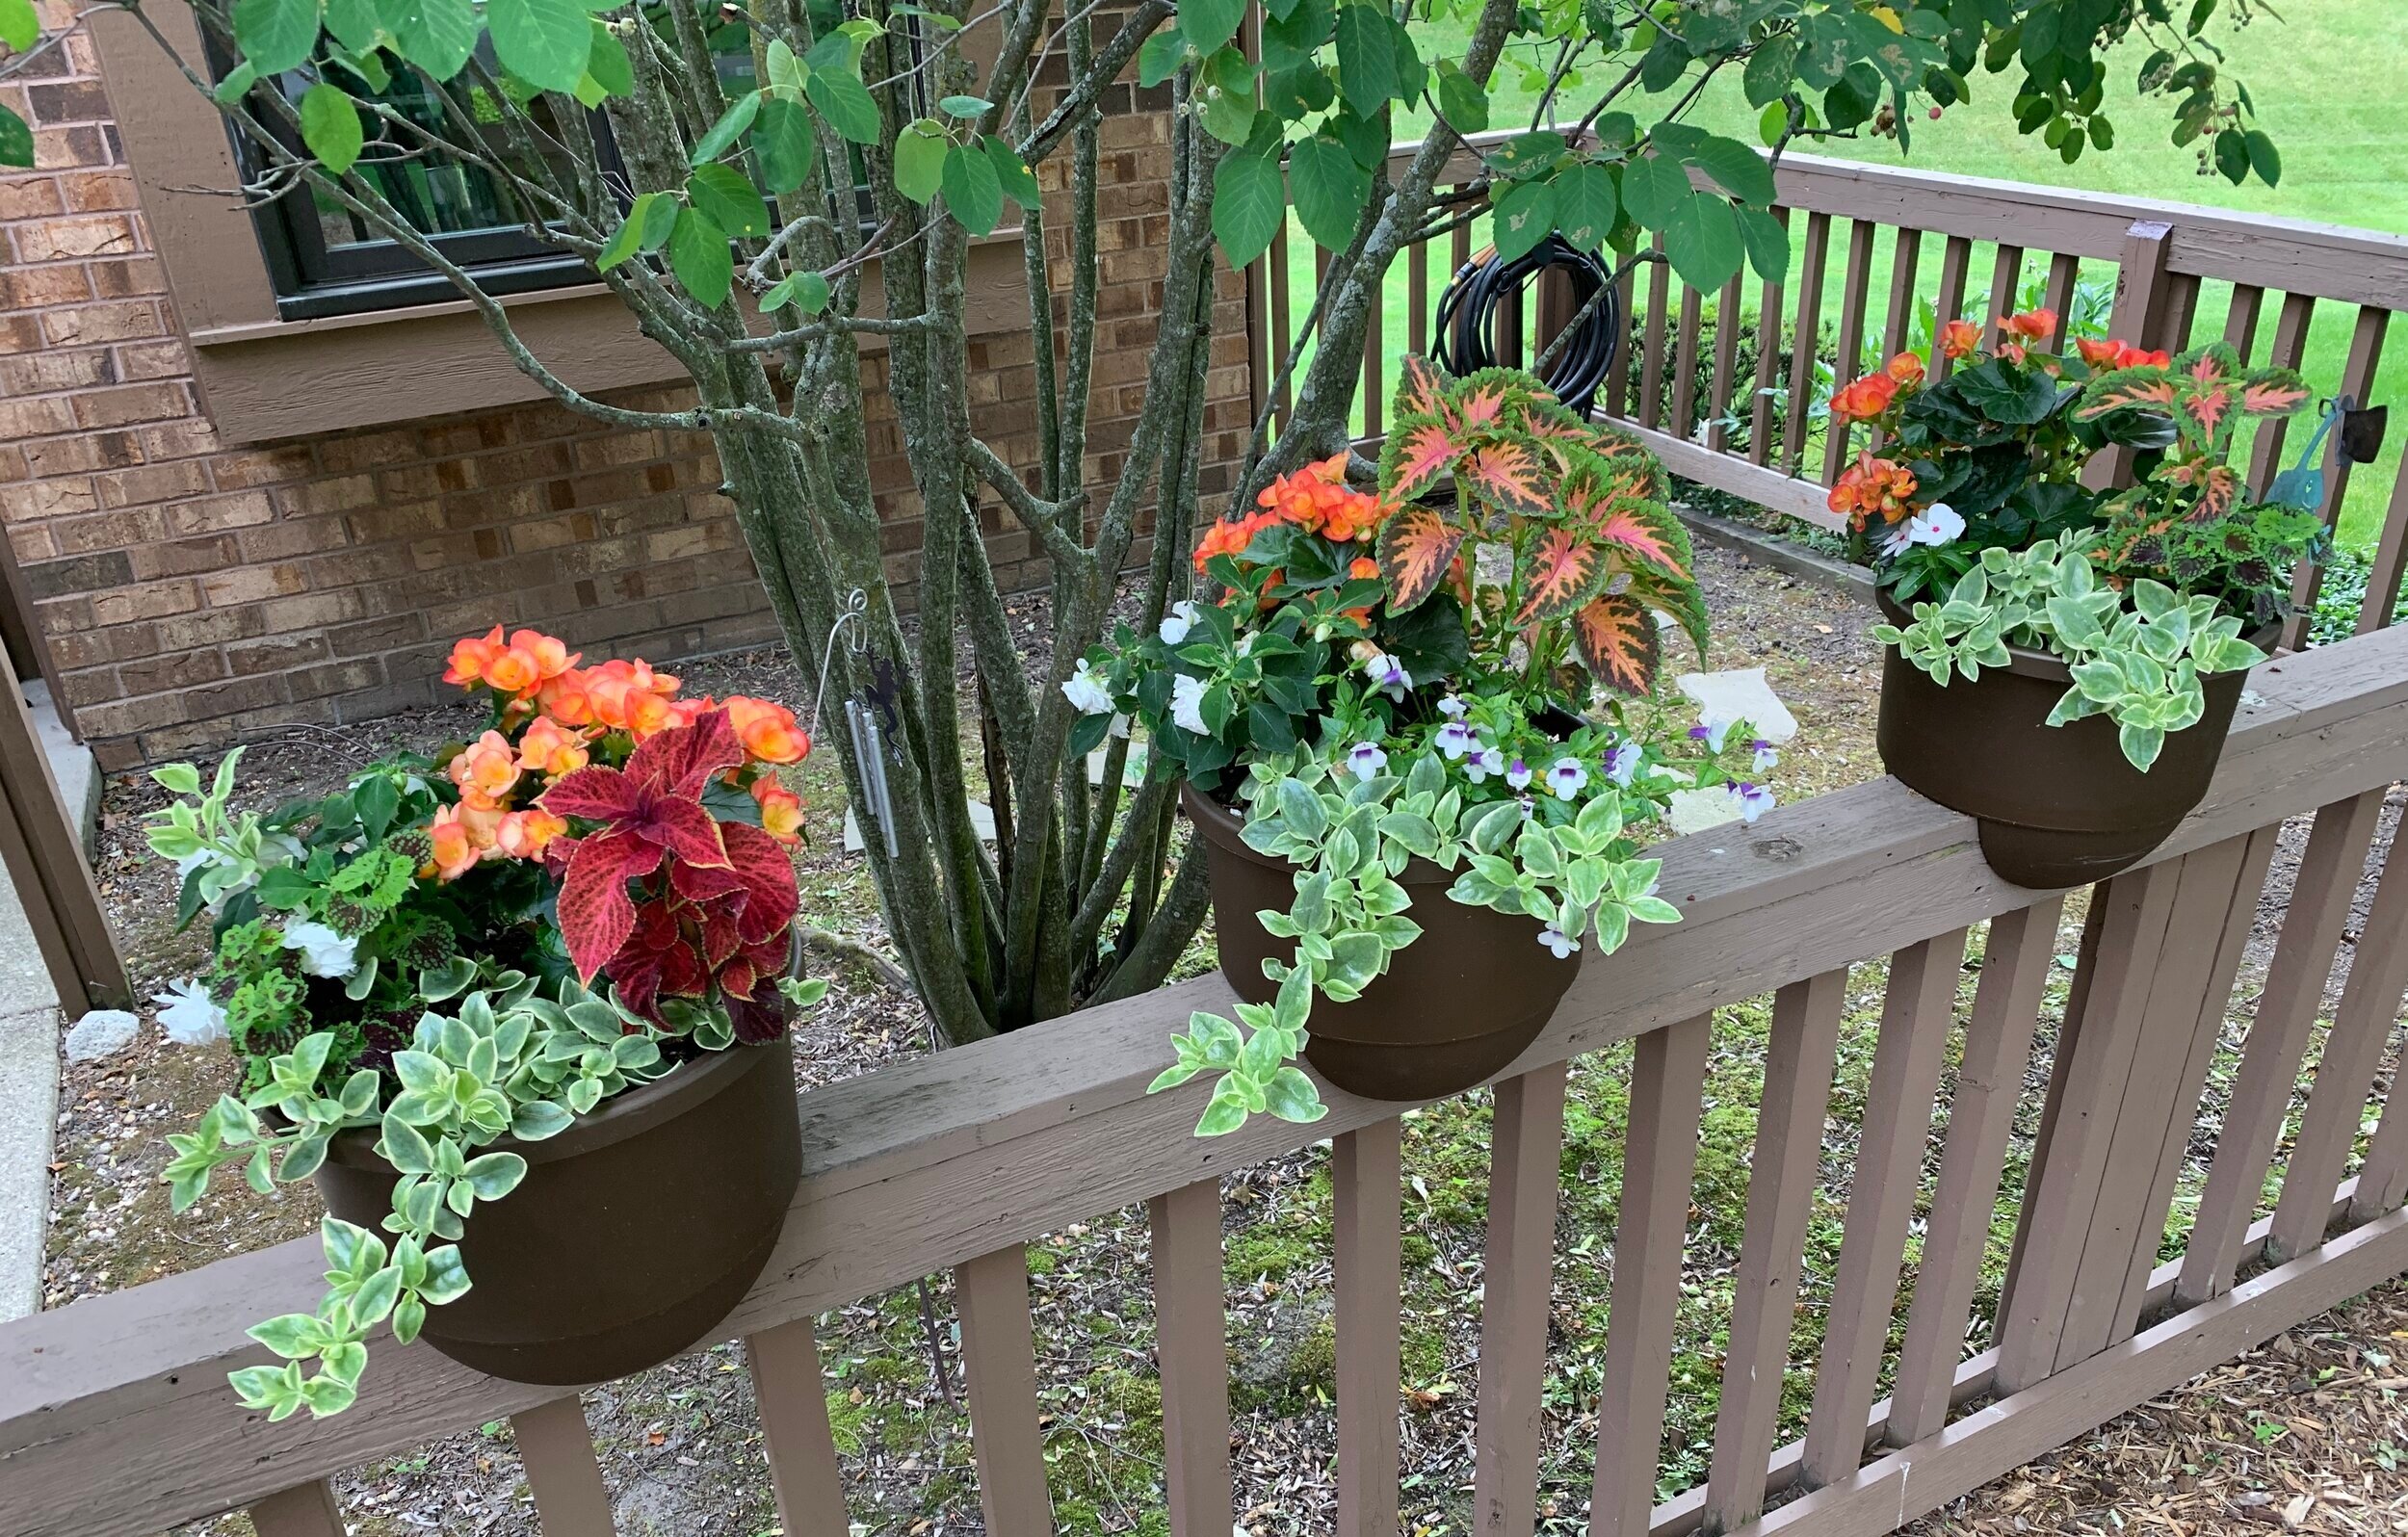
Leaving you with these classic European floral shop scenes, take care until next time and happy spring!

Chocolate pot de crème fudgesicle

IMG_1046.JPG

Just think about this - one delicious base and two ways to use it - classic pots de crème and a creamy, frozen, reminiscent-of-childhood treat. What a great way to create a luscious chocolate-y summer dessert duo with a minimum of oven work involved. Even better, to make it more enticing, it’s a make ahead project too!

This takes me back to Gracie’s days. At the restaurant I used to make these chocolate pots de crème in small brown espresso cups topped with a dollop of lightly sweetened Chantilly cream and served with a baton of delicious vanilla shortbread. Just enough to satisfy an after dinner sweet tooth with rich, cool and creamy luxury.

Then one day I discovered that I could take any leftover custard base I had in the fridge, pour it into silicone molds and freeze it. After all, the mixture is essentially crème anglaise (dairy, yolks and sugar), the same base used to make ice cream. So why not!

The perks of silicone molds are not only the many, many shapes and sizes out there but also their oven safeness and their freeze-ability and flexibility. Once frozen, simply push the treats out onto a plate or into a bowl when ready to serve.

The grey cube shape here (thanks Chef Joe) is an Elastomoule made by the French company De Buyer. The majority of my silicone molds are the Italian brand Silikomart which I typically buy through Kerekes, a NYC based company with a great selection of all things pastry plus great customer service.

IMG_1051.jpg

The first time I sampled one of these, my taste buds took me back to the fudge-sicles of childhood (without the stick!) but with a creamier, richer smoothness that blew them out of the water! Since with this approach the custard is what’s referred to as “still” frozen rather than churned in an ice cream maker, it isn’t aerated and thus has a denser texture. Mmmmm!

IMG_1049.JPG

Before going on to the recipe, here’s a quick back story. In 2009 I had the good fortune to spend some time in Paris pursuing professional development courses at Le Cordon Bleu and language study at L’Alliance Français. Needless to say, I was regularly out and about on the metro as well as being a flâneuse, strolling along les rues. I used to love going to les grand magasins, the big department stores like Galeries Lafayette and Bon Marché to browse all manner of things. A feast for the eyes!

On one visit to Galeries Lafayette I came upon these crinkled, colorful little espresso cups from Revol the French porcelain company (they still make these “crumpled cups” in three sizes!!). Easy to pack and a perfect addition to the different sizes and shapes of ramekins I so easily fall for. I’m a sucker for baked custards so why not have some cool oven safe receptacles in which to bake them.

IMG_1053.jpg

The full base recipe fills 8 to 10 four-ounce ramekins. Obviously your yield will vary depending on what you’re filling. Smaller portions, greater yield.

For this project I made 2/3 of a recipe (4 yolks) with a yield of six of my cute Revol cups and ~ten 42 g/1.5 oz frozen cubes. I love small portions.

Don’t let the image below confuse you - just pretend there are 6 yolks in that bowl! The recipe quantities given are for the FULL recipe using 6 yolks.

IMG_1016.jpg

Finally - here we go.

Place 113 g / 4 ounces chopped dark chocolate (I like a 60-66% range) in a bowl or a glass Pyrex measuring cup. Heat 4 cups heavy cream and a pinch of salt in a saucepan, bring it to a boil over medium heat then pour it over the chocolate and blend until melted. Note: You can reduce the fat content somewhat by using 2.5 cups cream and 1.5 cups whole milk if you’d like.

In a separate bowl whisk (with gusto!) 6 large egg yolks with 100 g / 1/2 cup granulated sugar to thicken and lighten them, a minute or two. Temper the hot chocolate mixture into the egg yolks and return all to the saucepan.

Cook over medium heat while stirring (I go back and forth between a silicone spatula and whisk) until beginning to thicken.

When making crème anglaise you don’t want the mixture to boil. You’re shooting for a temp of 180- 185ºF (82-85ºC). If you don’t have a thermometer, there are several signs to help you. You should feel a bit more drag as you stir the mixture. Look for tiny bubbles forming around the edge of the pan and steam coming off the surface. Coat your spatula with the mixture and run your finger through it - it should hold the track and not run. The more you do it, the more you just know.

Strain the mixture and fill whatever ramekins you’re using for pots de crème, leaving about 1/4 to 3/8 inch space at the top. Place ramekins in an oven safe dish and fill the dish with hot water to a level about 1/2 way up the ramekins’ sides. Cover loosely with foil and place in a 300ºF oven. Bake about 30-40 minutes until almost completely set but with a jiggle in the center. I always check at about 20 minutes then every 5-8 minutes or so until I’m happy with the jiggle status. They will set more as they cool and chill.

I filled my 6 Revol espresso cups which hold about 2 ounces. The rest of the base went into the fridge to chill before transferring to silicone molds and the freezer.

IMG_1019.JPG

See the before-oven (liquid) above and after-baking (set) difference below?

IMG_1020.JPG

Once out of the oven, lift the ramekins out of the hot water bath and place on a rack to cool fully. Then cover with plastic wrap and refrigerate to chill thoroughly, at least several hours. They’ll keep for several days - remember the planning ahead approach? It’s a good one.

If you’ve made your custard base with an eye to both pots de crème AND fudgesicles, refrigerate the rest of the base for a day or two where it should thicken nicely. Fill your flexi-molds to the top, using a small offset spatula to smooth and remove any excess, then place the molds on a sheet pan and into the freezer to firm up. Once frozen I cover the surface directly with plastic wrap - the molds can stay in there for days up to a couple of weeks.

When you’re getting close to serving, give yourself an extra 10-15 minutes or so once you’ve popped them out of the molds. At least with my “deep” freezer, they freeze very firmly and do well with a bit of softening before enjoying their luscious goodness.

Serve them along side the pots de crème on small plates as I did or by themselves in a bowl with your favorite ice cream type toppings.

I love a dollop of whipped cream, cookie crumbs, caramel sauce and chopped toasted or candied nuts, but you could also choose a bit of finely diced crystallized ginger, toasted coconut or raspberry or cherry coulis all of which complement chocolate so nicely. Valrhona chocolate crunchy pearls aren’t bad either.

IMG_1047.JPG

Dense, chocolate-y, creamy and oh so delicious. Yes.

Please be safe out there. We still have a long way to go.

It’s officially summer - there’s still plenty of time to pot up some assorted annuals and make yourself smile!!

IMG_1061.jpg
IMG_1066.jpg
IMG_1069.JPG


Charlotte aux framboises

IMG_3642.JPG

Ladyfingers (biscuit à la cuiller en Français) are just one of the components of a classic charlotte russe, a dessert created with the finger-like sponge cakes as a border, filled with a fruited bavarois and often garnished with crème Chantilly and fresh fruit. Raspberry and pear are two of the commonly used fruits for this particular delight.

Having recently been asked to make the raspberry version for a birthday dinner party for 10, back to the recipe file I went to review the various options for creating the dessert. Both Le Cordon Bleu’s pear charlotte (from my basic pastry classes there) and Michel Roux’s raspberry charlotte served as the springboard for my decisions. Believe you me, there are lots of variations out there.

I opted for a raspberry crème anglaise with added gelatin, blended with softly whipped cream (the makings of a typical bavarois). I went one step further and added some Italian meringue to boot, but you’d be happy with a bavarois by itself if you don’t want to fuss with the meringue part. Either way it’s a great combo!

The filling (even without the Italian meringue) makes plenty for a 9” springform pan. Put any leftovers in ramekins, chill to set and top with fresh fruit, chopped toasted nuts, chocolate sauce or whatever for a lovely light dessert on the fly.

IMG_3648.jpg

But let’s take it a step back and review the process, OK? Ladyfingers are basically a sponge cake made with eggs, sugar and flour. The eggs are separated, the yolks are beaten with a portion of the sugar until blanched and thickened, and the whites beaten with the other portion of the sugar to stiff peaks (think meringue). The beaten whites are folded into the yolk/sugar mixture then the flour is sifted into the whole shebang and folded in gently. The leavener here is the aeration created by all of that egg whipping. Here’s the printable ladyfinger recipe.

Then it’s time for piping. Yay!

Wanting to put a diagonal slant on my ladyfinger border, I penciled my template for piping onto parchment paper and turned it over so the marks ended up on the non-baking side.

IMG_3637.jpg

Pipe the lengths close together so once baked they meld into connected portions with which to line your mold. You can also see my base piece below.

IMG_3639.JPG

They get a decent dusting of confectioner’s sugar times two before going into the oven. The idea is that the powdered sugar beads and crusts up a bit in the oven.

Bake them at 400ºF for 6-8 minutes et voilà!

IMG_3641.JPG

It takes a little planning to assemble the charlotte, particularly depending on what type of form or pan you have on hand. In pastry school one typically uses an open cake ring lined with acetate film but I opted for the ring portion of my 9” springform pan lined with a parchment collar.

One of the great things about this dessert is its make-ahead-ability. It can be fully assembled and kept in the fridge for a couple of days or frozen for a week before your planned event. Just bake the ladyfingers and base, line your mold with the powdered sugar side of the sponge cakes facing out and hold it in the freezer while making your filling. Once filled, fridge it for a day or two ahead or freeze for a week if need be. It’s a beautiful thing.

The final garnish can be completed the day you plan to serve.

As you can see below, I tucked scraps of sponge cake along the inside bottom edge and where the ladyfinger borders meet to provide a secure cocoon for my raspberry filling. For just a little something extra I arranged fresh raspberries on the bottom.

IMG_3647.jpg

Having completed my filling of raspberry bavarois lightened with Italian meringue, I poured it into my ladyfinger-ed mold almost to the top. Just remember - due to the timing of adding the gelatin and cooling the crème anglaise to just the right temperature for adding the whipped cream and Italian meringue, it’s imperative that your border and base are at the ready. Once the filling is in it’s simply a matter of chilling the whole thing and letting the filling set.

IMG_3650.JPG

A final topping of crème Chantilly and fresh raspberries, and you can call it a day!

IMG_3654.jpg

Since I made this for someone else’s party, I couldn’t slice into this baby right then and there to show you a cut section. Buuuuut . . . . I certainly did taste some ladyfinger scraps with a bit of the bavarois filling, and I say yes indeed!

IMG_3656.JPG

Now here's an interesting one - roasted banana ice cream

When I first read this recipe in the book the new sugar and spice, I thought - wow!  What a great way to use up ripe bananas.

It sounded intriguing so I went for it.

We had a bunch of bananas sitting around, not getting any younger, so I peeled them, broke them up and froze them in a ziploc bag until I was ready.


The ice cream base is pretty standard, using cream, sugar and egg yolks, although the sugar comes in at the banana roasting stage rather than during the making of the crème anglaise.

Whereas the recipe calls for 3 cups of heavy cream for the dairy, I used whole milk for one of the cups.  I decided to follow the standard formula in a David Lebovitz recipe that I've been using for years and has always turned out well.

The first step is to heat 2 cups of the dairy with 2 scraped vanilla beans (seeds and pods) and let it steep for an hour or so.


Then in an ovenproof skillet, melt 1 tablespoon unsalted butter, add 100 grams dark brown sugar and 3 tablespoons water. My bananas had been frozen, so during the thaw some juice was created which I used in place of some of the water (Samantha's tip!).

getting ready
Add the bananas and toss them to coat . . . .


then put the skillet in a preheated 450º oven.

Bake the bananas until bubbling and the bananas have broken down.

after the oven
Then purée the roasted bananas (I used a blender) and put them in a medium bowl to cool.  Place a strainer over the banana bowl.

Now this is where I became a tad concerned.  The puréed mixture looked absolutely awful and totally unappealing.

oh my!

But not to be swayed I was determined to see this through.  My hope was that once the purée was mixed into the ice cream base and processed, it would lighten up and not have such a dirty, ugly brown color!

Turning back to the ice cream base, I put 6 large egg yolks in a bowl along with 1/2 teaspoon of salt, poured a portion of the warm vanilla bean infused dairy over the yolks, whisking away.  The mixture is then returned to the heat and cooked while stirring until just thick enough to coat the back of a spoon.  I took it to about 82ºC.

Strain the mixture into the bowl containing the banana puree and whisk in 1 teaspoon of vanilla extract and the third cup of dairy.

Cool this over on ice bath, whisking periodically.

phew! looks better already
Chill the base in the fridge over night.

When you're ready to process the base, have 142 grams/5 oz bittersweet chocolate chopped and ready to go.


ready to start churning
At the end of processing add in the chopped chocolate to blend.

looking pretty good
Put the ice cream in a container and freeze until firm (I usually do this a day or two ahead of when I plan to serve it).  Place plastic wrap directly on the surface of the ice cream to prevent crystallization during freezer storage.

The final product looked just fine and tasted good too.  My only complaint was it seemed a bit icy and not as creamy as I would have liked.

Perhaps the fact that I replaced one cup of cream in the recipe with whole milk, in addition to the moisture in the banana puree, was enough to create the icier texture.

Steve had NO problem with it, but then he's a sucker for ice cream in any way, shape or form!