Les Tartes class at Le Nôtre


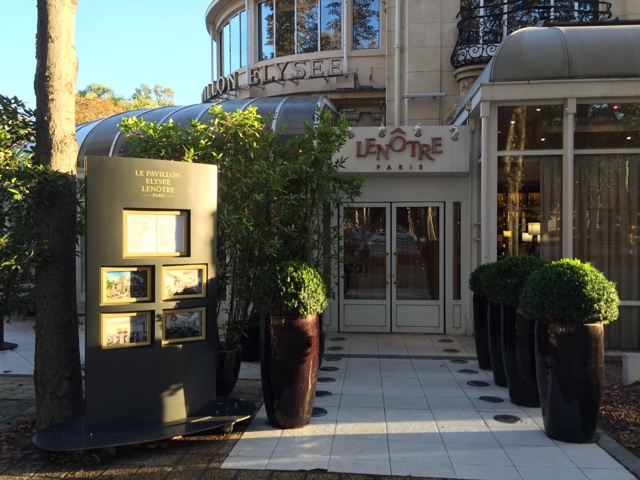
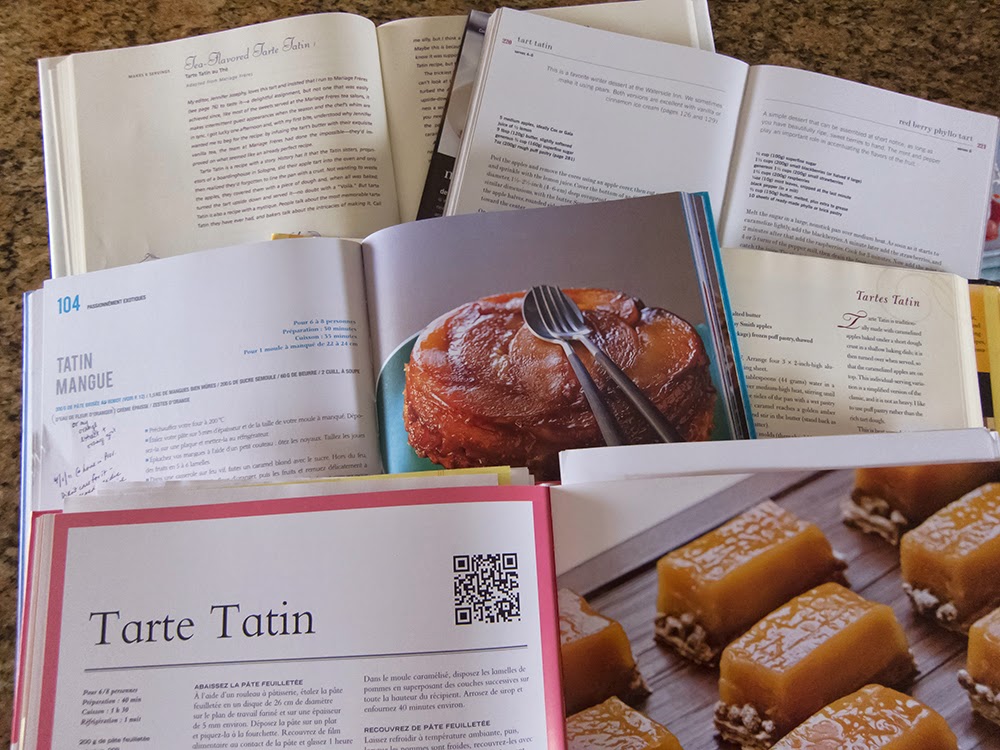
My second class at Le Nôtre's Pavillon Elysée was, of course, one of my favorite topics - tartes!

Same place, same kitchen, same chef, different group.  My classmates were two women of similar vintage to myself, one Parisian and one American married to a Frenchman.  They had both previously attended classes with the same chef instructor so there was some chitchat about how they spent their summer etc. 

The class was pretty much all in French and, while I understood most, there were times when my head was in a fog and was putting up roadblocks to my comprehension.  But, all in all, it went well.

On the docket:  tarte tatin, tarte bourdaloue, tarte au chocolat.

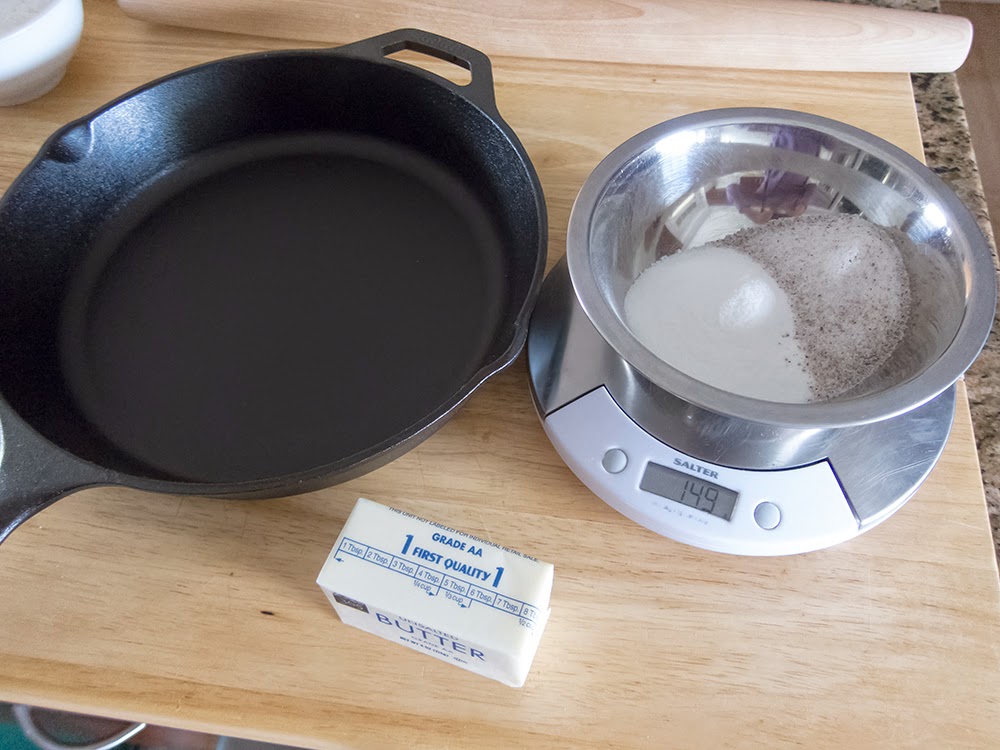
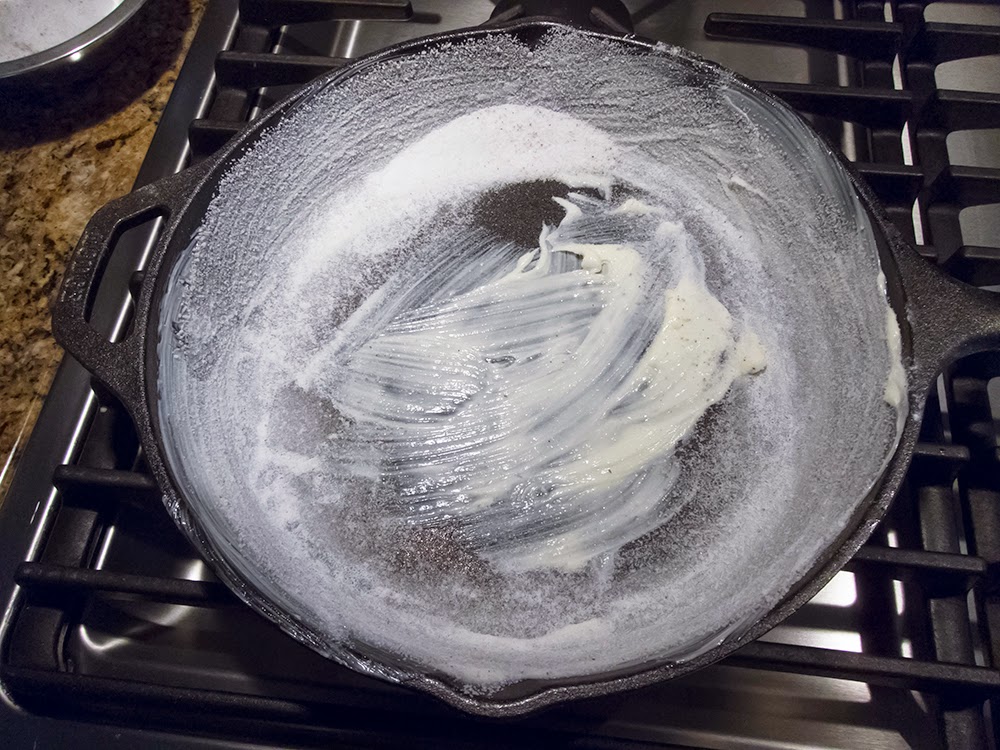
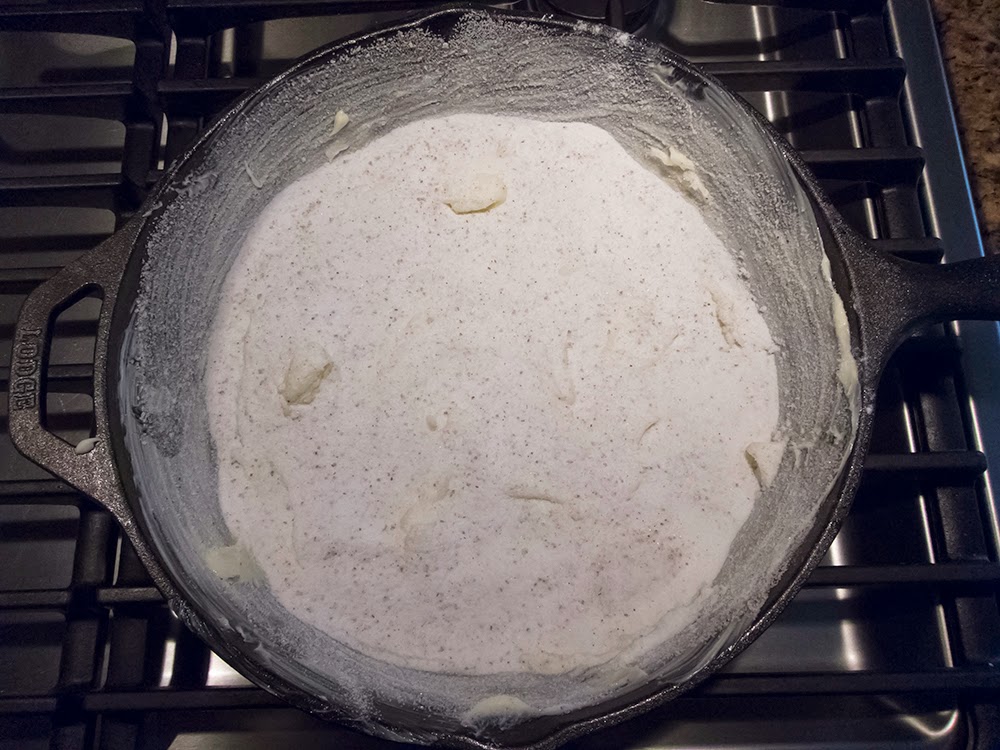
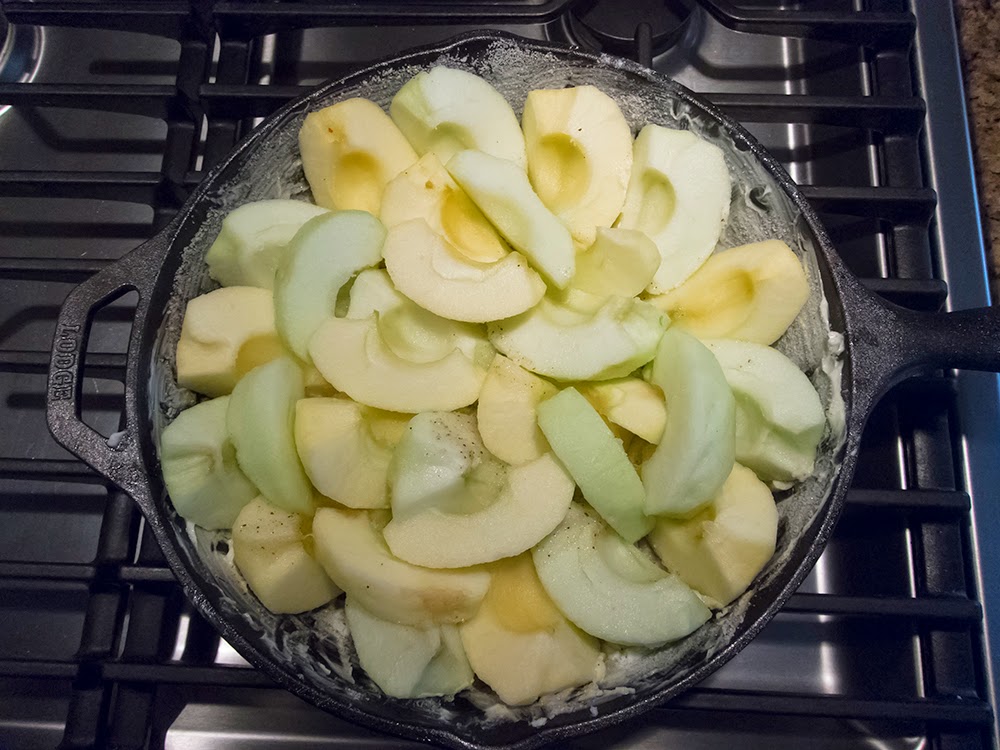
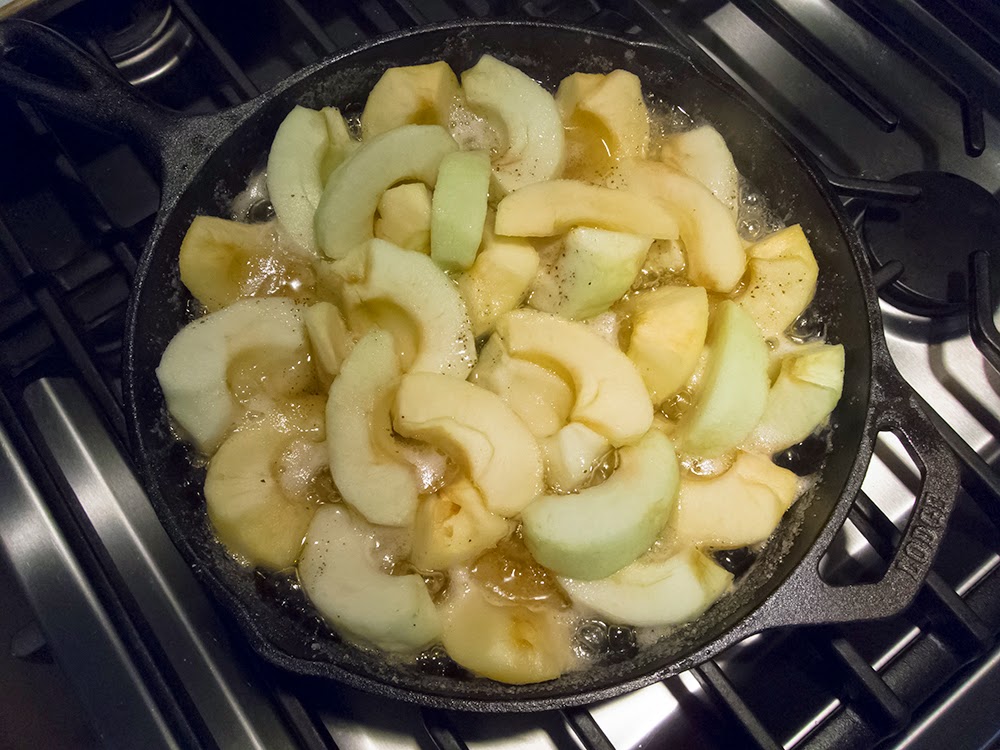
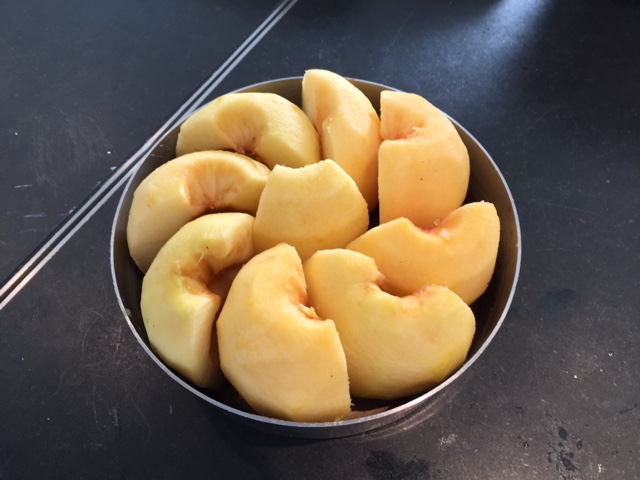
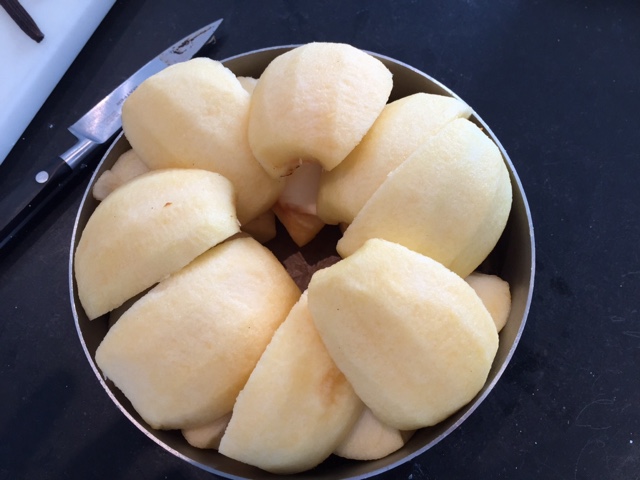
Our first task was to peel and cut up apples and tuck them into a round pan that would ultimately go into the oven.  We could choose apple halves standing on end or, as the chef demonstrated, apple quarters in two layers.


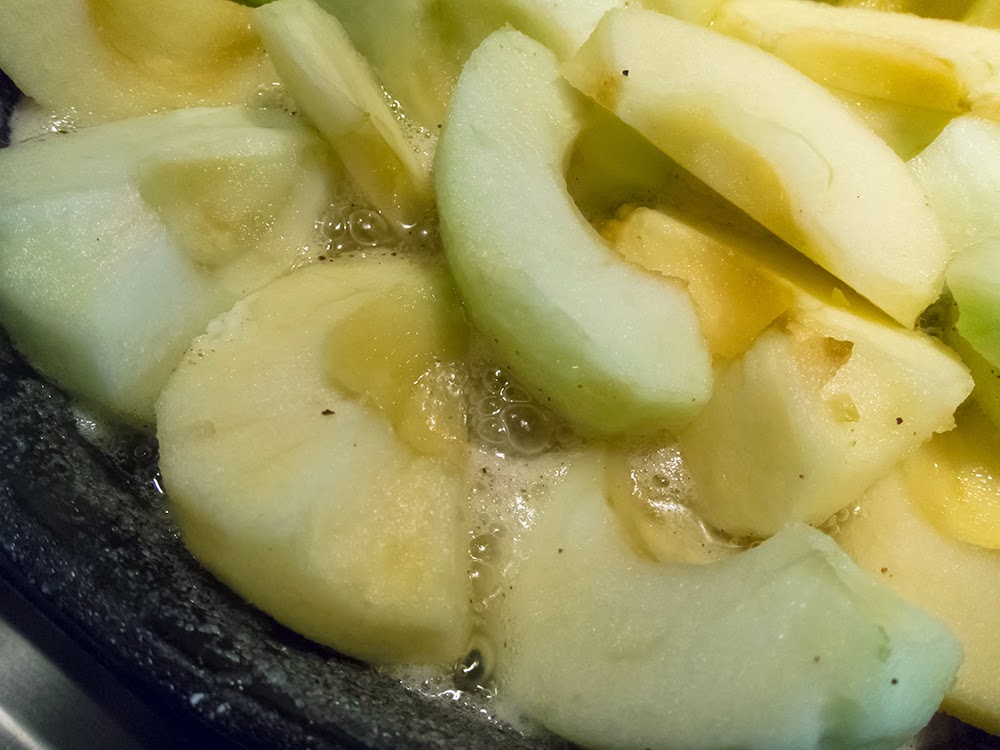
Next the chef prepared a large batch of caramel which included a bit of pectin. This was a new twist for me, and the chef explained that it helps the caramel set once the tarte comes out of the oven. Interesting.

The caramel was poured over the apples and the mélange was baked for about an hour until the apples were nicely baked through.


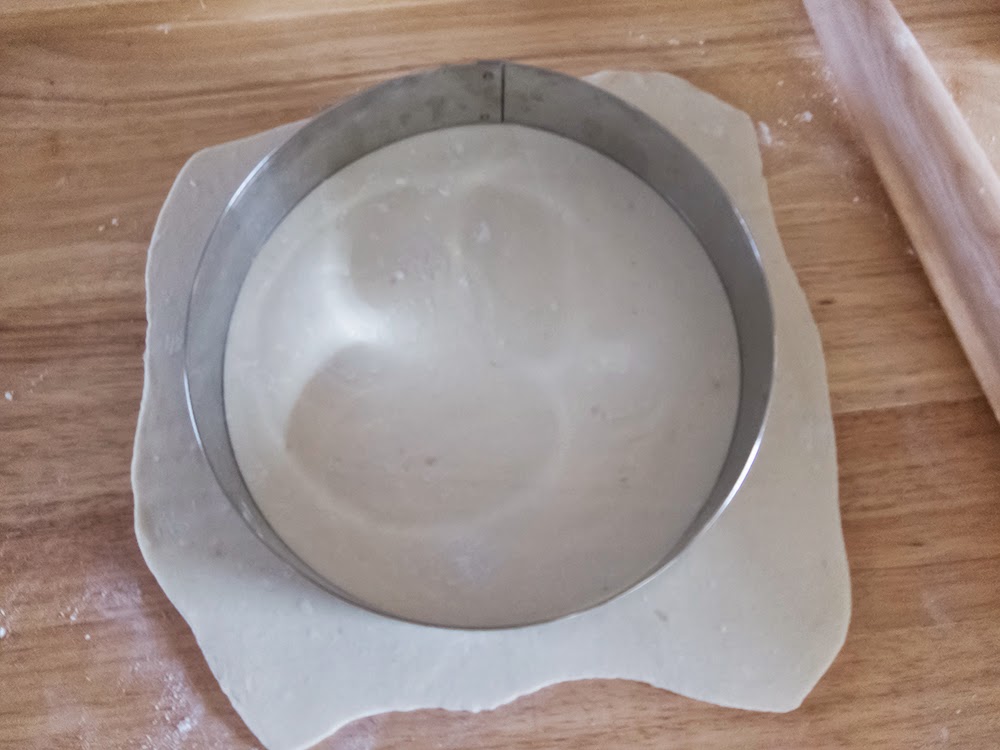
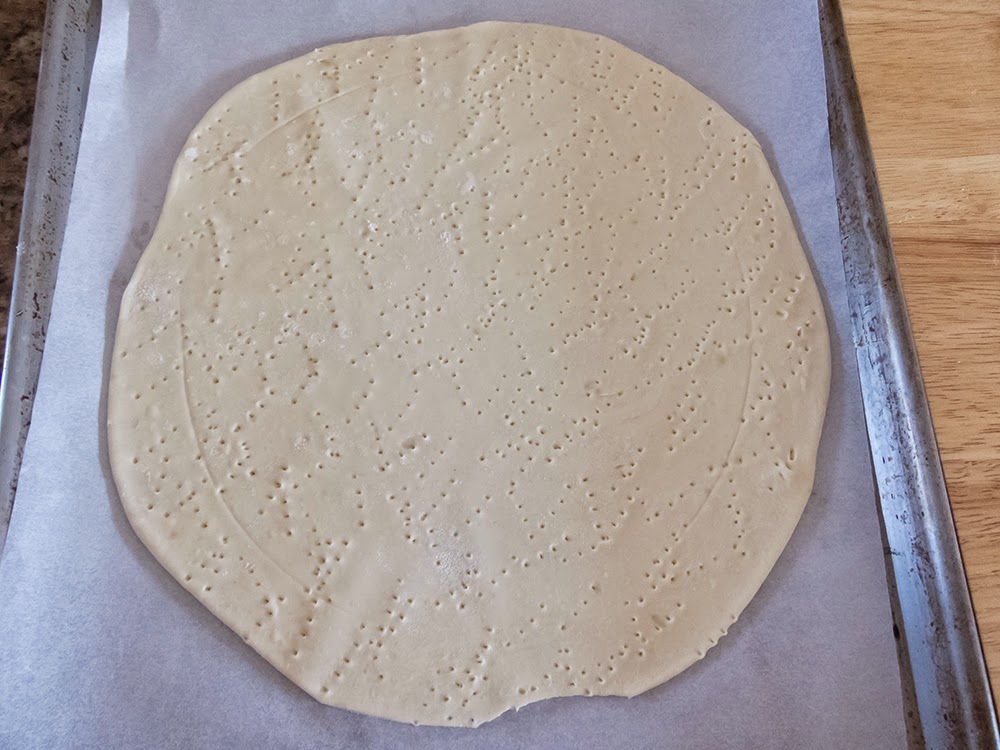
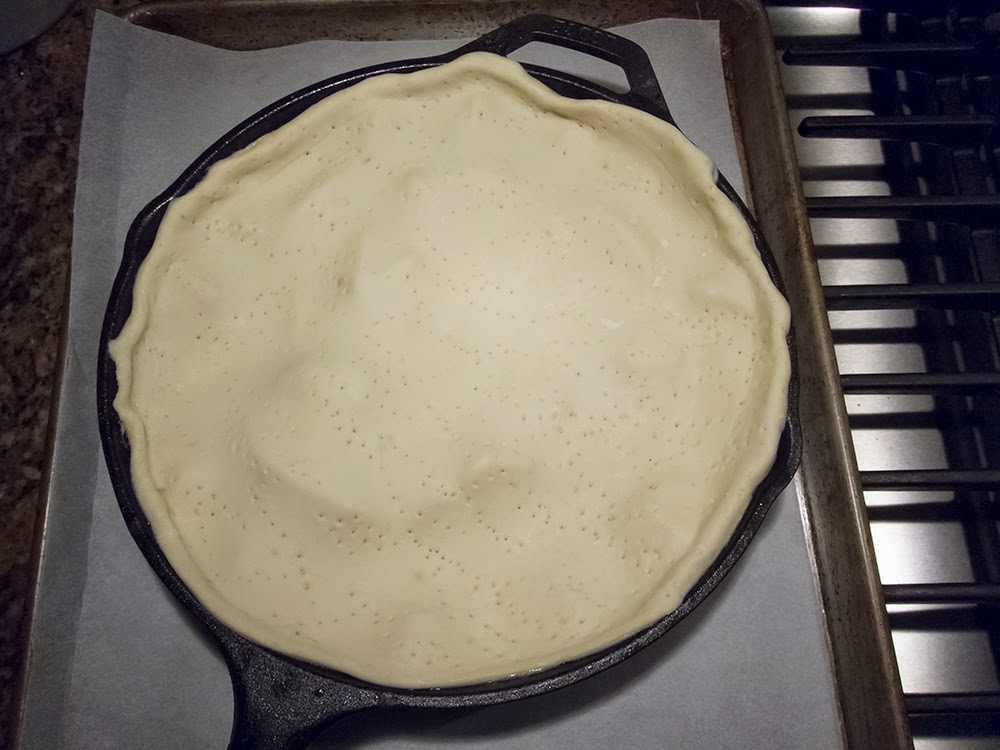
Then a round of puff pastry was placed over the cooked apples and the whole she-bang went back into the oven for another 20 minutes or so until the puff was nicely browned.


We didn't turn these out of the pans until the end of class to avoid the puff from getting soggy whilst having caramel-y apple goo sitting on top of it.

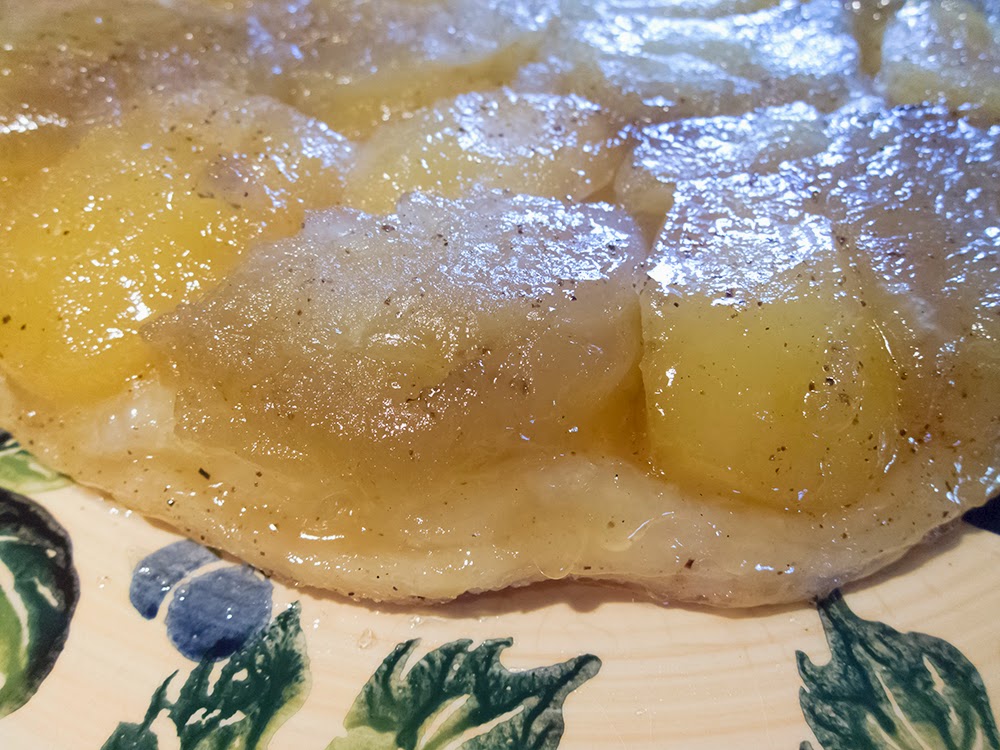
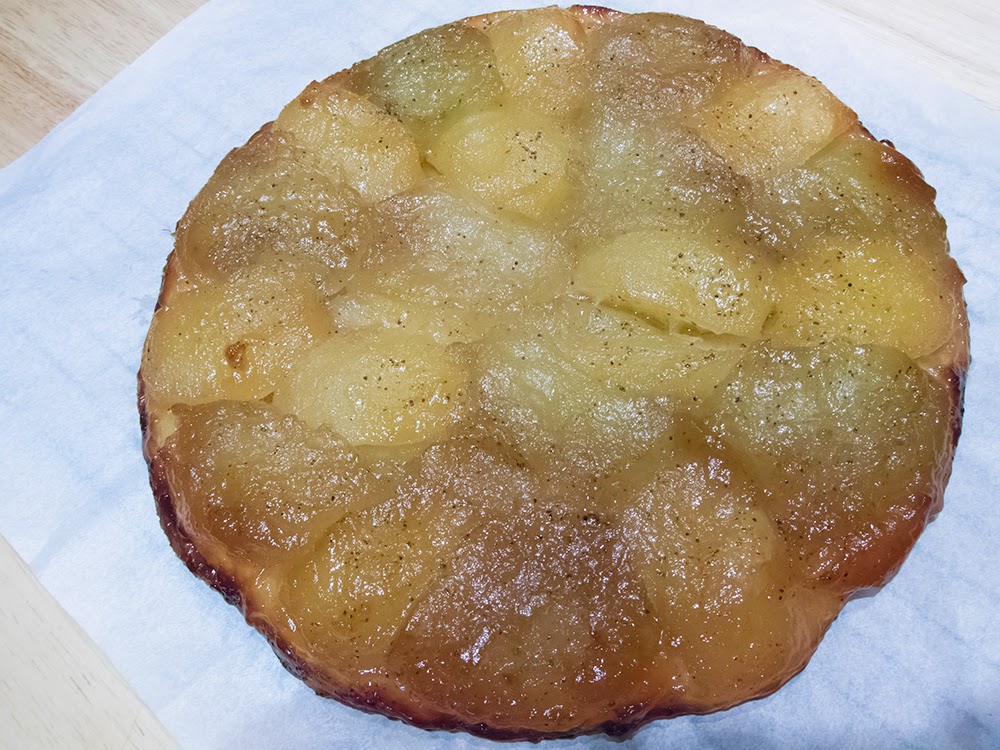
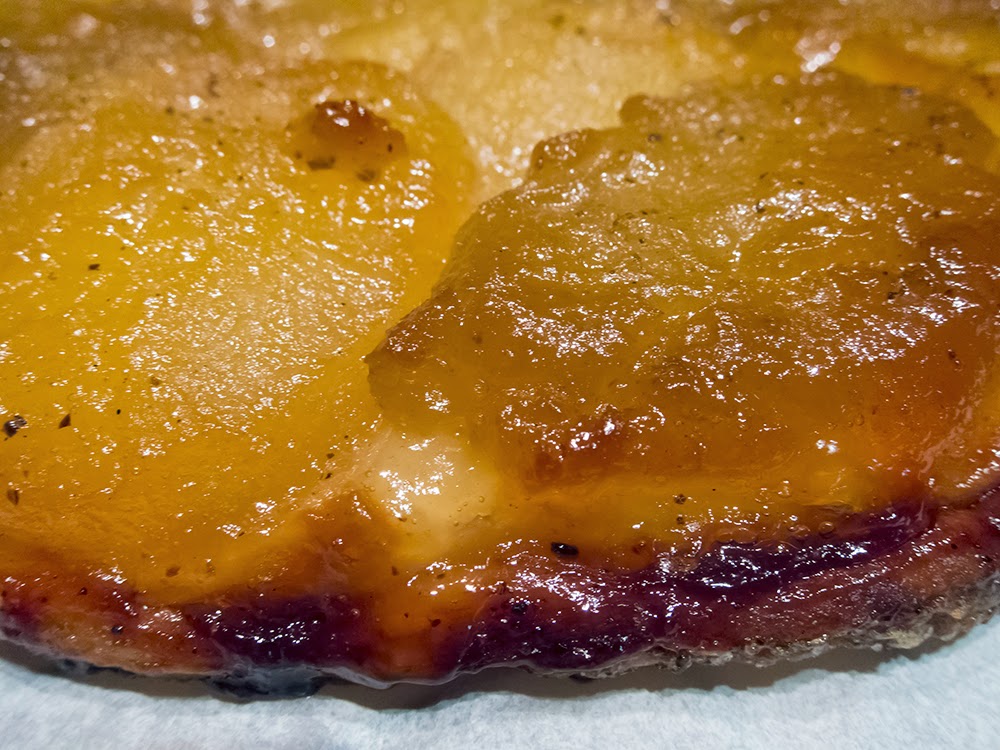
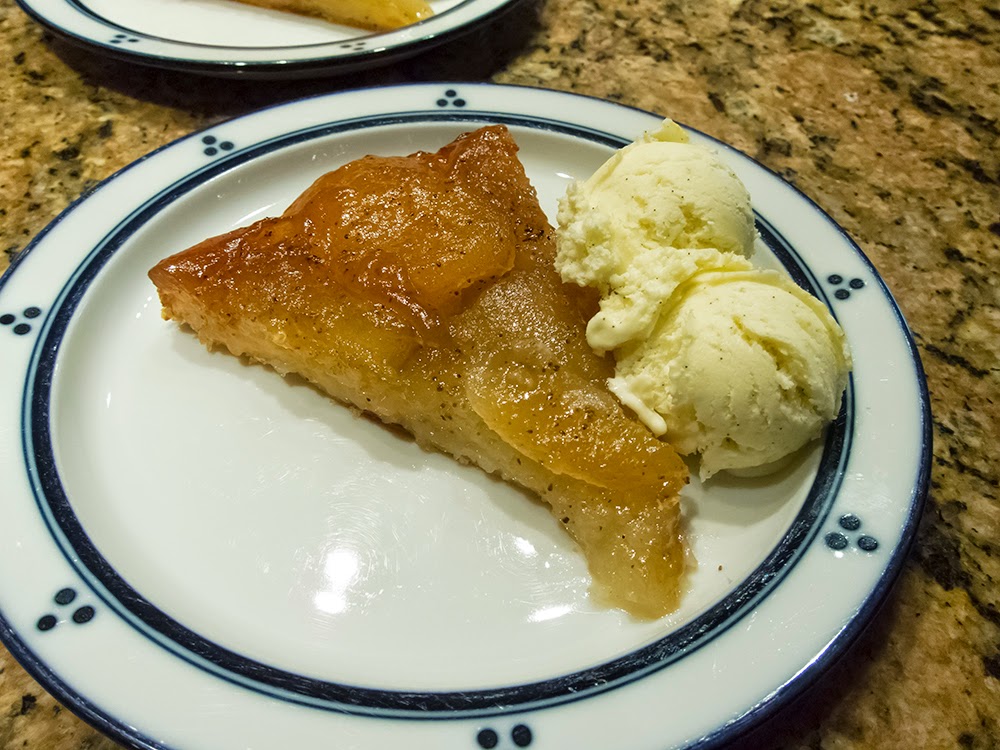
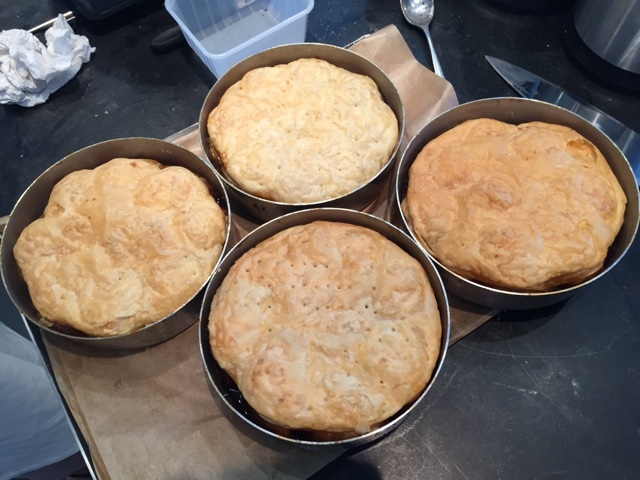
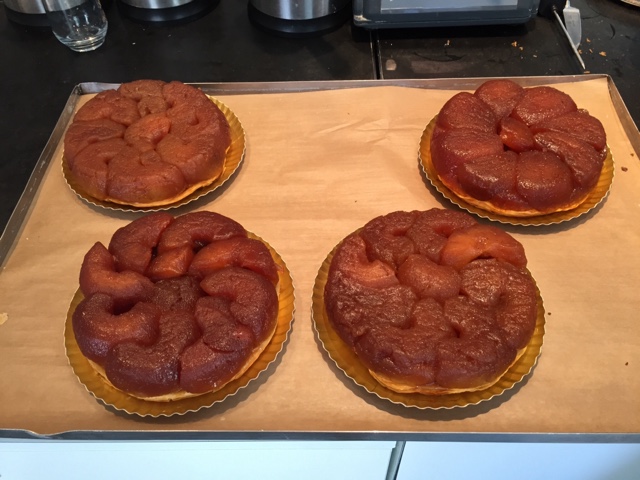
Below are the final results. The top right one is the chef's - he did two layers of apple quarters, and I really prefer the look of that one.  Note to self!

Mine is the bottom left and should have had the apples packed in more tightly - too many gaps methinks, at least on the left side.


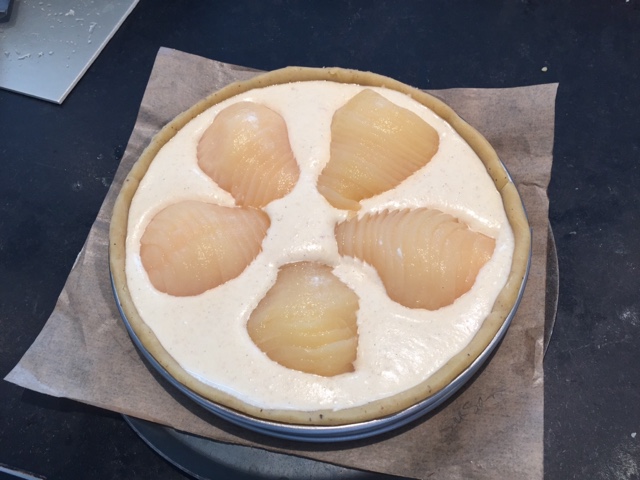
The tarte bourdaloue is a variant of the classic pear almond tart, the big difference with this recipe being that the almond cream filling also contains a hefty dose of heavy cream. This made for a much more liquid mixture so when we tried to artistically place our thinly sliced pear halves on the filling, they swam around a bit.


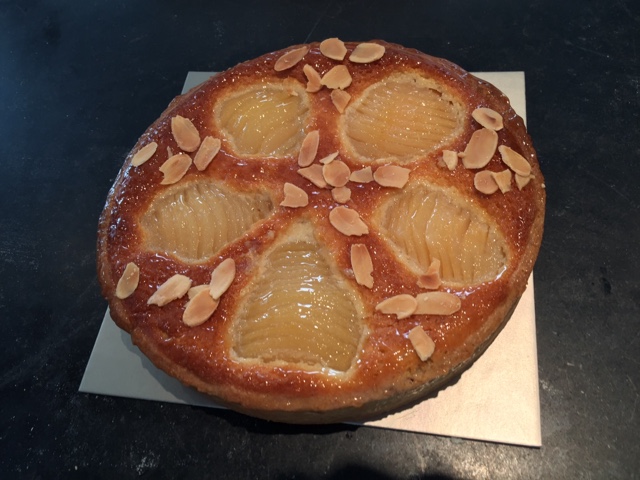
Once baked however, everything seemed to be in good position, so it all worked out in the end.  A bit of glaze and some toasted sliced almonds et voilà!


The tarte au chocolat was made with the same pâte sablée as the bourdaloue, first blind-baked then filled with a mixture of chocolate ganache, eggs and vanilla and baked until set. 


Once cooled we gave it a finishing chocolate glaze.

At the end of class we tasted the tarte bourdaloue which I found delightfully light with good pear flavor and a crisp crust. We boxed up our three 7" tarts for tasting at our leisure i.e plenty of dessert for several nights to come (Steve is in heaven).

The main thing I took away from this class was the chef's method for lining the open tart rings (which we did for both the bourdaloue and chocolat).  While hard to describe it here, it differed slightly from the way I've been doing it since the days at Pascal's, and I found it quite rewarding.  So three cheers for learning new techniques!  

That's why I continue to take classes when I come to Paris - even though the topic/recipes may be something I've made before, there's always a tip or technique I come away with that makes my baking life a bit more enchanting. And so it goes.

Tarte Tatin

Before I jump into the topic at hand I'd like to share a photo of this gorgeous maple tree that we've been viewing from our window every day these past few weeks.  It's a beauty!

Making a classic tarte tatin has been on my to-do list for some time now.  So when a recent NYT article with the tatin recipe from Gotham Bar and Grill was published online, I felt it was time.

Over the years I've tried my hand at a couple of variations, one being a few summers ago when I made petite versions in mini muffin pans with plums and peaches. They were messy but deeeelicious. More recently, a second attempt involving a mango version from Christophe Felder's book Les Folles Tartes, turned out OK, but something about the flavor of the mangoes put me off.

As is my wont, when I'm planning to make a classic of anything, I compare a number of recipes to see how different chefs approach the process.

In addition to Felder's I reviewed recipes from Dorie Greenspan, Michel Roux, Philippe Conticini, Sherry Yard, Francois Payard and the above mentioned Gotham B&G. Each had a slightly different take on the process.

The recommended apples ran the gamut from Golden Delicious, Gala, Braeburn, Granny Smith, Cox and Honeycrisp, typically requiring 6-8 apples for a 9-10" tart. I opted for a mixture of Braeburn and Granny Smith, partly because I had never baked with Braeburns and thought it a good test.  I like G. Smith because they hold their shape, and their tartness goes so well with buttery pastry and caramel.

Most recipes call for pâte feuilletée (puff pastry), although a couple used pâte brisée.  

Sherry Yard likes to use croissant dough as her tart base.  Go figure.  The quantity of dough is generally about 8 ounces.  This is another one of those times when it's great to have some puff pastry already made and in your freezer!

Typically sugar and butter (amounts vary from recipe to recipe) are used to create a caramel. Some variations involve making the caramel, pouring it into a moule à manqué (cake pan) and temporarily setting it aside. The prepped apples are then placed over the cooled caramel and baked in a 350-375 oven for perhaps 30 minutes to soften and caramelize them. They are then topped with a round of pastry and placed back in the oven to continue the caramelization and bake the pastry until golden brown.

Alternatively some recipes have you bake the pastry round separately and then place it onto the baked apples. The whole thing is then turned out onto a platter before serving.

After a while all these variables become a bit overwhelming. I decided to go the classic route, starting on the stove top and then moving into the oven. I followed the guidelines in Dorie Greenspan's "Paris Sweets" recipe, although I did not make the vanilla tea version as she does.

First I rolled out my puff pastry to about 3 mm thick, and using a cake circle as a guide, cut a round slightly larger than my pan.  I pricked it with a fork, covered it and held it in the fridge until later. Interestingly, both Michel Roux and Gotham B&G have you put the raw pastry over the apples while still on the stovetop before even going into the oven. To each his own.

Then I took my new 10" Lodge cast iron pan (can't believe it took me so long to buy one!), coated it in 113 gm (4 oz) soft butter and sprinkled 150 gm of sugar over it. I used a mixture of my own vanilla sugar and granulated sugar.

I had peeled, cored and quartered a total of 6 apples . . . .

which I layered over the butter/sugar:

The pan is placed over medium heat on the stovetop until a light to medium caramel develops. The time for that will vary, and one must keep on eye on things and adjust the heat as needed to prevent burning.

Here is where one must use judgement about the extent of the caramelization.  I thought this was looking nicely ready so I retrieved my pastry from the fridge and placed it over the apples:

Recommended baking temperatures ran from 350-375ºF and baking times varied from 30-50 minutes with the ultimate goal being a nicely browned pastry.  I baked mine at 375 for about 35 minutes and thought it had achieved just that very look:

I gave it just a minute or two to let any bubbling subside, then, placing a flat platter over the pan, handily flipped the tart out with nary a hitch (I was a bit worried as to how I would fare with that step). Imagine my disappointment when I saw before me a much paler version than what I had anticipated! Plus the Braeburn apples, while actually still holding some shape, were on the verge of mushy applesauce!!

Even the edge of the pastry looked underdone, and I dreaded biting into a doughy mouthful (the worst).

But have no fear.  Steve arrived home soon after the tart came out of the oven and said "why don't you put it back in?" So I slipped the whole thing back onto a parchment lined sheet pan, apple side up and baked it for a good 30 minutes more.  The fix was in . . .

Check out the caramelized pastry now!

Lesson learned.  Next time I would let the caramel on the stove top go a tad further and would definitely extend the baking time to a decent 50-60 minutes. Since one can't see what's going on with the apples underneath the pastry, it takes practice to understand the timing of it all. Other than that I found the whole thing really very straight forward and wondered why I hadn't made this long ago.

In preparation for this tarte tatin I had made a classic vanilla bean crème anglaise ice cream base the day before which had spent the night chilling in the fridge. I processed it in my good old Cuisinart canister model ice cream maker and held it in the freezer until serving.

Nothing fancy . . .

but delicious and well worth it!

Yes, I would definitely make this again.