In the holiday cookie kitchen - pocky and a few more!

A08BB8CE-0FEB-4EC4-8893-94C3210672F4.jpg

This is the time of year when many bakers and pastry chefs turn to cookies. What is it about Christmas cookies anyway? I certainly remember decorating the traditional sugar cookies that many moms made during our childhoods. Since then there have been so many variants thrown at us during this lead up to the December holiday time, including magazines devoted solely to holiday cookie baking. Snowballs, rugelach, pfefferneuse, ricciarelli, gingersnaps, thumbprints just to name a few - cookies from all corners of the planet. Pretty amazing.

Pocky is a new one for me. I came across small boxes of these traditional Japanese stick biscuit cookies in the checkout line at a local craft store. Who knew? Coincidentally I became aware of a recipe for the homemade version of these intriguing cookie sticks through NYT’s holiday cookie recipes. I had to give ‘em a try.

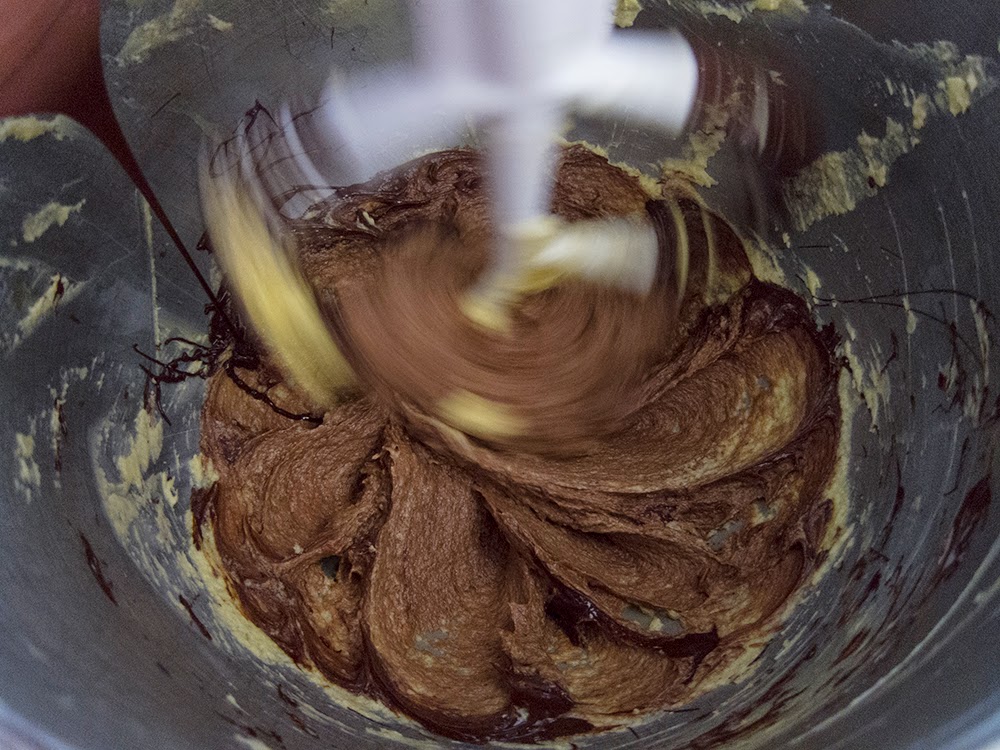
The dough is easy to put together - you can do it by hand or in a food processor or in a mixer - you decide. I used the stand mixer approach.

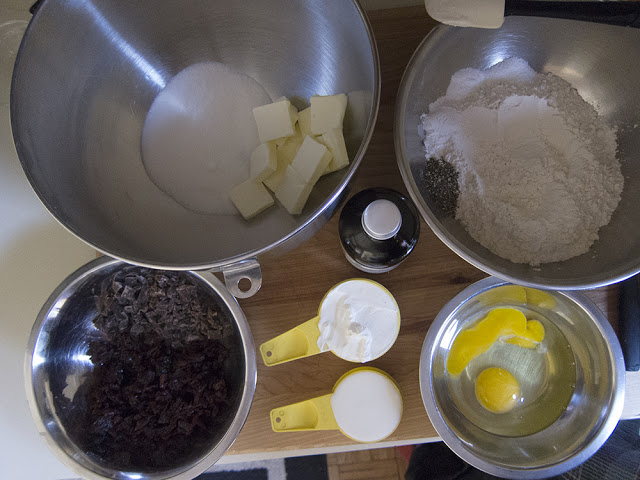
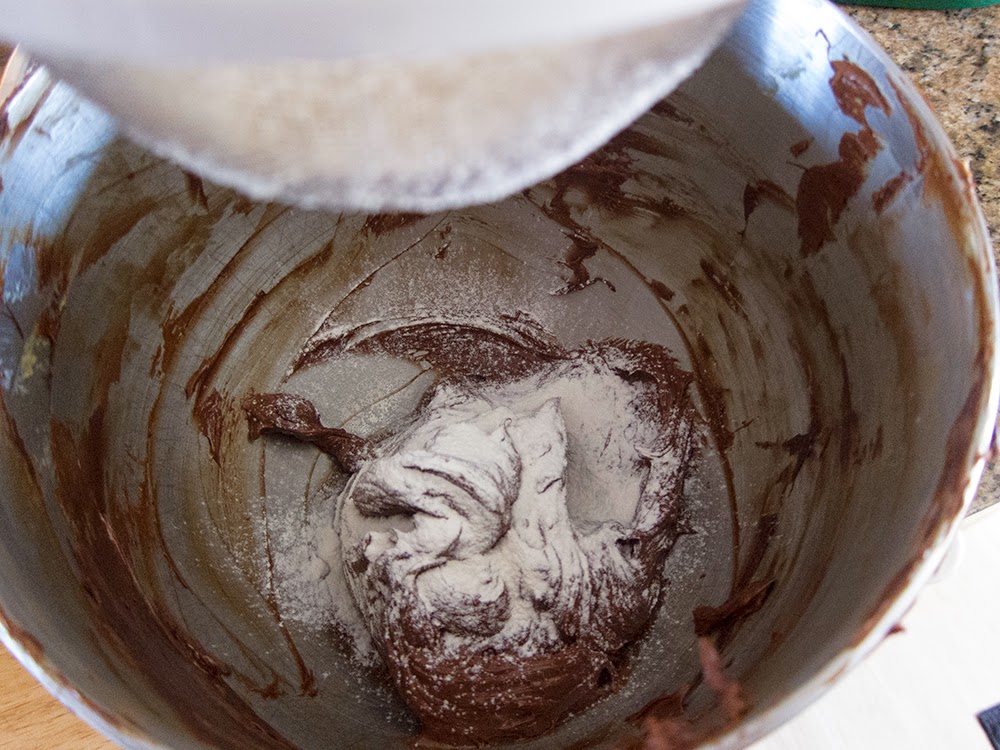
Combine 160 g/1.25 cups all purpose flour, 45 g/3 tablespoons cane sugar, 1/2 teaspoon baking powder and 1/4 teaspoon salt in the bowl of a stand mixer; add 56 g/2 ounces cold diced unsalted butter and mix on low several minutes to coarse crumbs (or sand in by hand); add 45 ml/3 tablespoons whole milk mixed with 1/4 teaspoon vanilla extract and mix on low to bring the dough together.

Place the dough on a lightly floured surface and roll it out to form a 5.5”x8” rectangle about 1/4” thick. Wrap in plastic and chill at least an hour or up to several days.

When ready to proceed, heat the oven to 350ºF.

Cut the chilled dough into 1/4 inch thick strips about 5.5” long.

32211C97-0C4F-4EFD-96FF-2CAD93BE5F6B.jpg

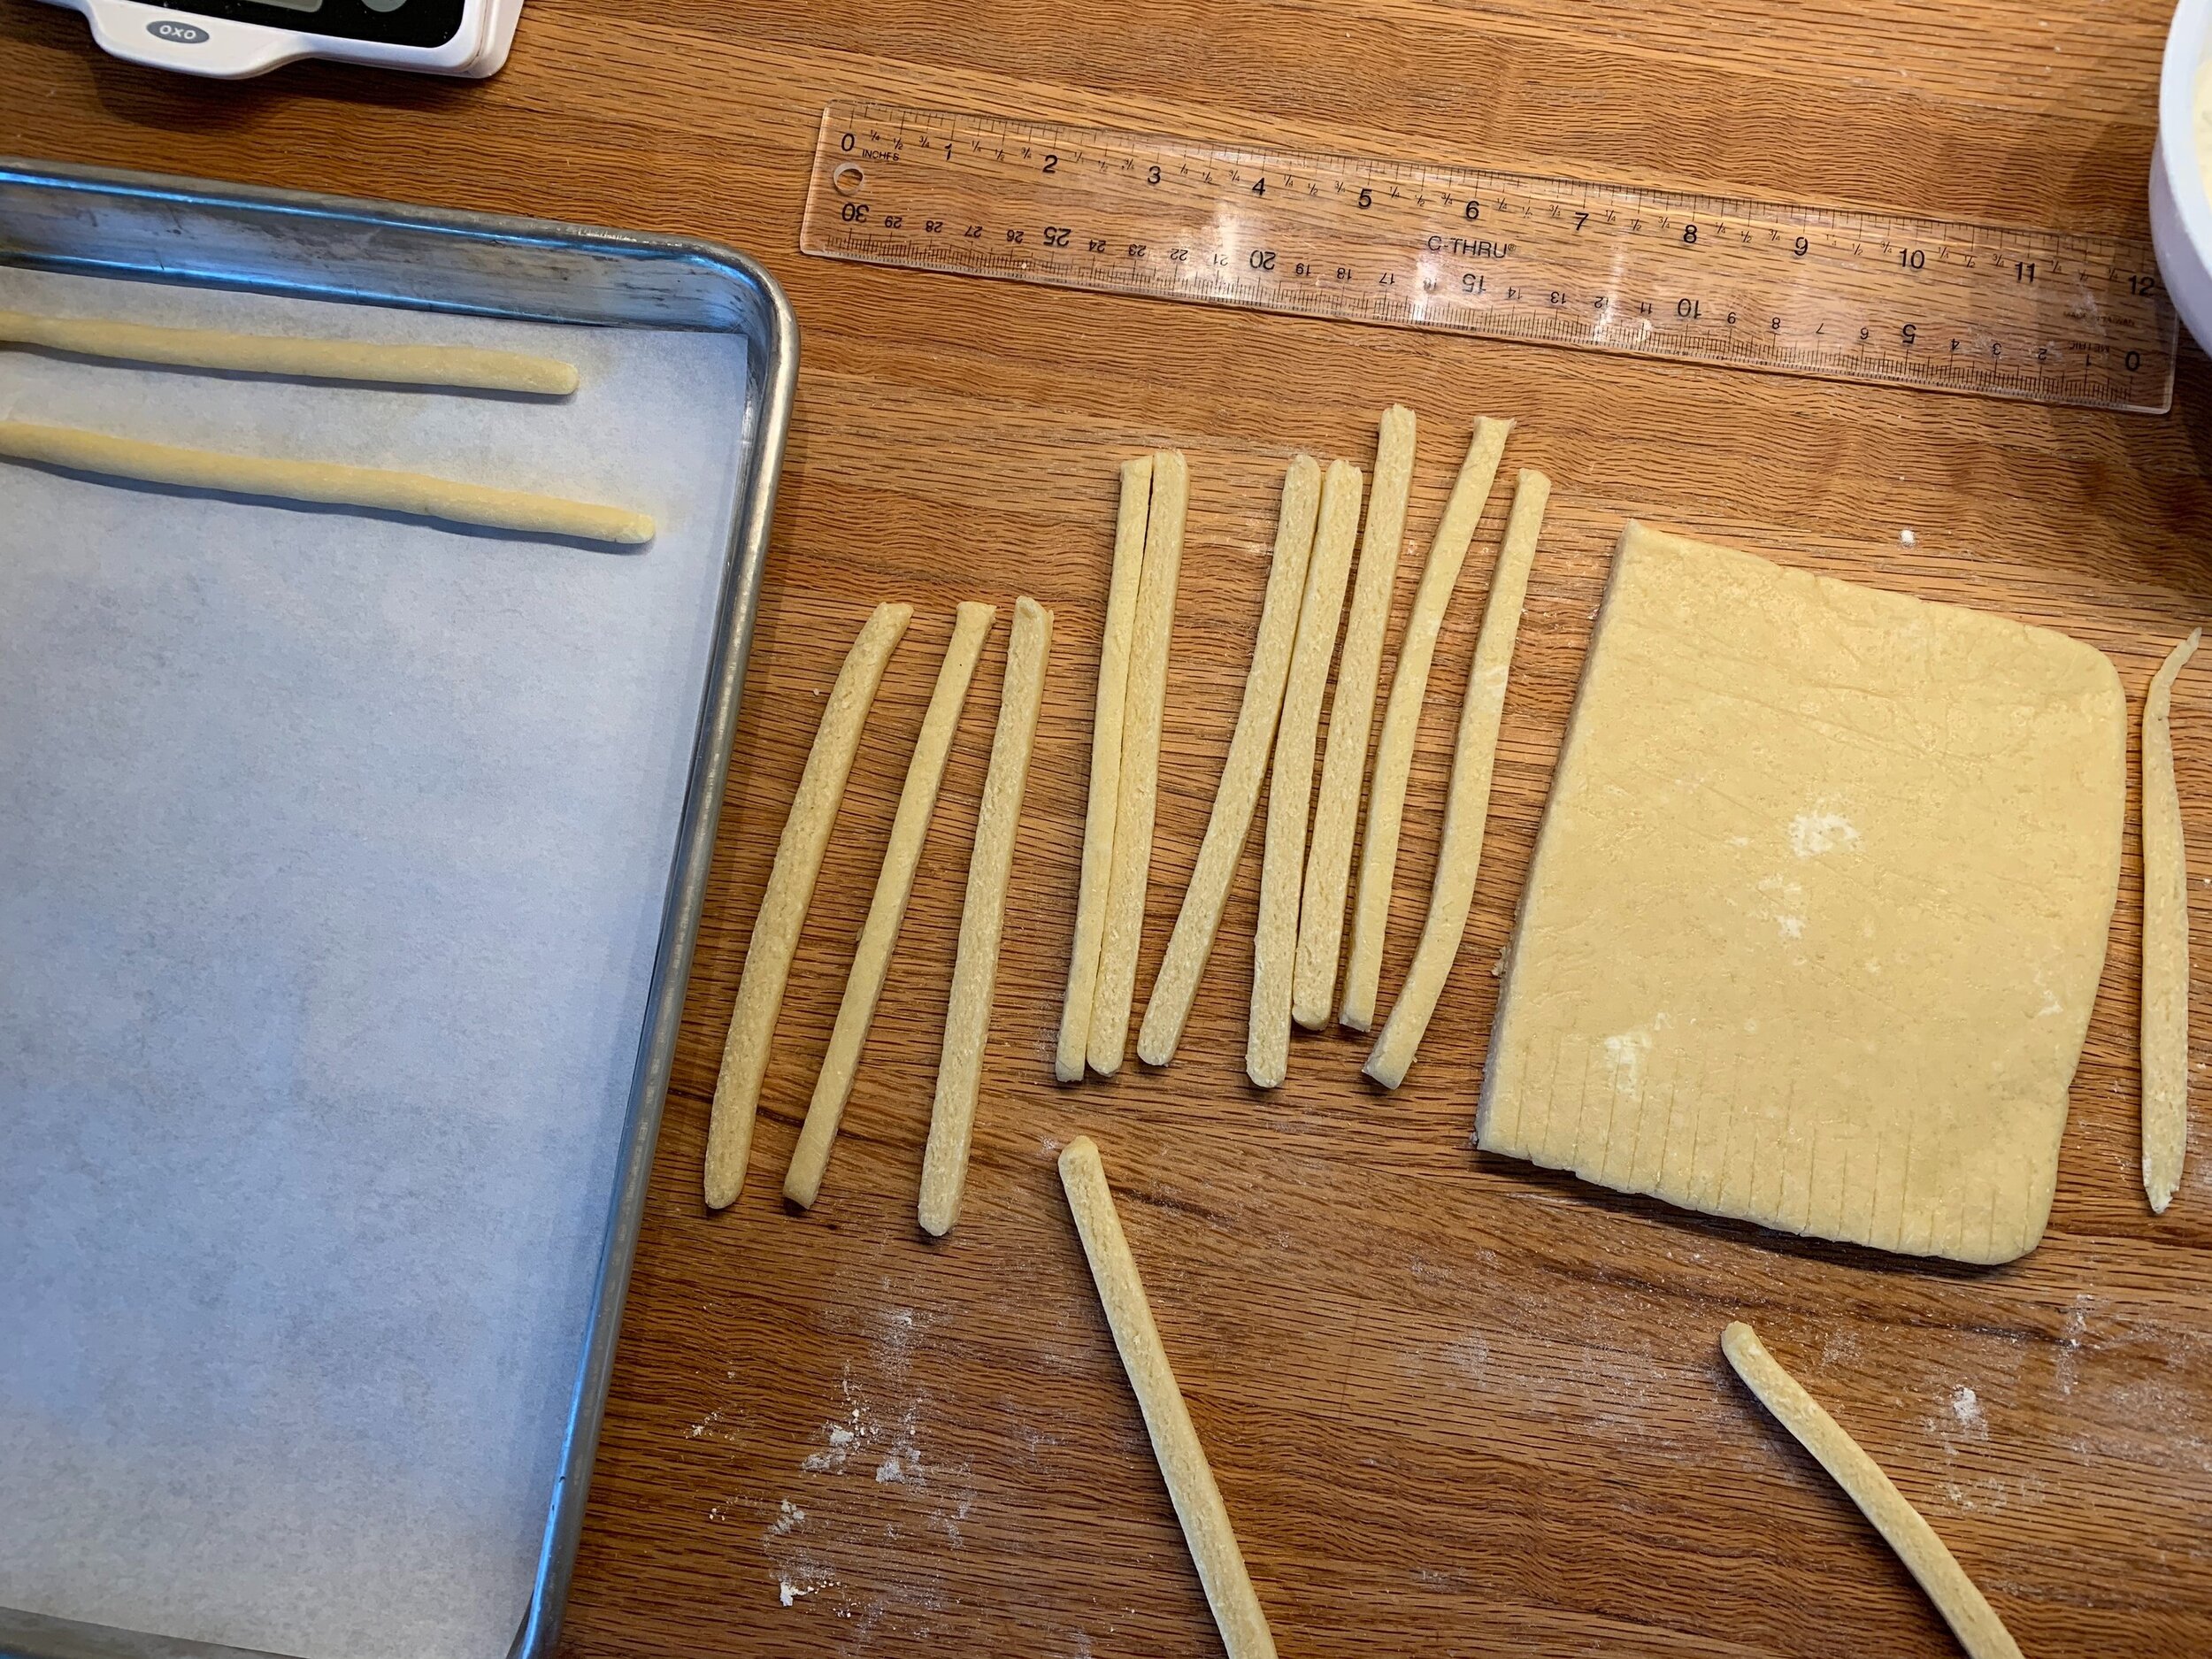
With the palms of your hands roll each strip out to about 7-8 inches long. For me it took a bit of time to get a feel for how this dough wanted to behave. Bottom line - use decisive, firm pressure to keep the dough compacted while rolling it out, doing your best to keep the pieces straight. Pop your pans into the freezer for 10 minutes or so before baking.

A5DF55A1-0C8D-4A80-93DD-0FC365744838.jpg

Bake about 15 minutes until golden brown. Cool on wire racks.

951CB125-F7EF-4EE3-81E5-6A8734D0DD67.jpeg

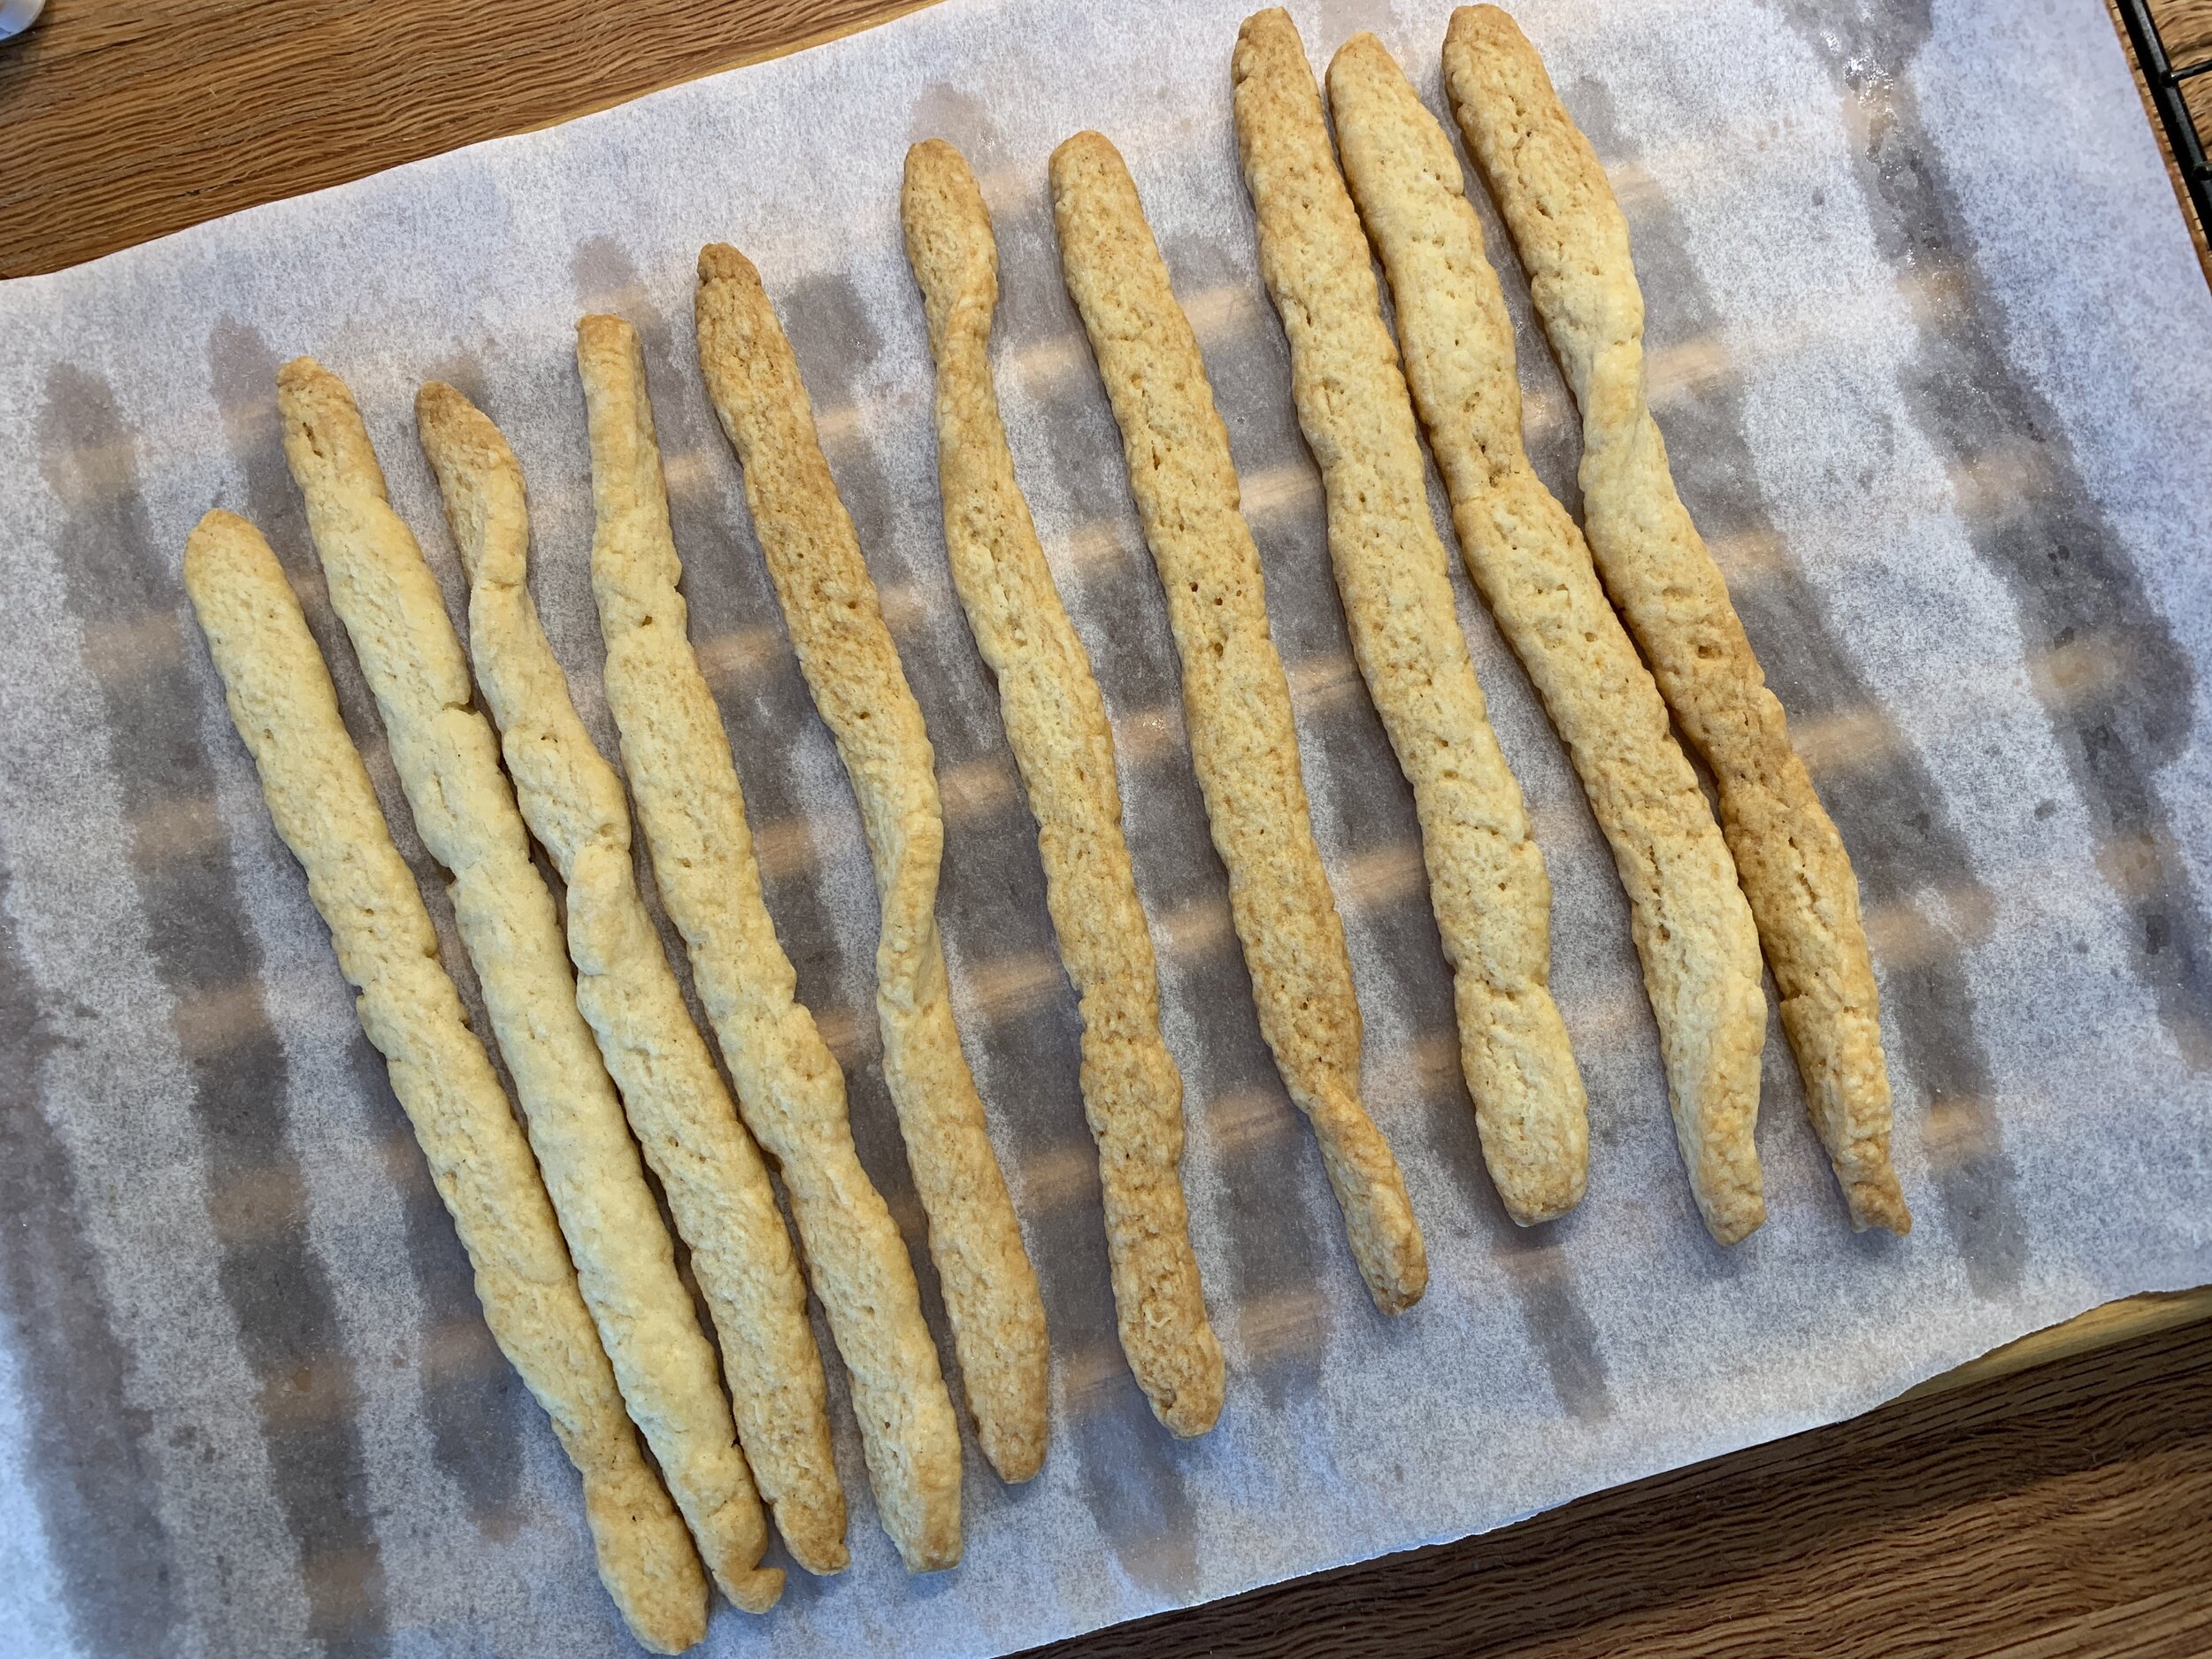
Some of mine were a little curvy but in general these baked up into rustic looking sticks with a certain charm. They taste to me like the animal crackers we used to eat as kids or some kind of teething biscuit - the Brits might call them a digestive biscuit. The flavor is good - simple and straight forward.

I’ve never tasted the Japanese massed produced version, but I’ve looked at the ingredients and have to say - nuh uh.

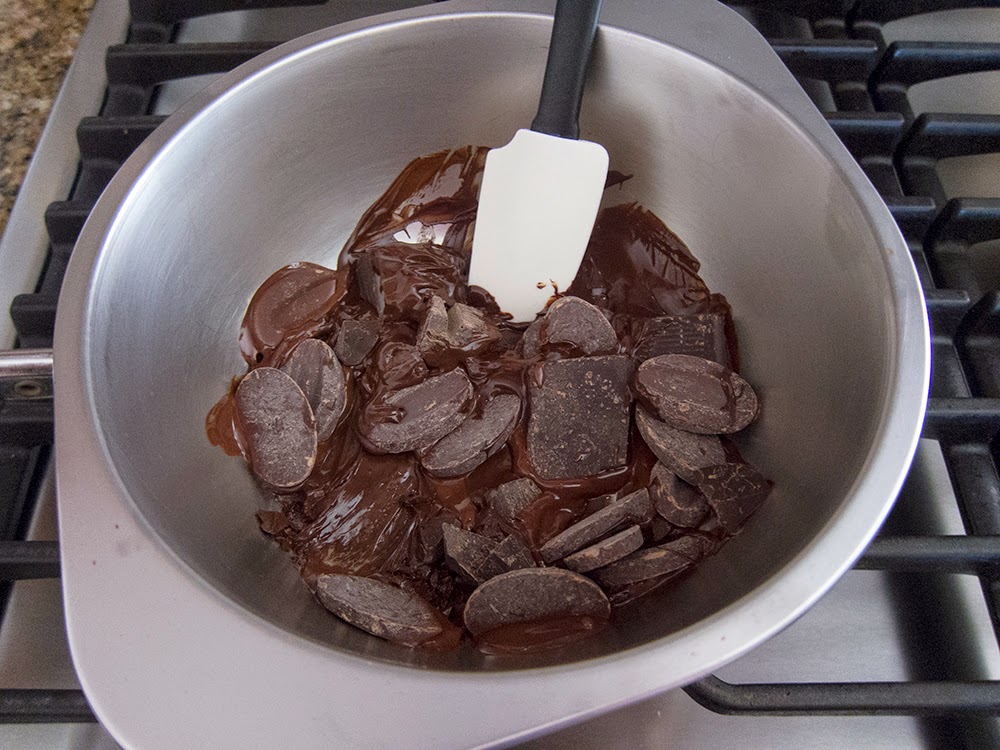
For decorating I went with microwave melted, tempered white chocolate, raspberry dust and chopped lightly toasted pistachios . . . . .

AA7558B8-D8E8-49F9-B37E-86DA7508F640.jpeg

and dark chocolate with chopped pecans.

CEFB0711-4C06-4F9A-8223-9D70E27DD0EE.jpg
B7ADAAEA-1BF0-4DCE-9B92-CB553FB59E0E.jpeg

Let’s just say that making pocky is something good for a day when you have little else to do and don’t feel rushed. Puttering with chocolates, nuts or whatever you decide to use to make your own version is good for the creative spirit. Calm and patience - that’s it.

7DAA6FBC-CDA4-42DE-AF07-FA47077E4831.jpg

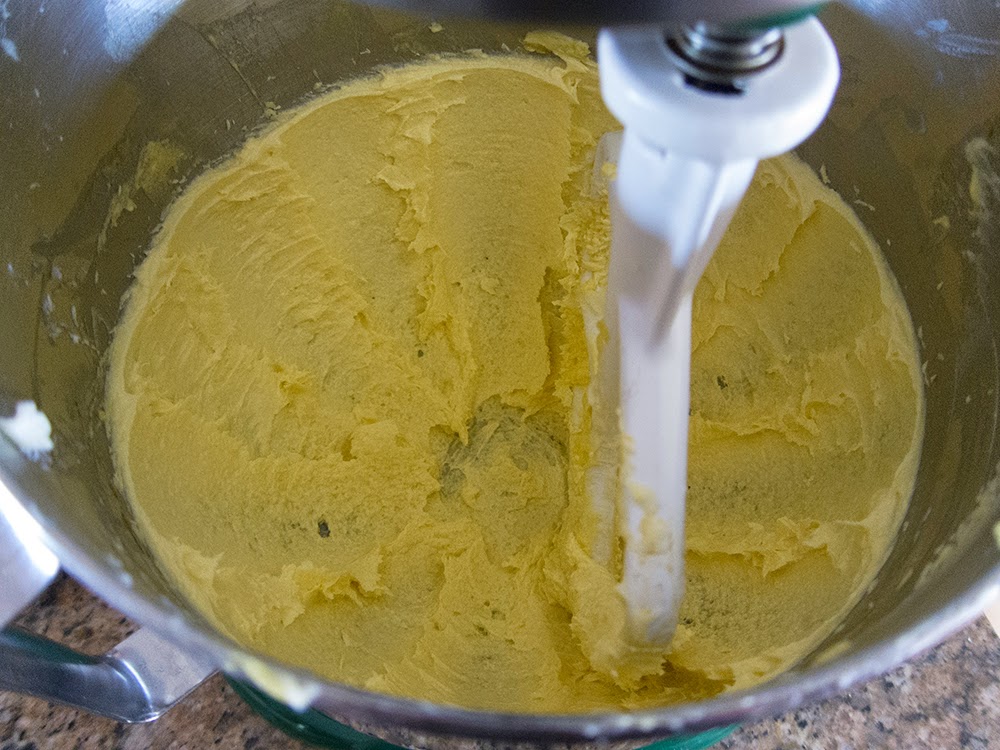
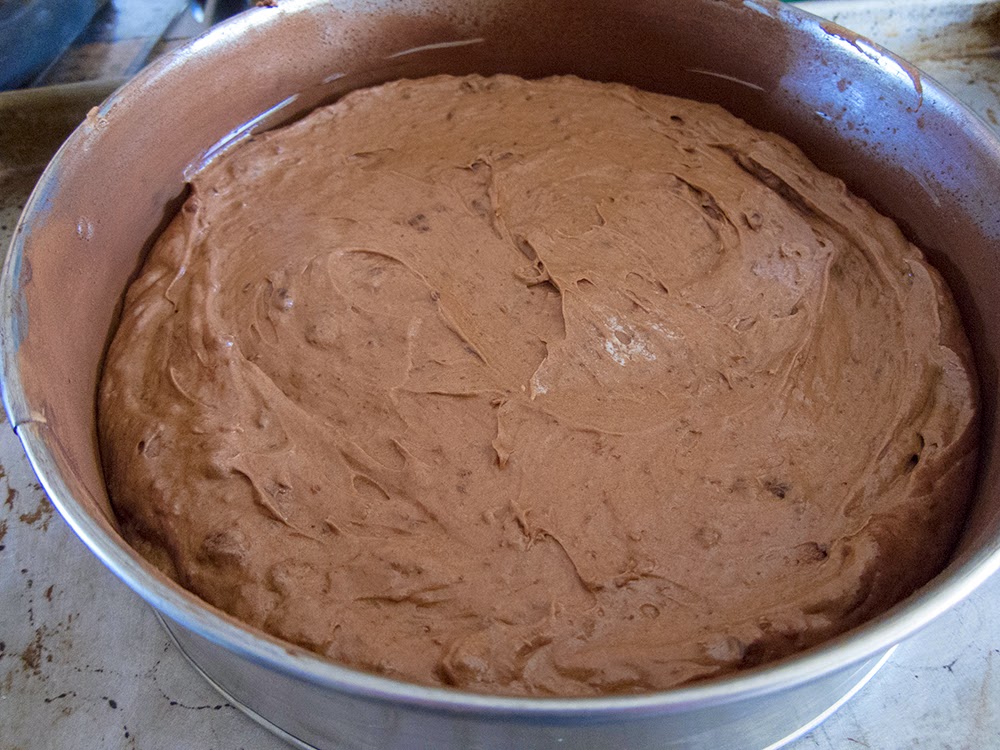
Next up - white chocolate chai buttons using one of my favorite base shortbread recipes. Blend 75 g cane sugar with 200 g room temperature unsalted butter; blend in 250 g all purpose flour, a tablespoon chai spice mix and 56 g/2 ounces finely chopped white chocolate until the dough comes together. Wrap and chill before rolling/cutting shapes of choice or portioning out with a scoop.

For a more nutty/caramel-y taste change the dough up a bit by subbing in dark brown sugar or coarsely ground raw sugar for the cane and sub 50-60 g of whole wheat pastry flour (one of my FAVE ingredients!) for that amount of all purpose. You’ll like the result.

I made my chai mix with a teaspoon each of cinnamon, ginger, cardamom and coriander plus a few grates of fresh nutmeg and some grinds of black pepper. There are different DIY chai mixes out there - some might also contain allspice or star anise or cloves. When making your mix, ramp up the quantities to 3 or 4 times the base so you’ll have plenty on hand for next time. Plus you can add it to other things like cakes, butter creams, ice cream base or your own chai beverage.

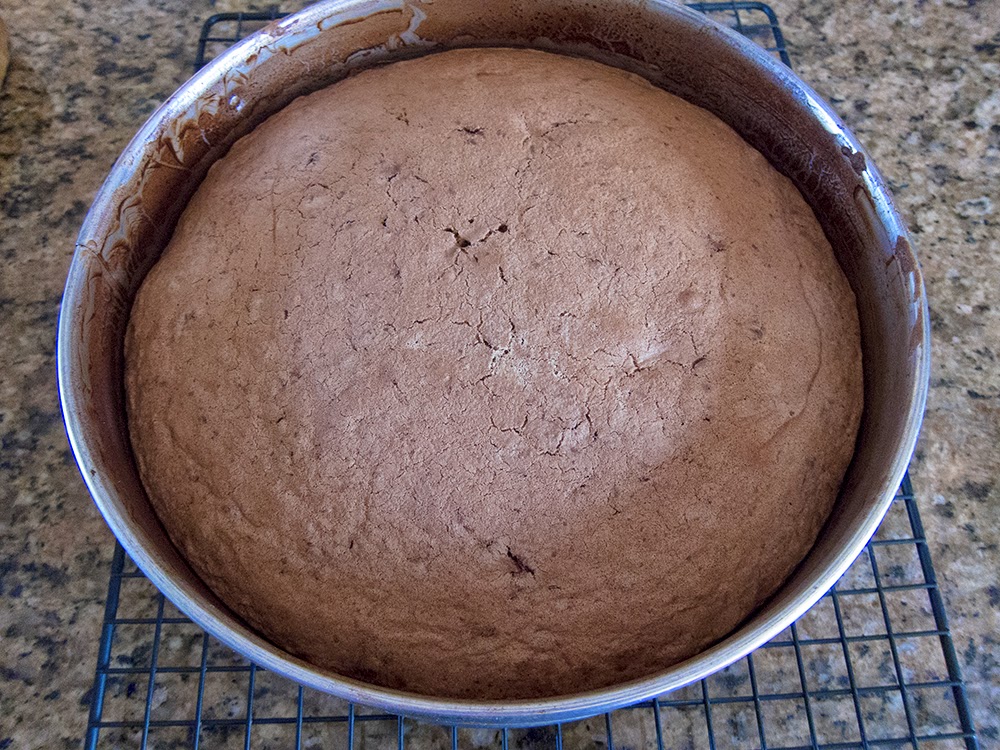
Heat the oven to 325ºF. Scoop out tablespoon sized rounds and bake on parchment lined sheet pans for about 20-25 minutes until nicely browned. Some of my cookies spread at the edges just a tad so I cleaned them up with a round cutter while still warm just out of the oven. I like things to be neat - it’s how I operate.

823ECF90-130E-48CF-A12D-6EBF8670A647.jpg

Once cooled give them a drizzle of white chocolate and let set.

300C201D-177A-46B8-9E93-3A84D22DD829.jpeg

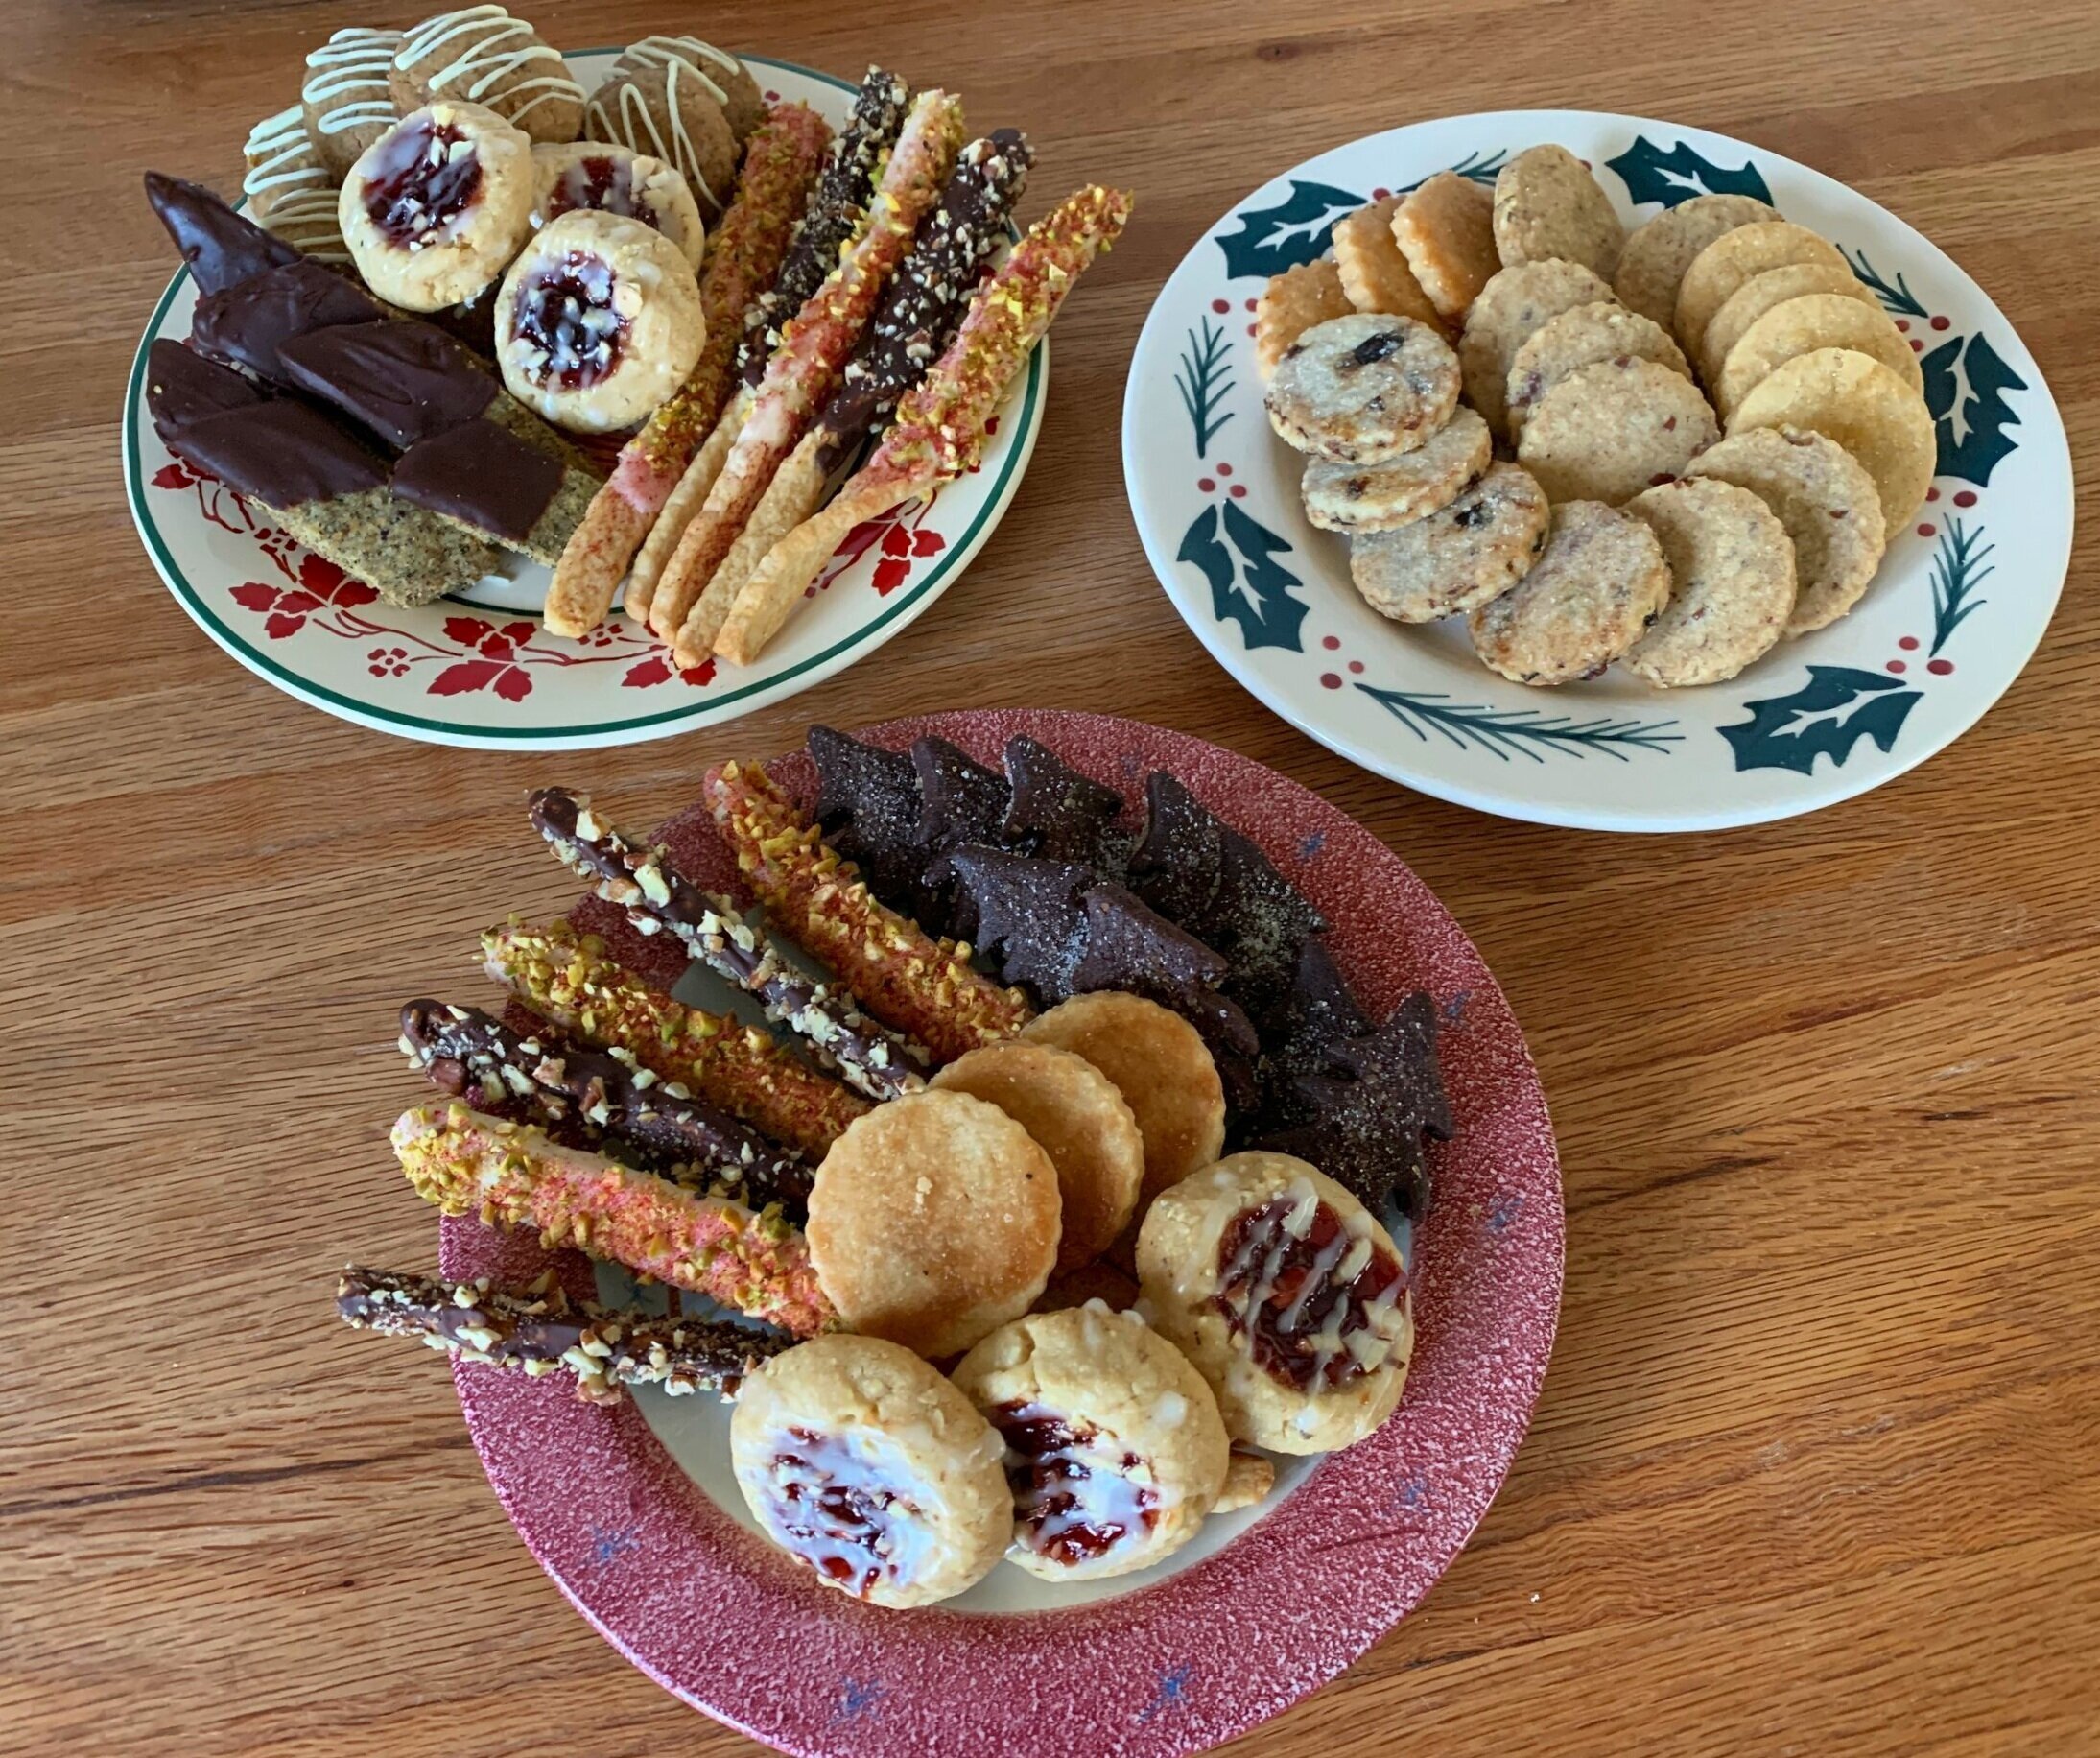
Here’s a sampling of some of the other cookie treats I’ve been making this month. I’m pretty sure many of you have your favorite holiday recipes plus there are sooooo many to be found out there in books, magazines and online. Pretty overwhelming actually.

These are always a favorite - almond thumbprints!

53760CC9-B471-49D8-8F2A-B76558A17E84.jpeg

For gift boxes for a nearby independent/assisted living facility I made cinnamon sugar kids . . . . .

7AF1C822-1348-436A-AAC9-167B3EAB95CB.jpeg

and cocoa trees with a bit of raw sugar crunch and a sprinkling of granulated sugar for that oh so natural woodsy look.

0ADA9DFD-2638-4524-9378-F7164E4F89F2.jpeg

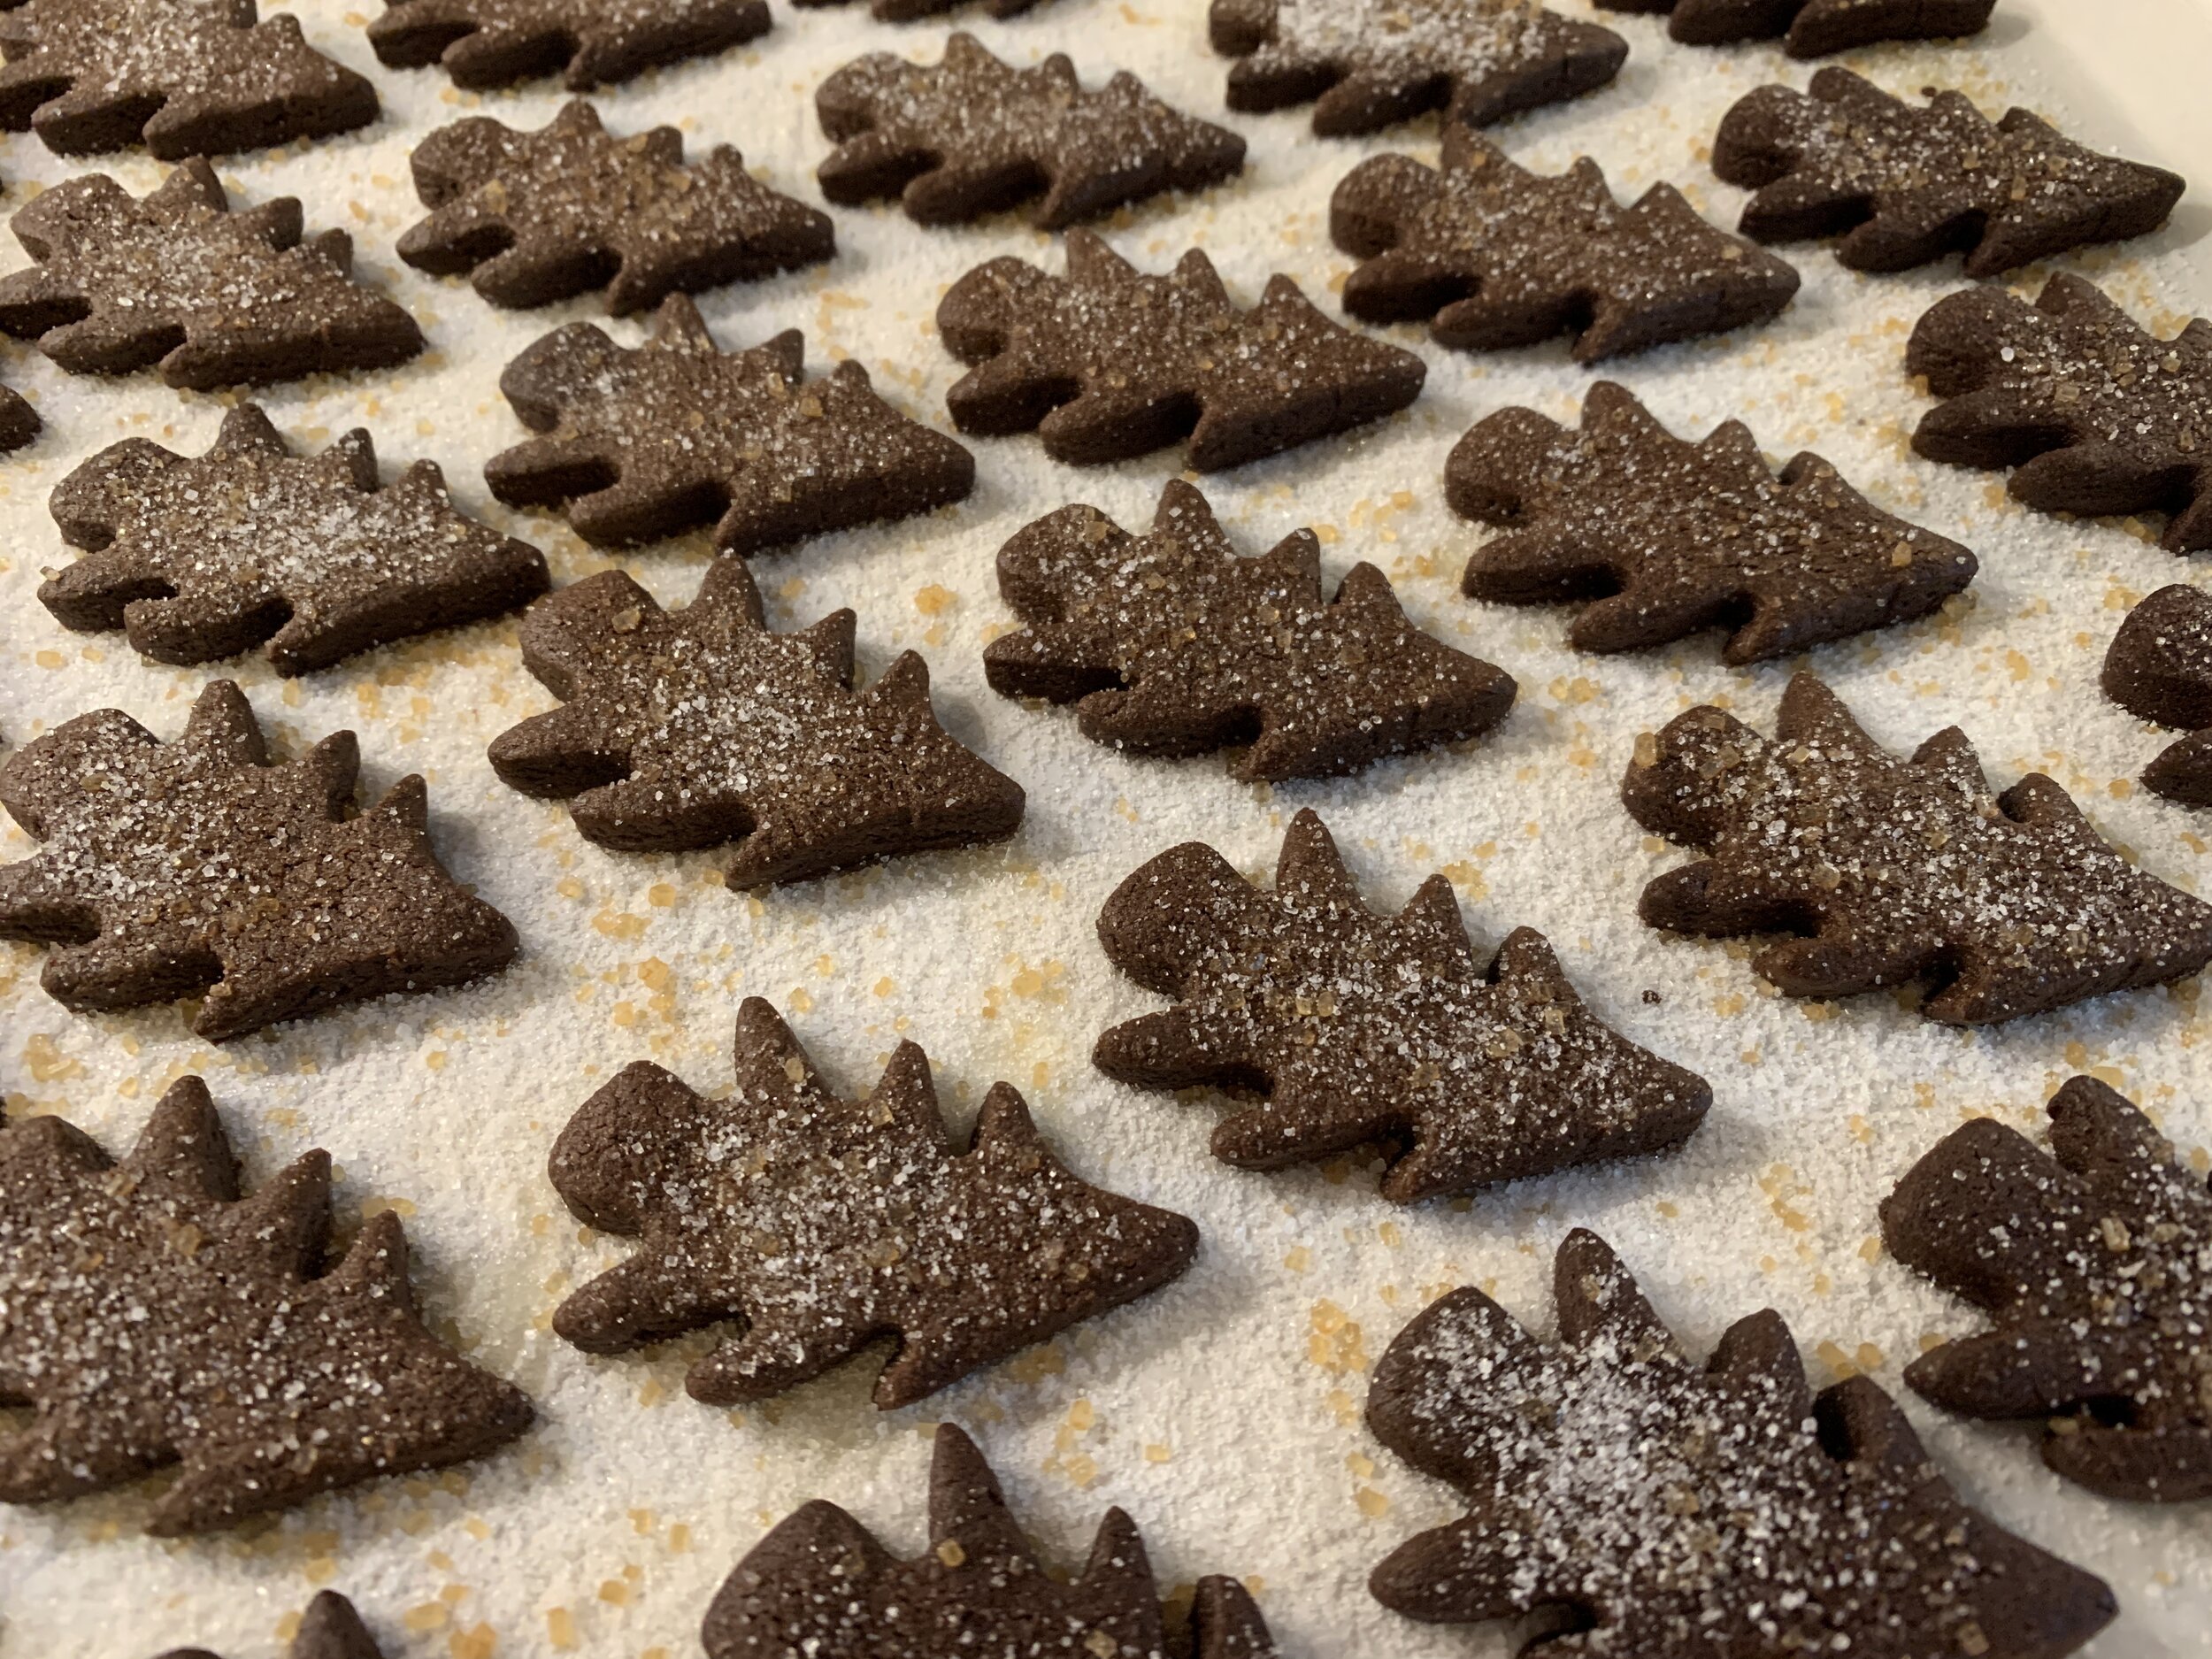
Lots of cute packages for the residents!

0916A85C-92FE-4B51-9C7F-F85E72AF28D5.jpg

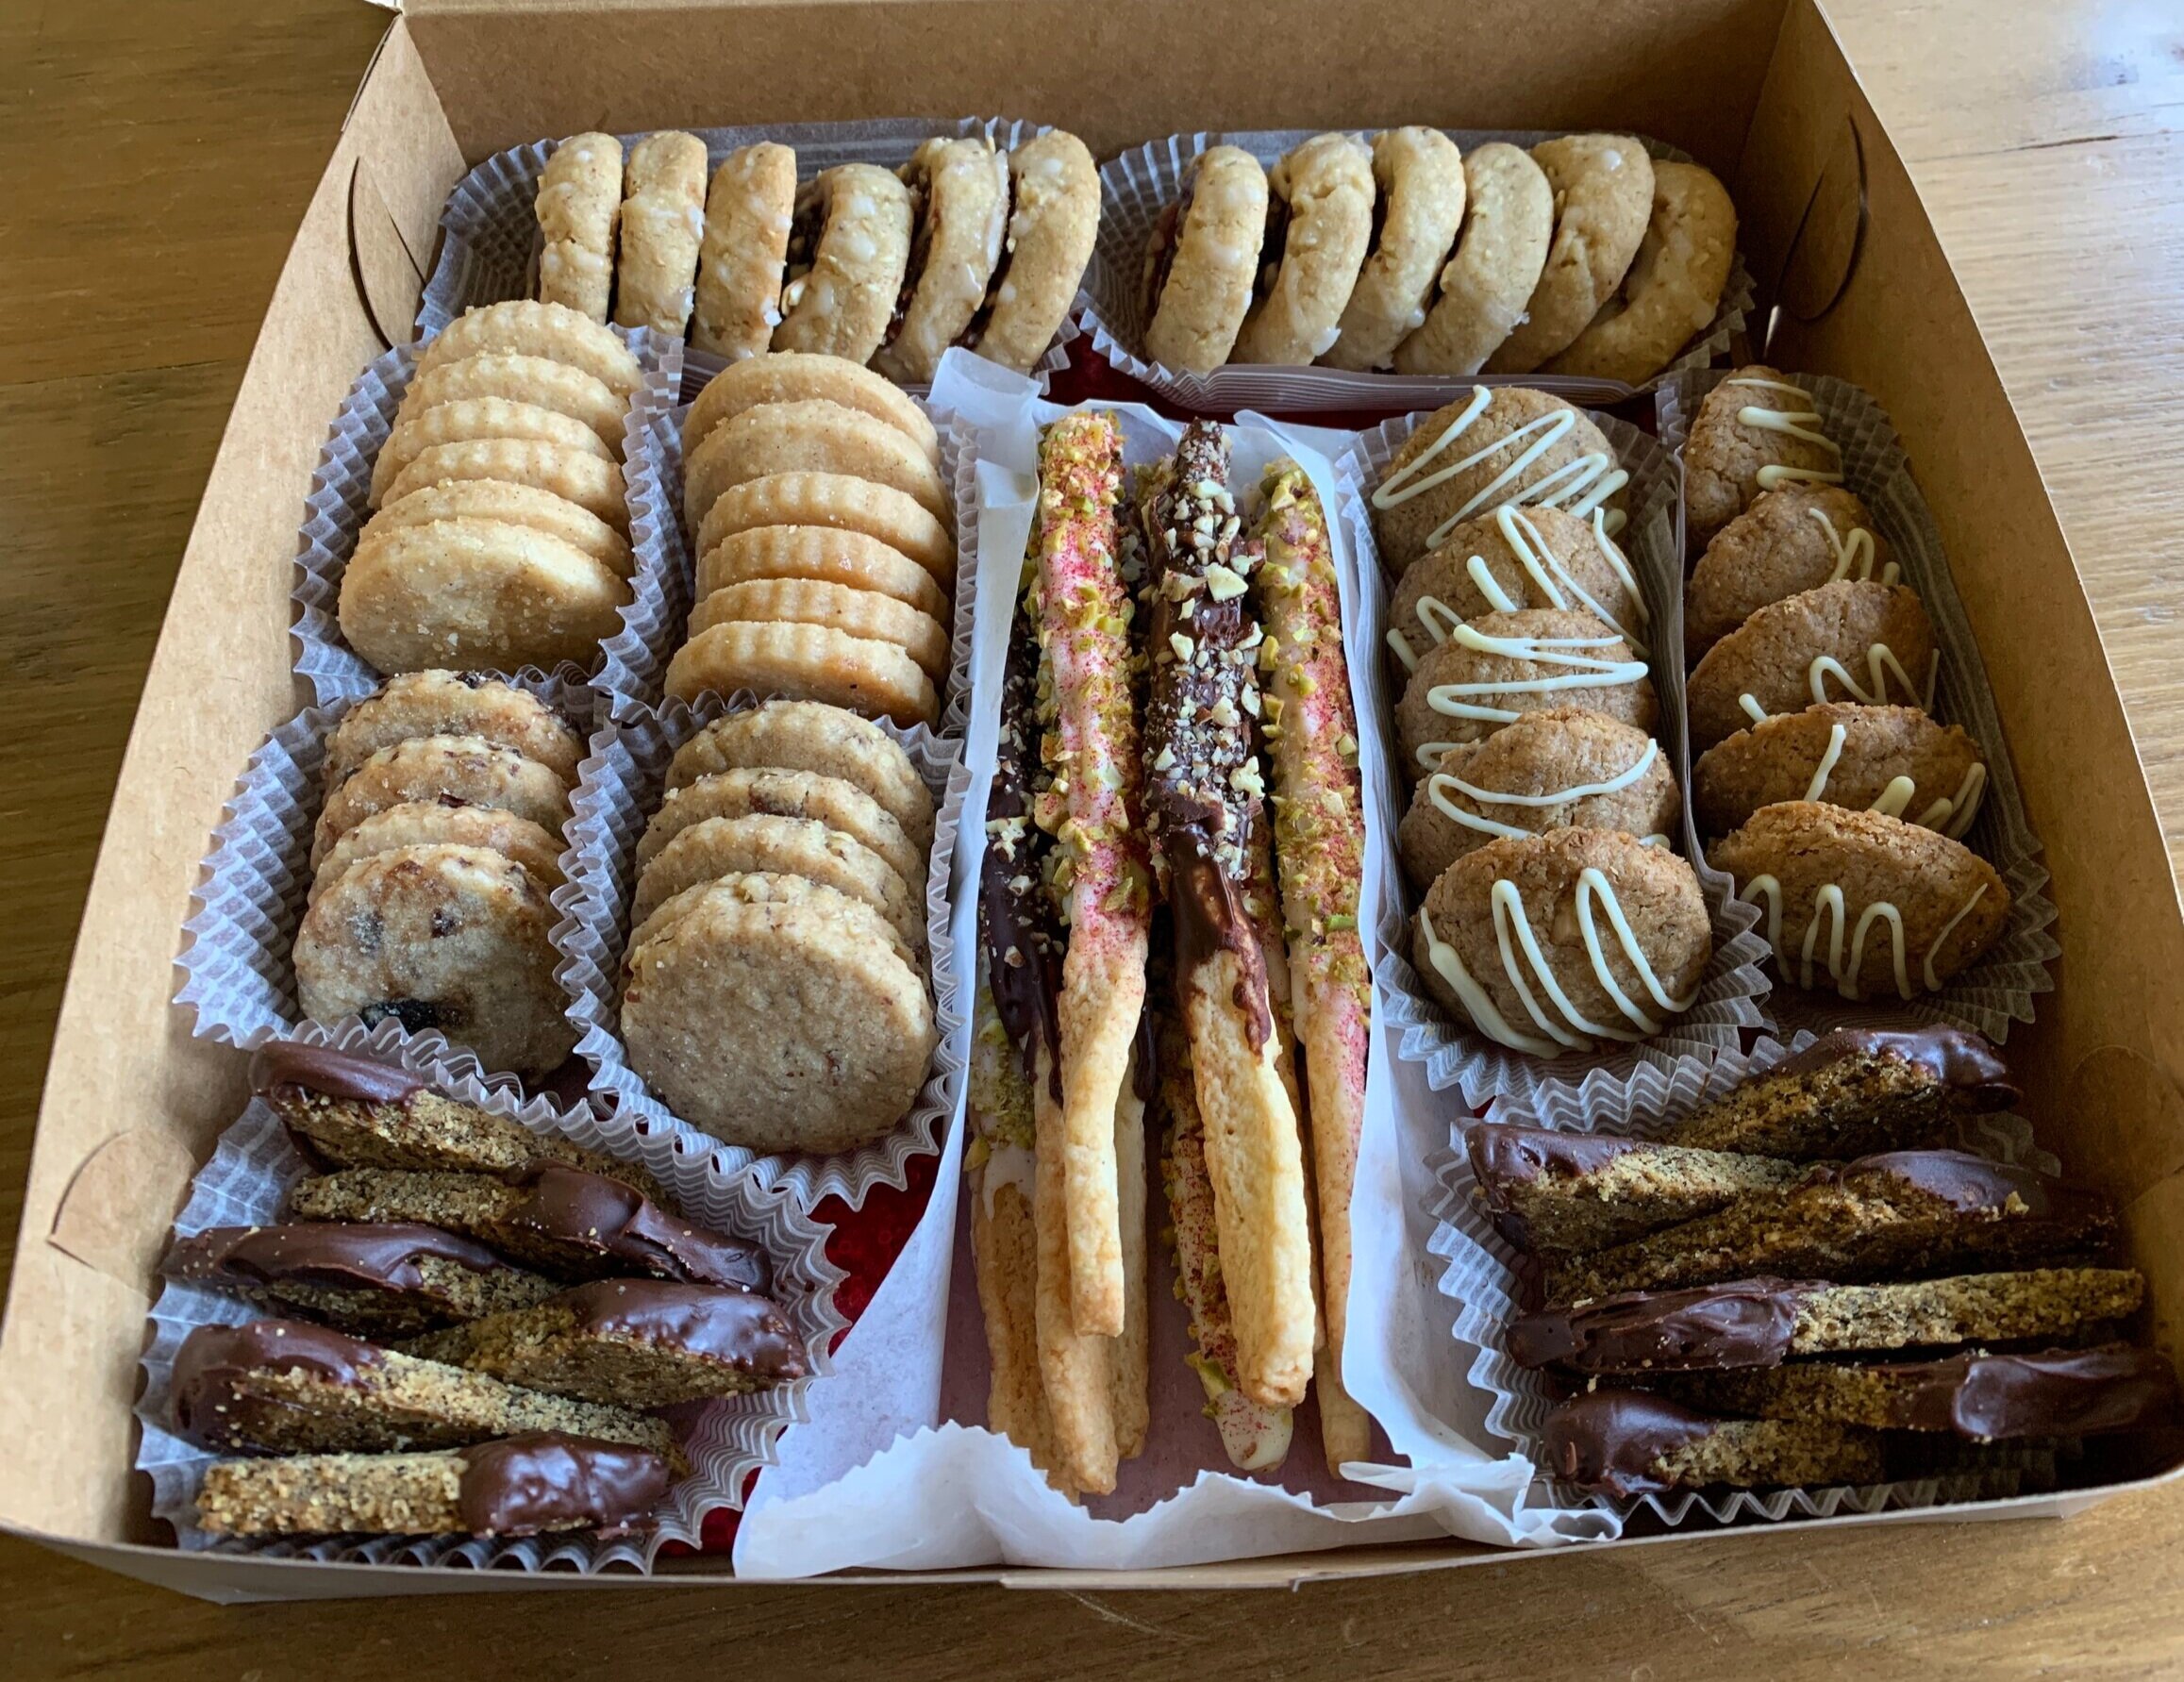
Here’s another boxed assortment I put together for the assisted living residence where my mom lives. I like to drop treats off there every now and then to say thanks to the staff, particularly with all they have to do to keep everyone safe during the pandemic. My hat’s off to all of them.

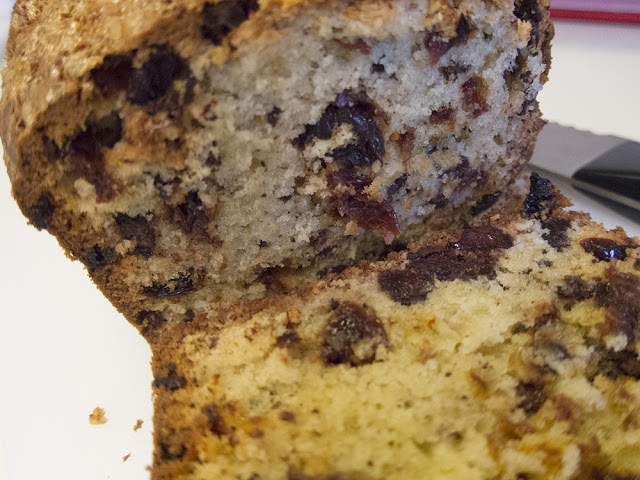
In addition to thumbprints, chai buttons and pocky I added my classic shortbread flavor assortment (to the left of the pocky) of vanilla bean, sea salt caramel, butter pecan and tart cherry. In the forefront are chocolate dipped Earl Grey shortbread made with ground Earl Grey tea, all purpose and hazelnut flour and added orange zest. Chocolate and orange is such a great combo.

E69AB16B-1FDD-4DE4-A7D4-5C2580ED9D52.jpg

Even though Christmas is arriving soon, I may have a few more cookies up my sleeve for this holiday time. Perhaps more gift boxes to hand out to folks for the New Year. Why not!

I’ll leave you with this floral image. We received this orchid from cousin Jen and extended family nearly two years ago after my Uncle John died. It is now blooming for the FIFTH time since then. This time it’s the most prolific with 10 flowers and continues going strong after four months in it’s current bloom. It gives me peace and joy.

May you feel the same as we look ahead to a new year of stability and health for our world.

B2FE7B5B-9C66-4244-83C9-7CEA673DF5B1.jpg

This year's Thanksgiving tarts

IMG_3376.JPG

Thanksgiving is fast approaching and now’s the time to decide what you’d like on your holiday dessert table!

This year I’m offering pumpkin custard with sesame crunch, pecan caramel chocolate truffle and apple cranberry with brown sugar crumble in both 9-inch and my “sharing” 5.5 inch size (seen in the photos above and below) for those of you who might prefer petite portions or are hosting or joining a smaller group for the holiday this year.

IMG_3375.JPG

Let’s take a look at how these babies are put together, shall we? BTW - even though the images depict smaller tarts, the discussion is for making standard 9 inch tarts.

First up is pumpkin custard. Use your favorite pate sucrée recipe and add about 30 g toasted sesame seeds at the end of the dough prep. Blind bake the crust at 350ºF and set it aside while preparing the filling. Note: tart dough recipe is enough for two 9” tarts - wrap and freeze any extra for another time.

Reduce the oven temperature to 325ºF.

Make your favorite crème pâtissiére, adding 1-2 teaspoons or so of pumpkin pie spice mix (I use my own made-up mixture of spices) to the milk base. At the end of cooking blend in 1 cup pure pumpkin purée, 4 tablespoons of butter and two teaspoons vanilla extract. This base is more than enough for one 9 inch tart but you can use leftovers to make a bunch of mini-tarts or fill cream puffs. You can even divide what’s left into ramekins and bake them in a water bath for a lovely pumpkin custard for after the holiday.

IMG_3360.JPG

Fill the blind baked tart shell with the warm pastry cream, just barely shy of the rim and bake for about 20 minutes until set with a hint of a jiggle in the center. I did several test batch sizes as you can see below.

IMG_3366.JPG

Let cool then store covered in the fridge until ready to serve. In my case I garnished with whipped honey mascarpone cream and a sprinkling of sesame crunch. For a slightly different approach, change out the sesame seeds in the tart dough with toasted, finely chopped hazelnuts, almonds or pecans and use the same nut as a simple garnish with lightly sweetened whipped cream. Or simply leave out any dough additions and create your own version of topping.

Pumpkin custard tart

Pumpkin custard tart

Next up - pecan caramel chocolate truffle tart. And remember - this is for a nine inch tart. The approach is much the same: blind baked pate sucrée, cooled and waiting on the sidelines. For a chocolate crust, just add 30 g (~1/3 cup) unsweetened cocoa powder to the flour in the recipe.

Toast 100 g/scant cup pecans and either leave the halves whole or break them up coarsely. Blend them with a scant 2/3 cup caramel sauce (I make my own, although you can use a good quality purchased product from your local supermarket or specialty food shop).

Place 85 g dark chocolate (I use Guittard 61% discs) and 21 g unsalted butter in a heat proof bowl. In a separate heat proof container (I use a pyrex measuring cup) bring 120 ml heavy cream to a boil. Pour over the chocolate/butter and blend gently until smooth. Blend in 3/4 teaspoon pure vanilla extract. Note: double or triple your recipe to have more ganache on hand for your next truffle tart project!

IMG_3368.JPG

Layer the nut caramel mixture in the bottom of the baked shell. Once again I made some small trial versions - for taste testing, don’t ya know?!

IMG_3369.JPG

Pour the ganache over - start slowly to let it nestle into all the nooks and crannies and continue pouring until it’s to the rim edge. Some bubbles will invariable pop up to the surface - just pop ‘em with the tip of a paring knife.

IMG_3370.JPG

Leave at room temperature until the ganache has set and cooled. If you put it in the fridge before that, there’s a greater chance that beads of moisture will form on the surface - you don’t want that! Once cooled you can go ahead with any garnish or cover/refrigerate and garnish later.

I top mine with chocolate shortbread cookie crumbs, a light dusting of confectioner’s sugar and a few pecans in the center. Pull the tart from the fridge 30-60 minutes before serving to let it temper and bring out the flavors more fully. Feel free to add a dollop of lightly whipped cream atop each portion.

Pecan caramel chocolate truffle tart

Pecan caramel chocolate truffle tart

Last but not least - apple cranberry! A straight forward pâte brisée dough filled with a mixture of lightly sweetened sliced apples and dried cranberries and topped with a brown sugar crumble.

Heat the oven to 425ºF.

I typically line my tart rings, fork-prick the dough and hold them in the freezer while preparing the fruit. For a nine inch tart I plump 100 g dried cranberries in warm apple cider for 20 minutes or so while I peel, core, halve and thinly slice 4-4.5 cups of Jonagold apples (another good mix is Macintosh and Granny Smith). Drain and paper towel dry the cranberries and mix the fruit with a squeeze of lemon juice, 1/4 cup sugar (use brown if you’d like) and 2 tablespoons of flour. Then I mound the fruit into the lined ring. In this case Mr. Steve had reduced down a bunch of apple cider for me, creating a delicious apple cider caramel. I drizzled some of that on the fruit once the lined ring was filled. Yummy stuff.

IMG_3362.JPG

You might notice the scrap of rolled out dough on the sheet pan - I bake one every now and again just to see how the crust tastes au naturel. (In case you’re wondering, it was flaky, buttery and melt-in-your-mouth good.)

IMG_3363.JPG

Top with a standard crumble mixture of equal weights flour, brown sugar (light or dark is fine) and diced butter and cover the fruit with the mixture. Not a very thorough covering job on those small tarts, eh? As I’ve mentioned in previous posts over time, I like to make a bunch of crumble, bag it up and stash in the freezer where it’s at the ready to be used.

IMG_3365.JPG

Bake on the bottom rack for 10 minutes then reduce oven temp to 400 and move up to the middle rack. Give it another 10 minutes then ratchet down to 375 and continue baking for another 10-20 minutes (all ovens are different so pay attention!) until the crumble has browned and you see some bubbling around the edges. Cool a bit and serve slightly warm or at room temp with your favorite ice cream or whipped cream. Yippee!

apple cranberry tart

apple cranberry tart

IMG_3382.JPG

And there you have it! A delightful trio of seasonal tarts just waiting for the Thanksgiving table. Have a calm and peaceful holiday everyone.

Meanwhile here in west Michigan there are lots of rustling leaves along the pathways and the burning bushes are still burning brightly, even though many trees are now bare. Tis the season - and we may even see our first snow this weekend. Oh boy, oh boy!

IMG_3386.JPG

Chocolate, cherry, black pepper bread


As I move on through some of the recipes in the new sugar and spice by Samantha Seneviratne, I continue to find many of her ingredient combinations enticing (and intriguing).  This one contains chopped dark chocolate, dried tart cherries and freshly ground black pepper, an idea that came to her after a glass of dark red wine that left her with those particular nuances of flavor.


 Although the title calls this a bread, Samantha then proceeds to call it a cake in her short intro to the recipe.  Call it what you will, the process is still the same.  Essentially a quick bread, the preparation is straight forward.

When doing the mise en place, pay attention to the room temperature ingredients (butter, eggs, sour cream, whole milk) since the mixing of the batter proceeds more smoothly when these things are indeed at room temp.  So plan accordingly.

Chop the chocolate and dried cherries and grind the black pepper ahead too.  

Always read the recipe through before starting, right folks?!

So get everything ready and mix away.

les ingredients

Heat the oven to 350ºF.  Butter and flour a medium (4 1/2 by 8 1/2 inch) loaf pan.

In a medium bowl whisk together 260 grams (2 cups) all purpose flour, 1 1/2 teaspoons freshly ground pepper, 1 1/2 teaspoons baking powder, 1/2 teaspoon baking soda and 3/4 teaspoon kosher salt.

In a large bowl with an electric mixer, cream 113 grams (1 stick) room temperature, unsalted butter with 170 grams (3/4 cup) granulated sugar; beat this for about 3-4 minutes until pale and fluffy.

Add 2 room temperature eggs, one at a time, plus 1 teaspoon vanilla extract.

Add half of the flour mixture and combine on low speed, then add 1/2 cup room temperature sour cream and 1/4 cup room temperature whole milk and blend.

Add the remaining half of the flour mixture and blend until just combined.

Fold in 65 grams (about 1/2 cup) chopped dark chocolate (choose what you like in the 50-64% cacao range) and 113 grams (about 3/4 cup) chopped dried tart cherries.

Place the batter in the prepared loaf pan and sprinkle the top with raw sugar.


ready for the oven

love that sparkly crunch!

Bake this until golden brown and a cake tester poked into the center comes out with moist crumbs, about 50-60 minutes.

After a 15 minute cool down in the pan . . . .


turn it out onto a rack to finish cooling.


Mmmmm!

Of course Steve and I just had to do a taste test while it was still a bit warm, so I sliced into this chocolate and cherry studded beauty.


The crust was crisp and crunchy from the raw sugar, the interior moist with a dense crumb and the flavor divine with a delicious combo of chocolate and cherry.  The black pepper hit me on the finish -  a nice tingle on the tongue.

I must admit I was a bit shy about using the full 1/1/2 teaspoons of pepper in the recipe, but Steve encouraged me to go for it, being the savory chef in our home kitchen (and a prolific pepperer to boot).  He even suggested I add more.  Imagine that!

At any rate, for the first go-around with this recipe I found the peppery-ness to be subtly just right, but next time I won't be so shy.

Good stuff indeed.

Now just imagine it served warm with a scoop of creamy vanilla or chocolate ice cream and some chocolate crumble.  Oh yes.


Sacher torte

When I receive a request to make something that I haven't made for awhile, it prompts me to research recipes and re-live those practical kitchen days from pastry school. So, since I had an order for this classic Viennese cake, I made a Sacher torte.

The story goes that this cake was created in 1832 by a 16 year old apprentice chef, Franz Sacher, for Prince Wenzel von Metternich in Vienna.  The Sacher torte has since become a fixture at the Hotel Sacher Vienna, where they say the original recipe remains a secret.

Even so, there are numerous recipes out there, each with its own variables.  All of them call for bittersweet chocolate, eggs, sugar, flour, butter, a little salt (for mounting the egg whites) and usually some vanilla extract for a standard 9" cake.

Here are the steps and some of the recipe differences I encountered as I made my way to a Sacher torte!

Prep a 9" springform pan by buttering the bottom, covering it with a round of parchment and buttering that.  Some folks also flour the parchment - I chose to dust it with cocoa powder.

The chocolate is melted over a bain marie and allowed to cool to tepid before it is added a bit later. I'm using a mixture of Valrhona 64% and Trader Joe's "dark" and "72% dark" chocolates. Chocolate quantities vary from recipe to recipe, anywhere from 113-227 gms (4-8 ounces). I used 142 gm.

The butter can be melted along with the chocolate, but most recipes seem to prefer creaming it with a portion of the sugar. That's the method I used.  Butter quantities ranged from 85-250 gm  (3-9 ounces) in the recipes I reviewed. I used 126 gm.

Above: butter and confectioners sugar ready to go

My review also revealed sugar amounts from 113-225 gm (1/2 to 1 cup), some recipes using a combination of confectioners sugar (for the creaming step) and granulated sugar (for beating with the egg whites.) As you see above I used confectioner's sugar (50 gm) for the creaming step.

This cake is considered a biscuit which means the eggs are separated, and the yolks and whites are beaten separately before blending together. Egg quantities varied from 4 to 8 (most commonly 6) in my review.

Some recipes call for whisking the yolks with a portion of the sugar to the ribbon stage, and then adding the melted chocolate and butter.

In the method I used here the 6 yolks and a teaspoon of vanilla are blended into the creamed butter and sugar mixture, and then the cooled, melted chocolate is added.

Above: adding the chocolate - wheeeee!

Next sift the flour (130 gm) over the chocolate mixture and gently fold it in.

I found the amount of flour called for was most commonly one cup. However, some recipes use cake flour or cornstarch in place of all purpose, and some use almond flour as a portion of the total flour.

Also there were variations in the flour adding step - some did it before and some after the egg whites.

Now it's time to whisk the egg whites to soft peaks. Egg whites mount better at room temperature, so I usually separate my eggs early in my mise en place and let the whites start to warm up. Alternatively you can place your bowl of whites in some warm water to speed up the process.

Above: whites, salt and sugar ready to go

I like to start my mixer on low speed and let the whites and salt (1/4 teaspoon) start to foam a bit. Then I slowly add my sugar (112 gm) while the mixer is running, then increase to high to finish them off to soft peaks.

Now fold about 1/3 of the whites into the chocolate mixture to lighten it, then gently blend in the remaining whites just until a few streaks remain.

Above: whites partially blended in

Place the batter in the prepared pan.

Bake at 350ºF for approximately 35-40 minutes, or until a tester comes out clean.

Let it cool a bit, unmold and finish cooling.

Traditionally the Sacher torte is layered with an apricot jam filling. Most recipes called for slicing the cake into two layers, but a few into three. My cake was destined for two.

Filing methods include:  simply spreading apricot jam between the layers;  warming and straining the apricot jam before spreading to remove the chunks (some preferred that for mouth feel); puréeing the jam to de-chunk it;  taking a small amount of jam, diluting it with water and puréeing it to use as a glaze on each layer in addition to spreading jam between the layers. Anyway, you get the idea - to each his/her own!

Above: layered with apricot jam and glazed with apricot glaze

All recipes agreed that once the cake is "jammed" (thanks Parks and Rec!), give it a 30 minute chill before the final chocolate glazing.

The chocolate glaze recipes varied from the "add boiling water to the chocolate" method to a more traditional chocolate ganache type of glaze. The one I chose was a 3-part chocolate (170 gm) to 1-part cream (56 gm) ganache with a bit of butter (28 gm) added.  It had a nice sheen.

Now I'll admit I was lazy here and did not follow the tradition of writing the word "Sacher" on the top of the cake. Instead I made my go-to simple swirl design. Thank goodness for my small offset spatula!

C'est fini!

So choose your recipe and go for it!

If I ever get to Vienna and have a chance to try the real thing, I'll let you know!!