Late autumn update/menu is back!

After a recent hard frost

Baking season is definitely here and autumn colors are gone for the most part. Holiday menus are already being planned and there’s more of an itch to get into the kitchen. For me it’s still about crisp fresh mornings, heavy frosts, bright blue skies with longer shadows and perhaps just a hint of the first snowflakes that might soon appear.

My menu page has been resurrected for those of you locals who might be interested in some goodies over the next couple of months.

I’m in the throes of planning for a class on afternoon tea with treats the likes of scones, shortbread, financiers and madeleines. Oh boy!

Pumpkin scones

I’ve baked up some delightful autumn pastries for Kim and her peeps down the street.

Pumpkin pecan Danish

Cinnamon swirl buns

My bread project is slowly coming to a finale as I draft a post about the dough that has become my fave of late. Mmmmm!

Sesame knots and simple butter brushed rolls

The Fulton farmer’s market has wrapped up the spring/summer/autumn season.


Enjoy the days ahead everyone.

On an end note, let me share just a few more images of autumn’s last breaths.

Fairy hair?

A few weeks ago

Frosted growth along the walking path

I hope to be back soon with more baking goodness!

Late autumn update - the holidays are coming!

In the japanese garden at Meijer gardens

Hi all. It’s still autumn here in West Michigan with the remaining late season colors as striking as ever.

I’ve been baking here and there and working on some holiday ideas. Keeping it simple, think classic shortbread, teacakes and tartes. Pumpkin, pear, chocolate and pecan are a few of the tastes I’m imagining.

I’ve added Earl Grey and espresso nib to the shortbread menu. Choose four flavors for either the 2 dozen or 4 dozen gift boxes. This year I have a new petite box holding 12 cookies (single flavor or choose up to 4 flavors), perfect as hostess gifts or just that perfect little something for teachers, co-workers or as stocking stuffers.

Petite box example

Teacakes are deelish: caramel apple and chocolate ganache are de riguer at the moment and now pumpkin, pear cocoa hazelnut and orange pistachio are on the docket. Hmmmm . . . . . sounds pretty good, don’t you think?

Caramel apple and chocolate ganache teacakes, boxed

Caramel nut tart here we come. If you’e a nut lover like I am and you’ve never experienced this one, now’s the time to give it a try. Chock full of nuts baked in a lovely, not too sweet caramel, it’s like the best nut bar you’ve ever had.

Caramel nut tart sharing size (5.5 inches)

Now’s the time to plan ahead for the holidays. Check out the menu page and contact me if there’s something that looks good.

Happy planning! Stay safe and stay well.

Japanese garden again

In the holiday cookie kitchen - pocky and a few more!

A08BB8CE-0FEB-4EC4-8893-94C3210672F4.jpg

This is the time of year when many bakers and pastry chefs turn to cookies. What is it about Christmas cookies anyway? I certainly remember decorating the traditional sugar cookies that many moms made during our childhoods. Since then there have been so many variants thrown at us during this lead up to the December holiday time, including magazines devoted solely to holiday cookie baking. Snowballs, rugelach, pfefferneuse, ricciarelli, gingersnaps, thumbprints just to name a few - cookies from all corners of the planet. Pretty amazing.

Pocky is a new one for me. I came across small boxes of these traditional Japanese stick biscuit cookies in the checkout line at a local craft store. Who knew? Coincidentally I became aware of a recipe for the homemade version of these intriguing cookie sticks through NYT’s holiday cookie recipes. I had to give ‘em a try.

The dough is easy to put together - you can do it by hand or in a food processor or in a mixer - you decide. I used the stand mixer approach.

Combine 160 g/1.25 cups all purpose flour, 45 g/3 tablespoons cane sugar, 1/2 teaspoon baking powder and 1/4 teaspoon salt in the bowl of a stand mixer; add 56 g/2 ounces cold diced unsalted butter and mix on low several minutes to coarse crumbs (or sand in by hand); add 45 ml/3 tablespoons whole milk mixed with 1/4 teaspoon vanilla extract and mix on low to bring the dough together.

Place the dough on a lightly floured surface and roll it out to form a 5.5”x8” rectangle about 1/4” thick. Wrap in plastic and chill at least an hour or up to several days.

When ready to proceed, heat the oven to 350ºF.

Cut the chilled dough into 1/4 inch thick strips about 5.5” long.

32211C97-0C4F-4EFD-96FF-2CAD93BE5F6B.jpg

With the palms of your hands roll each strip out to about 7-8 inches long. For me it took a bit of time to get a feel for how this dough wanted to behave. Bottom line - use decisive, firm pressure to keep the dough compacted while rolling it out, doing your best to keep the pieces straight. Pop your pans into the freezer for 10 minutes or so before baking.

A5DF55A1-0C8D-4A80-93DD-0FC365744838.jpg

Bake about 15 minutes until golden brown. Cool on wire racks.

951CB125-F7EF-4EE3-81E5-6A8734D0DD67.jpeg

Some of mine were a little curvy but in general these baked up into rustic looking sticks with a certain charm. They taste to me like the animal crackers we used to eat as kids or some kind of teething biscuit - the Brits might call them a digestive biscuit. The flavor is good - simple and straight forward.

I’ve never tasted the Japanese massed produced version, but I’ve looked at the ingredients and have to say - nuh uh.

For decorating I went with microwave melted, tempered white chocolate, raspberry dust and chopped lightly toasted pistachios . . . . .

AA7558B8-D8E8-49F9-B37E-86DA7508F640.jpeg

and dark chocolate with chopped pecans.

CEFB0711-4C06-4F9A-8223-9D70E27DD0EE.jpg
B7ADAAEA-1BF0-4DCE-9B92-CB553FB59E0E.jpeg

Let’s just say that making pocky is something good for a day when you have little else to do and don’t feel rushed. Puttering with chocolates, nuts or whatever you decide to use to make your own version is good for the creative spirit. Calm and patience - that’s it.

7DAA6FBC-CDA4-42DE-AF07-FA47077E4831.jpg

Next up - white chocolate chai buttons using one of my favorite base shortbread recipes. Blend 75 g cane sugar with 200 g room temperature unsalted butter; blend in 250 g all purpose flour, a tablespoon chai spice mix and 56 g/2 ounces finely chopped white chocolate until the dough comes together. Wrap and chill before rolling/cutting shapes of choice or portioning out with a scoop.

For a more nutty/caramel-y taste change the dough up a bit by subbing in dark brown sugar or coarsely ground raw sugar for the cane and sub 50-60 g of whole wheat pastry flour (one of my FAVE ingredients!) for that amount of all purpose. You’ll like the result.

I made my chai mix with a teaspoon each of cinnamon, ginger, cardamom and coriander plus a few grates of fresh nutmeg and some grinds of black pepper. There are different DIY chai mixes out there - some might also contain allspice or star anise or cloves. When making your mix, ramp up the quantities to 3 or 4 times the base so you’ll have plenty on hand for next time. Plus you can add it to other things like cakes, butter creams, ice cream base or your own chai beverage.

Heat the oven to 325ºF. Scoop out tablespoon sized rounds and bake on parchment lined sheet pans for about 20-25 minutes until nicely browned. Some of my cookies spread at the edges just a tad so I cleaned them up with a round cutter while still warm just out of the oven. I like things to be neat - it’s how I operate.

823ECF90-130E-48CF-A12D-6EBF8670A647.jpg

Once cooled give them a drizzle of white chocolate and let set.

300C201D-177A-46B8-9E93-3A84D22DD829.jpeg

Here’s a sampling of some of the other cookie treats I’ve been making this month. I’m pretty sure many of you have your favorite holiday recipes plus there are sooooo many to be found out there in books, magazines and online. Pretty overwhelming actually.

These are always a favorite - almond thumbprints!

53760CC9-B471-49D8-8F2A-B76558A17E84.jpeg

For gift boxes for a nearby independent/assisted living facility I made cinnamon sugar kids . . . . .

7AF1C822-1348-436A-AAC9-167B3EAB95CB.jpeg

and cocoa trees with a bit of raw sugar crunch and a sprinkling of granulated sugar for that oh so natural woodsy look.

0ADA9DFD-2638-4524-9378-F7164E4F89F2.jpeg

Lots of cute packages for the residents!

0916A85C-92FE-4B51-9C7F-F85E72AF28D5.jpg

Here’s another boxed assortment I put together for the assisted living residence where my mom lives. I like to drop treats off there every now and then to say thanks to the staff, particularly with all they have to do to keep everyone safe during the pandemic. My hat’s off to all of them.

In addition to thumbprints, chai buttons and pocky I added my classic shortbread flavor assortment (to the left of the pocky) of vanilla bean, sea salt caramel, butter pecan and tart cherry. In the forefront are chocolate dipped Earl Grey shortbread made with ground Earl Grey tea, all purpose and hazelnut flour and added orange zest. Chocolate and orange is such a great combo.

E69AB16B-1FDD-4DE4-A7D4-5C2580ED9D52.jpg

Even though Christmas is arriving soon, I may have a few more cookies up my sleeve for this holiday time. Perhaps more gift boxes to hand out to folks for the New Year. Why not!

I’ll leave you with this floral image. We received this orchid from cousin Jen and extended family nearly two years ago after my Uncle John died. It is now blooming for the FIFTH time since then. This time it’s the most prolific with 10 flowers and continues going strong after four months in it’s current bloom. It gives me peace and joy.

May you feel the same as we look ahead to a new year of stability and health for our world.

B2FE7B5B-9C66-4244-83C9-7CEA673DF5B1.jpg

Puttering in the kitchen in August

Raspberry cream cheese Danish

Raspberry cream cheese Danish

I first published this post a few days ago but I’ve broken out the blueberry scone section into it’s own post and edited this one. So, if you saw it the first go-around, it’s different now.

We’ve had some touch of autumn days (which I LOVE!) but also some heat and humidity coming back in which doesn’t typically inspire one to do much baking. Even so - I still manage to get some quality kitchen time in. Gotta do it.

The raspberry Danish above are a result of tweaking and finalizing my Danish dough recipe mentioned in the recent Swedish cardamom bun post. So delicious!

Following are a few more visuals of some of the things I’ve been doing lately. I stumble across recipes that either get my attention or not, but those that might incorporate a different technique or ingredient are the ones that I put on the to-do pile.

Please enjoy the pics and dream of the things you might create!

First these blueberry scones are from a NYT article by Dorie Greenspan on Joanne Chang’s (of Boston’s “Flour” fame) recipe. Here’s a more fleshed out post on these. You should give them a try!

Maple glazed blueberry drop scones

Maple glazed blueberry drop scones

Next up - dukkah shortbread. I’ve been wanting to do this for awhile now. Dukkah is a middle Eastern and Egyptian concoction made with toasted nuts, herbs, seeds and spices that are coarsely ground and used in marinades or as garnish for soups, salads, meats, veggies or whatever you want really.

There are LOTS of recipes. Just Google it. I used pistachios and hazelnuts, sesame seeds plus cumin, coriander, fennel and sea salt. I blended about 75 g of the mixture into my base shortbread dough made by blending 75 g sugar (consider half or all dark brown sugar here to add some caramel notes to the nuts and spices) with 200 g unsalted room temperature butter; blend in 250 g all purpose flour (or use 60 g whole wheat pastry flour and 190 all purpose) along with the dukkah . Wrap, chill at least an hour, then roll out and cut shapes of choice. This is good. Sweet and savory. I might leave the fennel out next time and add almonds into the mix.

Dukkah shortbread cookies

Dukkah shortbread cookies

Individual cobblers are fun. These are made with fresh Michigan peaches and blueberries. Great with vanilla ice cream of course.

Individual peach blueberry cobblers

Individual peach blueberry cobblers

Financier batter is simply ripe with flavor possibilities.

Coffee walnut streusel financier

Coffee walnut streusel financier

Next up - these maple almond butter cakes are from a recipe on the underside of the foil lid on Siggi’s yogurt. I don’t keep flax meal on hand so I used almond flour instead. Other than adding a bit of almond butter to shortbread dough in the past, this is my first foray into baking with a significant amount of almond butter. Let’s just say I could get used to it.

There are many brands out there - Justin’s is a popular one. I used “Barney Butter” and have since purchased a roasted almond butter from my favorite almond paste supplier Mandelin. I’m looking forward to trying it.

IMG_1294.jpg

I made these twice. It’s an easy mixing process. The first time with some blueberries and/or peaches tucked on top before baking plus a basic crumb top. Two different sizes - 3” Fat Daddio aluminum pans and smaller panettone papers. One of the 3-inchers went to my mom for her birthday.

IMG_1222.jpg

The second time I used one of my favorite silicone muffin molds, didn’t add fruit but made a delicious almond streusel topping.

IMG_1259.JPG

I will say these are growing on me. They have very little sugar in them compared to many muffin recipes (1/4 cup maple syrup and just a couple tablespoons of brown sugar) so at first bite they seem to fall flat on the taste buds yet . . . . the texture and overall experience is nice, and they seem right somehow. Even Steve said so.

Drizzling some maple syrup or honey on before eating is an excellent addition. The fruit version definitely beats the non fruit and with that added almond streusel . . Yum. Methinks a nice dollop of jam in the center of each before baking would be great too. Next time.

A look ahead - even though it has taken me a seemingly endless amount of time, in addition to putting the final touches on a new brioche feuilletée post, I’ve started the draft for a baguette project piece as well. I love sharing details of processes and steps but that also means I spend a lot more time reviewing and comparing in order to offer a reasonable summary of whatever it might be. At any rate, after 24 weeks of essentially being home, each day brings a different vibe to our lives.

Happy baking, be reasonable and don’t forget that periodic deep breathing helps too.

Soon we’ll be deep into official “baking season”. Love it.

Sablés au parmesan et pecan

IMG_0211.JPG

Cheese and nuts - mmmm, mmmm good!

Here’s the question: how about the real deal Parmagiano-Reggiano from The Cheese Lady along with toasty pecans combined in a luscious shortbread cookie, one of my favorite baked treats? A big YES from this corner of the planet.

parmreg.jpg

Over the years I’ve made the occasional savory shortbread, a couple of my favorites being honey herbes de provence and nutty rosemary. Such wonderful marriages of sweet, salty and herby all rolled into one. So when I was presented with another savory take on the buttery, crumbly cookie I love so much, I had to give it a go.

This one comes from La Cuisine de Mercotte , a blog I was first made aware of several years ago thanks to Parisian friend Valerie, a classmate of mine (and a translating life saver in the practical kitchen!) during the basic pastry course at Le Cordon Bleu back in 2006. Val, an engineer by profession, had previously lived in Las Vegas for 5 years and speaks English like an American, so I was often able to turn to her for language assistance during those early days of incomprehension.

The blog is orchestrated/written by Jacqueline Mercorelli, (a.k.a. Mercotte) a well known French food critic, blogger and gastronome. Full of recipes, tips and techniques, it’s available in English too!

IMG_0214.JPG

This Mercotte shortbread recipe calls for parmesan and black garlic, something I didn’t even know existed. Since I didn’t have that particular ingredient, why not use pecans instead!

Nothing fancy or difficult about this one folks. Make the dough, divide and log it up, wrap/chill then slice and bake when you’re ready. I had planned on baking these for a March 20th appetizer event, but since that was canceled due to the current health crisis, the logs went into the freezer to be baked at a later date. They’ll keep a good 3-4 months.

IMG_0411.jpg

Get started by doing your mise en place: 160 g / 11.5 tablespoons unsalted butter, cubed and softened; 250 g / scant 2 cups all purpose flour; large pinch of salt and fresh ground pepper to taste; 150 g / 5.2 ounces grated Parmagiano-Reggiano; 60 g / ~1/4 cup lightly toasted pecans, cooled and finely chopped; have on hand a splash of heavy cream and 2 teaspoons of water..

Once you have everything ready to go (don’t forget to grate that cheese and toast/cool/chop those nuts!), place the butter, flour, salt and pepper in the bowl of a stand mixer fitted with the paddle attachment. Blend on low, adding the parmesan and pecans soon after and continuing to blend.

As the dough becomes more crumbly, stop the mixer, pick up a handful and see if it holds together. If still pretty crumbly, add a splash of heavy cream and 2 teaspoons of water. Continue to blend for a minute or two and test again. The dough should hold together. NOTE: after making this dough a couple of times, going forward I plan to routinely use the cream and water - it works!

Divide the dough into four portions and form each into a compact log about one inch in diameter (or a bit larger if you’d like) and about 7-8 inches long. Wrap snugly in plastic wrap and chill for several hours or overnight. Remember you can freeze them too!

The recipe yields about 65 cookies, depending on the diameter you choose.

When ready to bake, heat the oven to 400ºF. Line a half sheet pan (or two if baking all the dough in one go) with parchment paper. Slice the log(s) into 1 cm slices and place on the prepared sheet(s).

Bake 8-10 minutes until golden brown. Cool and enjoy.

Set out your own appetizer platter with toasted nuts, assorted cheeses and jams to go along with these buttery gems. I think you’ll like them!

Stay safe, shelter in place and be well.

IMG_0210.jpg

Nutty rosemary and lemon/pistachio/sesame shortbread

IMG_2610.JPG

I LOVE shortbread! I think back to those childhood days of eating Lorna Doone cookies and how much I enjoyed their crumbly butteriness (was there really butter in those babies??). I've come a long way down the shortbread trail since then. Yes, I know I've gone on about this topic in the past, but good things deserve a little review every now and then, right?

Depending on what part of the world you hang out in, these cookies can be referred to as biscuits (thanks to the Brits), shortbread (more Scottish - think Walkers) or sablés (thanks to the French).

My approach follows the traditional Scottish method - a simple combo of sugar/butter/flour, and you're good to go. Typically along the lines of 1-2-3 dough, you weigh out 1 part sugar to 2 parts butter to 3 parts flour and mix 'em up. You can play around with the ratios (decrease the sugar and increase the butter a bit) to yield an even more buttery cookie.

I have two base recipes that I use regularly. One uses granulated cane sugar and one confectioner's sugar (gives 'em a slightly more tender texture?). You can play around with different sugars on your own and decide which gives you the texture you most enjoy.

And why do I use two different bases you might ask? Because I can and so can you!

Add in your favorite citrus zest, spices, chopped nuts, chopped chocolate, dried fruit - the possibilities go on and on.

There are two mixing methods: sanding and what I like to call blending (I think of this one as just short of creaming - you're not trying to aerate the dough, just blending everything together).

The first involves weighing your sugar and flour into a mixing bowl, dicing cold butter and sanding it into the dry ingredients to coarse crumbs. At that point you just press into a pan and bake it. You can take the mixing a step further, going past the coarse crumbs until the dough holds together, then wrap, chill and roll out later, cutting into any shape that suits your fancy.

Both methods result in a lovely crumbly/crispy/buttery cookie, although, with the sanding and press in method, the texture is a bit more crumbly and melt-in-your-mouth. I make mine both ways and enjoy them equally.

If you look at LOTS of shortbread cookies recipes, you may notice that many of the French sablés add egg (whole or yolk) to the dough as a binder. They're delicious too! 

Periodically I enjoy changing up my flavor offerings. This time I had pecans in the freezer and sesame seeds in the cupboard.

First up - rosemary pecan.

IMG_2492.JPG

Over the years I occasionally make rosemary roasted nuts, usually walnuts or pecans, that are absolutely delicious as an appetizer along with a cheese or two. For a savory cookie, I chop some of the already rosemary-ied nuts and add them into my dough. Yum. So delicious.

IMG_2609.JPG

Next - lemon pistachio sesame.

IMG_2545.JPG

This one adds in some toasted sesame seeds, lemon zest/juice and chopped unsalted raw pistachios. Once baked, I brush them with honey and pop them back into the oven for a few minutes to set the honey. Oh man are they good!

IMG_2538.JPG
IMG_2611.JPG

On to the base recipes (plus additions!)

Rosemary pecan:

  1. In a stand mixer with the paddle attachment blend 75 g granulated cane sugar with 200 g diced, room temperature unsalted butter. 
  2. Add 250 g all purpose flour and blend in just until the dough comes together. Note/tip: I've started replacing about 1/5 of my all purpose flour with white whole wheat for some added whole grain goodness. 
  3. For the rosemary pecan version, chop 75 g rosemary roasted pecans (recipe below) and add them into the dough. Wrap, chill for at least an hour before rolling out and cutting desired shapes.

How easy is that??!

Lemon pistachio sesame:

  1. In a stand mixer with the paddle attachment blend 75 g confectioner's sugar with 227 g diced, room temperature, unsalted butter (notice a slight bump in the butter content here).
  2. Add 1 teaspoon vanilla extract, the zest of two lemons plus 2 teaspoons freshly squeezed lemon juice and blend in.
  3. Add 260 g all purpose flour (or sub 1/5 of that as white whole wheat flour) and 1/2 teaspoon salt and mix just until it comes together.

Blend in 50 g toasted sesame seeds and 50 g chopped raw pistachios. Wrap and chill for an hour or so before rolling out and cutting desired shapes.

I bake my shortbread at 325ºF (convection) for about 15 minutes or until gently browned (watch what's happening in there!!). Don't forget - it's your job to learn your own oven. 

Now how about those roasted rosemary pecans, you might ask? Here's the recipe (you'll have PLENTY of nuts for your shortbread dough - feel free to halve the recipe OR, even better, make the full batch and have plenty for apps and snacks):

  1.  Heat oven to 325º F.
  2. In a microwave safe bowl melt 2 tablespoons unsalted butter. Add 2 tablespoons olive oil, 1/3 cup chopped fresh rosemary (or 2 tablespoons crumbled dried), 2 teaspoons kosher salt, 1 teaspoon paprika and 1/8 teaspoon cayenne.
  3. Place 4 cups nuts (walnuts, pecans or a mixture of the two) in a bowl and toss with the above mixture, coating the nuts evenly.
  4. Spread onto a 1/2 sheet pan and bake 15-20 minutes, stirring every 5 minutes or so, until browned and fragrant.
  5. Drain on paper towels, cool and serve at room temperature (or chop some up for your shortbread - yay!!).
  6. Store leftovers in an airtight container and enjoy for many days.
IMG_2493.JPG

Now get in that kitchen of yours and create your own version of delicious, crumbly, buttery shortbread. You can do it!

Happy Valentine's Day!

Sharing love and enjoyment with those who mean the most to us is just one of the things to remember on Valentine's Day. 

I love to share with all of you the joy that comes from creating delicious treats.

Here are just a few.

Matcha raspberry hearts


Apricot linzer cookies


Tart cherry, double chocolate, salted caramel shortbread hearts

Chocolate hazelnut financier

Once these little cakes are turned out of the mold, there's a wonderful well just waiting to be filled with something delicious.


Praliné ganache and candied hazelnut garnish

Here's a pistachio version filled with dark chocolate raspberry ganache and garnished with a tiny swirl of raspberry butter cream and crowned with candied pistachio.


One chocolate and one pistachio went into small purple boxes with red ribbon - so cute!


I ended up making 4 flavors of shortbread (double dark chocolate, tart cherry, praline and matcha) and tucking them into red boxes with purple ribbon.


For a pre-Valentine's family gathering I did a slight variation on the chocolate hazelnut financier by filling them with dark chocolate ganache and topping with a swirl of whipped milk chocolate ganache and candied hazelnut.


For the pièce de résistance I made a raspberry gateau Breton with a thin layer of raspberry jam baked between two layers of Breton dough.  Once cooled I topped it with whipped caramel mascarpone cream and garnished with raspberries, a light pink ruffle around the edge and some candied pistachios for some lovely color contrast.


Sweets for the sweet.  Happy Valentine's Day to one and all!

Enjoy.

Praliné et sablés

Some of you know how much I love shortbread cookies (les sablés, en français) and am often playing around with new flavors and ingredients to create something unique and tasty.


There is an ingredient in the pastry world called praliné which consists of toasted nuts coated in caramel that are then cooled and ground into a paste. It is often made with hazelnuts or a 50/50 mix of almonds and hazelnuts, although any nut (nuts in general are referred to as fruits sec, en français) or combination thereof can work.


One of the first sets of recipes we were given in the basic pastry course at Le Cordon Bleu contained a recipe for do-it-yourself praliné or praline paste.  One can buy this particular delight ready made in fairly pricey tubs from companies like Valrhona, but I thought it was high time I made it myself.  Why not?!

What inspired me to take on this project was a recipe for sablés au praliné from Thierry Mulhaupt (a well known patissier chocolatier in the Alsace region) recently published on the French blog La Cuisine de Mercotte.  The recipe for les sablés contains a link for DIY le praliné and I went for it!

Toast 125 g almonds and 125 g hazelnuts in a 325º oven for about 10 minutes. Make a sugar syrup with 165 g of sugar and 45 g of water and cook it to 121ºC (250ºF).  Off the heat stir the warm toasted nuts into the sugar syrup until the sugar crystallizes.  


Then put the pan back on medium heat and stir continuously until the crystallized sugar melts and caramelizes to a golden amber.

I must admit that I should have cooked mine a little longer to bring ALL the sugar to a beautiful caramel stage, but sometimes impatience takes over.  Still - the nuts were looking pretty good.


Turn them out of the pan onto a Silpat, spreading them into a single layer and separating the nuts as much as possible.

Once cooled place them in the bowl of a food processor and whiz away!  


Still a bit grainy above, but I gave it a few more minutes of processing and was pretty happy with the result. All in all it takes a good 8-10 minutes to arrive at the end result.


This stuff will keep in a covered container at room temperature for several weeks.

Next comes the cookie dough.


Dice 300 g cold butter and sand it into a mixture of 300 g all purpose flour, 65 g almond flour and 65 g powdered sugar. Add 175 g praliné and a large pinch of fleur de sel and blend to create a smooth dough.


Divide the dough into five 180 g pieces and form logs about 25 cm long. I made mine into triangle logs for something a little different. Wrap and chill.

When it's time to bake, heat the oven to 325ºF.  Brush the logs with a bit of water, roll in raw sugar and slice into 7-8 mm slices. NOTE: the recipe actually suggests 15 mm slices, however I was going for a thinner cookie.


Place cookies on parchment lined sheet pans and bake about 16 minutes until nicely browned.


I must say these are tasty little morsels. Although the nuttiness is subtle, the butteriness is superb and the texture is melt in your mouth.  And the raw sugar crunch adds just the right touch.


Of course, making the praline paste is a time commitment which I suspect many would choose not to take on, and going the "store-bought" route is fairly prohibitive cost-wise. 

For me it was worth the effort to make my own, especially since so much of this stuff is about tackling something new, experiencing the process and enjoying the tastes that come along with it.

The good news is that once you make it you can use it for other things like ganache or as an addition to mousses or creams.  And remember - it keeps!  Only you can decide.

Exciting news!

This past week The French Tarte became licensed to work out of the kitchen at Patricia's Chocolate in Grand Haven, Michigan.  Hooray!

What does this mean you might ask?  Well to start out I'll be baking and offering my tasty all butter shortbread in Patty's shop, accepting orders for shortbread gift boxes and developing a schedule of travel from GR to GH to dovetail with my teaching schedule at Sur La Table here in GR.

Shortbread bar

Taking it step by step. In the meantime I wanted to share with you some of things I've been making in recent months.  

In early August, as I birthday present to myself, I baked an assortment of goodies (from left to right): pavé aux amandes, cocoa hazelnut financiers, bubble eclairs with raspberry currant cream (Yum!) and chocolate milkshake tarts.

By now many of you know my attraction to financiers and tarts. What can I say? I just can't help it!

Once we returned from our trip to France in early October, I've been back in the kitchen doing this and that as well as trying some new shortbread flavors (how about coffee cardamom, oatmeal ginger or coconut lime?!).

My baking activities often seem to revolve around what I happen to have in the fridge - some of my lightly spiced poached pears being just one example. What better than a batch of financier batter to create pear-caramel and raspberry-pistachio crumble versions for our freezer.

The pears also encouraged me to make some individual versions of tarte bourdaloue using the recipe that I had brought back from Le Notre in Paris.

Of course I simply can't forget the household favorite (hint, hint - guess what Steve loves?), the quintessential caramel nut tart. This go around I used some chocolate tart dough that had been waiting in the freezer for that very thing.

Chock full-o-nuts, oh-so-delicious and always a hit.

And for something just a little different - bagels!  These were from a class I taught at Sur La Table where the results were stupendous.  Chewy, not tough, great depth of flavor and definitely a make-again recipe. These are the "everything" version, the deeply browned exterior being due to molasses in the dough as well as some molasses in the bagel boiling water.  Yup!

And so the adventures continue.  Stay tuned.

Playing in the kitchen on a snowy day

A few days ago, during a bout of scattered snow showers, I was in the mood to play a bit in the kitchen.  First I wanted to try my hand at using puff pastry scraps from my freezer as though they were pristine pâte feuilletée (i.e. never been used), and, second, I had some unopened tahini that was dying to be put to use!

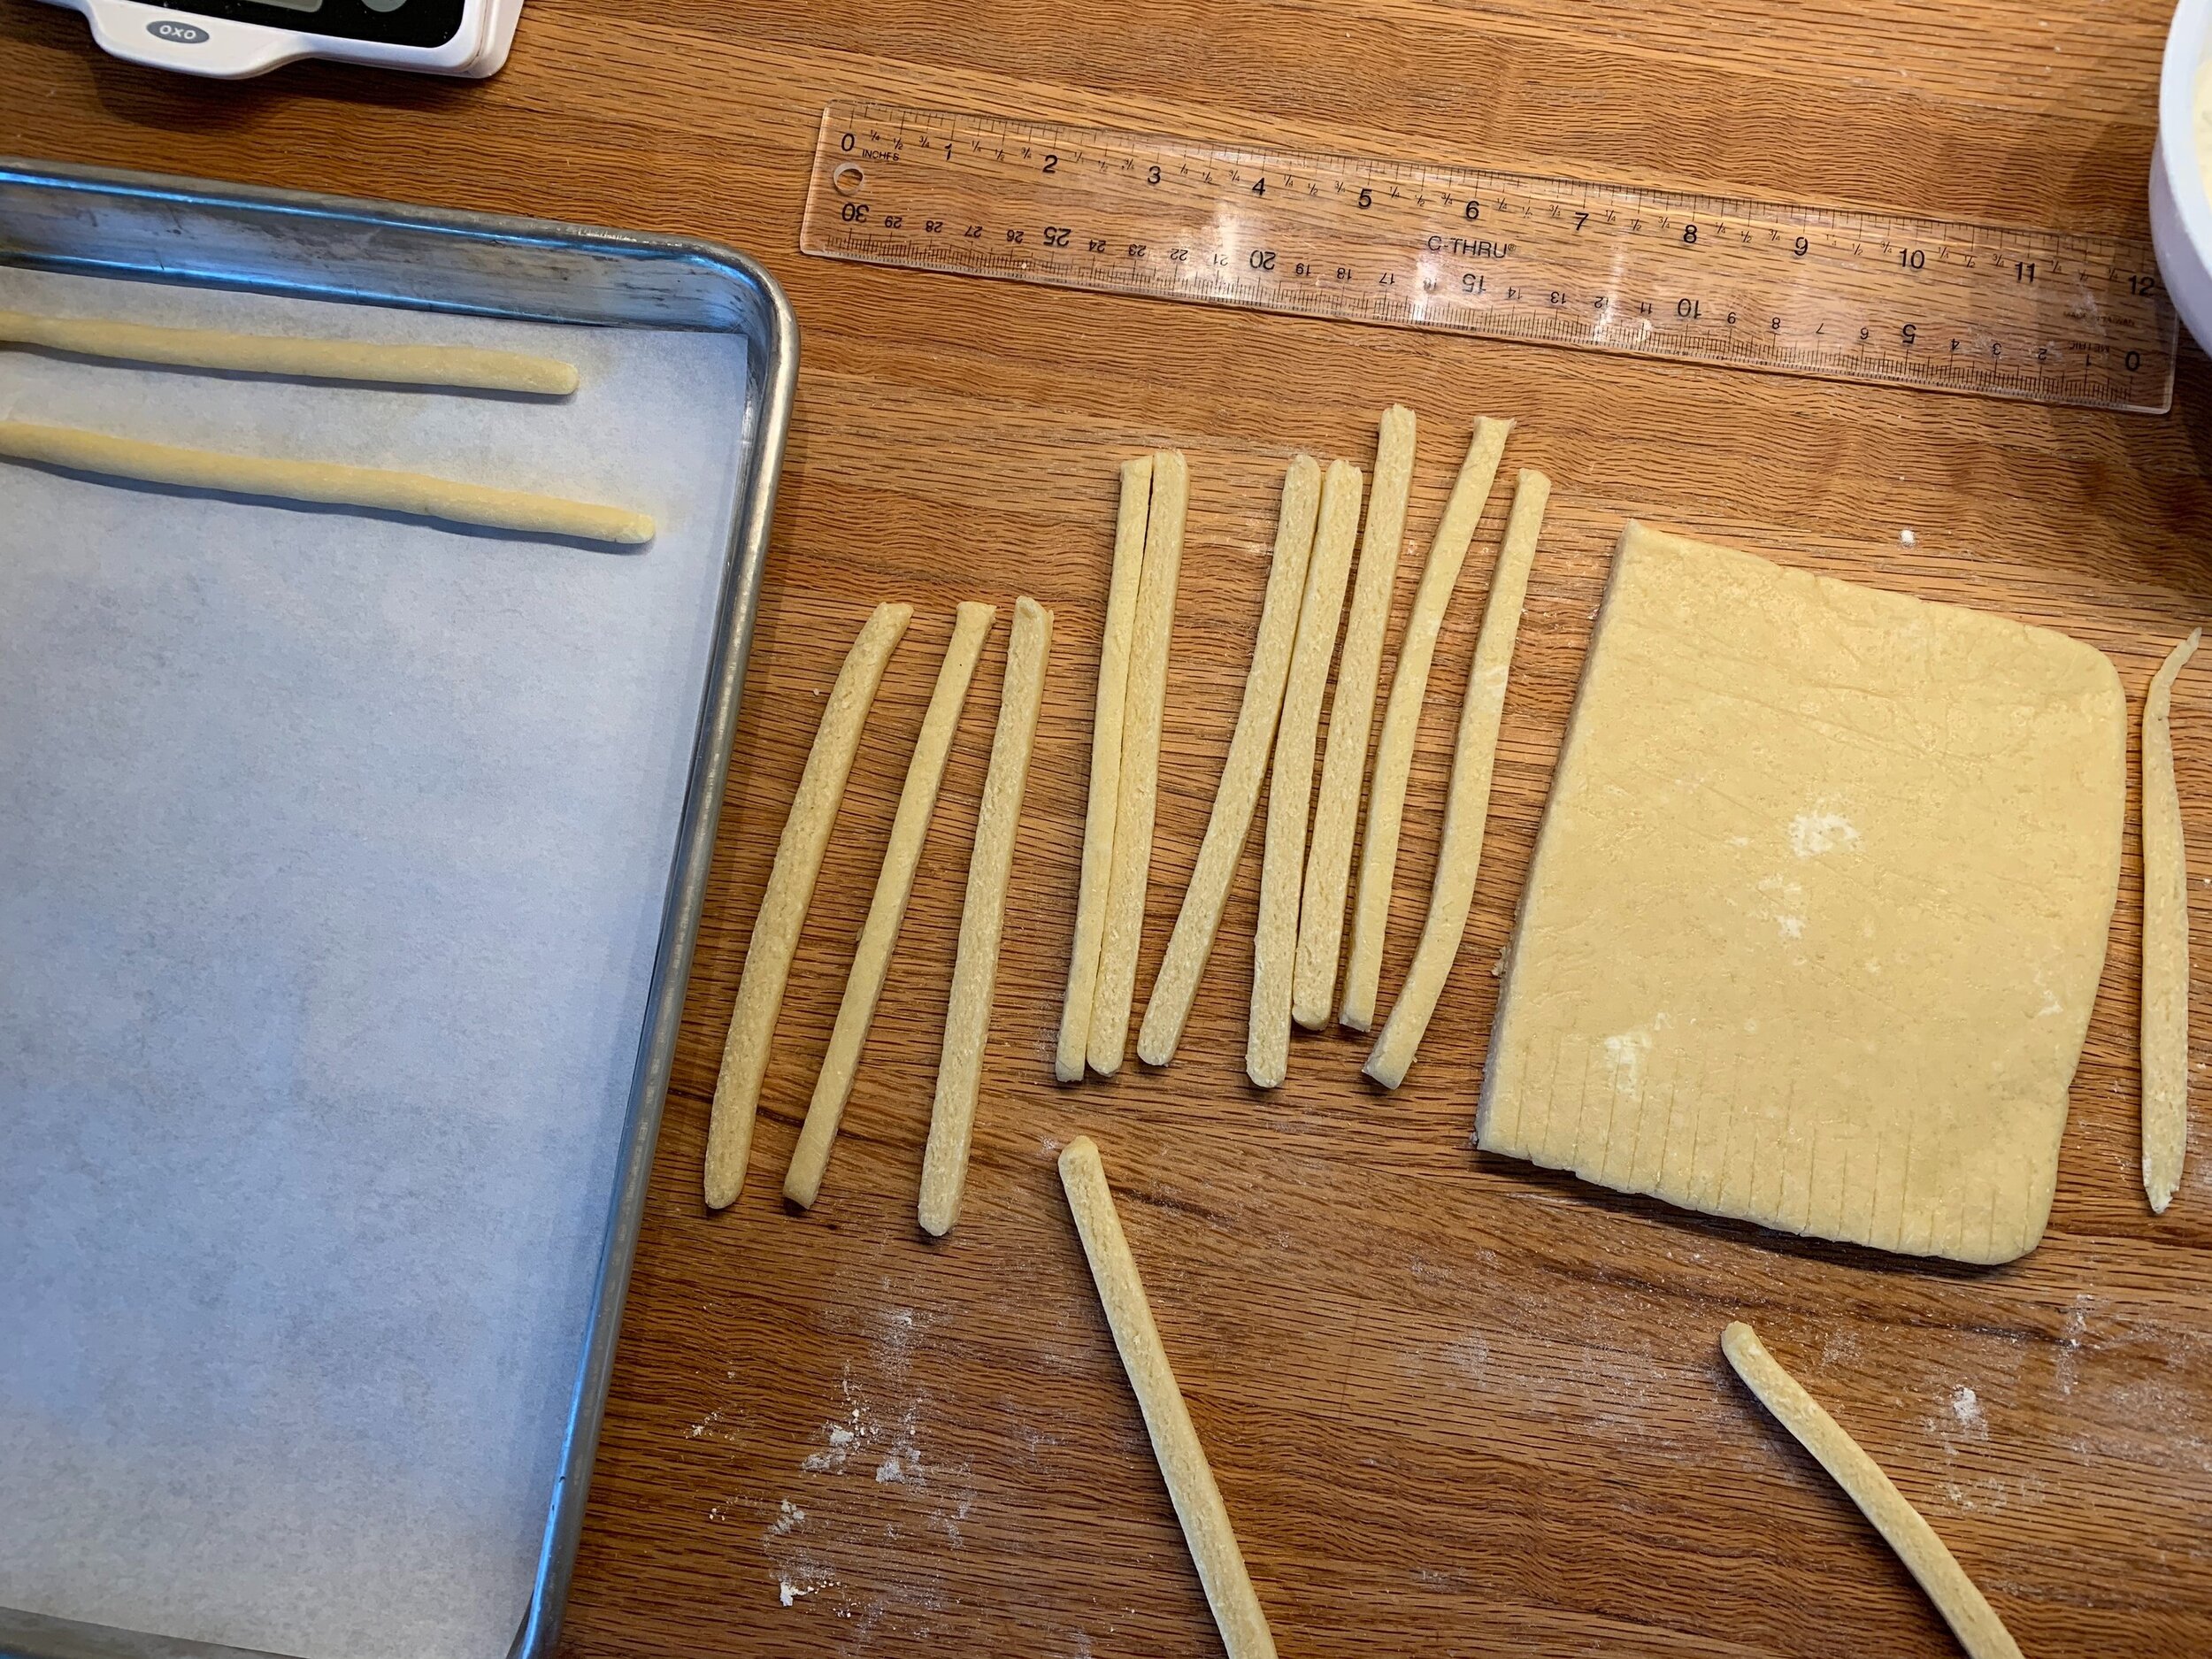
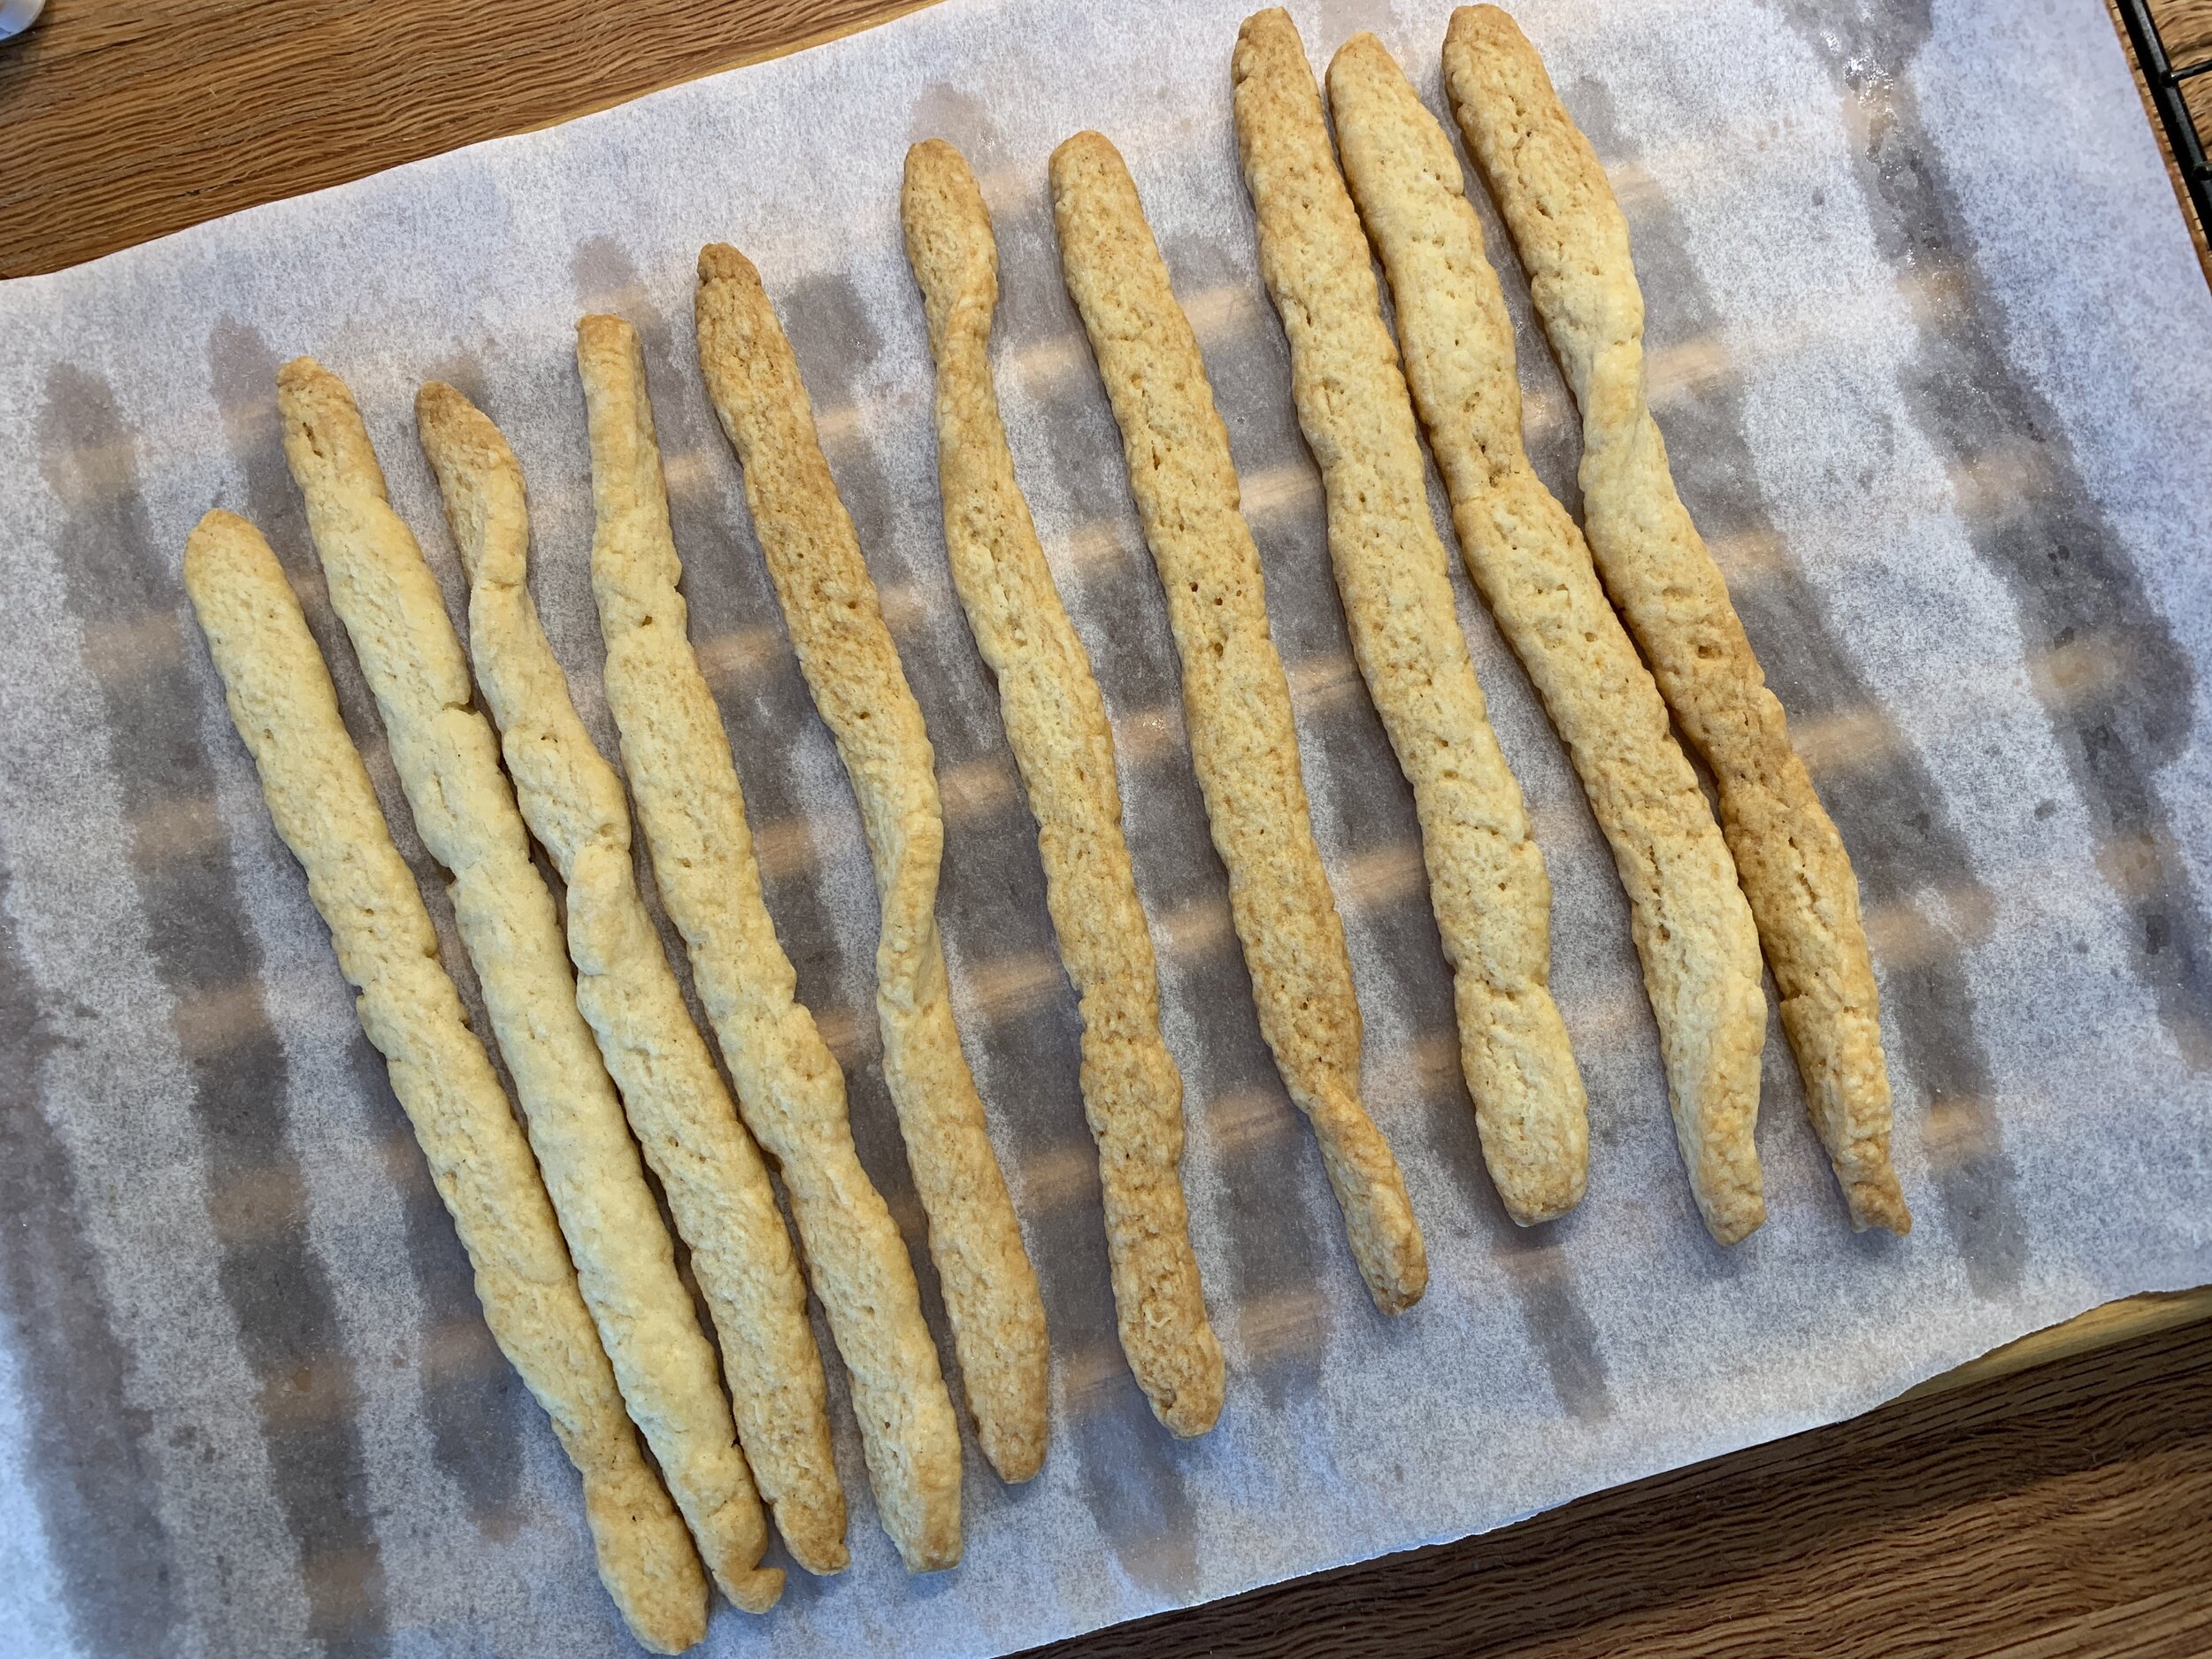
First up - the puff pastry project was to test how well puff scraps might actually puff on their second go around.  Up until now, when working with puff pastry or teaching classes on the topic, I've always followed (and given) the advice that one should use the scraps only for things in which you don't desire or need much of a puff factor.  Some good examples are cheese straws, palmiers, tart, flan or quiche crusts and even millefeuille, in which pâte feuilletée is one of the main components.

Chausson aux pommes is one of my favorite apple pastries to make, and since I had a couple of Granny Smith apples in the fridge, chausson was my choice for this test.  I love how the tartness of the apples marries so well with the buttery pastry.


I peel, core and dice the apples and sauté them in butter and vanilla sugar.  This time I also added some of my homemade caramel sauce, hoping to have a richer end product.


sauté under way

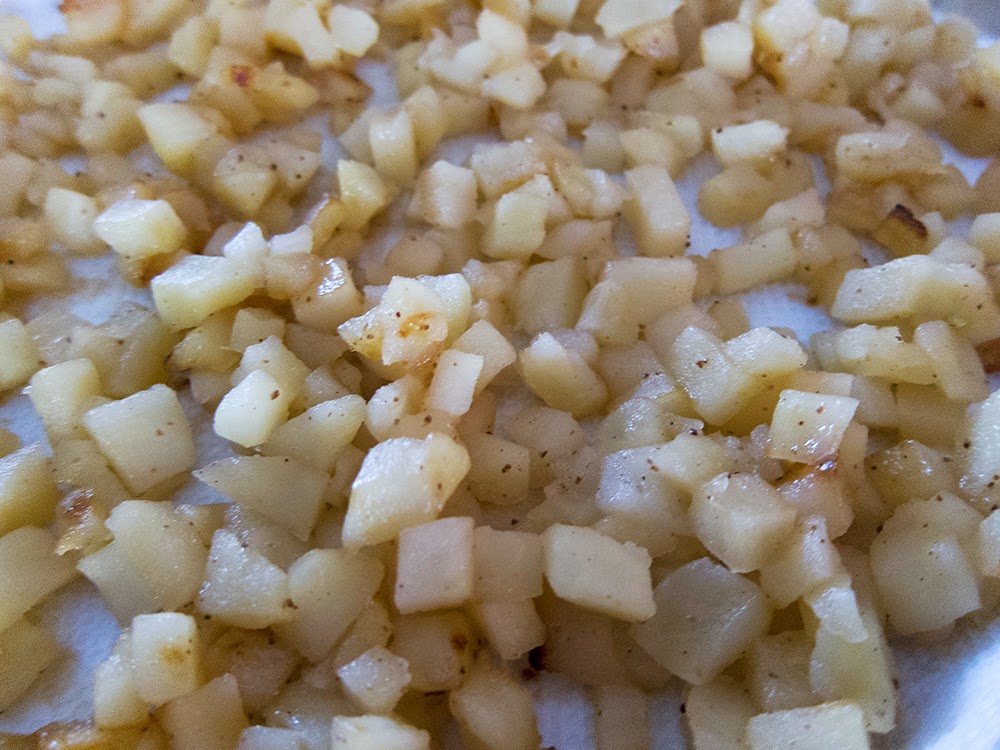
pretty nicely caramelized

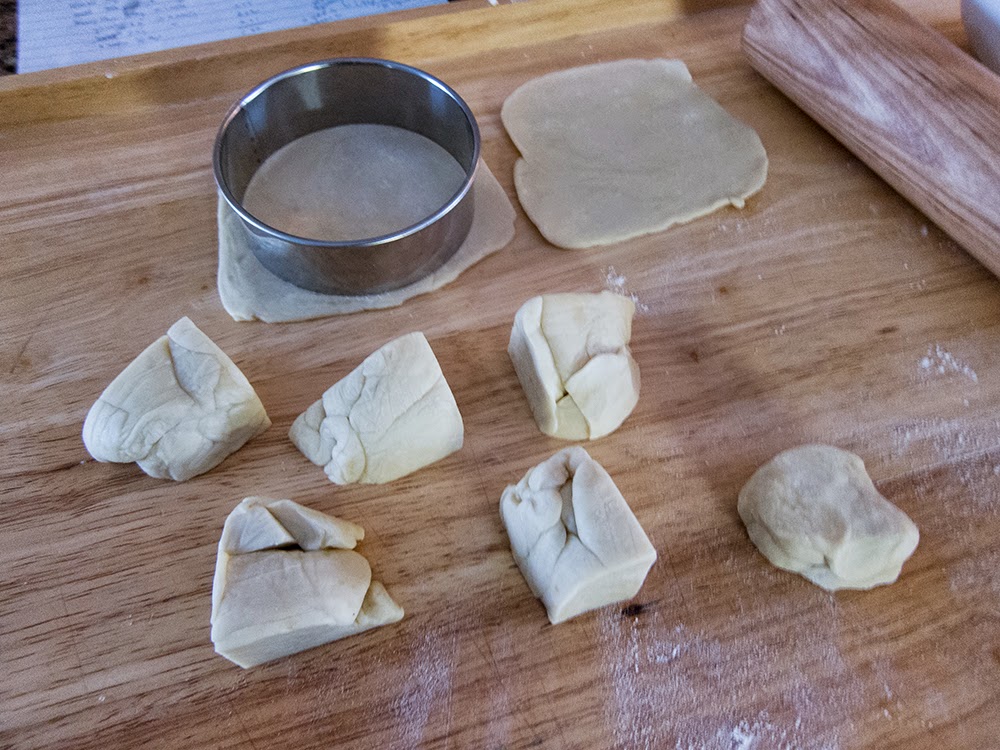
I divided up my puff scraps and rolled each out into a rough circle.  After a short rest I cut rounds


which were then rolled out into ovals and topped with apples and an extra drizzle of caramel.


After egg washing the lower edge I close them up, press the edges to seal, egg wash and score the surface and sprinkle 'em with vanilla sugar.  Heat the oven to 450 and, meanwhile, pop the unbaked chaussons in the freezer to firm them up and stabilize the dough before they go into the hot oven.
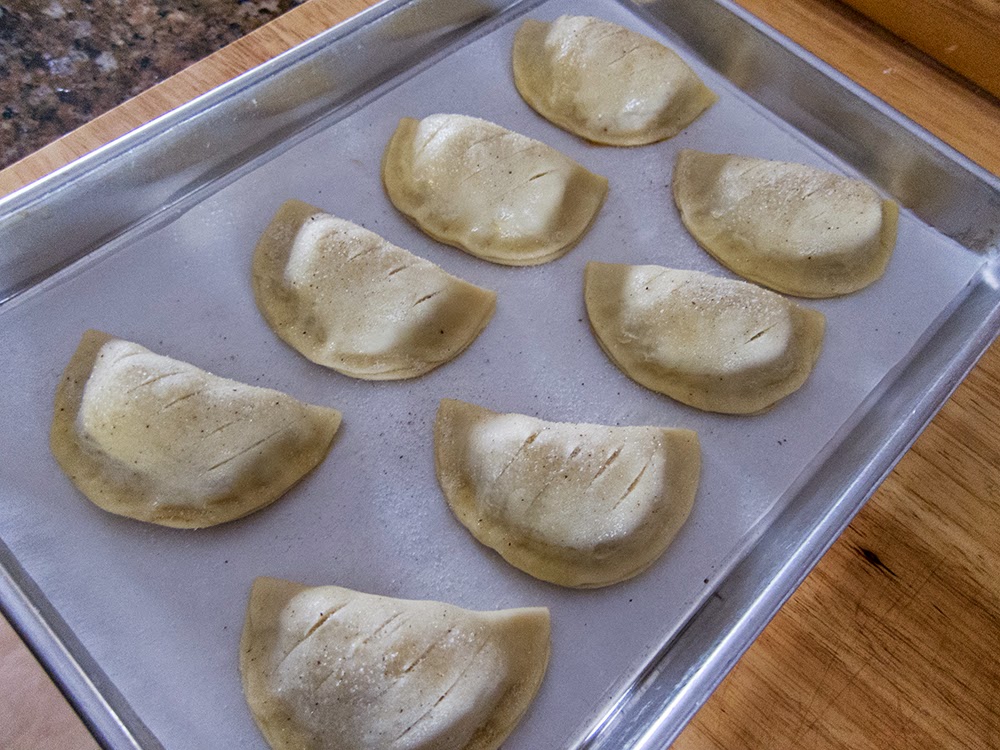

ready to bake
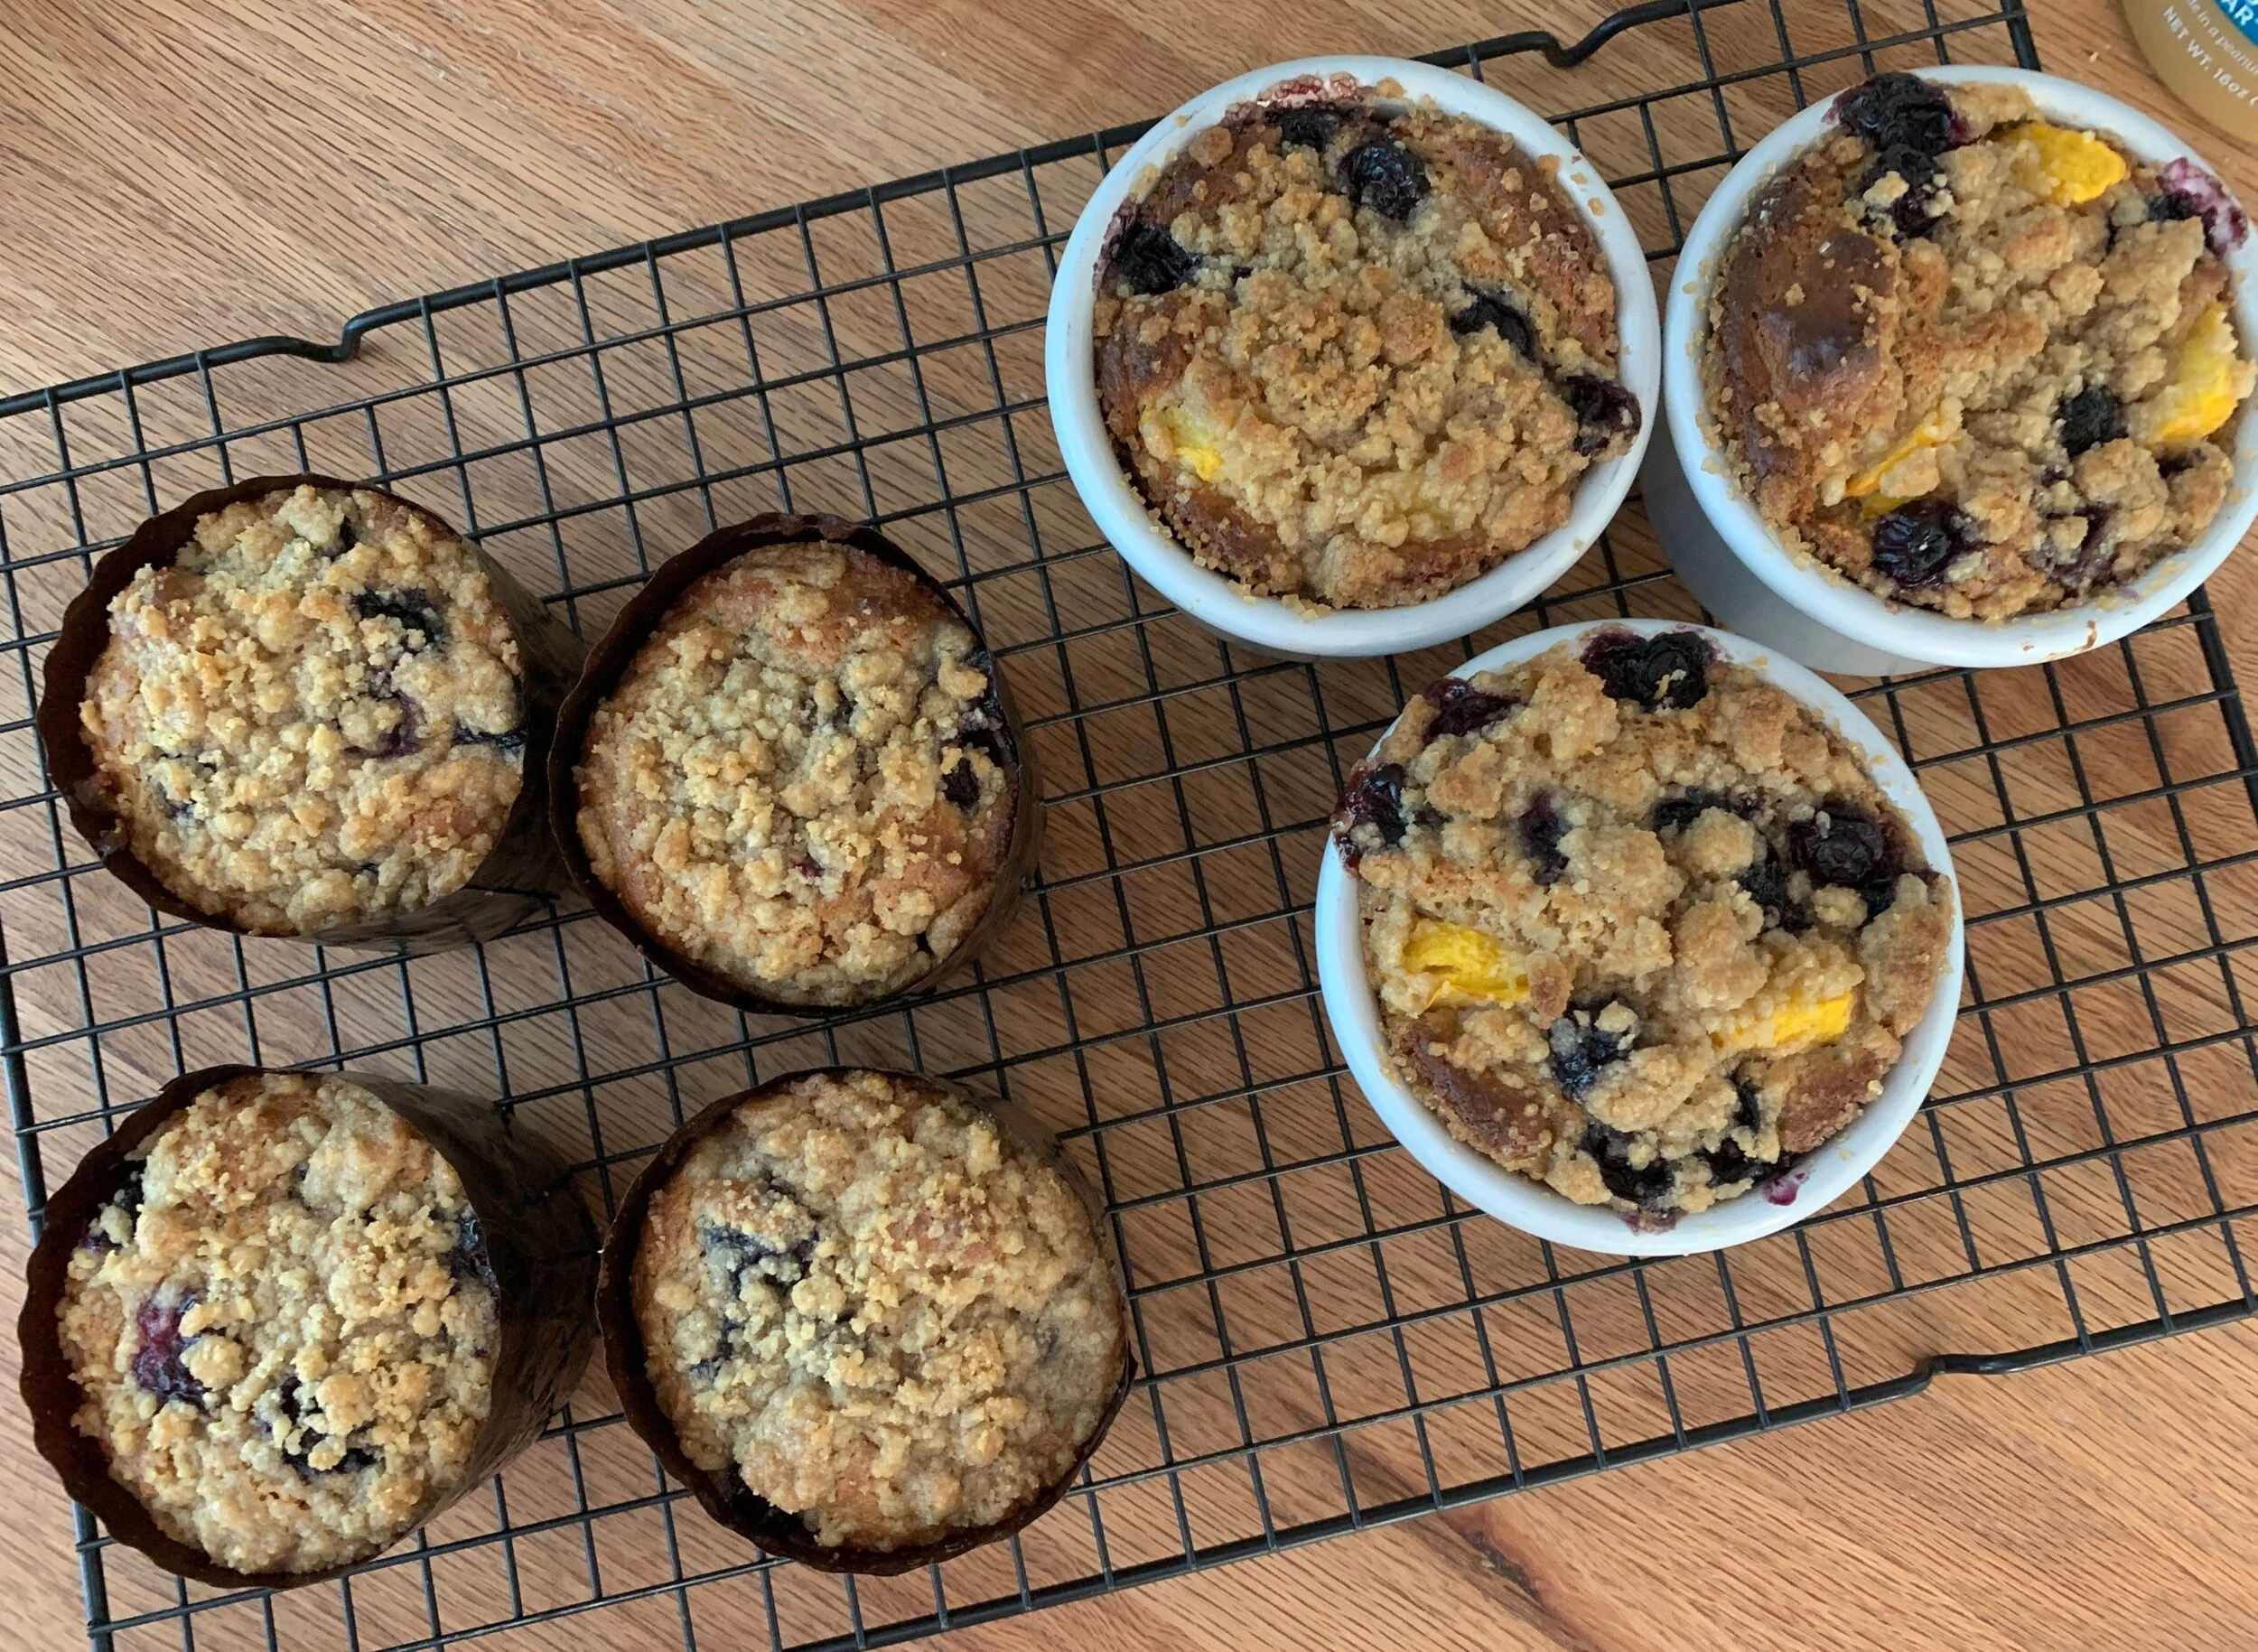
I usually bake these for about 20-25 minutes, watching what's going on in the oven and ratcheting the temp down as I go to achieve a nicely browned surface and a fully baked interior.

And YES, they puffed!!


Now I will admit that some of my edge seals left a bit to be desired and some of the innards leaked out, but these guys were mighty tasty.  Just ask Steve.

The moral of the story - yes, puff scraps will rise again!

Next came the tahini challenge.  I had shortbread on the brain as a follow up to a tahini shortbread recipe I had tried several years ago.  That one was from Maura Kilpatrick, the pastry chef at Sofra Bakery in Cambridge.  I enjoyed the taste but wasn't quite sure how I felt about the texture - kind of like a PB cookie, but more of a stick-to-the-roof-of-your-mouth yet crumbly number.  It definitely had possibilities, and I wanted to give tahini another go.

After some online research I decided on "Chocolate Tahini Sablés", a recipe I found on the site "one hundred eggs".  I've developed a taste for coriander and wondered how that might fit into the flavor profile.

Off I went to my trusty "Flavor Bible", a book that was strongly recommended to me by my former chef at Gracie's, Joe Hafner.  One can find almost any ingredient accompanied by a list of all of the things that might go well with it.  I was surprised that "tahini paste", as such, was not included in the book, but, upon checking out sesame seeds, I found that coriander was indeed one of the possibilities.  Hmmmm, now there's an idea.


the sesame seed (white) list

Interestingly, this recipe calls for a hard boiled egg yolk, which brought back memories of making Italian canestrelli cookies while in school in Florence.  It seems that the "hard boiled egg" type of cookie is common in Germany, Poland, Slovenia and Italy (and probably many others).  The yolk contributes to the light, crumbly nature of this class of sablés.

First I boiled a couple of eggs (so I would have plenty to make myself an egg salad sandwich for lunch!), cooled them down in ice water and extracted one of the yolks for the recipe.

I assembled my ingredients, replacing a teaspoon of instant espresso powder with ground espresso, adding 1/2 teaspoon of coriander to the mix, and planning a mini-chocolate-chip stir-in at the end.


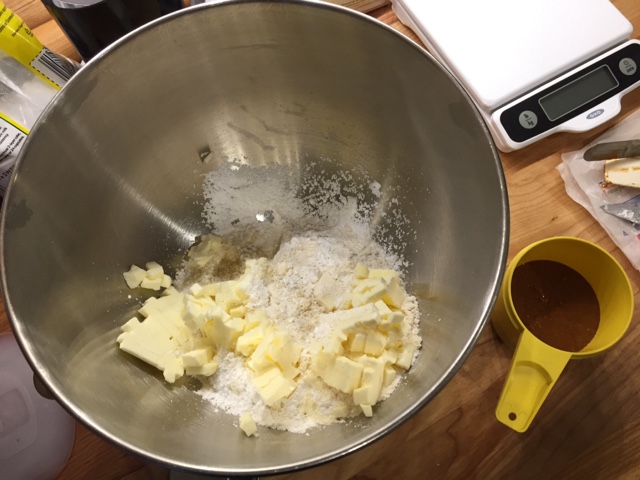
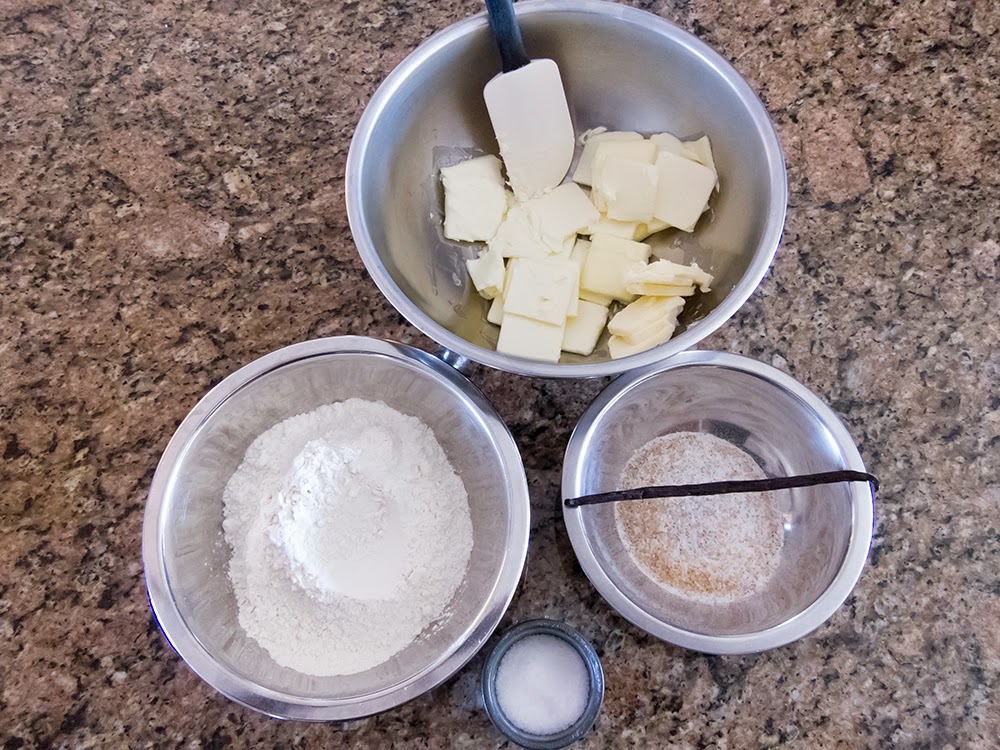
Here goes:  In a separate bowl whisk together 195 gm flour, 28 gm cocoa powder (I prefer Dutch process), 1 teaspoon of ground espresso and about 1/2 teaspoon ground coriander.

dry ingredients

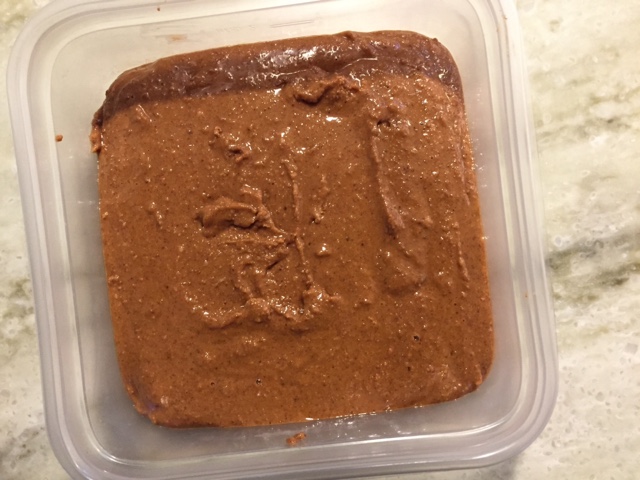
Push the egg yolk through a fine strainer, then add 140 gm room temperature butter, 140 gm well stirred tahini (see side note below), 42 gm granulated sugar, 42 gm brown sugar (I used dark) and 1 teaspoon of salt.


pouring the tahini in

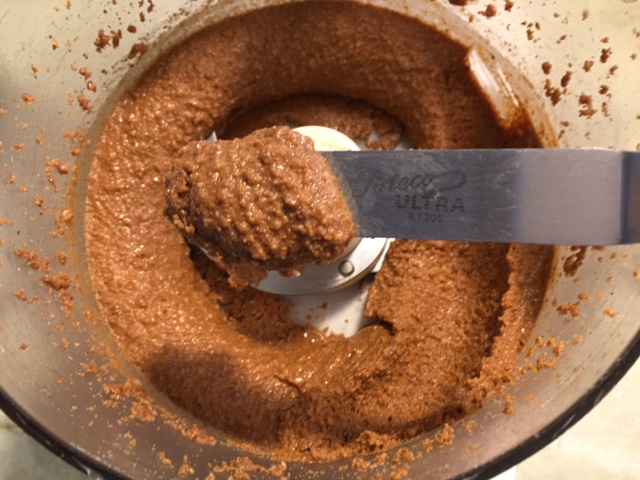
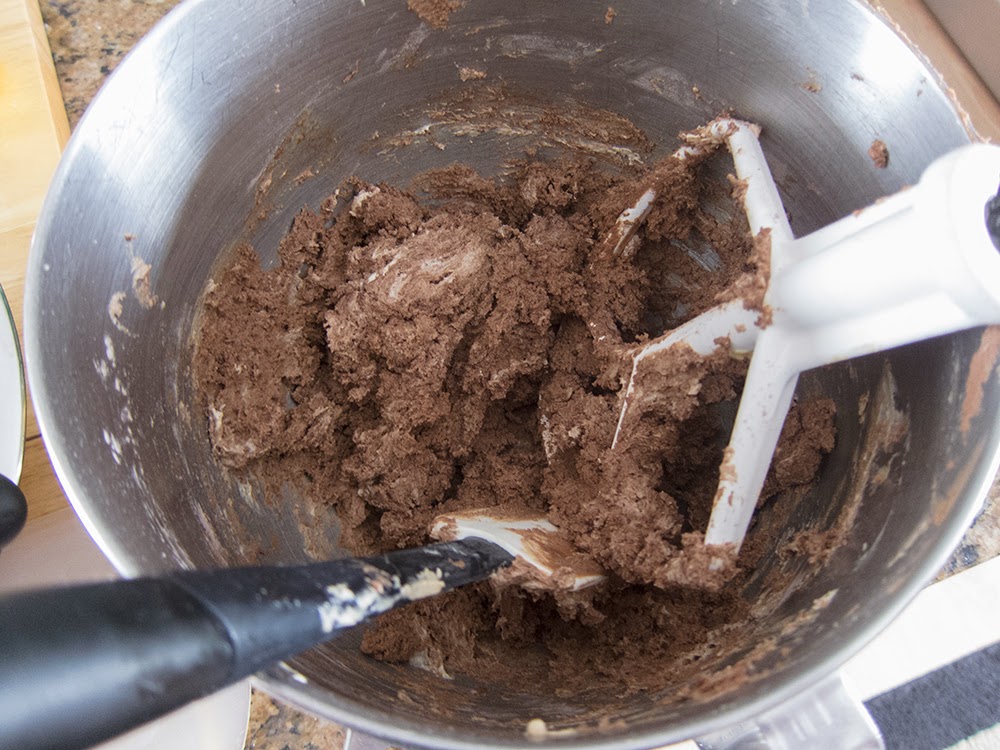
Blend all these in a mixer and cream for about 4 minutes till lightened and smooth.
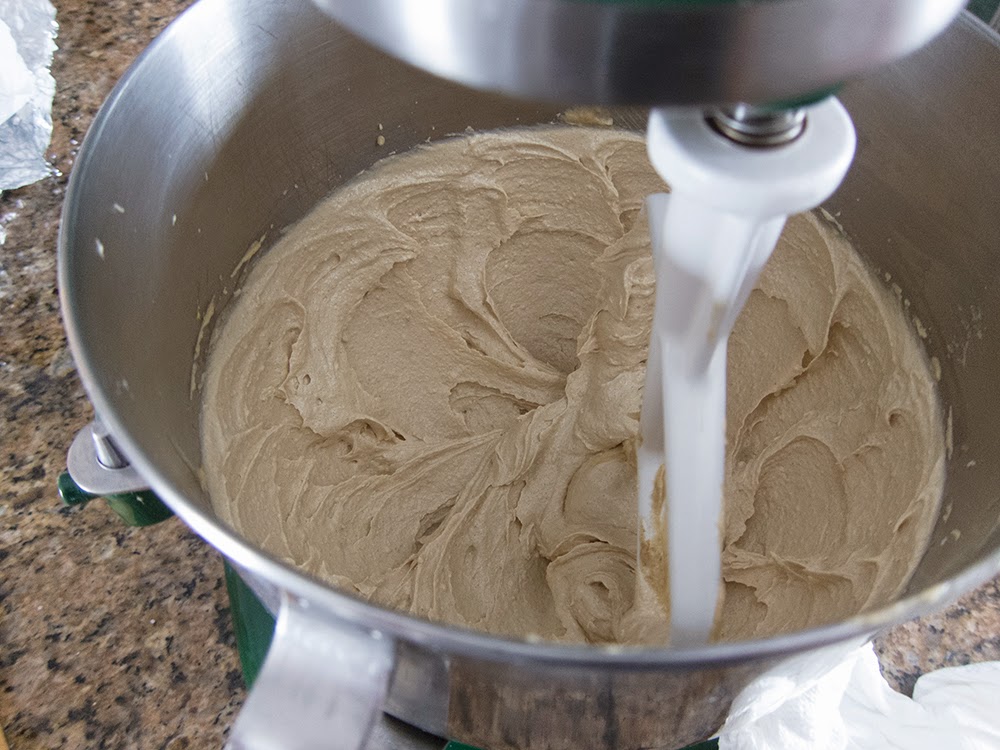

nicely creamed

Side note - the online recipe calls for one cup/5 oz of tahini; I found that when weighing the 5 oz or 140 gm, it was actually closer to 2/3 cup.

Add the flour/cocoa mixture and blend just until combined.


Stir in 100 gm mini chocolate chips  . . .

ready to shape
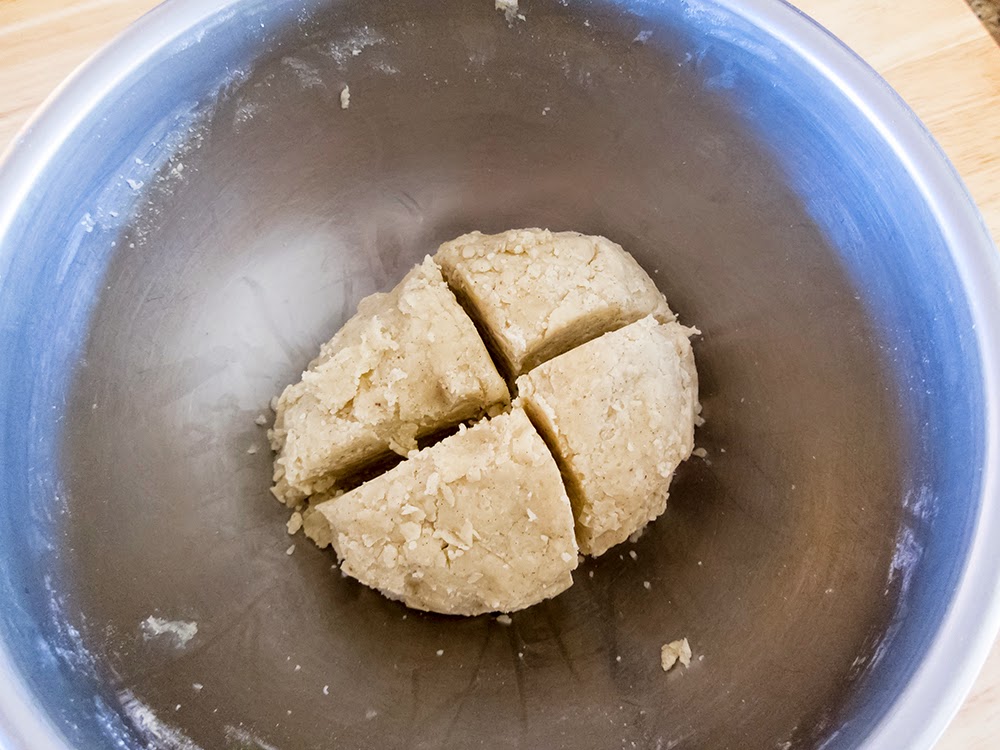
and divide dough into 4.

Another side note:  I prefer to work with smaller amounts of dough when shaping logs, so, whereas the online recipe suggests dividing the dough in two, I divided it in 4.


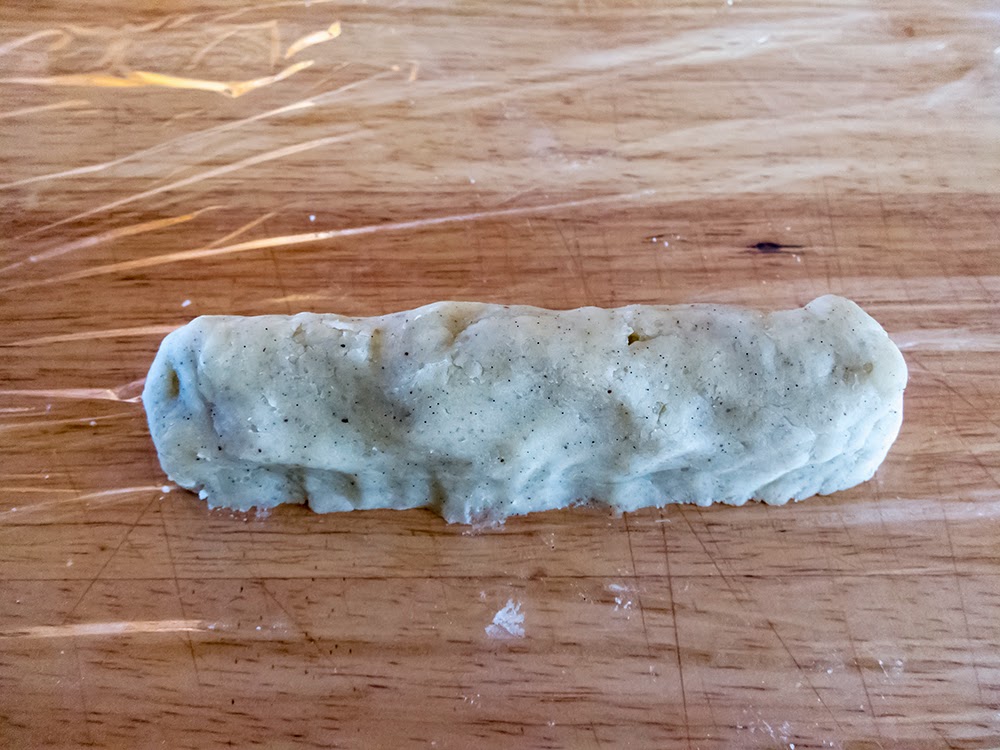
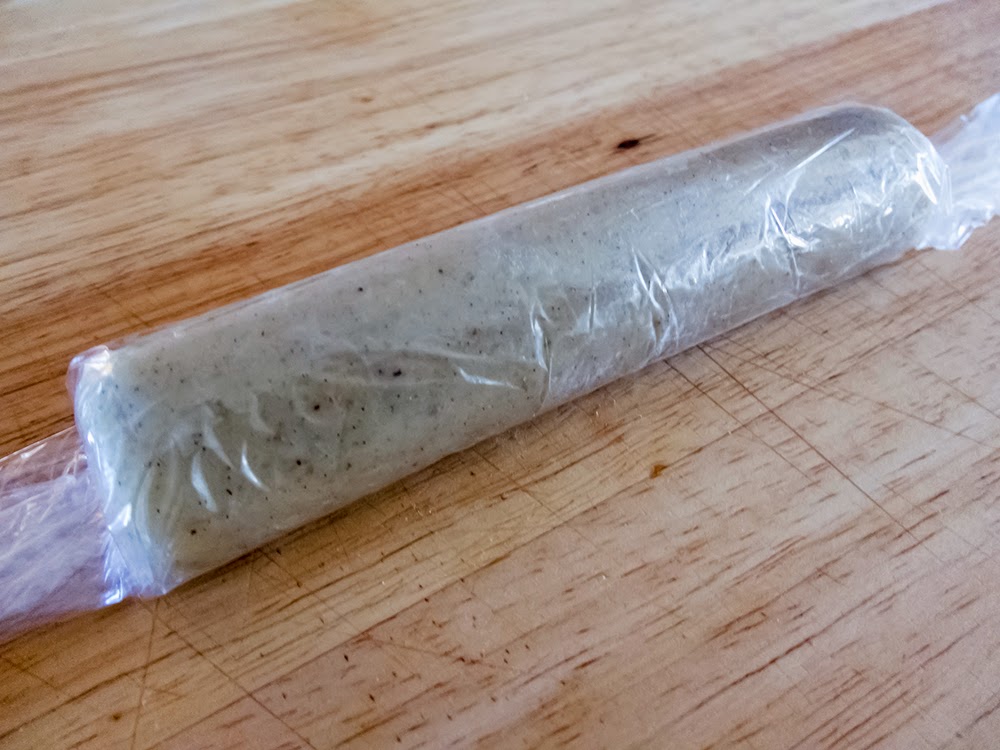
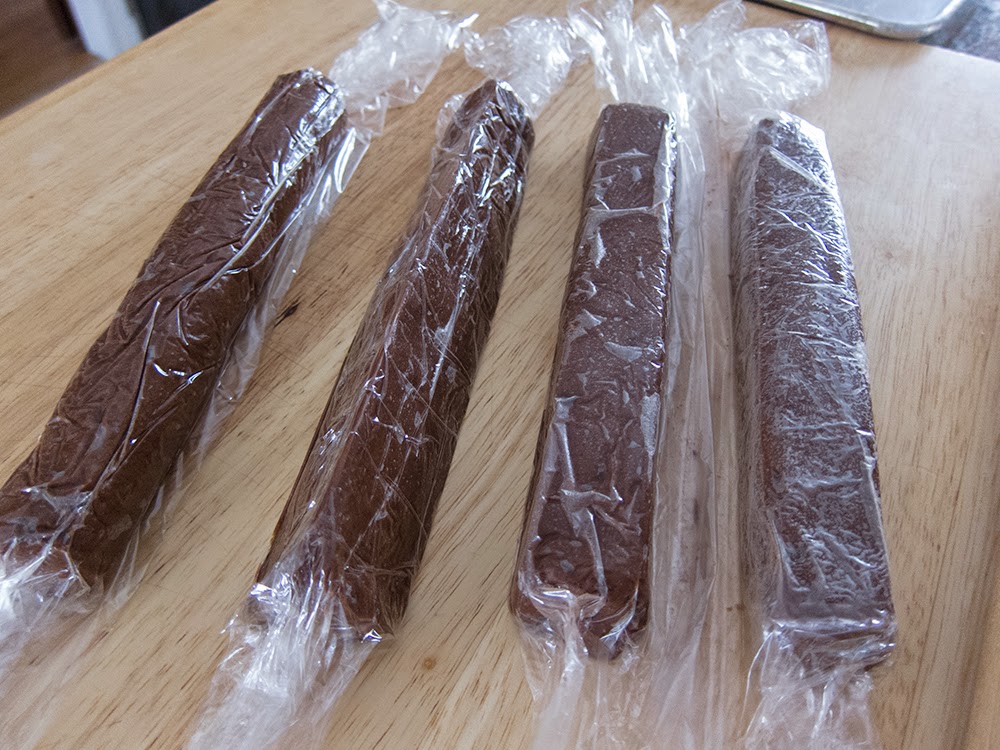
logs ready for the fridge
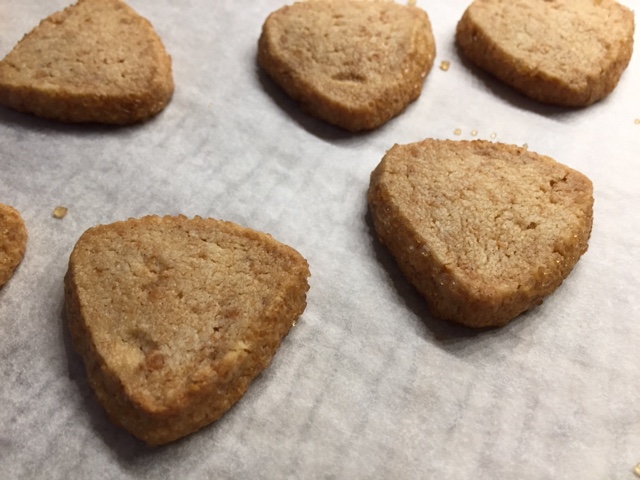
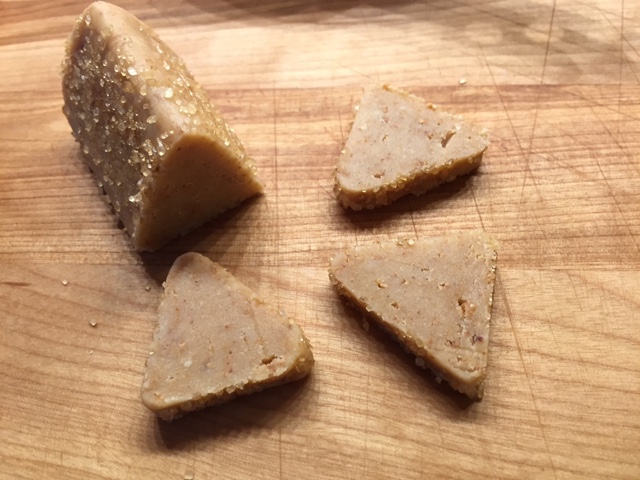
I shaped 2 square, 1 triangle and 1 round.

This dough is soft, so it's important that it has a proper chill after forming the logs, before slicing and baking.

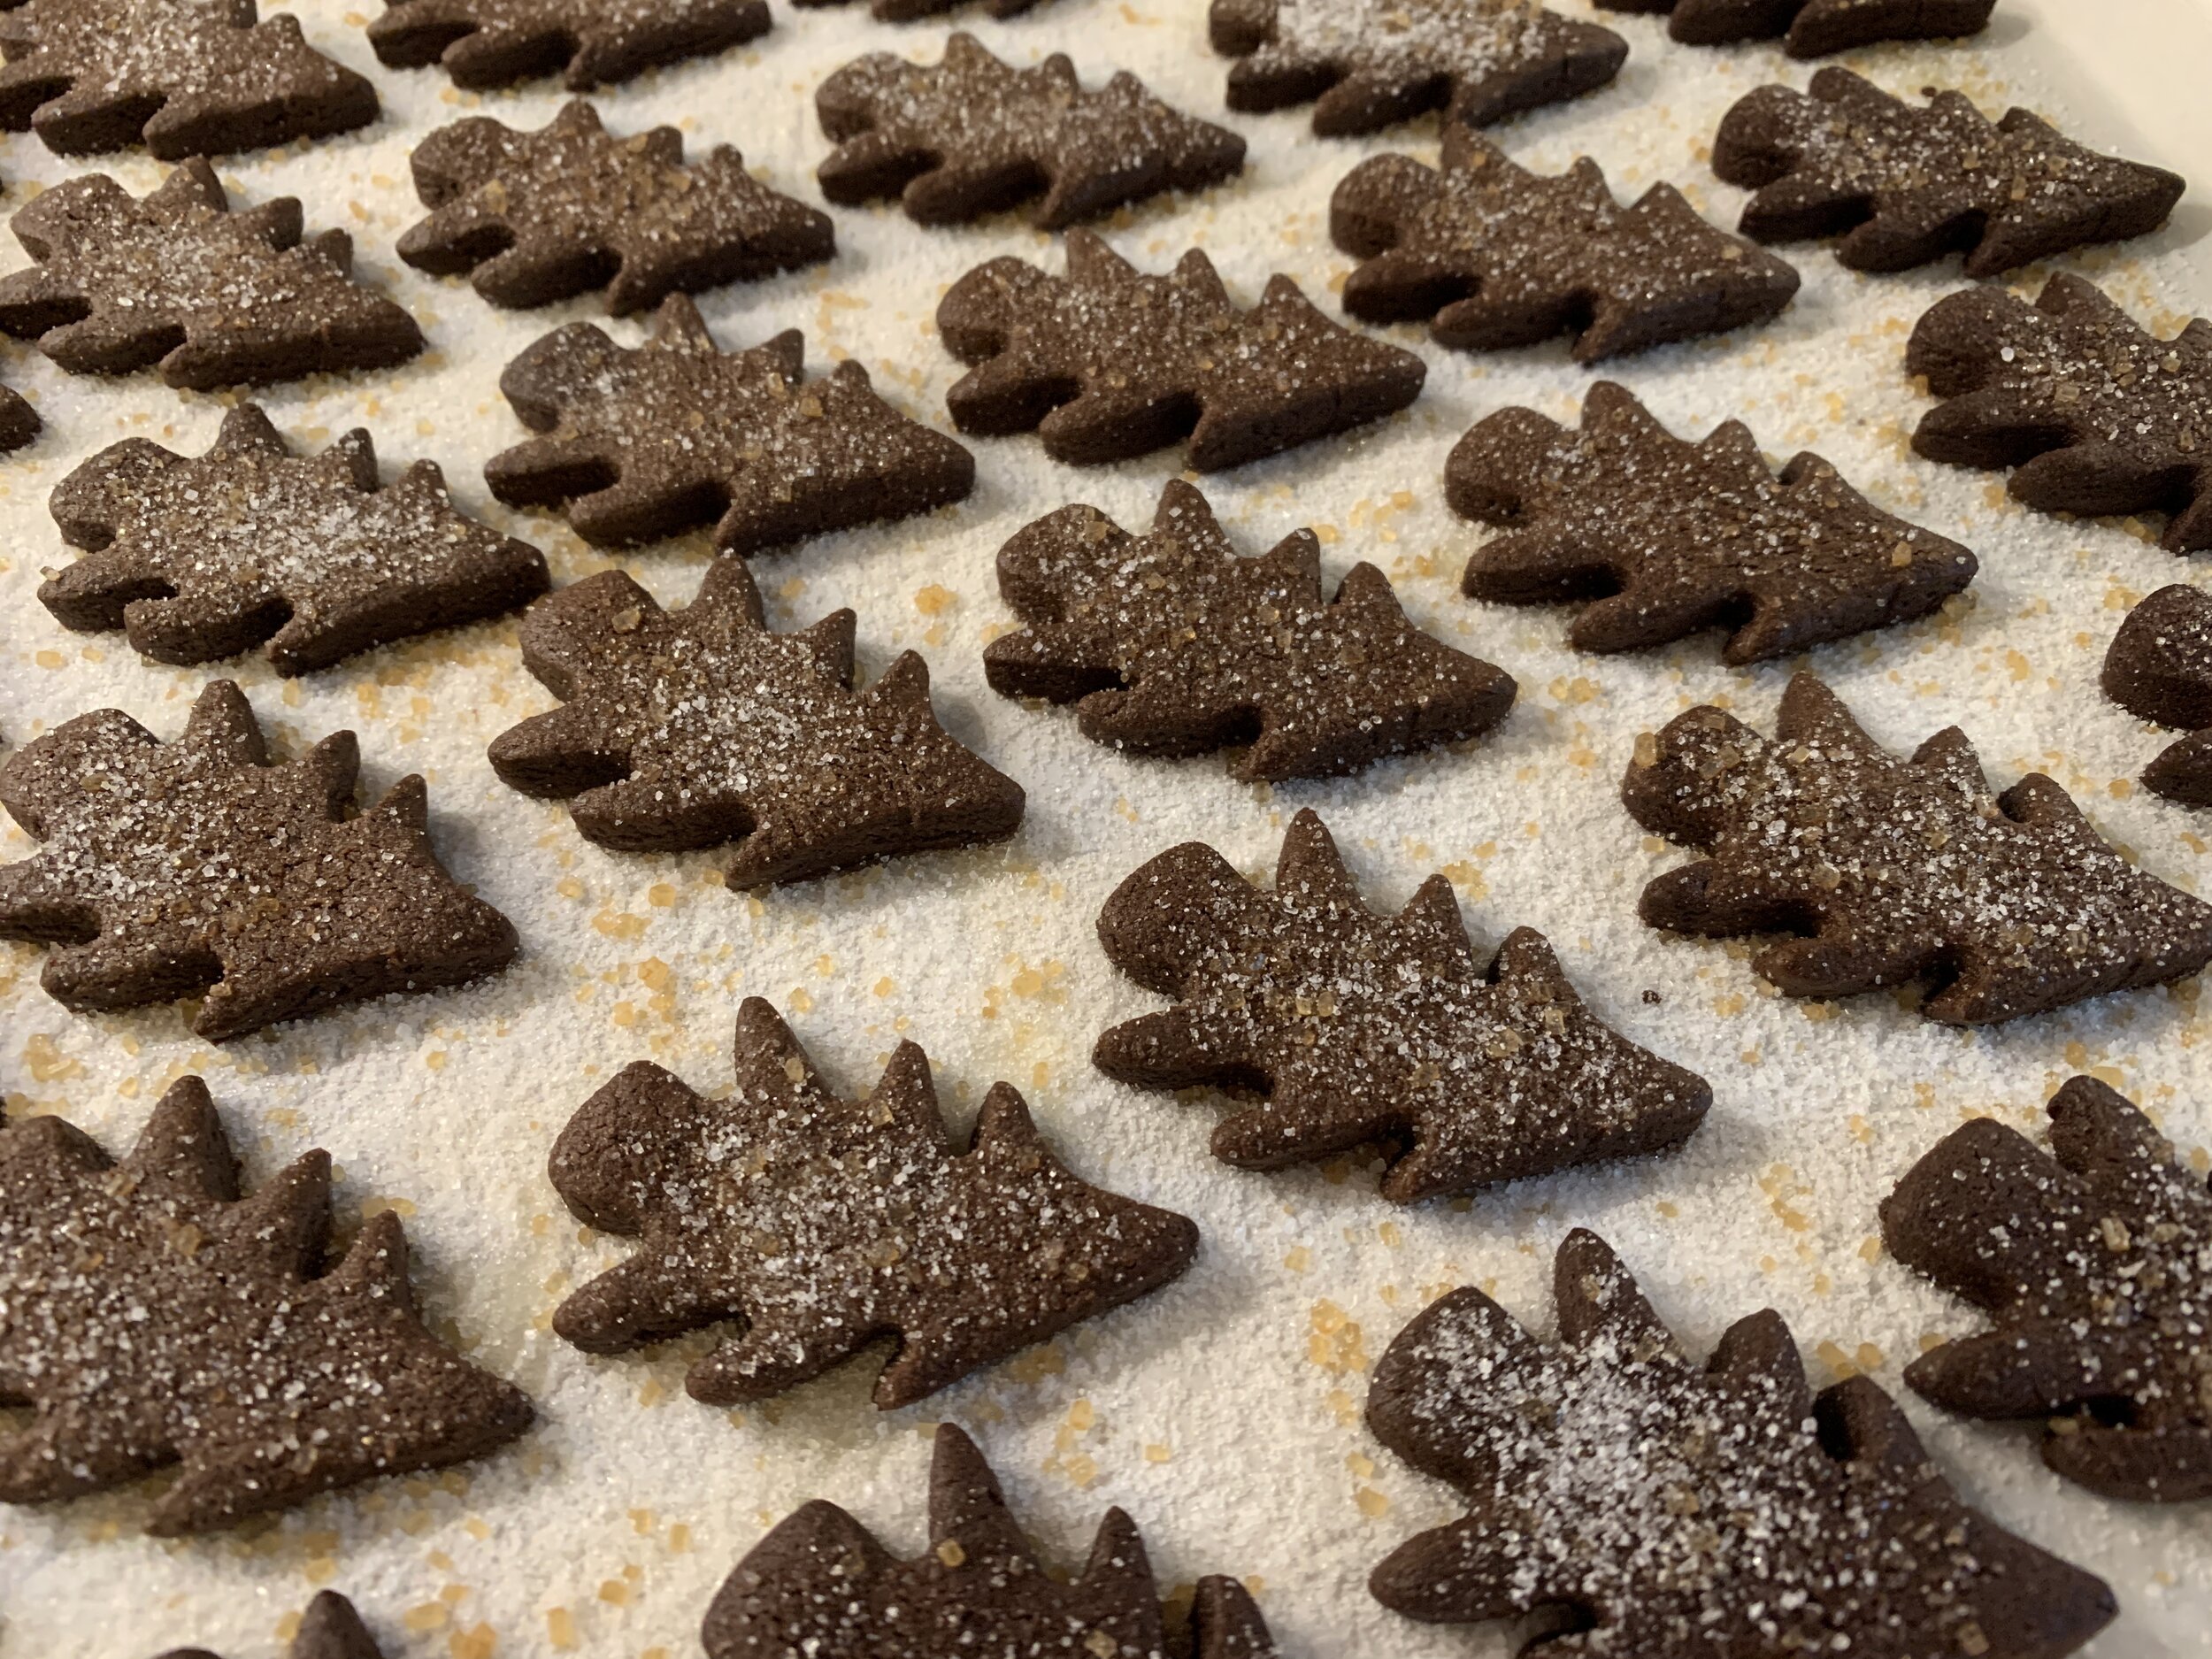
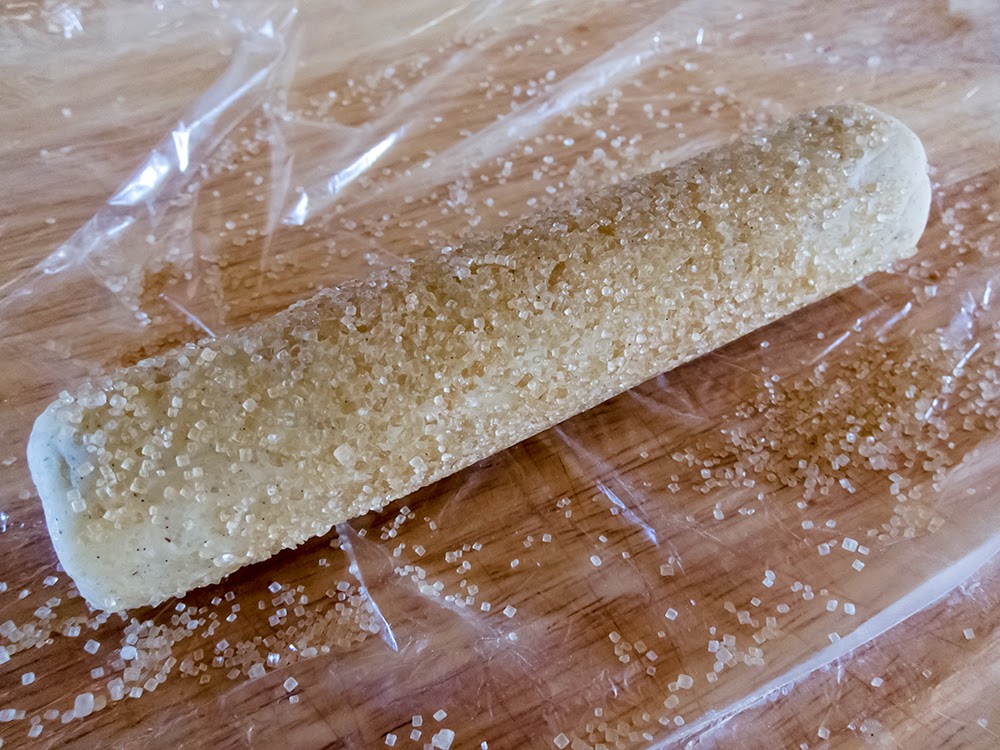
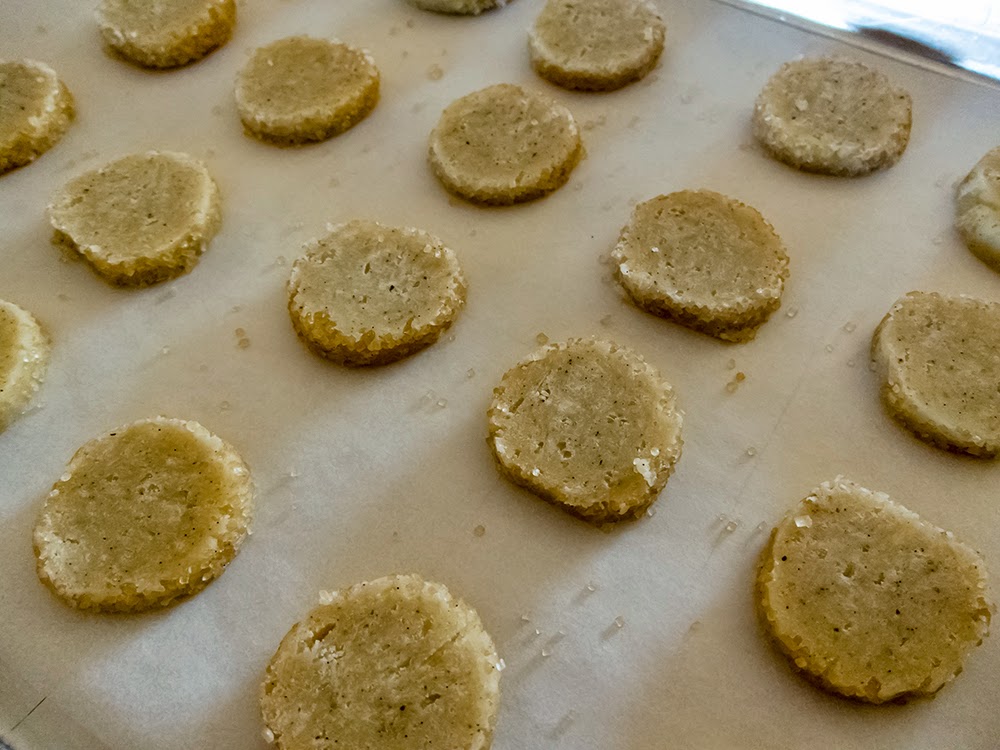
I like to bake my shortbread "low and slow" so I heated the oven to 300º, coated my shortbread log in raw sugar, sliced 1/4 inch slices and popped them in the freezer before baking.

ready for the oven
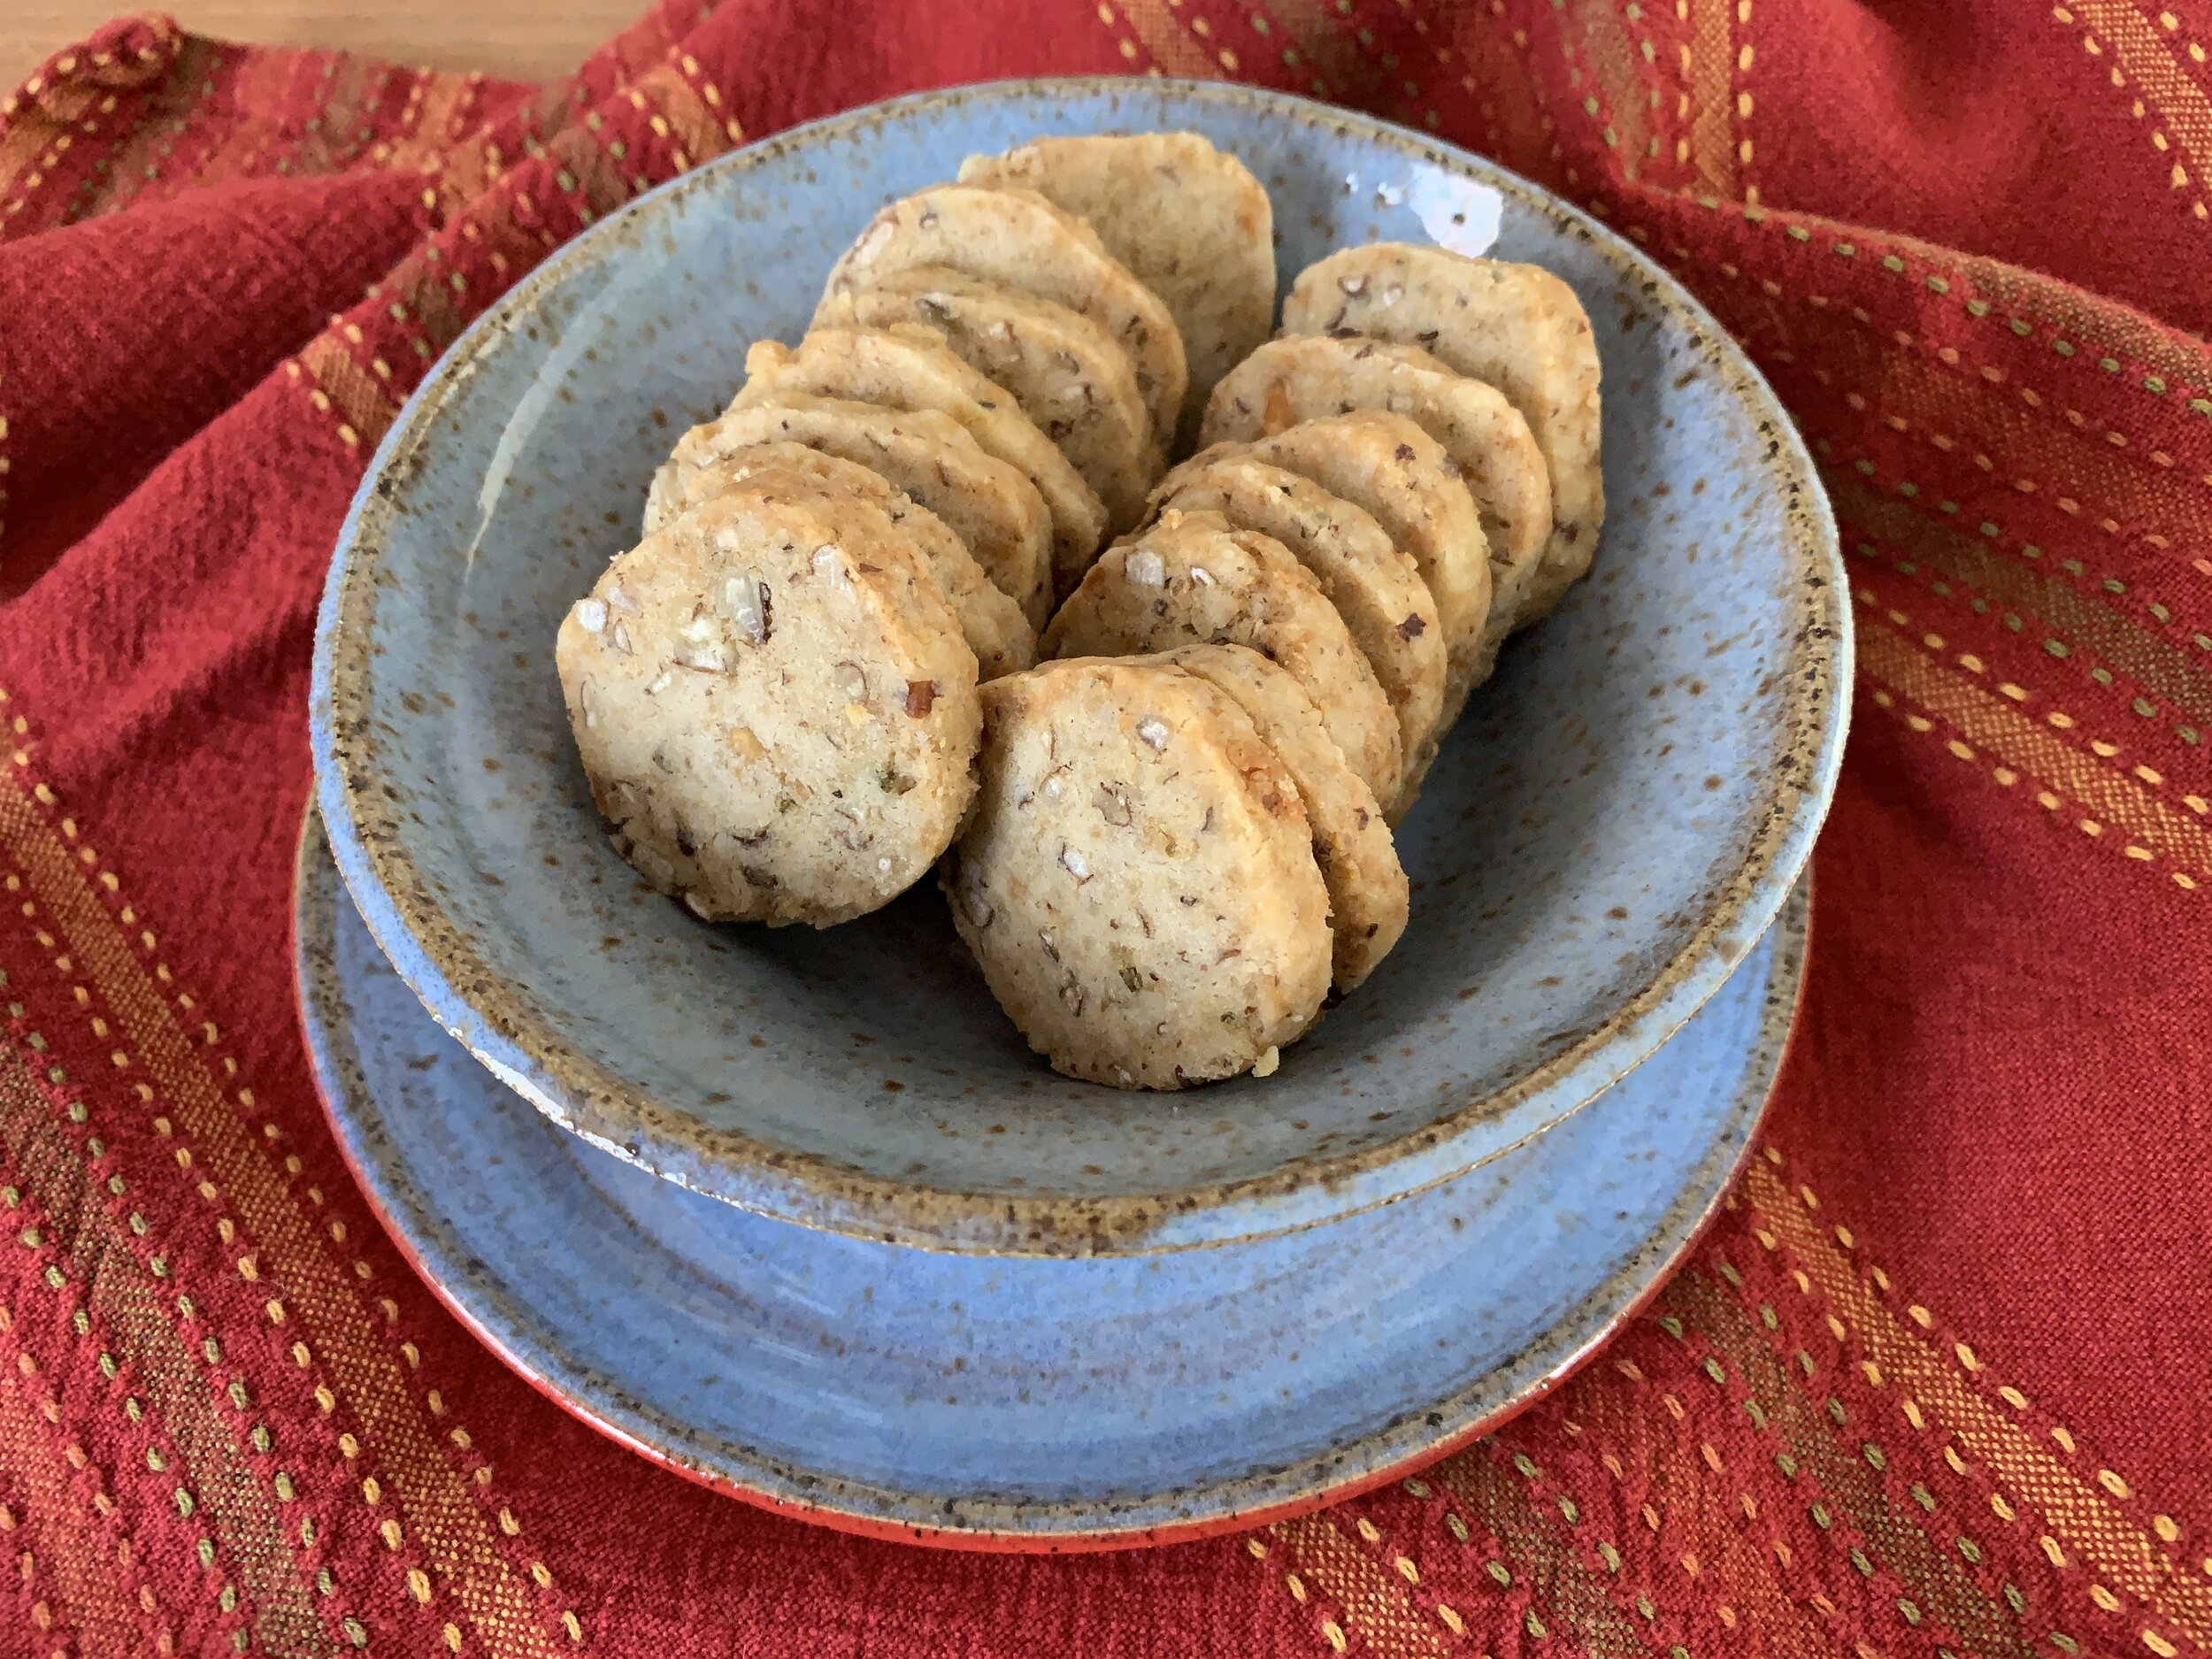
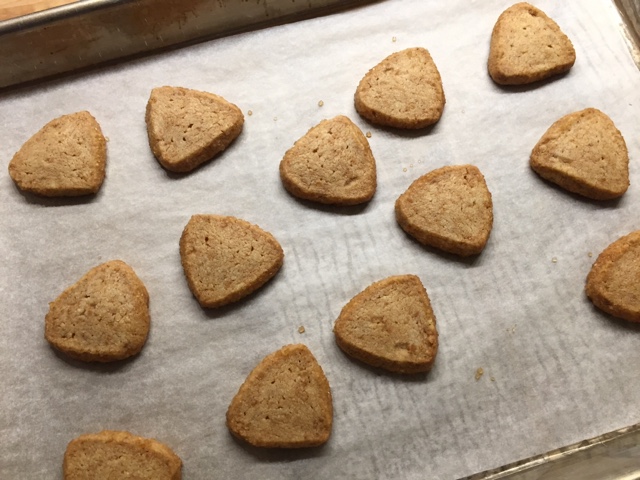
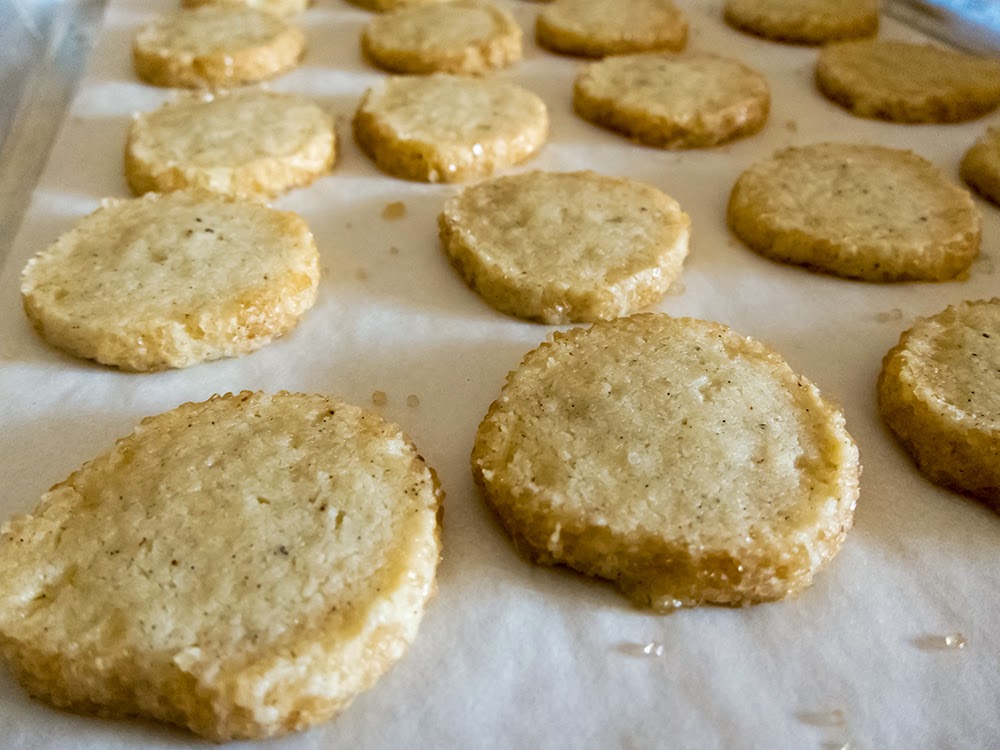
I baked them approximately 20-25 minutes until set and looking dry.


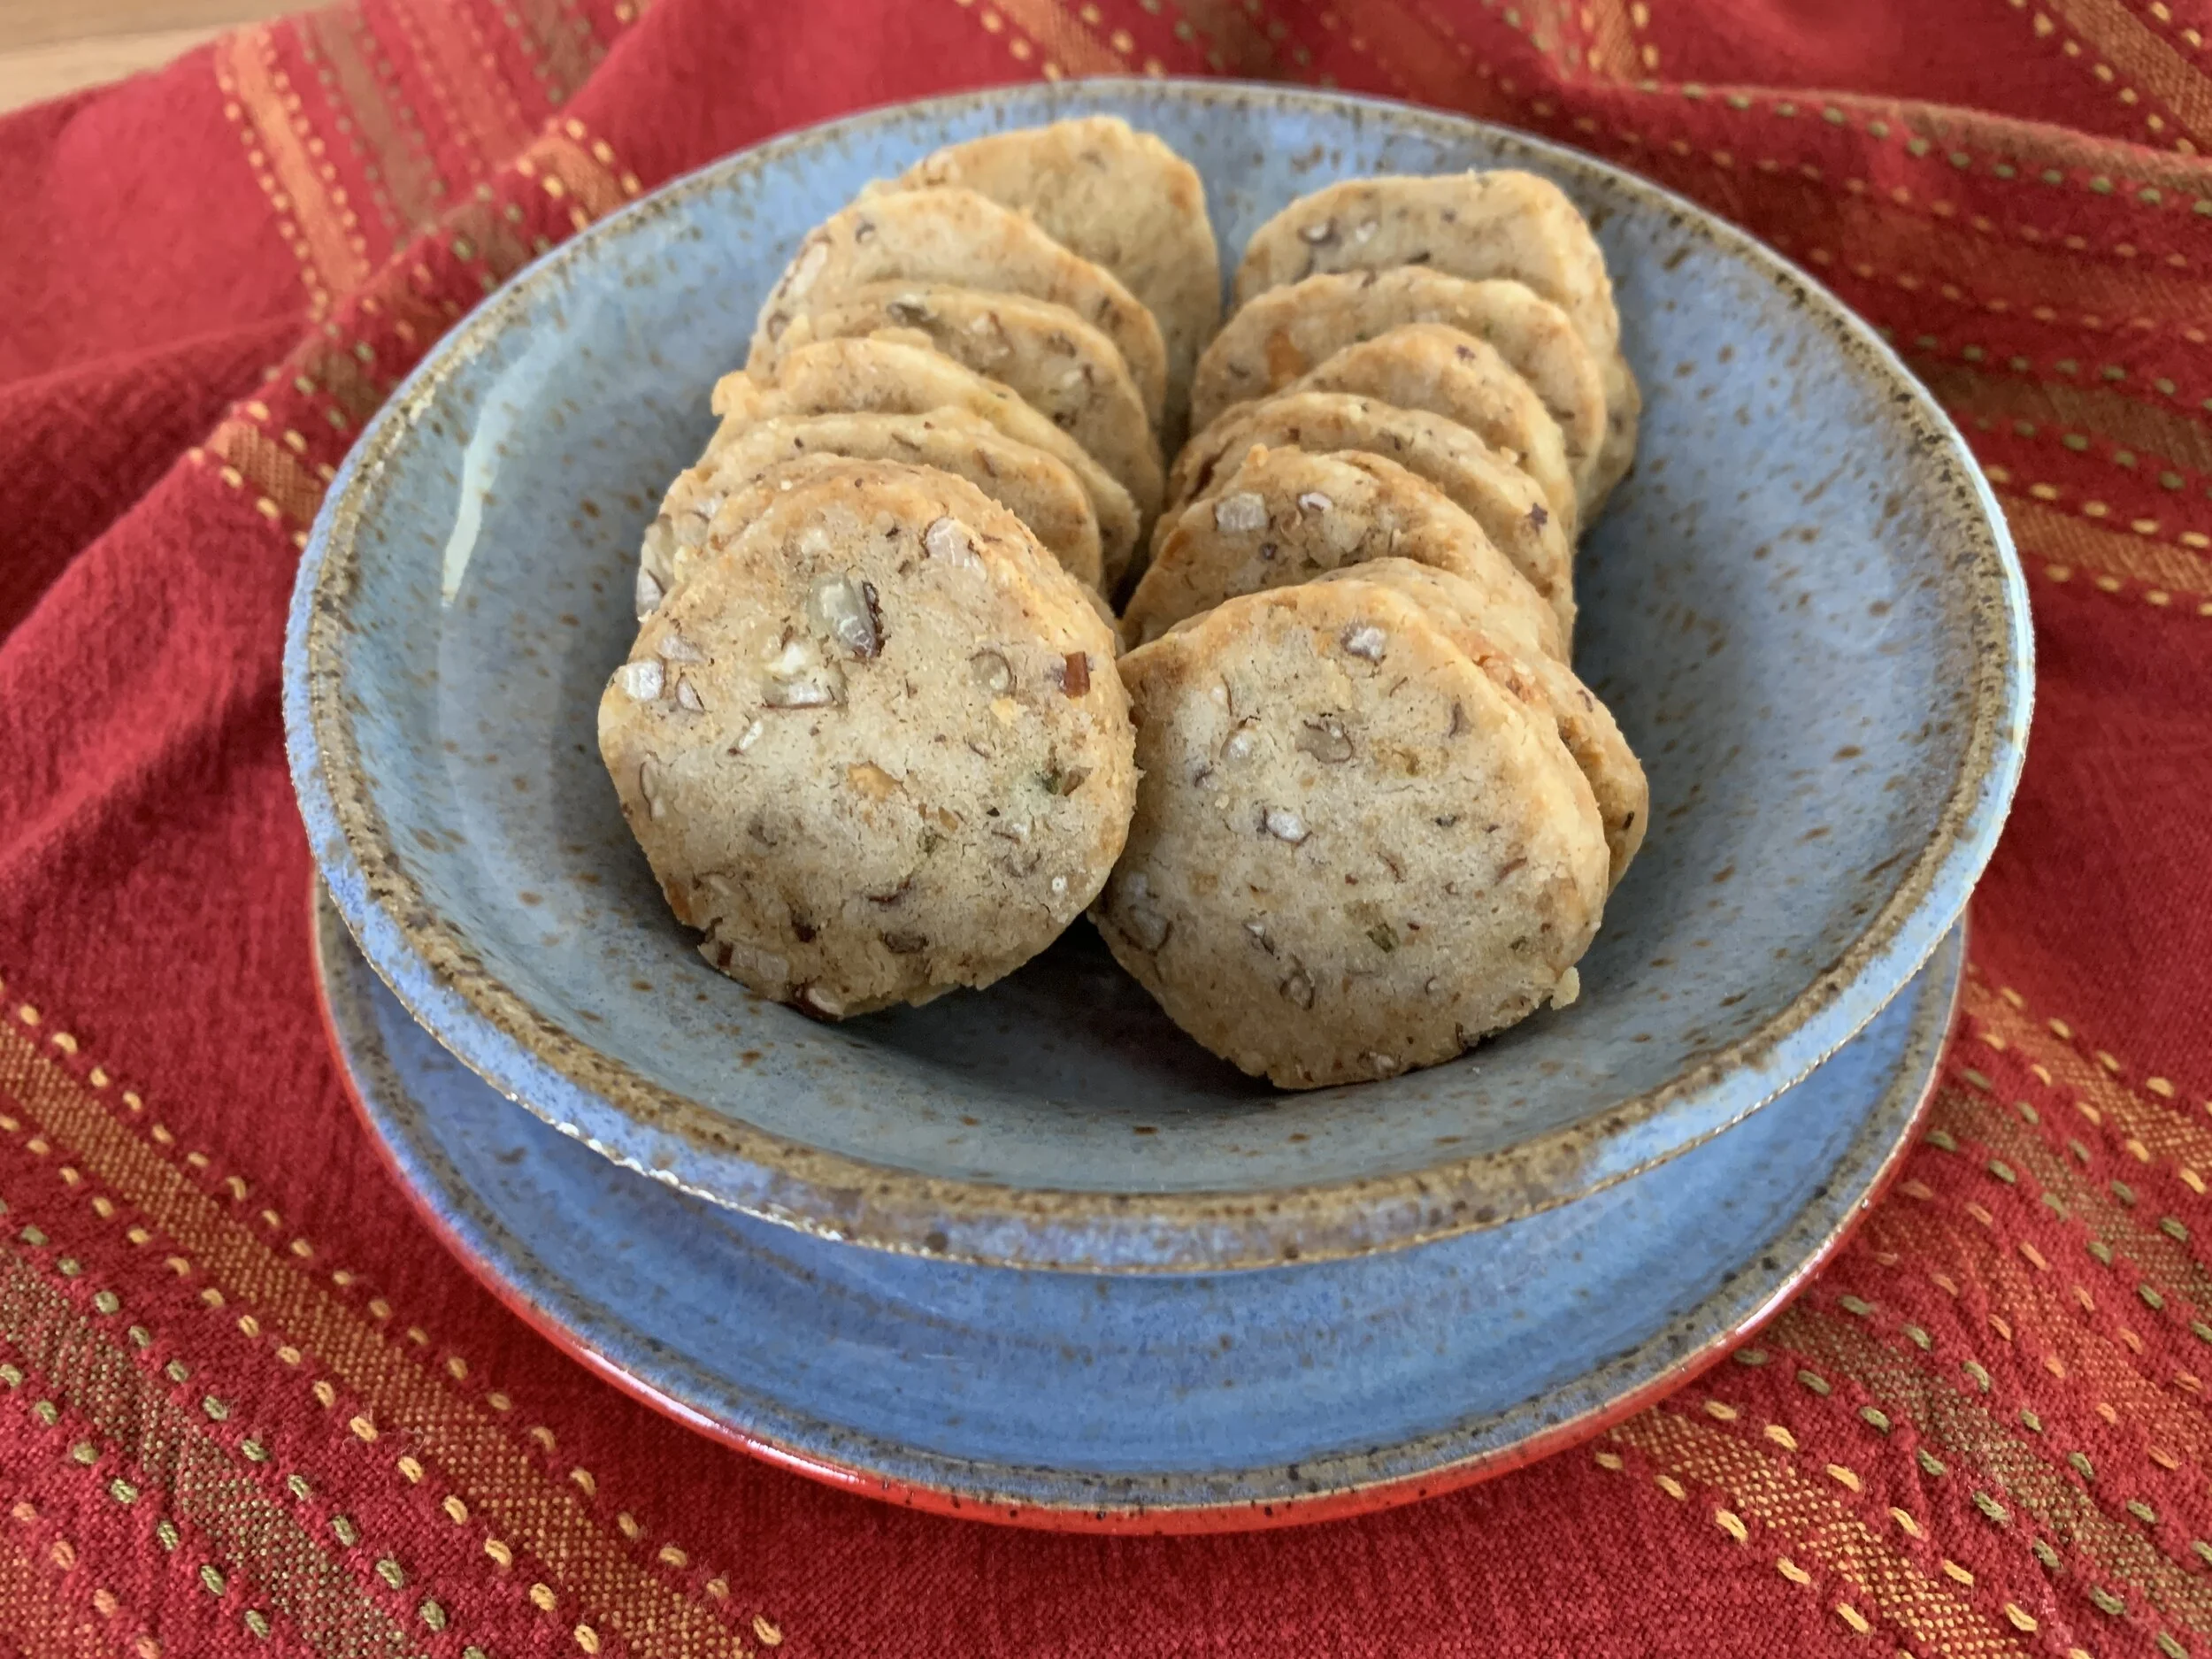
Boy oh boy, are these crumbly with a lovely, melt-in-your-mouth texture.  And the espresso and saltiness comes through very nicely.  Whether the presence of coriander is detectable is unclear, but the overall flavor is definitely a thumbs up!

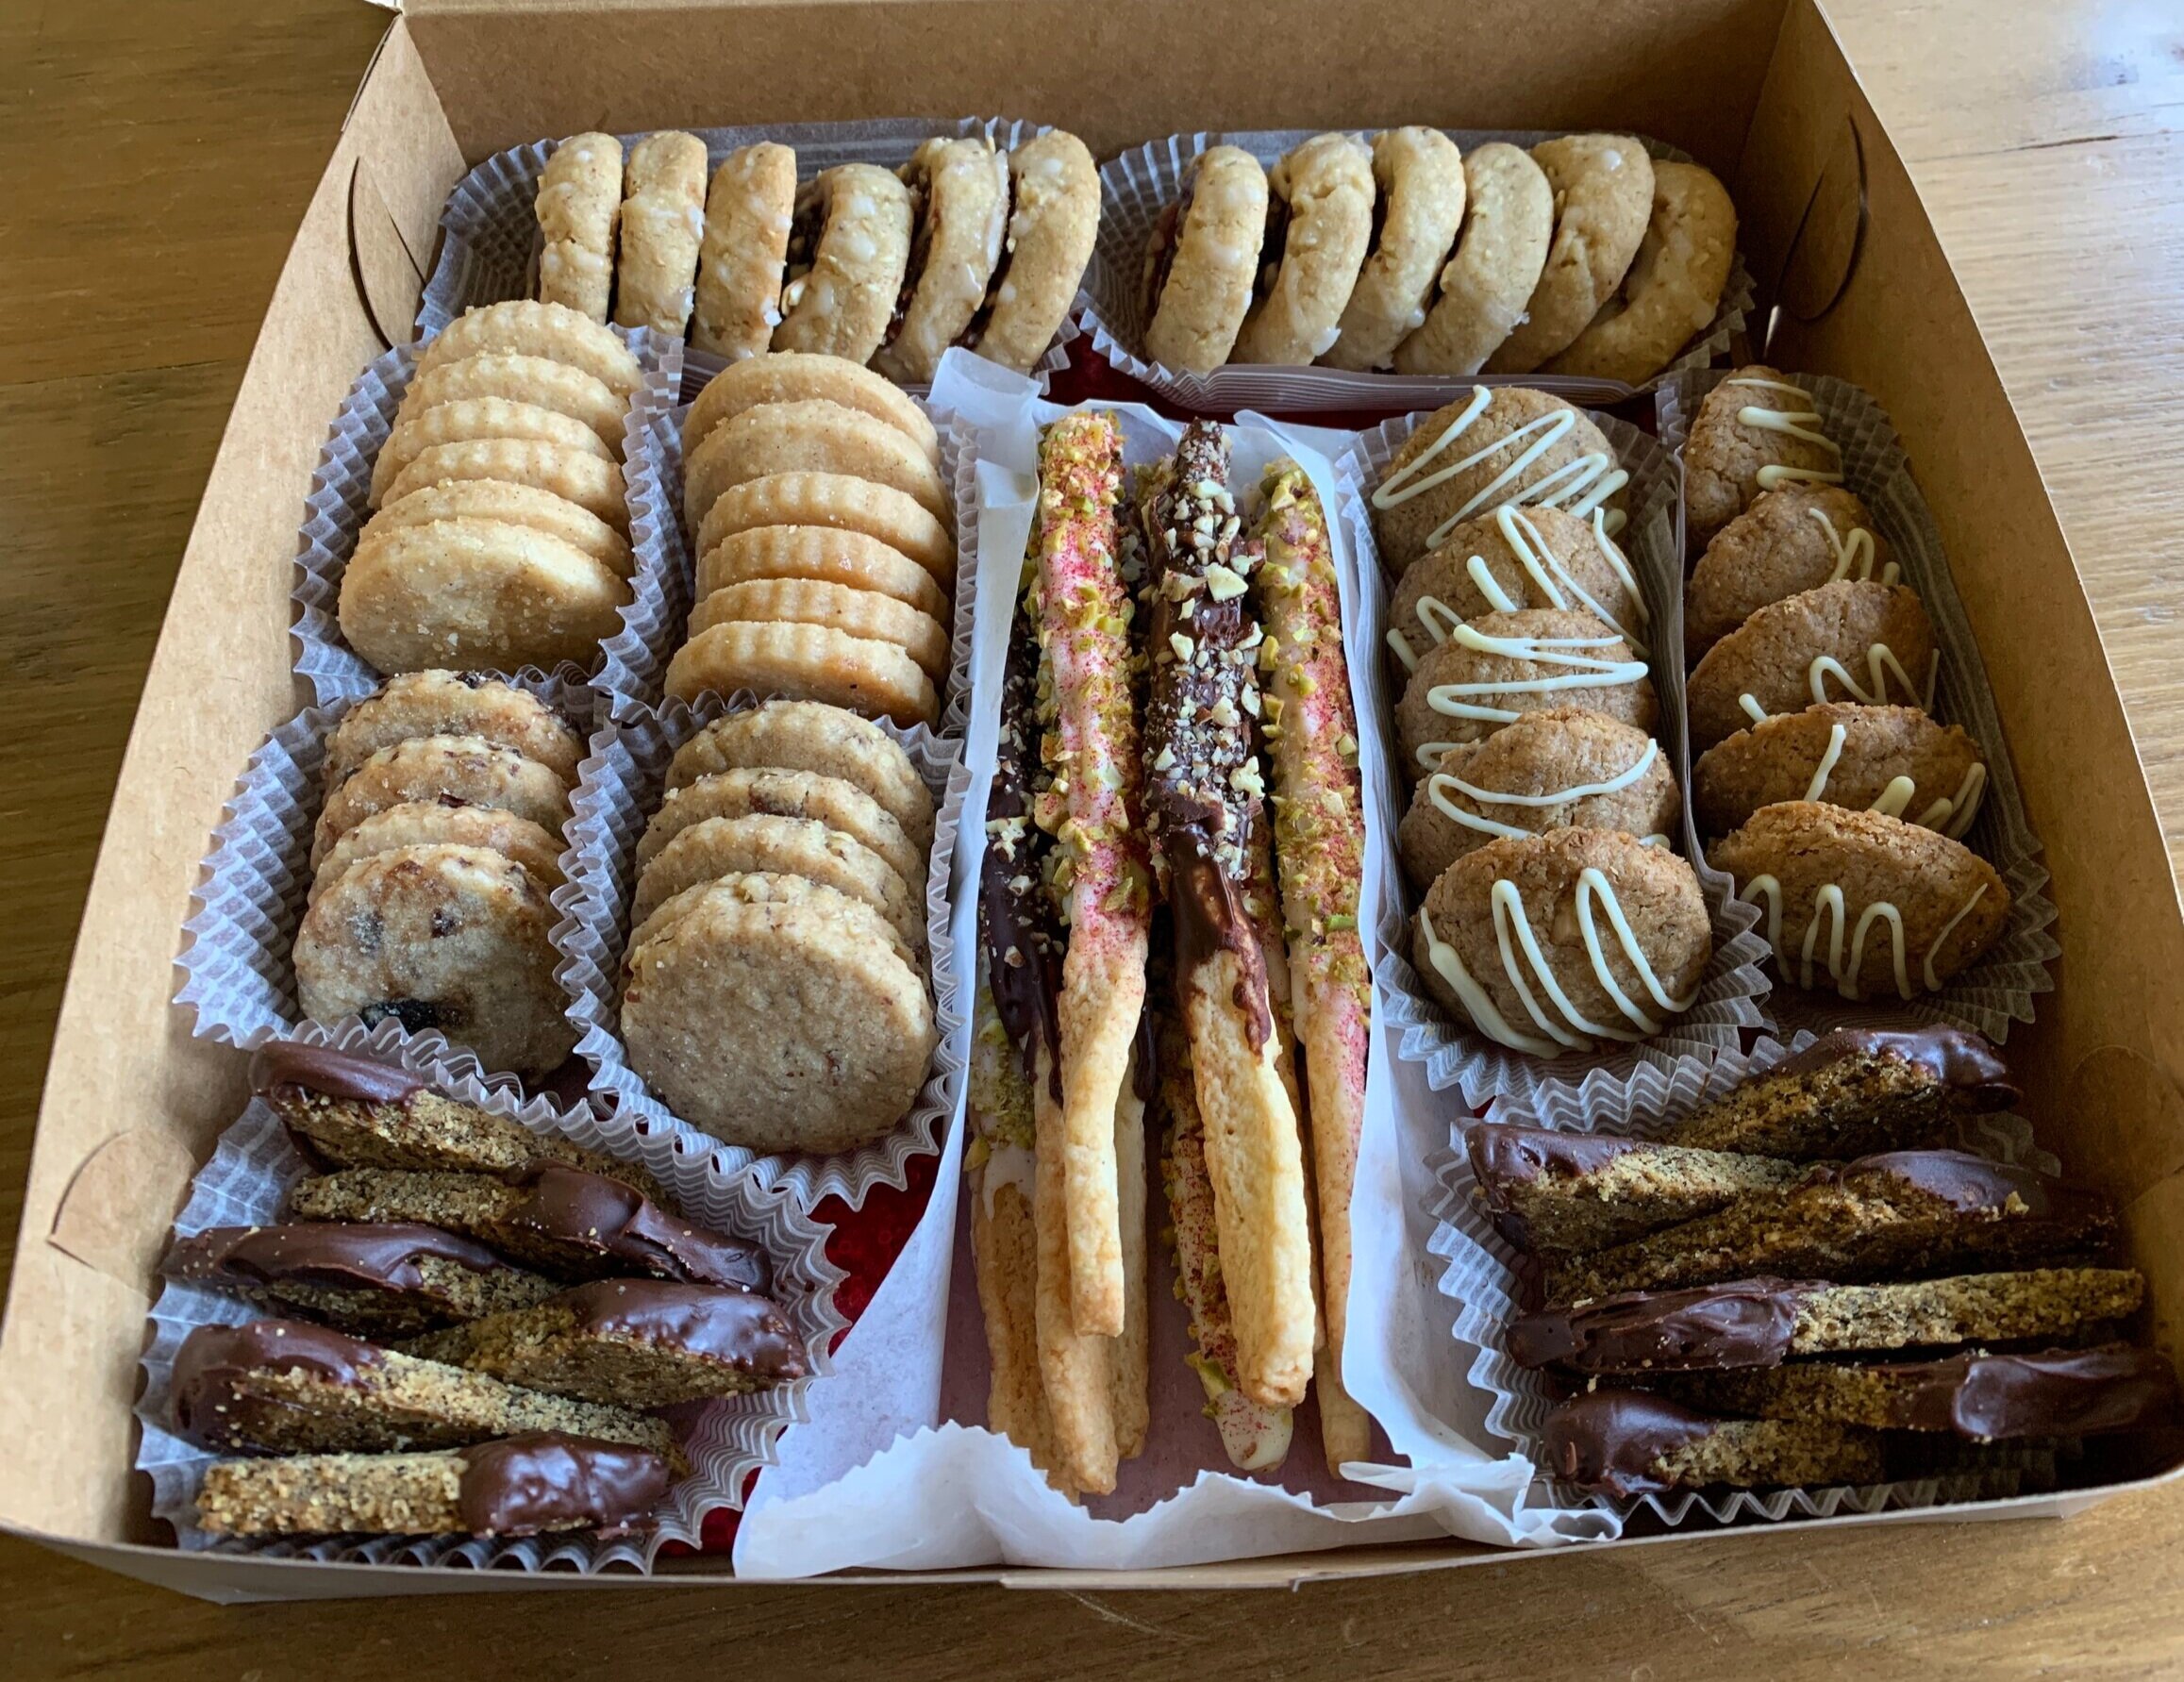
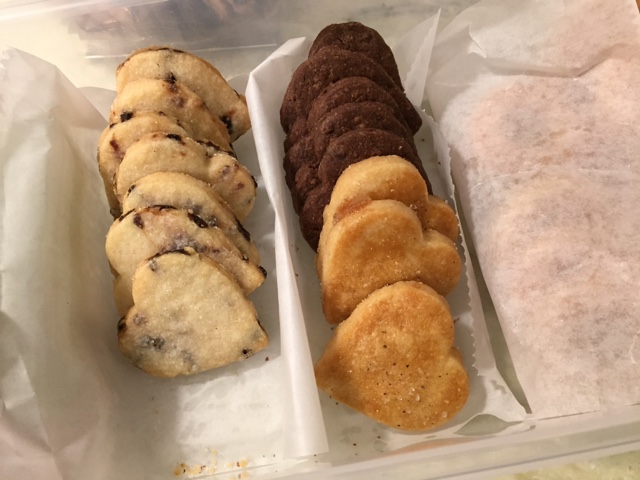
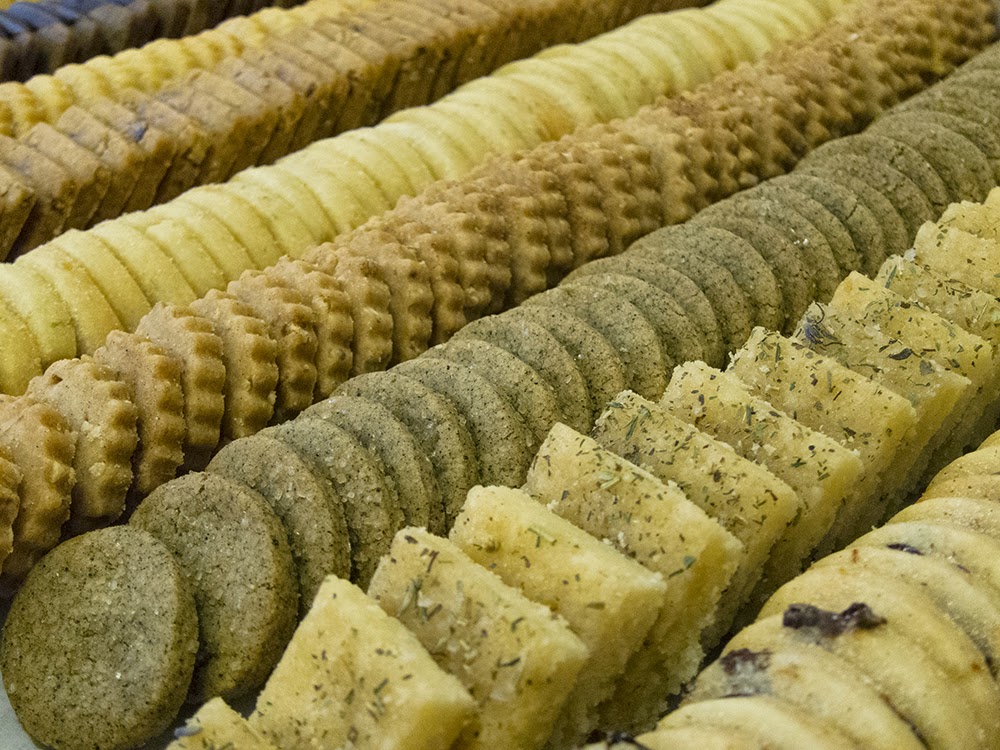
Since I'm known to crave shortbread with my morning cappuccino or my afternoon tea, I popped these chocolate tahini sablés into the fridge with some salted caramel that I had baked the other day.

I'm set.


yes sirree!


Sportskage finale and then some!

I've been off the blog schedule for a bit, so today is the day for catching up. This past weekend Steve and I had an uneventful drive across the eastern US and Canada from Providence, Rhode Island to Grand Rapids, Michigan to spend the Christmas holiday with my mom. We enjoyed a night's stay at a B&B in Niagara-on-the-Lake, a lovely town on Lake Ontario at the mouth of the Niagara River.

Prior to our departure I had a busy week preparing goodies for a 50th birthday bash, including the final rendition of the Danish specialty sportskage (you can read about the trial preparation and assembly in my 12/7/14 post.) Early in the week I had prepared the various components (choux puffs, nougatine and dacquoise), and since I was making two of these creations, I opted to make one almond and one hazelnut.

The choux puffs are to be dipped in caramel which you see cooking on the stovetop below.

The whipped cream is the one component that has to be done just before assembly, so I made sure I had everything at the ready, including my well chilled cream.

The nougatine is folded into the whipped cream and then formed as a domed mound on top of the dacquoise base.

Next up is the part that was making me apprehensive - piping more whipped cream decoratively over the mound. I started with a small star tip and piped vertical lines around the base of the mound (reminded me of piping the collars of buttercream on the religiueses at Pascal Pinaud's à Paris!)

Then, using a petal tip, I finished it off . . . .

Hey, that actually went better than expected - hooray!!

Next I placed caramel-dipped choux puffs over the surface, pressing them in ever so slightly . . .

and the deed was done - whew!!  I will say this is one of the most interesting things I've made over the years.  Never let it be said that I won't accept a challenge, yessir, you betcha.

In addition to the Danish "cakes" and seven different flavors of shortbread (salted caramel, espresso, pistachio, orange hazelnut, honey herbes de provence, toasted coconut and lime ginger), I made three versions of moelleux chocolat - espresso . . . .

orange rosemary . . . . .

and raspberry.

Also several tarts:  chocolate ganache, caramel nut, pear almond and Breton pistachio-raspberry.

It was a busy, but organized and enjoyable week of planning and preparation - a lot of what the pastry world is all about!

Now it's time for some Christmas relaxation, being with family and friends and scheming about new projects for 2015!  Joyeux Noël, Buon Natale and Merry Christmas to all!

More than you'll ever want to know about shortbread

When asked what my favorite baked good is, my thoughts usually turn to a lovely, buttery shortbread. There is something so genteel about a cup of tea with a delicious crisp cookie along side.

The basic dough for classic shortbread is 1-2-3 dough, or 1 part sugar, 2 parts butter and 3 parts flour (by weight).  The word short refers to the high fat content of the dough as well as the limited mixing, which prevents long gluten strands from forming and keeps the dough tender.

In French the word sablé (sand) is used to describe this type of dough, and the sablage process involves simply mixing flour and sugar together, then blending (or "sanding") in diced, cool butter with your finger tips until a coarse, sandy texture is reached. At that point the dough can be pressed firmly into a pan and baked.

That's the method I use when I have a craving for fresh shortbread and want to make it quickly.  I line an 8 or 9" square pan with parchment and weigh out 75 gm sugar, 150 gm butter and 225 gm flour.  I dice the cool butter and sand it by hand into the flour and sugar until crumbly. I like to add the seeds scraped from one vanilla bean too - love to see those little brown specks! (I buy my beans in bulk from Beanilla).

Once the dough is pressed into the pan I bake at 300º convection, usually about 20-25 minutes. I like it lightly browned and well baked so it has a tender crumb but is still crispy too. With this approach it's important to cut the shortbread in the pan soon after it comes out of the oven. If you wait until it's completely cooled, it will tend to crack and won't cut evenly. But don't worry, it will still taste great!

You can also take the sablage a step further until the dough actually comes together, although it's easier with a mixer, especially if you're making a larger batch.  Just put your flour and sugar into the mixing bowl, throw in your diced butter and mix with the paddle on low speed. It usually takes about 5 minutes before it starts to form a cohesive ball. Then stop and don't over mix.

This allows you to shape the dough into a round, square or even triangular log or simply wrap and chill it for later rolling and cutting into desired shapes. It's the best approach when you're planning ahead and want to have a variety of flavors of dough ready in your fridge or freezer.

Some of my shortbread are made using another common mixing method - that of first blending soft butter with sugar and THEN adding the flour.  Please note that this is NOT the traditional creaming of butter and sugar that is meant to aerate and lighten, as one might do for a cake. You don't want to introduce air into the shortbread dough, just blend the butter and sugar together.

By now you're probably wondering why all this talk about mixing methods for such a simple cookie? It's the world of baking and pastry! And why might I use one method over another? It's really based on the various recipes I've discovered and adapted over the years. The results are all still delicious no matter what method you use, so have fun with it!

I found the following recipe some years ago on Clotilde Dusoulier's blog, "Chocolate and Zucchini".  She attributes it to Parisian chef Yves Camdeborde of Le Comptoir du Relais in the 5th arrondissement.

It varies a bit from the strict 1-2-3, using 90 gm coarsely ground raw sugar (gives it a great crunch!), 200 gm soft butter, and 250 gm flour (along with those important vanilla bean seeds). The higher ratio of butter and lower ratio of flour give these cookies a nice crispy texture.

First I smear the butter with my trusty spatula until smooth, then blend in the sugar (that's a mixture of vanilla sugar and coarse raw sugar above on the right).  I scrape my vanilla seeds into the mix, throw in a pinch of salt and then add the flour by cutting it in with a bowl scraper and gently blending it by hand until it comes together. You can see it still looks rough but holds together.

Divide the dough in quarters in preparation for log shaping. I first shape roughly . . .

and then do the final shaping with the dough wrapped in plastic.

Place the wrapped logs in the fridge for a good 1-2 hour (or overnight) chill. Once the dough has chilled, and you're ready to bake, heat your oven to 300ºF convection. With this particular recipe I roll the logs in raw sugar before slicing, then space the cookies out on parchment lined sheets.

I've gotten into the habit of freezing the cookies on the sheet pans for 10-15 minutes before baking.  It keeps the butter firm and helps maintain the shape during baking. Depending on your oven these may bake anywhere from 20 to 25 minutes - pay attention to what's happening in there, and don't forget to rotate and change shelf positions of your sheet pans about half way through.

Let's talk a bit about flavors.  Once you have a base recipe down, use your imagination to create your own variations.

One of my favorites is to brush the just baked cookies with my homemade caramel sauce, sprinkle them with sea salt and pop 'em back in the oven for 2-3 minutes to set the caramel.  Deeelish!

Or brush with honey and sprinkle with herbes de provence (Steve's idea!) and sea salt.

You can add citrus zest and a squeeze of fresh citrus juice as you're mixing . . . or mix some chopped crystallized ginger, dried tart cherries or cranberries into your dough . . . or add chopped, toasted nuts and your favorite spice like cinnamon, ginger or nutmeg . . . or replace 1/4 of your flour with ground nuts or cornmeal for varied textures . . . or dip your finished cookie in melted chocolate.

You get the idea.

One of the most popular offerings during market days at my pastry studio in Pawtucket RI was the shortbread bar - 12 different flavors, mix and match, pop 'em in a bag and go!

Mmmmmm - what an enticing array!

Now it’s your turn to create your own version of delicious buttery shortbread cookies! Have a ball!!