
Multi-grains and seeds bread
/
It's the new year and wouldn't you know it's time to bake bread again? The wonderful news is that Steve and I just purchased our tickets to Paris for April!! Yippee yo-kiyay my friends. And to top it off I've signed up for a 4 day bread class at Le Cordon Bleu, my alma mater. Yessirree.
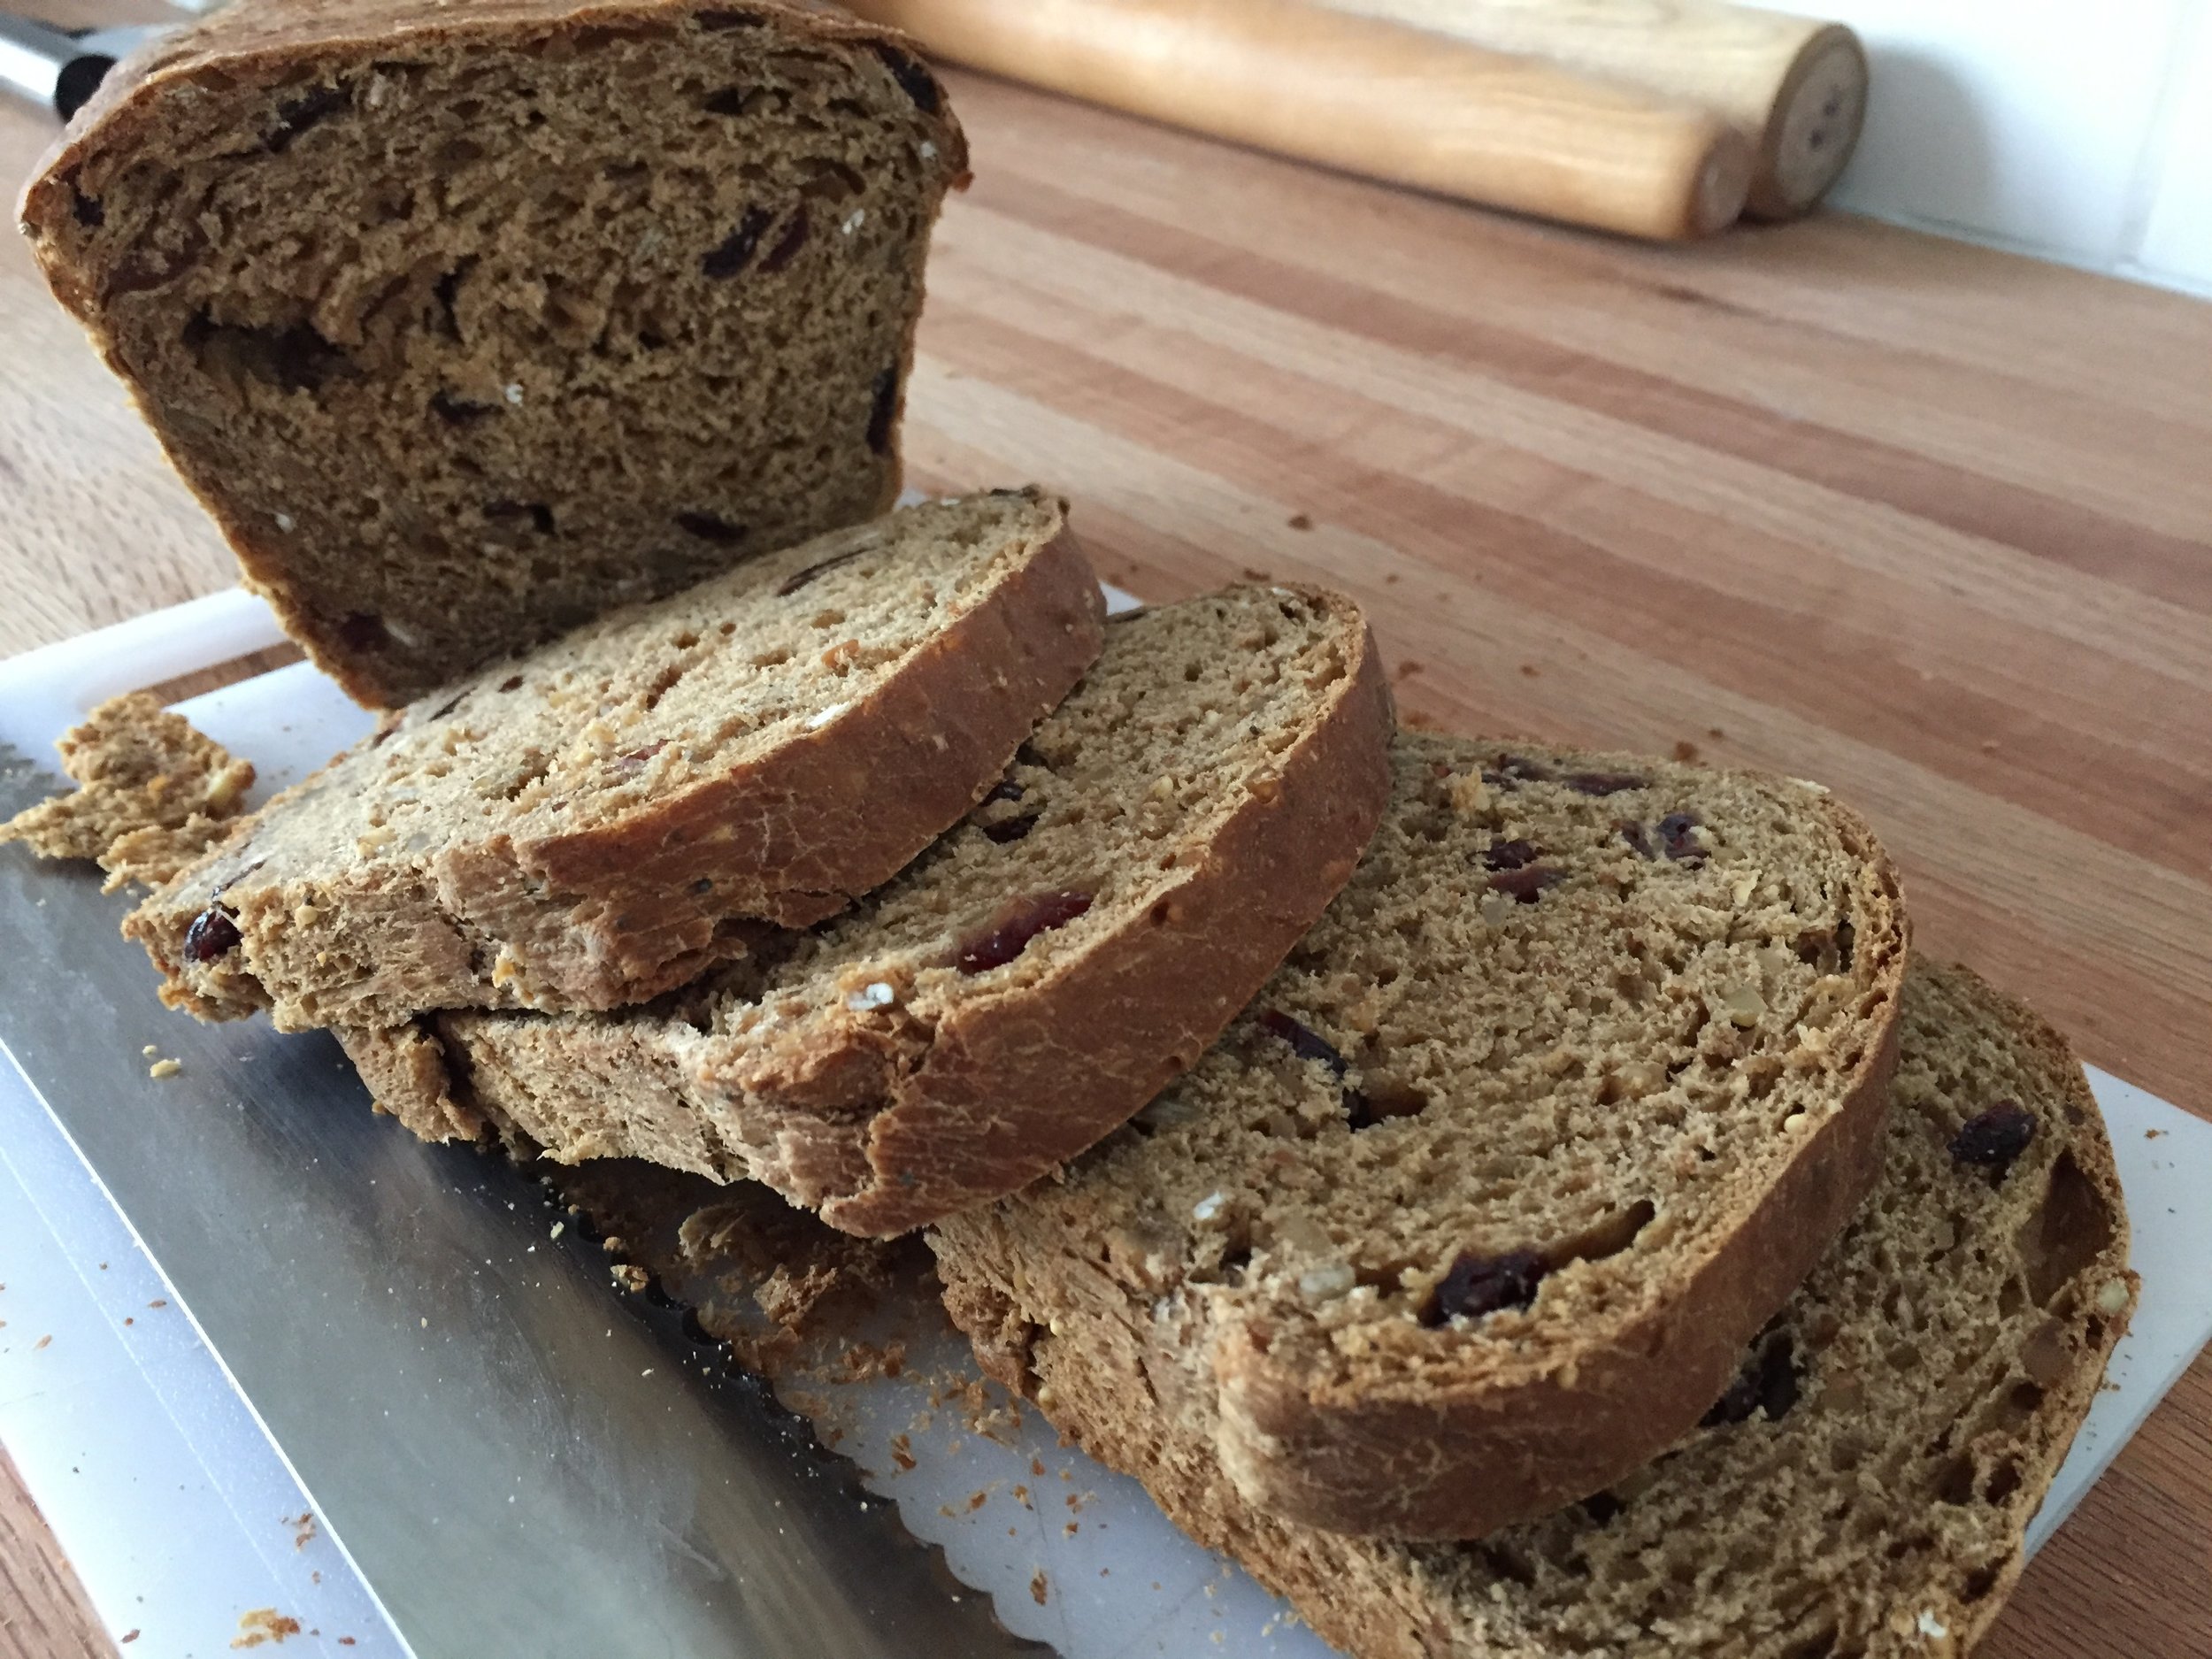
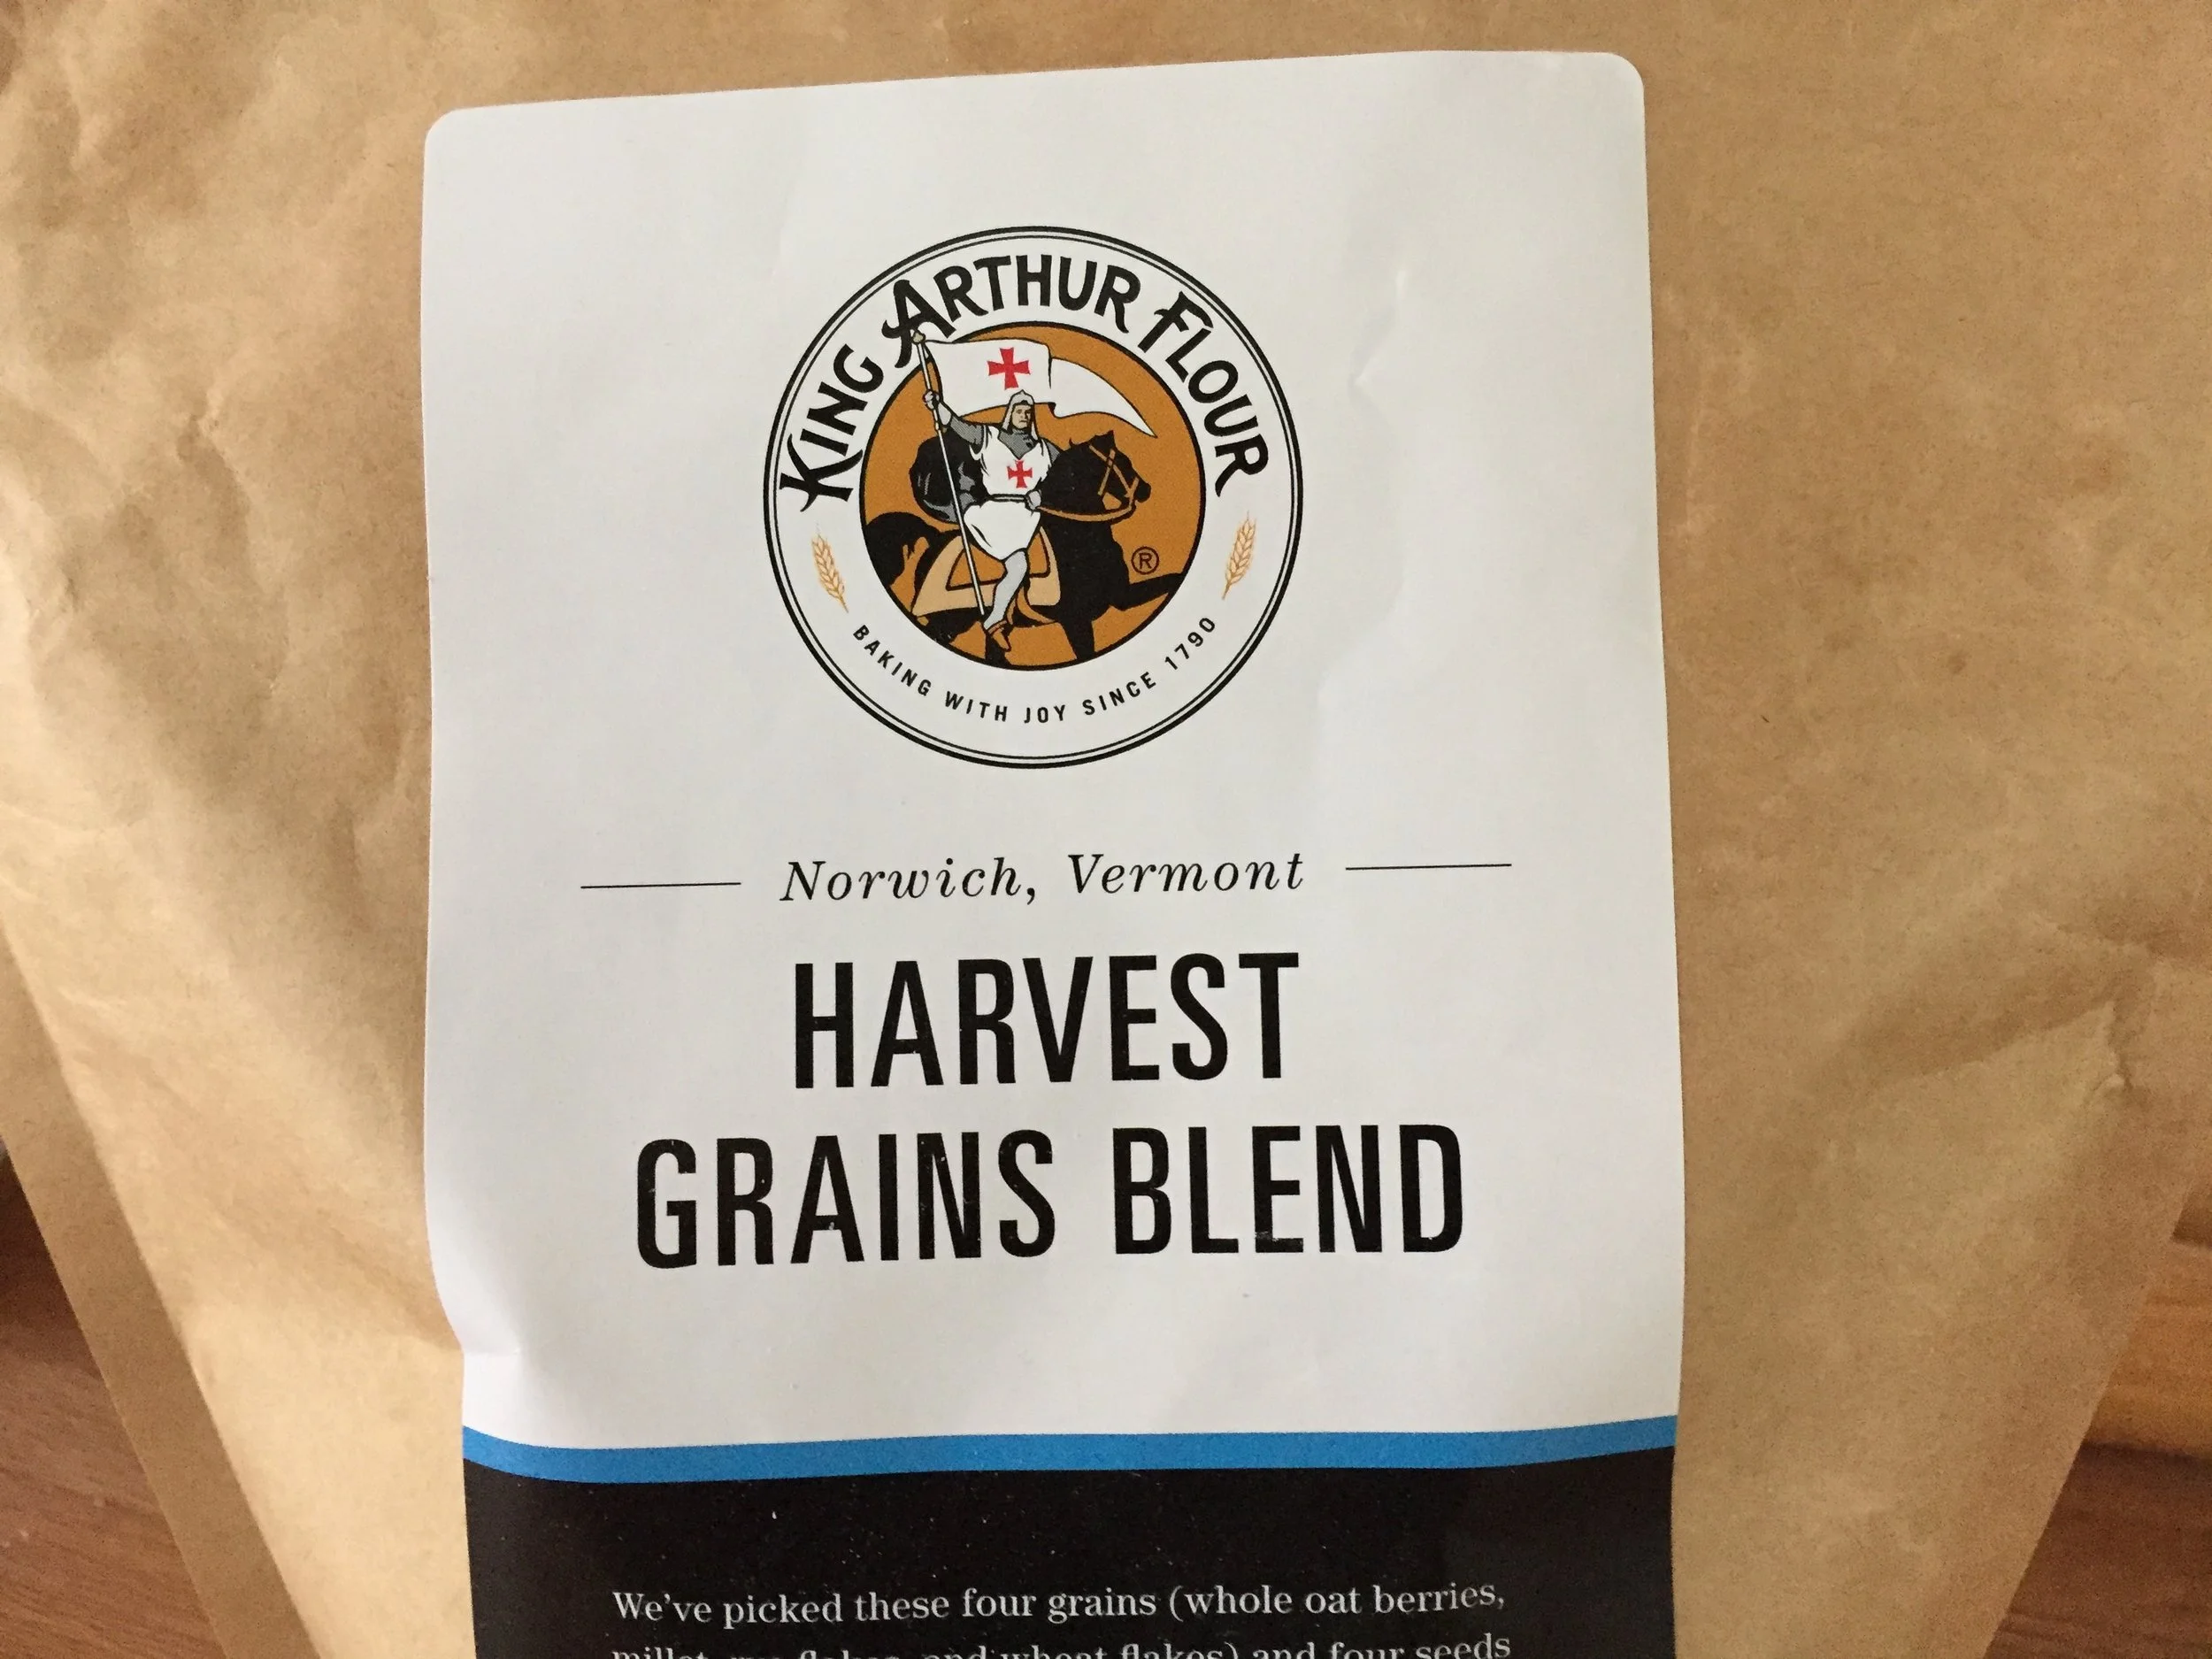
This bread is chock full of seeds, grains, cranberries and walnuts and is thanks to a recipe on King Arthur Flour's website. As I continue to focus on adding more whole grains into my baking, I often turn to KAF for suggestions and products. Thus I am now the proud owner of a couple of their different grain blends.
One is a whole grain flour blend containing all sorts of goodies.
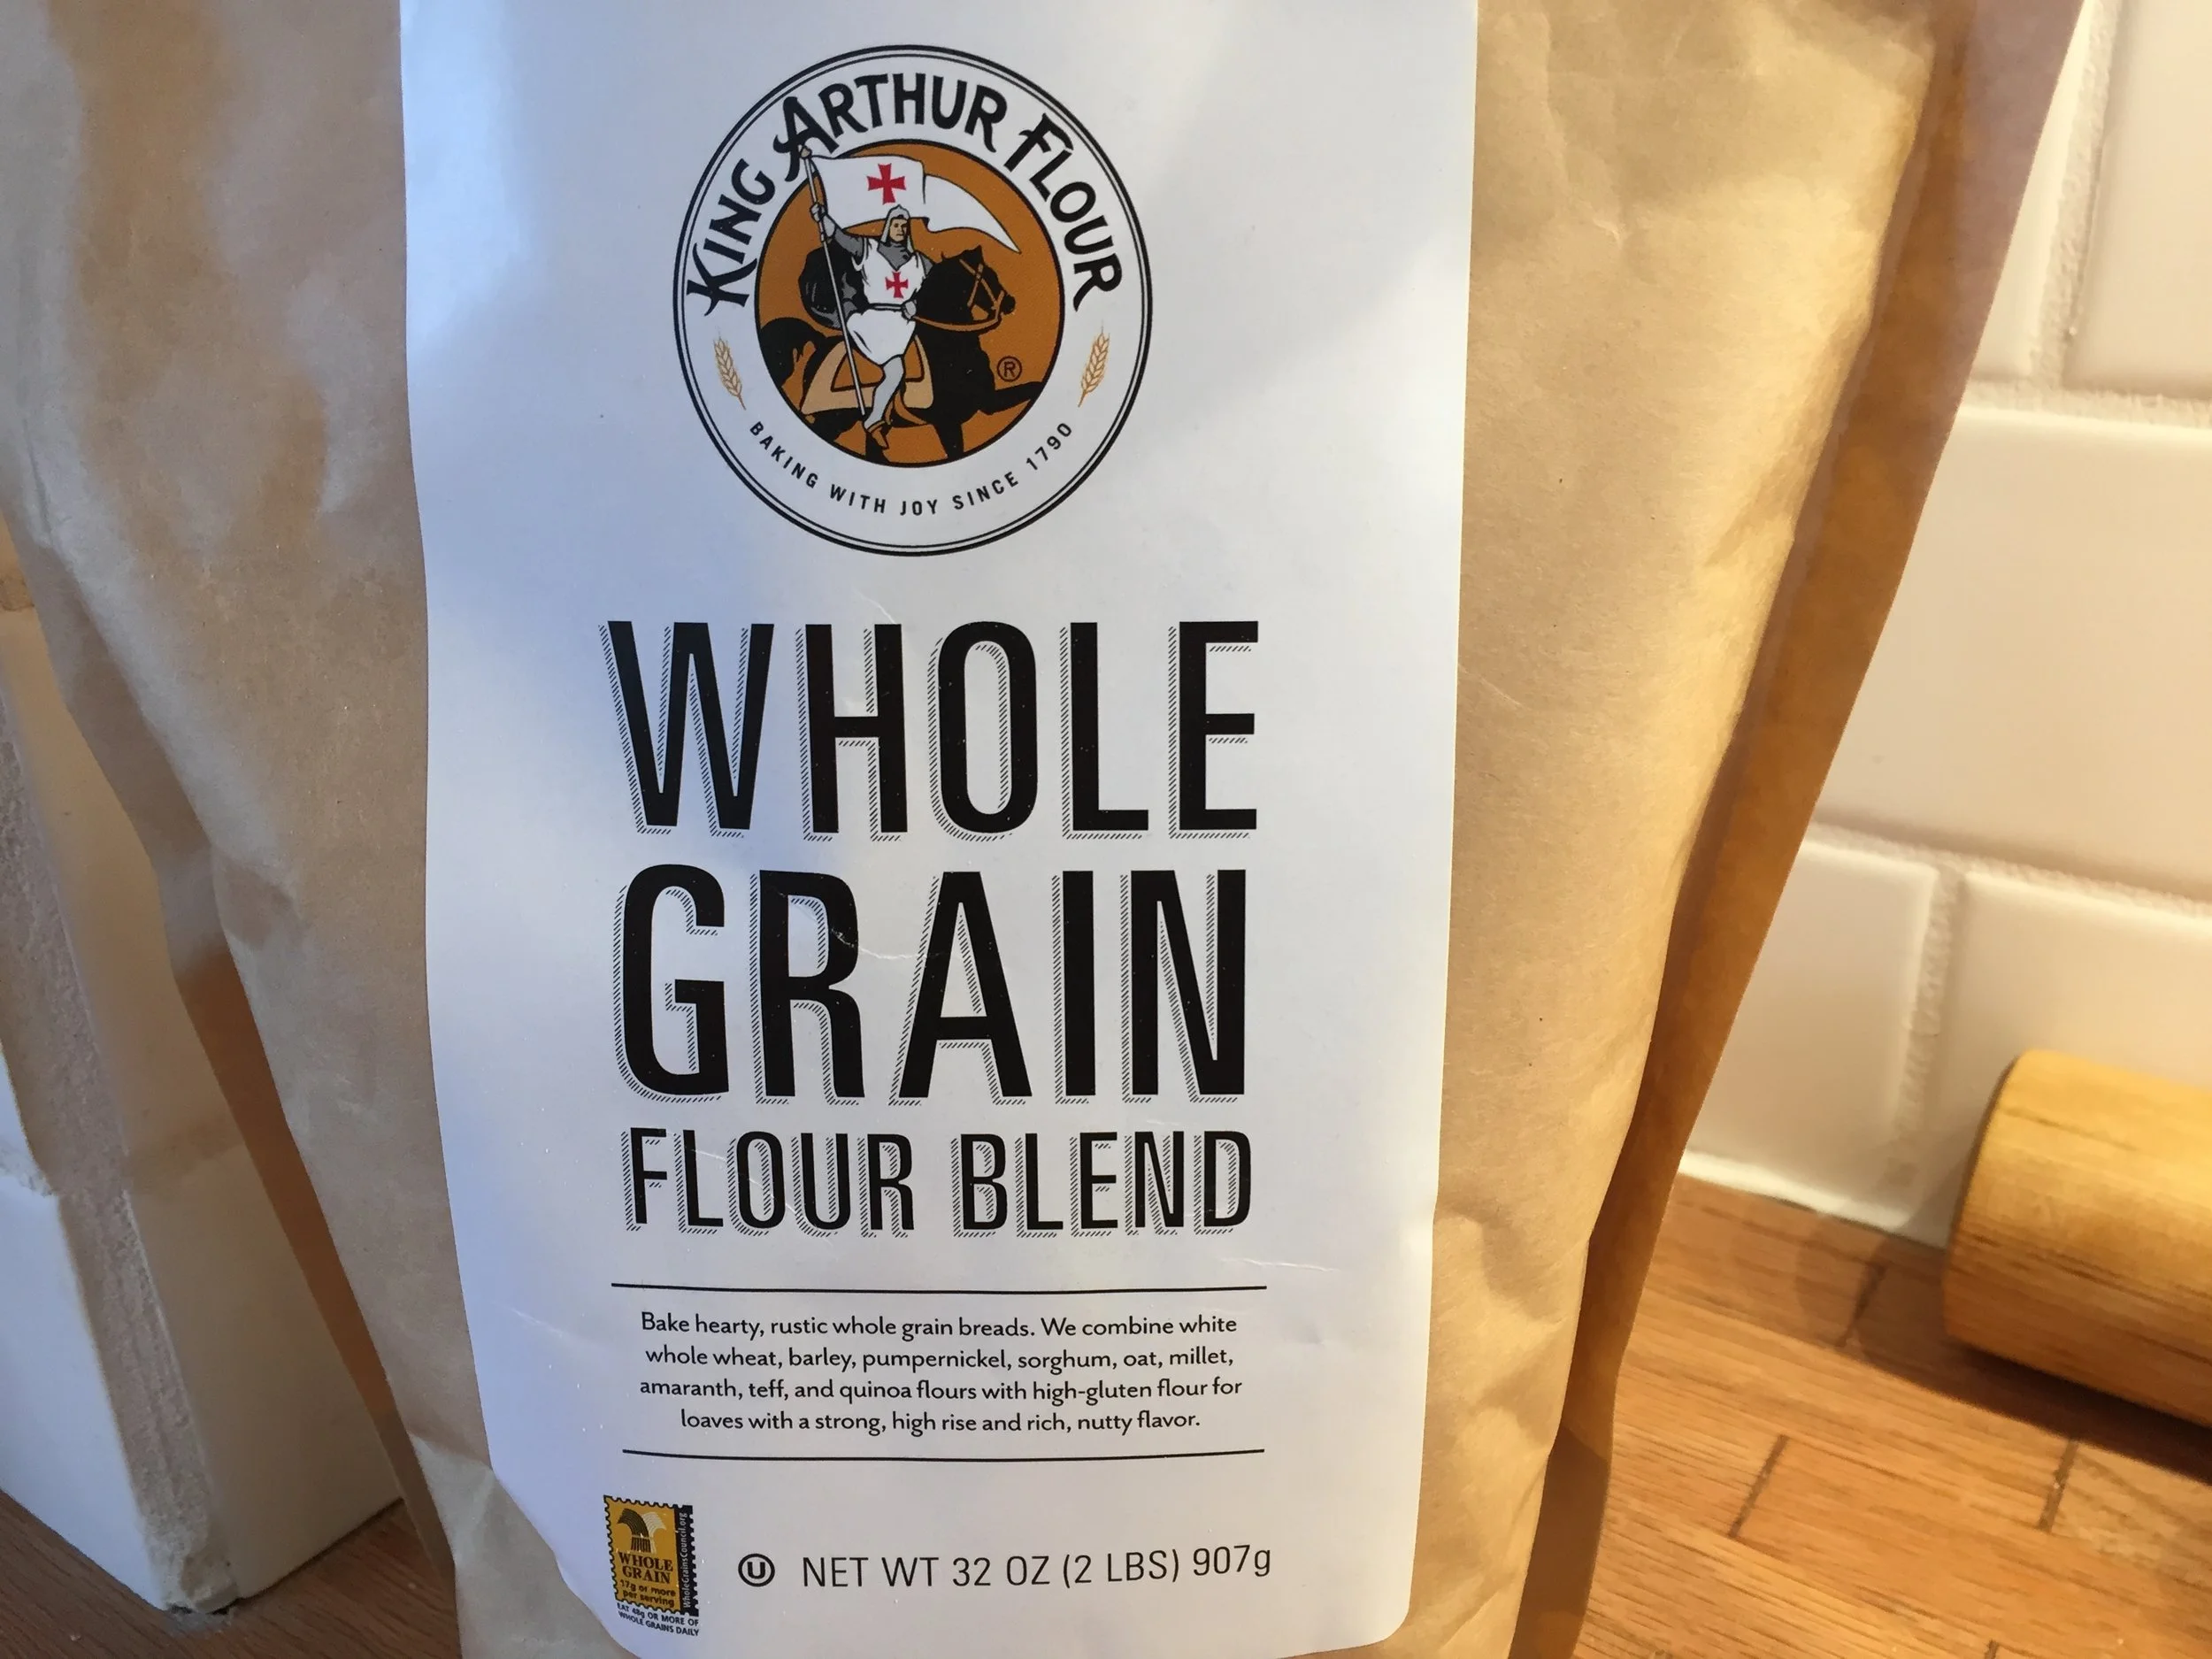
Here's a closer look at the ingredients. What's not to like, eh?

The other is their Harvest Grain Blend full of good stuff.

The recipe makes two typical loaves, baked in standard loaf pans. It has a fair amount of molasses in it, giving it a dark, hearty appearance.

I made some adjustments in the recipe to tailor it to the ingredients I had on hand. It's a straight forward direct dough method of mixing, rising, etc.
Once everything is mixed together, the dough can be kneaded either by hand or in a stand mixer with the dough hook for 7-10 minutes to achieve a springy yet sticky dough. This step is always the most challenging for me - knowing just when a wet/sticky dough is at the right stage. Gotta just keep on doing it over and over and over!
The dough goes into a lightly oiled bowl, covered, and allowed to rise for a couple of hours "until noticeably expanded". Recognizing THAT stage is another step that comes with lots of practice!

Before the first rise
I hope you can appreciate the expansion of the dough - it may be subtle, but not as much of the bowl is visible now.

After the first rise
Deflate the dough, divide and shape into two logs. Place them in lightly oiled loaf pans.

Cover the pans and let rise 1-2 hours until the center of the loaves is about an inch above the rim of the pans. I'd say these babies have poofed up nicely.

Toward the end of the second rise, heat your oven to 350ºF. Bake 40-50 minutes, tenting with foil about half way through to prevent over browning (it's that molasses, don't ya know!). The internal temperature should be 200ºF.
Take the loaves out of the oven and turn them out of the pans onto a cooling rack.

Waiting for freshly baked bread to cool is sooooo hard! But wait I did. I enjoyed my first slice just plain . . . .
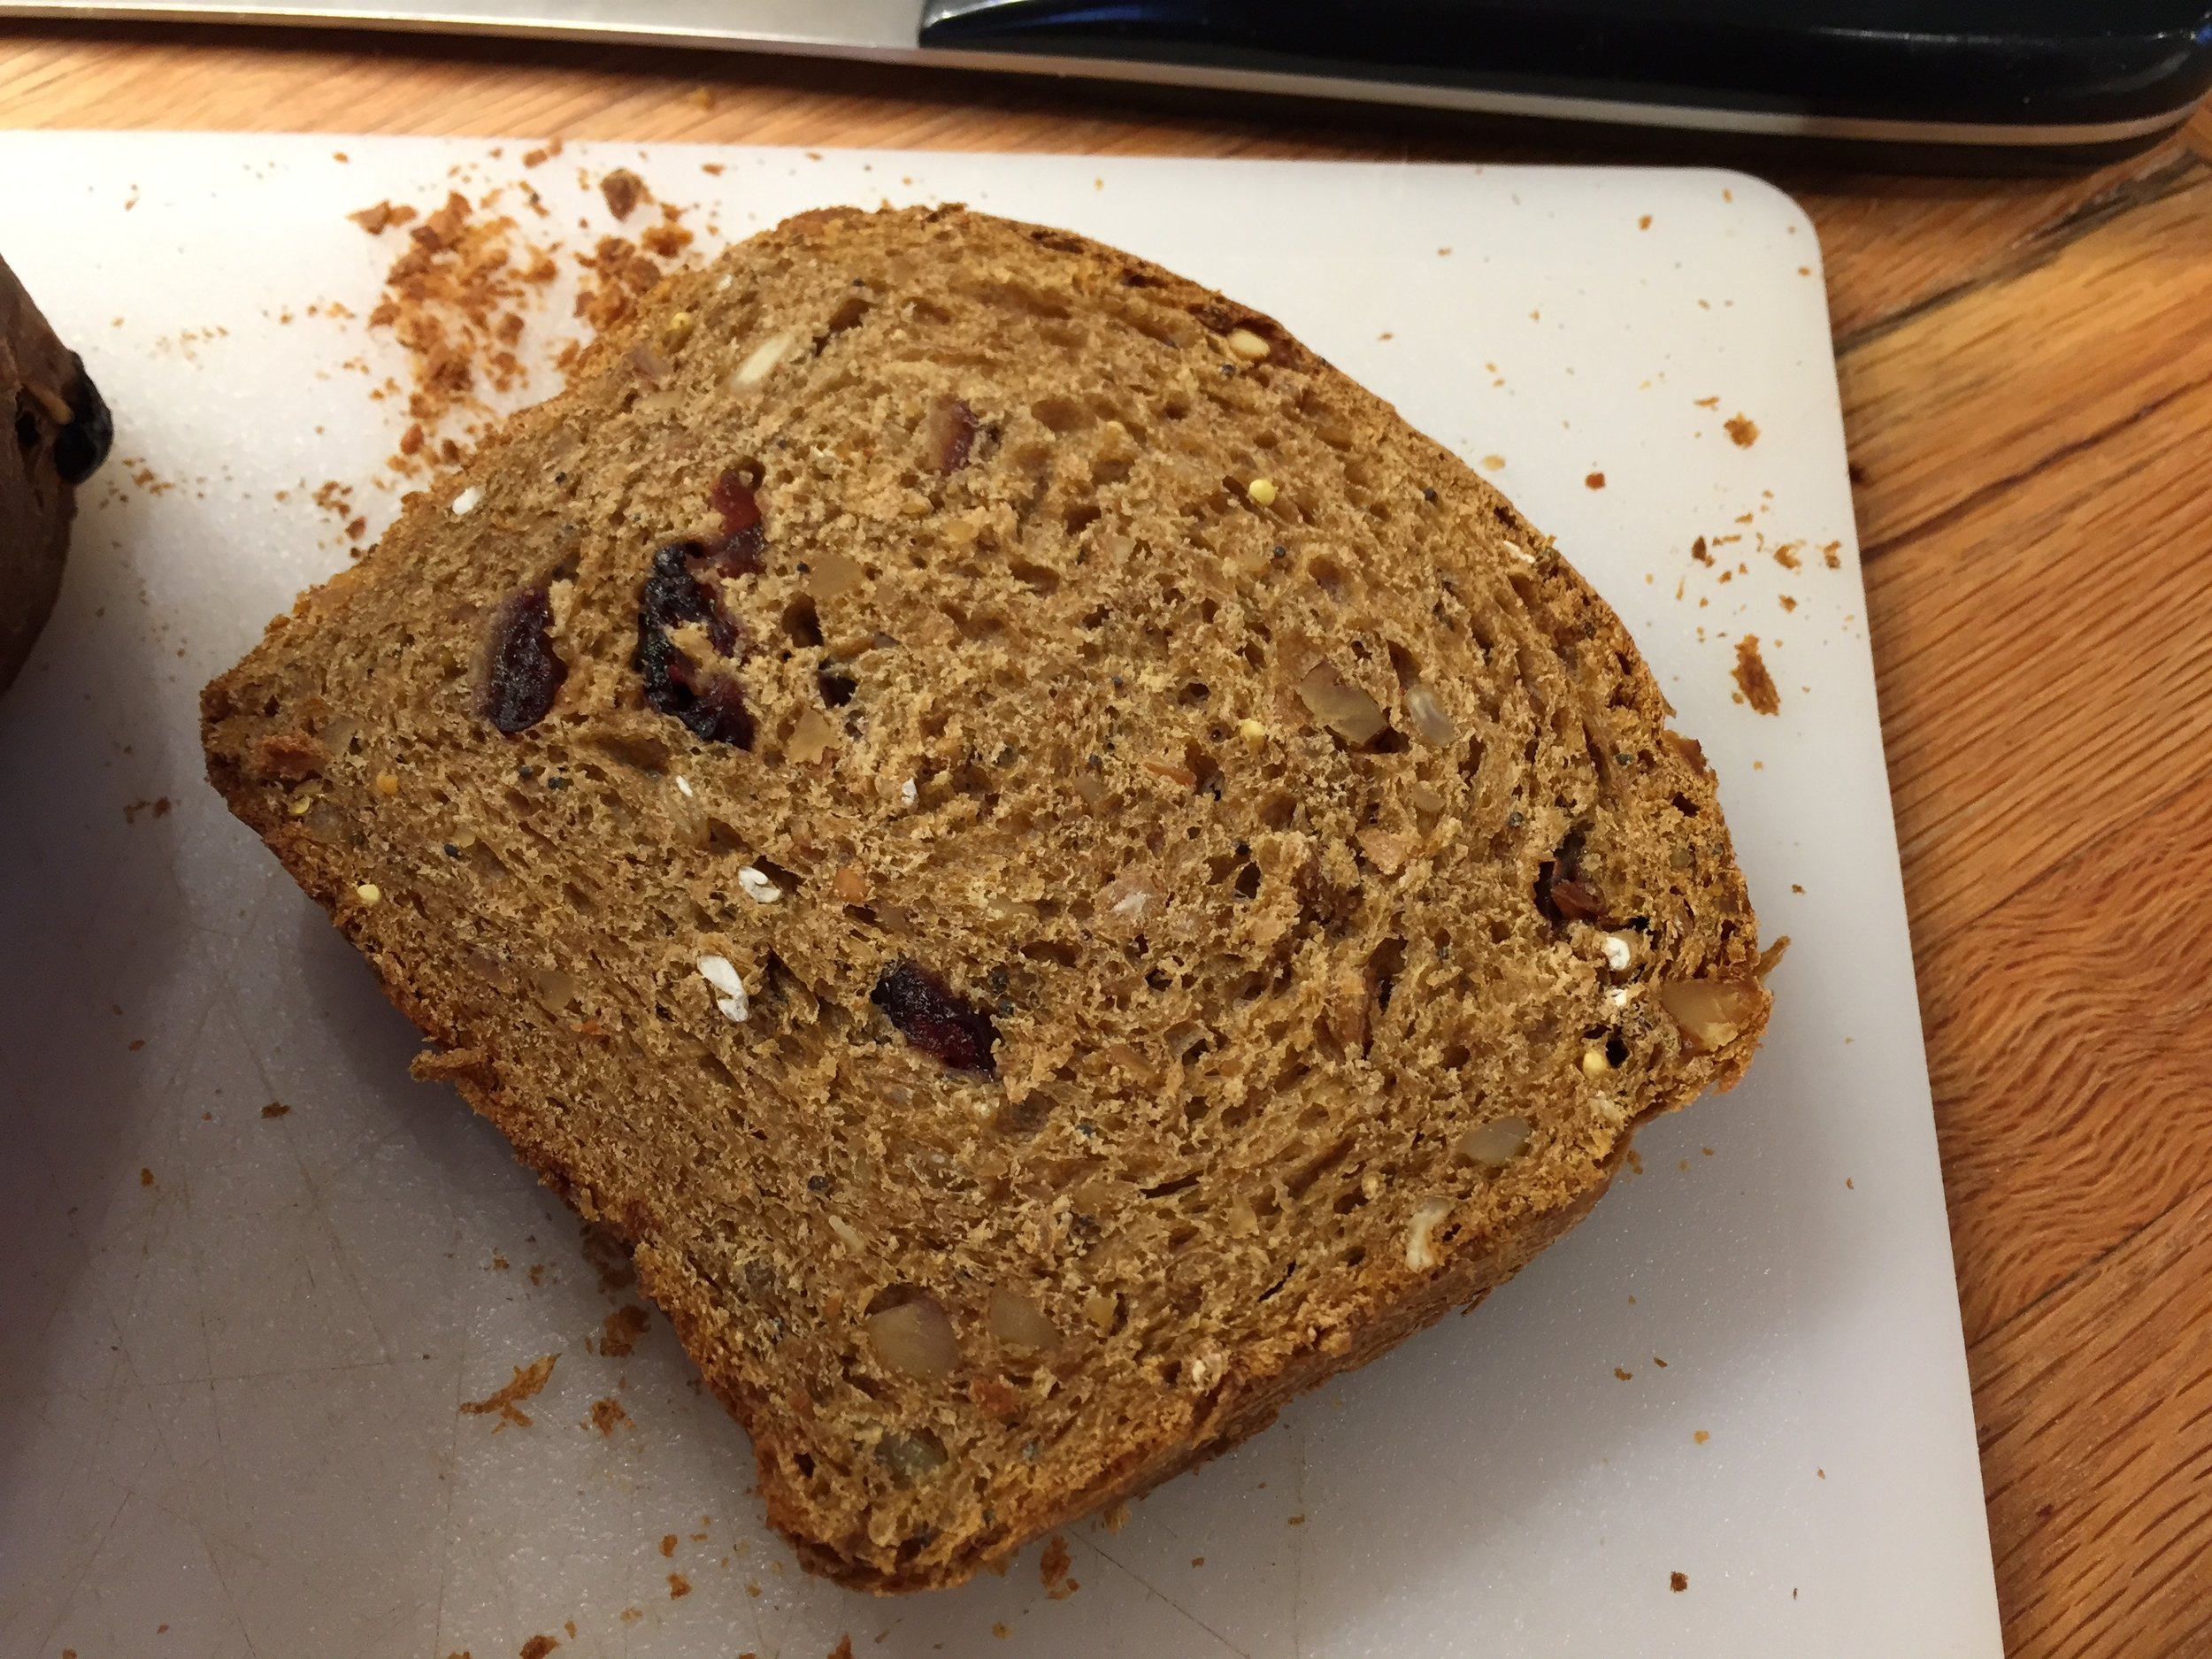
but the second received a well deserved thin layer of butter. Yum.

And a nice slice of cheddar cheese ain't bad either.
This is definitely worth a repeat. I gave a loaf to friend Margaret for her birthday and we both agreed that the molasses was a bit over the top. Buuuuuttt . . . otherwise it's a hearty, crunchy, full of goodness loaf. Next time I'll replace a portion of the molasses with honey and see where it takes me. The adventure is always good.
Here's my version of the recipe.
1. Whisk together 454 g tepid water, 1 large egg and 170 g molasses in a large bowl (your stand mixer bowl if kneading that way).
2. Add 16 g Kosher salt, 13 g instant yeast, 113 g softened butter, 142 g Harvest Grains Blend and 340 g Whole Grain Flour Blend. Stir to combine.
3. Stir in 113 g finely chopped walnuts and 128 g dried cranberries. Add 454 g bread flour and mix until it comes together.
4. Knead for 7-10 minutes until springy but still quite sticky.
5. Place dough in a lightly oiled bowl, cover and let rise about 2 hours until noticeably expanded.
6. Deflate the dough, divide in two and shape each half into a log. Place each log in a lightly oiled pan.
7. Cover and let rise 1-2 hours until the center of the dough has risen about 1" above the pan rim.
8. Heat oven to 350ºF. Bake for 40-50 minutes, tenting with foil about half way through. The internal temperature should be 200ºF.
9. Remove the loaves from the oven, turn out of the pans onto a cooling rack.
10. Let cool , slice and enjoy!


