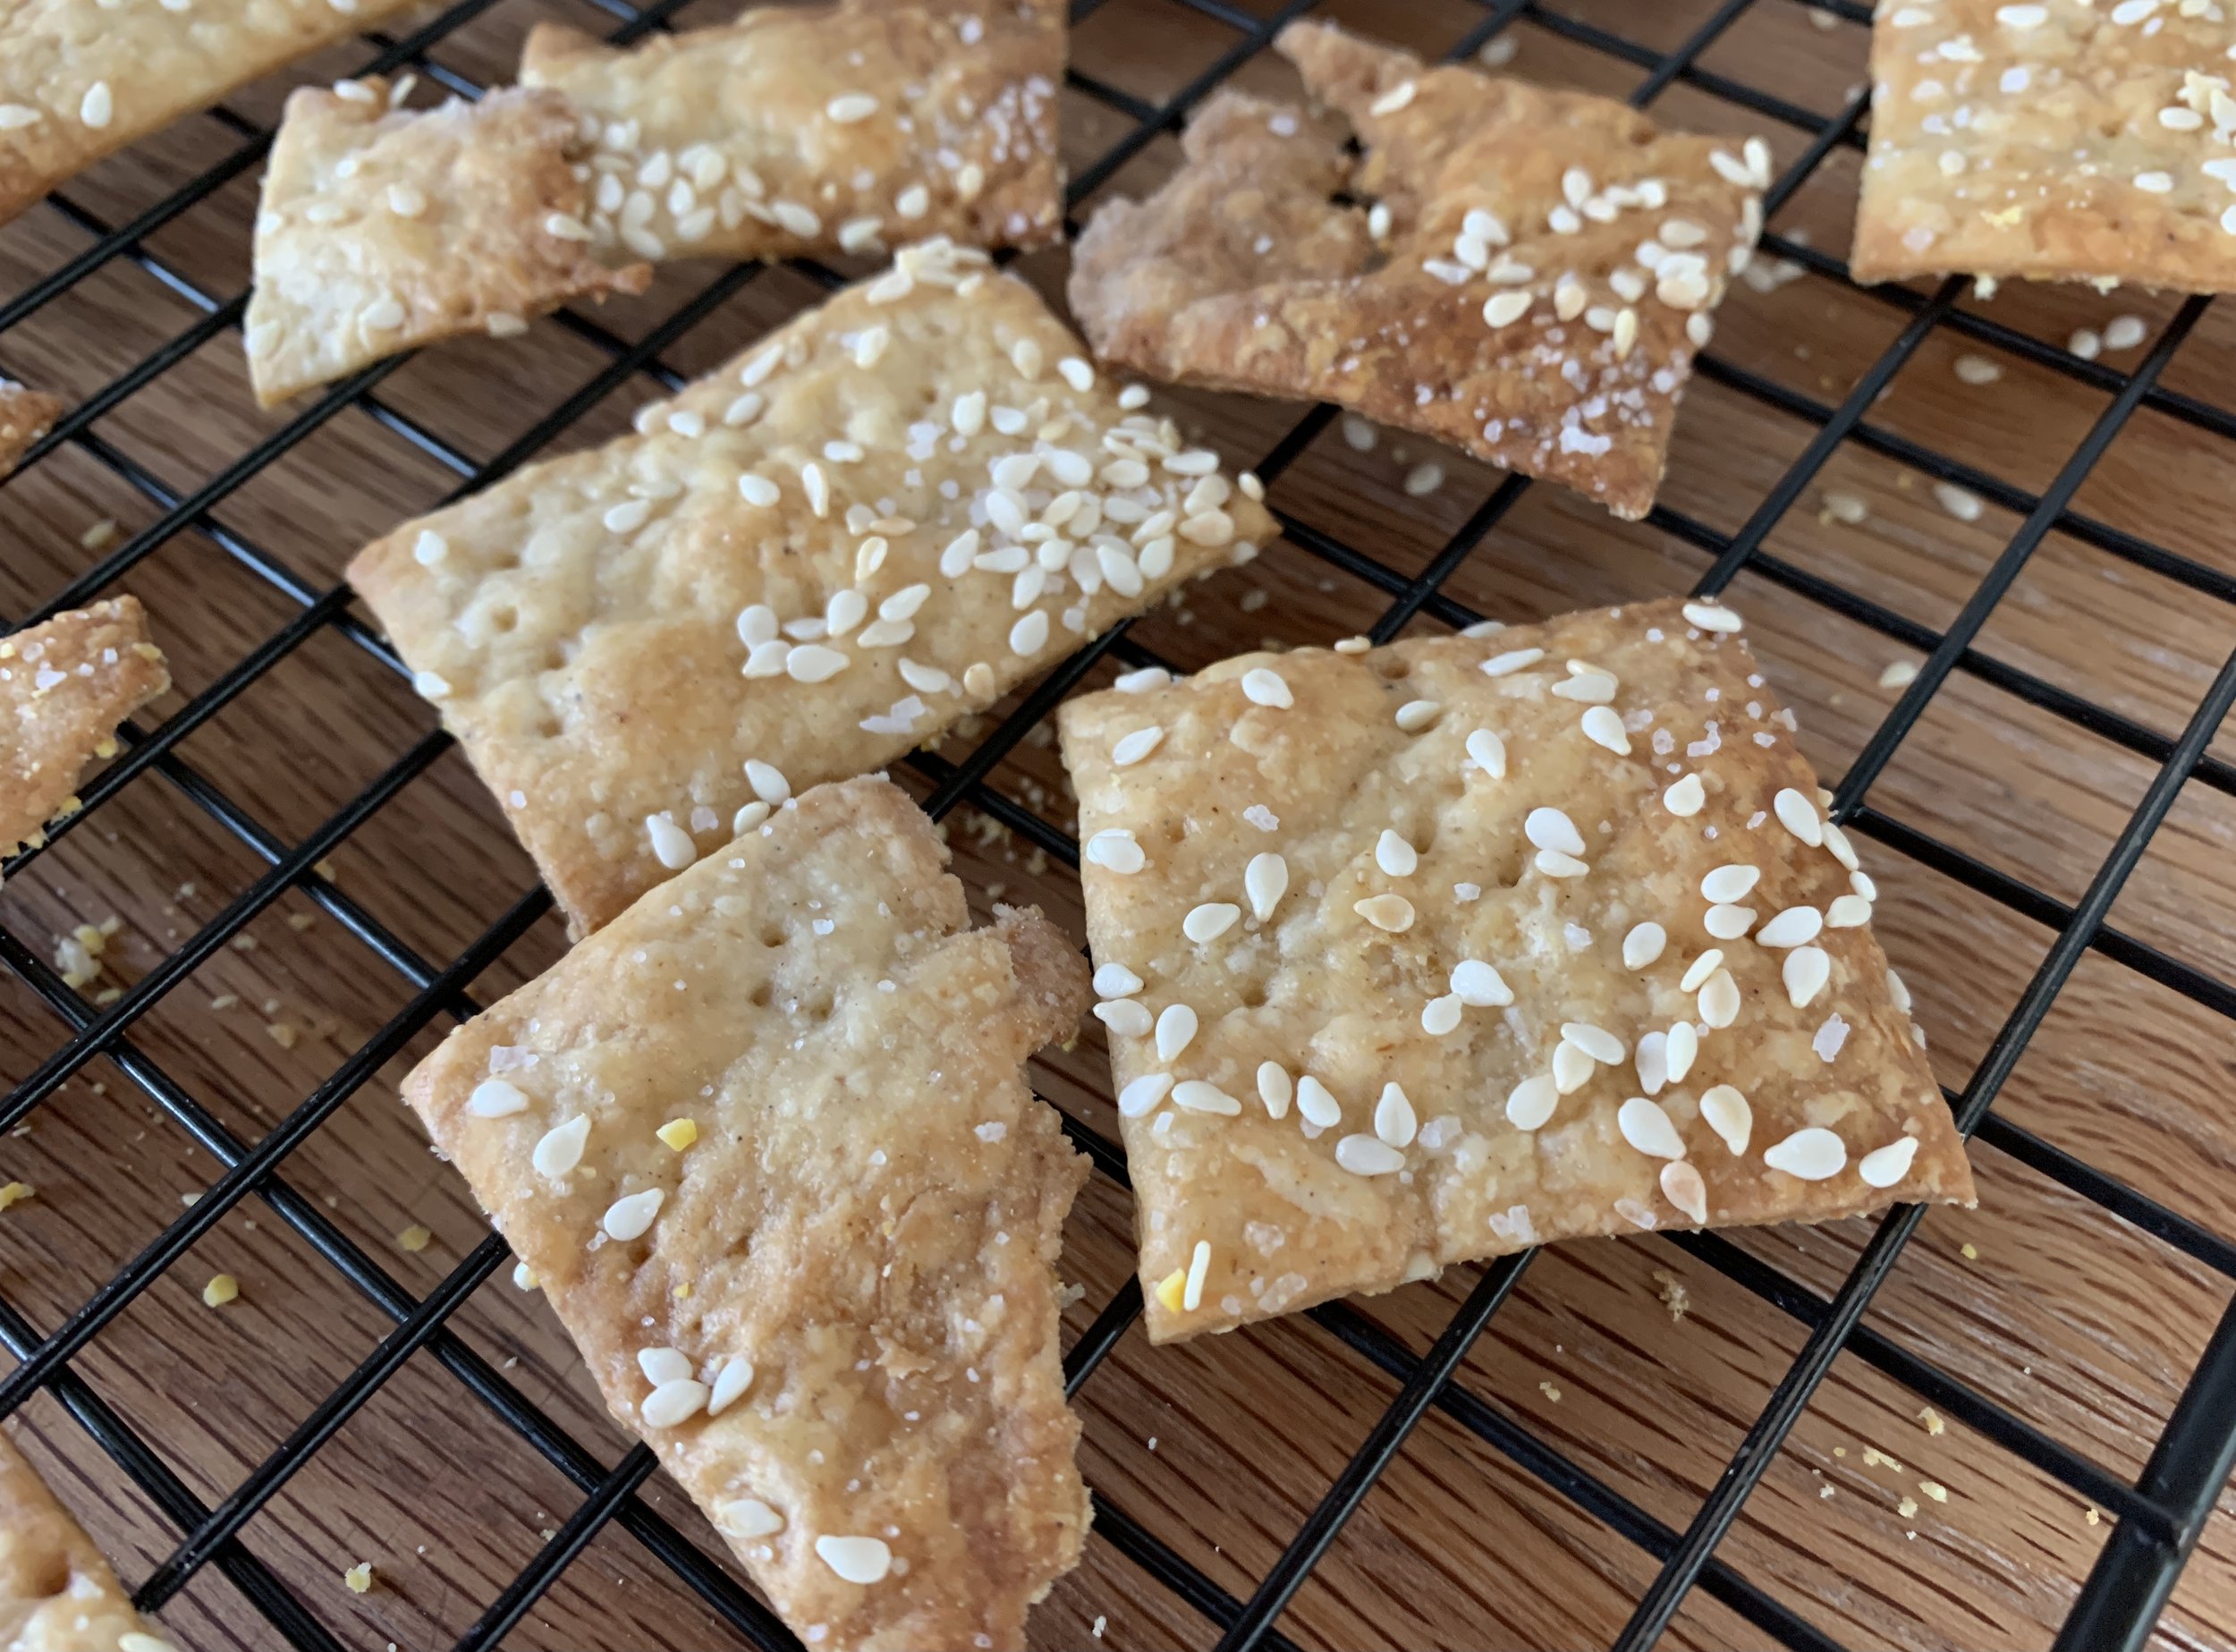
Sesame cumin crackers

Nothing fancy here folks but these babies are delicious! My first foray into baking with chickpea flour, I came across this recipe when browsing back through some old issues of SIFT magazine (Holiday 2018, No. 12) from King Arthur Baking Company (King Arthur Flour back then). The company published this beautiful magazine over 5 years, 3 issues per year, but, alas, they stopped with the holiday issue at the end of 2019. I have all of them except the very first and they tell me it’s not available. I did find an old press release with a PDF of the first 5 pages and also this link to what’s in that first issue if you’d like to check it out.

This cracker recipe comes from Sofra, the popular middle Eastern bakery/cafe in Cambridge MA. Steve and I have experienced some of their goods in past years, since it’s not far down the road from Mt. Auburn cemetery. During our Providence days, we would occasionally take a drive to stroll the beautiful grounds, enjoy the arboretum and pay our respects to the likes of Henry Wadsworth Longfellow, Dorothea Dix, Winslow Homer and Isabella Stewart Gardner. There’s a great view of Boston from the higher elevations, and birding is popular too. A calming place!

The dough is simple to put together but plan ahead since you roll out quarters of the dough, stack them between parchment and chill them for at least 4 hours or overnight before cutting and baking.

Here’s the recipe: In a small bowl blend 3/4 cup buttermilk with 2 tablespoons tahini (be sure and stir it up well first!). In the bowl of a stand mixer with the paddle combine 227 g / 1.75 cups all purpose flour, 50 g / 1/2 cup chickpea flour (I use Bob’s Redmill), 1 tablespoon sugar, 1 teaspoon kosher salt, 1 tablespoon ground cumin, 1/4 teaspoon ground allspice and 113 g / 4 ounces cold unsalted butter cut in 1/4” cubes. Blend on low until butter is in small pieces then add the buttermilk mixture and mix to a wet dough.

The dough is pretty easy to handle when the work surface is properly floured. Divide the dough in 4, keeping the waiting quarters in the fridge as you roll out one at a time. Roll each quarter to a 12”x13” (ish) rectangle - mine was pretty loose-y goose-y since I envisioned my crackers would end up in a variety of shapes and sizes, and I didn’t mind some rough edges. The main thing is rolling the dough nice and thin (1/16”) for better crisping up during the bake.

Line a half sheet pan with parchment, sprinkle with cornmeal (or semolina) and place the first rolled out dough quarter on it. Place a second piece of parchment on the dough, sprinkle again with cornmeal and place the rolled out second quarter on it. Repeat with the other two portions. Cover with plastic and refrigerate 4 hours or overnight. I chose overnight.

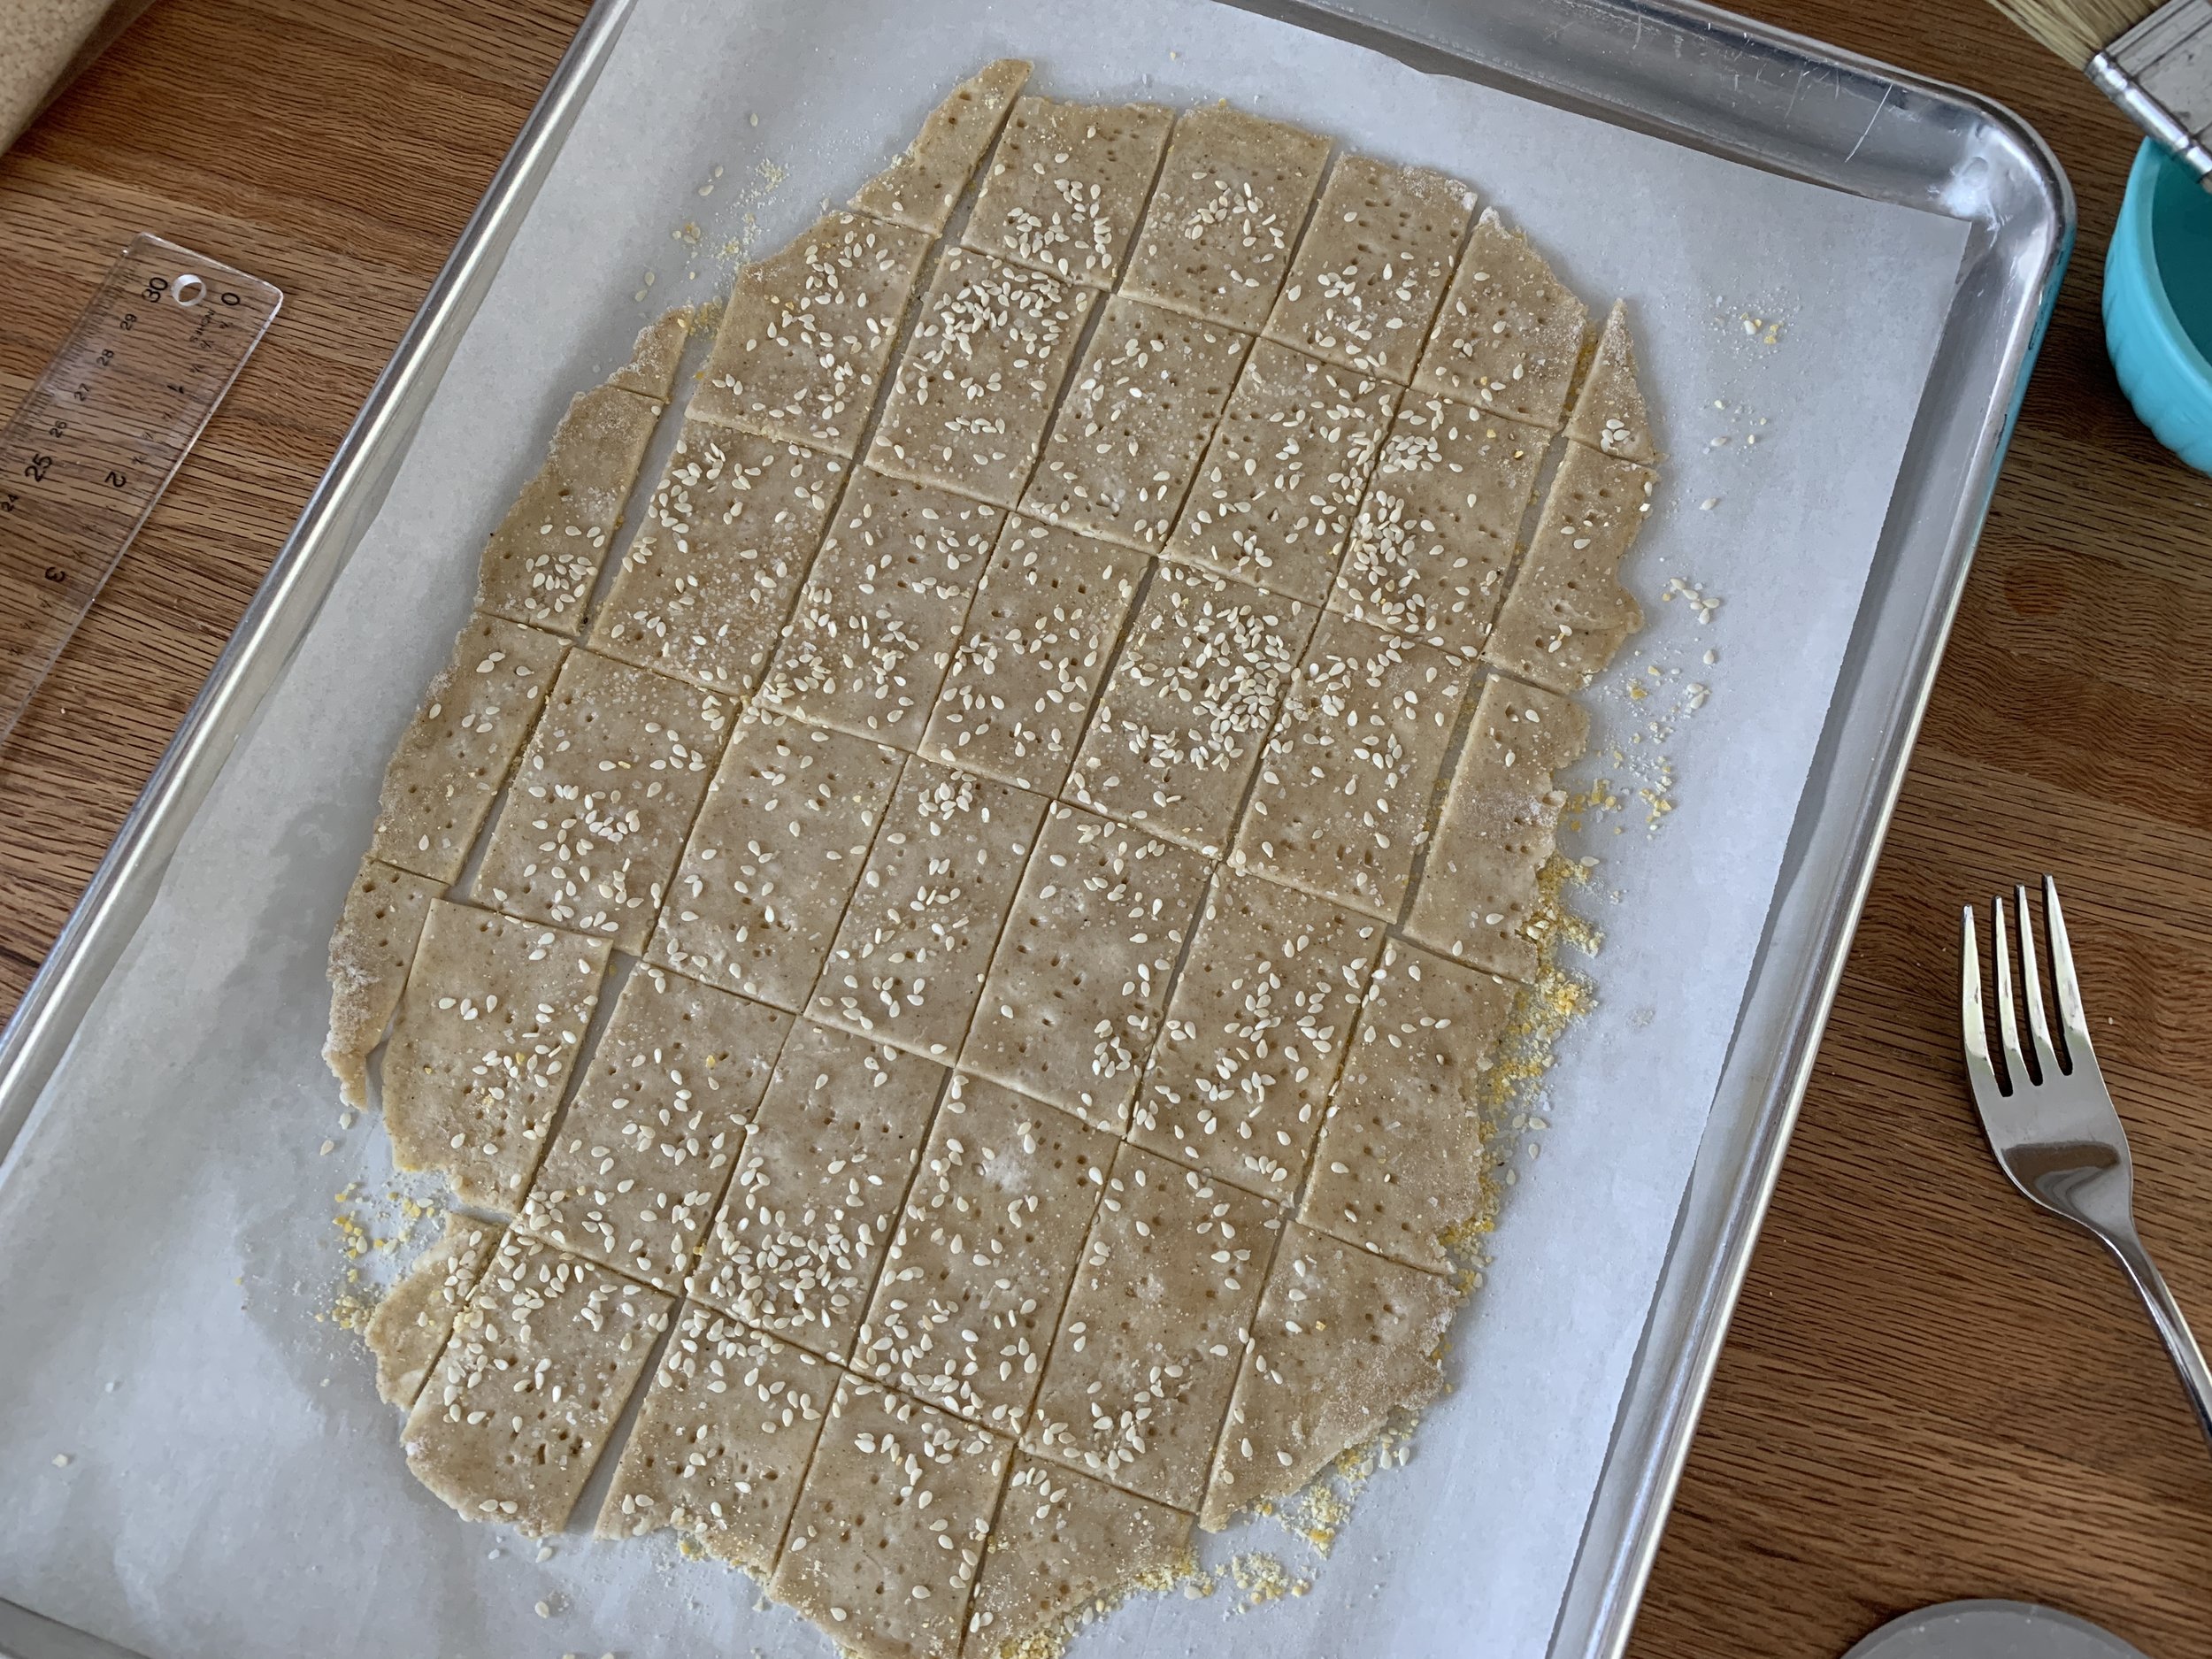
When ready to bake, heat the oven to 350ºF. Have a teaspoon of kosher salt and 2 tablespoons sesame seeds on hand. Lift one of the dough portions on its parchment onto an empty sheet pan. Fork prick it all over, brush lightly with water and sprinkle 1/4 teaspoon kosher salt and 1/2 tablespoon sesame seeds over the top. Cut into squares or rectangles (or whatever shape and size you’d like) with a pizza cutter.

Repeat the above with the next batch of dough on a second empty sheet pan. NOTE - I baked two pans in one go but if you prefer to bake one at a time, go for it.

If you only have one or two half sheet pans and need to rotate batches, pull the baked sheets off onto cooling grids and let the pans cool completely before you continue the above steps with the remaining dough quarters.

Bake about 15 minutes, rotating your pans half way through. I baked mine a bit longer since they weren’t deeply browned and crispy at the 15 minute mark. Remember - all ovens are different! Let cool then recut or break apart and enjoy.

Steve and I found them very tasty with a schmear of hummus or a nice slice of Cotswald cheese. Yum. One note - the medium grind cornmeal that I used for “dusting” the parchment sheets had too much coarse crunch for our tastes. I’d suggest using either fine-grind cornmeal or semolina to 86 that problem.

They keep well in a closed container for a good week. Try ‘em, you’ll like ‘em.

Have a wonderful week!

Giving thanks for daily bread: Semolina rye 2 ways

B0A379E3-8A65-4BAD-99F5-D090C98D69C3.jpg

This one was fun to work on. I adapted a King Arthur Baking Company direct dough recipe, created a poolish version and tried it a couple of different ways - boules and standard sandwich loaves. Don’t you just love dough? And bread? And pastries? And . . . . . . . ! It’s all fantastic!!

I’ve written about poolish most recently in my baguette post. It’s in the category of pre-ferments or dough starters and is made up of equal weights flour and water. Fermented for some hours before being added to the final dough, it kick starts the fermentation process, adding more structure, flavor and a longer shelf life to the end result. All great reasons to do it! It just takes a bit of planning ahead.

I turned to Rose Levy Beranbaum’s book “The Bread Bible” for guidelines to convert a direct dough recipe to a poolish method. Generally you’ll weigh 1/3 to 1/2 the amount of the total water in the recipe (in my case 540 g x 0.33 = 180) and 22-33% the amount of the total flour (826 g x 0.22 = 180 give or take a gram) to create your poolish. Mix 180 g cool water, 180 g bread flour plus a pinch of instant yeast, cover and let sit overnight.

Note: as you can see, RLB gives a range within which you can work to create the poolish . I chose the lower ends of the spectrum.

Here’s the result after an overnight room temperature ferment.

91233A40-091E-46EC-9134-F6A283220B5E.jpg

Here’s my full recipe. I love writing recipes out by hand - something I got used to during my stage in Paris in 2007. It’s a great way to place the mixing steps along side of the ingredients which for me makes it more user friendly. Notes can easily be added in the margins as well.

0E0FEECF-AB27-4B11-94E5-4860BF20EA0C.jpg

I’m a big fan of King Arthur’s all purpose and bread flours, and I turn to Bob’s Red Mill for other specialty flours, in this case semolina and dark rye.

699A4916-0BAB-440E-AAFD-712315B70F95.jpeg

When ready to mix the final dough, weigh out the remaining dough ingredients. Add the warm water to the poolish and mix to loosen. Place the bread, rye and semolina flours and the instant yeast in the bowl of a stand mixer fitted with the dough hook, then add the poolish/water to it. At this point I give it an initial blend with a spatula to get things started. Then let the mixer do the work!

79404B96-C4D1-4E8F-AEFC-82724B650D86.jpg

Mix on low speed and add the sugar, olive oil and salt. Once the majority of the flour has been blended in, increase speed to 2-4 and knead for 7-8 minutes to a smooth, slightly sticky dough.

5C9FA152-774E-4BC7-B97A-163672719556.jpeg

Since the dough is a bit sticky, lightly wet your hands and bowl scraper to help you form a ball. Cover with lightly oiled plastic wrap and let rise 60 minutes.

After the first rise

After the first rise

My first round with the full recipe was to make boules. Many months ago I had snagged a great deal on a 2 1/4 quart Le Creuset lidded enameled cast iron saucepan at Sur La Table (now sadly closed here in Grand Rapids), and I wanted to make a cast iron pot loaf as well as a couple of on-the-baking-stone boules.

9996A523-B6C0-4063-AD3C-D83931EA2888.jpg

Divide the dough into three ~479 g portions and shape three boules. Place one on a piece of floured parchment cut as seen below to allow for easy lifting and placing into the pot. Cover lightly with oiled plastic wrap and let rise one hour.

Now’s the perfect time to heat the oven to 450ºF with the empty covered pot inside. You want the pot nice and hot! I also keep my baking stone on the bottom rack so that heats up for the next two loaves too.

All risen!

All risen!

Set the other two on a parchment lined overturned sheet pan, cover and let rise one hour.

Note: Since I planned to bake in two batches, I popped these two into the fridge at the end of the rise so as to avoid over proofing while my pot bread was baking.

Risen!

Risen!

When ready to bake the first loaf, very carefully remove the heated pot from the oven, lift the boule by the parchment and lower it into the hot pot. Don’t burn yourself!!

185E773C-9735-40D9-8783-6351C16CDAB3.jpg

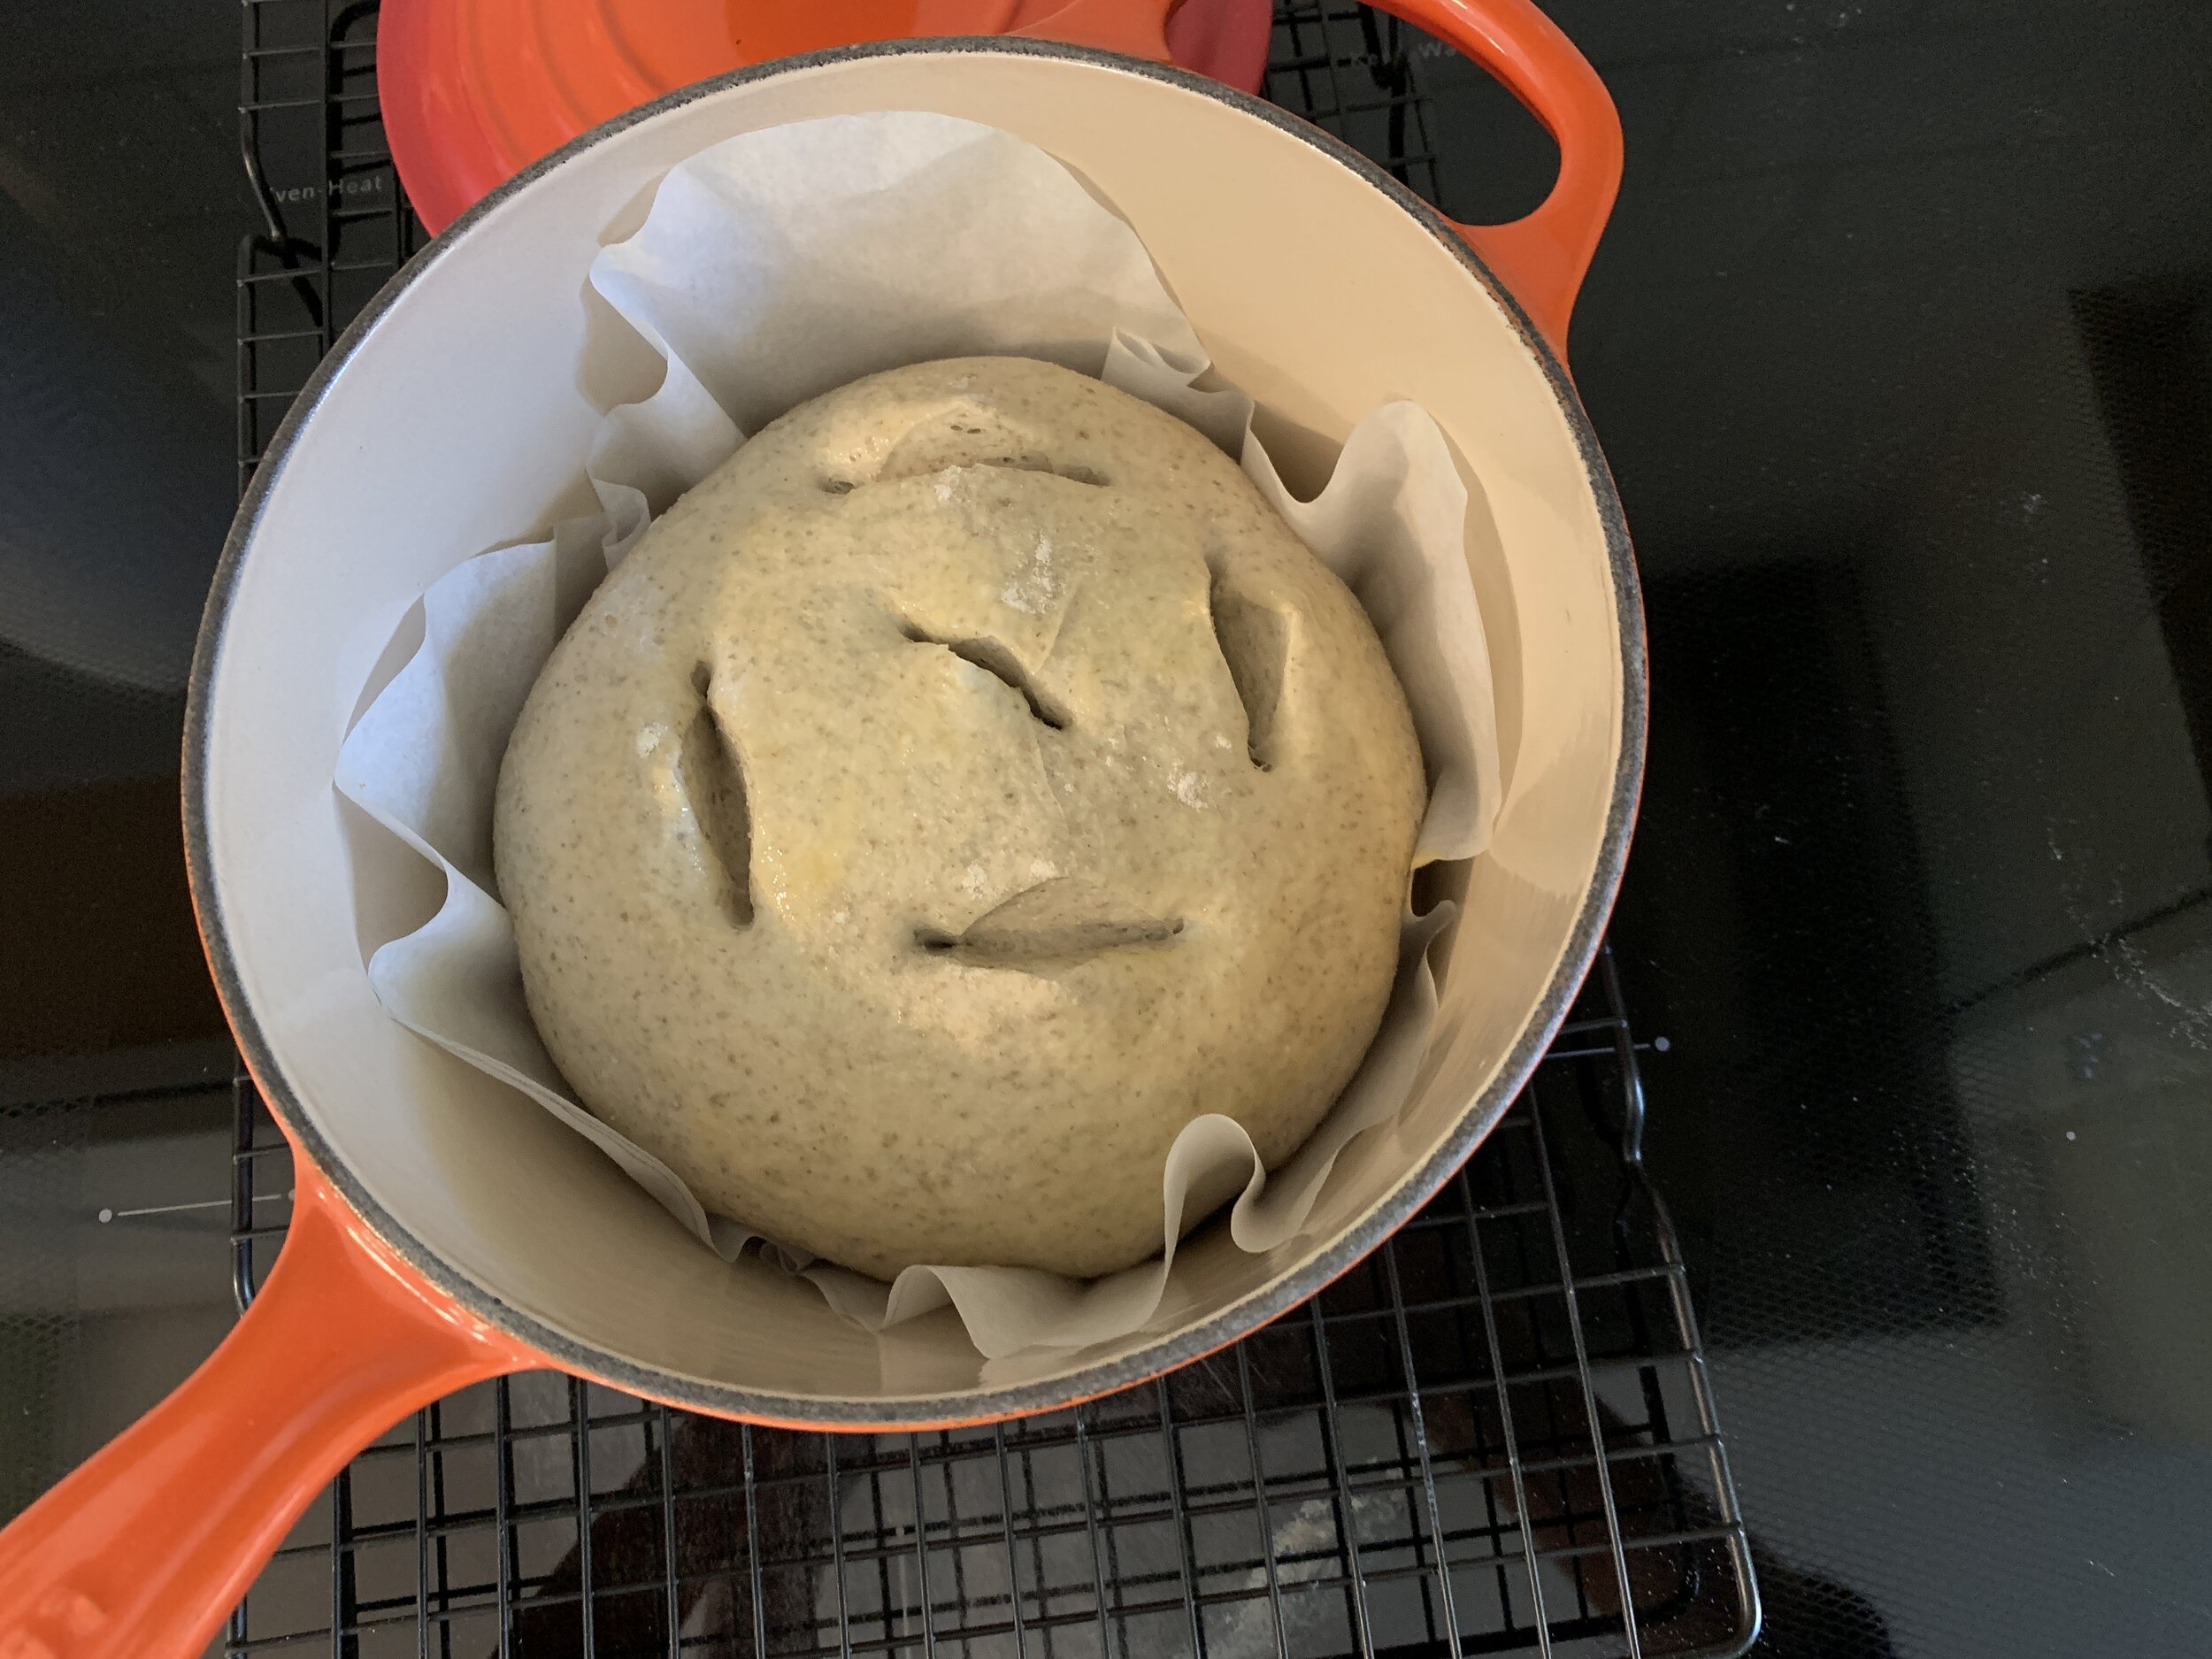
I opted to snip the top with scissors rather than score it - my pattern came out somewhat catty-wompus - hmmmmm, what exactly was I going for here? Looks like a strange Halloween pumpkin. I realized after the fact that I forgot to snip across each slash like an X to create little ears that would open up during baking. Oh distraction!! At least it didn’t negatively affect the end result!

4AFDB0E1-E126-4E32-A604-7D18ADBEBA73.jpeg

Brush it with egg wash or a little milk and bake covered for about 20 minutes . . . . .

C3CCB502-554A-4C7F-A9EB-DB8F315CA118.jpg

then uncovered for an additional 10-15 minutes until nicely browned.

Voilà

Voilà

Lift it out and let cool on a rack. Don’t you think the scissors snips actually lend it a certain carefree character?

7905D48F-6843-439C-934C-9004B09B4950.jpeg

For the other two boules, turn the oven down to 400ºF, egg wash, score and slide them, with the parchment, off the sheet pan onto the baking stone which has been heating up all along. I squirt 3-4 ounces of hot water into the metal pan in the bottom of my oven to give a burst of steam, then close the door and let the baking begin.

1879FF45-3E0D-45ED-B46A-92CA0B3E0452.jpg

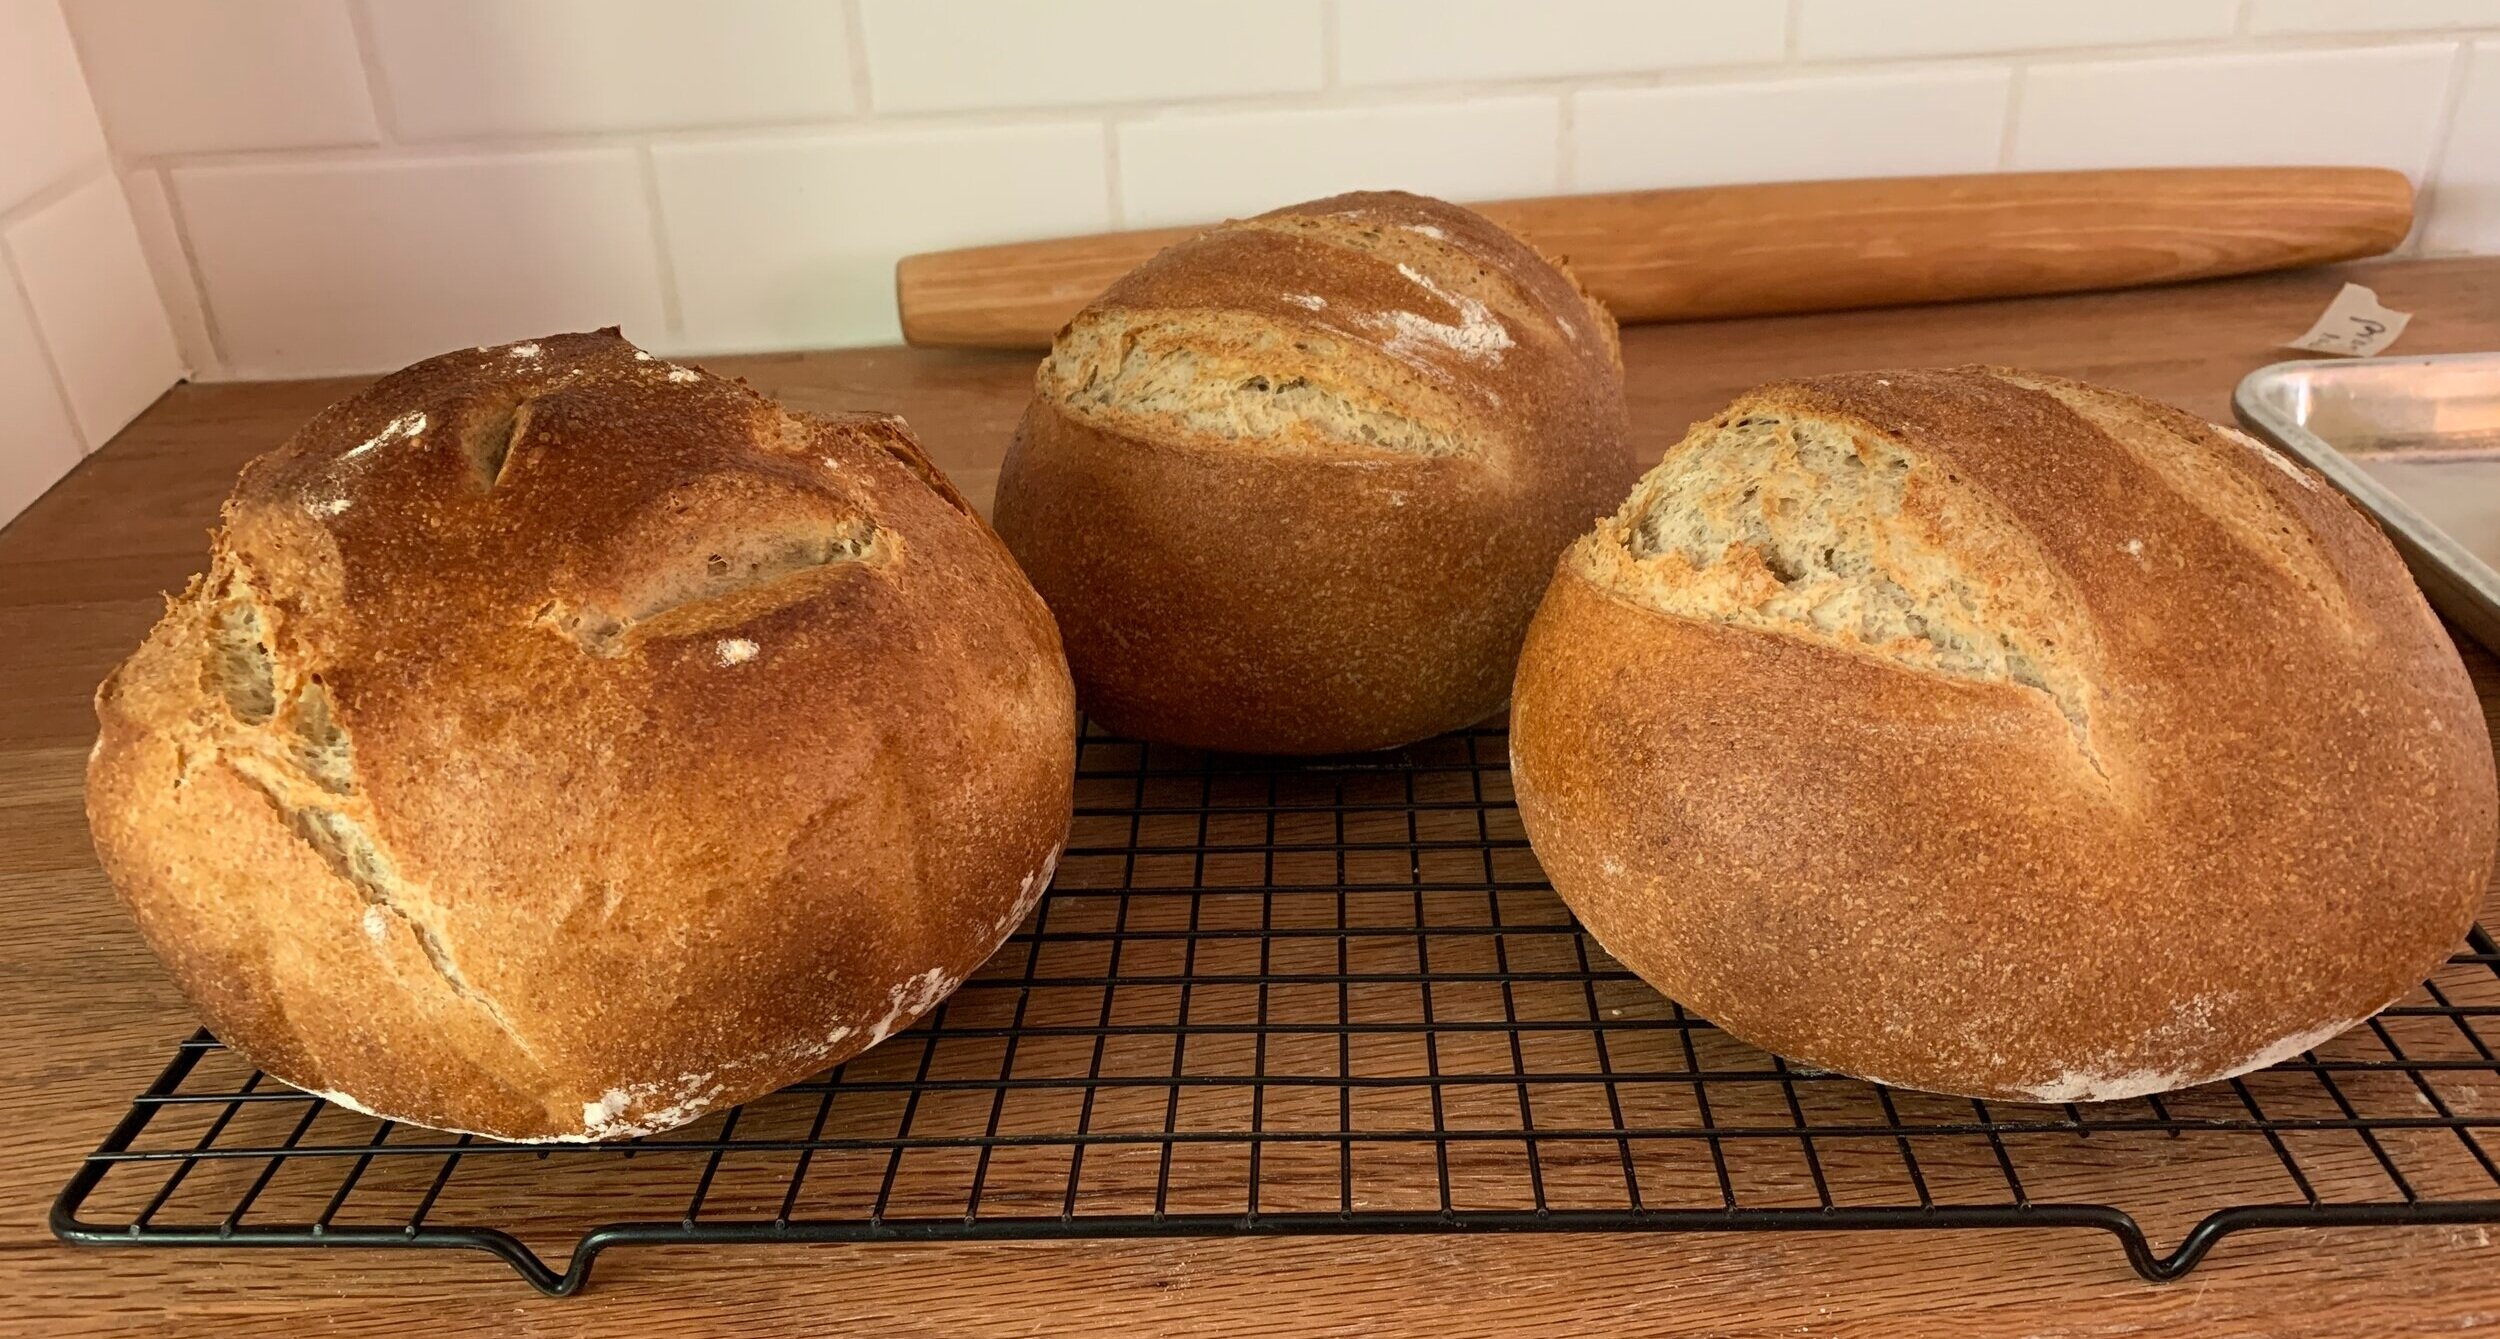
Give them 10 minutes at 400ºF then turn down to 375ºF for another 20 minutes or so until nicely browned. Cool on a rack (keep your pot bread company!).

971A3650-03D0-4BDA-8A61-46C1C627342F.jpeg

My second session with the full recipe was geared to making standard sandwich loaves. Steve and I love having good bread around for toast or sandwiches and this one fits the bill. The primary difference here is dividing the first risen dough into two portions about 715 g each, shaping loaves and tucking them into oiled medium loaf pans.

E74468D7-B160-49AA-AC37-D099F4736F25.jpeg

Cover with lightly oiled plastic wrap and let rise about an hour until the dough is nicely mounding above the rims. Meanwhile heat the oven to 375ºF.

87AD36D0-C3E5-4698-A4DA-FF5525B3F940.jpeg

Score . . . .

D9E72207-C162-458C-9ED5-BD6BBC9DB5F5.jpeg

and bake 30- 40 minutes until nicely browned and a digital thermometer in the center reads 190ºF.

While scoring isn’t strictly necessary here, it allows for a more uniform oven rise to the bread.

52039F65-21AE-4F30-A422-D903F860681E.jpeg

Remove from the pans and let cool on a rack.

734FC5C9-46D5-4A56-AF66-FDC10BCDCA6E.jpeg

I am so happy with this bread! Both the boules and the loaves have a nice chew to the crust, a tight crumb and the texture holds up well to a hearty sandwich. And let’s not forget morning toast with a fried egg on top or your favorite nut butter and jam. Yes.

4D9FF201-8697-4027-B6C5-BCA8E9DF6CD3.jpeg
6E9BBEDE-D58E-4DD2-9D55-4DA50817D31A.jpeg

Here’s a big cheer for dough and bread making - Hip hip hooray!

Let’s give thanks for safety and health as we look forward to next year and new beginnings. Meanwhile, think about a bit of holiday spirit, cut some local greens and twigs and tuck them into pots. You’ll be happy you did.

Happy Thanksgiving to all!

F1C4D47E-9971-4554-A5AD-5F98FDC81C4F_1_201_a.jpeg


Rye buns

IMG_4527.jpg

These buns are a true delight! Based on a recipe from “Brontë at Home: baking from the Scandi Kitchen” by Brontë Aurell, they come together like a dream, are great for any type of sandwich, have a lightness about them yet are sturdy enough to hold up to the juiciest grilled burger (which Steve’s tend to be!).

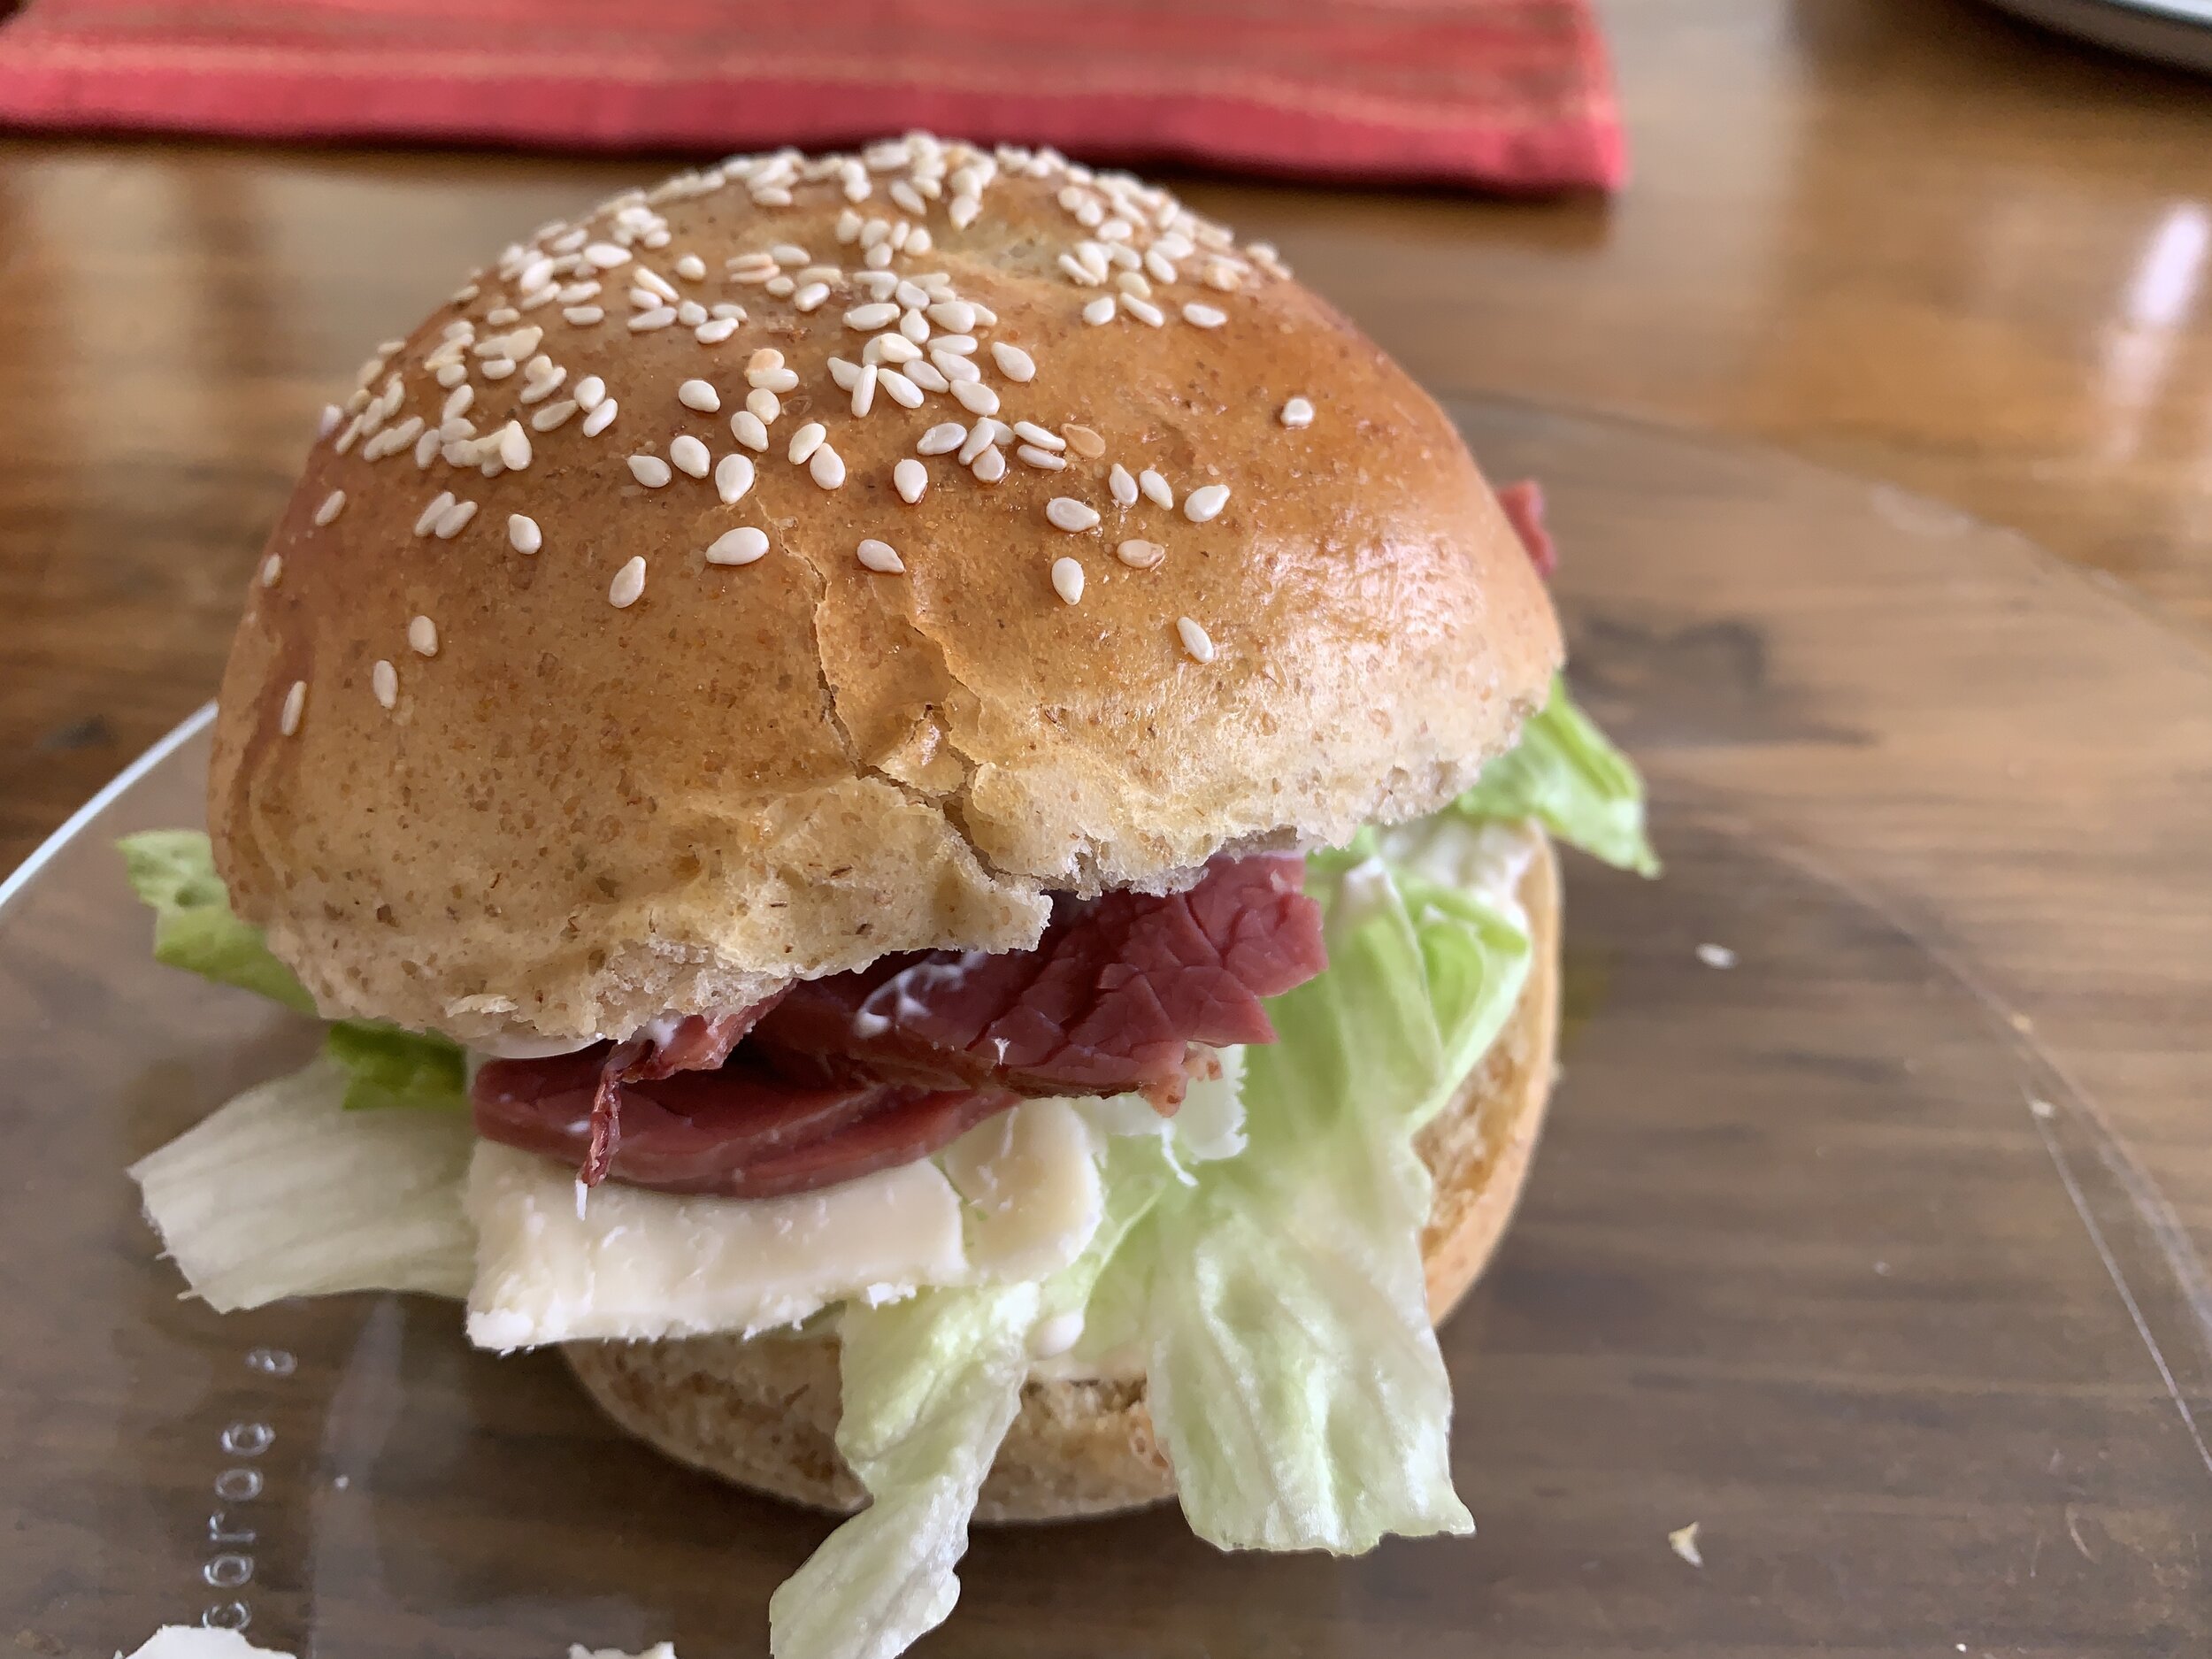
We’ve discovered that they’re great with most any sandwich you can dream up - one of our favorites is thinly sliced dried beef from our local Kingma’s market (no not the stuff you buy in packages in the cold meat section) with crisp lettuce and a schmear of mayo - yum! And a bit of cheddar never hurt either!!

IMG_0120.JPG

Here’s an interesting bit of trivia: in Aurell’s book she mentions these buns are especially good for Biff Lindström. Now what in the world is that I ask? Biff is the Swedish word for beef and, as it turns out, there’s a Swedish specialty named after one Henrik Lindström, a prominent industrialist back in the 1800s. It’s a fried burger made with ground beef, egg, onion, pickled beetroot and a bit of its juice, capers, seasonings (salt and pepper) and optional chopped chives. Hmmm . . . . not being a beet fan, I’m not sure I’ll go for that one, but you might like it - you never know!

Even though they’re called rye buns and contain dark rye flour, these buns have only the teensiest hint of rye flavor. That’s neither good nor bad, just a simple observation.

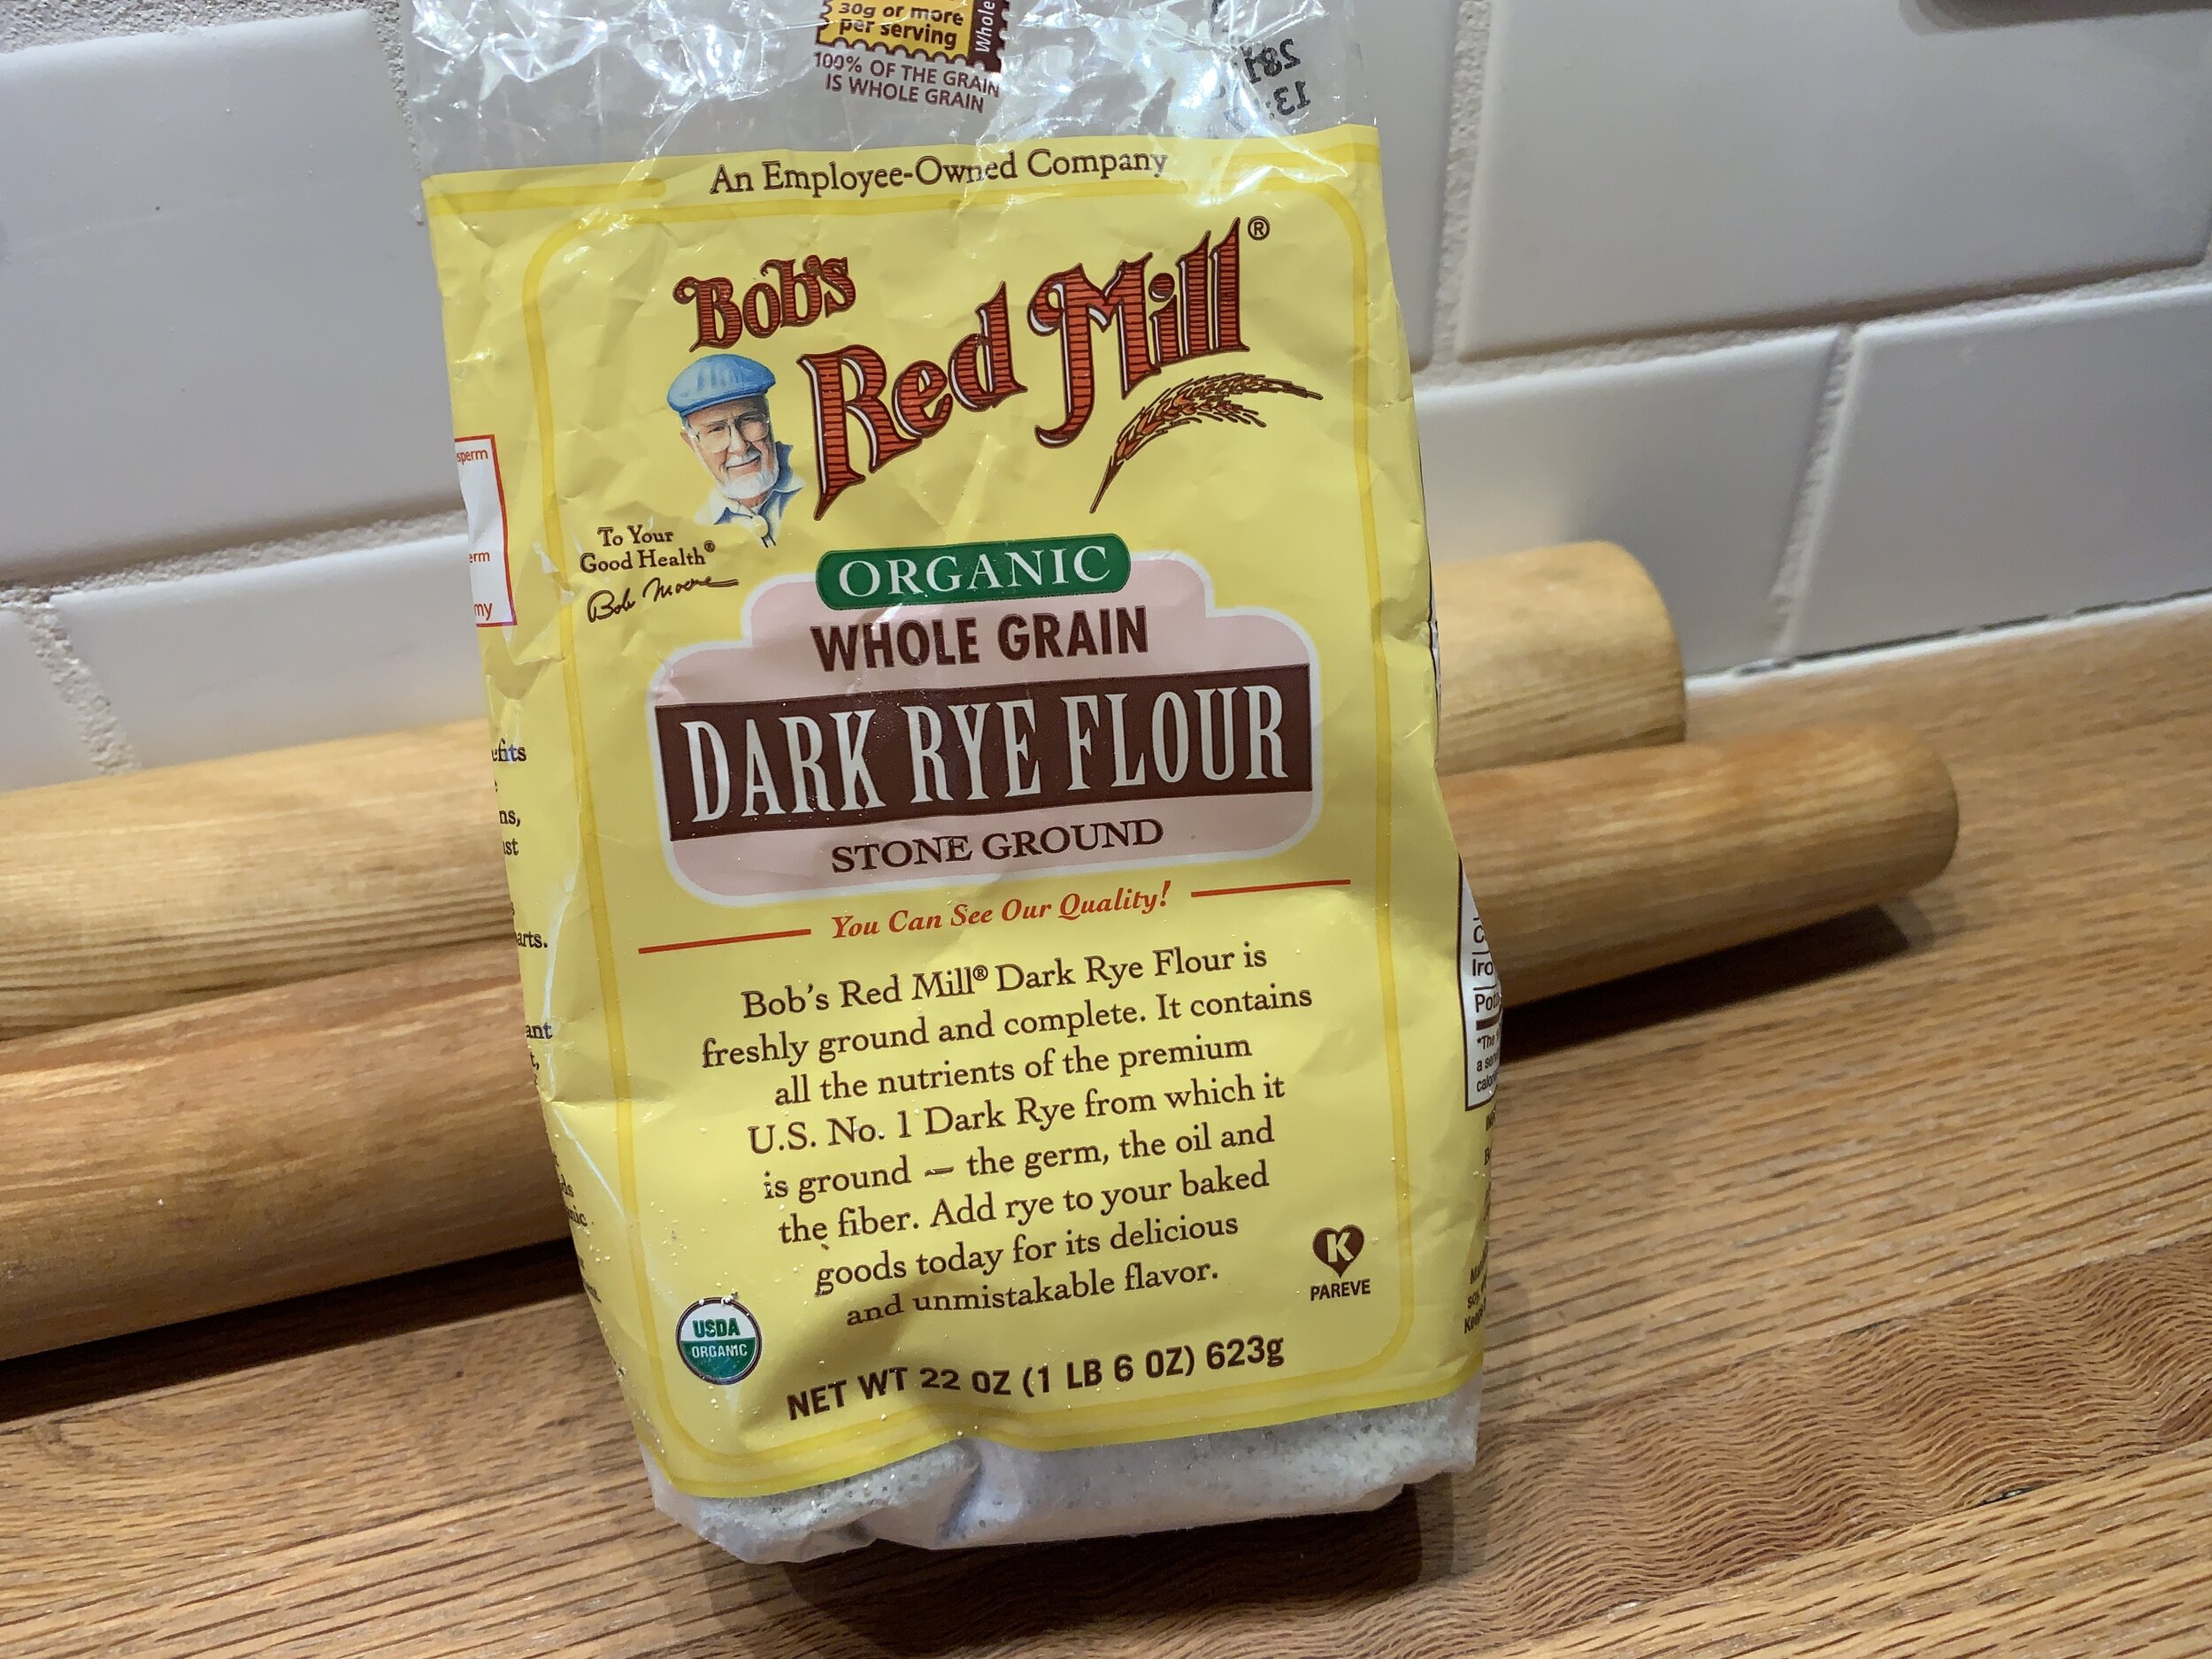
For this project I used Bob’s Red Mill, a line of wonderful flours readily available at local markets around here. While I’m a big fan of King Arthur Flour’s range of products and can buy the standards (i.e. all purpose, bread, whole wheat, white whole wheat, self rising and even the sprouted wheat) at the grocery store, their specialty flours have to be ordered from the company which obviously requires some planning ahead. Cue Bob’s - yes!

IMG_0039.JPG

The range of rye flours available go from white/light rye, medium rye, dark rye and pumpernickel. Here’s a great overview of rye from King Arthur Flour. Since rye flour doesn’t contain as much gluten as its wheat flour counterparts, for a better rise and lighter texture it’s best to combine it with all purpose. Using all rye flour makes for a dense loaf, plus the larger percentage of rye you use in your bread, the slower the rise.

No matter - this recipe works. You can accomplish it in a morning or afternoon and have fresh buns for supper. What’s not to like.

I use instant yeast as my go to dried yeast. It doesn’t require jump starting in tepid liquid like active dry does, however, if you’re proceeding with the recipe to complete that day, it’s doesn’t hurt to give the instant yeast a little bath in the warm liquid - gets it going just a tad faster.

IMG_0063.jpg

In the bowl of a stand mixer fitted with the dough hook, mix 10 g / ~3 teaspoons instant yeast with 160 ml (2/3 cup) EACH of tepid water and whole milk. Let stand 10-15 minutes to become frothy. Add 50 g (1/4 cup) light brown sugar and mix until dissolved.

Have 200 g (1.5 cups) dark rye flour and 390 g (3 cups) of white bread flour at the ready, as well as 1.5 teaspoons salt, 1 large egg, 84 g (6 tablespoons) softened unsalted butter.

On low speed add the rye flour to the yeast/milk mixture along with the salt, then the egg and butter. Increase speed to medium low and start adding the bread flour. You may not need all of it. Continue to mix for about 5 minutes.

IMG_0068.jpg

You’re looking for a slightly sticky dough that’s pulling away from the sides of the bowl. FYI - I did end up using all of the bread flour.

IMG_0064.jpg

Place dough in a lightly oiled bowl, cover with plastic wrap and let rise in a warm place about an hour until doubled.

Before the first rise

Before the first rise

After the rise

After the rise

Turn the dough out on a lightly floured work surface, gently knead to form a log that you will then divide into your chosen sizes.

IMG_0079.jpg

Note: the recipe yield will vary depending on the size you wish to make. For example, if making 9 buns (as the base recipe suggests), each one comes in at a hefty 122 g (4.25 ounces) which is a bit too generous methinks. For my first batch I chose 85 g (3 ounces) which gave me a yield of 13 buns, but since Mr. Steve prefers his burger buns a little larger, my second go-around yielded 11 buns at ~100g each.

Into the slider thing? Make them even smaller!

IMG_0080.jpg
IMG_0082.jpg

Shape each piece into a nice boule, place on a parchment lined sheet pan, cover with a damp towel or a lightly oiled piece of plastic wrap and give them a second rise for about 1/2 hour.

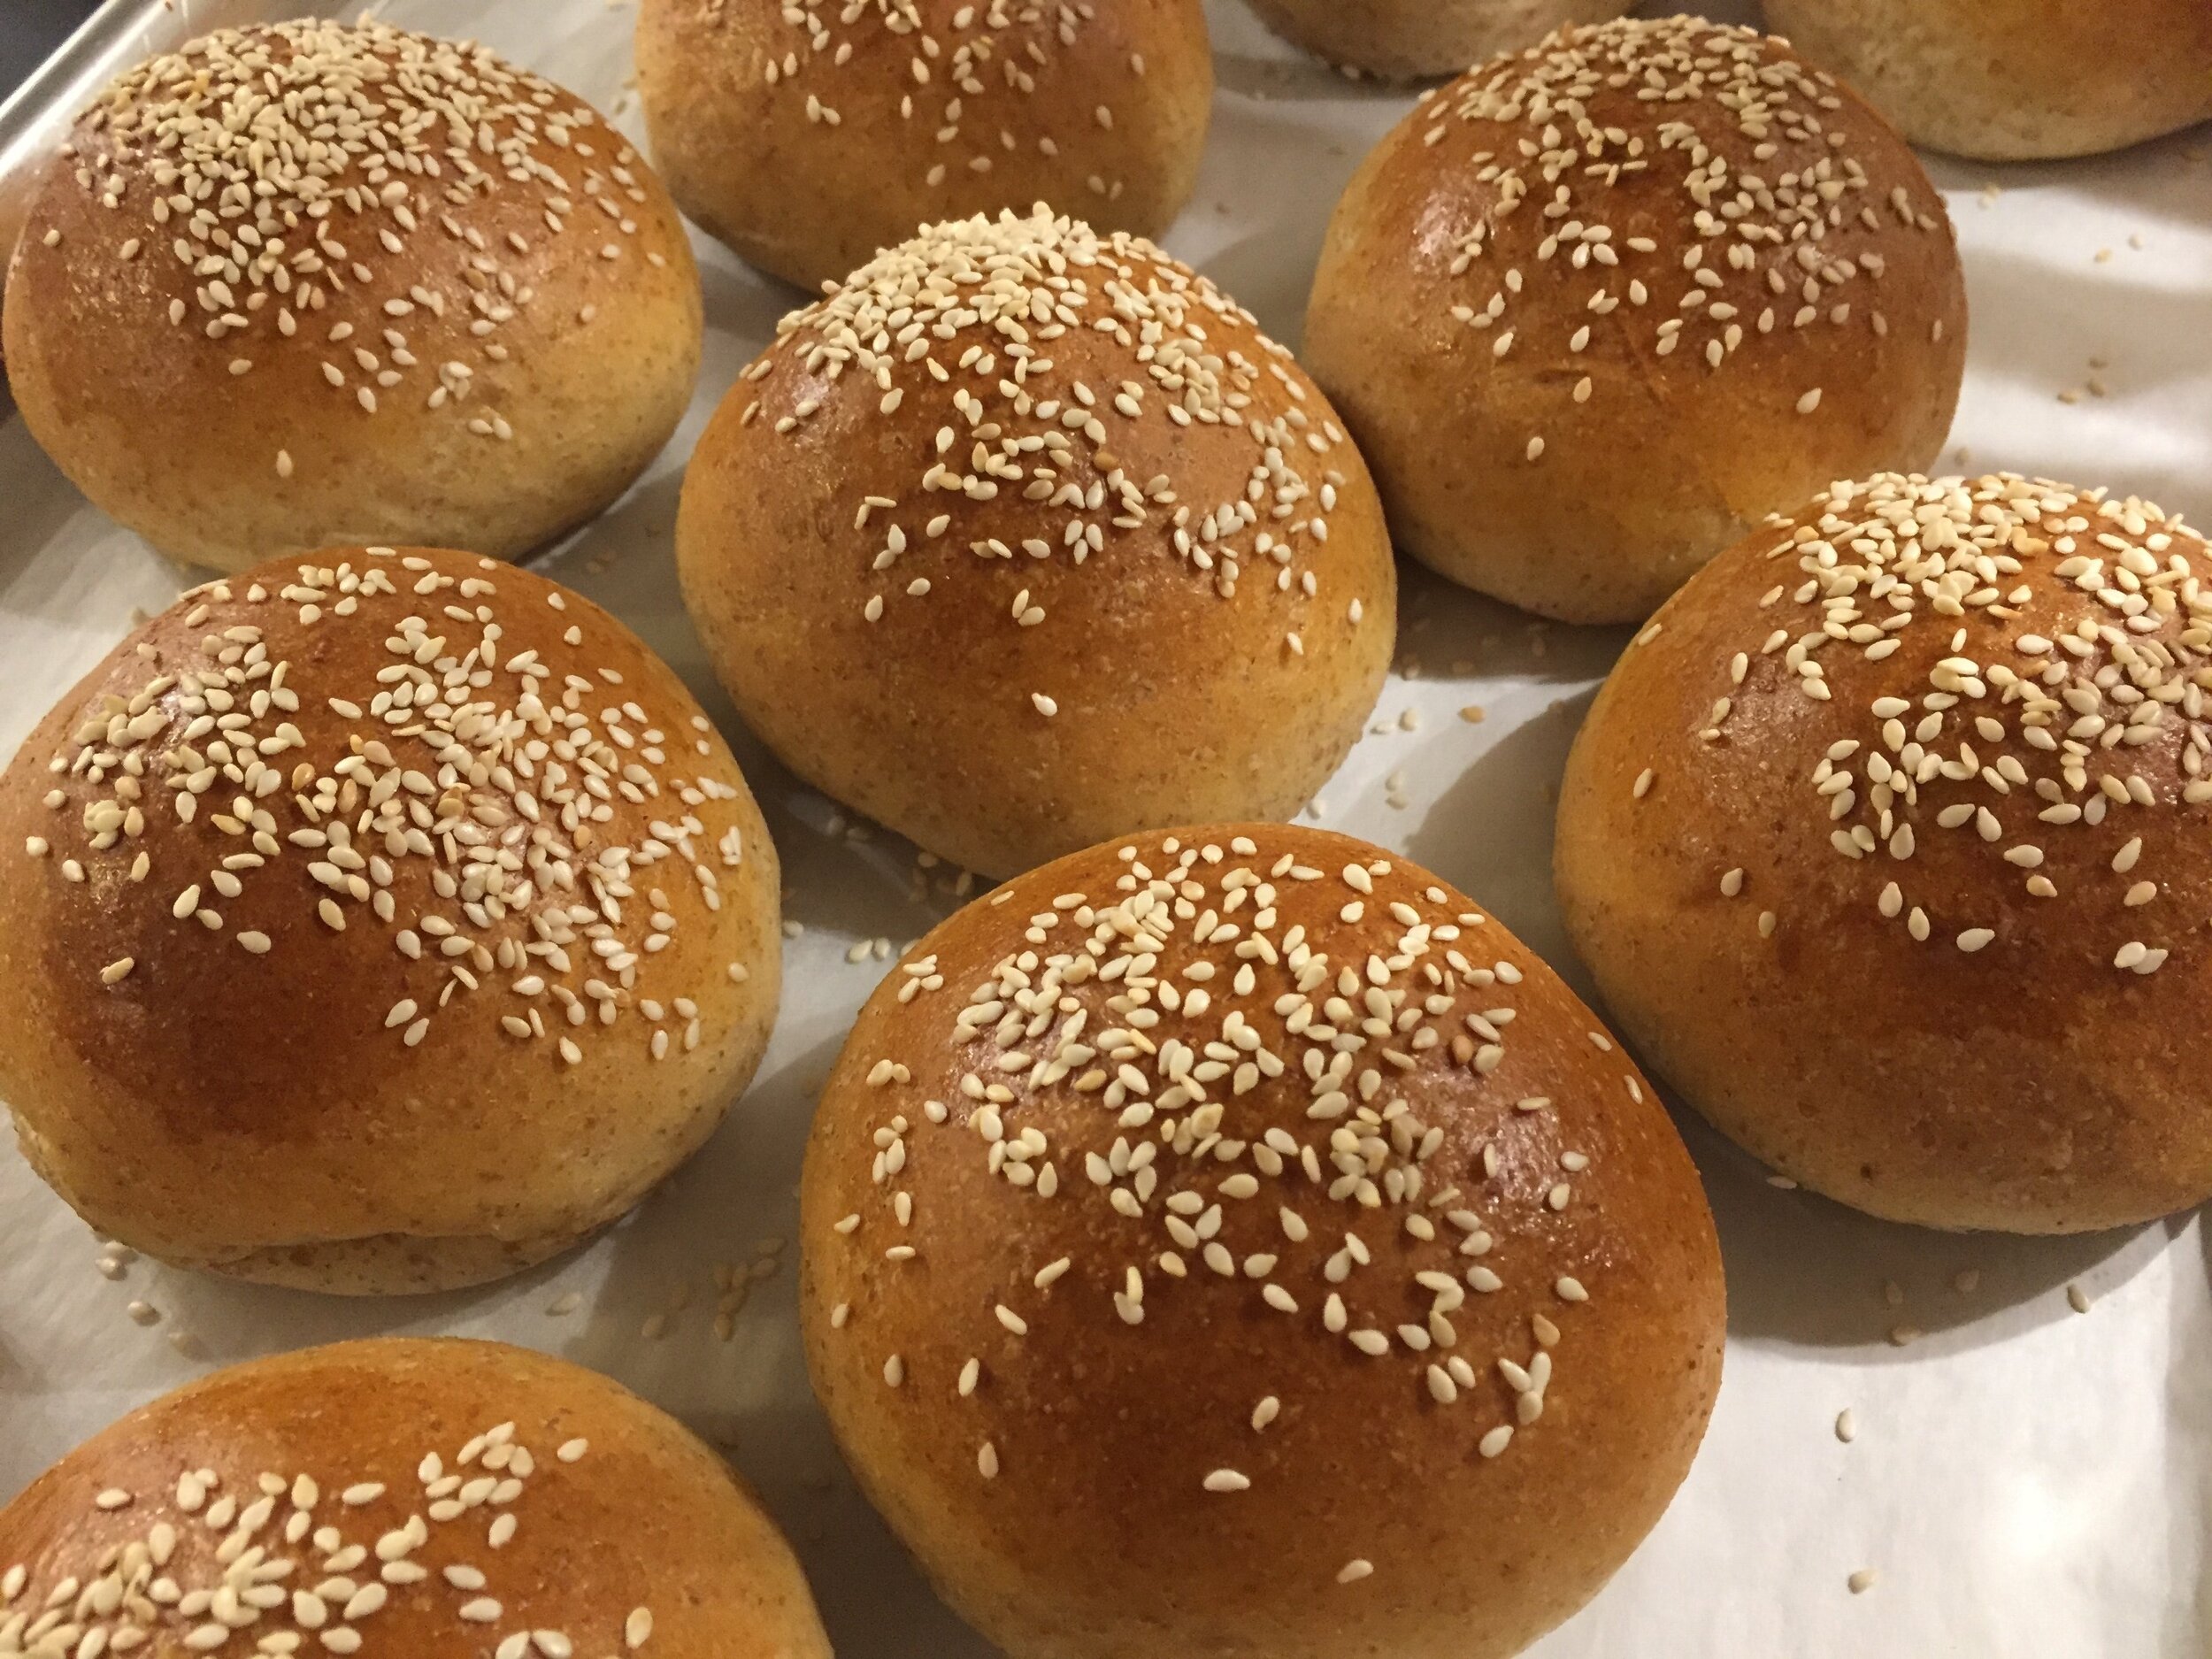
Meanwhile heat your oven to 350ºF. Brush lightly with egg wash and sprinkle sesame seeds (white or black or both) on top (or any seed mixture you like).

IMG_4524.jpg

Ms. Aurell suggests moisture in the oven during baking. Place the sheet pan of buns onto the middle rack and place a shallow heat proof pan with a cup or so of hot water onto the bottom rack. Bake about 13-15 minutes until golden and sound hollow when tapped on the bottom.

Great buns!!

IMG_4526.jpg

So far we’ve had grilled burgers on these babies twice and a couple of different sandwiches. Definitely a keeper. Give ‘em a try - you won’t be sorry.

IMG_0122.JPG

Whole wheat croissants

IMG_3564.JPG

As I experiment more and more with whole grain flours, I just had to do a trial of croissant dough with a couple of variations on using whole wheat flour. Just can’t get enough of the laminated dough thing, or so it seems. Oh well, there are worse things to be fixated on, don’t you think?

IMG_3515.jpg

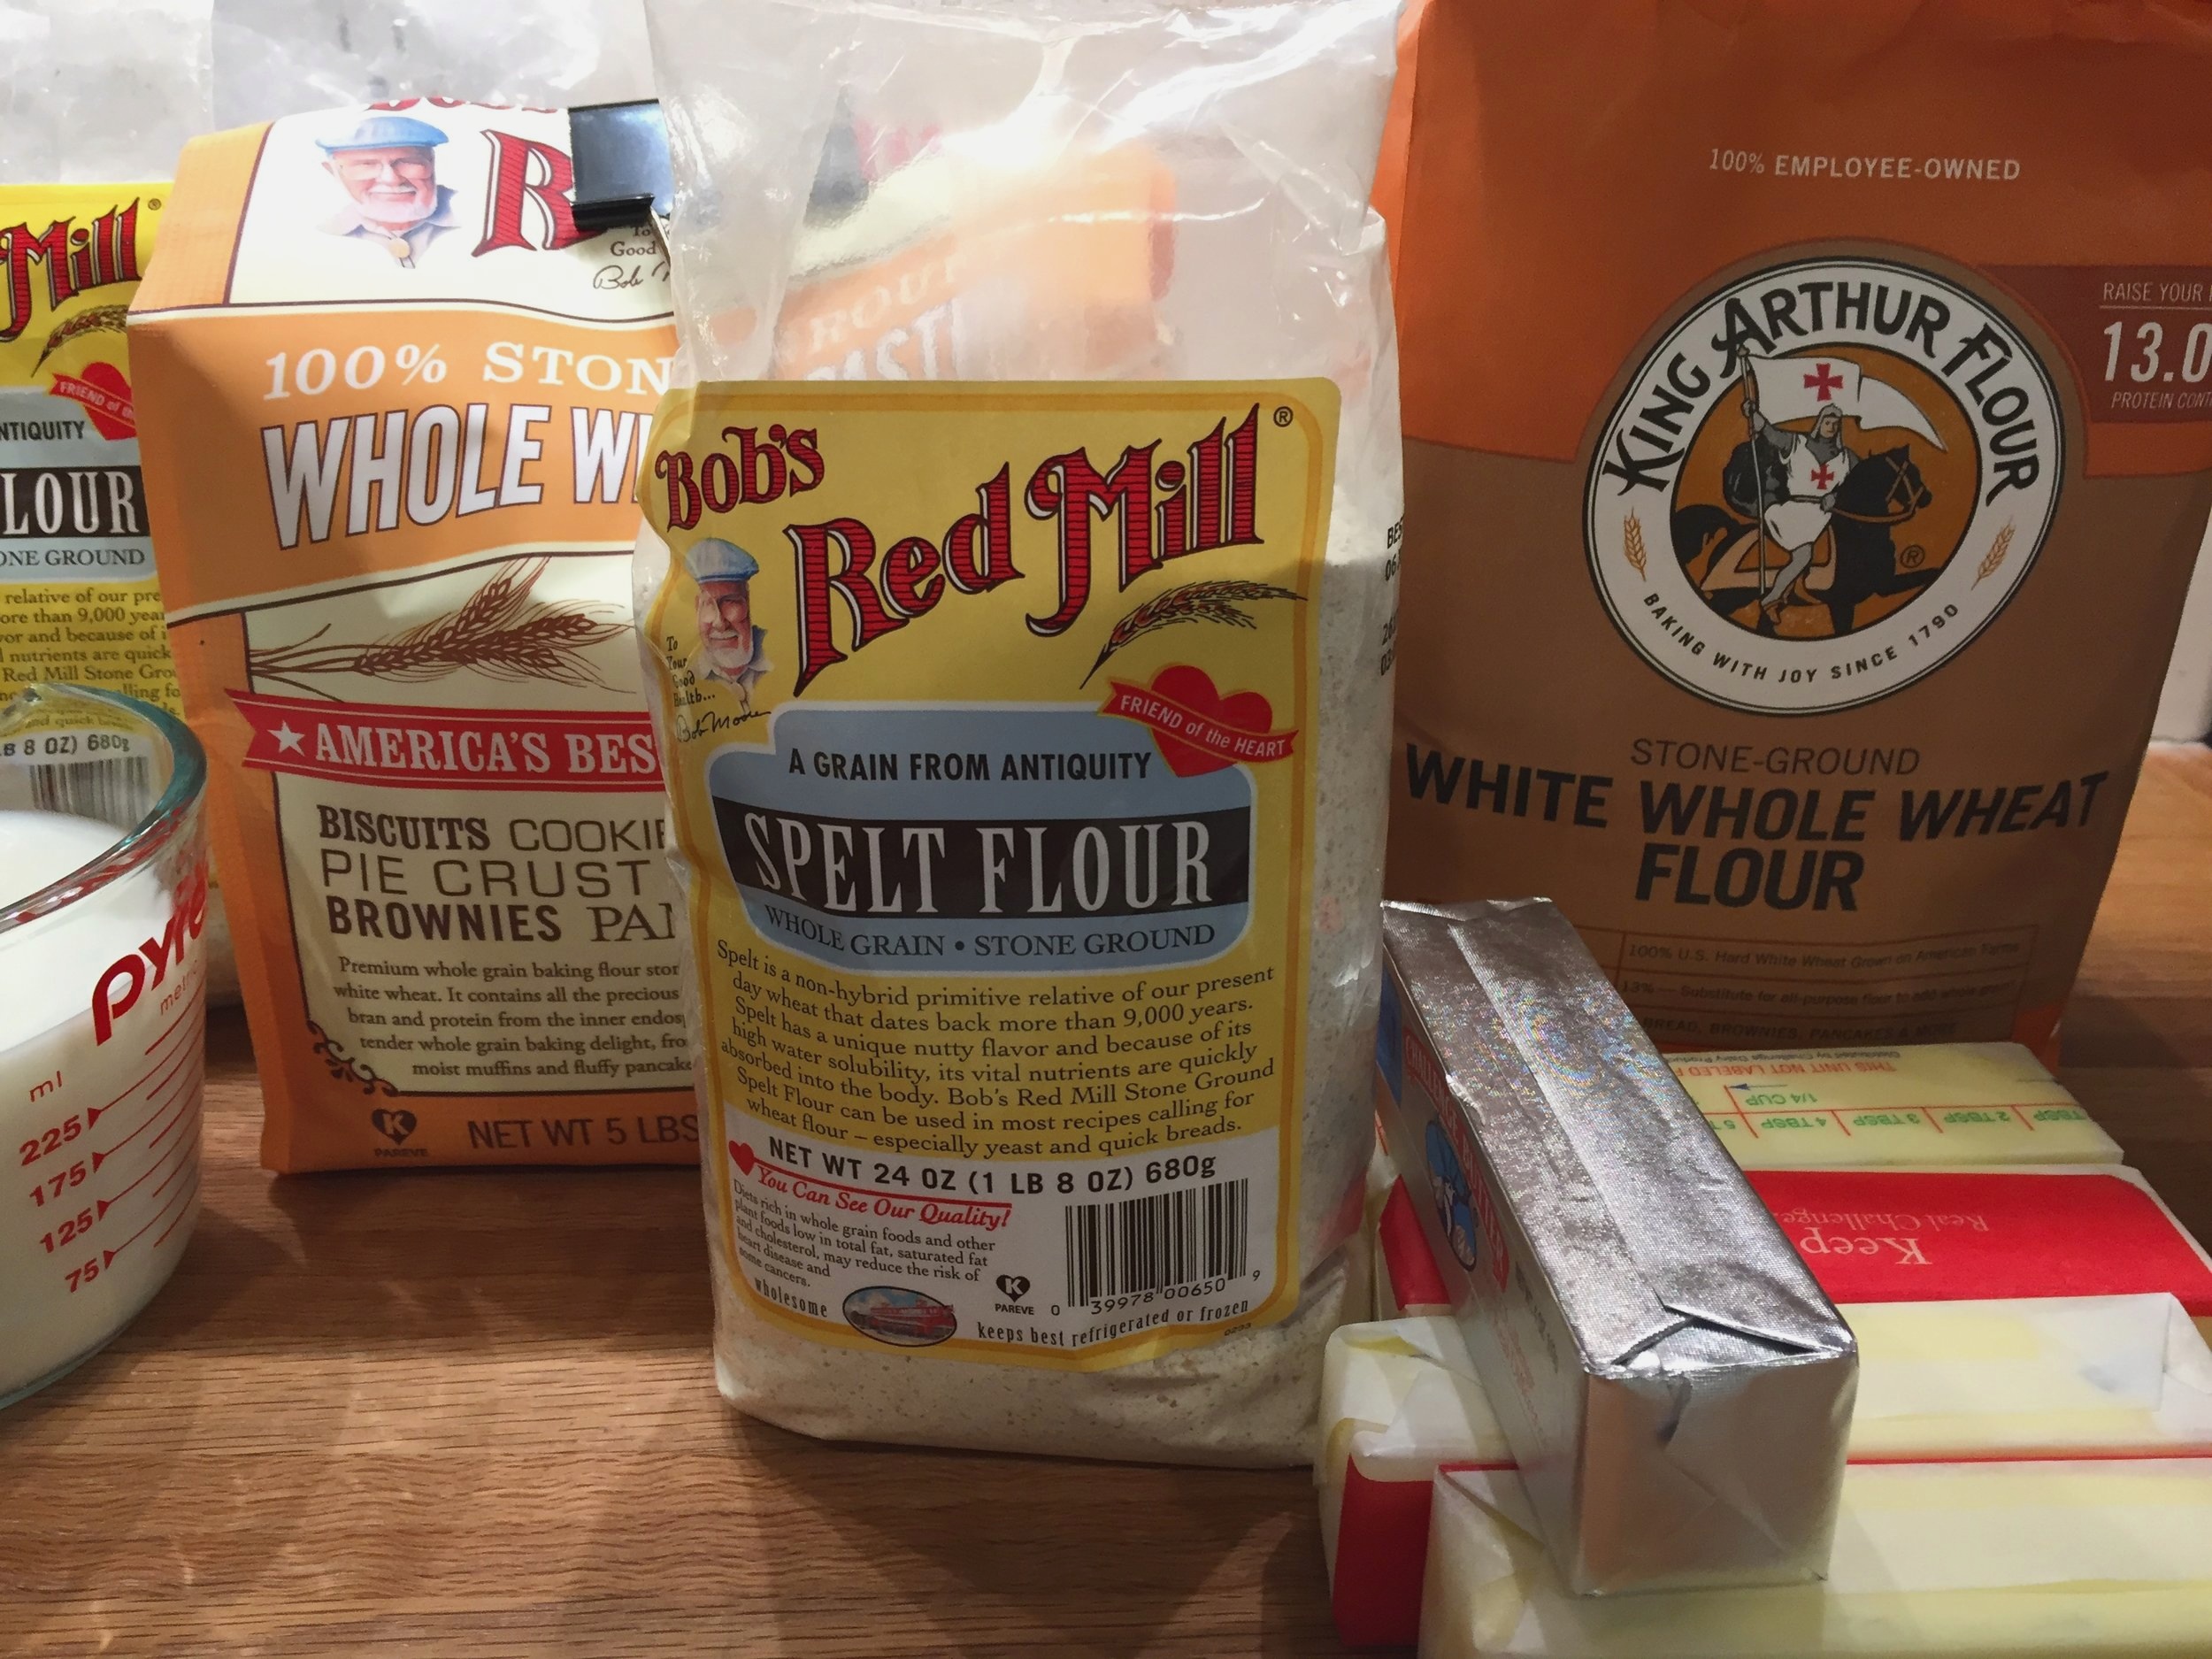
The first version adjusts my base recipe from 450 g all purpose flour and 50 g bread flour (recipe coming at the end, I promise!) to a mixture of 300 g spelt flour and 200 g whole wheat pastry flour, both from Bob’s Red Mill. The spelt I used is a coarse grind and gave my dough a speckled look. I was hoping that my choice of those two flours would sort of balance each other out in terms of gluten content, giving me something closer to all purpose but with the nutritional benefits of using whole grain flours. Kinda winging it here.

The second version uses a mixture of 300 g white whole wheat flour from King Arthur (a finer grind than the spelt and a softer flour from soft white wheat) and 200 g whole wheat pastry flour from Bob’s Red Mill (another softer flour), yielding a smoother appearance with less speckling. Again - wingin’ it.

I normally use whole milk for my liquid but this time I replaced about a third of the milk with water, thinking that the final, slightly less enriched, nutty-wheaty croissants would lend themselves to more savory uses like ham/cheese or chicken salad sandwiches. I know, I know - this isn’t a very scientific study since I’m changing a number of variables, but why not play around? It’s what I love.

My two dough versions and butter blocks ready to go

My two dough versions and butter blocks ready to go

I put both versions through the usual steps of beurrage followed by three business letter folds (or 3-folds) and a final rest in the fridge before rolling out. I divided each batch into halves so I could create two different pastries with each version.

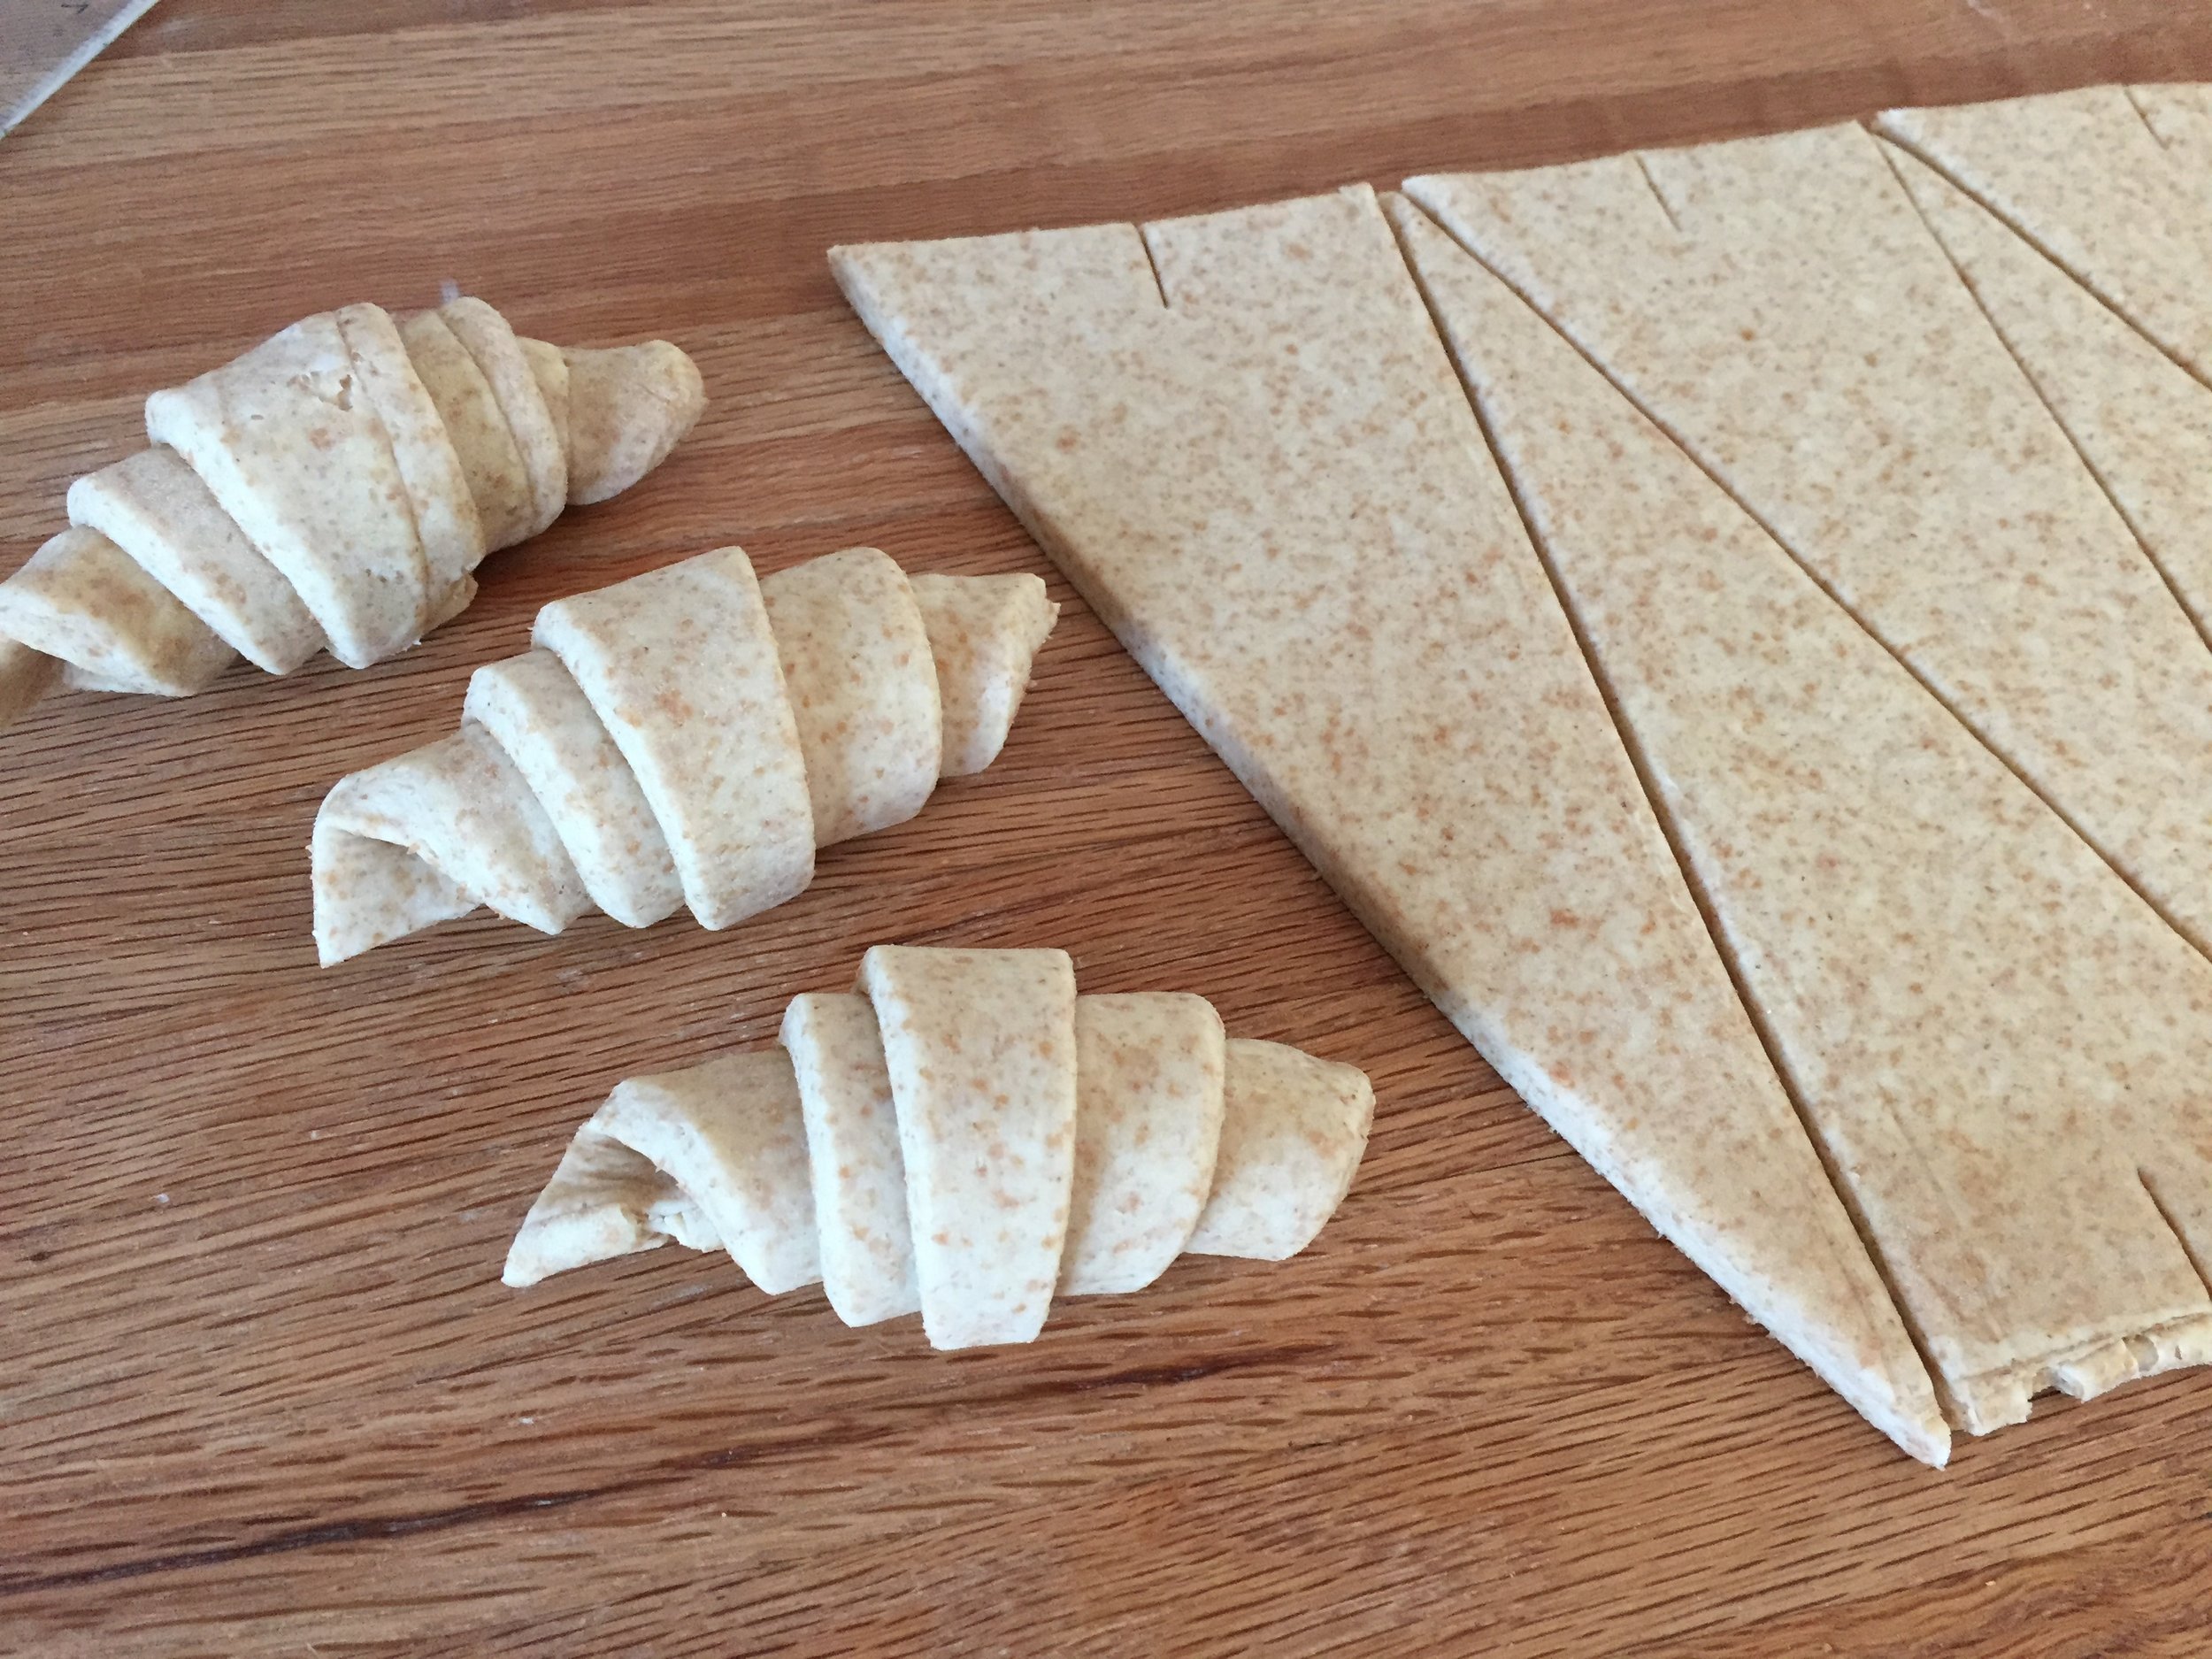
The spelt dough rolled nicely but when it came time to cut and shape the croissants, the dough felt drier and was not quite as sturdy, tending to tear when being stretched a bit.

Shaping the spelt croissants

Shaping the spelt croissants

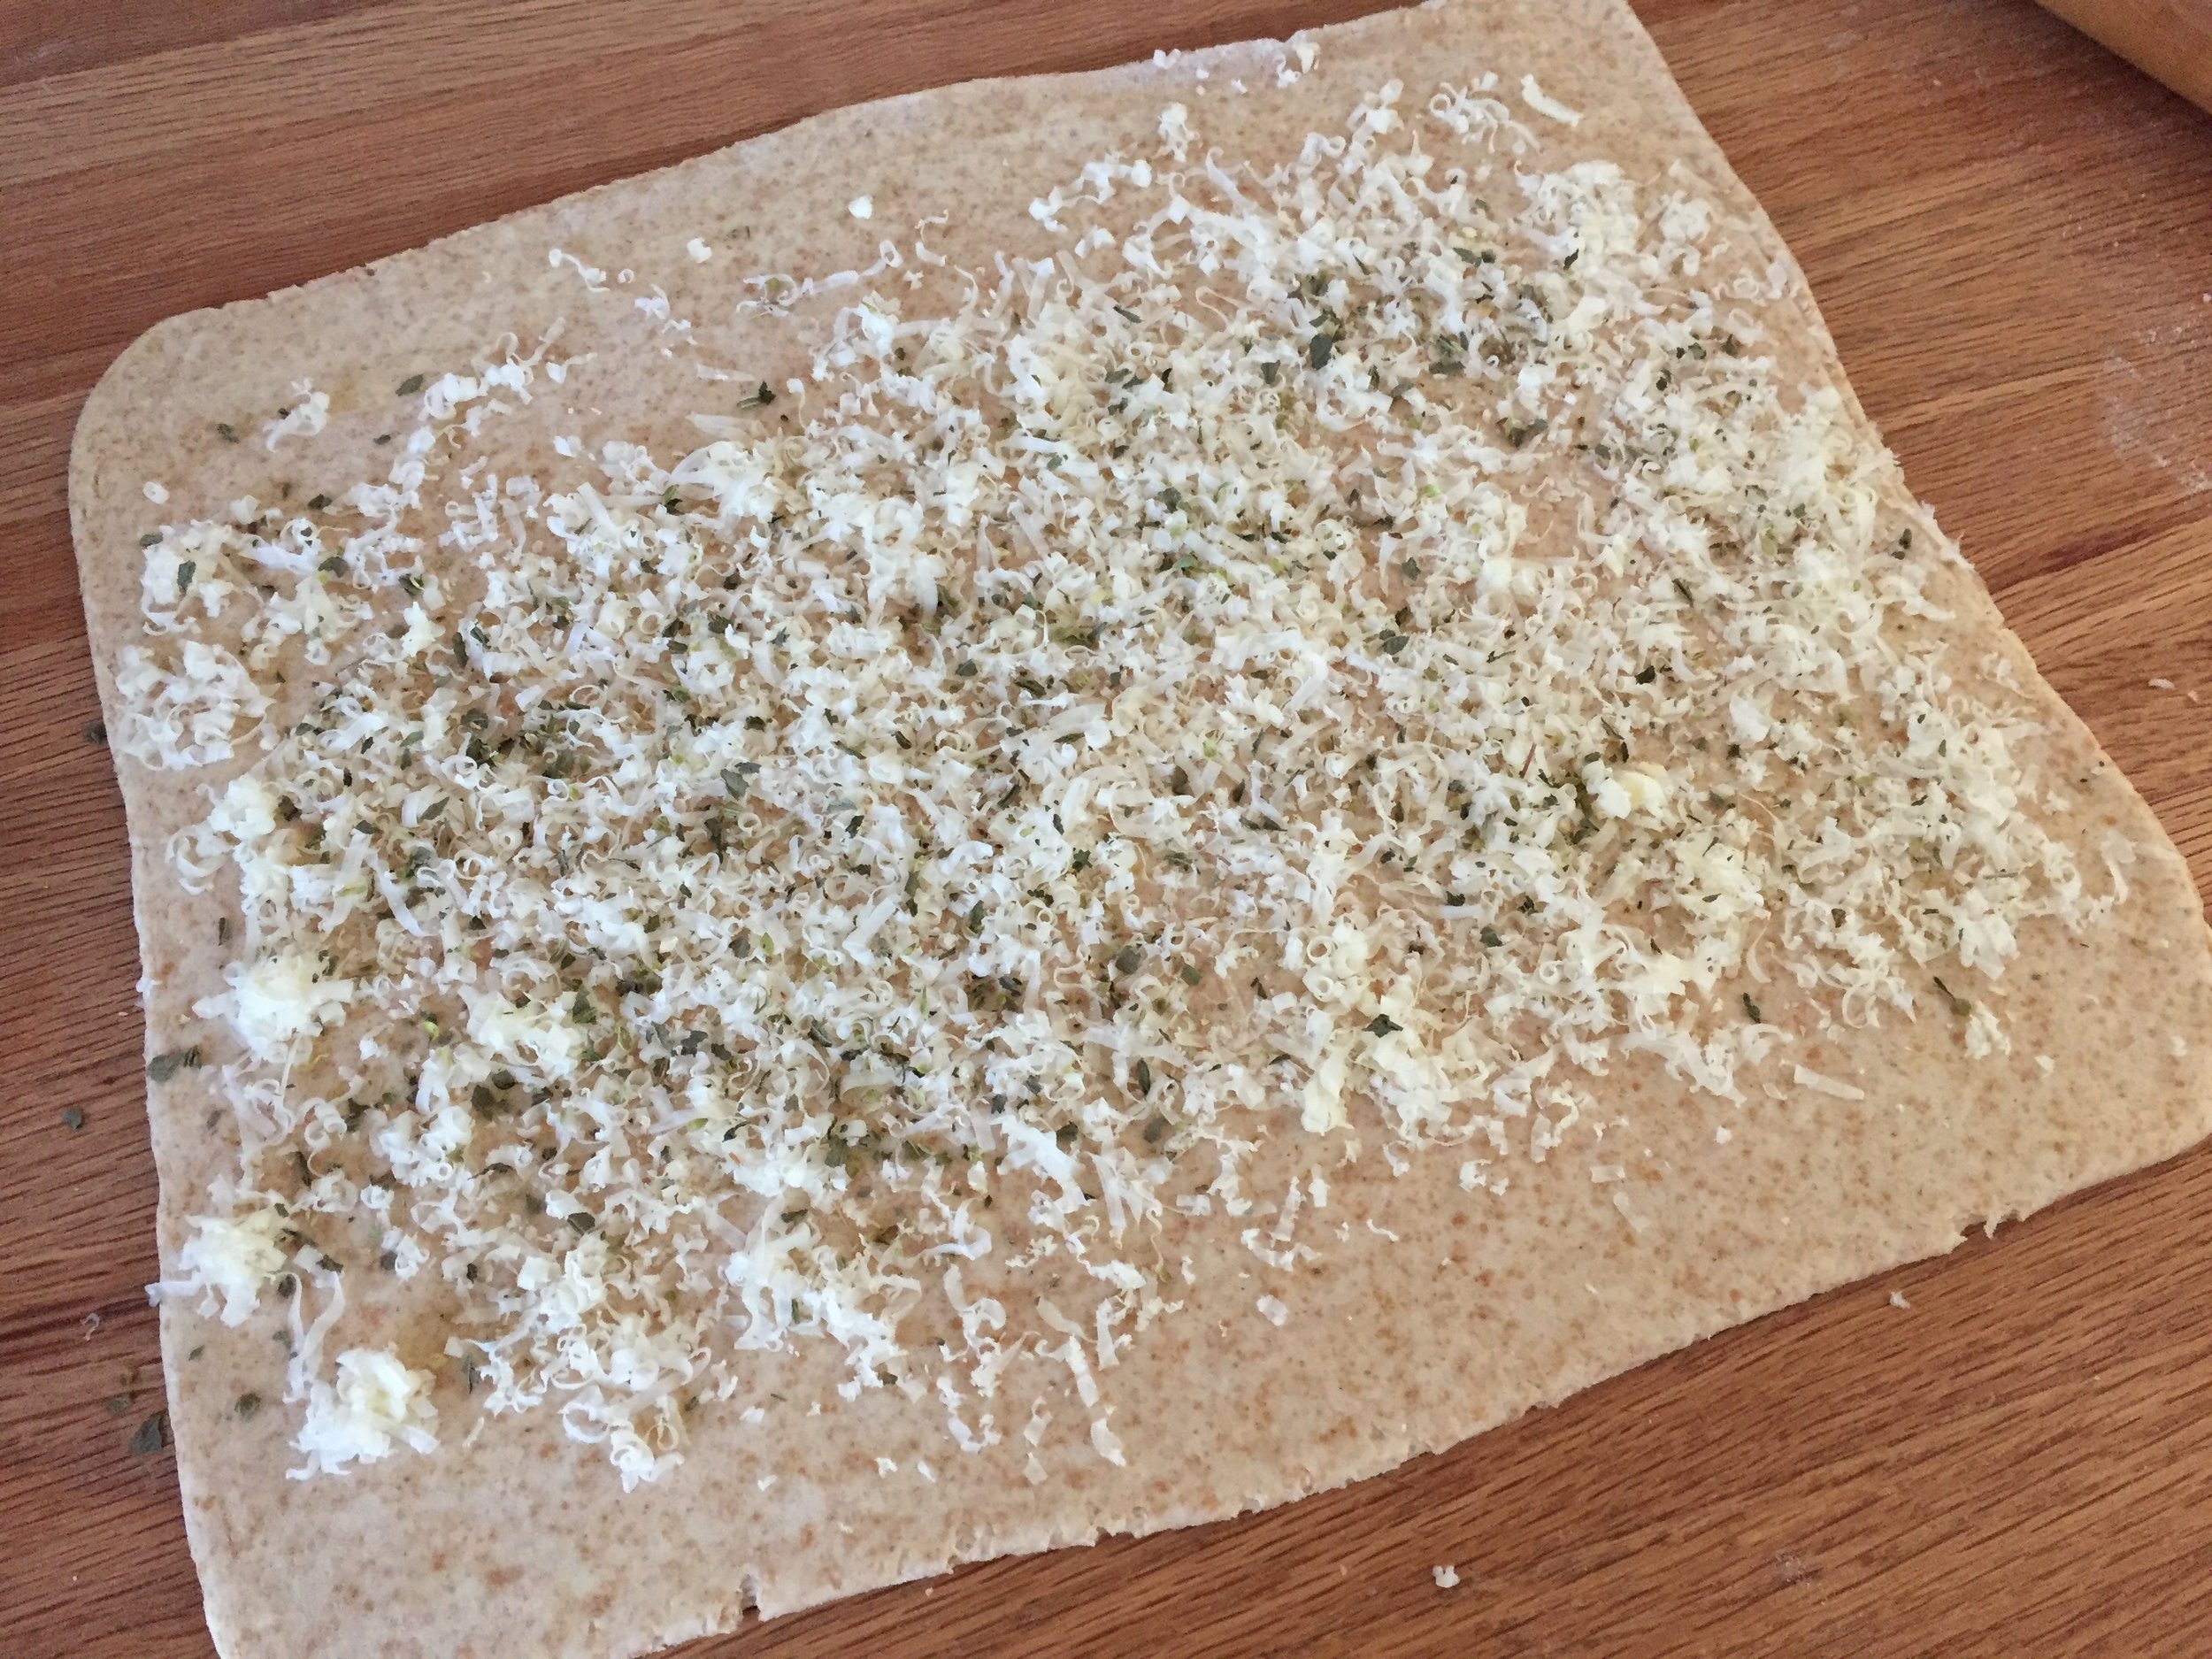
With the second half of the spelt dough I did a savory spiral - rolled it out into a 10”x12” rectangle, brushed it with egg wash and sprinkled on mixed Italian herbs and grated gruyère cheese . . . .

IMG_3534.jpg

rolled it up into a log and sliced ~1 inch slices.

IMG_3535.JPG

The slices went into buttered 80 mm rings to proof.

IMG_3551.JPG

The white whole wheat version also rolled out easily and was less inclined to tear when being stretched and shaped.

IMG_3540.jpg

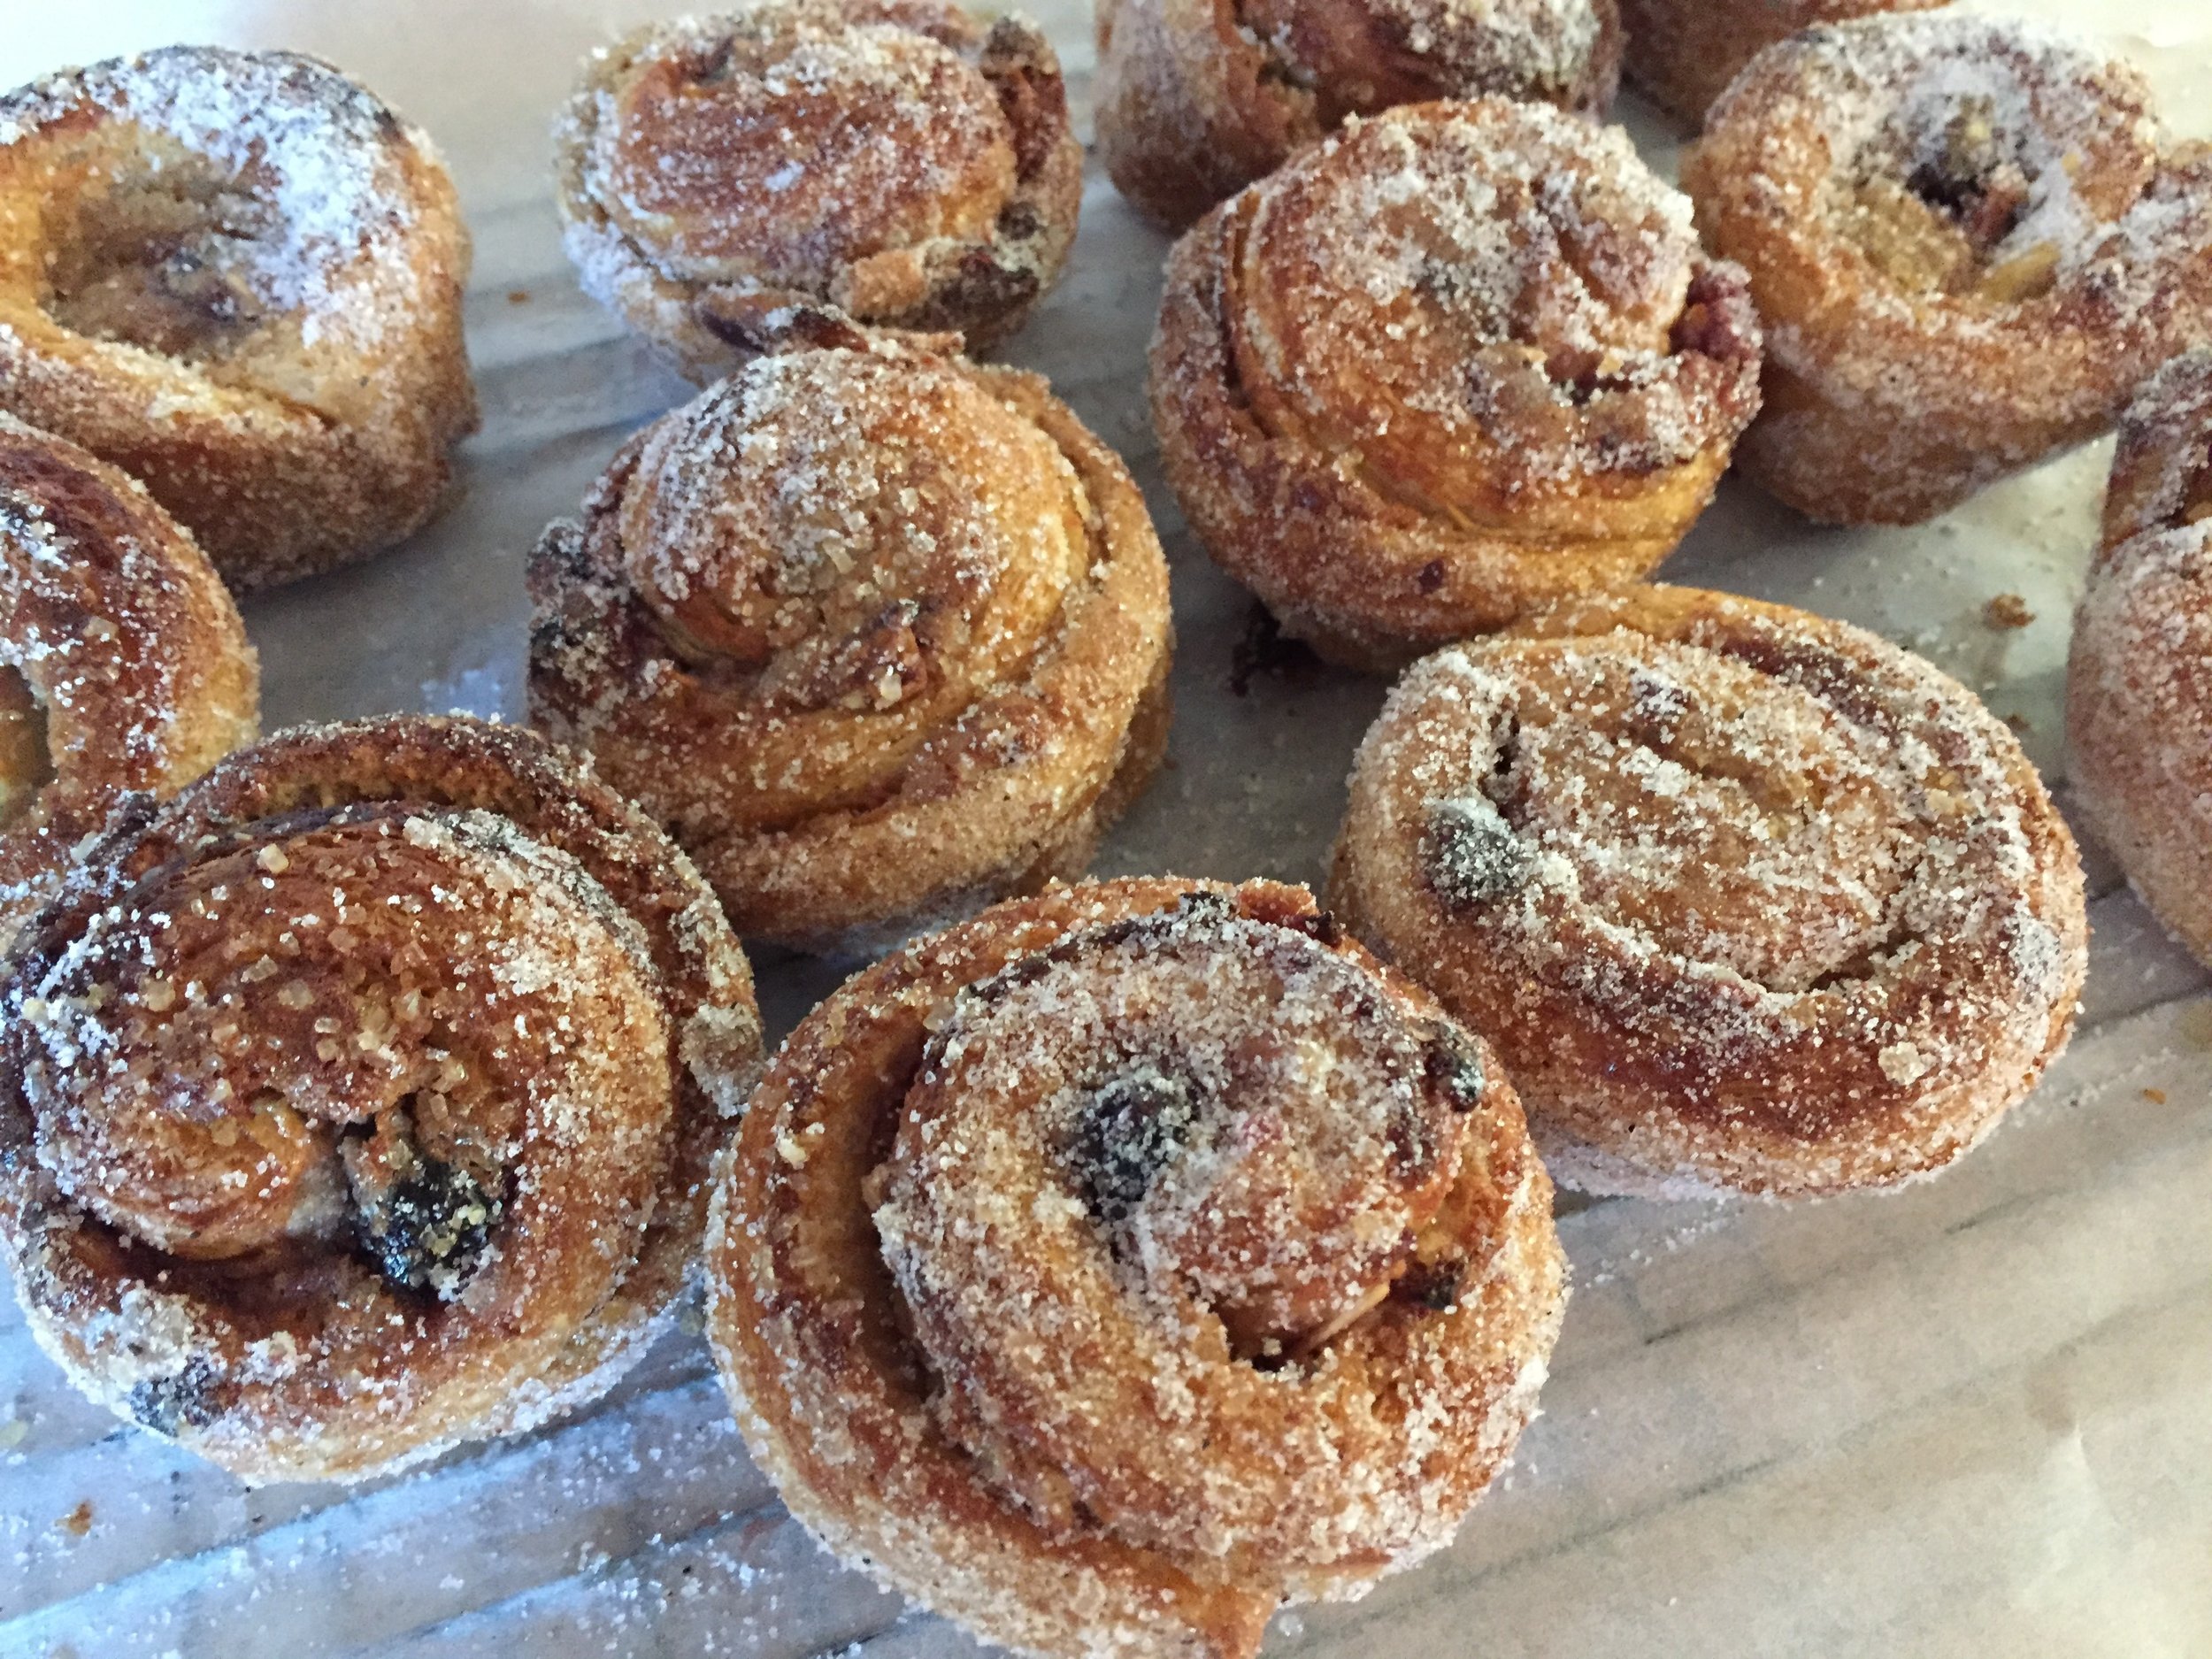
The second half of this dough became cherry-almond spirals - same idea as the cheese/herb spirals above - spread on a mixture of almond flour, egg white and brown sugar and topped it with cherry preserves and sliced almonds.

IMG_3545.jpg

Rolled up and sliced, these went into buttered muffin tins to proof.

IMG_3546.jpg

I gave the croissants a good 2-2.5 hours to proof and the spirals a bit less. Then on to the bake!

Proofed spelt version

Proofed spelt version

Out of the oven

Out of the oven

I gave the proofed cheese spirals a sprinkling of more cheese . . . .

IMG_3553.JPG

and here they are all baked up!

IMG_3557.JPG

I gave half of the egg washed white whole wheat croissants a sprinkling of KAF’s Artisan bread topping, a delicious mixture of sesame, flax, sunflower, black caraway, poppy and anise seeds.

Proofed

Proofed

all baked up

all baked up

Cherry almond here we come! A sprinkling of raw sugar and into the oven.

IMG_3567.JPG

Once baked I rolled them in some vanilla sugar for the pièce de résistance.

IMG_3575.JPG

Steve and I did a thorough sampling of all four versions. We thought the flavor was deelish and the texture pretty decent. Personally I love the nuttiness and whole grain sense of these doughs and would definitely make whole wheat croissant dough again.

I froze a good portion of the baked and cooled end results, and we were able to enjoy the croissants and cheesy spirals thawed and oven warmed with a delicious chili Steve made for a family supper out at cousin Jen’s. Everyone enjoyed them immensely. Who says you can’t have a croissant for supper eh?

So what did I learn from all of this? Truth be told, I had done some reading before the project but had neglected to consider the need for some increased hydration when using all whole wheat flour. Duh. Hence I did a thorough read through of very helpful tips and suggestions from the Whole Grain Council/KAF - so much information out there kids!

Going forward I now know to add an additional 2 teaspoons of liquid per cup of whole wheat flour used. It’s also important to work the dough more gently and shape more loosely since the germ and bran in the whole wheat flour can actually shred the gluten strands in the dough, weakening it (it was very clear to me with the spelt version that it was drier and much more prone to tearing).

Whole wheat doughs generally ferment a bit faster (more nutritive stuff in them for the yeast to munch on) but don’t achieve quite as much volume. I did give my dough the same amount of rising time that I normally give my regular croissants but did note that the rise didn’t appear quite as full. Yet I was very happy with how they baked and tasted in the end. YES indeed.

IMG_3563.JPG

Here’s my standard base croissant recipe with adjustments for whole wheat:

450 g all purpose flour + 50 g bread flour (option 300 g white whole wheat flour/200 g whole wheat pastry flour)
44 g sugar
10 g salt
50 g soft unsalted butter
8 g instant yeast
317 g whole milk, can be cold or room temp (add 35 g additional liquid if using whole wheat flour - may be a mix of water and milk)
283 g unsalted butter for the butter block

  1. Blend flours, sugar, salt and yeast in the bowl of a stand mixer.

  2. Stir in milk (milk/water if using) with a rubber spatula or dough whisk to roughly combine. If using whole wheat flour let the mixture sit for 20 minutes to hydrate before proceeding.

  3. Mix with the dough hook on “stir”, adding the 50 g soft butter to incorporate.

  4. Increase to speed 2 and knead for 3-4 minutes (2-3 minutes if using whole wheat flour).

  5. Place on a lightly floured work surface, cover with plastic wrap and let the dough rest for 30-40 minutes.

  6. Shape into a ball, wrap tightly in plastic wrap and place in the refrigerator for at least 8 hours or overnight.

  7. Shape the 283 g butter into a 4-5 inch square (I do this between two layers of plastic wrap). The butter should be cool and malleable for the beurrage.

  8. Perform the beurrage followed by three business letter folds, resting the dough 30 minutes between each fold. Let the finished dough rest at least 2 hours or up to 12 hours before final shaping.

It’s not my intention here to review all the steps and nuances of making laminated dough, proofing and baking croissants but primarily to share the dough recipe. Now it’s time for you to experiment on your own. Go for it! You can do it.

IMG_3576.JPG

Homemade graham crackers and a coconut cream tart for Christmas

It's hard to believe that Christmas Day has come and gone.  Especially with the no-snow-on-the-ground, warm weather we've been having here in west Michigan.  The weeks leading up to Christmas always seem to fill up with various projects, activities and baking (of course!).  And then it's over and time for a new year.


our holiday table

chocolate pot de crème for Christmas Eve supper

spiced, candied nuts as an accompaniment

The other day when Steve and I were checking out Kingma's butcher counter looking for flank steak, we were also perusing the many aisles of food products.  There before my eyes was one of the largest selections of Bob's Red Mill flours that I have ever seen.  The one that caught my eye was graham flour and got me in the mood to make my own graham crackers in preparation for a graham cracker crusted coconut cream tart for Christmas Day.

This graham flour is ground from "hearty dark northern, hard red spring wheat" and "contains all of the wheat berry's healthy and natural elements - the germ, endosperm and bran".  It's good for you!

I first made my own graham crackers some years ago after paying closer attention to the ingredients on the boxes of "store bought" grahams.  I like to keep my baked goods as preservative free as possible and making these crackers at home is really an easy proposition.  So why not go for it?!

I think this recipe may have come from Elizabeth Falkner when she visited Johnson and Wales University in Providence a few years ago as a distinguished visiting chef.  It's a keeper.  I often write up recipes with gram weights and note things I might do differently the next time.  I keep them in plastic page sleeves that I then stash in my many recipe notebooks.


les ingredients

Heat the oven to 350º F.  Line two 1/2 sheet pans with parchment paper.

In a separate bowl whisk 180 grams graham flour with 98 grams all purpose flour and 3/4 teaspoon salt.

In a mixing bowl cream 56 g (2 oz) soft butter with 85 g sugar; add 1 large egg and mix until blended.

Stir in 4 tablespoons honey, followed by 1/2 teaspoon baking soda that's been dissolved in 2 teaspoons of water.

Blend in the dry ingredients.

The dough should hold together and be manageable.  If it's too sticky, add a bit more graham flour.


the finished dough

On a graham flour dusted surface roll the dough out to a thickness of about 2 mm. I work with about half the dough at a time.  It is a tad sticky, but just keep lightly dusting and lifting the dough with a bench scraper to keep it from sticking.


Since my plan for these grahams was to crush them for a graham cracker crust, I wasn't too fussy about how I cut and baked them.  You can certainly cut nice looking squares and even score them with a fork to give the quintessential graham cracker look if you're serving them as a traditional cracker.


ready for the oven

Bake for about 15 minutes and always remember to watch what's going on in your oven!

crisp and golden brown

My graham cracker crust calls for 140 grams (5 oz) of graham crackers so I weighed out what I needed and coarsely broke up the remaining crackers to put in my freezer for the next time.

I crushed the crackers for the crust with the old zip-top bag/rolling pin technique which eliminates having to get out the food processor (or cleaning it afterwards).  Love it!

This coconut cream tart recipe comes from the Baking Illustrated book by the editors of Cooks Illustrated magazine and calls for toasting unsweetened, shredded coconut for both the crust, the filling and the top garnish.  I did that a bit ahead.


crust ingredients

The above ingredients include the 140 grams crushed graham crackers, 2 tablespoons sugar, 70 grams (5 tablespoons) melted unsalted butter and 4 tablespoons of toasted coconut.  Simply mix it all with a fork and press it firmly into a tart pan.

Bake the crust at 325º F for about 20 minutes until fragrant and browned.


waiting for the filling

While the crust cools go ahead and make the coconut cream filling.


filling ingredients

The filling is prepared using a basic pastry cream method.  Place the contents of one 14 oz can of coconut milk in a sauce pan, along with 240 ml (one cup) of whole milk, 35 grams of toasted coconut, 75 grams sugar and 1/4 teaspoon salt.  Heat this to a simmer, stirring occasionally.  Meanwhile place 5 egg yolks in a separate bowl, whisk in 75 grams sugar and 28 grams cornstarch.

Gradually pour half of the hot milk mixture over the yolk mixture, whisking constantly, then return all to the sauce pan and cook, still whisking constantly until the mixture thickens and bubbles.

Take it off the heat and whisk in 1/2 teaspoon vanilla extract and 28 grams (2 tablespoons) unsalted butter.

Pour the cream directly into the baked crust, cover the surface with plastic wrap and refrigerate at least 3 hours until chilled.


chilled tart ready for garnish

Whip up a cup of heavy cream with a splash of vanilla extract and a tablespoon or two of powdered sugar and spread it over the coconut cream filling.  I love to use my offset spatula to create a simple design.


nothing too fancy here folks!

Then sprinkle some toasted coconut on the top . . . .


and voila, you're ready to go!

Now it's time to take a breath, relax a bit and look ahead to a new year.