French Tarte Faves (FTF) No. 3: dacquoise
/
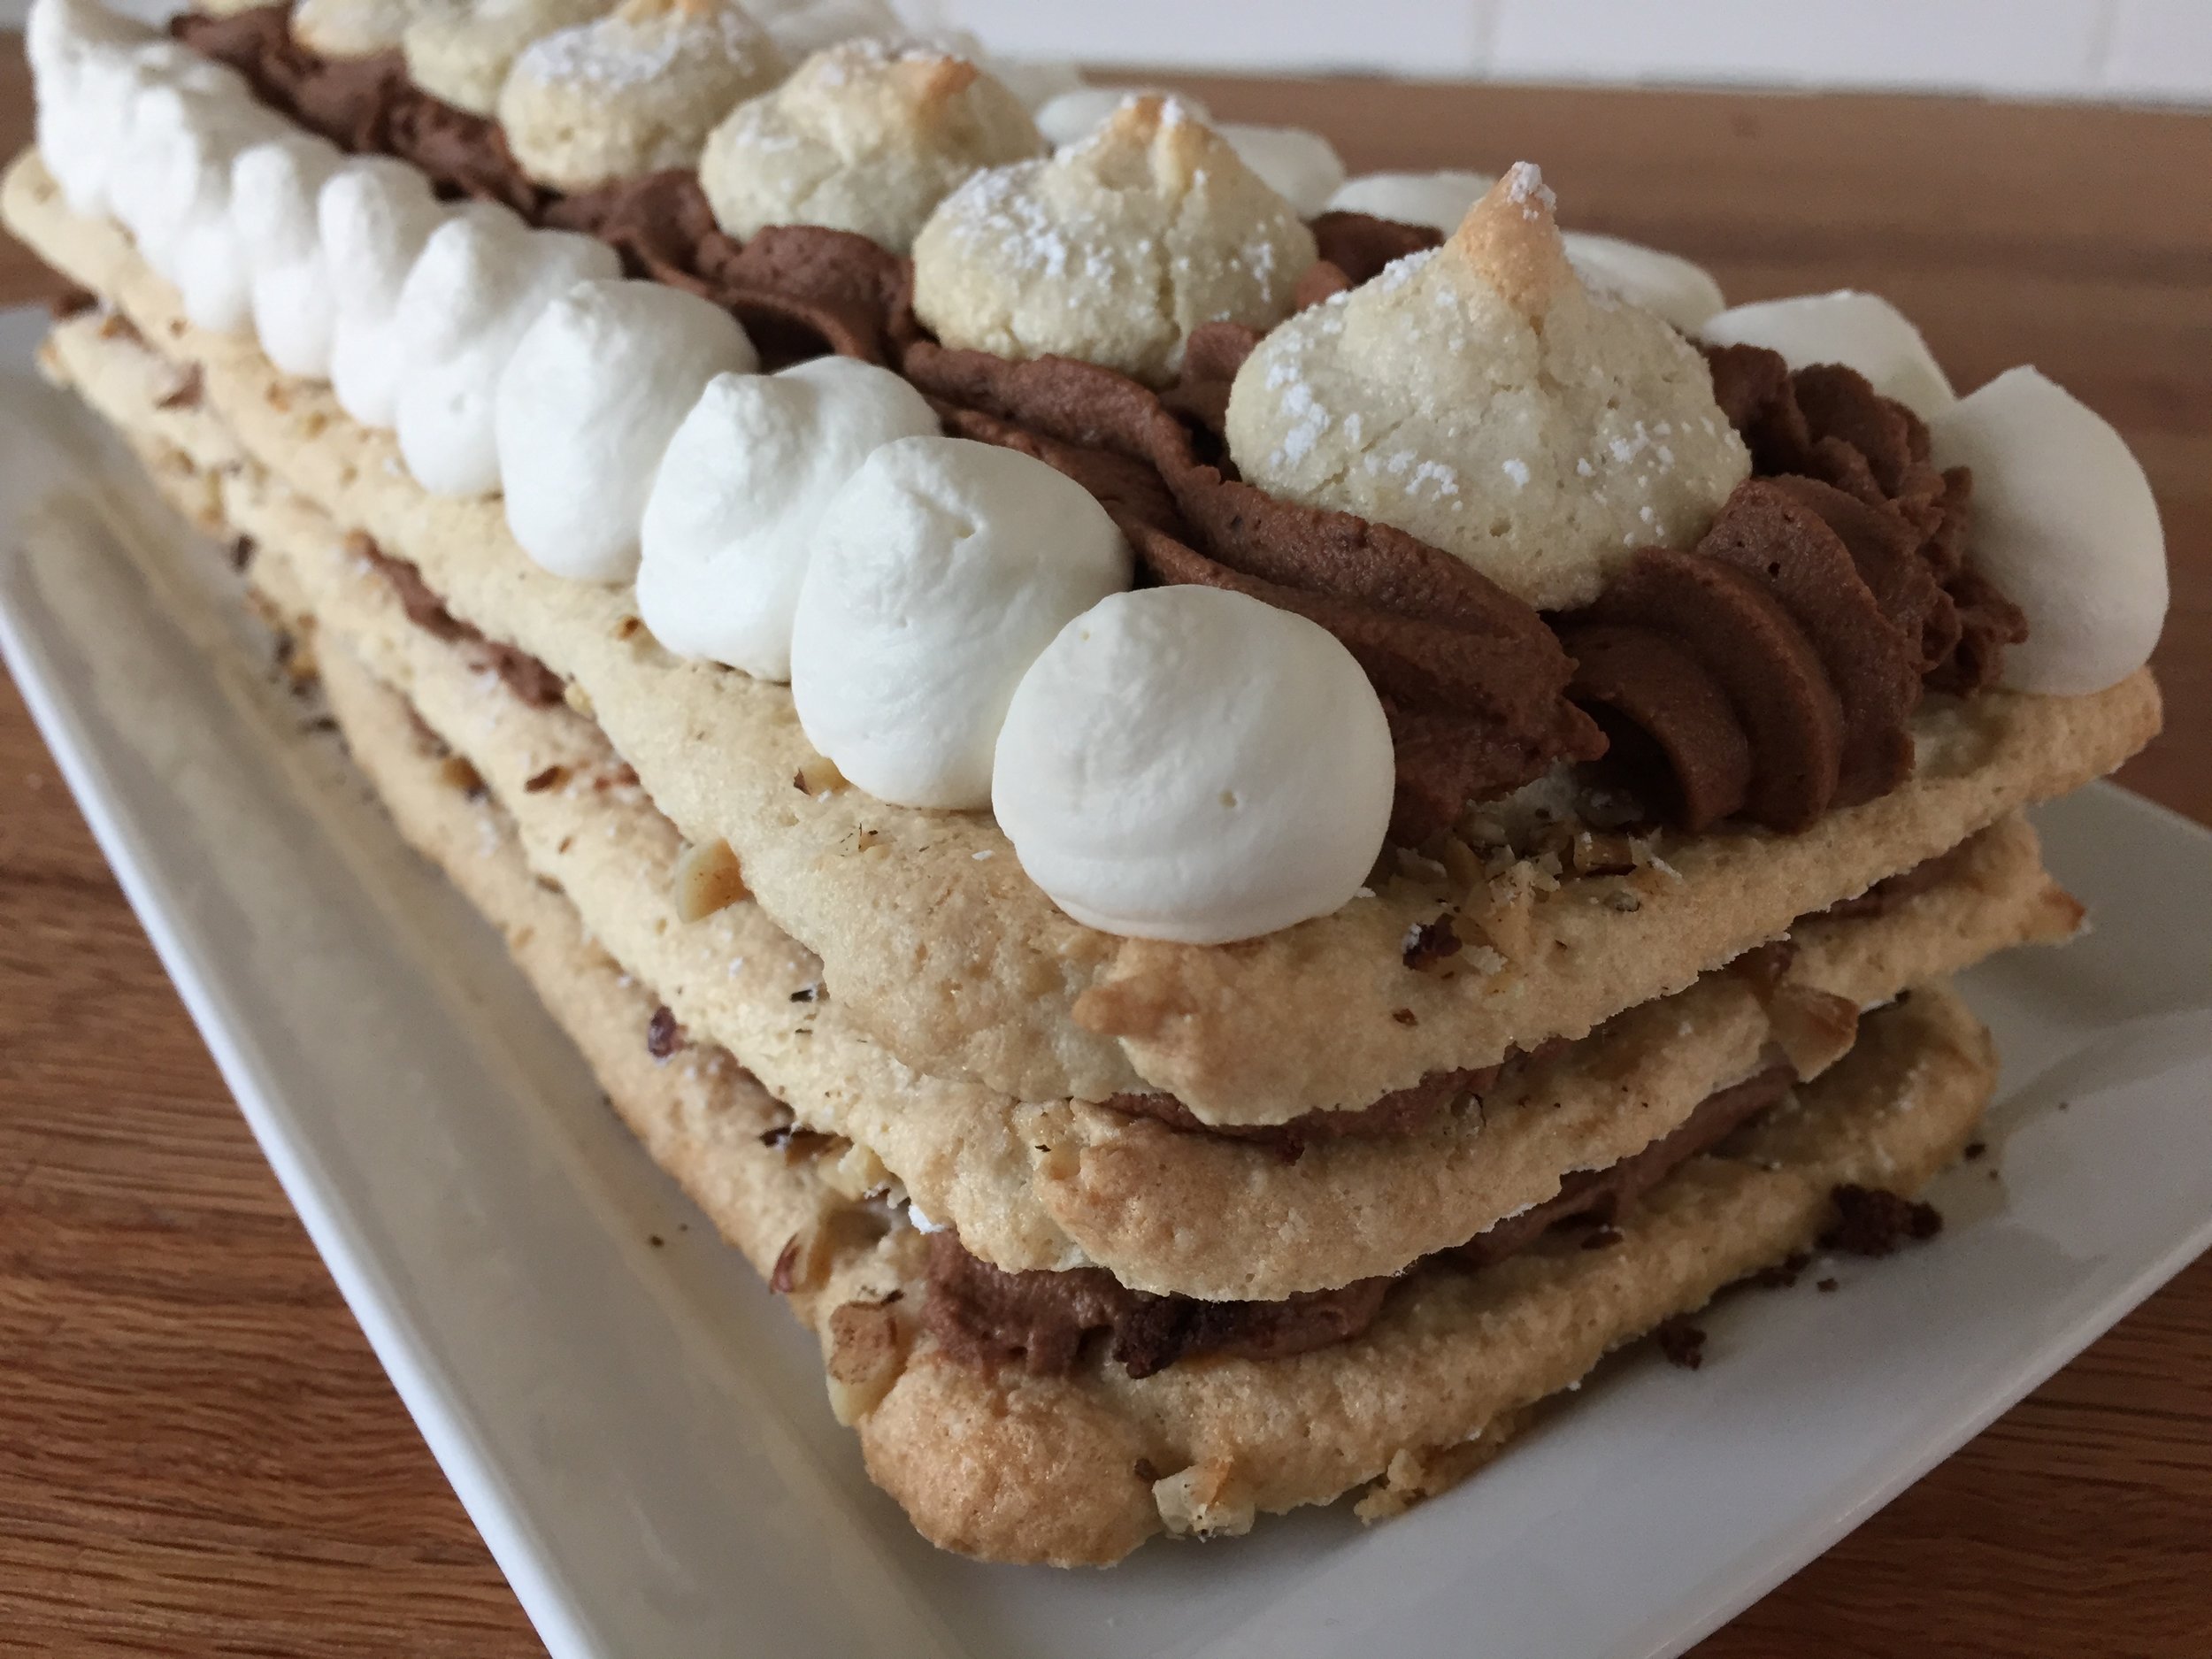
Here I am, back with another favorite - dacquoise in all it’s glory. I’ll warn you - this one’s kind of a mouthful with various components, assembly steps etc. But the end result is deelish! And it’s a great make-ahead project.
Dacquoise is a nut meringue made in a similar fashion to the ever popular French macaron. While very versatile for creating all manner of assembled desserts, it’s also delicious baked into petite button-like cookies that can be sandwiched or simply left alone. In fact, the term dacquoise can refer to the meringue base itself OR the assembled/layered dessert.
Here are a few posts on past creations: pistachio berry dacquoise; hazelnut dacquoise tarte; chocolate hazelnut marjolaine; vanilla/chocolate dacquoise.
This time I went with a passion/raspberry/pistachio flavor profile, feeling the dessert would be a good palate refresher after an Asian meal that Steve prepared recently for a group of friends. The idea actually goes way back to my Gracie’s days when I came up with a dacquoise/passion cream/raspberry number for the dessert menu. I won’t even begin to tell you how fussy that assembly was, but, boy oh boy, it was delicious!

The nut meringue dacquoise component is frequently made with almond flour but you can substitute in hazelnut or pistachio flour (or a mix of your favorite ground nuts). This time around I used half blanched almond flour and half ground pistachios.
Plan aheads are: bake the dacquoise a few days ahead/hold in the freezer until ready for assembly; make passion fruit curd and raspberry coulis a day or two before/hold in the fridge; make a basic crumble and hold in the freezer (or use some of your freezer stash); on assembly day whip heavy cream to fold into the passion curd. NOTE: once assembled you can freeze the whole shebang (except for last minute garnishes) too!
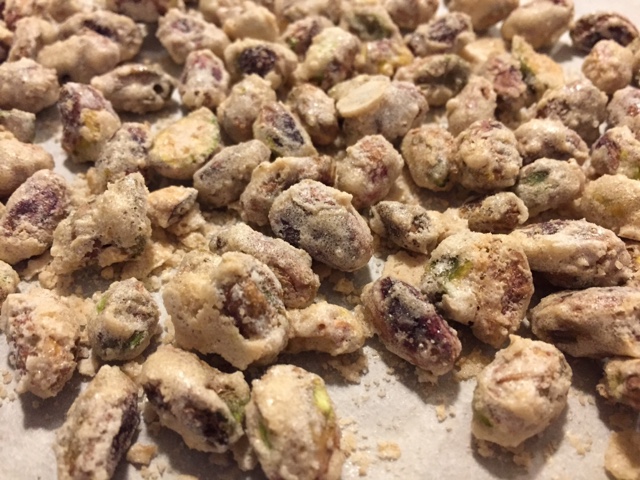
Here are the ingredients for the dacquoise base: almond flour, ground pistachios and confectioner’s sugar sifted into the bowl left/front. Then simply whip the egg whites with a pinch of salt until foamy, then gradually add the sugar. Once all the sugar is added, increase the mixer speed and whip to stiff peaks.

Dacquoise mise
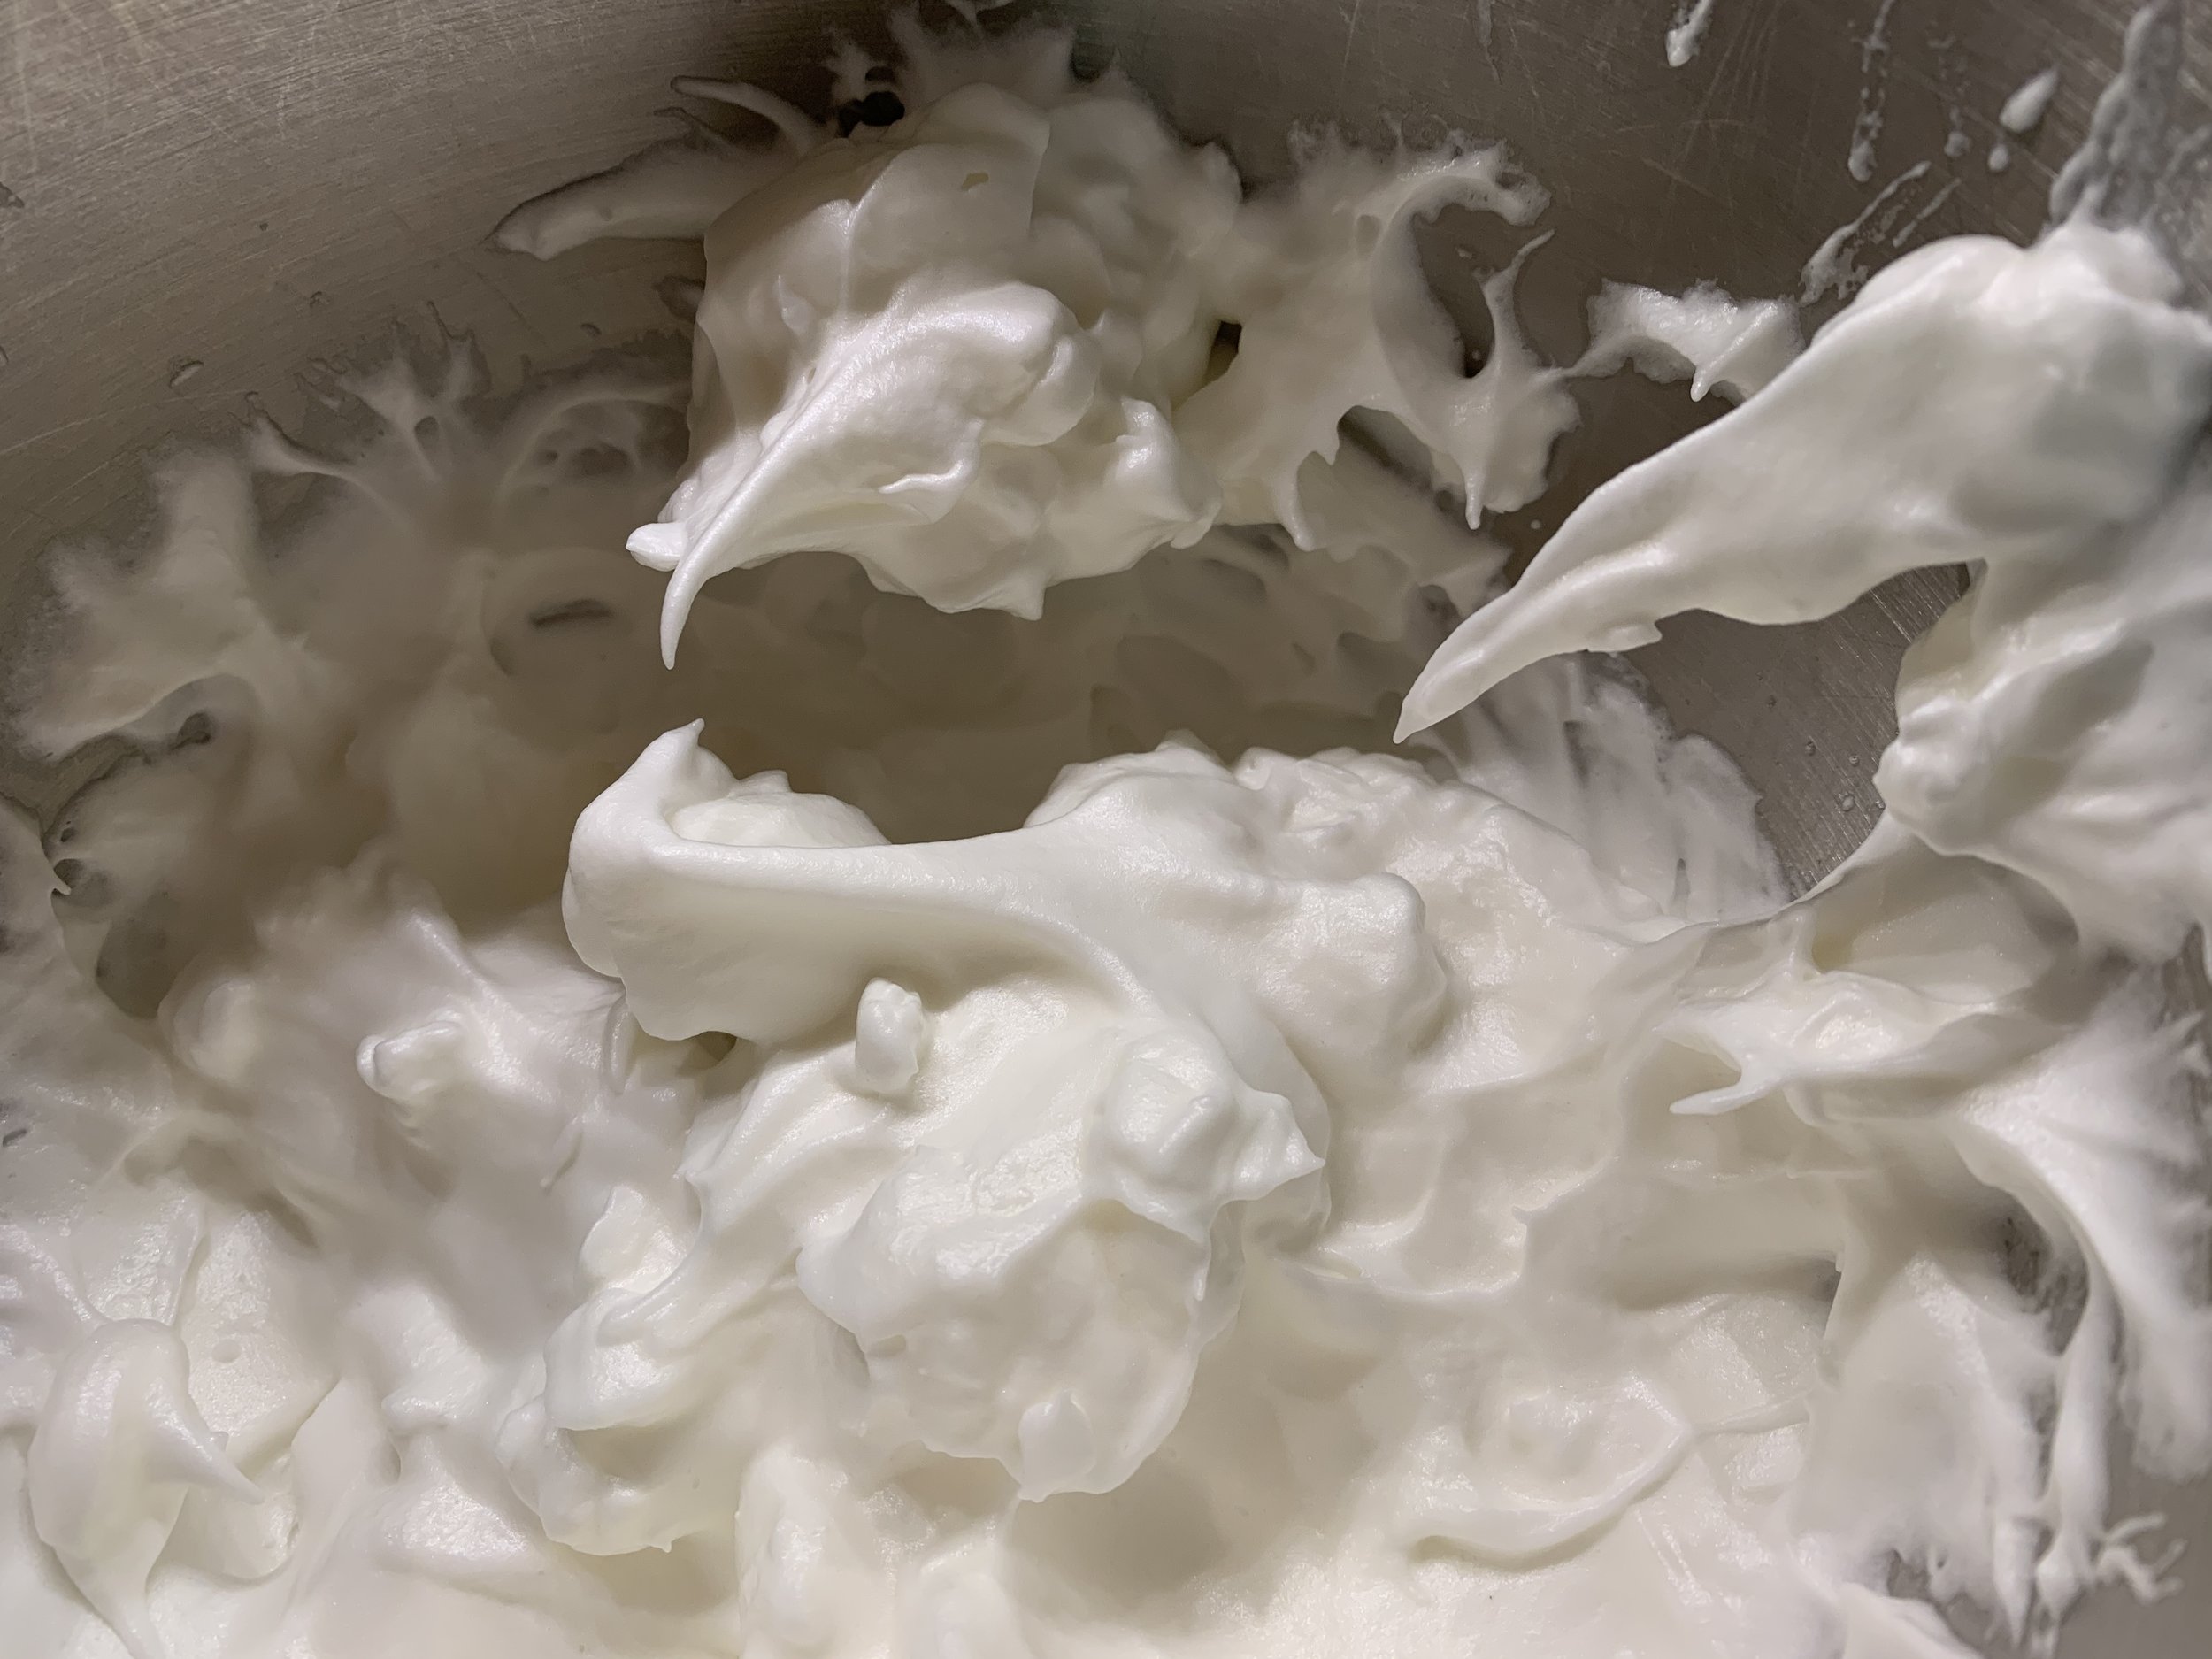
Nice Stiff peaks
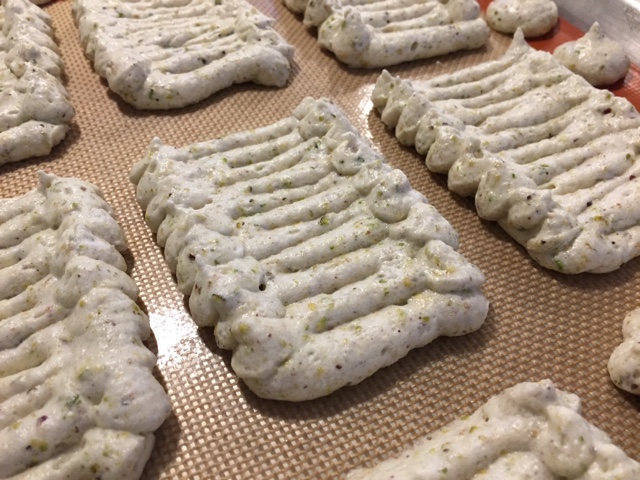
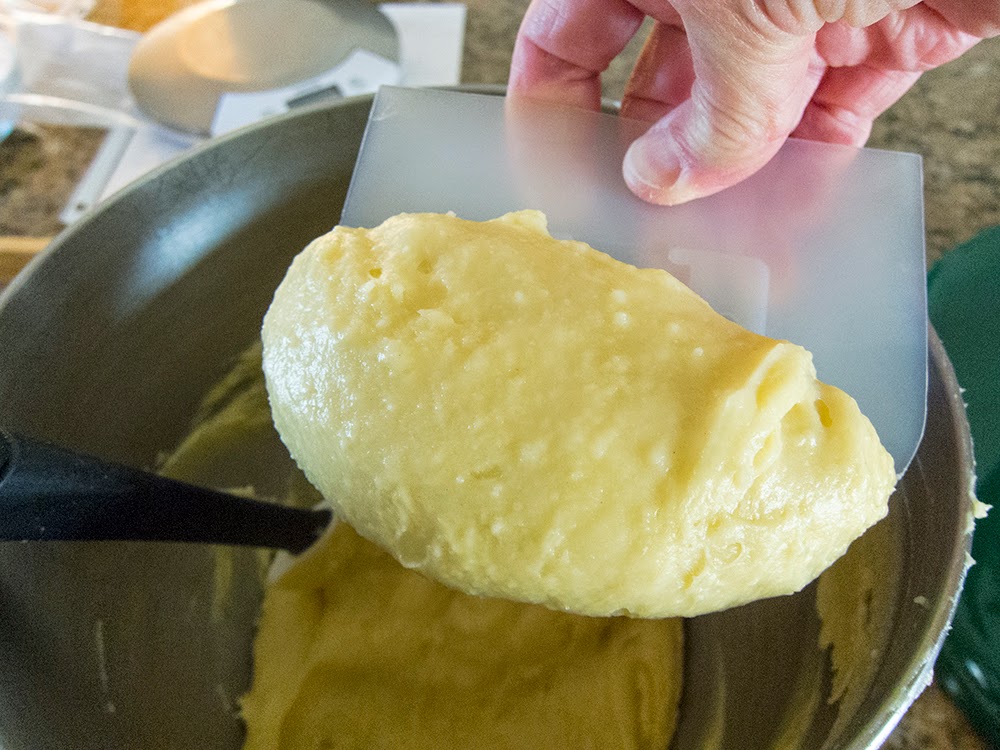
Blend the nut flour/confectioner sugar mix into the whipped whites in three additions then pipe your desired shapes.
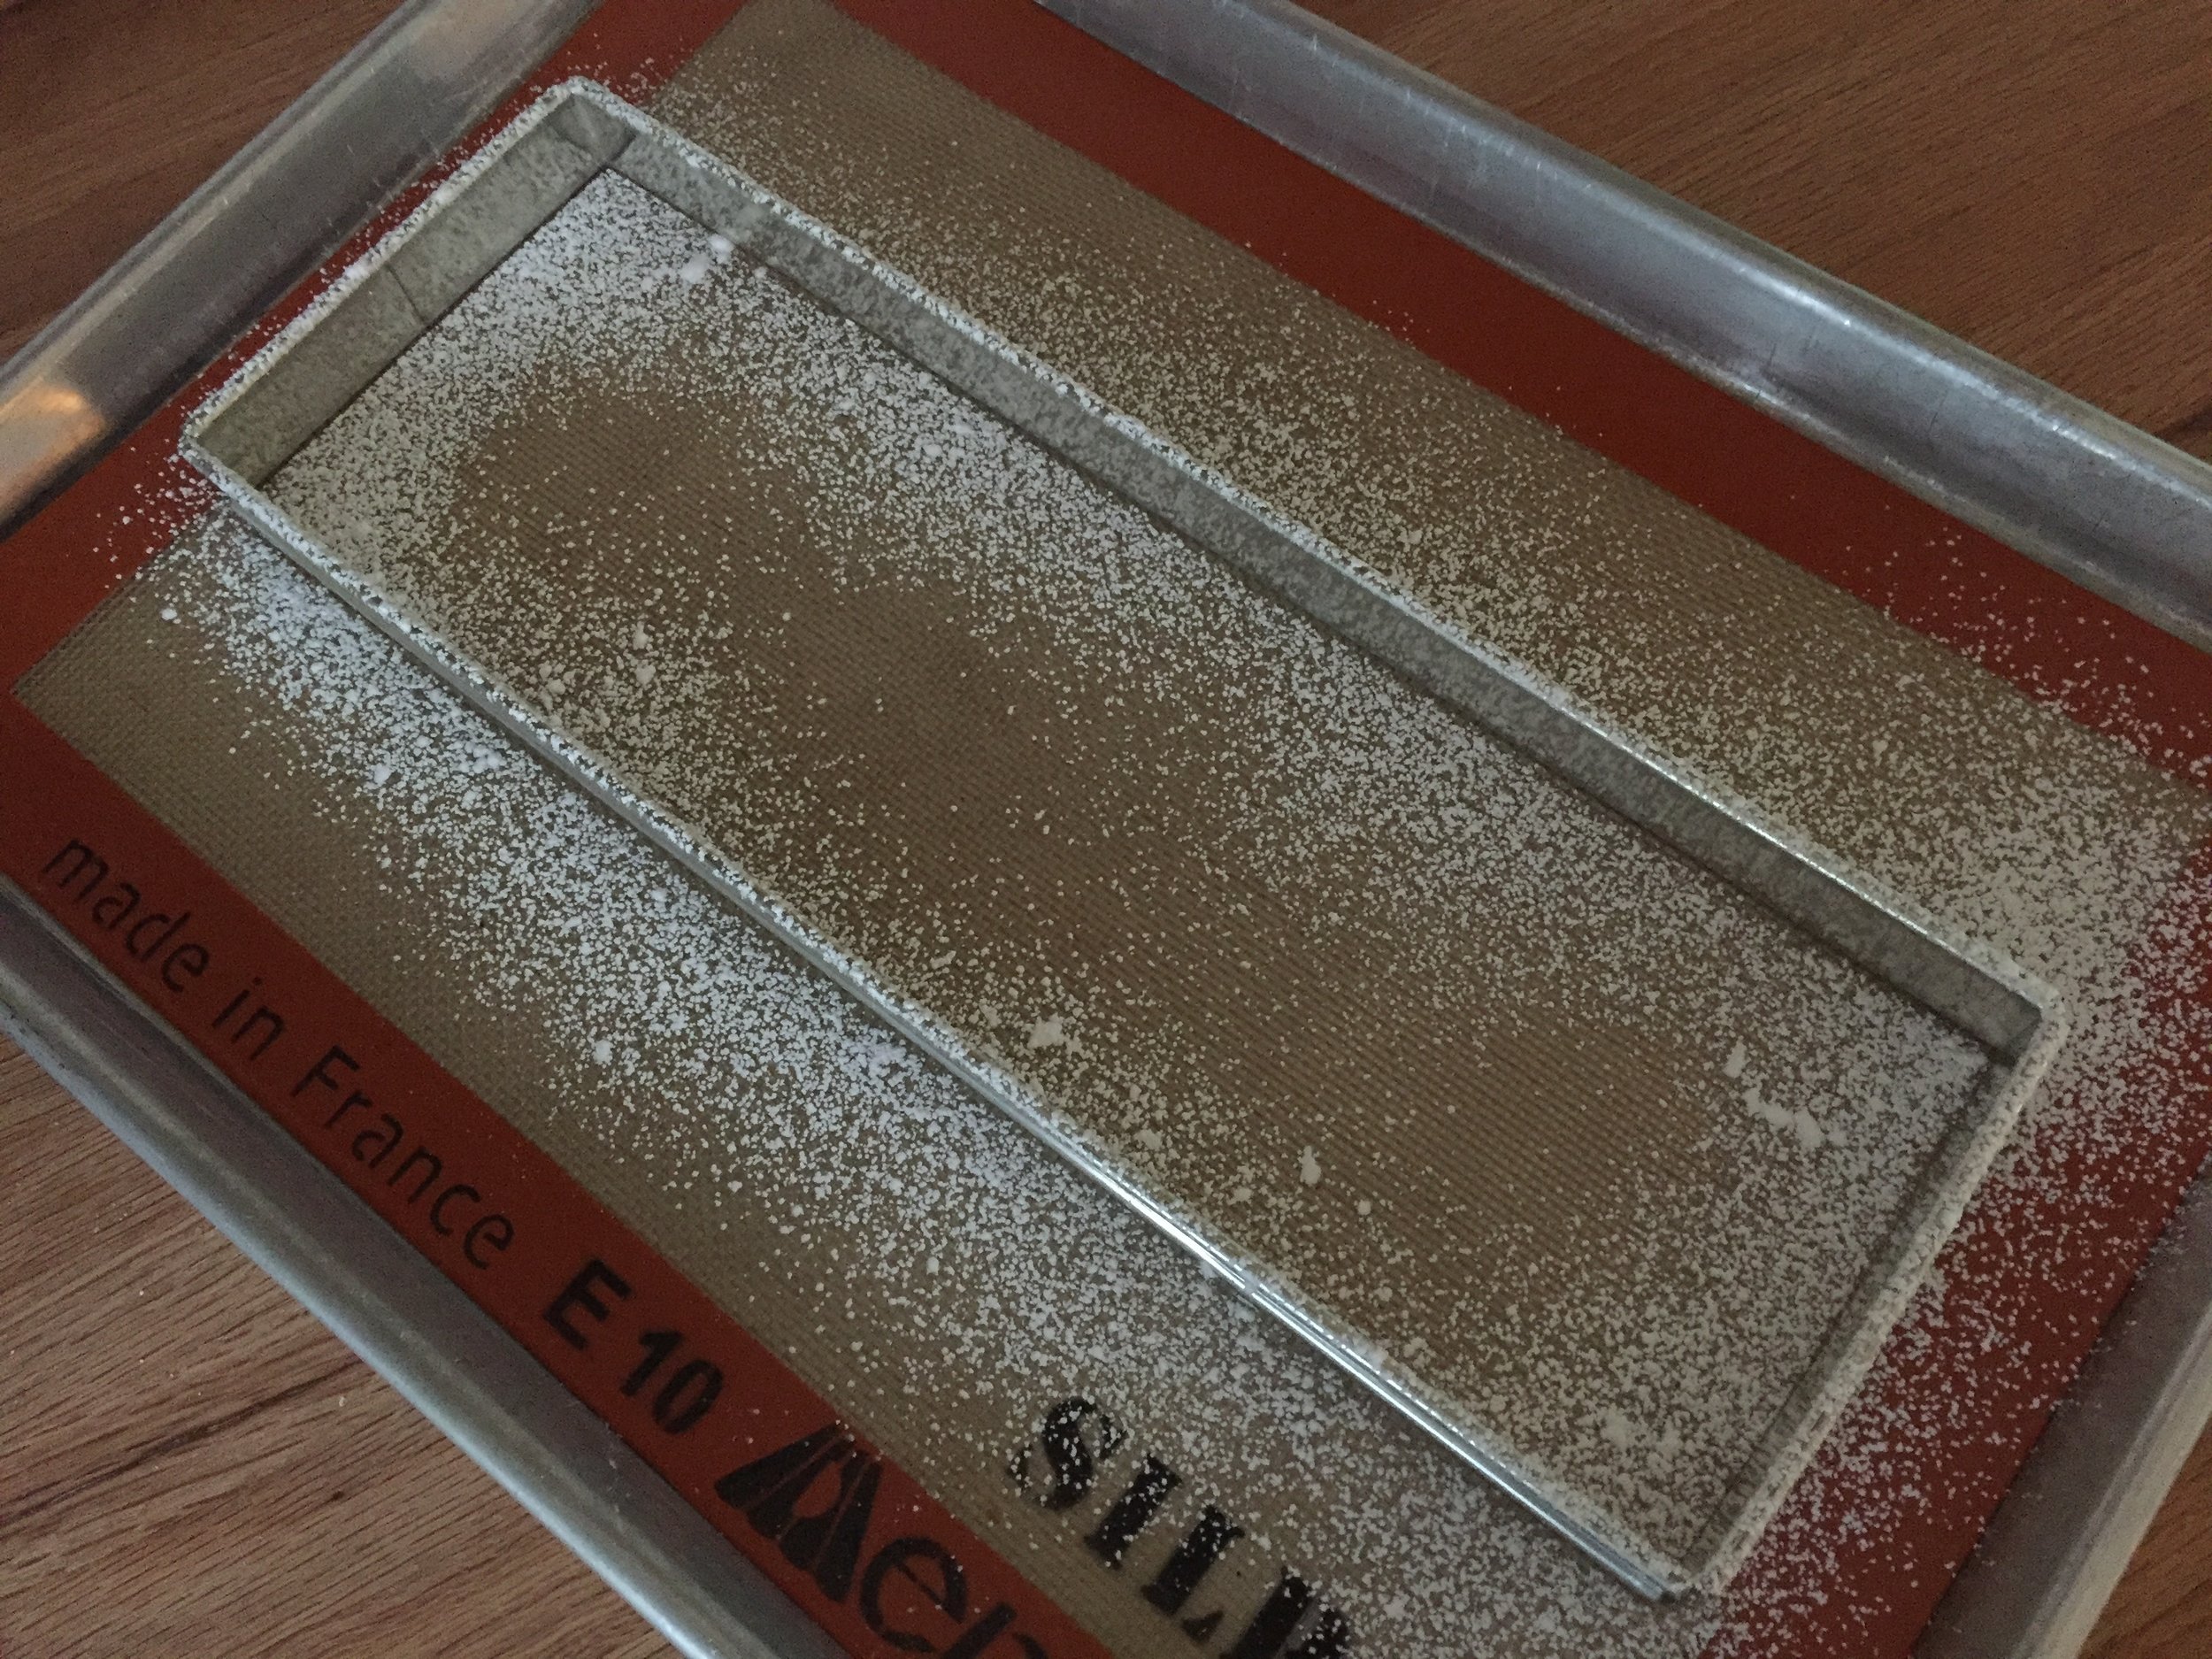
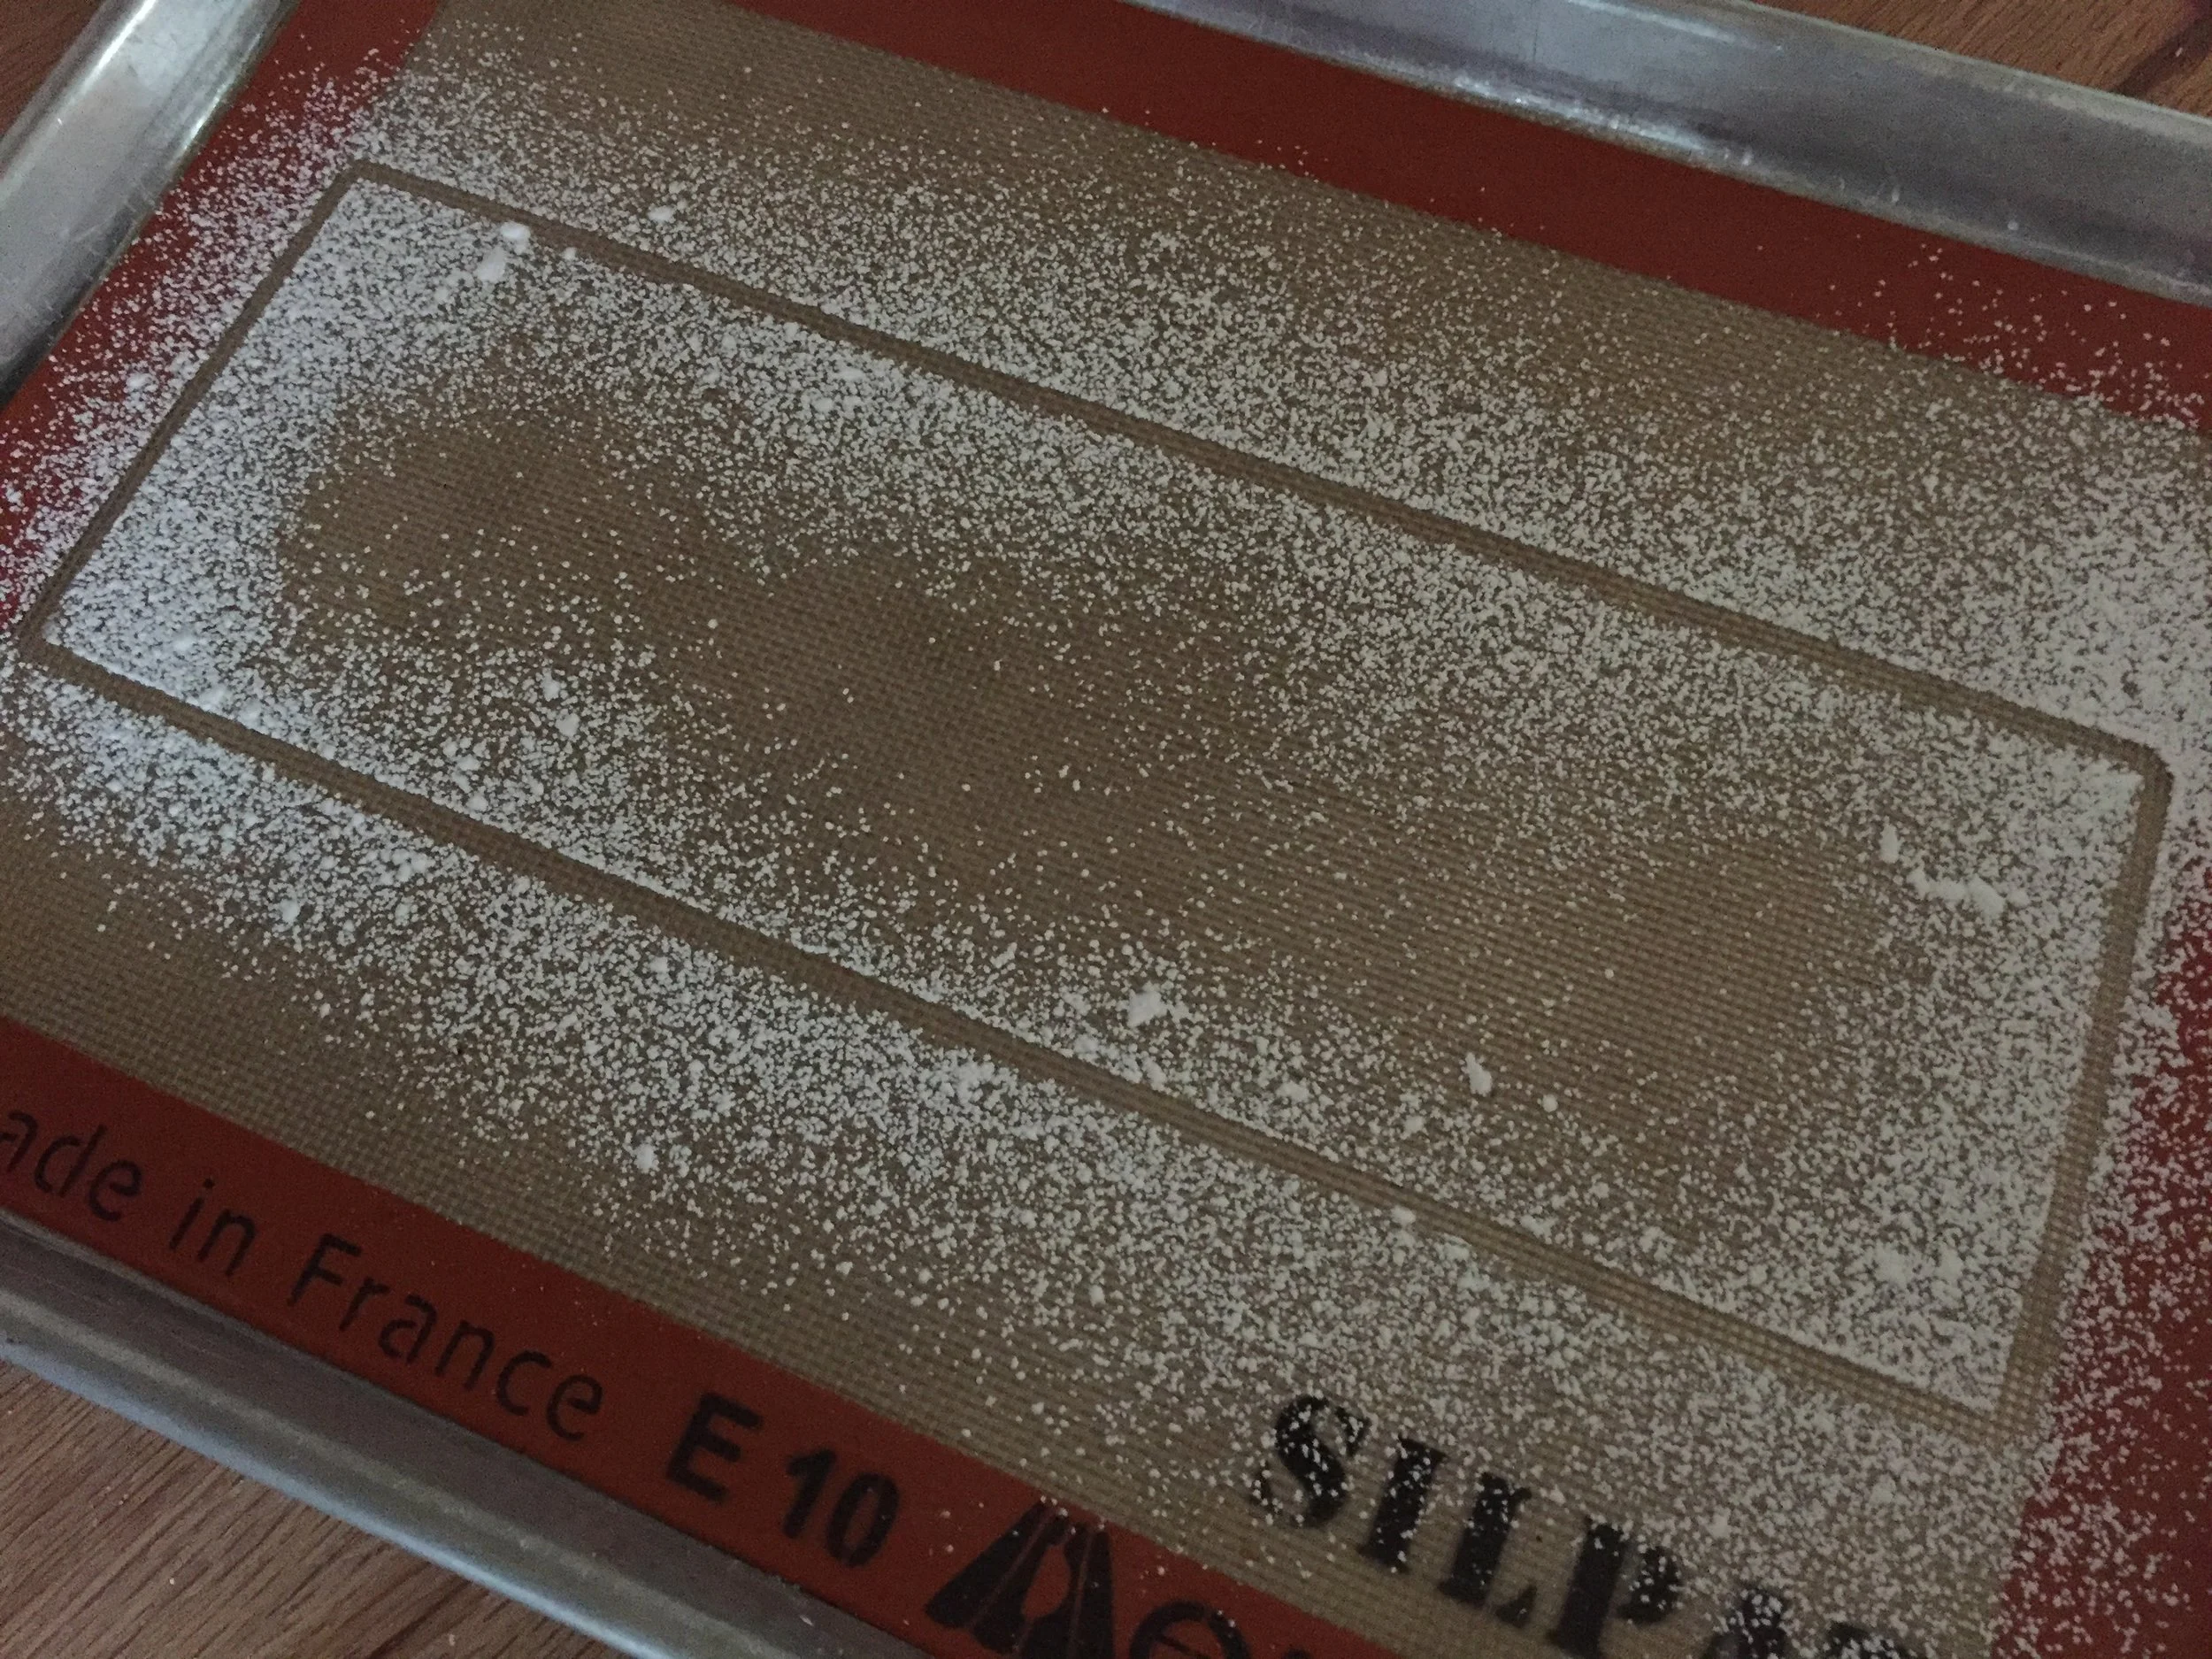
I planned to assemble this in my mom’s longer, narrower Mirro loaf pan so I use the pan as a guide, placing it on Silpat and dusting over it with confectioner’s sugar to give myself an outline for piping my dacquoise shapes. I know I’ve shown you this trick before - it’s pretty slick.

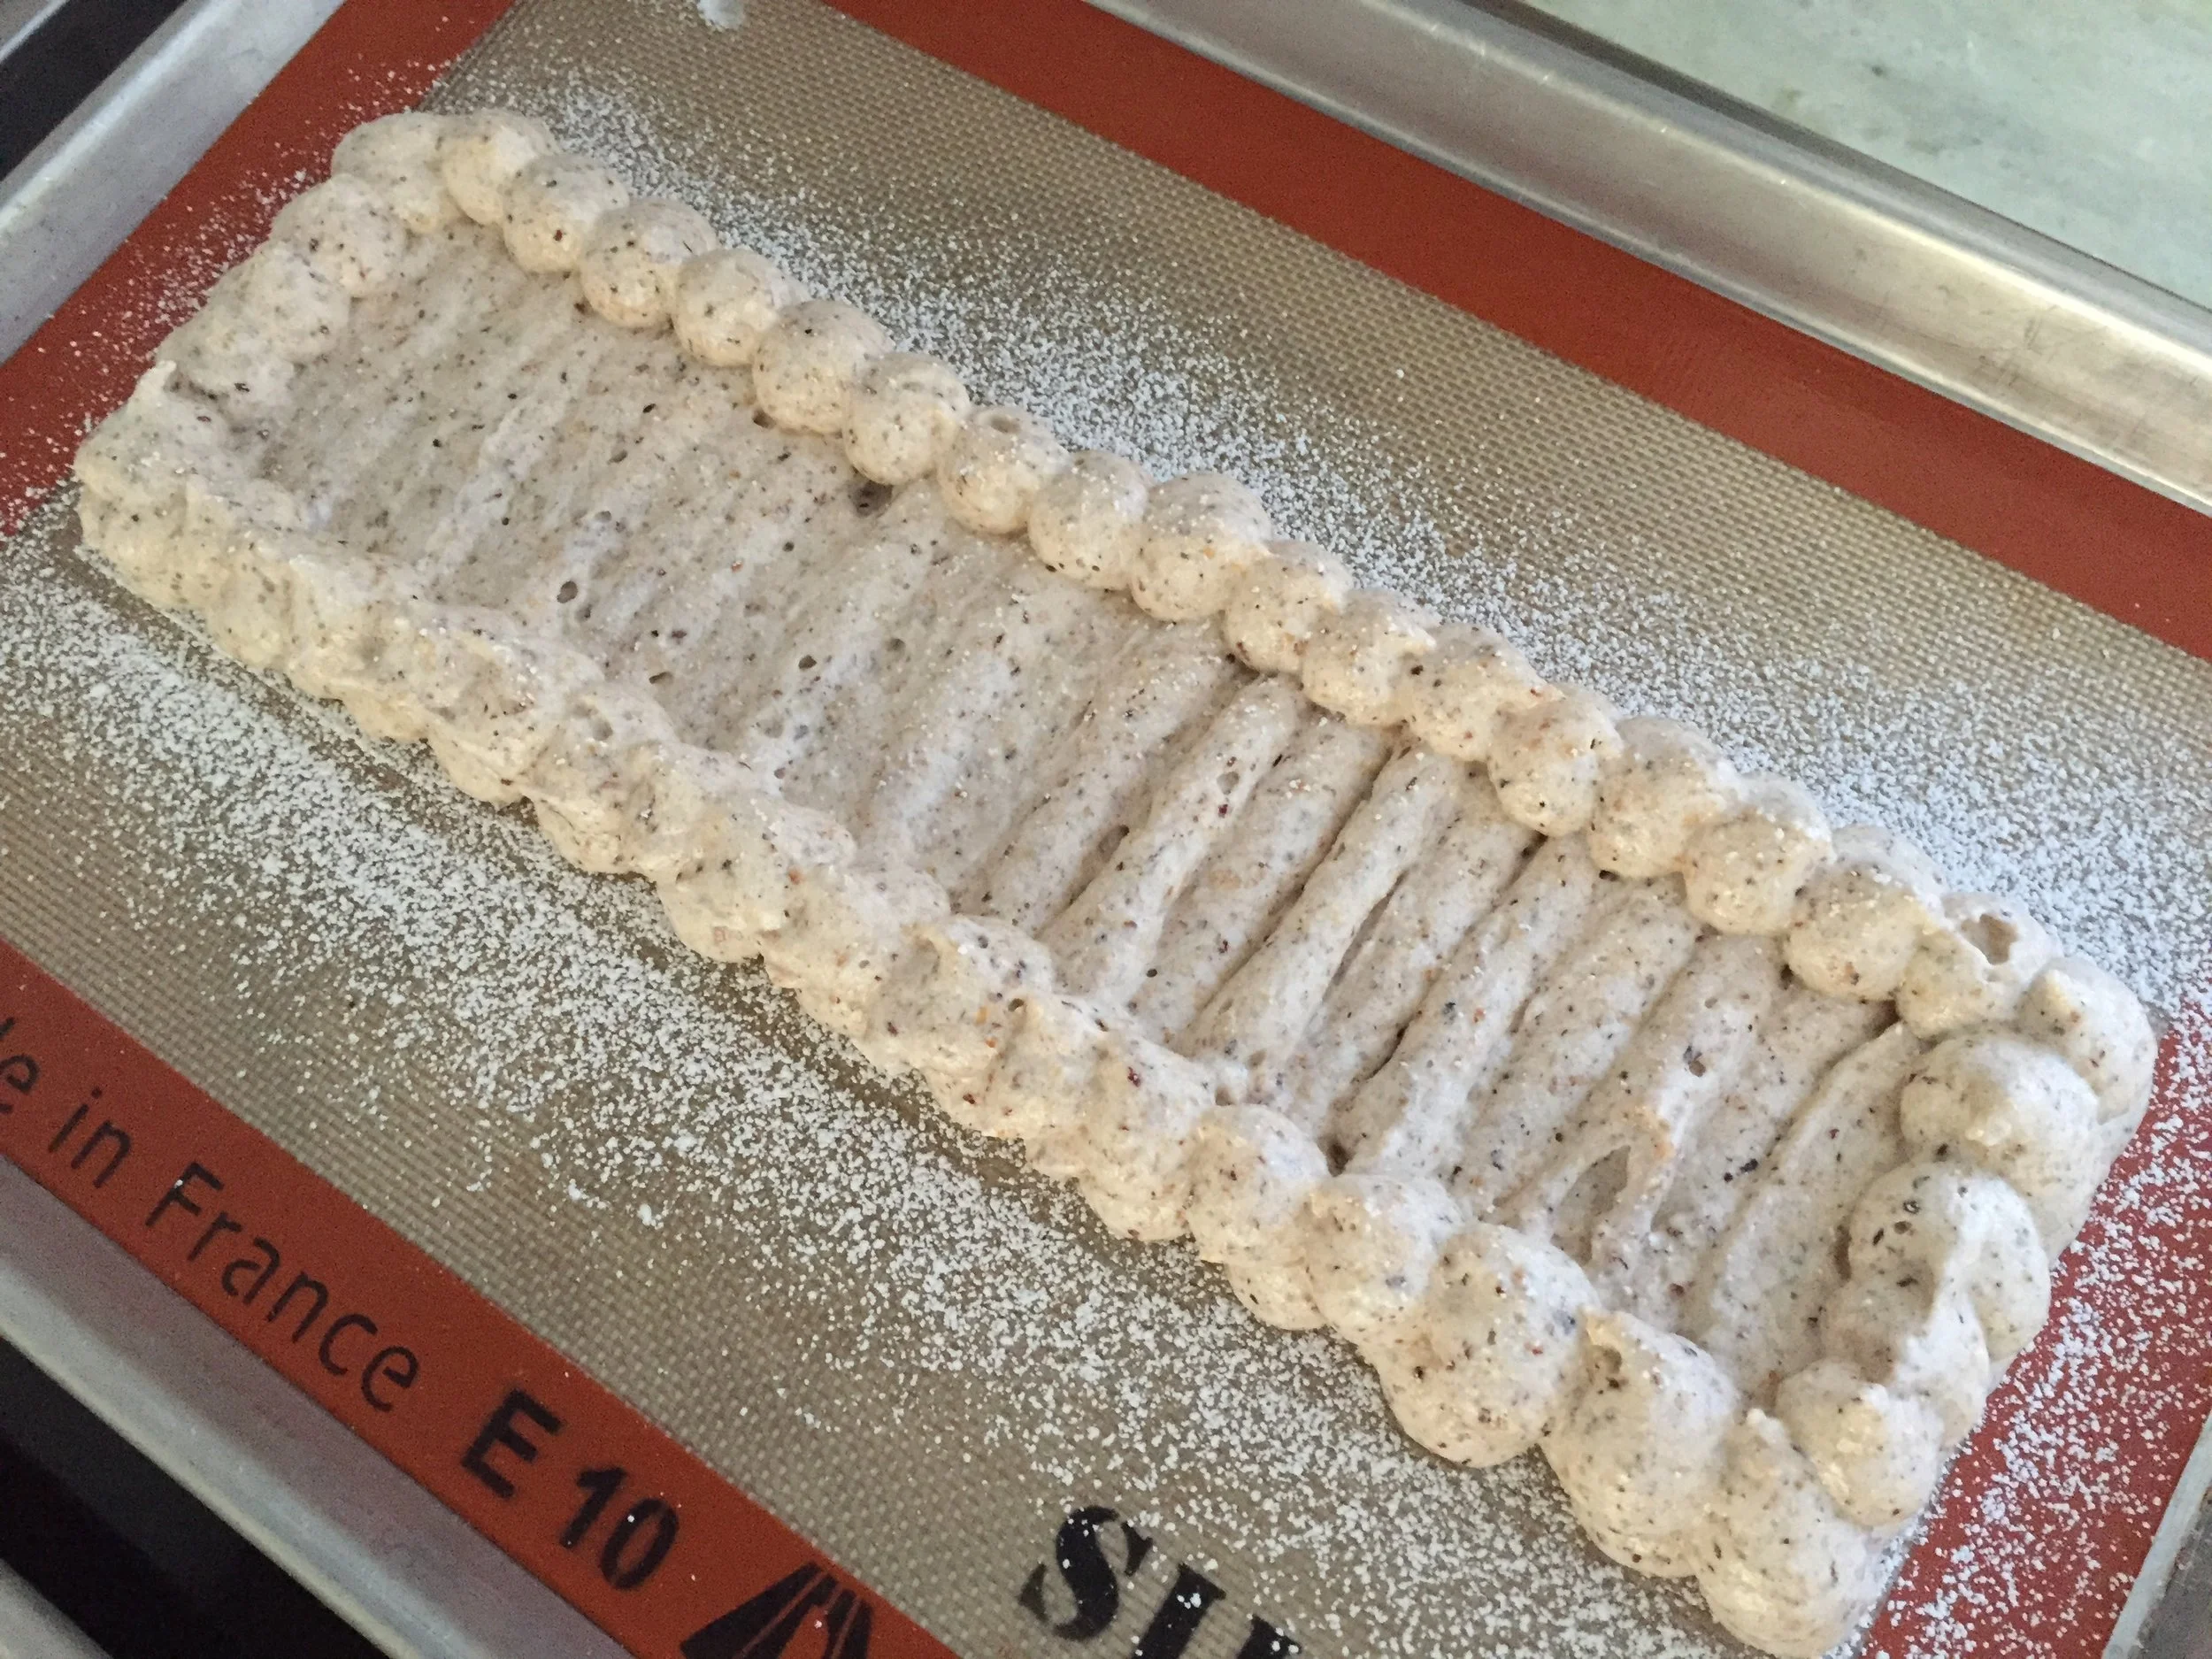
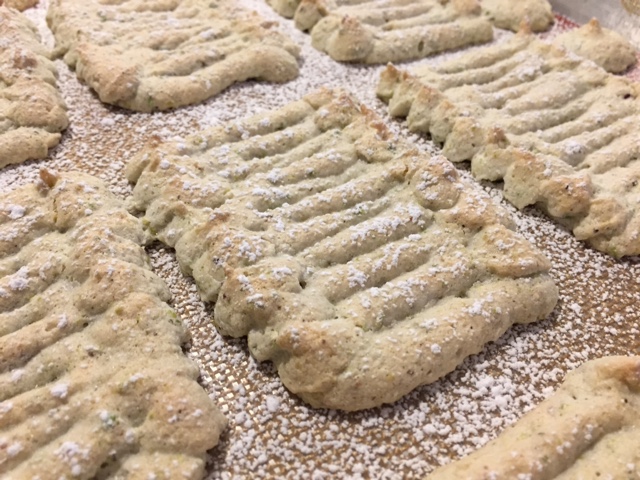
I ended up with two rectangles plus a number of cookies for garnish.
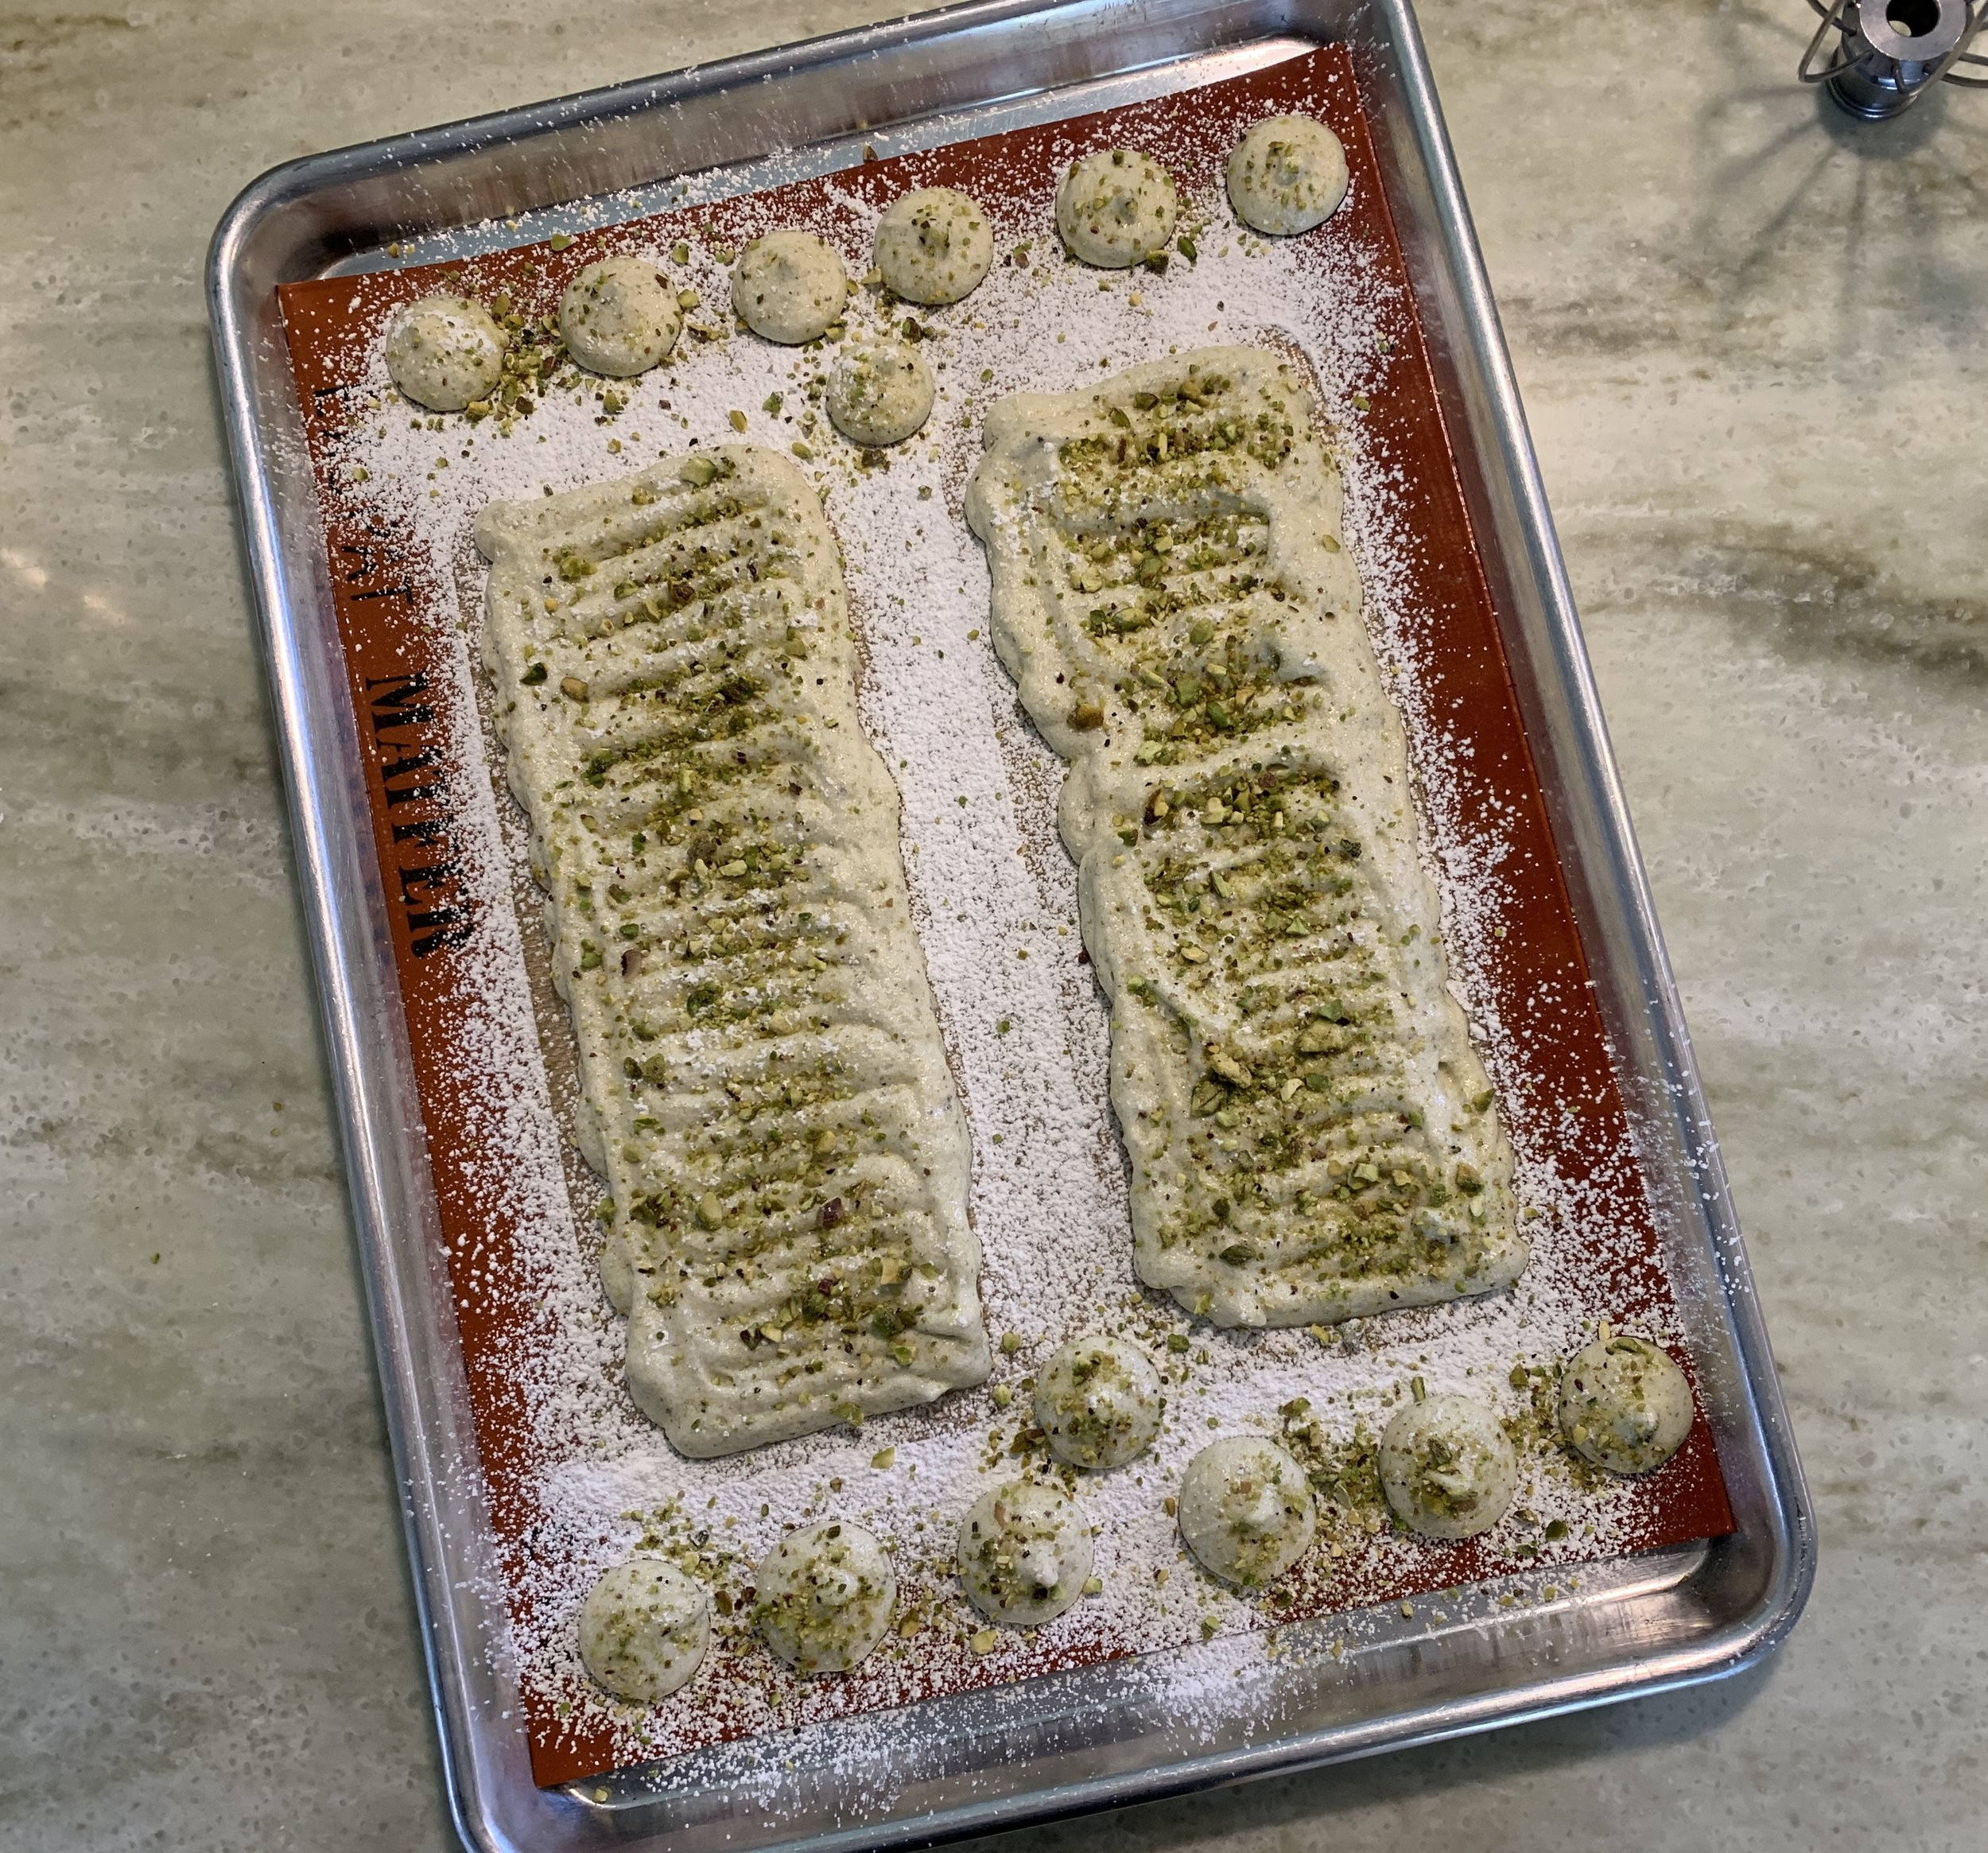
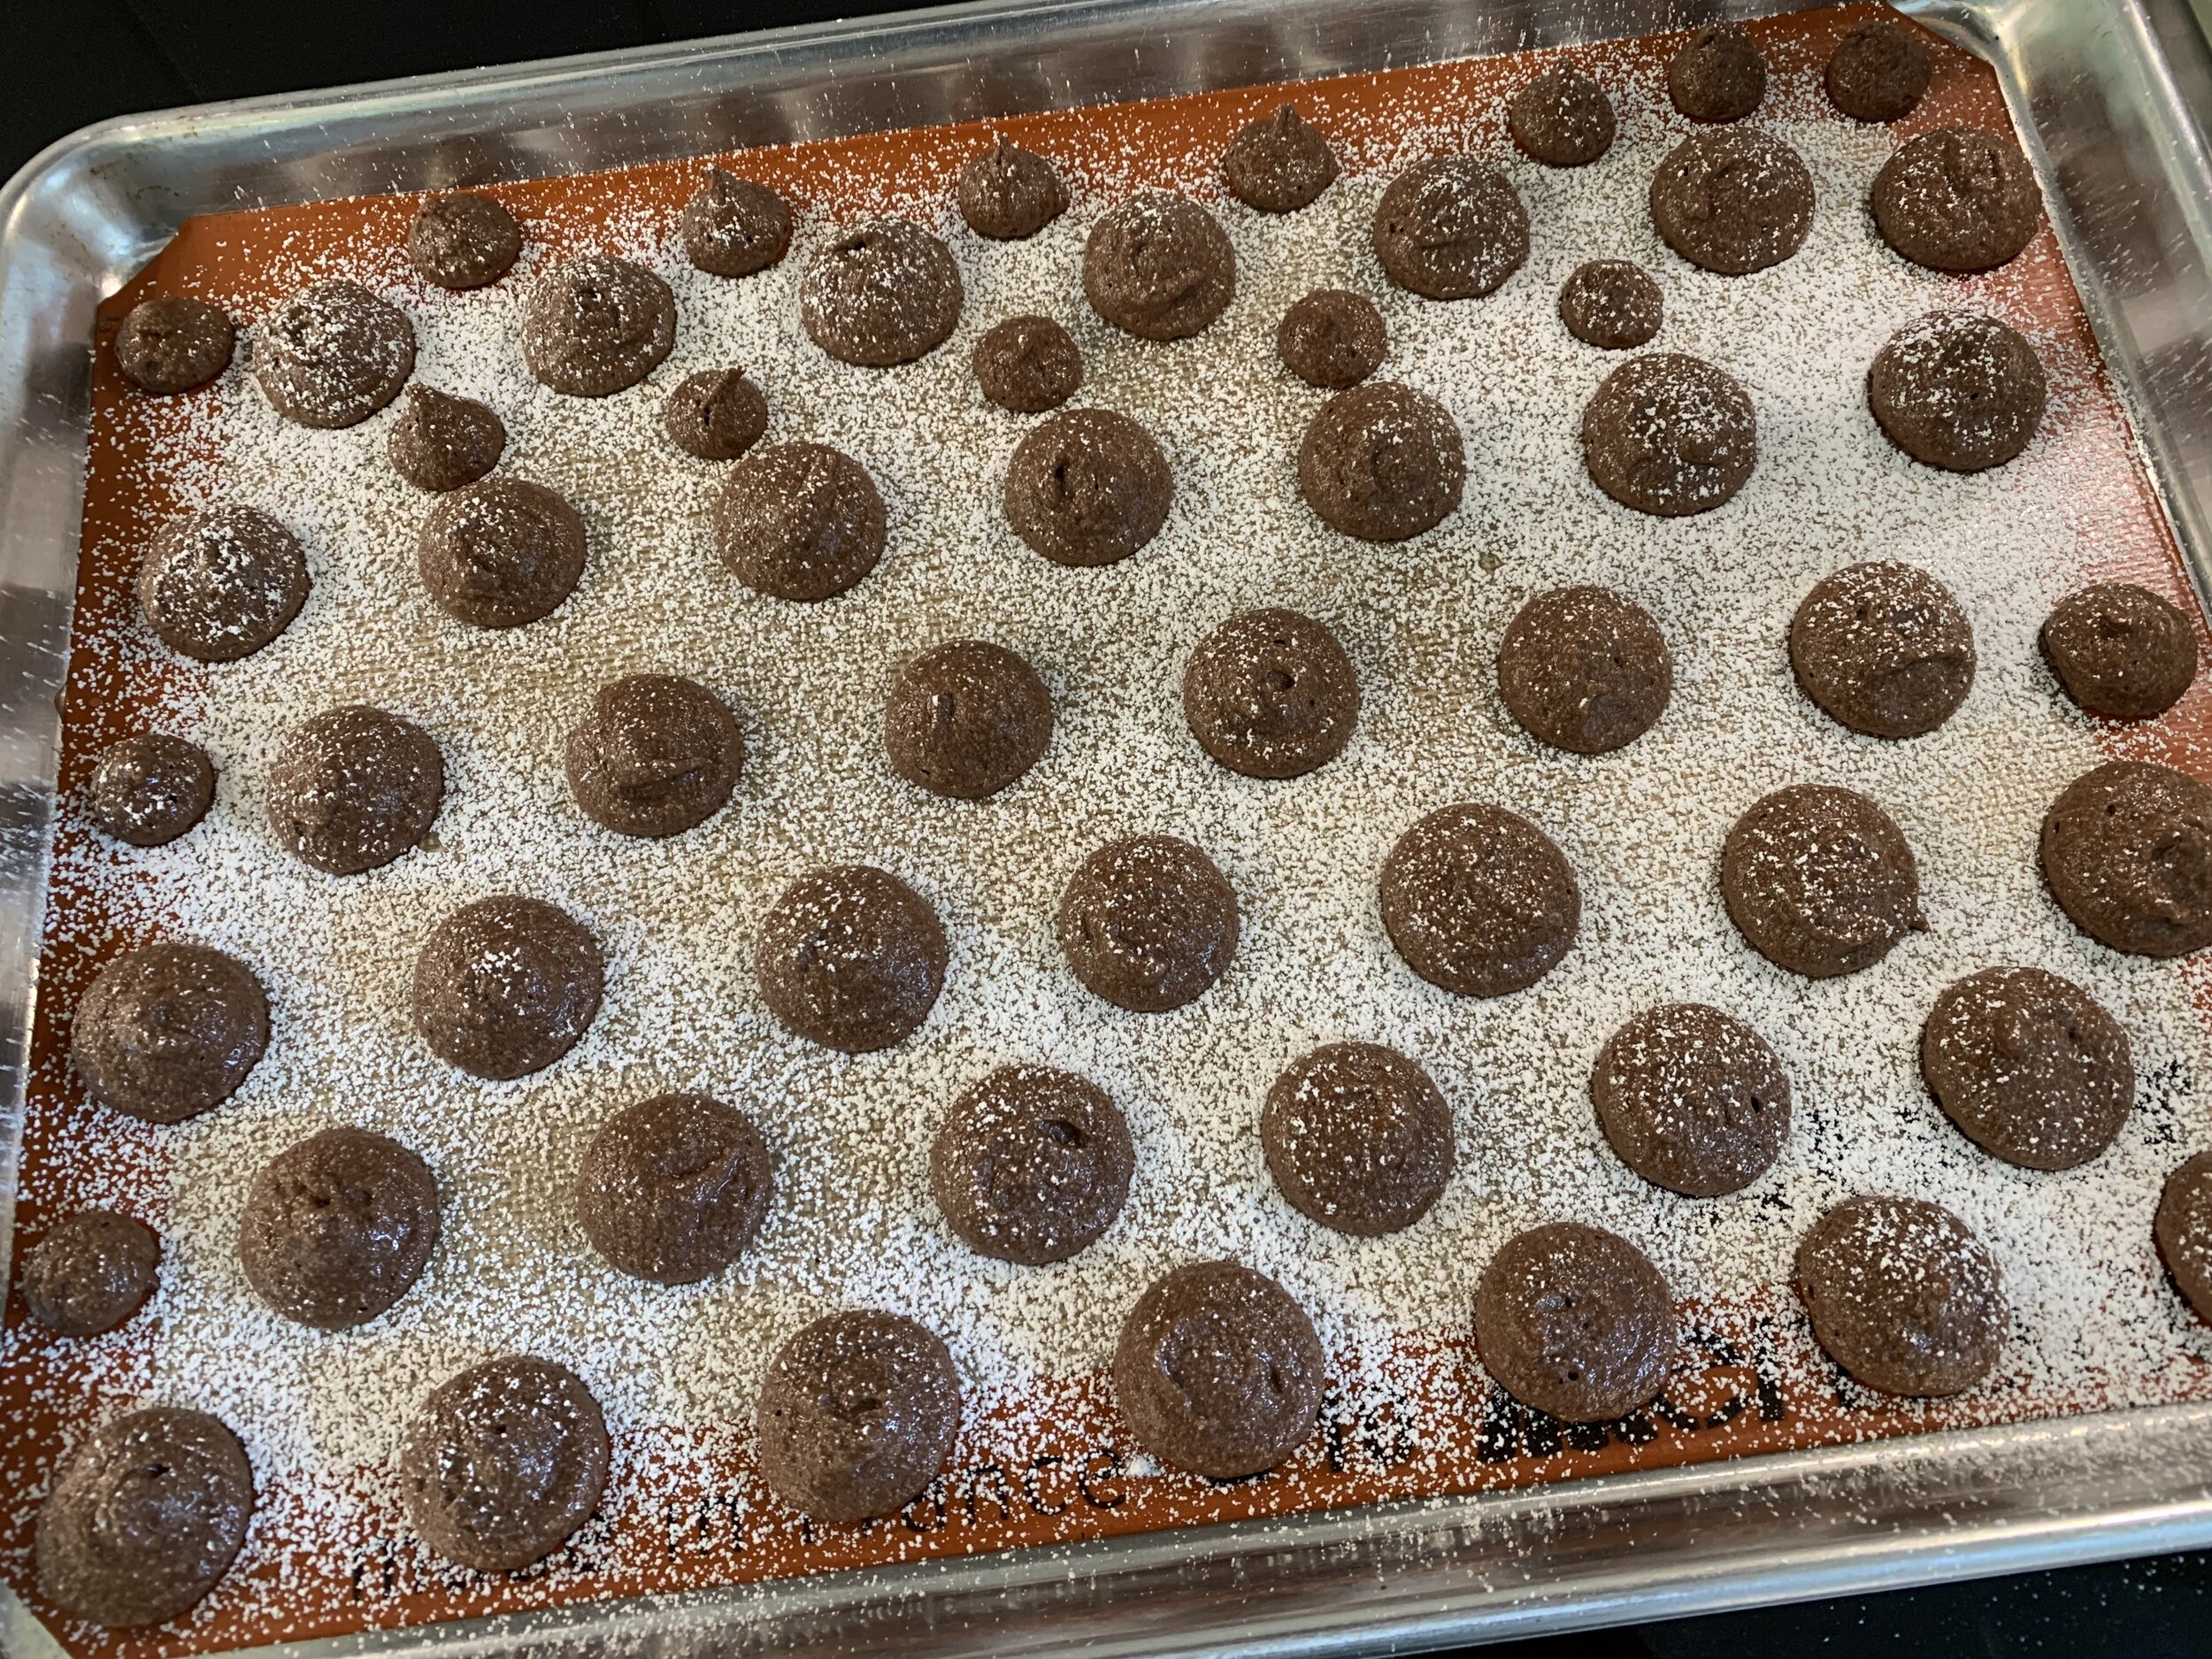
Piped and unbaked
Once the dacquoise is baked at 350ºF for about 20 minutes, let it cool then gently release from the Silpat with a small offset spatula. You can freeze the pieces now if you’re not ready for assembly yet.
Next up: passion curd. Through Amazon I ordered Funkin brand passion fruit purée (reportedly popular with bartenders for making cocktails). It stores at cool room temperature - as long as it’s unopened, shelf life is great. Once opened, refrigerate it and use within 10 days. I only needed a portion of the total amount so I poured the extra into ice cube trays and froze them for future use. I do that with freshly squeezed lemon juice too.

Passion curd mise en place
Whisk 2 large eggs and 4 large yolks in a medium bowl and set aside. In a medium saucepan heat 150 ml / 1/2 cup+2 tablespoons passion purée with 45 ml / 3 tablespoons lemon juice and 150 g / 3/4 cup granulated sugar (I’m using a golden organic cane sugar here). Temper half of the passion mixture into the eggs then return all to the saucepan and cook stirring constantly over low heat until thickened and a couple of bubbles appear (165º-180º).
Remove the saucepan from the heat and whisk in 140 g / 10 tablespoons cubed, room temperature unsalted butter. Using an immersion blender makes for a nice creamy end result. Transfer to a clean bowl, cover the surface with plastic wrap, let cool briefly at room temperature then refrigerate. This keeps in the fridge for up to a week and can be frozen. Here’s the recipe again

The curd recipe makes about 2.5 cups. I needed 360 g / 1.5 cups for this project so I froze the rest.
I often have different berry and other fruit purées in my freezer as well as whole raspberries and blueberries from summer crops. If you happen to have raspberry purée on hand, by all means use it. Otherwise thaw a couple pints of raspberries (or use fresh), smush them and strain out the seeds and add ~10% sugar to the purée to create a coulis. I used 120 g of purée set with 1/2 sheet of gelatin for the middle layer of my assembly. I saved the remaining coulis for garnishing and, if you have any of that left, freeze it for later. You’ll be ready for next time.
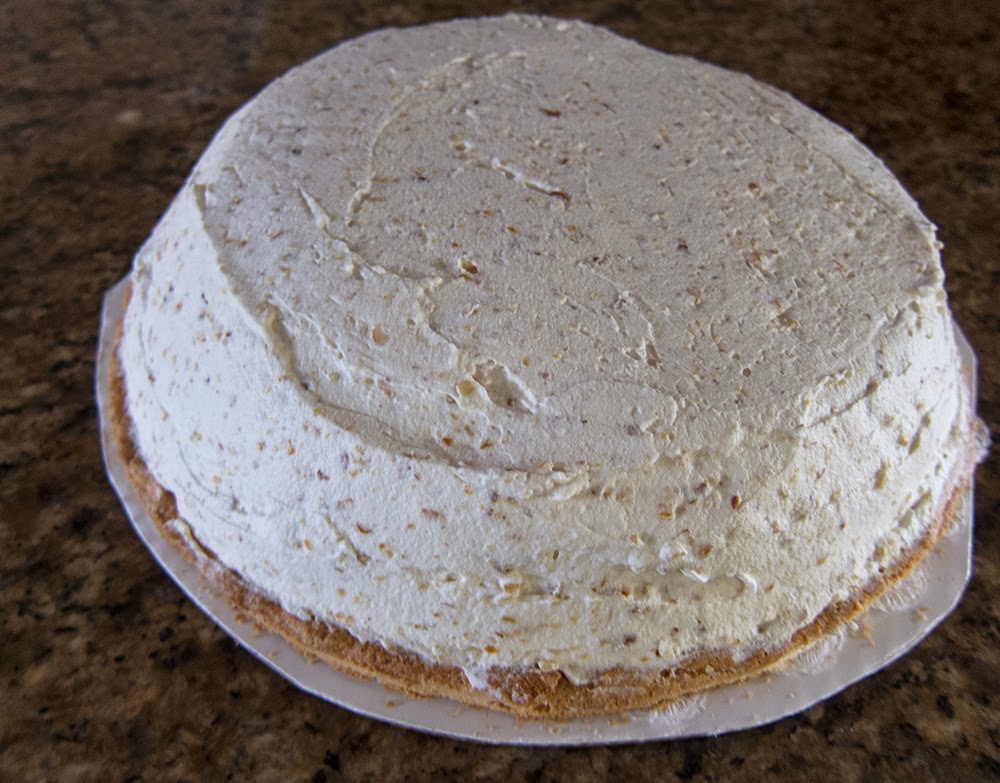
Let’s assemble!! Lightly oil or butter the insides of a loaf pan then line it with plastic wrap wide enough to have some hanging over the rim. Press one dacquoise rectangle gently into the bottom of the pan. You may have to trim edges a bit.

Whip 200 g heavy cream, blend it into the 1.5 cups of curd and set the blend by whisking in 1.5 sheets of bloomed, strained and squeezed out gelatin, creating a bavorois.

Use about half of that to cover the bottom dacquoise layer. Let the remainder rest in the fridge.
Pop the whole pan in the freezer for about 20 minutes to set before covering with the coulis.

Pour the coulis over passion cream and once again place the whole thing in the freezer to set.

Next I topped the berry layer with some pistachio olive oil shortbread crumbs that I had in my freezer. I had made the cookies a while ago and found them tasty but very crumbly so . . . . into the freezer they went for such an occasion as this!

Now carefully cover the crumbs with the remaining passion cream and smooth the top. Place in the freezer to set.

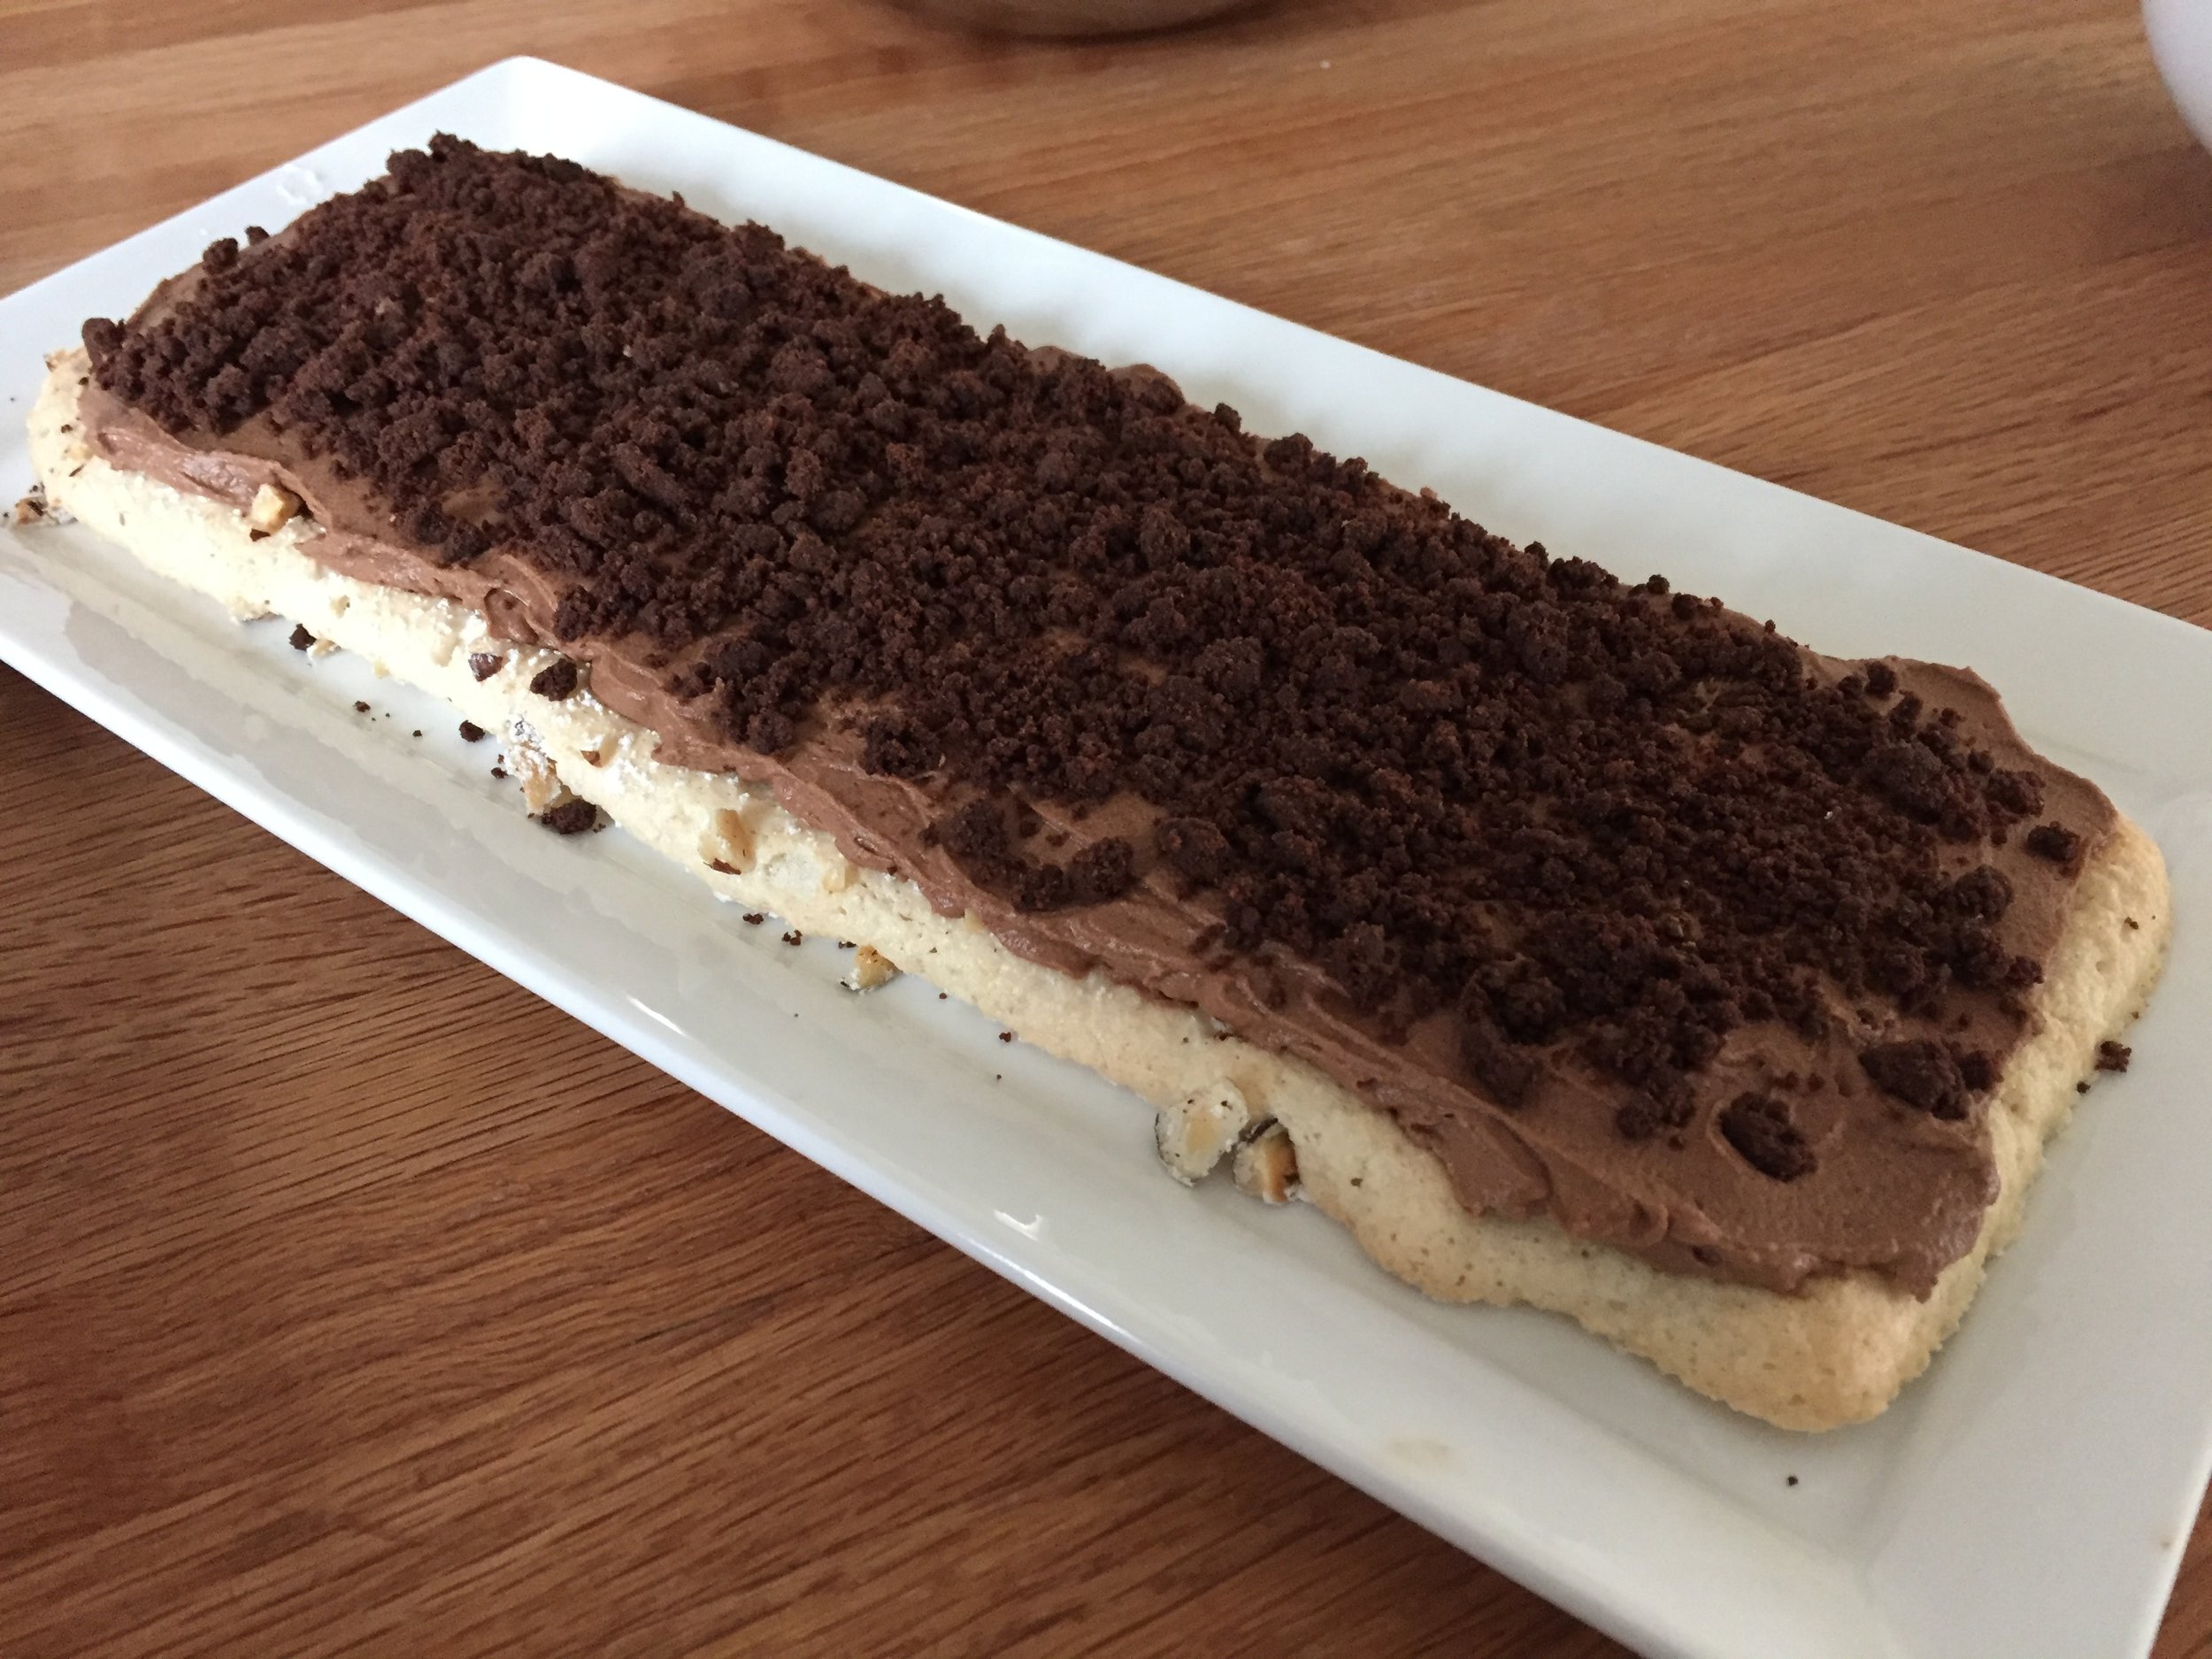
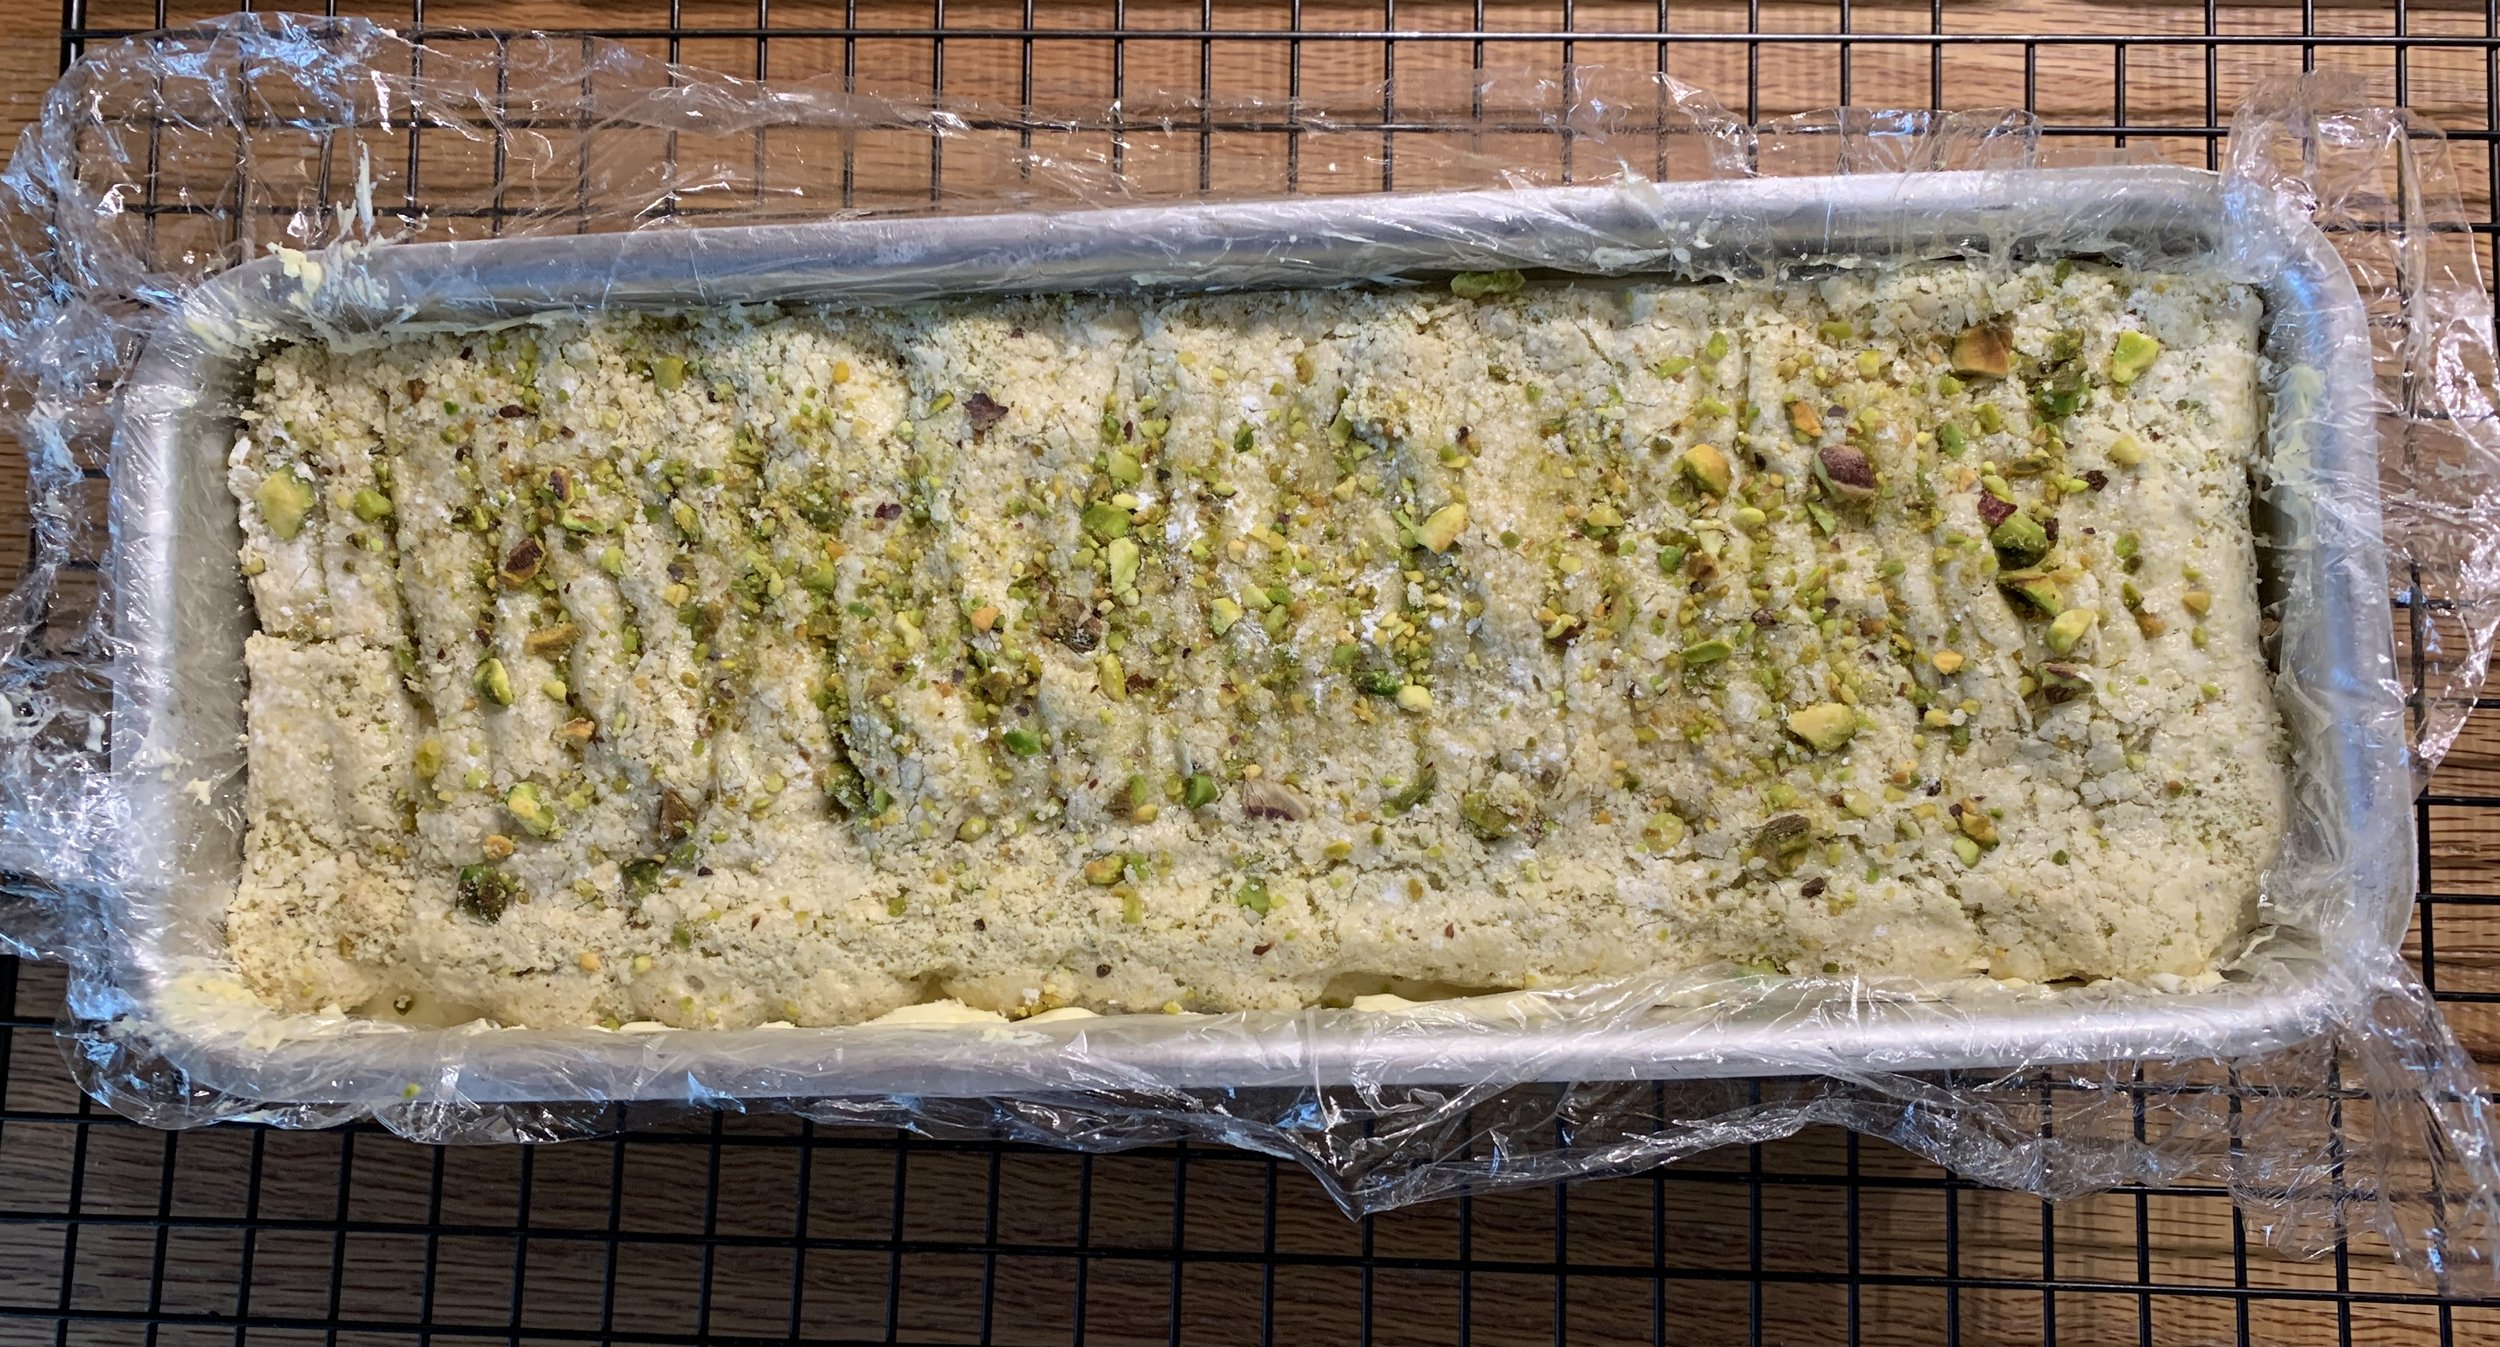
Finally place the second dacquoise rectangle on the top. Fold the plastic wrap edges up over the top and freeze the entire pan. I fully assembled this some days before the dinner event to make the day-of super easy. Plan ahead - my favorite mantra!
On the day you plan to serve, transfer the pan from the freezer to the fridge about 4 hours ahead. A couple of hours later, have a platter or even a simple cutting board at the ready. Gently lift the whole thing from the pan by the plastic wrap edges while it’s still semi-frozen without being rock hard. I find a warm, wet cloth wiped along the outsides of the pan helps it release more easily. Place it on the platter or cutting board, pulling the plastic away from the sides.
Hold it in the fridge where it will continue to thaw but remain cold. It should hold it’s shape.
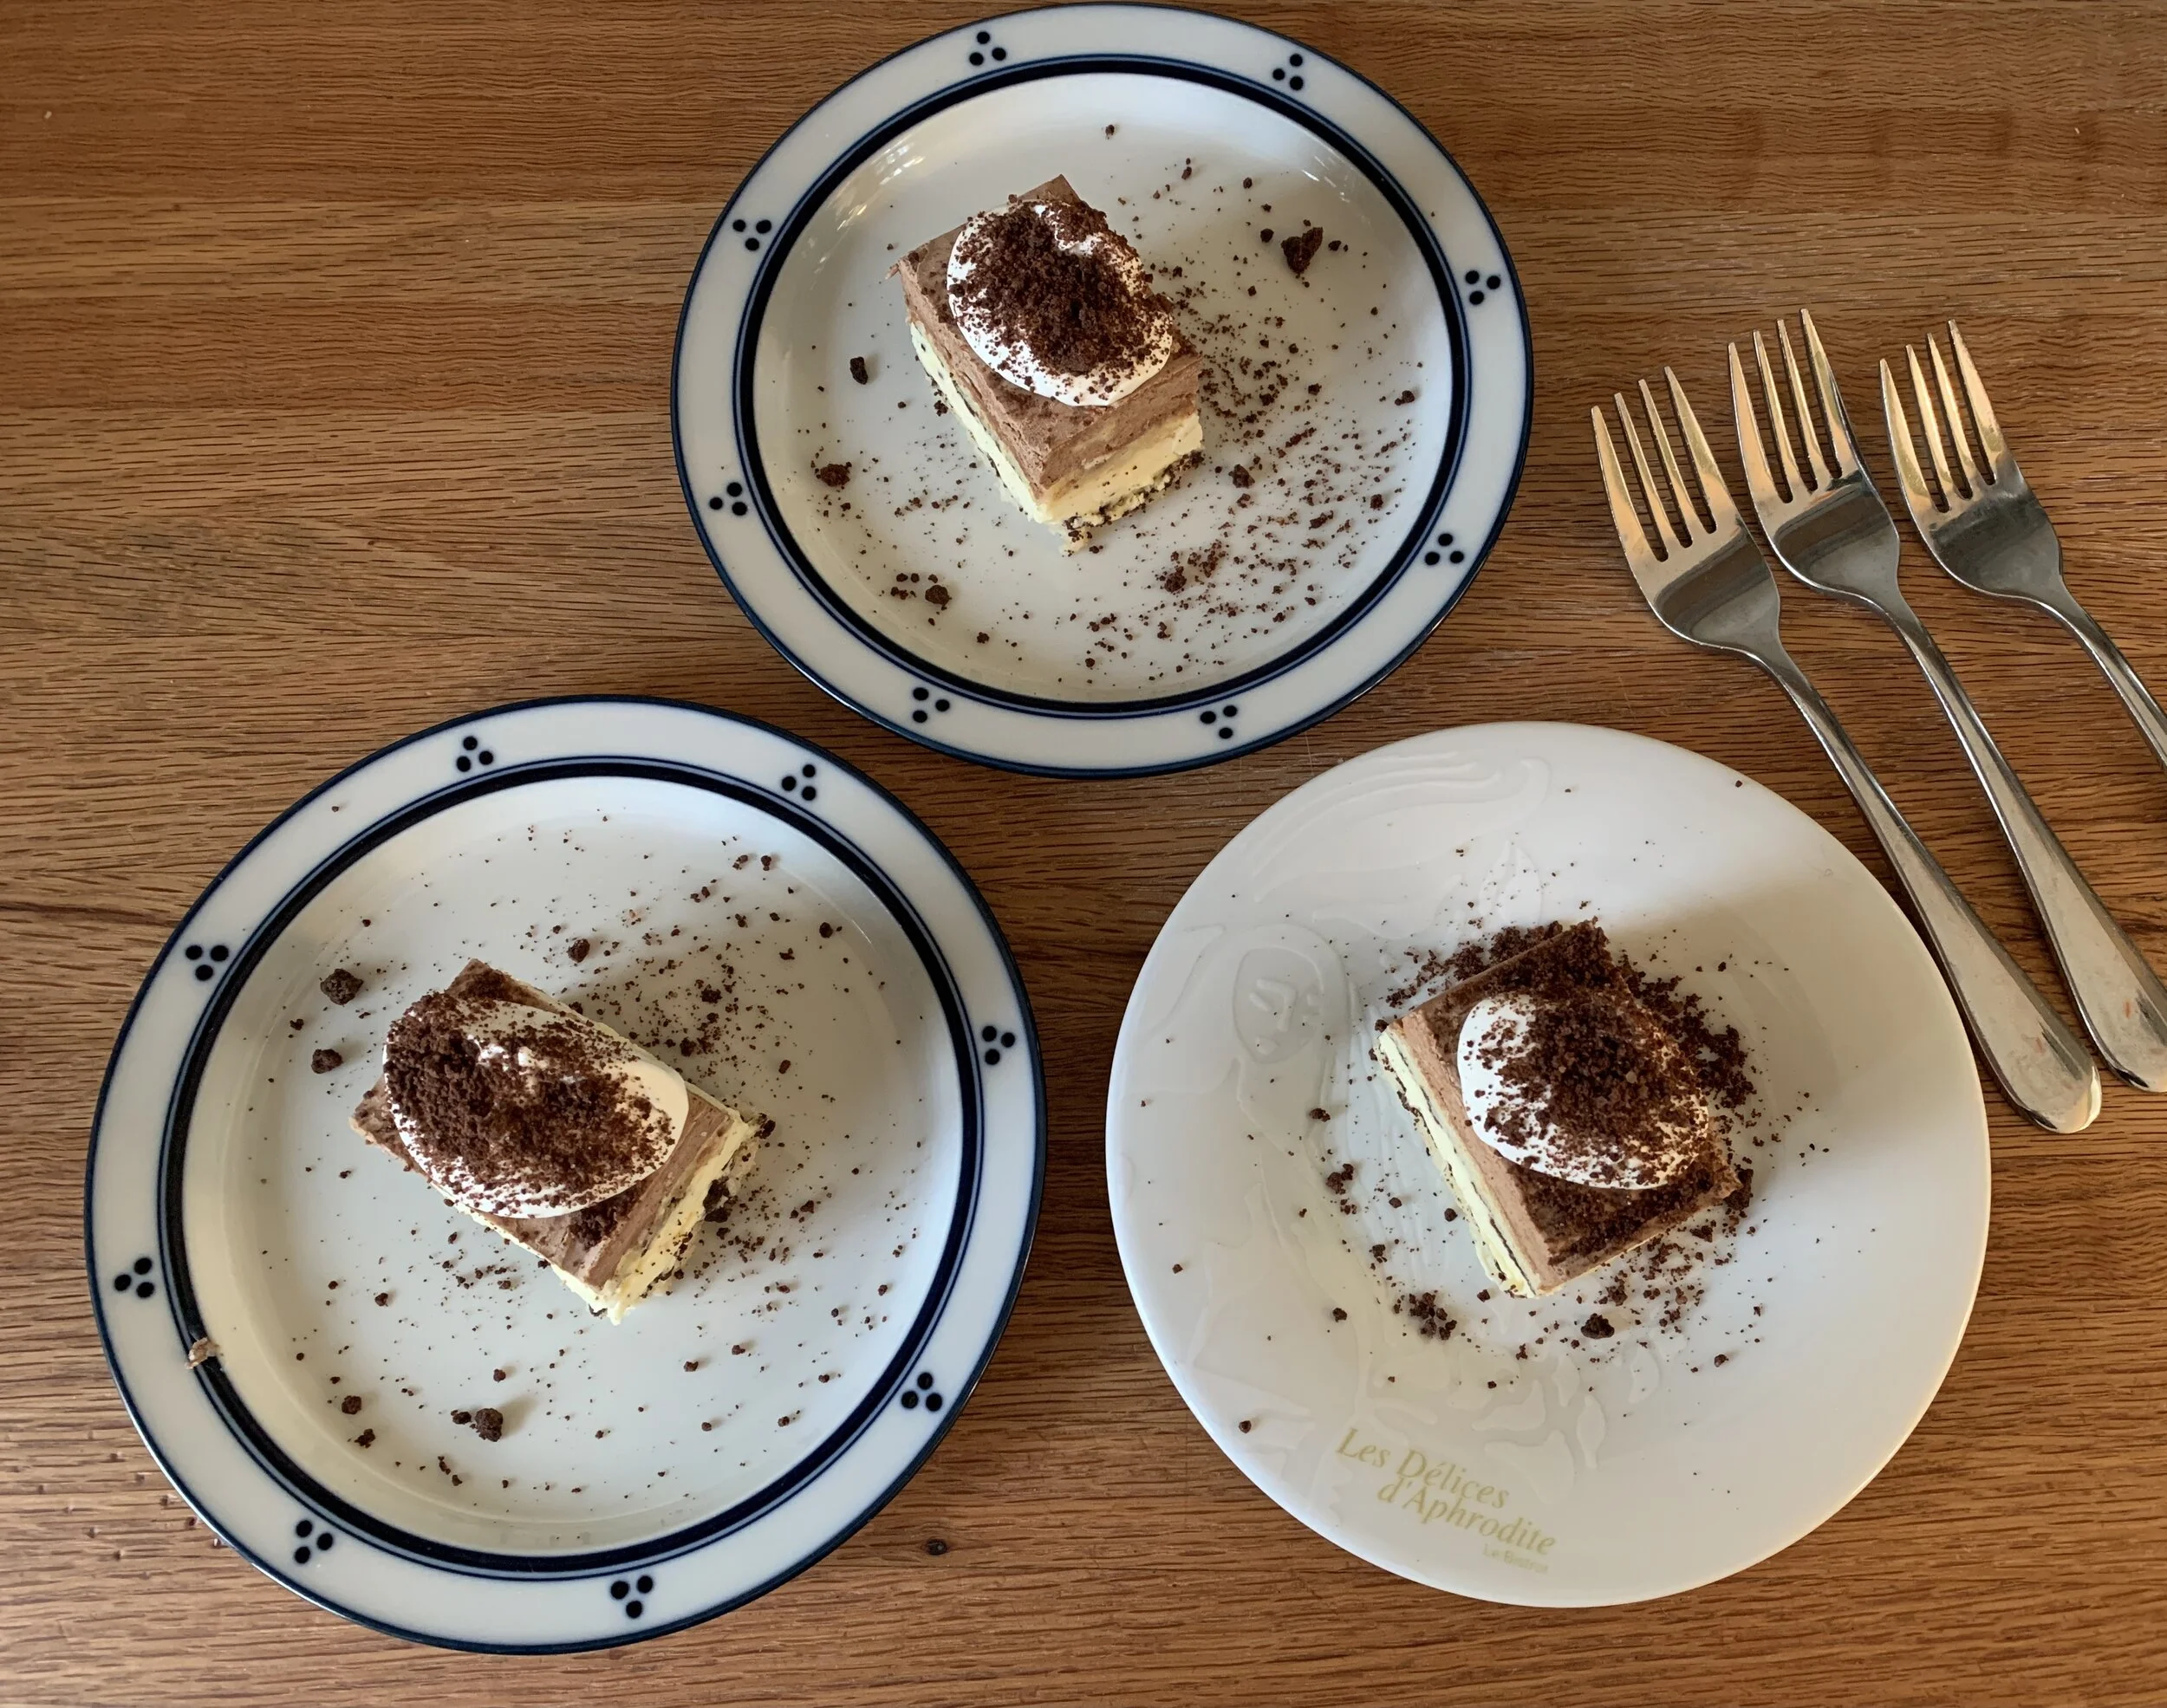
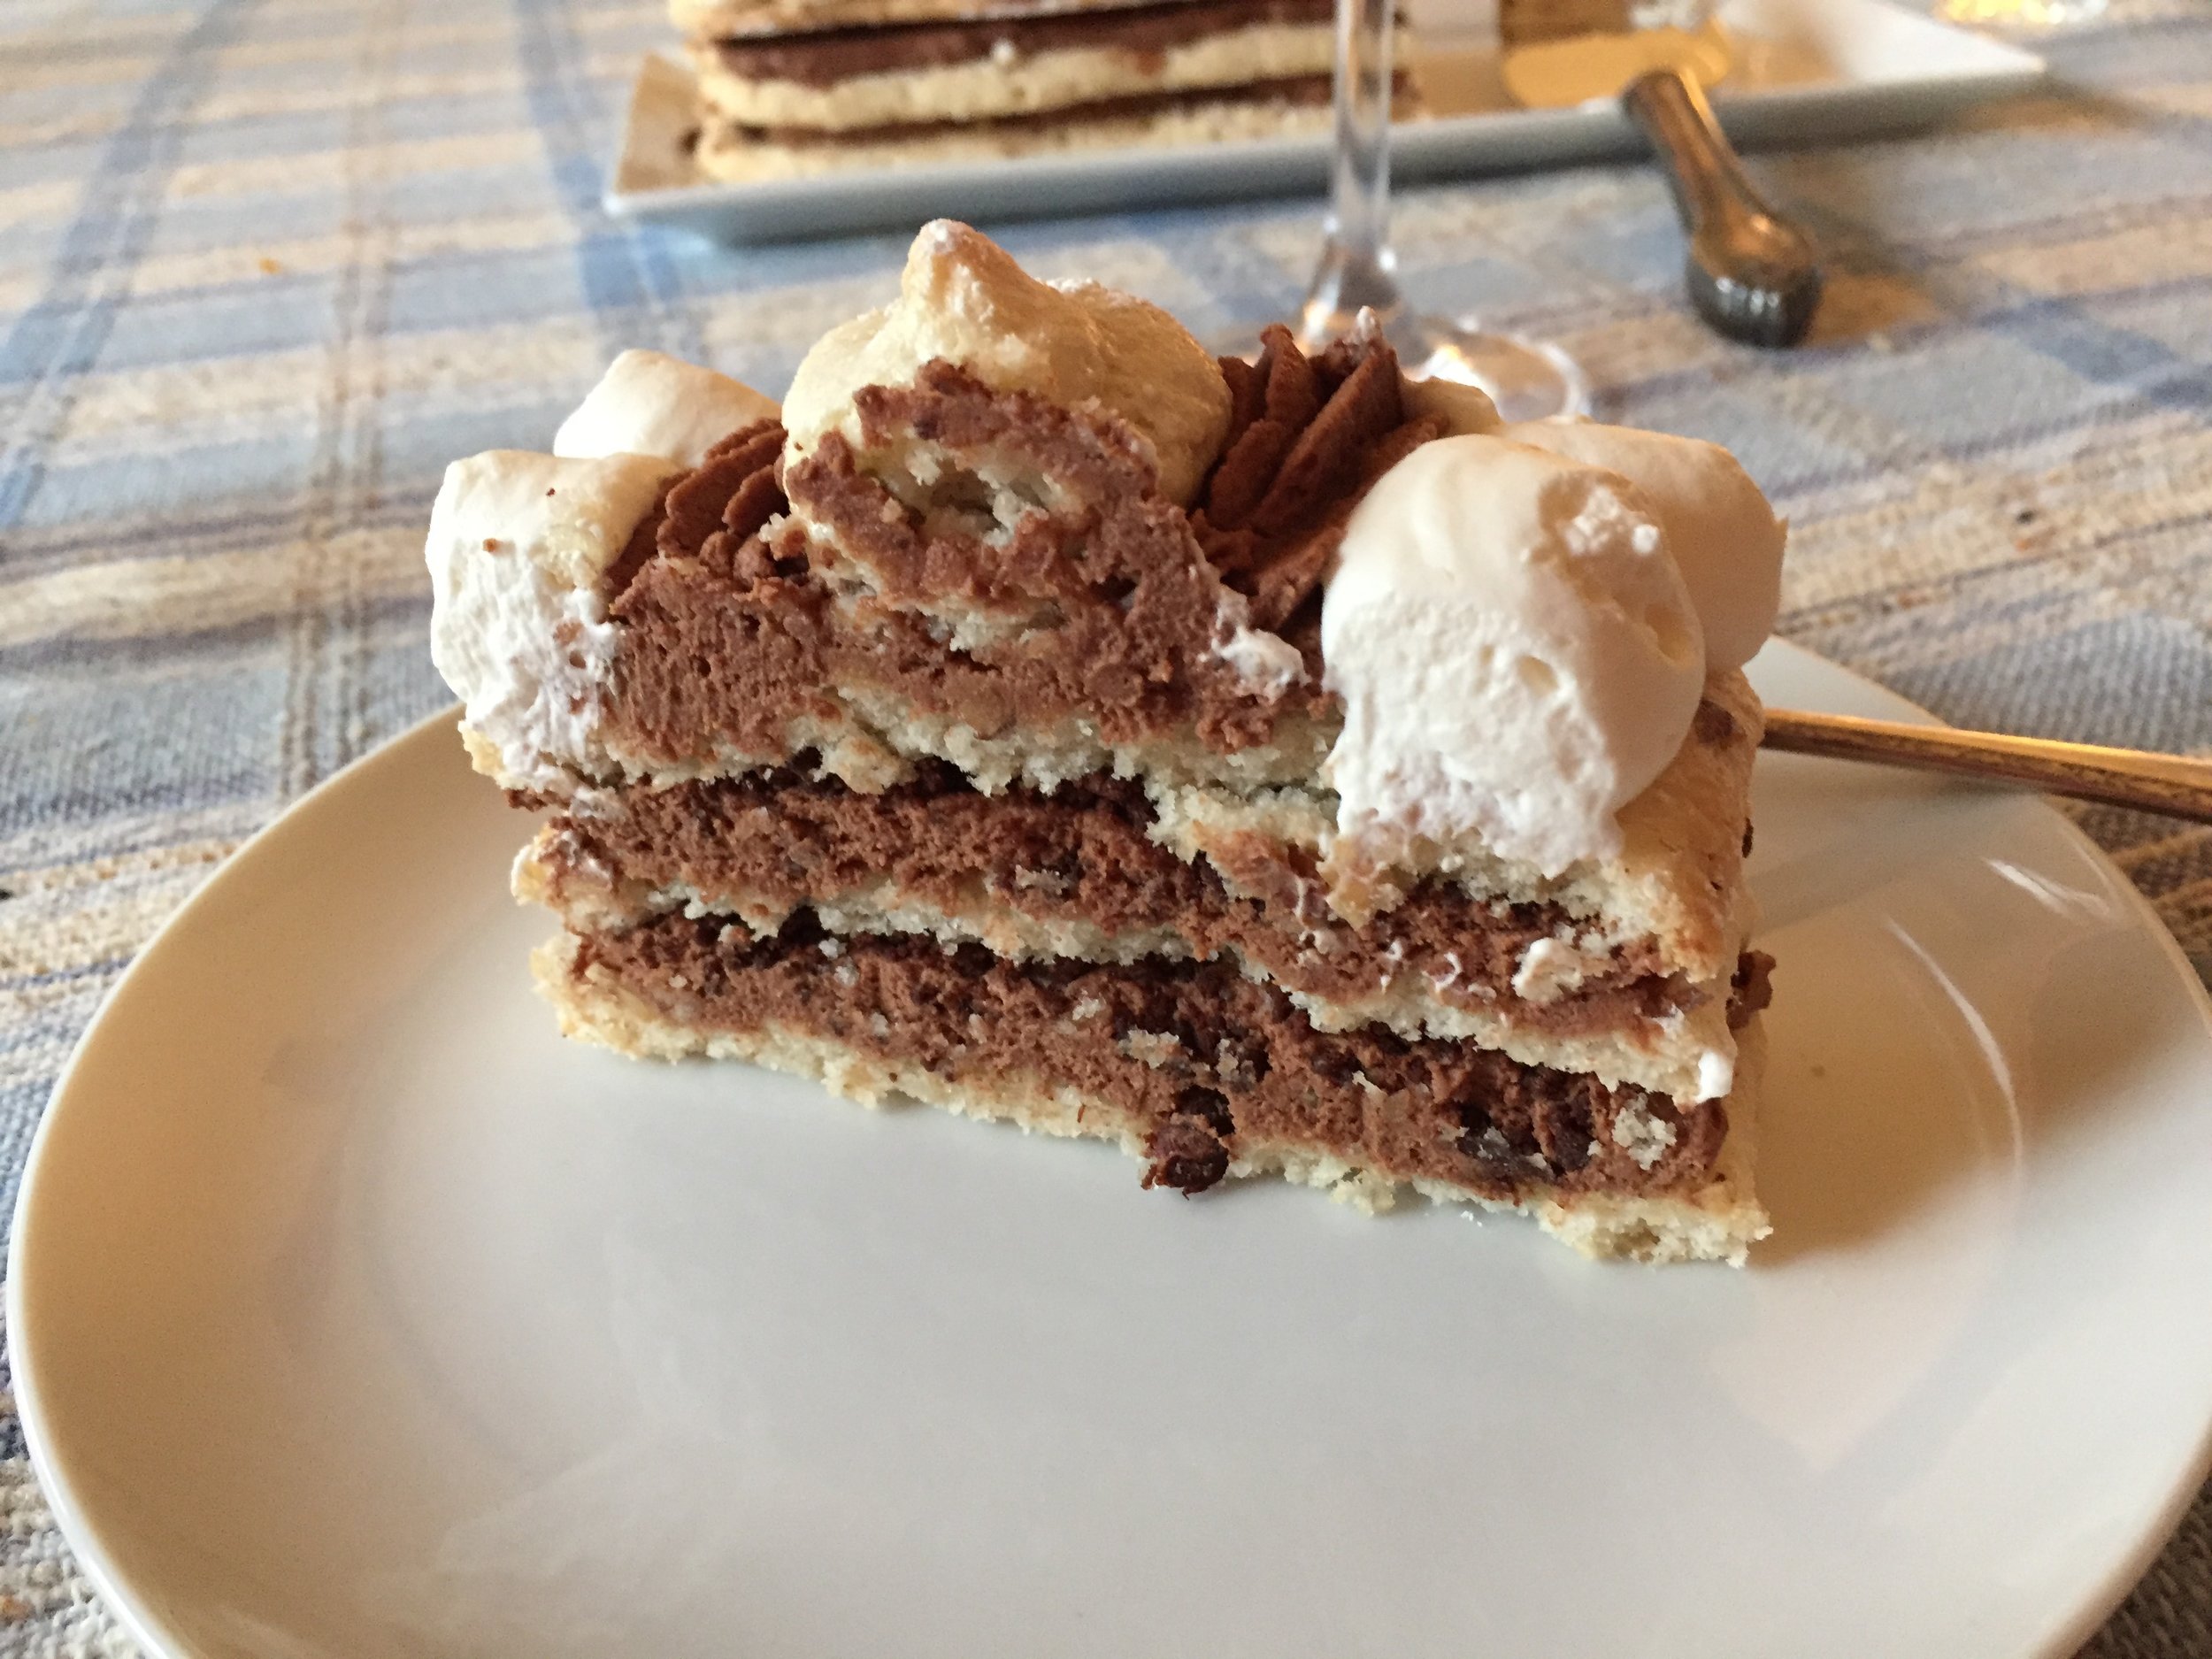
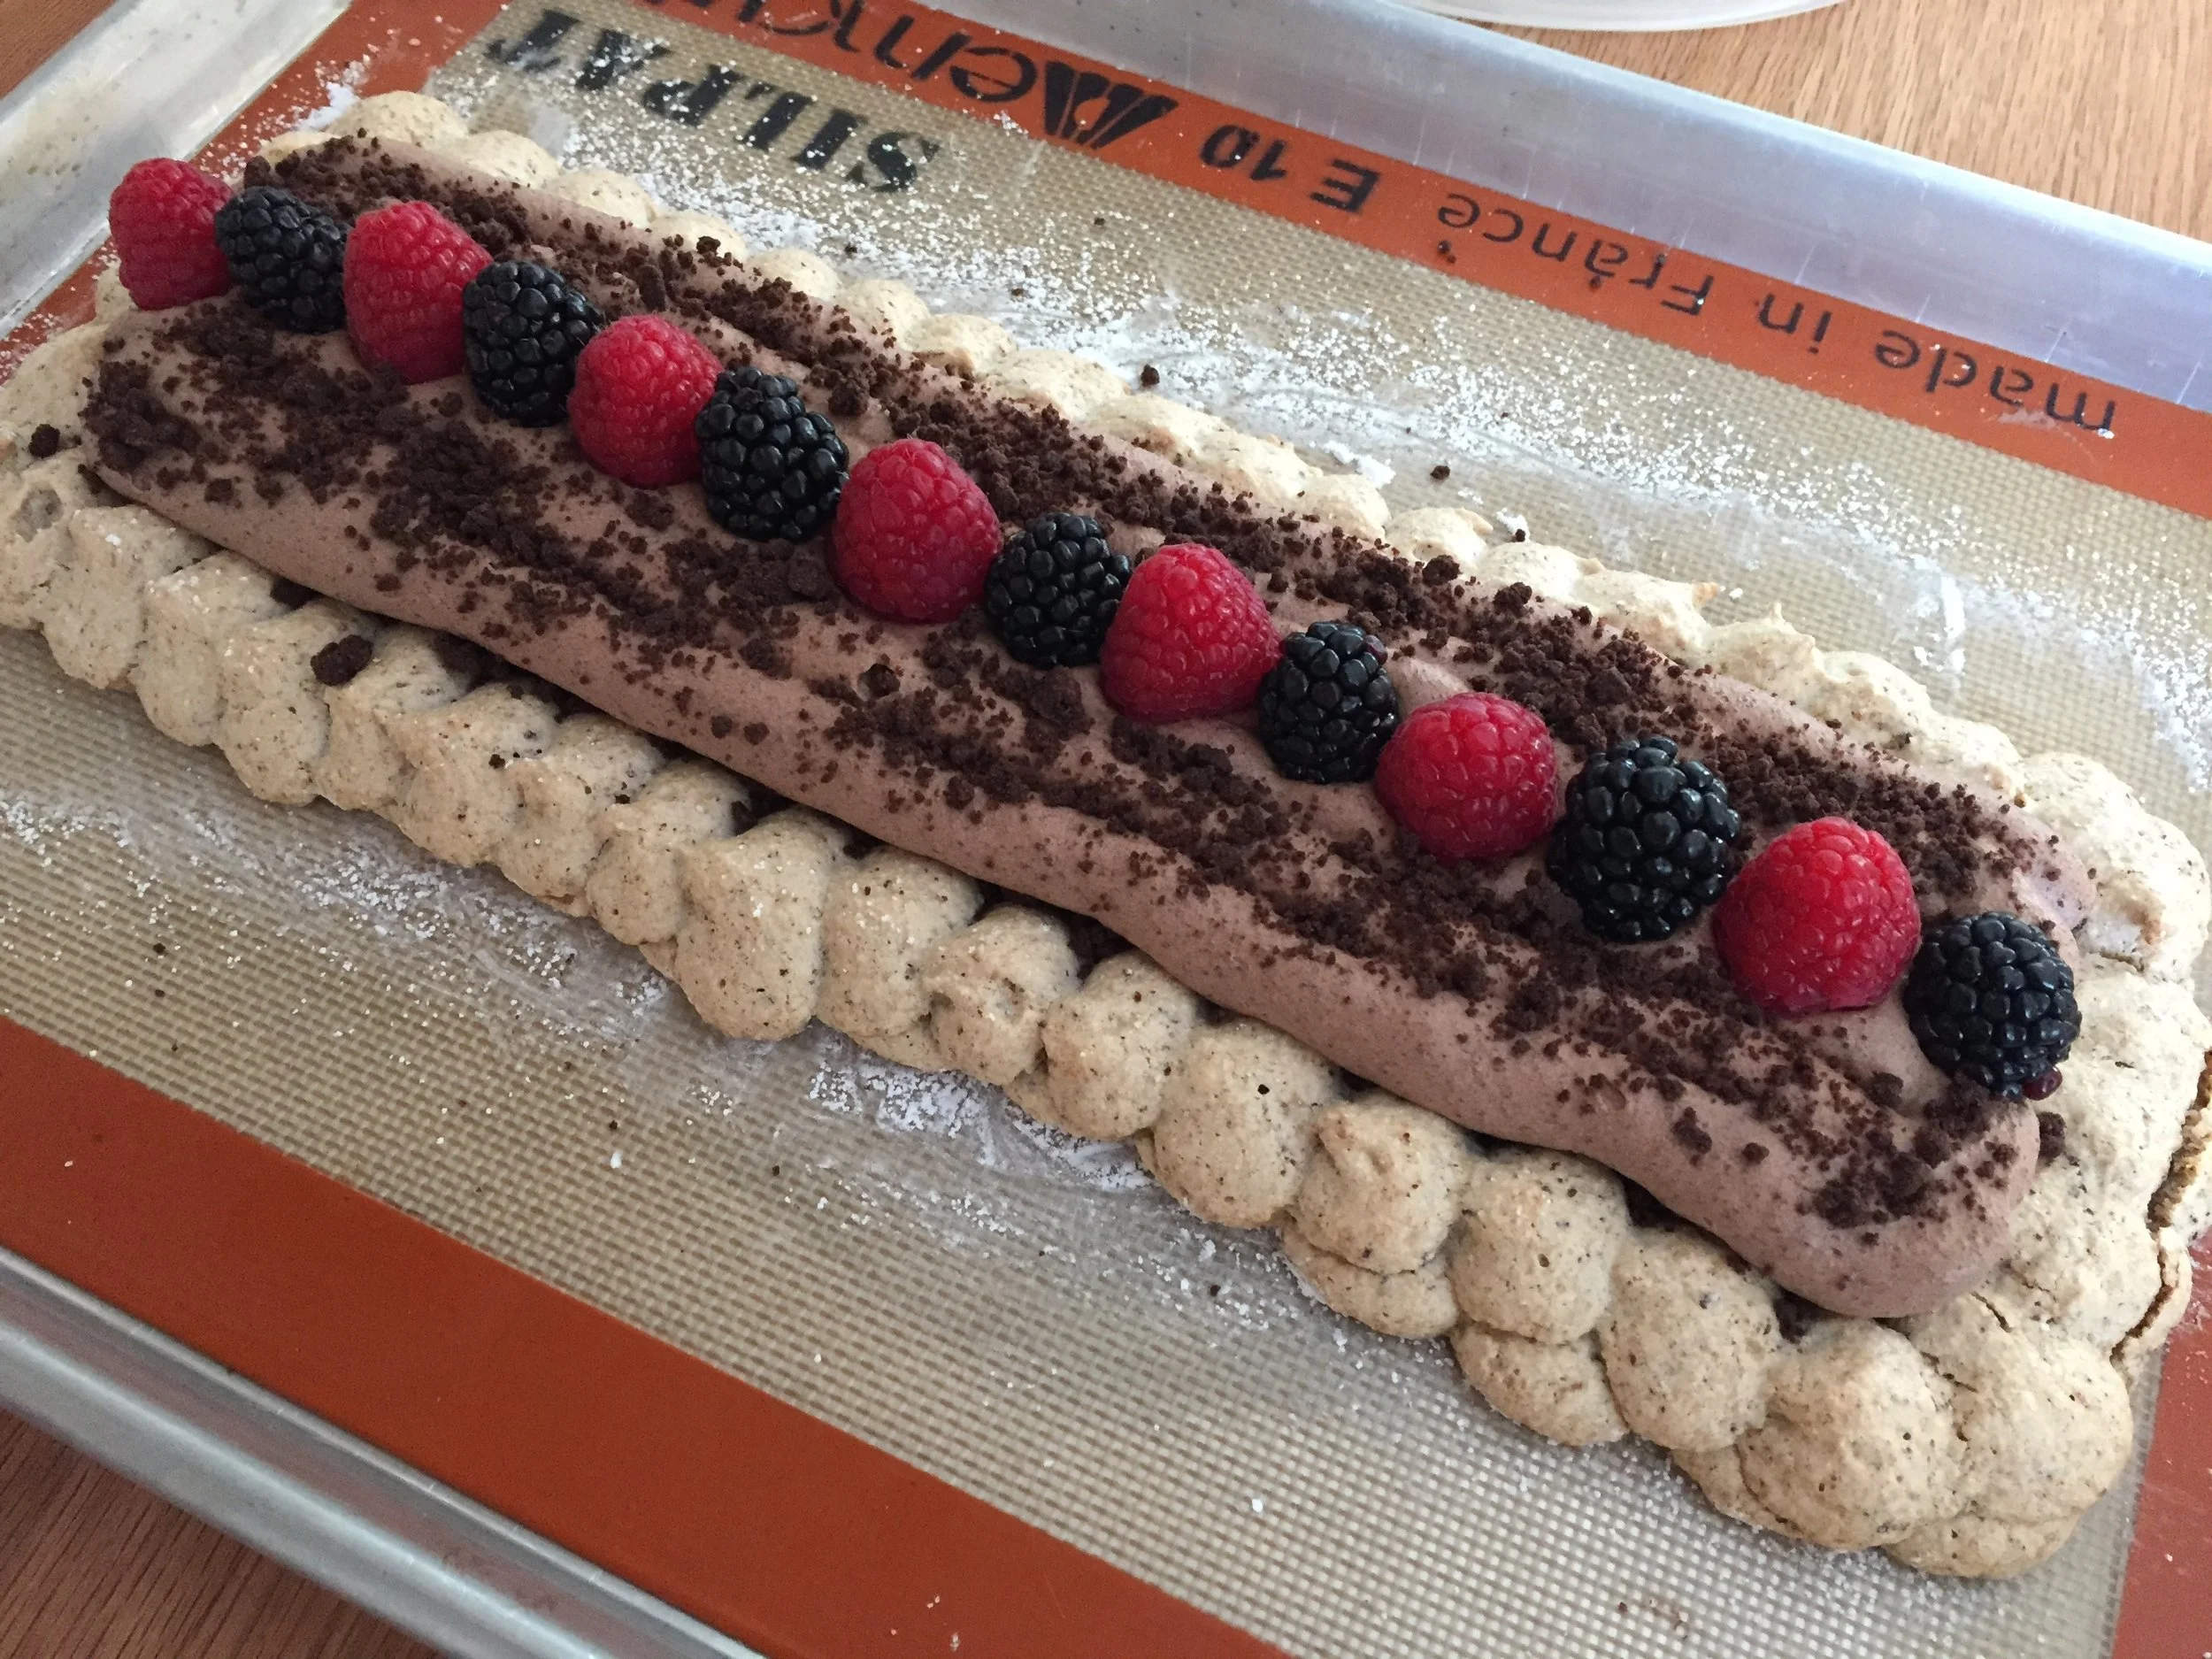
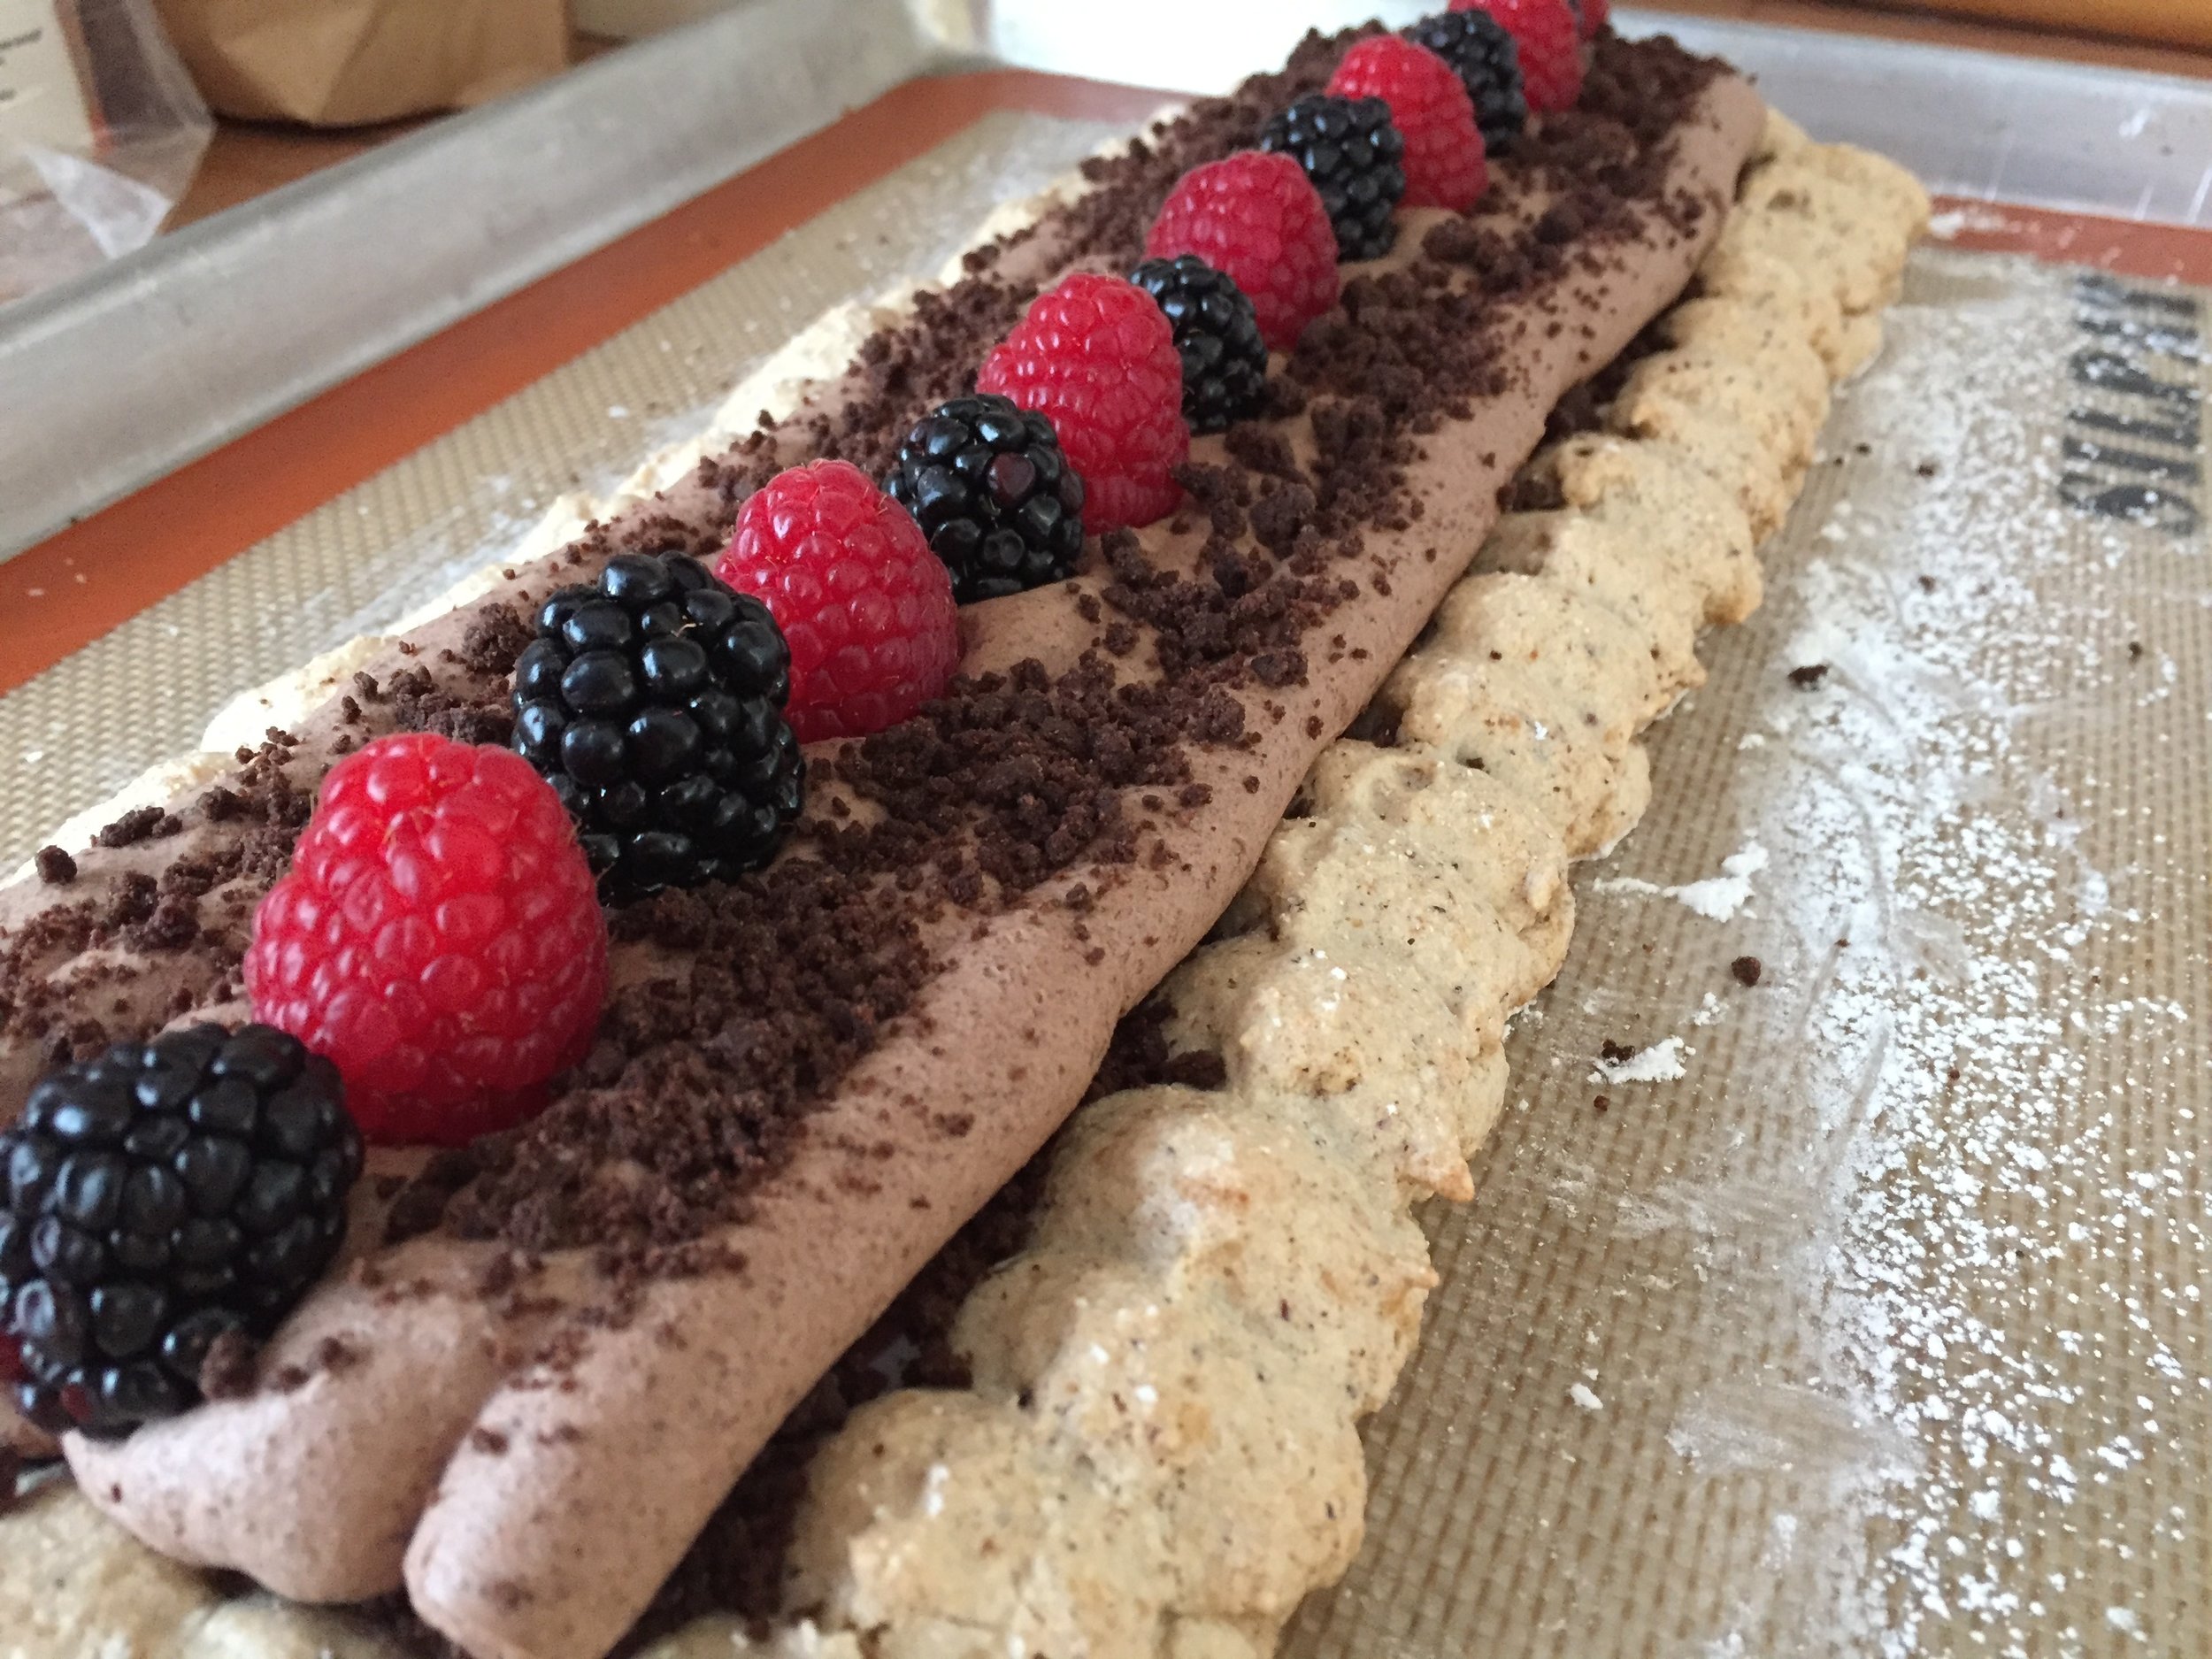
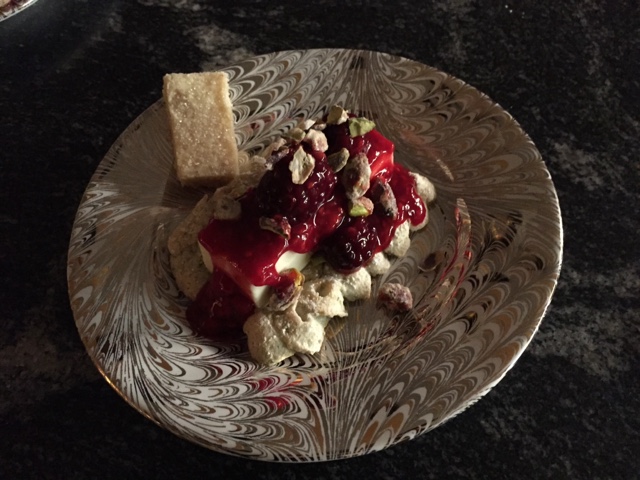
When ready to serve, slice with a sharp knife (8 slices worked well here), plate and top with a dollop of whipped cream, some raspberry coulis, a few fresh raspberries and a petite dacquoise cookie. Yum.

All plated up
The new year is almost upon us. Take care of yourselves.