Vanilla/chocolate dacquoise

vanilla chocolate dacquoise

Here’s a perfect example of taking oft made and familiar components from your repertoire and putting them together for a delicious dessert. It’s a wonderful way to create a layered entremet either from new beginnings or as a means of using a leftover cream or ganache that’s begging to be saved. BTW - the freezer is your friend here.

As a reminder, don’t forget to check out my recipe page where you’ll find some of my favorite base recipes that can be combined as you see fit to make your own version of tastiness.

This one came together after making the mille-feuille aux fraises that I wrote about here. I had enough vanilla crème légère left that I simply couldn’t throw away, so I went with my favorite dacquoise as the base for my creation.

The full dacquoise recipe is intended to be good for a half sheet pan but I wanted only two 16 cm (just a tad over 6 inches) squares so I used 3/4 of a recipe. I’ve shared this trick with you before - place your intended mold/shape on the Silpat and dust confectioner’s sugar over it to give you the outline.

EC9E47B6-6DAA-44E6-973E-662E7D635161.jpeg

Pipe your meringue mixture evenly within the outlines and sprinkle with additional confectioner’s sugar. It’s OK if you’re a little outside the lines - you’ll trim the edges before assembly anyway.
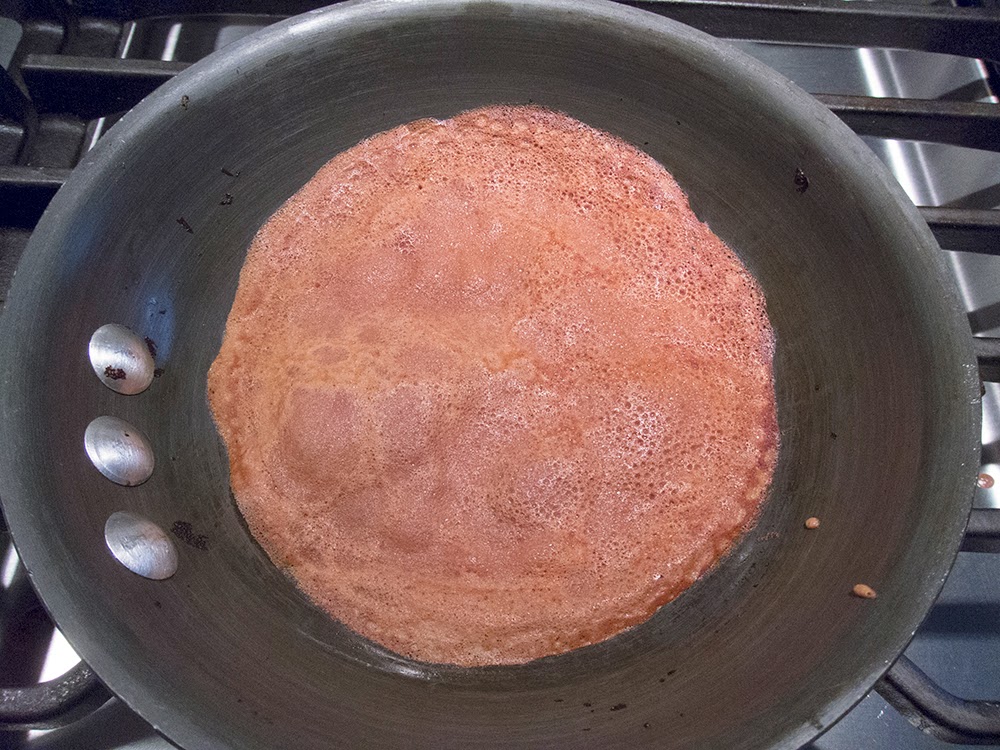
Ready for the oven

Ready for the oven

Bake at 325ºF for about 20-25 minutes until lightly browned.

All baked up!

All baked up!

Let cool. Once cooled, I like to pop the sheet pan into the freezer for 10-15 minutes which allows for easier release from the Silpat.

When ready to assemble, I first neatened up the edges using my 16 cm form as a faux cutter. BTW - never cut with anything sharp on a Silpat. You’ll regret it.

BD70B852-FA40-4F6B-B4EB-82E6C1F992C0_1_201_a.jpeg

Place the 16 cm form on a cake board (I used a cardboard square covered with foil), have your intended cream and any other garnishes at the ready, then set in the first layer of dacquoise.

90C856F6-7568-4E28-A635-A704384C9ACD_1_201_a.jpeg

I proceeded with caramel drizzle topped with chocolate shortbread crumbs . . . . . .

BA0FB448-217D-4791-B678-6539D0DFC666_1_201_a.jpeg

followed by a layer of vanilla crème légère spread evenly. Eyeball the amount of cream you use depending on the height of your form and the other layers you’re planning to add.

My form is 4.5 cm (1.75 inches) high and, since I wanted to leave room for my second dacquoise layer and some whipped ganache, I took my cream about 1/2 way up.

5FAFFA95-D98F-462D-B2ED-34CABEA6AB46_1_201_a.jpeg

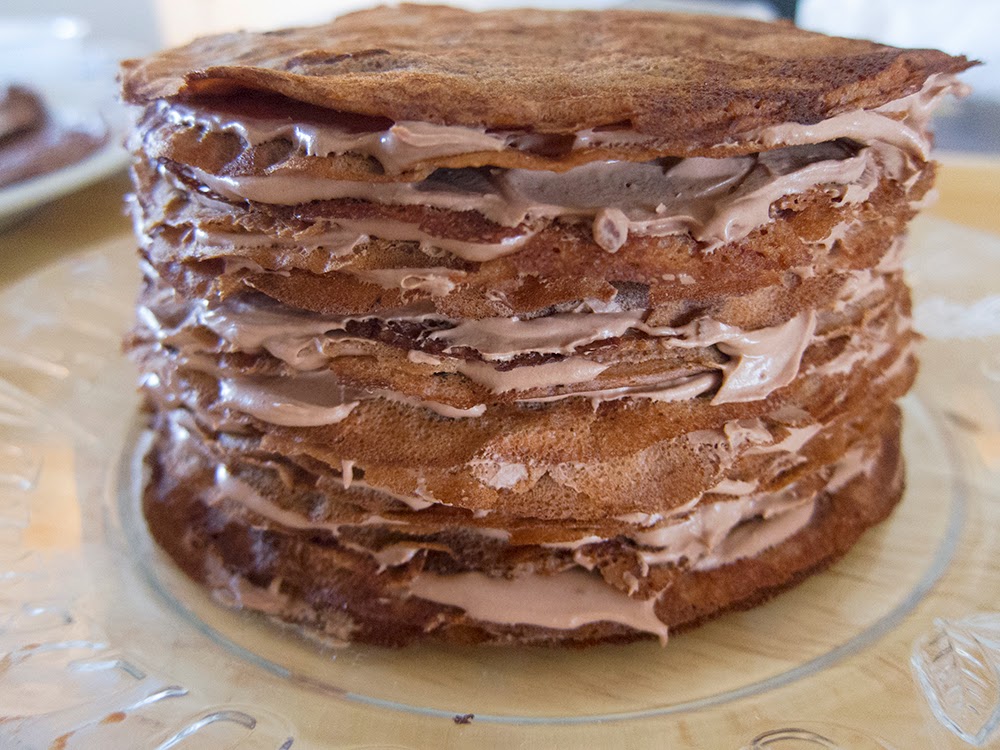
Top with the second dacquoise layer and hold in the freezer to firm up a bit before the finale.

45C9A53D-DD16-418F-B42E-86F747AA4ABD_1_201_a.jpeg

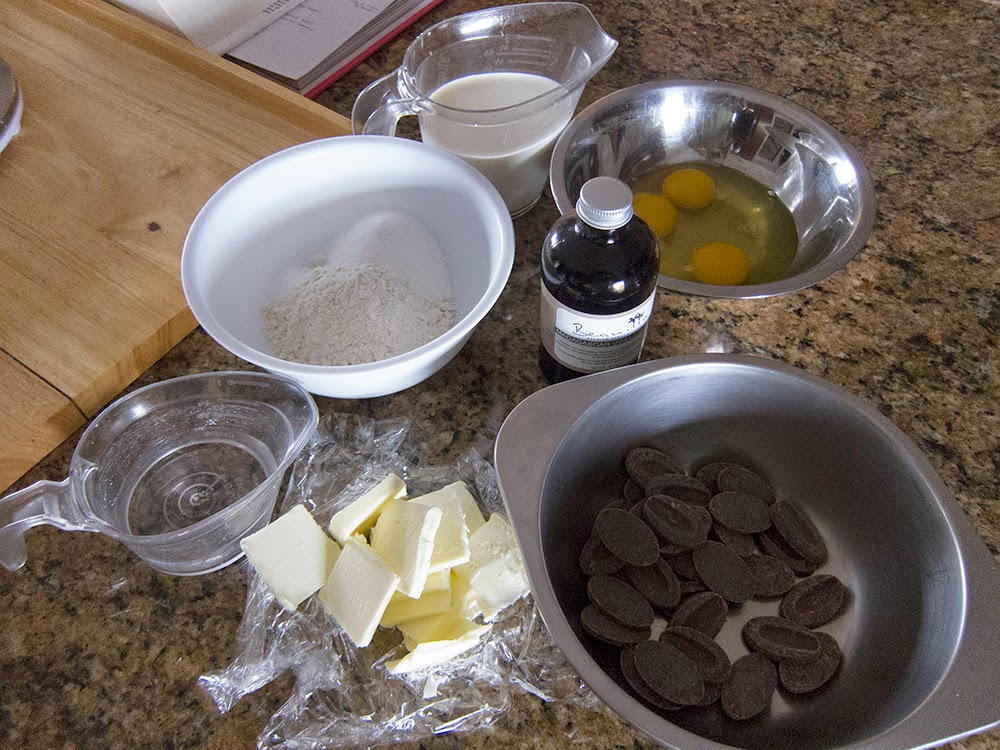
For the ganache I used 50 g of Guittard’s 61% Lever du Soleil . . . . .

3748CB81-7E5B-47A8-89EF-1FB7072FB2AB_1_201_a.jpeg

and three times that weight in heavy cream. I knew I didn’t need much and this turned out to be the perfect amount. Of course, if you make more, you can always use the extra for something else, eh?

C1E8FB08-C2F3-4238-B33B-E22B2013675F_1_201_a.jpeg

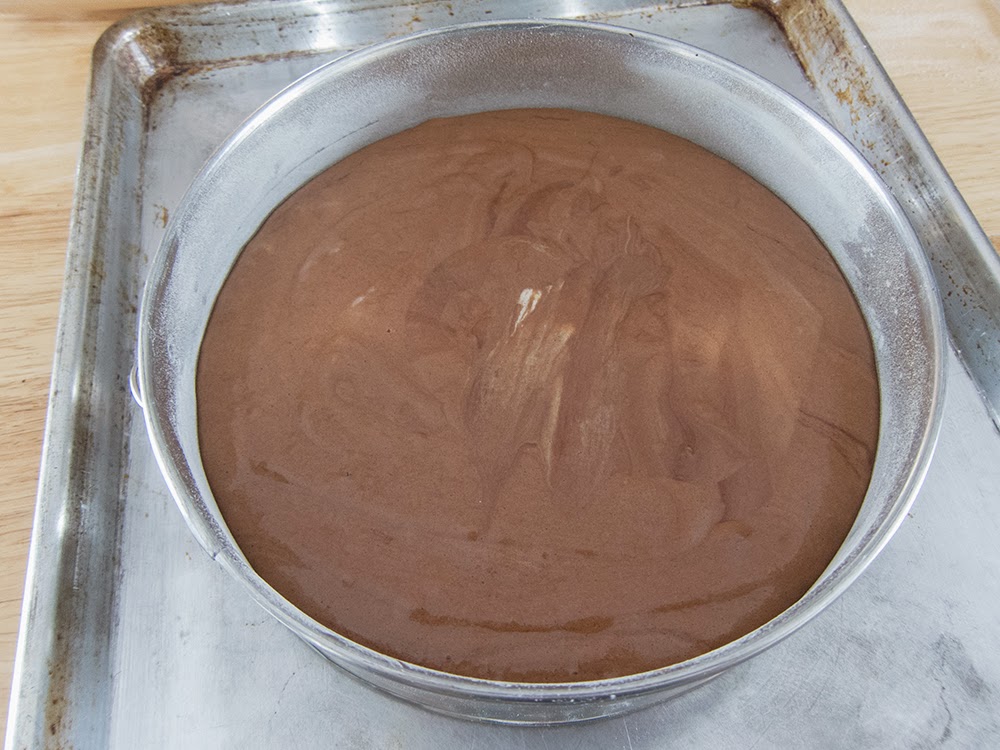
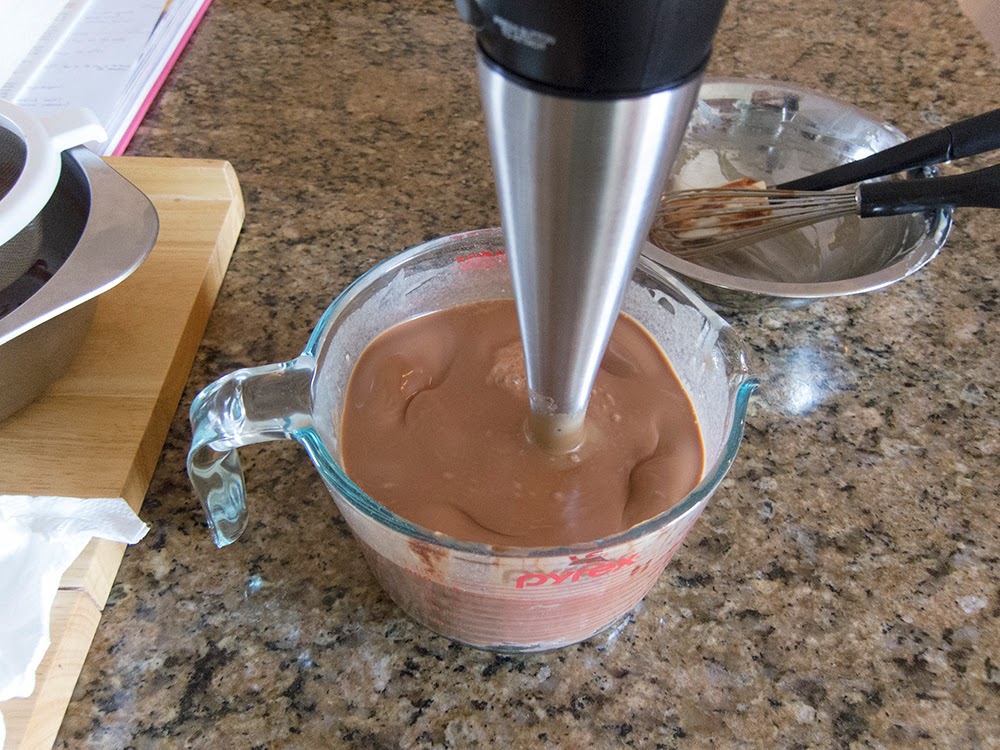
Make as you would any ganache by boiling the cream, pouring it over the chocolate (chopped if you don’t have it already in discs), and gently blending until smooth. I suggest making this early in the day - it has to chill completely before you whip it. When you’re ready to add it to your entremet, just whip to soft peaks and spread it on top.

Whipped ganache - the best stuff ever

Whipped ganache - the best stuff ever

4D6DDDE4-8FCE-4788-9F40-9DD0AC3DB5B5_1_201_a.jpeg

Place the whole thing in the freezer. Once firm, cover the top with a piece of parchment or waxed paper, pressing down gently to exclude air. Wrap it all in foil or plastic wrap. It can remain in the freezer for some weeks. Mine was frozen for about a month before Steve, my mom, and I enjoyed it for his recent birthday supper.

The day you wish to serve, take it out of the freezer, put it in the fridge for an hour or so, then use a knife warmed in hot water and wiped dry to cut around the edges to loosen the form. Lift off the form then cut into slices of desired size, again using the warmed knife technique. It’s much easier to slice when still semi-frozen and firm.

Hold the portions in the fridge in a covered container where it will continue to thaw and be ready to eat several hours later.

65928896-DE23-4972-8BE9-4ABCF97813A5.jpeg
BC9AEFEE-E90D-4D71-9719-AB8CF684AB7B.jpeg

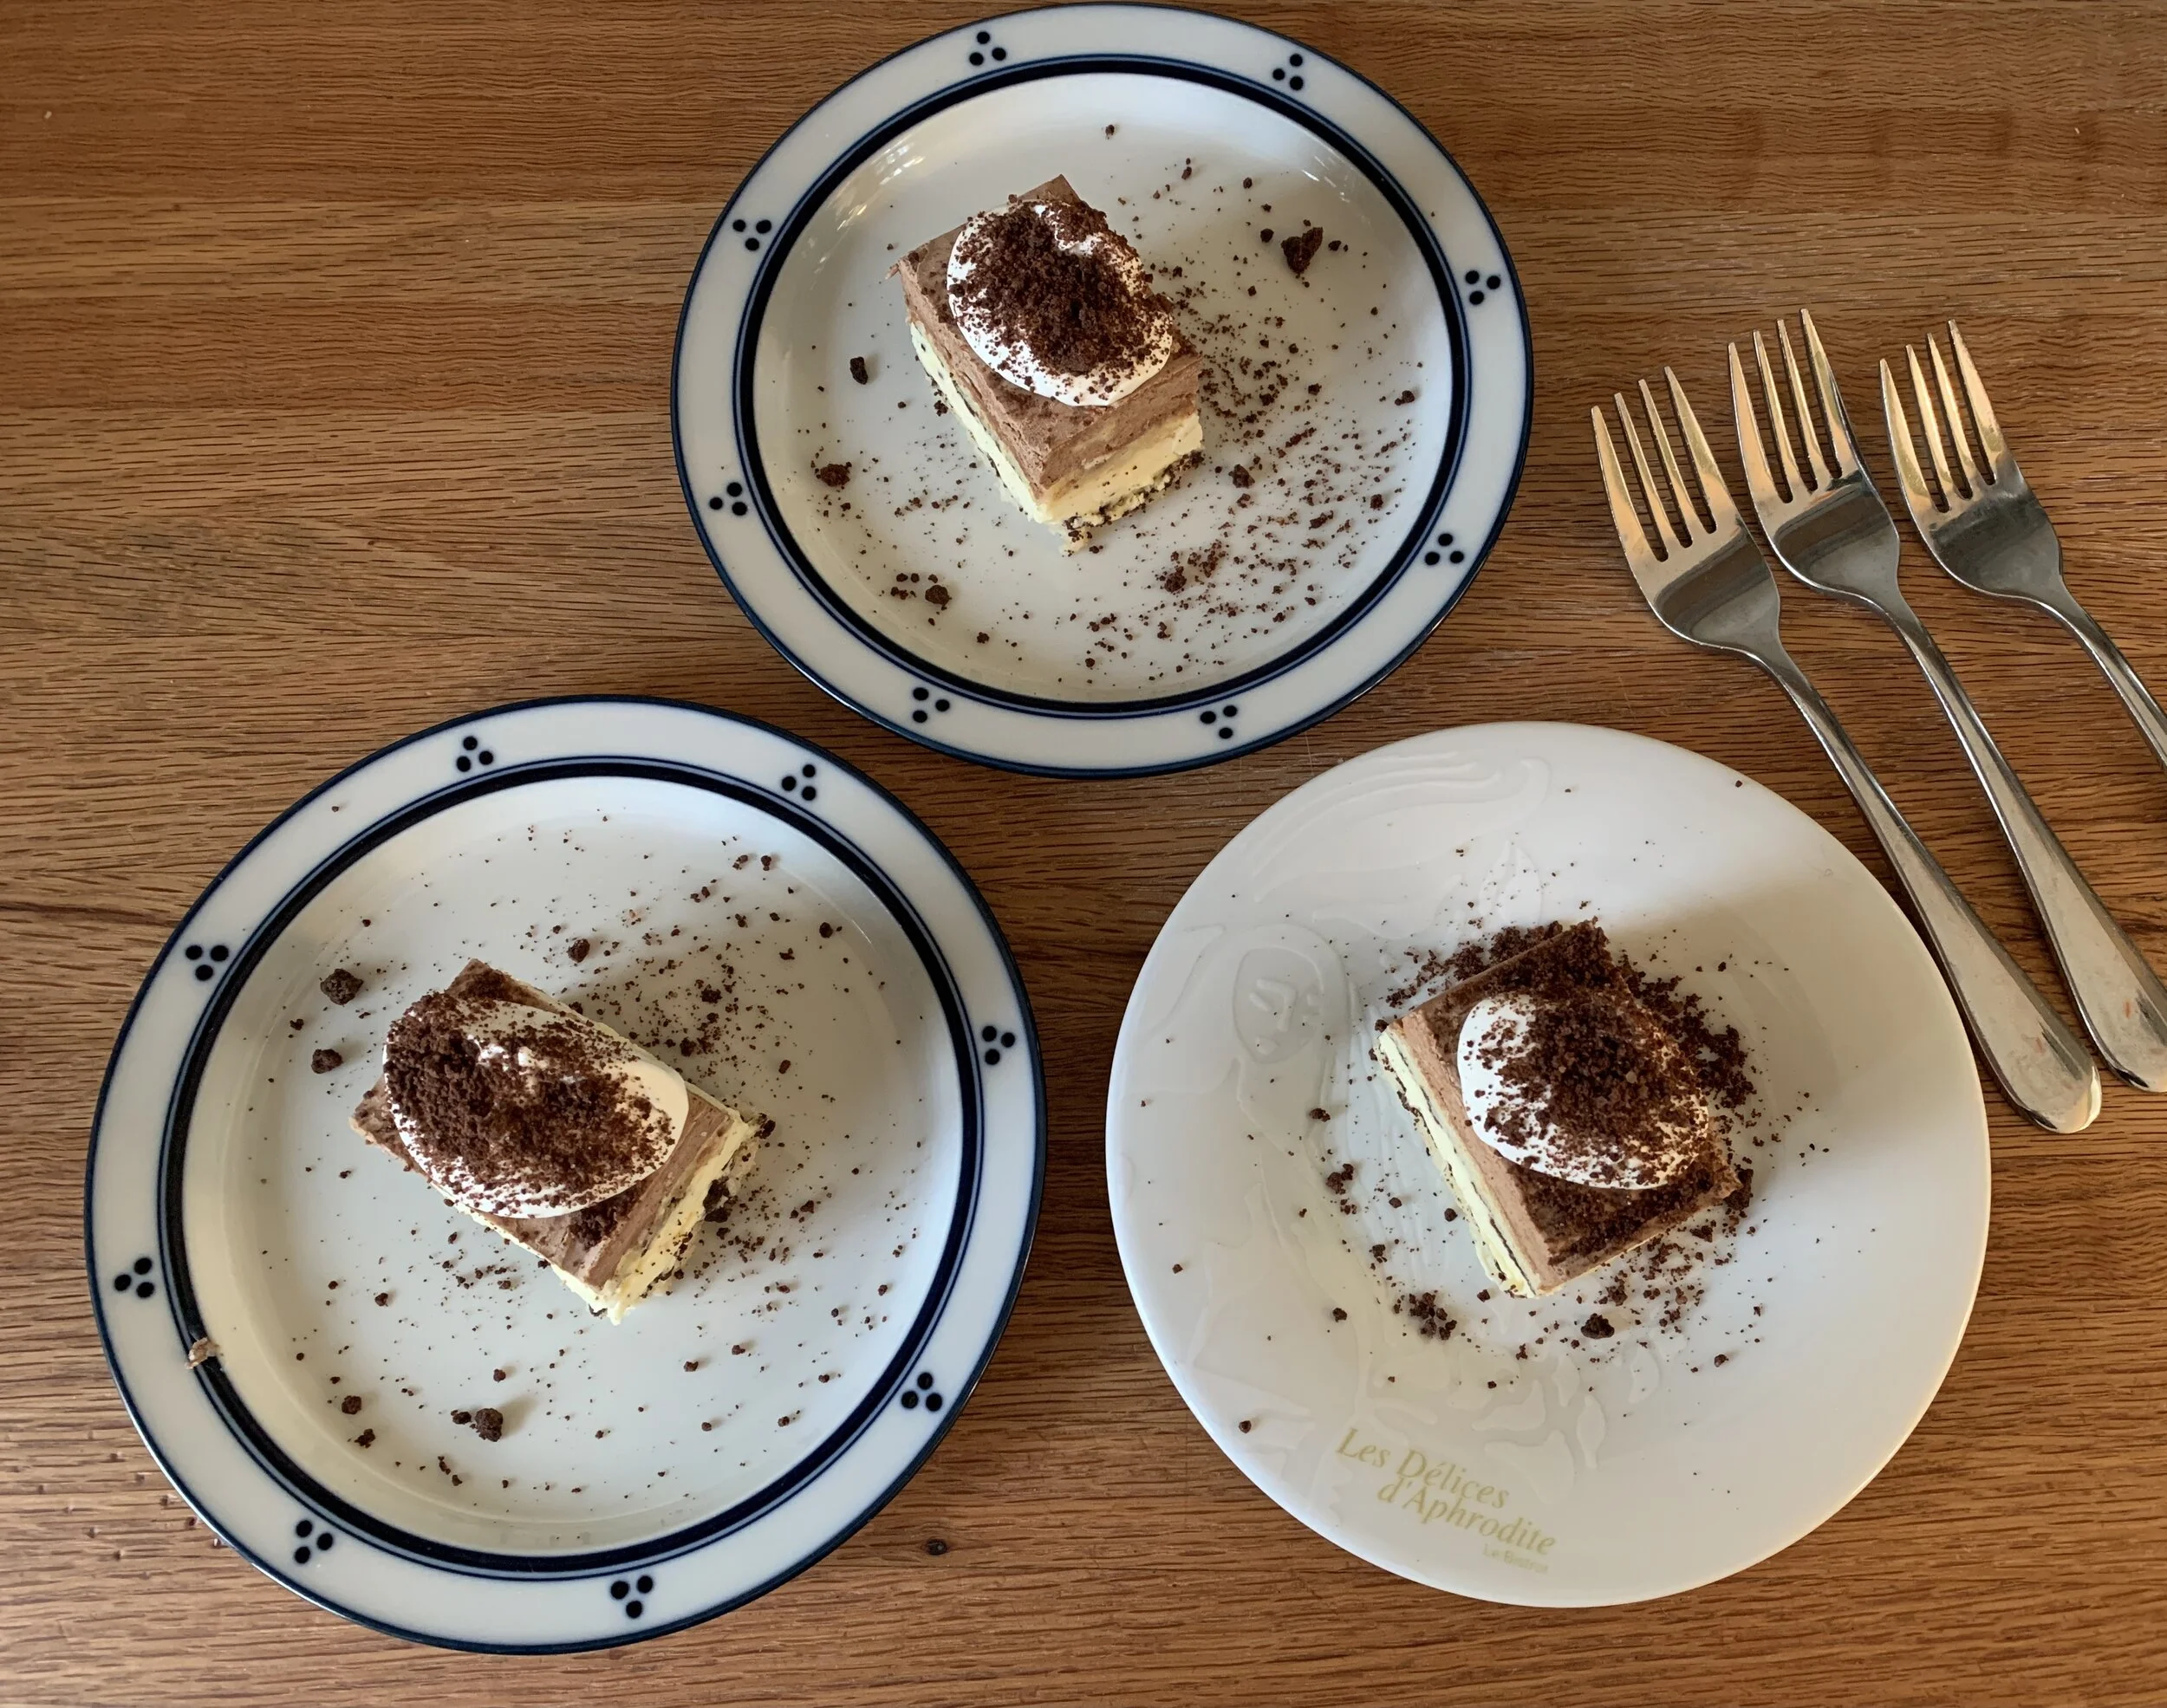
I garnished with a simple dollop of whipped cream and a sprinkle of chocolate crumbs for serving and enjoying.

377BE83C-8210-43B0-B62E-5EE6253FFED3_1_201_a.jpeg
8F6E2689-5CE6-44D2-8167-B9370C20C68E.jpeg

Steve the birthday boy’s conclusion - yum, yum, yum. Oh so light, creamy and smooth, a hint of crunch and the soft slightly chewiness of the meringue layers all made for a memorable dessert (and the leftovers kept for 2-3 days in the fridge!)

Now think about creating your own version of deliciousness. You can do it!

May you have a song in your heart and a spring in your step.

34CC6476-F824-4998-96DE-6BF48B8F2E34.jpeg
Whatever it is, the way you tell your story online can make all the difference.

A chocolate génoise entremet

When we're invited to someone's home for a weekend supper, I always (almost) volunteer to make dessert. Thus it was that I was on the hook again to provide something tasty and not too heavy for the meal's finale.

My dessert leanings tend to veer towards a simple tarte (classic apple, fruit/almond, lemon, caramel nut, ganache to name a few) or something custardy like pots de crème, perhaps served with some buttery shortbread. But, every now and then, I like to create a layered entremet.

The word entremet is actually translated as "between servings" and can refer to a small dish served between courses or to a dessert. In the modern pastry world it most often refers to a layered dessert made with some type of cake along with various creamy, crunchy textural components. The possibilities are pretty much limitless - just look in any French pâtisserie window and you'll know exactly what I'm talking about!

Since Steve and my brother Dick are both chocolate lovers (truth be told Dor and I don't mind the stuff either), I focused on a chocolate plan. I had it in the back of my brain to utilize the leftover "duja" (a mixture of chocolate and ground hazelnuts) that I had made for the sablés au praliné post on 1/25/15, so I popped it out of the freezer and into the fridge for an overnight thaw.

Whenever I have a cake question or need ideas for the type of cake I might like to make, I turn to Rose Levy Beranbaum's The Cake Bible. The information in this book is exhaustive - just in the section on génoise alone, you'll find many variants with detailed explanations about the differences.

Génoise belongs to the sponge cake family and is typically made with eggs, sugar and flour. It tends to be on the dry side and thus is imbibed with a syrup to moisten it before being layered with cream or mousse of some sort.

I chose the "moist chocolate génoise", a recipe I've made several times before. It calls for bittersweet chocolate, so I got out my favorite array of chocolates.  I like to mix and match, combining different percentage chocolates to achieve about a 60-62% result.

This recipe utilizes an interesting technique with the chocolate (described below) - Rose says this releases the chocolate's flavor.

The ingredient portions here are for 1/2 recipe since I only wanted to make one cake (the full recipe makes two 9" cakes). In the picture below you see the chocolate mixture in the forefront, made by pouring 120 gm (1/2 cup) boiling water over 113 gm chocolate, then simmering it until it achieves a pudding like consistency. It has fully cooled and is ready to go!

Remember - this is 1/2 recipe!  Beat 4 eggs and 100 gm sugar in the mixer using the whisk on high speed until tripled in volume, about 5 minutes.

Amazing how eggs and sugar transform from a yellow, grainy mixture to a light, pale and airy froth of goodness!

Sift 75 gm of cake flour over the mixture and fold it in gently. The flour has a tendency to fall to the bottom, so pay attention so you don't have lingering clumps of flour in your batter. Then fold in the chocolate mixture until incorporated.

Pour the batter into a 9" cake or springform pan that has been lined with parchment then buttered and floured.

Bake at 350º for about 30-35 minutes. I use the touch-the-center technique to decide if the cake is done - it should feel firm, set and spongy (get it? Sponge cake!). I also gently jiggle the pan, and if there's movement in the center, it needs more time.

Loosen and remove the outer ring of the springform (if that's what you've used) and let cool on a wire rack.

Then invert the cake onto a rack, remove the pan bottom and re-invert.  Once cooled you can wrap it and hold it at room temp or in the fridge for a couple of days OR freeze it for a month or so.

Earlier in the day I had made my go-to ganache-for-whipping using 3 parts heavy cream to 1 part dark chocolate (240 gm cream and 80 gm chocolate in this case). Once the mixture is chilled it is whipped to a spreadable consistency and ready for layering.

I also created a thin round with the chocolate/hazelnut ("duja") mixture by softening it over a bain marie along with a tablespoon or so of butter, then spreading it in a 220 mm circle on silpat. Into the freezer it went until assembly time.

Now it's time for assembly. My components, seen below, are the genoise (split in two layers), vanilla simple syrup, the "duja" round, whipped chocolate ganache, plus a mixture of hazelnut nougatine and chocolate crumbs that I had in my freezer from previous projects.

First a layer of genoise; brush it with simple syrup; top it with the round of "duja".

My thin round is a tad too big, so I took my kitchen scissors and trimmed around the edge.

Then I spread a layer of whipped ganache . . .

topped it with my crunchy mixture . . .

then my second cake layer topped with more ganache and crunchies.

Looking good!

The assembly can be completed a day before serving - just store the entremet covered in the fridge.

One can take this a step further and coat the sides with additional whipped ganache and crunchies, but I decided to leave it au naturel. Nothin' fancy here.

Now slice it up and enjoy!

The consensus was all thumbs up on this lovely blend of chocolate and hazelnut, not too heavy and not too sweet - just delicious!

OK, so I admit I didn't go the extra mile as far as any garnish for this dessert, but some great accompaniments would be a dollop of chantilly, some chopped candied hazelnuts and a flourish of candied orange rind.

Or how about a nice pool of apricot coulis and a drizzle of caramel? Or a dose of warm créme anglaise and some fresh raspberries?

You get the idea. Now get into that kitchen of yours and create your own entremet!

Chocolate crepe cake

Believe it or not, I had never made a crêpe until this past week.  And, since I was experimenting, I thought I'd take it a step further than just the simple crêpe- why not make a crêpe cake!

I must say I've contemplated this for awhile, after one of my former customers, Ting-Ting, asked me about making a matcha (green tea) version for her. Needless to say, it never happened, but I was nonetheless intrigued. She had such a focused interest on pastries and would often come into the shop with loads of questions about what I was offering that day, as well as reporting on various pastries she had discovered in Manhattan. The crêpe cake was one of them.

I began my research and opted for a chocolate version. I found a number of recipes on line and soon realized how easy the batter is for this classic treat - milk, melted butter, flour, vanilla, egg, a little sugar, chocolate - ingredients that most of us have in our pantries and fridges on any given day.

I chose two different recipes, one using Dutch process cocoa powder and one using melted chocolate, thinking it would be good to compare the flavors.

Above: ingredients for Dutch process version

Above: ingredients for melted chocolate version

I mixed each batter together with no muss nor fuss and refrigerated both overnight.

Above - getting ready to blend ingredients for the melted chocolate version . . . . .

and bringing it all together with an immersion blender.

When it came time to make the crêpes, I chose to make a 4-5" size, thinking I wanted a petite cake for my first attempt.  Steve and I have a small sauté pan (I think it's Calphalon) that we've had for years and rarely use.  It seemed just the thing for what I was about to do.

I heated the pan and started the process.  I soon understood what to watch for as the crépes began to set.  It didn't take long before I was into the rhythm of crêpe making - one after another I piled them onto the plate.

Above - starting to set . . . .

then after flipping, finishing it off. 

Especially when making small crêpes, I realized the seemingly inordinate amount of time it took to finish off all the batter (and I had made only half a recipe!).  At this point I could imagine having 3 or 4 pans going at once, flipping crêpes one after another in assembly line fashion!

I made a couple of crêpes from the Dutch process cocoa batter first.  I then switched over to the melted chocolate version, and, after doing a tasting of the two, decided to abandon the cocoa version, since it didn't have nearly as rich a flavor.

Once all of my crêpes were finished I layered them between sheets of parchment and put them in the fridge, since I was planning my assembly for the following day.

I decided to make a simple whipped chocolate ganache filling, using 3 parts cream to 1 part chocolate by weight.

Boil the cream, pour it over the chocolate, whisk gently, cover (plastic wrap directly on the surface to eliminate air) and refrigerate until nicely chilled.  It couldn't be easier!

When I was ready to begin the assembly, I pulled my plate of crêpes and my ganache from the fridge.

I whipped the ganache to medium firm peaks so it would be nicely spreadable . . .

and began the process.

Getting higher . . . .

and stacking until I had 21 (or was it 24?) layers (OK just try to count them!)

Into the fridge it went to set up before glazing.  My chocolate glaze is 113 gm of chocolate and 42 gm of butter melted over a bain marie.  Trés simple!

I held the finished cake, covered, in the fridge overnight.  When it was time to serve, I sliced it and garnished with caramel spiked chantilly and chopped toasted hazelnuts.

If I haven't mentioned this before, I toast nuts before using, no matter what I'm doing with them.  It brings out the flavor and adds so much to the final experience!

A note about chocolate:  for this project I used Valrhona's 64% Manjari, the chocolate I used regularly when working at Gracie's.  Since then I've come to really enjoy the flavor (and the price!) of Trader Joe's Belgian chocolate, typically mixing half-and-half of their "dark chocolate" and "72% dark chocolate".

I had made a mini-cake with leftover crêpe pieces and ganache for Steve and I to sample.  We both felt that the chocolate was too acidic and not necessarily an agreeable taste, so I was anticipating how we and our Saturday evening dinner guests, Magali and Guy, might react to the piéce de resistance.

We all enjoyed the texture and flavor, particularly with the chantilly and hazelnuts mellowing out the acid of the chocolate.  But, it was Magali who suggested a bit of orange, which reminded me that I had some candied orange peel in my fridge from an earlier project.  I put a couple of pieces of the peel on our desserts et voila!  It made ALL the difference.  What a delicious combination!

Thanks Miss Mag!