Peach melba crêpe cake
/
Happy September everyone! Autumn is my favorite season and the bounty of summer is still with us - peaches, blueberries, corn, tomatoes and more. Gotta love it.
On the heels of a savory crêpe making demo at a nearby independent living facility, my mind started thinking about a crêpe cake using late summer fruits - peaches and raspberries to be exact.
I was spurred along by both the memory of a chocolate crêpe cake I made back during our Providence days as well as dessert planning for a family meal at cousin Jen’s. Peach melba crêpe cake it is!
Many have written about the story of peach melba - classically vanilla ice cream, lightly poached peaches and raspberry sauce - a match made in many heavens if you ask me. It was created in the late 1800s by Auguste Escoffier in honor of the Australian soprano Nellie Melba. And the rest is history as they say.
As I planned my creation, along with the obvious crêpes, I went with peach caramel mascarpone cream and raspberry coulis for the assembly. Here’s the full recipe for the dessert - I’ll take you through the steps now. You can prepare the components ahead and assemble it all either the day before or the day of serving.
I did my crêpe cooking a couple of days ahead and held them wrapped in the fridge. I prefer these French pancakes nicely browned unlike some who claim they should be light in color. Nuh-uh - not me.

A friend had gifted me one of those cool wooden crêpe tools that help spread the batter out thinly with rounded (sorta) edges - it takes a bit of practice. It took a couple of tries to get the wrist motion just right, and it worked nicely on the non-stick pan I used. Actually I ended up trimming the thin pancakes to 8-inch rounds for stacking so I didn’t really care if my edges were goofy.

The peach purée can be made a couple of days ahead as well. Here I peeled, stoned and sliced 3 medium-ish Red Havens (the BEST Michigan peaches!), mixed with a couple of tablespoons sugar, a pinch of salt and a squeeze of lemon juice.

I blended it all up with my immersion blender then brought it to a boil over medium heat to dissolve the sugar. Simmer for 10-15 minutes to reduce by about half.

Reducing

Well on the way to concentrated flavor
The initial weight of the un-prepped peaches was about 500 g and in the end, after peeling, pitting, slicing, cooking and reducing, the purée yield was about 200 g.

In a similar vein, to create my raspberry coulis I puréed about 400 g raspberries, pressed the mix through a sieve to separate the seeds, leaving me with about 200 g of lovely-ness. Once I’ve puréed and strained fruit, I typically add about 10% by weight of sugar (in this case about 20 g), a pinch of salt and a squeeze of lemon juice.
Bring to a boil to dissolve the sugar then either cool and refrigerate for later or reduce it down a bit for flavor concentration.

My 8-inch open tart ring worked like a charm to trim all the crêpes to 8-inch rounds, and Steve and I snacked on the trimmings!

The mascarpone cream is a combo of 8 ounces mascarpone, a cup of heavy cream, 1/4 cup of caramel sauce and a teaspoon of vanilla extract. Whipped up to medium soft peaks, it’s a delicious layering and garnishing cream. I finished it off by blending in about 120 g of my peach purée. Yum.

Let’s assemble! One crêpe down on the plate, a layer of mascarpone spread over, a drizzle or dotting (artistic license here) of raspberry coulis and repeat, repeat, repeat . . . .

I had just enough cream for 18 layers of crêpes as well as a top coating.

Making progress
As you layer this kind of tower, it helps to use your flat palms to press gently on each crêpe layer (before you add the next spread of cream) to try and keep things even. Mine ultimately came out a bit tilted but it still tasted wonderful.
I used my handy small offset spatula to clean the sides up but you don’t really have to do that since this is a rather devil-may-care process for a rustic finish.

Once assembled, refrigerate it at least a couple of hours before serving. Alternatively you can have it ready a day or even two ahead of time.

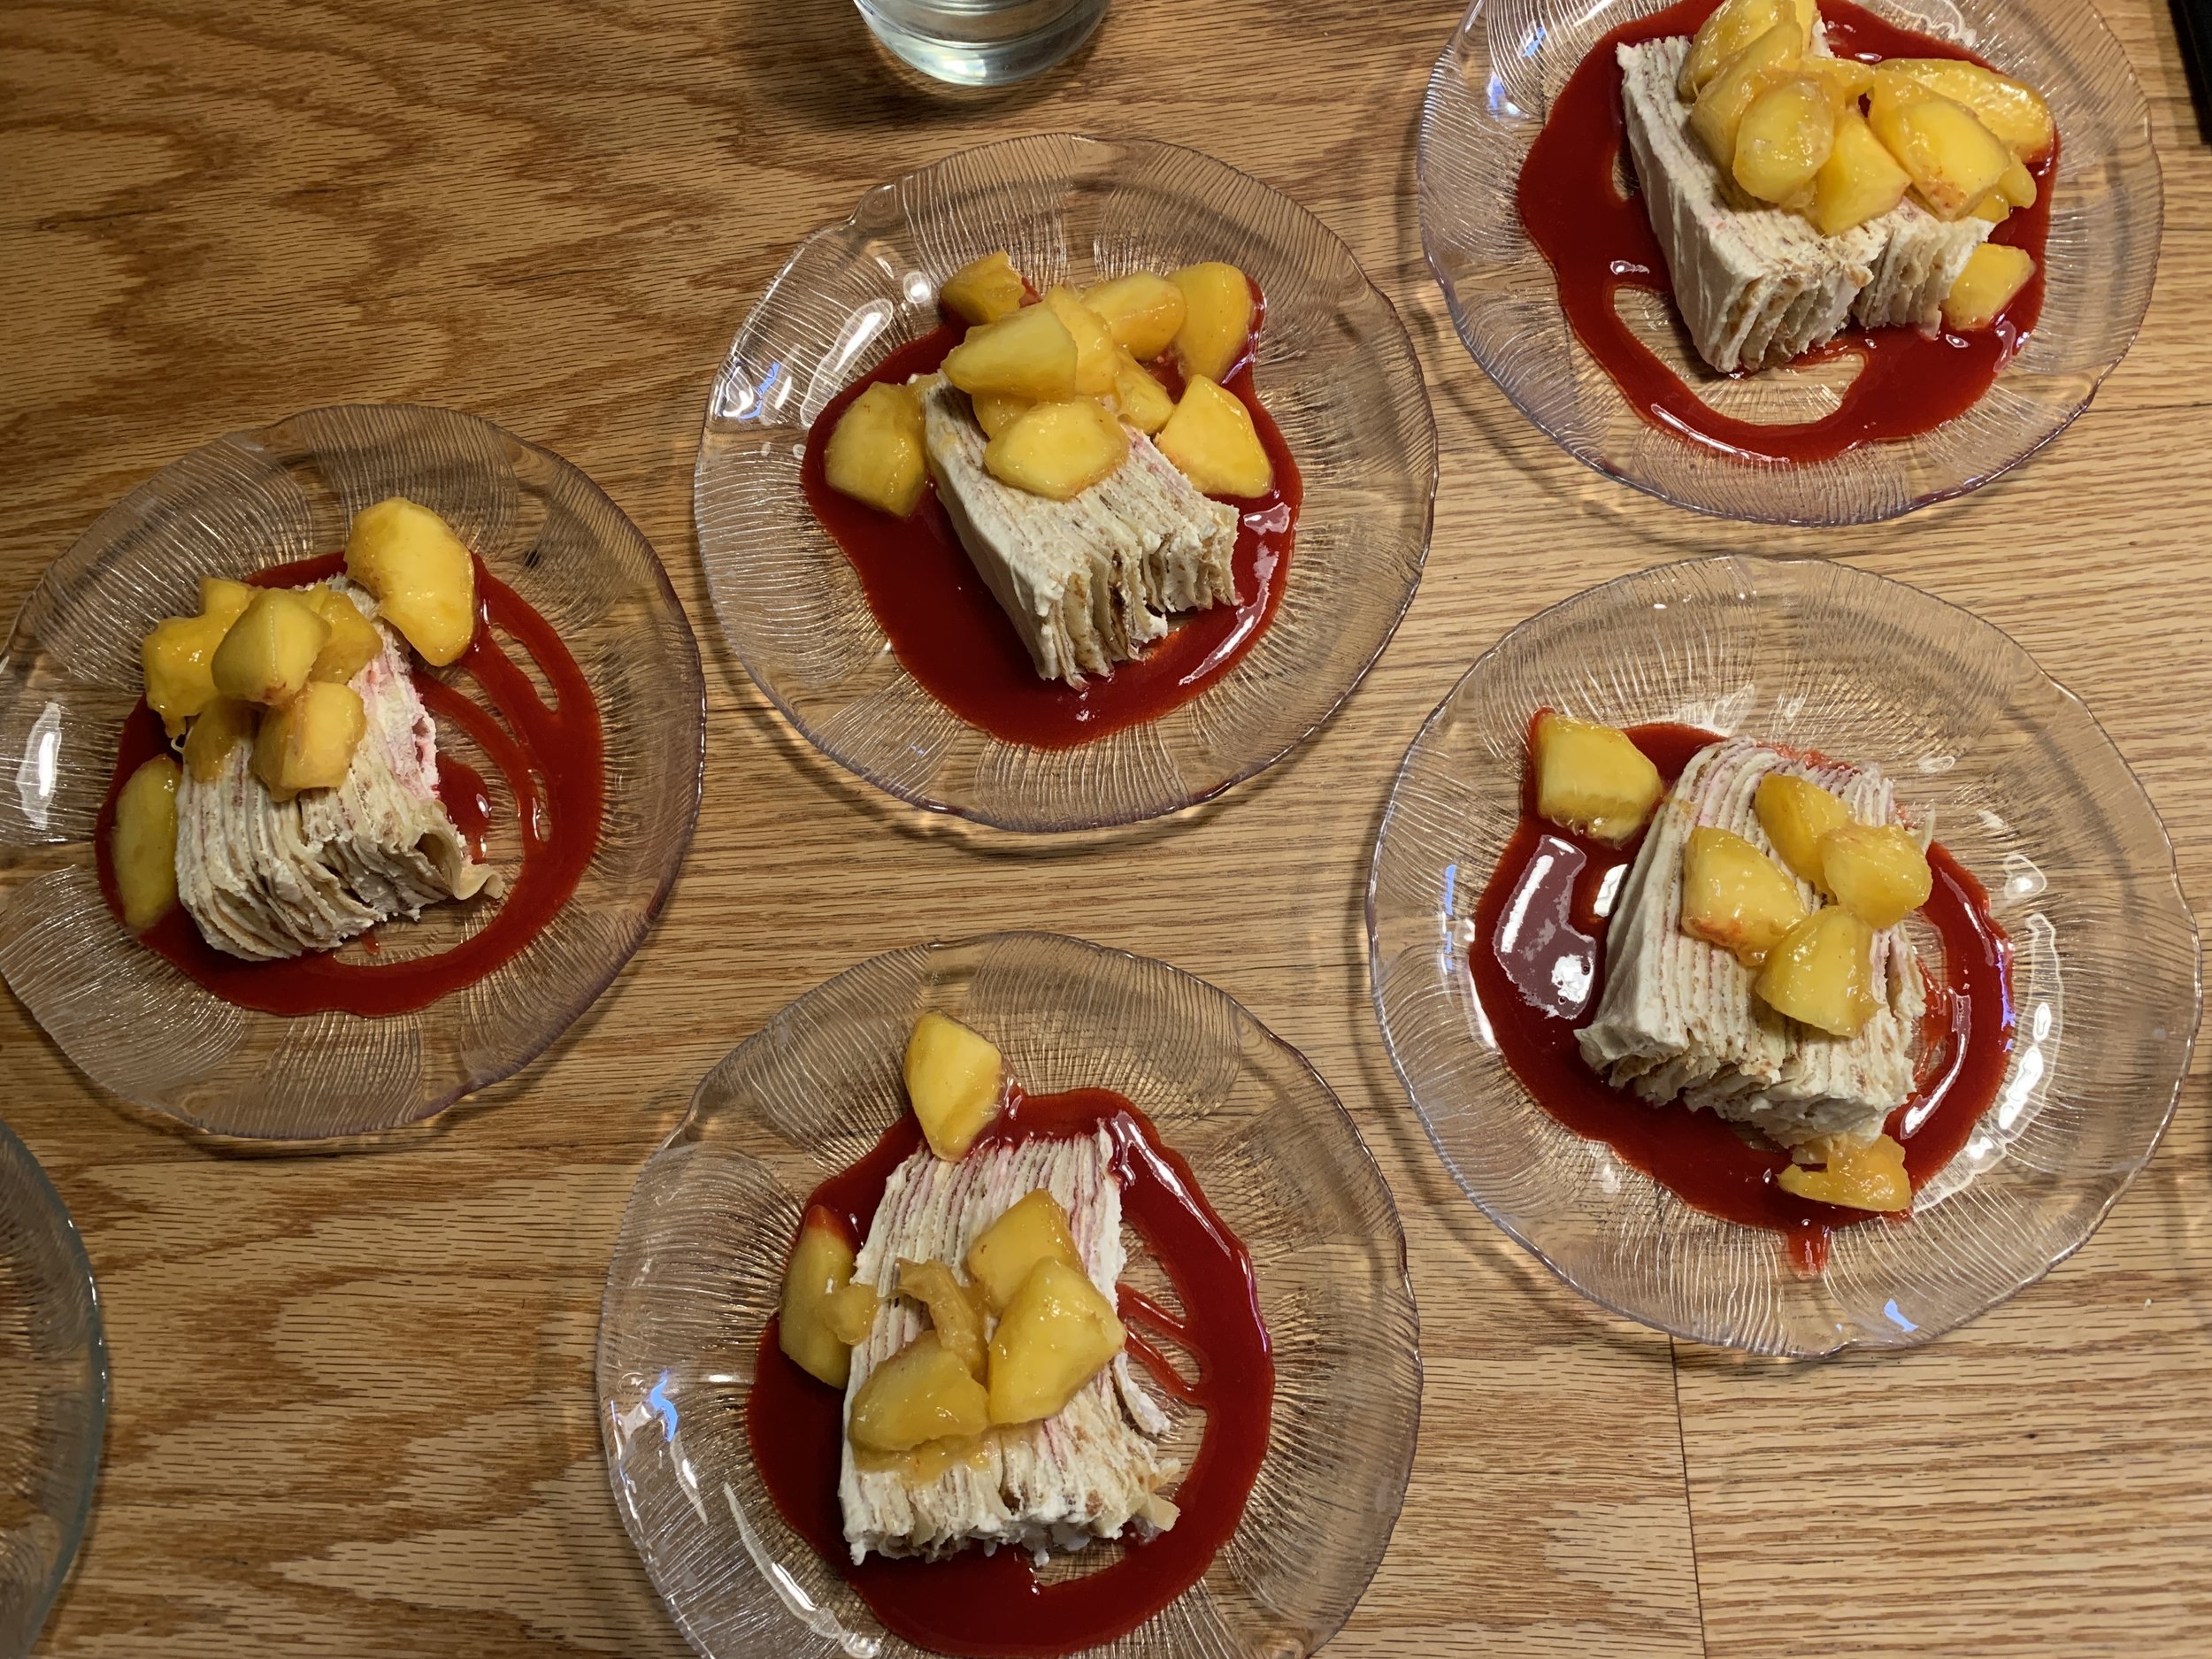
Dessert time! A pool of raspberry coulis on the plate, a slice of cake topped by fresh peach chunks.
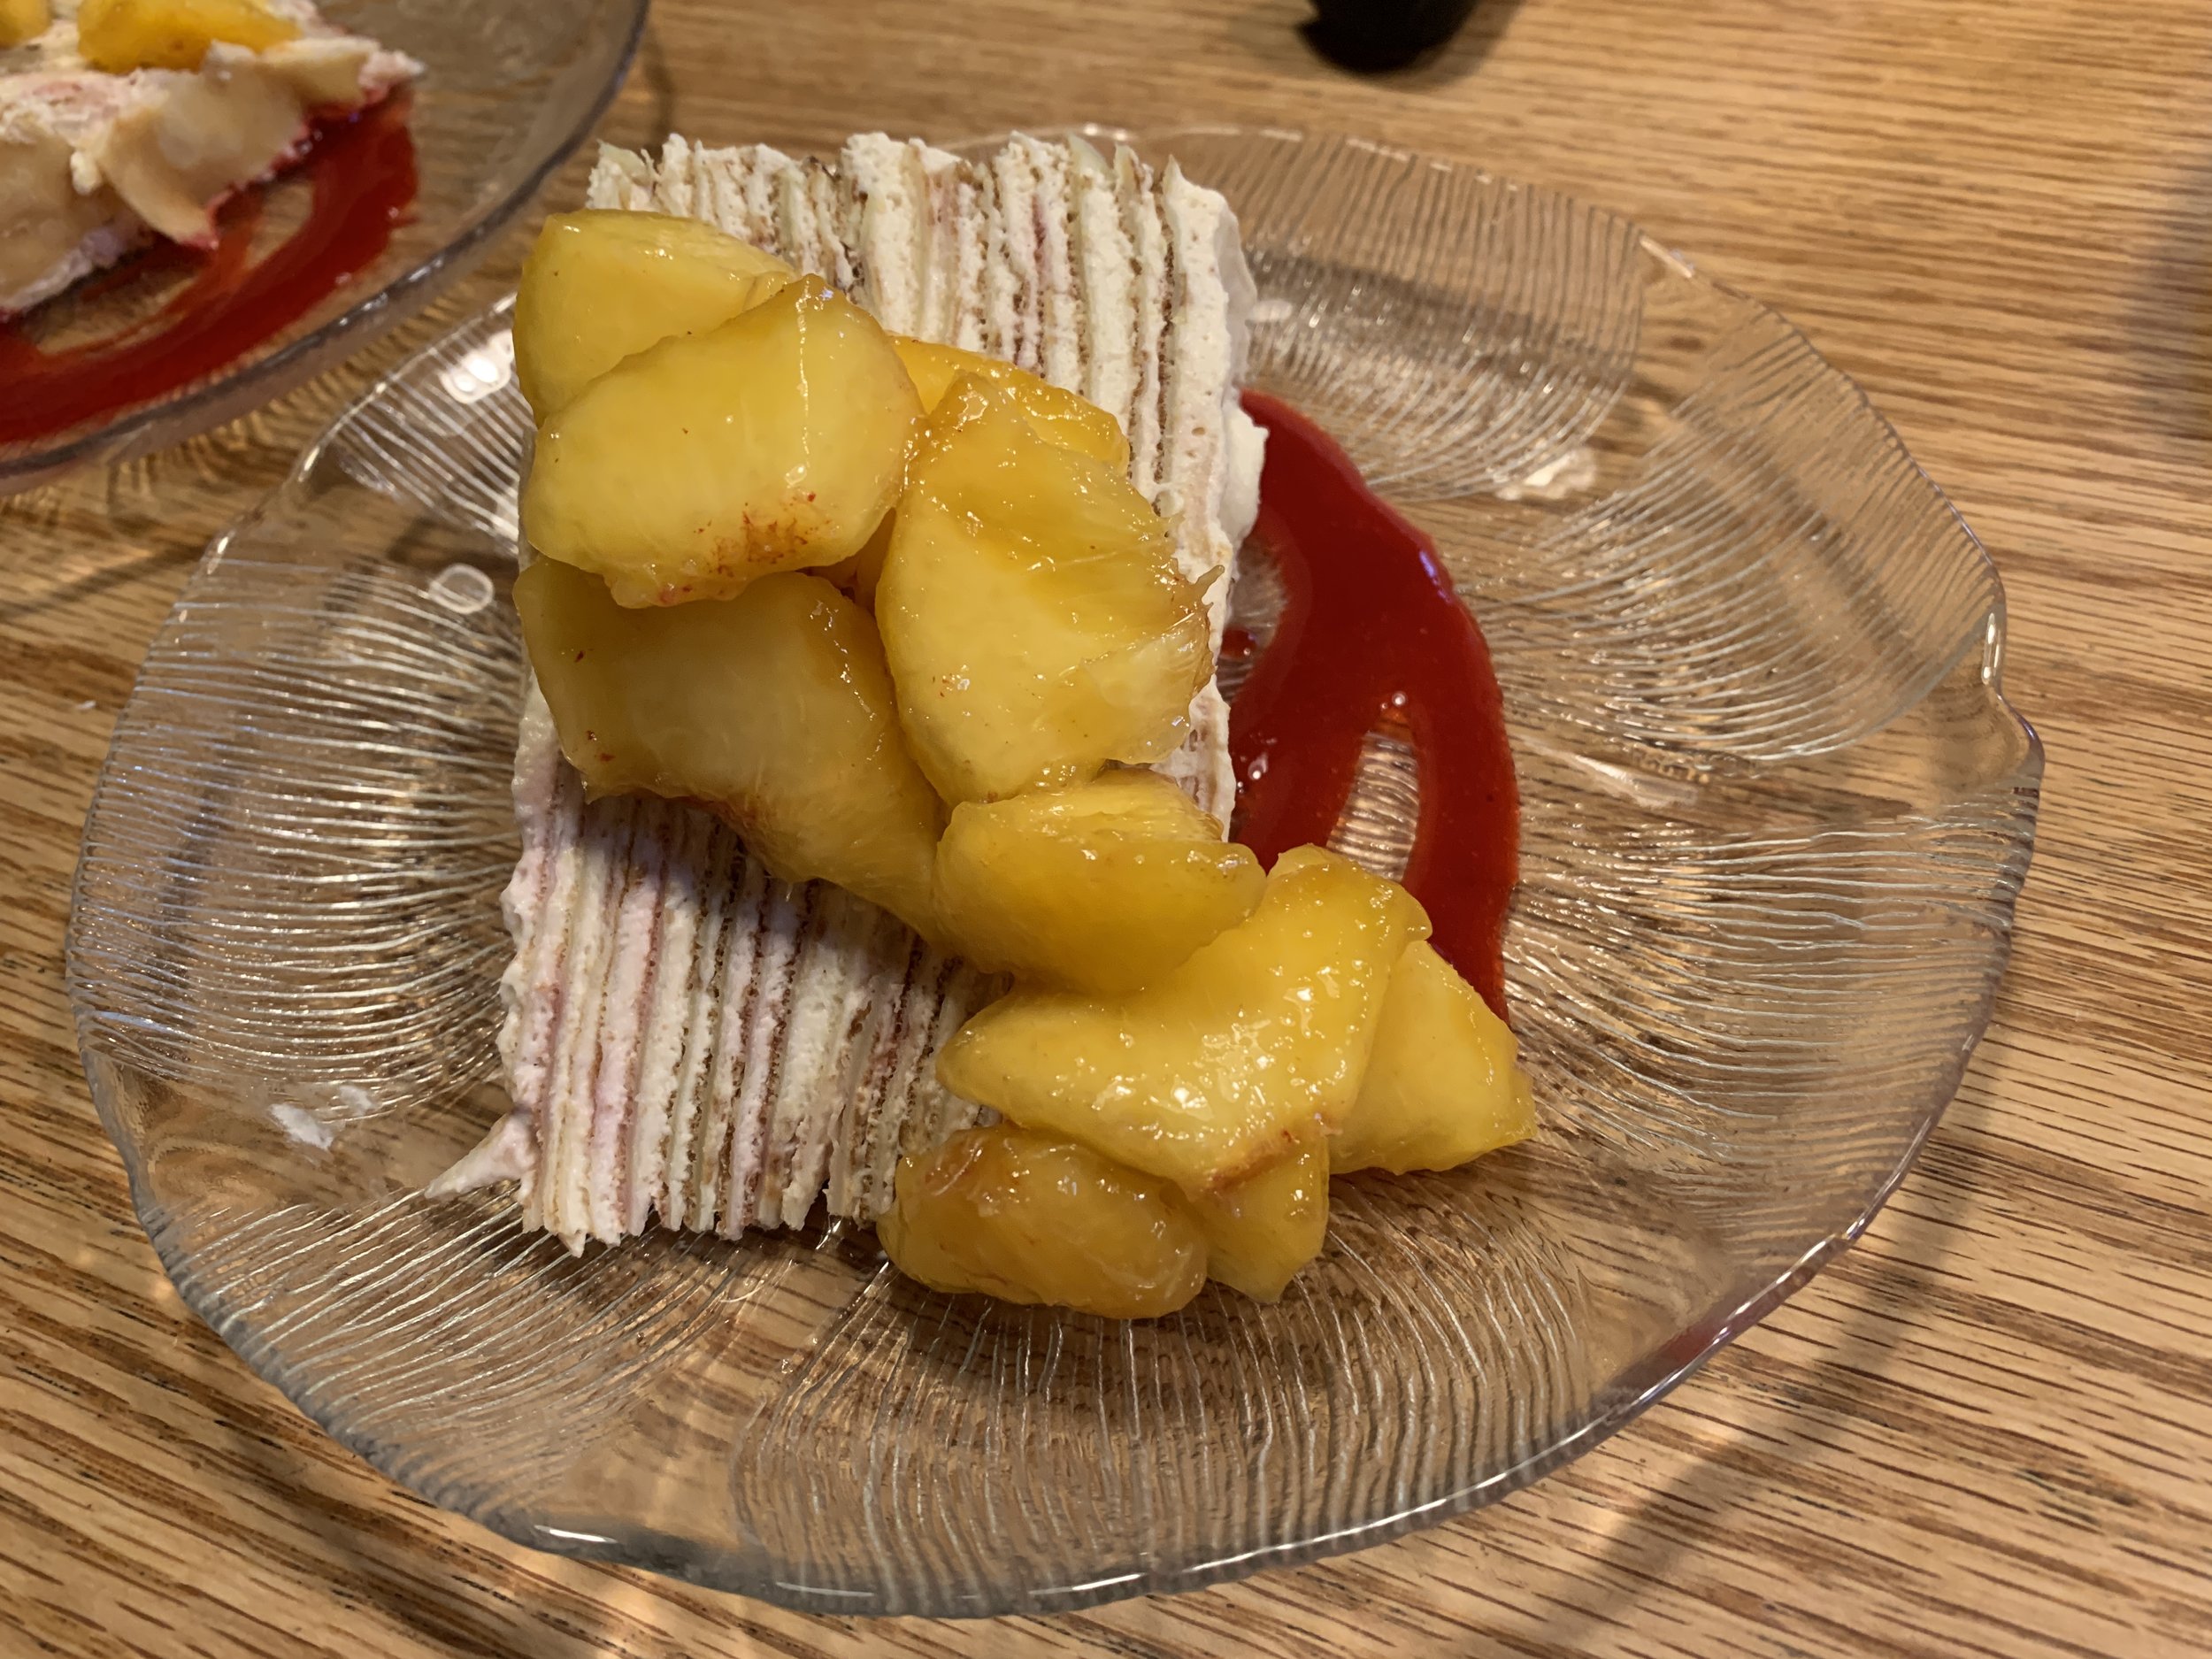
The group loved this! The tart raspberry sauce and just-sweet-enough juicy peaches gave a perfect balance to the creamy crêpe layers. Yes.
And the leftovers weren’t too shabby either!
As we move through September and beyond don’t forget to appreciate the beauty around you. There’s something about petite sweet peas poking out of the undergrowth that always makes me smile.
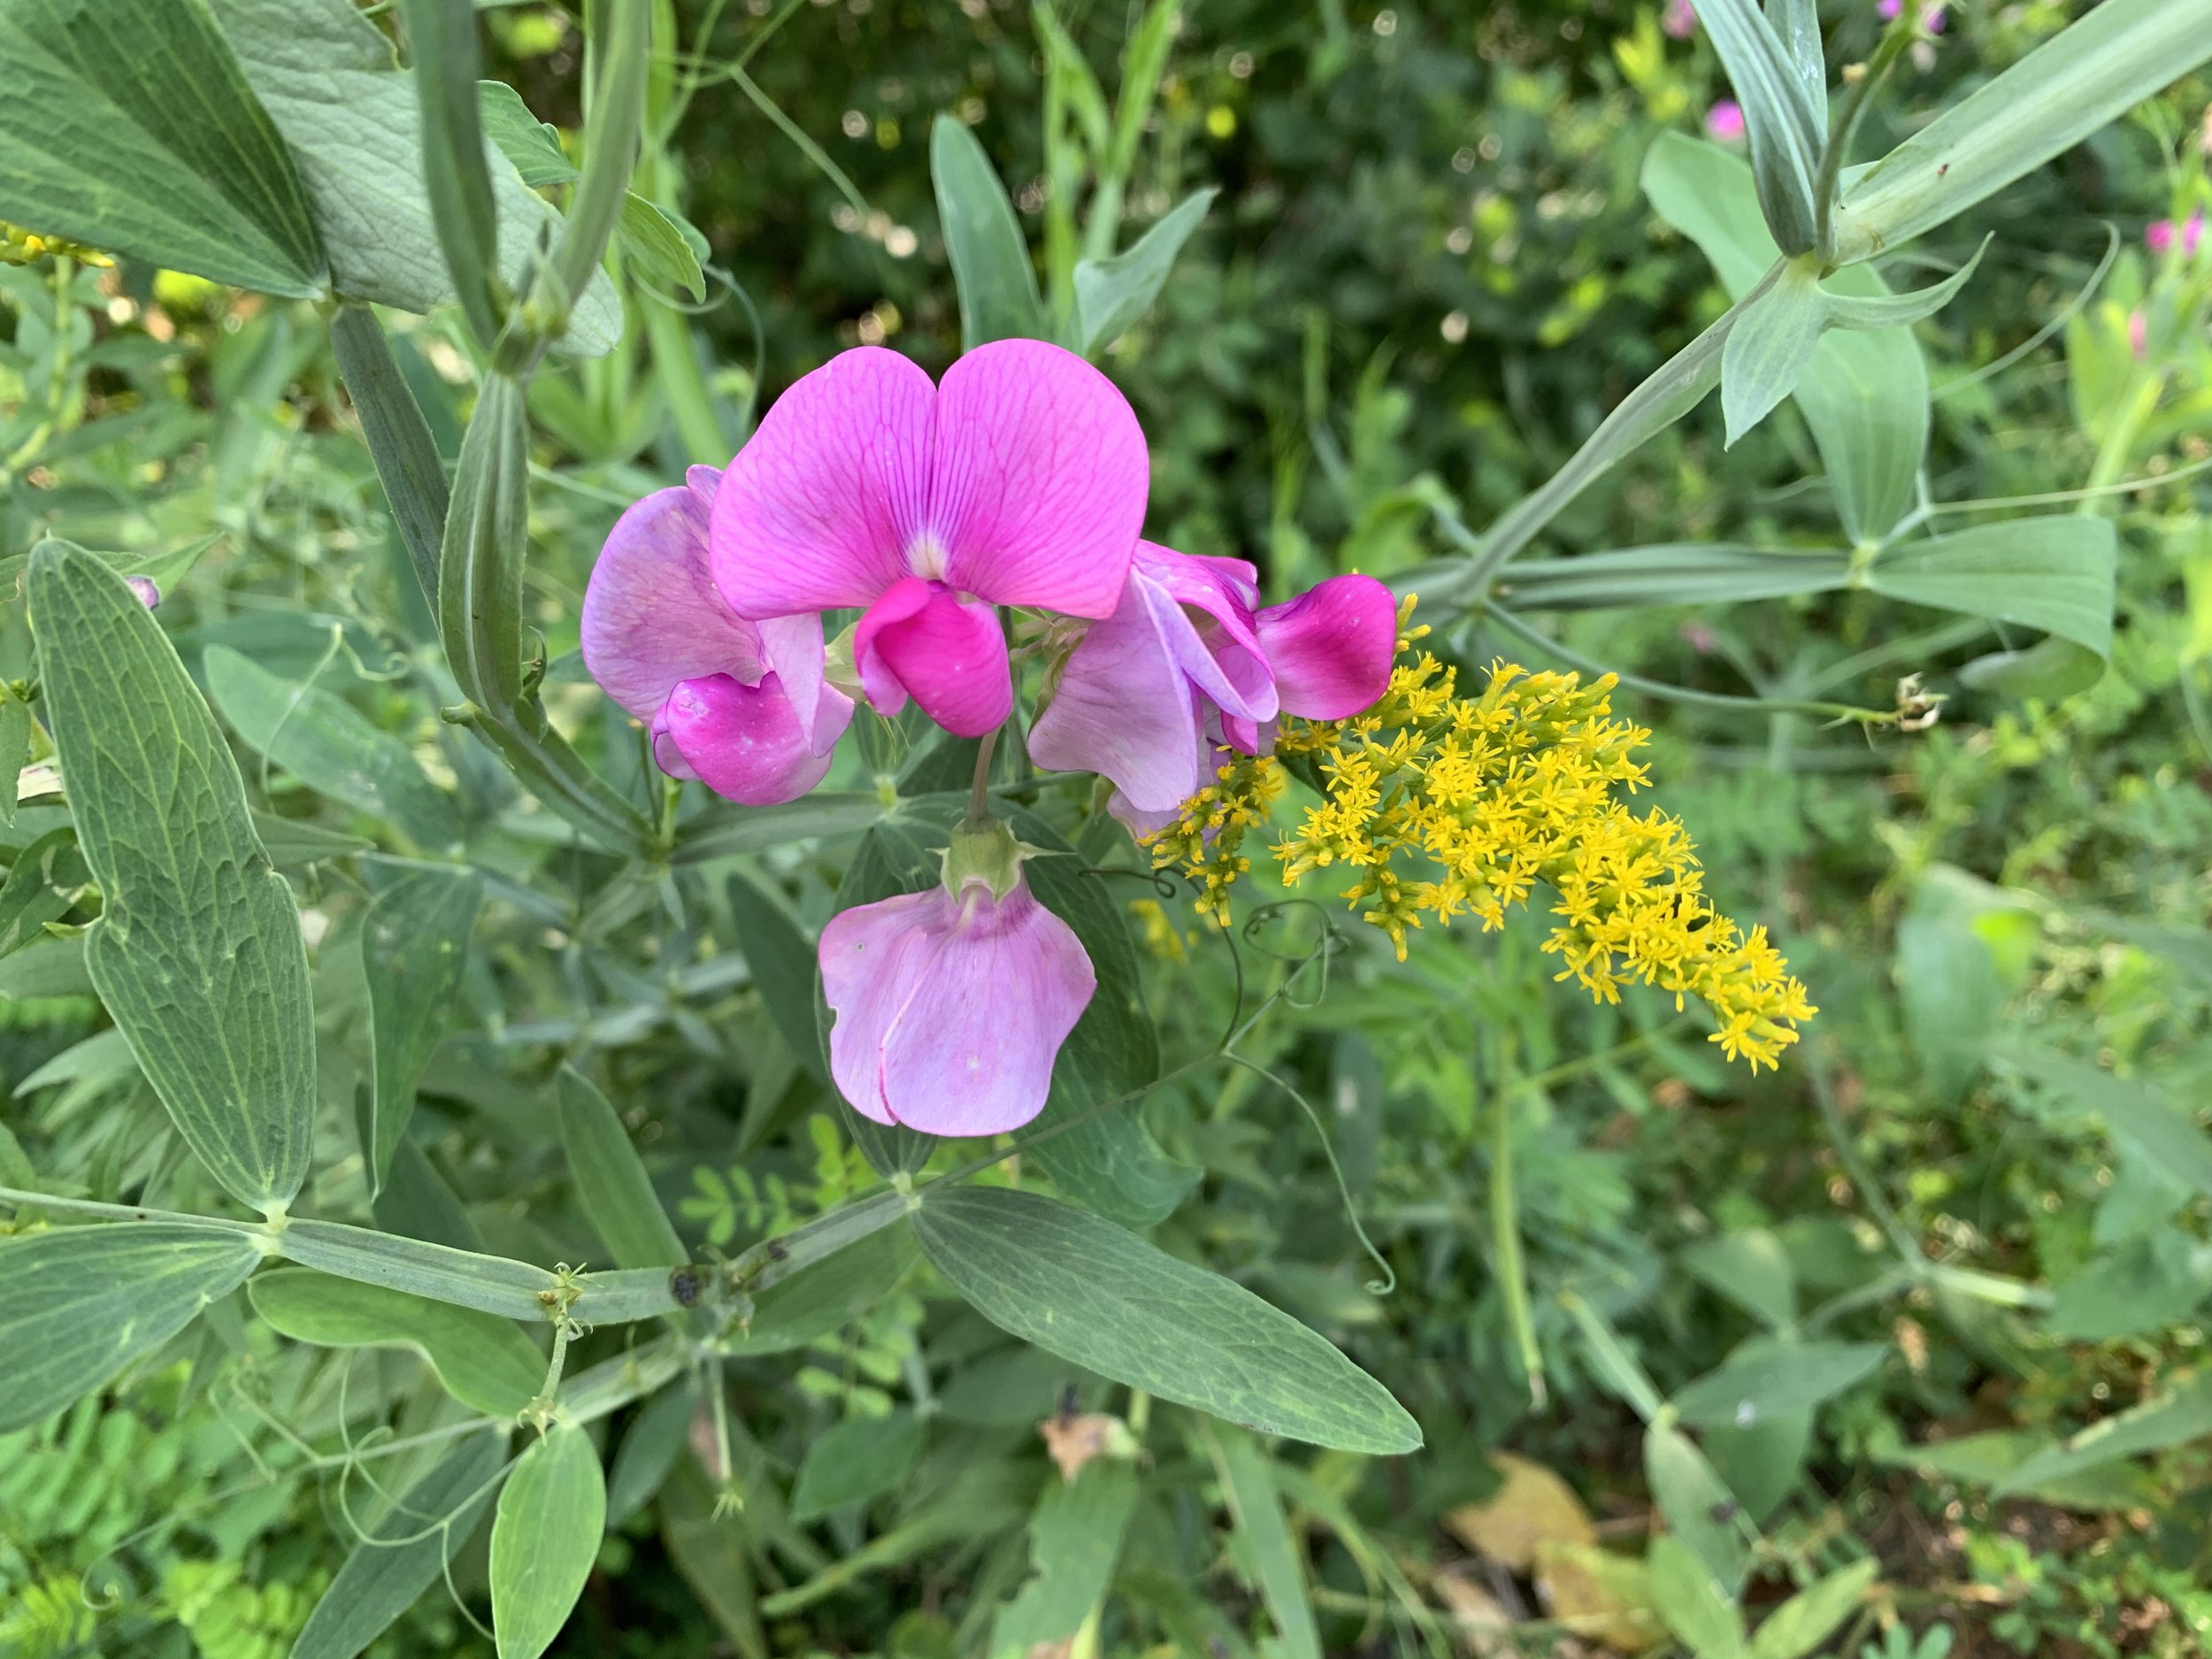
And you can’t beat this gorgeous contrast! Here’s to autumn!