Favorite garnishes part 2: candied citrus
/
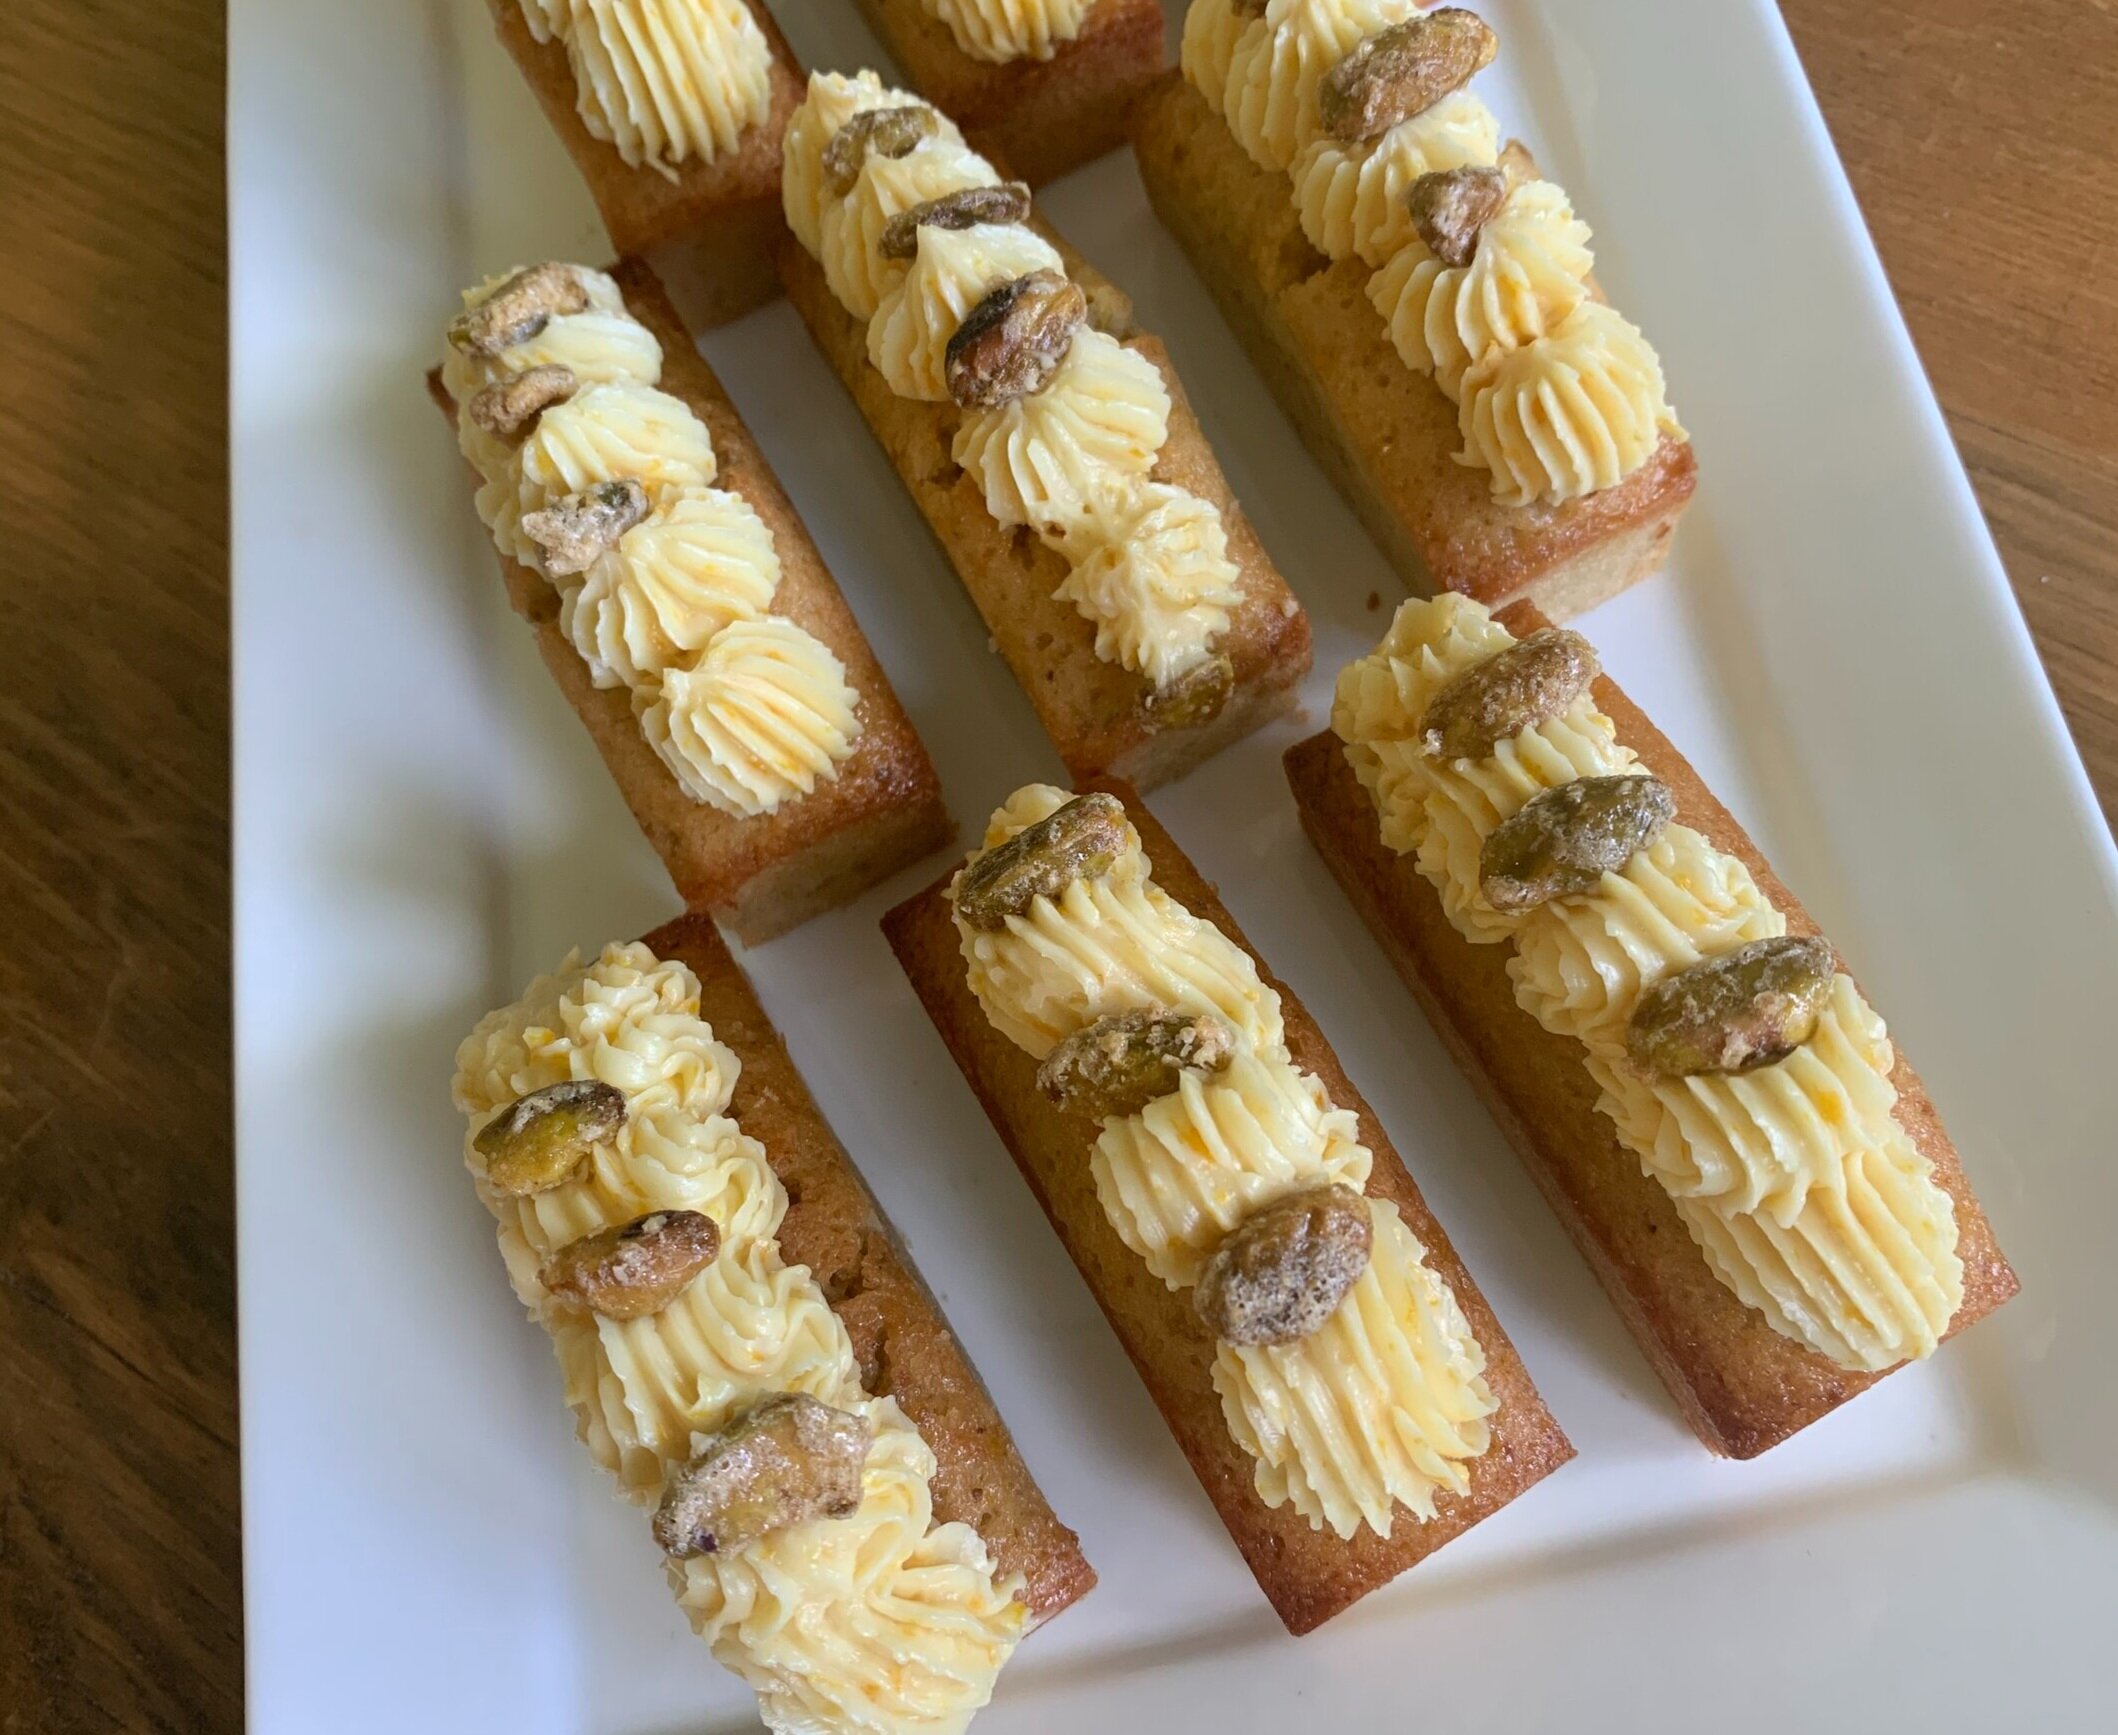
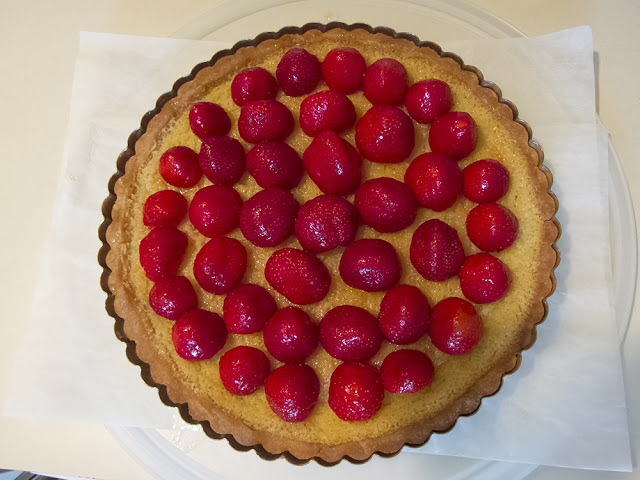
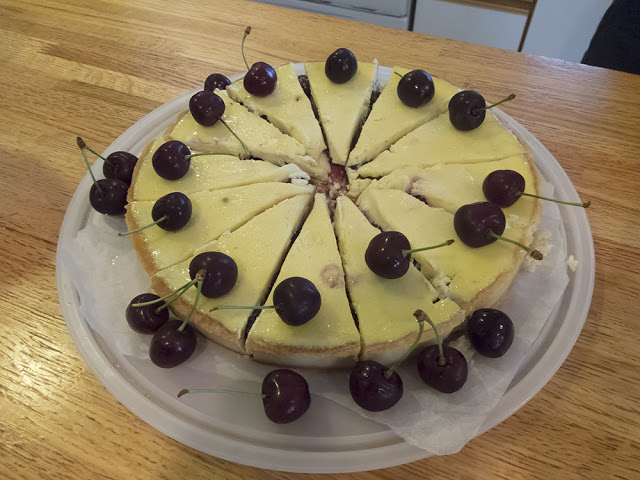
Citrus teacakes
On to part 2 of my favorite garnishes - candied citrus. It takes a bit of time but is a perfect project for a snowy winter day. Put on some music, feel a calm come over you and have fun!
Lemon, lime, grapefruit, orange, tangelo - all are fair game. Check out this post on just one way to use them.

Orange craquelin
To candy citrus peels you’ll need a couple of small to medium sized sauce pans and a medium strainer.
In one pan make a simple syrup using equal parts granulated cane sugar and water (1/2 to 3/4 cup each should be plenty), and in the other one place enough cold water in which to immerse your citrus peels.
Prep the peels by cutting the rind off the fruit, white pith and all, then trimming the pith off (there will invariably be some left) to leave the colored outer skin (the oils and flavor are here!) Cut the peel into matchsticks and place them in the pan with the cold water.

Bring to a boil, strain and rinse, refill the pan with fresh cold water then repeat the process two more times. This helps reduce the bitterness.
Now put the peels into the simple syrup and simmer until softened and translucent. This can take 30 minutes or so. Go ahead and busy yourself with cookie dough or pastry cream or cake batter. You’ve got time.
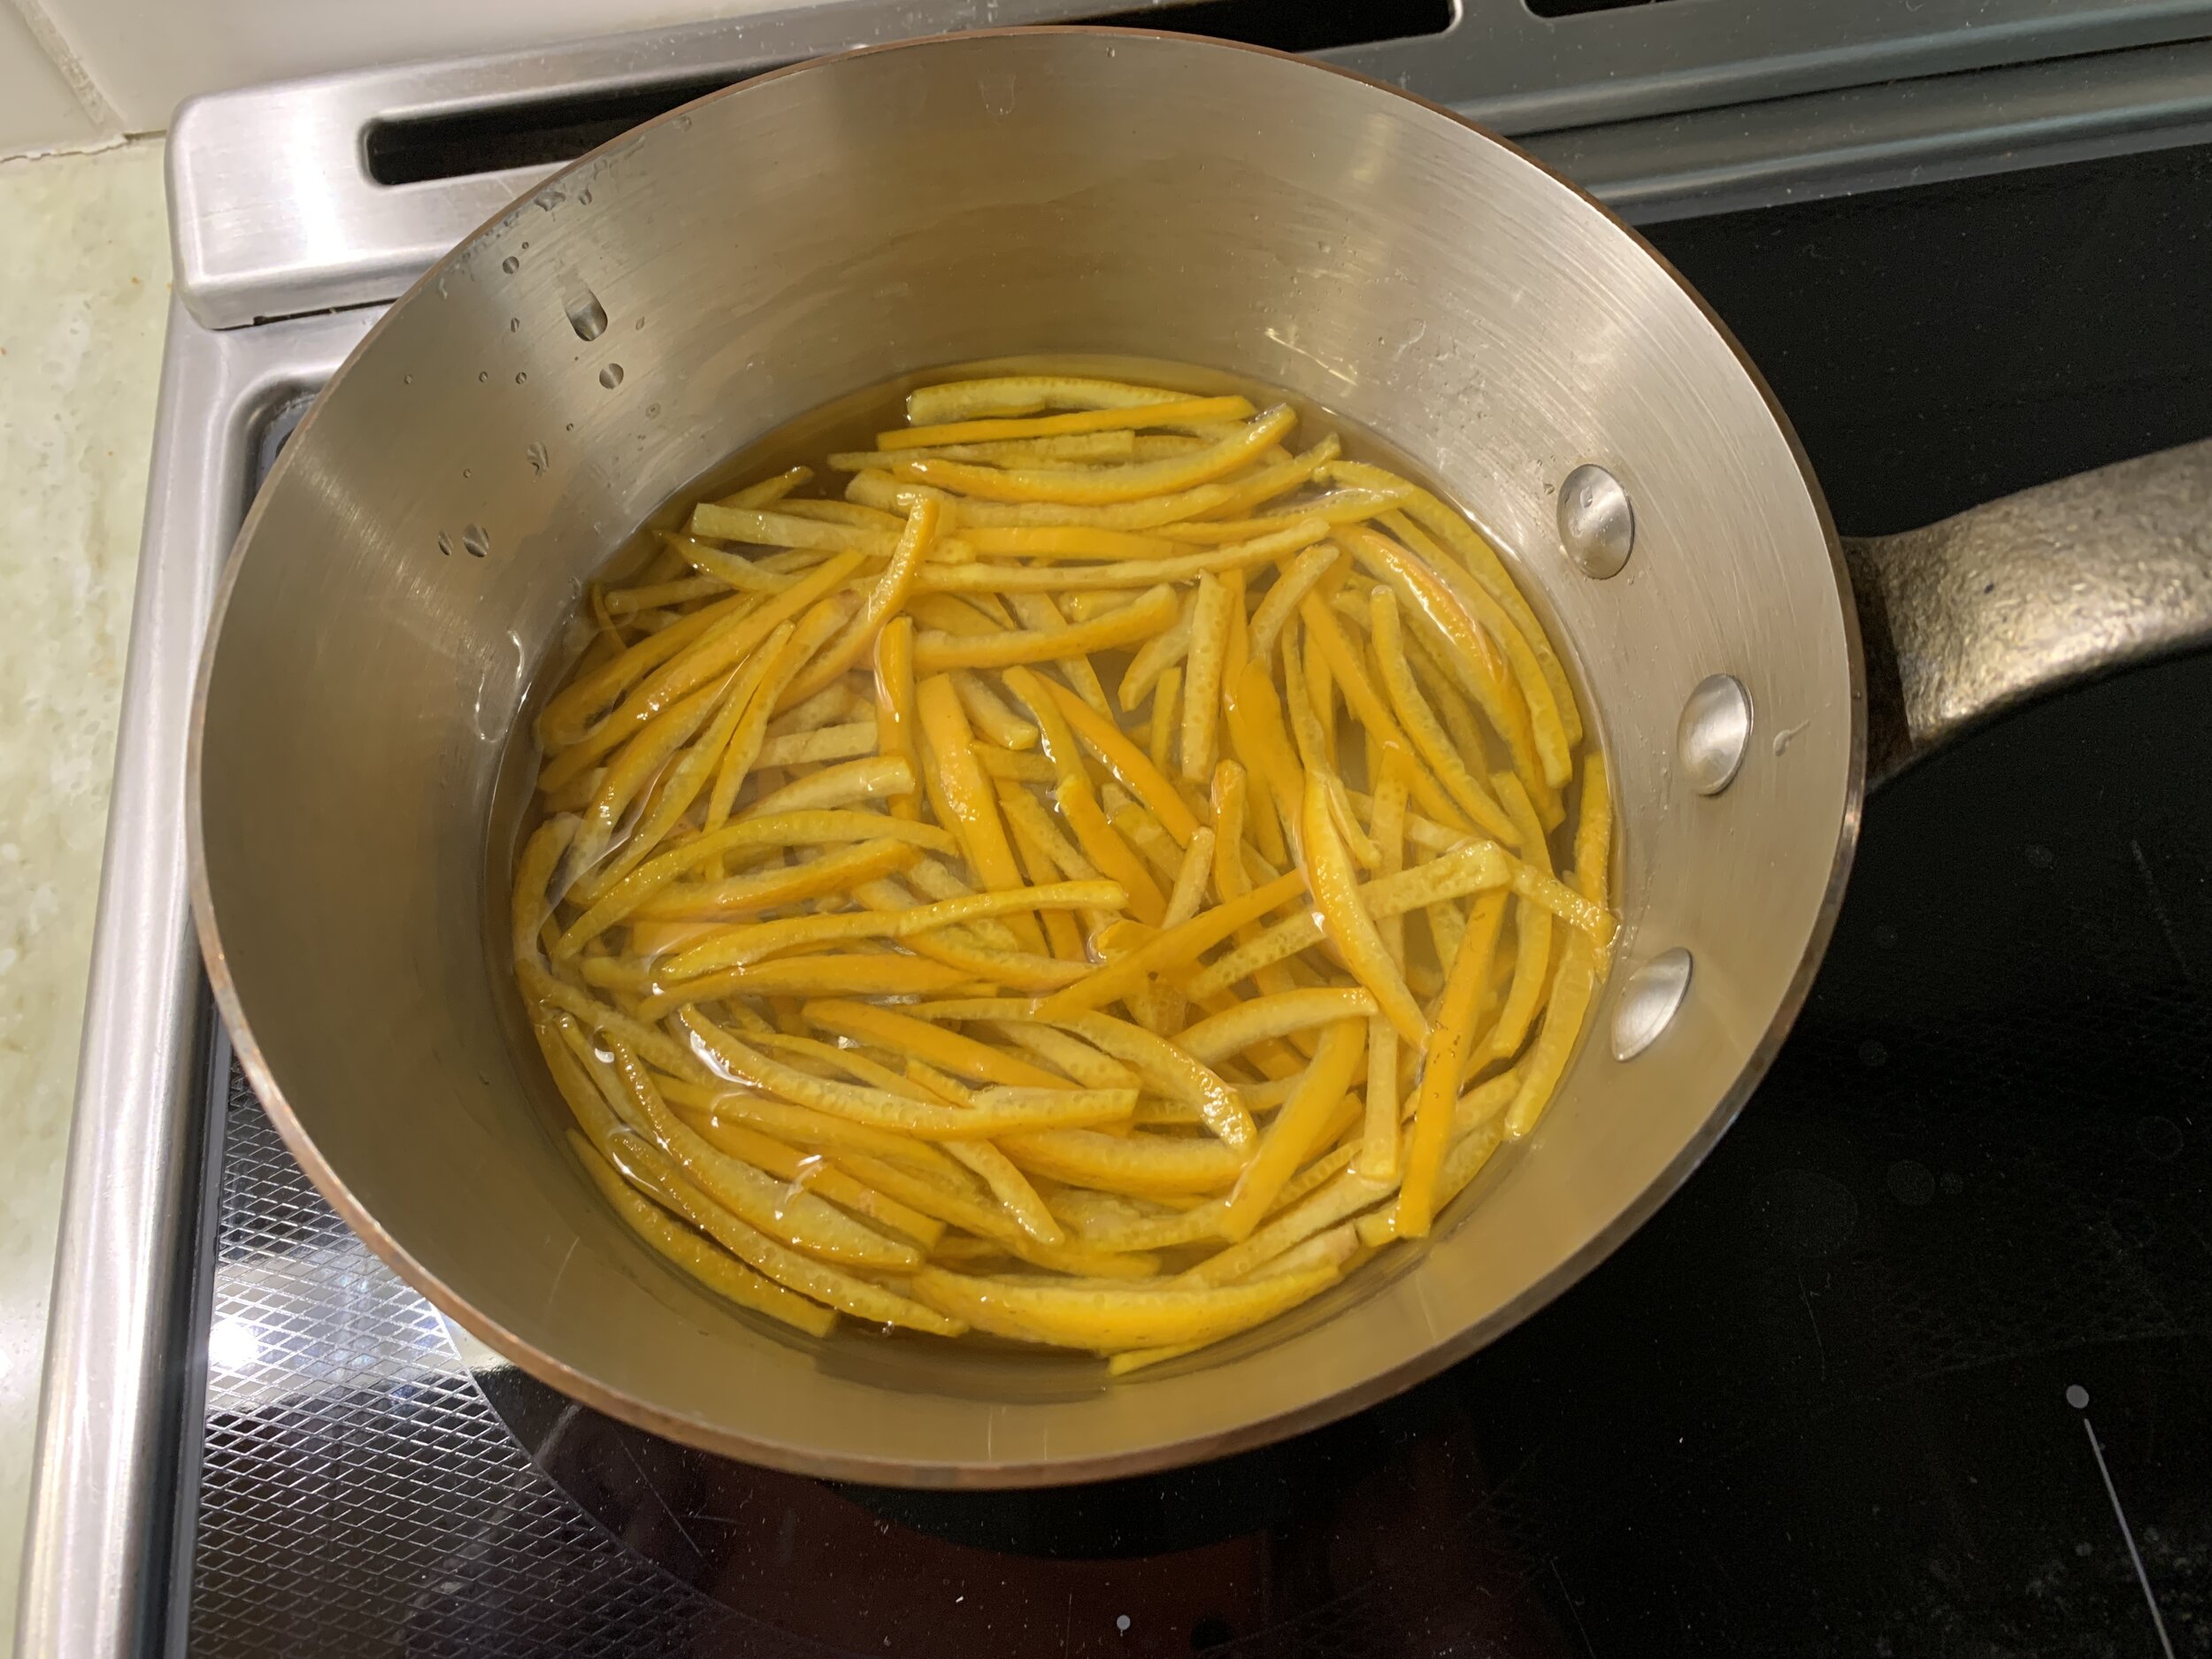
Starting the process

All softened up - see the difference?
Remove from the heat and let cool. At this point you can store them in the syrup in the fridge for several weeks, using as desired.
You can also separate some out, strain off the syrup and toss them in sugar.

Separate and place them on a wire grid to dry then store in a covered container at room temperature for a couple of weeks.

Either the sugared and dried rinds or the soft and refrigerated-in-syrup rinds are great for a garnish on a tartelette or teacake. Or chop them up finely and add to your cake batter, cookie or brioche dough or Swiss meringue buttercream. You be the judge.
Hint: the sugared/dried pieces are lovely with a small piece of chocolate and a few candied nuts for a satisfying after meal treat when you’re looking for just a little something.

Meanwhile, feel the calm and peace of the holiday season. We all deserve it.

My handmade angel shoes