Flåm, boller and fjords

We had planned our visit to Flåm for the purpose of seeing the fjords from both land and water but were also anticipating catching our breath with the peace and quiet of the mountains. We had plenty of time upon our arrival in this small ville to visit the TI office, check into fjord cruises/local eateries and generally get a lay of the land.

After a leisurely breakfast on the first of our two mornings in Flåm, we picked up our fjord cruise tickets and then headed for the Flåm Bakeri which we had heard about through the local vibe. We would enjoy our treats later.

Note the yellow and red paint colors above - we saw many buildings of similar colors dotted throughout the countryside.

The pastry case

While Steve worked on some photos and blog notes, I went for a brisk walk in and around town - something I’ve been missing during our days of city sightseeing. Gurgling streams, picturesque homes, gorgeous mountains - lovely.

Just around the bend from town - our hotel is the brown building complex (center of photo)

Typical Norwegian homestead

Babbling stream

Looking across the water from our room

Time for pastries! We had chosen two different boller/bun versions from Flåm Bakeri. First is Solbolle, literally translated as sun ball or sun bun - a cinnamon (not always) swirled yeasted dough topped with pastry cream and baked. It’s reportedly one way Norwegians (particularly above the arctic circle) celebrate the return of the sun in late January after the sunless dark days of winter.

Second is Skulebolle/skolebolle or school bun - sweet yeasted bun (not unlike the solbolle) filled with pastry cream, iced and coated with shredded coconut. I hear it’s a favorite to celebrate the last day of school. Oh - by the way - boller is the plural of bolle.

Solbolle and Skule (or skole) bolle

We shared these goodies a little before we headed out for our fjord cruise and pronounced them both delicious! Nicely textured bun (not too soft, not too chewy), smooth vanilla scented cream and great flavor all around. Steve especially liked the skule/skolebolle for its coconut-ness.

Quick note - after doing a search about Norwegian buns there are many variations out there folks. Later in our travels we came across another place that sold fyltboller which basically translates as filled bun - talk about a blank canvas! At any rate any type of bolle/bun rules in Norway!

Let’s hit the fjord!

Boarding our cruise boat

The day was pretty perfect - breezy, 60s, sunny with scattered clouds - time to cruise. Though once we got out onto the water it was more chilly, especially on the shaded sides of the boat, and we had to jockey for just the right position to have a good view as well as stay protected and warm. Here a few scenic images for you.

Small village on the fjord

Motoring along

Snowcaps

Laegdafossen - the most stunning waterfall along the route (foss is Norwegian for waterfall)

The boat landed in Gudvangen where we hopped on a bus back to Flåm. A good trip indeed.

Next up - Bergen! I’ll be back.

These make me smile

Danish pastry class in Copenhagen

Update note 3/06/23: please note that I am NOT the owner/operator of the Terrible French Pastry School. I’ve had several people who plan to travel to Copenhagen email me requesting class sign ups. You must contact the school (link below) to set up any classes with Chef Fred. You’ll be happy you did!!

Always up for another baking adventure, particularly one involving one of my favorites, laminated dough, I checked out various pastry/baking classes that might be available in the cities on our travel itinerary. What better subject to tackle than Danish pastries (aka wienerbrød) in Copenhagen, the capital of Denmark! Yes please.

The site of said class was at the Terrible French Pastry School (hmmm . . . . the name gives one pause) located in the Frederiksberg section of Copenhagen. The school is owned and operated by Frédéric Terrible, a Frenchman by birth, Dane by assimilation, who has been running the school for about 10 years now, following a long career in the pastry world. Classes are generally available in Danish and English (“for the tourists” says Fred) and can also be arranged with French as an option. His “open” classes are available for general sign up, and he also accepts requests for private events.

Turns out it was an easy Metro ride + short walk from our digs on a coolish, sunny beautiful morning, perfect for working with the layered, buttery dough. The building is set back off the street situated on a small cul de sac and the entrance very unassuming with a small gold “Terrible” plaque to the left of the door (Steve snapped this photo of me working on taking my own photo).

The kitchen/teaching space is perfect for groups of 10-12 people with a line up of working stations topped with dusting flour and necessary tools in the center. Ovens, mixers and assorted supplies are appropriately placed along the windows and periphery of the space.

Recalling fondly my own commercial kitchen during our Rhode Island years, I appreciated its spaciousness and organization.

Chef Fred had his base dough recipe hanging up for all to see and would review the steps of dough making later in the class. I appreciated his insight into some of the differences in the dough when one uses water (crispy) or milk (less crispy), egg (softer) or no egg (less soft), different types of flour - all details that I’ve reviewed, compared and tried a number of times when deciding on a base recipe. So much to take in and everyone has their own favorite way of doing things.

While we didn’t actually perform all of the dough laminating steps in class, he reviewed the different approaches to doing the folds (noted on the right side of his chart). He makes a lot of dough for his Danish and croissant classes ahead of time using a professional sheeter which yields more precise layers than when rolling by hand as we homebodies do. So cool!

We worked in pairs (my mate was Naomi from the UK), each pair having an oven available to bake the various pastries we created. We sat comfortably while Chef Fred made some introductory remarks about the class flow and then it was time to push our chairs back and get rolling!

Any laminated dough class I’ve attended or have taught myself typically starts with completed dough that the chef makes ahead - otherwise one could not accomplish all that one hopes to in the allotted time frame. We proceeded to roll out four different dough portions (6 pastries from each), cutting and shaping them in various ways.

Demo to get us started

First up - 12x12 cm squares cut with a pastry bicycle cutter, a useful tool for even portioning. I’ve never owned one but certainly realize how helpful they can be. Please note: I have NO affiliate links with Amazon or anyone else; the link simply shows you what this tool looks like.

Also known as spandauer (traditionally remonce filling and a topping of custard or jam), we piped a just right dollop of remonce (equal weights almond flour, sugar, butter) - not too much and not too little - in the center.

Bring 2 opposite corners to the center and push down very firmly with your fingertip, all the way down through the dough and the cream to the paper. Whoa! This was one of those ah-hah moments. Typically I push/press but this is much more dramatic with very firm pressure. It’s all about being in charge of the dough.

Repeat with the other 2 corners. Yes!

Quick note - even with the firm pressure, once proofed some corners might unfurl - just press them back into the center before topping with custard and baking.

We rolled out the next dough portion and cut 6 rectangles about 10x15 cm each. Fold in half and make 5 cuts along the open edge . . . . .

Open each piece up and pipe a strip of remonce (not too much, not too little, not too close to the edges) down the center; top with chocolate chips.

Proceed with the braid (of sorts) by crisscrossing alternating strips from top to bottom, kind of like this Danish braid.

Chef Fred gave us a demo - here’s the start of his.

Once all wrapped up, press the side of your little finger across the open top to seal it and tuck the bottom ends underneath. Voilá

As we completed each tray of pastries, they went into the oven for proofing. Chef had given the ovens a whiff of warmth and kept an eye on the temps so they hung between 25ºC (77ºF) and 28ºC (82ºF). Too warm and the butter will start to melt, resulting in pools of butter and less than stellar texture after baking.

Note that European style butter with higher butterfat content can stand up to warmer proofing temps than run-of-the-mill butters so be forewarned! When in doubt I plan for a lower temp (70 - 75ºF) and longer rise (instead of 1 to 1.5 hours, go 2 to 2.5 hours) to avoid the butter leak issue.

We continued on with cinnamon spirals and sesame/poppy seed twists to complete the morning’s foursome of pastry treats.

Another ah-hah moment - to keep the cinnamon spirals from unfurling during proofing/baking, simply lift the end away from the coil a bit and fold/tuck it underneath the center. It’s now trapped on the bottom. Then press two fingertips in the center of each spiral and stretch it out, also flattening the whole thing (lower center below). This essentially tells the dough to bake outward not upward for a nicely shaped end result.

Amazing what one never read about or witnessed anyone do before. Cool.

The sesame poppy twists came about after rolling a rectangle of dough, spreading a thin layer of remonce over it then folding it in half. We coated one side with sesame seeds and the other with poppy then cut and snugly twisted the strips.

Press the ends of the twists firmly onto the parchment to hold them in place (and don’t be afraid to really smoosh them down!). Notice the bicycle cutter below.

Once the proofing was underway Chef Fred gave a quick demo on making crème pâtissiére, one of the essentials of French pastry.

When we were ready to bake, we piped pastry cream on the center of the spandauer (not yet accomplished in the image below), egg washed them and added a sprinkle of pearl sugar. The almond/chocolate chip braids were adorned with the pearl sugar and slivered almonds.

All proofed

Let the baking begin! We rotated trays in and out of the oven until all were baked to golden perfection.

We sampled our wares and also boxed some up to take home. Steve was a happy camper indeed!

After the class Chef emailed all of us a detailed recipe pack with great diagrams of various Danish shapes - can’t wait to try a few others!

All in all a great morning and lots of fun. If you’re planning to be in Copenhagen and feel the baking bug coming on, I highly recommend Terrible French Pastry School. Thanks so much Chef Frédéric (who BTW is cool with me writing and sharing this).

Later that day Steve and I strolled through popular Tivoli Gardens where we found the flowers simply divine. Enjoy!


Paris Brest - more fun with pâte à choux

After my recent post on religieuses and the steps of making pâte à choux, while we’re in the mood let’s take a look at Paris Brest. Another classic choux paste creation, it’s reportedly named to commemorate the famed Paris to Brest bicycle race, being created years ago by a pastry chef to resemble a bicycle wheel. I’m only one in a long, long, long line of folks who have written about this very thing.

One can make the round any size - large, medium or individually small - it’s all up to you. I used to make individual ones on occasion back in our Providence days, but it’s certainly been awhile. Since Steve and I are the only ones around to eat the goods, I decided on a round about 6-7 inches in diameter that would yield decent wedges to be consumed over 2-3 days.

I piped and baked the Paris Brest rounds the same day as the religieuses then held them in the freezer overnight before assembly the following day. One can pipe one ring with two tiers, splitting it in half once baked, but I decided to bake two separate rings, one for the top and one for the bottom.

Here’s the breakdown. Draw two circles of your chosen size on parchment, overturn the paper and place it on a sheet pan. Using a medium star tip I piped a ridged bottom layer and a more swirly top layer. I tucked in small rounds of “crunchy top” circles then sprinkled on some chopped hazelnuts.

Here they are nicely baked and browned.

When you’re ready to assemble, carefully slice off the top edges of the bottom layer to shave off any unevenness (snack time!).

I went with classic praline pastry cream for the filling. The same day that I had made the crème pat for the religieuses, I separated out 200 g and blended in praline paste made by processing 40 g sugared hazelnuts to a paste consistency. Once chilled I added a nice dollop of whipped cream to lighten it. Using a medium star tip I got a little carried away with my squiggles and ruffles. Have fun with it!

Set the top on and gently nestle it in place. I like to give it a dusting of confectioner’s sugar too.

Now slice and enjoy. You won’t be sorry.

Wherever you are and whatever you’re doing, keep up the good work and live happily. It’s not always easy, that’s for sure.

More fun with croissant dough - berry flan buns and bourbon glazed pecan spirals

FF561A7A-8D28-41AD-A160-D35006742333.jpeg

I typically have croissant dough in my freezer just waiting to be formed into something delicious. As it turns out, I had a couple of batches that needed to be used for fear that they would soon be over-the-hill soooooo . . . . .

I baked one batch as standard croissants destined for the ever popular twice baked croissant aux amandes.

Freshly baked all butter croissant

Freshly baked all butter croissant

Twice baked croissant aux amandes

Twice baked croissant aux amandes

I divided the other batch in half with two goals in mind - flan buns and pecan spirals. First up - Kouign-amann style berry flan buns. Many of you know about this caramel-y, layered Breton specialty that continues to be very popular in the US. There are specific recipes for K-a dough that differ somewhat from croissant dough, buuuuuuut - you can use croissant dough too! As a matter of fact, it was Chef Xavier Cotte at Le Cordon Bleu Paris who demo’ed Kouign-amann to our class using croissant dough all those years ago. What a treat that was.

Did you realize that Kouign-amann was the subject of the very first post I wrote for this blog back in the fall of 2014! Wow, how time flies.

While I use muffin tins, individual cake pans and ring molds to bake the various twists, spirals and twirls that I make with croissant dough, I love making these in buttered and sugared ring molds. I find they brown much better in the open rings. These are 80 mm (3 inches) in diameter and 2.54 cm (1 inch) high, taller than the usual open tart rings I use for tart making. They’re perfect for this use as well as for other pastries like the aforementioned spirals, twists or twirls.

062F9859-37EA-4ED3-BB29-091018B79E5C.jpeg

For a half batch of dough I go for a yield of 9 pastries, rolling the dough out (on a sugared rather than floured surface) to a 12” x 12” square, then cutting nine 4” x 4” pieces. Do your best to keep the corners square, although a little curve never hurt a thing. As you roll, flip the dough from front to back, sprinkling more sugar on as you go. Don’t be shy.

4E2C31FD-0CC5-494A-8187-4FE24A094B5A.jpg
428A26EA-F78E-44B2-8CA2-AB18C838998B.jpg

Now simply fold the corners of each piece up, kind of pleating the sides, and set the dough into the buttered/sugared rings. Easy-peasy!

48832A33-7C53-4030-92D3-7E24059F3CB5.jpg

Cover lightly with plastic wrap and give them a 45-60 minute rise - you should see more definition of layers and a general pouffy-ness. Meanwhile heat the oven to 375ºF.

You can bake these au naturel, but here I piped a blob of pastry cream into the center (hence the “flan” label), added some blueberries/raspberries and topped with another blob of cream and a sprinkle of raw sugar. I usually have berries in the freezer and add them frozen to avoid the mushiness and wateriness that happens if they’re thawed first (don’t do it!). It’s also helpful that frozen raspberries are easy to break up into smaller pieces for placement in a smallish space.

Sheesh! I forgot to grab a pic after assembly so shot a quick one after going into the oven. Kind of a cool perspective.

6F8D5FC4-F4F9-40D2-822E-ABB033EA9A5F.jpg

Bake about 20-25 minutes until the pastry is golden and the cream set. Once out of the oven I leave them on the sheet pan but gently lift off the rings - they come off much more easily when still warm, before the caramel-y sugar cools.

A4699DAA-6168-491C-98E8-9B680E42D70E.jpeg

They’re deelish still slightly warm, but you can also finish cooling them on a wire rack and enjoy the same day.

You can freeze them too. If you do, plan for a treat with morning coffee by heating your oven to 325ºF, take them right out of the freezer, place on a parchment lined sheet pan and thaw/warm for about 15 minutes. If they’re still a bit cool inside, give them another 5 minutes or so. You be the judge.

B62027F8-23B0-4337-9D5D-1BCFF963DB58.jpg

Next up - crackly glazed pecan spirals.

21872DD6-8FC4-4F6B-9033-1AA771EE47F3.jpg

I’ve previously posted a version similar to this using laminated brioche dough, but here I’m using a slightly different filling and opted for a bourbon butter glaze like the one I used on pound cake a while back. I won’t spend a lot of time on this but just want to share it with you.

For a half batch of croissant dough I’m going for 8 or 9 pastries - just depends on how things roll out.

For the filling blend 28 g/ 2 tablespoons soft unsalted butter with 70 g brown sugar (light or dark, either way). Add a generous teaspoon of spices if you wish - cinnamon or a mixture of your favorites like coriander, cardamom, cinnamon and ginger.

Roll the dough to about a 10”x10” square, spread the filling over it, top it with finely chopped pecans (eyeball it) or your own favorite nut, then roll it up into a log. Cut ~3 cm slices and place them in the center of buttered and sugared rings. You might notice below that I have wrapped two shallower rings together with foil. Since my flan buns were occupying my higher rings, I created my own!

F3180075-E06A-4F70-8A63-246E7946C2B1.jpg

Cover lightly with plastic wrap and let rise about an hour. I hope you can appreciate in the image below the increase in fullness of the dough compared to above.

8D130DE2-1E89-4A52-9903-EA13286C8B88.jpeg

Bake at 375ºF for about 20-25 minutes until golden brown, which gives you time to make your glaze.

Here you go: heat 2 tablespoons bourbon with 28 g / 2 tablespoons unsalted butter to melt, then stir in 50 g / 1/4 cup granulated sugar, stirring to dissolve. Once the sugar is dissolved bring to a boil for one minute. Remove from the heat and blend the mixture with 50 g / 1/2 cup confectioner’s sugar and 2 tablespoons of crème fraiche.

Once out of the oven, remove the rings (sooner than later is always best).

B41B7A9B-D1A4-45D3-82F4-EFF1890CD356.jpg

Brush the glaze generously over the spirals. Now pop the tray back in the oven for about 2-3 minutes. The heat makes the glaze crackle and bubble up, although you can certainly omit this step if you prefer a smooth glazed look.

0E139C82-A5CE-44DA-B5B8-C79F64CB4342.jpeg

Smooth or crackled, they’re tasty either way.

Have fun creating your own treats using croissant dough. You can do it!

F2A51C92-04B4-41F8-AE24-EE72EF47C3CA.jpg

Swedish (cardamom) buns

IMG_0927.jpg

Time for more Swedish fun! Once again inspired by Brontë Aurell’s “Brontë at Home” as well as Beatrice Ojakangas’ “The Great Scandinavian Baking Book” (a recent acquisition as a result of a birthday gift card!) and a NYT article on cardamom buns, I’ve plunged into the depths of bun recipes and options. Whoa - so much out there!

As I’ve come to learn, the Swedes (and let’s be honest, Scandinavians in general) are HUGE bun lovers - cardamom, cinnamon, blueberry just to name a few. The dough is a pretty basic enriched dough made with milk, usually (but not always) some egg, butter, sugar, salt, yeast, cardamom and flour of course. Once the dough is made and rested/risen, you roll it out and spread it with a filling of butter and sugar (white or brown, either way), fold it in thirds, roll out again, cut it into strips, twist, wind and tuck and voilà, there’s your classic Swedish cardamom bun.

The process as just mentioned is the less buttery bare beginnings of a fully laminated dough, and you can take it in other directions with different shapes and fillings. Think jam, chocolate hazelnut spread, citrus zest, chopped toasted nuts, fresh or dried fruit, almond paste . . . the list goes on.

My first attempt sprang from the NYT article on classic Swedish cardamom buns, and, being intrigued by the shaping technique, I was ready to give them a try. One sees a hint of the shaping in the article images although the shaping instructions in the recipe didn’t give my brain a good image to work with. I played around with it, finally resorting to an online video or two which helped a lot. Just remember - there’s more than one way to shape a bun!

If you’re interested in checking out the NYT article, a quick note on the filling - I found it to be too much butter. There was a LOT of butter leaching out during baking so I’ve reduced the filling amount for this post and for my future bun projects.

As you see below I ended up with a number of different looks to my buns as I twisted, coiled and tucked. Interesting indeed. The one on the bottom left looks like a conch shell, don’t you think?

IMG_0920.jpg
IMG_0926.JPG

After reviewing WAY more recipes than I should have, the more I compared them, the more I realized that I can simply take my base croissant détrempe, the dough BEFORE any added butter block/laminations occur, sub in some egg for part of the milk, bump the butter and sugar up a touch, throw in some vanilla extract and add cardamom or cinnamon or a spice mix of choice and you have your basic bun dough. Here’s the recipe I came up with.

In addition to being able to create a variety of buns from that base dough, you can also take that dough even further by adding a butter block and fully laminating it too! It then becomes Danish pastry dough (wienerbrød) like that in the Danish Kringle I wrote about here. Lots more buttery layers to be had.

Let’s take a look at the steps for the Swedish cardamom buns (let’s call it my first trial and error go at it).

I’ve had some green cardamom pods on hand for a while now - time to use these babies. Open the cardamom pods, remove the seeds, toast them over medium heat then crush and grind them with a mortar and pestle. Generally around 6-7 pods will yield seeds to give you about a teaspoon of ground cardamom. You’ll need 1-2 teaspoons for the dough (to your taste), another teaspoon (optional) for the filling and an additional teaspoon to make cardamom sugar for sprinkling. Remember - feel free to sub in other spices!

IMG_0894.JPG
IMG_0914.JPG

Make the dough as directed in the recipe. It will be a bit sticky. Lightly ball it up, place in a greased bowl, cover with plastic wrap and let rest/rise about an hour at room temperature. Give it a good stretch and fold then ball it up nicely. Wrap tightly with plastic wrap and refrigerate at least 4 hours or up to overnight. I usually make my dough in the late afternoon/early evening for use the following morning. It’s all about planning ahead.

IMG_0896.jpg

On baking day prepare the filling by blending 80 g soft unsalted butter with 80 g sugar (white or brown as you wish), one tablespoon flour, a teaspoon vanilla plus a teaspoon ground cardamom if desired.

Note: You can ramp the filling up by grating 80 g good quality almond paste then blending it into the butter/sugar mixture.

Remove the dough from the fridge about 20 minutes before rolling, filling and shaping. On a lightly floured surface roll it out to a ~ 13”x18” rectangle, the short edge parallel to the work surface.

IMG_0902.jpg

Spread the filling in an even layer then fold the dough in thirds, the top down toward you . . . . .

IMG_0903.jpg

and the bottom up over that.

IMG_0904.jpg

Roll the dough out a bit more to ~9”x14” and trim any uneven edges. By the way - don’t get hung up on precise measurements, just go with the flow.

IMG_0905.jpg

Cut 2 cm strips. I also created a couple of scrap buns by braiding some of the edge pieces and coiling them up. Why not?!

IMG_0906.jpg

Pick up and gently stretch each strip, wrap it around three fingers a couple of times then bring it across and tuck it under. NOTE: in the future I’ll twist the strip as I wrap it for an even greater twisty look.

This is where I was a bit confused and my first attempts were clunky. but once I figured out the moves it worked out OK. Even so - variety is the spice of life so do whatever makes you happy.

Hmmmm . . . . going from the top down? Probably not.

Hmmmm . . . . going from the top down? Probably not.

Hmmmm . . . . not really it, but I do like a basic coil

Hmmmm . . . . not really it, but I do like a basic coil

Still a mish mash but, once I watched a video I finally got the cross-over-the-top thing to happen!

Still a mish mash but, once I watched a video I finally got the cross-over-the-top thing to happen!

At any rate, once you’ve shaped your little heart out, place the buns on parchment lined pans, cover lightly with plastic wrap and let rise 30-45 minutes.

Meanwhile heat the oven to 350ºF. Once risen, brush the buns lightly with egg wash and sprinkle cardamom sugar (1/2 cup mixed with a teaspoon ground cardamom) on top.

You can also wait on the cardamom sugar until after baking in which case, once out of the oven, brush your buns with simple syrup and sprinkle with the sugar.

IMG_0917.JPG

Bake around 10-15 minutes or until nicely golden brown. Remember all ovens are different so watch what’s going on in there!

IMG_0926.JPG
IMG_0927.JPG

I haven’t fully decided how I feel about the flavor of cardamom on its own. It can be a bit overwhelming but mixed in with other spices like cinnamon, coriander, ginger and nutmeg, I find it’s a very pleasing combo. Steve and I gave the overall bun texture and crumb a thumbs up. Even a couple of our neighbors who weren’t familiar with cardamom thought they were pretty darn good. Yay!

I did one more batch (doubled) along the cinnamon lines, this time with some variants on the twisty coils. Of course I’ll keep playing around with it.

IMG_1172.JPG

Now get into your kitchen and create your own shapes and fillings - and just have fun!

On a final nature note, here are a few images from my August walks. Summer marches on.

Keep a steady course, stay safe and find comfort in the trees, skies, flowers and plants. It helps.

Hydrangea

Hydrangea

Black-eyed Susan

Black-eyed Susan

Summer annuals going strong

Summer annuals going strong

Oranais aux pêches

IMG_4229.JPG

Kinda looks like a double yolked fried egg, eh?

As we step ever so eagerly into prime baking season and autumn flavors like apples, pears, nuts, caramel, coffee, chocolate and pumpkin, here’s a farewell nod to the delicious summer fruits of west Michigan. Desirous of doing something a bit different, I opted for my own peach version of oranais.

So what is oranais you might ask? A traditional pastry made with either puff pastry or croissant dough, it’s created with a combination of pastry cream and apricot halves. It may go by a different name in various parts of France, e.g. lunette aux abricots, croissant aux abricots (en Bretagne) or abricotine (sud de la France).

My research revealed that it reportedly originated in Algeria in and around the port city of Oran - hence the name oranais. Did you know that Algeria is fourth in apricot production in the world? And let’s not forget that Algeria was once governed by France so there’s still a huge French influence there, both culturally and culinarily (is that even a word?). By the way, here’s a little historical tidbit for you - Algeria gained it’s independence from France on July 5, 1962.

During our various trips-to and stays-in Paris over the years, oranais is always on Steve’s radar - he loves those sunny beauties!! Frankly they’re not often found in the many pastry shops around town so one has to keep an eye out for a good one. At Le Cordon Bleu Paris we made them with croissant dough, and those that we’ve found in Parisian pâtisseries have been made that way as well. However my online research found that many recipes call for puff pastry.

I decided to give it a go with both. Oh boy!

Since puff is not yeasted it’s more straight forward in its handling - no worries about the dough bubbling and puffing up during the rolling, cutting and shaping. I rolled my puff to about 6-7 mm (~1/4”) thick and cut 80 mm (3 inch) squares.

IMG_4203.jpg

The rolling out, cutting and assembly process is the same for both puff and croissant dough. Using a classic pastry cream, pipe a line diagonally across the square, place two rounds of fresh peach near opposite corners and bring the other two opposite corners up and over, sealing with egg wash. Sort of like a chubby bowtie.

IMG_4220.jpg
IMG_4221.jpg

Remember - puff doesn’t have to rise before baking, whereas with the croissant dough version, give it a 45-50 minute (give or take) rise. I topped the shaped/risen croissant version of oranais with an additional blob of pastry cream and some peach jam in the hopes of keeping the corners together during their time in the oven.

IMG_4225.JPG

Bake at 400ºF for about 20-25 minutes until the pastry is golden brown.

Puff result

Puff result

Croissant dough version result

Croissant dough version result

Once out of the oven brush with a vanilla simple syrup or some apricot glaze and let cool.

During the bake there was definitely more slipping and sliding of the pastry cream and peach in the croissant dough version. I had to keep pushing the peach rounds back onto the dough in my attempts at keeping things together.

As for the taste test (the best part, especially for Mr. Steve), we actually preferred the puff version. The flaky pastry and creamy, peachy combo was oh so delicious.

Of course, the croissant version was pretty good as well. After all, anything made with croissant dough is usually a winner.

Bottom line - going forward I’ll be making my oranais with puff. Yes indeed!

Sablé Breton au céréales avec fraises et crème

IMG_2886.JPG

Multigrain Breton shortbread, smooth luscious pastry cream and fresh strawberries. Yup. That's it.

Summer is upon us with a vengeance, with heat and humidity spending time with us for some days to come. Great for those who are spending the July 4th week at the beach or campground, but not ideal for the bakers of the world. There are some mornings when one gets up that simply announce themselves as baking days but, alas, not right now.

The good news is that strawberry season is in full swing here in west Michigan, and in fact is already starting to wane. What a delicious, albeit short, time of year, making it so important to take advantage of it while we can. 

freshstrawb.JPG

I had made some sablé Breton dough the other day, adding a mixture of seeds and grains to it for a change of pace. The base recipe is a favorite of mine, kind of a cross between a tart dough and a buttery dense, yet light and airy cake. Bake it on the thin side and it's a crispy texture, but on the thicker side it's kind of like a soft-ish, chewy cookie. You just have to taste it to know what I mean.

IMG_2871.JPG

It's a straight forward preparation and can be accomplished by hand or with a mixer. First you whisk 3 large egg yolks with 140 g sugar for several minutes to blanch and thicken it. Then blend in 150 g soft, unsalted butter until homogeneous. Sift in 200 g flour (I used half whole wheat pastry flour and half all purpose flour) along with one teaspoon baking powder, add in 1/2 teaspoon fine sea salt and 70 g almond flour and mix it all together. Finally blend in 80 g mixed grains, wrap the dough in plastic wrap and chill one hour. (See my previous post about Breton dough here and the full recipe here).

All mixed up

All mixed up

For the grains I decided on King Arthur Flour's Harvest Grain Blend, a combo of oat groats, wheat flakes, rye flakes, sunflower seeds, sesame seeds, flaxseed, poppy seeds and hulled millet. I've already used this mix in a simple wheat sandwich bread as well as in my favorite buttermilk scone recipe - wonderful toothsome chew and crunch going on. I'm definitely in.

IMG_2885.JPG

On our recent spring time trip to Paris I visited Mora, that wonderful all-things-pastry shop near the Etienne Marcel line 4 metro stop. There I purchased my first perforated tart form, a relatively new iteration that comes in all shapes and sizes for the avid and/or professional tart maker. The idea is to expose more of the dough to the heat of the oven for even better browning. I like that.

IMG_2879.JPG

For this Breton dough project I wanted a simple flat base, no edges, so I just had to roll and shape a piece of dough about 1/4 inch thick to fit my form. Easy. The quantity of dough needed is up to you, something you have to gauge based on size of the form or pan you are using and thickness desired. Remember - thicker is softer and chewier while thinner is crisper.

In spite of the heat I proceeded to bake the dough during the earlier morning hours while the temps were still on the coolish side. This one baked at 325ºF, convection, for about 20 minutes (look for golden brown and a lovely aroma). 

I had already been imagining the pastry cream/strawberry garnish, so my pastry cream was made and chillin' in the fridge. I just had to gently wash, pat dry, hull and slice my fresh local strawberries from the Fulton Farmer's Market.

IMG_2884.JPG

I sliced my Breton base into strips, piped on simple rounds of crème pâtissiére and topped with the fresh berries. The result was a delightful combo of creamy, fruity and that nutty, seedy chewiness of the Breton dough. Not bad at all. 

I can imagine this multigrain Breton option as a lovely biscuit on a cheese board. Hmmmm. . . . now there's an idea.

IMG_2891.JPG

In the meantime have a wonderful Fourth of July week and stay cool everyone!

Gateau Basque from Christophe Felder

Hmmmm - Gateau Basque - now just what is that all about?  Well let me tell you.  It's a traditional Basque butter cake baked with a pastry cream filling and/or cherry jam (for those of you who like fruit in your desserts).  It's kind of a cross between a cake and a tart and leans toward either of those depending on which recipe you use.  More about that later.

Gateau Basque (let's call it GB) was one of the first cakes we made in the basic pastry curriculum at LCB in Paris.  We were told then that one can make it with pastry cream and cherries or can substitute prunes or dried apricots.  As I researched it online I found pictures of many variations for this cake - some with only pastry cream, some with only cherries (black cherry jam to be precise) - including a couple of chocolate versions and one with a pink tinged (cherry? strawberry? raspberry?) pastry cream filling.  Let's hear it for artistic license, eh?

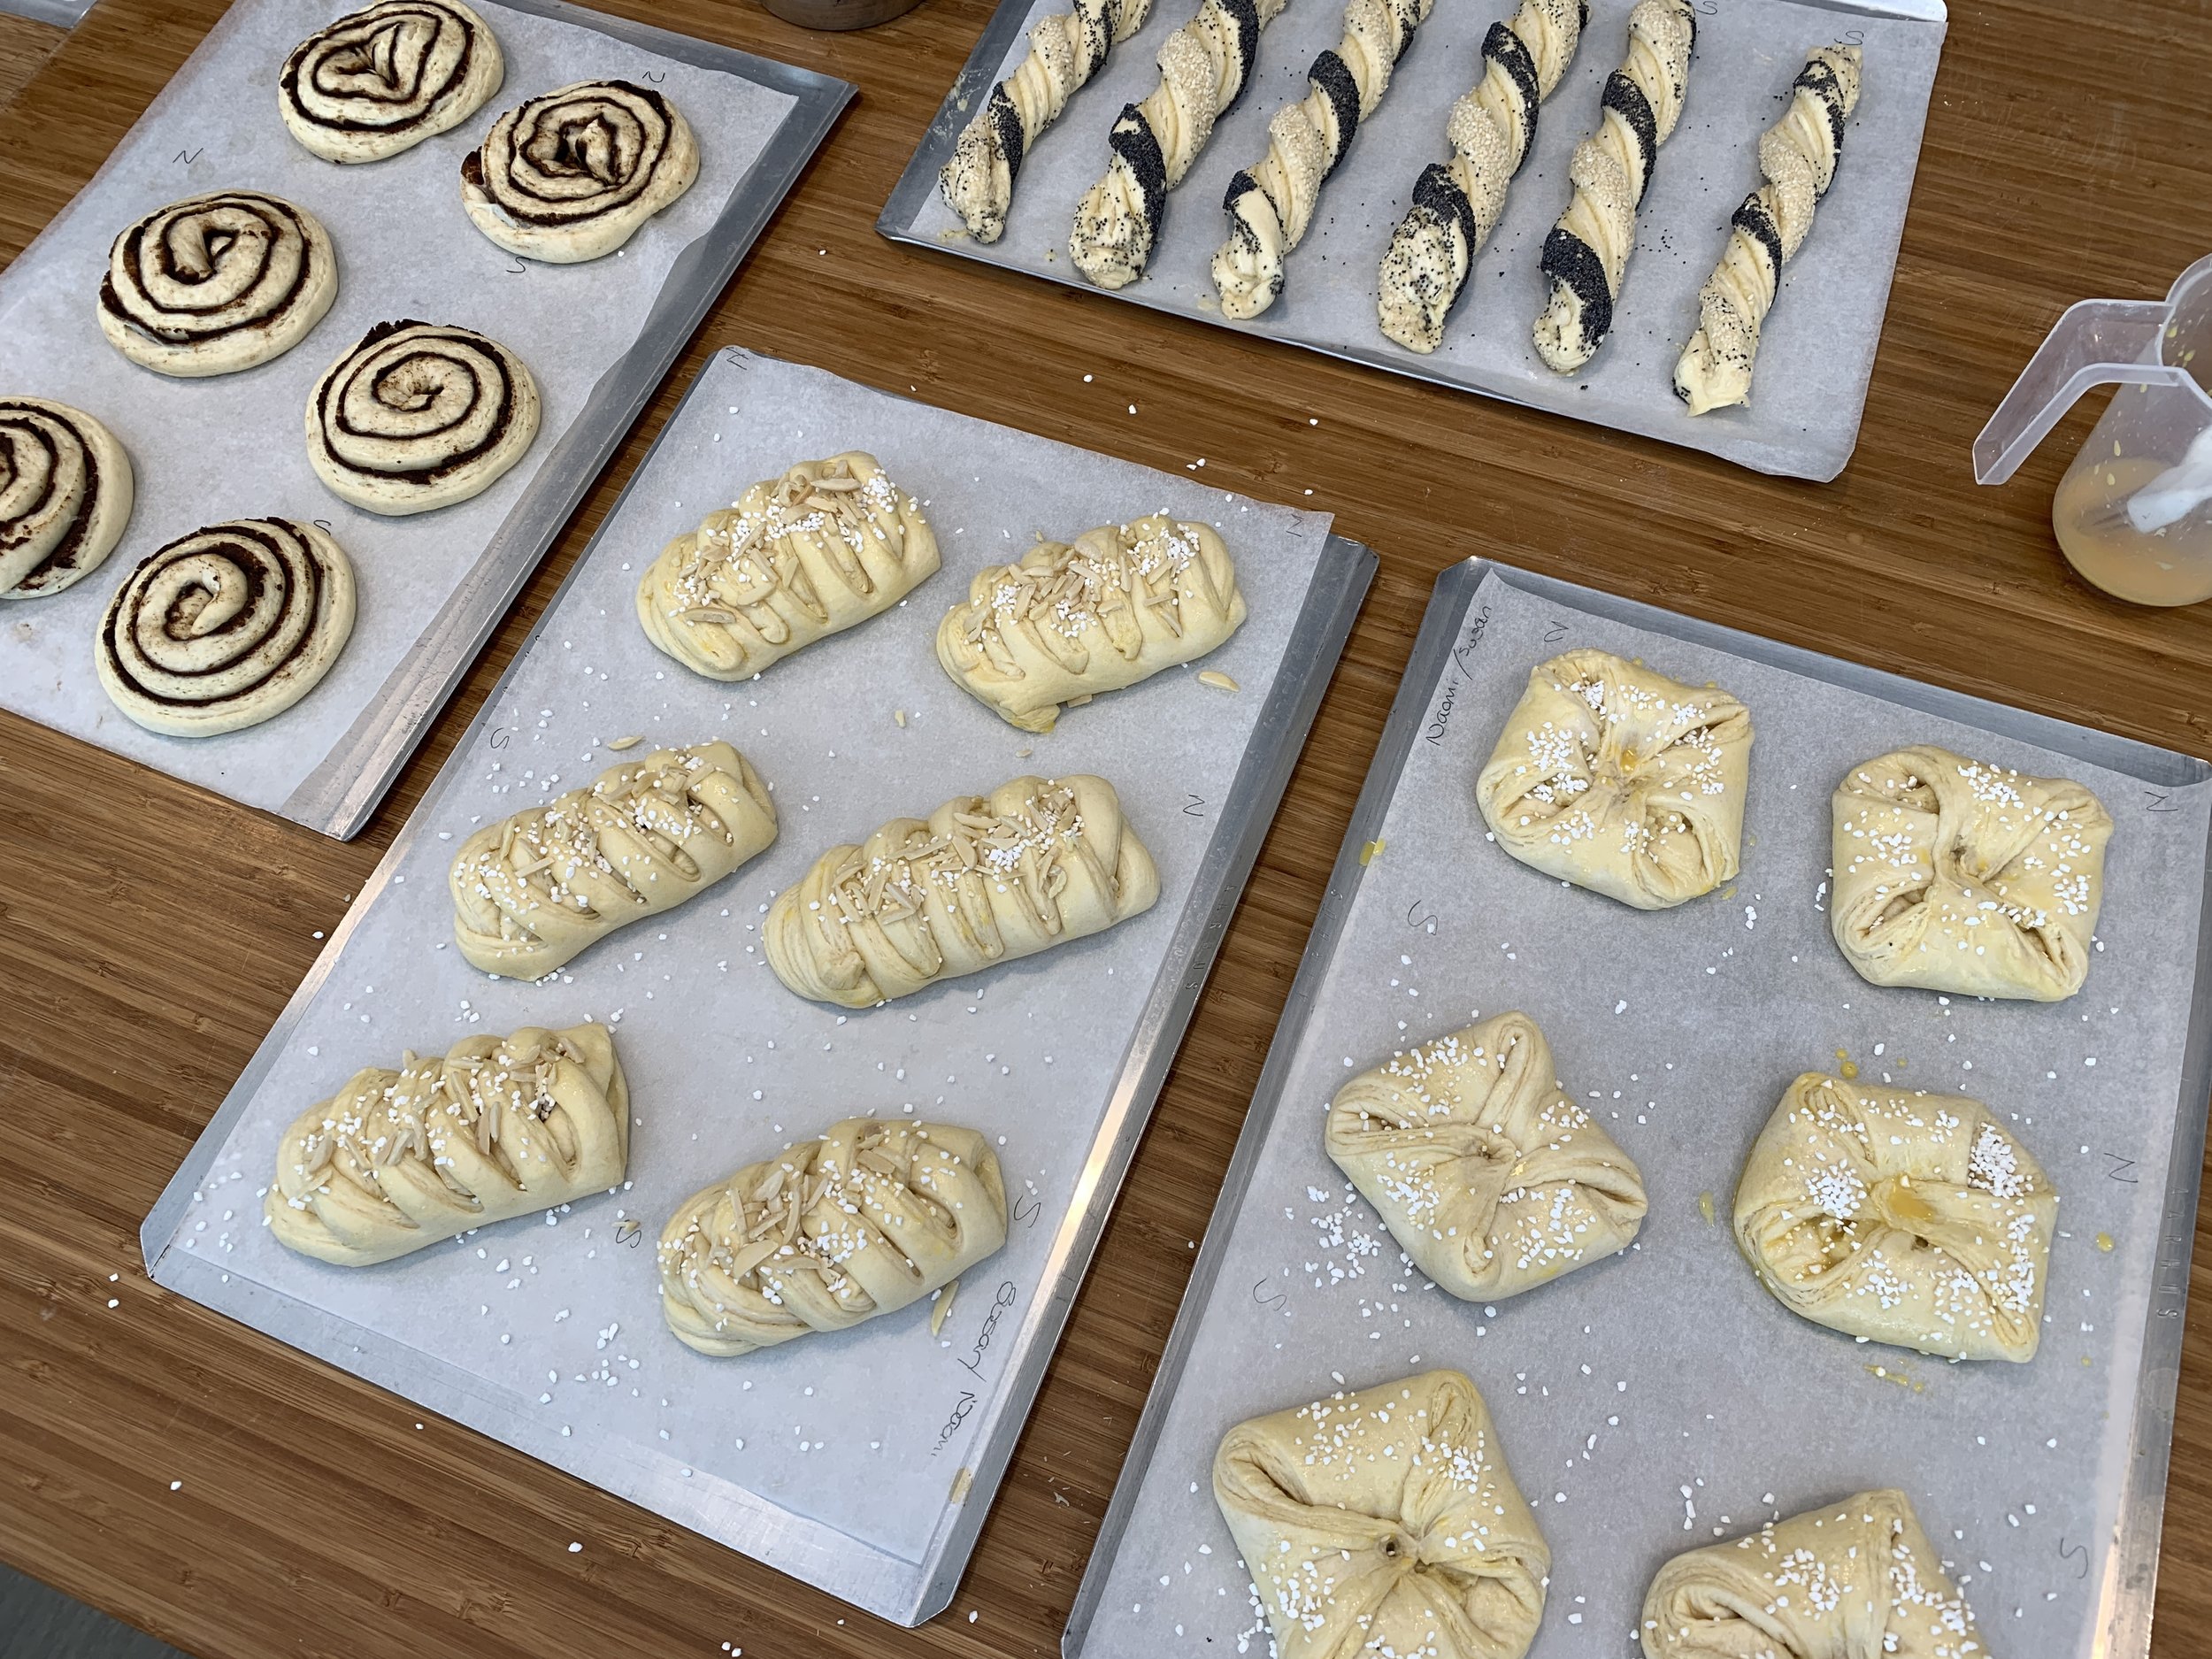
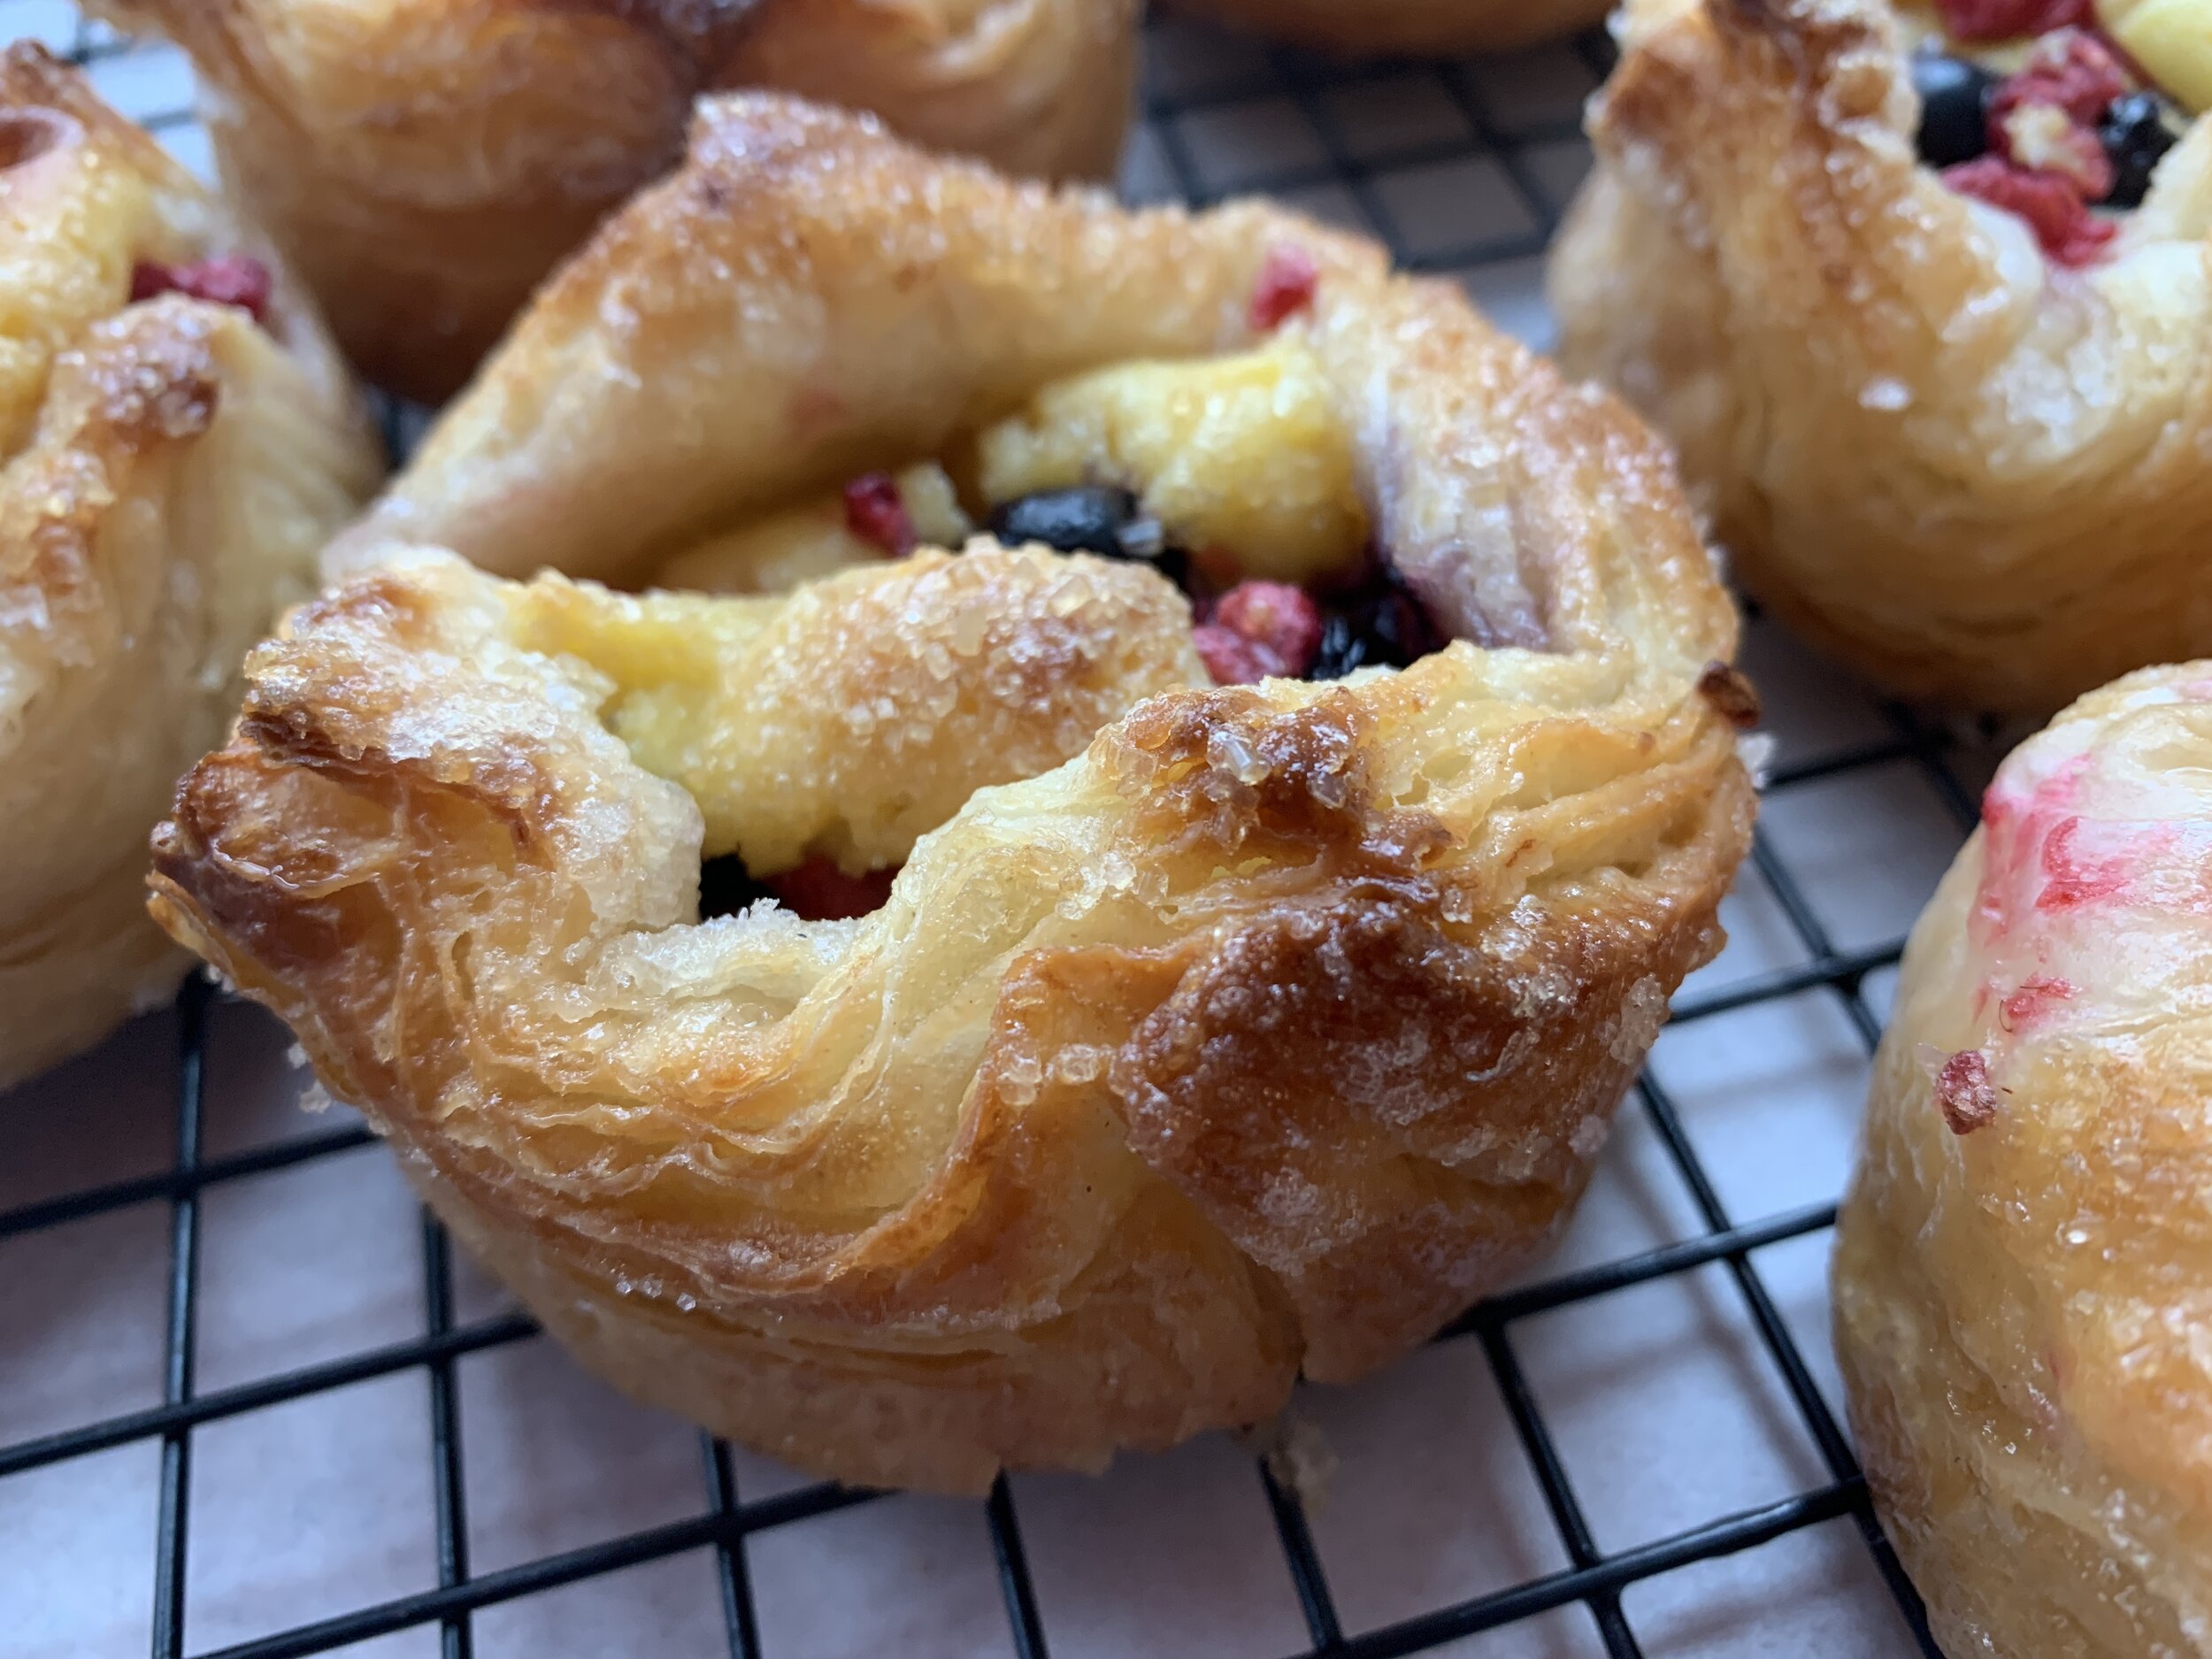
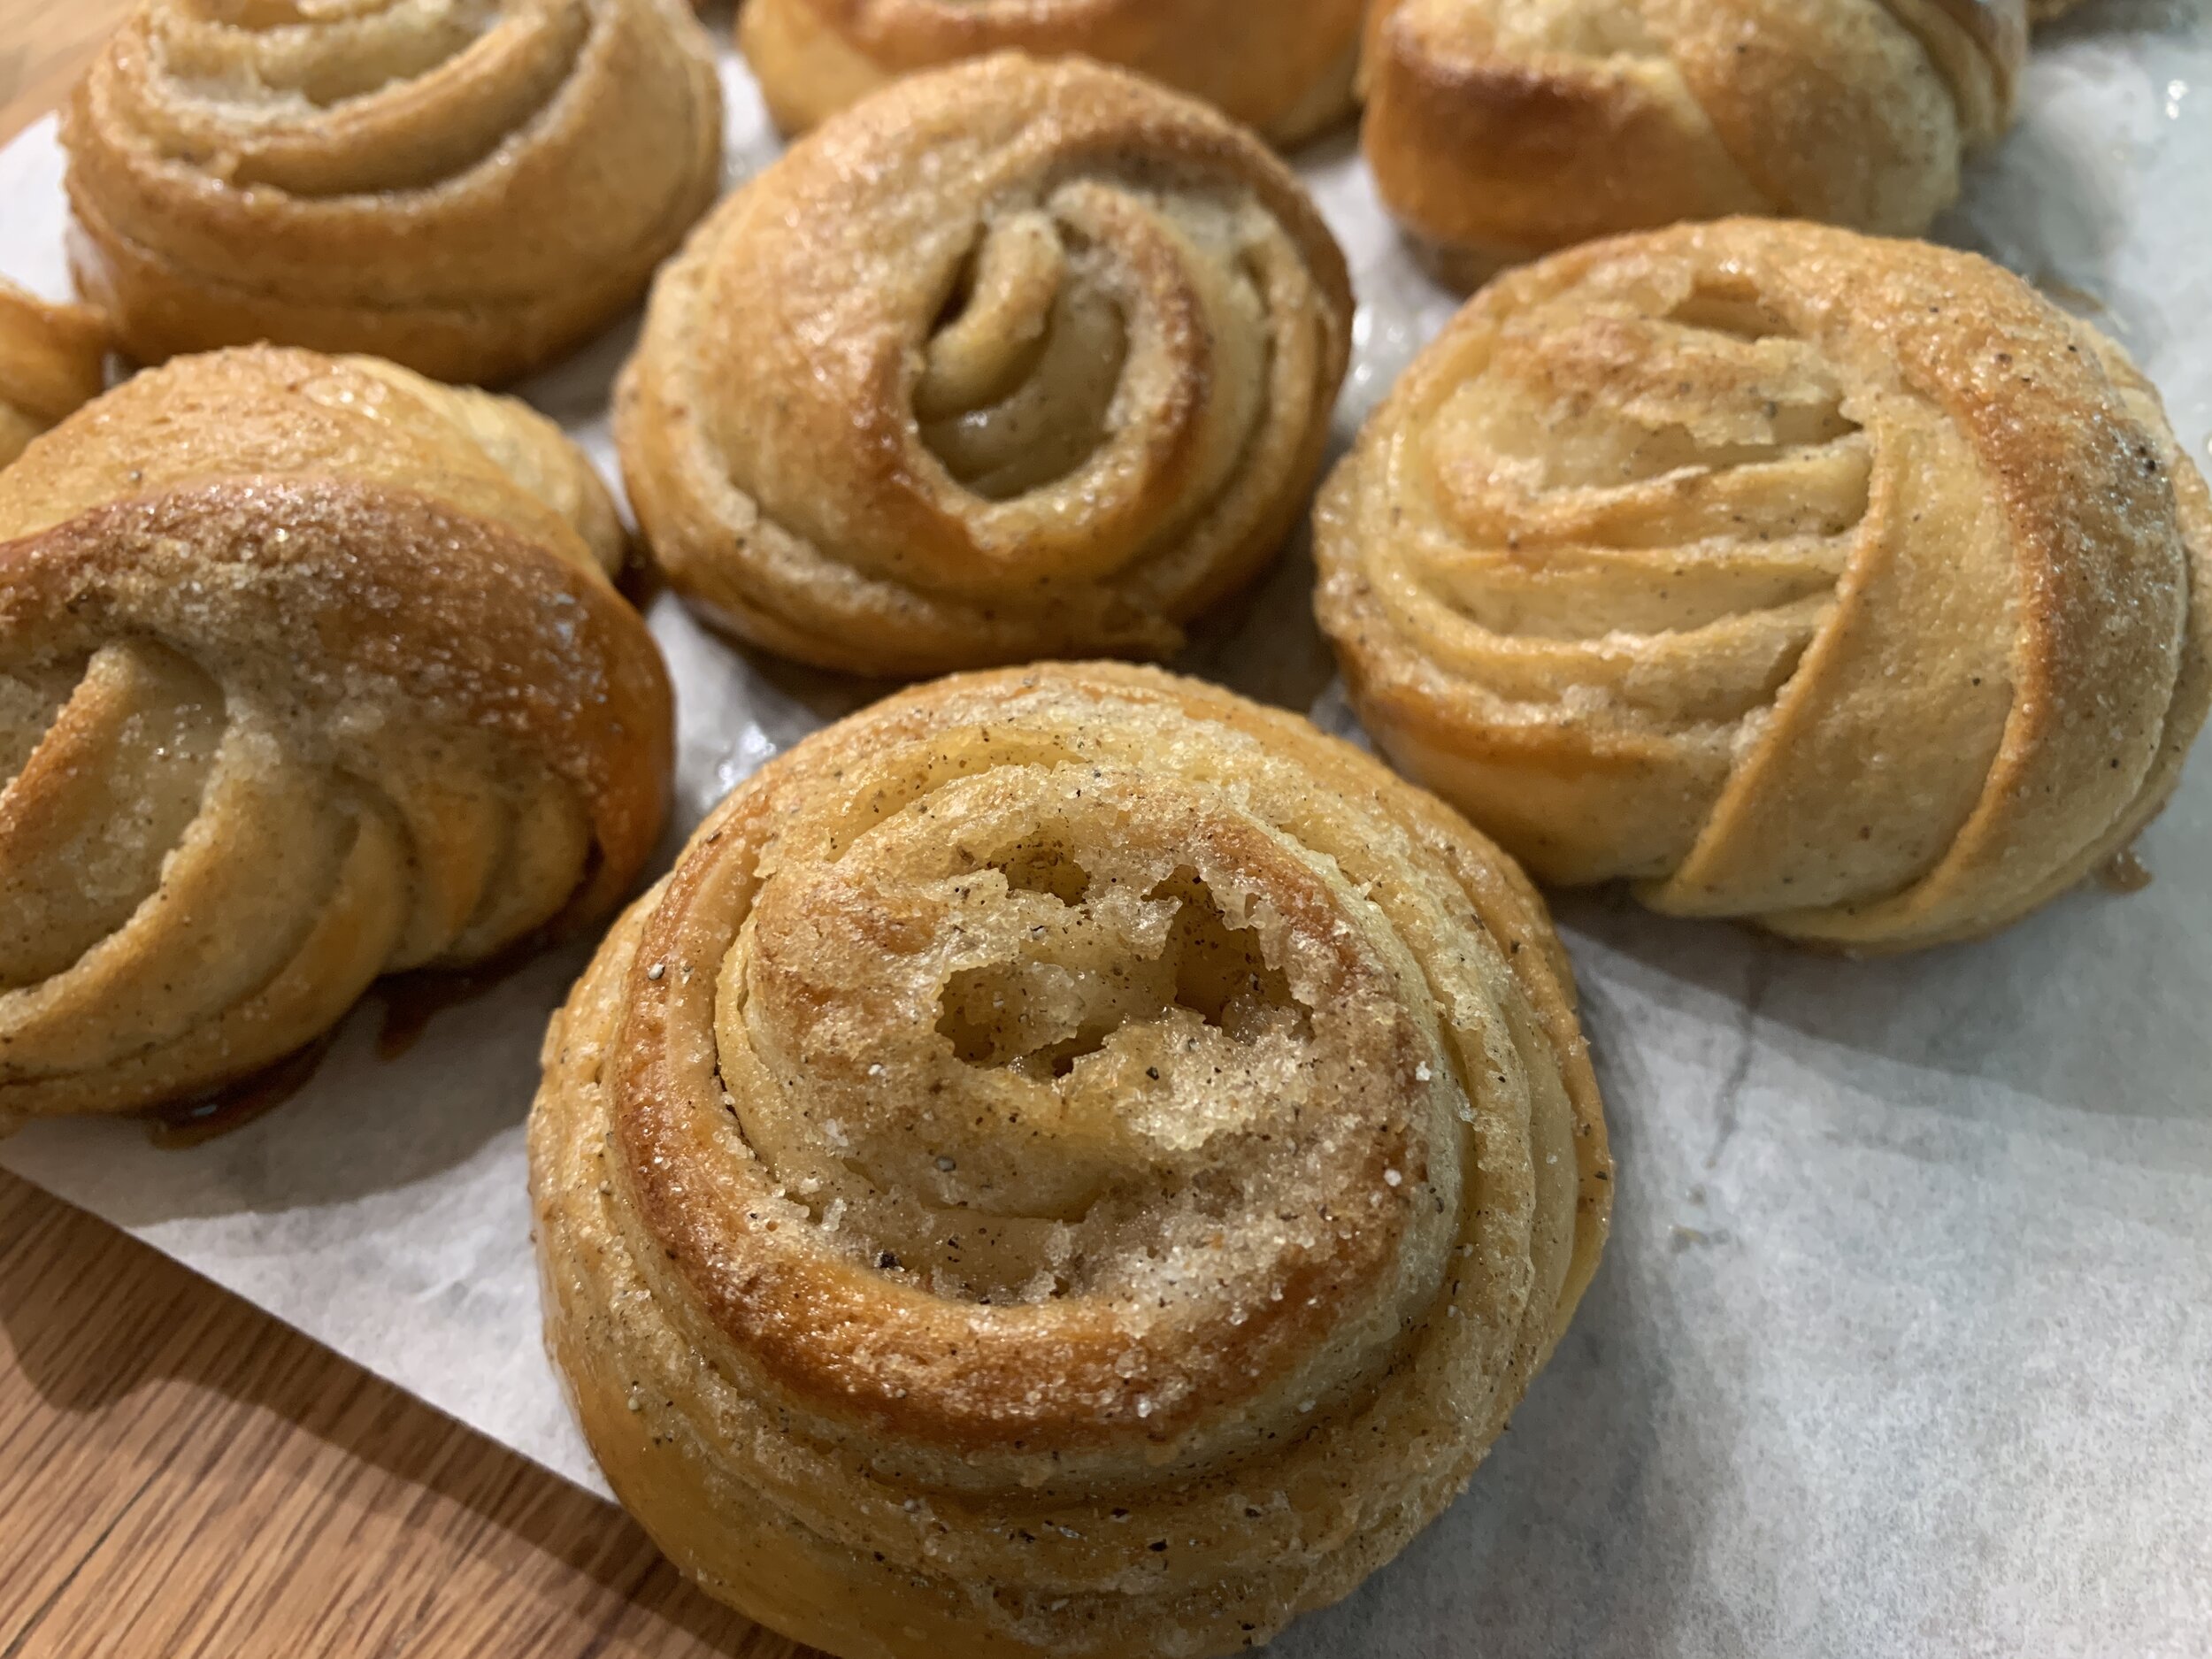
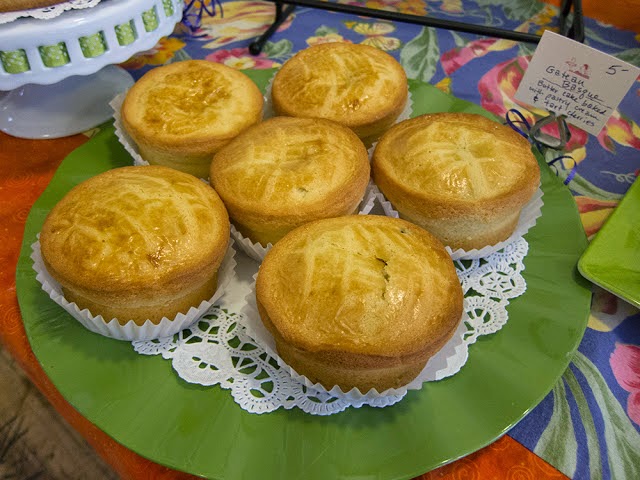
Below are the individual versions of GB that I made in my pastry studio at Hope Artiste Village a couple of years ago.  I used the LCB recipe from my schooling days and baked them with pastry cream and dried tart cherries that had been plumped up first in hot water ( you could use cherry juice or liqueur if you wanted).


When I was reading up on the topic back then, I remember one source (can't for the life of me tell you where I found it!) advising that a good GB should be one in which the interior pastry cream layer becomes one with the dough during baking, sort of melding into it without being identifiable as a distinct layer.  That's how the above LCB versions came out, and they were tasty!  Buttery, crumbly, yet cake-like, not too sweet and oh-so-good with a cup of coffee or tea.

Now, as I review the topic again, I see many photos of the sliced cake showing very distinct pastry cream/fruit layers.  That seems to be the way of it.

On to the task at hand.

This time I opted to try Christophe Felder's GB recipe from his book Patisserie!.  His leçons focus on a particular component e.g. a type of dough or pâte and carry that through to a finished product.  I like that. 


As I compare his recipe with LCB's there are several variations - his has a bit less butter, less sugar, fewer eggs and calls for almond flour along with all purpose flour.


He treats this dough like a tart dough, whereas the LCB recipe uses it more as a batter (and a very thick one at that). 
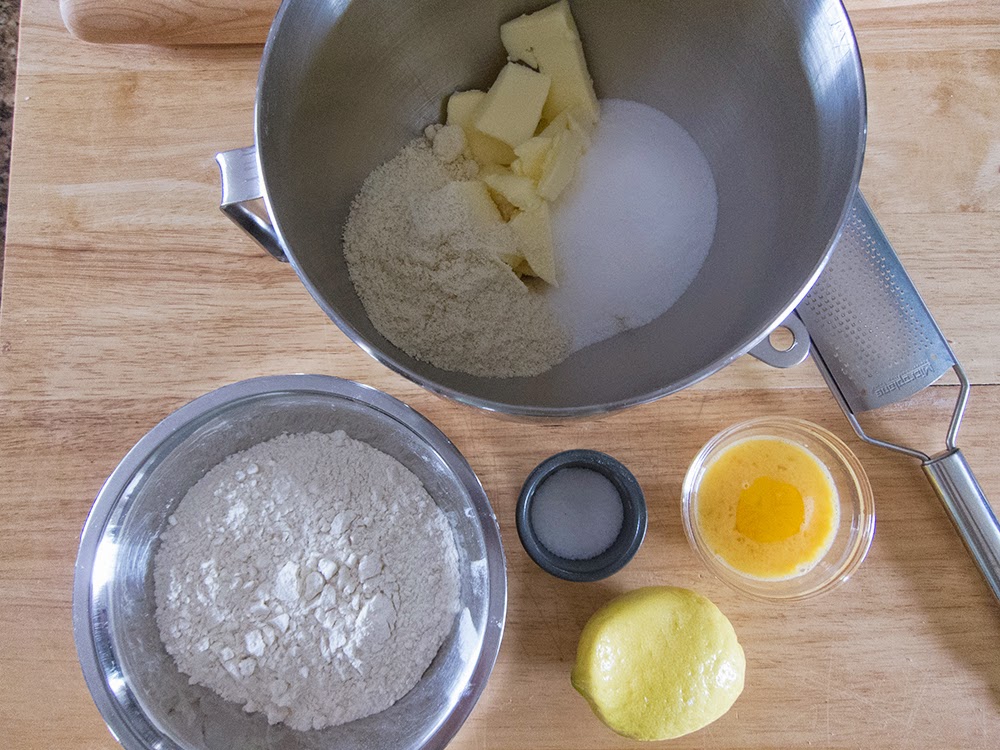


les ingredients

For the pâte à gateau basque place 175 gm soft butter, 125 gm sugar, 85 gm almond flour and the zest of one lemon in a mixing bowl.  Blend it by hand with a spatula or in the mixer with the paddle attachment on low speed.  Then blend in one egg yolk plus 25 gm of beaten egg (1/2 an egg) followed by 225 gm all purpose flour and a pinch of salt.

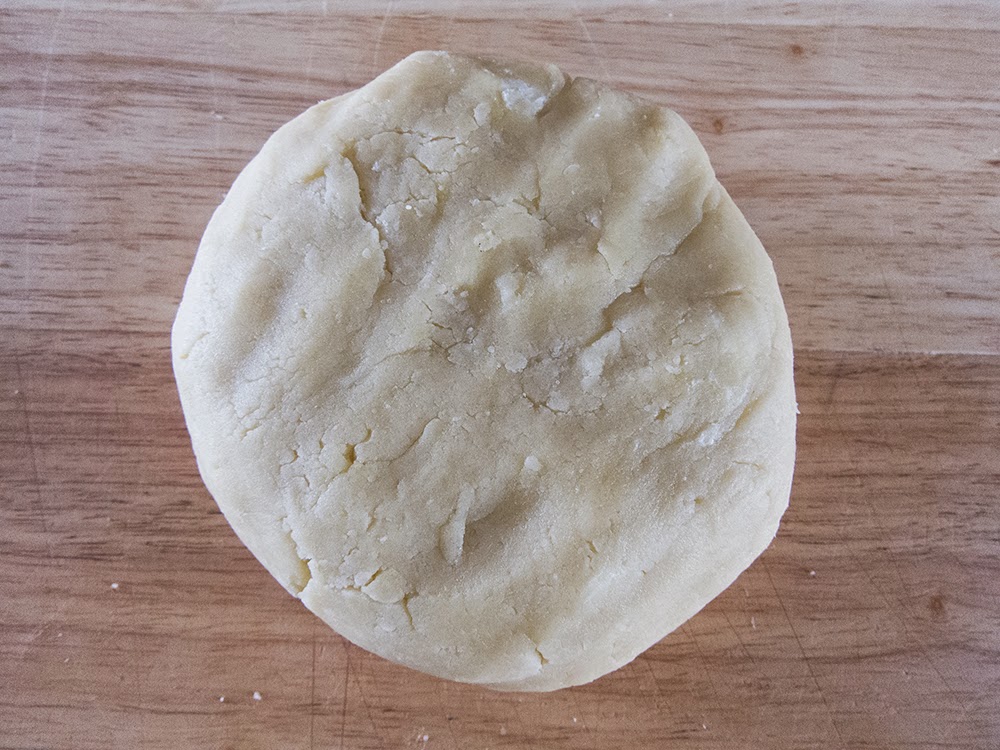
I mixed it until it looked like large curds (as seen below),


then brought it together by hand.


Wrap it up and into the fridge it goes for a couple of hours.

In the meantime I made a batch of basic pastry cream in the usual fashion using 250 ml whole milk, 3 egg yolks, 45 gm sugar, 20 gm cornstarch and a tablespoon of hazelnut liqueur (in place of the recommended rum) whisked in after the cooking process.


crème pâtissière

I like to cool the pastry cream on a plastic lined quarter sheet pan, folding the plastic over it to eliminate air and pop it in the fridge.  It doesn't take long.

Next up - the cherries.  Since I preferred not having a jar of leftover cherry jam (Christophe calls for 150 gm confiture de griottes) on my hands, I roasted 150 gm of frozen cherries with a couple of tablespoons of raw sugar and a pinch of salt at 450º for about 8 minutes (watch carefully so they don't burn!).  Then I added a couple tablespoons of hazelnut liqueur and gave them another 5 minutes in the oven.


before roasting

after roasting

I poured the cherries onto a clean flat pan and let them cool to room temp which allowed the syrup to thicken up a bit.

Now for the assembly.

Remove the chilled pâte from the fridge and divide it in two.  Butter an 8-9" round pan, line the bottom with parchment and butter and flour that.

my nod to Mickey Mouse

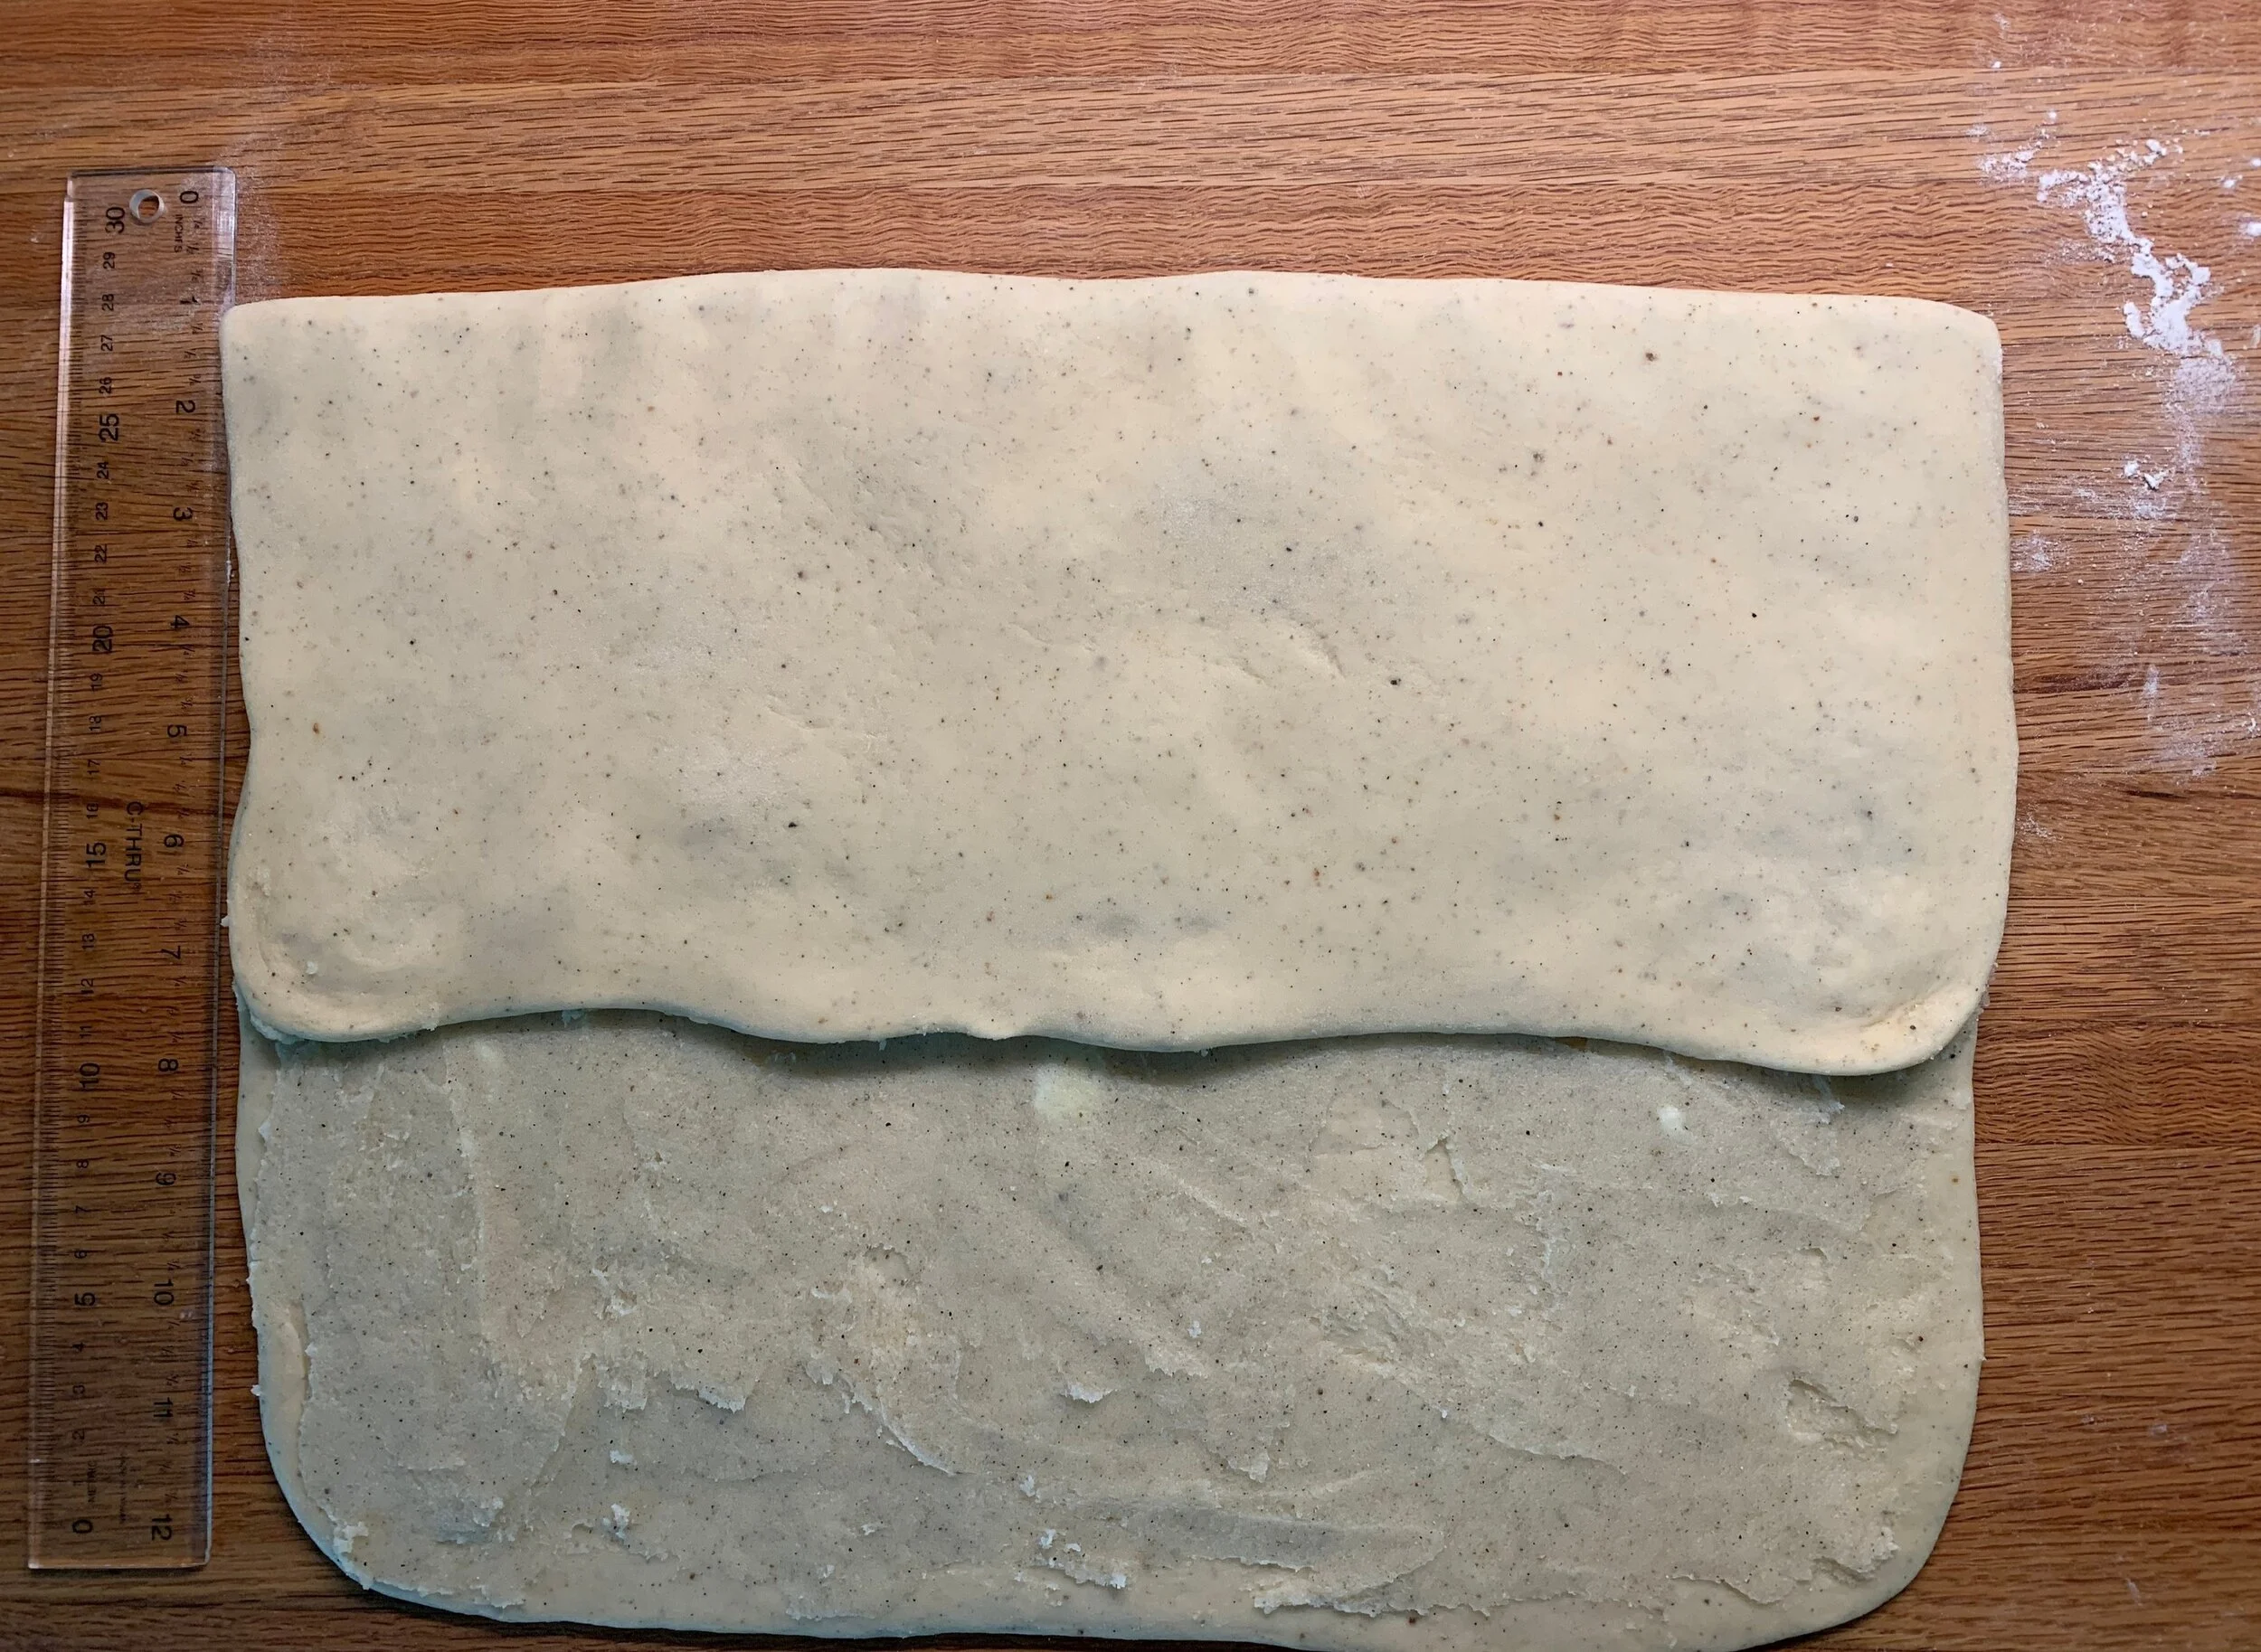
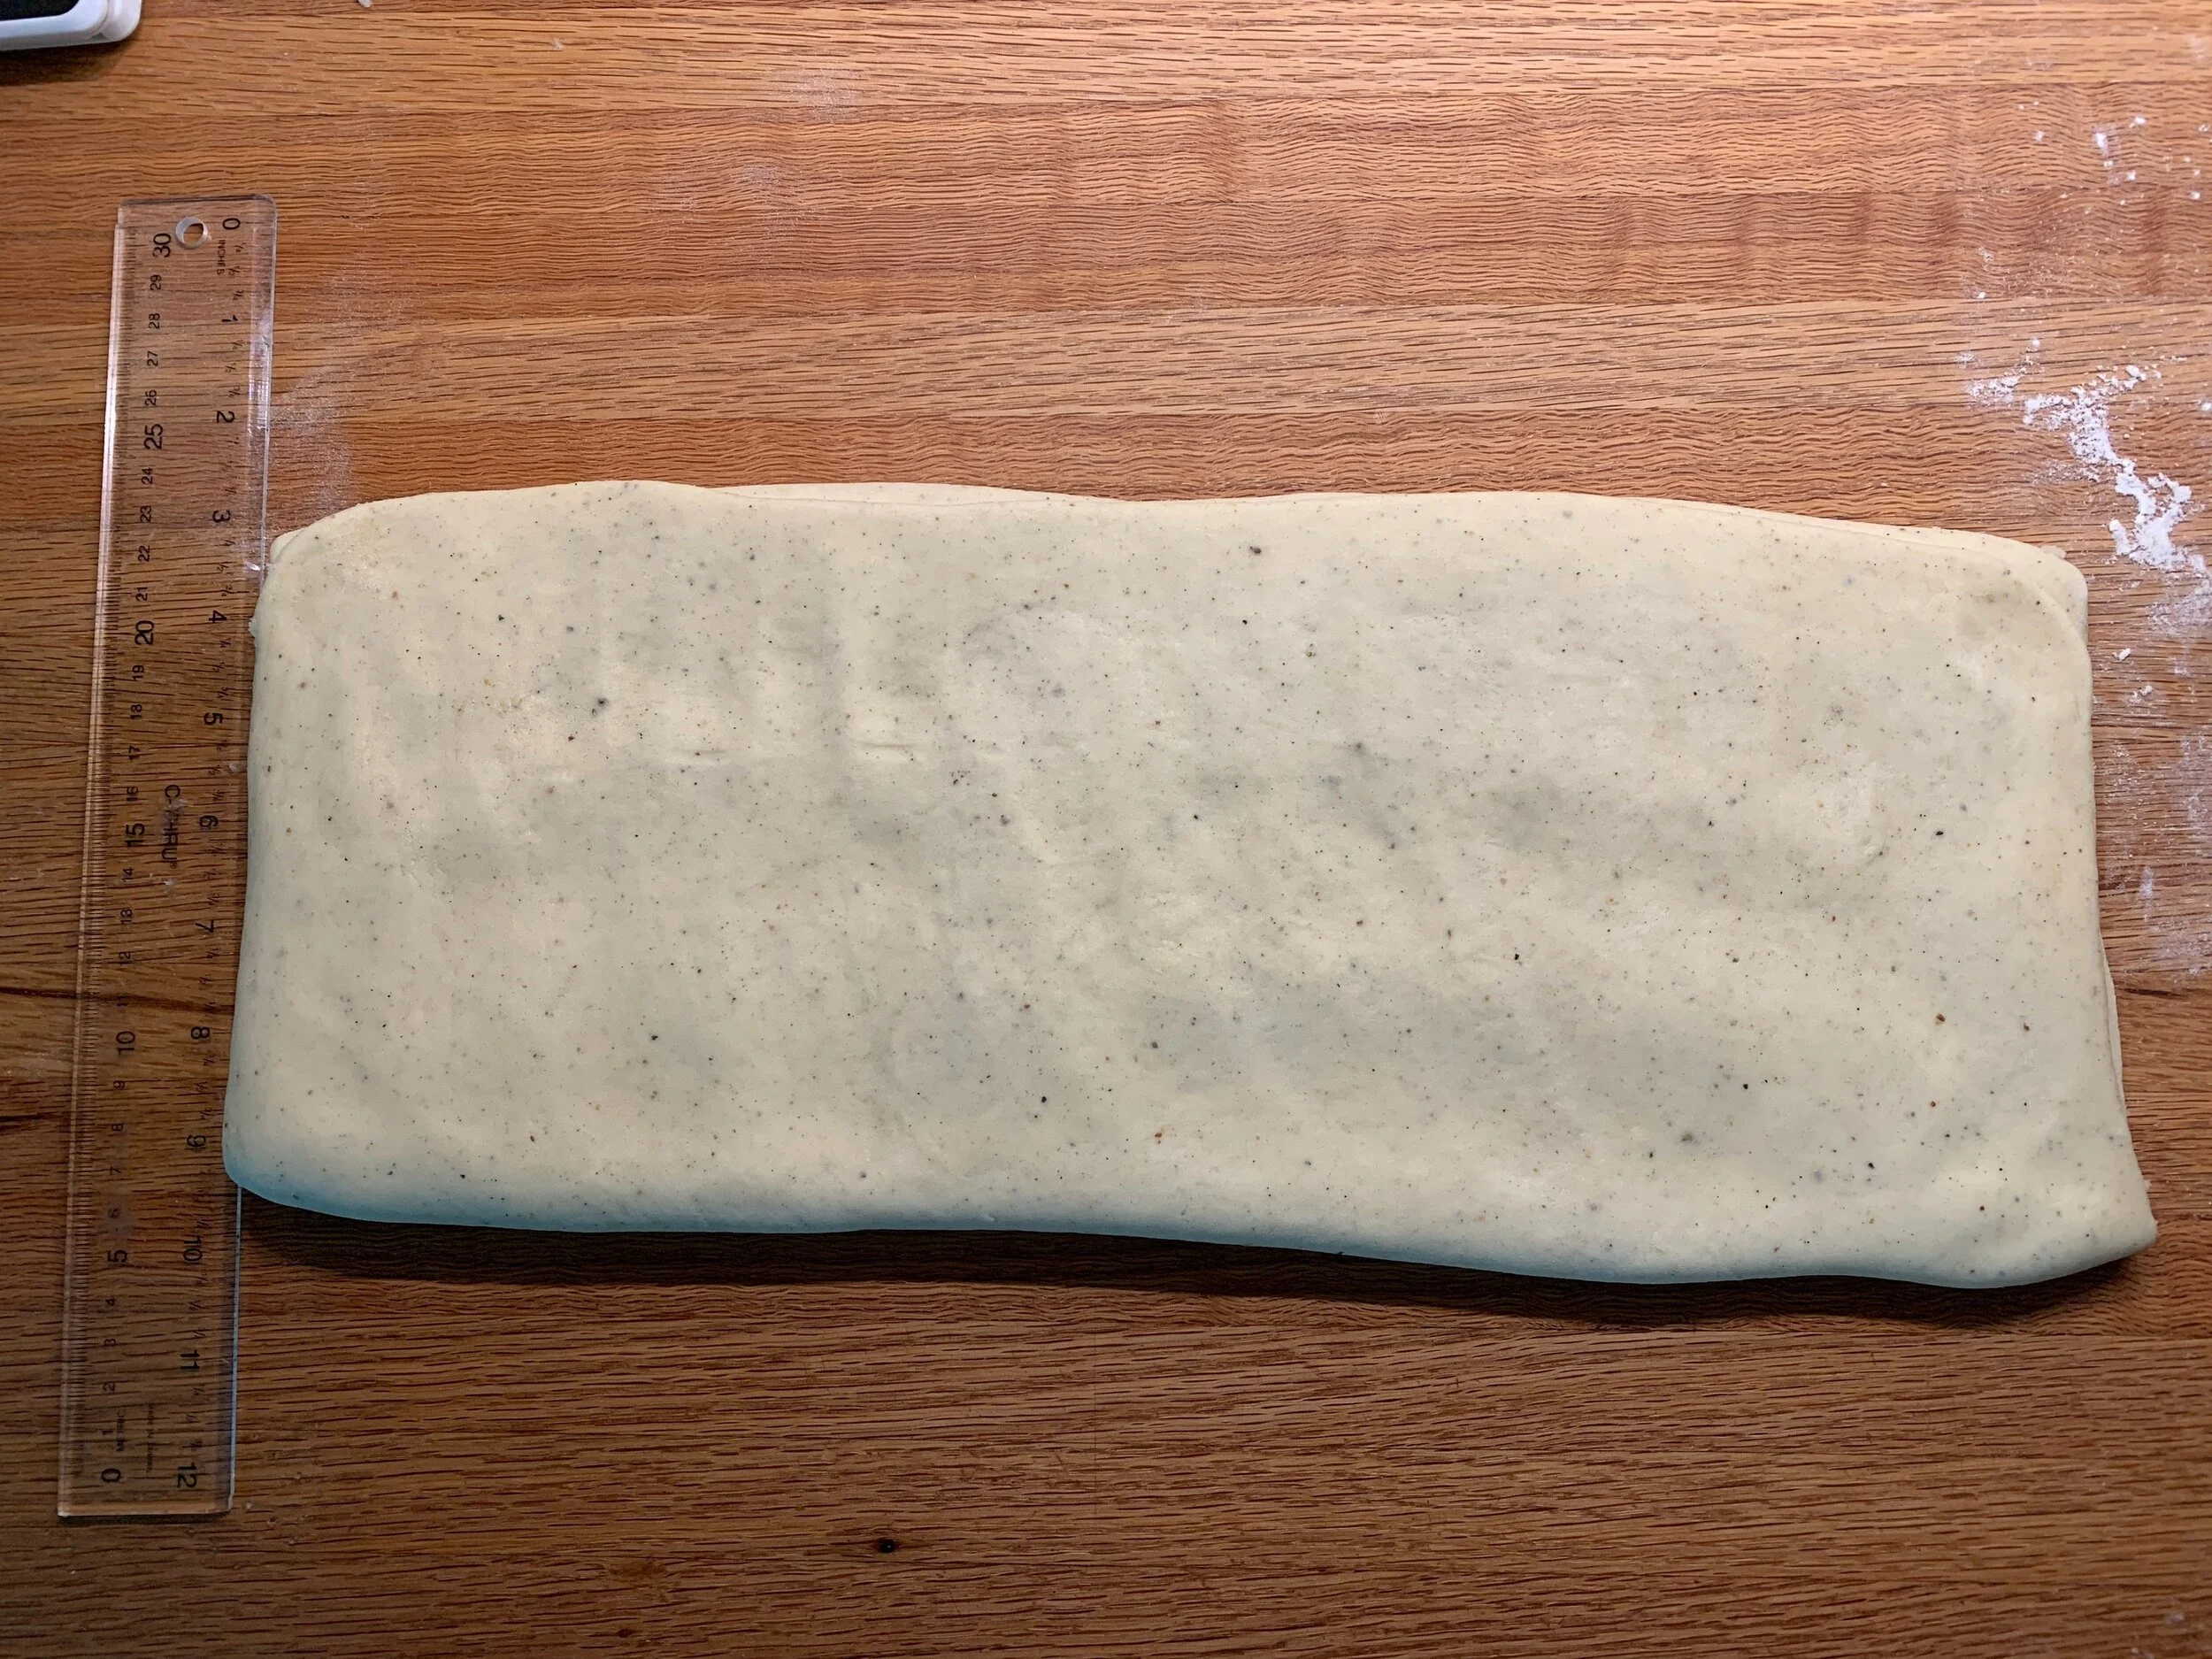
Roll out each of the pieces of dough slightly larger than the diameter of your pan.


Trim off the excess and place one round into the prepared pan.  Roll the scraps into a long snake and place it around the periphery of the pan, gently pressing it in to adhere it to the sides of the pan and the bottom dough layer.


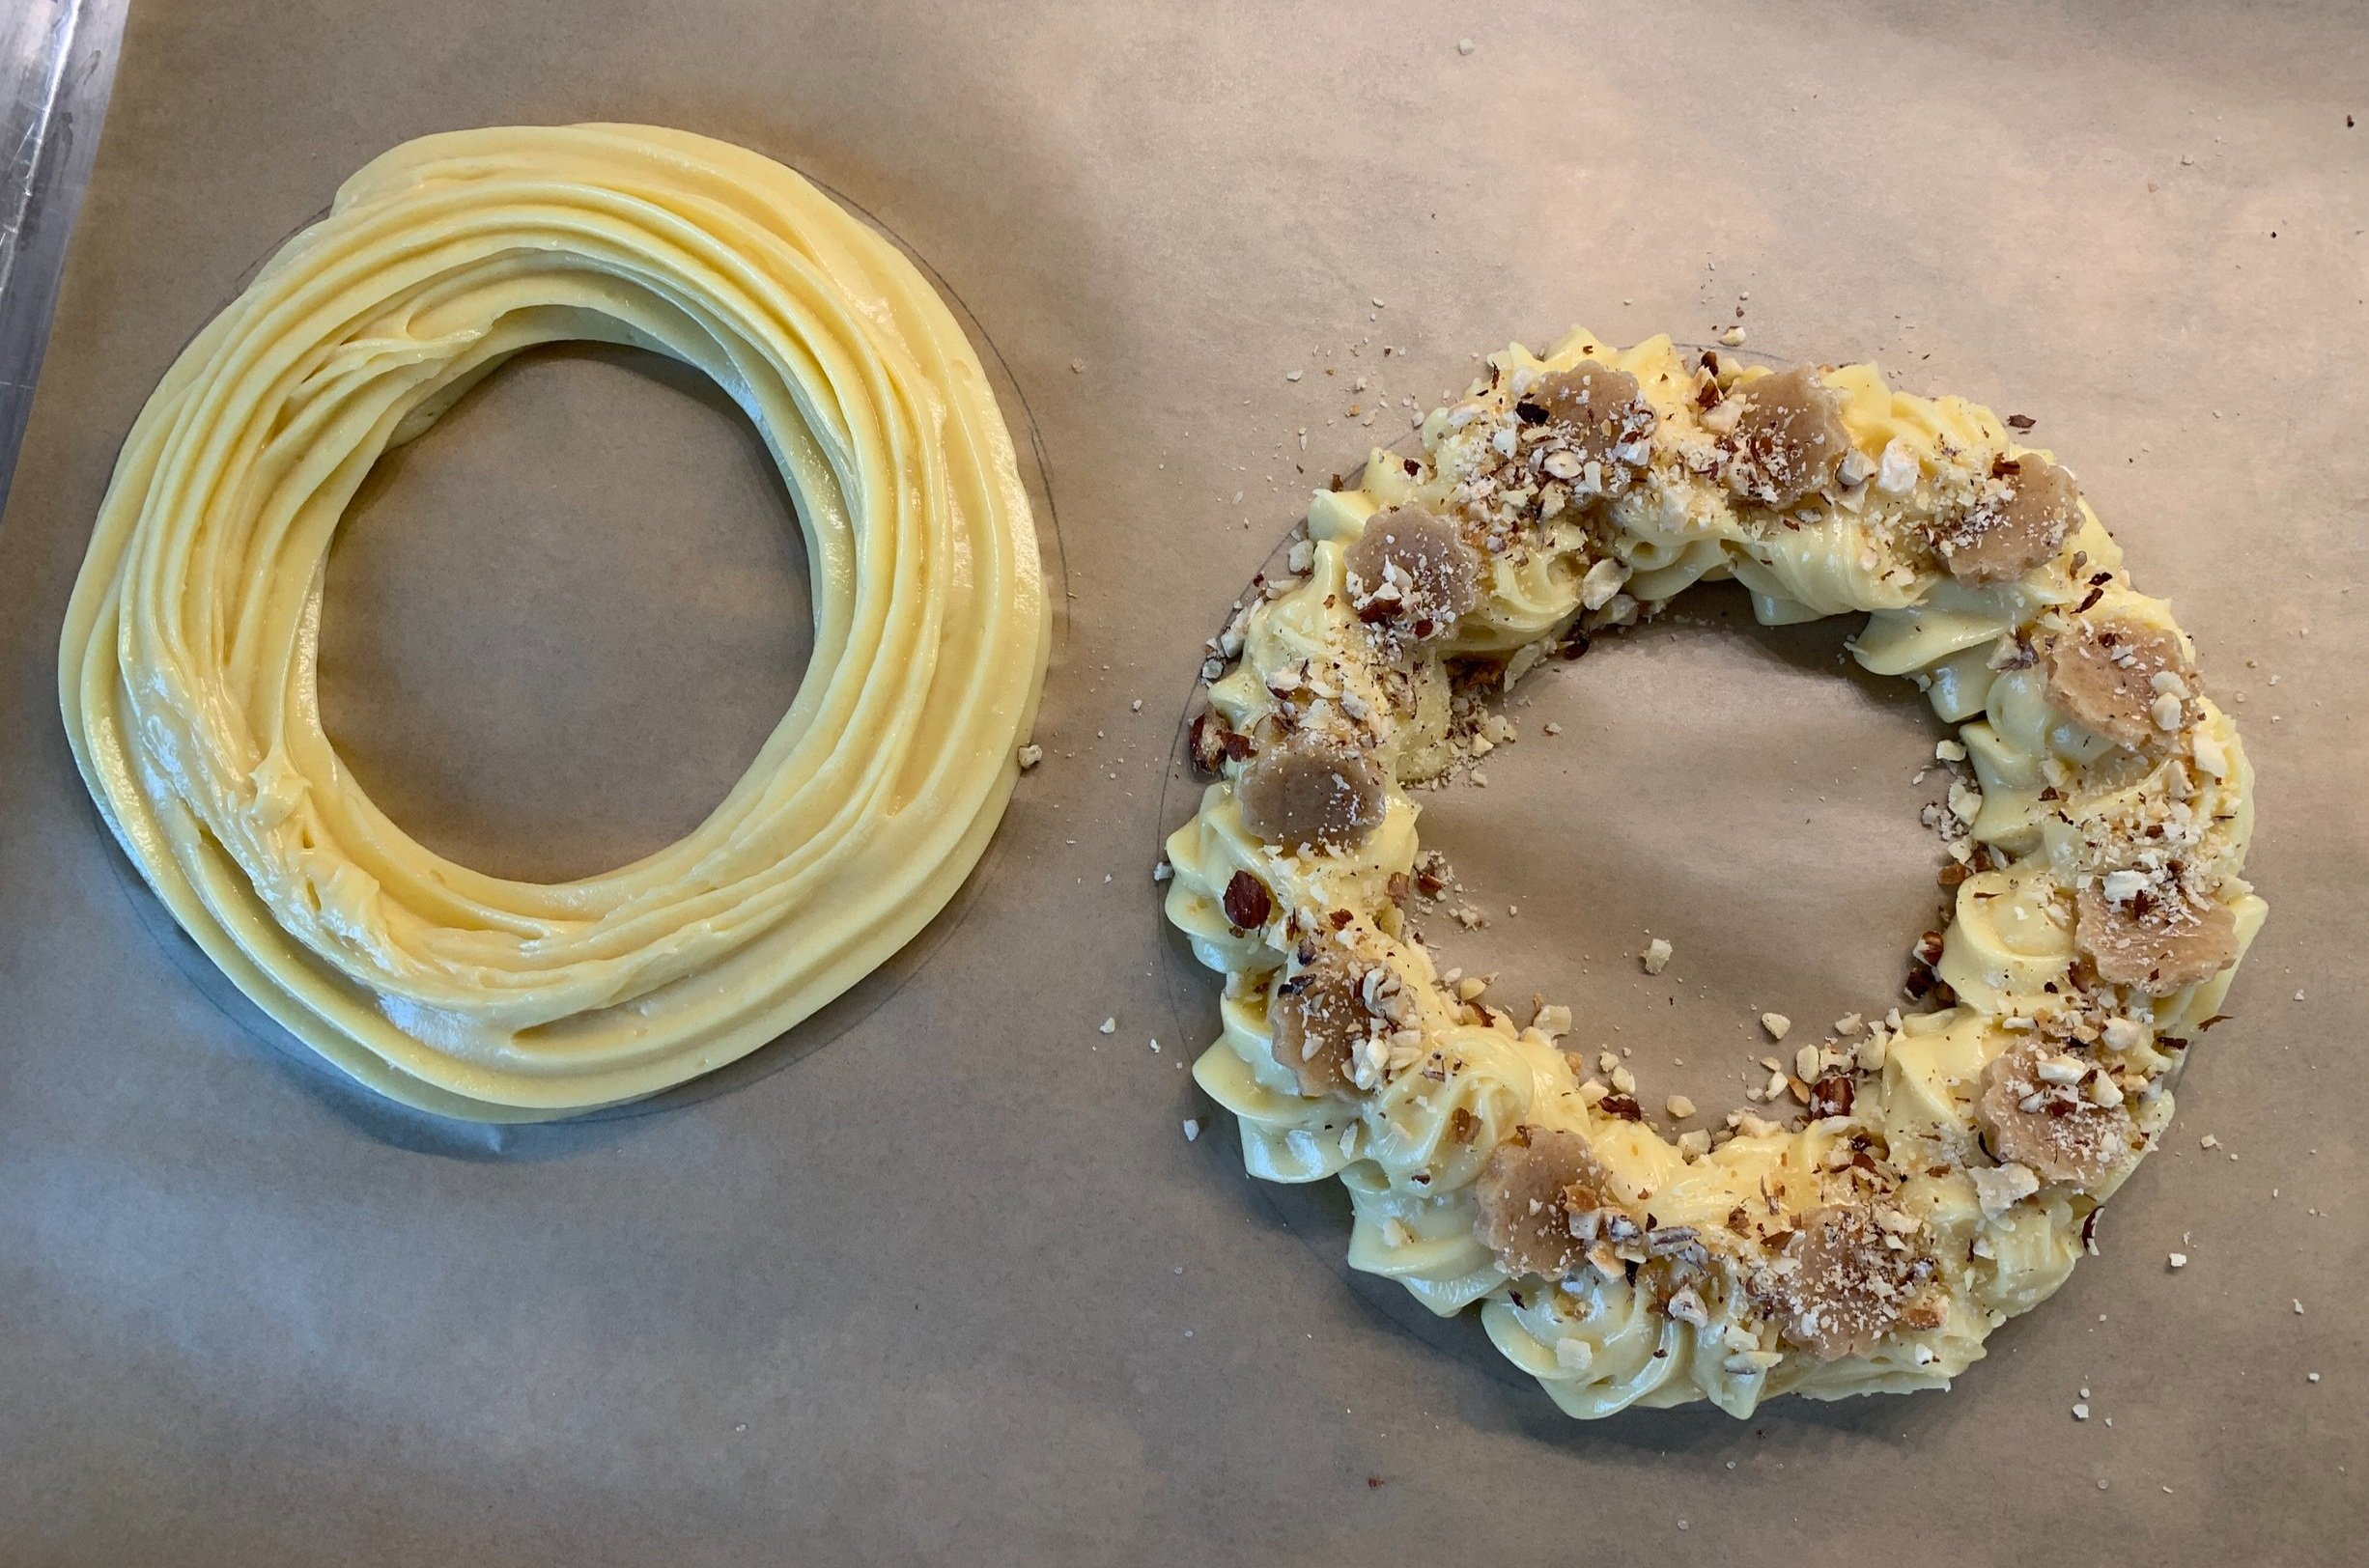
I piped a layer of pastry cream over the bottom, topped it with the cherries and finished off the cream over the cherries.


Note - you can put the cherries in first and pipe the cream over them, or pipe all the cream in and top with the cherries - it doesn't really matter.

Take the second round of dough and place it over the filling.  Tuck it in nicely around the edges and remove the excess.


I used most of the dough to create a nice rim all the way around, leaving very few scraps.


almost ready for the oven

Give the surface a brush with egg wash, pop it in the fridge for a few minutes, give a second coat of egg wash and create cross-hatch marks with a fork.


At LCB we were told that there are a variety of patterns one can use.  As I understand it, in true Basque fashion, certain surface markings indicate what type of filling is inside i.e. cream only or jam only.  I basically winged it with mine.

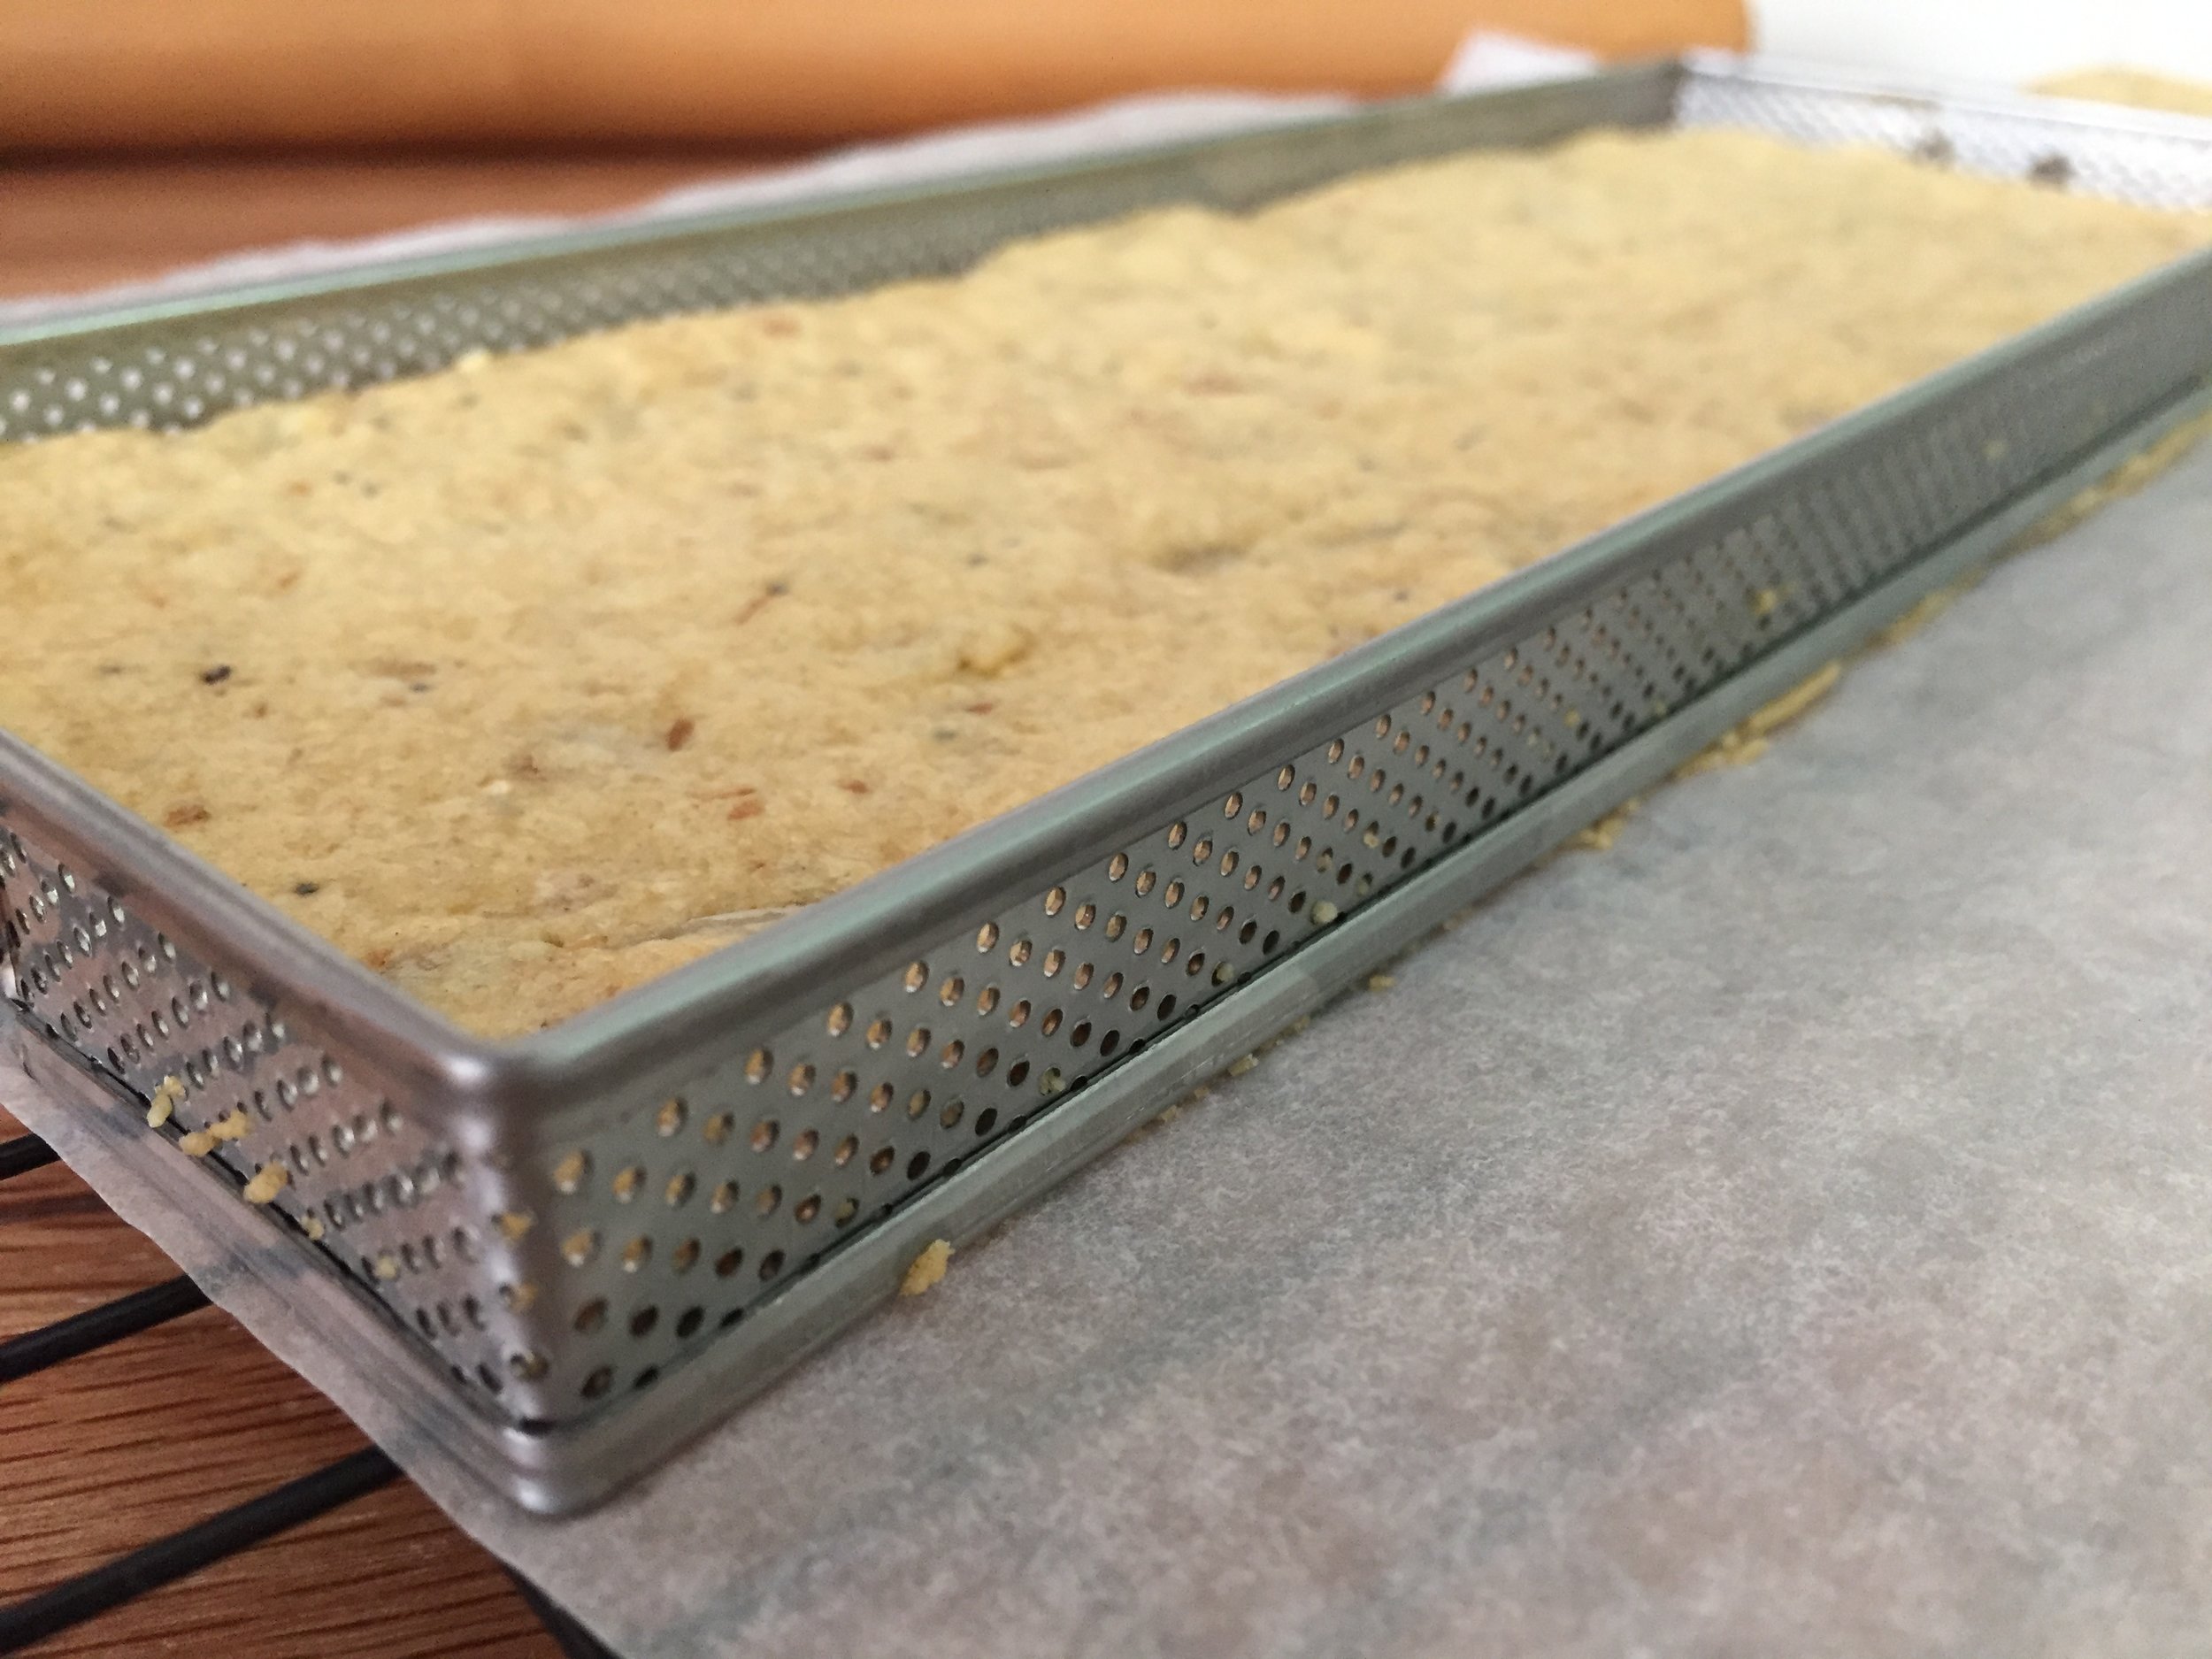
Bake in a 350º oven for approximately 40 minutes until golden.


Once cooled a bit, turn it out of the pan and let cool on a wire rack.

Whew!

I served this for dessert after a traditional Indonesian nasi goreng feast prepared by sister-in-law Dorothy's long time friend Jeanette from Toronto.  And what a feast it was!

What you see below are all of the cold portions of the meal which accompanied warm dishes of Indonesian fried rice, pork satay, coconut shrimp, beef with onions, chicken and various sauces.

My apologies Jeanette - I can't do the descriptions justice, but it was one delicious repast!


I felt almost too full for dessert, but the group was ready and willing so away we went.
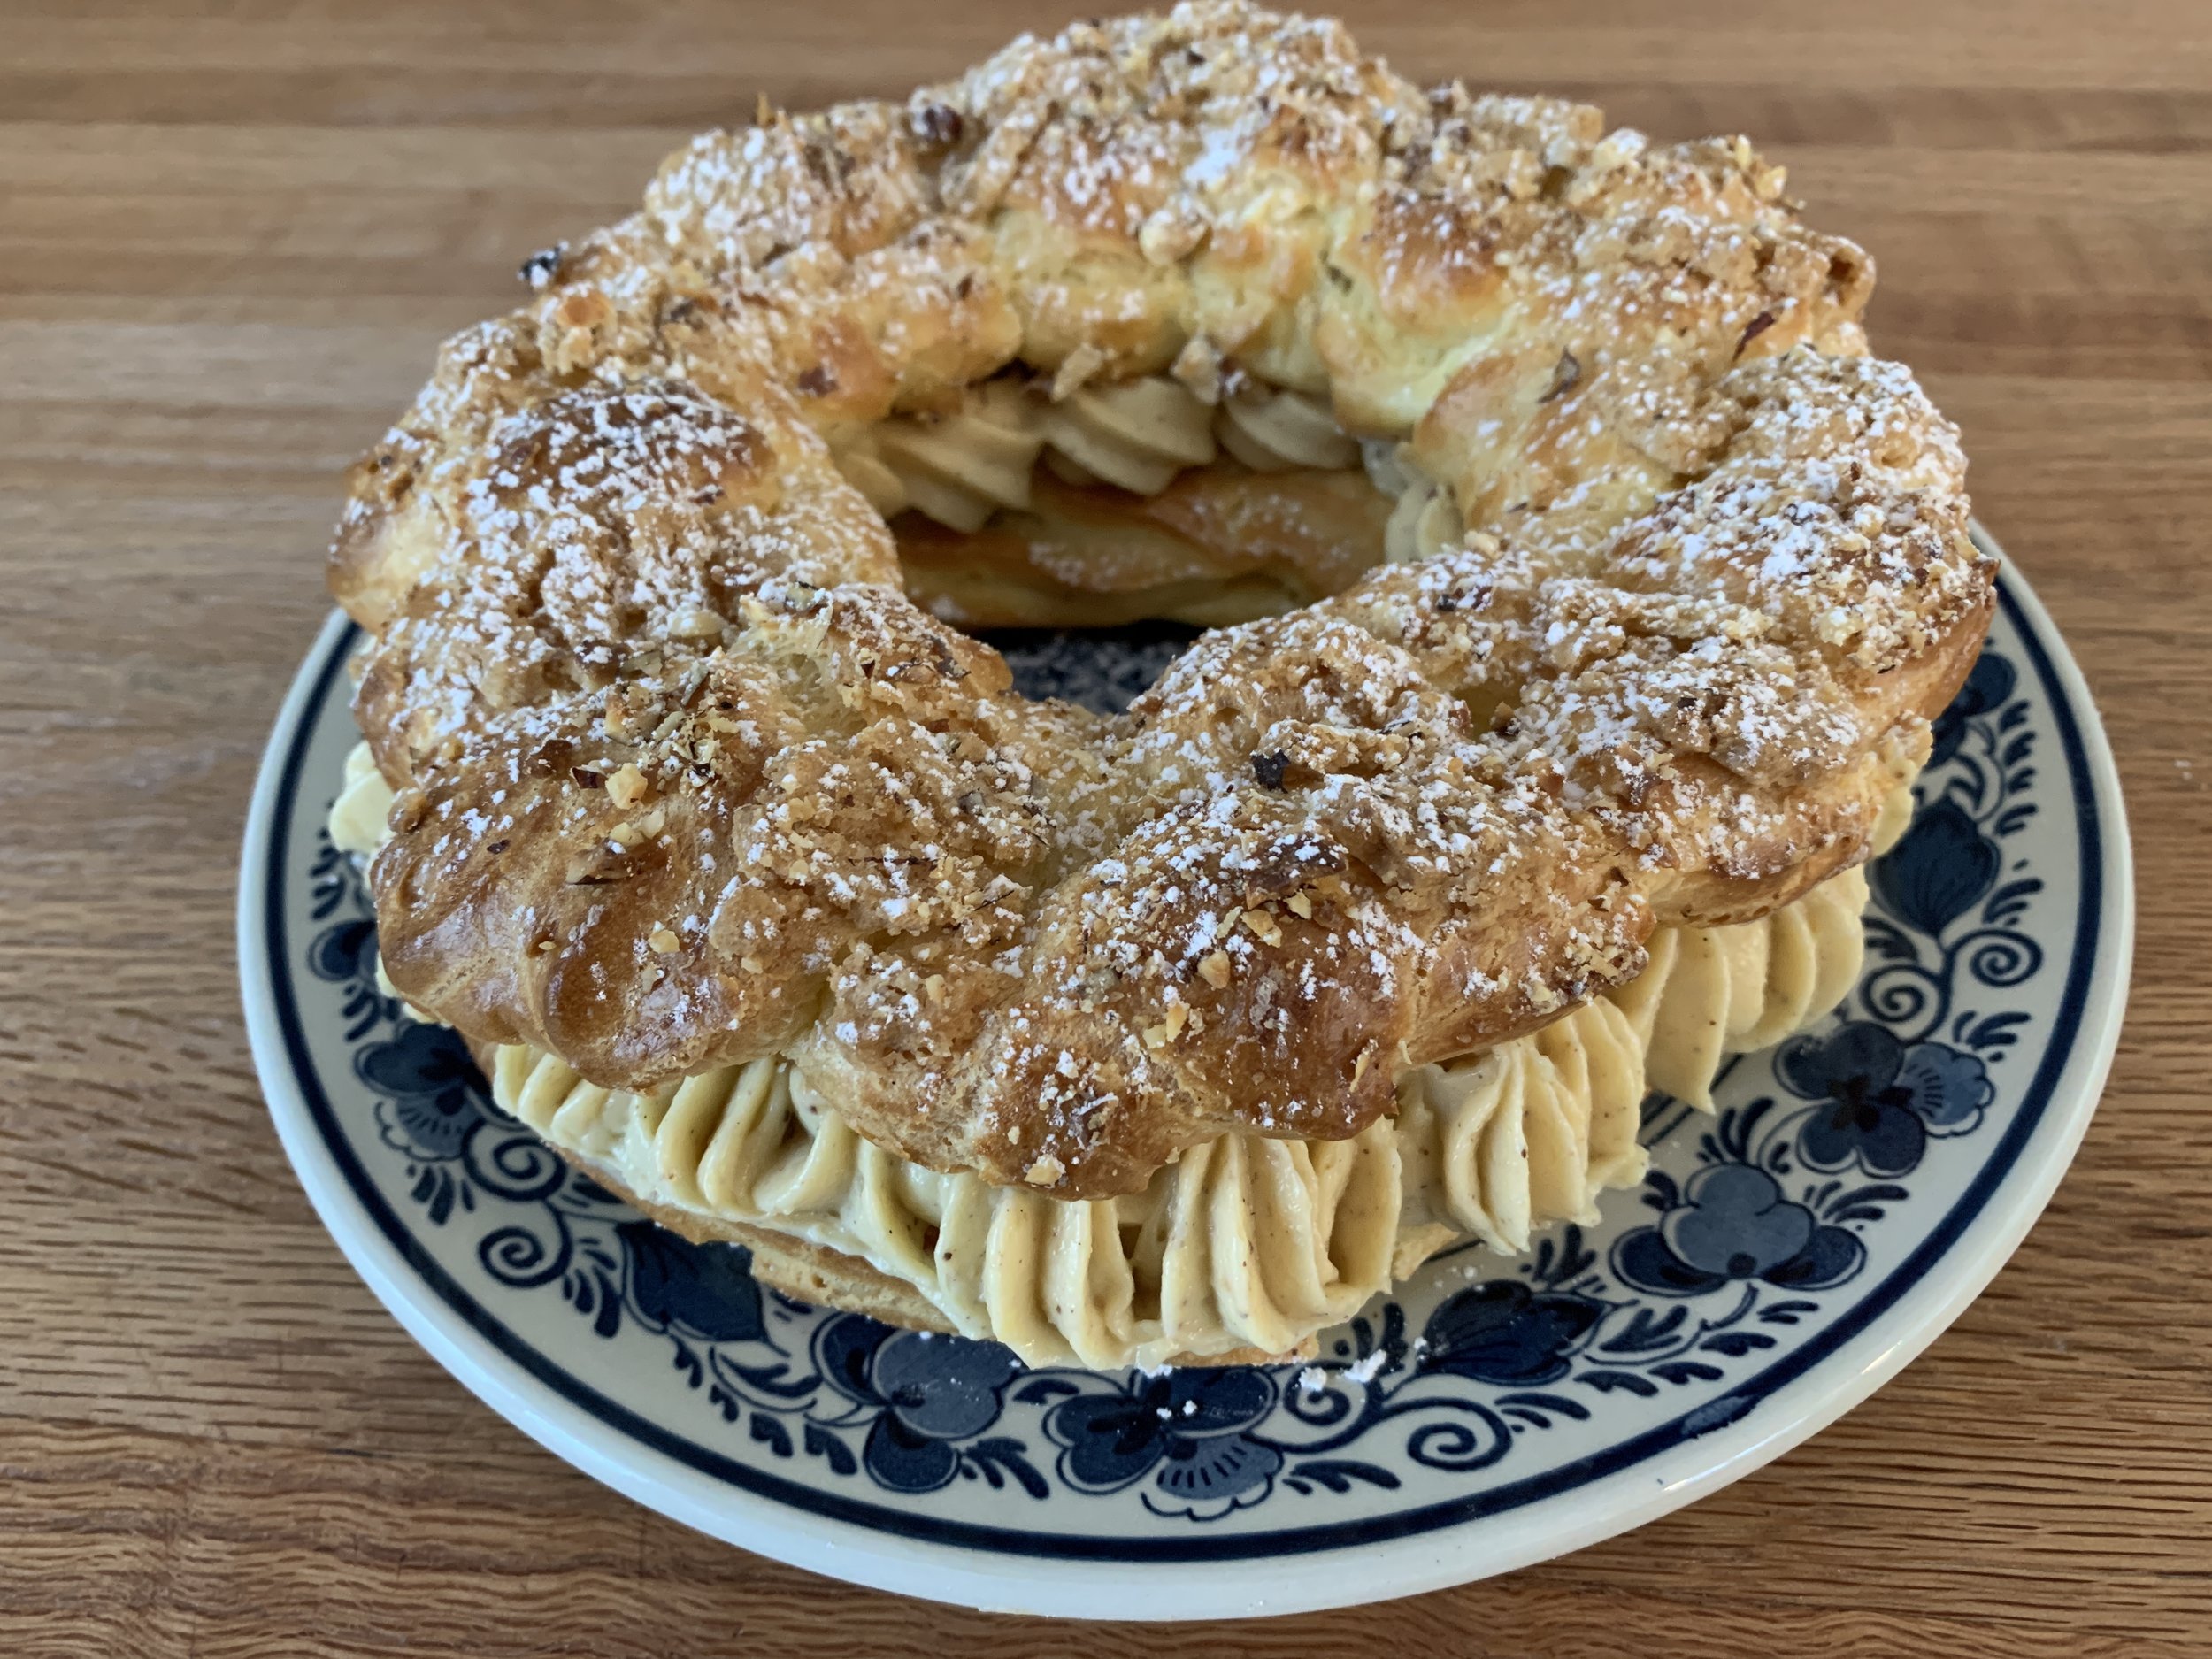
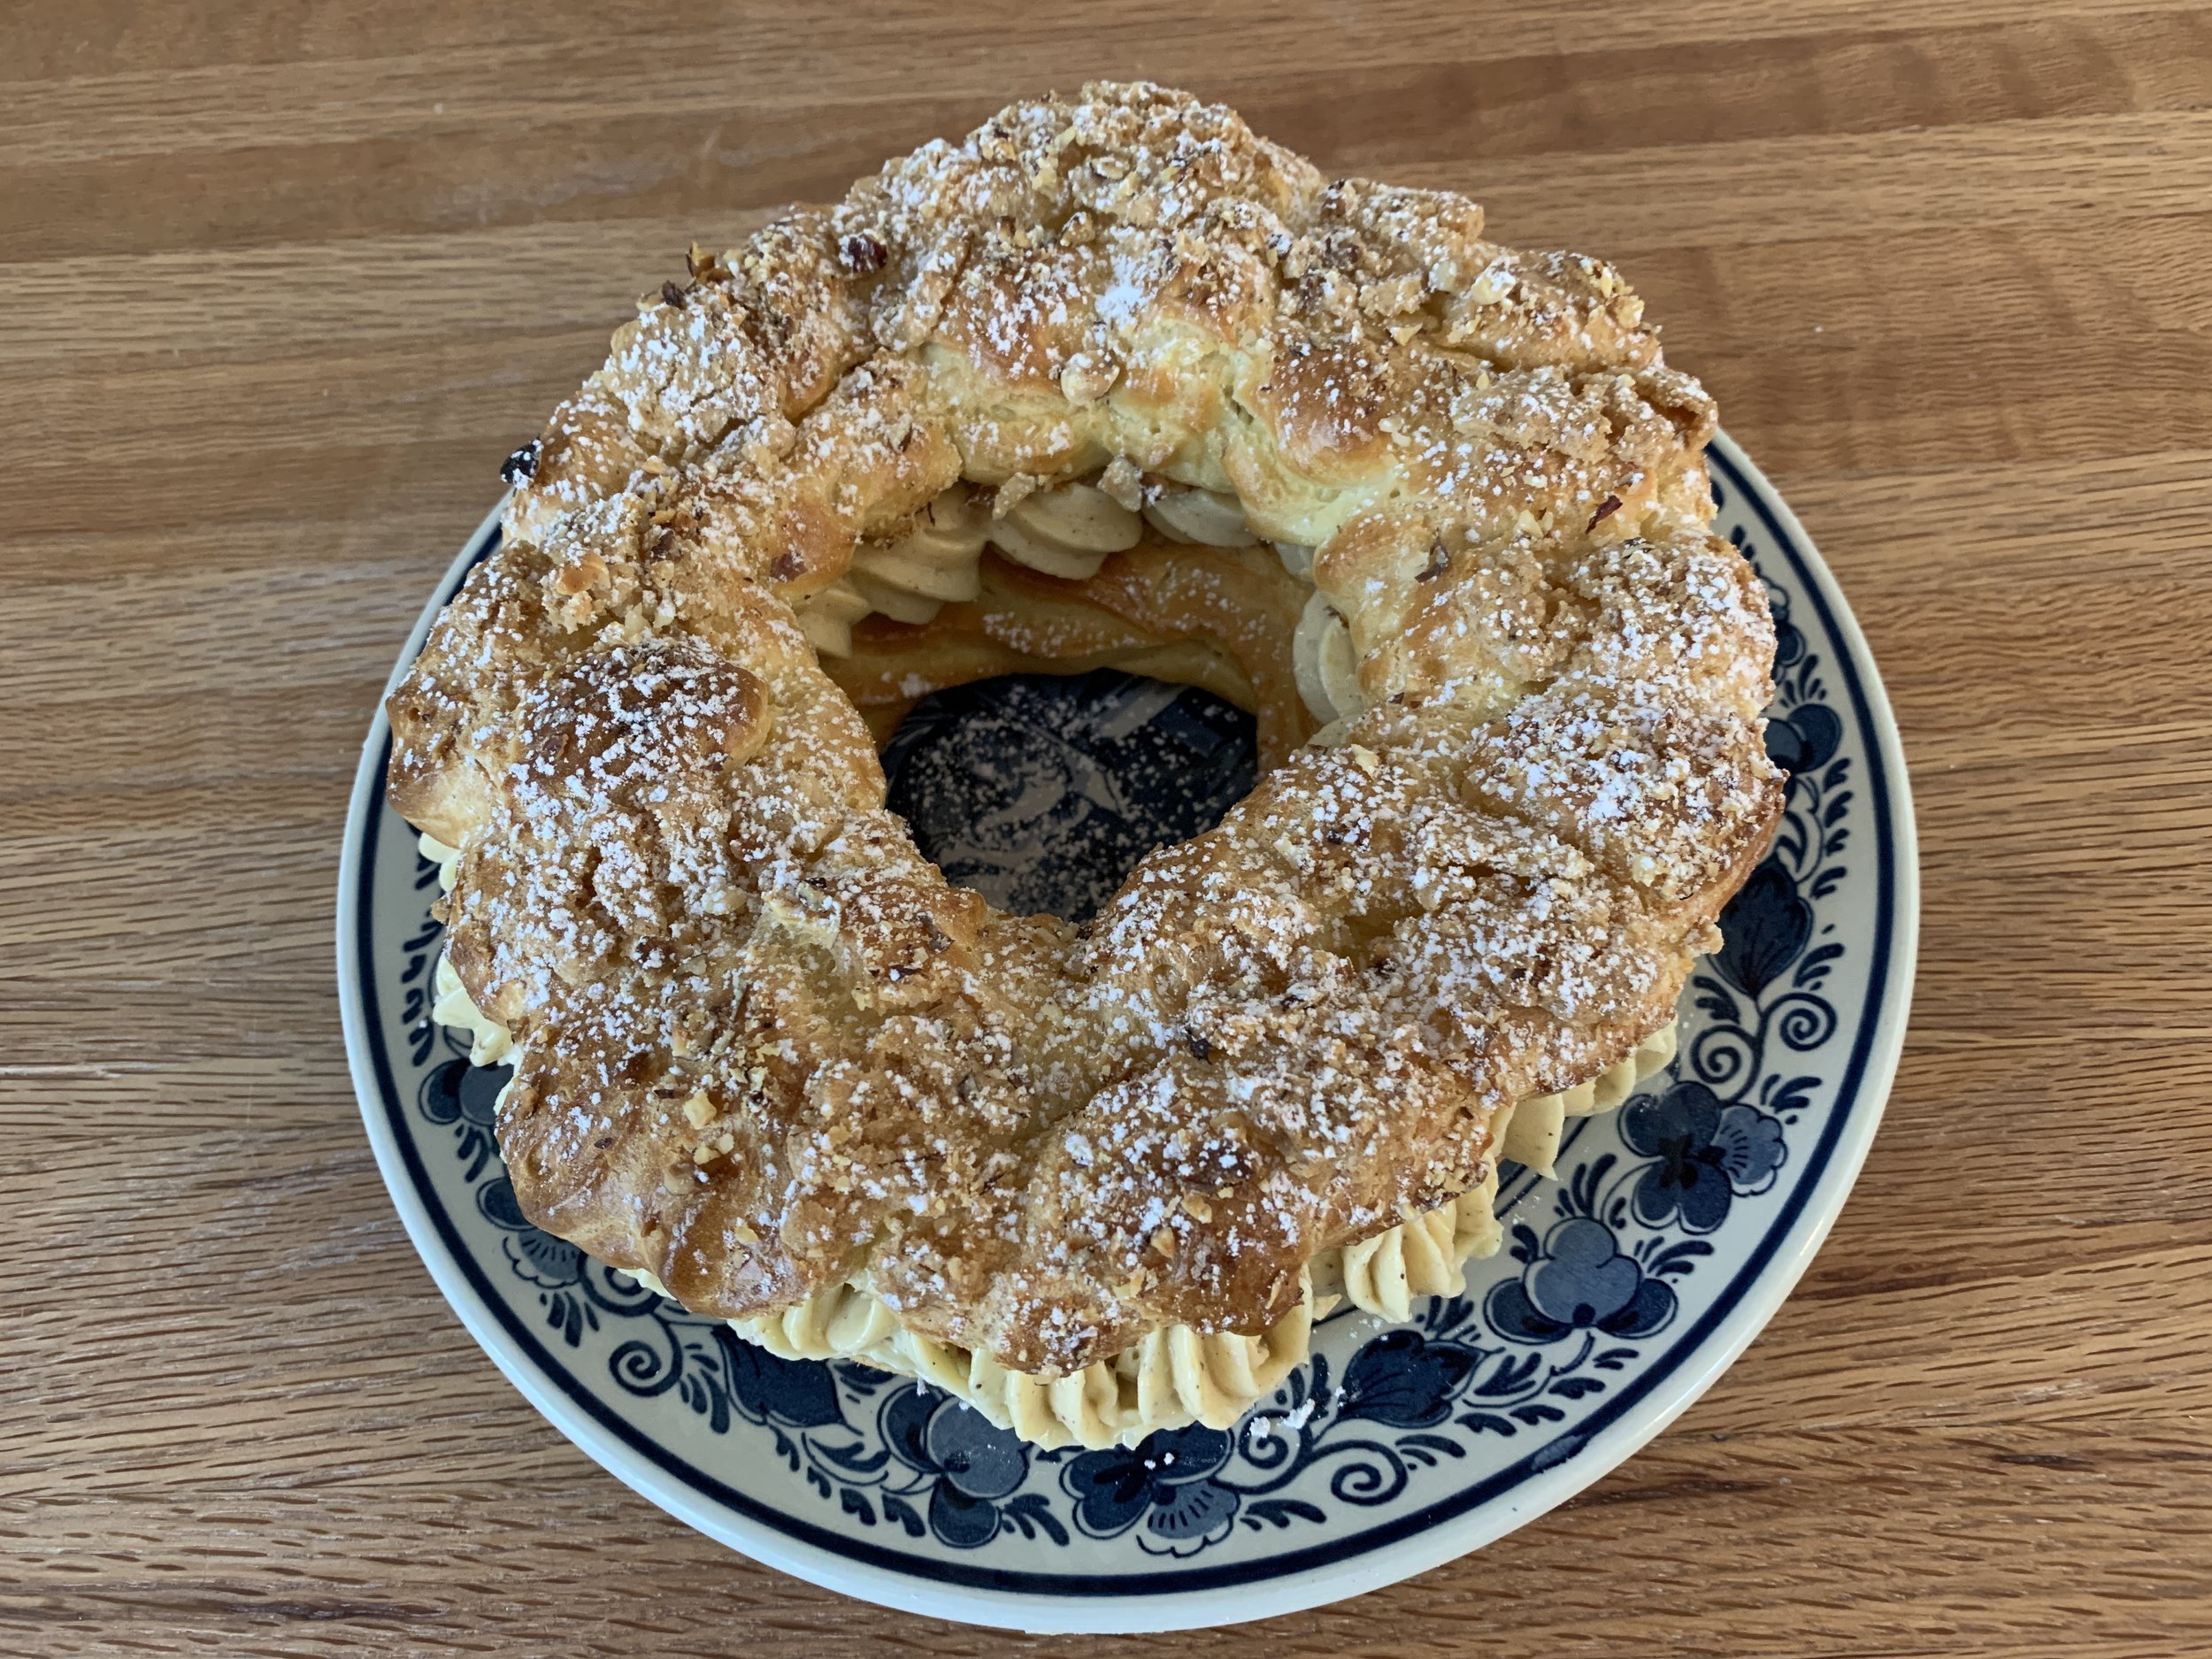
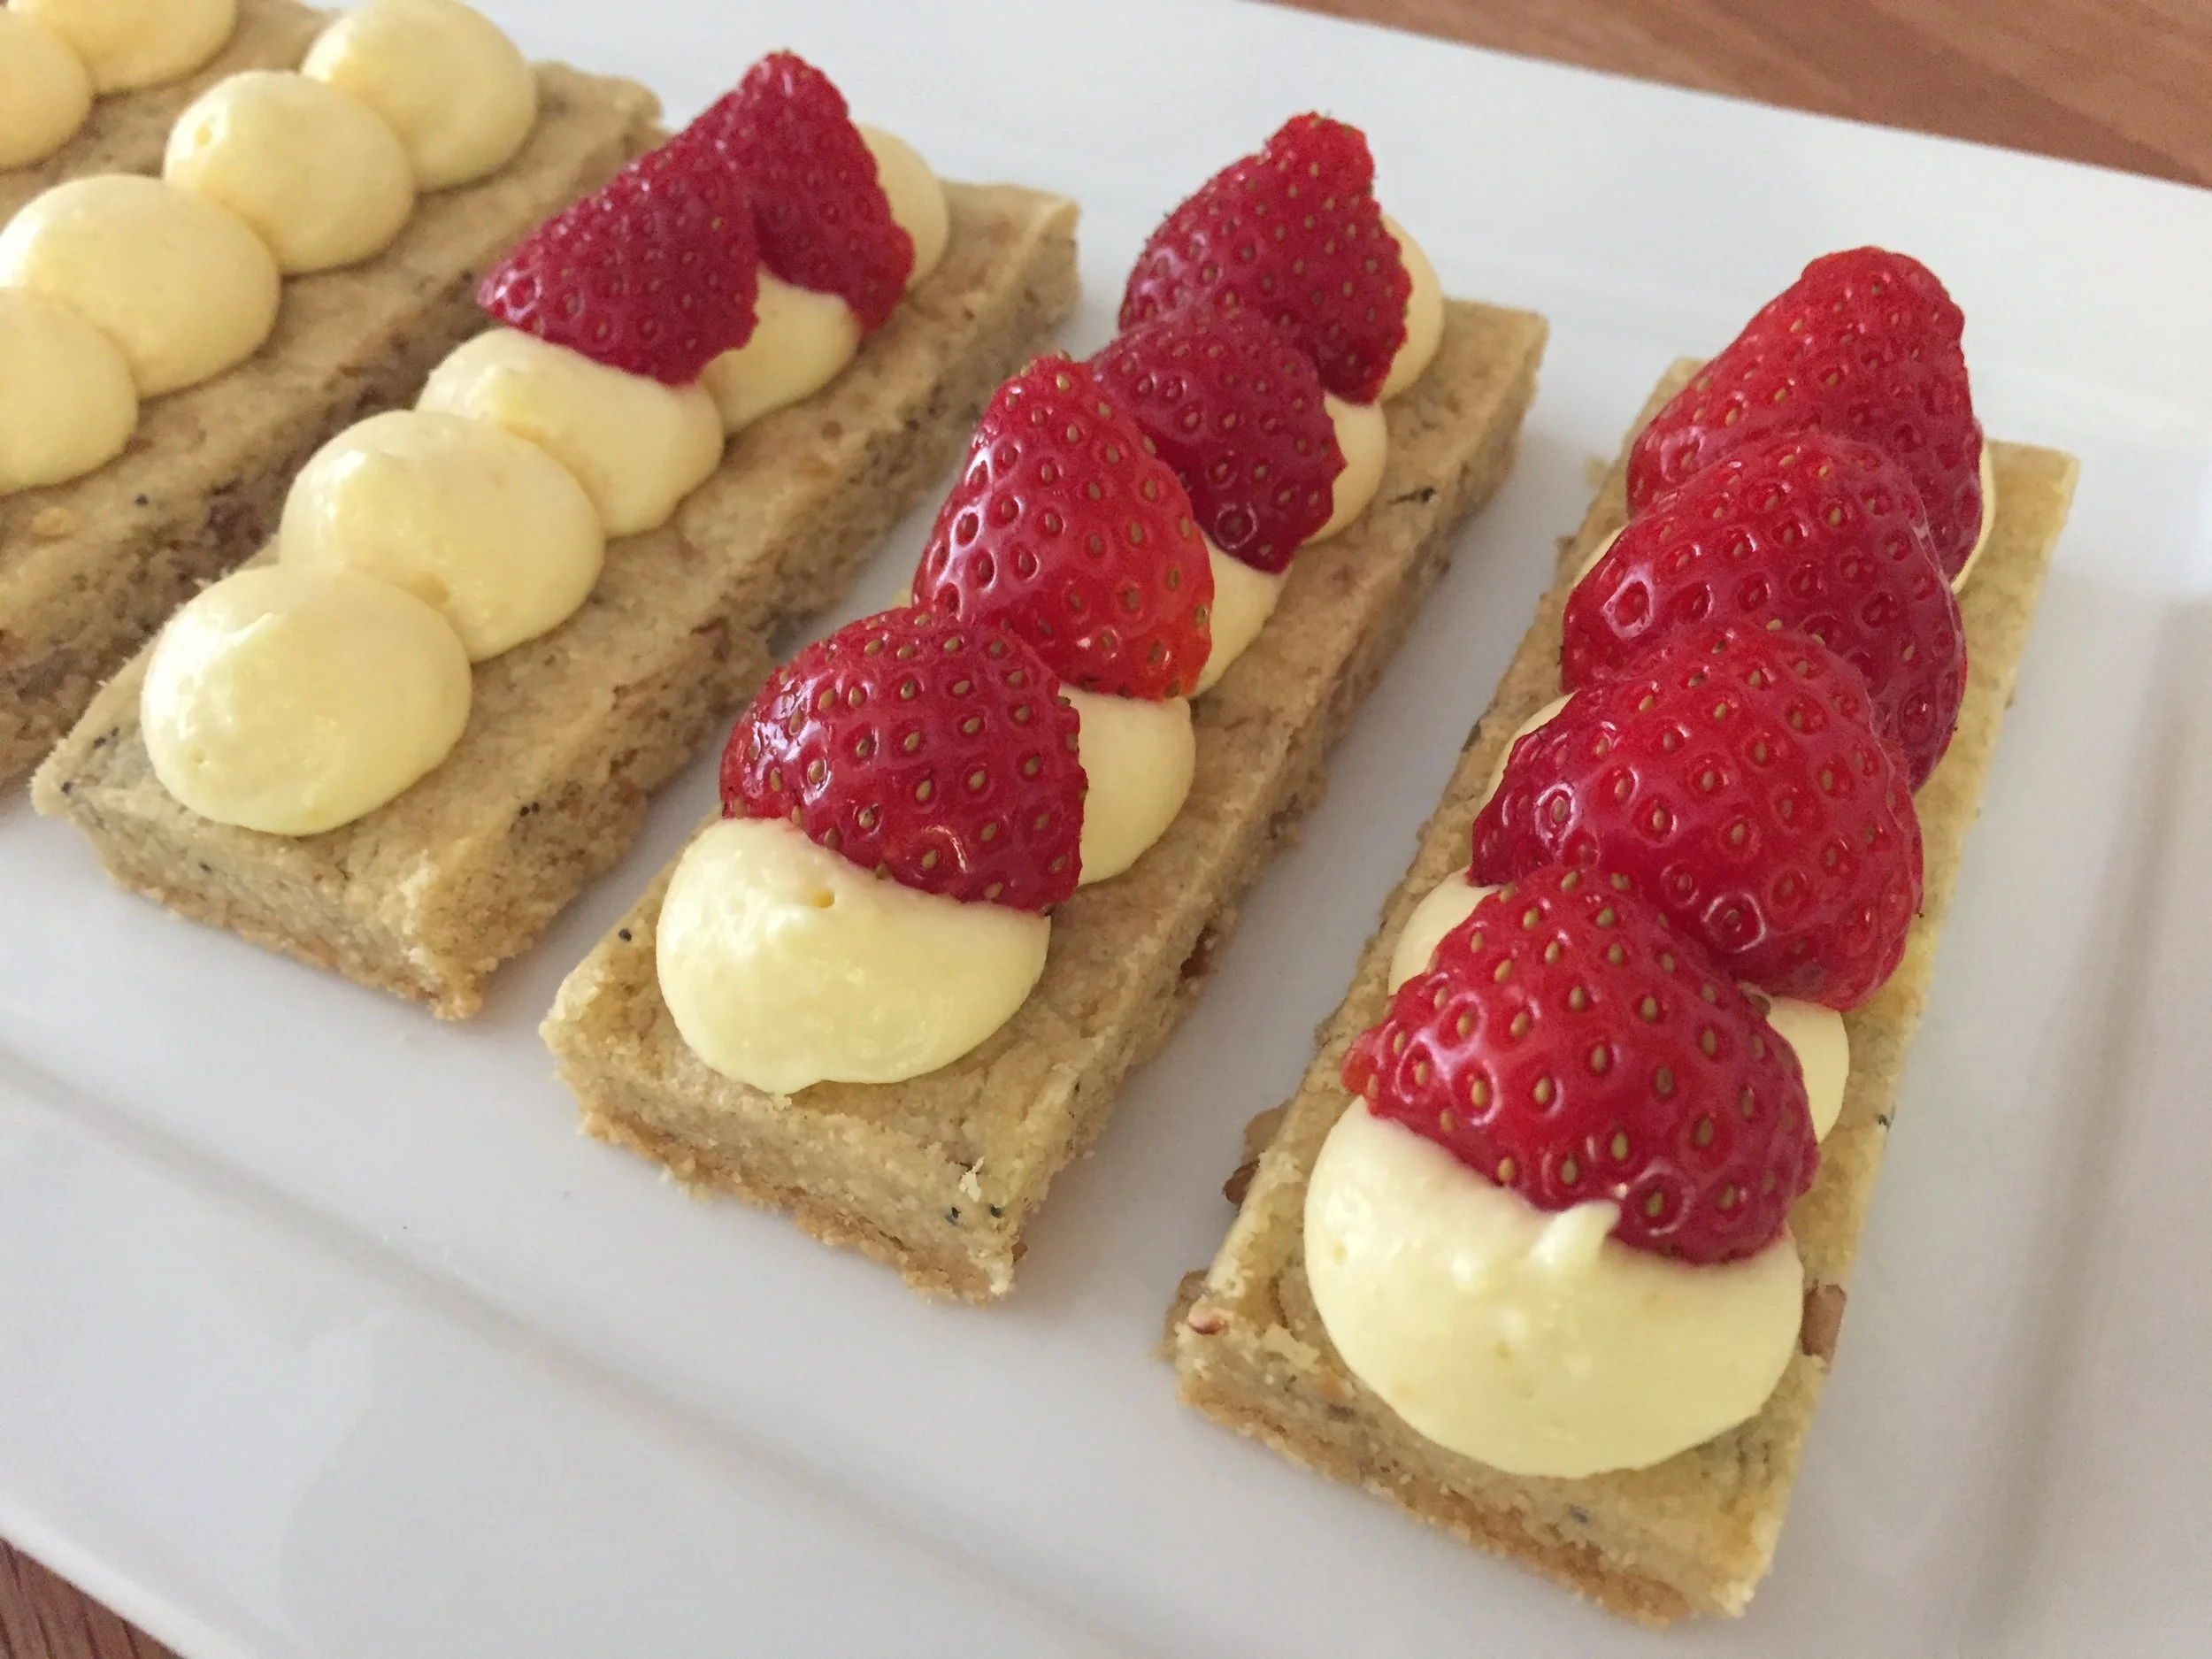


Topped with crème chantilly and toasted almonds this was a delightful surprise.  While being in no way related to Indonesian food, it still seemed to fit the bill (more like a tart than a cake, not too sweet, buttery and cookie like) as a perfect ending to a meal full of flavorful contrasts.

The pastry cream/cherry layers remained distinct and certainly didn't detract from the overall experience, but in the future I think I'll go back to the LCB recipe.  In a nutshell its texture and overall flavor win out in my book.

And there you have it.