Summer baking - peach blueberry cobbler and a bit more

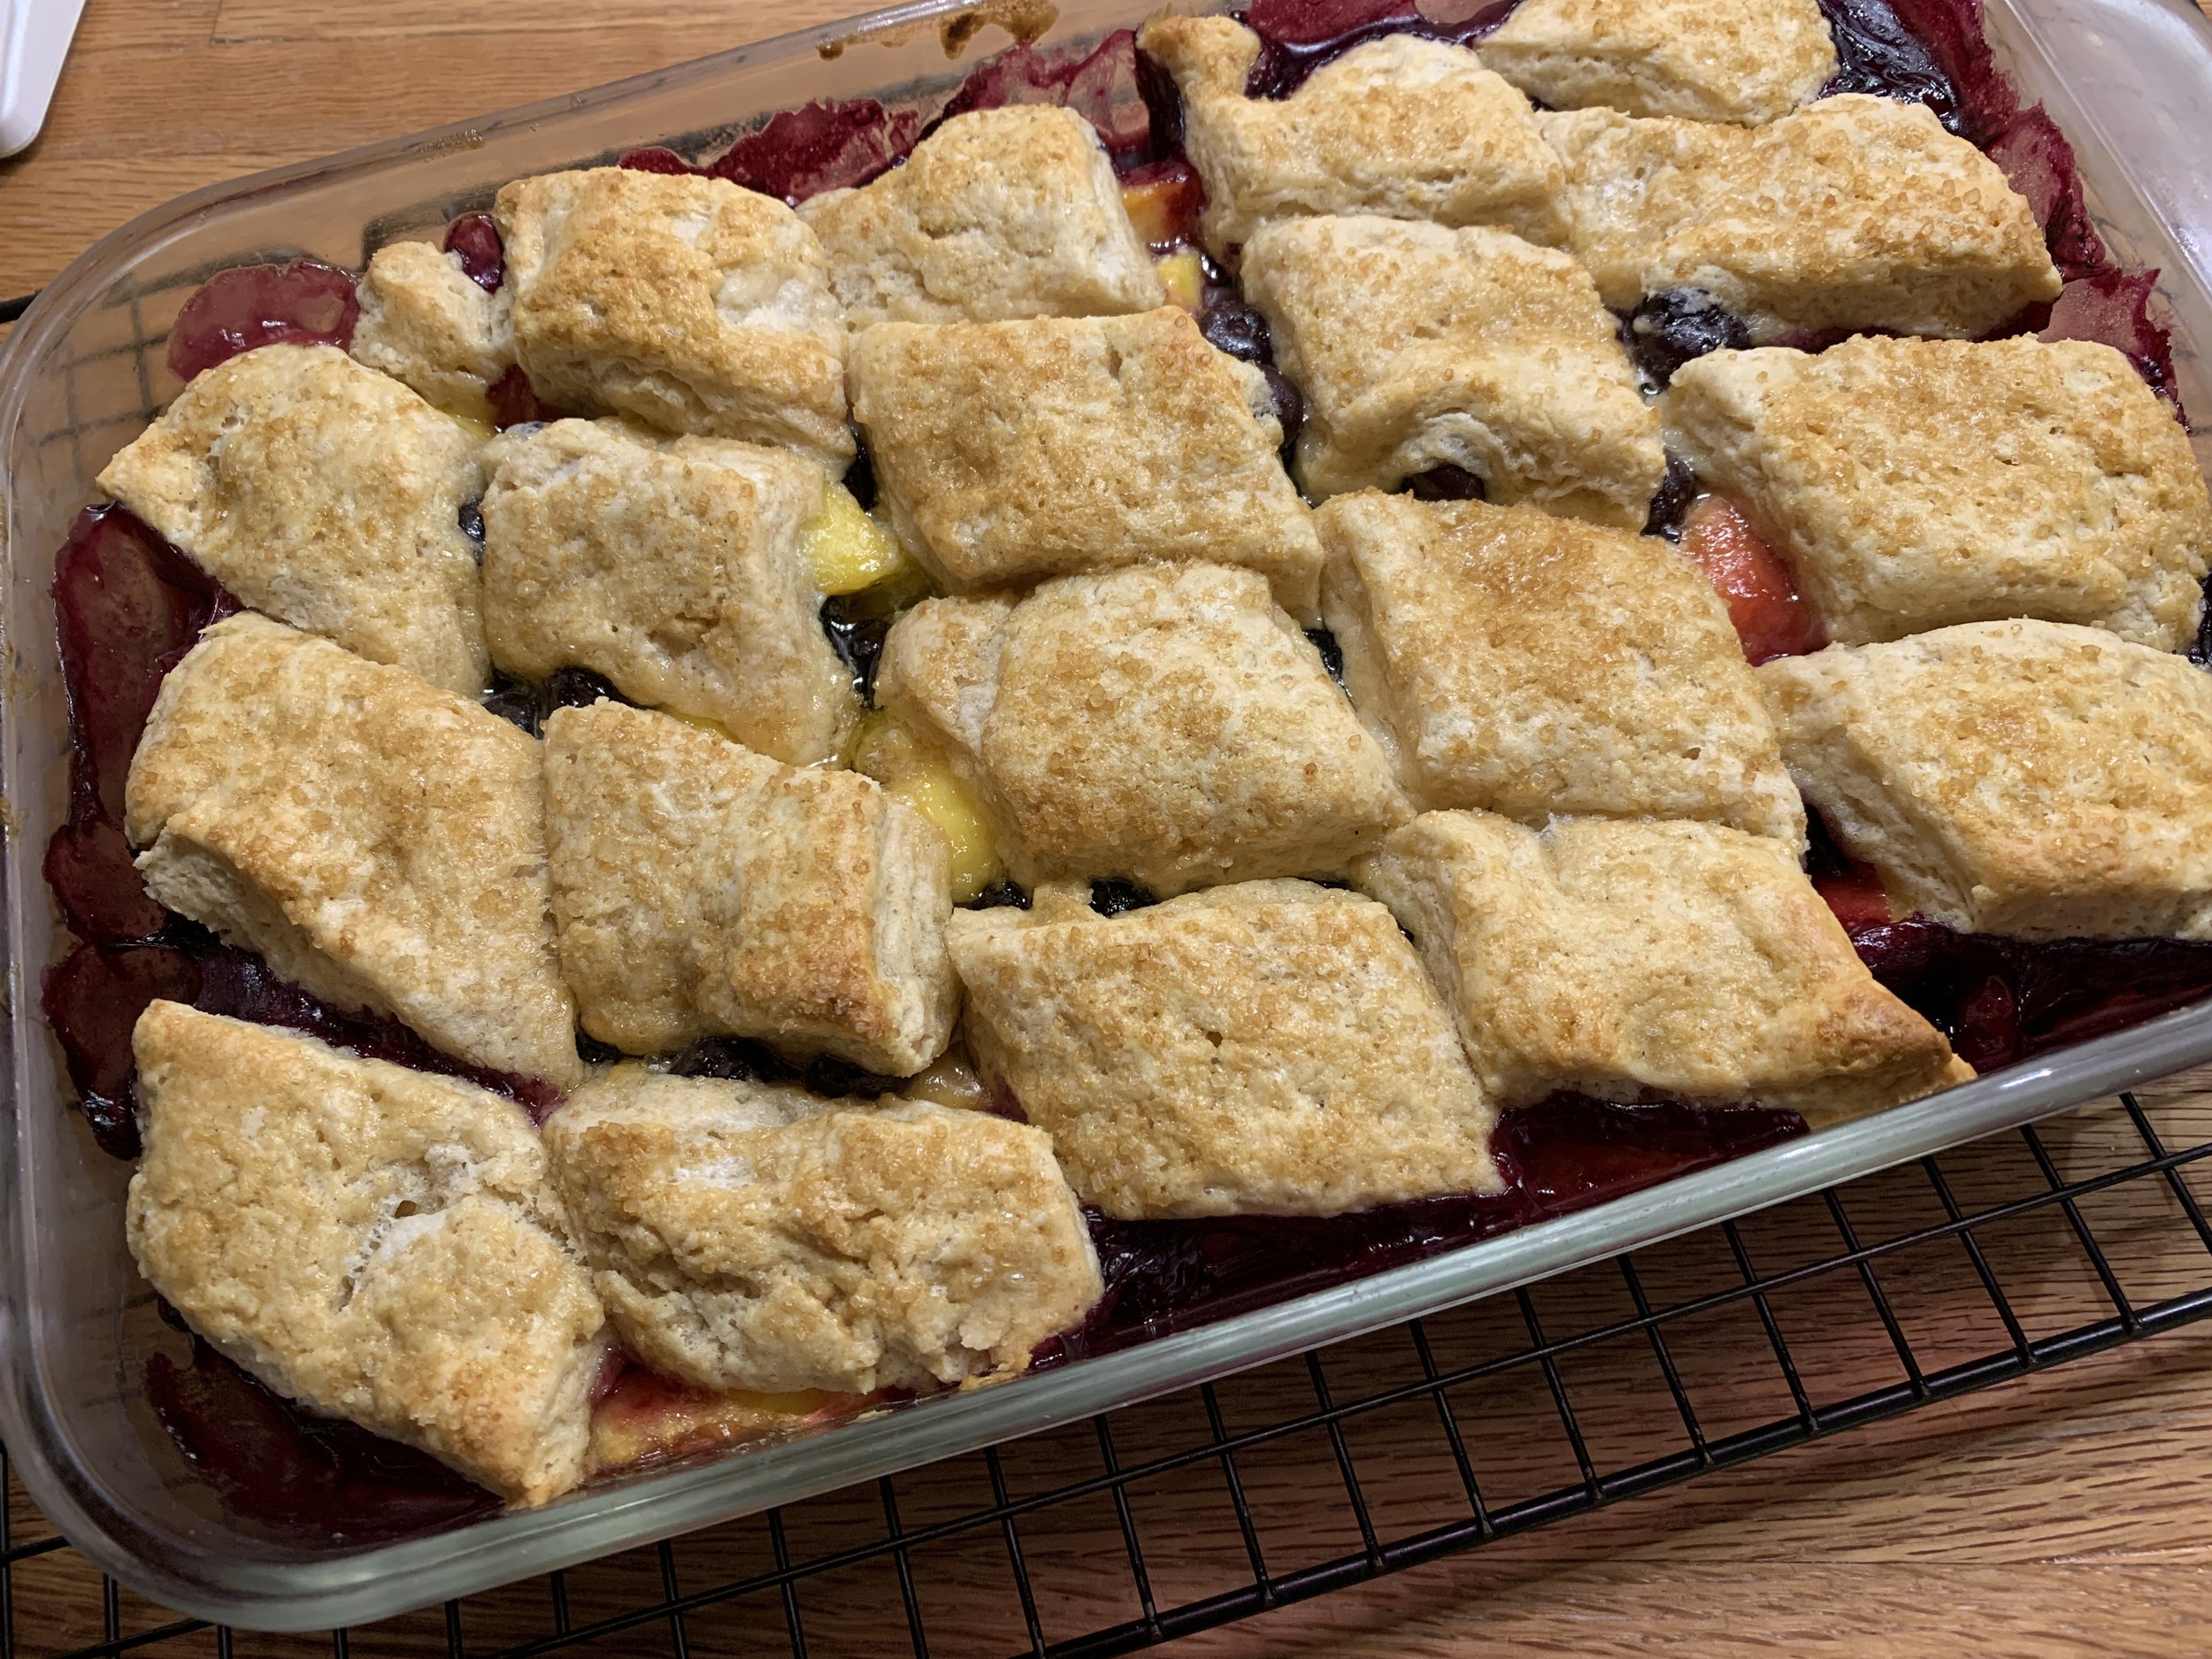
Peach blueberry cobbler

Recently we had a lovely cool-in-the-50s day with a gentle/sometimes heavy soaking rain that lasted ALL day! Somewhat unusual for August, It was nonetheless much needed and I could tell the earth was so happy.

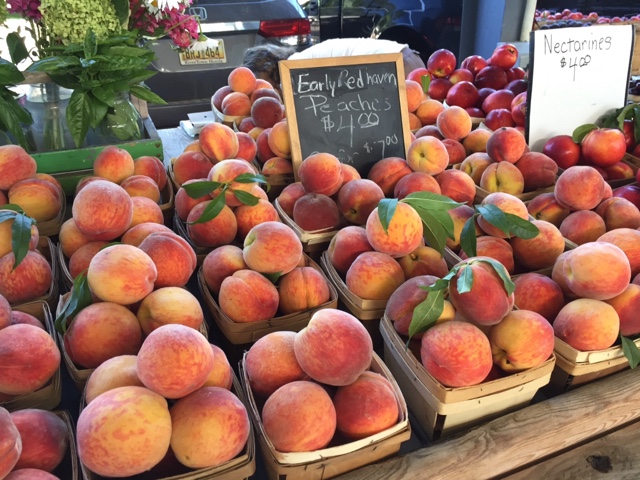
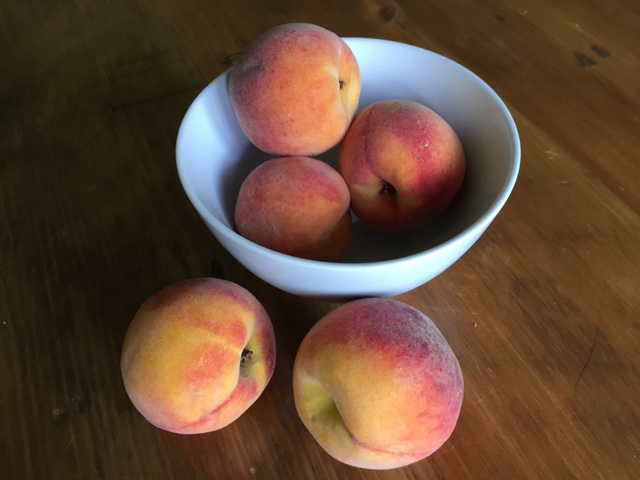
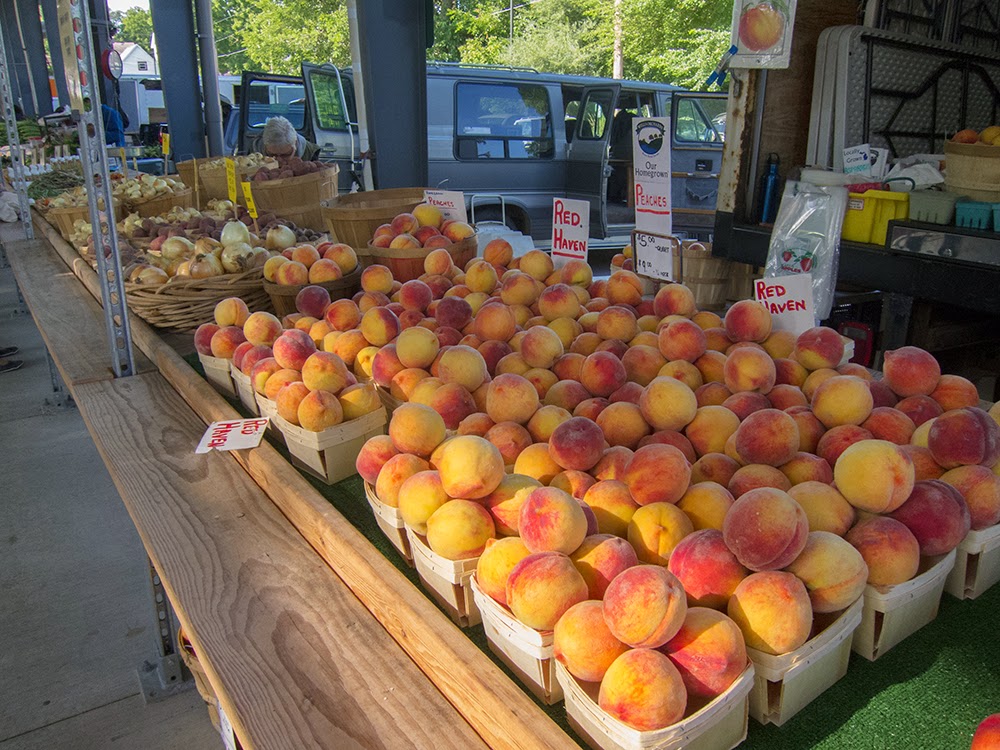
I puttered in the kitchen using up some fresh Michigan peaches that I hadn’t otherwise had time for and fresh blueberries from one of our great local markets.

A couple of years ago I had purchased Lindsey Shere’s “Chez Panisse Desserts” but have only tried a smattering of recipes, most notably the almond torte. I turned to and checked out the cobbler dough - biscuit like (no egg which I normally use to make my scones), it comes together in a bowl, by hand, with cold cubed unsalted butter and cold cream added to all purpose flour, baking powder, salt and a bit of sugar. You can create whatever shapes that delight you - I went for rough diamonds - or should I say diamonds in the rough?

Here’s my version of the cobbler dough: in a medium bowl blend 195 g/1.5 cups whole wheat pastry flour (Lindsey uses all purpose), 1/4 teaspoon fine sea salt, 2 1/4 teaspoons baking powder and 1.5 tablespoons sugar; blend in 85 g/6 tablespoons cold, cubed butter with your fingertips to create coarse crumbs but leaving some flattened pieces of butter visible in the mix; with a fork quickly mix in 3/4 cup of dairy consisting of half cold buttermilk and half cold heavy cream (Lindsey uses all heavy cream); bring together with a bowl scraper then turn out onto a piece of plastic wrap and bring in any remaining dry flour with your hands.

Fold the plastic wrap over the dough leaving enough space to lightly roll the dough between the plastic into a rectangle about 7”x10” and 1/3” thick. Chill until ready to use - that makes it easier to handle and to cut into your desired shapes.

SIDE NOTE: here’s a cobbler post a few years ago using another delicious topping dough.

Yum!

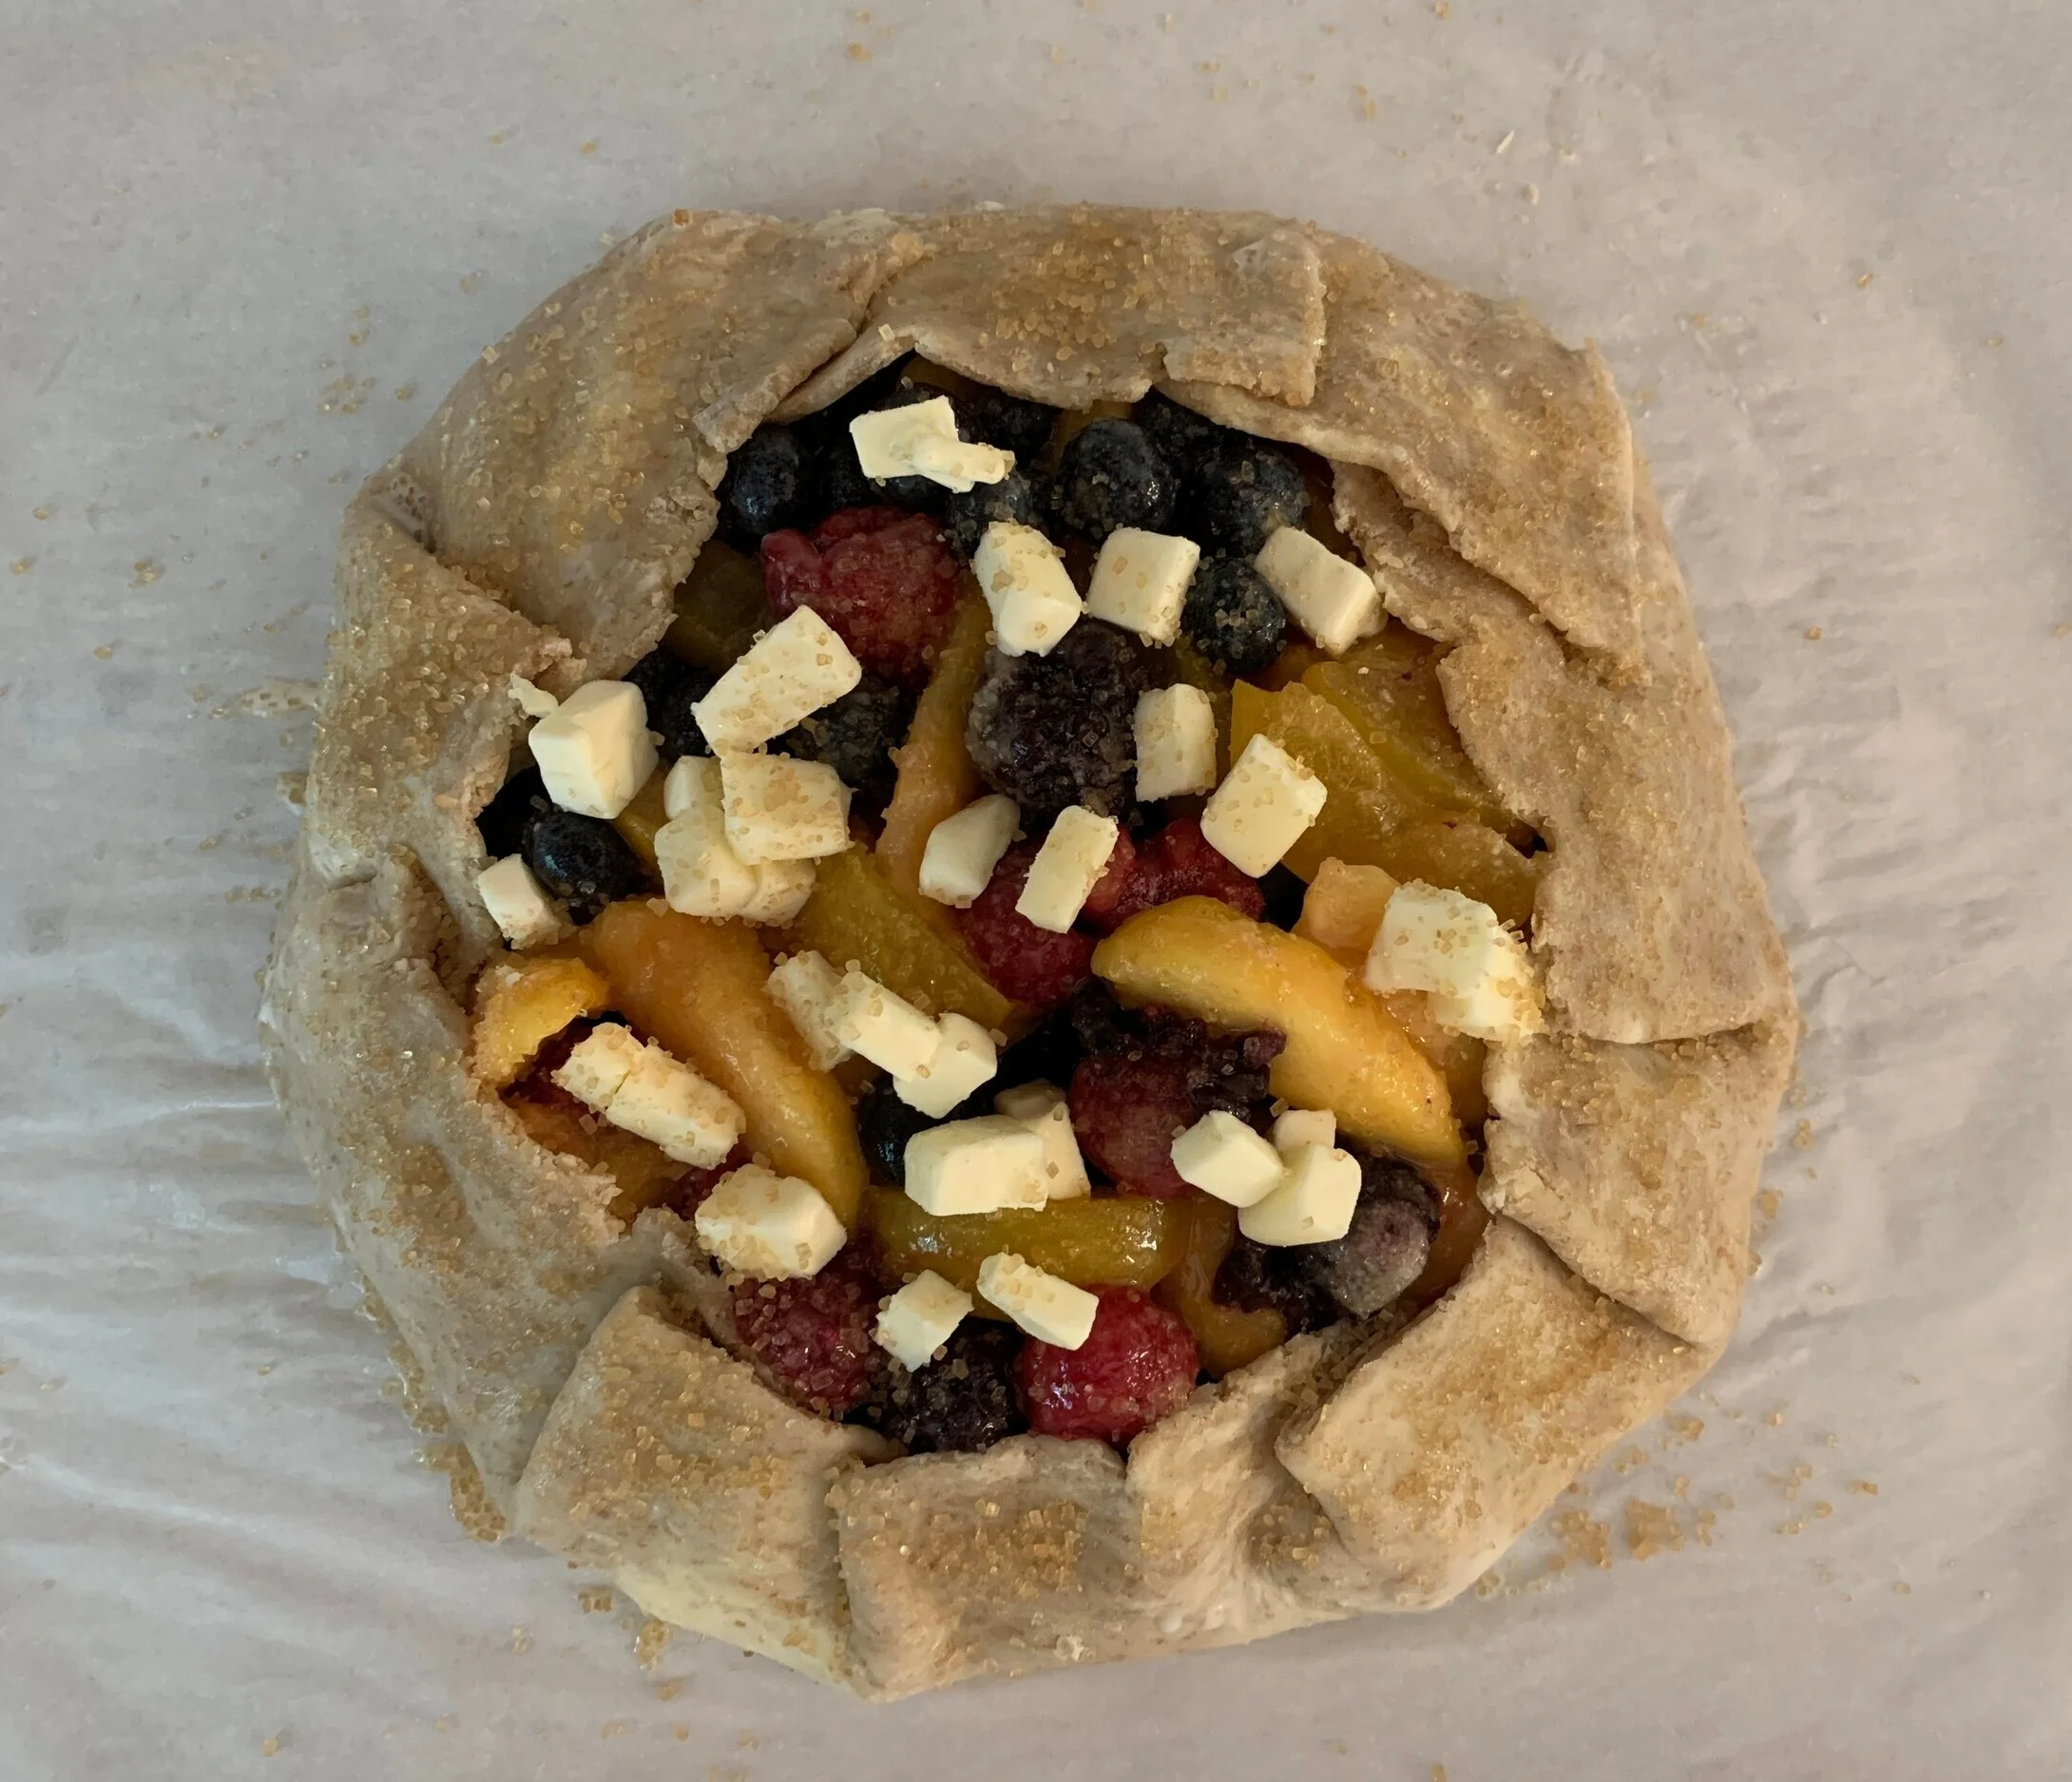
For this smallish sized cobbler I used about 4.5 to 5 cups of fruit - about 3.5 cups sliced peaches (peeled and de-stoned) and 1.5 cups blueberries - tossed with 3 tablespoons sugar and 1.5 tablespoon flour. Spread into a small Pyrex 7-ish by 10-ish casserole, I dotted a few bits of butter all over, placed my cobbler pieces on top, brushed them with milk and added a sprinkle of raw sugar.

Bake at 400ºF for 20-25 minutes until the fruit is bubbly and the topping golden brown. If you’re happy with the bubbly-ness of the fruit but need a bit more top browning, reduce the oven to 350ºF and give it another 5-10 minutes.

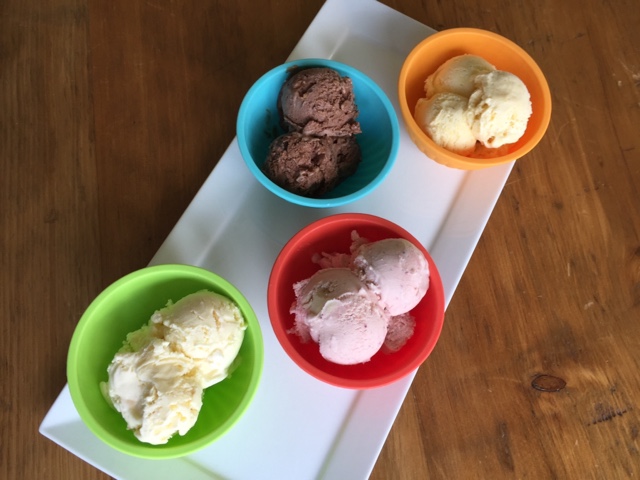
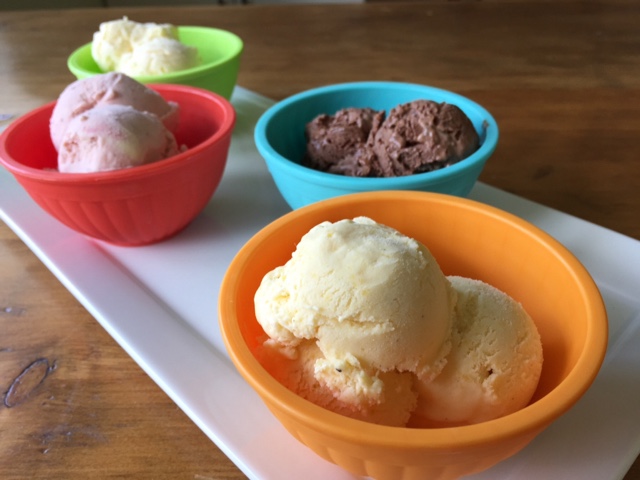
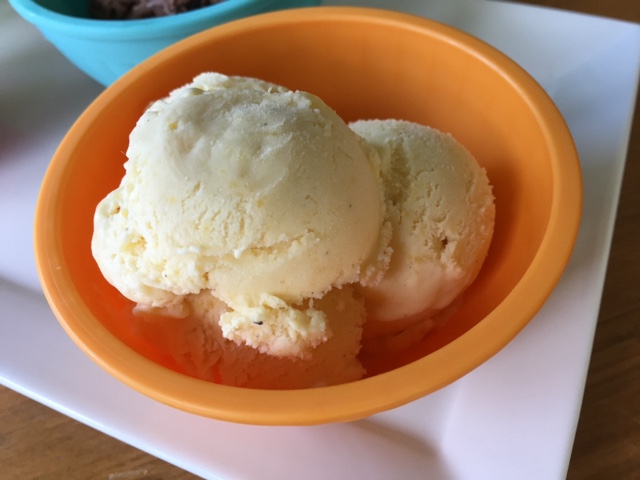
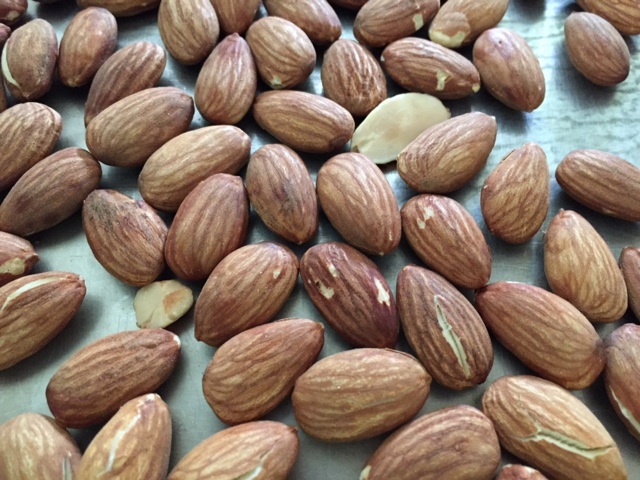
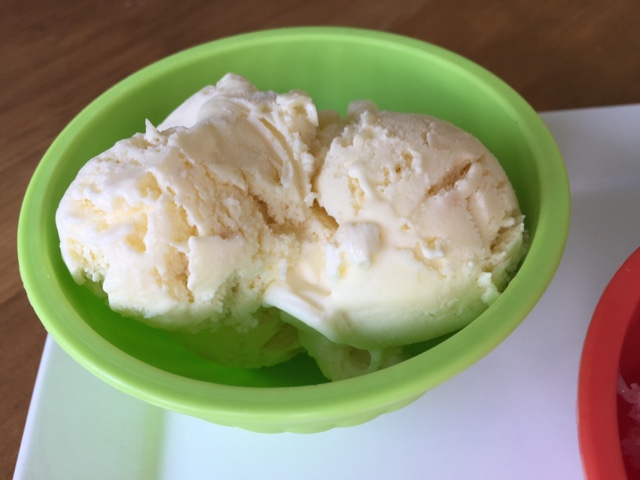
Serve warm, slightly warm or at room temperature and don’t forget either a dollop of whipped cream of a scoop of vanilla ice cream. Even a sprinkle of sliced, toasted almonds adds just that extra something. Creamy, crunchy, fruity and delicious.

Pretty tasty

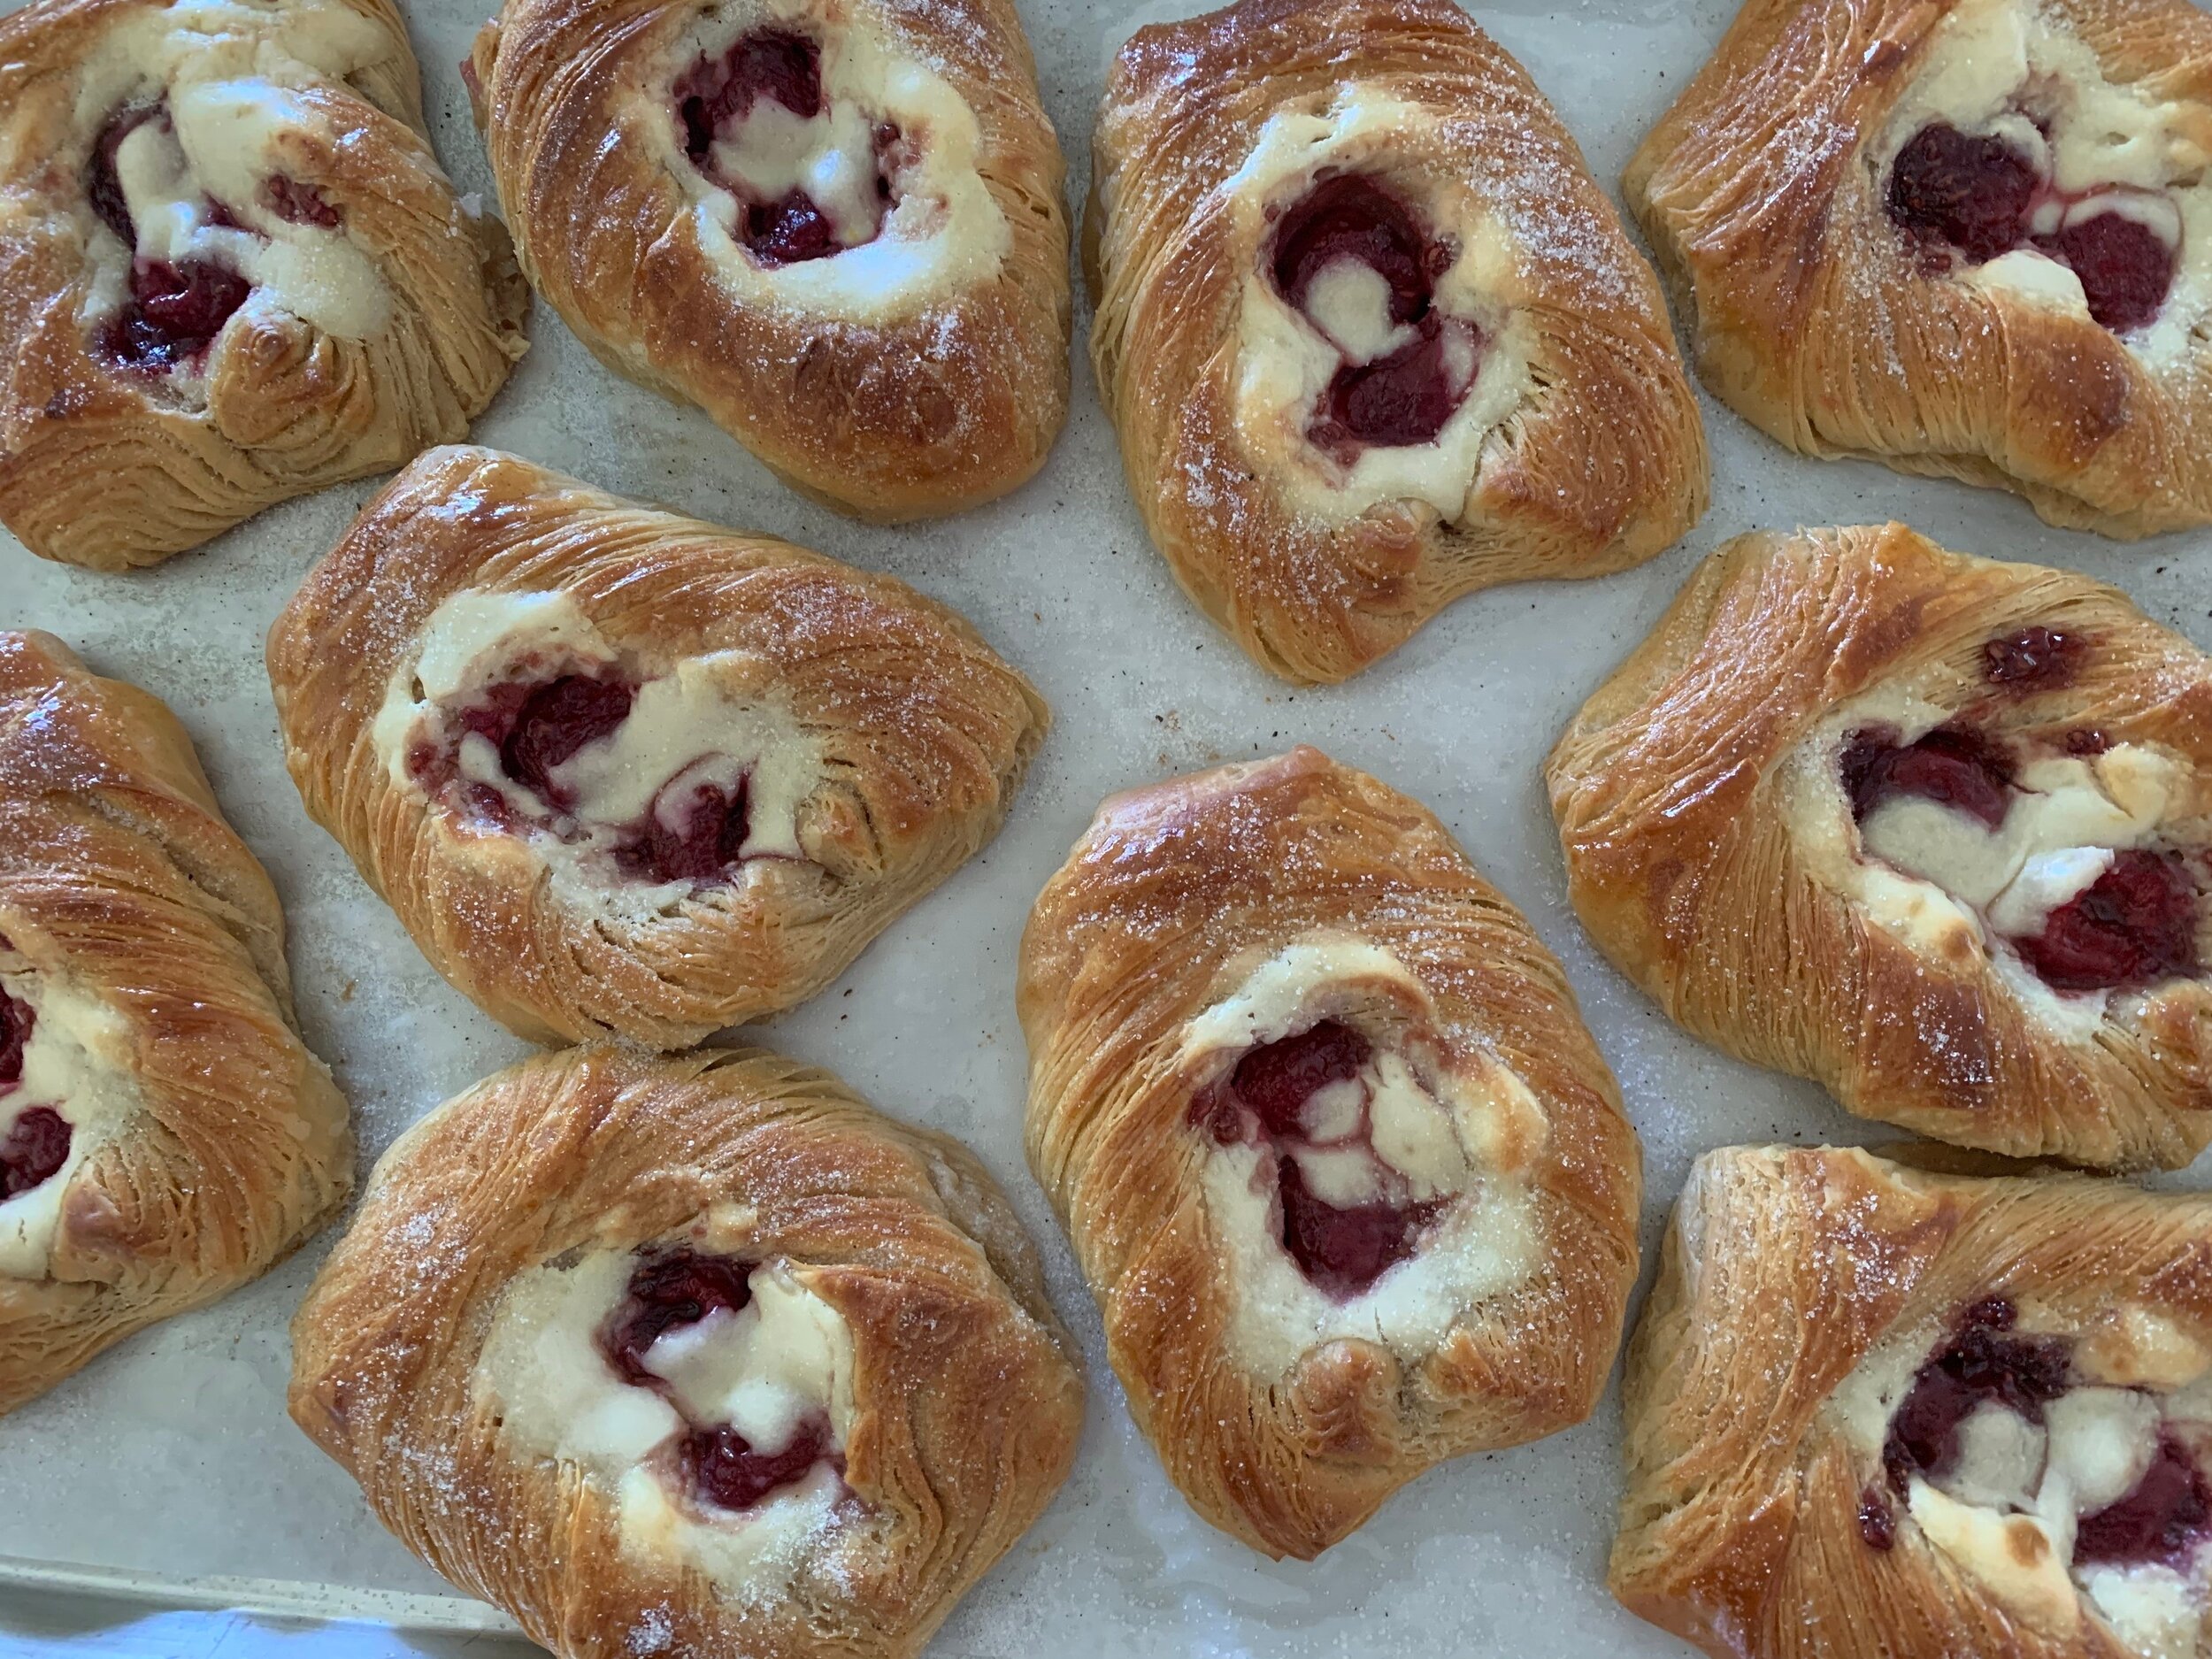
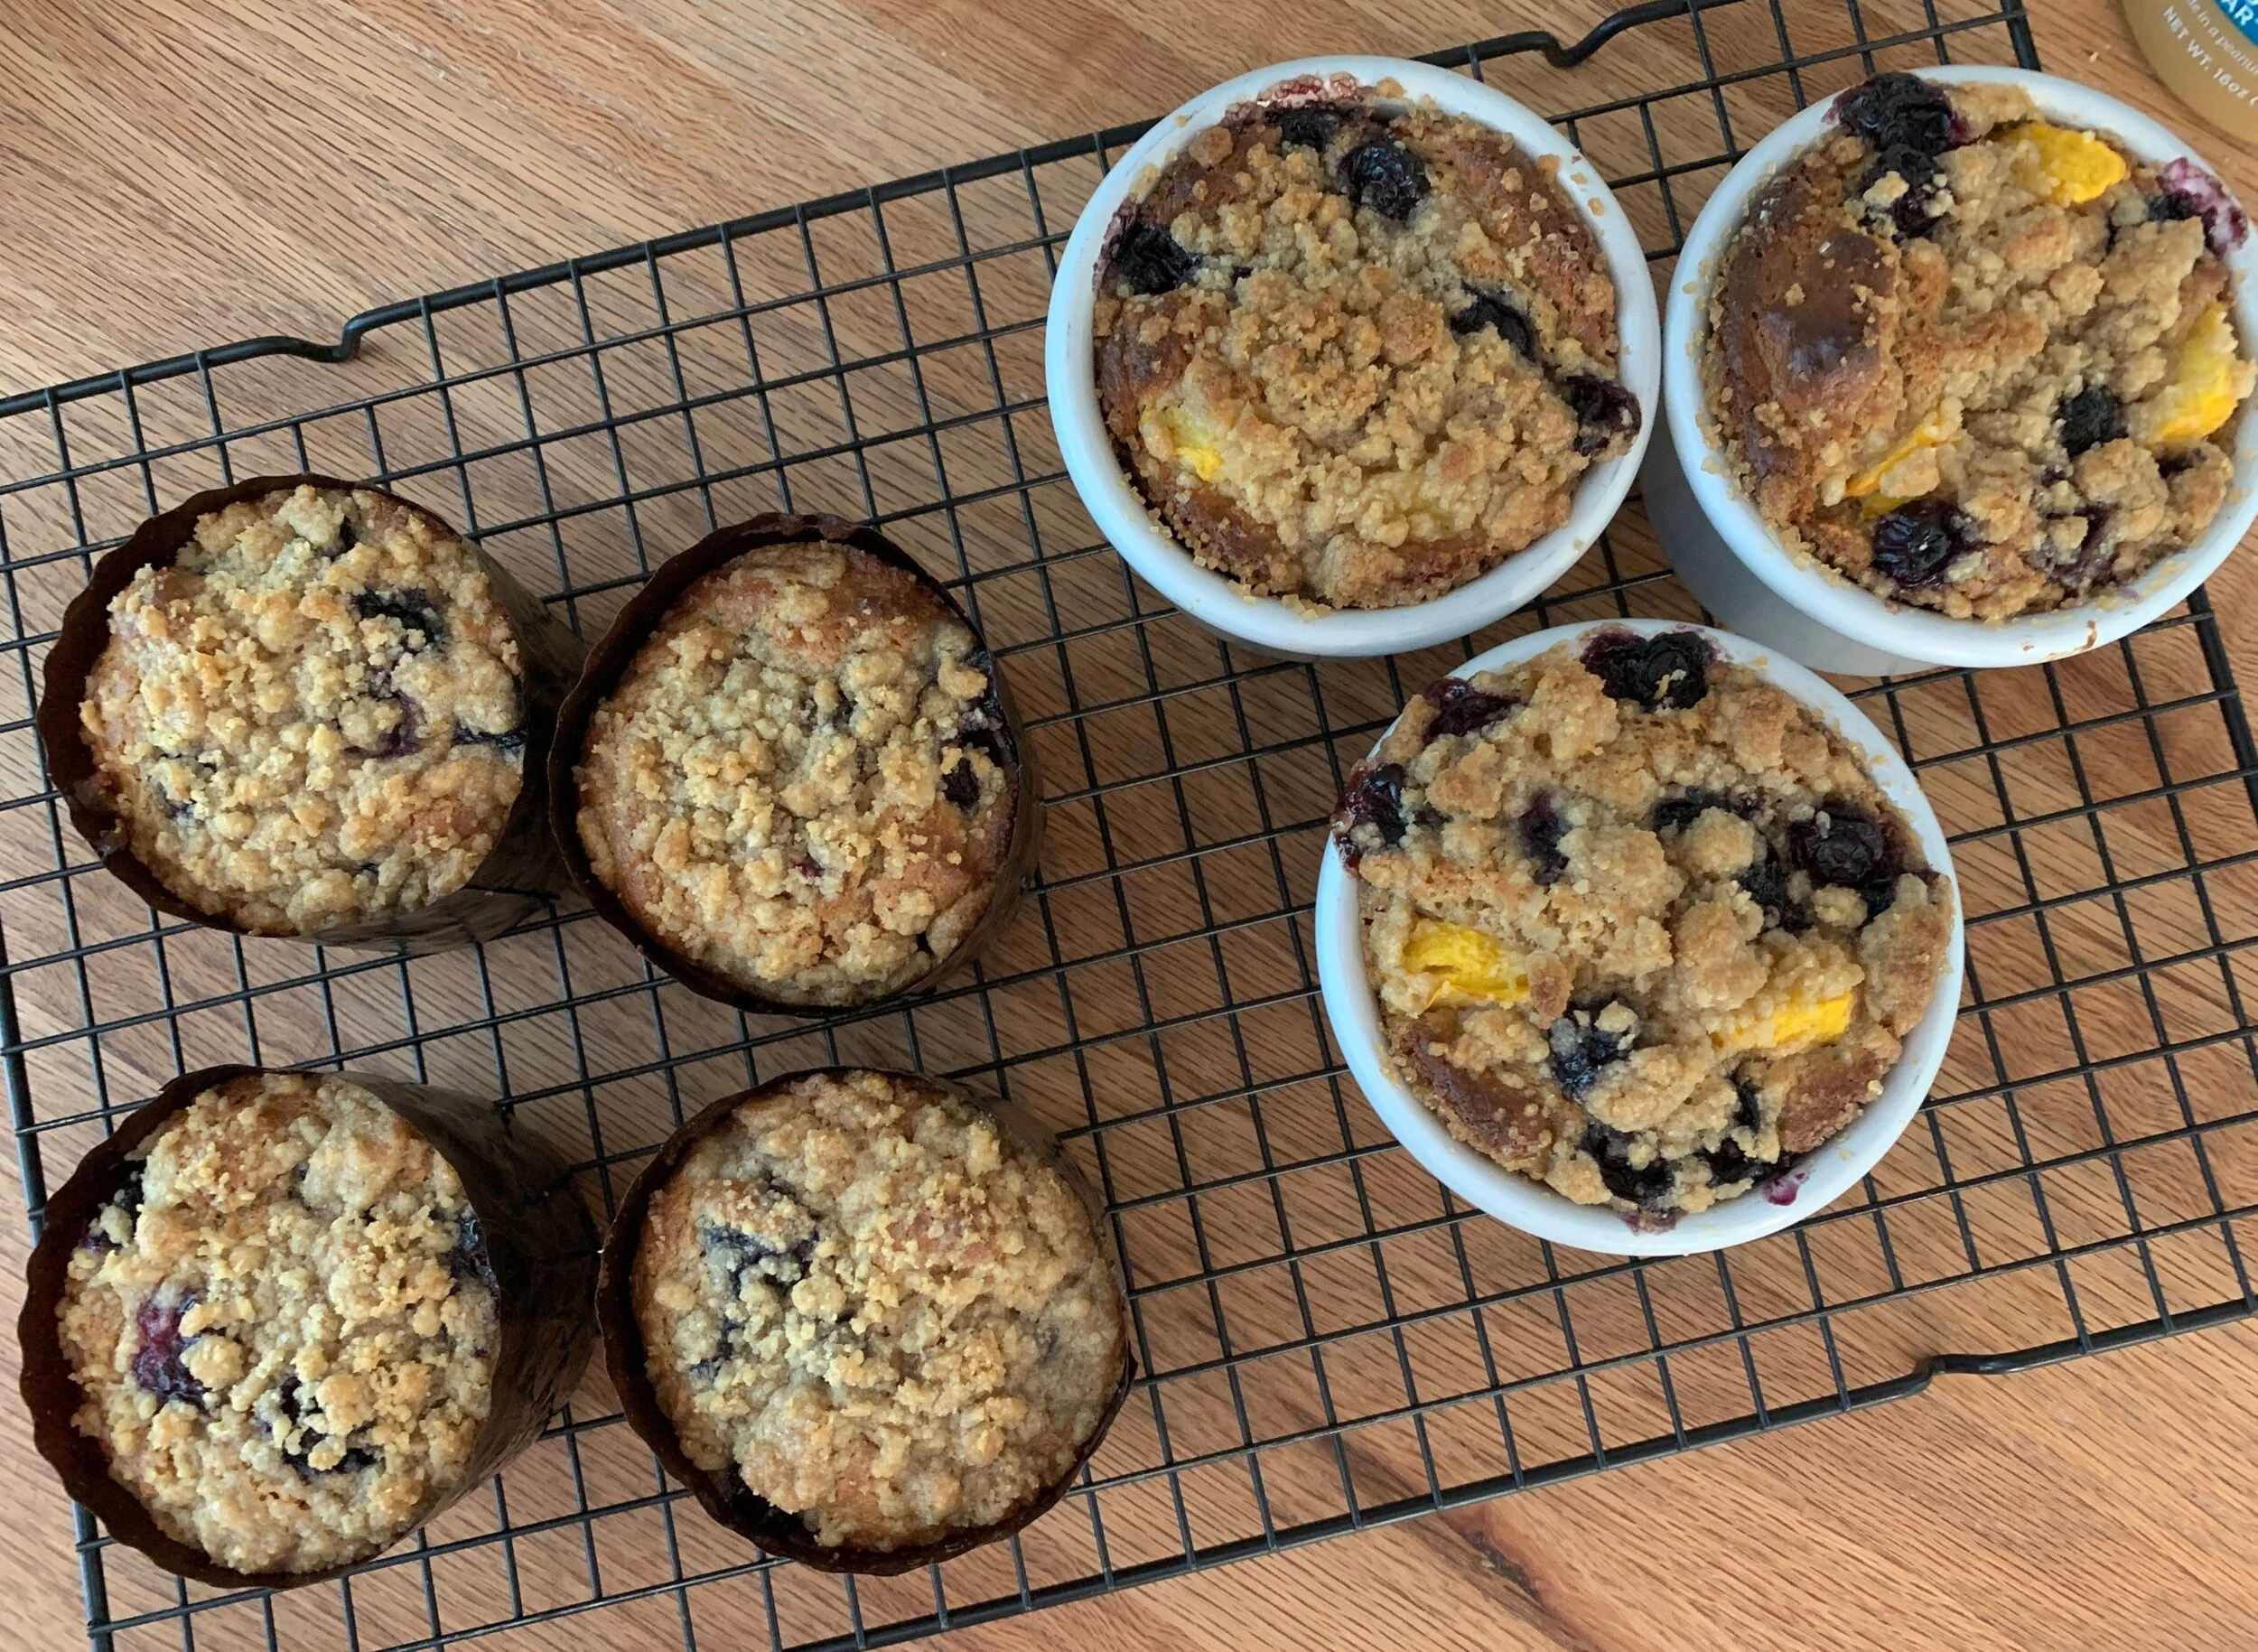
Because it’s still blueberry season I had an itch to make Joanne Chang’s maple blueberry scones again too. Boy they’re good!!

I scoop them out in a more petite version than Joanne does. Lightly glazed, a cross between a scone and a muffin, the texture is wonderful. Best of all they hold up to a couple of days’ shelf life wrapped loosely in parchment paper at room temperature. A short 10 second microwave warm up is just the ticket before enjoying. They freeze well too!

Our neighbors were getting ready to drive their daughter up north to return to school so I gave them a fresh boxful for the road. Another neighbor is recovering from an injury so guess what - she was also a recipient.

Of course I did keep a couple on hand for morning coffee and savored every bite.

Summer marches on and I’m dreaming of cooler weather and autumn days bustling in the kitchen. Can’t wait!

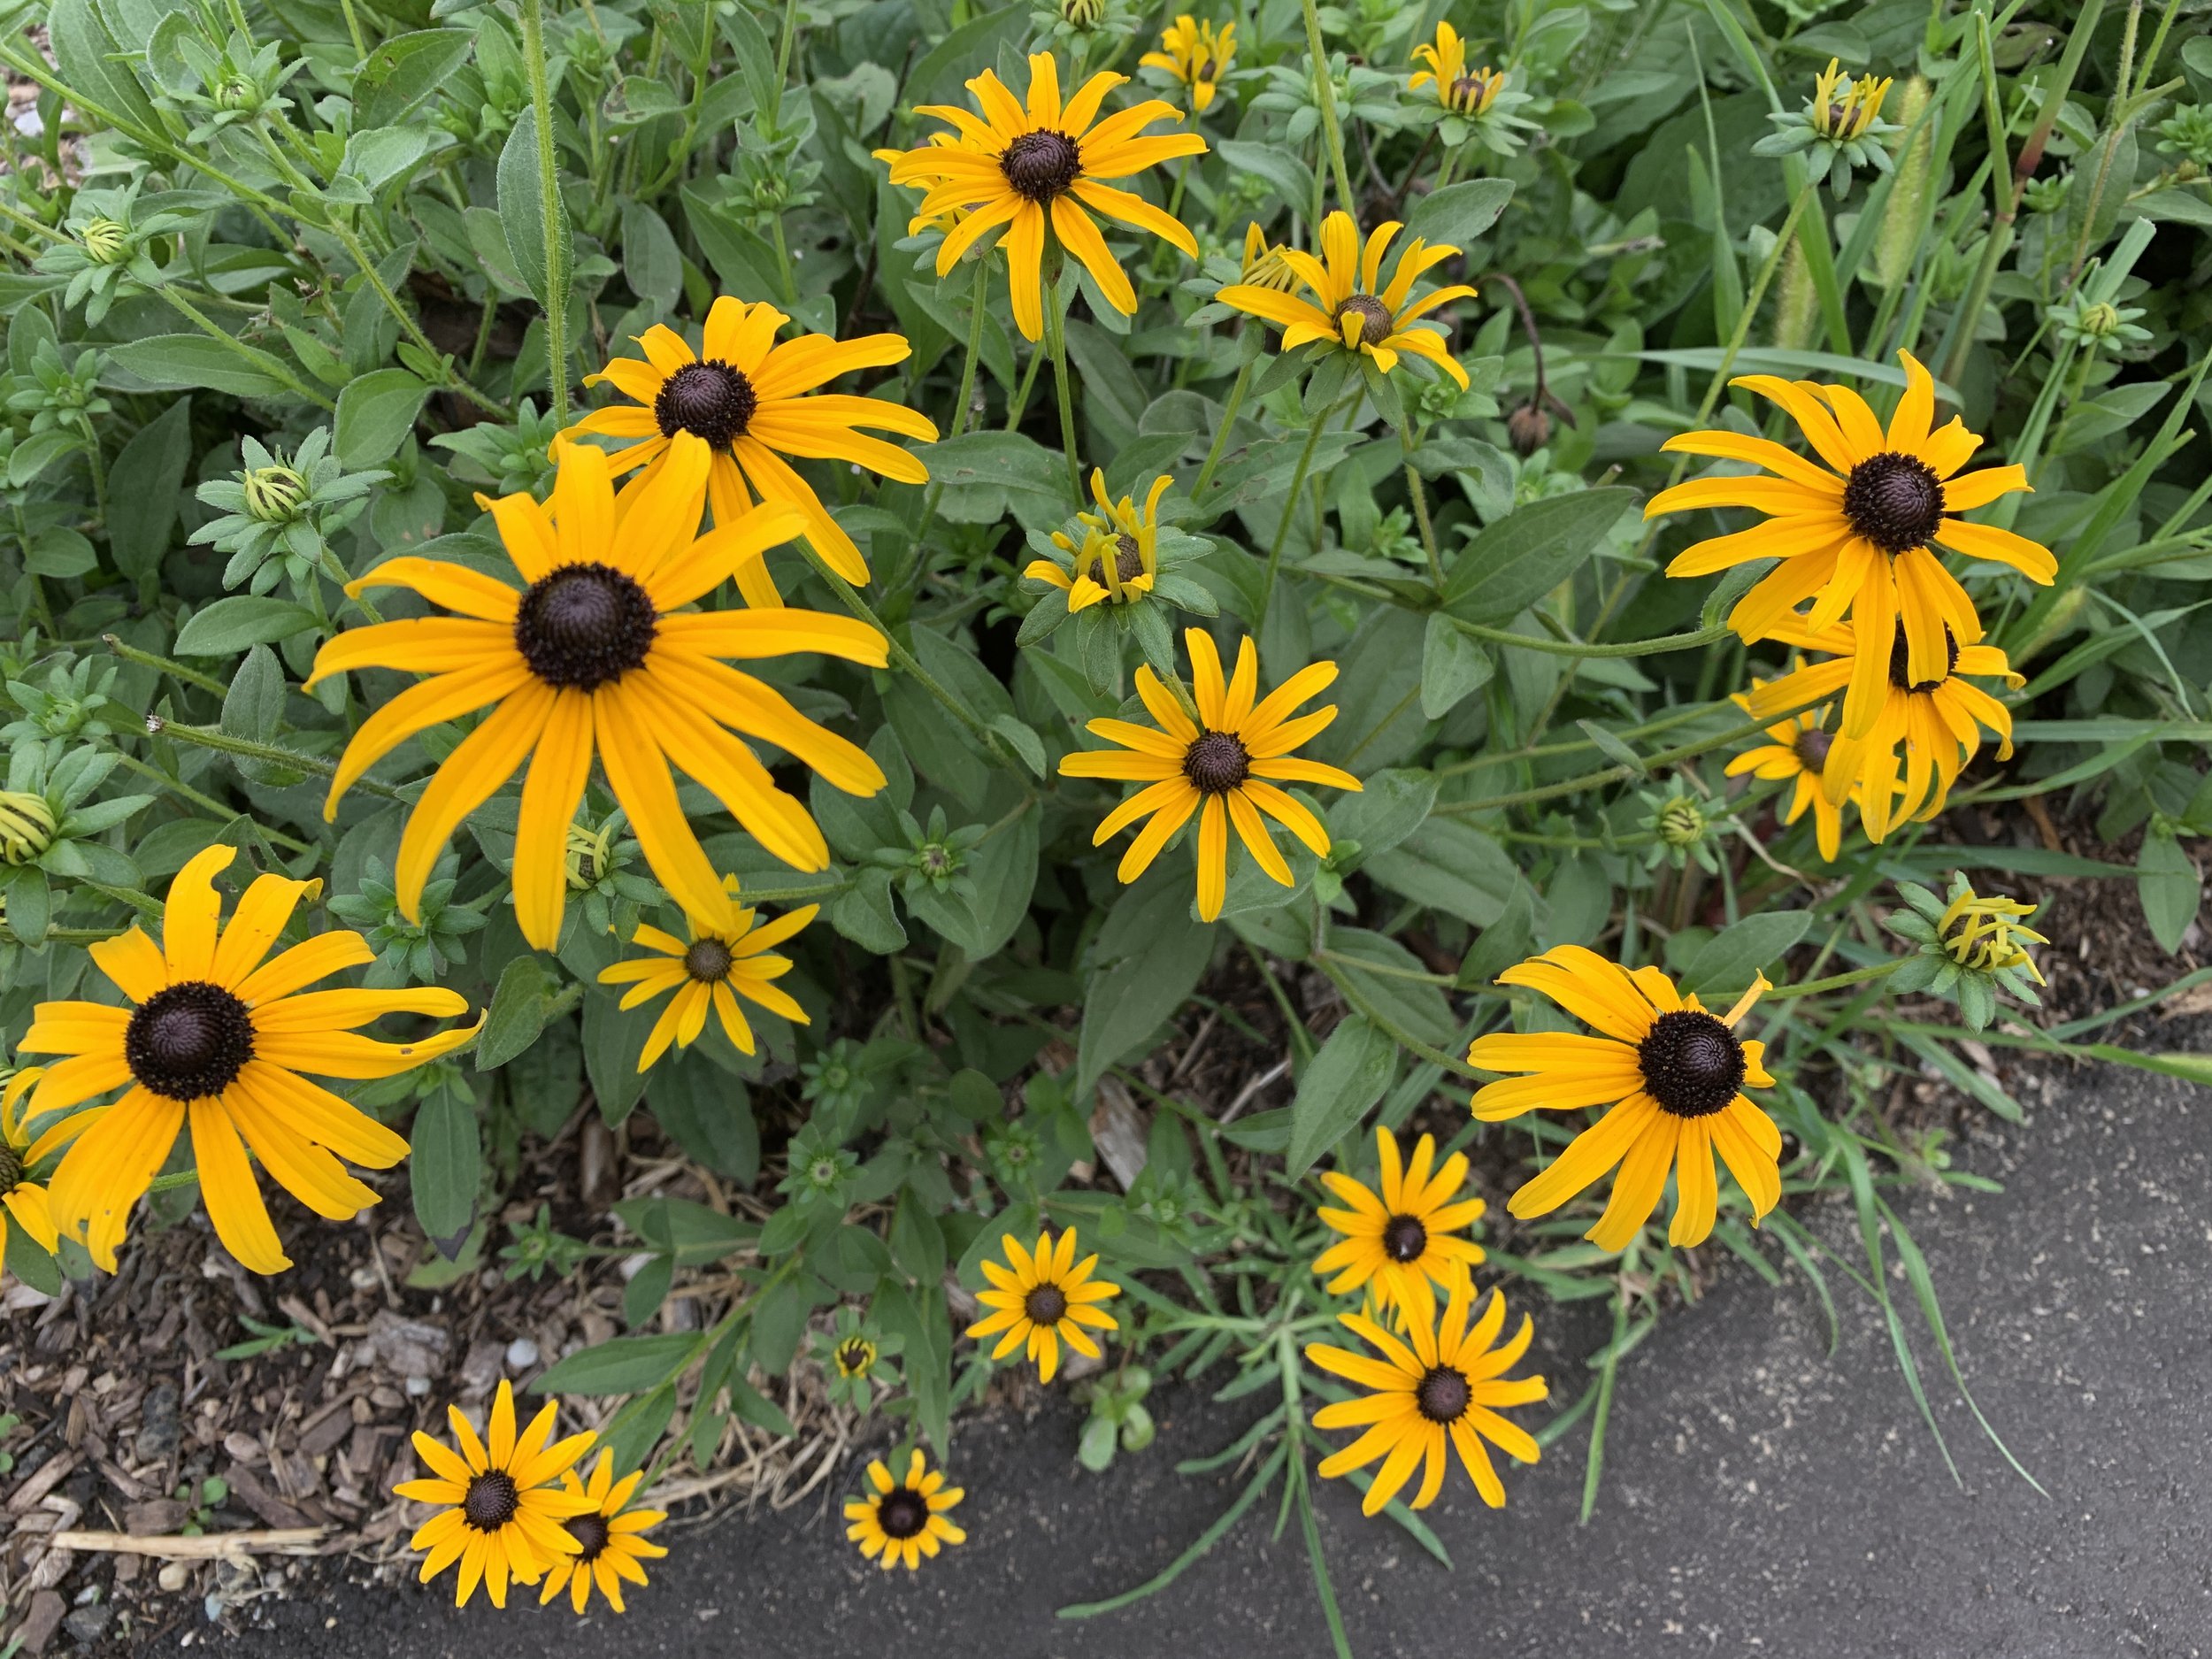
Black-eyed Susans along the walking path

Puttering in the kitchen in August

Raspberry cream cheese Danish

Raspberry cream cheese Danish

I first published this post a few days ago but I’ve broken out the blueberry scone section into it’s own post and edited this one. So, if you saw it the first go-around, it’s different now.

We’ve had some touch of autumn days (which I LOVE!) but also some heat and humidity coming back in which doesn’t typically inspire one to do much baking. Even so - I still manage to get some quality kitchen time in. Gotta do it.

The raspberry Danish above are a result of tweaking and finalizing my Danish dough recipe mentioned in the recent Swedish cardamom bun post. So delicious!

Following are a few more visuals of some of the things I’ve been doing lately. I stumble across recipes that either get my attention or not, but those that might incorporate a different technique or ingredient are the ones that I put on the to-do pile.

Please enjoy the pics and dream of the things you might create!

First these blueberry scones are from a NYT article by Dorie Greenspan on Joanne Chang’s (of Boston’s “Flour” fame) recipe. Here’s a more fleshed out post on these. You should give them a try!

Maple glazed blueberry drop scones

Maple glazed blueberry drop scones

Next up - dukkah shortbread. I’ve been wanting to do this for awhile now. Dukkah is a middle Eastern and Egyptian concoction made with toasted nuts, herbs, seeds and spices that are coarsely ground and used in marinades or as garnish for soups, salads, meats, veggies or whatever you want really.

There are LOTS of recipes. Just Google it. I used pistachios and hazelnuts, sesame seeds plus cumin, coriander, fennel and sea salt. I blended about 75 g of the mixture into my base shortbread dough made by blending 75 g sugar (consider half or all dark brown sugar here to add some caramel notes to the nuts and spices) with 200 g unsalted room temperature butter; blend in 250 g all purpose flour (or use 60 g whole wheat pastry flour and 190 all purpose) along with the dukkah . Wrap, chill at least an hour, then roll out and cut shapes of choice. This is good. Sweet and savory. I might leave the fennel out next time and add almonds into the mix.

Dukkah shortbread cookies

Dukkah shortbread cookies

Individual cobblers are fun. These are made with fresh Michigan peaches and blueberries. Great with vanilla ice cream of course.

Individual peach blueberry cobblers

Individual peach blueberry cobblers

Financier batter is simply ripe with flavor possibilities.

Coffee walnut streusel financier

Coffee walnut streusel financier

Next up - these maple almond butter cakes are from a recipe on the underside of the foil lid on Siggi’s yogurt. I don’t keep flax meal on hand so I used almond flour instead. Other than adding a bit of almond butter to shortbread dough in the past, this is my first foray into baking with a significant amount of almond butter. Let’s just say I could get used to it.

There are many brands out there - Justin’s is a popular one. I used “Barney Butter” and have since purchased a roasted almond butter from my favorite almond paste supplier Mandelin. I’m looking forward to trying it.

IMG_1294.jpg

I made these twice. It’s an easy mixing process. The first time with some blueberries and/or peaches tucked on top before baking plus a basic crumb top. Two different sizes - 3” Fat Daddio aluminum pans and smaller panettone papers. One of the 3-inchers went to my mom for her birthday.

IMG_1222.jpg

The second time I used one of my favorite silicone muffin molds, didn’t add fruit but made a delicious almond streusel topping.

IMG_1259.JPG

I will say these are growing on me. They have very little sugar in them compared to many muffin recipes (1/4 cup maple syrup and just a couple tablespoons of brown sugar) so at first bite they seem to fall flat on the taste buds yet . . . . the texture and overall experience is nice, and they seem right somehow. Even Steve said so.

Drizzling some maple syrup or honey on before eating is an excellent addition. The fruit version definitely beats the non fruit and with that added almond streusel . . Yum. Methinks a nice dollop of jam in the center of each before baking would be great too. Next time.

A look ahead - even though it has taken me a seemingly endless amount of time, in addition to putting the final touches on a new brioche feuilletée post, I’ve started the draft for a baguette project piece as well. I love sharing details of processes and steps but that also means I spend a lot more time reviewing and comparing in order to offer a reasonable summary of whatever it might be. At any rate, after 24 weeks of essentially being home, each day brings a different vibe to our lives.

Happy baking, be reasonable and don’t forget that periodic deep breathing helps too.

Soon we’ll be deep into official “baking season”. Love it.

Summer fruits galette/spelt pâte brisée

IMG_1249.JPG

This time of year when the farmer’s markets are teeming with fresh fruits and produce, a rustic galette is just the ticket for a delicious summer dessert. Think cherries, peaches, plums, berries (red, blue and black), and currants too! Steve and I love our local Fulton Farmers Market and make at least a weekly visit for our favorite seasonal goods.

IMG_1251.JPG
IMG_1253.jpg

Even though our socializing has been curtailed and we’ve been at home for the majority of our time in the last five months, every now and then we get out to Clear Lake to see cousin Jen and her family. What a beautiful spot to enjoy an outdoor meal and of course each other’s company. We provided grilled chicken, fresh green beans and corn while Jen had some deelish nibbles, crusty rolls, followed by vanilla ice cream to accompany the fruit galette. Yum indeed. Thanks Jen, Scott and Claire!

IMG_1238.jpg

In France a fruit galette (crostata in Italia) is a rustic tart - no tart pan or ring, just a rolled out round of dough topped with a mound of fresh fruit then baked to golden crust perfection. I’ve written about galettes before but it’s always fun to revisit an old friend.

Planning ahead, you can certainly make your dough days or even weeks before, wrap it well and freeze it until you need it. Think about that when, before you know it, the fall and winter holidays will be upon us. What better way to be prepared for the pies or tarts you hope to serve for Thanksgiving dinner or holiday suppers/gatherings than to have your dough already made. Yippee!

For this one I used my favorite pâte brisée recipe but substituted 60 g of spelt flour for 60 g of all purpose flour. What a buttery, flaky, edge-of-nuttiness and melt-in-your mouth dough this is!

I’m a big fan of Bob’s Red Mill specialty flours. While I use King Arthur flour for my all purpose, bread and general whole wheat needs, the wonderful array of BRM’s offerings available on my local grocery store shelves allows me easy access to some of my faves like whole wheat pastry flour (sadly hard to find during this pandemic!), spelt, and semolina, plus non-wheat options like rye, cornmeal, rice and oat flour, potato and tapioca starch just to name a few.

IMG_1256.jpg

For this galette I used about 300 g of dough for a finished size of about 9 inches. On a lightly floured surface roll the dough into a rough ~ 12-inch round about 1/8 inch thick. Check out the butter marbled throughout and the speckling of spelt in the photo below - I love that.

Remember to work with your dough cool - if it becomes warm and the butter squishy, it’s time to pop it into the fridge or freezer for 10-15 minutes to firm things up. You’ll be happy you did. Once your dough is rolled out to your satisfaction, place it on a parchment lined sheet pan and hold it in the fridge while prepping your fruit.

Heat the oven to 425ºF.

IMG_1231.JPG

I used a total of 5 cups of fruit including sliced peaches and yellow bubblegum plums, blue/red/blackberries tossed with about 1/3 cup sugar, 2 to 2.5 tablespoons flour, a squeeze of fresh lemon juice and a pinch of salt. I follow that ASAP with assembly so my fruit mixture doesn’t get too juicy.

To provide a bit of anti-soggy protection to the crust I blend a tablespoon or so each of either all purpose or almond flour and sugar. Sprinkle that over the crust, leaving about a 2-inch border. Have at the ready a couple tablespoons unsalted, diced butter to dot on top of the fruit and some milk or cream and raw sugar for the edges.

IMG_1232.jpg

Now mound that pile of fruit in the center, again leaving about a 2-inch border. Notice I’m doing my assembly ON the parchment lined sheet pan rather than my work counter so as to avoid having to lift the filled/shaped galette onto the sheet pan. Yup, it’s all in the details folks.

IMG_1233.jpg

Pleat the dough up over the fruit and, once you’ve made it all the way around, cup your hands around the edges and give everything a firm squeeze to set your dough in place. Dot with butter, brush milk on the dough edges and sprinkle with raw sugar.

Pop the whole pan into the freezer for 10-15 minutes to firm up the butter and set the dough even more.

IMG_1234.jpg

Bake on the bottom rack for 10 minutes, turn the oven down to 400ºF and give it another 10 minutes. Move the sheet pan up to the middle rack, decrease the oven temp to 375ºF and bake another 15 minutes, periodically checking for the degree of browning. You want to see the fruit bubbly and the edges golden brown. If needed, go another 5-10 minutes. All in all I usually plan on a total baking time of 40-45 minutes for this size galette. Remember - in your oven it may be a bit more or less.

IMG_1236.JPG

Have fun creating your own mixture of fresh fruity goodness for a delicious summer fruits galette - you can do it. Absolutely!


Oranais aux pêches

IMG_4229.JPG

Kinda looks like a double yolked fried egg, eh?

As we step ever so eagerly into prime baking season and autumn flavors like apples, pears, nuts, caramel, coffee, chocolate and pumpkin, here’s a farewell nod to the delicious summer fruits of west Michigan. Desirous of doing something a bit different, I opted for my own peach version of oranais.

So what is oranais you might ask? A traditional pastry made with either puff pastry or croissant dough, it’s created with a combination of pastry cream and apricot halves. It may go by a different name in various parts of France, e.g. lunette aux abricots, croissant aux abricots (en Bretagne) or abricotine (sud de la France).

My research revealed that it reportedly originated in Algeria in and around the port city of Oran - hence the name oranais. Did you know that Algeria is fourth in apricot production in the world? And let’s not forget that Algeria was once governed by France so there’s still a huge French influence there, both culturally and culinarily (is that even a word?). By the way, here’s a little historical tidbit for you - Algeria gained it’s independence from France on July 5, 1962.

During our various trips-to and stays-in Paris over the years, oranais is always on Steve’s radar - he loves those sunny beauties!! Frankly they’re not often found in the many pastry shops around town so one has to keep an eye out for a good one. At Le Cordon Bleu Paris we made them with croissant dough, and those that we’ve found in Parisian pâtisseries have been made that way as well. However my online research found that many recipes call for puff pastry.

I decided to give it a go with both. Oh boy!

Since puff is not yeasted it’s more straight forward in its handling - no worries about the dough bubbling and puffing up during the rolling, cutting and shaping. I rolled my puff to about 6-7 mm (~1/4”) thick and cut 80 mm (3 inch) squares.

IMG_4203.jpg

The rolling out, cutting and assembly process is the same for both puff and croissant dough. Using a classic pastry cream, pipe a line diagonally across the square, place two rounds of fresh peach near opposite corners and bring the other two opposite corners up and over, sealing with egg wash. Sort of like a chubby bowtie.

IMG_4220.jpg
IMG_4221.jpg

Remember - puff doesn’t have to rise before baking, whereas with the croissant dough version, give it a 45-50 minute (give or take) rise. I topped the shaped/risen croissant version of oranais with an additional blob of pastry cream and some peach jam in the hopes of keeping the corners together during their time in the oven.

IMG_4225.JPG

Bake at 400ºF for about 20-25 minutes until the pastry is golden brown.

Puff result

Puff result

Croissant dough version result

Croissant dough version result

Once out of the oven brush with a vanilla simple syrup or some apricot glaze and let cool.

During the bake there was definitely more slipping and sliding of the pastry cream and peach in the croissant dough version. I had to keep pushing the peach rounds back onto the dough in my attempts at keeping things together.

As for the taste test (the best part, especially for Mr. Steve), we actually preferred the puff version. The flaky pastry and creamy, peachy combo was oh so delicious.

Of course, the croissant version was pretty good as well. After all, anything made with croissant dough is usually a winner.

Bottom line - going forward I’ll be making my oranais with puff. Yes indeed!

Ice cream! Glace aux pêches, chocolat-amande, framboise-fraise, noix de coco-citron vert

Summer has certainly been in full swing and what better way to enjoy the season than to make some homemade ice cream. Absolutely!

I was on a major roll with this project, that's for sure. Part of it was spurred on by the fresh peaches and berries available at our favorite Fulton Farmer's Market.

Another part of it was the realization that family was coming to visit for my mom's 90th birthday celebration. Having several flavors of ice cream in the freezer seemed like just the thing for any impromptu dessert needs.

I've mentioned in previous posts that I've been using an ice cream base recipe from David Lebovitz for many years now. It's so straight forward and allows one to come up with all sorts of flavor options. He talks about infusing flavors, add-ins before the churning step and mix-ins at the end. SO GOOD.

The base contains 2 cups cream, 1 cup milk, 5 large egg yolks, 155 g sugar and a pinch of salt. The preparation method is that of a basic crème anglaise, cooled over an ice bath and then refrigerated for some hours or over night until ready to process. I love making the bases a day or two ahead so they can cure and thicken in the fridge, plus I have two canisters for my Cuisinart ice cream maker always at the ready in my freezer. Bring it on!

Peach was definitely at the top of the hit list.

When incorporating certain fruits in ice cream there's the possibility that the end result may be a bit icy. David suggests peeling and slicing the peaches, cooking them until they're nice and soft then puréeing them. I added just a whiff of sugar and a splash of lemon juice to what started out as a pound-and-a-half of peaches (before the peeling/pitting and slicing) and was very happy with the end result. Once my chilled base was ready to process, I blended in the cooled peach purée and churned away.

The peach flavor comes through nicely in this creamy, fresh summery treat. I served this one with my from-scratch angel food cake (YUM!) and some sliced fresh peaches. How can one go wrong with that combo?!

Of course it's great on it's own, one luscious spoonful at a time.

Now for chocolate almond, two of the most lovely flavors that one might put together, whether it's in ice cream or some other delectable baked good or chocolate confection.

This version took a little more time since the warmed dairy is first infused for an hour or so with a cup and a half of coarsely chopped toasted almonds. The only downside is that the almonds are discarded after the dairy is strained. Kind of sad.

BUT!! There's hope after all. Next time I'll rinse 'em, soak 'em in water overnight and make my own NUT MILK! I've been dying to try it. And an even more beautiful thing is once the almonds and water are ground and the milk is strained through cheese cloth, the almond meal can be spread out on a baking sheet, dried in the oven and used in baked goods. Now THAT'S a good deal all the way around.

In this case, once the ice cream base is cooked to the anglaise stage, 4 ounces of chopped and melted bittersweet chocolate (at least 60% is recommended) and 1/4 cup Dutch process cocoa are added to the warm mixture before cooling.

In addition, after the ice cream was processed, I mixed in coarsely chopped Ghiradelli 60% chocolate chips and some of my ground almond nougatine.

Now THAT made for a delicious finished version of creamy, chunky delight.

Next up - framboise-fraise!

With this version I prepared the strawberries in a similar fashion to the peaches mentioned above. Hull and cut up about 3/4 pound strawberries, add a couple of tablespoons of sugar and a splash of lemon juice and cook them on the stove top until somewhat thickened and jam-like. Then purée them and chill.

Since I was going for a strawberry-raspberry combo, I also puréed and strained about 8 ounces of fresh raspberries and added them in to the chilled base along with the strawberry purée. Then it's simply a matter of processing to a shear perfection of summery, berry goodness. YES.

Last, but not least, (although this was Steve's least favorite of the bunch, don't ya know!) is coconut lime.

For this version I infused the dairy with 170 grams of toasted coconut and the zest of two limes. After straining, proceed with the usual base prep, chill it over the ice bath and blend in 1/4 cup of freshly squeezed, strained lime juice. 

After churning, this one also got a mix-in of additional crushed toasted coconut to add another dimension to the mouth-feel experience. Quite frankly, in spite of Steve's lack of excitement, I found it nicely lime-y and coconut-y. I gave it a thumbs up.

There's just nothing like homemade ice cream! Now YOU come up with your own favorite flavor combos. You can do it!

Happy summer everyone!

Time for some tarts!

Tarts are my favorite desserts to make (and eat), going back to the days in the late '80s when I became a huge fan of pastry chef Emily Luchetti (then of Stars restaurant).  I used to pour over her book "Stars Desserts" and made many of the recipes, being particularly fond of the macaroon nut and the blackberry streusel tarts.

So, as I spent a fair amount of time in Grand Rapids, Michigan this past July and August, staying at my mom's, I simply had to take advantage of the summer fruits that the orchards of western Michigan produce.  I paid a visit to the Fulton Street farmers market where I scored some Michigan Red Haven peaches (BIG favorite from my childhood) and fresh local blackberries which soon went into a delicious peach-blackberry custard tart for a small family gathering. Deelicious!  Topped with sliced almonds and served with a scoop of vanilla ice cream, it was just the ticket. 

Above: peach blackberry custard tart

When I had a September request for some petits fours tartlettes, I took a break from my La Pâtisserie des Rêves project to turn out some of my favorites - lemon, chocolate ganache and caramel nut.

It's always such a pleasure to return to tart making, especially when the cool, crisp days of autumn are upon us.  Working with the cool, supple dough, lining the tart rings or petit four molds and thinking about those luscious fillings is such a delight.

The beauty of these tarts is the make ahead fillings.  You can even blind bake your crusts and freeze them ahead of time. Just thaw them briefly at room temp, warm in a 325º oven for 5 minutes to crisp up, then cool and fill.  As usual, it's all about the planning.

I've tried many lemon curd/lemon cream tart fillings over the years, always in search of the perfect one.  All can easily be made a couple of days (or more!) ahead. I normally prefer a classic pucker-y lemon curd, although this time I used a riff on Pierre Herme's (complements of Dorie Greenspan) lemon lemon cream.  It’s oh so smooth and lemony, especially garnished with a dollop of light, whipped lemon mascarpone and a fresh raspberry. 

Above: lemon cream tartlettes

The ganache tart filling (3 parts cream to 2 parts chocolate with a bit of butter added) also keeps extremely well in the fridge.  The day you wish to assemble the tart, gently warm the ganache over a bain marie to liquefy it before you pour it into a blind baked chocolate crust and allow it to set.  I garnish mine with my own chocolate cookie crumbs.

Above: garnishing the chocolate ganache tartlettes

For the caramel nut tart I toast a combination of almonds, pecans, walnuts, pistachios and blanched hazelnuts before coarsely chopping them and folding them into a caramel filling made with butter, honey, brown sugar, sugar and a little cream and vanilla extract.  The mixture is put into a blind baked pâte d'amandes crust and popped back into the oven until the filling is bubbly. Steve describes this one as the best "payday" he's ever had (and it doesn't even have peanuts!)

Above: caramel nut tartlettes

And now - leftovers!!  When making petits fours tartlettes, make plenty of filling so you'll have components on hand to create additional goodies for friends or family.  It's a great way to plan ahead for an upcoming dessert occasion.

Here are just a couple of ideas.

Lemon semifreddo -  freeze the leftover lemon cream in silicone flexi-molds or a plastic wrap lined loaf pan.  At serving time either pop them out of the flexis or turn out of the loaf pan and slice - great with fresh fruit, perhaps a little berry coulis and some lovely shortbread.

Caramel nut truffle tart - blind baked pâte d'amandes, layer of caramel nut filling with chocolate ganache poured over.  A definite keeper!

Above: the components

Above: pouring the ganache over the caramel nut filling

Above: ready to chill with some nuts peeking through

And finally, a summer reminder - the classic fresh fruit tart with crème pâtissière filling.  Ahhhhhh.

Ciao for now!