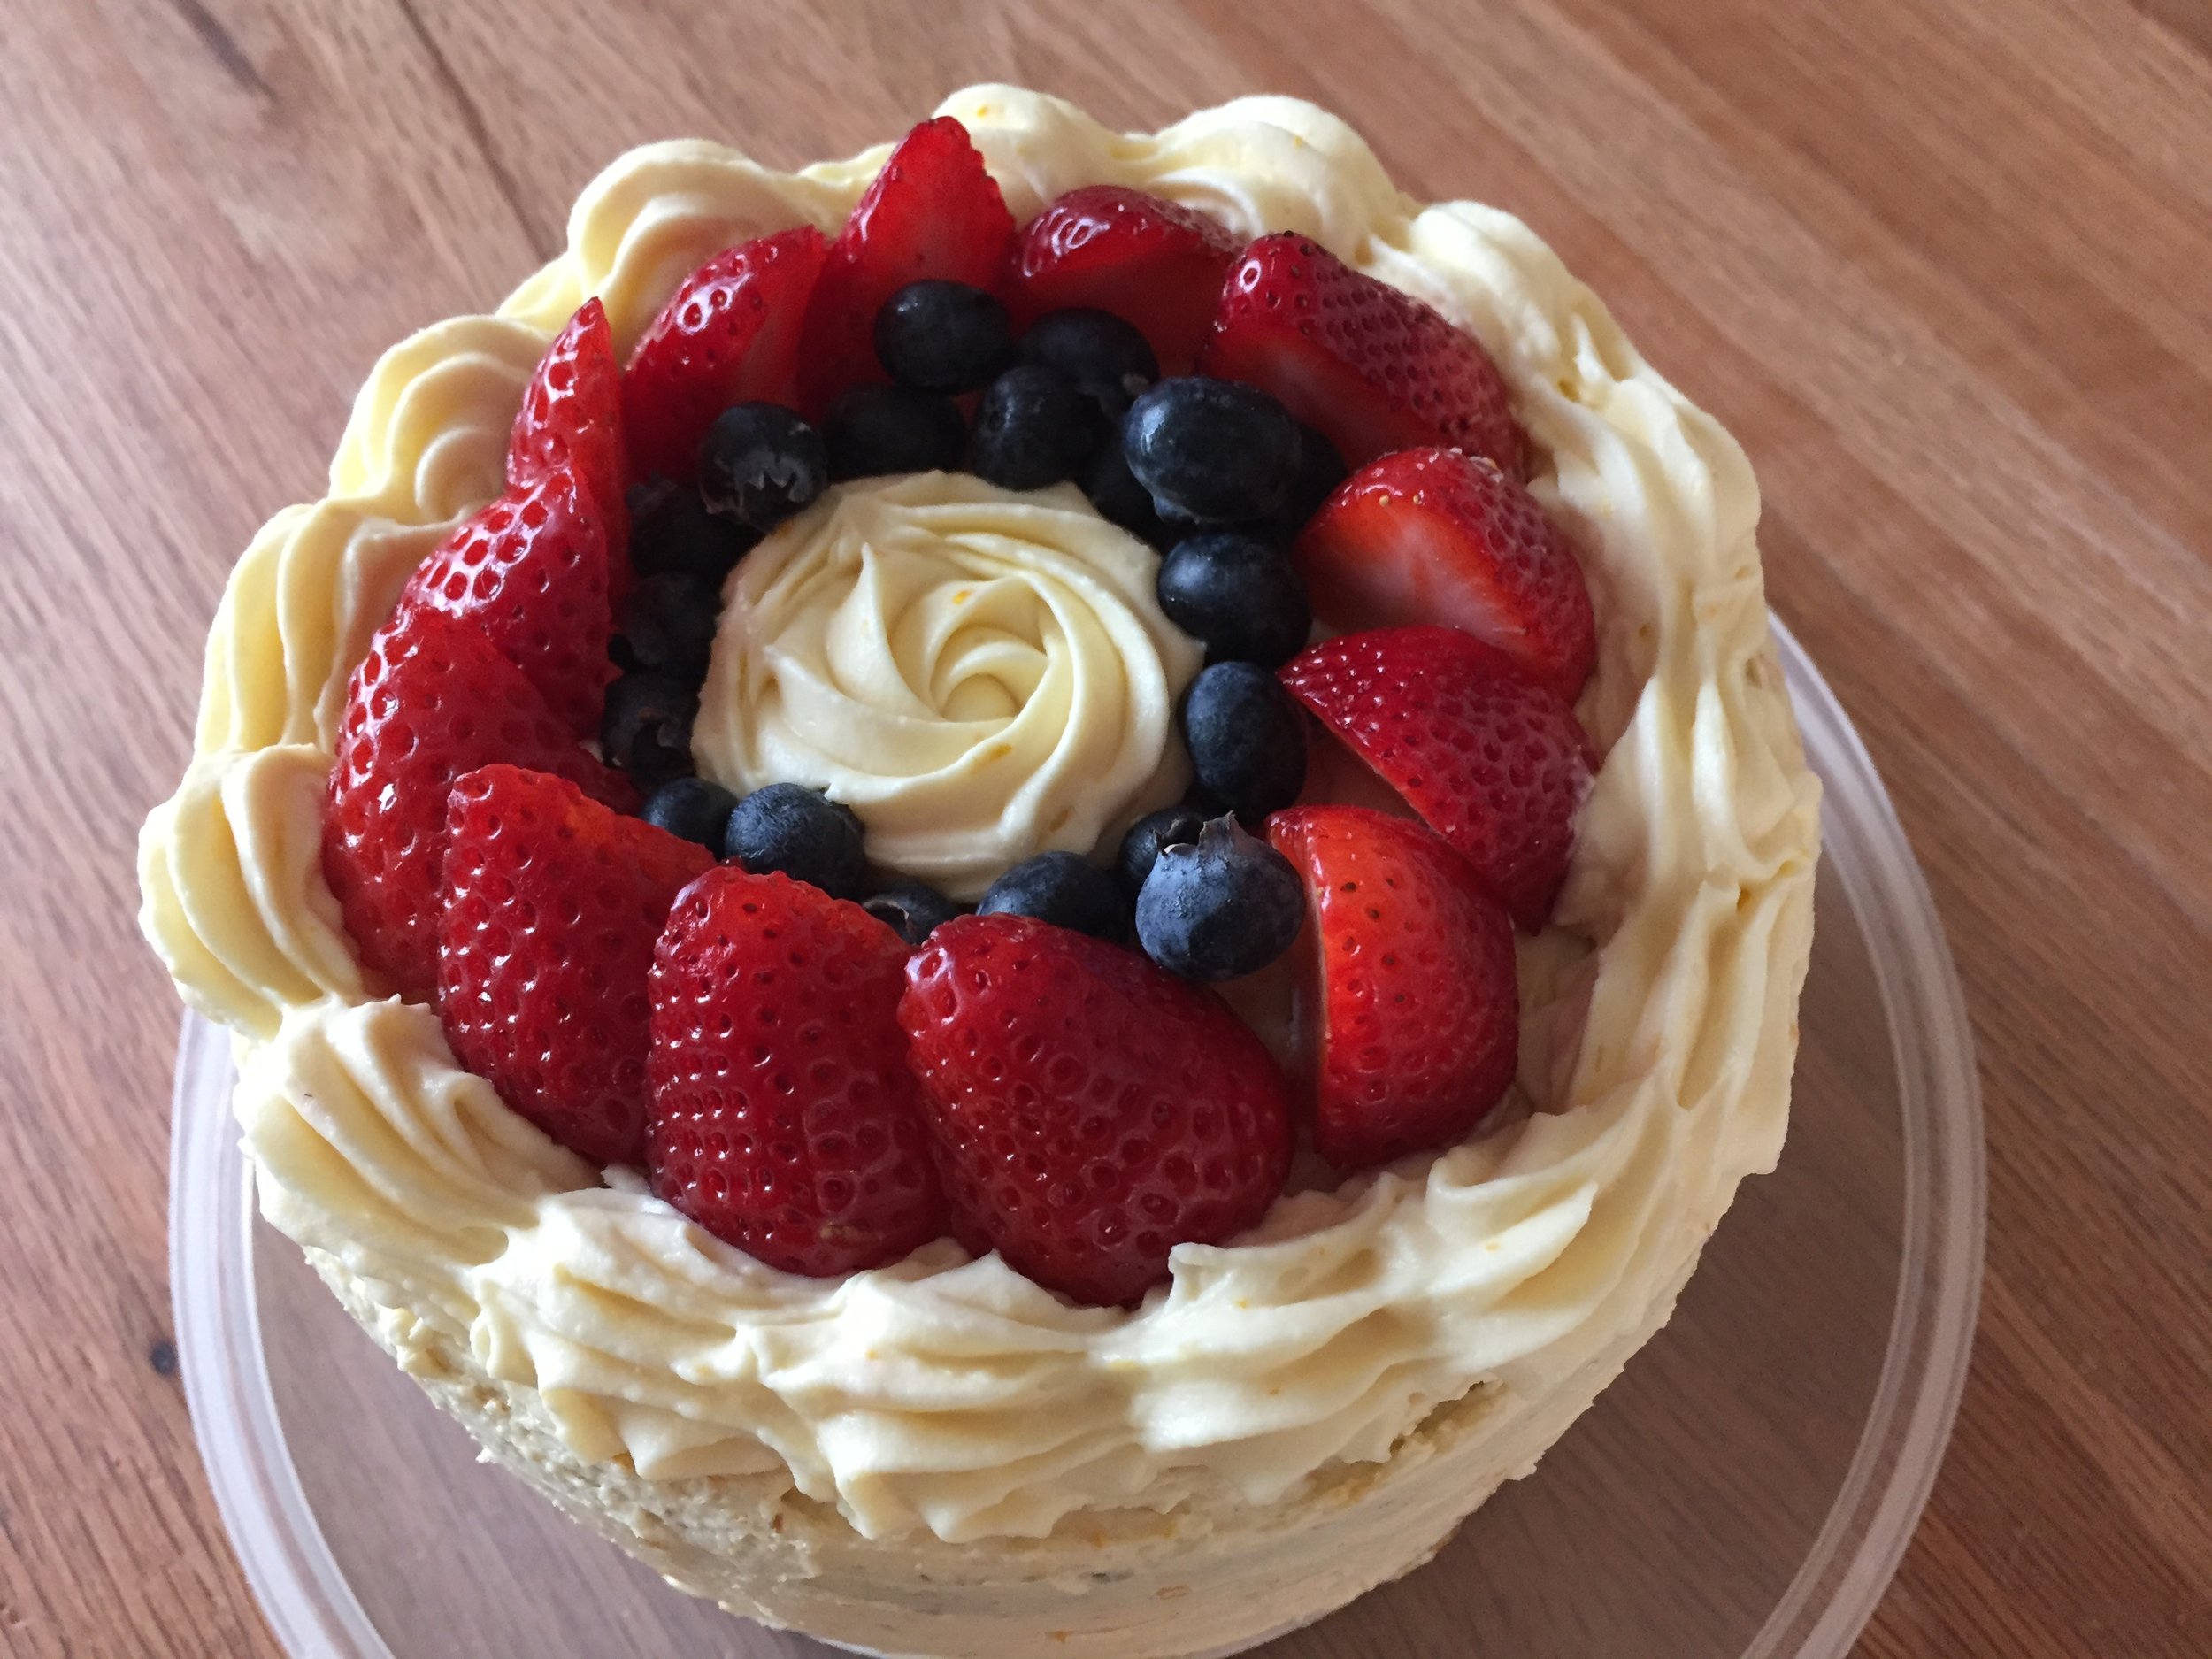
Strawberry shortcake

IMG_4051.jpg

Recognizing the fleeting yet delicious strawberry season here in west Michigan I just had to share a little something with you on June’s quintessential summer dessert - strawberry shortcake.

IMG_4045.JPG

What a difference between the often gargantuan looking engineered strawberries that we get from California and the smaller, succulent and so tasty berries from our local growers. Oh my.

California vs. Michigan

California vs. Michigan

Whether you like yours assembled with a crumbly scone/shortcake/biscuit or a wedge of angel food or sponge cake, with lightly sweetened whipped cream or a scoop of chilly ice cream (think vanilla, strawberry or pistachio!), it’s definitely a seasonal favorite.

The spring board for this off-the-cuff post was a shortcake made recently during a teen’s summer culinary camp session at Sur La Table where I teach baking and pastry classes. The recipe is very similar to my usual scone recipe with a couple of tweaks: more cream and no egg. The result, especially warm from the oven, has just the right crispness on the surface and a dense yet light melt-in-your-mouth texture inside. Yum. Yum.

And ya wanna know the cool part? The dough is made in the food processor! I’m here to tell you that I’ve been a staunch “by-hand” scone and flaky pie dough maker for a long time without the need (or desire) for gadgets. Give me a simple dinner fork, bowl scraper, bench scraper, small offset spatula, paring knife, silicone spatula for many dough mixing and bench top projects and I’m in heaven.

Ahhh . . . . but wait. I am now on the best of terms with the food processor for those flaky doughs made with cold cubed butter - quick pulses and voilà! Think your best pâte brisée, quick puff pastry, buttery scones and biscuits - all of ‘em!

IMG_4050.jpg

Here’s the shortcake recipe:
1. Heat the oven to 425ºF. Have a parchment lined sheet pan ready.
2. Cube 113 g (1 stick/4 ounces) cold unsalted butter and hold it in the freezer until ready to mix.
3. Have one cup of cold heavy cream standing by in the fridge.
4. Place 260 g (2 cups) all purpose flour (or 60 g whole wheat pastry flour + 200 g a.p. flour), 50 g (1/4 cup) sugar, 8 g (2.5 teaspoons) baking powder and 1/4 teaspoon fine sea salt in the bowl of a food processor. Pulse it a couple of times to mix.
5. Add the cold cubed butter and pulse briefly several times to break it up - you WANT pea to pecan-half size pieces of butter left!
6. Add the cream and pulse again briefly several times just until the dough comes together.
Turn the mixture out onto a lightly floured surface and lightly squeeze any clumps together. Don’t overwork. Form a 4”x8” rectangle and cut 8 squares.
7. Place the squares on the prepared sheet pan, brush tops with cream and sprinkle with coarse sugar. Place the sheet in the freezer for 10-15 minutes then bake about 15 minutes until the tops are golden brown.
8. Cool or serve still slightly warm with fresh strawberries and whipped cream or ice cream of choice.

Either split your shortcake/fill it/cap it and top with berries and cream or simply leave it whole and pile on the goods, it’s up to you. You can even chunk it up in a bowl and crown it with creamy, fruity goodness. Any way you do it, it’s superb!

IMG_4052.jpg
IMG_4058.jpg

Here’s to lots more summer berries. Enjoy!

Reine de Saba

IMG_3998.JPG

Reine de Saba (Queen of Sheba) is essentially a chocolate almond torte and reportedly one of Julia Child’s first French gateau experiences - one that helped launch her into what would become a fantastic culinary adventure for life.

There are a bevy of different recipes out there for this one - most involve melting dark chocolate with butter, separating the egg whites and yolks, whipping the whites with a portion of the sugar to create a meringue, adding almond flour along with your choice of a small amount of all purpose flour or alternate flour like teff and folding everything together.

After my review of a half dozen or so recipes I ultimately landed on two of Alice Medrich’s - one from “Seriously Bittersweet” and one an alternate grain version from “Flavor Flours” which uses teff flour (gluten free!) in place of all purpose. Dense, dreamy, creamy yet light and chocolate-y all at the same time. That woman KNOWS her chocolate boy oh boy! Thanks A.M.

IMG_3990.jpg

In “Seriously Bittersweet” A.M. dedicates a page to the “versatility and the role of ingredients” in creating these chocolate gateaux. She says “This type of torte is essentially an extremely buttery chocolate egg custard given texture with ground nuts and maybe a little flour. The basic ingredients are standard, but the quantity of each is almost infinitely flexible”.

She goes on to explain how the eggs (whether separated or not) help bind the rest of the ingredients whether you use 3, 4 or 5 eggs; how even a small amount of flour adds a smoothness to nutty tortes by affecting the way the eggs cook; how nuts can be used un-blanched , blanched, toasted or raw as well as in different quantities - a lower measure of nuts will give you a less cake-y and more mousse-y custard like torte, while whole ground nuts will provide a coarser texture than more finely milled nut flours.

Butter adds flavor, contributes to texture and provides moisture as well. Brewed coffee or different liqueurs or spirits like rum, bourbon, kirsch, Frangelico or Amaretto add flavor too. So many possibilities.

While each of these two recipes uses practically identical ingredients, the teff version (below) keeps the eggs whole and everything is blended together in one bowl - easy-peasy. You can even use a hand held mixer. Ms. Medrich points out that the secret to a fluffy batter for this one is chocolate not too warm, butter not too soft and eggs cold!

IMG_3961.JPG

Here goes!
Heat the oven to 375ºF. Butter the bottom of an 8” springform pan then line the bottom with parchment.
Mix 70 g almond flour with 35 g teff flour and set aside.
Melt 170 g dark chocolate (70% recommended) over a barely simmering water bath, set aside and let cool to lukewarm.
Have 150 g sugar, 140 g unsalted cubed butter softened (not too!), 1/8 teaspoon salt and 4 cold large eggs at the ready.
Add almond-teff flours, sugar, butter chunks and salt to the chocolate and beat on medium with the hand held mixer until well blended and the batter thickens and lightens in color.
Beat in the eggs one by one then beat on high speed for a minute or so until fluffy and lighter in color, like chocolate frosting.
Scrape batter into the prepared pan and spread evenly.

Looks like chocolate frosting to me!

Looks like chocolate frosting to me!

Bake 30-35 minutes until a tester inserted in the center comes out with a few moist crumbs.

IMG_3964.jpg

Slide a thin knife or small offset spatula around the sides to allow the cake to sink slightly as it cools. Cool completely.

IMG_3967.JPG

For the more traditional version using all purpose flour, the process involves separating the eggs and whipping them separately with portions of the sugar. Rather than almond flour, whole natural almonds are processed with the flour to a coarse texture, giving the end result a toothy, nutty-textured chew.

IMG_3968.JPG

For the second version heat the oven to 375ºF, butter the bottom of an 8” springform pan and line it with a round of parchment paper.

Place 170 g coarsely chopped chocolate (66-70%) and 140 g unsalted butter in a medium heatproof bowl set into a wide skillet with barely simmering water. Stir periodically until melted then, off the heat, stir in 3 tablespoons brandy (optional - I added some vanilla extract instead), 1/8 teaspoon almond extract and 1/8 teaspoon salt. Set it aside.

Pulse 70 g unblanched whole almonds and 15 g all purpose flour in a food processor to a cornmeal-like texture. Set aside.

Separate 4 large eggs: in a large bowl whisk the yolks with 100 g sugar until well blended then stir in the chocolate mixture.

In a clean, dry bowl whisk the whites and 1/8 teaspoon cream of tartar on medium to soft peaks then sprinkle in 50 g sugar and beat at high speed to stiff but not dry peaks.

Now place 1/4 of the egg whites and all of the nut/flour mixture on top of the chocolate batter and fold them in with a large rubber spatula. Fold in the remaining egg whites.

Combining everything

Combining everything

Spread the batter into the prepared springform pan. Can you see the nut particles?

Ready for the oven

Ready for the oven

Bake 25-30 minutes until a tester inserted into the center is still moist but one inserted ~1.5 inches from the edge is almost clean (whoa - talk about nuance!)

All baked up

All baked up

A light dusting of confectioner’s sugar sets off the dark chocolate nicely.

IMG_3993.jpg

As usual, Steve and I did our mandatory taste test. We first tried the teff version which had a great chocolate flavor and smooth, creamy texture. But we gave the nod to the second version, enjoying the melt-in-your-mouth custard like center and the mouth feel of the coarser nuttier texture. Deelish!

Served with a honey-tinged Scandinavian yogurt and some fresh strawberries it was, in my estimation, superb (even though Mr. Steve is not a big yogurt fan).

IMG_3996.JPG
IMG_3998.JPG

The longer you bake, the more you begin to realize how much variation and play can happen from recipe to recipe. Even though we accept the fact that not everything always turns out as we had hoped, it’s a beautiful thing to try your own version and make it fun!

Happy summer!!

Tartelette trio - some classics

Lemon feuilletées / blackberry / lemon mascarpone

Lemon feuilletées / blackberry / lemon mascarpone

Dark chocolate ganache / brownie cube / whipped milk chocolate ganache

Dark chocolate ganache / brownie cube / whipped milk chocolate ganache

Fresh berries / pastry cream / raspberry gelée (yes - you’ve seen these before!)

Fresh berries / pastry cream / raspberry gelée (yes - you’ve seen these before!)

After my last couple of posts on Americana themed baked offerings, I’m turning back to my French pastry loves for the summer months. So much to talk about!

You know I’m always one for tart making, especially the petite versions of my favorites. This time around it was for a special luncheon for a group of former co-workers who gather once a year at Heron Woods/Manor, a local independent/assisted living facility just down the street from my home. Deftly orchestrated by Kim and David, it was a fine repast of salads, soup, fresh croissant (made by yours truly!) and topped off with the tartelettes for dessert.

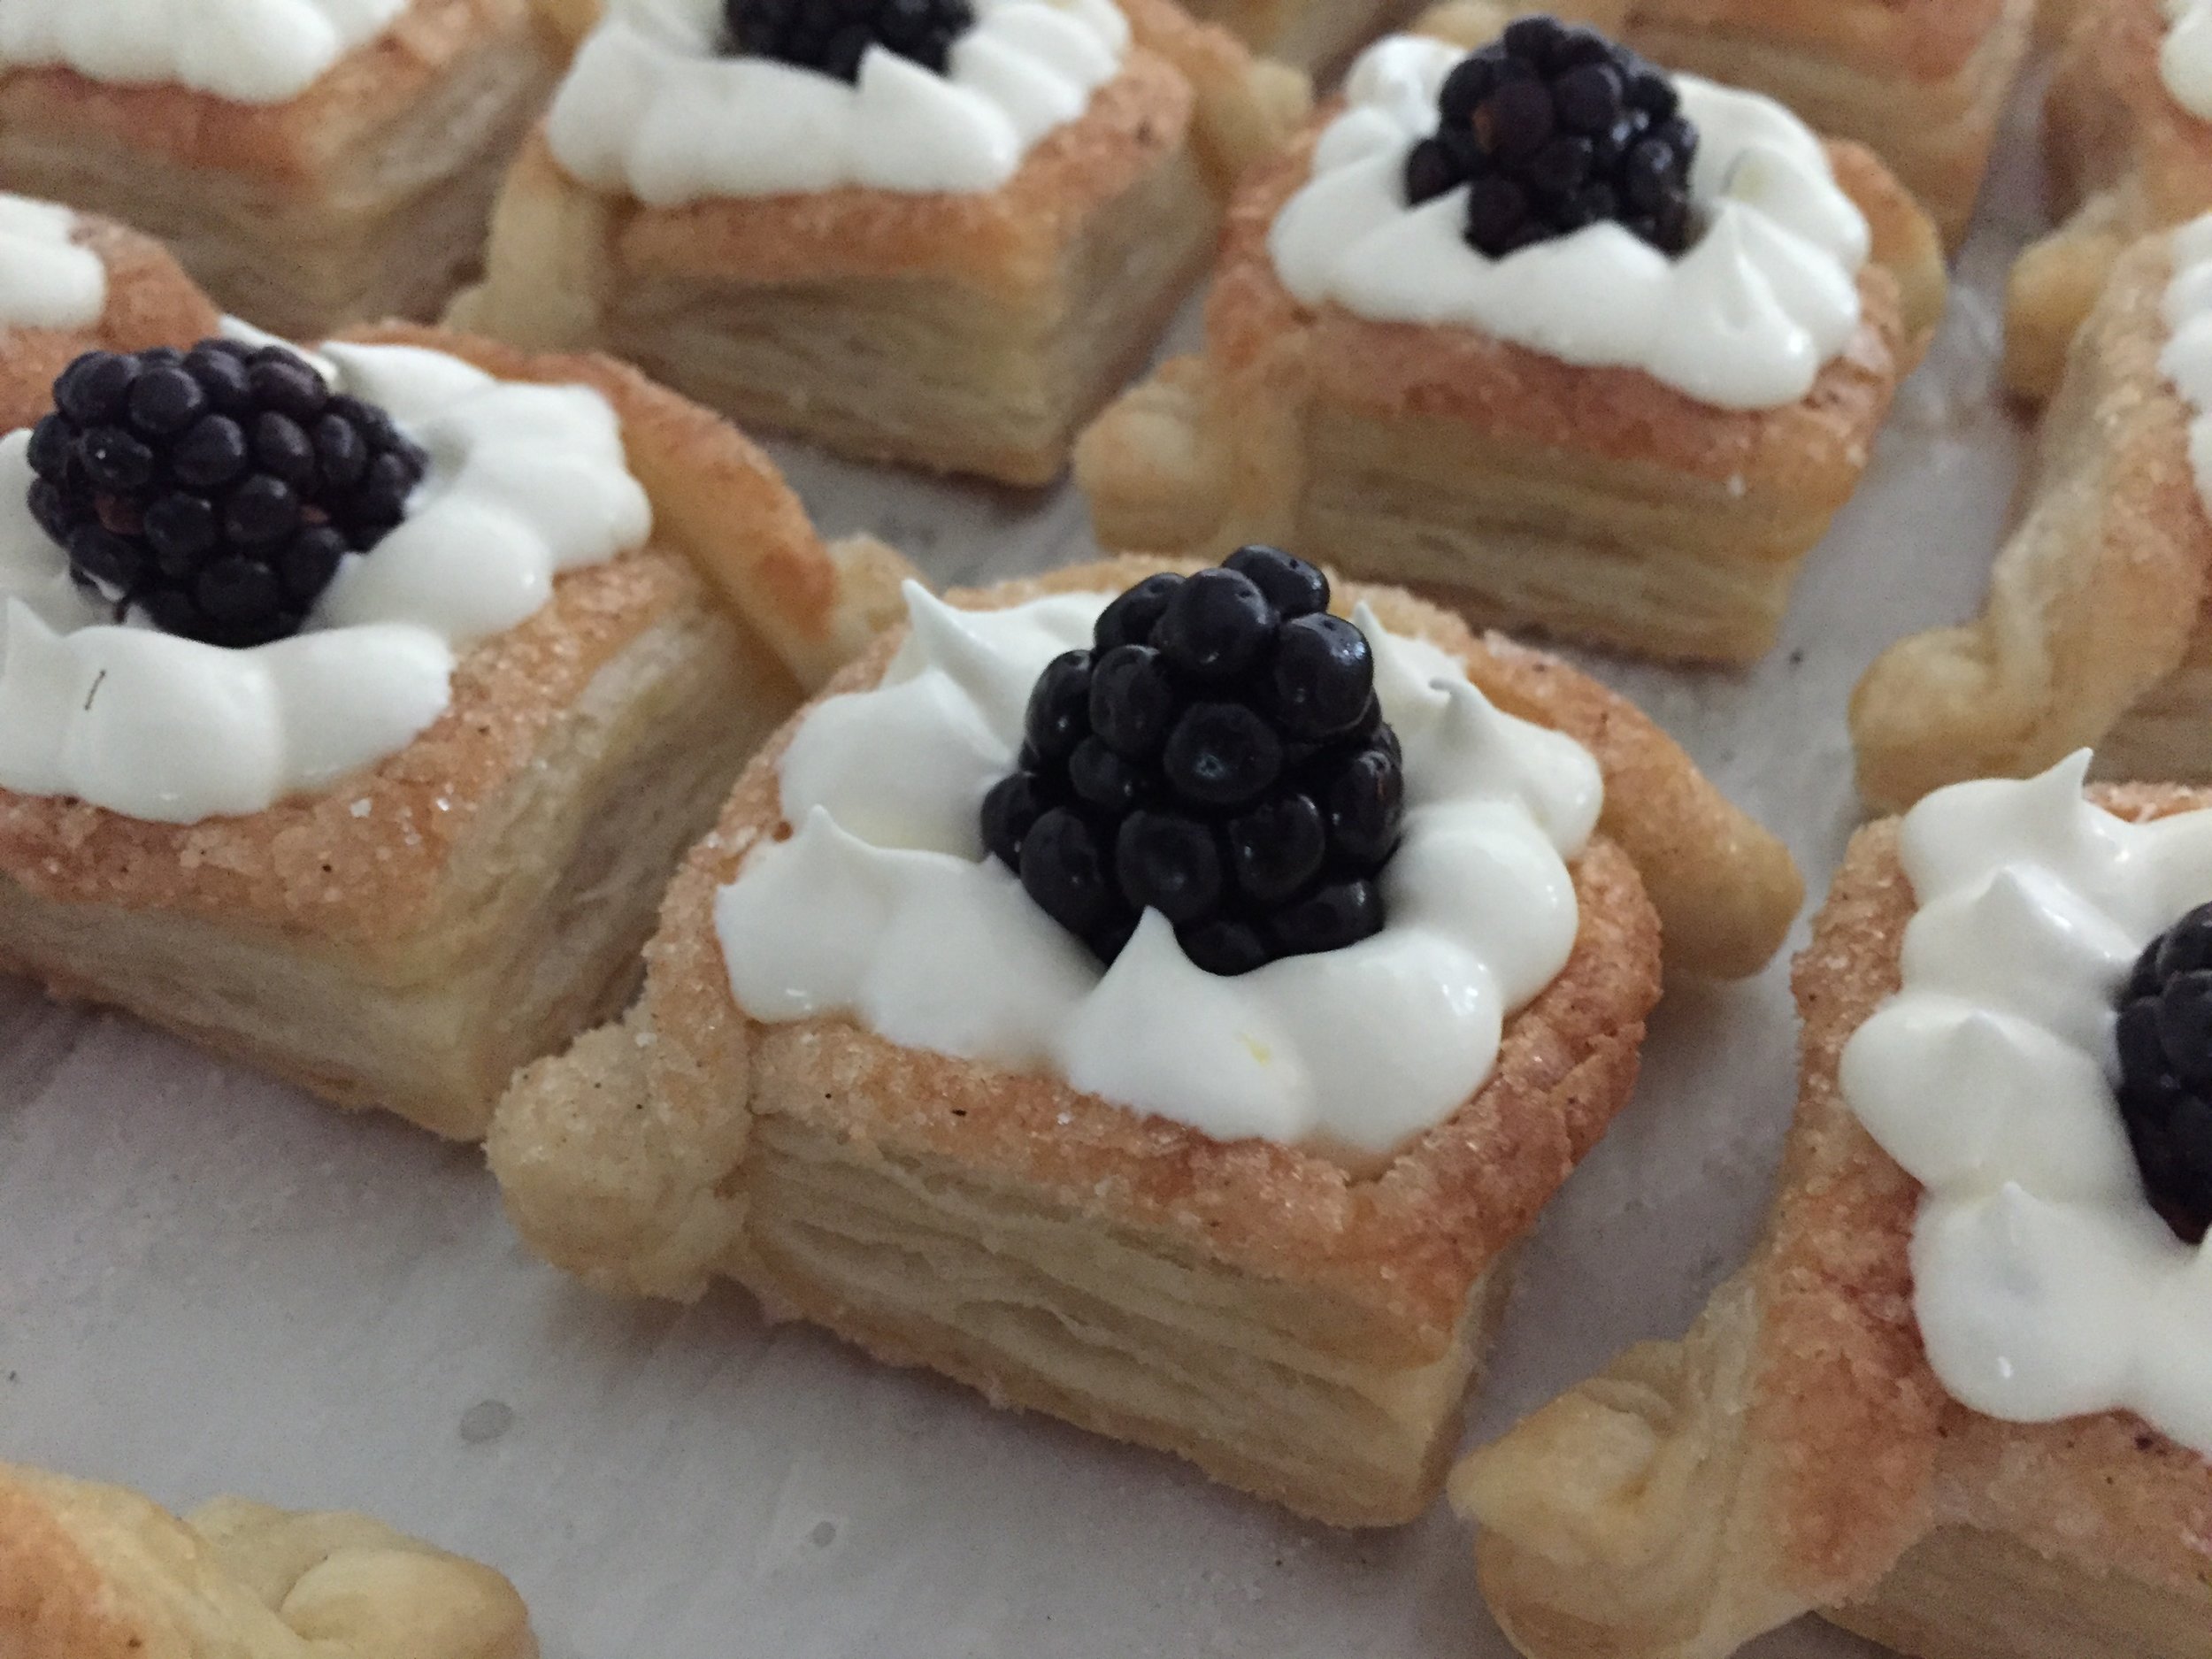
These three babies were so fun to put together. The lemon consisted of baked quick puff (more on that in an upcoming post) feuilletées, one of the coolest twisted versions of a puff pastry case that there is, filled with my new favorite version of lemon curd (from the book “Sweet” by Yotam Ottolenghi and Helen Goh), then baked a second time to set the curd. Follow that with a whipped lemon curd mascarpone garnish and fresh blackberry and it’s done!

Waiting for a short bake

Waiting for a short bake

Garnishing in process

Garnishing in process

The chocolate ganache offering was my usual chocolate pâte sucrée and dark chocolate ganache filling, but this time I cut small brownie cubes to tuck in so they would be a hidden surprise under the whipped ganache garnish.

Trust me - there’s a brownie cube hidden in there!

Trust me - there’s a brownie cube hidden in there!

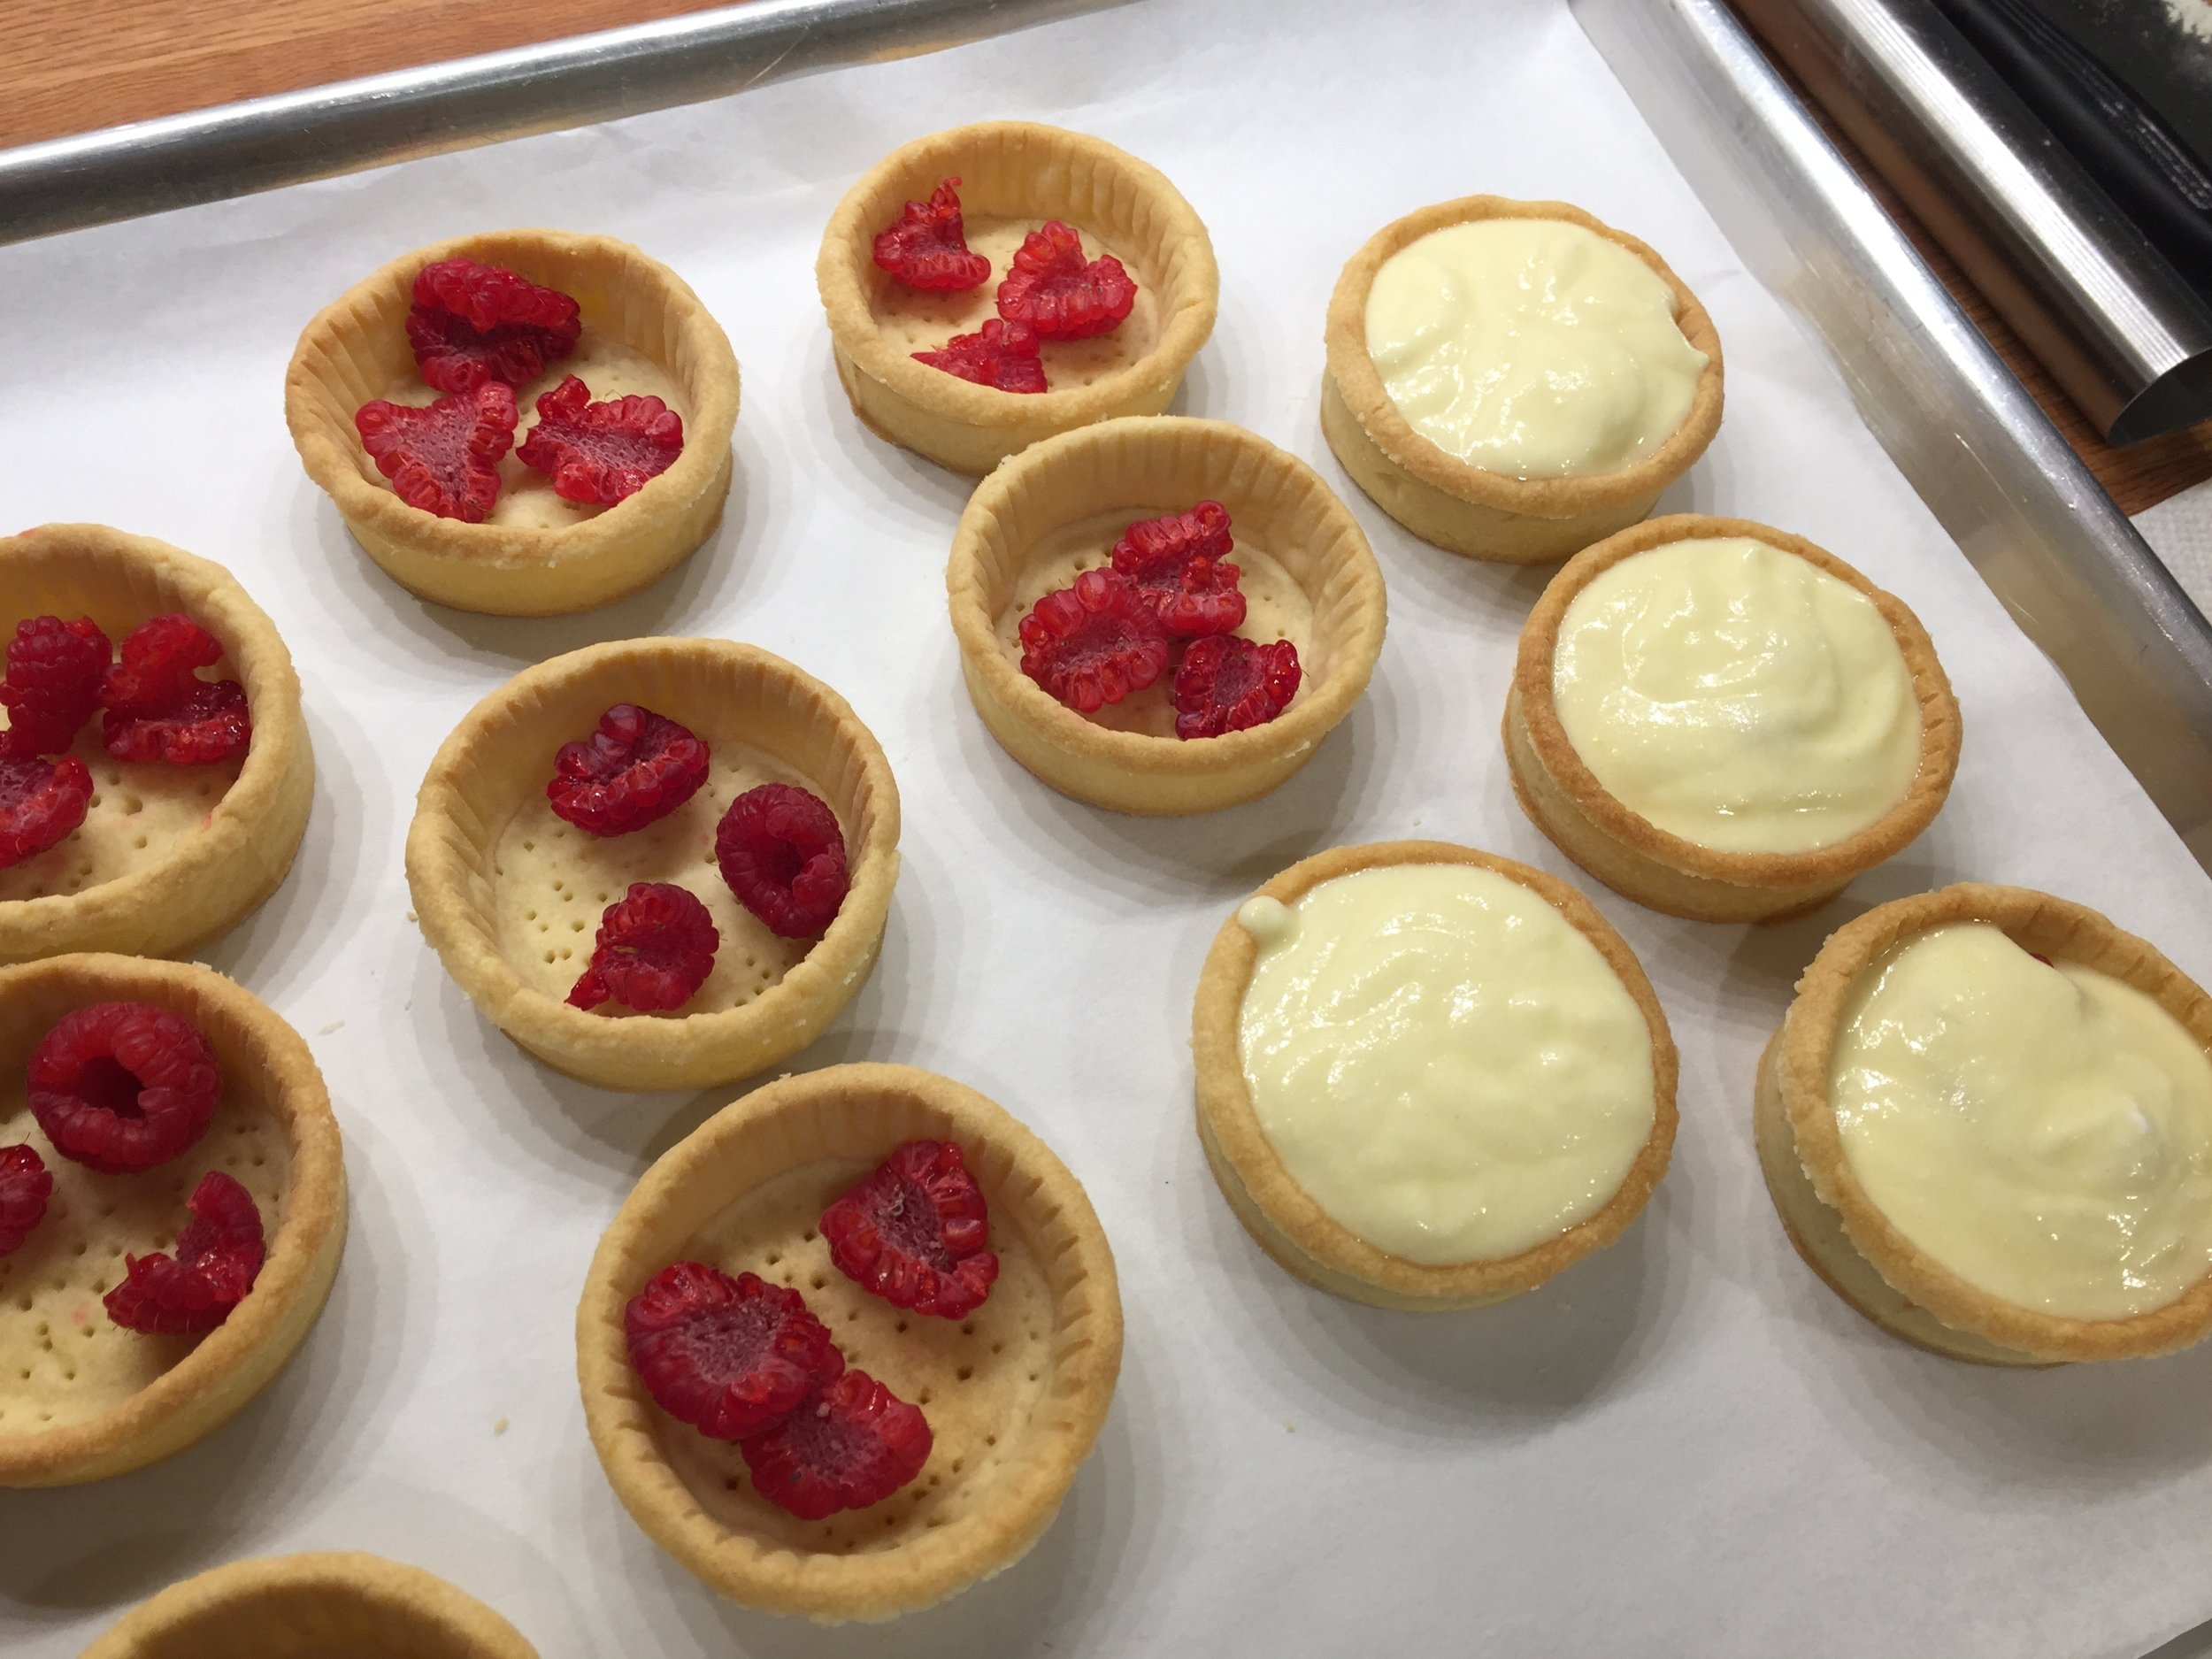
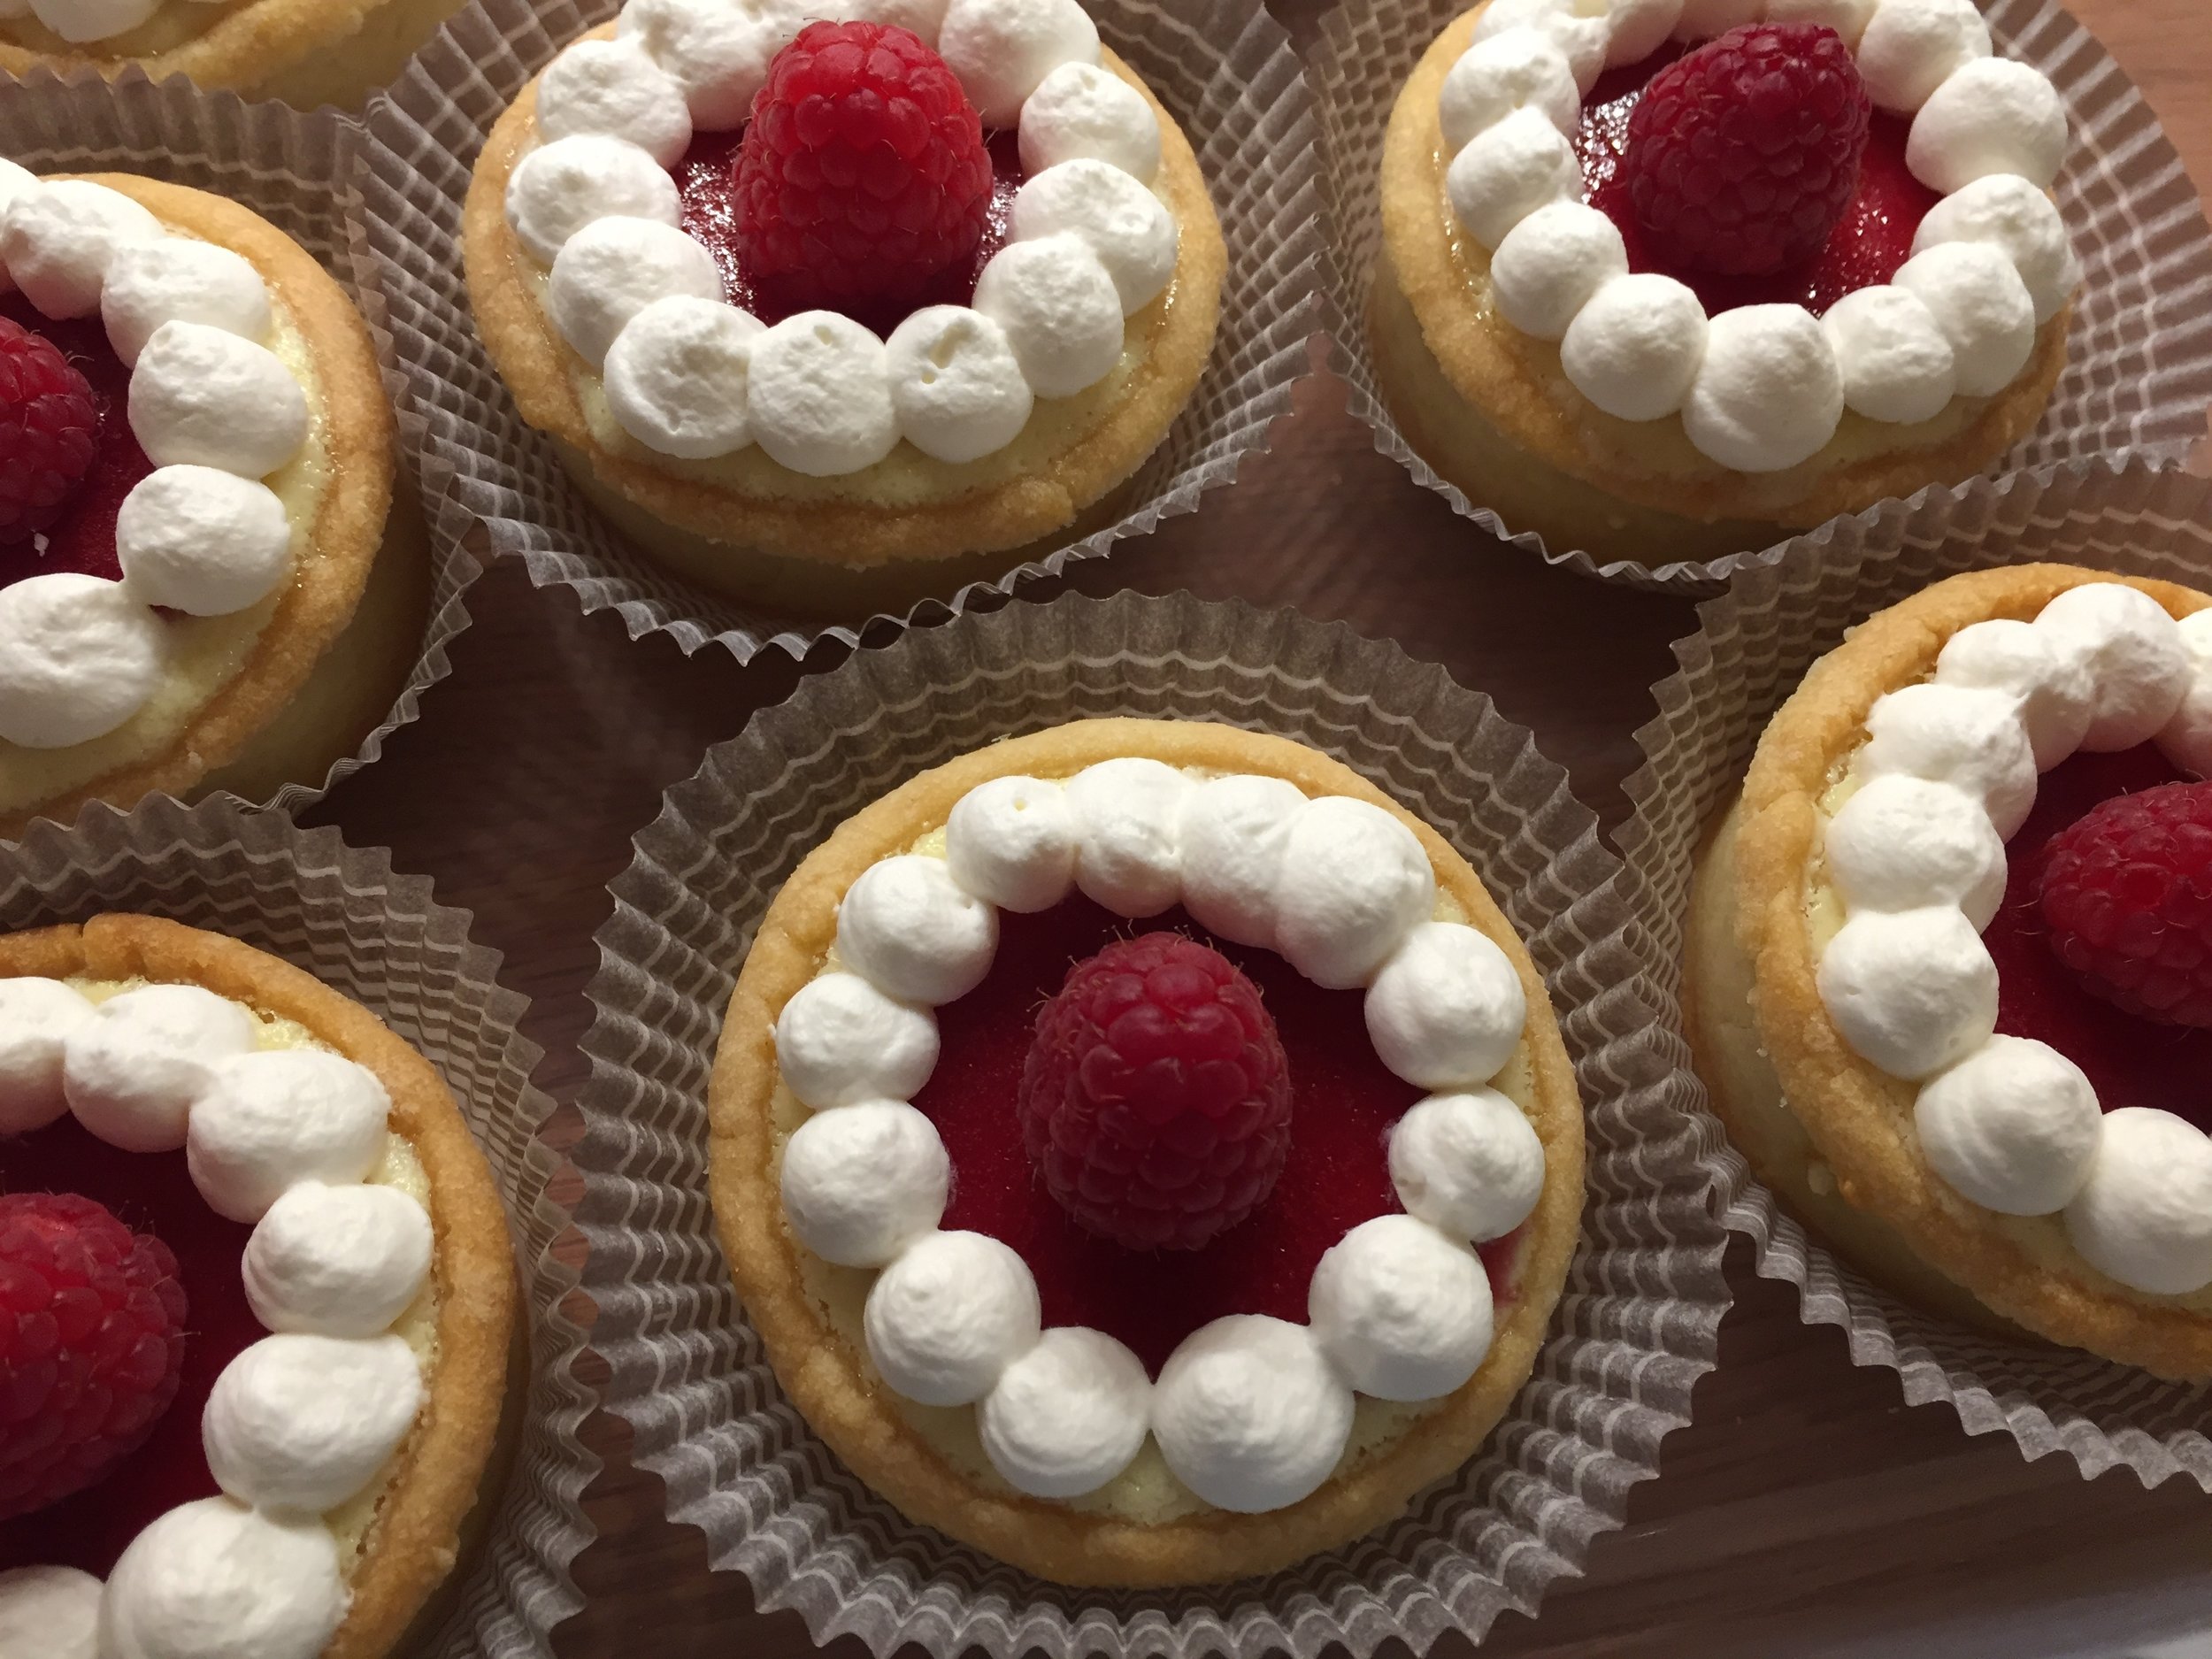
Of course the fresh fruit choice follows the classic approach of a blind baked pâte sucrée crust filled with crème pâtissière lightened with some whipped cream and then topped with fresh berries coated in a raspberry gelée. Mmmmm good!

IMG_3904.jpg

I must say I never tire of these and I hope you don’t either!

All toted up and ready to go

All toted up and ready to go

What a delicious trio! The followup up report from the luncheon-ers was a huge thumbs up! Yay, I love that!!

A quick end note: I walk regularly and so enjoy seeing nature in its various forms - the birds, the wild flowers, the flowering trees, and especially now the aroma of the lilac bushes I pass at various points in my route. It’s my time for thinking and reflection and helps me keep my head straight. This morning it was a scattering of simple wild daisies amongst the “ weeds” that caught my attention. Lightly coated with dew and looking so content, it made me smile. The simple things are often the best, don’t you think? Enjoy.

IMG_3914.JPG

Two easy muffins: blueberry oat and mini pecan pie

IMG_3852.JPG
IMG_3858.jpg

In my last post on St. Louis gooey butter cake I mentioned our recent driving trip to various parts of the eastern USA. One of our stops just happened to be in Louisiana pecan country in the vicinity of Natchitoches, home to our friends Ed and Chris.

littleeva.jpg

One morning Chris treated us to freshly baked mini pecan pie muffins and, since I had purchased a big bag of Louisiana pecans at Little Eva’s Pecan House, I simply had to make these little babies once we arrived back home in Michigan. Being on a muffin kick, I also reviewed some of my recipe files and thought some blueberry oat muffins sounded good too. So back to the Americana themed baking table, as it were.

I had some springy tulip style muffin papers that have been stashed in with some of my miscellaneous baking stuff for awhile now. My friend Patty of Patricia’s Chocolate in Grand Haven had received them as samples from one of her suppliers and offered them to me. It was finally time to give them a whirl.

The process for both of these treats is a basic muffin mixing approach - stir the dry ingredients together in one bowl, the wet in another then stir the wet into the dry until just blended. Scoop the batter into your chosen prepared pan and bake away. Easy.

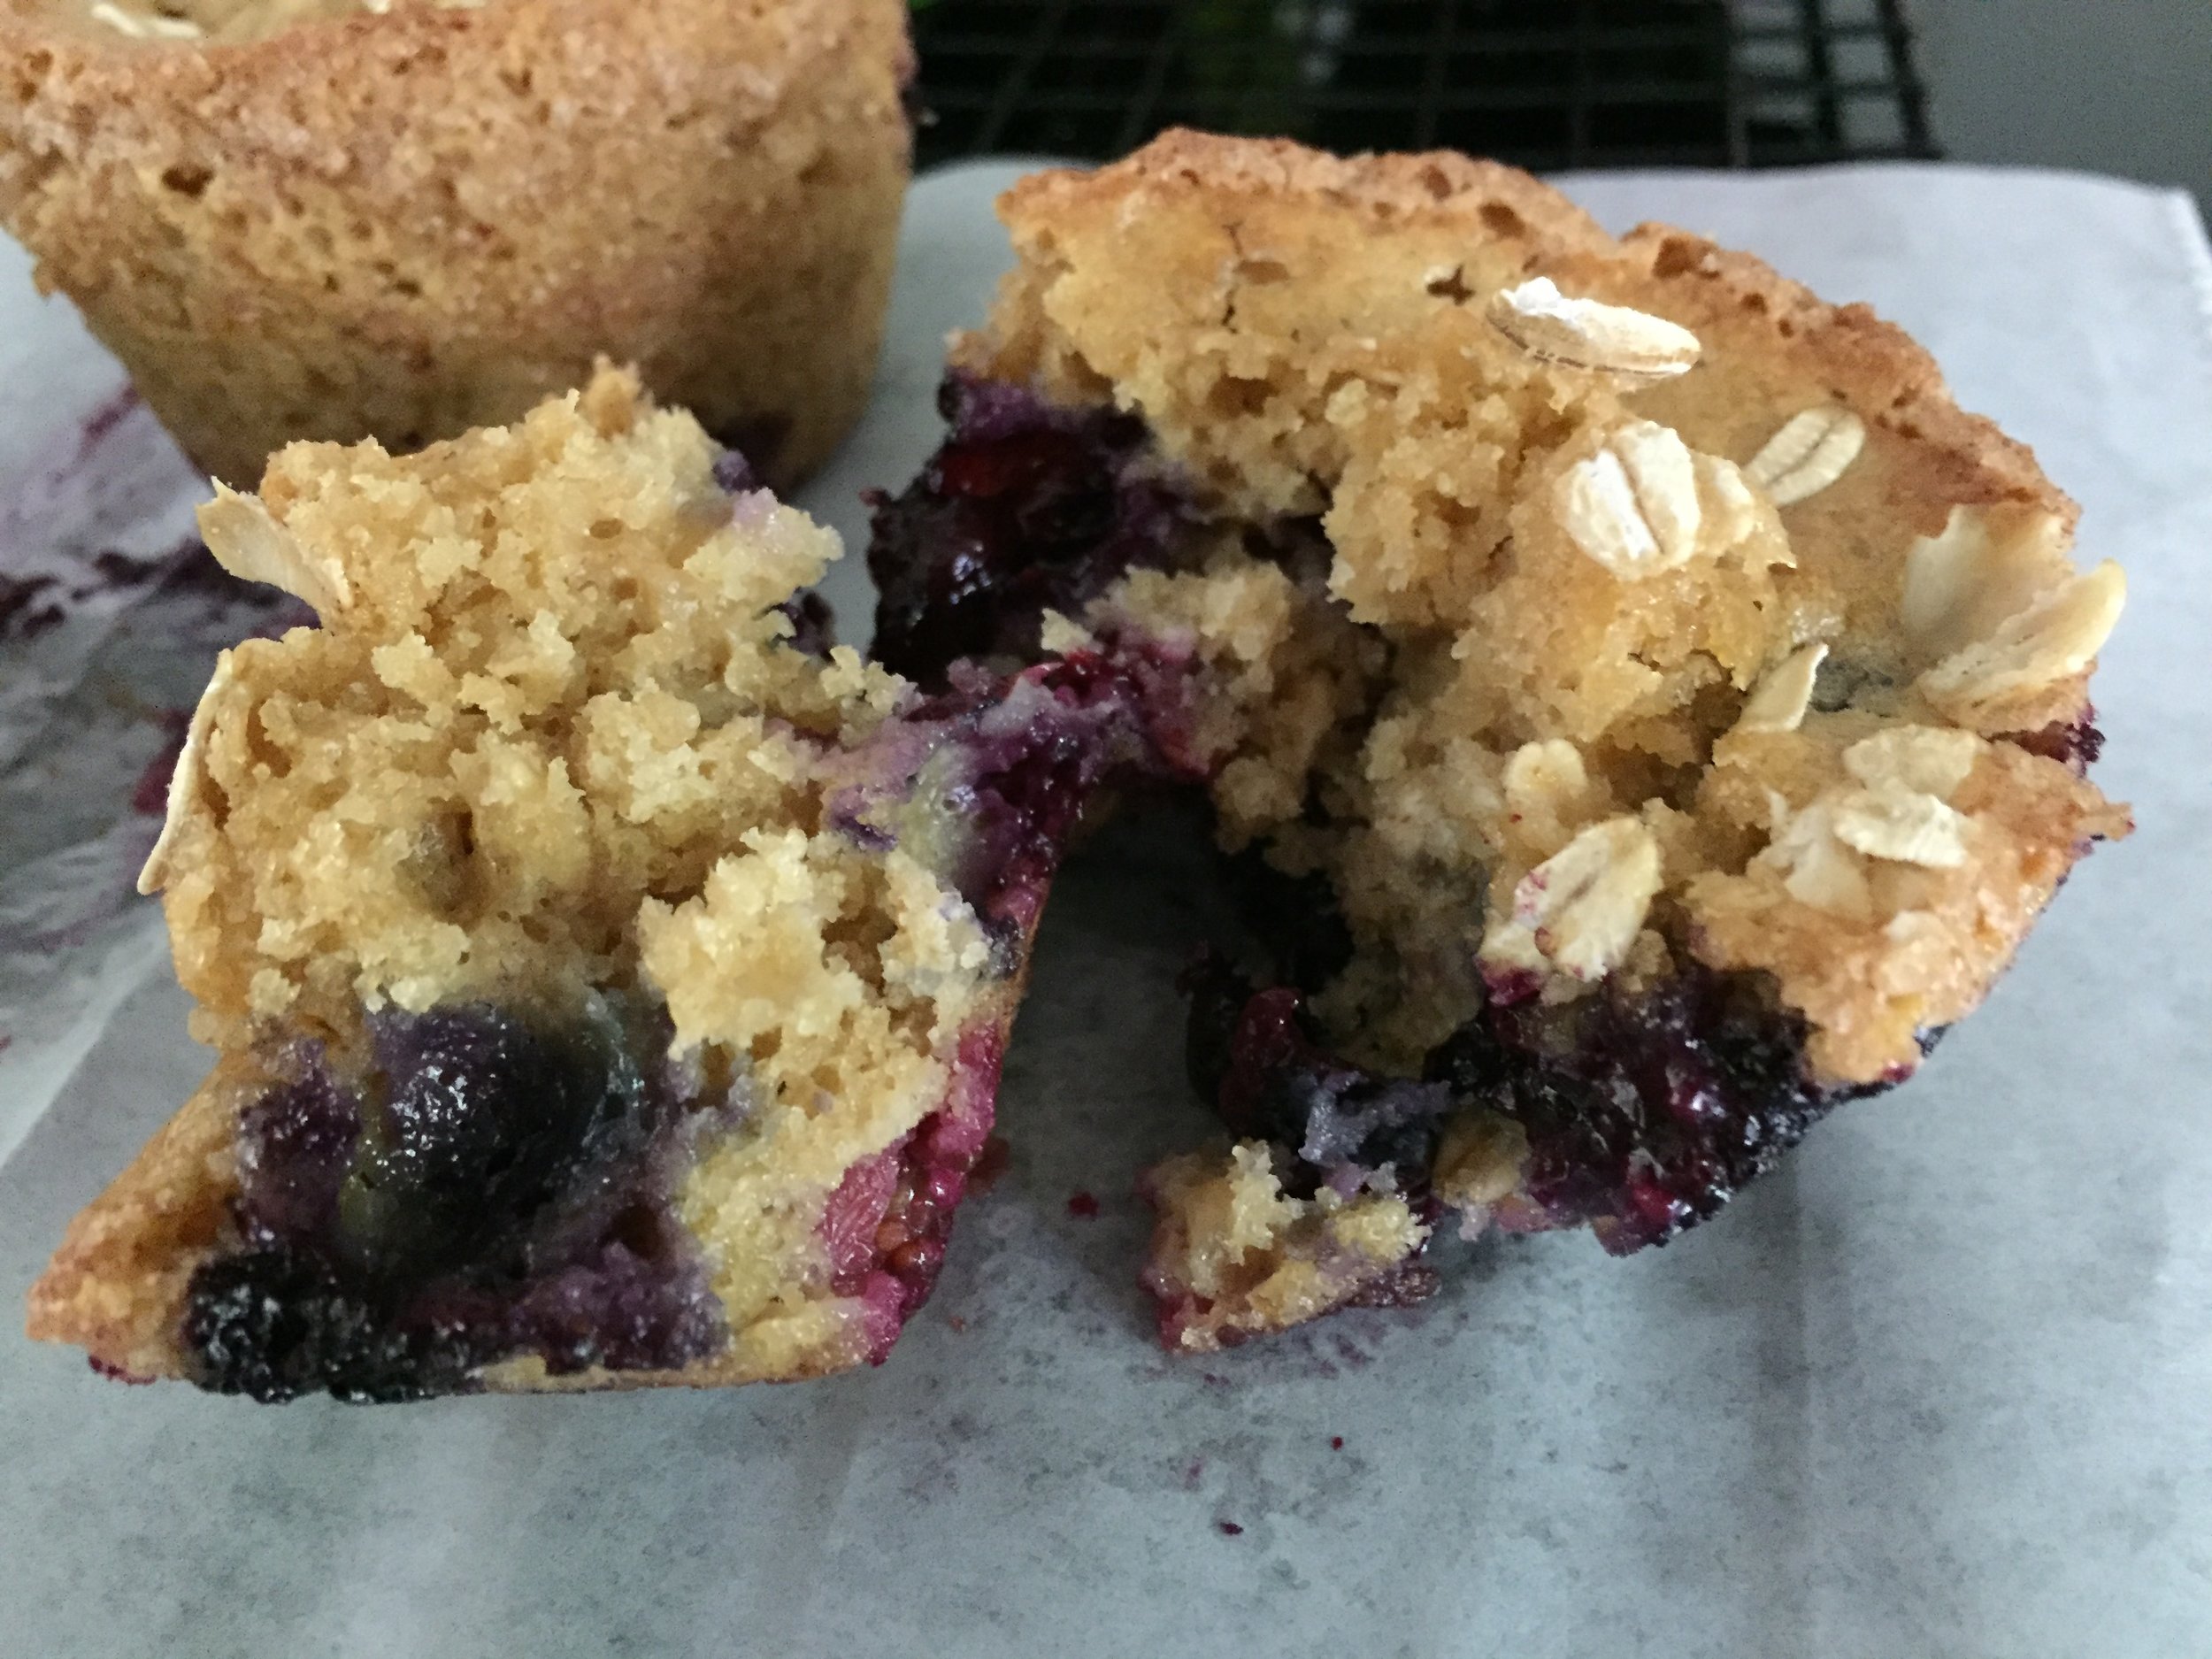
The blueberry oat batter came out pretty loose (reminded me of financier batter), so my blueberries tended to sink to the bottom. Next time I’ll partially bake the muffins, poke some blueberries into each one part way through and hope for the best. The photo below is before baking - I only had 9 of the pretty papers so I buttered and floured the other three wells and just went for it.

IMG_3847.jpg

They baked up nicely and tasted great too! Moist, tender and oh so good.

IMG_3851.JPG
IMG_3852.JPG

Blueberry oat recipe: makes 12 (see followup note at end of post)
Heat oven to 400ºF. Lightly butter a standard 12 well muffin pan or line the pan with papers and butter the papers (interesting step I thought).
In a large bowl stir together 195 g (1.5 cups) whole wheat pastry flour (all purpose is fine too), 50 g (1/2 cup) toasted old fashioned oats, 100 g (packed 1/2 cup) light or dark brown sugar, 1/2 teaspoon salt and 2.5 teaspoons baking powder.
In a separate bowl blend together 240 ml (1 cup) whole milk with 75 g melted and slightly cooled unsalted butter and 2 large eggs.
Blend wet ingredients into dry until just combined.
Fold in 1 cup fresh blueberries.
Portion into prepared pan, sprinkle tops with oats and raw sugar (or cinnamon sugar if you prefer).
Bake for about 20 min until golden brown and a cake tester comes out clean.
Cool about 5 minutes then remove from the pan and cool completely (or just go ahead and try one slightly warm - you won’t be disappointed!).

Next up . . . .

IMG_3859.JPG

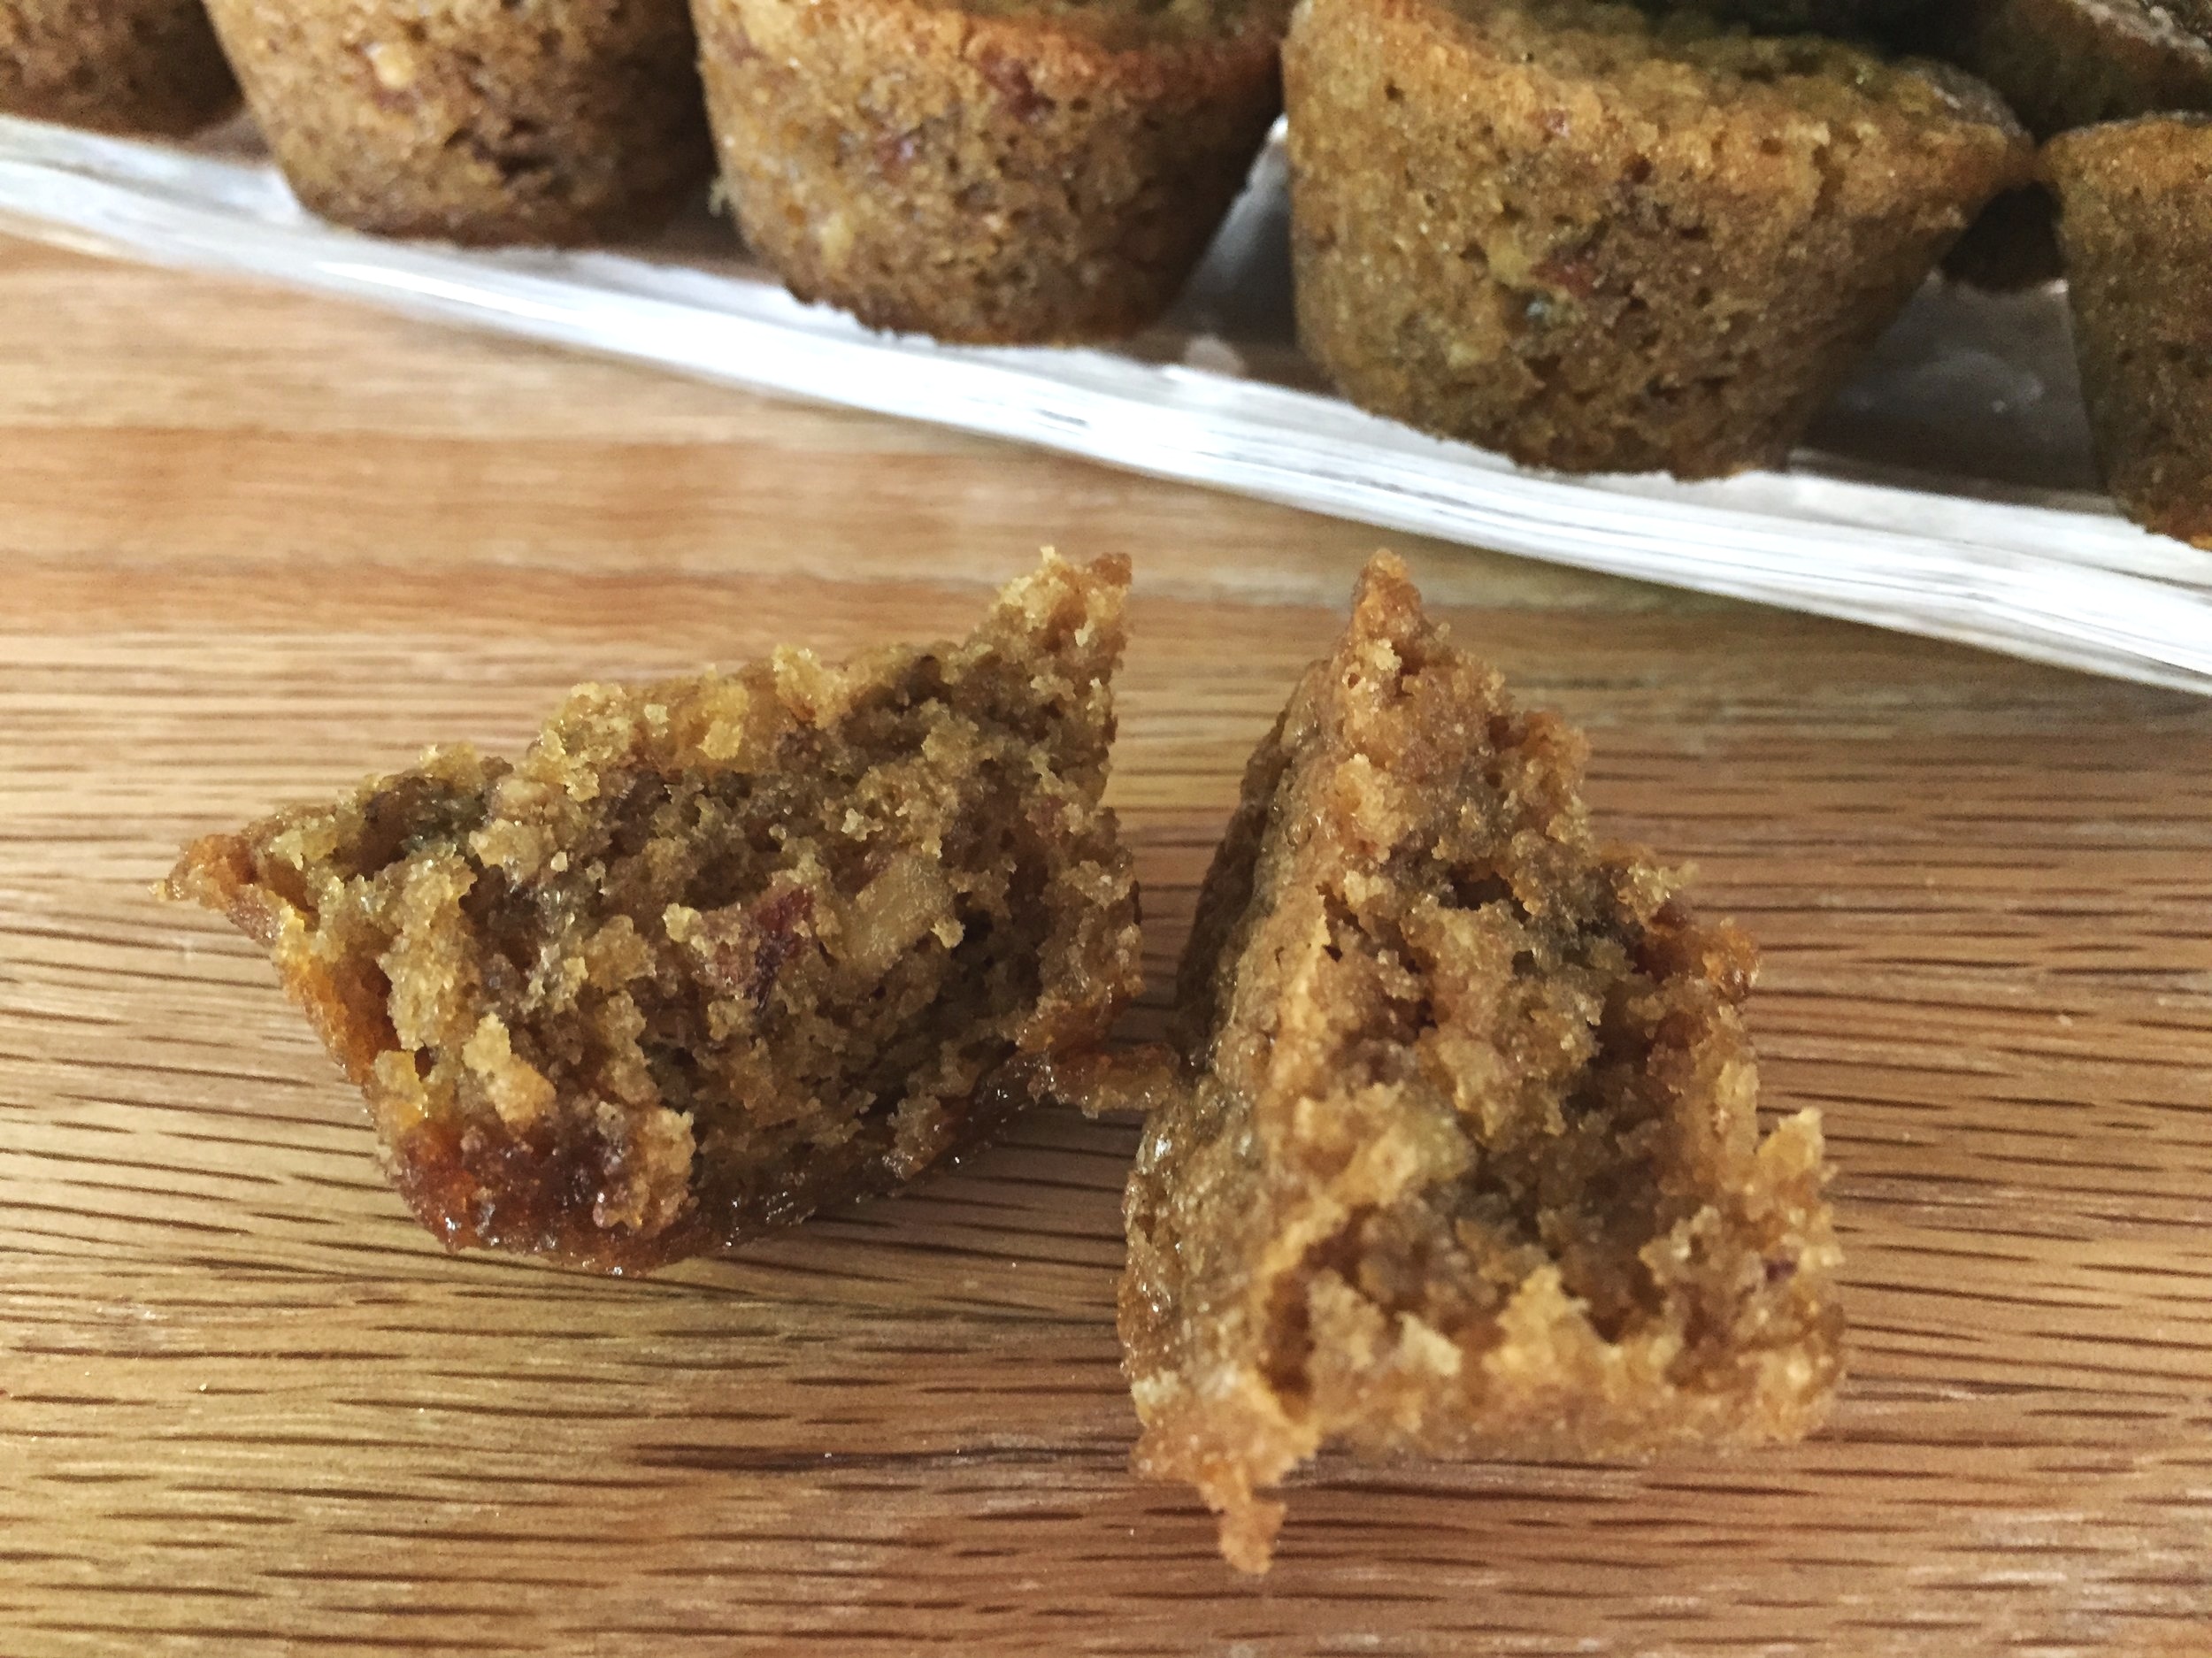
The pecan gems were even easier - combine brown sugar, flour, chopped pecans, mix with melted butter and egg et voilà! The batter goes into well buttered mini muffin pans and they bake for about 22-24 minutes at 350ºF. Easy again.

Pecan pie muffin recipe: makes 24 minis
Heat oven to 350ºF. Thoroughly butter a 24 well mini muffin pan.
In a medium bowl combine 200 g (1 cup packed) light or dark brown sugar, 65 g (1/2 cup) whole wheat pastry flour (all purpose is fine too) and 1 cup chopped pecans.
In a separate bowl blend 150 g (2/3 cup) melted unsalted butter with 2 large eggs, lightly beaten.
Blend wet ingredients with dry and portion into prepared pans.
Bake 22-25 minutes until fragrant, set and golden.
Cool 5-10 minutes then remove from pan to cool completely.
Enjoy!

These babies are moist with even an ooze of pecan pie-ness on the bottom. Not bad for a classic Louisiana pecan treat!

IMG_3857.JPG

Enjoy spring and keep on baking!

Now for a quick followup on the blueberry oat - I made another batch (1.5 times the base recipe) and baked them in my individual Fat Daddio 3” diameter cake pans. First I buttered and cinnamon sugared the pans. This time I added a bit of cinnamon as well as some orange zest to the batter for a slightly different flavor profile. I portioned a tad over 3 ounces (90 -95 g) of batter into 12 of the individual cake pans. I baked them for 5 minutes at 400ºF and THEN topped each one with blueberries, raw sugar and a sprinkle of oats. I gave them another 5 minutes then reduced the temp to 385ºF and baked another 12 or so.

IMG_3882.jpg

It worked! The blueberries didn’t sink and the cakes baked up beautifully. After just a few minutes of cooling I quickly ran a knife around the edges and popped the cakes out to cool completely.

IMG_3886.JPG

Yippee yo-ki-yay! Until next time!!

St. Louis Gooey Butter Cake

IMG_3842.JPG

Steve and I recently returned from an extensive driving trip through the Midwest, South, Mid-Atlantic and finally upstate New York before driving back home to Michigan through Canada along Lake Ontario. It was quite a ride let me tell you!

Our first stop was St. Louis MO to visit cousin Melissa, her husband Jeff and son Matthew. Some months back I had become aware of one of the local St. Louis food specialties, the gooey butter cake, so of course we had to try it while we were in the neighborhood.

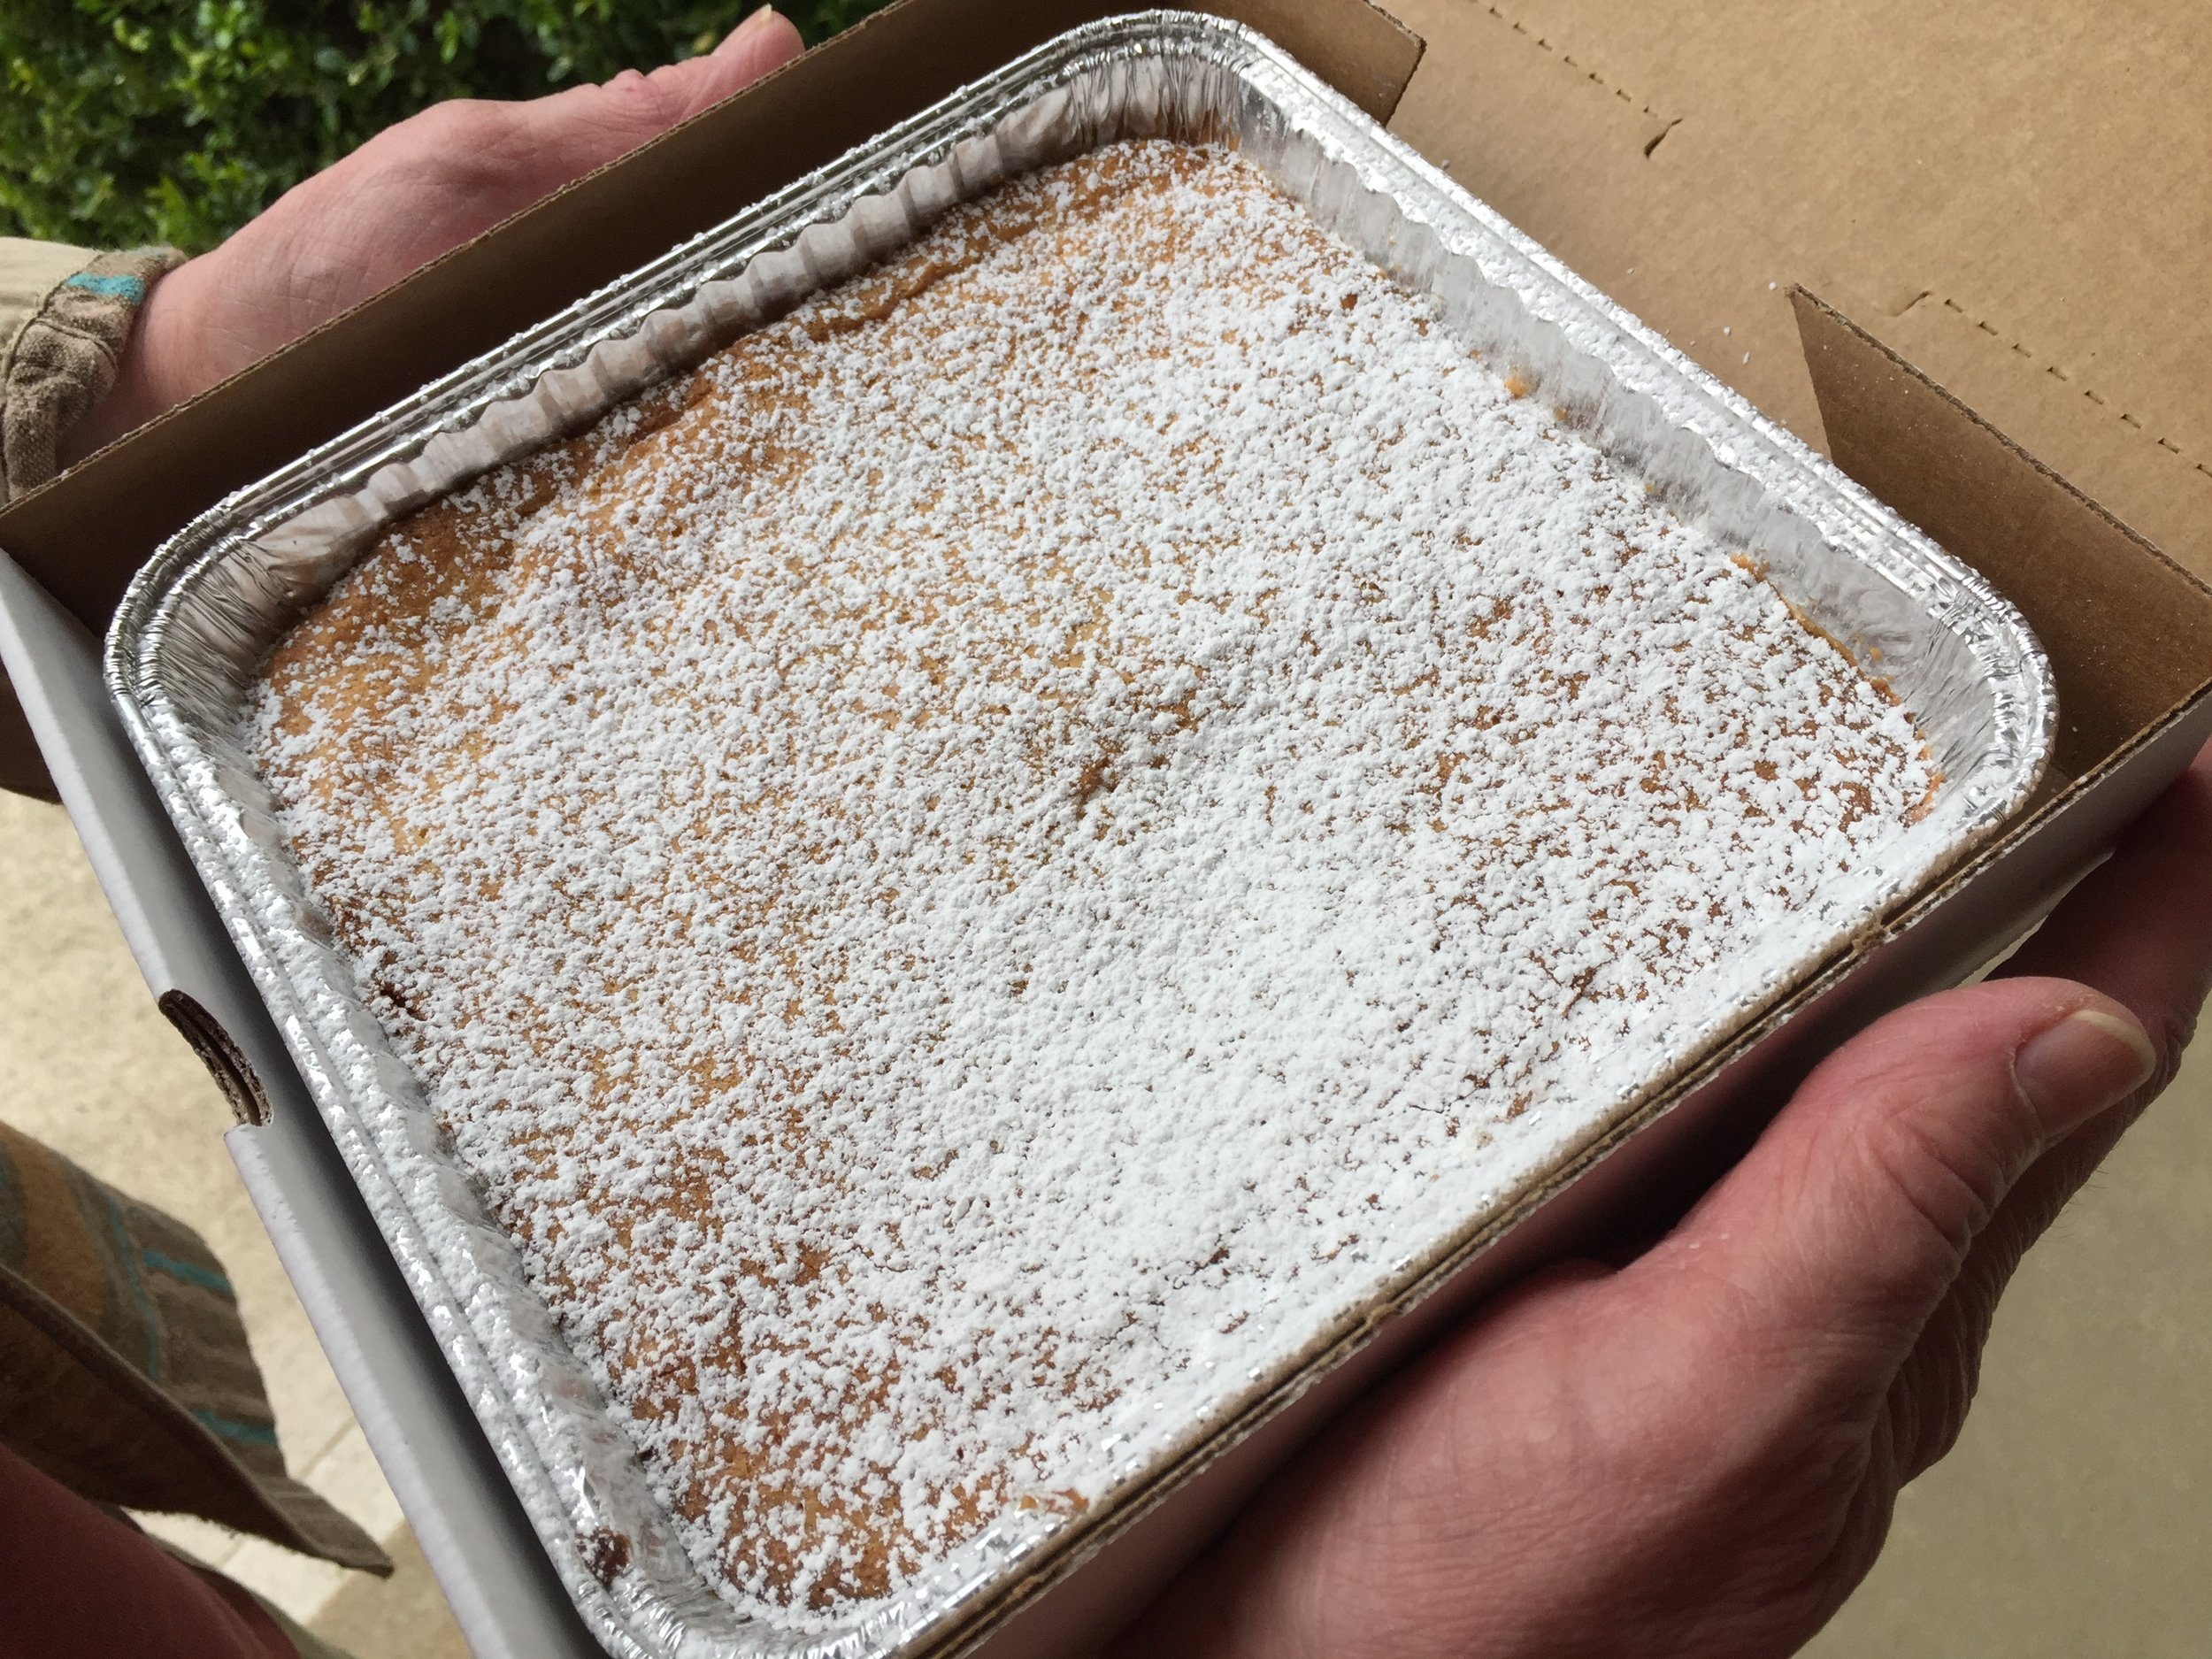
We were directed by our lunch spot server to one of the stalwarts of the gooey butter cake industry, Gooey Louis, a very unassuming storefront that, as it turns out, held magic inside. Fortunately we arrived in mid-afternoon just in time to snag the last available cake of the day. Yippee!

IMG_3838.JPG

Sold in a simple 9”x9” foil pan not unlike something you might see at a church bake sale, it also sported a confectioner’s sugar dusted top. The shop saleswoman advised us that it would keep for 7 days, but offered the warning that it should NOT be refrigerated - we don’t want to disturb that “gooey” top layer now do we?

IMG_3839.JPG
IMG_3841.JPG

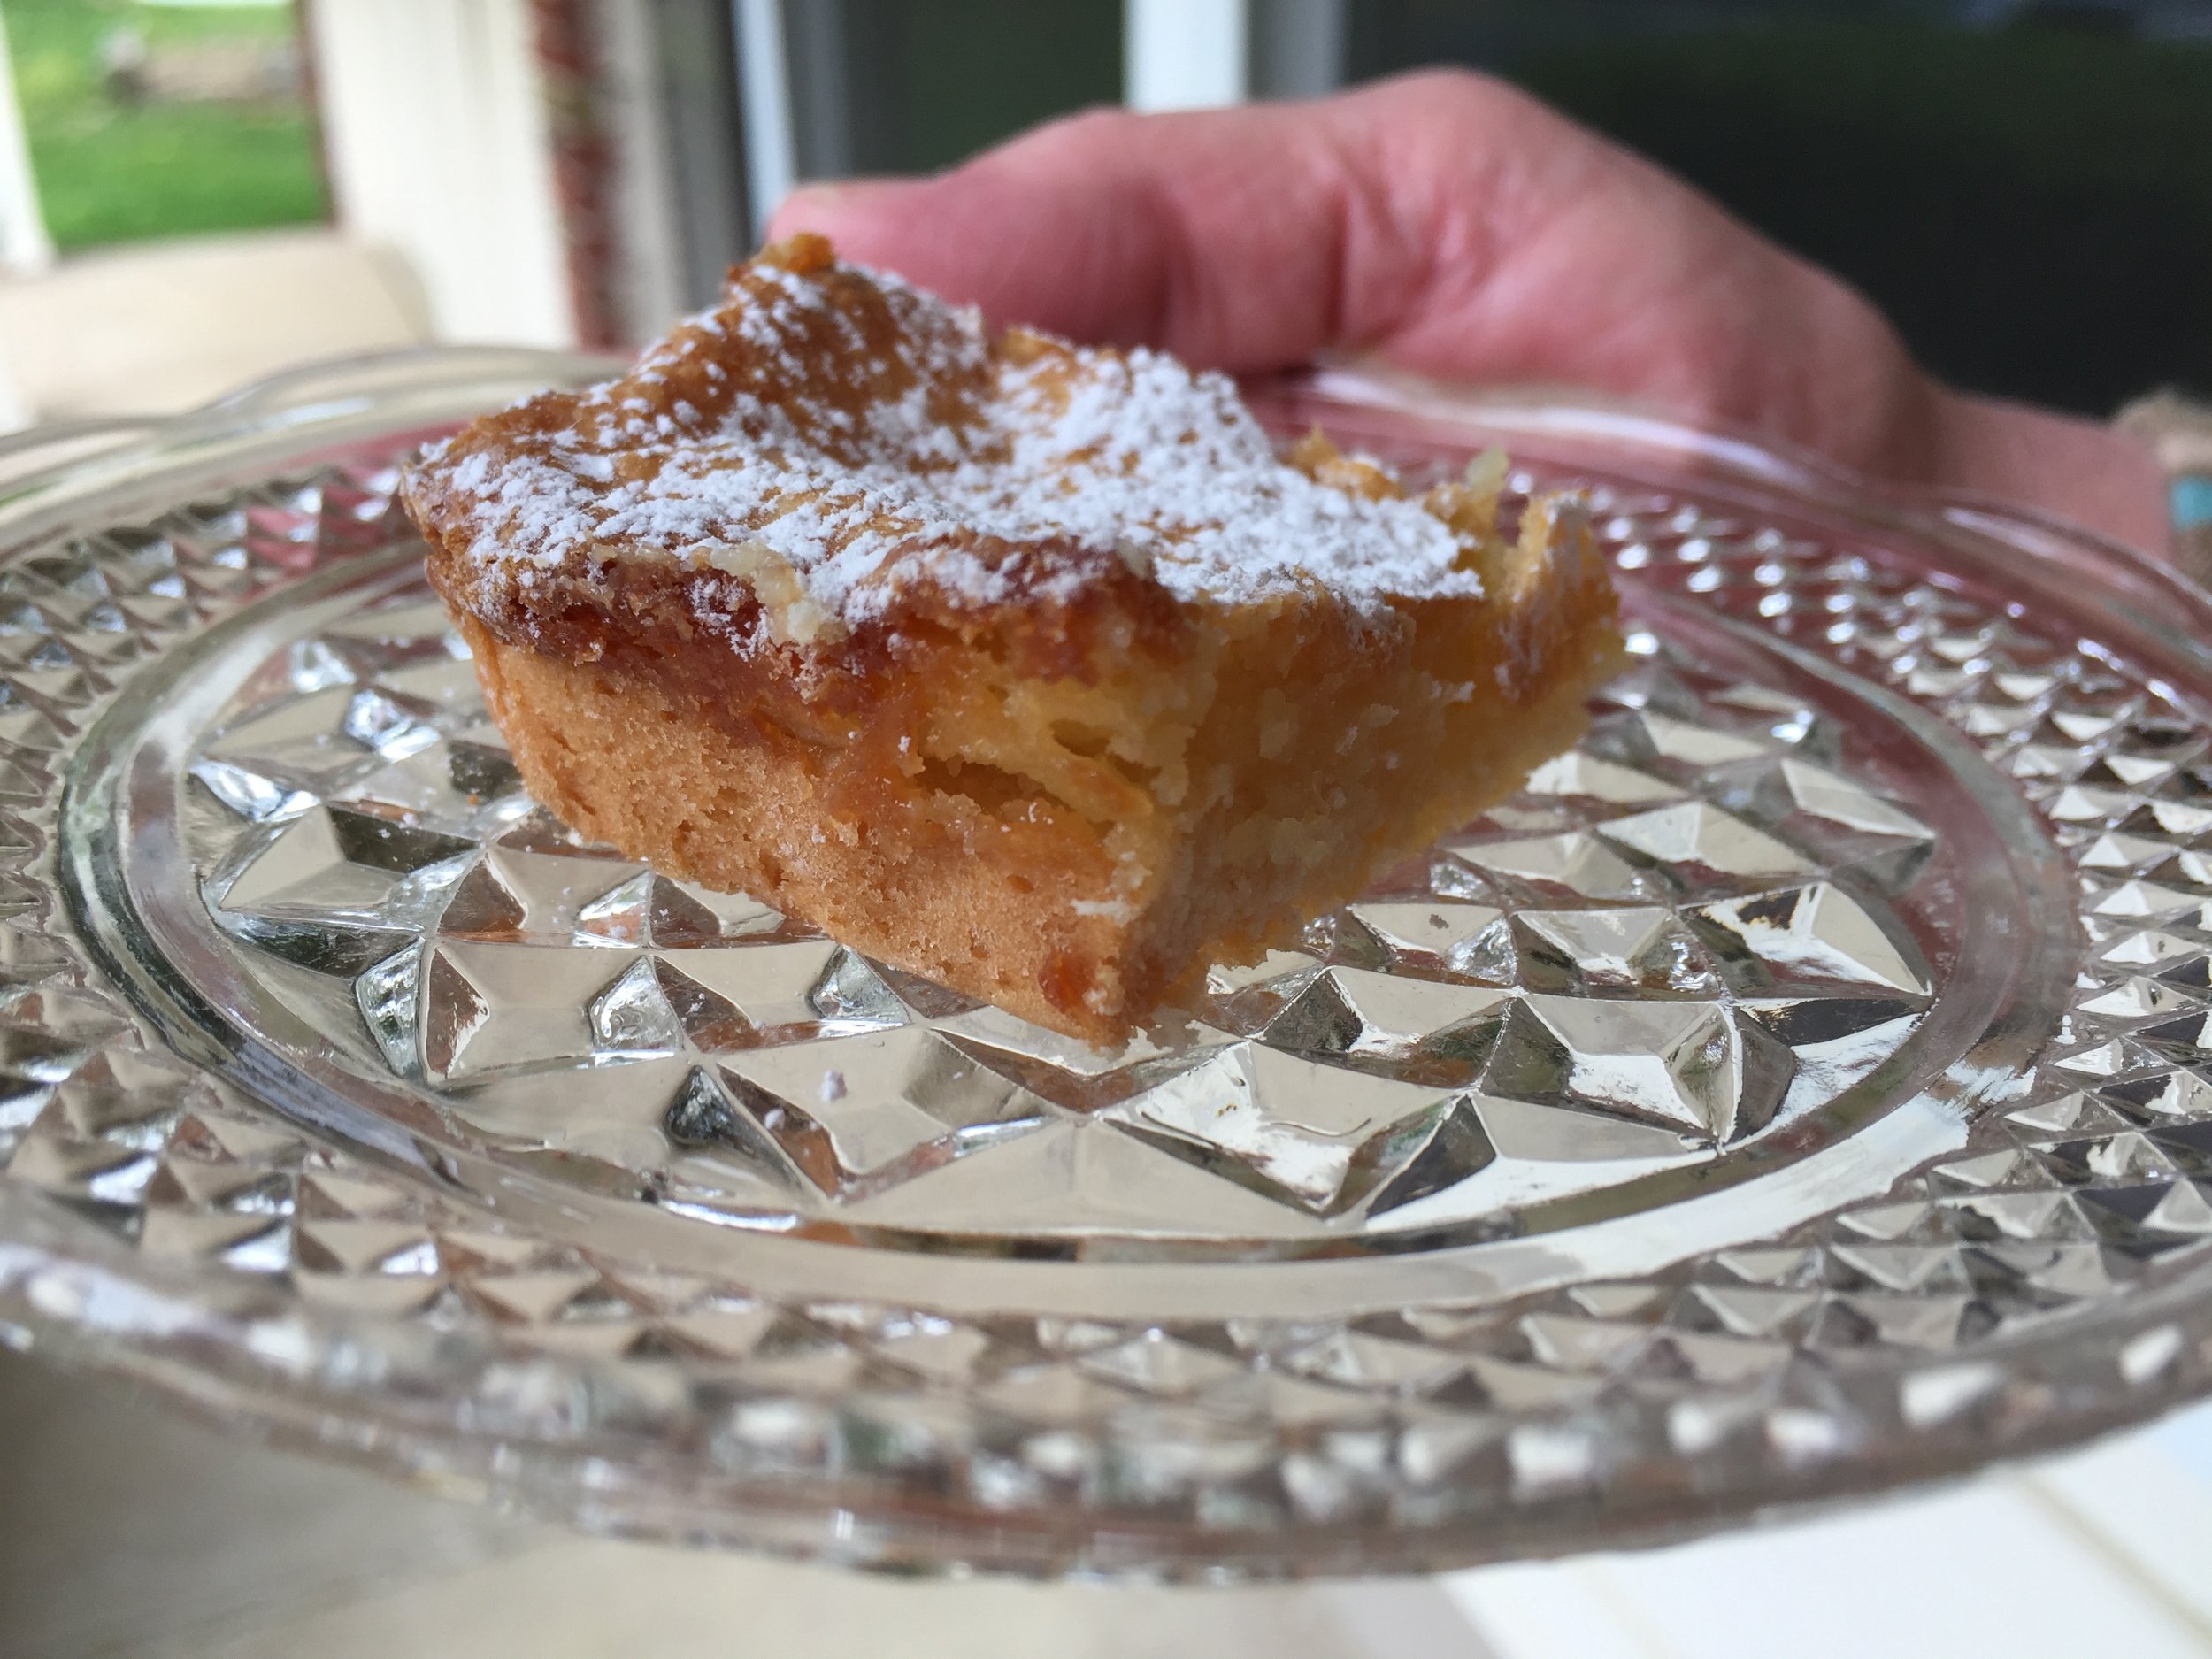
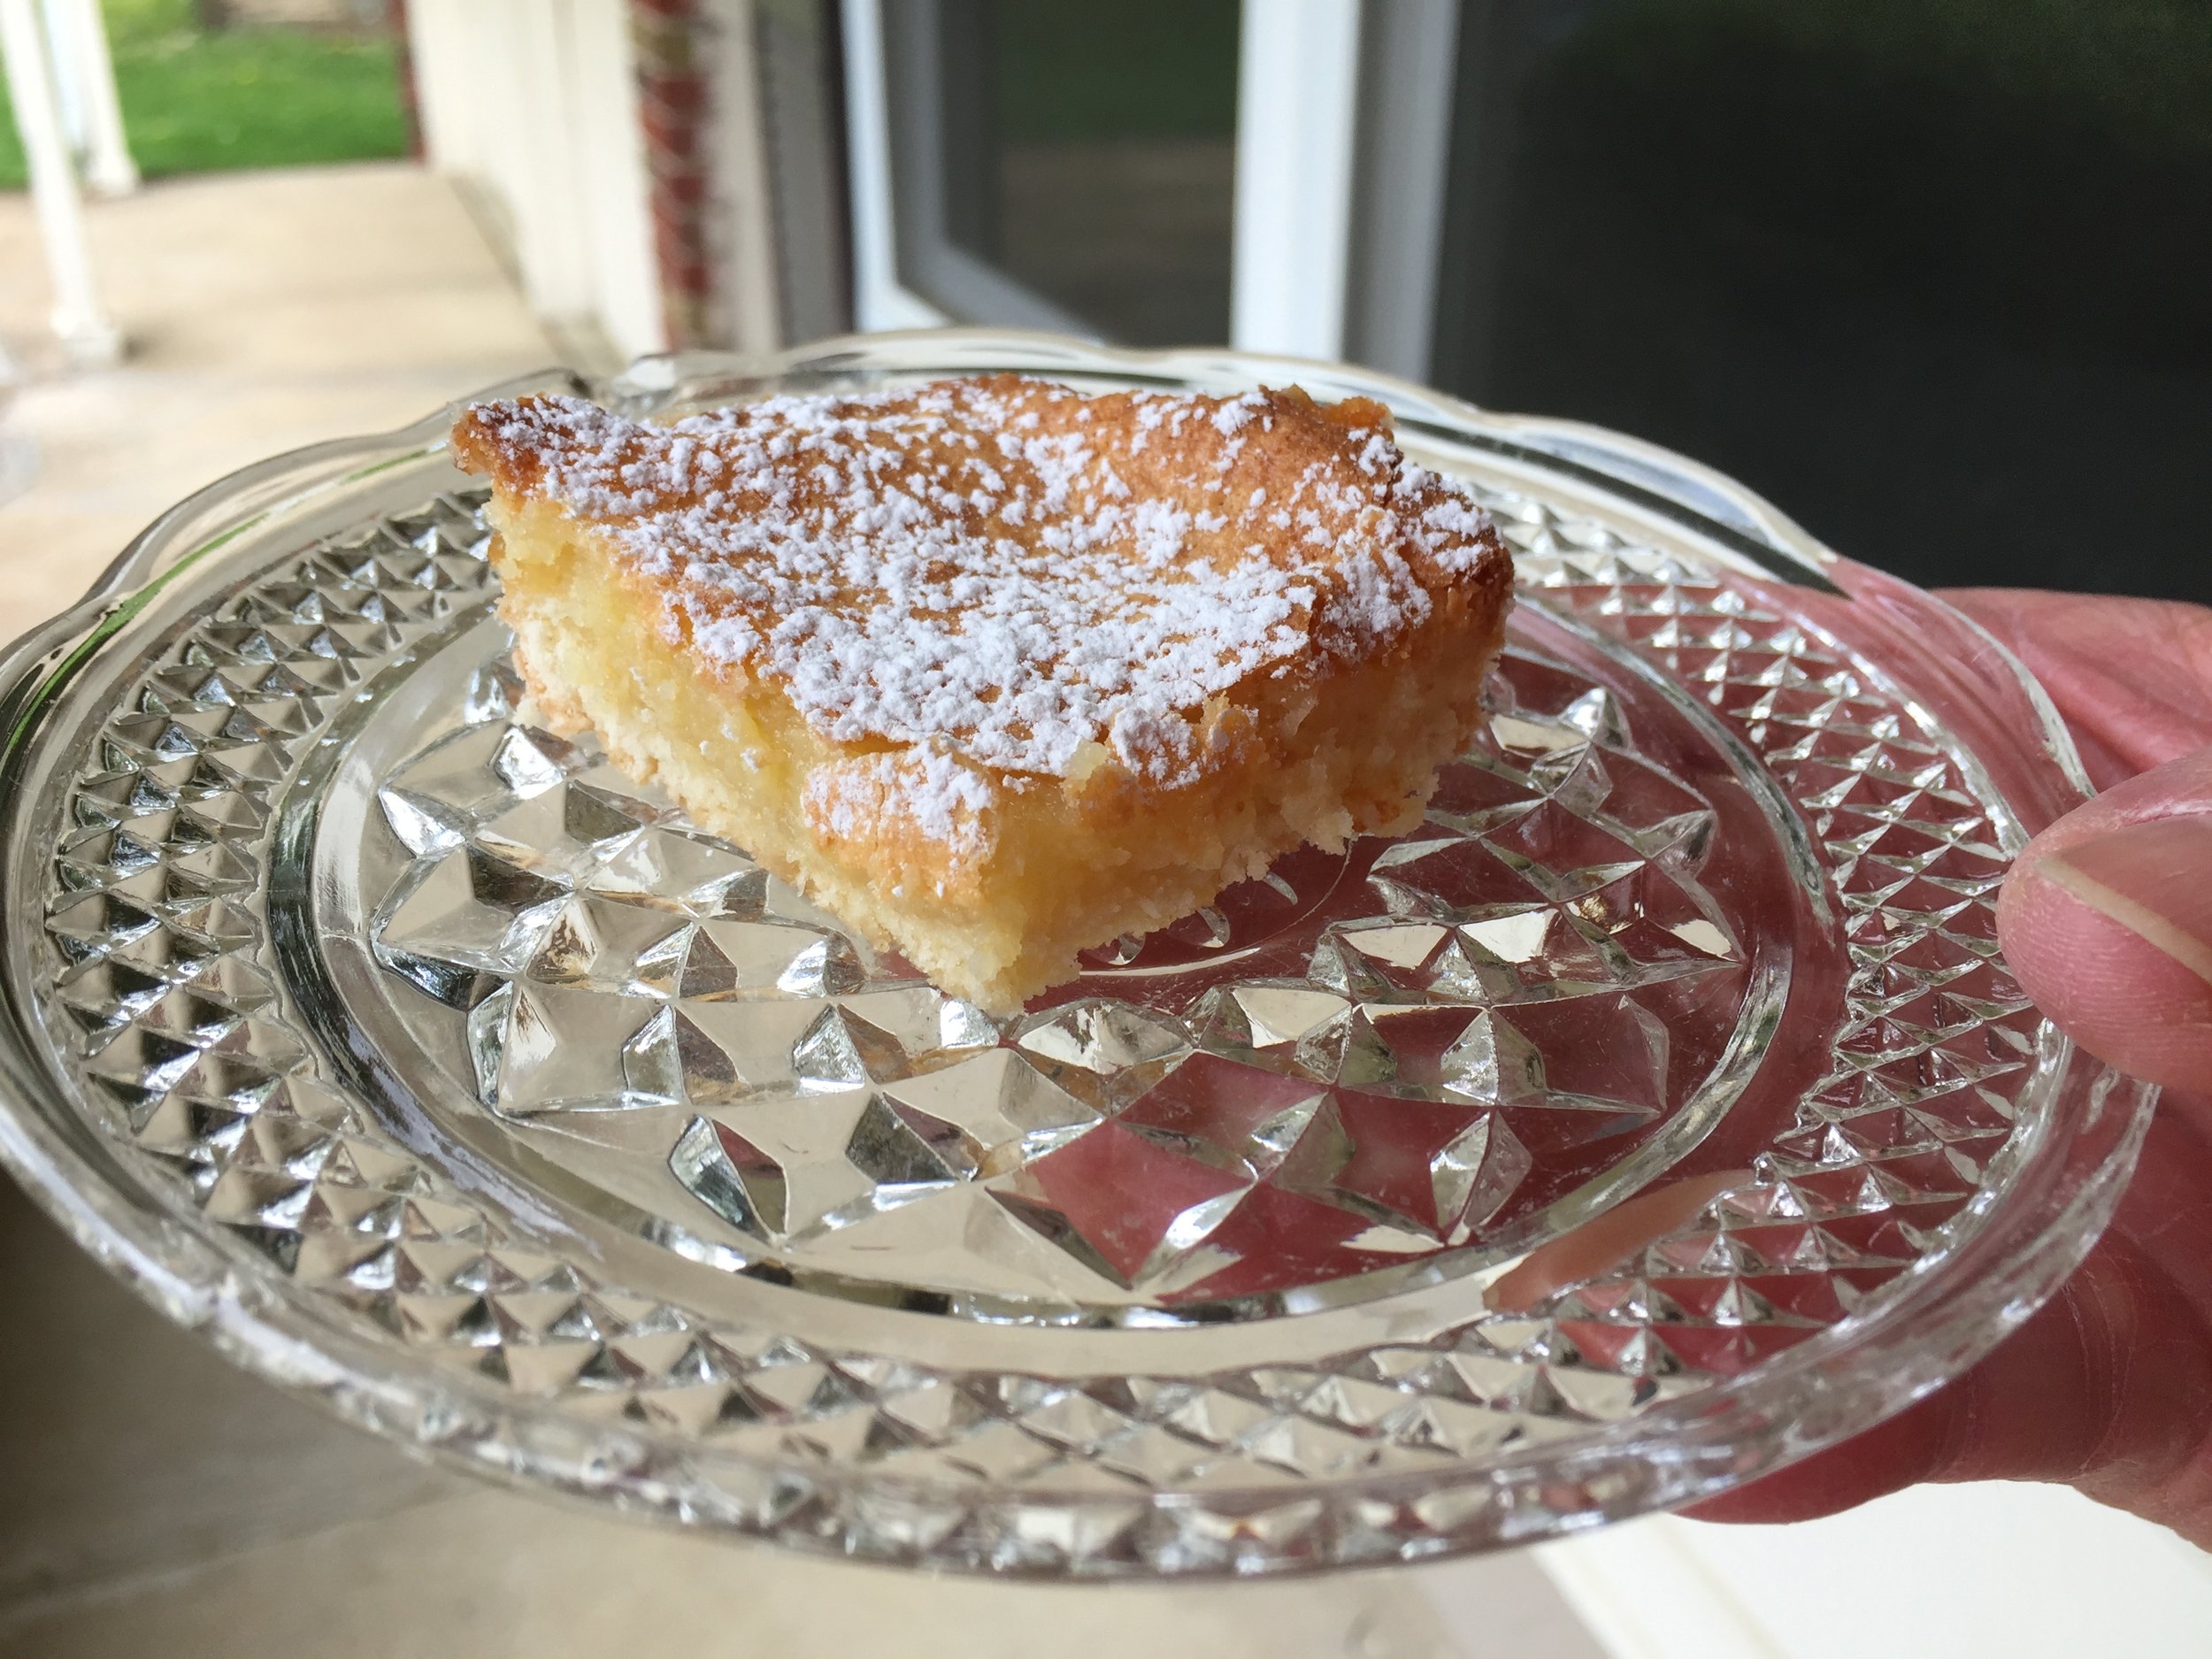
I was pleasantly surprised at the flavor and texture, fearing that it would be a sugary, gooey mess. Instead I found a vanilla scented, not overly sweet, tenderly textured square that reminded me of a simple lemon bar (without the lemon) with a shortbread like crust topped with a luscious, melt-in-your mouth filling. My oh my.

The story goes that a German baker in St. Louis accidentally mixed up the quantities of butter and flour in a basic yellow cake and thus the “gooey” was born. I wasn’t able to ask the Gooey Louis baker about his approach to the cake since he had already left the shop for the day. As is my usual practice I turned to some of my baking literature as well as the internet to try to learn a bit more.

I recalled a recipe from the Holiday 2017 issue of SIFT magazine, a King Arthur Flour publication, so turned to that initially. Interestingly it includes a yeasted “cake” base topped by the gooey filling. As I searched online I found a very similar recipe on SmittenKitchen’s blog which then referred me back to the recipe printed in the NYT by Melissa Clark in 2010. Melissa notes the recipe came from Molly Killeen, a St. Louis native with a baking business in Brooklyn. Obviously it’s been around awhile.

The other recipe most prominent on internet searching was a Paula Deen version made with a boxed cake mix and a topping that included cream cheese. Thanks but no thanks.

Now it was time to try my hand at making it myself. While this type of thing is a diversion from the usual French Tarte baking projects, I figured we had just visited a decent portion of the US of A so why not go with a regional American goodie for a change, eh?

IMG_3861.JPG

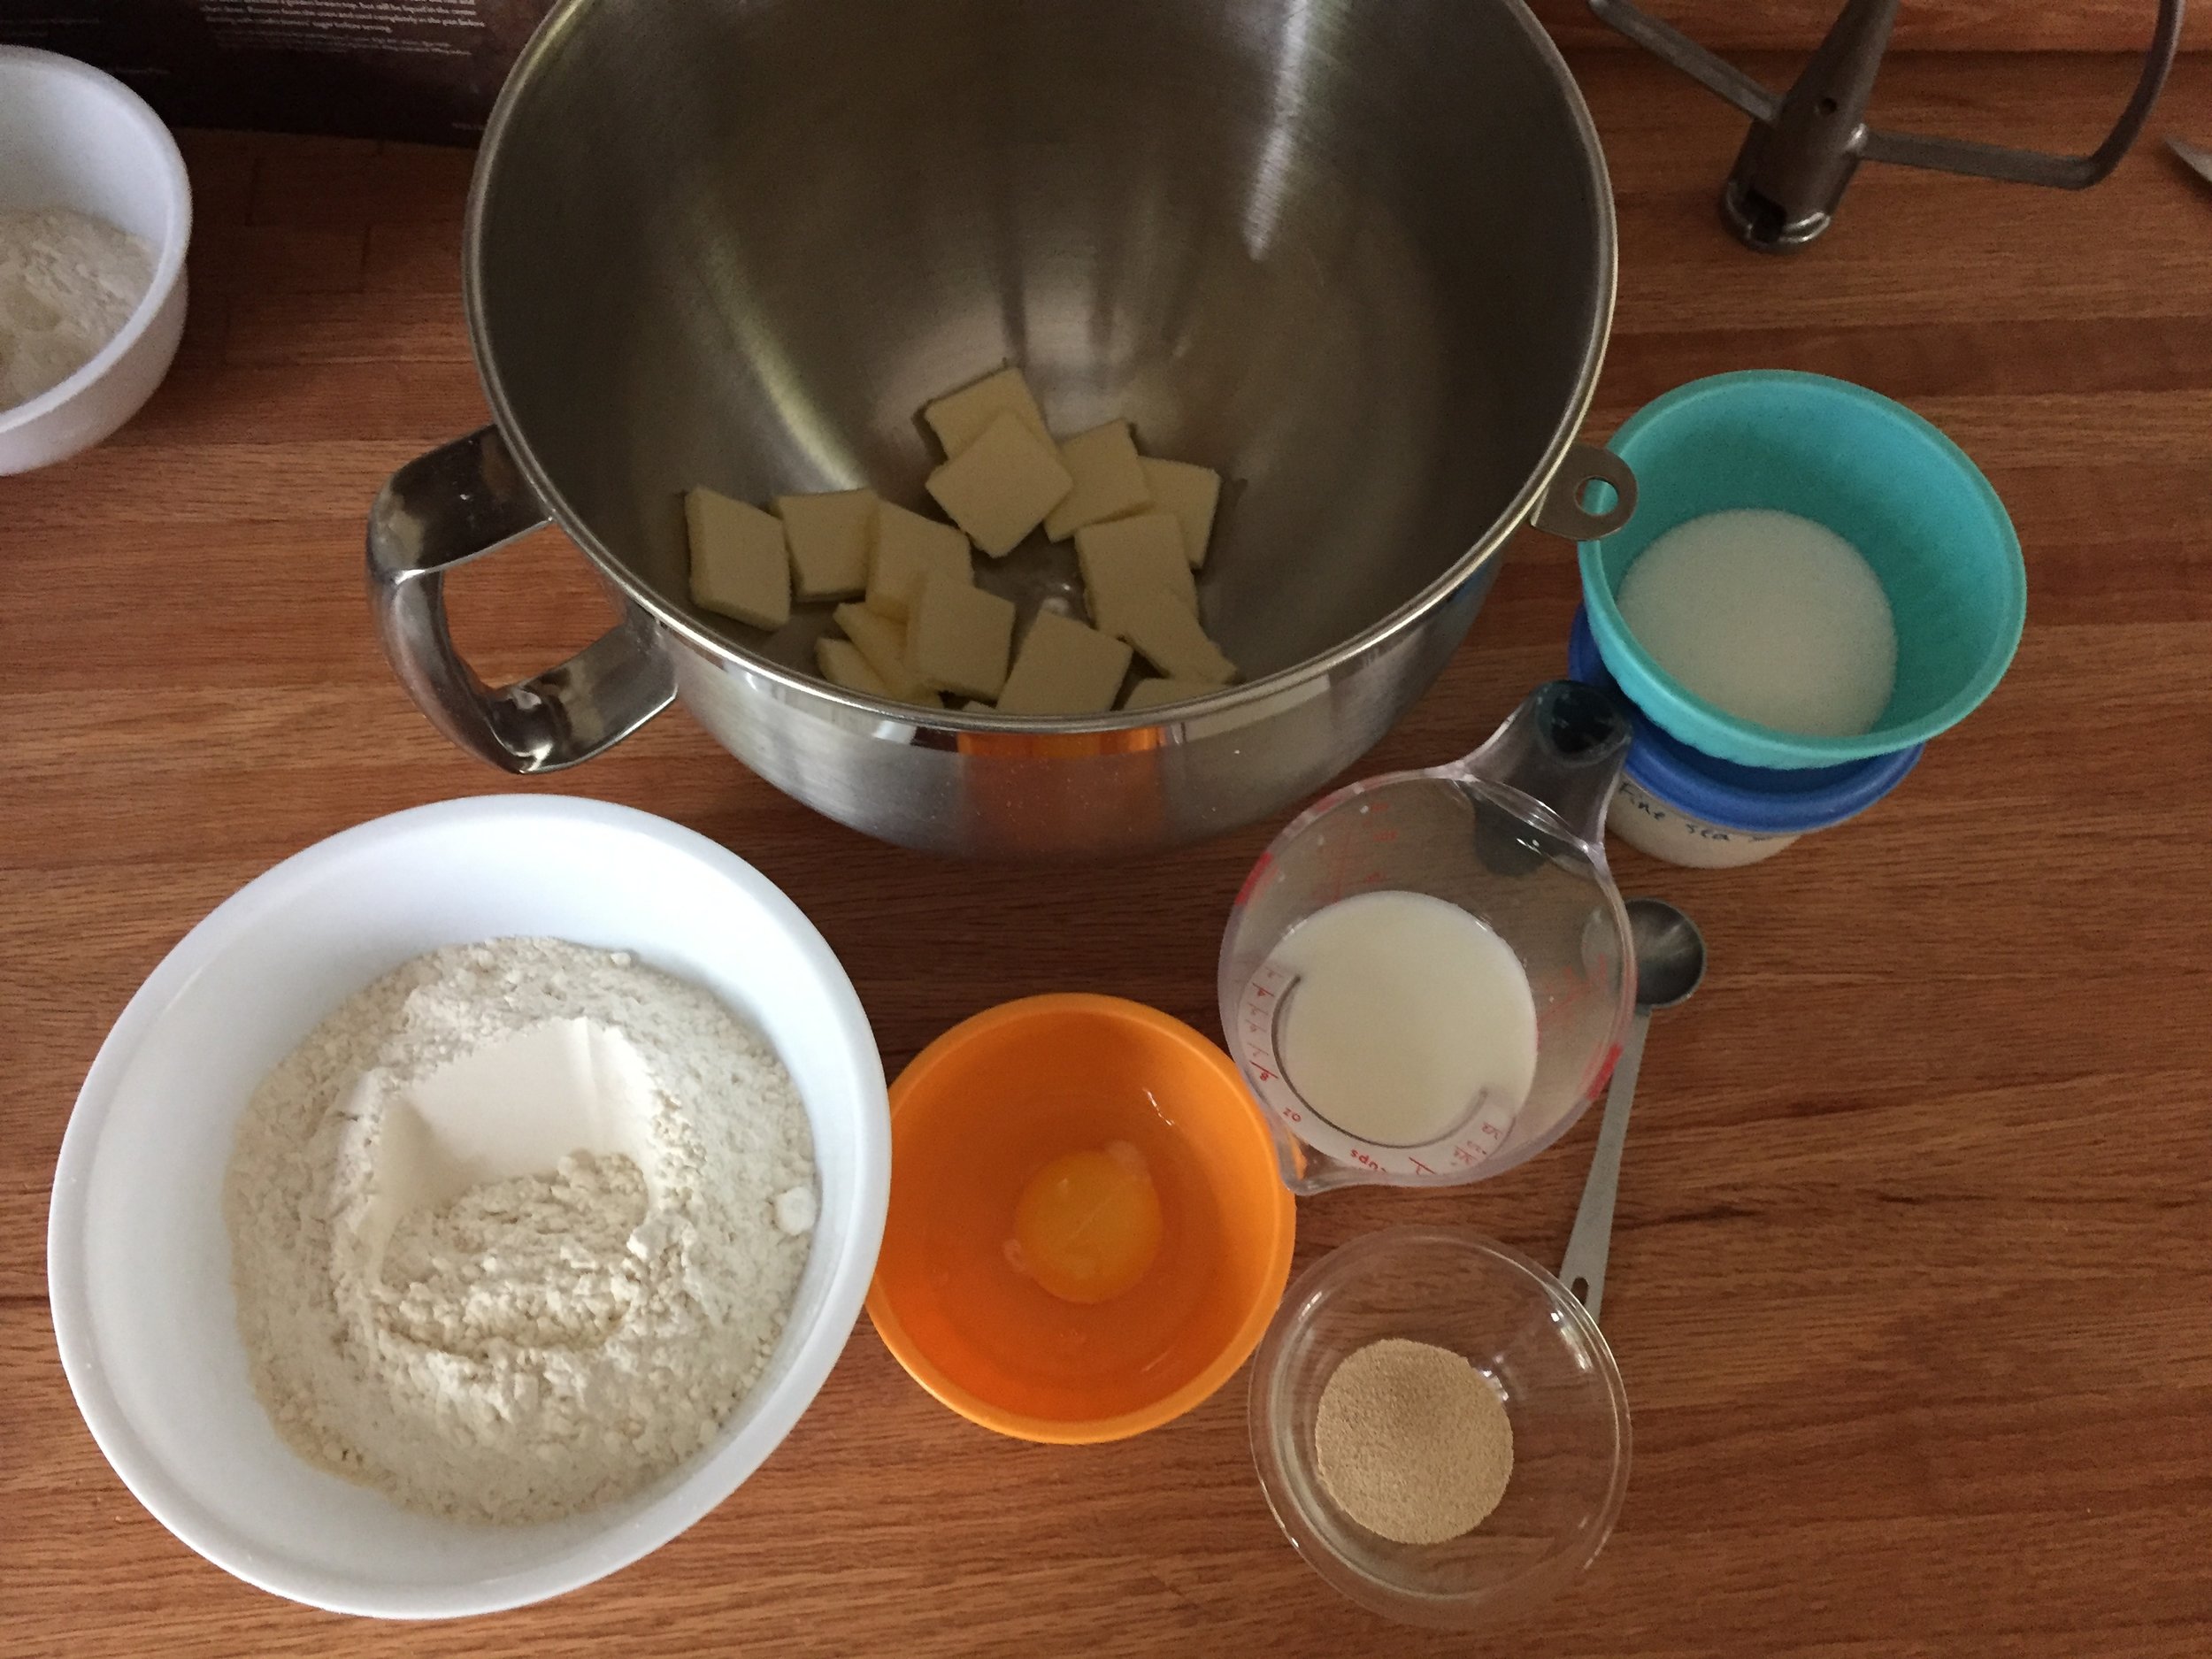
For the base: combine 7 g instant yeast, 45 g room temperature whole milk and 30 g warm water in a small bowl. Set aside while you cream 85 g room temperature unsalted butter with 45 g granulated sugar and 3/4 teaspoon salt in a mixer fitted with the paddle attachment. Scrape down the bowl and blend in one large egg. Add 220 g all purpose flour alternating with the milk mixture, starting and ending with the flour. Then mix at medium speed for 4-5 minutes.

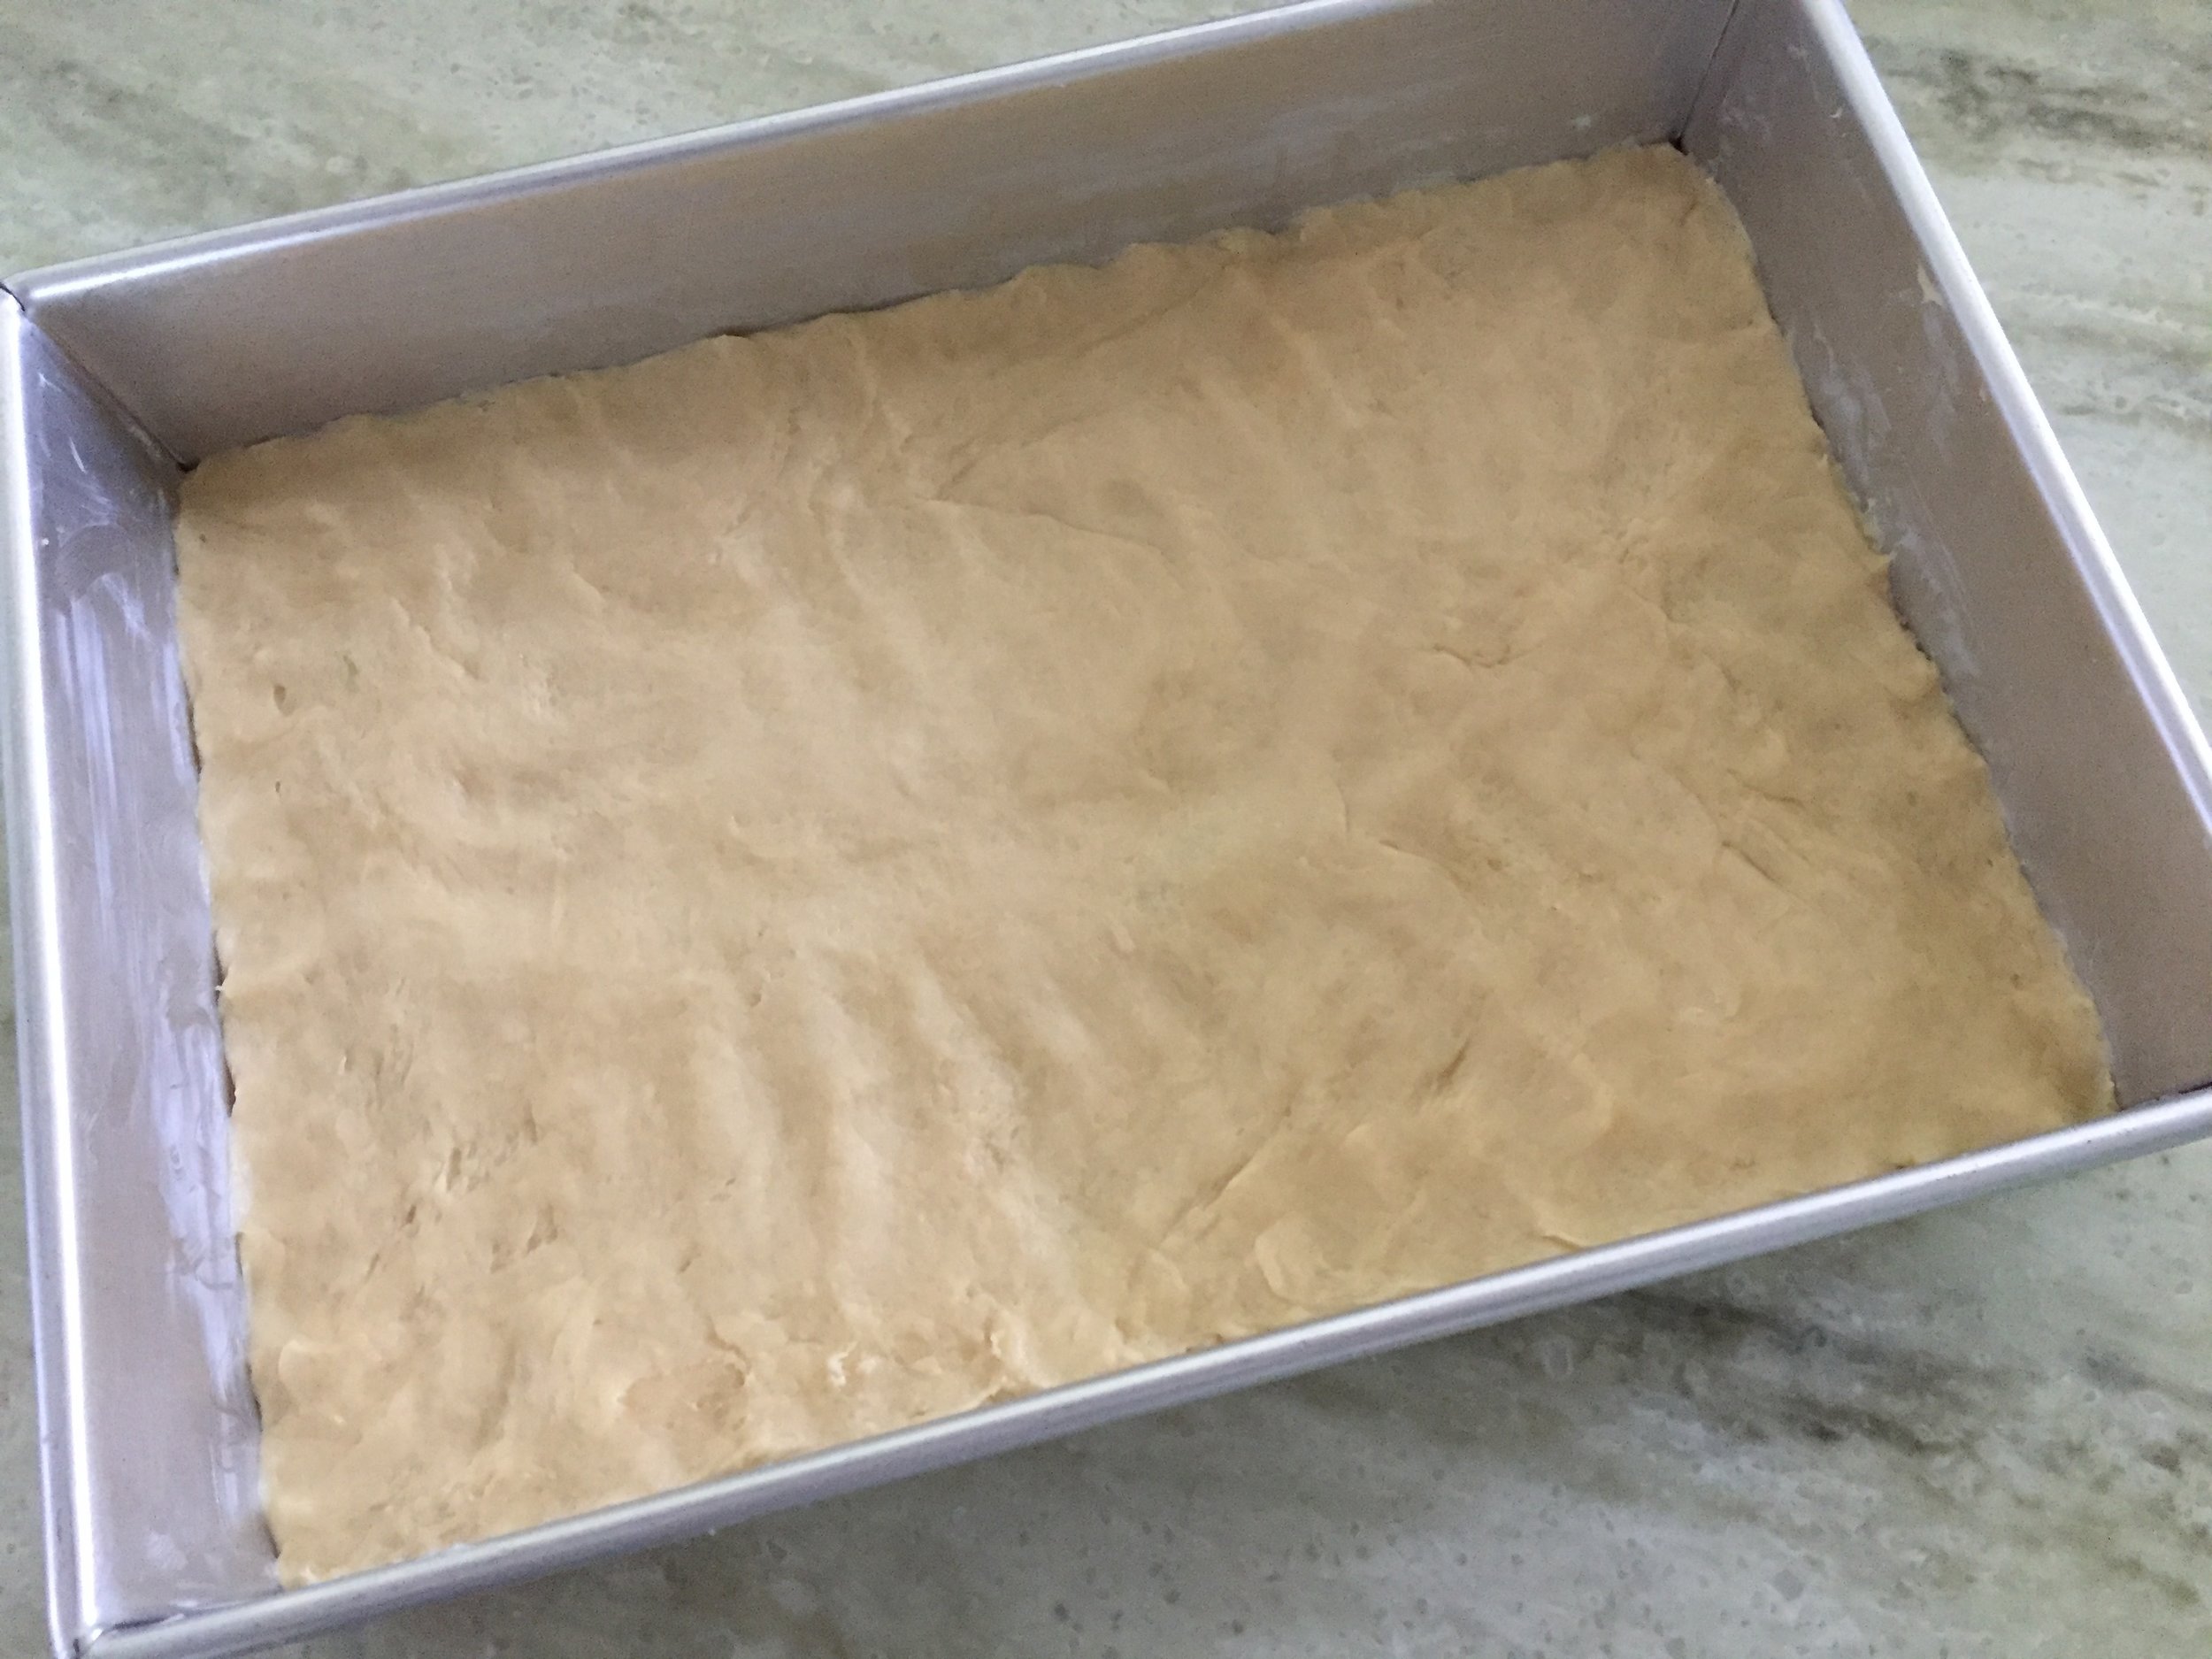
Press the dough into a greased 9” x 13” pan . . . . .

IMG_3863.JPG

and let it rise for about 2.5 hours. The dough was a bit tacky but soft and supple, and it spread easily into a layer barely 1/4” thick.

During the rise I did the mise en place for the topping, mixing it together toward the end of the rise as I also heated my convection oven to 345ºF.

IMG_3862.JPG

For the topping: whisk together 70 g light corn syrup, 30 g (2 TBSP) water and 2.5 teaspoons vanilla extract in a small bowl. In a mixer with the paddle attachment cream 170 g unsalted butter with 300 g granulated sugar and 1/2 teaspoon salt for several minutes until light and fluffy. Blend in one large egg then add 160 g all purpose flour alternating with the corn syrup mixture, starting and ending with the flour.

After the rise the base did indeed have a more pouffy look and had pretty much doubled in volume. The topping came together beautifully like a nice cake batter.

IMG_3867.jpg

Dollop out the topping over the base . . . . .

IMG_3868.JPG

then spread it out gently, smoothly and evenly.

IMG_3869.jpg

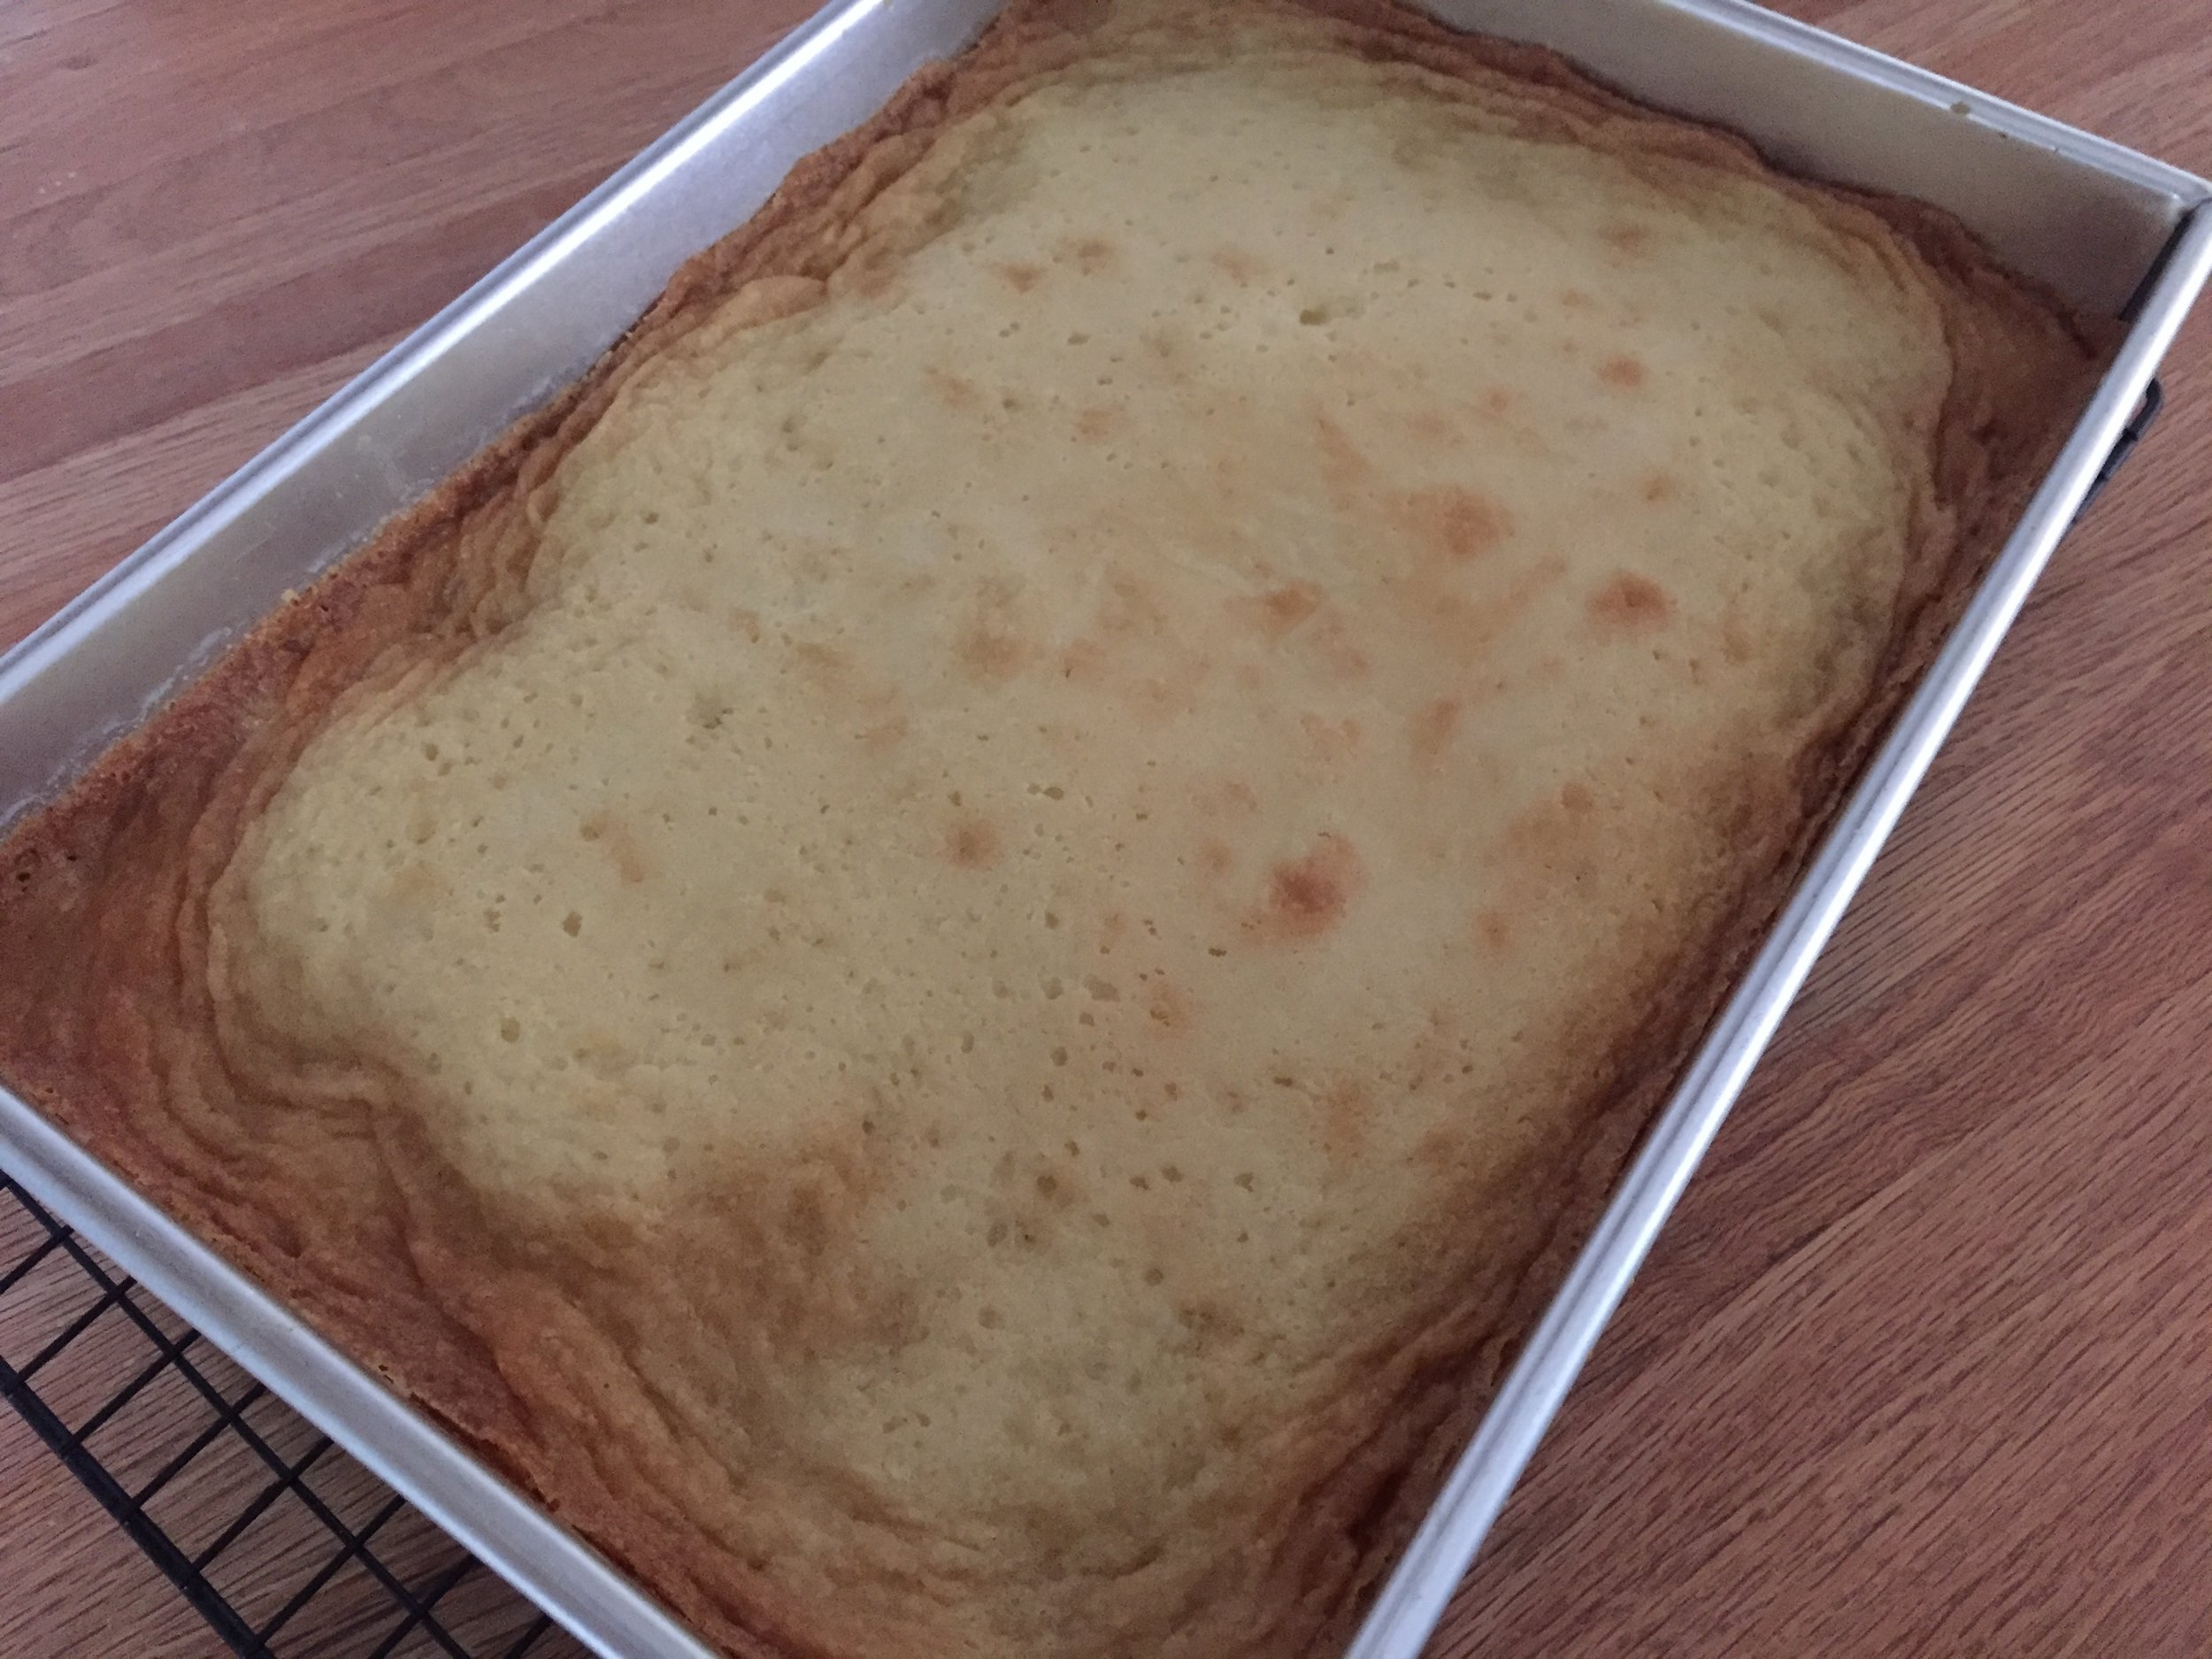
Bake for 30-45 minutes (on the shorter side for a metal pan and the longer side for glass or ceramic). The cake rises and falls in a bit of a wavy pattern and the top should be golden brown but still liquid in the center. Mine had lovely browned, ripply and wrinkly edges, a moon crater like appearance and still gooey in the center. Be prepared: it has to cool completely in the pan before dusting with confectioner’s sugar, cutting and serving.

IMG_3873.JPG

Steve and I did our initial taste testing by cutting some edge pieces - the bottom layer came out thicker than the cake we had in St. Louis, I’m sure as a result of the yeasted dough - and the topping a lovely buttery, not too sweet mixture. We liked it! The yeasted dough seemed almost bread like, as though we had slathered a wonderful slice with that delicious top layer

IMG_3880.JPG
IMG_3876.JPG

We had more the following day - still gooey and good! A 9x13 pan makes a lot so I’ll be doling out some portions to neighbors and co-workers lest Steve and I demolish it all ourselves.

Here’s to a delicious St. Louis treat!

IMG_3875.JPG

Chocolate hazelnut marjolaine

IMG_3809.JPG

For Steve’s one-week-early birthday meal at my mom’s I decided to make a marjolaine for our dessert. He’s a sucker for anything with dacquoise or choux paste so of course I wanted to include at least one of those components in his celebration dessert. Since we won’t be in GR on his actual birthday, Mom hosted us, along with cousin Clark, for a repast of her famous Swiss steak, cheesy potatoes, green beans and crunchy cole slaw. What a great way to launch a birthday week, eh Stevie?

Happy Birthday to Steve!

Happy Birthday to Steve!

A classic marjolaine is a layered, flourless dessert consisting of rectangles of nutty meringue (dacquoise) layered with ganache and pastry cream or buttercream. Once assembled it’s finished off with a coating of ganache or buttercream along with sliced almonds pressed onto the sides for garnish. Some flavors that are popular with the dark chocolate ganache are hazelnut, coconut, coffee or pistachio.

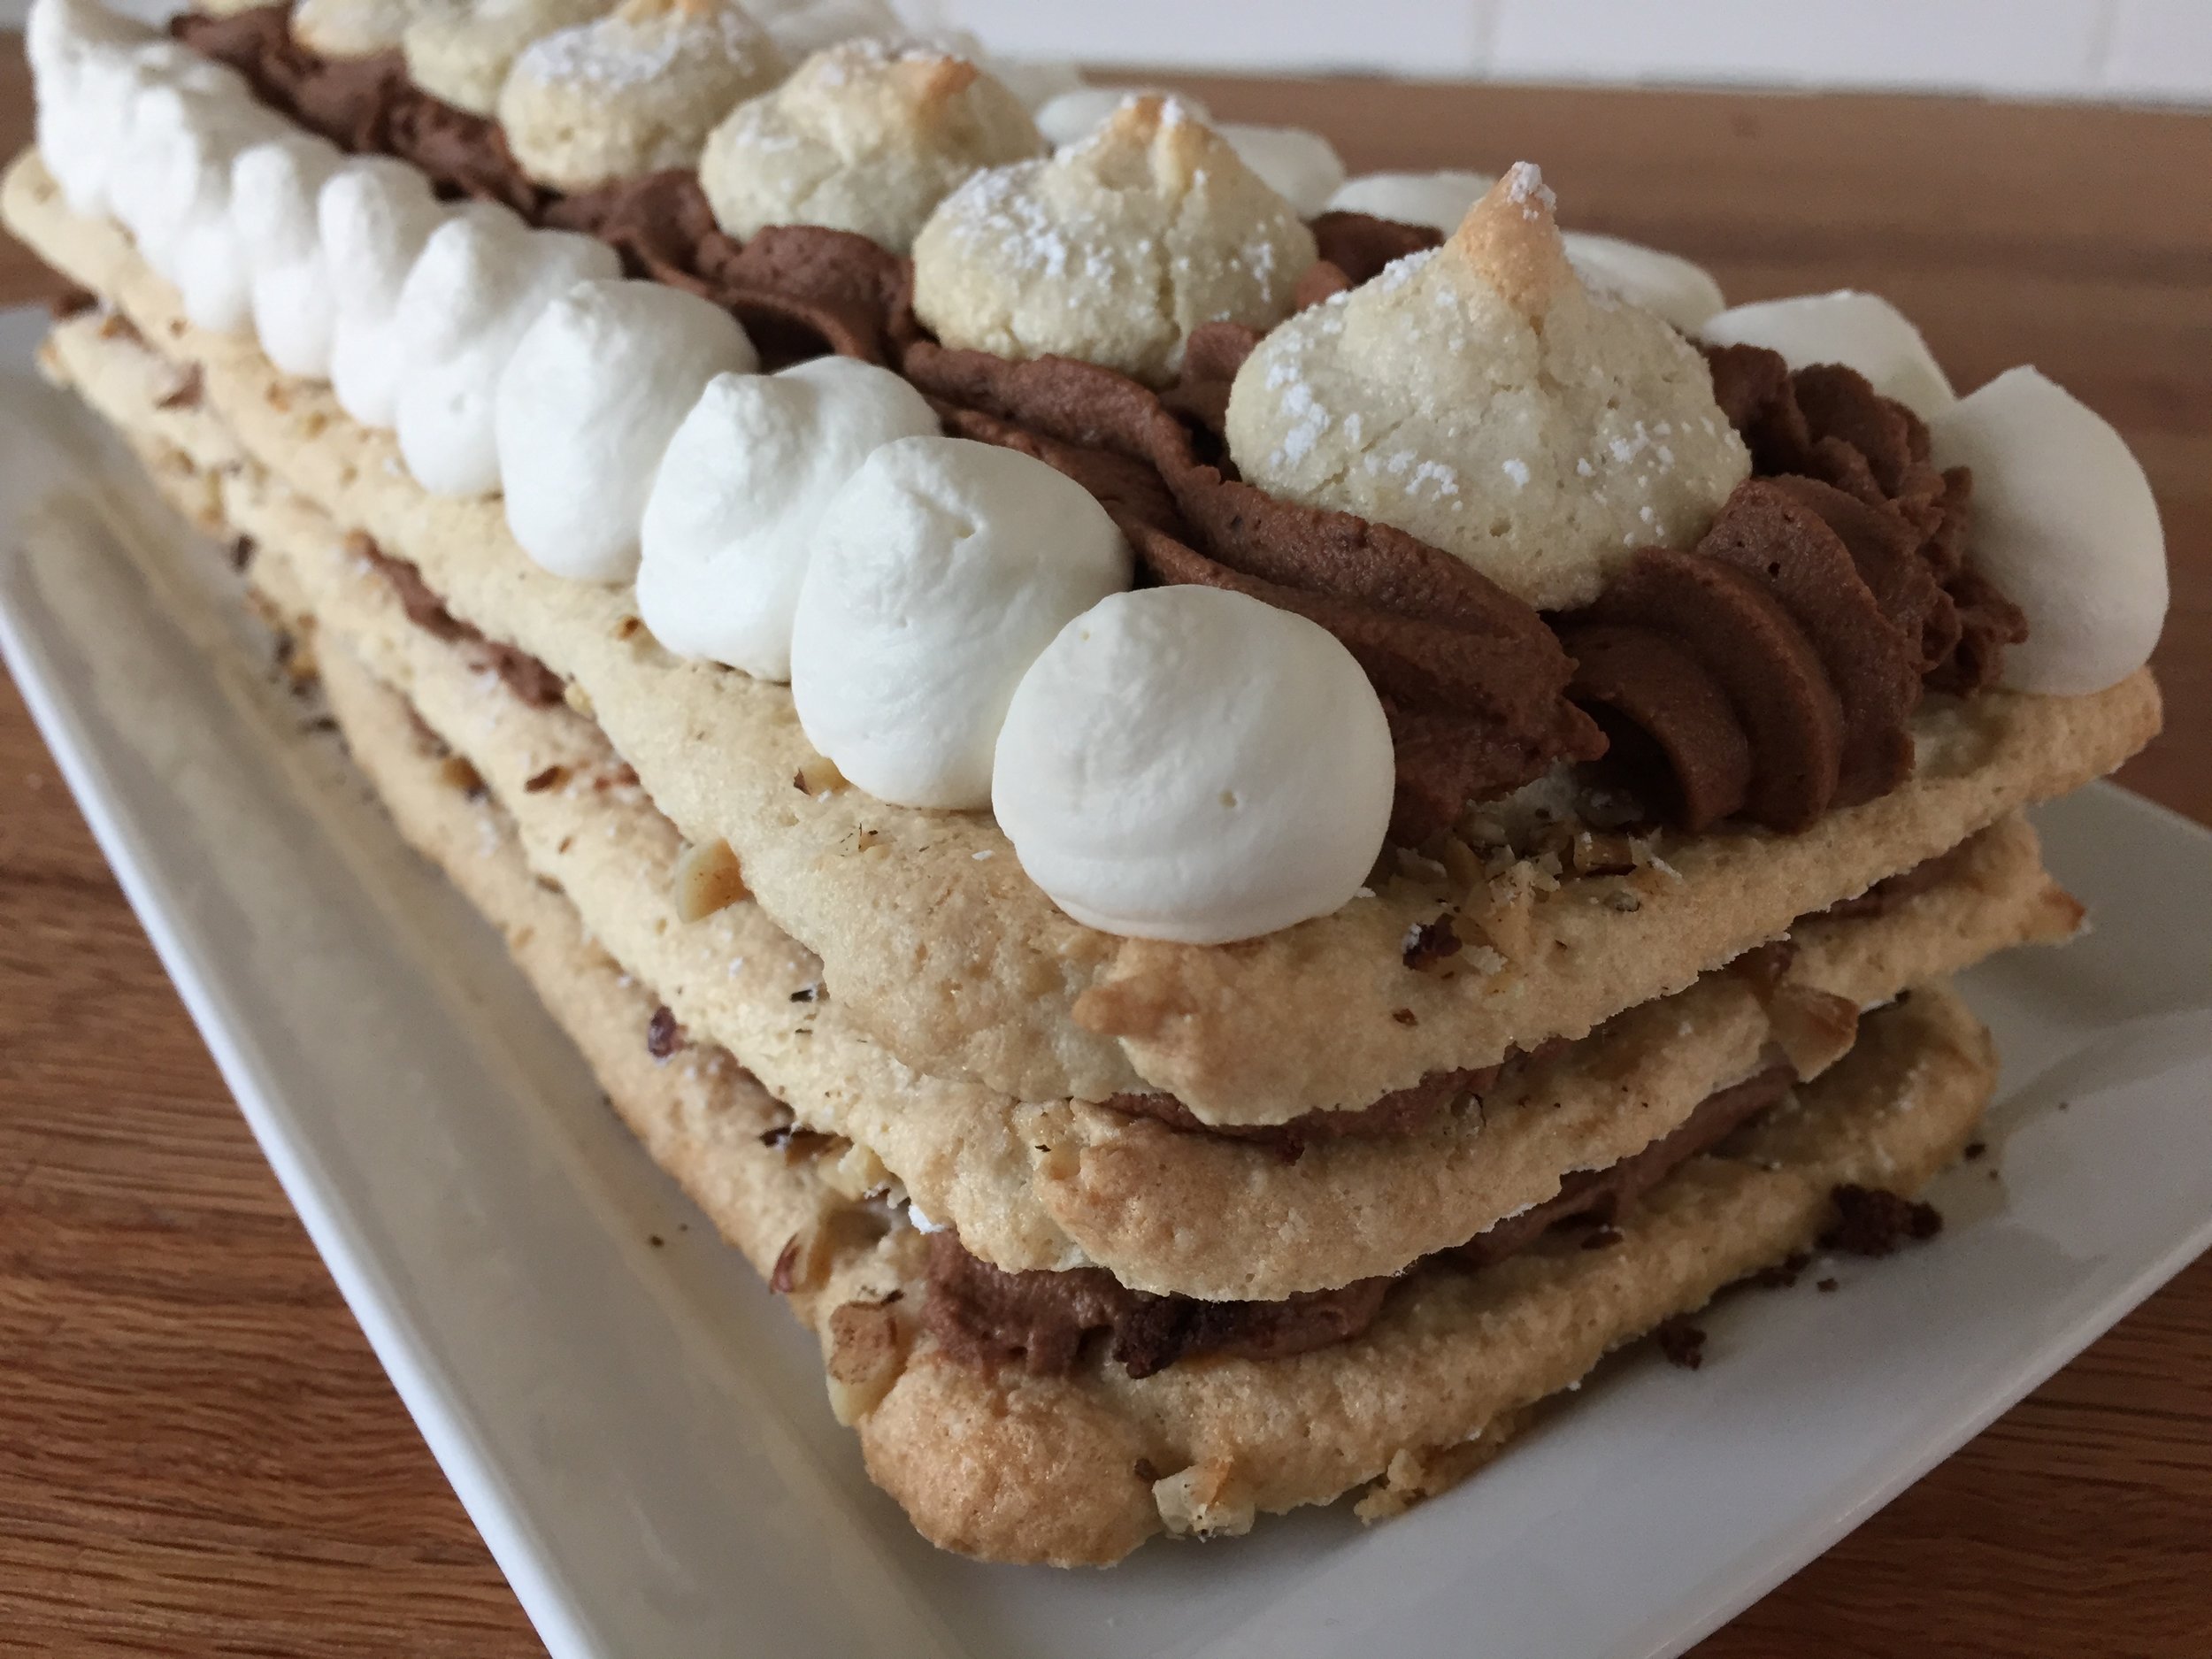
In my case chocolate and hazelnut were the choices, particularly since I had some of my homemade praliné in the fridge. The plan: three layers of toasted hazelnut-topped dacquoise sandwiched with whipped dark chocolate-praliné ganache and garnished with Chantilly, dacquoise kisses and more ganache. I opted for the rustic approach without the finish coat.

A quick note: my marjolaine became “floured” due to the addition of chocolate shortbread crumbs as one of my layers - omit that component and it is indeed flourless!

In preparation for dacquoise baking I used my 4” x 11” tart form to outline my rectangles - just place the form on the Silpat, dust powdered sugar over, lift off the form and voilà - the shapes are there as simple templates for the dacquoise. Cool.

IMG_3794.jpg

I had enough batter for the three rectangles plus some leftover for petite kisses. Awwwww.

All piped out

All piped out

Before baking I sprinkled chopped hazelnuts on top along with a generous dusting of powdered sugar.

IMG_3796.JPG

Dacquoise bakes at 350ºF for about 20 minutes. My version is a soft meringue - I look for lightly browned and set rectangles.

IMG_3797.JPG

For the ganache I put 100 g dark chocolate pastilles in a heatproof bowl, brought 250 ml heavy cream to a boil, poured it over the chocolate, blended until smooth and then added 50 g (about 15% by weight of the ganache) of praliné (caramelized hazelnuts processed to a paste). Pop it into the fridge to chill before whipping it up for the layering portion of the program. I had plenty of ganache for this purpose - good for perhaps some petite tartelettes or profiteroles.

IMG_3801.jpg

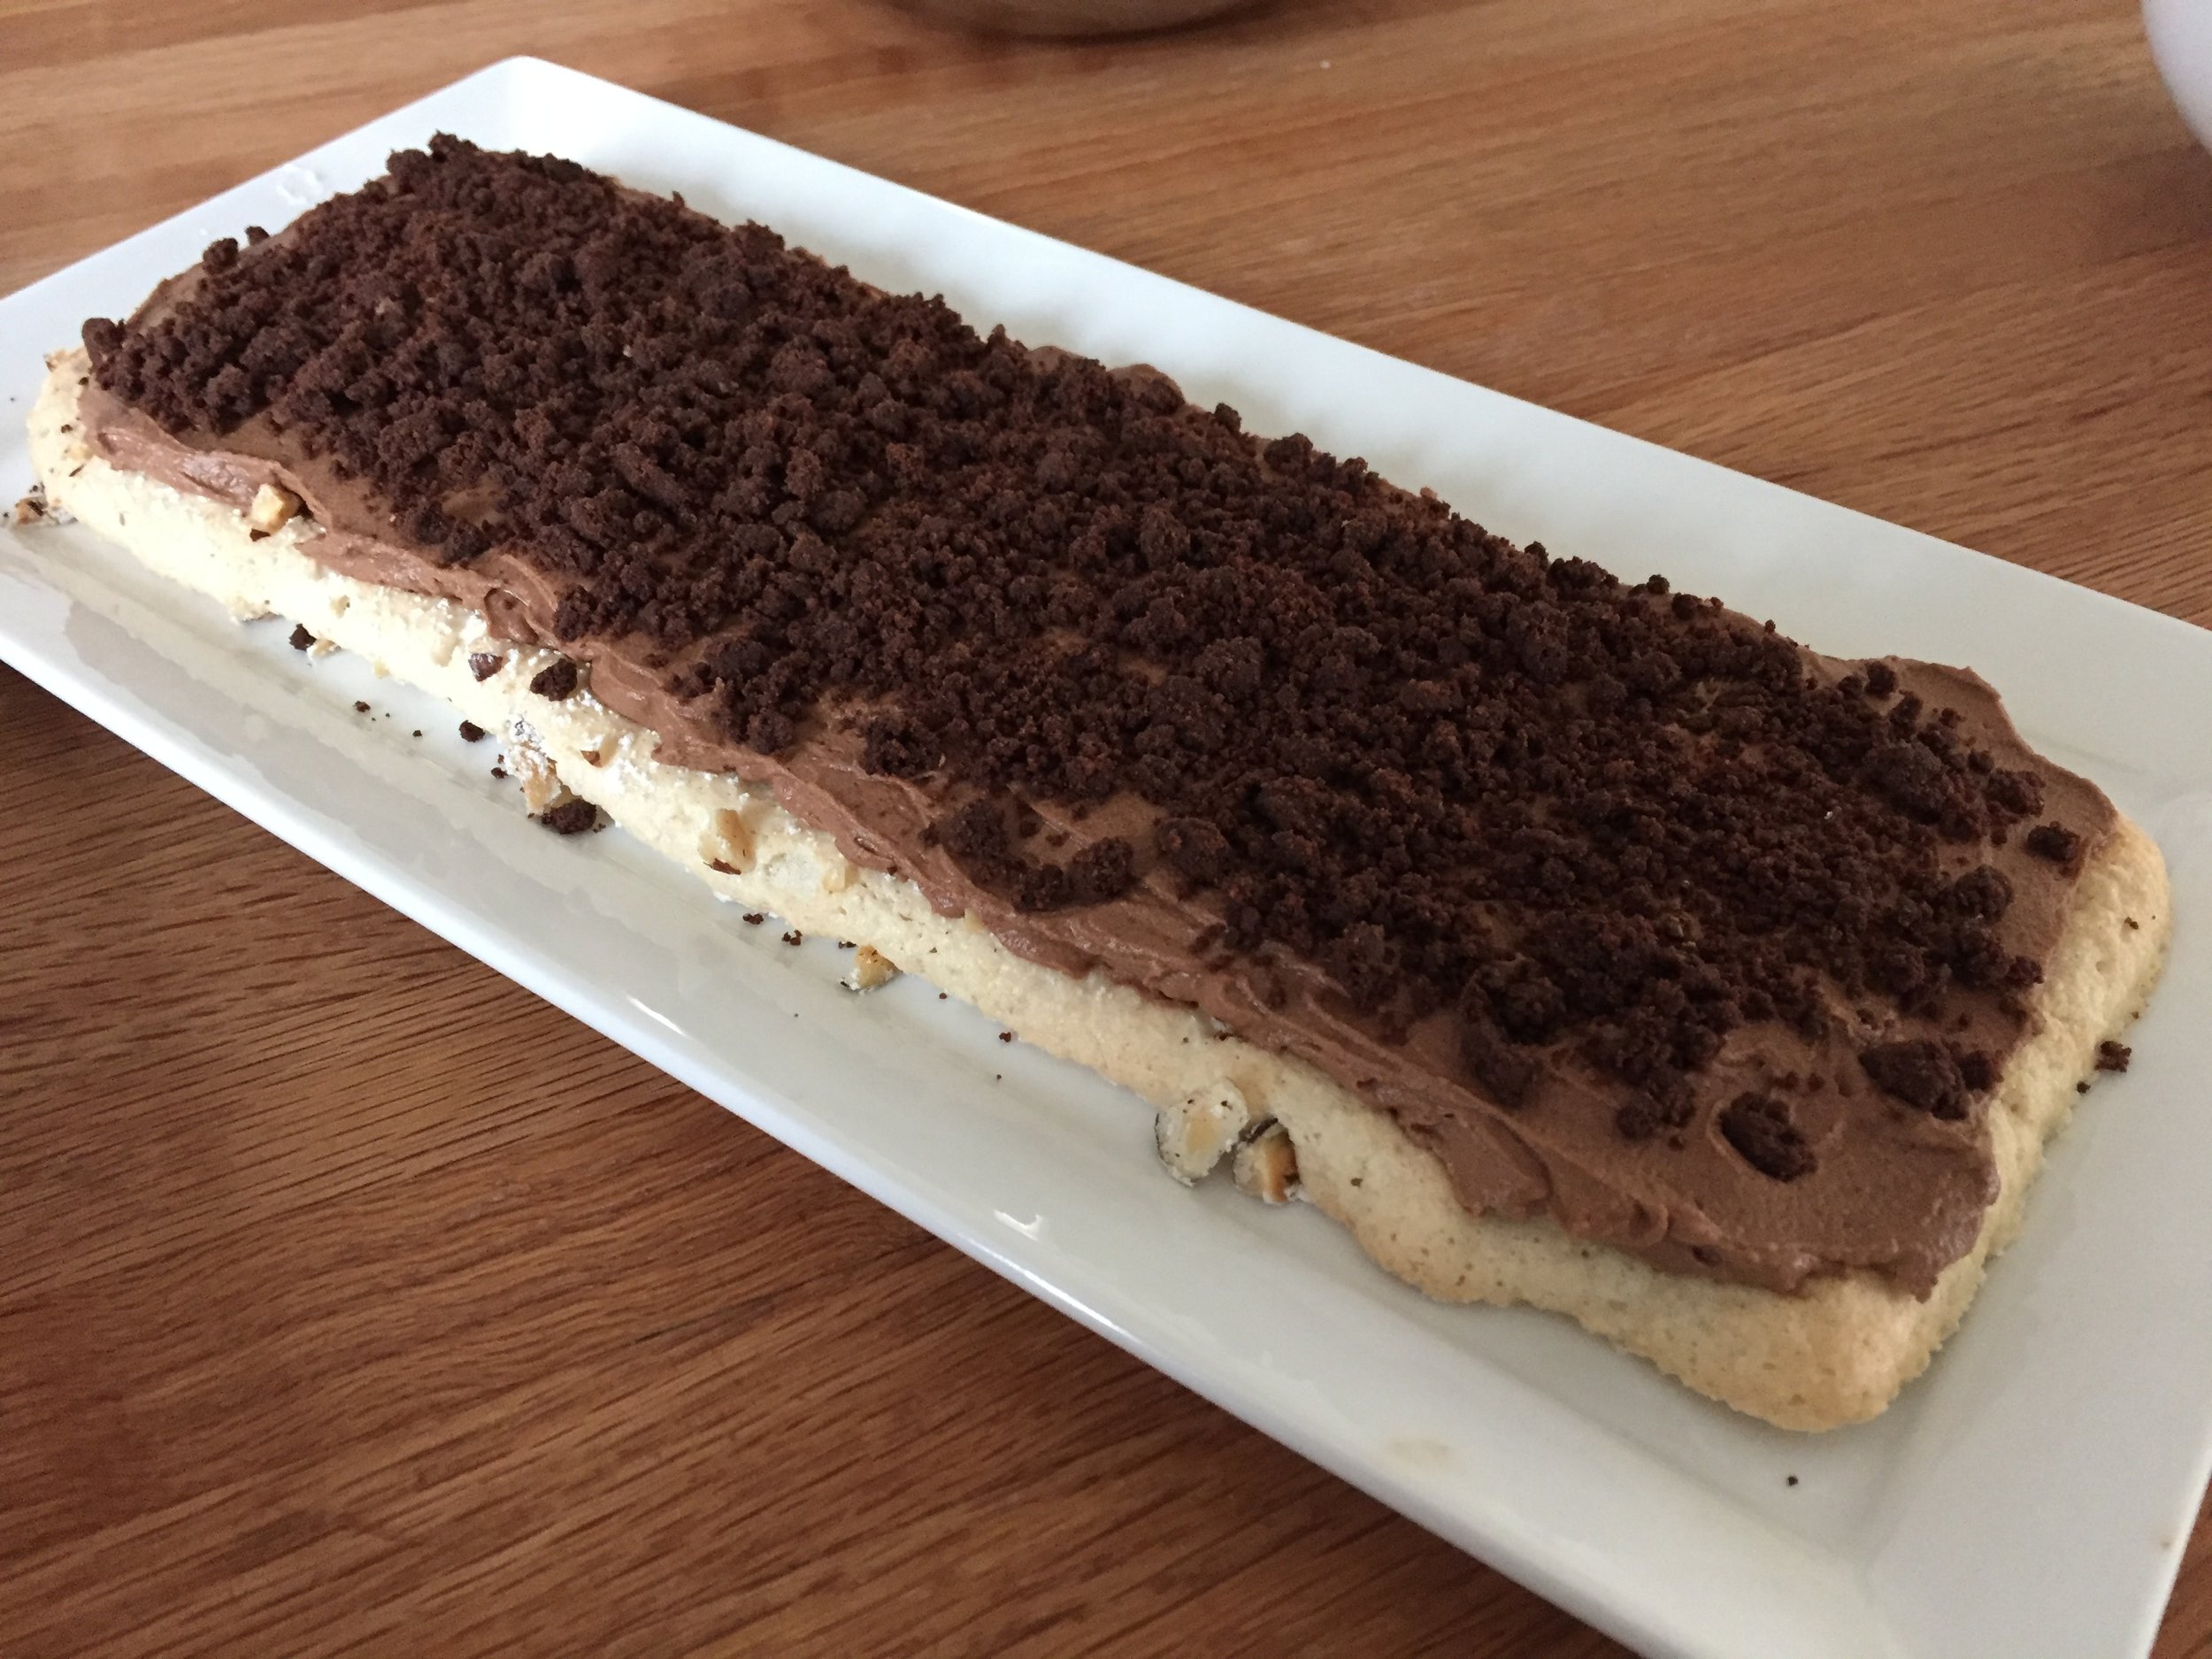
One rectangle of dacquoise down, ganache spread over it, then my chocolate crunchy crumbs (my favorite chocolate shortbread dough baked into crumbs) sprinkled over that.

IMG_3802.JPG

Another layer of dacquoise then ganache then crumbs and so on.

IMG_3804.JPG

To top it off I piped some Chantilly cream “pearls” along the length with swirls of ganache down the center and popped some of the dacquoise kisses right down the middle.

All set!

All set!

IMG_3815.JPG

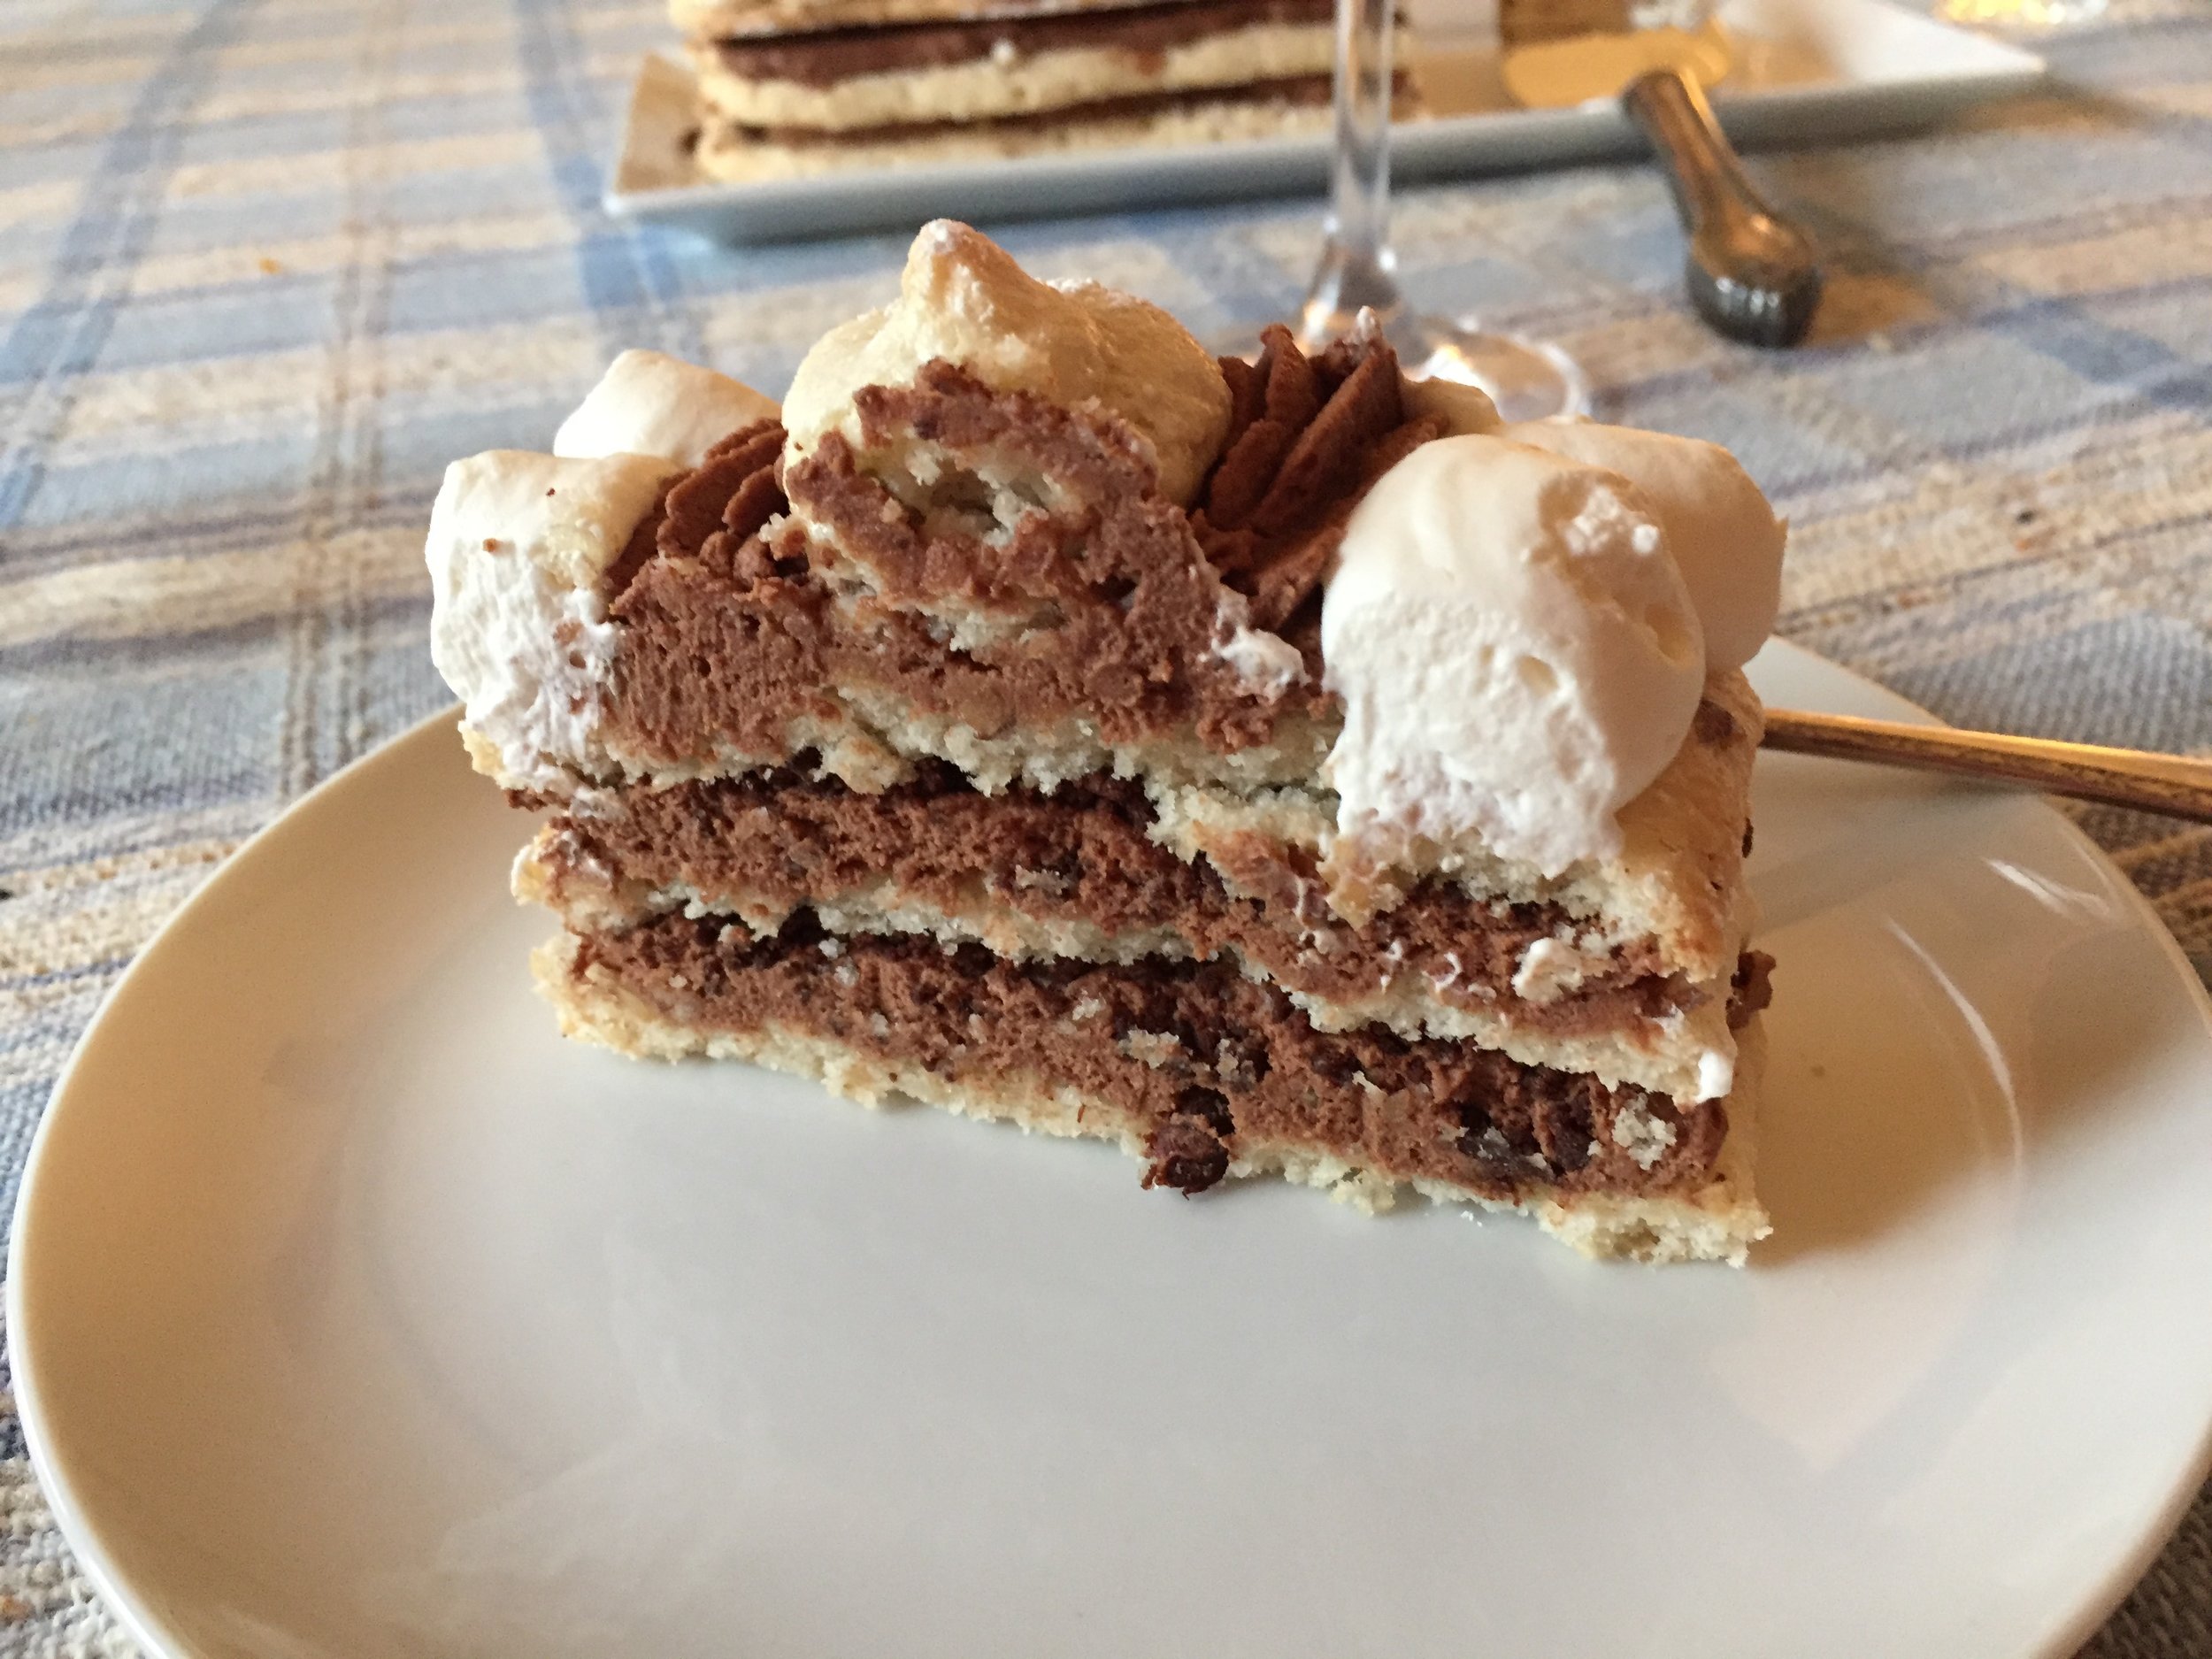
We enjoyed simple slices for the birthday dessert. Light, airy, delicious!

IMG_3814.JPG

Enjoy spring and here’s to lots of May flowers coming soon!

And as always - happy baking!

IMG_3832.JPG

Happy spring!

IMG_3678.JPG

Better late than never, it’s high time I sent welcome-to-spring wishes to everyone. Even though we actually had a bit of SNOW! the other evening, we’re seeing green shoots coming out of the bare ground and some tree limbs showing their first hints of leaves. We’ll take it!

It seems life has a way of carrying us onward, often to the point of prompting us to ask “what I have been doing these past few weeks/months?!” While I don’t have a specific recipe or new project to share with you on the blog this time around, I thought it would be nice to show you what I’ve been up.

Oh - news flash! I’ve finally added a search box in the blog’s sidebar so you can type in key words, e.g. “croissant”, and find posts I’ve written on that particular topic. Cool!

Crunch top berry mascarpone profiteroles

Crunch top berry mascarpone profiteroles

Hazelnut choux rounds getting ready for Paris-Brest

Hazelnut choux rounds getting ready for Paris-Brest

Lemon mascarpone cake with orange honey buttercream

Lemon mascarpone cake with orange honey buttercream

Petite citrus cakes

Petite citrus cakes

Next up is my new favorite version of financier, those delightful teacakes that I love so dearly. This one is coffee hazelnut, dipped in dark chocolate ganache and topped with chopped toasted nuts. SO GOOD.

Coffee hazelnut financiers

Coffee hazelnut financiers

I simply cannot ignore fresh fruit tarts - they always make me smile! These contain a baked ricotta custard/vanilla scented filling - deelish with fresh berries.

IMG_3721.jpg
Sea salt caramel and espresso nib shortbread

Sea salt caramel and espresso nib shortbread

Current shortbread flavors, all tubed up!

Current shortbread flavors, all tubed up!

Breton blueberry almond tarts

Breton blueberry almond tarts

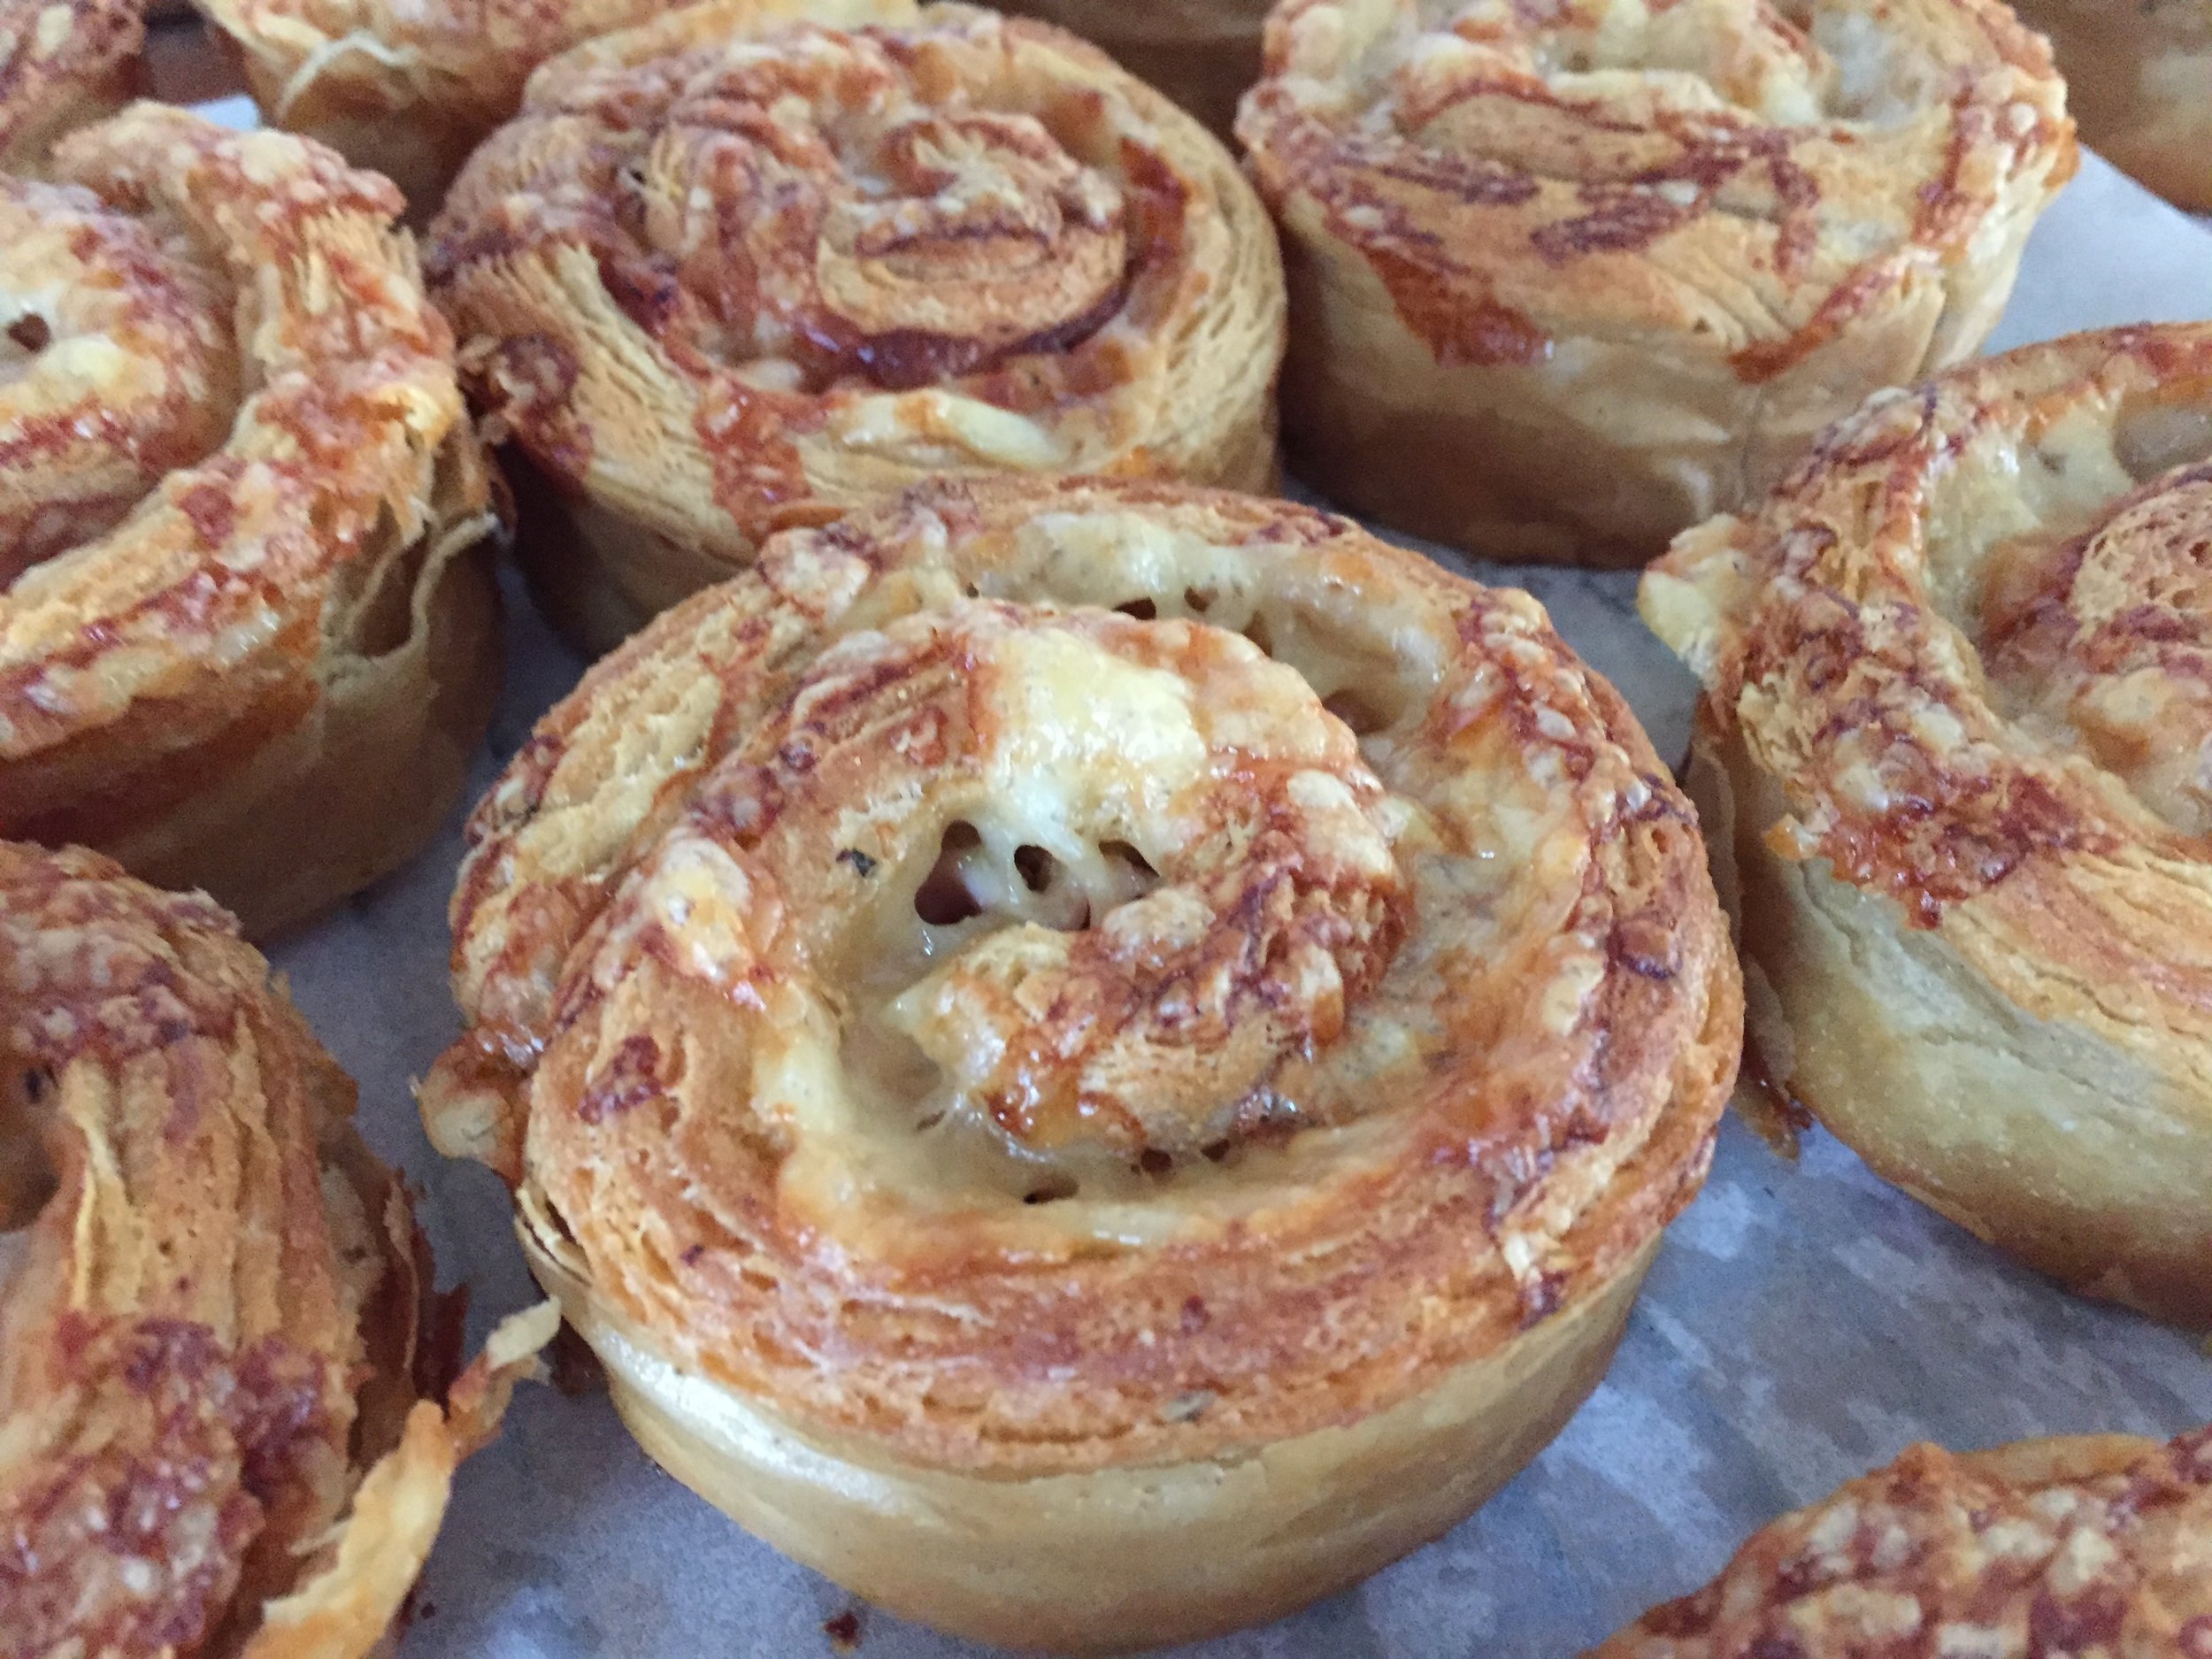
Ham and cheese whole wheat spirals

Ham and cheese whole wheat spirals

Lemon ricotta cakes

Lemon ricotta cakes

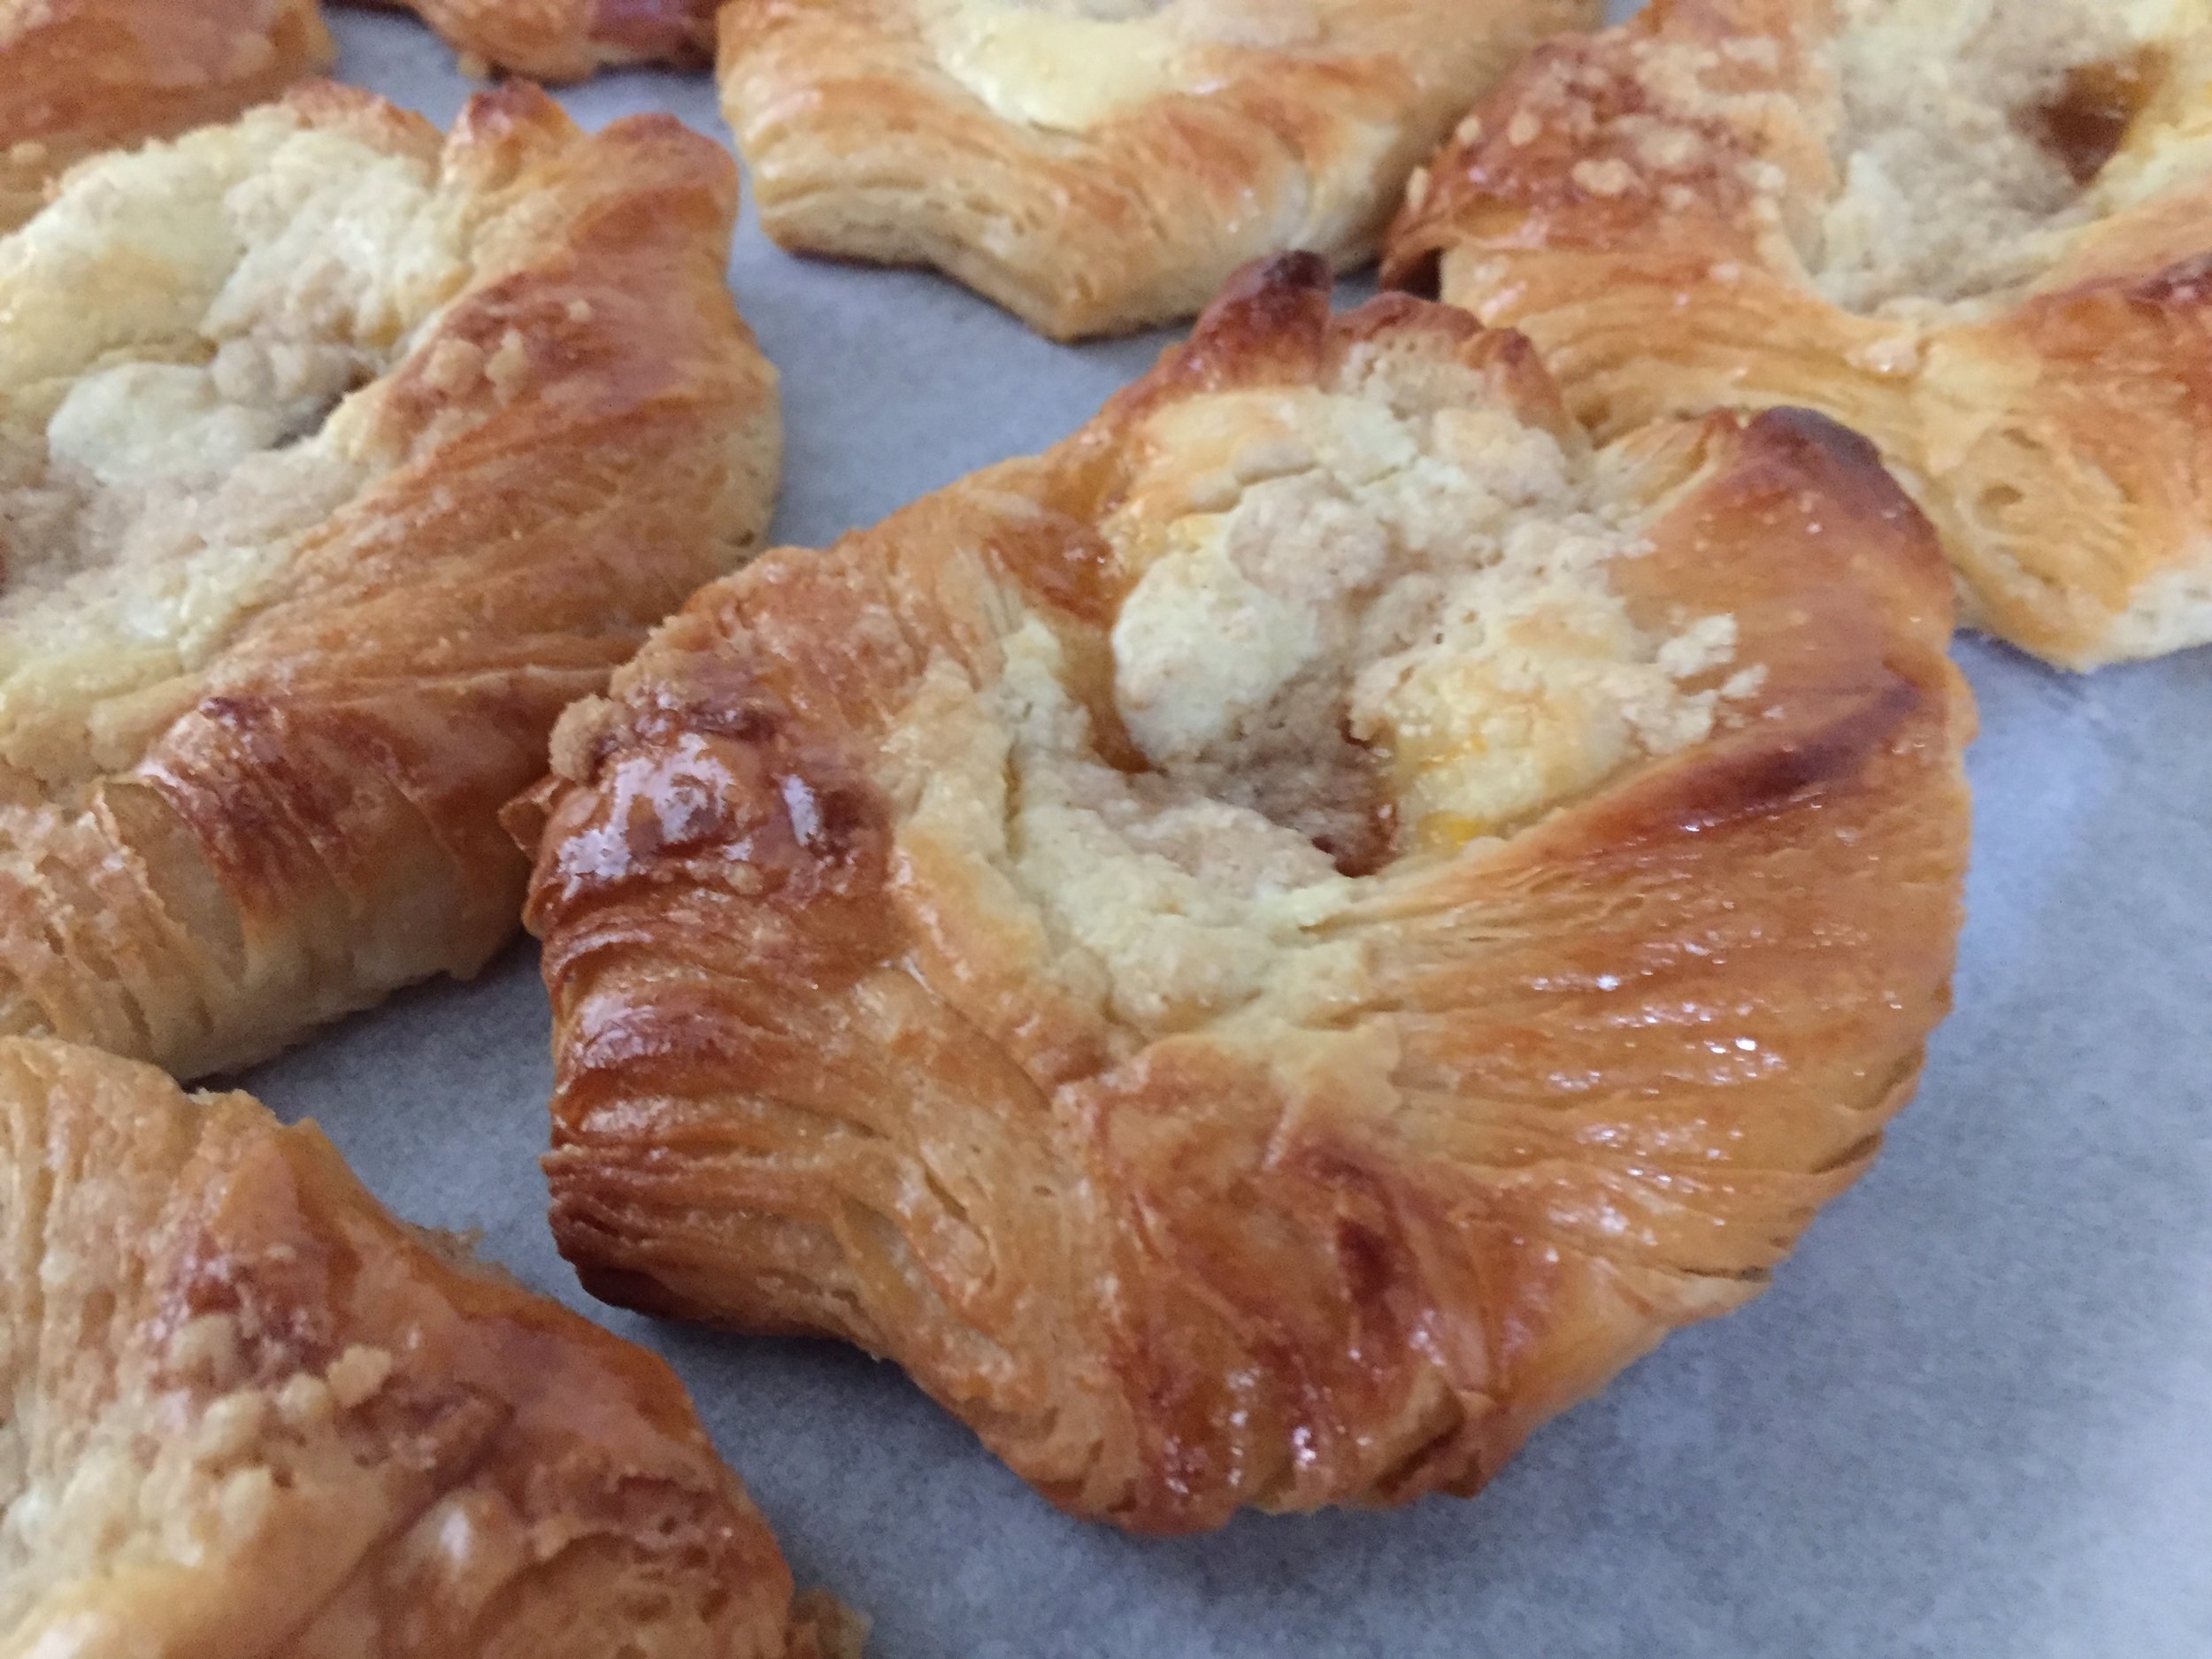
Cream cheese Danish

Cream cheese Danish

Ham/cheese spirals and Danish combo

Ham/cheese spirals and Danish combo

Another thing that keeps me busy involves planning and preparing for my classes at Sur La Table in Grand Rapids. Things like figuring out the best way to set up the class for optimum hands-on experience, determining quantities of dough that might have to be prepped ahead for topics like croissants or artisan breads, orchestrating a smooth flow to the class with delicious baked goods as the end result. What’s not to like.

Below is a test I did for a no-knead rustic bread baked in a Dutch oven style enameled cast iron pot. The loaf on the right was done in a gorgeous Le Creuset 2.25 quart lidded saucepan (sorry the lid is missing from the picture!) and the one on the left on a sheet pan. Not only the rise but the crusty, golden, shiny surface of the one from the cast iron pan can’t be beat! NOTE: one pound of dough worked very nicely in this size pan, the taller sides giving just the right lift to the dough.

Rustic no knead loaves

Rustic no knead loaves

There’s lots to be learned. Check out the class calendar on Sur La Table’s website for all sorts of topics, both savory cooking and baking/pastry classes. There are a number of chef instructors, myself included, just waiting to share their knowledge with you.

Until next time - happy baking!

Charlotte aux framboises

IMG_3642.JPG

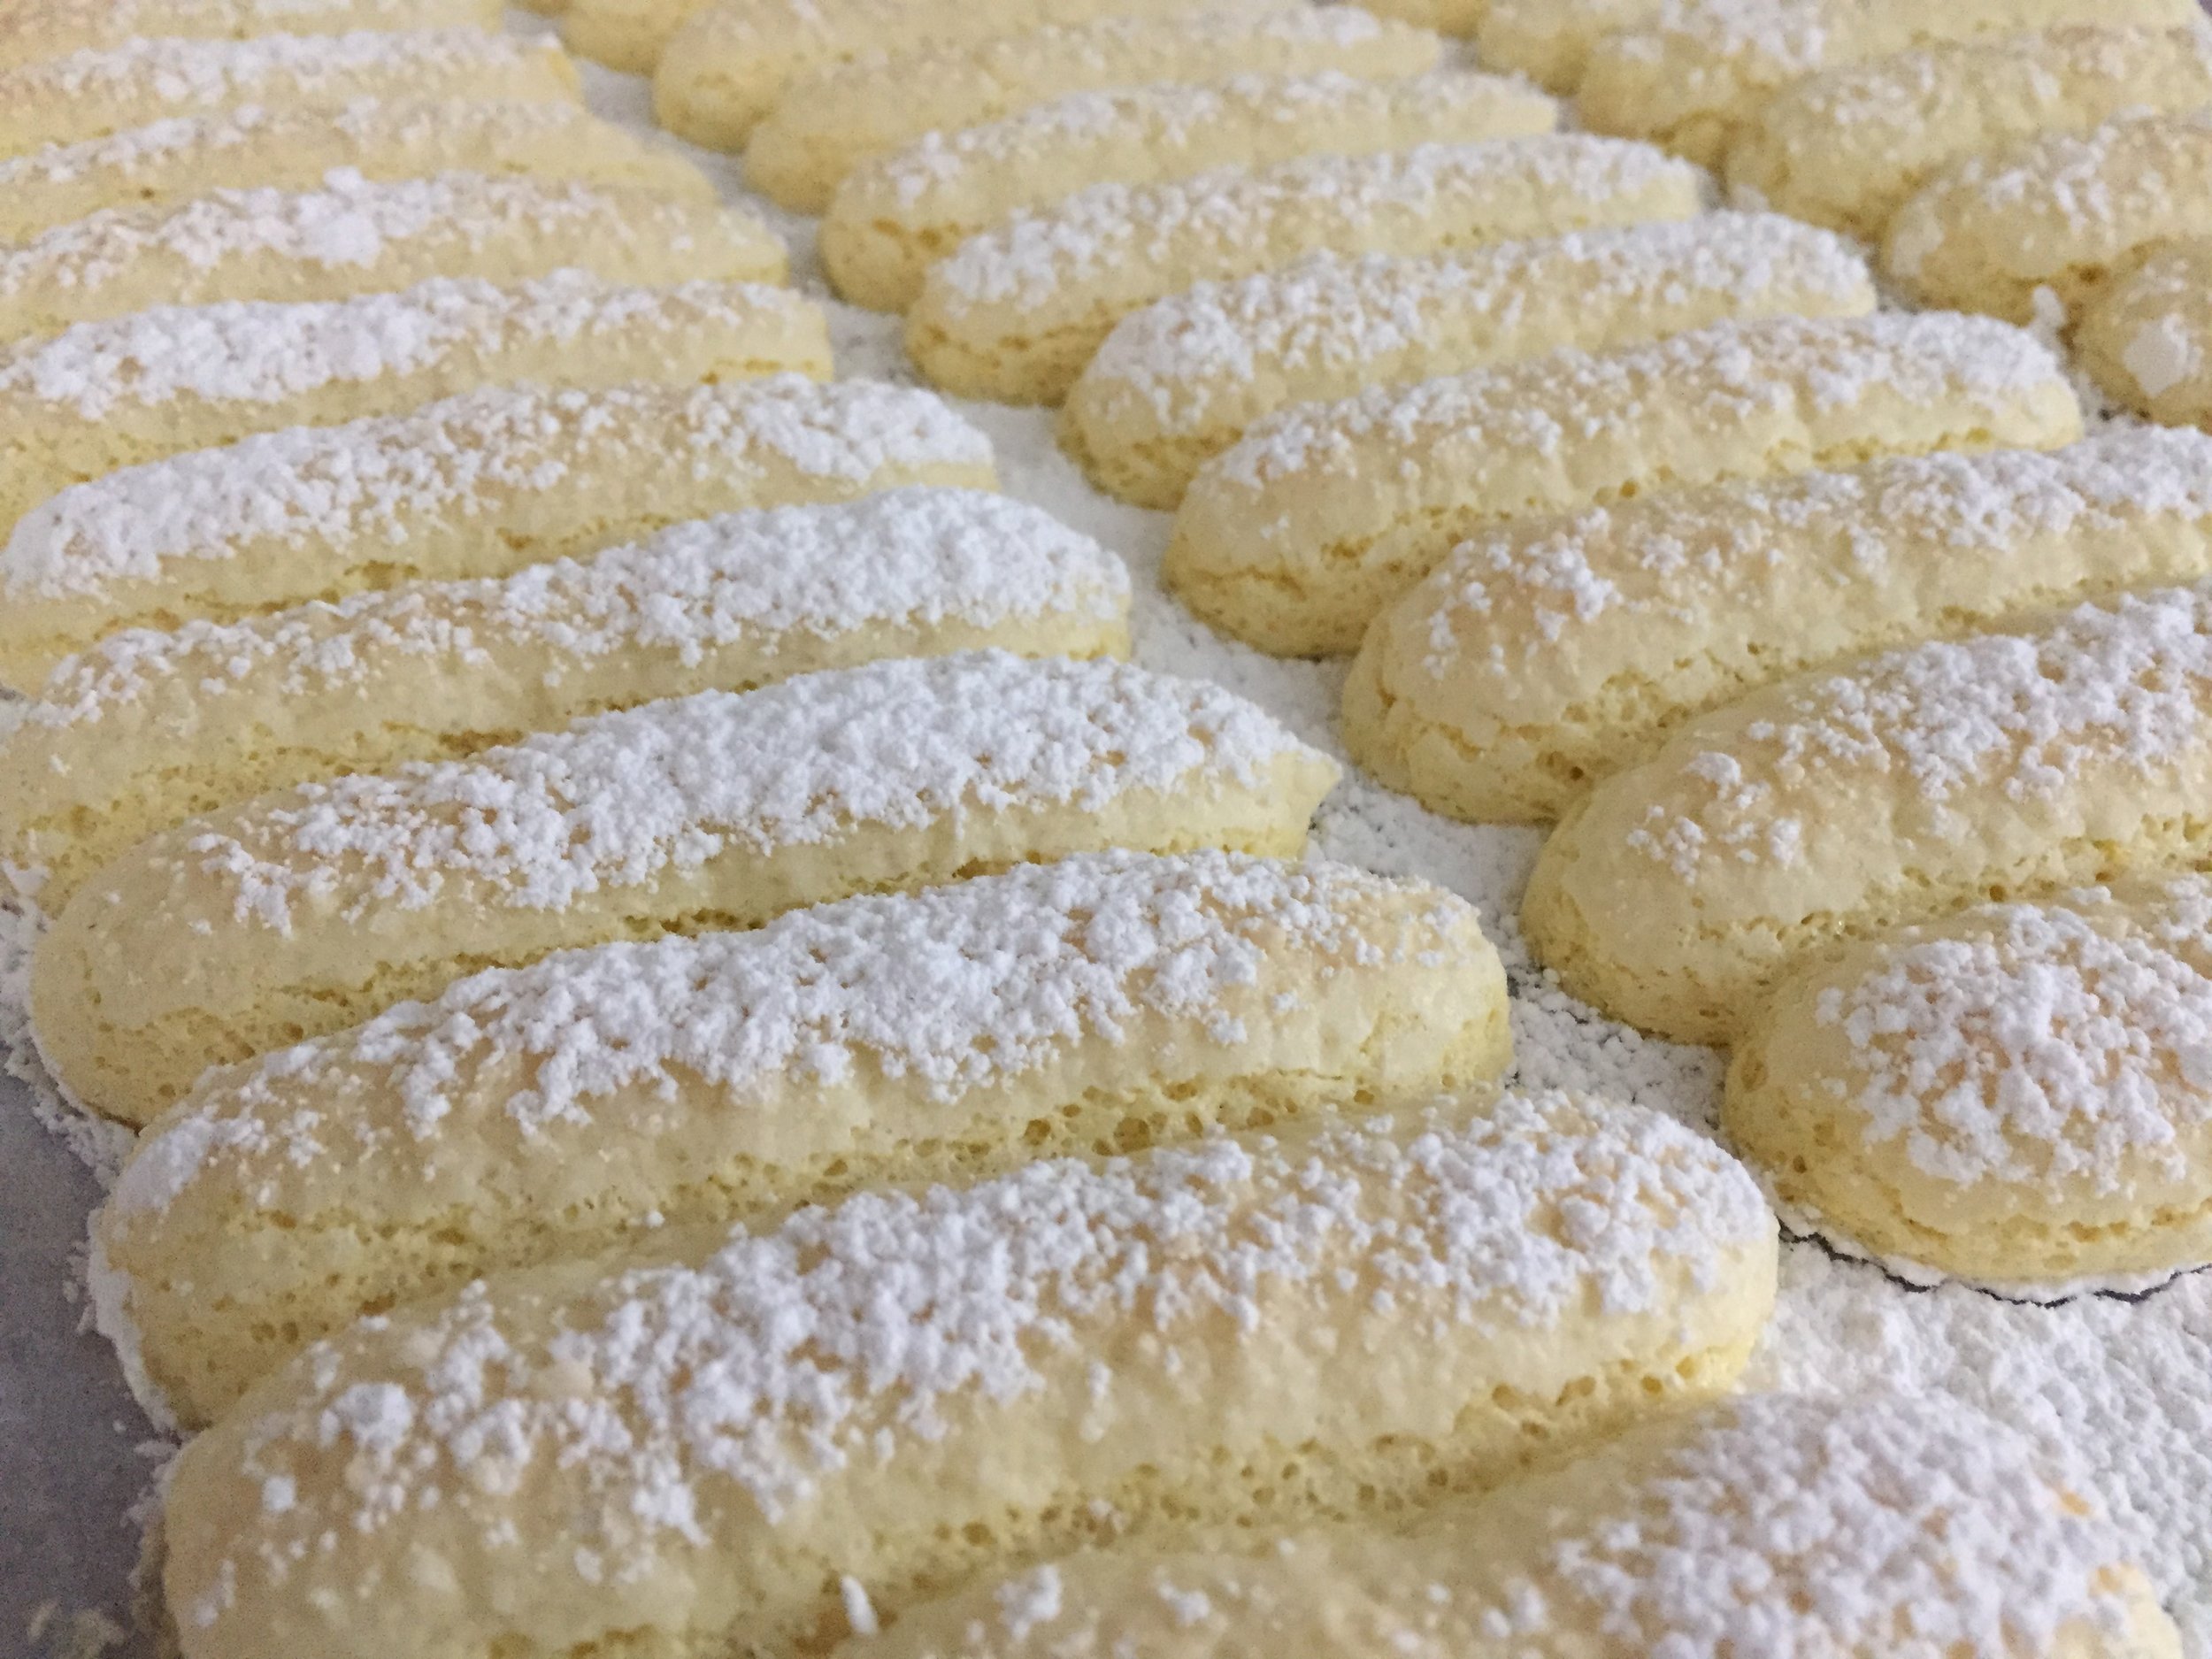
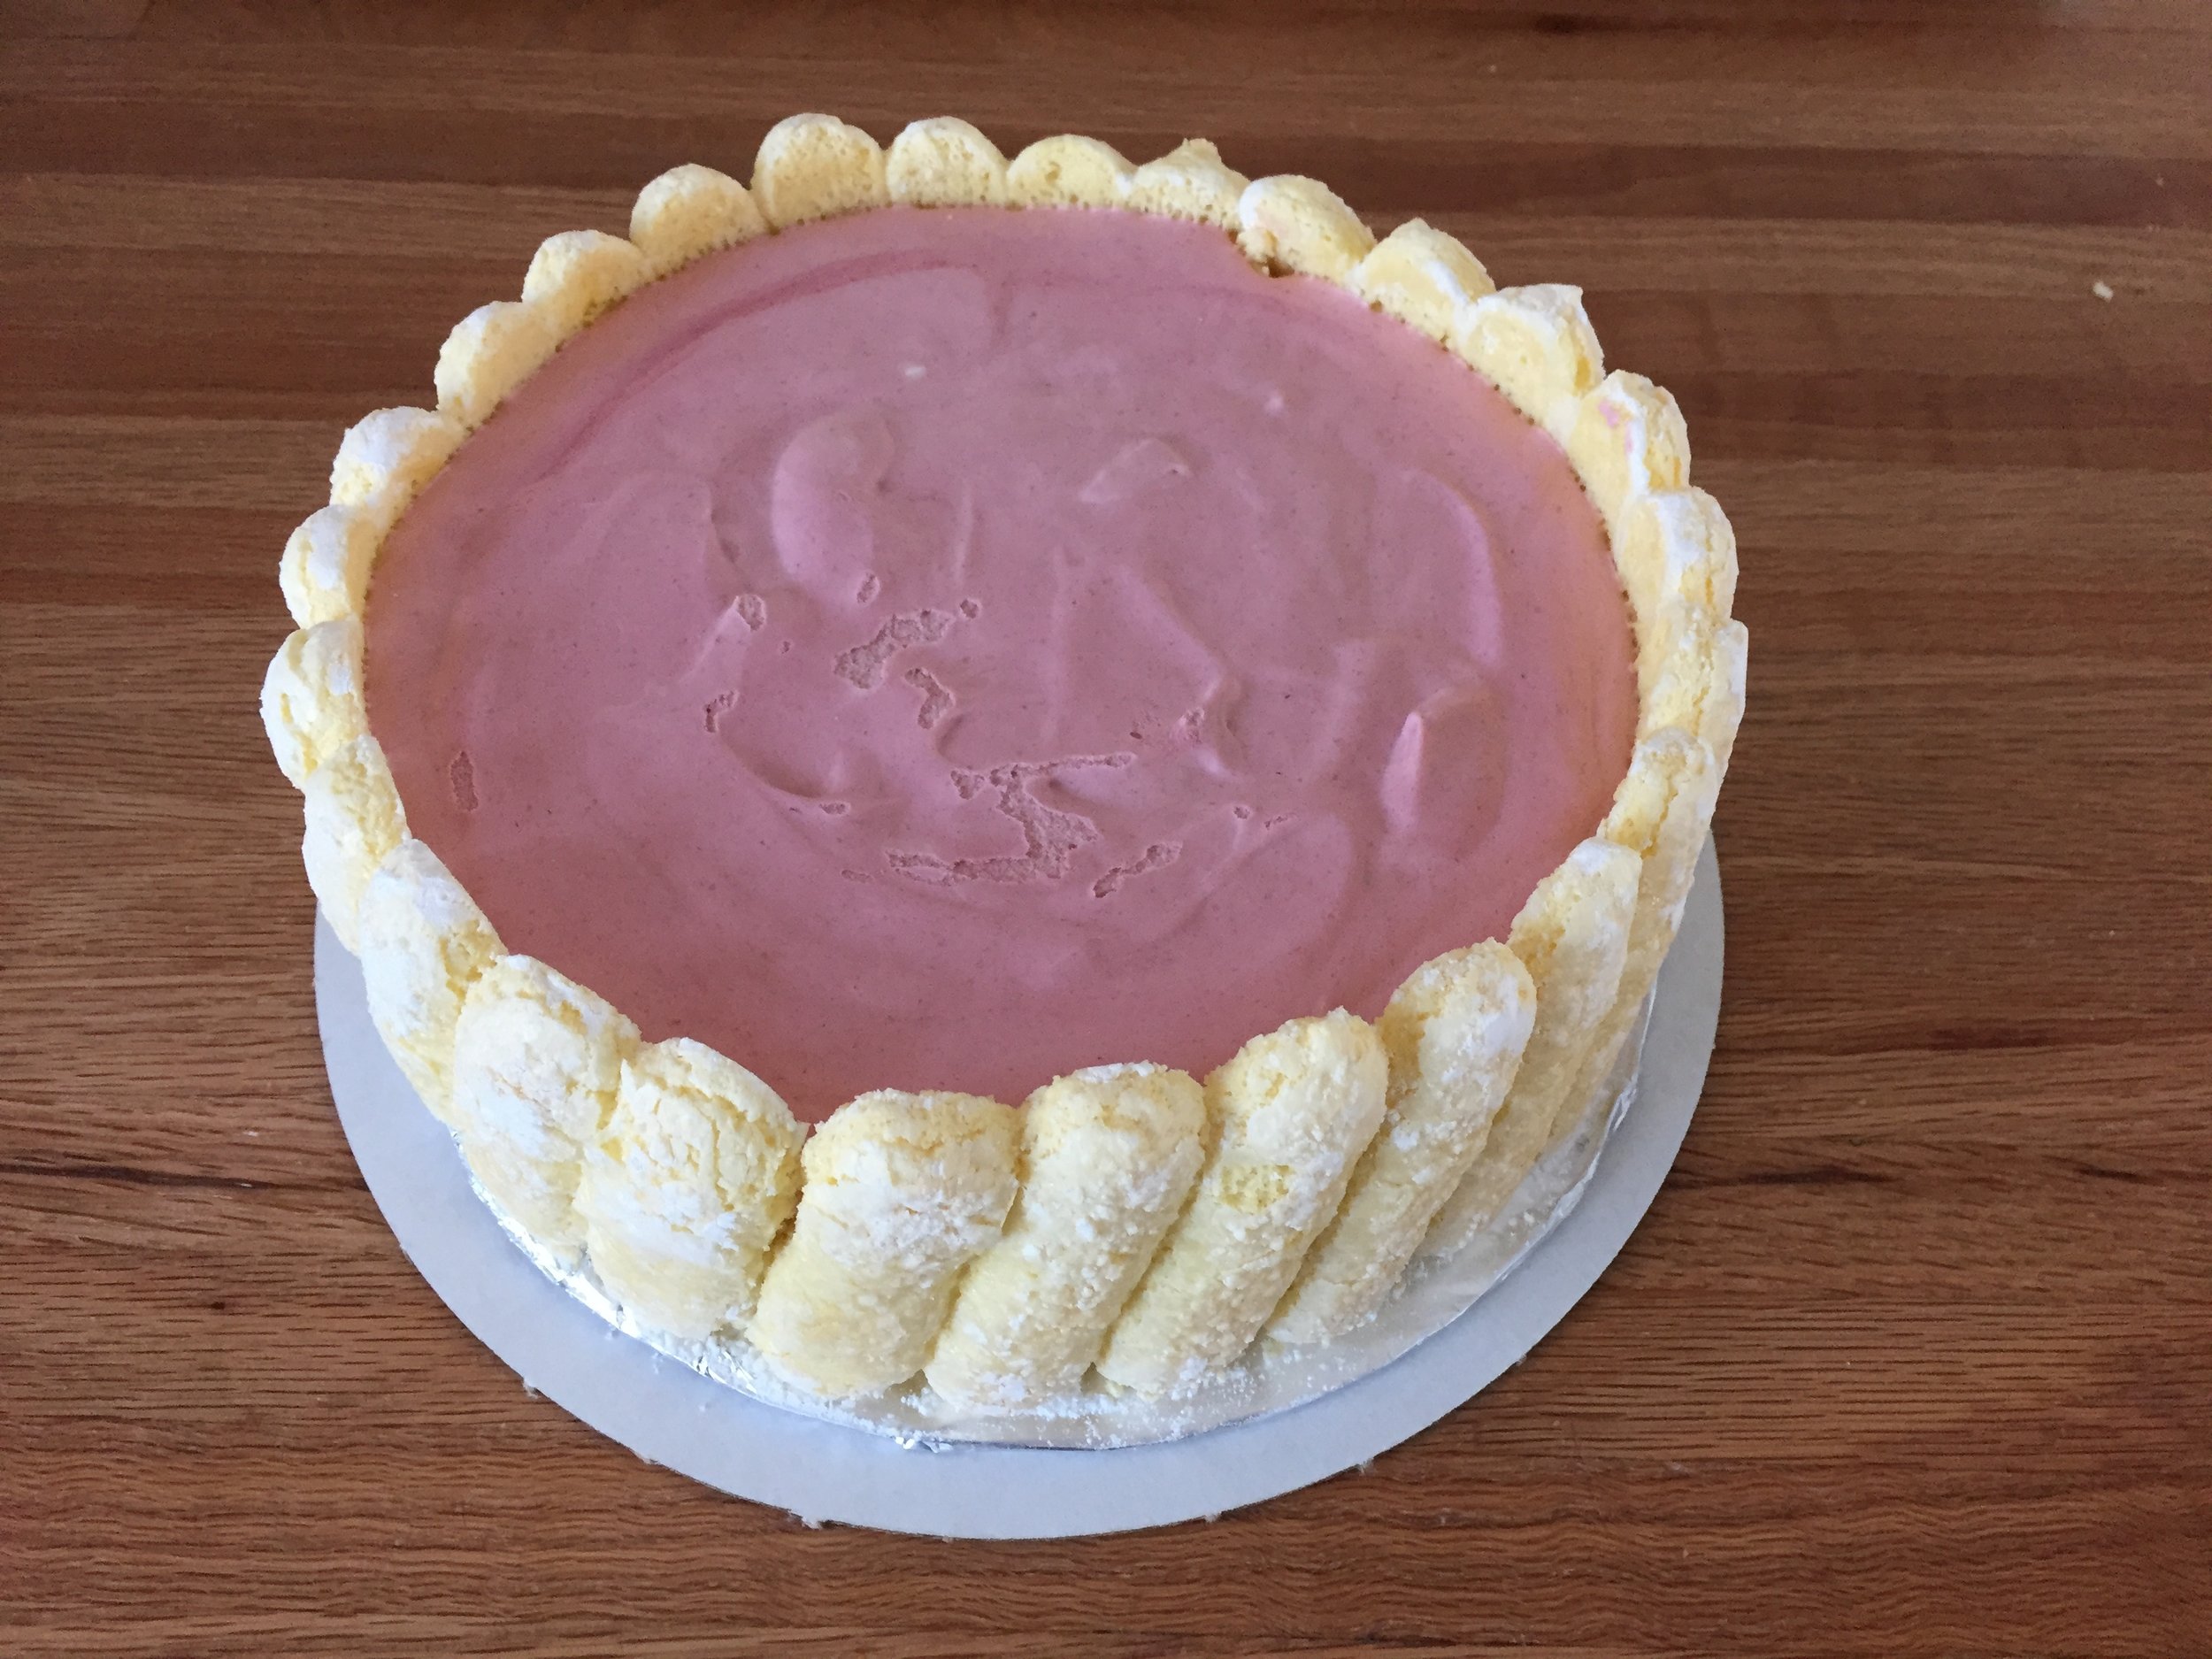
Ladyfingers (biscuit à la cuiller en Français) are just one of the components of a classic charlotte russe, a dessert created with the finger-like sponge cakes as a border, filled with a fruited bavarois and often garnished with crème Chantilly and fresh fruit. Raspberry and pear are two of the commonly used fruits for this particular delight.

Having recently been asked to make the raspberry version for a birthday dinner party for 10, back to the recipe file I went to review the various options for creating the dessert. Both Le Cordon Bleu’s pear charlotte (from my basic pastry classes there) and Michel Roux’s raspberry charlotte served as the springboard for my decisions. Believe you me, there are lots of variations out there.

I opted for a raspberry crème anglaise with added gelatin, blended with softly whipped cream (the makings of a typical bavarois). I went one step further and added some Italian meringue to boot, but you’d be happy with a bavarois by itself if you don’t want to fuss with the meringue part. Either way it’s a great combo!

The filling (even without the Italian meringue) makes plenty for a 9” springform pan. Put any leftovers in ramekins, chill to set and top with fresh fruit, chopped toasted nuts, chocolate sauce or whatever for a lovely light dessert on the fly.

IMG_3648.jpg

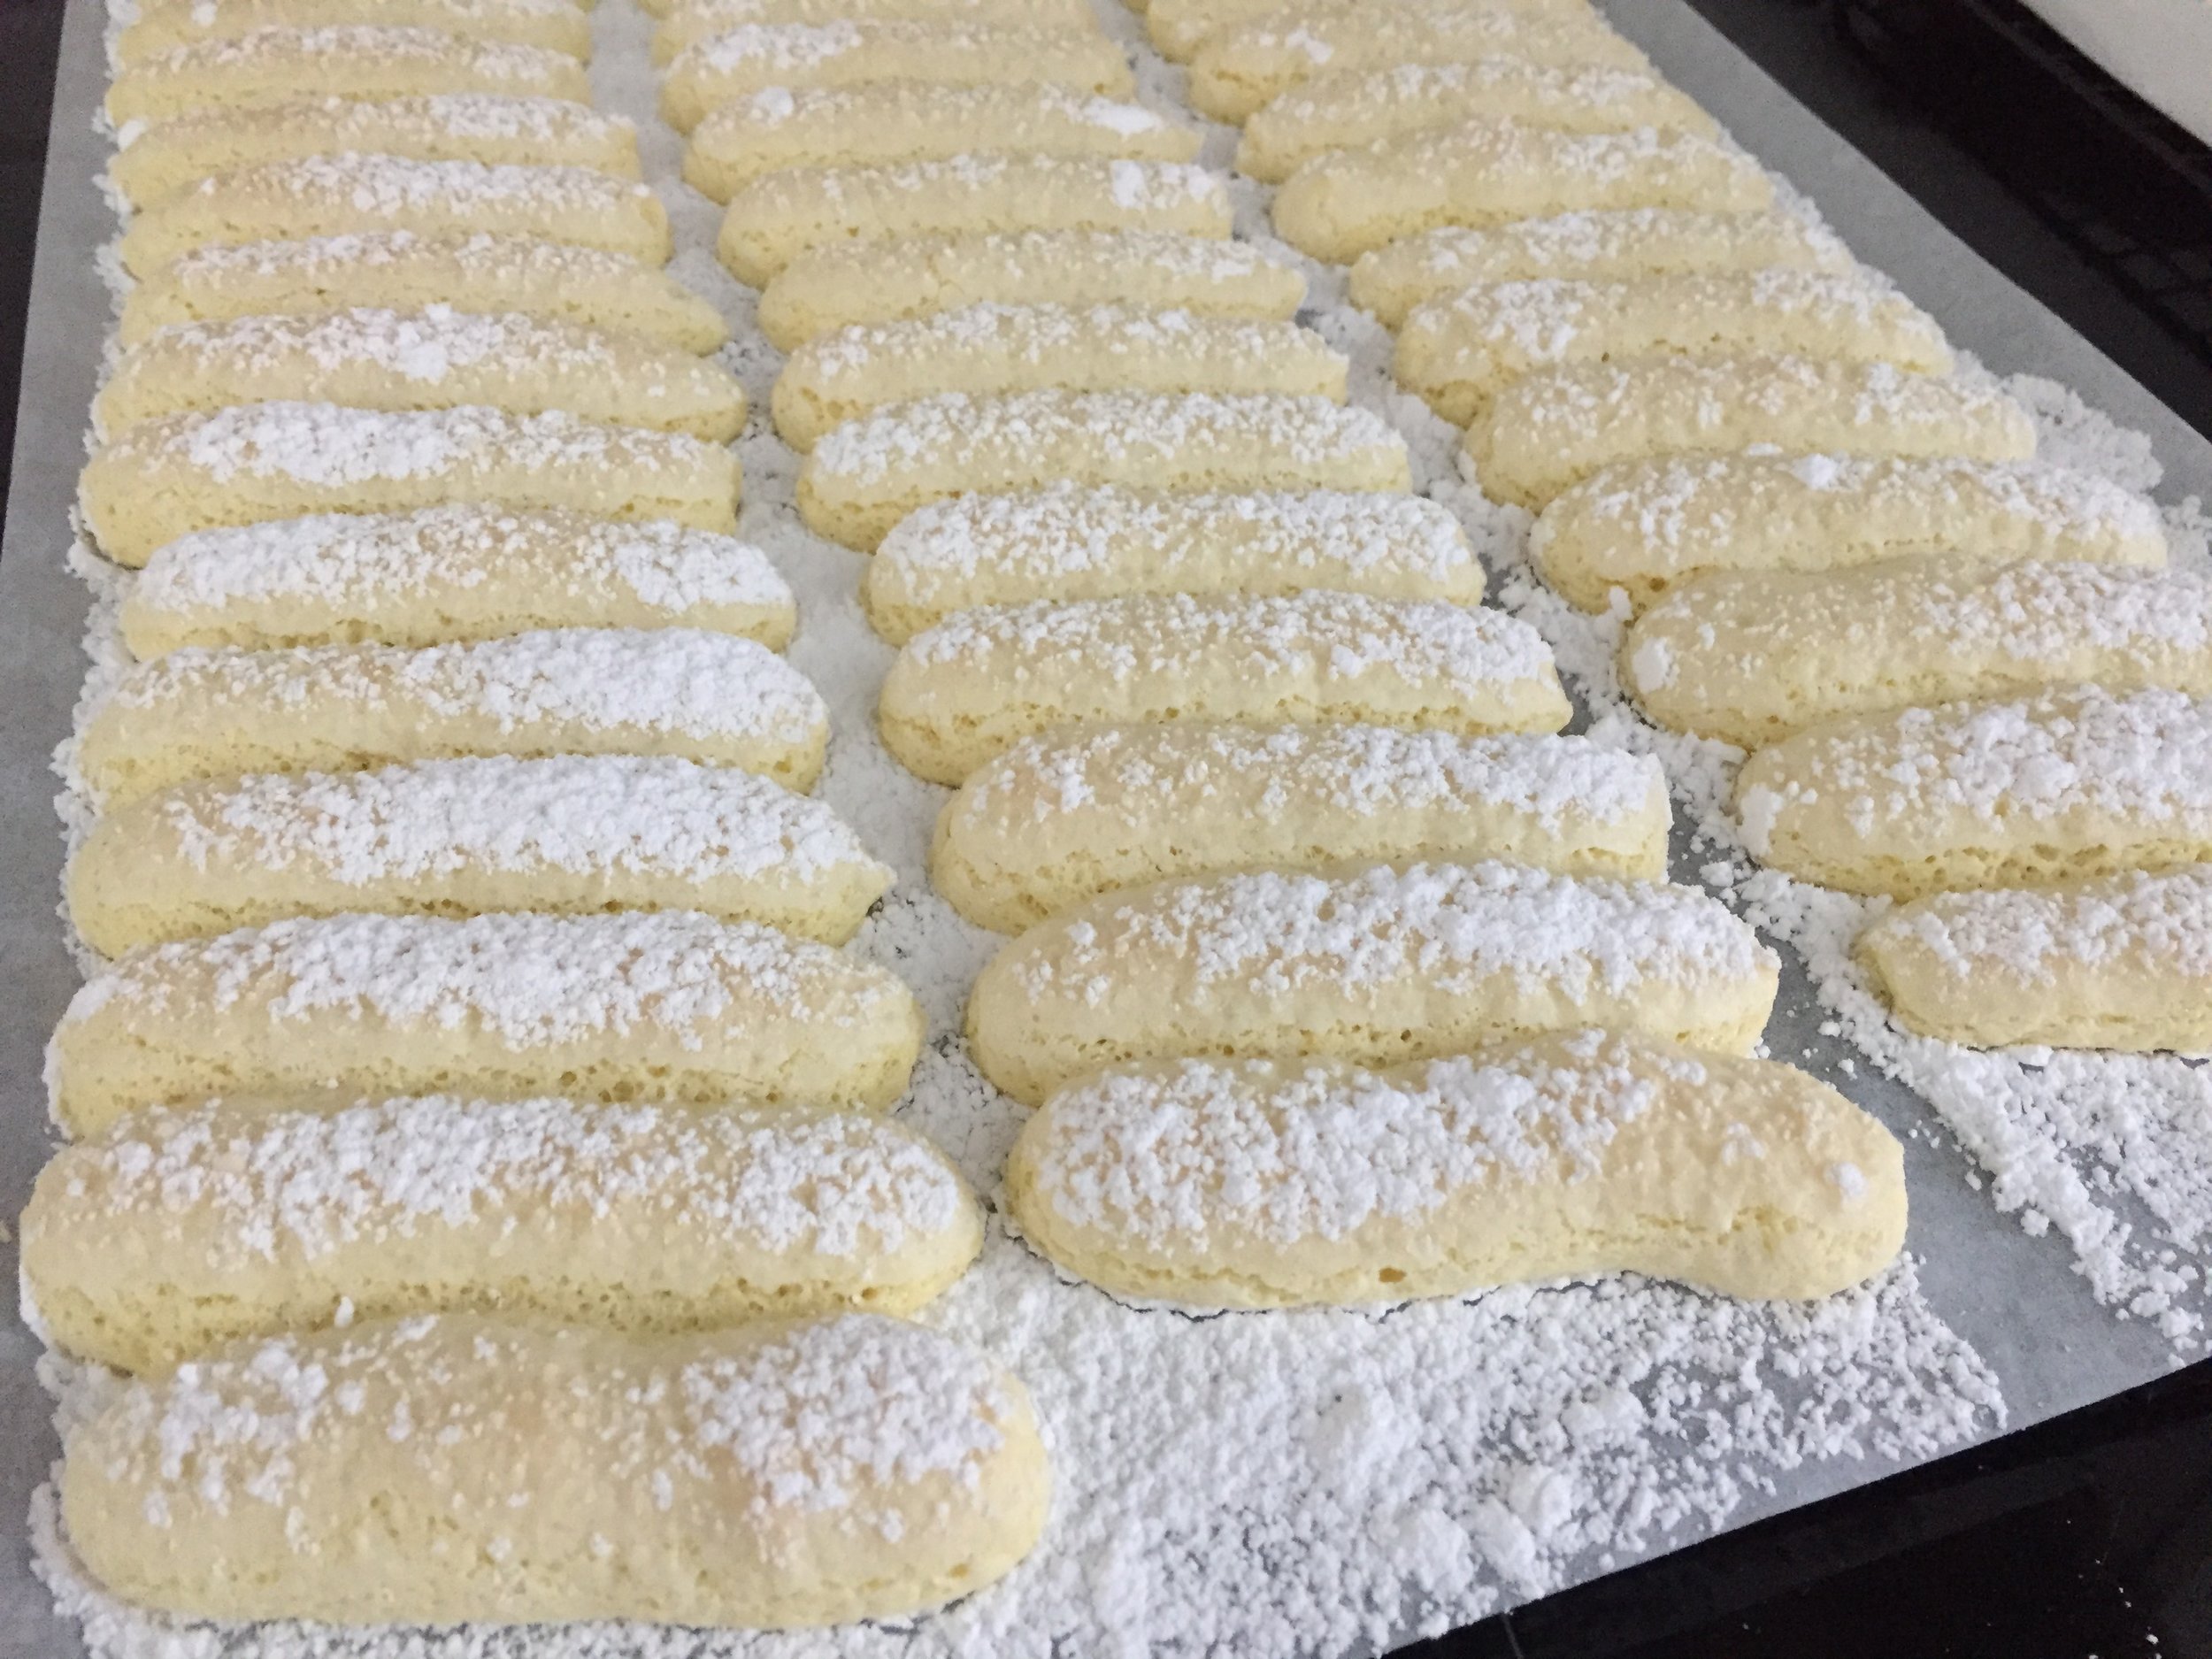
But let’s take it a step back and review the process, OK? Ladyfingers are basically a sponge cake made with eggs, sugar and flour. The eggs are separated, the yolks are beaten with a portion of the sugar until blanched and thickened, and the whites beaten with the other portion of the sugar to stiff peaks (think meringue). The beaten whites are folded into the yolk/sugar mixture then the flour is sifted into the whole shebang and folded in gently. The leavener here is the aeration created by all of that egg whipping. Here’s the printable ladyfinger recipe.

Then it’s time for piping. Yay!

Wanting to put a diagonal slant on my ladyfinger border, I penciled my template for piping onto parchment paper and turned it over so the marks ended up on the non-baking side.

IMG_3637.jpg

Pipe the lengths close together so once baked they meld into connected portions with which to line your mold. You can also see my base piece below.

IMG_3639.JPG

They get a decent dusting of confectioner’s sugar times two before going into the oven. The idea is that the powdered sugar beads and crusts up a bit in the oven.

Bake them at 400ºF for 6-8 minutes et voilà!

IMG_3641.JPG

It takes a little planning to assemble the charlotte, particularly depending on what type of form or pan you have on hand. In pastry school one typically uses an open cake ring lined with acetate film but I opted for the ring portion of my 9” springform pan lined with a parchment collar.

One of the great things about this dessert is its make-ahead-ability. It can be fully assembled and kept in the fridge for a couple of days or frozen for a week before your planned event. Just bake the ladyfingers and base, line your mold with the powdered sugar side of the sponge cakes facing out and hold it in the freezer while making your filling. Once filled, fridge it for a day or two ahead or freeze for a week if need be. It’s a beautiful thing.

The final garnish can be completed the day you plan to serve.

As you can see below, I tucked scraps of sponge cake along the inside bottom edge and where the ladyfinger borders meet to provide a secure cocoon for my raspberry filling. For just a little something extra I arranged fresh raspberries on the bottom.

IMG_3647.jpg

Having completed my filling of raspberry bavarois lightened with Italian meringue, I poured it into my ladyfinger-ed mold almost to the top. Just remember - due to the timing of adding the gelatin and cooling the crème anglaise to just the right temperature for adding the whipped cream and Italian meringue, it’s imperative that your border and base are at the ready. Once the filling is in it’s simply a matter of chilling the whole thing and letting the filling set.

IMG_3650.JPG

A final topping of crème Chantilly and fresh raspberries, and you can call it a day!

IMG_3654.jpg

Since I made this for someone else’s party, I couldn’t slice into this baby right then and there to show you a cut section. Buuuuut . . . . I certainly did taste some ladyfinger scraps with a bit of the bavarois filling, and I say yes indeed!

IMG_3656.JPG

Orange glazed brioche

IMG_3619.JPG

Yes, I admit that I love delicious brioche, both making and eating it. Even though there’s a good deal of butter and egg in this enriched dough, if the base recipe is just right and the process is executed just so, it’s a real winner in my book. Light and pillowy with a tight yet soft crumb, it’s a canvas for so many different creations.

I’ve written about brioche in the past, but I’m one of those folks who loves to peruse recipes, compare and tweak the ingredient ratios as well as the methods used to produce some version of this particular delight. Knot rolls coming up!

IMG_3615.JPG

This time I had citrus (orange to be exact) on my mind. During the winter months I often have a mix of orange segments with their juice plus some cut-up apples in a bowl in my fridge for that all important daily fruit quotient that we all need. Not wishing to waste any part of the orange, I zest my oranges before segmenting them, then wrap the zest in little packets, stashing them in the freezer so the zest is handy for my next citrus baking adventure.

I reviewed Dorie Greenspan’s brioche recipe in her book Baking Chez Moi in addition to Jeffrey Hamelman’s in his book Bread - A Baker’s Book of Techniques and Recipes. While there are tons of recipes out there for brioche, what I took away from this review was one small interesting technique that Hamelman recommends when using a planetary stand mixer (like the ubiquitous Kitchenaid that many of us have). He notes that it’s more difficult to adequately develop the dough in a planetary mixer so suggests holding back half or more of the sugar at the beginning of the knead.

Sugar is hygroscopic and actually acts as a liquefying agent, so if it’s all added at the beginning, the result is a looser textured dough that doesn’t develop as well. Who knew? Learn something new everyday.

NOTE: if you’re interested in a quick run down on planetary (most commonly used) and spiral mixers (more specifically for bread and artisan dough) check this out.

The mixing process went well, the resulting dough had that silky, buttery texture one hopes for before the overnight refrigeration, and the following morning the division and shaping proceeded apace. I divided my dough into 42 g / 1.5 ounce portions, did the preliminary ball shaping and gave them a 10 minute rest.

Balled up dough ready for final shaping

Balled up dough ready for final shaping

I rolled each one into a snake and then formed ‘em into single knots. Kind of reminds me of some sort of creature peaking out of its burrow or a coiled snake (hopefully not ready to strike!)

IMG_3609.JPG

One of the important steps in the brioche making process is the final rise - if it’s too short, the end result isn’t that wonderful light, airy and oh-so delicious creation on which you’ve spent a decent amount of effort. Especially during the winter months in my 69º kitchen, I’m careful to give the dough plenty of time, sometimes up to 2 hours, for that all important rise.

Note that since brioche is such an enriched dough, the rise may not be as obvious as that of lean breads, but you should be able to appreciate the increased fullness and puffiness of the risen dough.

IMG_3612.JPG

These baked at 375º F for about 20 minutes - all nice and golden brown.

IMG_3617.JPG

Once cooled I opted for an orange cream cheese glaze that set these babies off with just the right touch. Delicious. Soft, delicate crumb, light and wonderful.

IMG_3618.JPG

Here’s the recipe for my orange brioche dough, yield 1320 g / approximately 2.9 lbs.

  • 537 g flour, half bread and half all purpose

  • 90 ml whole milk, cold

  • 90 ml water, cold

  • 5 large eggs, cold (~250 g)

  • 11 g salt

  • 68 g sugar, divided in two portions

  • 18 g instant yeast

  • 255 g unsalted butter, cool and pliable, medium diced

  • 1 tablespoon orange zest (from 2 medium oranges)

  1. Place flour, milk, water, eggs, salt, yeast and half the sugar in the bowl of a stand mixer fitted with the dough hook. Mix on low to incorporate then knead on speed 2 for 5-7 minutes until you have a strong dough using the windowpane test.

  2. Add the second half of the sugar and knead for 2 more minutes.

  3. Add butter bit by bit on speed 2. Once all added, knead for 8-10 minutes until the dough cleans the sides of the bowl and sheets nicely.

  4. Place the dough in a lightly floured bowl, tuck plastic on and around the top and let it rest for 1 hour at room temperature.

  5. Fold the dough gently, place it back into the bowl, cover with plastic wrap and refrigerate. De-gas 2-3 times over several hours then refrigerate overnight.

  6. Proceed with dividing and shaping as noted above . For these orange rolls I divided the dough into fifteen 42 g portions, using about half the dough (a full batch would give you 30 rolls!). You don’t have to use all the dough - just tightly wrap any unused dough with plastic wrap and freeze for later.

  7. Once the knot rolls are shaped, cover lightly with buttered plastic wrap and let rise 1.5-2 hours depending on the temperature of your kitchen.

  8. Heat the oven to 375ºF and bake for approximately 20 minutes until golden brown.

  9. Cool before icing.

For the icing I blended 227 g / 8 oz softened cream cheese, 2 T corn syrup, 2 T heavy cream, 75 g / 3/4 cup confectioner’s sugar, 1 tsp vanilla, pinch salt and the zest from one medium orange. You may not need all of it - it keeps in the fridge, covered for a week or so.

I used my leftover glaze on some petite citrus financiers. Deelish. Now go have some brioche fun!

IMG_3625.JPG

Salty chocolate chunk shortbread

IMG_3521.jpg

A big thanks to our Rhode Island friend Gigi for sending me the link to the NYT recipe from Alison Roman for these addictive buttery, crispy, chocolate chunky shortbread cookies. Right up my alley!

I did tweak the recipe a bit as I am wont to do, using dark instead of light brown sugar, reducing the total sugar a bit and subbing in some whole wheat pastry flour for a portion of the all purpose flour. I love the nutty, caramely-ness of the end result. Yummy.

IMG_3524.jpg

While Alison’s process involves shaping the dough into two logs, chilling then rolling in demerara sugar and slicing, I opted to wrap my dough in discs, chill then roll out and cut with my favorite fluted round cutter. A sprinkling of flaked sea salt and raw sugar on top adds a wonderful crunchy component.

IMG_3523.jpg

Here’s my version of the recipe:

Ingredients:
255 g salted butter, cool and cut into 1/2 inch pieces
80 g granulated sugar
50 g dark brown sugar
1 teaspoon vanilla extract
250 g all purpose flour + 75 g whole wheat pastry flour
170 g semi-sweet or bittersweet chocolate, chopped in chunks (I used a combo of Guittard 61% and 72%)
Raw sugar and flaky sea salt for sprinkling

  1. Beat the butter and sugars in the bowl of a stand mixer with the paddle on medium high for 3-5 minutes to lighten and fluff-en it up.

  2. Scrape down the sides of the bowl, slowly add the flour followed by the chocolate and mix until blended.

  3. Divide the dough into two or three portions, wrap in film wrap and chill about 2 hours. Note: hold the dough well wrapped in the fridge for up to a week or in the freezer for a couple of months.

  4. Line sheet pans with parchment and heat oven to 350ºF.

  5. Roll the dough out on a lightly floured surface and cut shapes of choice. Sprinkle tops with raw sugar and flaky sea salt. Continue to roll/cut scraps or wrap and freeze any leftover dough for later.

  6. Put sheet pans in the freezer for 10-15 minutes before baking.

  7. Bake until lightly browned, 12-15 minutes. Cool and enjoy!

IMG_3520.jpg

Whole wheat croissants

IMG_3564.JPG

As I experiment more and more with whole grain flours, I just had to do a trial of croissant dough with a couple of variations on using whole wheat flour. Just can’t get enough of the laminated dough thing, or so it seems. Oh well, there are worse things to be fixated on, don’t you think?

IMG_3515.jpg

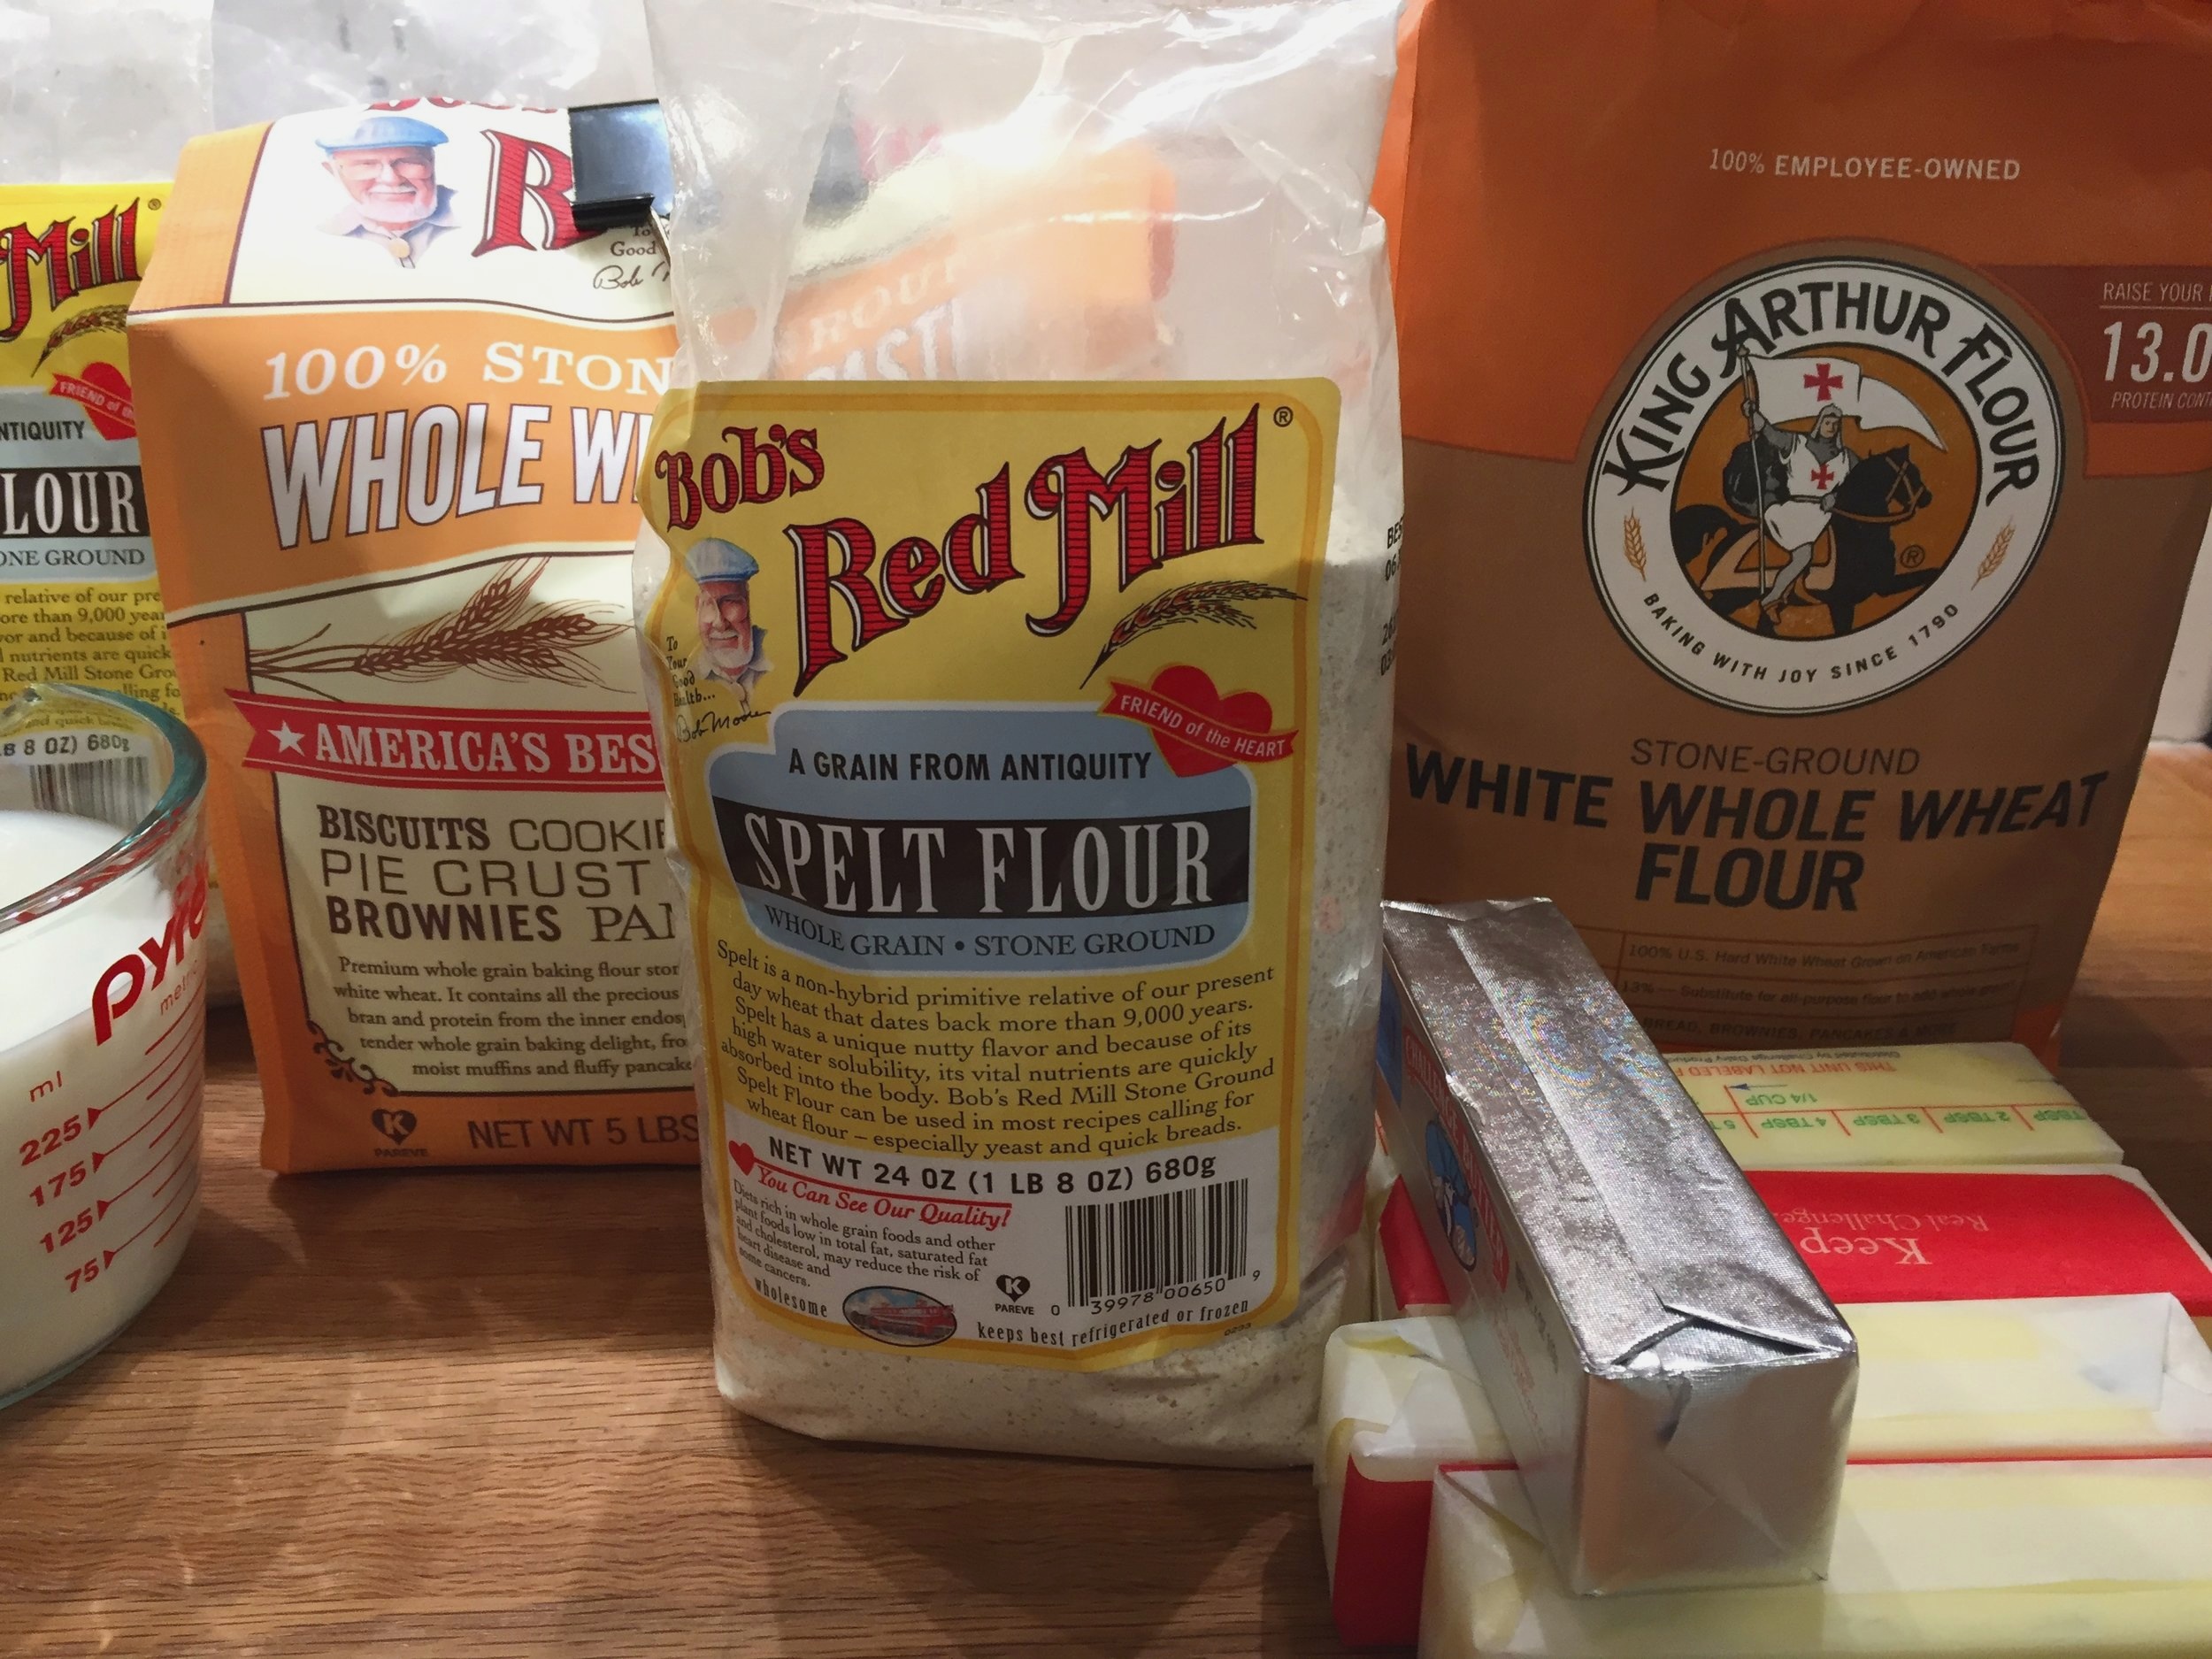
The first version adjusts my base recipe from 450 g all purpose flour and 50 g bread flour (recipe coming at the end, I promise!) to a mixture of 300 g spelt flour and 200 g whole wheat pastry flour, both from Bob’s Red Mill. The spelt I used is a coarse grind and gave my dough a speckled look. I was hoping that my choice of those two flours would sort of balance each other out in terms of gluten content, giving me something closer to all purpose but with the nutritional benefits of using whole grain flours. Kinda winging it here.

The second version uses a mixture of 300 g white whole wheat flour from King Arthur (a finer grind than the spelt and a softer flour from soft white wheat) and 200 g whole wheat pastry flour from Bob’s Red Mill (another softer flour), yielding a smoother appearance with less speckling. Again - wingin’ it.

I normally use whole milk for my liquid but this time I replaced about a third of the milk with water, thinking that the final, slightly less enriched, nutty-wheaty croissants would lend themselves to more savory uses like ham/cheese or chicken salad sandwiches. I know, I know - this isn’t a very scientific study since I’m changing a number of variables, but why not play around? It’s what I love.

My two dough versions and butter blocks ready to go

My two dough versions and butter blocks ready to go

I put both versions through the usual steps of beurrage followed by three business letter folds (or 3-folds) and a final rest in the fridge before rolling out. I divided each batch into halves so I could create two different pastries with each version.

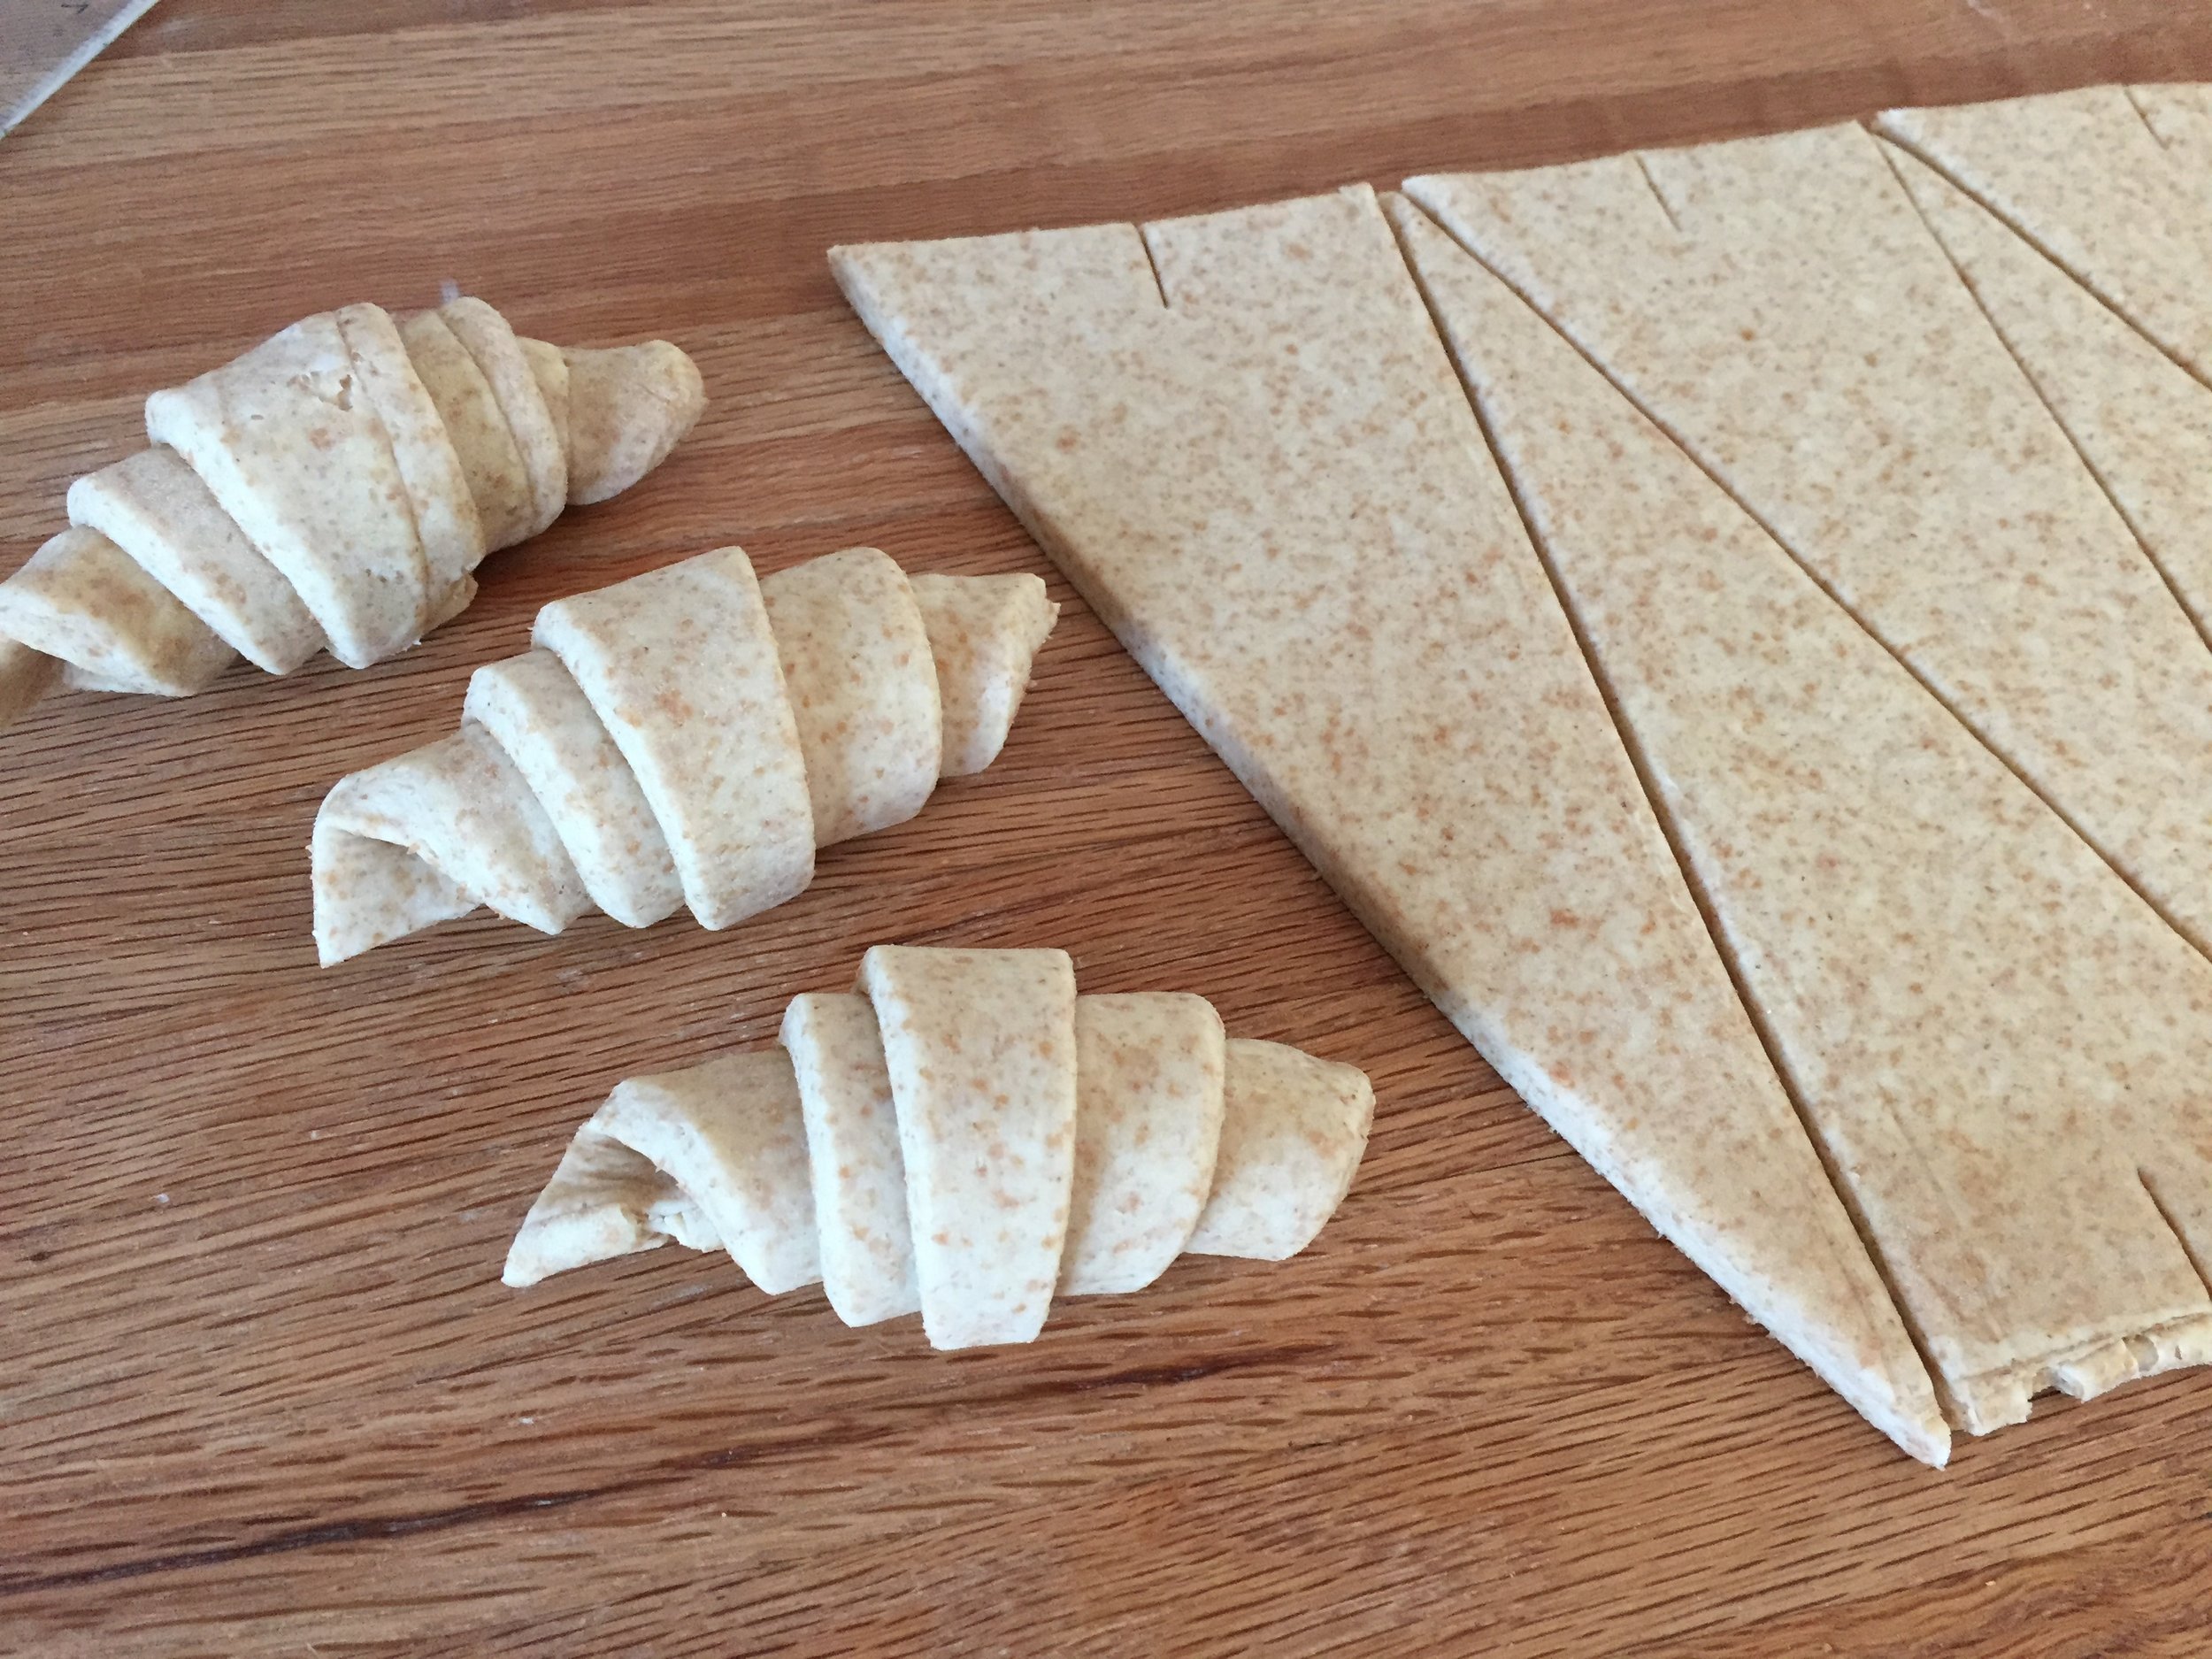
The spelt dough rolled nicely but when it came time to cut and shape the croissants, the dough felt drier and was not quite as sturdy, tending to tear when being stretched a bit.

Shaping the spelt croissants

Shaping the spelt croissants

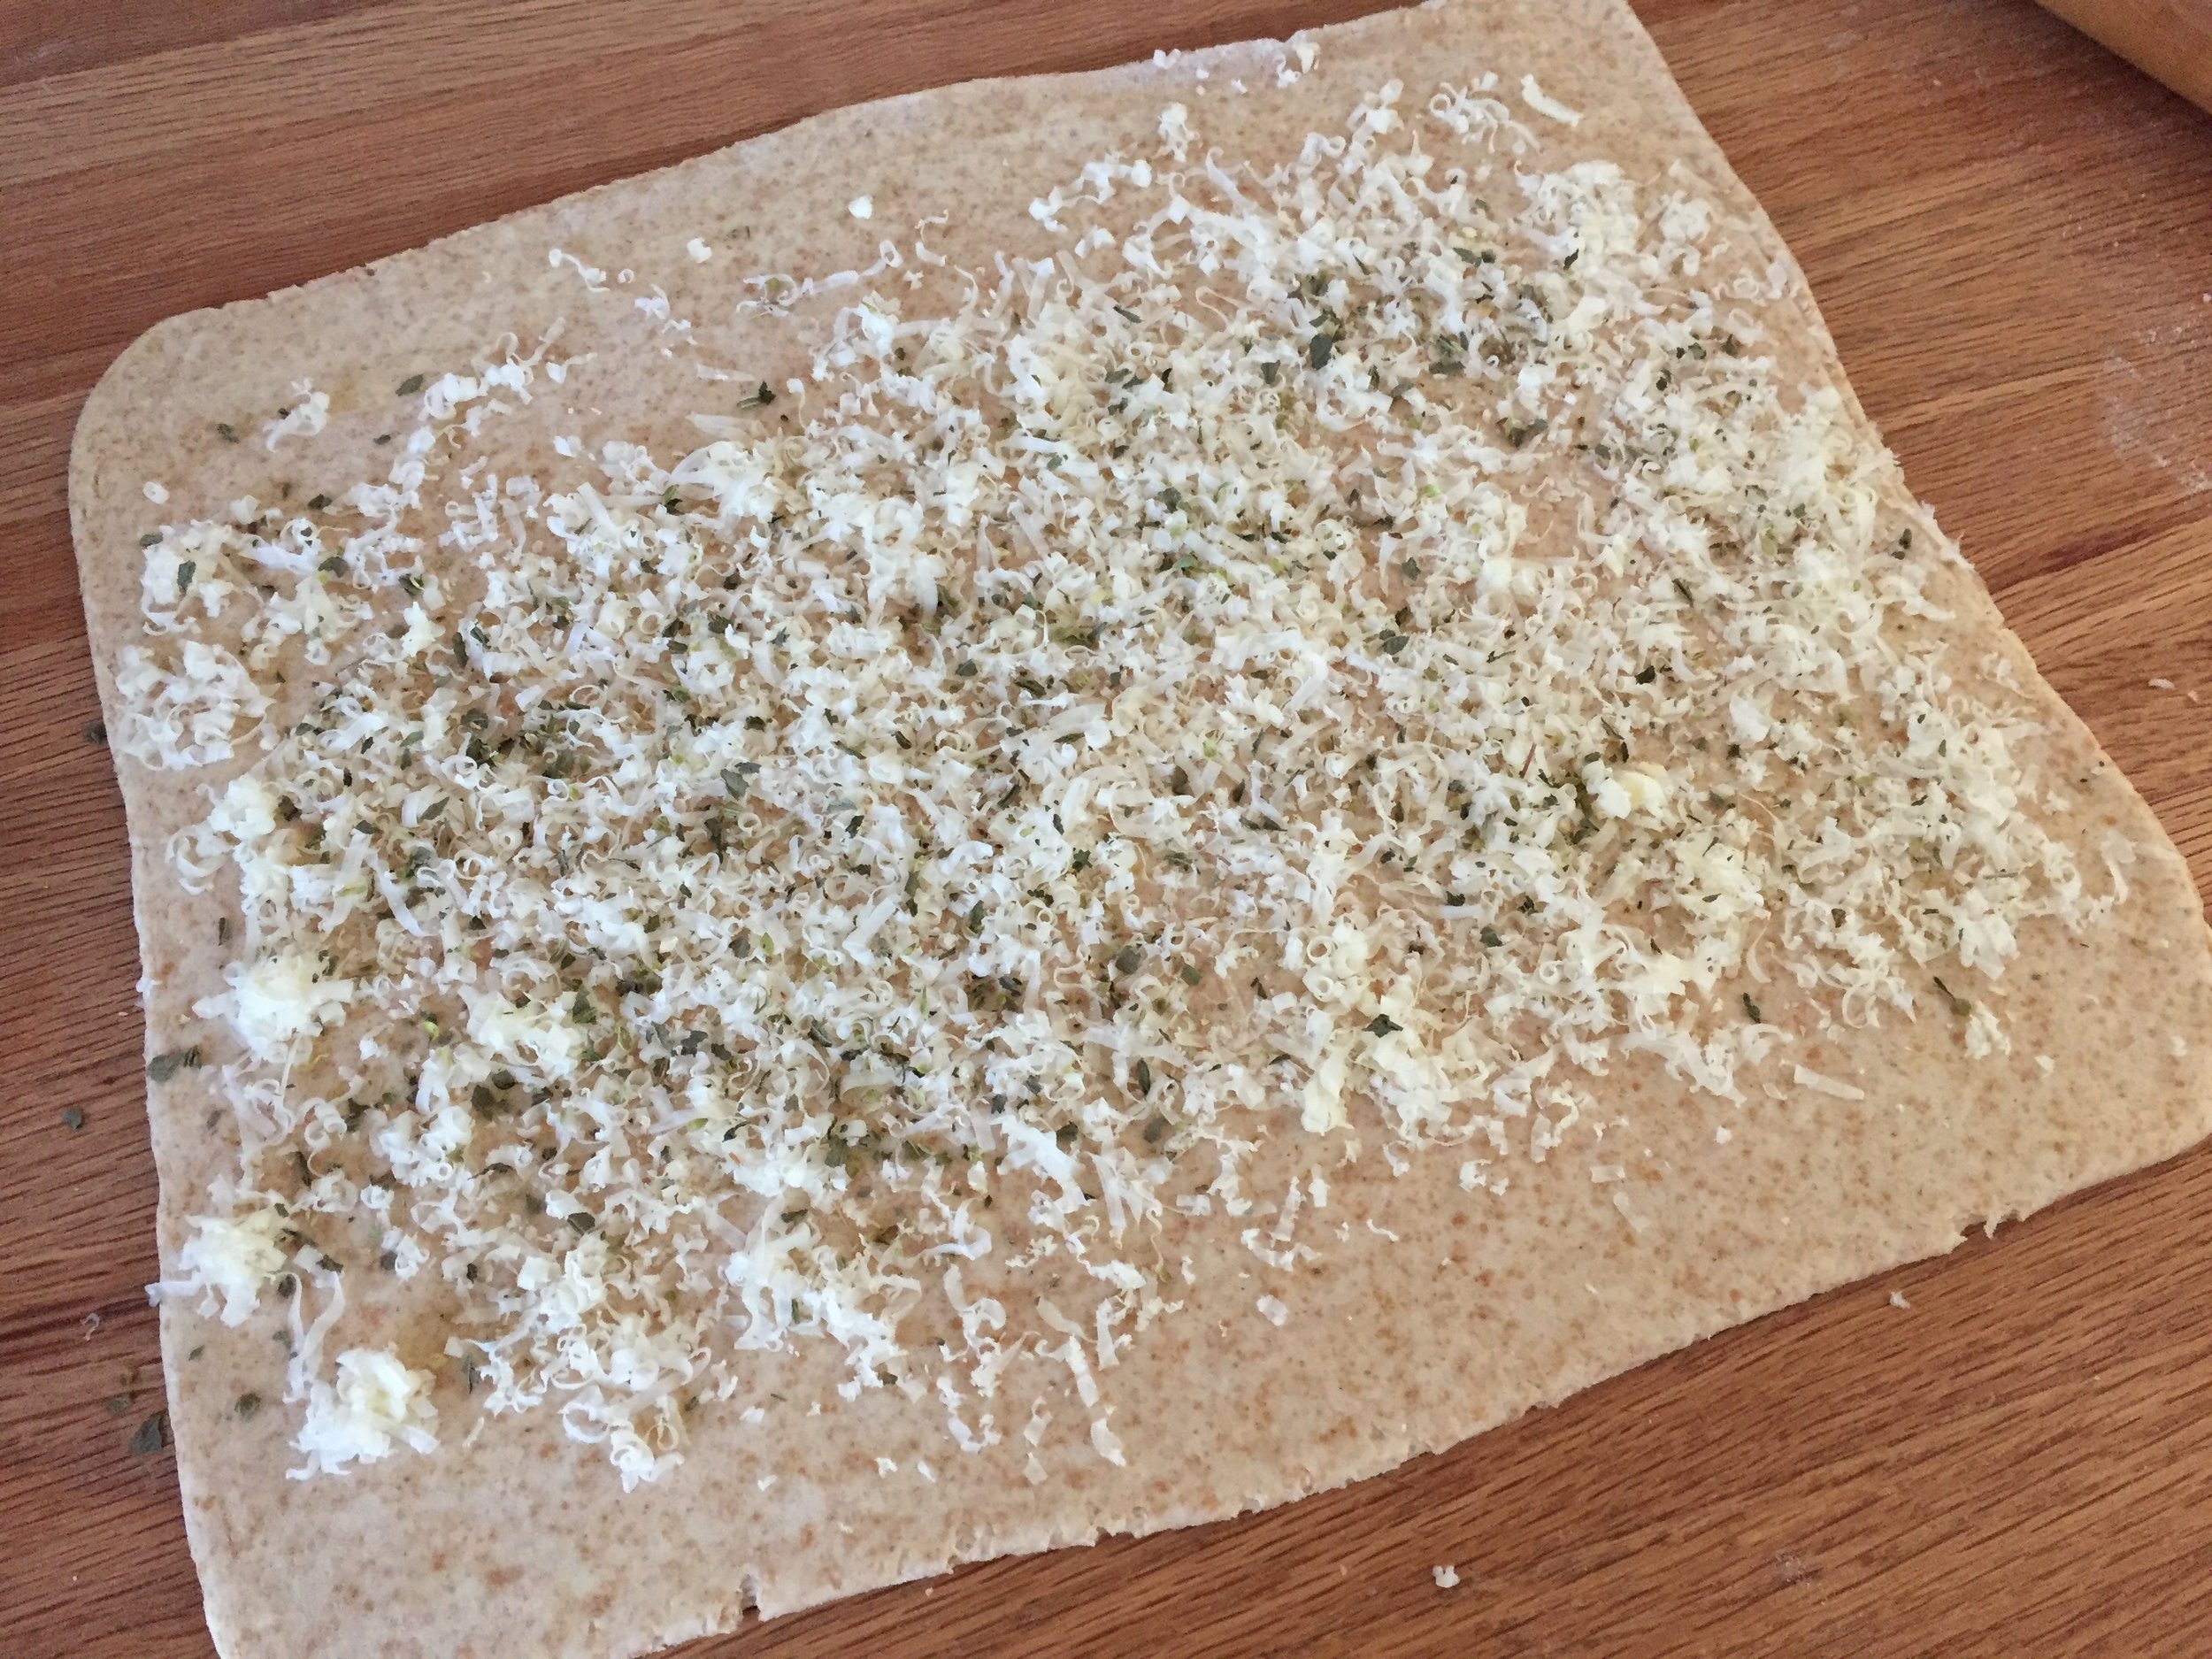
With the second half of the spelt dough I did a savory spiral - rolled it out into a 10”x12” rectangle, brushed it with egg wash and sprinkled on mixed Italian herbs and grated gruyère cheese . . . .

IMG_3534.jpg

rolled it up into a log and sliced ~1 inch slices.

IMG_3535.JPG

The slices went into buttered 80 mm rings to proof.

IMG_3551.JPG

The white whole wheat version also rolled out easily and was less inclined to tear when being stretched and shaped.

IMG_3540.jpg

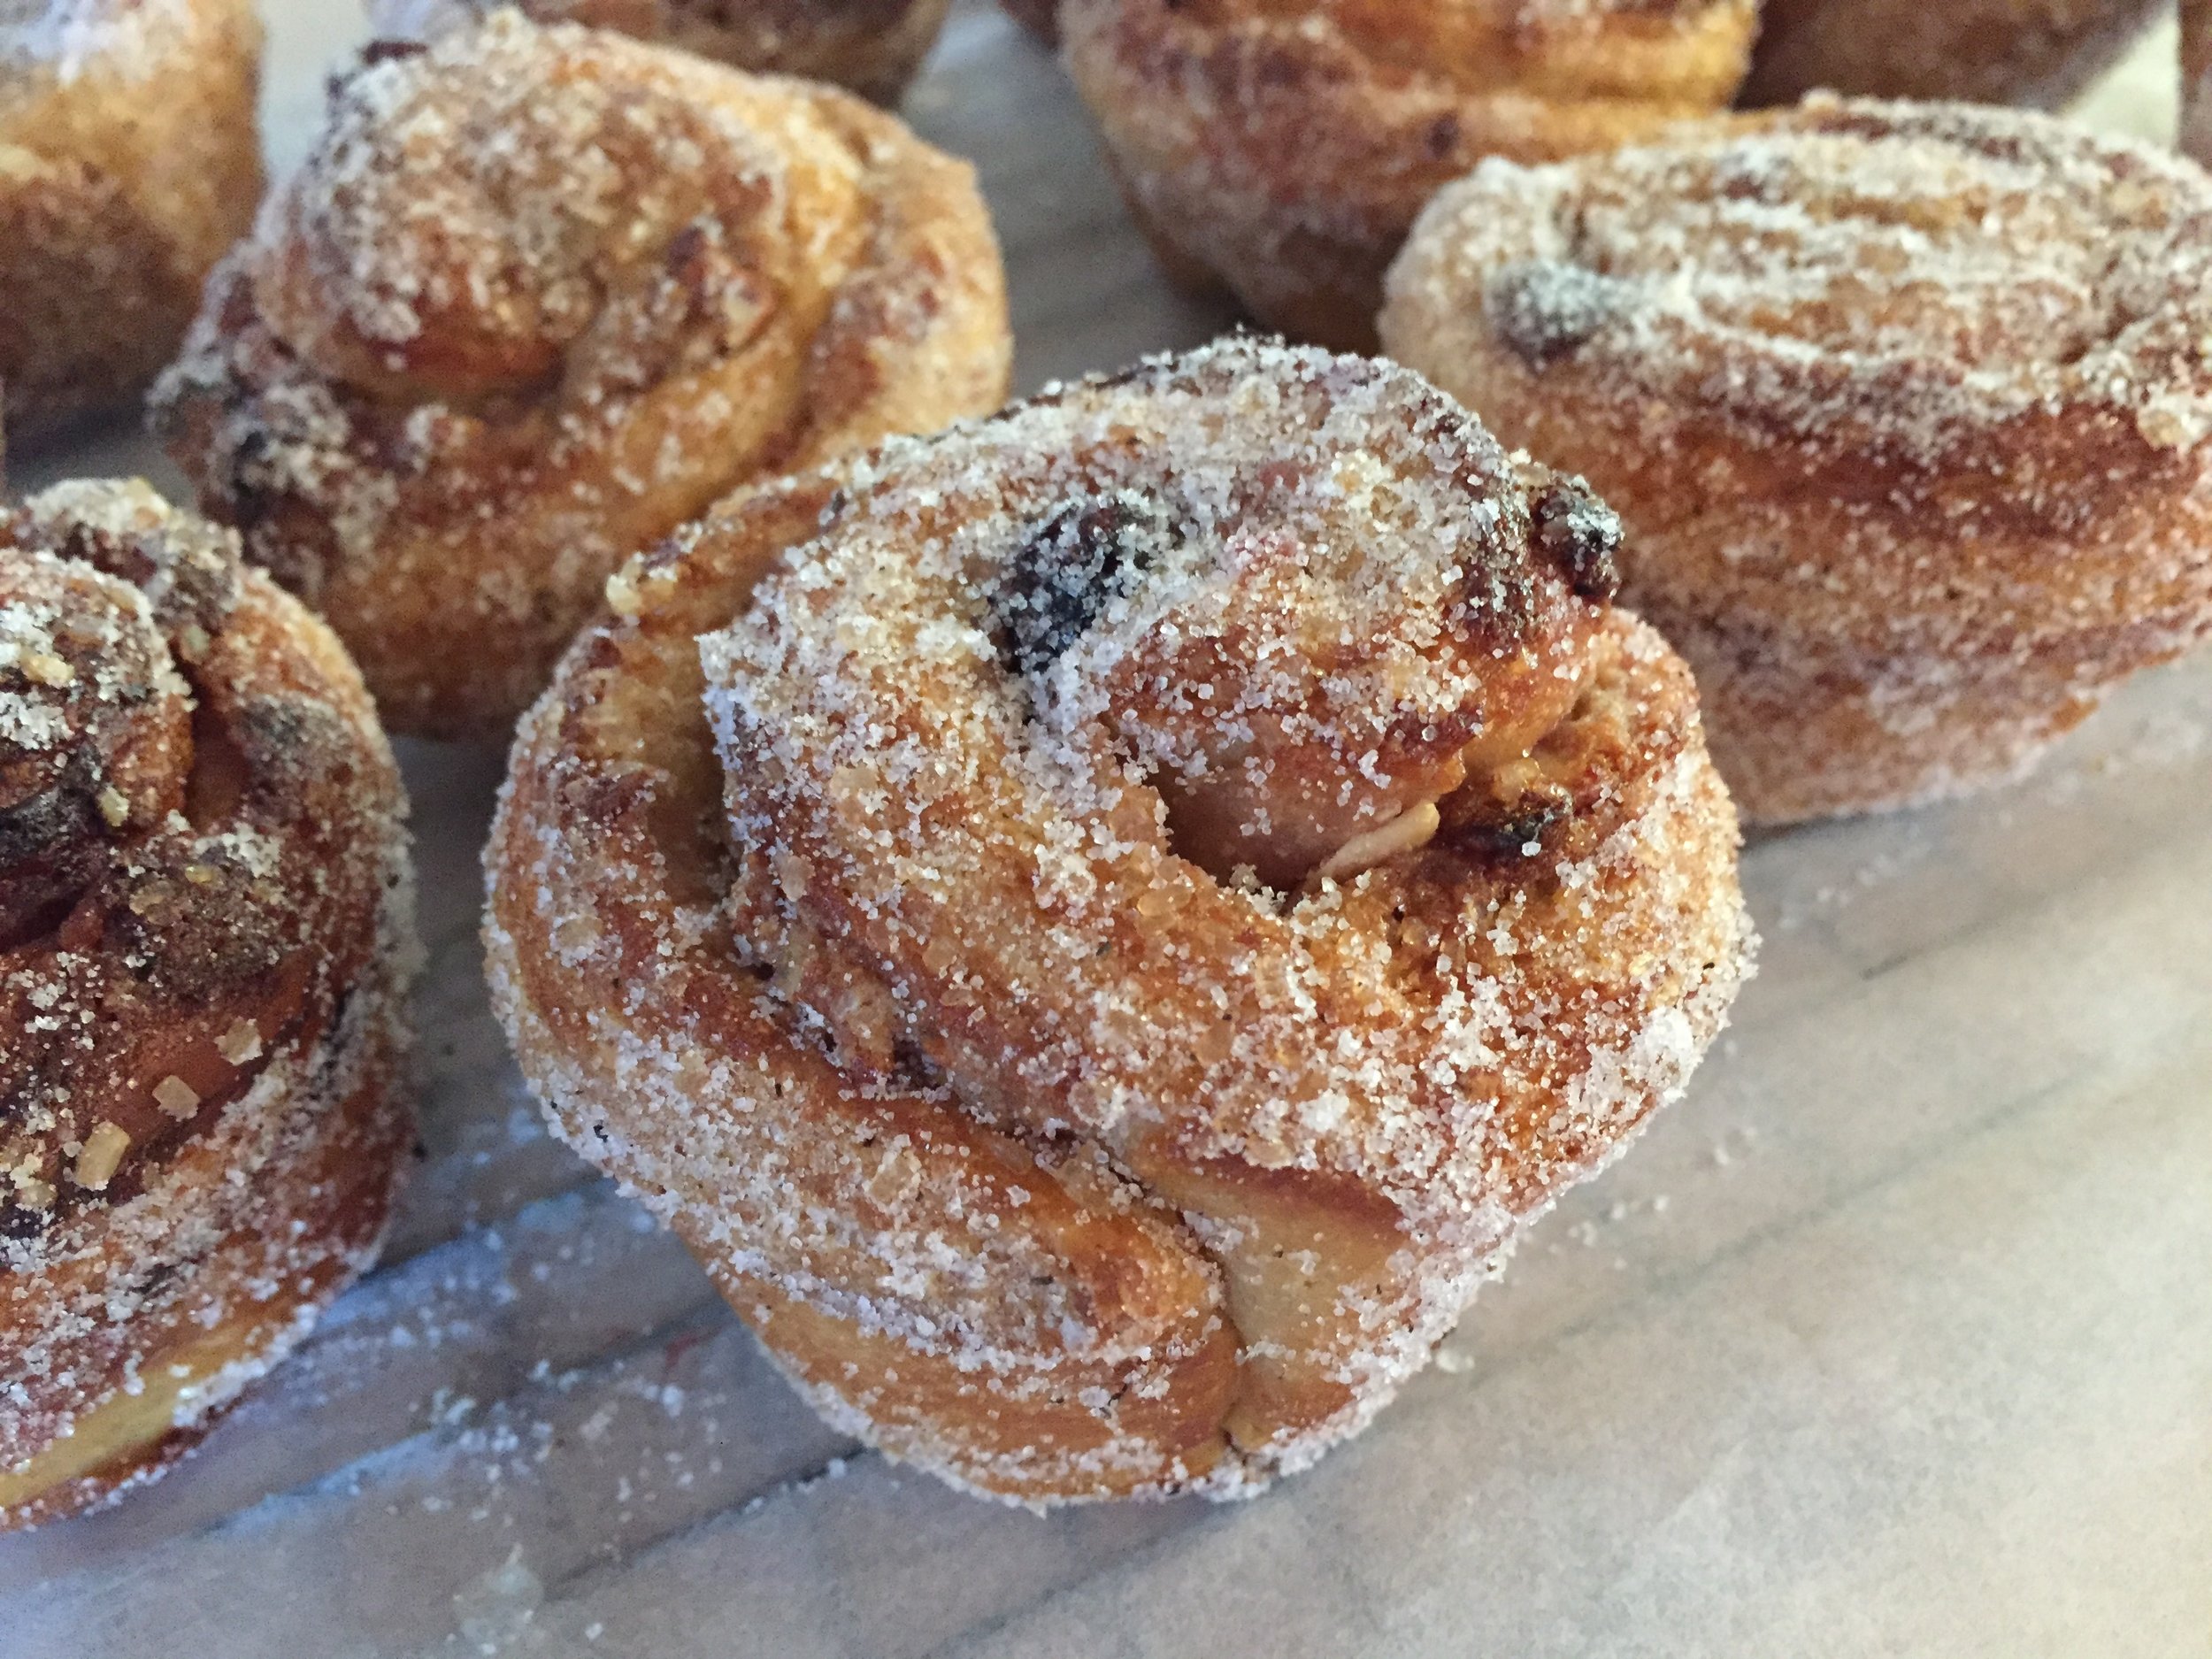
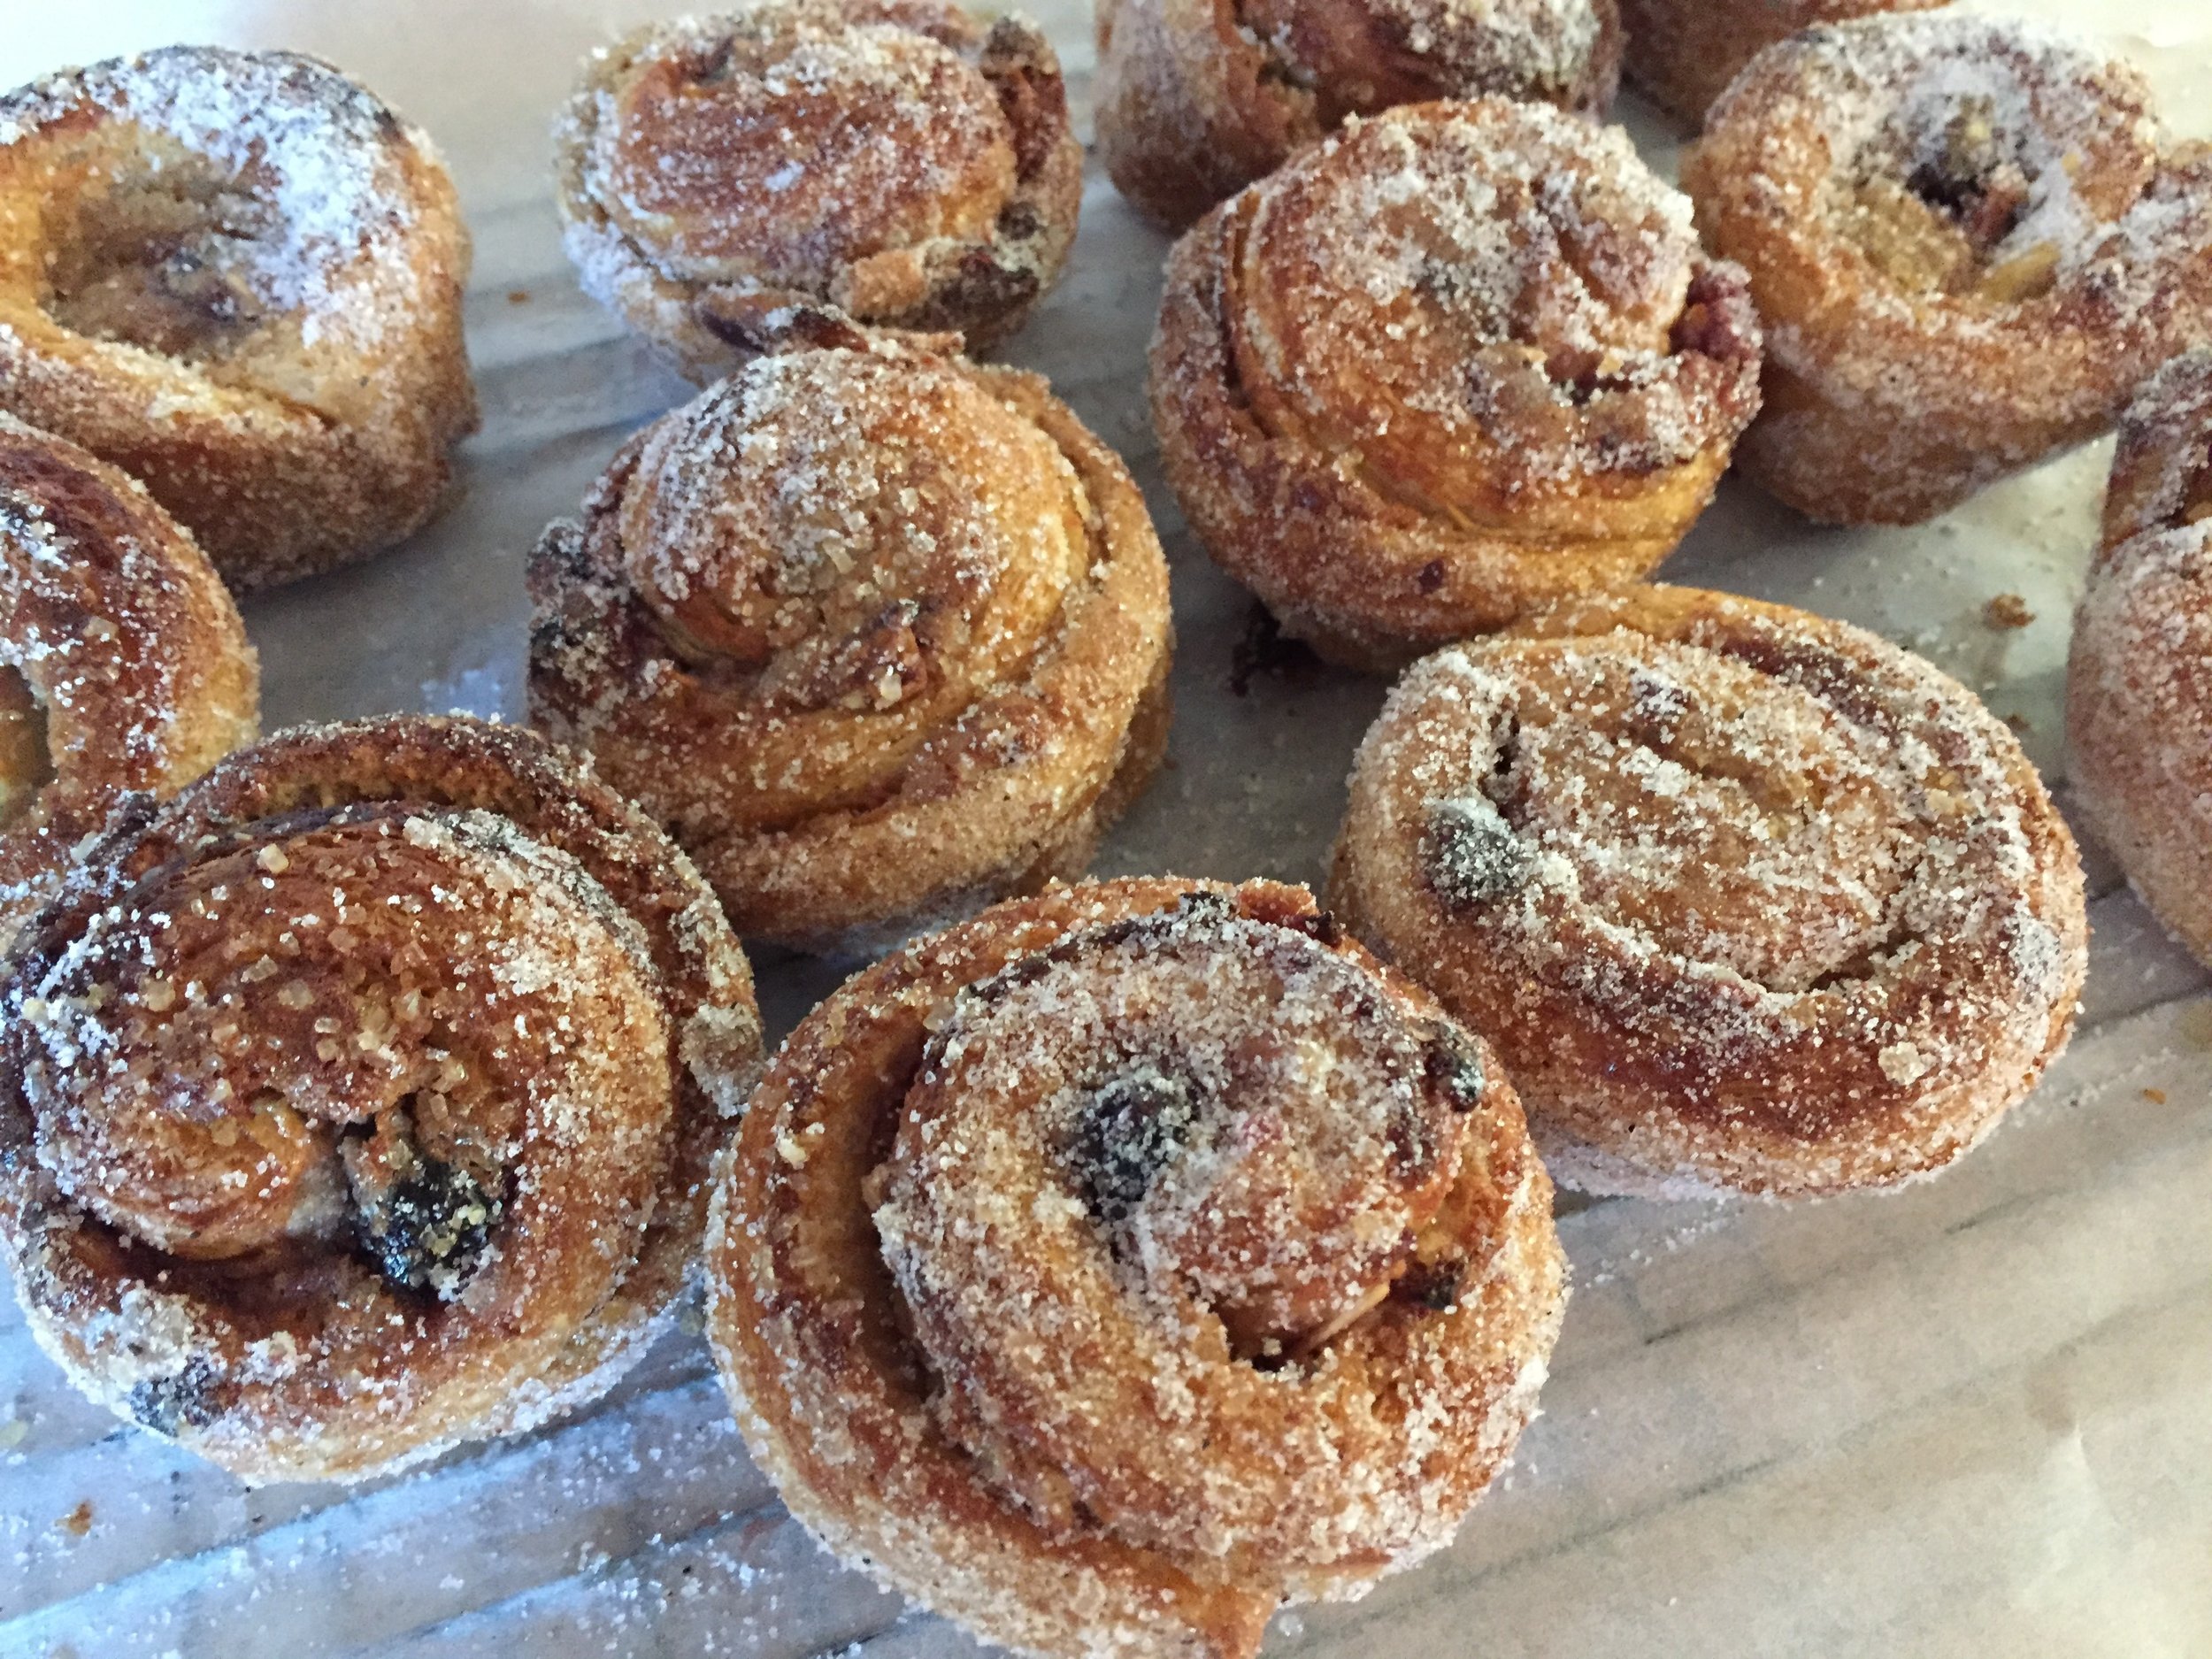
The second half of this dough became cherry-almond spirals - same idea as the cheese/herb spirals above - spread on a mixture of almond flour, egg white and brown sugar and topped it with cherry preserves and sliced almonds.

IMG_3545.jpg

Rolled up and sliced, these went into buttered muffin tins to proof.

IMG_3546.jpg

I gave the croissants a good 2-2.5 hours to proof and the spirals a bit less. Then on to the bake!

Proofed spelt version

Proofed spelt version

Out of the oven

Out of the oven

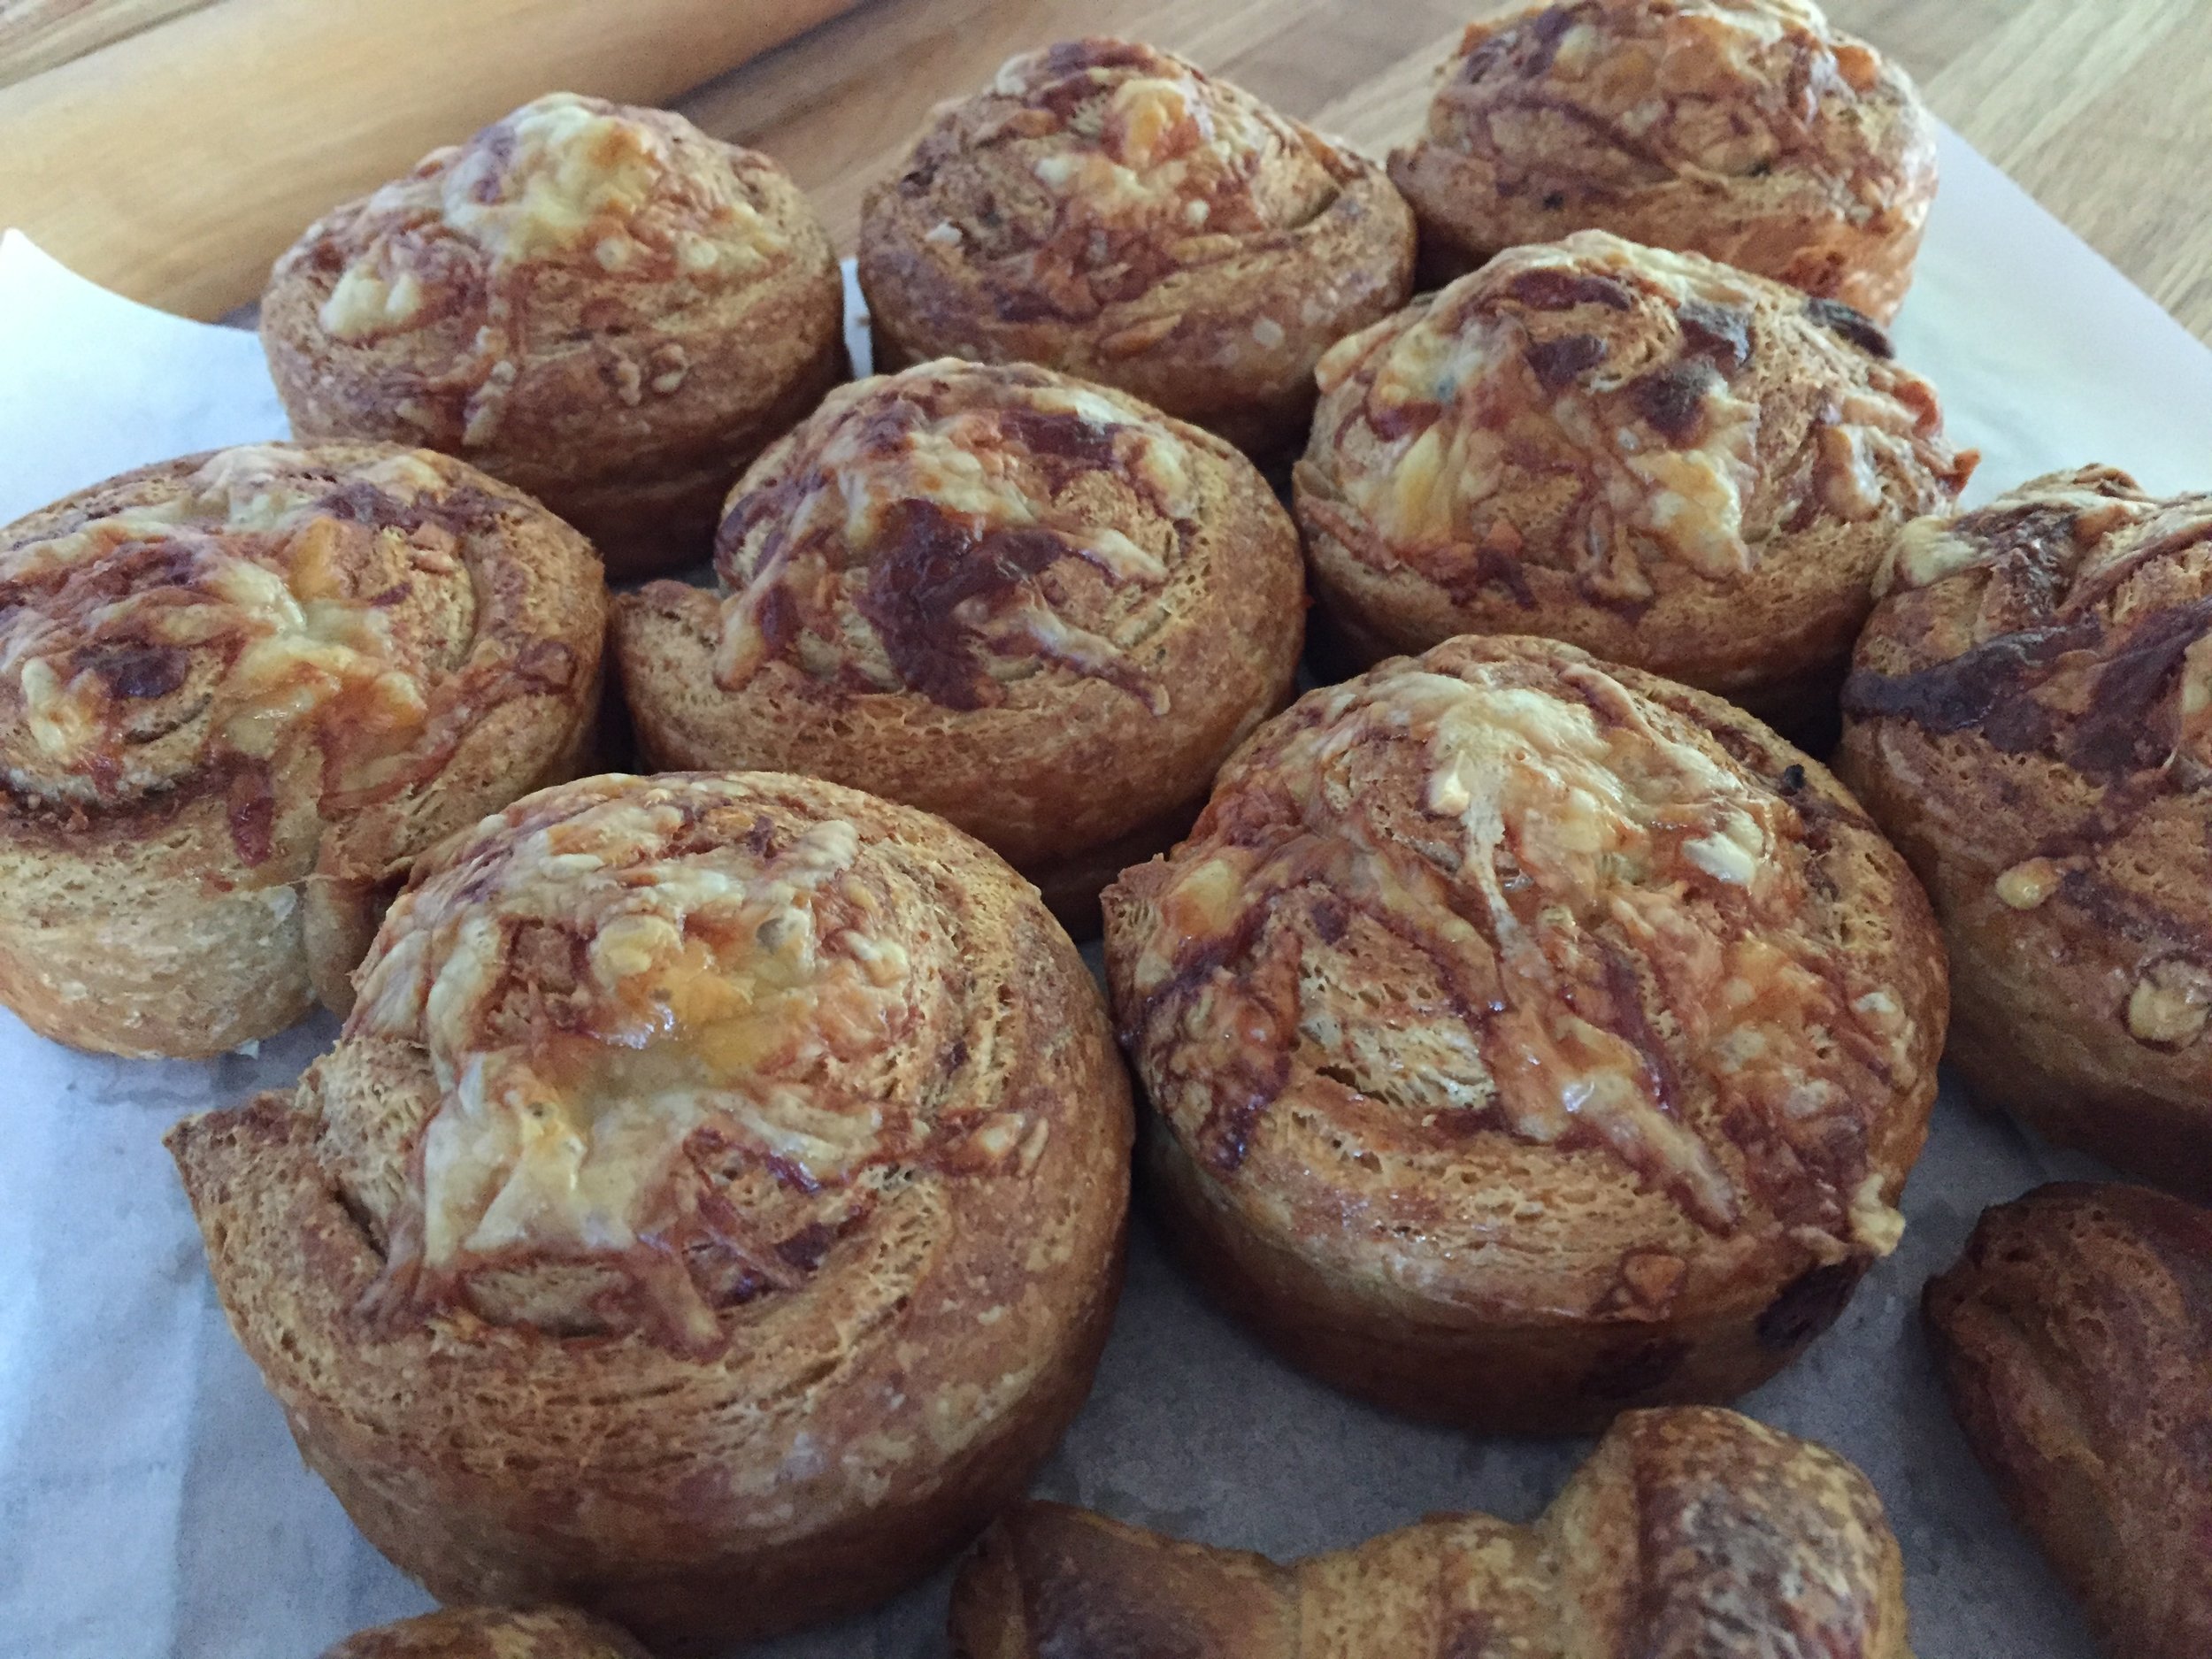
I gave the proofed cheese spirals a sprinkling of more cheese . . . .

IMG_3553.JPG

and here they are all baked up!

IMG_3557.JPG

I gave half of the egg washed white whole wheat croissants a sprinkling of KAF’s Artisan bread topping, a delicious mixture of sesame, flax, sunflower, black caraway, poppy and anise seeds.

Proofed

Proofed

all baked up

all baked up

Cherry almond here we come! A sprinkling of raw sugar and into the oven.

IMG_3567.JPG

Once baked I rolled them in some vanilla sugar for the pièce de résistance.

IMG_3575.JPG

Steve and I did a thorough sampling of all four versions. We thought the flavor was deelish and the texture pretty decent. Personally I love the nuttiness and whole grain sense of these doughs and would definitely make whole wheat croissant dough again.

I froze a good portion of the baked and cooled end results, and we were able to enjoy the croissants and cheesy spirals thawed and oven warmed with a delicious chili Steve made for a family supper out at cousin Jen’s. Everyone enjoyed them immensely. Who says you can’t have a croissant for supper eh?

So what did I learn from all of this? Truth be told, I had done some reading before the project but had neglected to consider the need for some increased hydration when using all whole wheat flour. Duh. Hence I did a thorough read through of very helpful tips and suggestions from the Whole Grain Council/KAF - so much information out there kids!

Going forward I now know to add an additional 2 teaspoons of liquid per cup of whole wheat flour used. It’s also important to work the dough more gently and shape more loosely since the germ and bran in the whole wheat flour can actually shred the gluten strands in the dough, weakening it (it was very clear to me with the spelt version that it was drier and much more prone to tearing).

Whole wheat doughs generally ferment a bit faster (more nutritive stuff in them for the yeast to munch on) but don’t achieve quite as much volume. I did give my dough the same amount of rising time that I normally give my regular croissants but did note that the rise didn’t appear quite as full. Yet I was very happy with how they baked and tasted in the end. YES indeed.

IMG_3563.JPG

Here’s my standard base croissant recipe with adjustments for whole wheat:

450 g all purpose flour + 50 g bread flour (option 300 g white whole wheat flour/200 g whole wheat pastry flour)
44 g sugar
10 g salt
50 g soft unsalted butter
8 g instant yeast
317 g whole milk, can be cold or room temp (add 35 g additional liquid if using whole wheat flour - may be a mix of water and milk)
283 g unsalted butter for the butter block

  1. Blend flours, sugar, salt and yeast in the bowl of a stand mixer.

  2. Stir in milk (milk/water if using) with a rubber spatula or dough whisk to roughly combine. If using whole wheat flour let the mixture sit for 20 minutes to hydrate before proceeding.

  3. Mix with the dough hook on “stir”, adding the 50 g soft butter to incorporate.

  4. Increase to speed 2 and knead for 3-4 minutes (2-3 minutes if using whole wheat flour).

  5. Place on a lightly floured work surface, cover with plastic wrap and let the dough rest for 30-40 minutes.

  6. Shape into a ball, wrap tightly in plastic wrap and place in the refrigerator for at least 8 hours or overnight.

  7. Shape the 283 g butter into a 4-5 inch square (I do this between two layers of plastic wrap). The butter should be cool and malleable for the beurrage.

  8. Perform the beurrage followed by three business letter folds, resting the dough 30 minutes between each fold. Let the finished dough rest at least 2 hours or up to 12 hours before final shaping.

It’s not my intention here to review all the steps and nuances of making laminated dough, proofing and baking croissants but primarily to share the dough recipe. Now it’s time for you to experiment on your own. Go for it! You can do it.

IMG_3576.JPG

2019 - here we go!

Chocolate chip brioche swirls

Chocolate chip brioche swirls

Wow! We’re already a full week into 2019, and I’ve baked barely a thing, much less written a blog post. After the busy-ness of the mid-November through Christmas hustle and bustle, I’ve been taking a little stay-cation and easing into the New Year. You know - tidying up the house, putting away holiday decorations, starting some financial summaries for tax time (THAT’S vacation you ask??), working on a jigsaw puzzle, going for my walks and contemplating the weeks and months ahead.

I recently learned that in France it’s not proper to wish anyone Happy New Year until January 1st and then you have the entire month to express that particular wish. But come February 1st - nuh-uh, not allowed. So I still have plenty of time, right? Happy New Year everyone!!

At the start of a new year it’s fun to go back over the past year and look at various projects completed and goodies baked. Here are just a few.

My current favorite cookie - Raspberry almond thumbprints

My current favorite cookie - Raspberry almond thumbprints

Maple pots de crème with maple walnut shortbread

Maple pots de crème with maple walnut shortbread

Quiche Lorraine -mmmmm good!

Quiche Lorraine -mmmmm good!

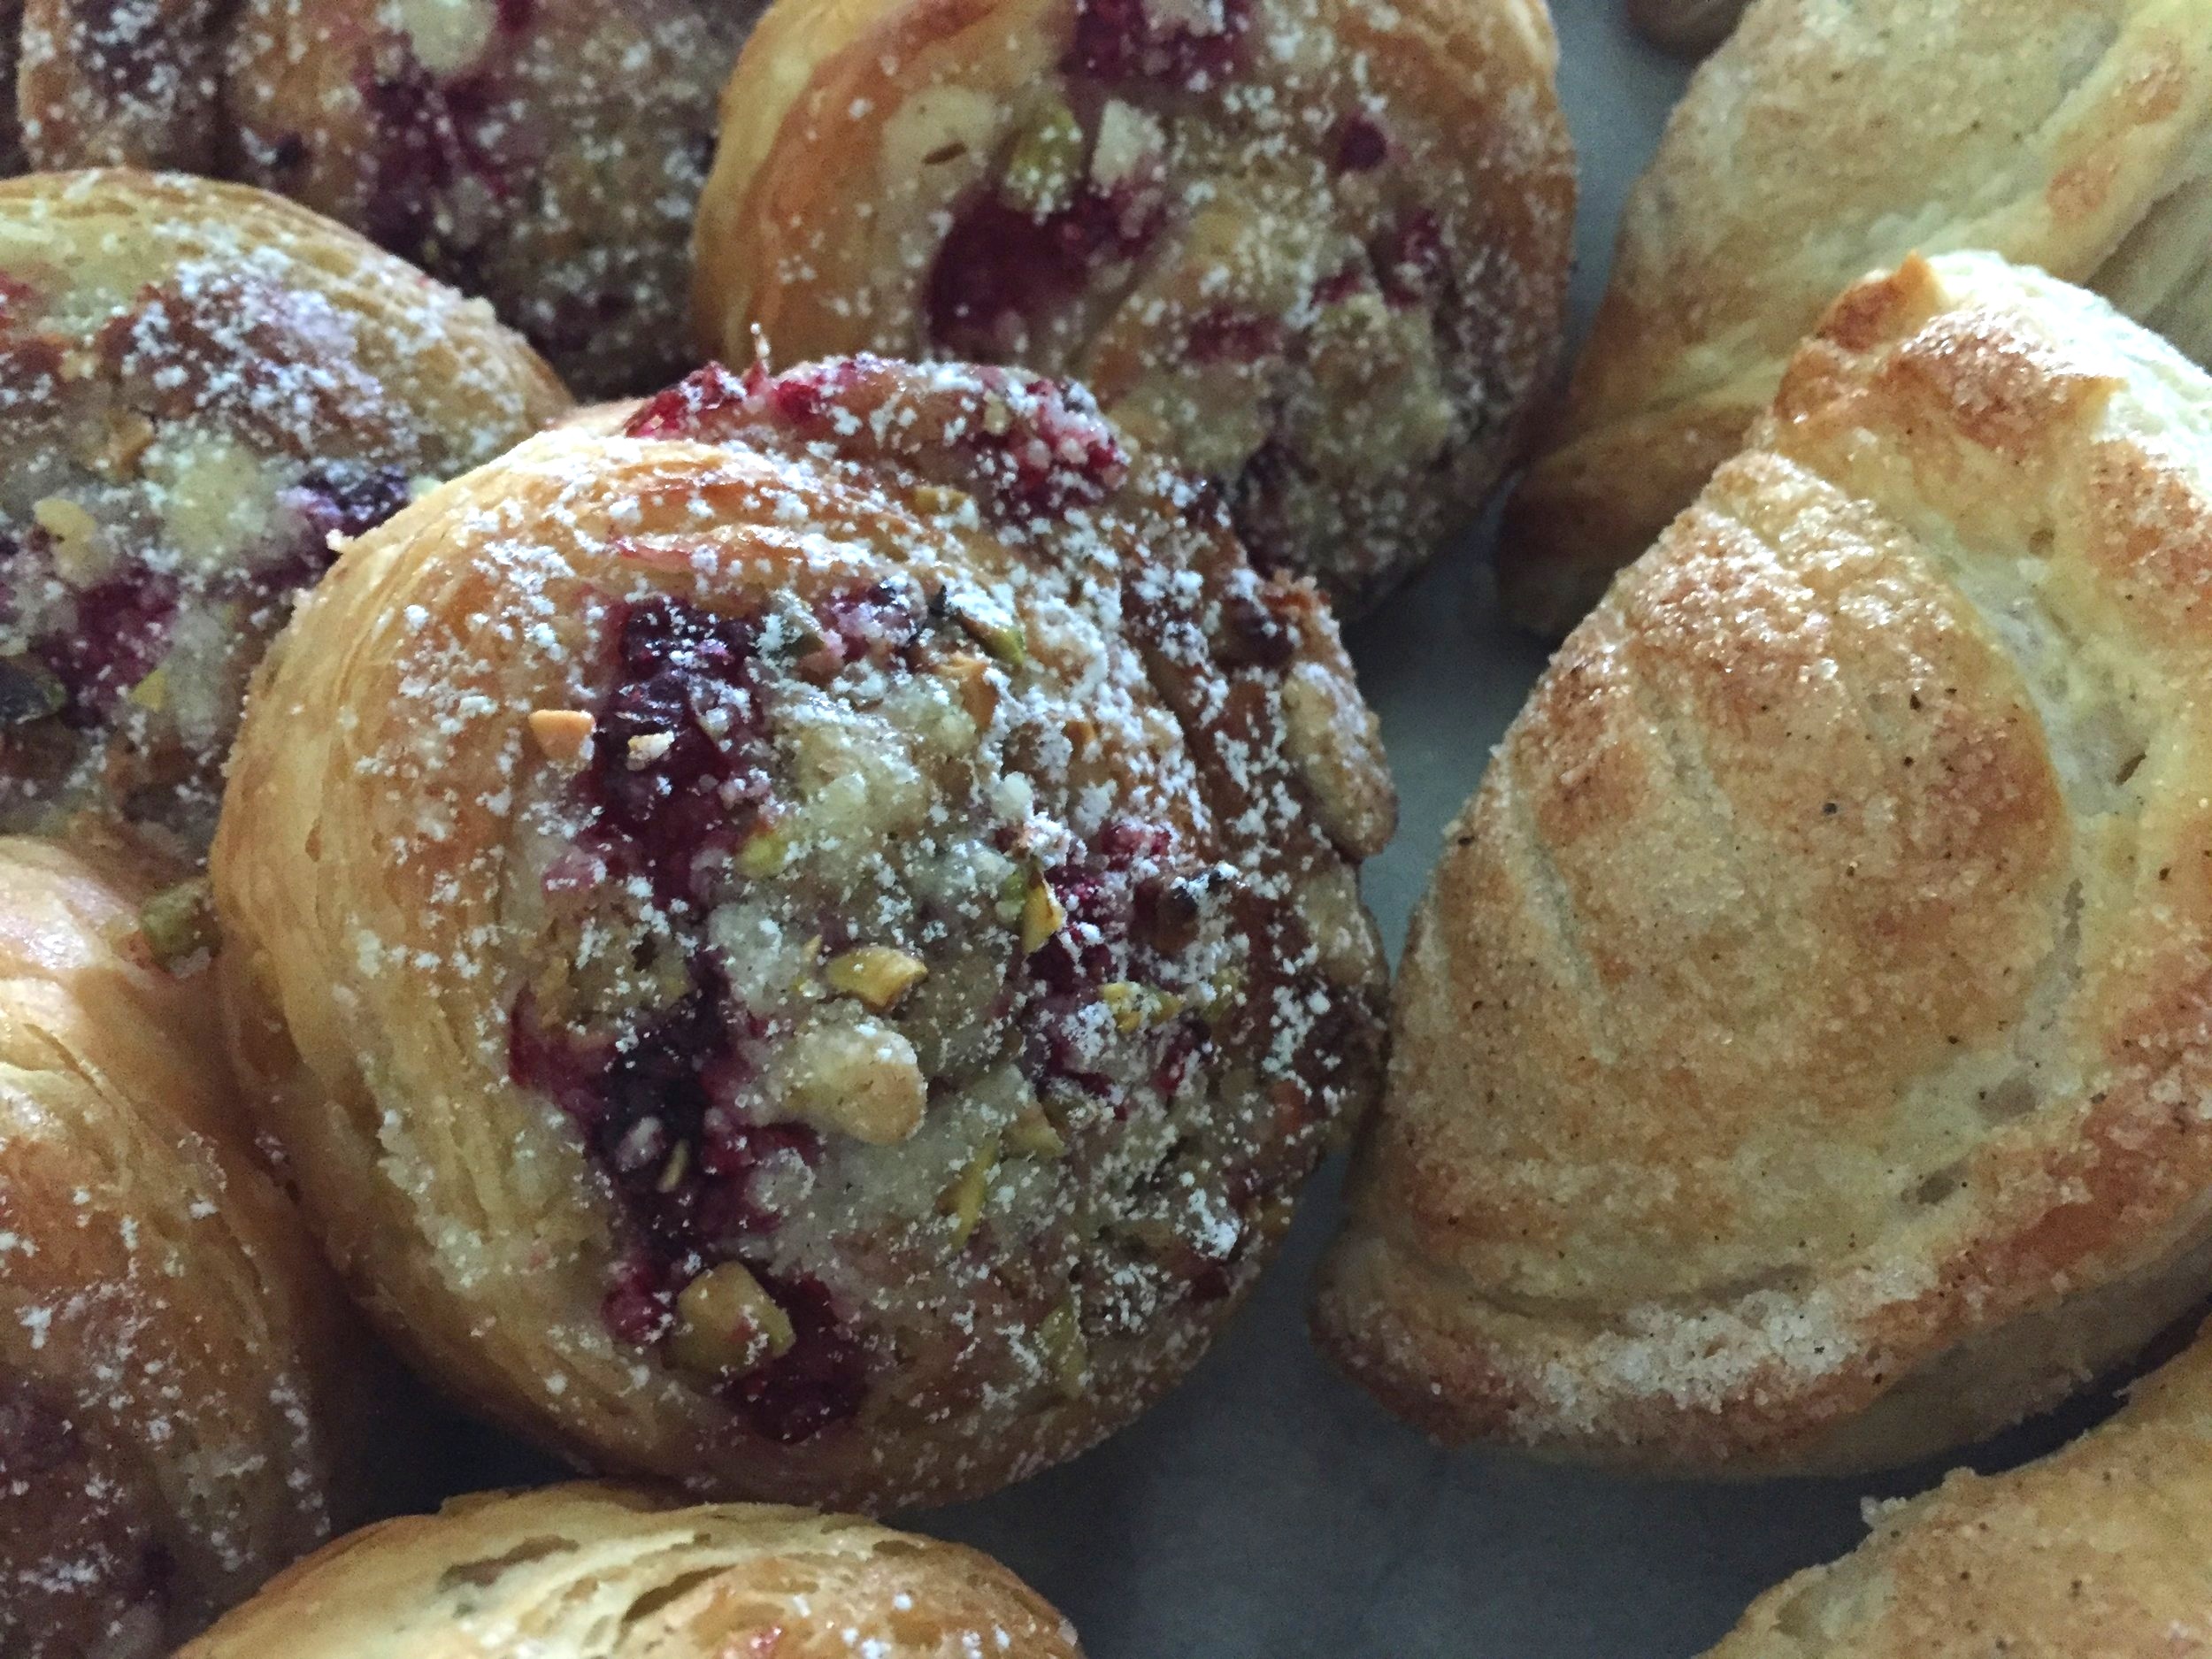
Raspberry pistachio spirals and chausson aux pommes

Raspberry pistachio spirals and chausson aux pommes

Pistachio orange cakes with orange honey Swiss meringue buttercream

Pistachio orange cakes with orange honey Swiss meringue buttercream

Caramel apple tarte

Caramel apple tarte

Cheesy gougères

Cheesy gougères

Blueberry custard buns

Blueberry custard buns

Melt-In-Your-Mouth chocolate cakes/white and dark ganache

Melt-In-Your-Mouth chocolate cakes/white and dark ganache

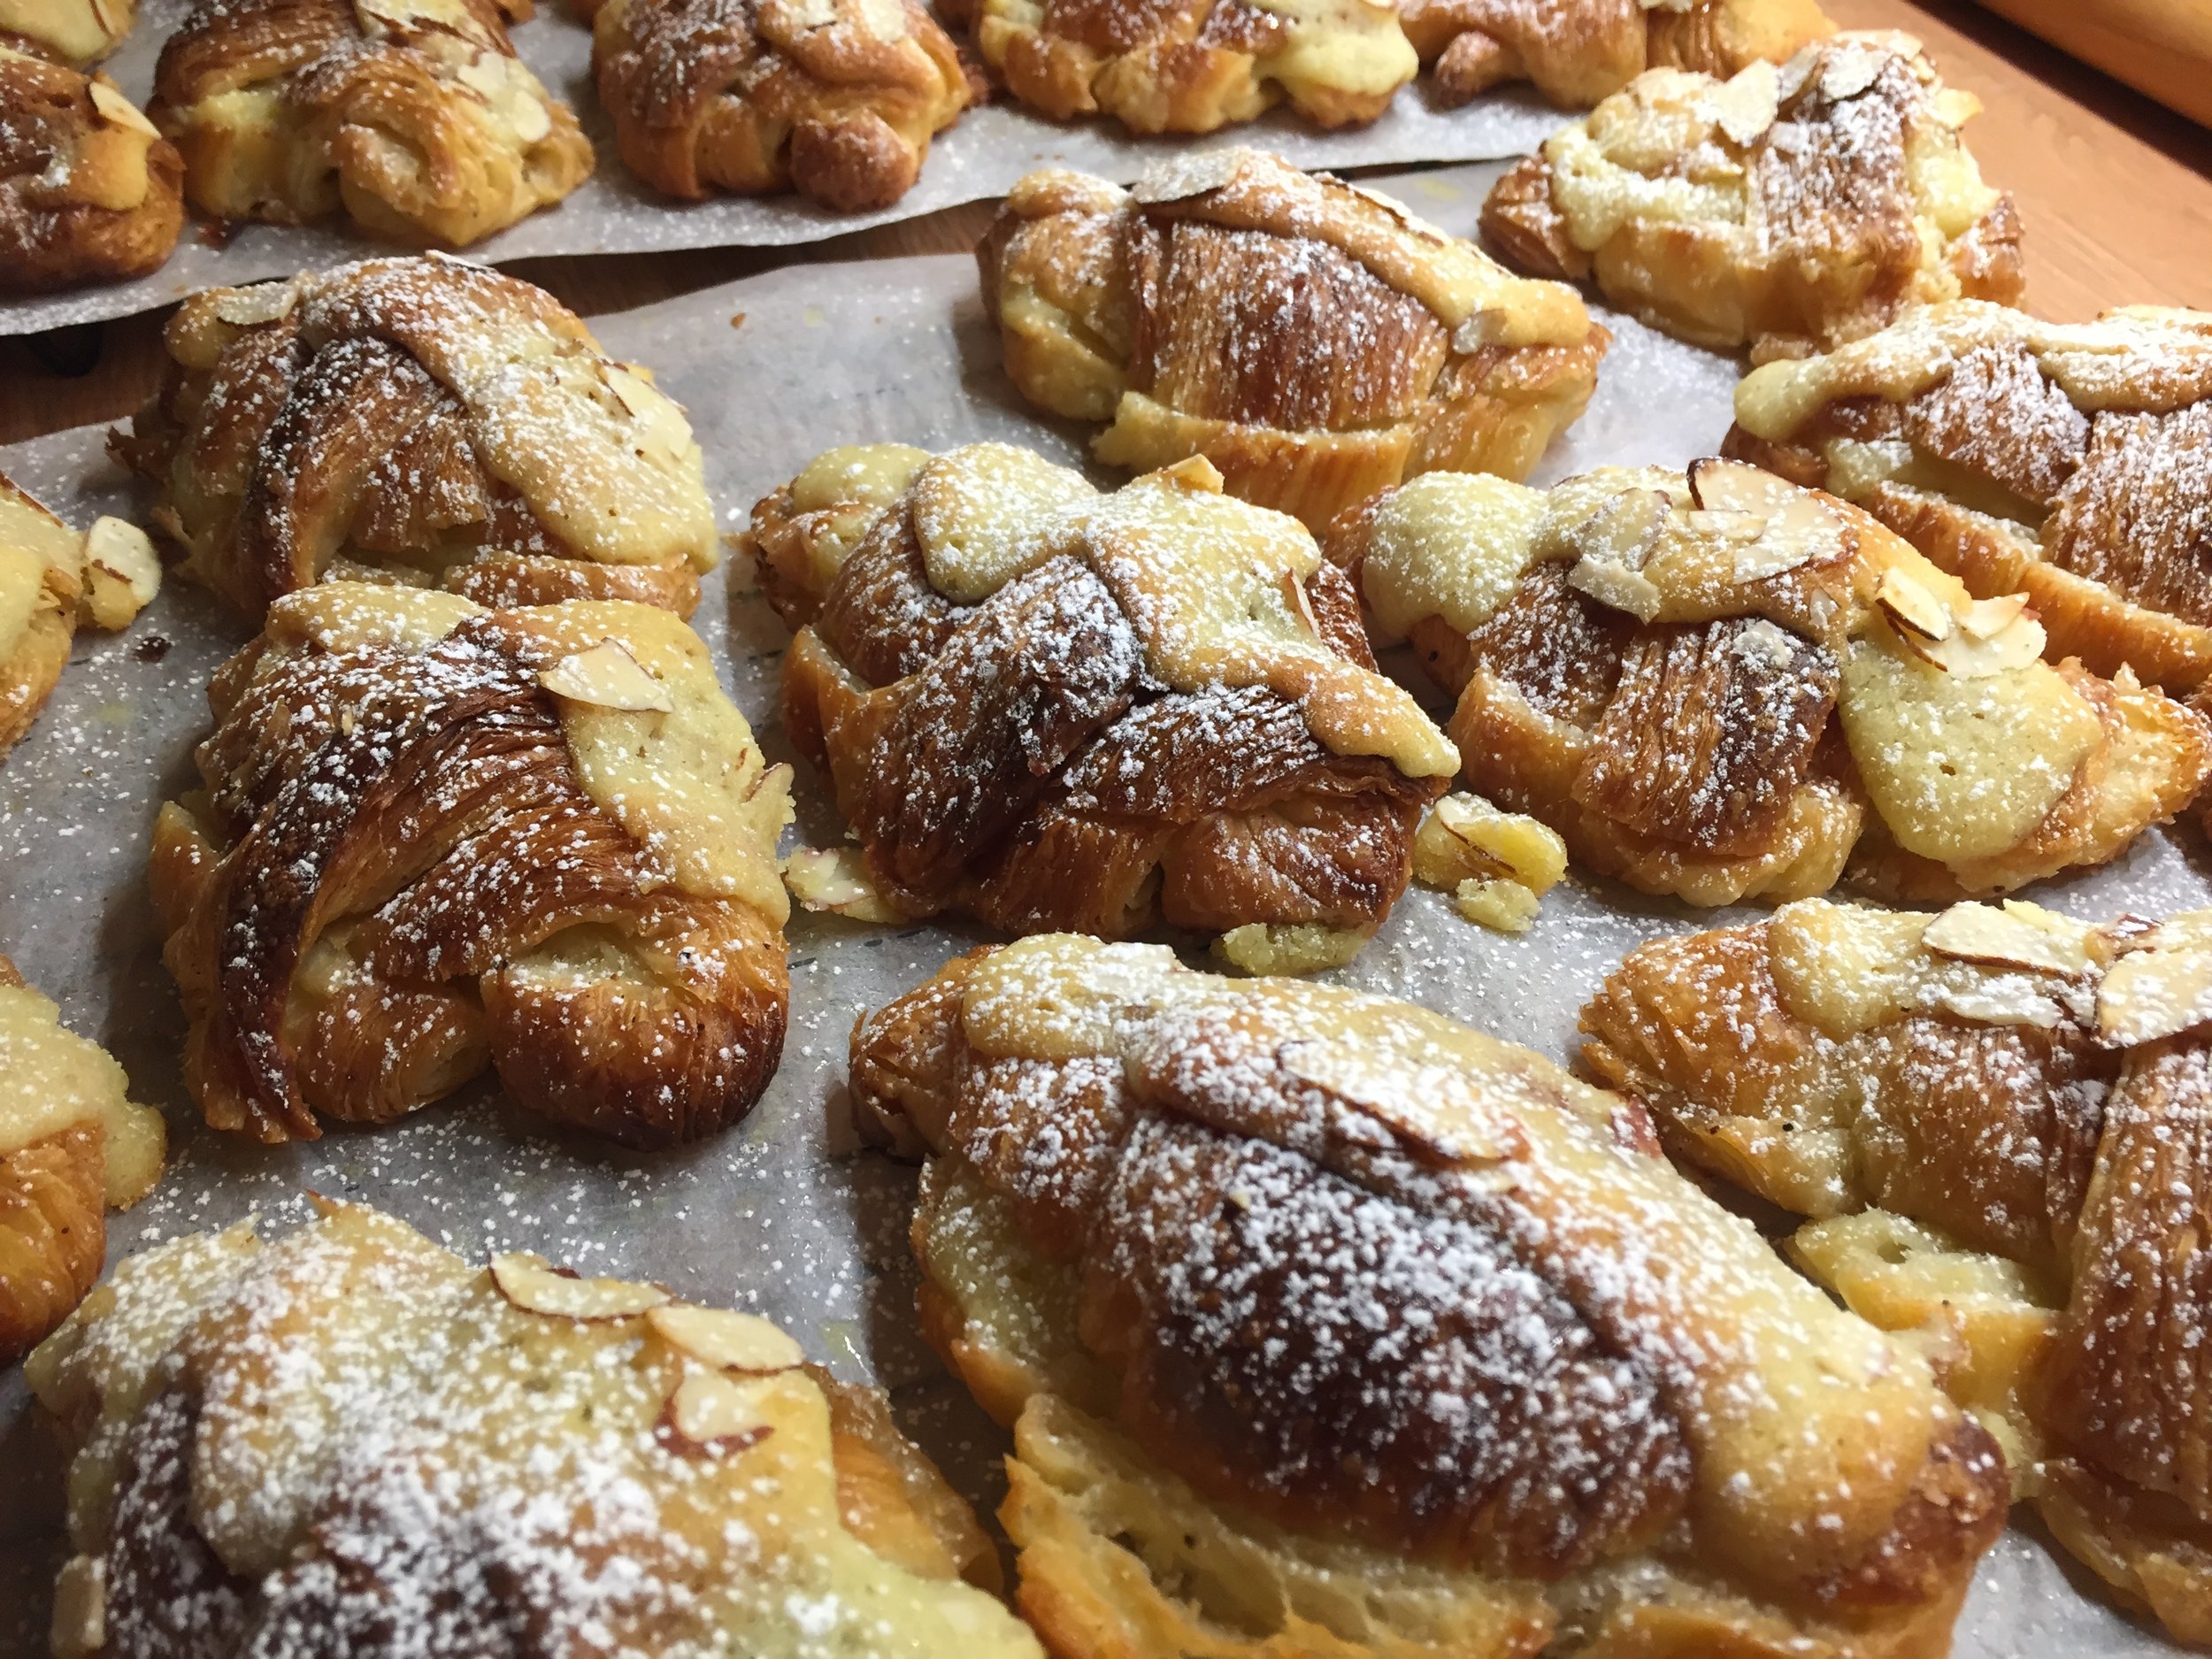
And Let’s not forget the ever favorite croissant aux amandes

And Let’s not forget the ever favorite croissant aux amandes

Just before Christmas I returned to Sur La Table here in Grand Rapids as Pastry Chef Instructor. So far, so good - macarons, croissants, cast iron desserts (tarte tatin, cherry/chocolate bread pudding, bananas foster) - and more to come in the upcoming weeks. Each month’s schedule almost always has macaron and croissant classes, with seasonal variations in the other baking topics offered. Just visit Sur La Table’s class page to see what’s on the calendar. While the chef instructor schedule isn’t posted until a week ahead, chances are I’ll be teaching a decent percentage of the baking and pastry related classes. Hope to see you there!

So what might 2019 bring? As I age and we experience the loss of the generation before us as well as some of our own generation, it becomes more and more clear how important it is to enjoy each day, take care of ourselves, revel in the company of family and friends and remain upbeat about the future and all that we have. As Steve often says “life is short - go to Paris”.

And of course, here’s to many new baking adventures (sorghum flour anyone?), continuing to learn and teach others this craft that I’ve come to love so much.

Once again - a big Happy New Year to all!

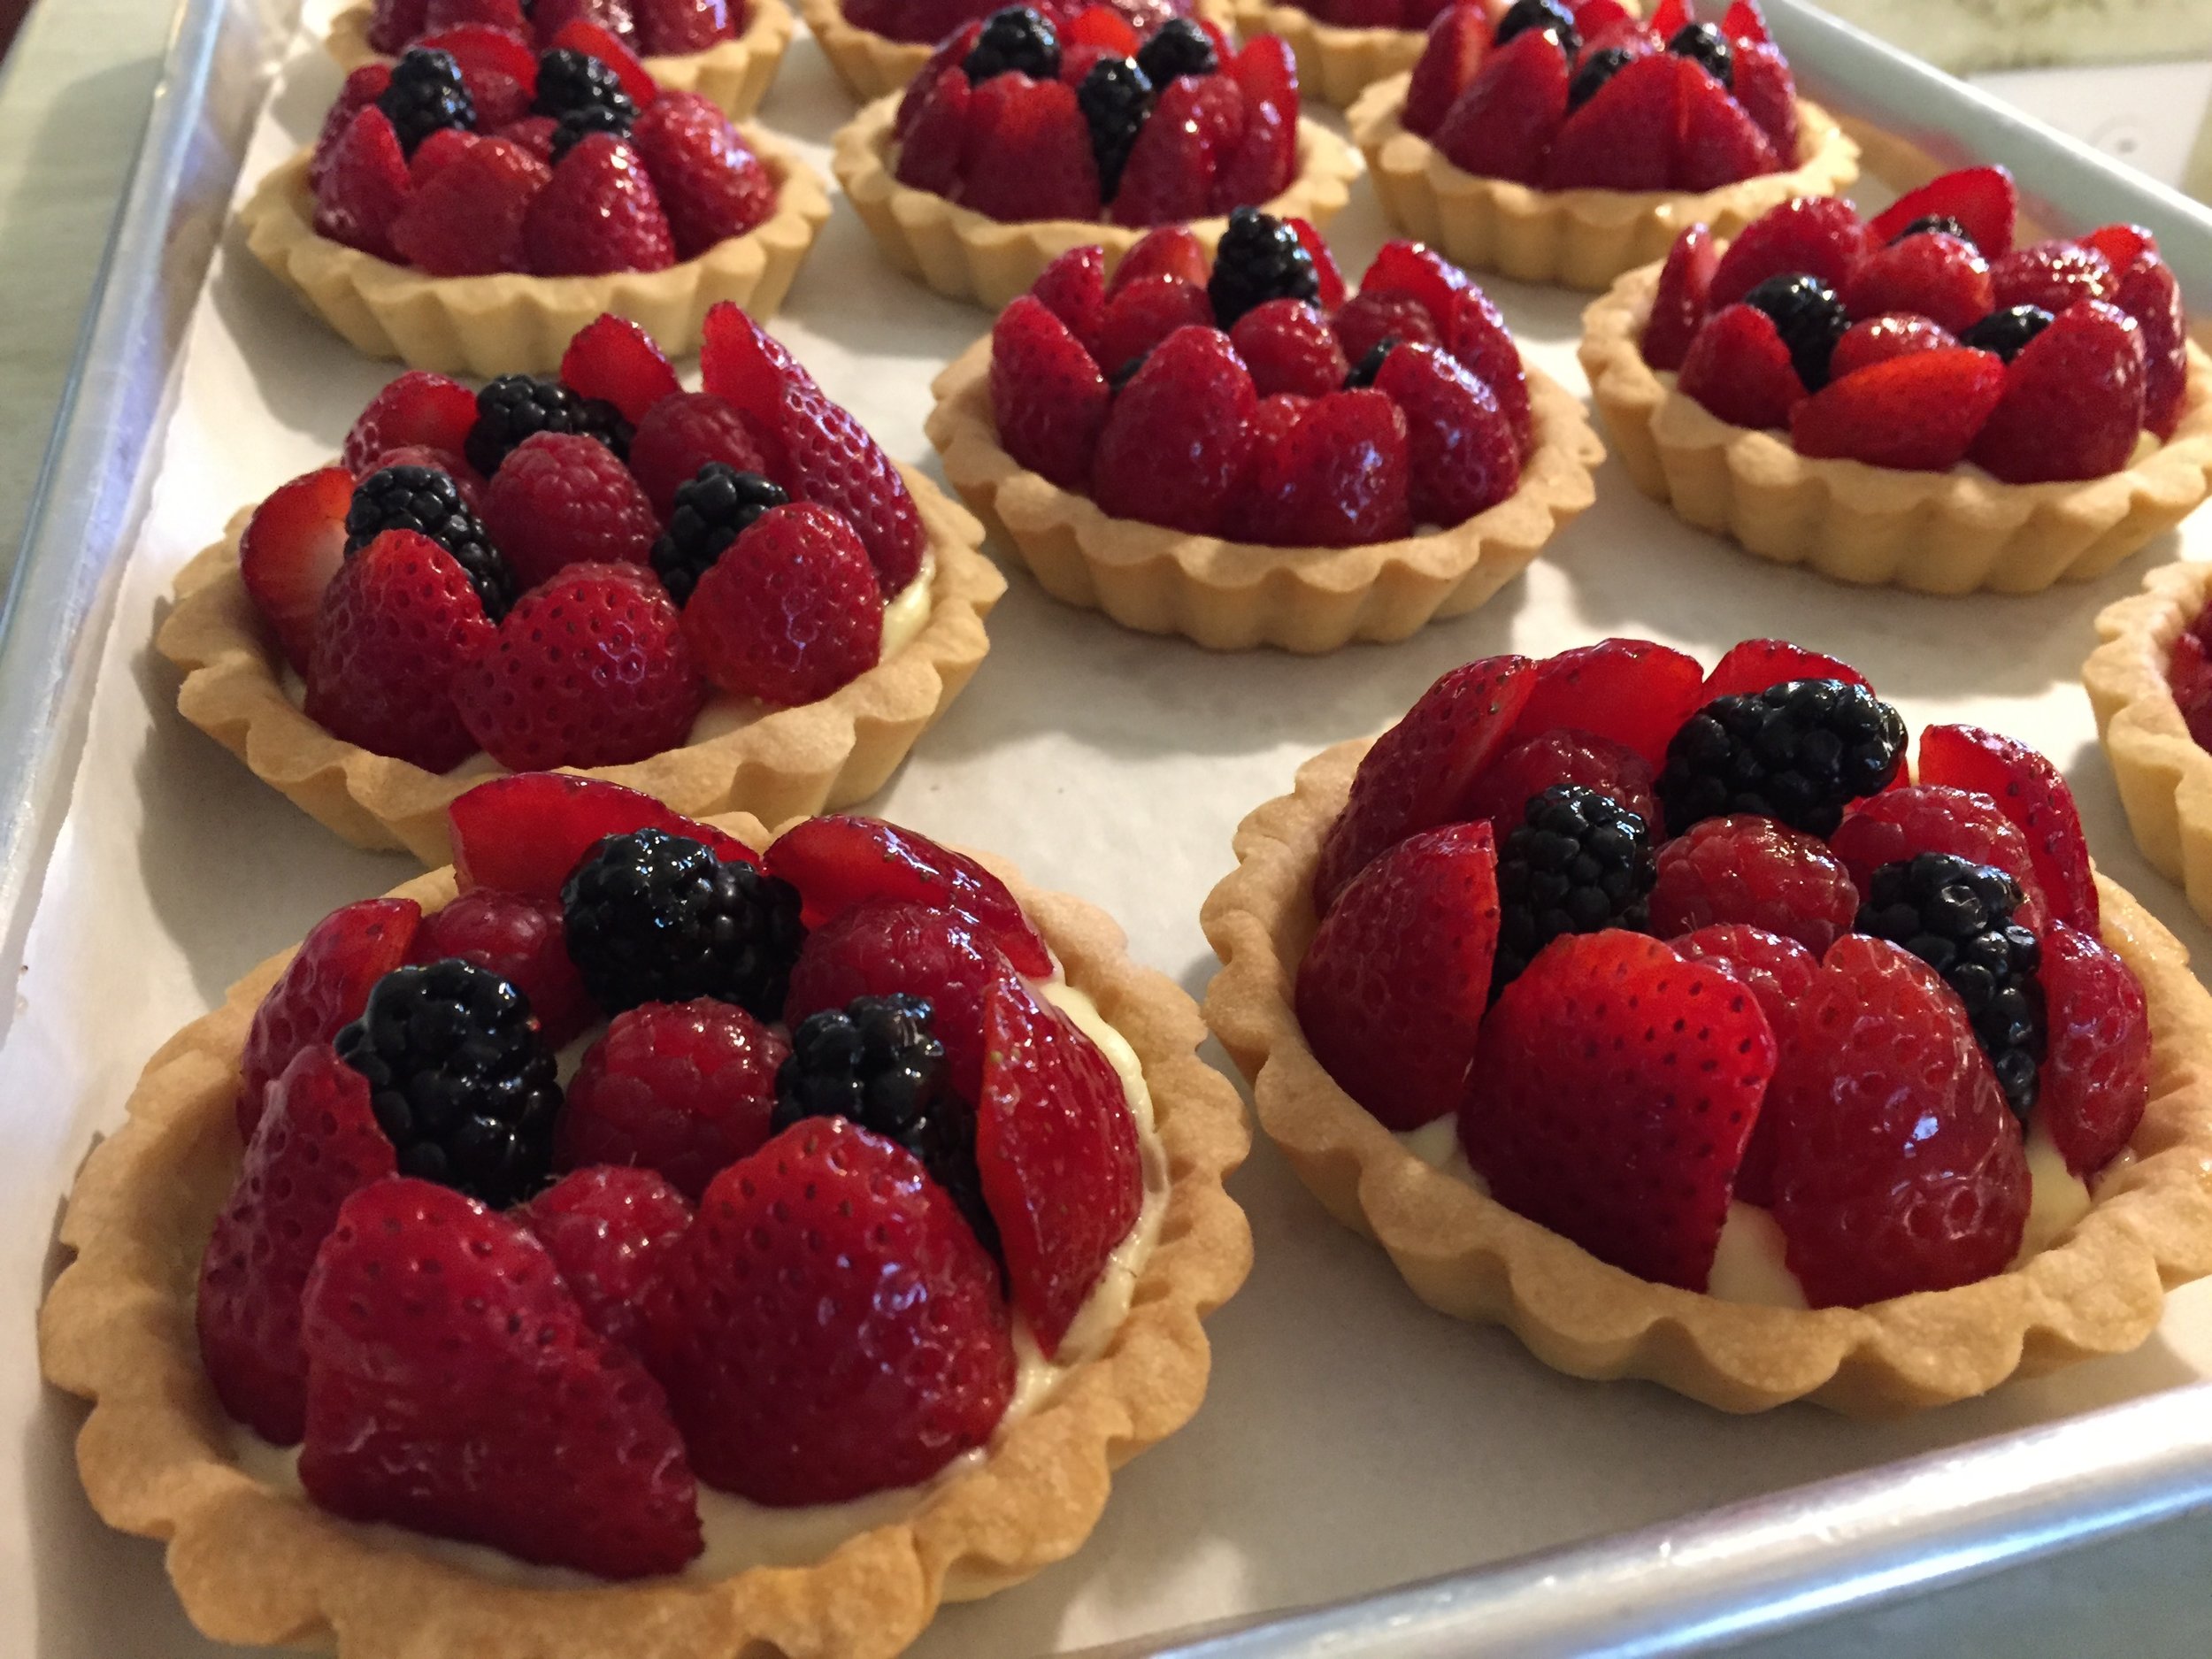
Raspberry custard tartelettes

Raspberry custard tartelettes

Fresh fruit tarts

Four Inch Tartes individuelles

Four Inch Tartes individuelles

West Michigan is known for it’s grey skies and lack of sunny days during the winter months, but lately I’ve been making a variety of fresh fruit tarts which simply add their own version of sunshine and brightness to the seemingly dreary weather. The good news is when we do have a sunny day, it’s a beauty! And some of our sunsets are absolutely gorgeous. Ahhhh . . . . there’s something about a Michigan sky.

Tartelettes Petits Fours

Tartelettes Petits Fours

While I’d prefer to use fresh local summer berries and stone fruits for my fresh fruit tarts, we’re fortunate to have pretty decent berries coming to us from California as well as citrus and all manner of tropical fruits from various parts of the country and the world. It’s interesting that most requests I receive for fresh fruit tarts happen during the winter months. I guess it’s just that desire for something colorful and delicious, and there’s nothing wrong with that!

TWO and a half inch Tartes individuelles

TWO and a half inch Tartes individuelles

I love the pinkish-orange of the Cara-Cara variant of the navel orange - just like one of our beautiful Michigan sunsets, especially when paired with the brilliant red of raspberries. And the blackberries lean more toward the end-of-sunset dusk when things start darkening into the deep purple hues of the night sky.

Nine inch Tarte

Nine inch Tarte

The nuts and bolts of this type of tart include a standard pâte sucrée crust, a classic crème pâtissiére and, of course, an assortment of fresh fruit. Whatever suits your fancy.

Especially when I’m assembling a large tart, I like to do a mock up of my fruit lay out before actually placing the fruit on top of the crème. Here I’m using raspberries, blackberries, strawberries and Cara-Cara citrus. You might notice the pomegranate seeds at the top - I didn’t end up using them for my own aesthetic reasons (artistic license, right?).

Working on the layout

Working on the layout

Assembly in process

Assembly in process

I must say that finishing a fresh fruit tart gives one quite a sense of satisfaction. And, of course, one hopes that the recipients will be just as satisfied!

Merry Christmas and Happy New Year everyone. Here’s to many more baking adventures! And may you enjoy your own sunsets wherever you are.

IMG_3454.JPG

Bûche de Noël

IMG_3439.JPG

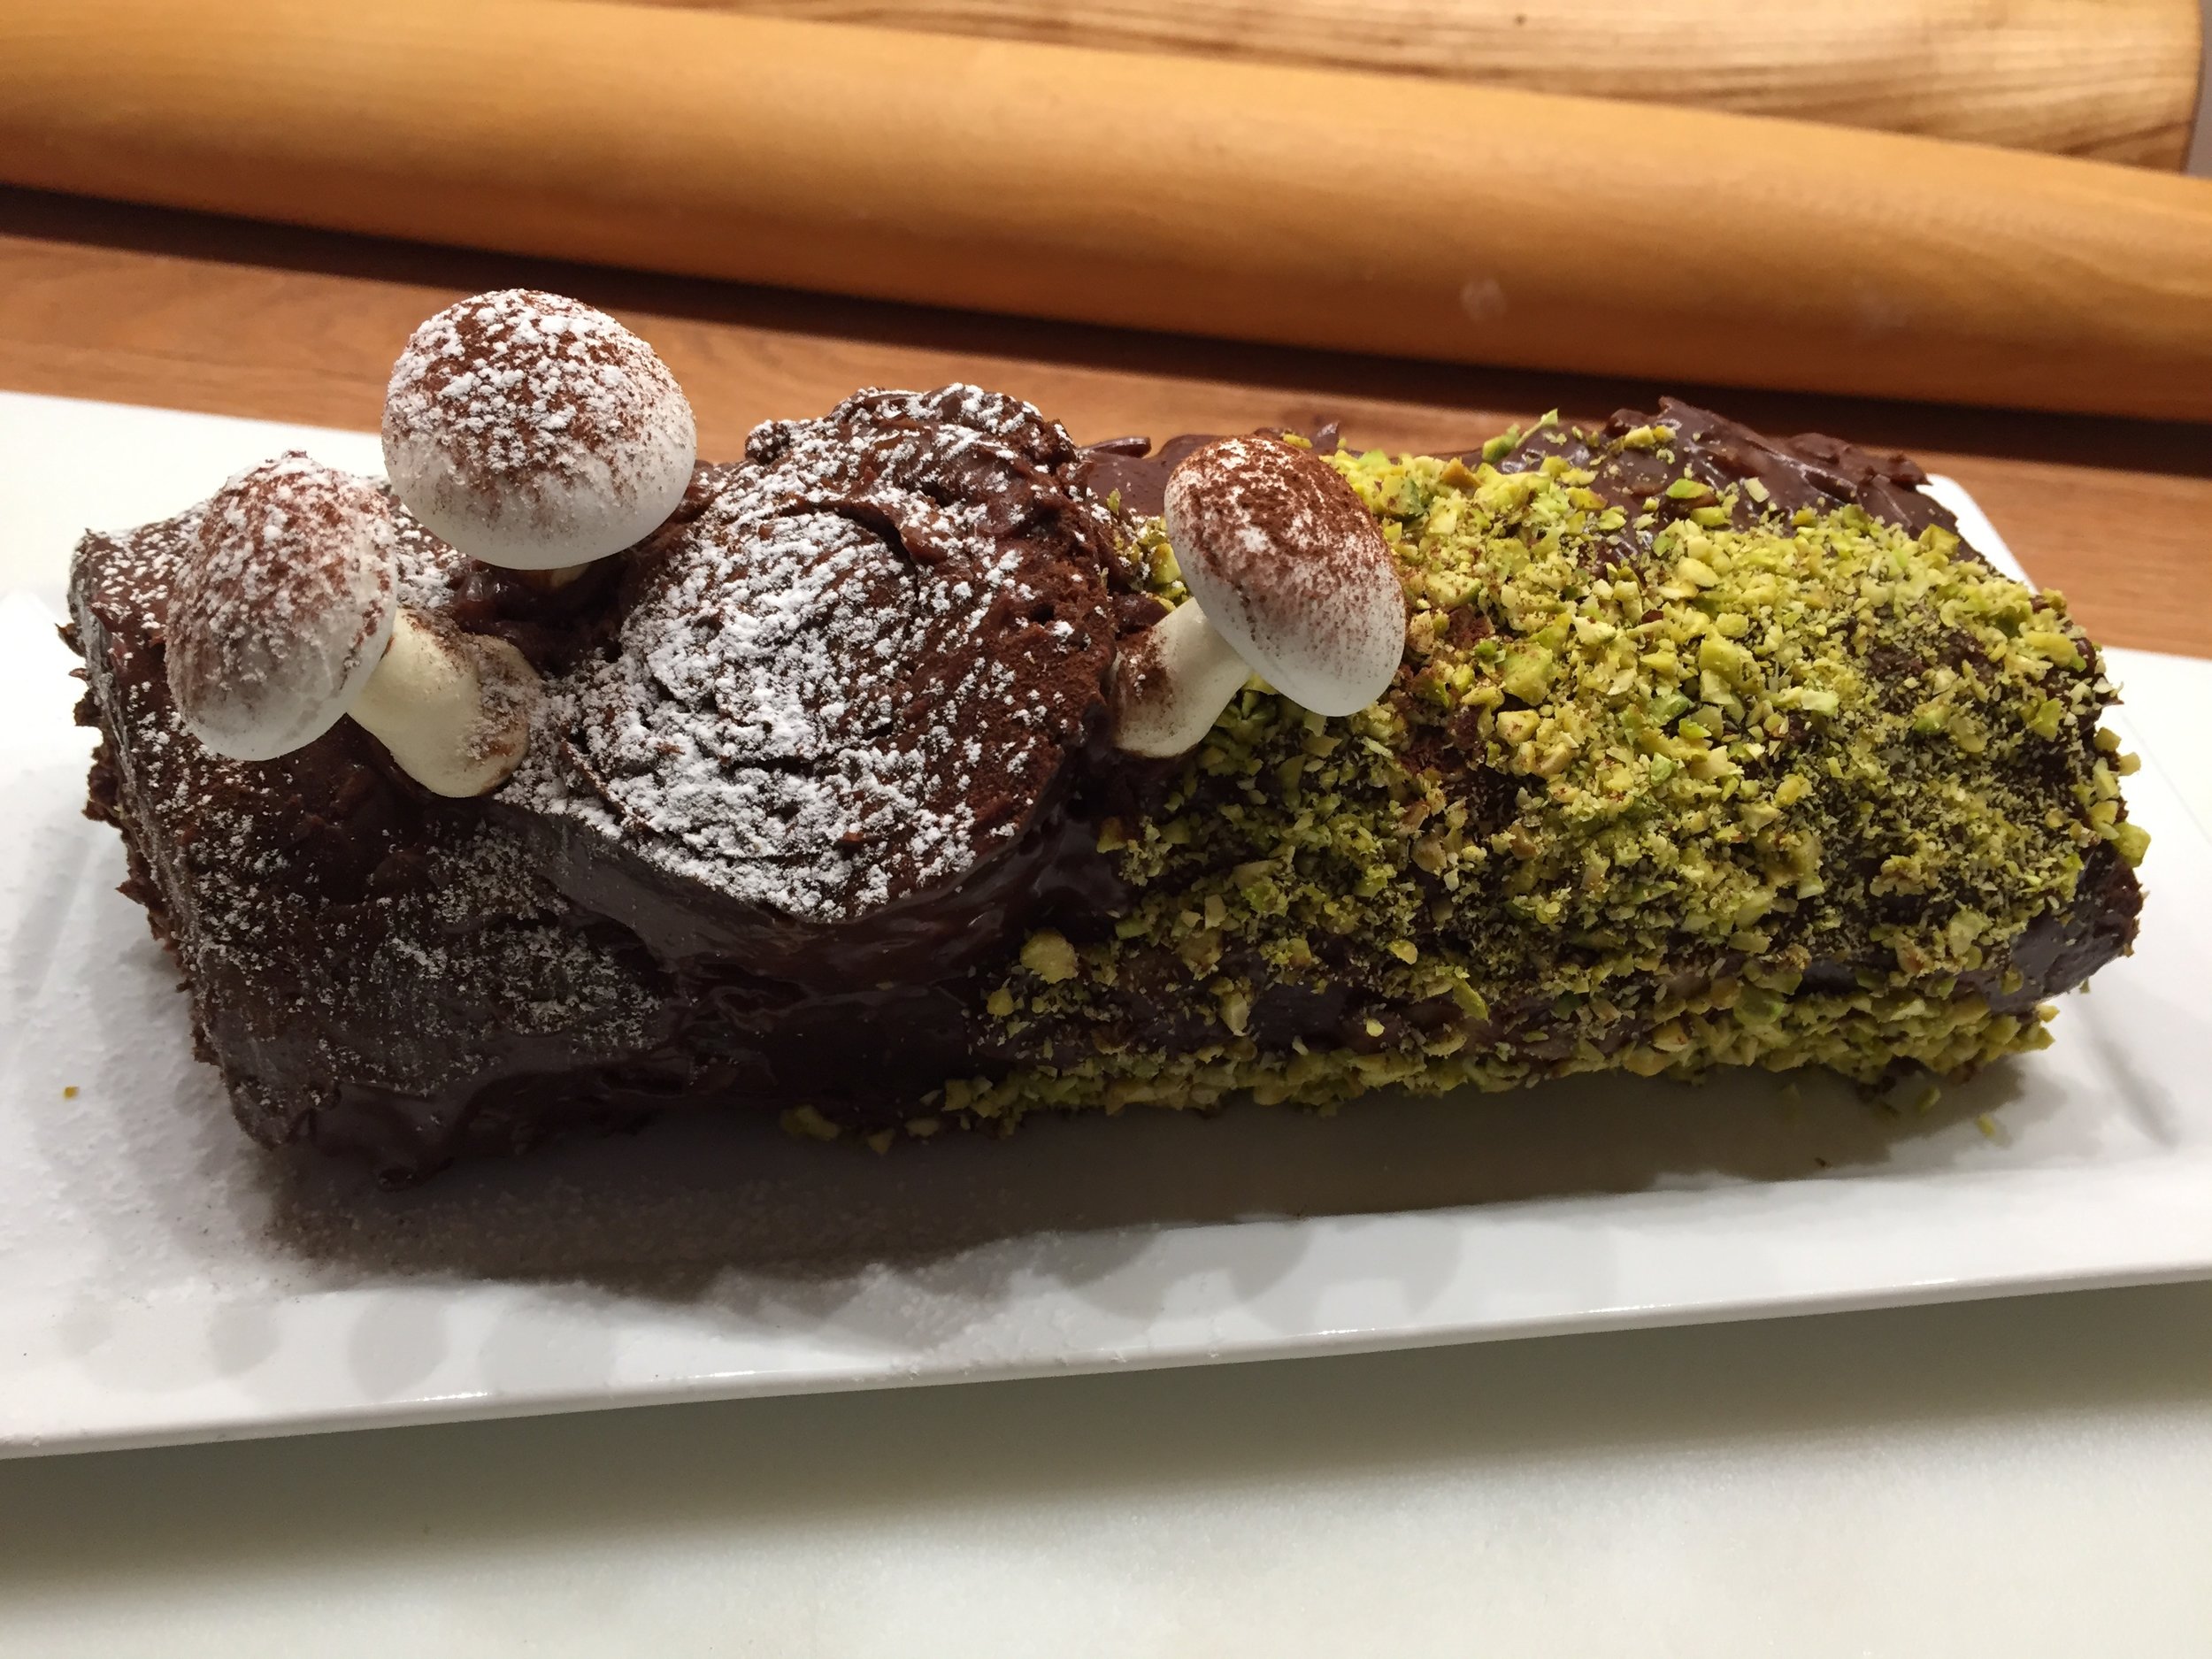
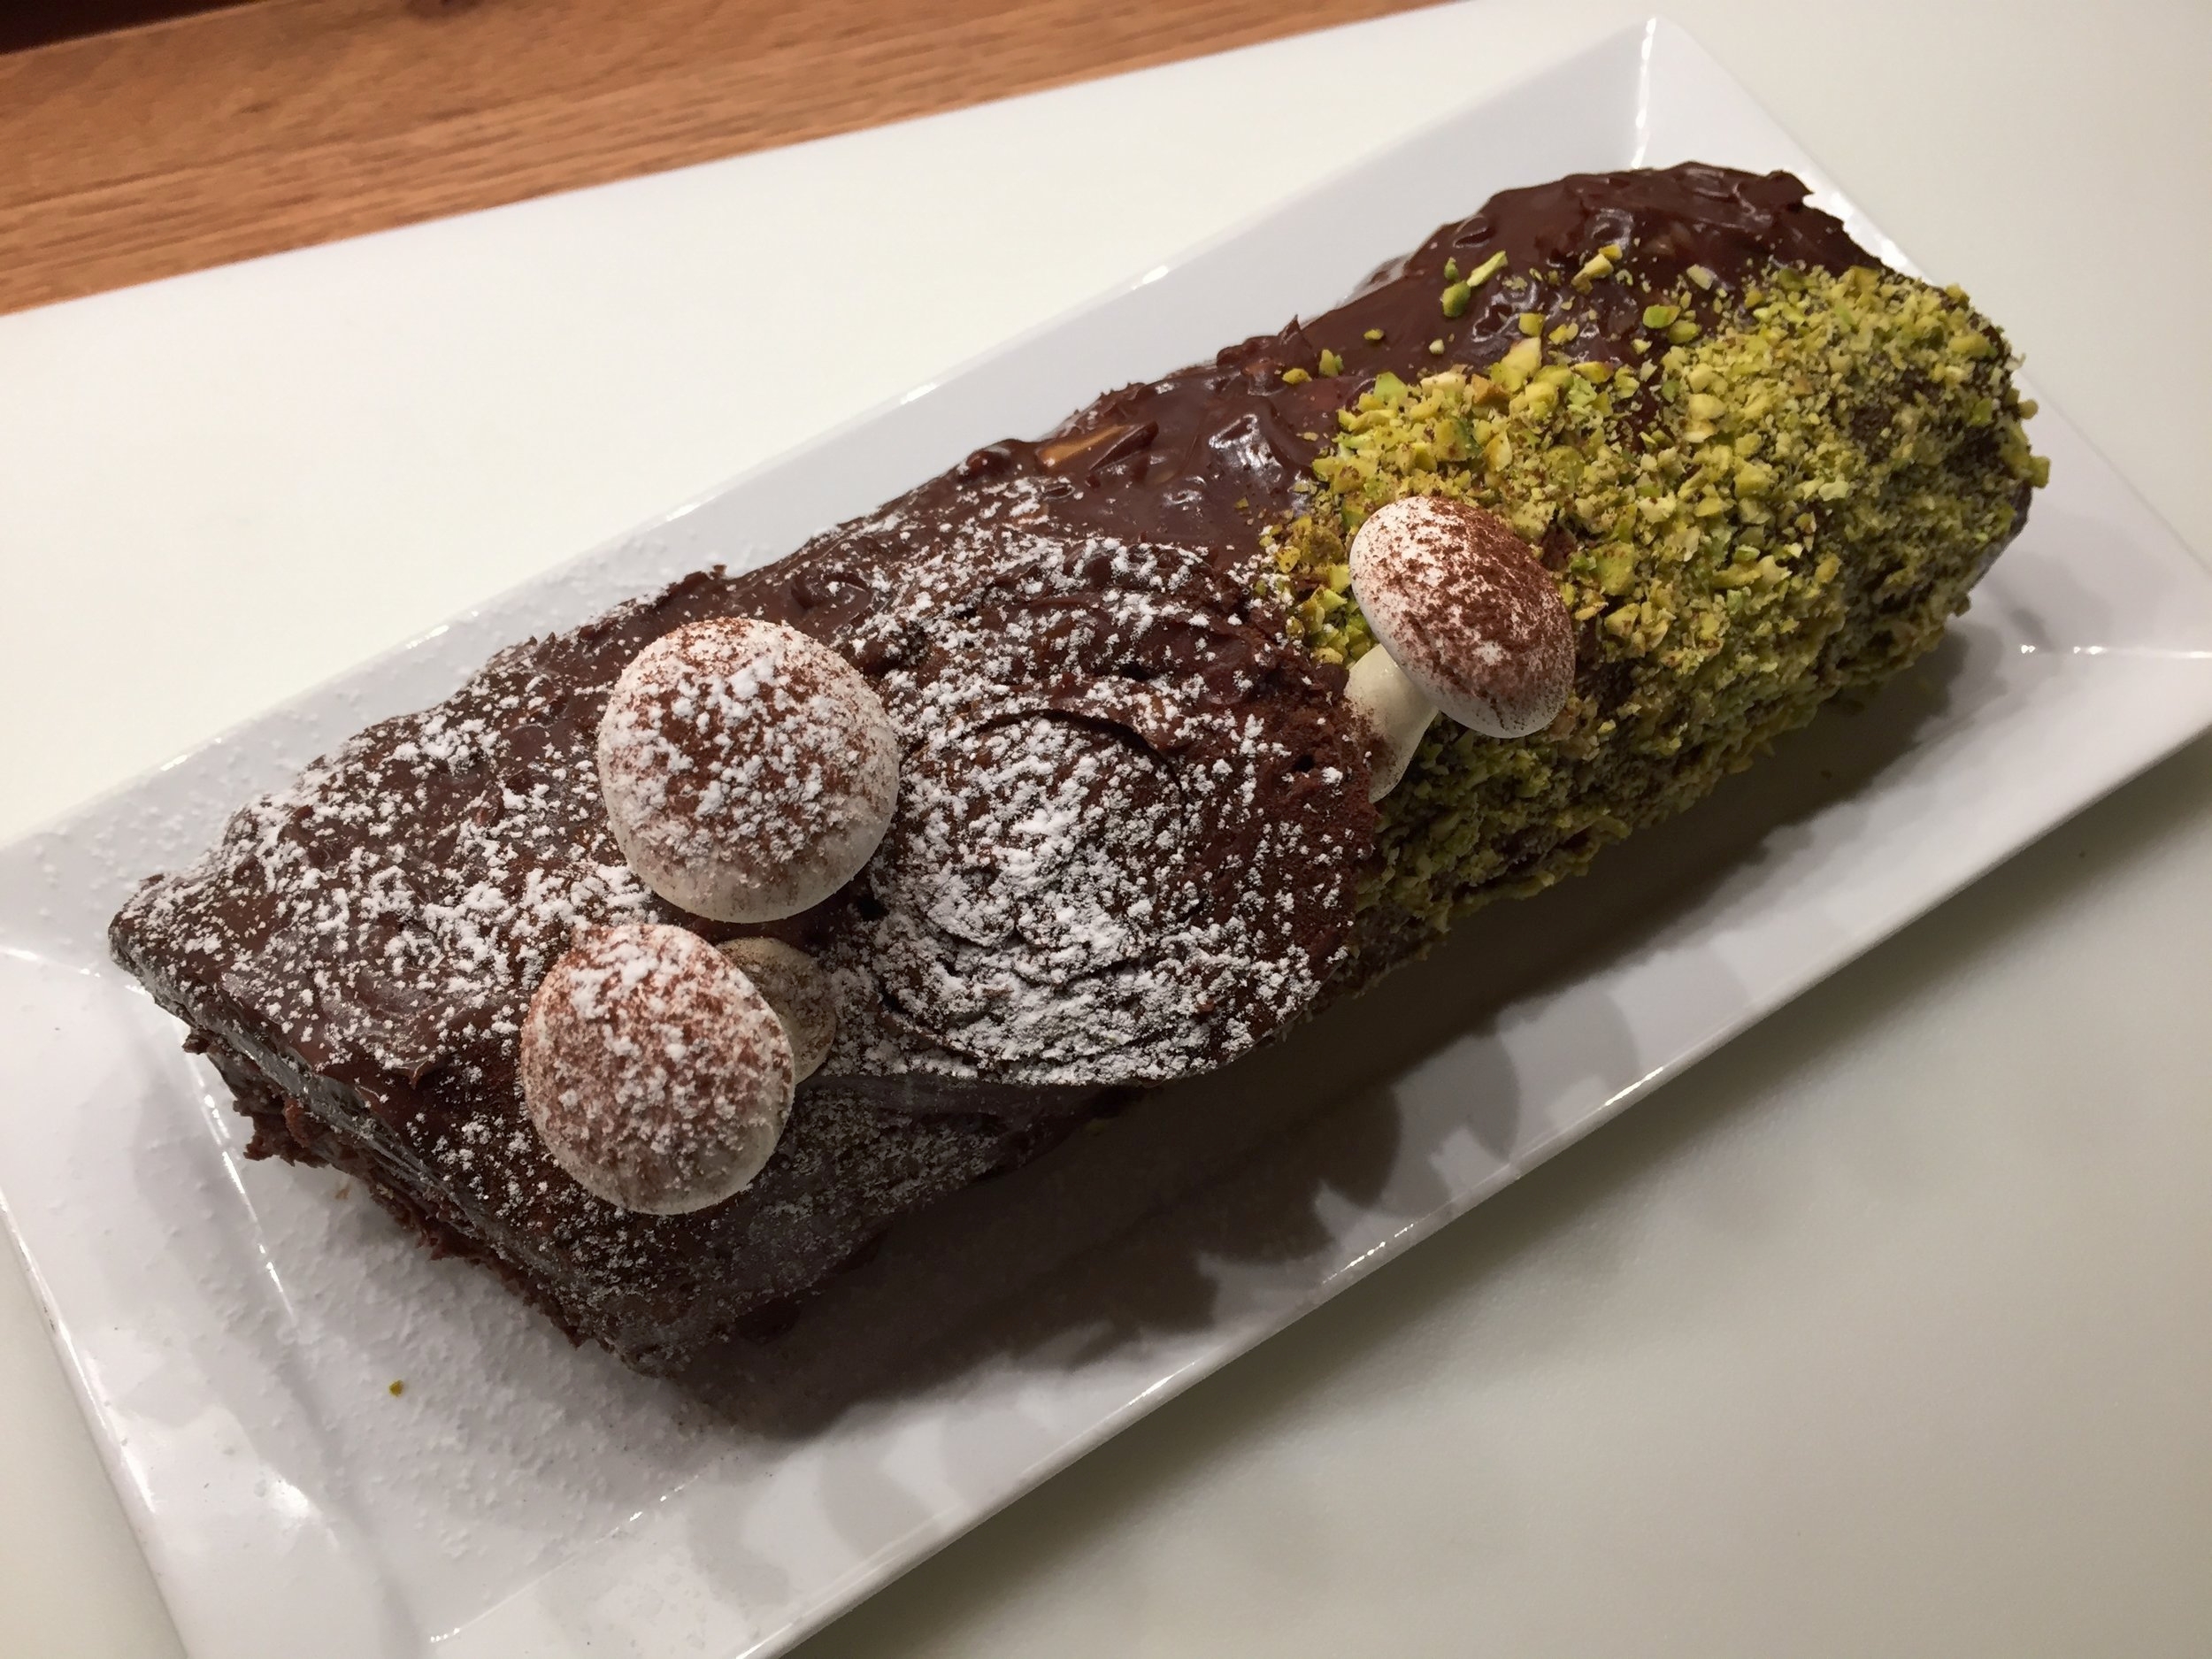
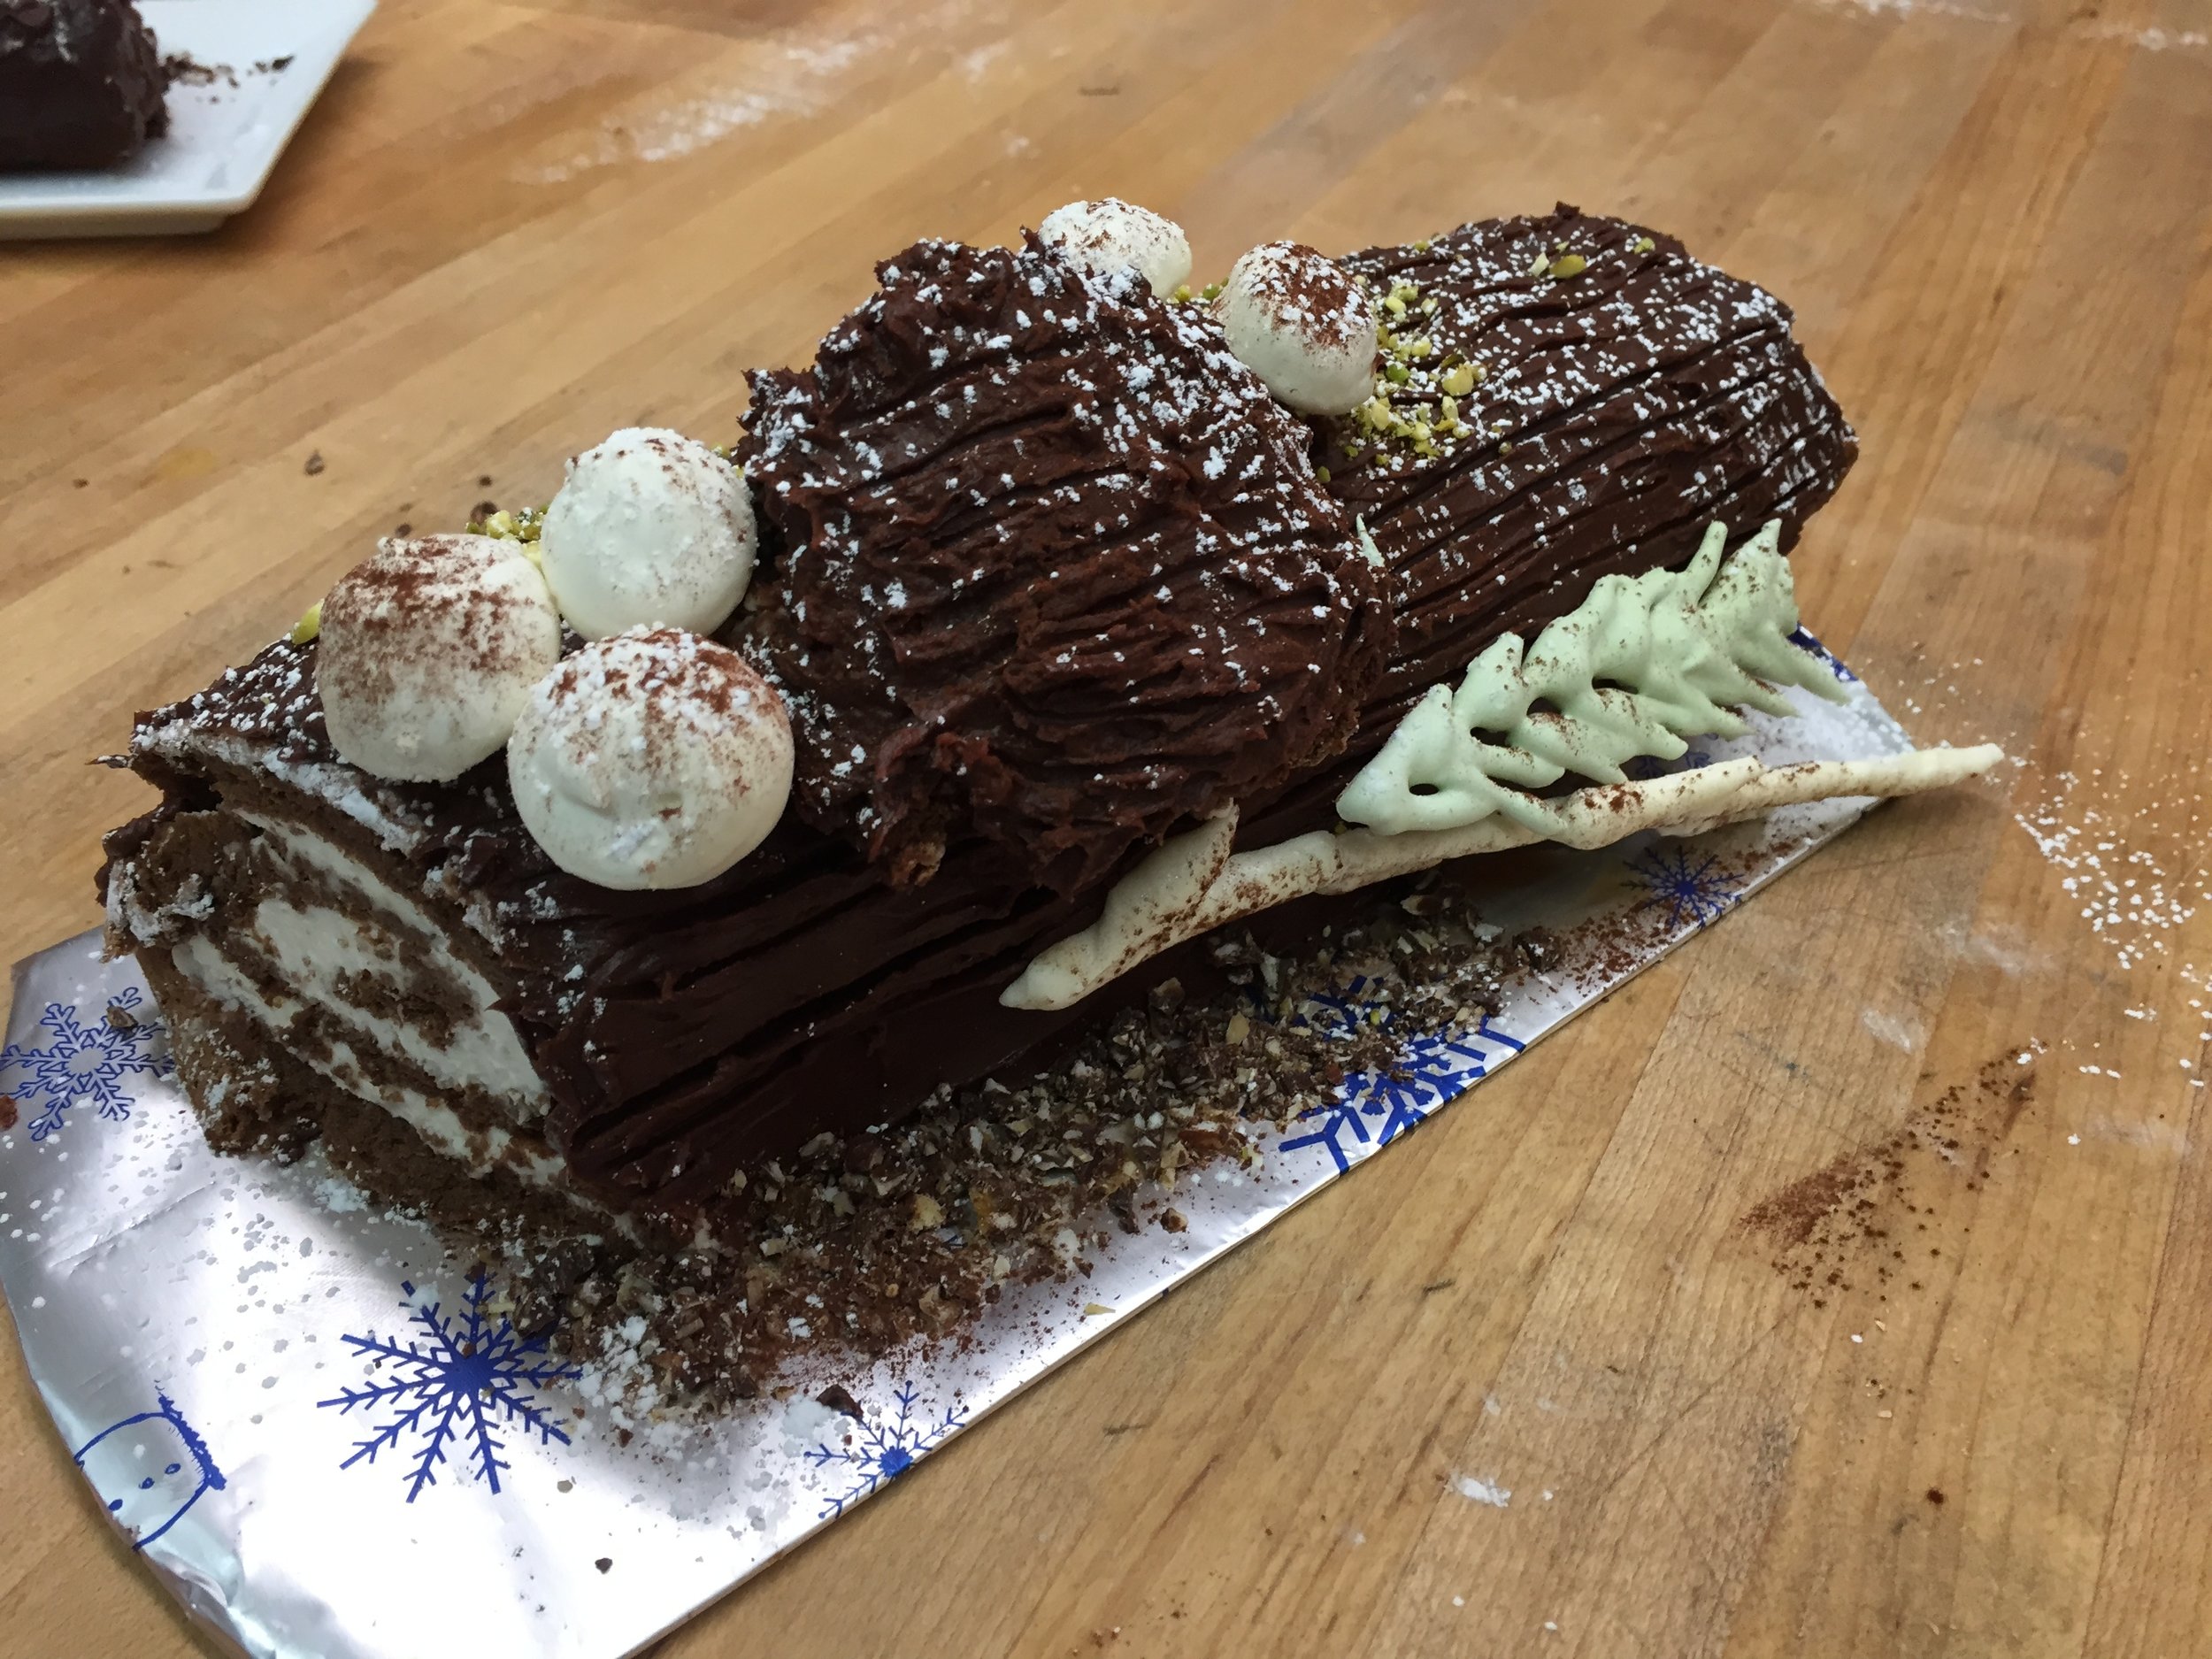
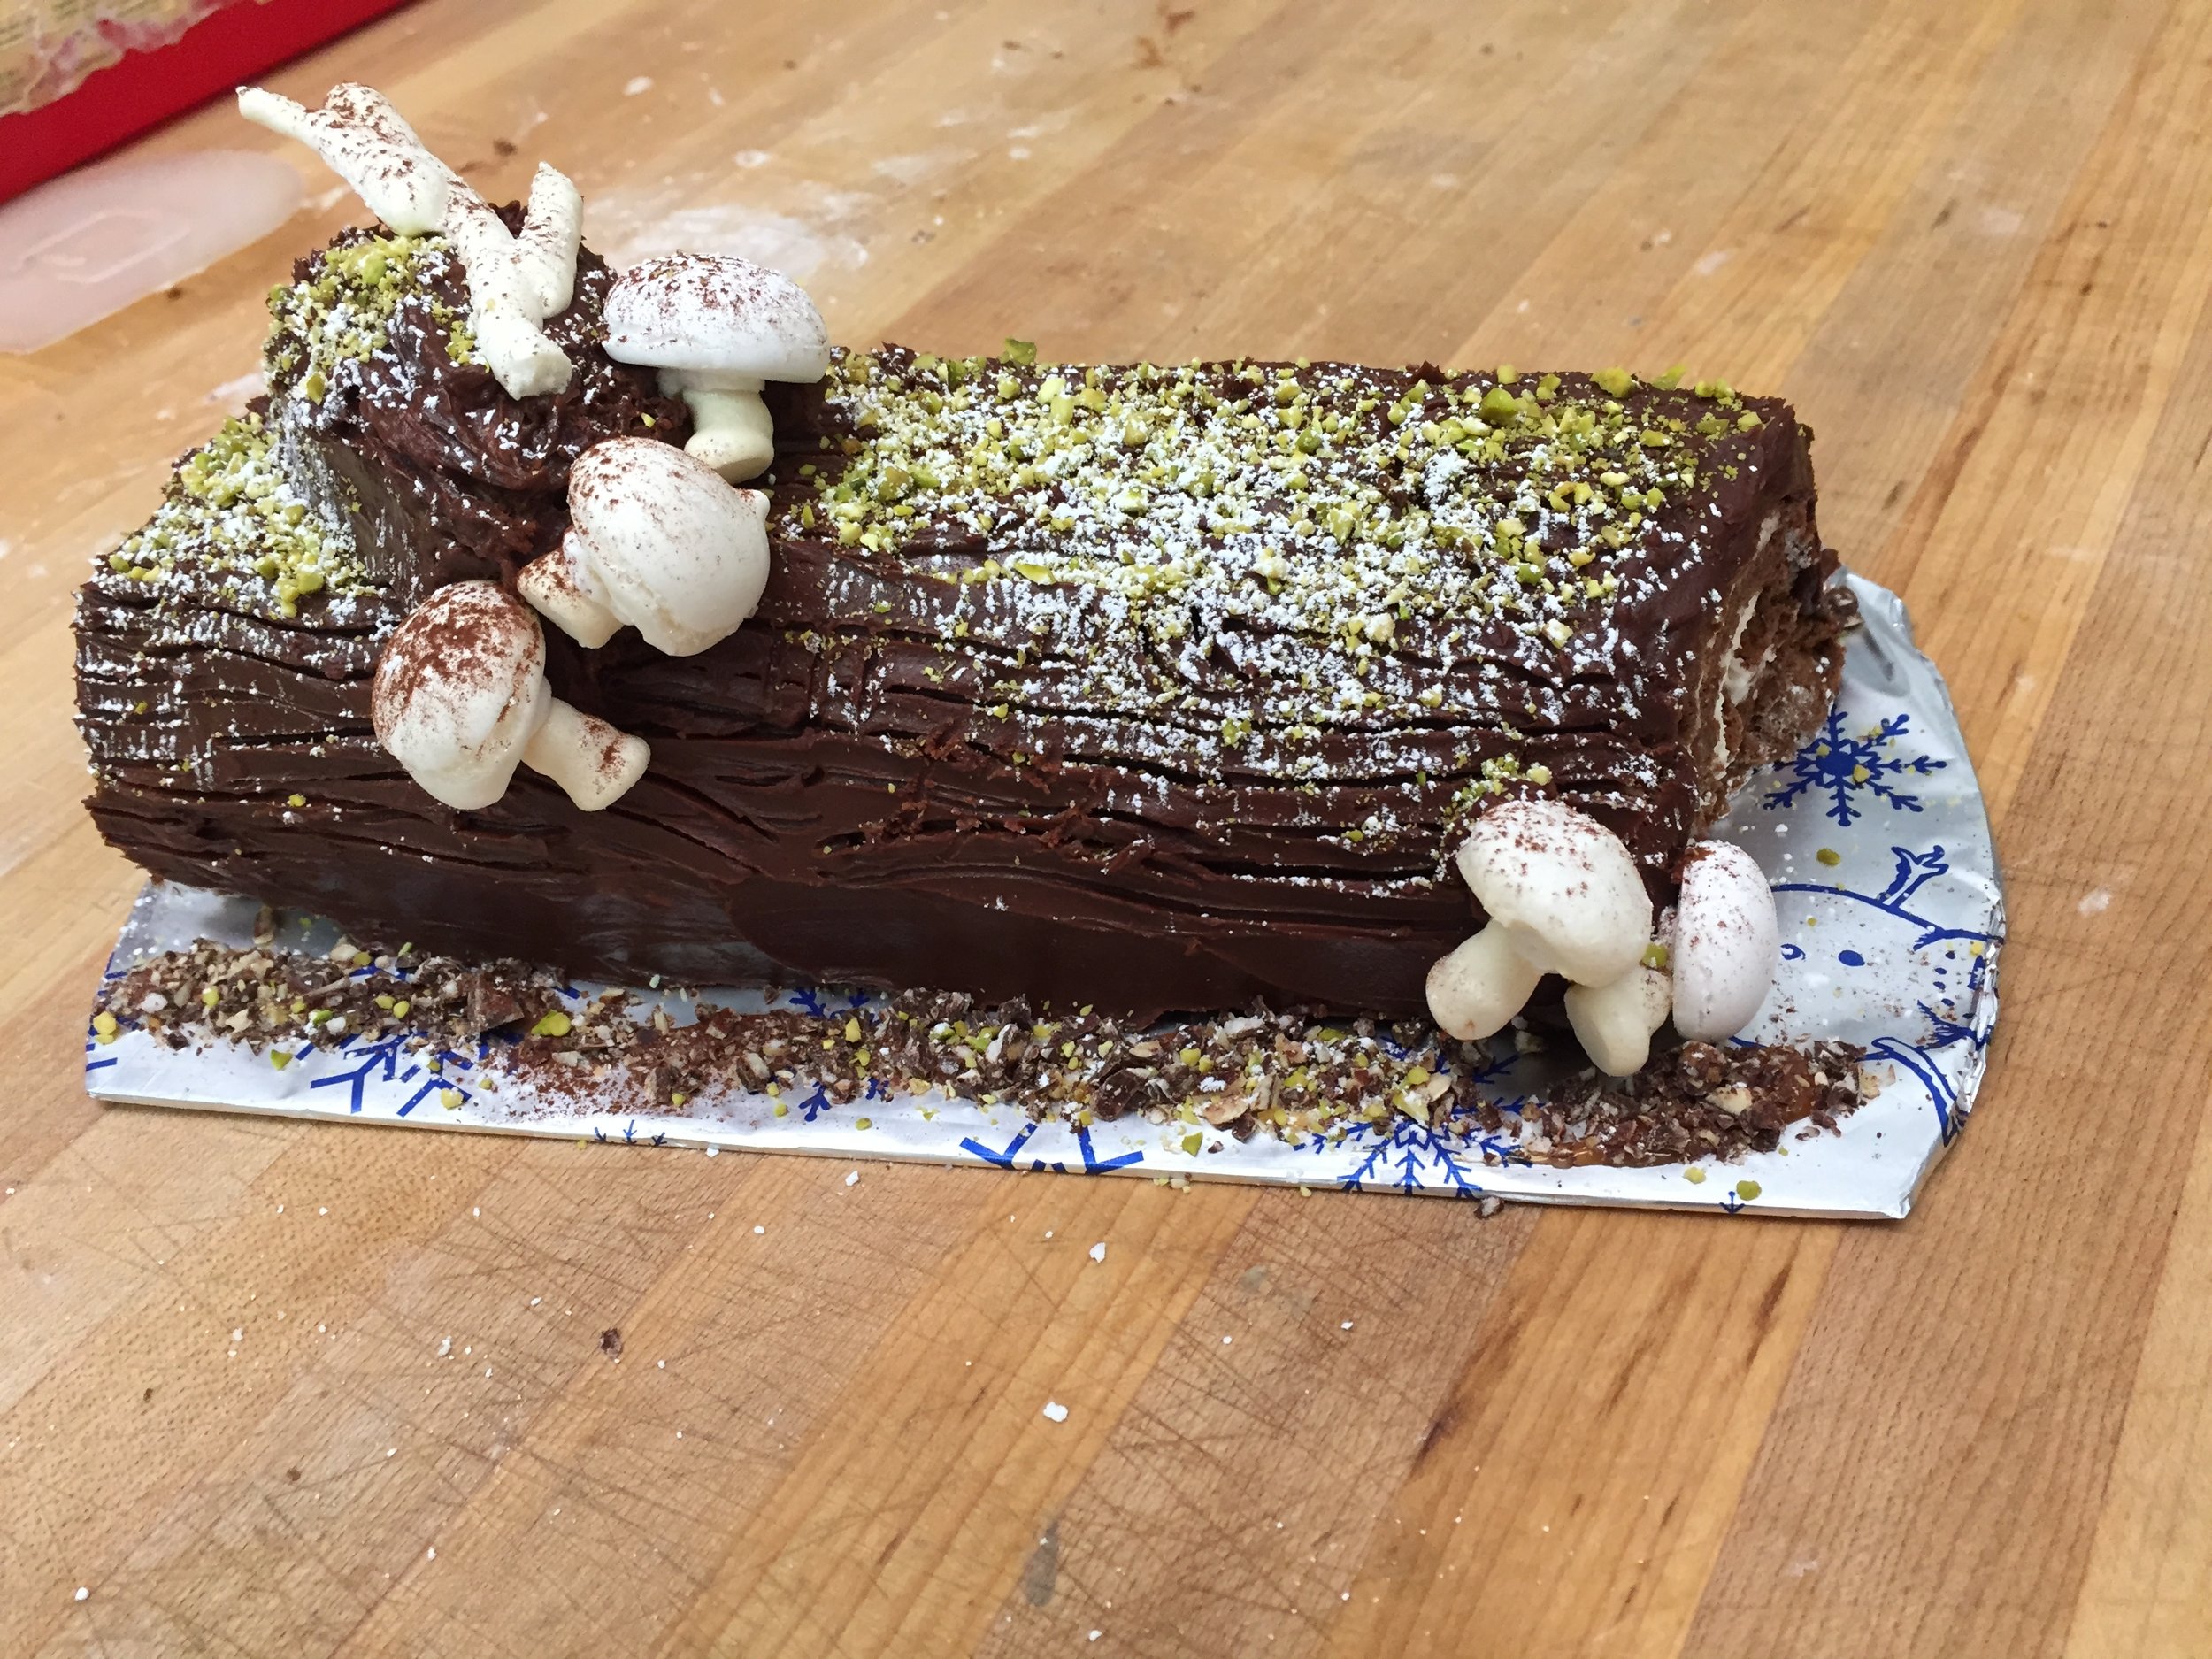
In preparation for a class I recently taught on making a traditional Bûche de Noël, I did some test runs of the process and created a petite log with a flourless chocolate sponge cake filled with whipped caramel mascarpone cream, coated with medium ganache “bark” and finished off with meringue mushrooms, pistachio moss and a dusting of powdered sugar snow. FYI - all of this just happens to be gluten free!

When making one of these babies, organization and planning are essential. The good news is pretty much all of the components can be prepared ahead. Meringue mushrooms will hold for a couple of weeks if kept in an airtight container in a non-humid environment. Bake the cake, fill and roll it a day or two ahead then finish up with glazing or frosting the log and completing the garnish the day you plan to serve. Cool!

IMG_3437.JPG

Before you begin, decide what you would like to use for your components: cake (typically some kind of sponge or nut meringue that lends itself nicely to rolling up), filling (from simple whipped cream to Swiss meringue buttercream to your favorite fruit curd), “frosting” (often a basic medium ganache) and garnish (here’s where you can follow the traditional path or go a little avant garde with your decor.)

I’m not here this time to share specific recipes with you but to simply encourage you to do some research and come up with what works well for you. HINT: Prueitt and Robertson’s Tartine and Rose Levy Beranbaum’s The Cake Bible are two great places to start.

And if you really want some inspiration, check out this link to some of the Bûches de Noël in Paris this season. It’s an entirely different world out there folks!

Below is a view of the table where four talented bakers created their own versions of the traditional holiday yule log.

IMG_3442.JPG

It was lots of fun plus everyone was able to take their end result home. Yay!


ONE:

IMG_3444.JPG

TWO:

IMG_3445.JPG

THREE:

IMG_3446.JPG

FOUR:

IMG_3447.JPG

A big thanks to those who participated in the class.

Cheers!

In the holiday cookie kitchen

IMG_3351.JPG

It’s that time of year folks! Now that Thanksgiving is behind us, it’s time to focus not only on holiday cookie assortments but other seasonal treats as well. So many options - how does one decide?! Check out the menu page for this year’s holiday treat offerings.

There’s a nice mix of all-butter shortbread cookies to choose from, each flavor packaged in individual tubes. What wonderful treats to tuck into goodie baskets or stockings.

IMG_3374.JPG

Or choose your favorite 2 or 4 flavors to go into a holiday ribboned gift bag - a great way to give a little something as a hostess gift or to delight your friends and co-workers.

Choose your flavors 2-flavor gift bag

Choose your flavors 2-flavor gift bag

On the non-cookie side of things, try out this delicious crispy bark made with Guittard 61% chocolate, toasted sliced almonds and my own caramelized puffed rice - oh so good!

Chocolate almond caramel rice crisp

Chocolate almond caramel rice crisp

Packaged in 5 ounce gift bags, it’s a great addition to any holiday foodie assortment. And - get this! It’s gluten free and vegan to boot!!

Can’t go wrong with this one

Can’t go wrong with this one

For something a little more special, check out this limited edition cookie box filled with 4 different buttery treats: citrus snowballs, cocoa hazelnut drops, almond raspberry thumbprints and English toffee shortbread. Oh my.

IMG_3424.JPG

Simply packaged for the season, it’s a delicious way to make someone in your life feel extra special.

IMG_3431.JPG

Here’s to a non-stressful, happy and healthy holiday season!

This year's Thanksgiving tarts

IMG_3376.JPG

Thanksgiving is fast approaching and now’s the time to decide what you’d like on your holiday dessert table!

This year I’m offering pumpkin custard with sesame crunch, pecan caramel chocolate truffle and apple cranberry with brown sugar crumble in both 9-inch and my “sharing” 5.5 inch size (seen in the photos above and below) for those of you who might prefer petite portions or are hosting or joining a smaller group for the holiday this year.

IMG_3375.JPG

Let’s take a look at how these babies are put together, shall we? BTW - even though the images depict smaller tarts, the discussion is for making standard 9 inch tarts.

First up is pumpkin custard. Use your favorite pate sucrée recipe and add about 30 g toasted sesame seeds at the end of the dough prep. Blind bake the crust at 350ºF and set it aside while preparing the filling. Note: tart dough recipe is enough for two 9” tarts - wrap and freeze any extra for another time.

Reduce the oven temperature to 325ºF.

Make your favorite crème pâtissiére, adding 1-2 teaspoons or so of pumpkin pie spice mix (I use my own made-up mixture of spices) to the milk base. At the end of cooking blend in 1 cup pure pumpkin purée, 4 tablespoons of butter and two teaspoons vanilla extract. This base is more than enough for one 9 inch tart but you can use leftovers to make a bunch of mini-tarts or fill cream puffs. You can even divide what’s left into ramekins and bake them in a water bath for a lovely pumpkin custard for after the holiday.

IMG_3360.JPG

Fill the blind baked tart shell with the warm pastry cream, just barely shy of the rim and bake for about 20 minutes until set with a hint of a jiggle in the center. I did several test batch sizes as you can see below.

IMG_3366.JPG

Let cool then store covered in the fridge until ready to serve. In my case I garnished with whipped honey mascarpone cream and a sprinkling of sesame crunch. For a slightly different approach, change out the sesame seeds in the tart dough with toasted, finely chopped hazelnuts, almonds or pecans and use the same nut as a simple garnish with lightly sweetened whipped cream. Or simply leave out any dough additions and create your own version of topping.

Pumpkin custard tart

Pumpkin custard tart

Next up - pecan caramel chocolate truffle tart. And remember - this is for a nine inch tart. The approach is much the same: blind baked pate sucrée, cooled and waiting on the sidelines. For a chocolate crust, just add 30 g (~1/3 cup) unsweetened cocoa powder to the flour in the recipe.

Toast 100 g/scant cup pecans and either leave the halves whole or break them up coarsely. Blend them with a scant 2/3 cup caramel sauce (I make my own, although you can use a good quality purchased product from your local supermarket or specialty food shop).

Place 85 g dark chocolate (I use Guittard 61% discs) and 21 g unsalted butter in a heat proof bowl. In a separate heat proof container (I use a pyrex measuring cup) bring 120 ml heavy cream to a boil. Pour over the chocolate/butter and blend gently until smooth. Blend in 3/4 teaspoon pure vanilla extract. Note: double or triple your recipe to have more ganache on hand for your next truffle tart project!

IMG_3368.JPG

Layer the nut caramel mixture in the bottom of the baked shell. Once again I made some small trial versions - for taste testing, don’t ya know?!

IMG_3369.JPG

Pour the ganache over - start slowly to let it nestle into all the nooks and crannies and continue pouring until it’s to the rim edge. Some bubbles will invariable pop up to the surface - just pop ‘em with the tip of a paring knife.

IMG_3370.JPG

Leave at room temperature until the ganache has set and cooled. If you put it in the fridge before that, there’s a greater chance that beads of moisture will form on the surface - you don’t want that! Once cooled you can go ahead with any garnish or cover/refrigerate and garnish later.

I top mine with chocolate shortbread cookie crumbs, a light dusting of confectioner’s sugar and a few pecans in the center. Pull the tart from the fridge 30-60 minutes before serving to let it temper and bring out the flavors more fully. Feel free to add a dollop of lightly whipped cream atop each portion.

Pecan caramel chocolate truffle tart

Pecan caramel chocolate truffle tart

Last but not least - apple cranberry! A straight forward pâte brisée dough filled with a mixture of lightly sweetened sliced apples and dried cranberries and topped with a brown sugar crumble.

Heat the oven to 425ºF.

I typically line my tart rings, fork-prick the dough and hold them in the freezer while preparing the fruit. For a nine inch tart I plump 100 g dried cranberries in warm apple cider for 20 minutes or so while I peel, core, halve and thinly slice 4-4.5 cups of Jonagold apples (another good mix is Macintosh and Granny Smith). Drain and paper towel dry the cranberries and mix the fruit with a squeeze of lemon juice, 1/4 cup sugar (use brown if you’d like) and 2 tablespoons of flour. Then I mound the fruit into the lined ring. In this case Mr. Steve had reduced down a bunch of apple cider for me, creating a delicious apple cider caramel. I drizzled some of that on the fruit once the lined ring was filled. Yummy stuff.

IMG_3362.JPG

You might notice the scrap of rolled out dough on the sheet pan - I bake one every now and again just to see how the crust tastes au naturel. (In case you’re wondering, it was flaky, buttery and melt-in-your-mouth good.)

IMG_3363.JPG

Top with a standard crumble mixture of equal weights flour, brown sugar (light or dark is fine) and diced butter and cover the fruit with the mixture. Not a very thorough covering job on those small tarts, eh? As I’ve mentioned in previous posts over time, I like to make a bunch of crumble, bag it up and stash in the freezer where it’s at the ready to be used.

IMG_3365.JPG

Bake on the bottom rack for 10 minutes then reduce oven temp to 400 and move up to the middle rack. Give it another 10 minutes then ratchet down to 375 and continue baking for another 10-20 minutes (all ovens are different so pay attention!) until the crumble has browned and you see some bubbling around the edges. Cool a bit and serve slightly warm or at room temp with your favorite ice cream or whipped cream. Yippee!

apple cranberry tart

apple cranberry tart

IMG_3382.JPG

And there you have it! A delightful trio of seasonal tarts just waiting for the Thanksgiving table. Have a calm and peaceful holiday everyone.

Meanwhile here in west Michigan there are lots of rustling leaves along the pathways and the burning bushes are still burning brightly, even though many trees are now bare. Tis the season - and we may even see our first snow this weekend. Oh boy, oh boy!

IMG_3386.JPG

Honeyed pear/Cashel blue/walnut puffs

IMG_3195.JPG

Here’s a wonderful way to use puff pastry. Make vol au vent (puff pastry cases) in desired shapes and create your own sweet and/or savory fillings for your supper buffet or dessert table. While making your own puff pastry is a rewarding experience, the good news is you don’t have to! All butter puff pastry (Dufour is a well known brand) is available in the frozen food sections at many local supermarkets, allowing you to take one task off your holiday prep to-do list.

Before you know it, Thanksgiving and Christmas will be upon us, so start planning now.

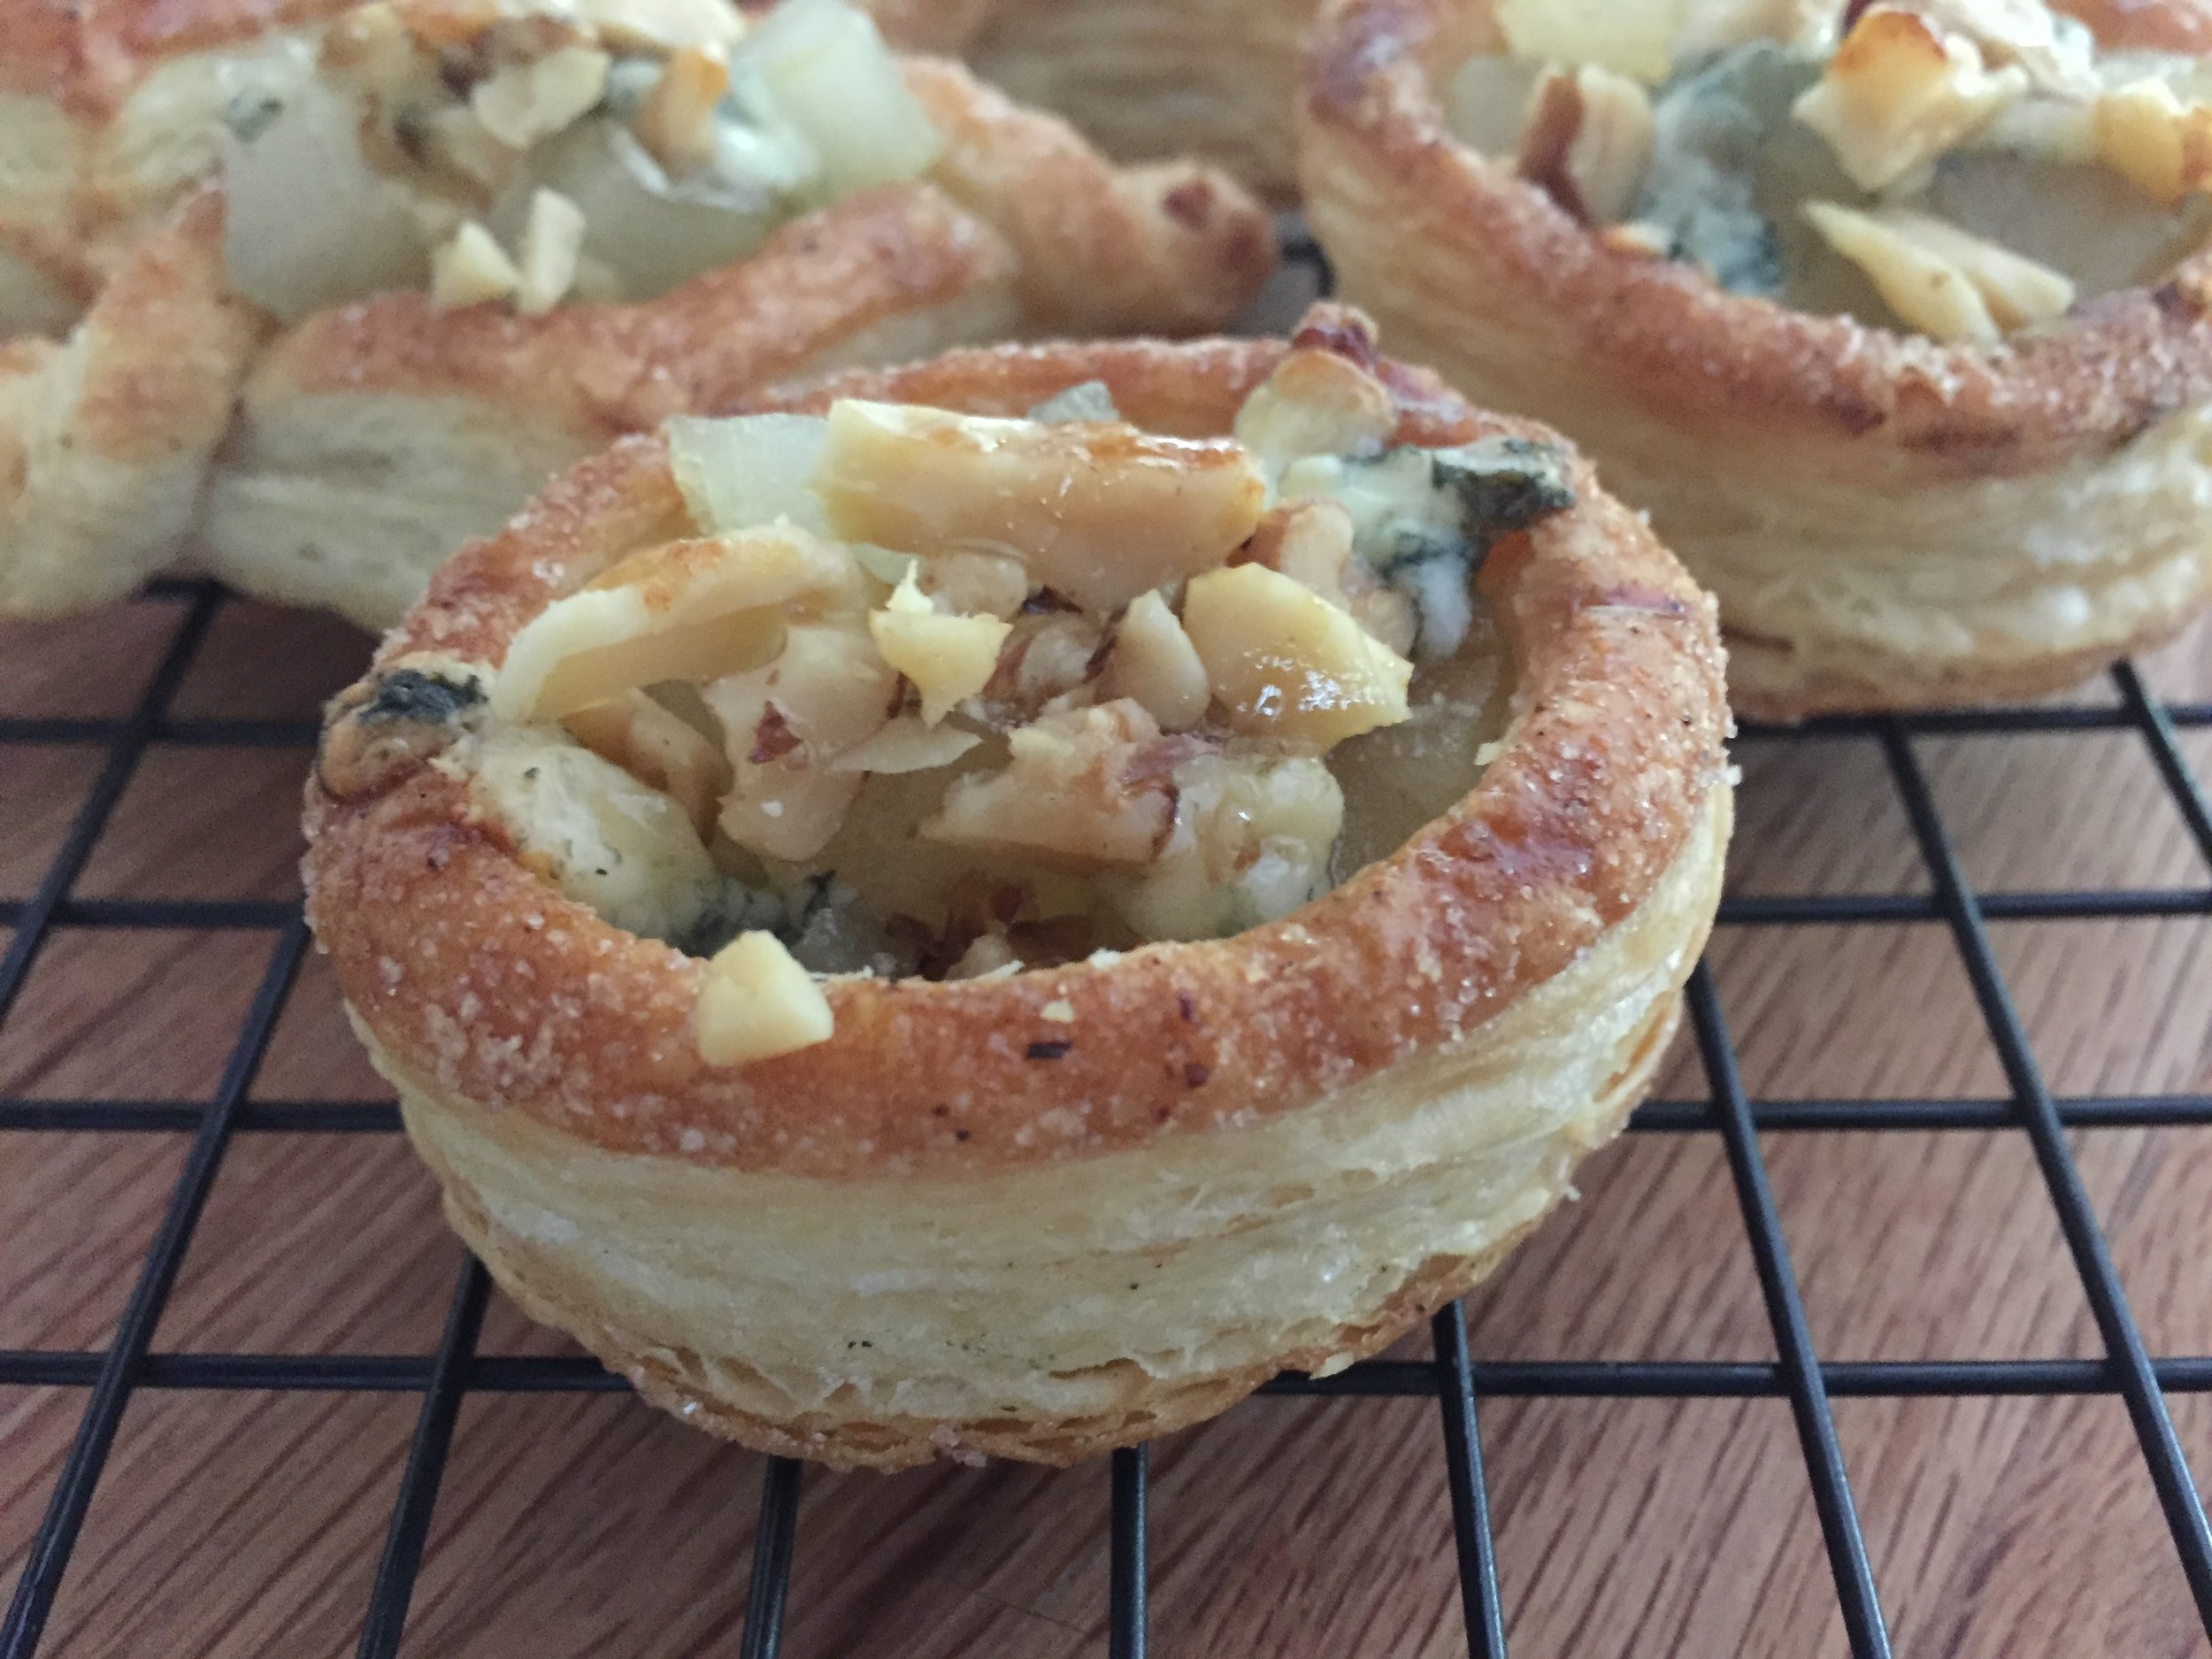
This version of vol au vent (also referred to as feuilletée) marries sweet and savory tastes and, since I’m still on the trail of baking with cheese projects, I chose Irish Cashel blue cheese from The Cheese Lady as a lovely accompaniment to pears, walnuts and honey.

IMG_3308.JPG

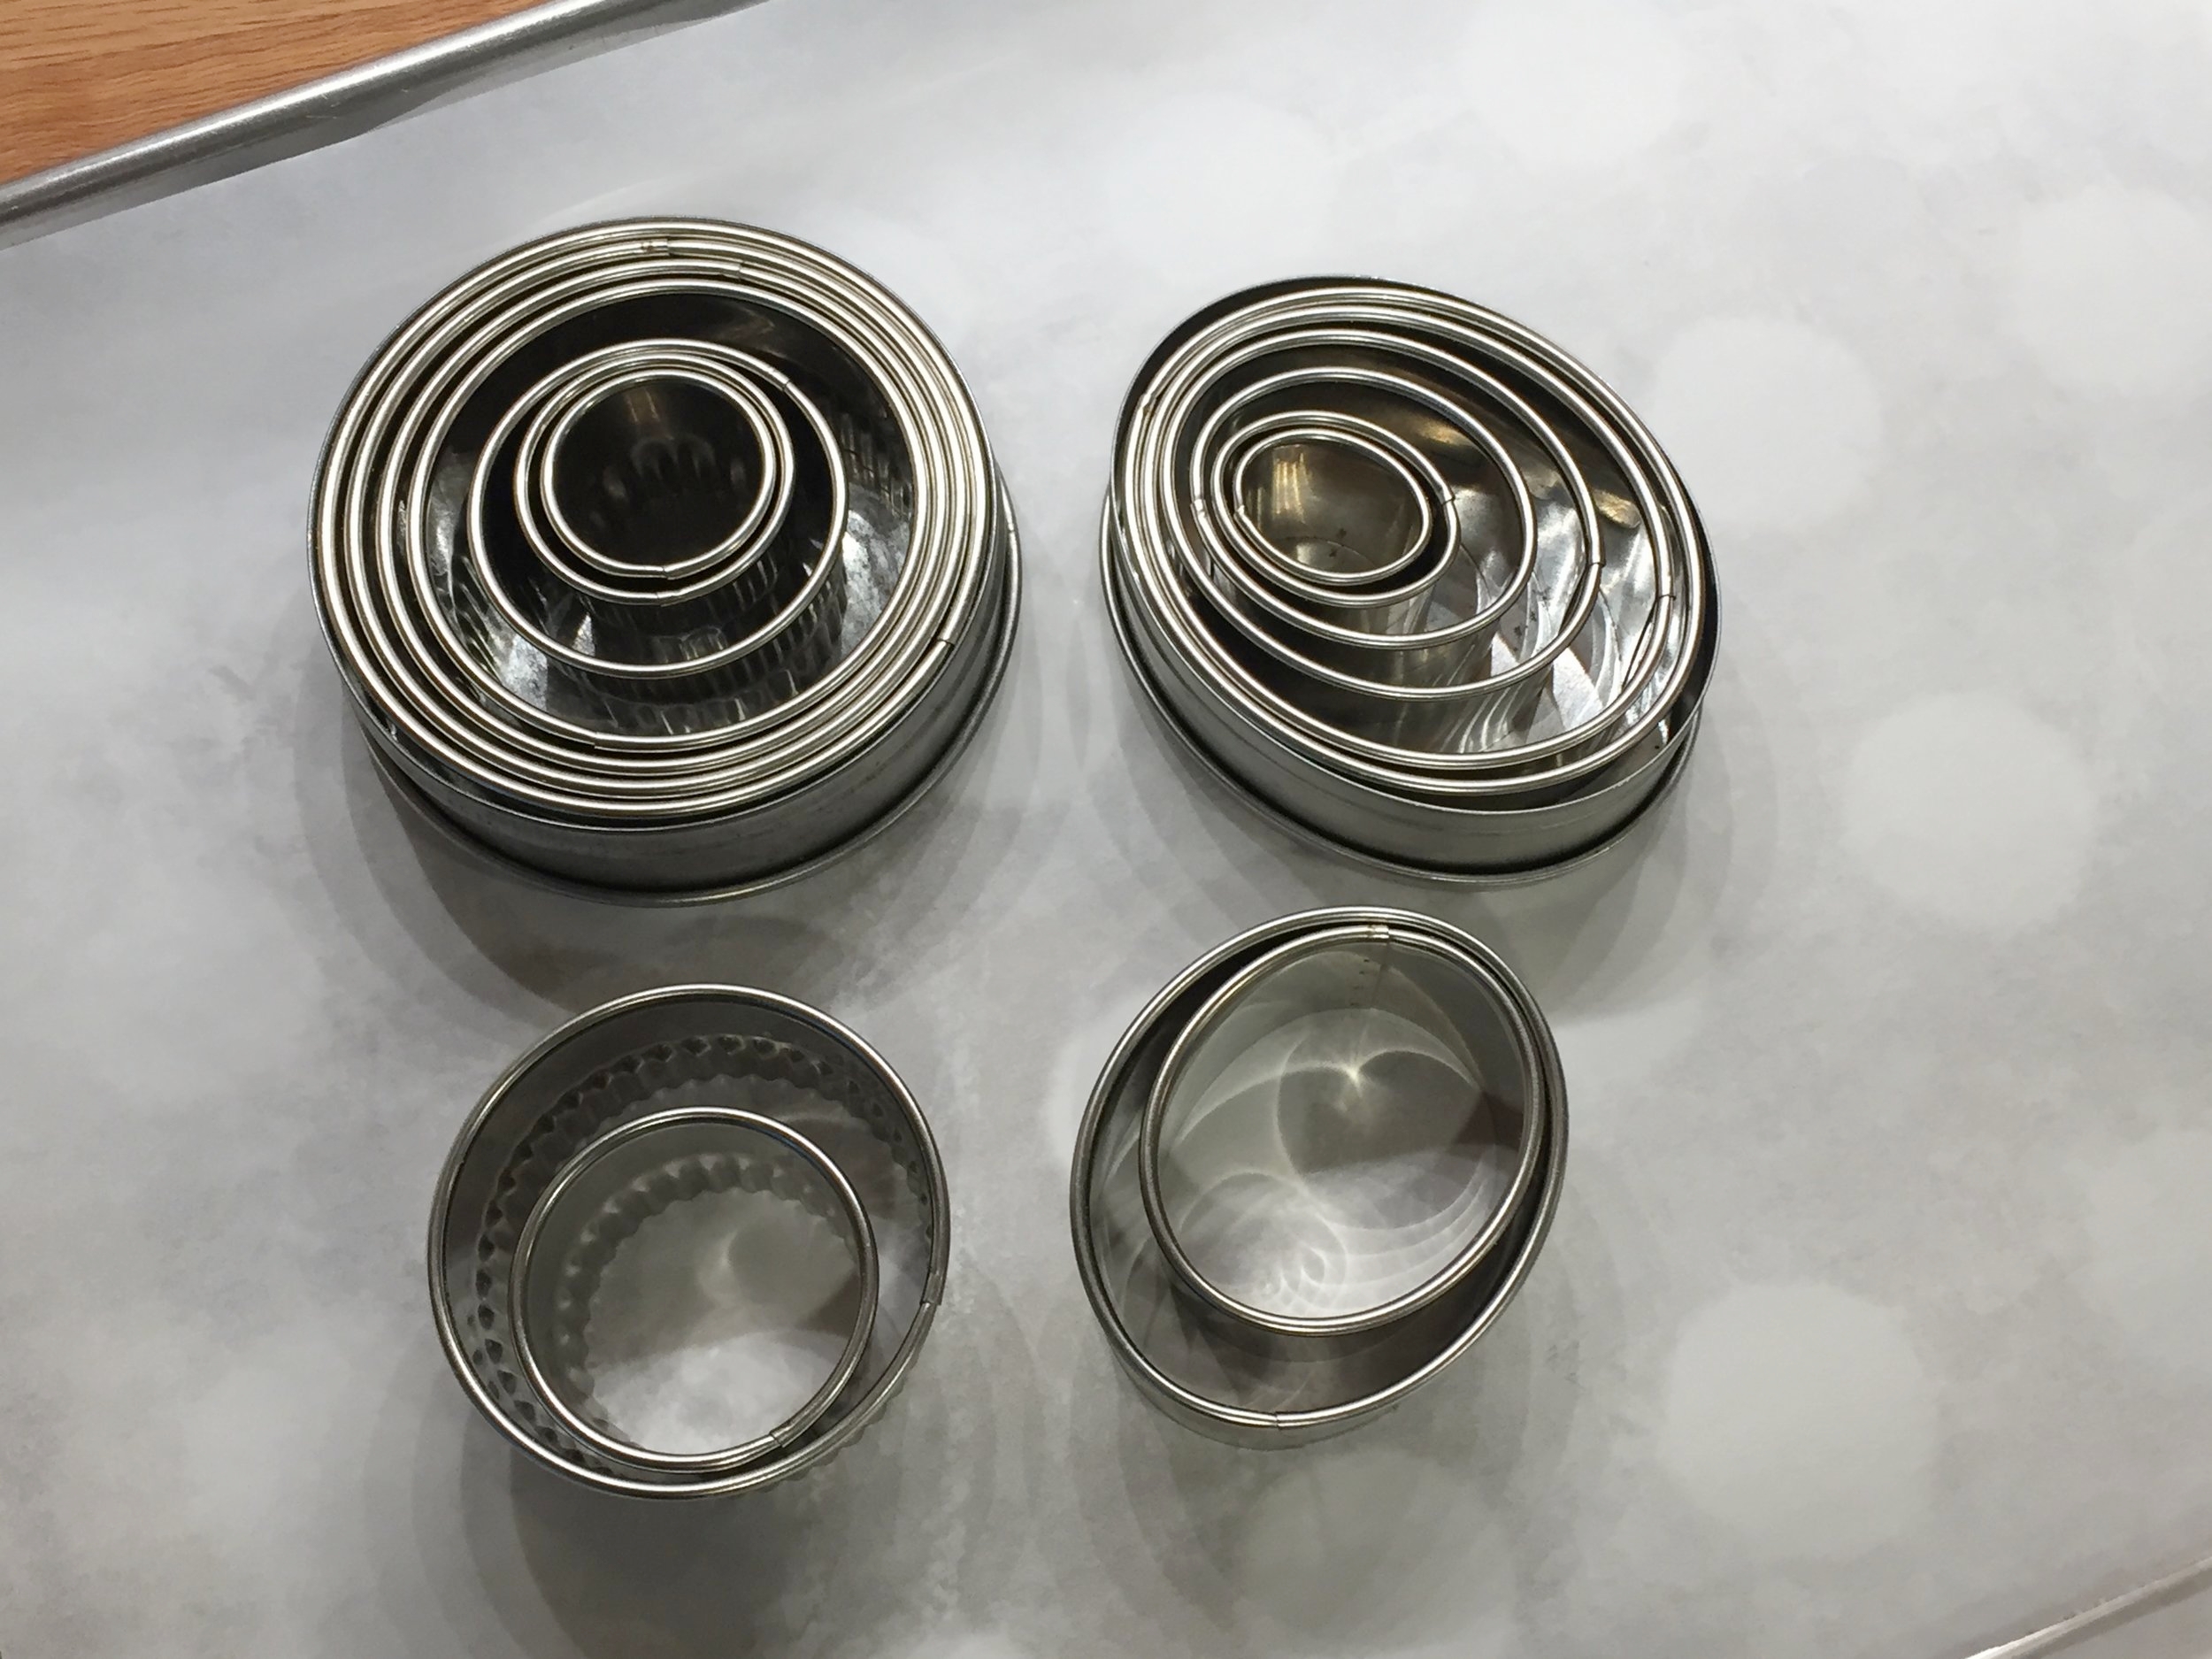
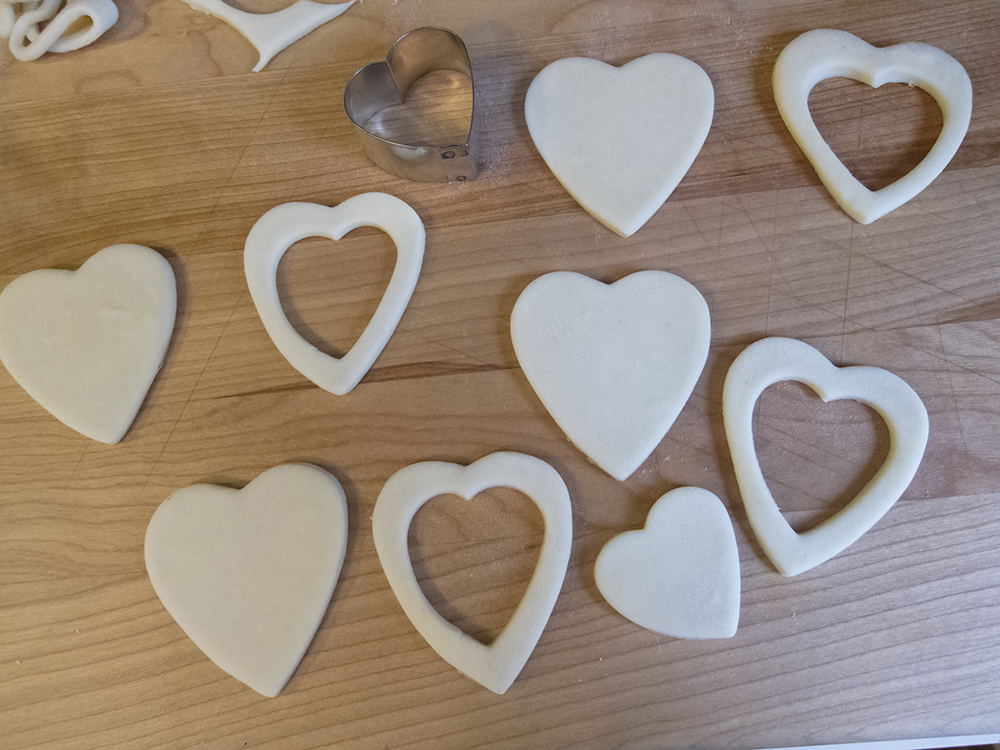
If you happen to have a stash of different shaped cutters, choose your favorite shapes (I like ovals, squares, hearts and fluted rounds) and use cutters that are two sizes apart. For each puff you’ll cut two shapes with the larger of the two and then cut the center out of one of them with the smaller. Once you do it, you’ll know what I’m talking about.

IMG_3335.JPG

Here’s a heart version which should help you visualize the process. Brush a little water along the edge of the solid shape then lay the cut out on top of it. Just press gently to stick them together.

IMG_9210.jpg
IMG_9212.jpg

The top layer serves as a border for the puffs. You can save the cut out shapes and bake them along side - they make cute “hats” on your finished creation or you can just eat them plain.

These bake at 400ºF for 15-20 minutes until golden brown. Let them cool a bit, push down the center layers that have puffed up to give yourself room for the chosen filling.

IMG_9225.jpg

NOTE: Another plan-ahead perk is you can bake your puffs a week or so ahead and freeze them. When you’re ready to start your filling project, take them out of the freezer, place them on a parchment lined sheet pan and heat the oven to 325ºF. Pop them into the heated oven for 5-10 minutes to crisp them up then set on a cooling rack while you prepare your fillings.

I’ve created these delights with poached Bosc pears on hand in the fridge, but another approach is to roast pear slices drizzled with honey for the pear portion of the program.

IMG_3332.JPG

Peel, core and slice the pears, drizzle them with honey and roast them in a 375ºF convection oven for 10-20 minutes. Stir them up a bit half way through. You want them turning golden but still holding their shape. Once the pears have cooled you can store them in a covered container in the fridge for several days.

When you’re ready to fill your puffs, cube the pears to allow them to fit in nicely. Have some toasted walnuts, crumbled up Cashel blue and honey at the ready. First put a bit of crumbled cheese in the bottom. (Note the twisted corner diamond shapes below - they’re great although difficult to explain on paper - maybe some day I’ll have a video to post to show how they’re done!)

IMG_3193.JPG

Then tuck in the pears (don’t be afraid to mound them up!) and top with a sprinkle of walnuts, more cheese and a drizzle of honey.

IMG_3194.JPG

Then pop them back into the oven to melt the cheese a bit and warm things up. They can be served warm or at room temp and are delicious as an appetizer or a dessert, particularly if you’re doing a broader cheese board for the end of your meal.

Use your imagination and fill your puffs with anything savory or sweet. Crab or chicken salad, roasted root veggies with caramelized onion, lemon curd and fresh berries, whipped chocolate ganache and candied nuts. The sky’s the limit.

Only you can decide!

Happy baking and here’s to the holidays!! More on that coming your way.

IMG_3196.JPG

A couple of autumn tarts

IMG_3305.JPG

Apples! Pears! Berries! What better way to celebrate autumn, eh?

On the prowl for a couple of Sunday desserts, as well as a way to use some of the local Michigan pears and apples I had on hand, tarts were definitely on my mind. Natch! This project involved two versions of tart, one apple/pear/blackberry with classic brown sugar crumble topping and one apple/pear/raspberry with crunchy almond topping. Ooooohhh how delicious.

IMG_3297.JPG
IMG_3291.JPG

I’ve been a fan of Bosc pears for some years now, and, on the apple side of things, this season I’ve taken quite a shine to Jonagolds too.

I typically poach my pears soon after purchase as a way to avoid the ripening wait as well as to hold them in the fridge for use when needed. But after reviewing some of my numerous pastry books I opted for the slice/dice/sauté in a little butter and sugar approach. Works like a charm!

For a couple of full sized tarts I peeled, halved, cored and thinly sliced about 4 pounds of apples. That would normally be a decent quantity for one tart, but, since I was mixing in pears and berries, it worked very nicely for two.

Then on medium heat melt 2 ounces/56 g unsalted butter in a sauté pan or Dutch oven large enough to hold all of the apples, then stir in the slices until coated. Add 100 g dark brown sugar, a large pinch of salt, the zest of one lemon and a large squeeze (a tablespoon or so) of lemon juice, increase heat to medium high and stir about a minute.

Now here’s where I took Elisabeth Prueitt’s advice from her “Tartine all Day” book - cover the pan, reduce the heat to low and let the apples cook for about 10 minutes until softening and juice-releasing has happened. Then scoop the apple slices out with a slotted spoon (I placed them in a large strainer over a bowl to allow dripping then transferred them to a clean bowl) and cook down the juices for a few minutes until very thick - apple caramel! Mix the thickened juices in with the apples and you’re good to go. You can add a little cinnamon and nutmeg here if you’d like - I kept mine au naturel. Set aside to cool until you’re ready to fill your tart shell.

For the pears, again using about 4 pounds, I peeled, halved, cored and diced them into 1/2 inch cubes then followed a similar sauté approach in butter and sugar. For these, simply cook them over medium high heat until they start to soften and become lightly caramelized (maybe 5-8 minutes) then set them aside to cool until ready to fill the tarts. No juice reduction here.

I used two of my favorite tart doughs - pâte brisée for the blackberry version and pâte sucrée for the raspberry - blind baking them before filling. Once baked I brushed the bottom with egg white and popped ‘em back in the oven for a couple of minutes to “dry”. That provides a seal to the dough and reduces the chance for a soggy crust.

Pear apple blackberry waiting for assembly

Pear apple blackberry waiting for assembly

I mounded the apple/pear mix in first then tucked my blackberries into the various nooks and crannies. These were plump frozen berries that I broke up into pieces for more efficient cranny-ing.

IMG_3294.JPG
 

The brown sugar crumble is equal weights flour, brown sugar (you can use light or dark, whichever you prefer) and diced cold butter sanded into the dry ingredients. I usually make a bunch and store it in a zip-top bag in the freezer to use at a moment’s notice.

Loaded with crumble!

Loaded with crumble!

Since the crust is already baked and the fruit “cooked”, the primary task here is to brown the crumble and get the fruit to juicy-up. Bake at 350ºF for 20-25 minutes until the crumble is golden and some juicy bubbling is visible.

IMG_3296.JPG
 

The approach to the raspberry version is pretty much the same. Fill the blind baked crust with the pear/apple/raspberry mix.

IMG_3288.JPG
 

But this time the topping is made with 2 large egg whites, 100 g/1 cup confectioner’s sugar and 125 g/1.25 cups sliced almonds all mixed together and spread over the fruit.

Ready for the oven

Ready for the oven

This one also bakes at 350ºF for about 25-30 minutes until the nuts are browned and have taken on a certain luster and there’s some fruit juiciness visible around the edges.

IMG_3290.JPG
 

Talk about a treat! Whether it’s crunchy toasty almonds or a more classic crumble that melts in your mouth, both of these tarts delivered with the lovely fall flavor of pears, apples and berries. And a side of vanilla ice cream doesn’t hurt either!

Now don’t hesitate to make your own version of a delicious autumn tart.

Happy baking!

IMG_3302.JPG

Roasted garlic cheese bread

IMG_3223.JPG

Ooooh I loved this baking adventure! Not only did I use Fontinella, a delicious bread-worthy cheese from The Cheese Lady, but added in some roasted garlic that the Steve-man has recently been providing in spades.

IMG_3208.JPG


I’ve been wanting to experiment more with different ways of filling and shaping bread dough and am often inspired by ideas I absorb from King Arthur Flour’s “Sift” magazine and/or their website which is chock full of wonderful tips, tricks and ideas.

In addition, I’m learning more about the ways to tweak one’s bread recipe from a straight or direct dough to a pre-ferment approach to build more flavor into the final result. Not only is it fun but appeals to my scientific bent.

In addition to KAF’s website, my go-to resources for bread baking include Rose Levy Beranbaum’s “The Bread Bible”, Peter Reinhart’s “artisan breads every day” and Jeffrey Hamelman’s “Bread”. So much to learn.

For this project I married ideas from a provolone bread recipe from CIA’s “Baking and Pastry” that I’ve been making for some years now with a KAF recipe for a cool looking twisty cheese/sundried tomato/herb number. I wanted to do a poolish this time and found some great tips on the “Weekend Bakery” blog, written by a Dutch couple who bake at their home. Lots of good stuff there too.

I’m not here to slog through the calculations but, in a nutshell, a poolish is equal weights of flour and water taken as a percentage of the whole from the base bread recipe you’re using. Based on my understanding of how one goes about this, I created my poolish with 200 g bread flour, 200 g water and 1/8 + 1/16 teaspoon of instant yeast, looking for a 6 hour room temperature fermentation. NOTE: the amount of yeast you add will vary depending on how long you wish your poolish to ferment.

Here’s my poolish after about 5.5 hours - nice and active and bubbly!

IMG_3210.JPG

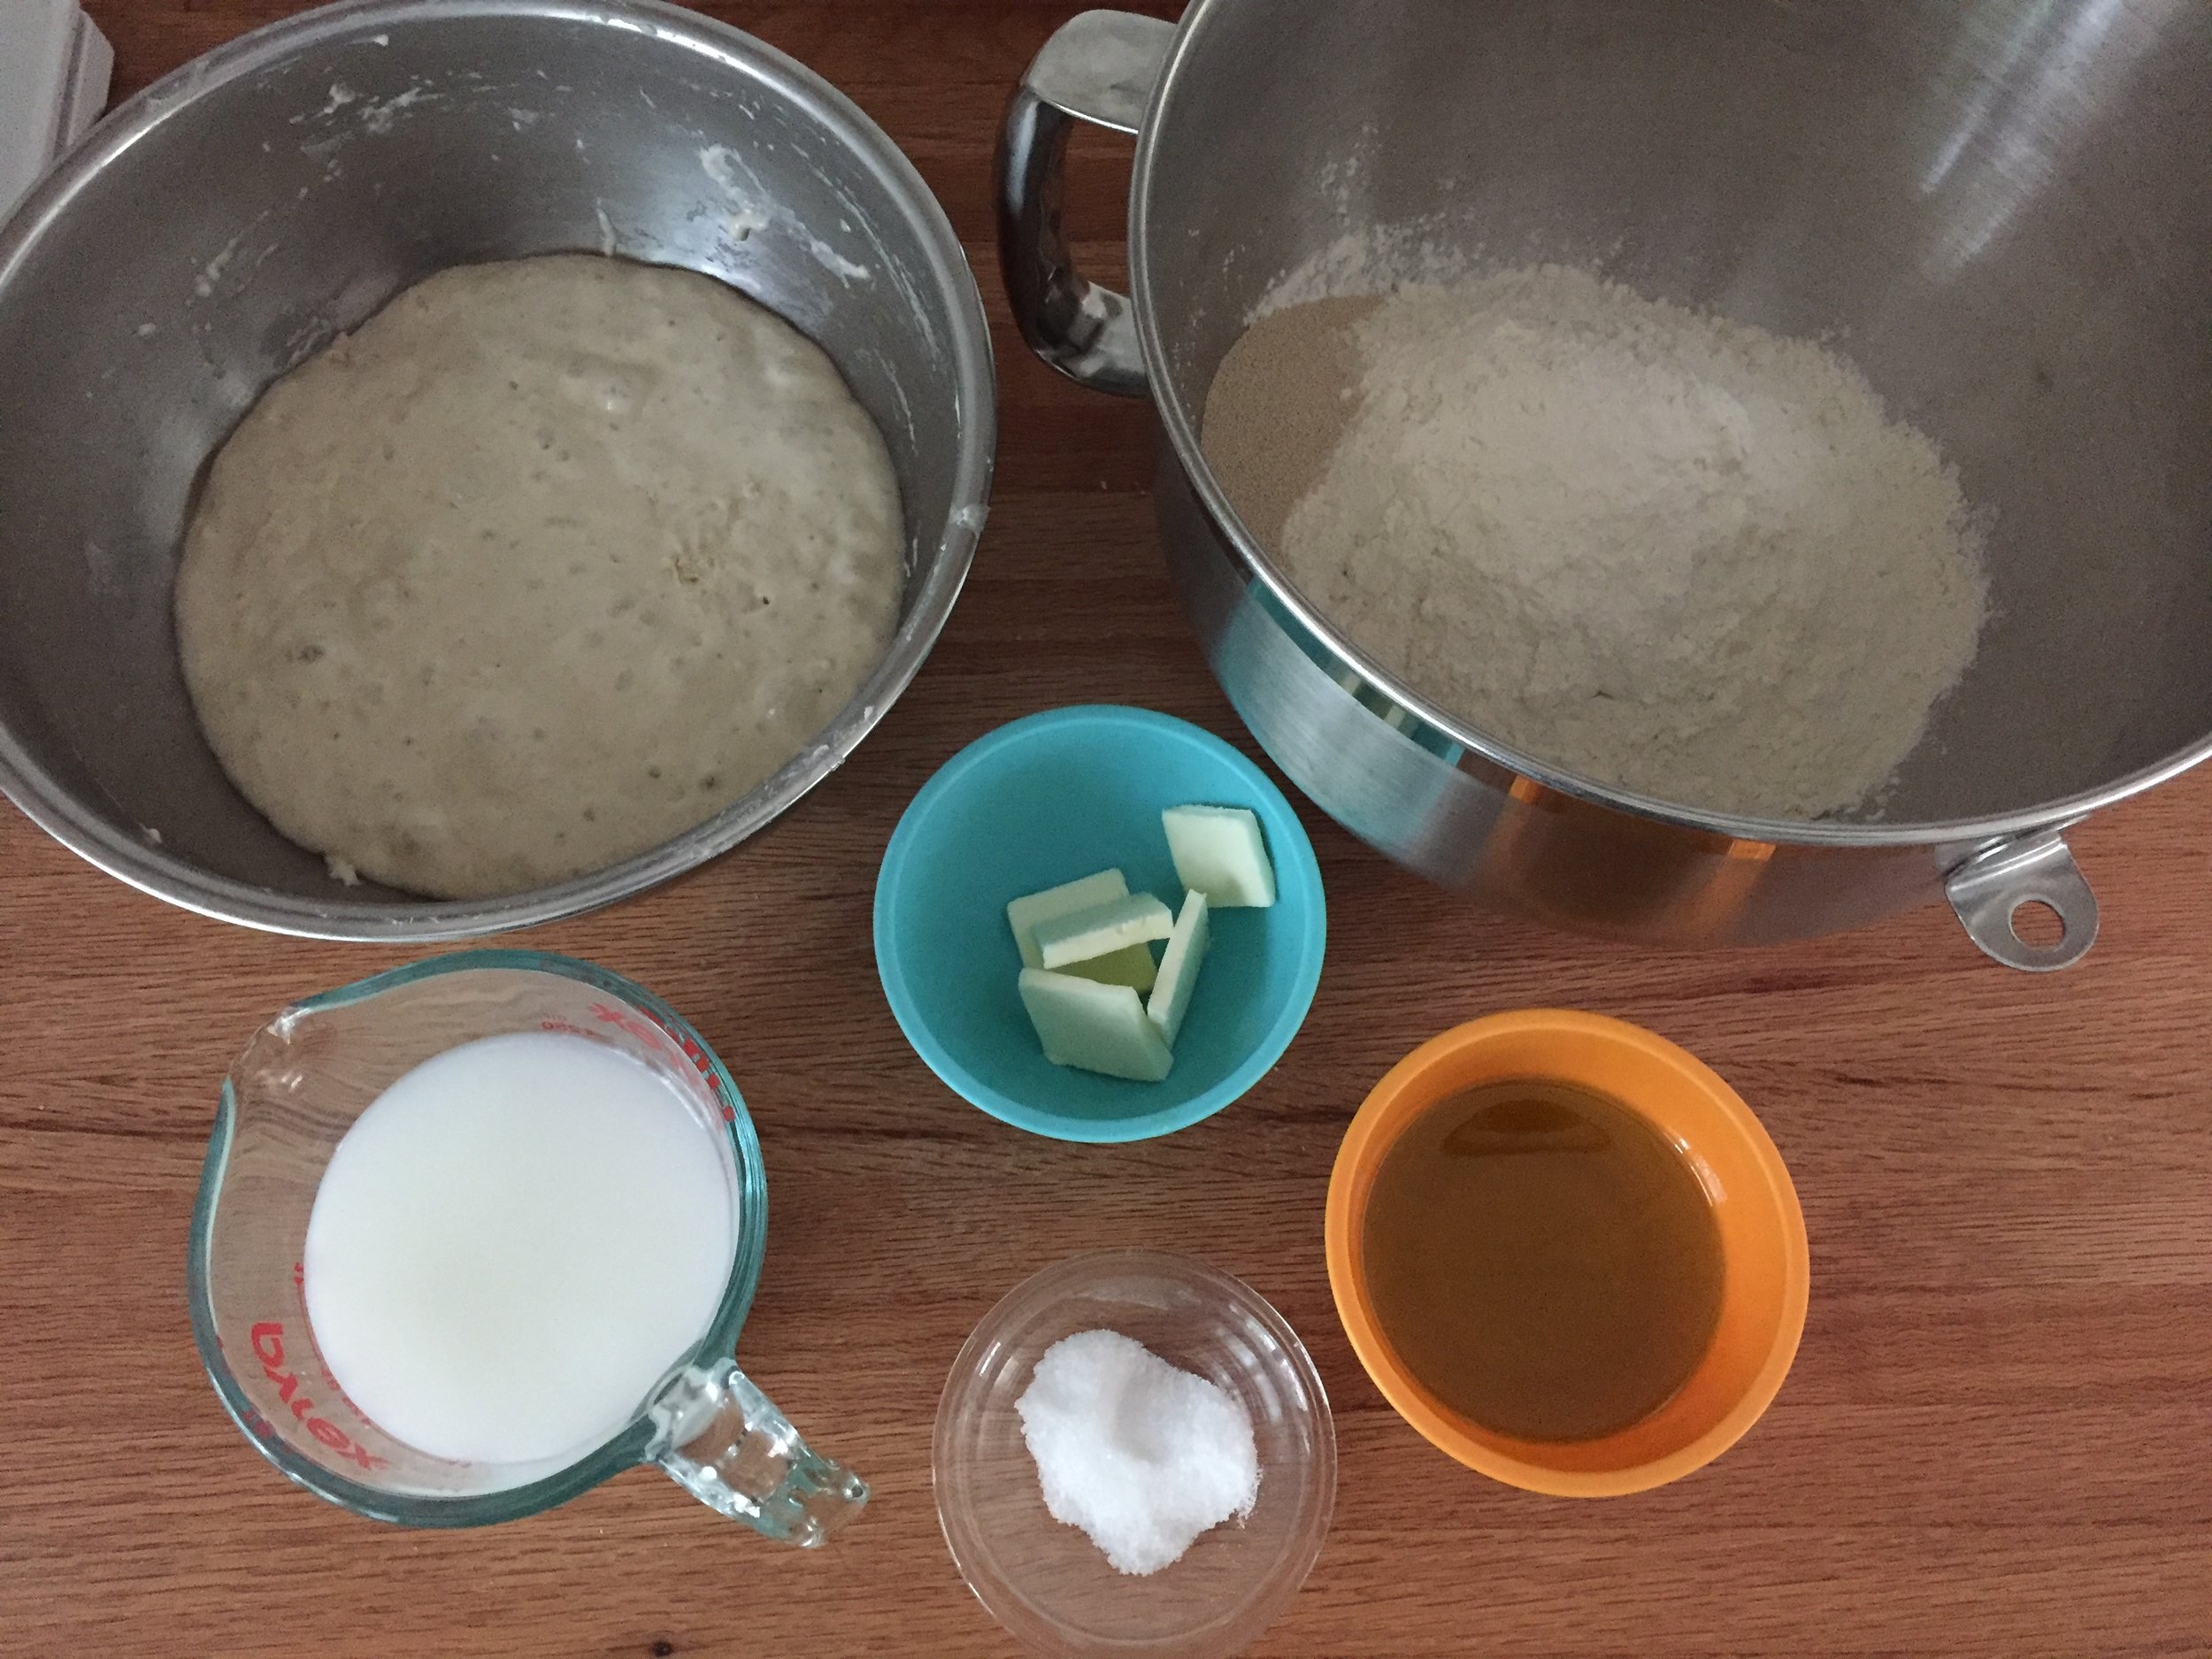
To make the final dough I combined the poolish with 510 g bread flour, 7 g instant yeast, 235 ml tepid water/milk mix, 71 g olive oil, 20 g butter and 16 g salt.

IMG_3209.JPG

Using the dough hook I mixed everything for 4 minutes on low speed and then 2 minutes on medium speed. Then a 30 minute bulk fermentation followed by a fold-over then another 30 minutes before dividing.

After the bulk fermentation

After the bulk fermentation

I divided my dough into two 740 g portions with a plan for two different shaping approaches.

IMG_3212.JPG

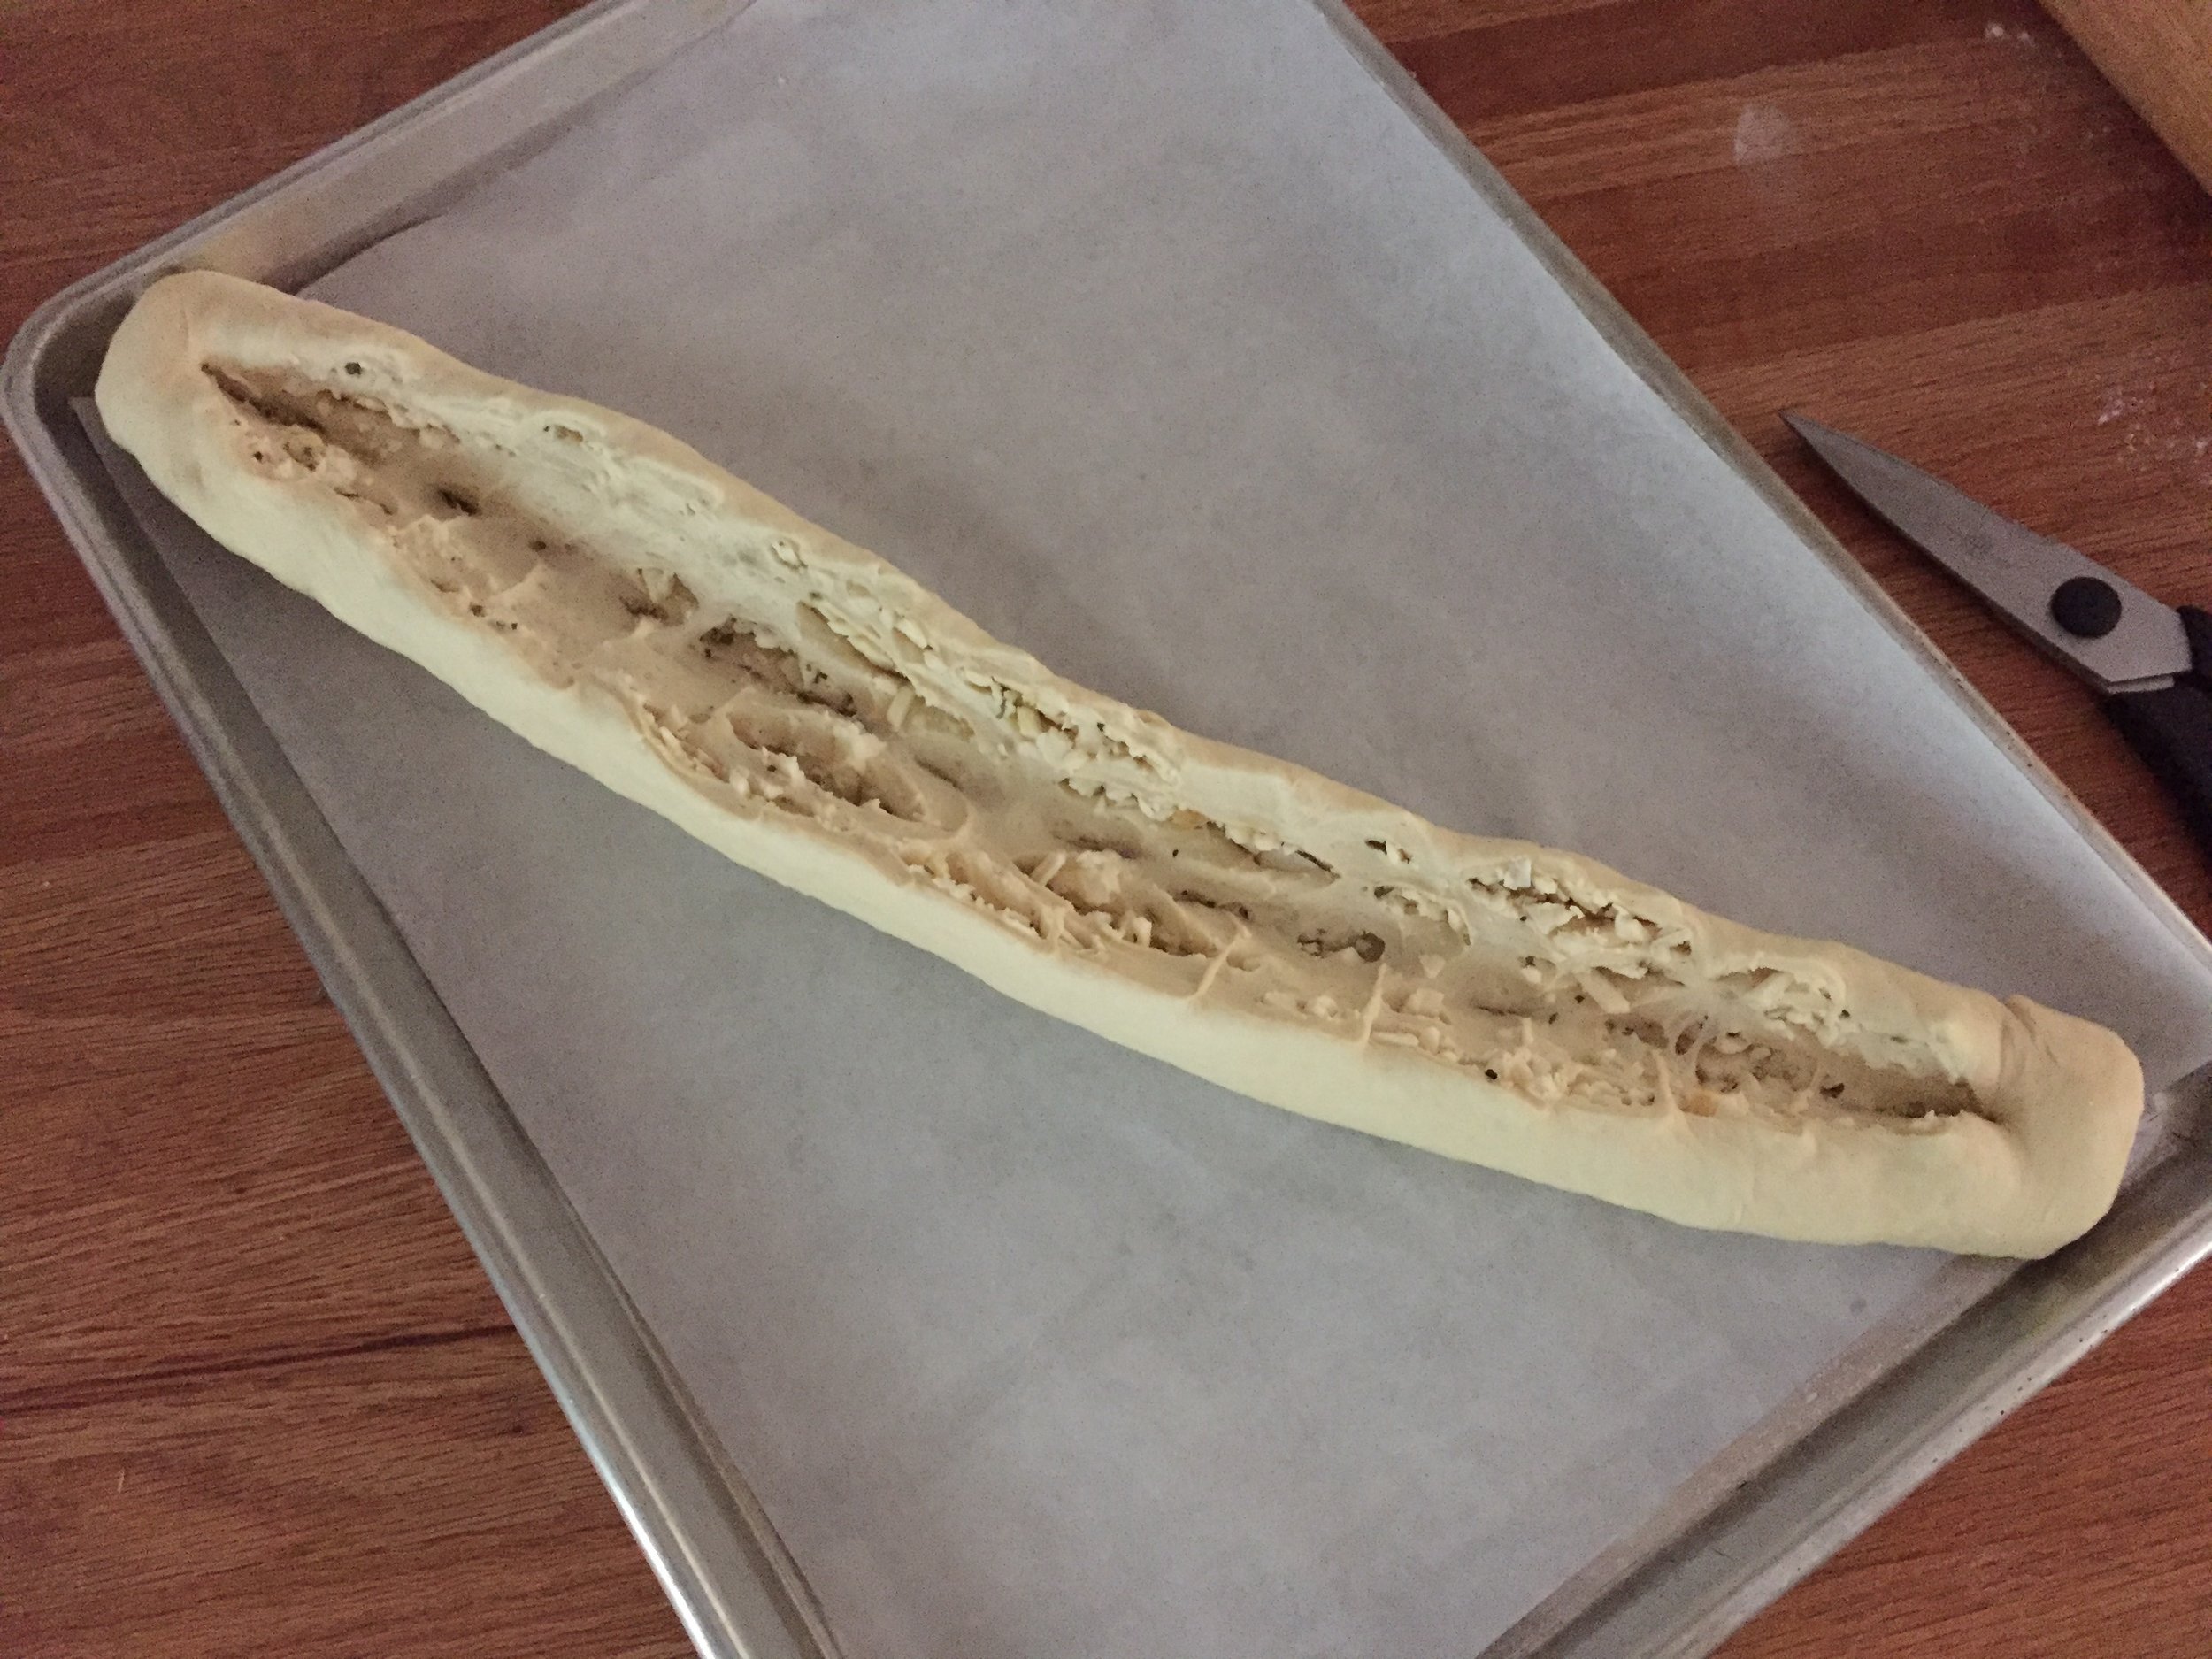
The first shape involves rolling the dough into a rectangle and sprinkling it with 227g grated cheese (fontinella in my case). Then I took 6-7 cloves of roasted garlic and smooshed and pieced them up, scattering the pieces over the rectangle. A light sprinkle of Penzey’s salt free pizza seasoning mix, then roll up a snug log.

Starting the log roll

Starting the log roll

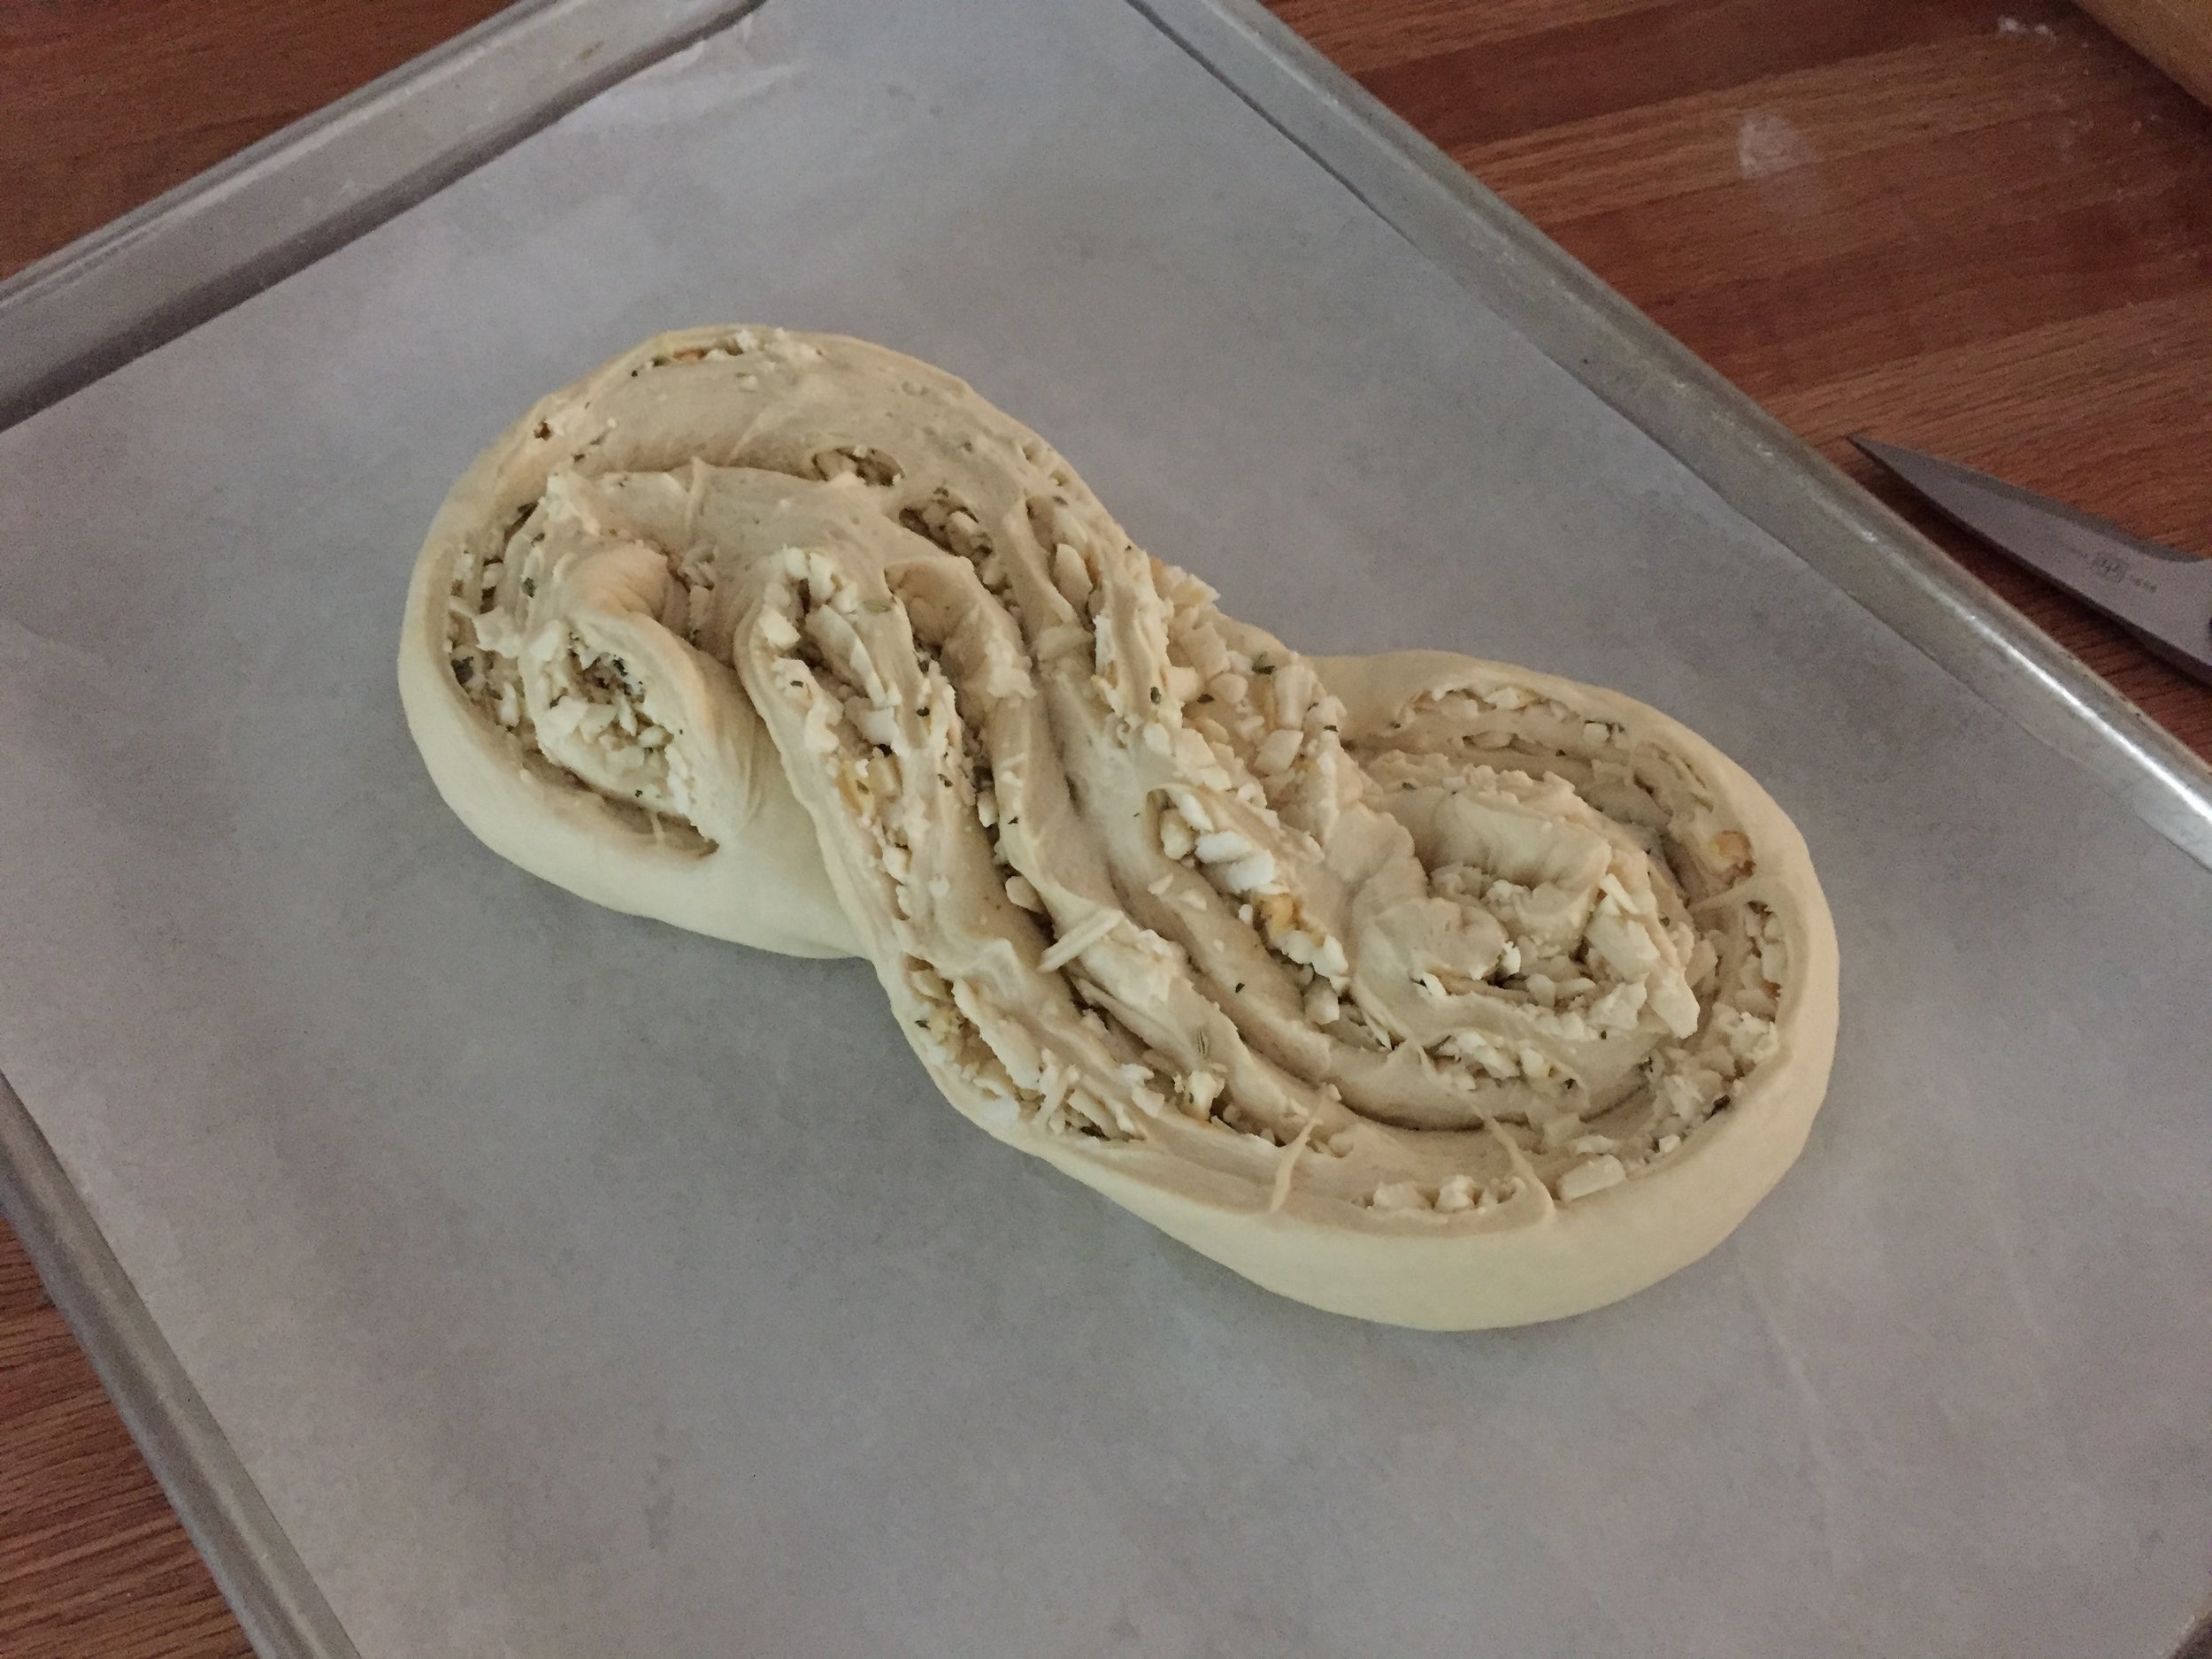
Once the log is complete, pinch the seams, place it seam side down on a parchment lined sheet, slit it down the middle to a depth of about an inch, leaving the ends intact. The log will open up to expose the filling.

IMG_3215.JPG

Then shape it into an “S” and tuck the ends under. Pretty cool.

IMG_3216.JPG

My second shape followed the method used for babka in which you roll up the log as already described, then slit the log entirely down the middle yielding two separate pieces filling side up.

IMG_3218.JPG

Begin at one end and twist the two pieces over and under each other, continuing to keep the filling side up as best you can (I could use some more practice on this one!). In this case I then went for a couronne or crown by forming it into a ring and tucking the ends under.

IMG_3219.JPG

Cover and let rise in a warm place for about 45-60 minutes, heating the oven to 350ºF during the last half of the rise.

Bake for 35-40 minutes until nicely browned.

IMG_3225.JPG
IMG_3226.JPG

The fontinella and roasted garlic went a long way to making this one a truly delectable bread experience.

IMG_3232.JPG
IMG_3231.JPG

For a family supper we sliced it, drizzled some melted butter over it, loosely wrapped it in foil and warmed it for about 10 minutes in a 325ºF oven. Oh my.

Yup. I’d make this again.

World egg day!

Maple pot de crème

Maple pot de crème

How many of you knew that October 12 was World Egg Day? I wouldn’t have known if it hadn’t been for Kim, the activities director at Heron Manor/Woods just down the street from our home.

It all started in 1996 when the International Egg Commission set the second Friday in October as World Egg Day to increase awareness of the benefits of eggs and how important they are in human nutrition. Who knew?

Needless to say, eggs are utilized in many different ways in the baking and pastry world. For a morning event this past Friday, October 12, I decided to really go for it in the egg department.

Never one to turn down pot de crème, I thought others would enjoy a maple version of this unctuous delight, topped with maple mascarpone cream, a sprinkle of walnut praline crumbs and a petite maple walnut shortbread cookie on the side. So lovely and so delicious.

The base is essentially a crème brulée type custard made with cream, yolks and sugar (maple syrup here). I used 3 ounce ramekins which I find to be a perfect portion for a just right taste.

To yield 14 portions, whisk together 9 yolks, 3/4 cup REAL maple syrup (don’t you even dare use “pancake syrup“!), 3/4 teaspoon salt and 3/4 teaspoon vanilla extract; heat 3 cups heavy cream to barely simmering and temper it into the egg/maple syrup mixture. Strain through a fine mesh sieve into a pouring measuring cup then fill the ramekins to 1/4” below the rim.

Bake in a water bath at 325ºF. I use a clear pyrex glass baking dish, set the ramekins in, pour hot water into the corner of the dish and fill to about half-way up the sides of the ramekins. Cover loosely with foil and bake about 30-35 minutes, checking it periodically - you want the custard just set with a hint of a jiggle in the center. Once out of the oven, lift them out of the water bath and cool to room temperature on a wire rack.

IMG_3255.JPG

Then refrigerate until chilled. Garnish with whatever you’d like! If not being consumed the same day, I cover them with plastic wrap to enjoy over the next few days.

IMG_3266.JPG

Now for a tart!

IMG_3253.JPG

As always, having some version of a tart in the mix is right up my alley and thus a ricotta custard raspberry tartlette was born - buttery blind baked short crust filled with a few raspberry pieces and an easy to make ricotta filling.

For the filling whisk together 2 cups ricotta/3 eggs/one tablespoon cornstarch/3/4 cup sugar/zest of a lemon/ 1 teaspoon vanilla. Et voilà, très simple!

IMG_3244.JPG

Bake at 350ºF until the filling is set and a bit puffy, about 20-25 minutes.

IMG_3247.JPG

To give these babies some panache I made a lightly gelled raspberry coulis and pooled it on the top.

IMG_3249.JPG

Then a nice string-of-pearls crème Chantilly rim and a fresh raspberry to top it off. Smooth and berry delicious !

IMG_3251.JPG

The World Egg Day table also held browned-butter pistachio crumb cakes (egg whites) . . . .

IMG_3263.JPG

. . . . and apple pecan brioche (we all know that has eggs!).

Note: more on revisiting brioche recipes later - it’s an ongoing task.

IMG_3264.JPG

An enjoyable egg day it was!! Can’t wait until next year.